SSO (single sign-on) magic links give members instant, secure access to a specific Client Portal app, such as Courses, Communities, or Affiliates, without typing a username or password. This guide covers how to generate a magic link from Sites > Client Portal > Dashboard, and how to embed that link as a custom menu item so it's always one click away.
SSO magic links are unique, authenticated URLs that open a Client Portal app directly, with no login screen in between. When a member clicks their personalized link, they're logged in instantly and taken straight to the right destination, whether that's a course dashboard, a community space, or an affiliate portal.
Each link is app-specific and contact-specific, so a given member only receives access to the exact portal experience they've been granted, nothing more.
Magic links reduce friction, save time, and improve the member experience. Key advantages include:
One-click login: Instant access with no username or password required.
Faster onboarding: New patients or affiliates can get into their content right away.
Fewer support requests: Removes login headaches like forgotten passwords.
Smoother navigation: A more direct sign-in experience than a standard login page.
Multi-app convenience: Useful when a member is enrolled in a combination of Courses, Communities, and Affiliates.
Higher engagement: Easier access encourages members to return more often.
You create magic links from the Client Portal dashboard, then share or embed them for direct access to a specific app.
Click Sites in the left-hand navigation menu to reach your Client Portal dashboard. This is where you manage your portal apps and set up secure login experiences for members.
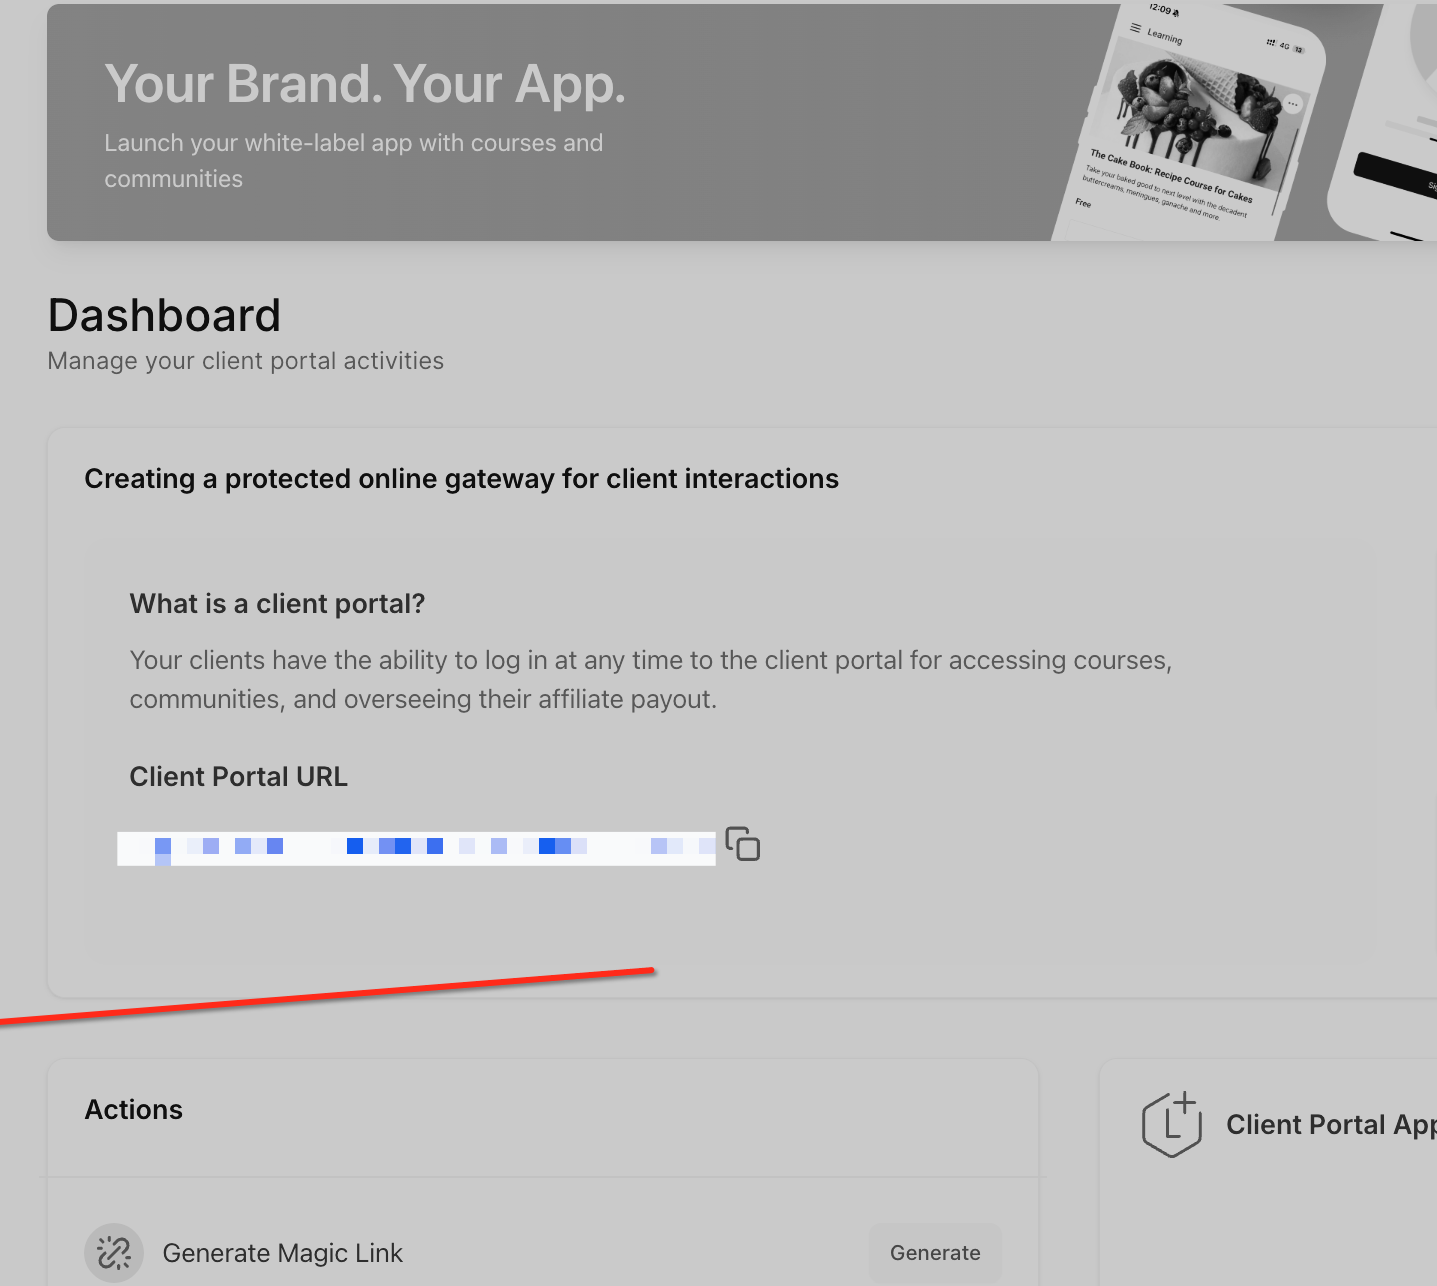
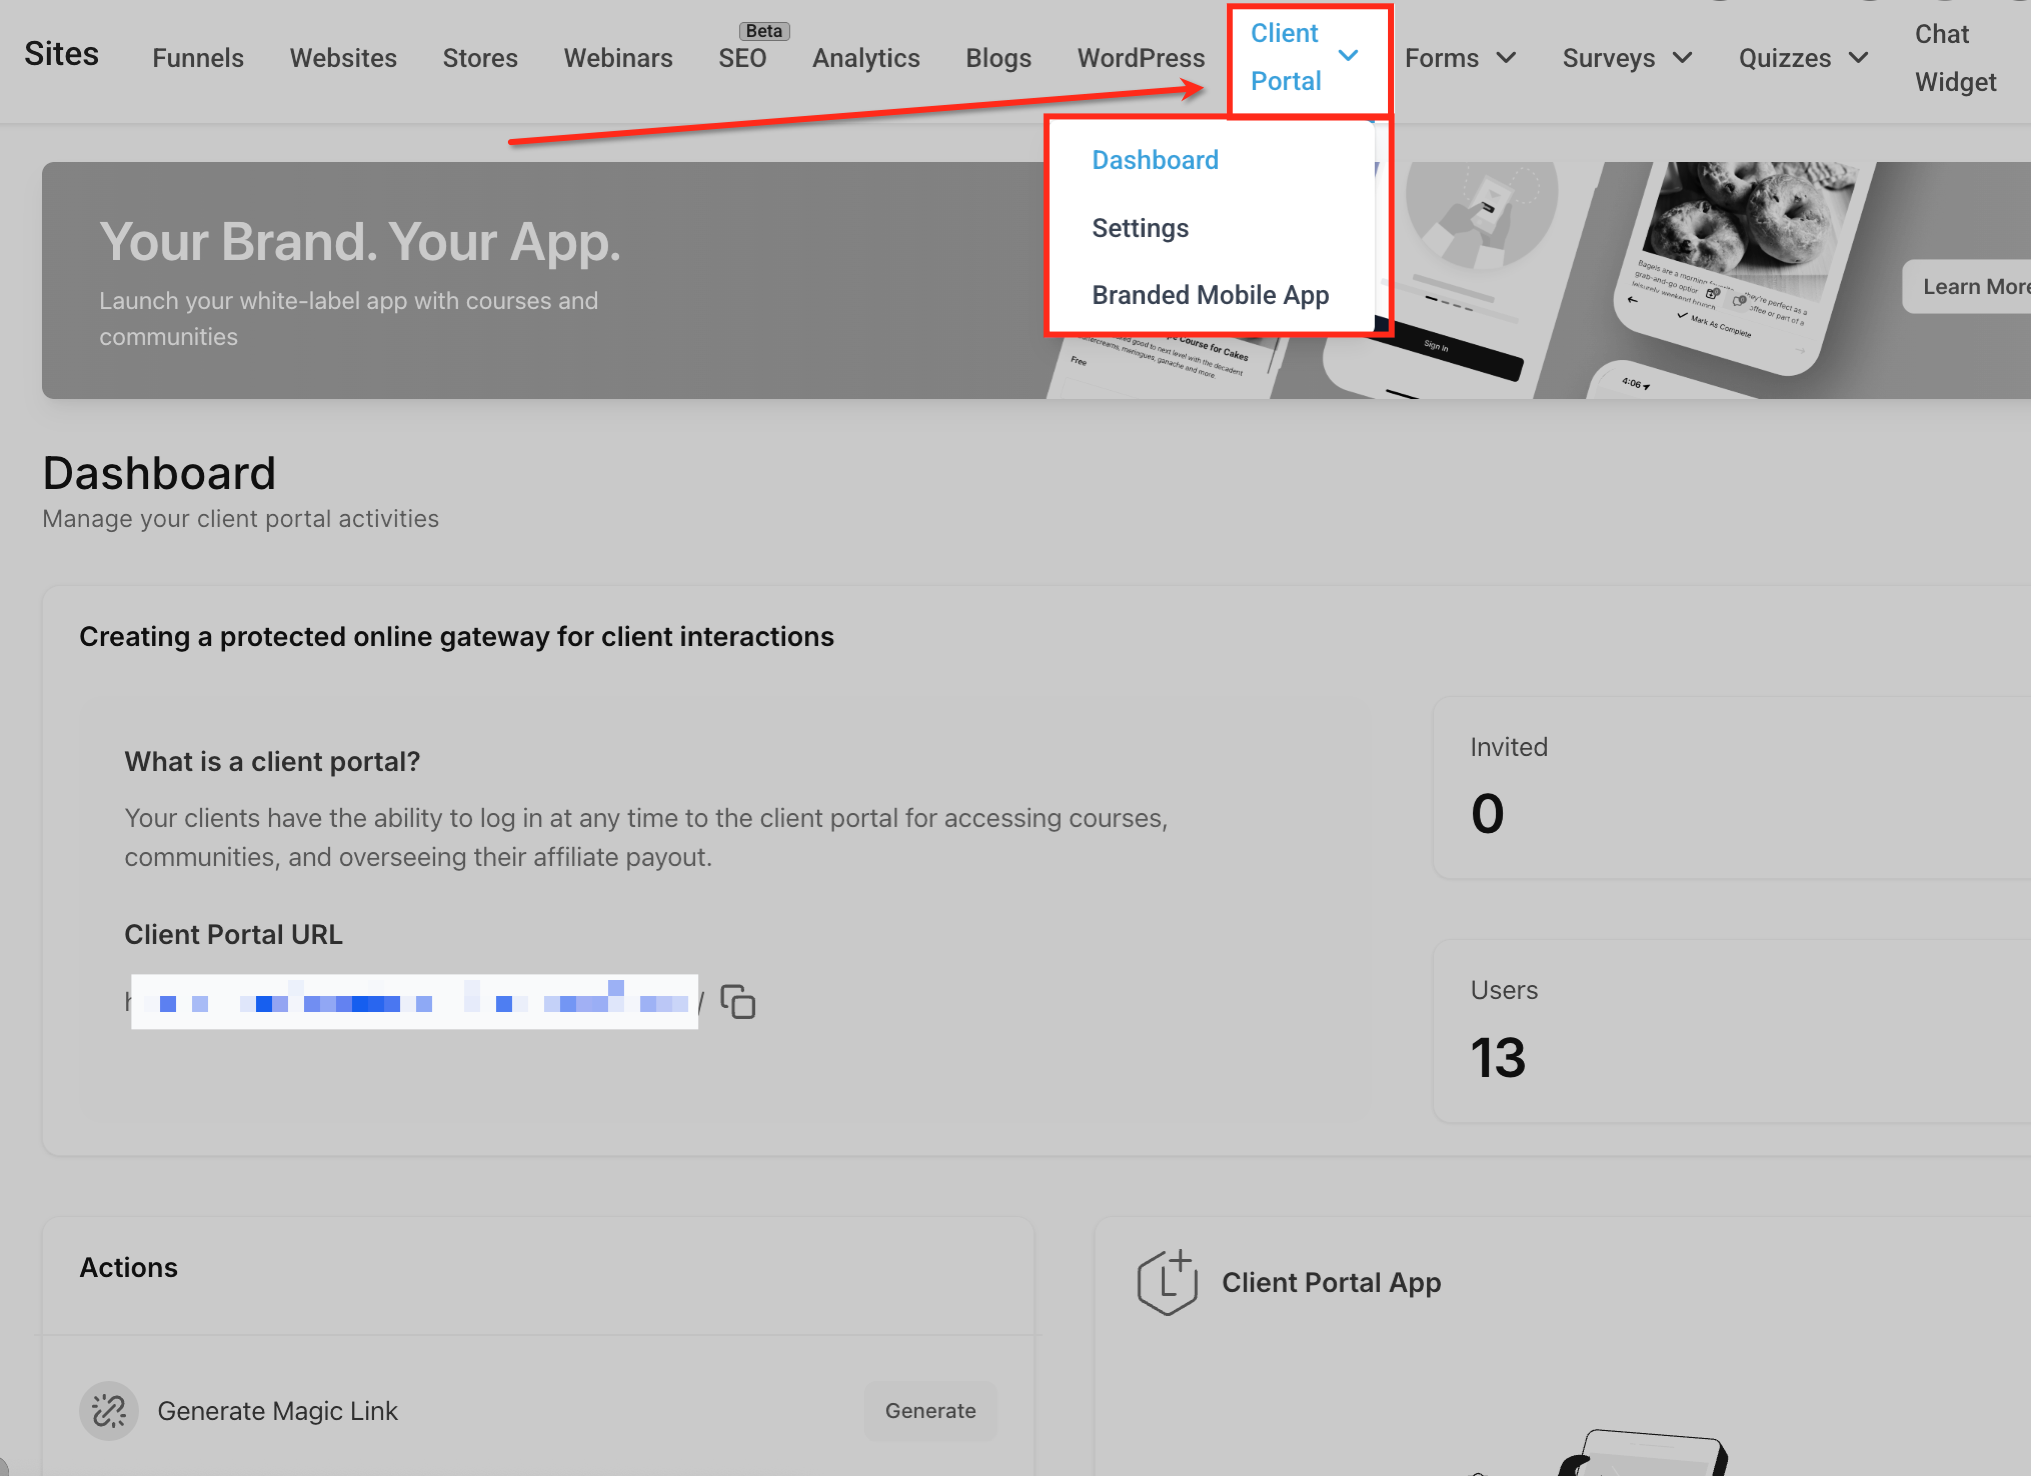
Within Sites, click the Client Portal dropdown at the top and select Dashboard. This opens the portal management tools, including magic link generation and app settings.
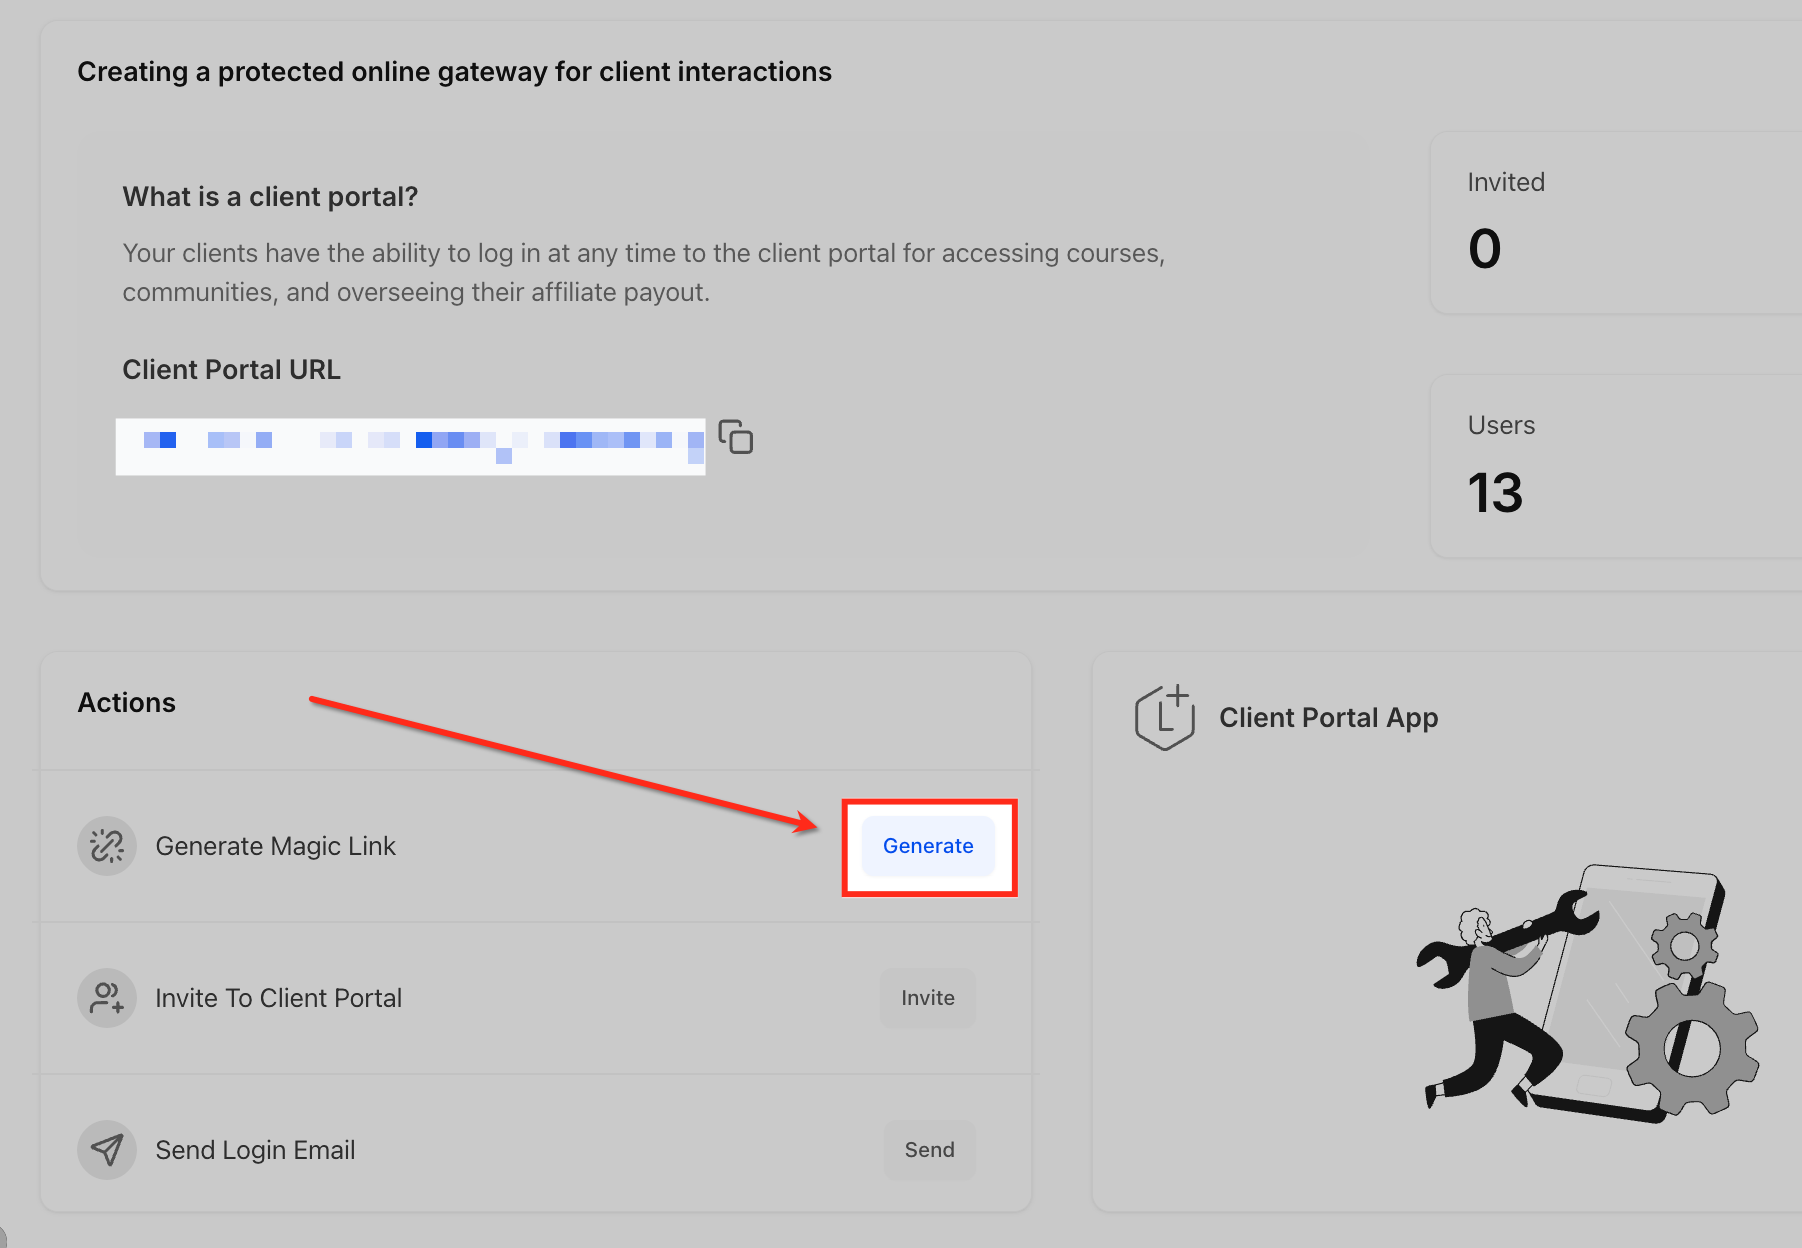
In the Actions panel, click Generate next to "Generate Magic Link." This begins the process of creating a secure, one-click login for a specific app.
Choose Custom Menu to generate a reusable magic link built for portal navigation. This type is meant to be embedded, for example as a custom menu item, rather than sent one-off.
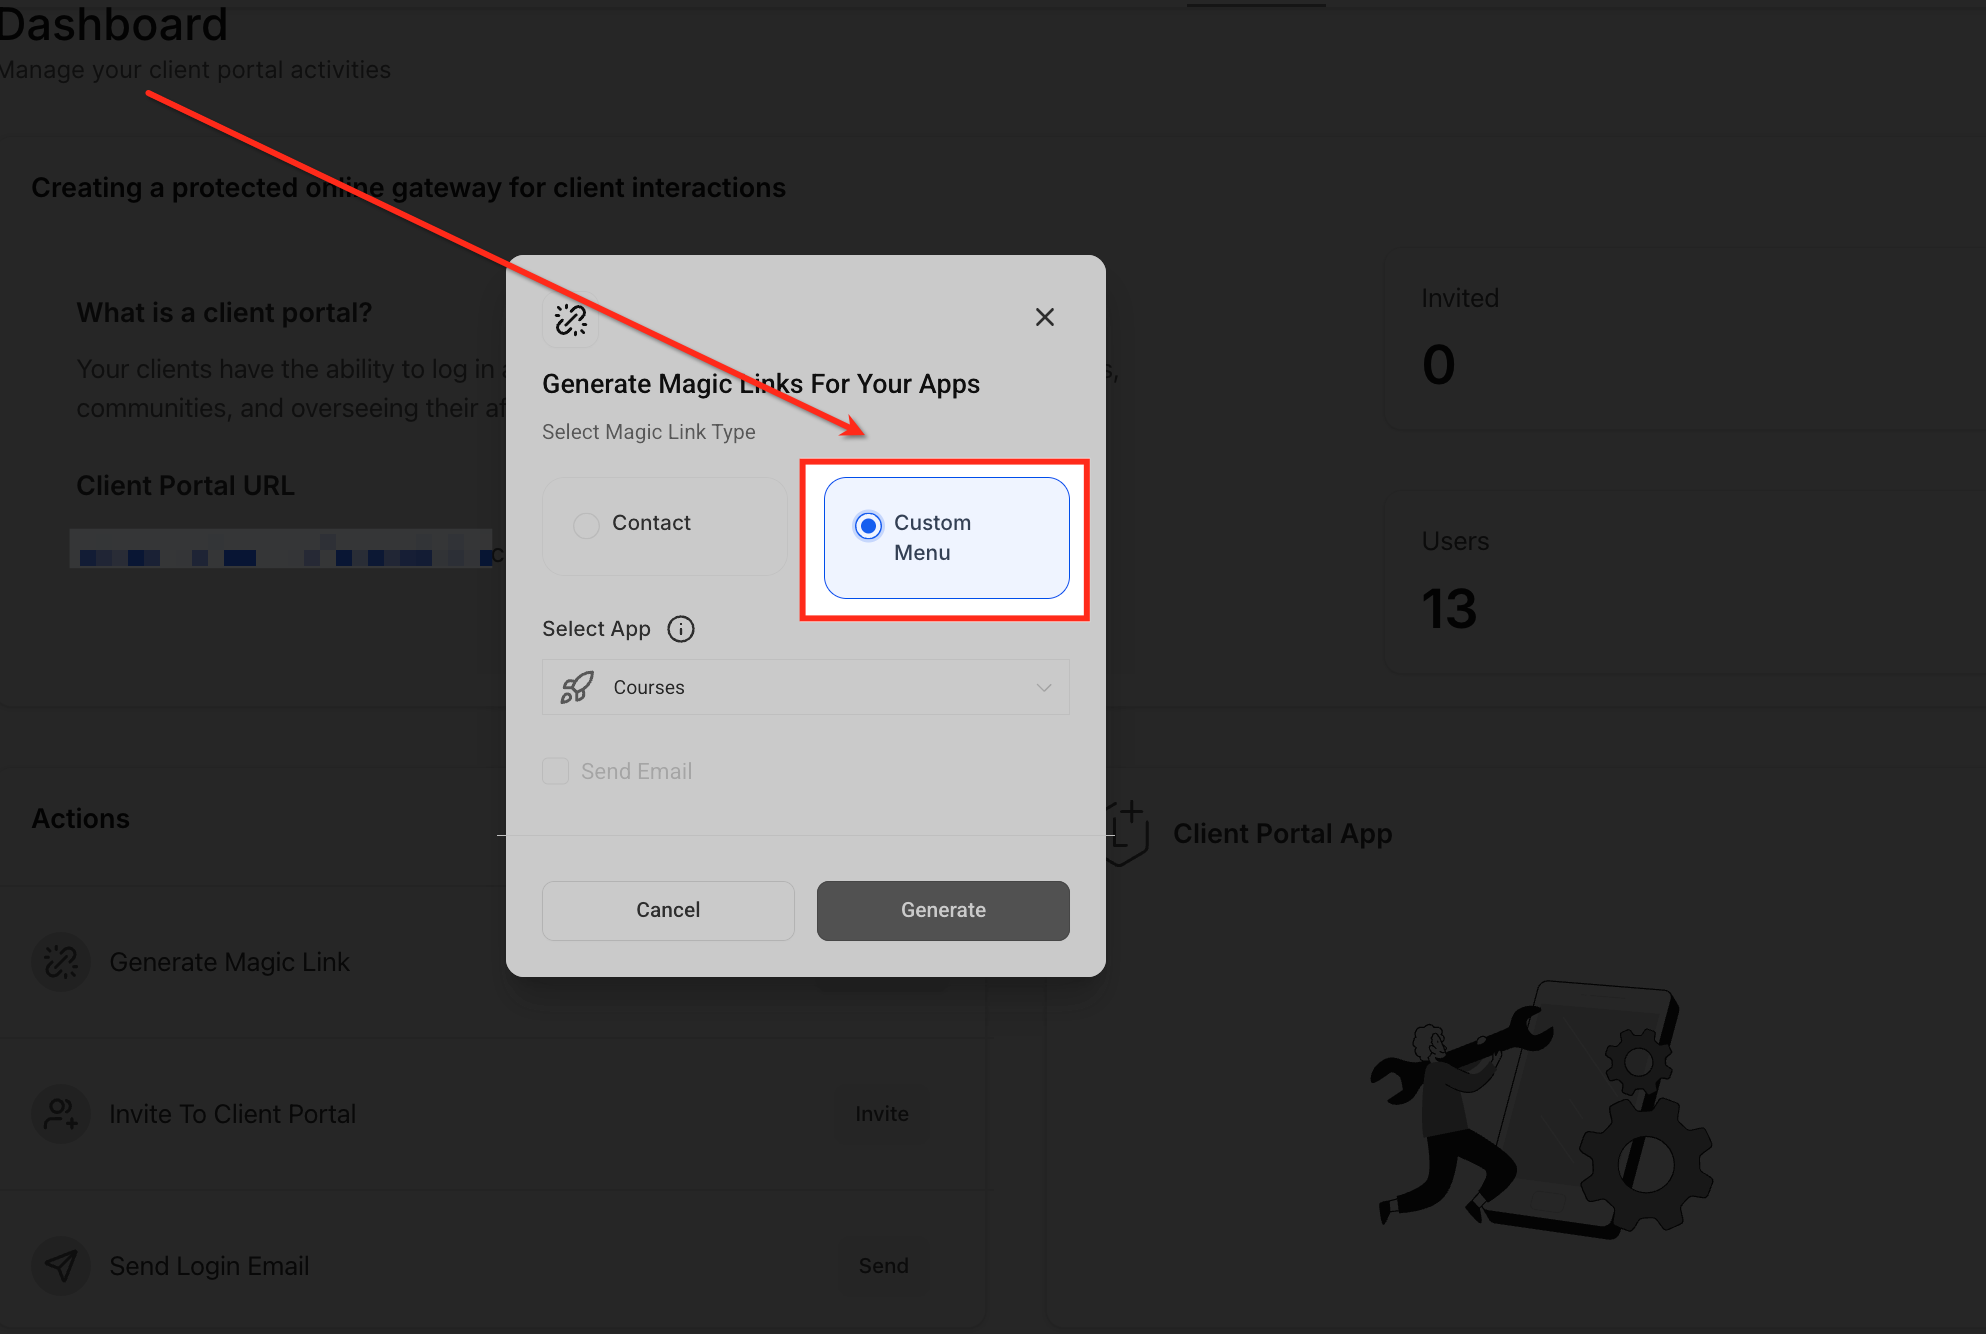
Use the dropdown under Select App to choose which Client Portal app the magic link should open: Courses, Affiliates, or Communities. This sets the destination the link opens to.
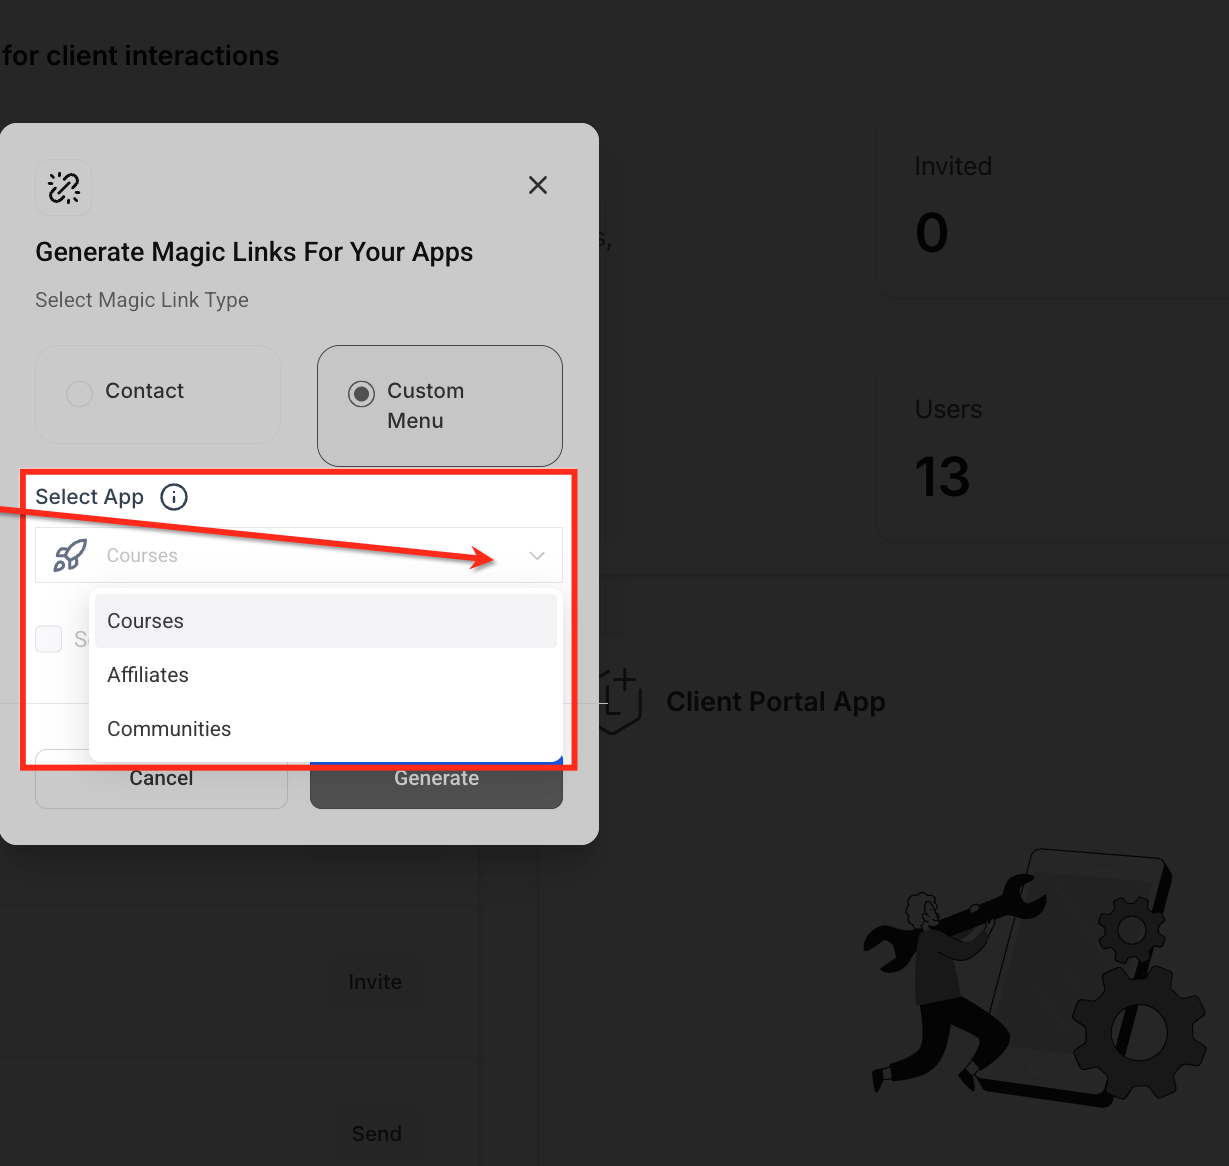
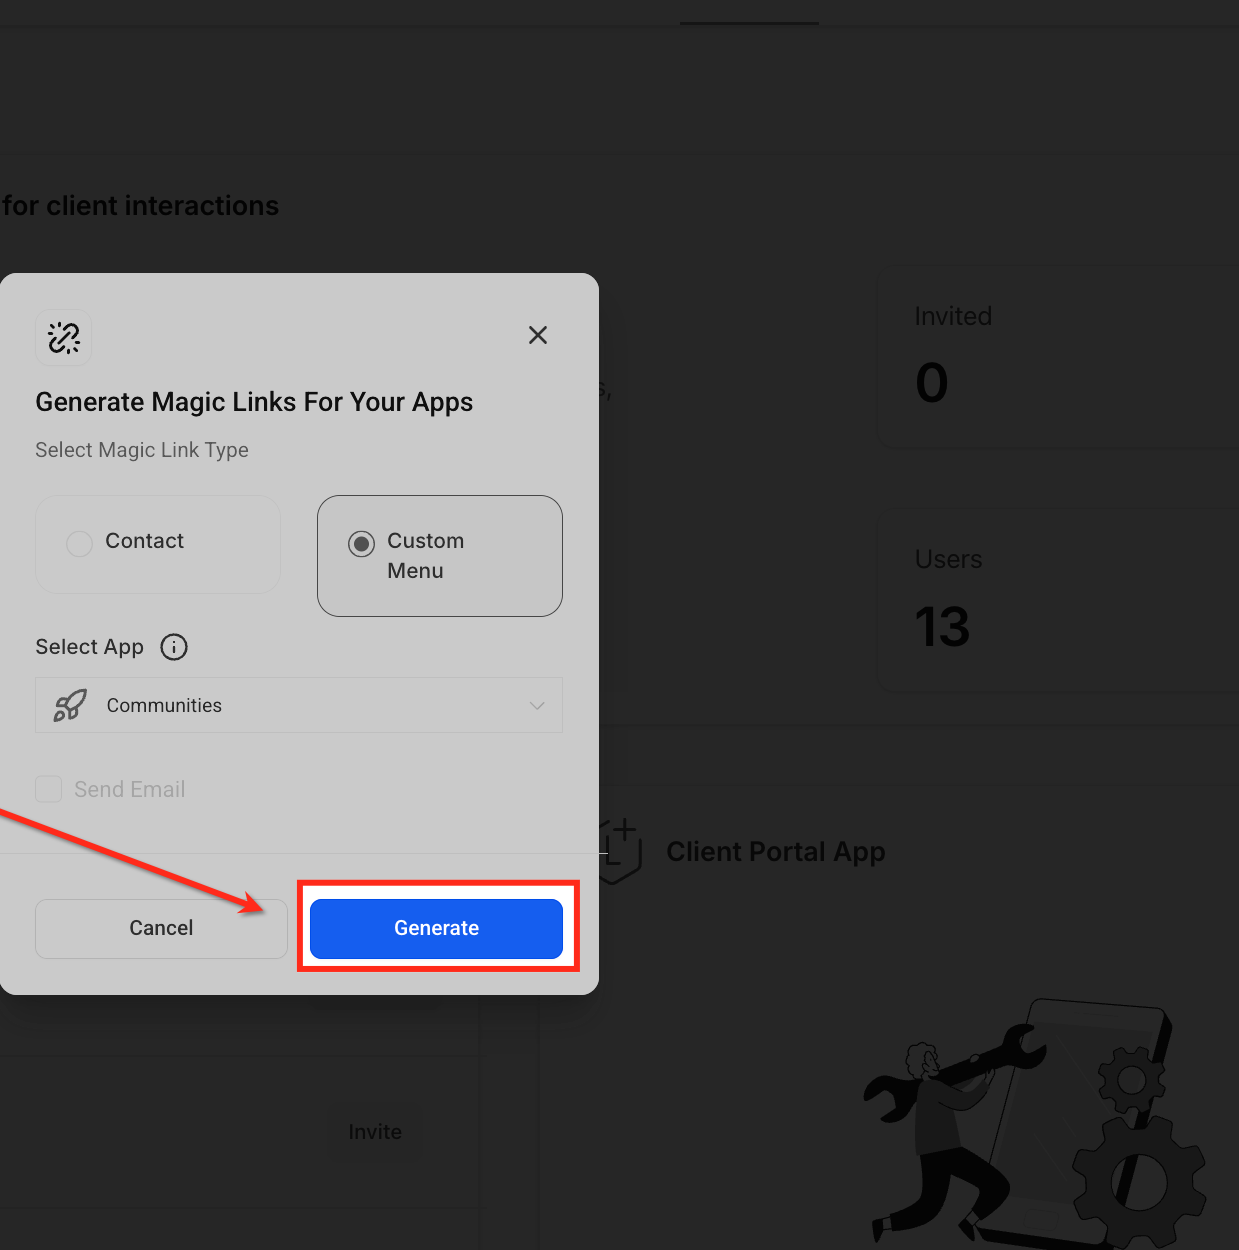
Once you've selected the app, click Generate. This instantly creates a secure, one-click login URL you can embed or share.
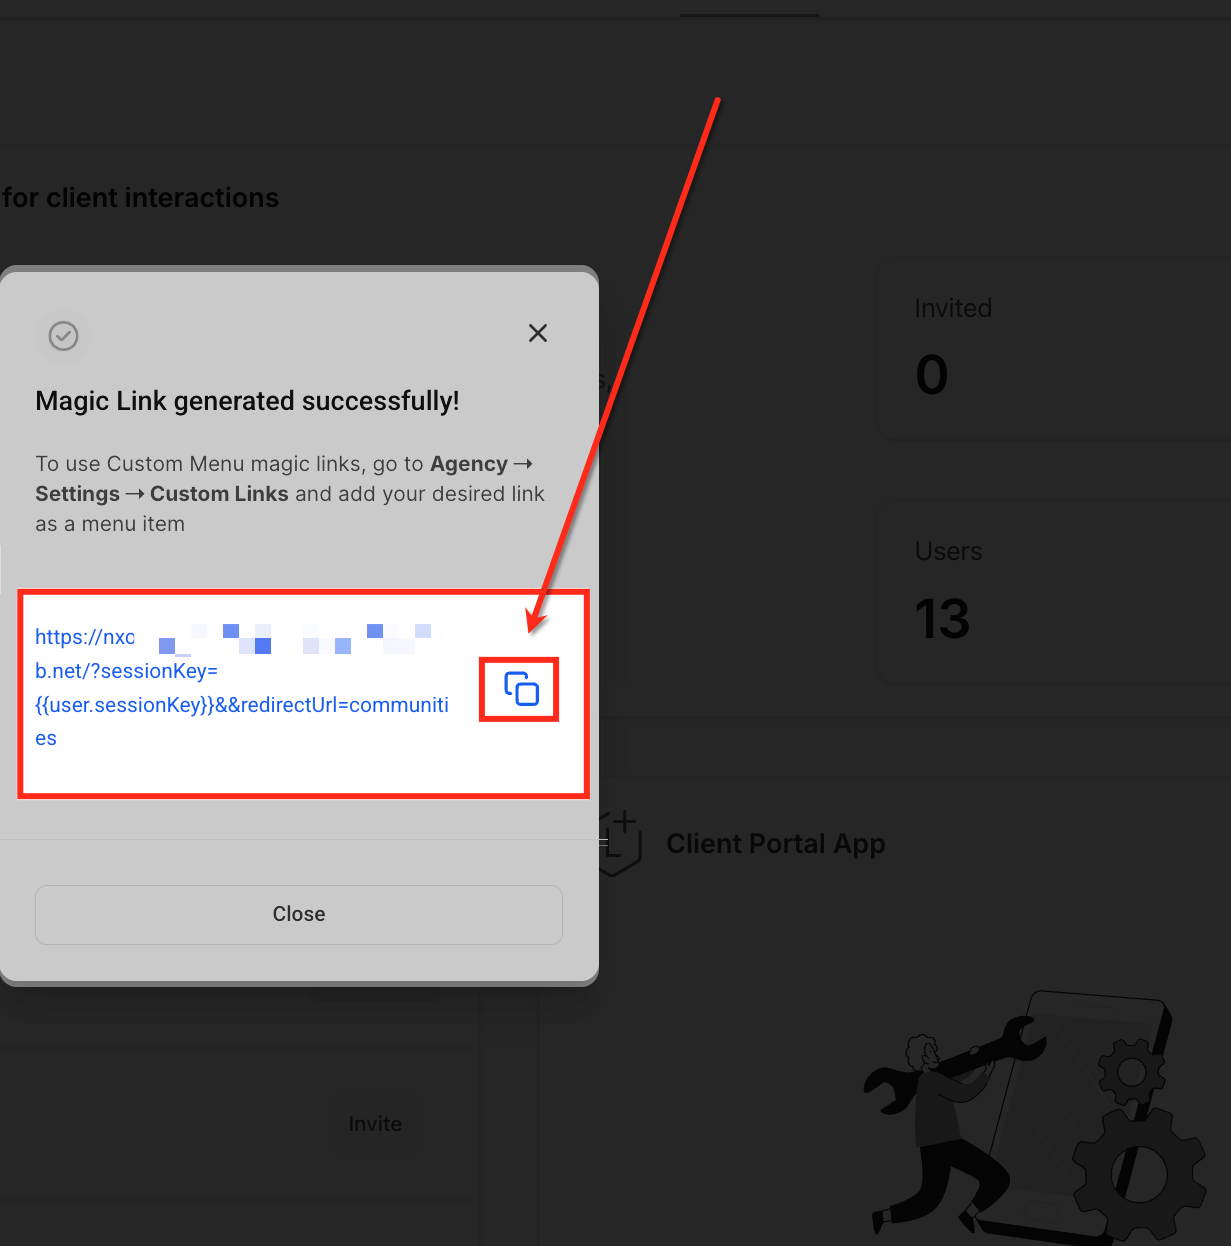
Once the link is generated, click the copy icon to save it to your clipboard. You can now paste this SSO link wherever you need it, such as in an email, a text message, or a custom menu item.
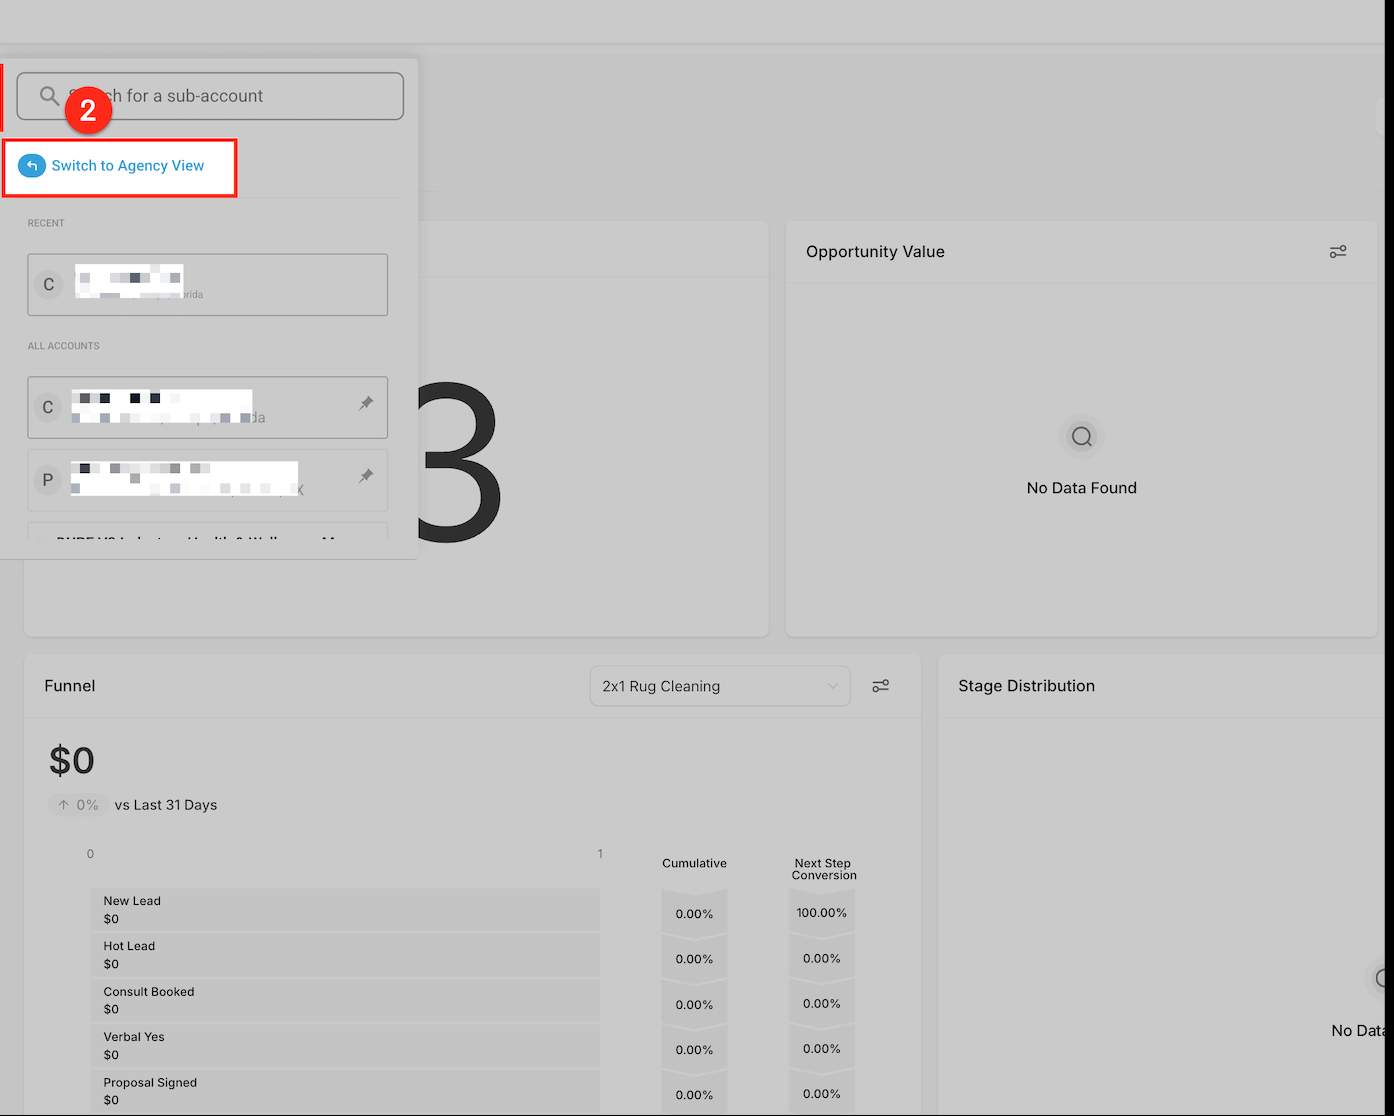
Once you have a magic link, you can embed it as a custom menu item in your Aesthetix CRM sidebar, giving your team one-click access to a specific portal app without leaving the CRM.
Scroll to the bottom of the left-hand sidebar in your Aesthetix CRM account and click Settings. This is where you configure account-wide preferences, including custom menu links.
From the Settings panel, look for the section that lists your existing menu links. This is where you manage current links and create new ones.
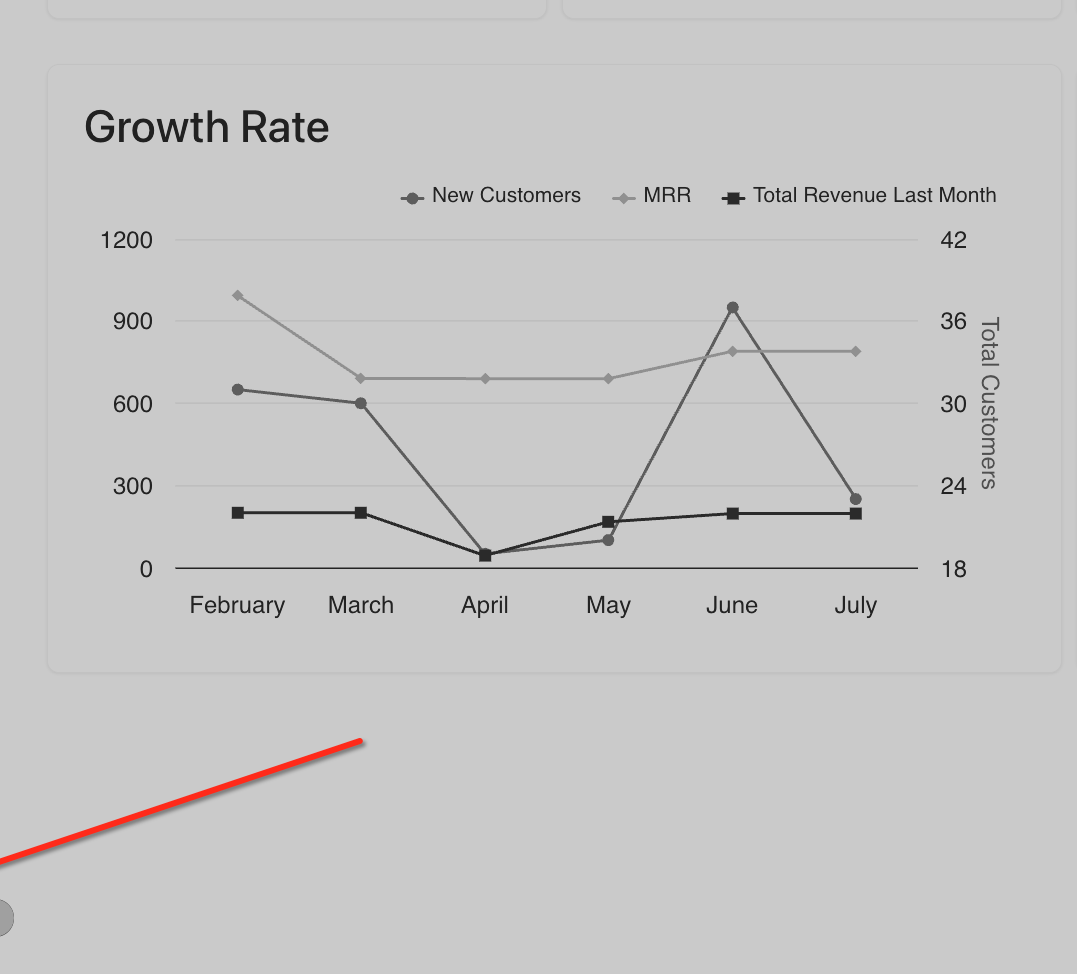
Click into Custom Menu Links. This section displays every custom link currently set up on your account.
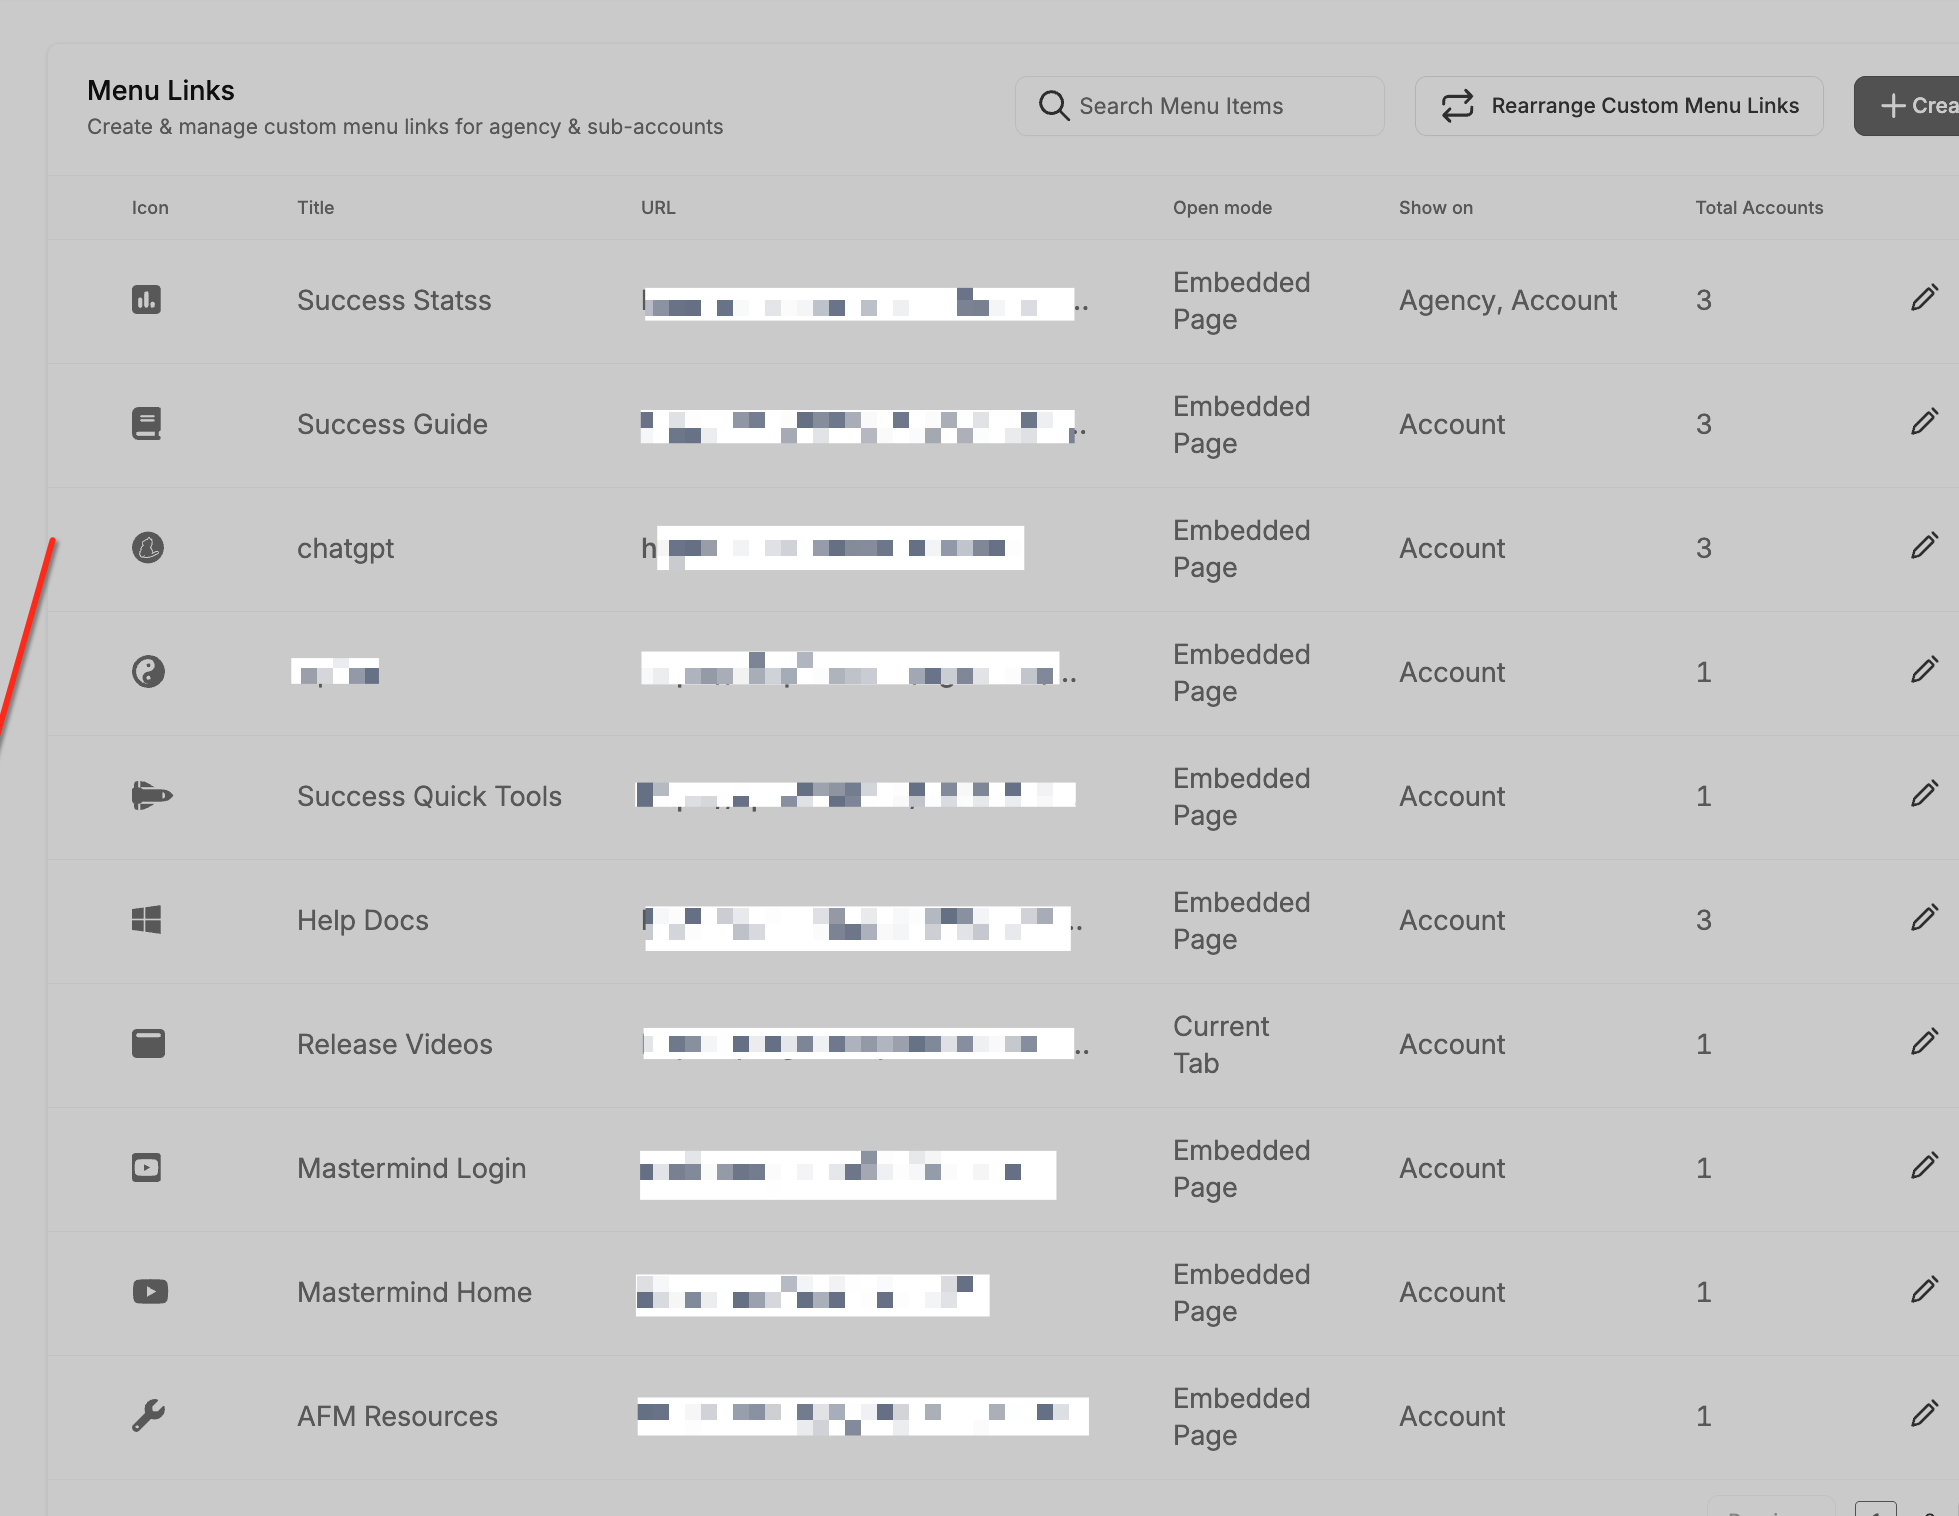
Click + Create New in the top-right corner of the Custom Menu Links section to start a new menu link.
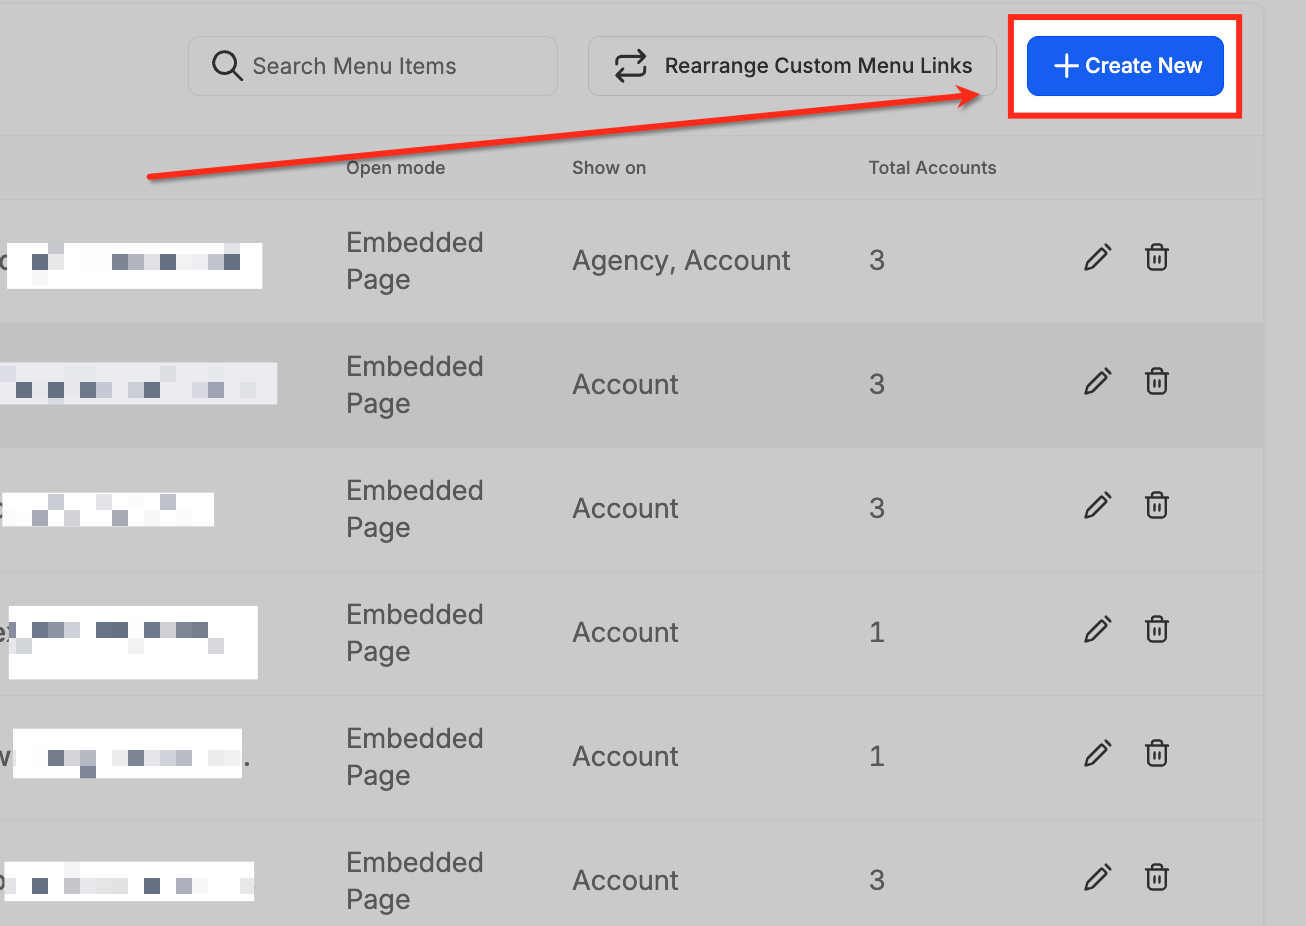
Fill in the required fields:
Link Icon: Choose an icon identifier (for example, vr-cardboard).
Link Title: Name the menu item (for example, "Course Portal").
URL: Paste the magic link you generated earlier.
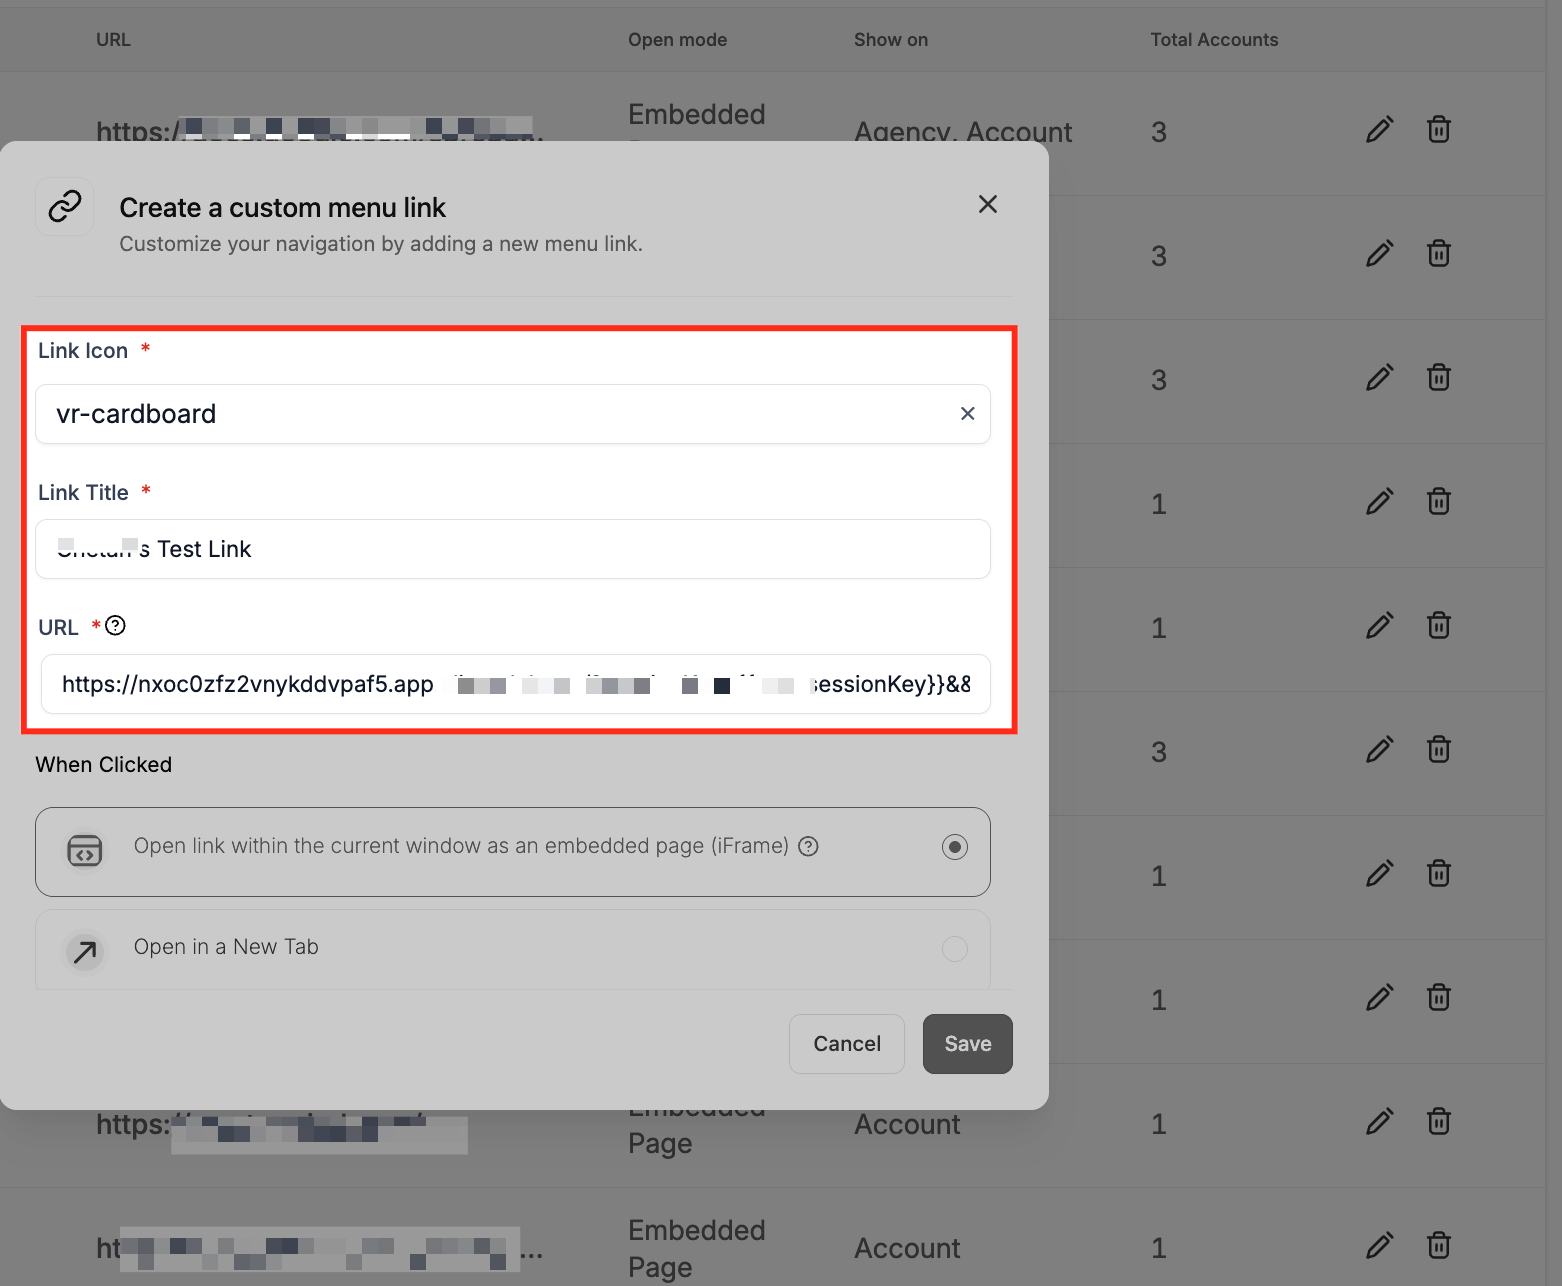
Select how the link opens when clicked. You can display it inside the current window as an embedded iFrame, open it in a new tab, or load it in the same window.
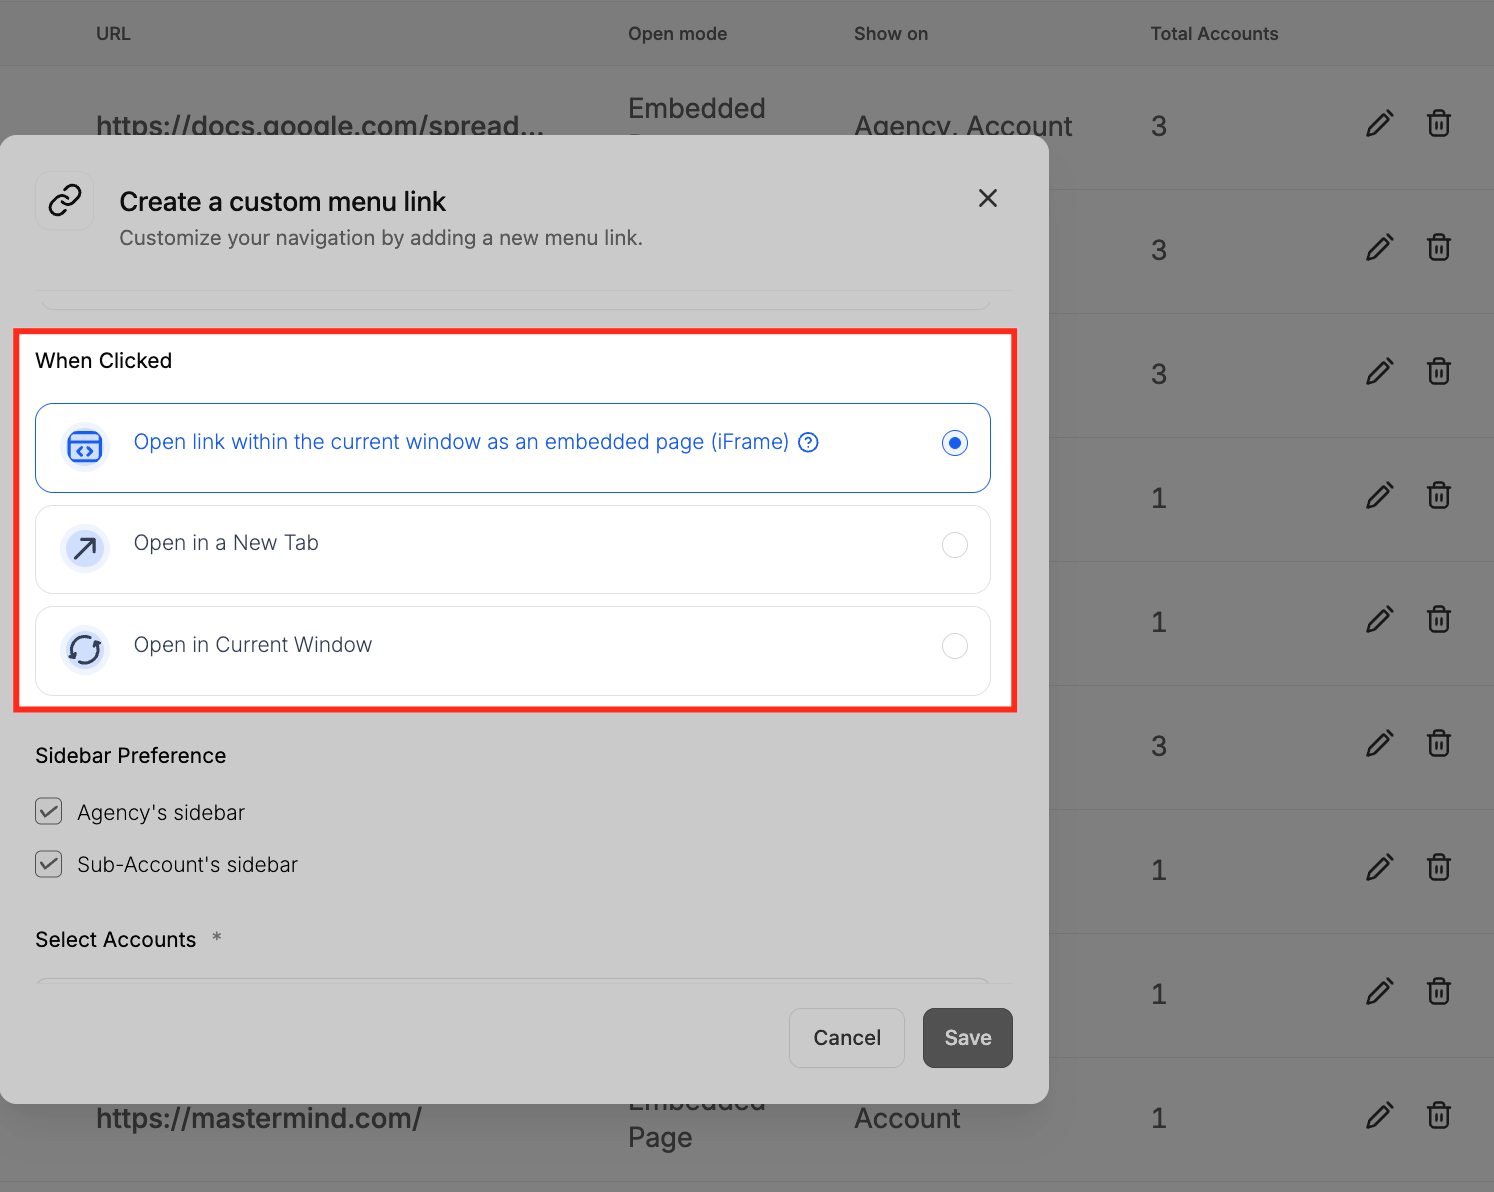
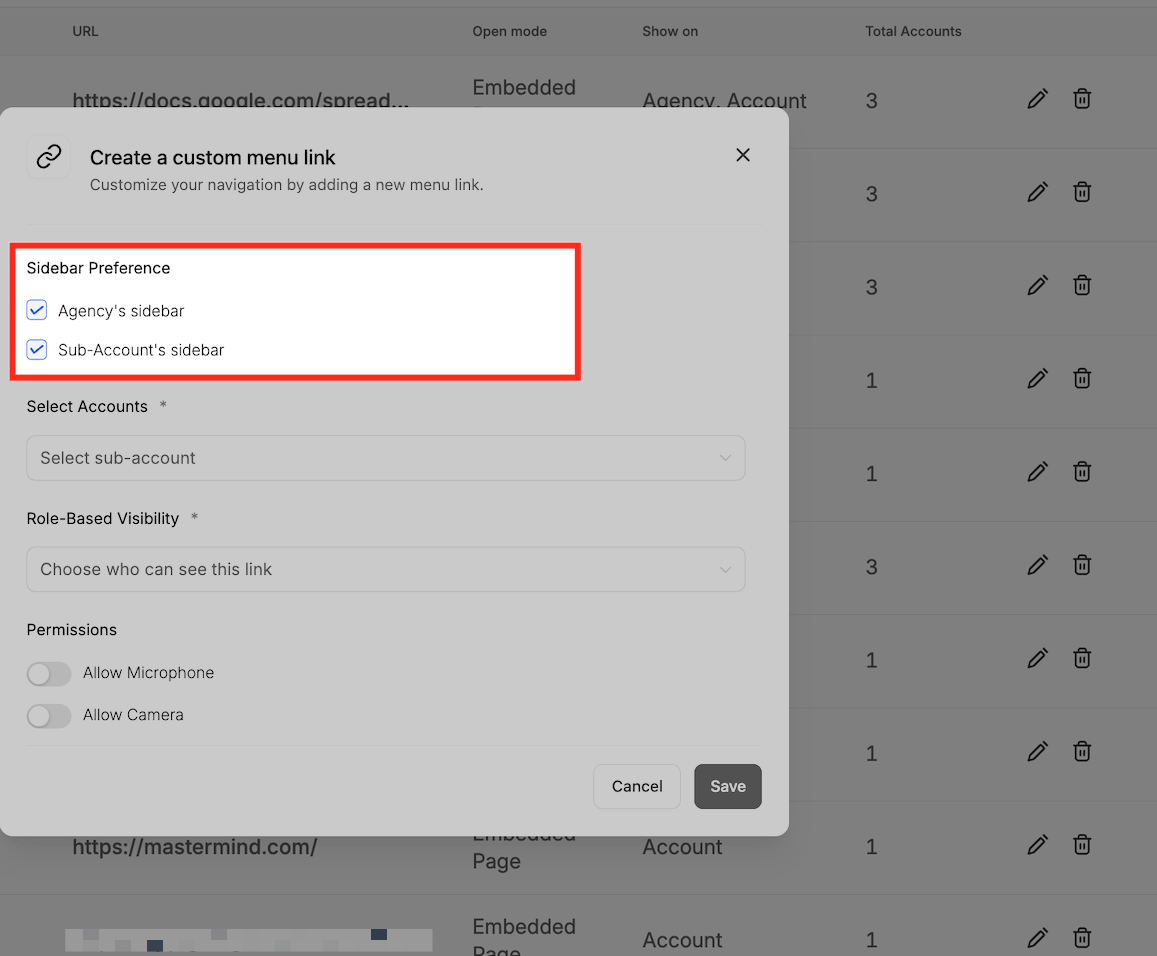
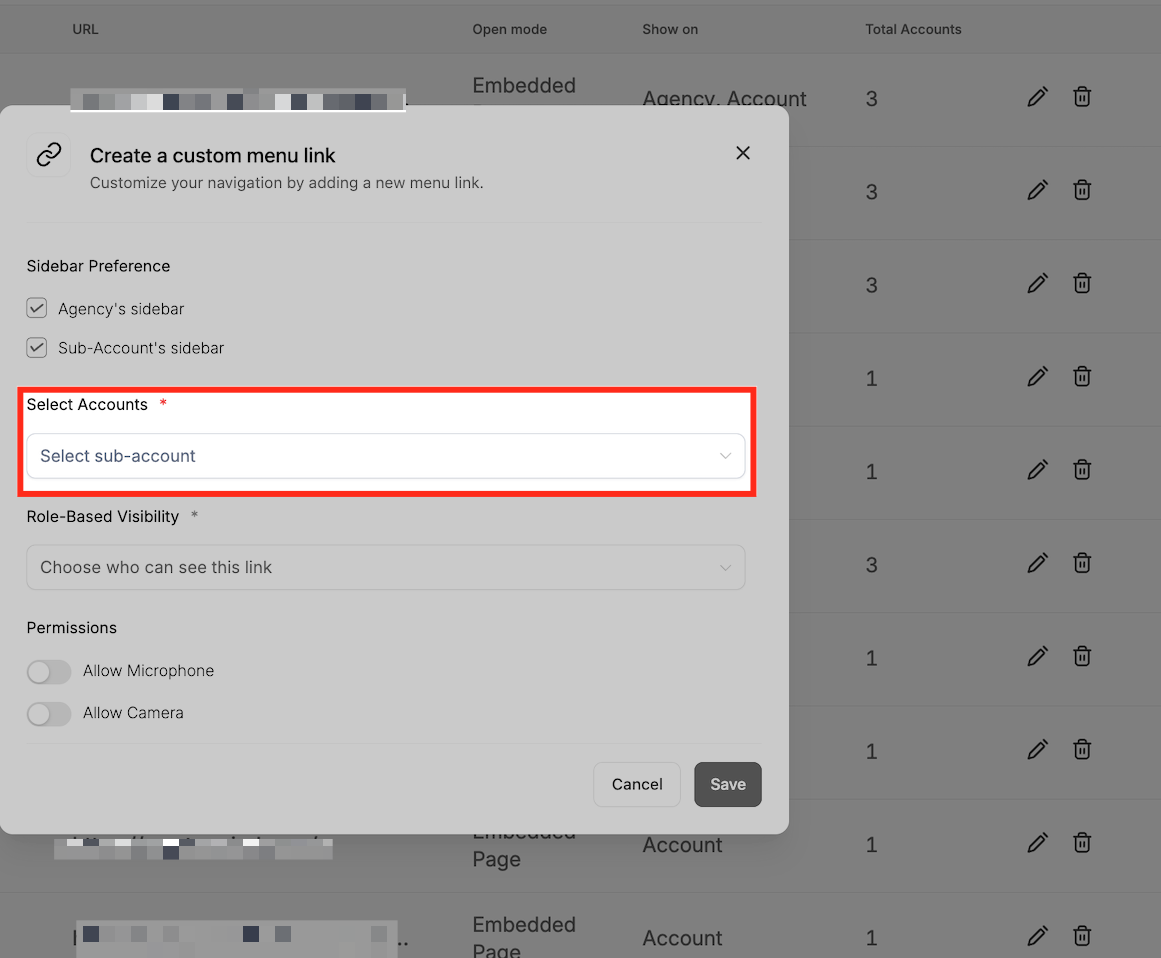
Choose whether the custom link shows in your account's navigation sidebar. Because each Aesthetix CRM account belongs to a single practice, the link is scoped to your account automatically, there's no separate list of sub-accounts to choose from.
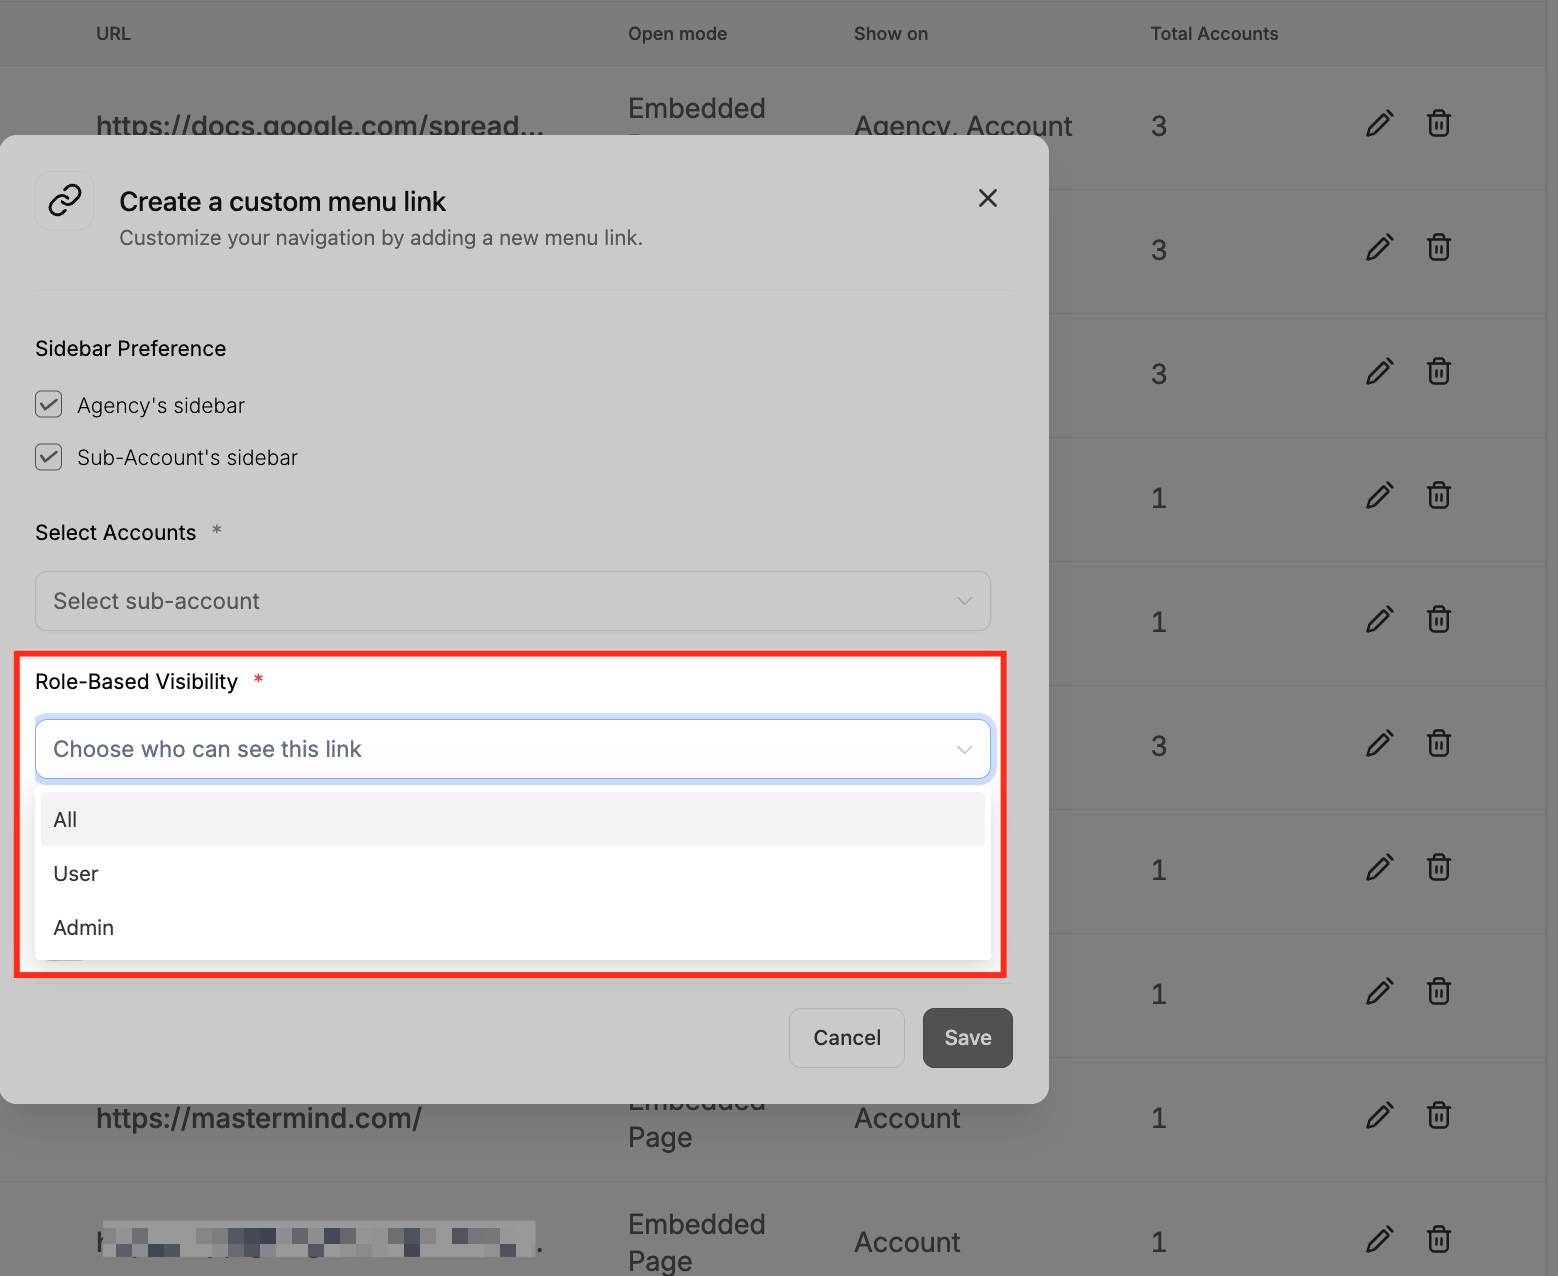
Choose who on your team can see this custom menu link. You can limit it to Admins, to general Users, or make it available to everyone with access to your account.
If the embedded content needs it, such as a video conferencing or recording tool, you can grant microphone and camera access to the custom menu link.
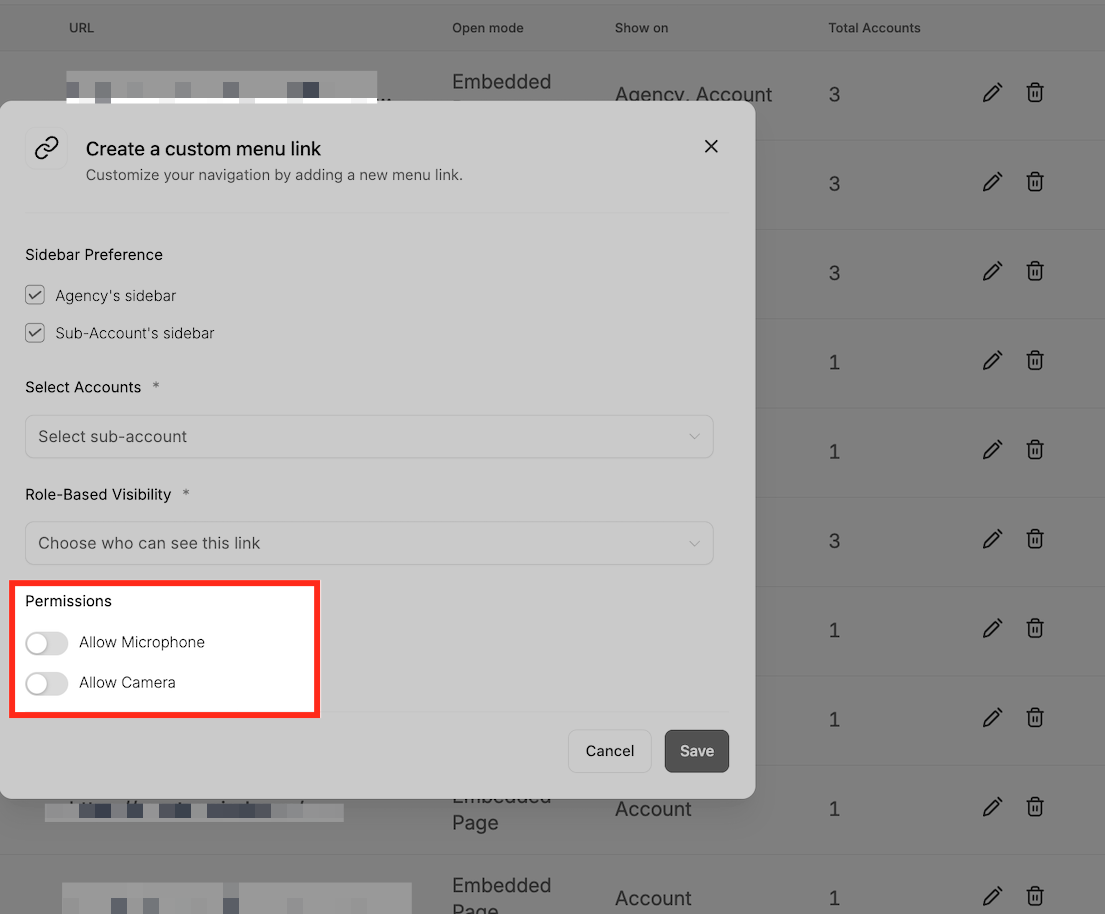
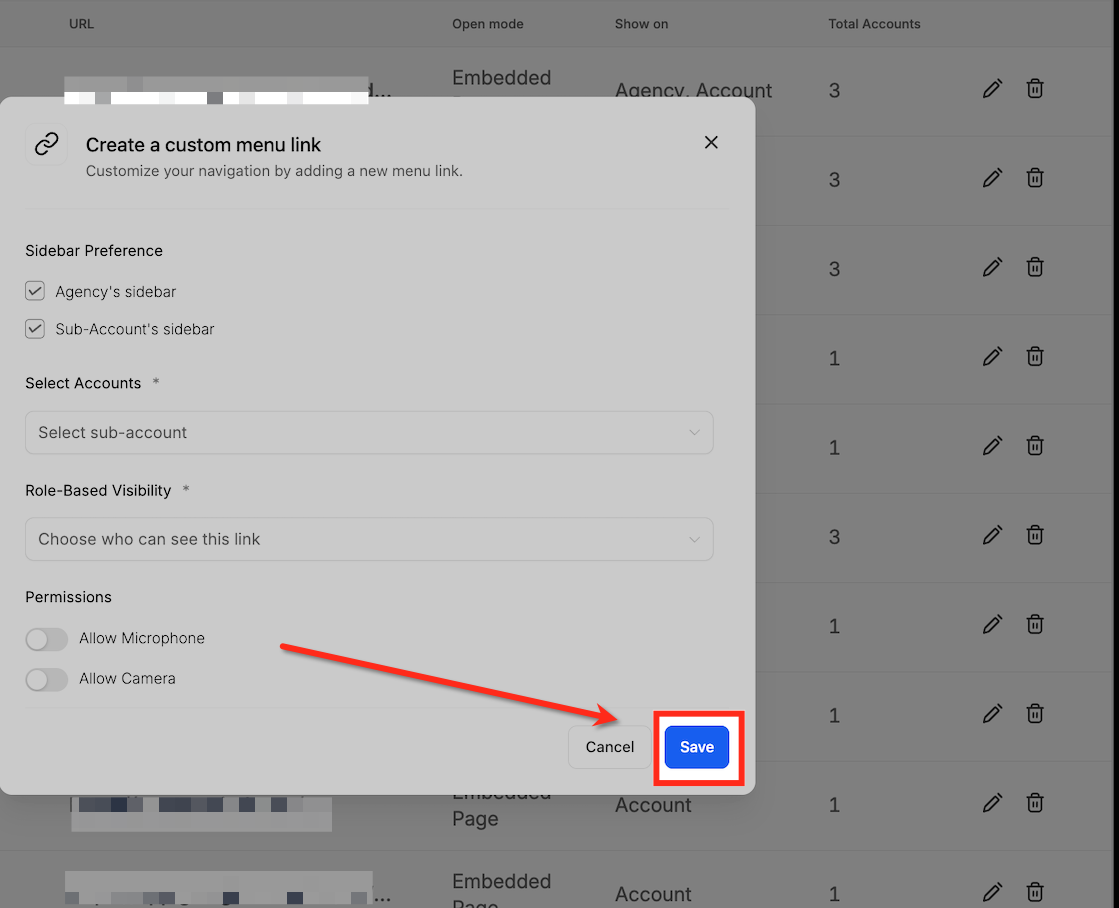
Once you've set the URL, link behavior, sidebar visibility, role-based visibility, and any needed permissions, click Save to finalize the custom menu link. It now appears in your sidebar based on the rules you defined.
This Client Portal flow is the current way to generate app-level SSO magic links and embed them as custom menu items. A few related pieces live elsewhere:
Legacy Courses Settings and Learner's Magic Links: Some existing accounts still manage a course-specific magic link from Memberships > Courses > Settings > Site Details, and only a Learner's Magic Link can be sent automatically through workflows, email campaigns, or SMS using the Login URL (Magic Link) custom value. See Send members login info & magic links for that flow.
General portal signup and login: For how a member creates a Client Portal account, verifies their email, and switches between apps once inside, see How members access the Client Portal. Newly created accounts may not yet support magic links inside the Client Portal; existing accounts that already have magic links set up will keep working as usual.
Course, community, and affiliate automation: Triggers like a new sign-up, offer access granted, or affiliate enrollment live in your Workflows builder rather than here.
Because a magic link skips the password step entirely, anyone holding it can view whatever patient history, course content, or community activity that member has access to. Treat magic links like a protected credential: only send them through secure channels to the intended recipient, and avoid posting them anywhere public or forwarding them to a shared inbox.
Do magic links work for all Client Portal apps? They work with Courses, Communities, and Affiliates.
Are magic links secure? Yes. Each link is unique to the contact and app, so it only grants the access that member already has, nothing more.
Can I use a magic link in an automation or email? The Custom Menu type covered in this guide is meant for embedding, not for automated sending. If you need to send a link automatically through a workflow or email campaign, use a Learner's Magic Link, covered in "Send members login info & magic links."
Do members need to be logged in already for a magic link to work? No. Clicking the magic link logs them in and redirects them automatically.
Can I regenerate a magic link? Yes. Repeat the generation process to create a new one. Regenerating invalidates the previous link for that app.
What happens if I embed a magic link as a custom menu item and then regenerate it? The custom menu item will still point to the old URL until you edit it with the new link, so update the URL field in Custom Menu Links after regenerating.
Who can see a custom menu link I create? Whoever you assign it to under role-based visibility, either Admins only, all Users, or everyone with access to your account.
Why don't I see a Sub-Accounts option when setting visibility? Aesthetix CRM accounts are single-practice by design, so there's no sub-account layer to choose from. Your custom menu link applies to your account automatically.
Is this the same as the magic link in the Courses Settings area? Not exactly. This guide covers the Client Portal's app-level SSO magic links (Custom Menu type). The Courses Settings area generates a similar but separate magic link tied specifically to course access, and is the flow some existing accounts still use.
Can I limit what a magic link's recipient sees? Yes, indirectly. A magic link only opens the app and content the specific contact already has access to, so limiting their offer or app access controls what the link can show.
