Payment links are one of the fastest ways to collect payment without a full website. In just a few clicks you can build a hosted checkout page, add the treatments, packages, or products you sell, and share the link with a prospective patient. No code required.
Payment links are ideal for selling a treatment package, collecting a deposit on a procedure, offering a membership, or taking payment for a retail skincare product, all from a single shareable URL.
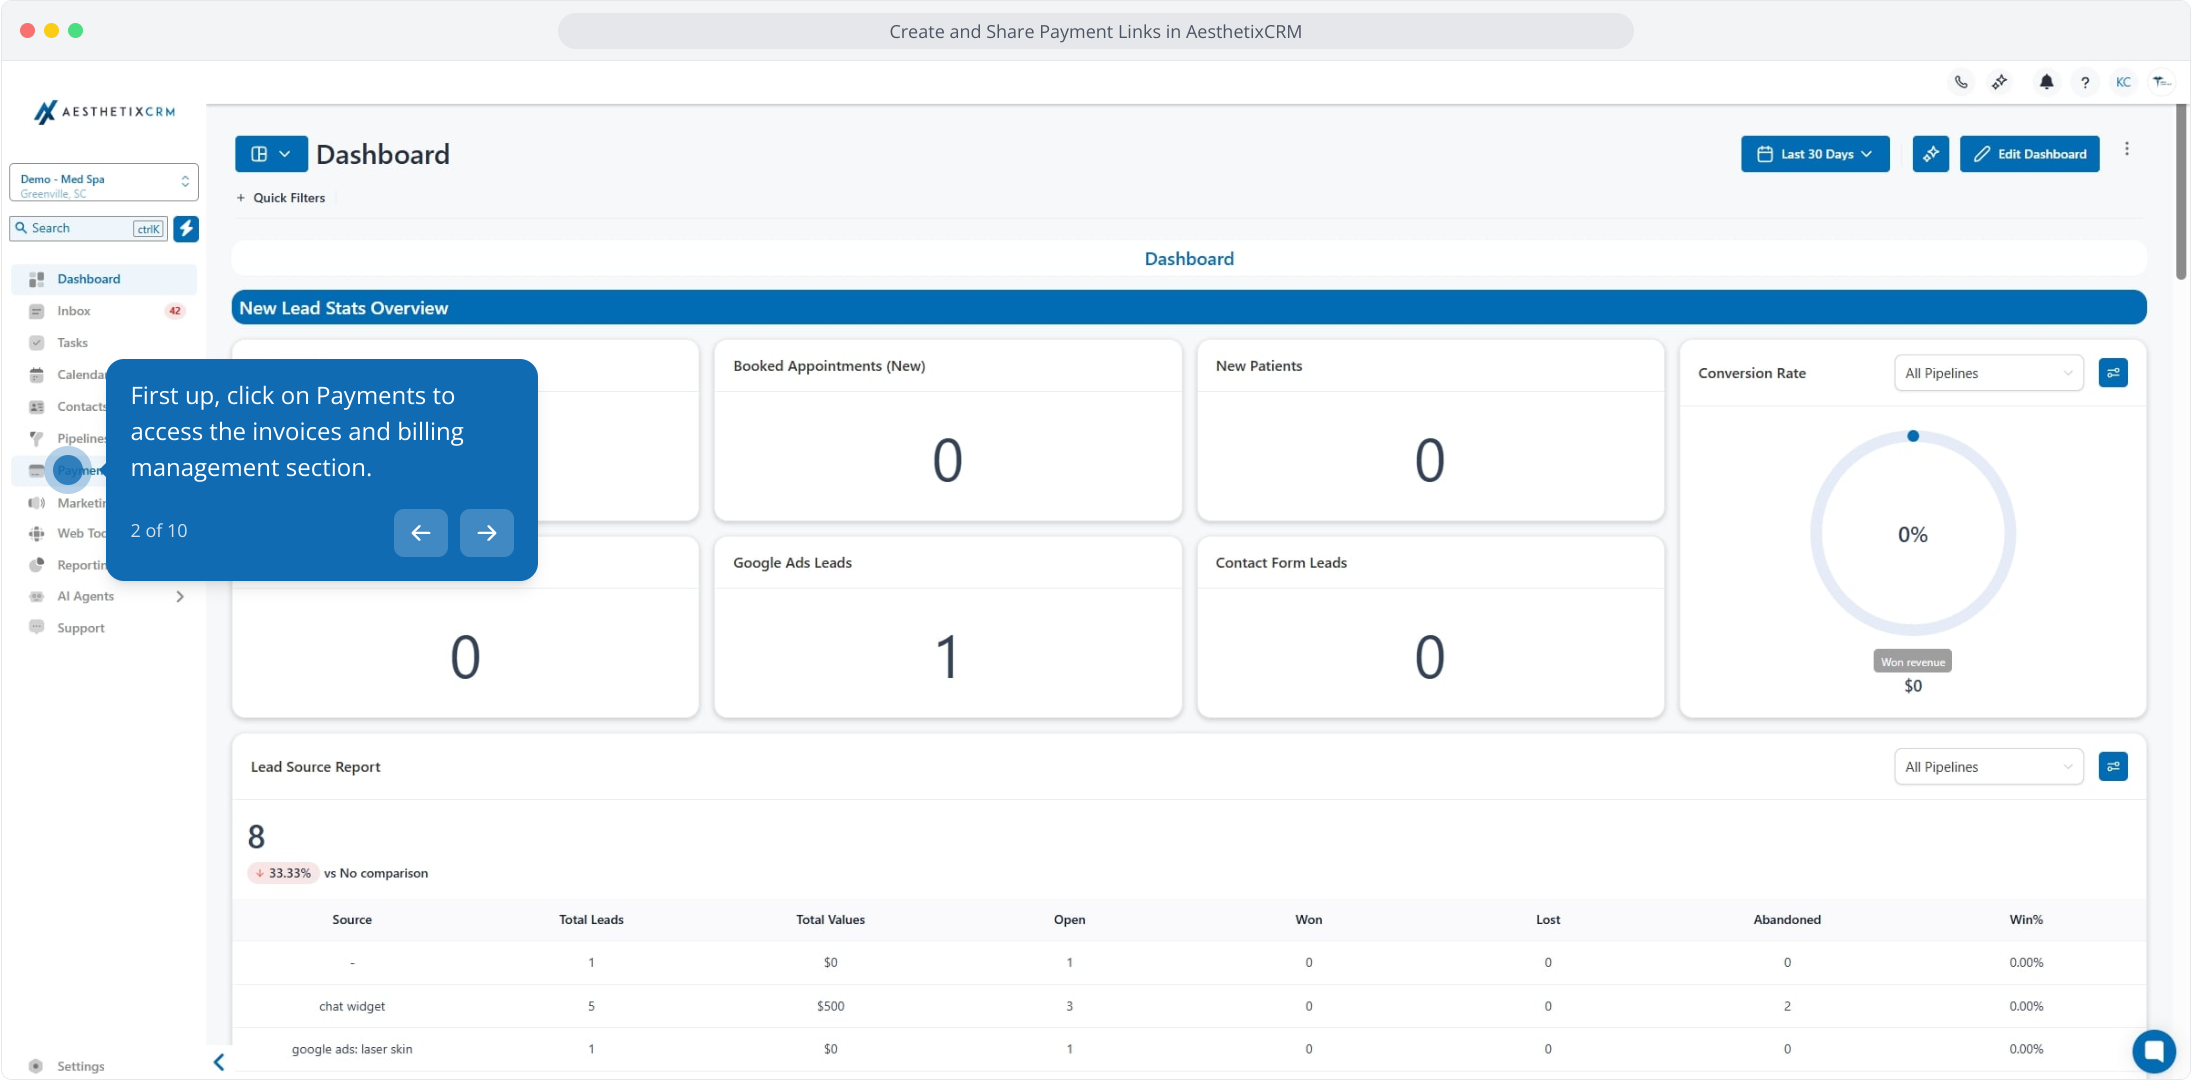
Note: Before you can create a payment link, you must first create a product. Go to Payments, open Products, and click Create Product. Any images saved to the product automatically display on the payment link. See the guide on creating and managing products for details.
Tip: Aesthetix CRM offers AX Pay, our own payment processing with rates better than Stripe. See AX Pay Overview and Setup Guide.
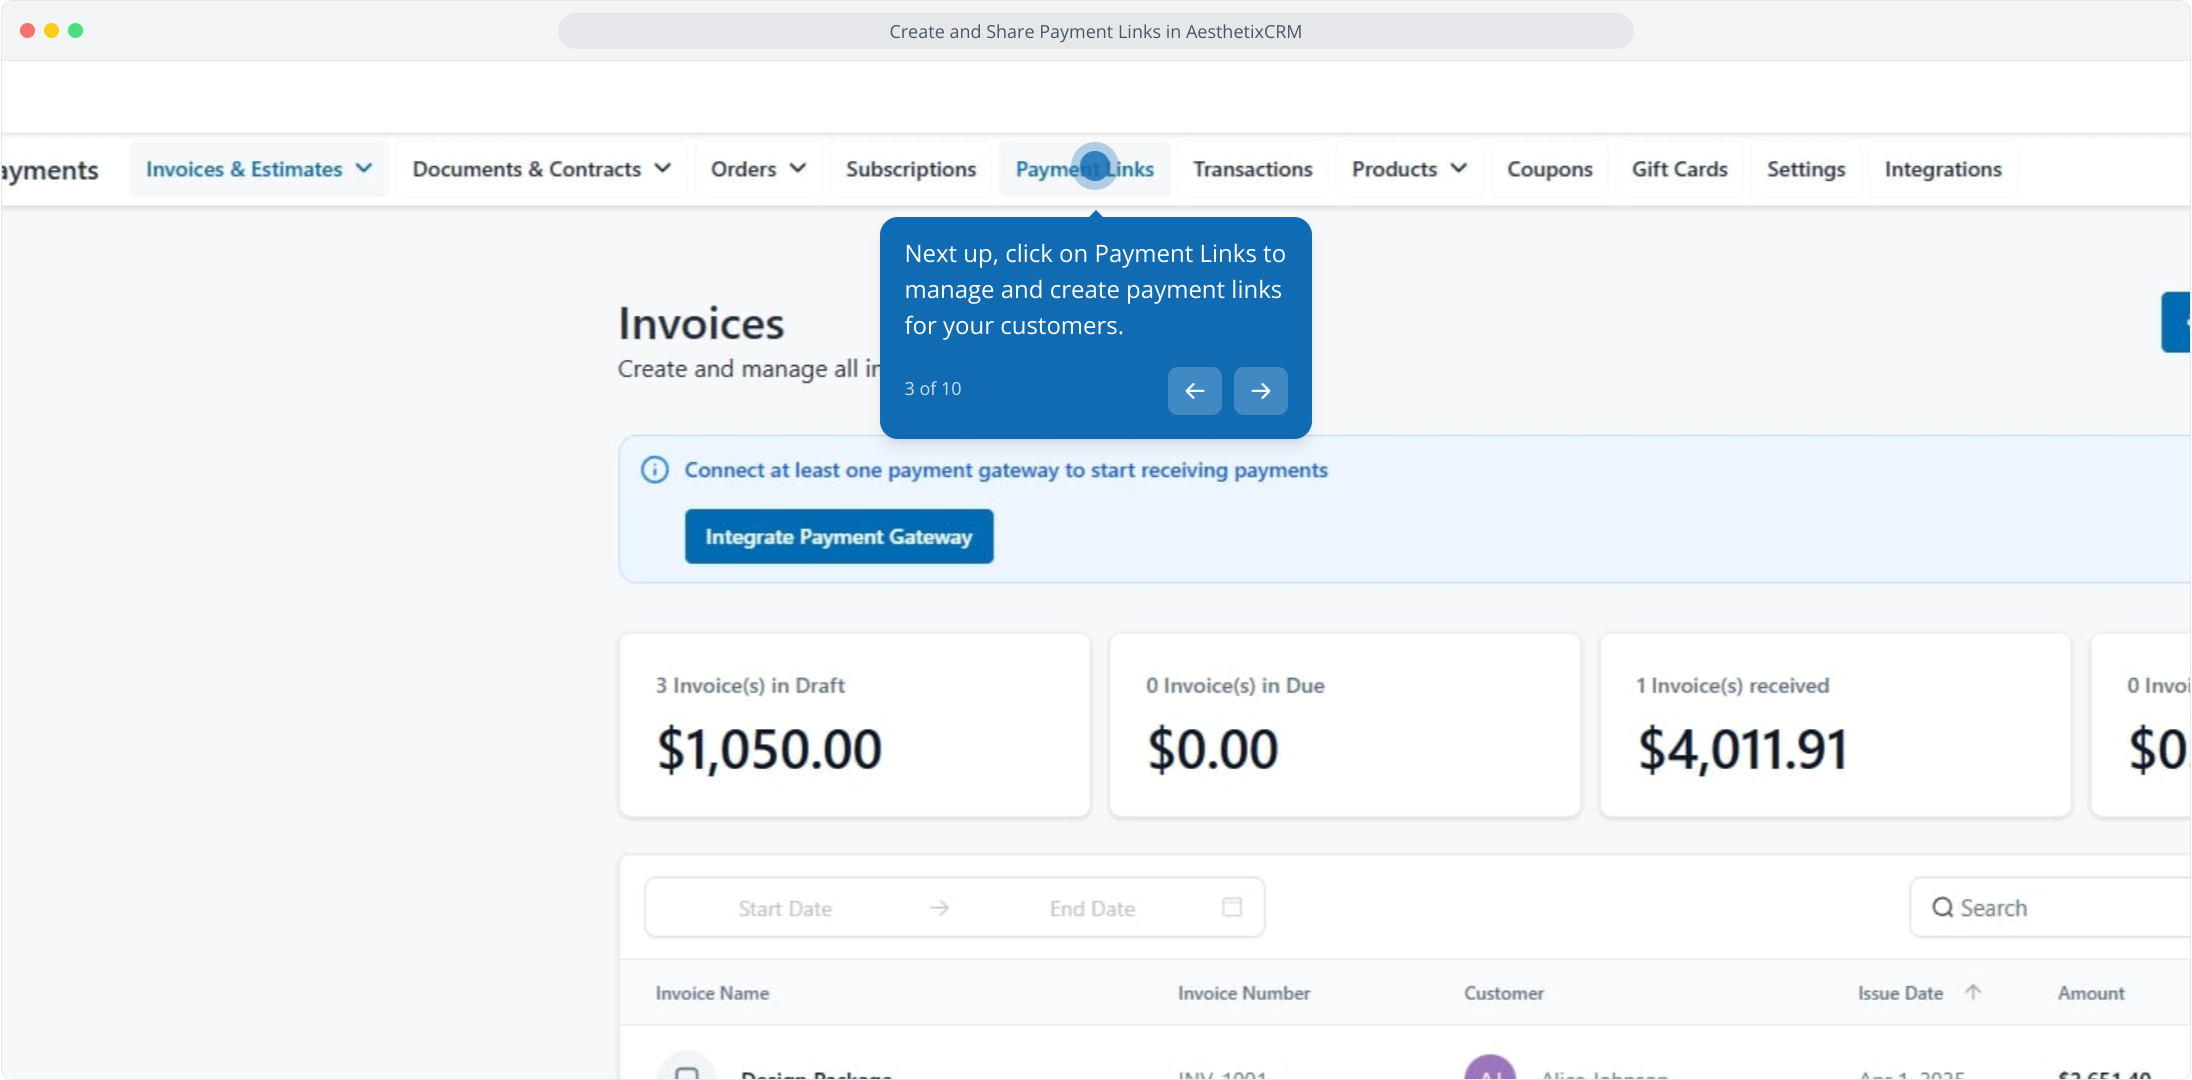
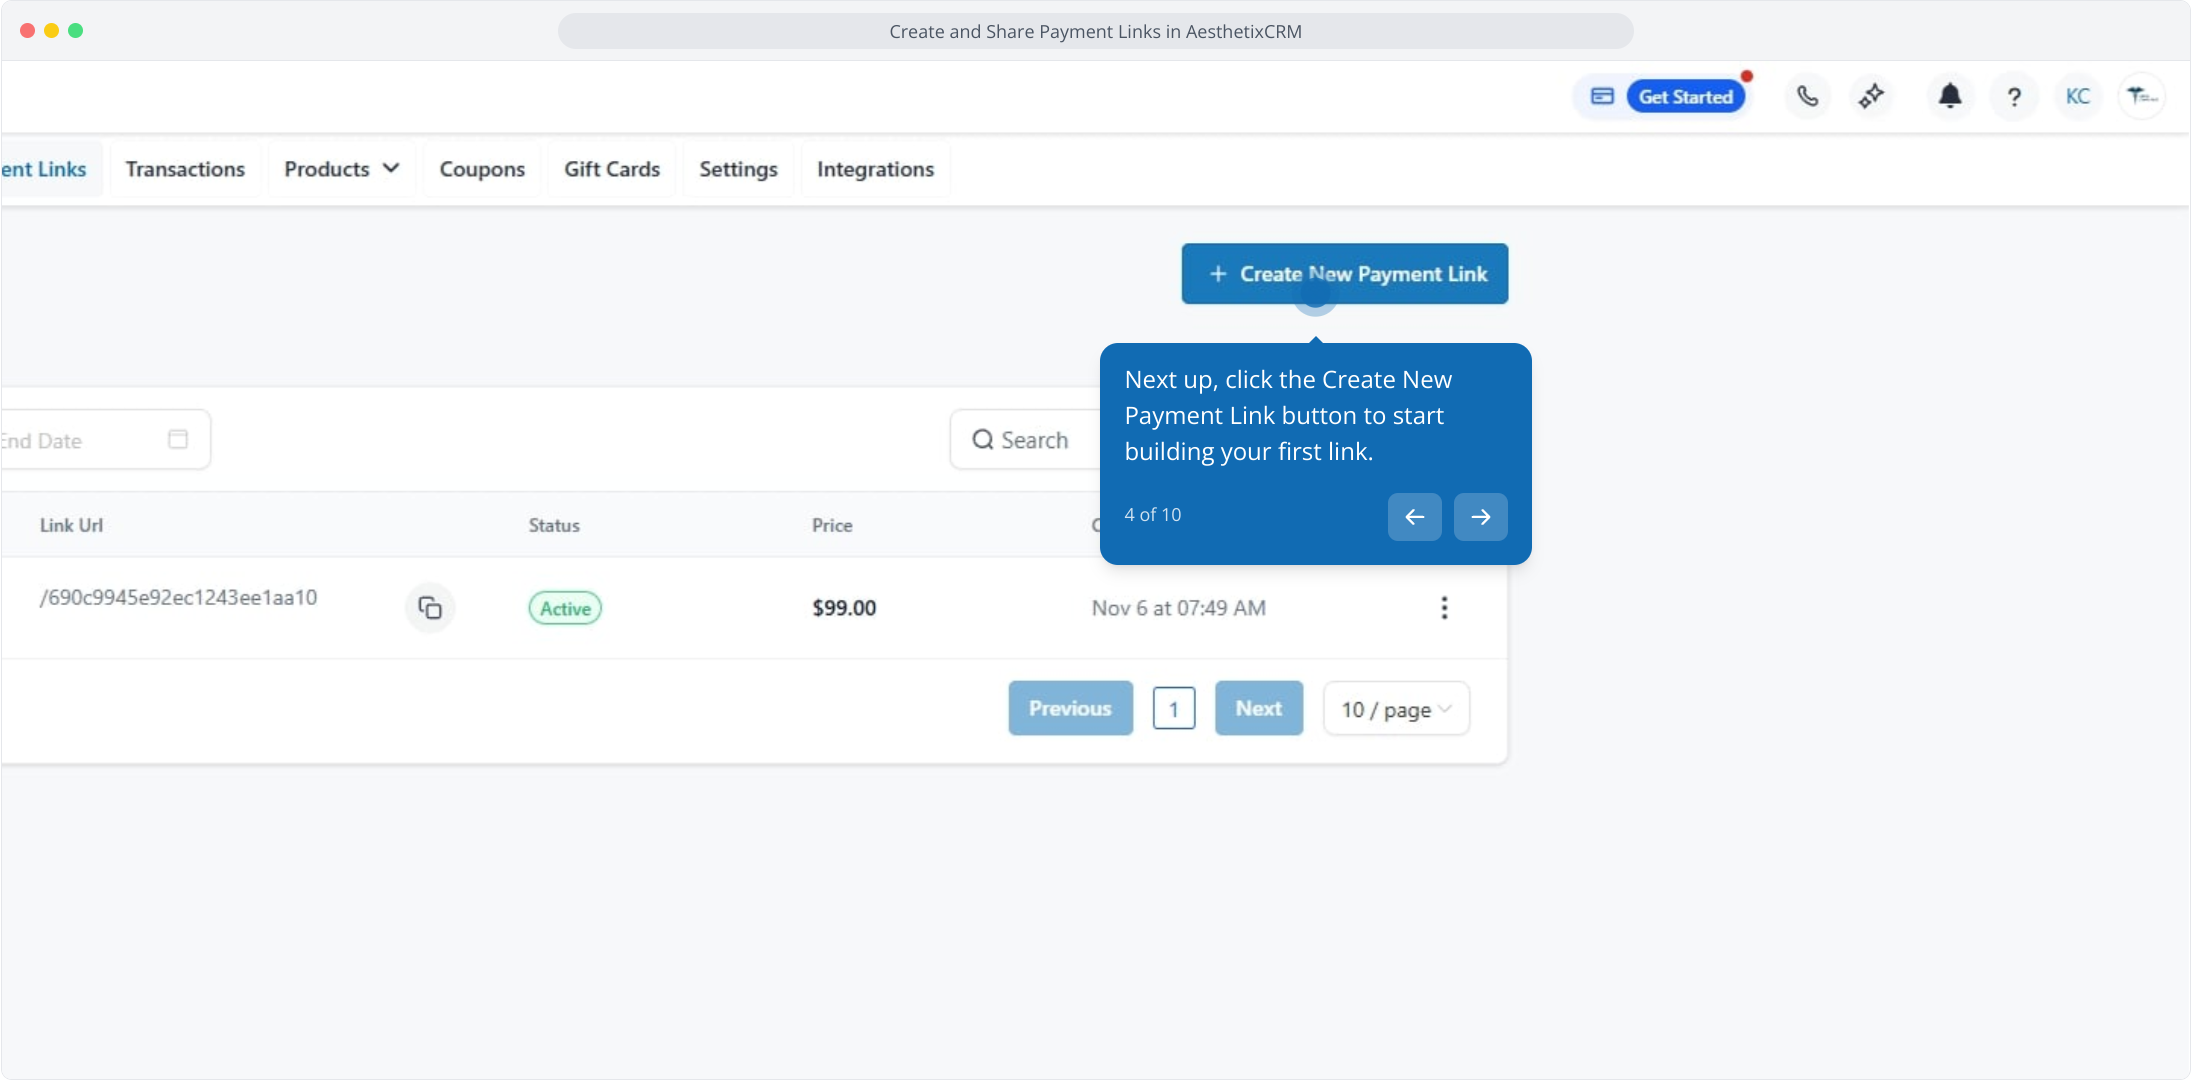
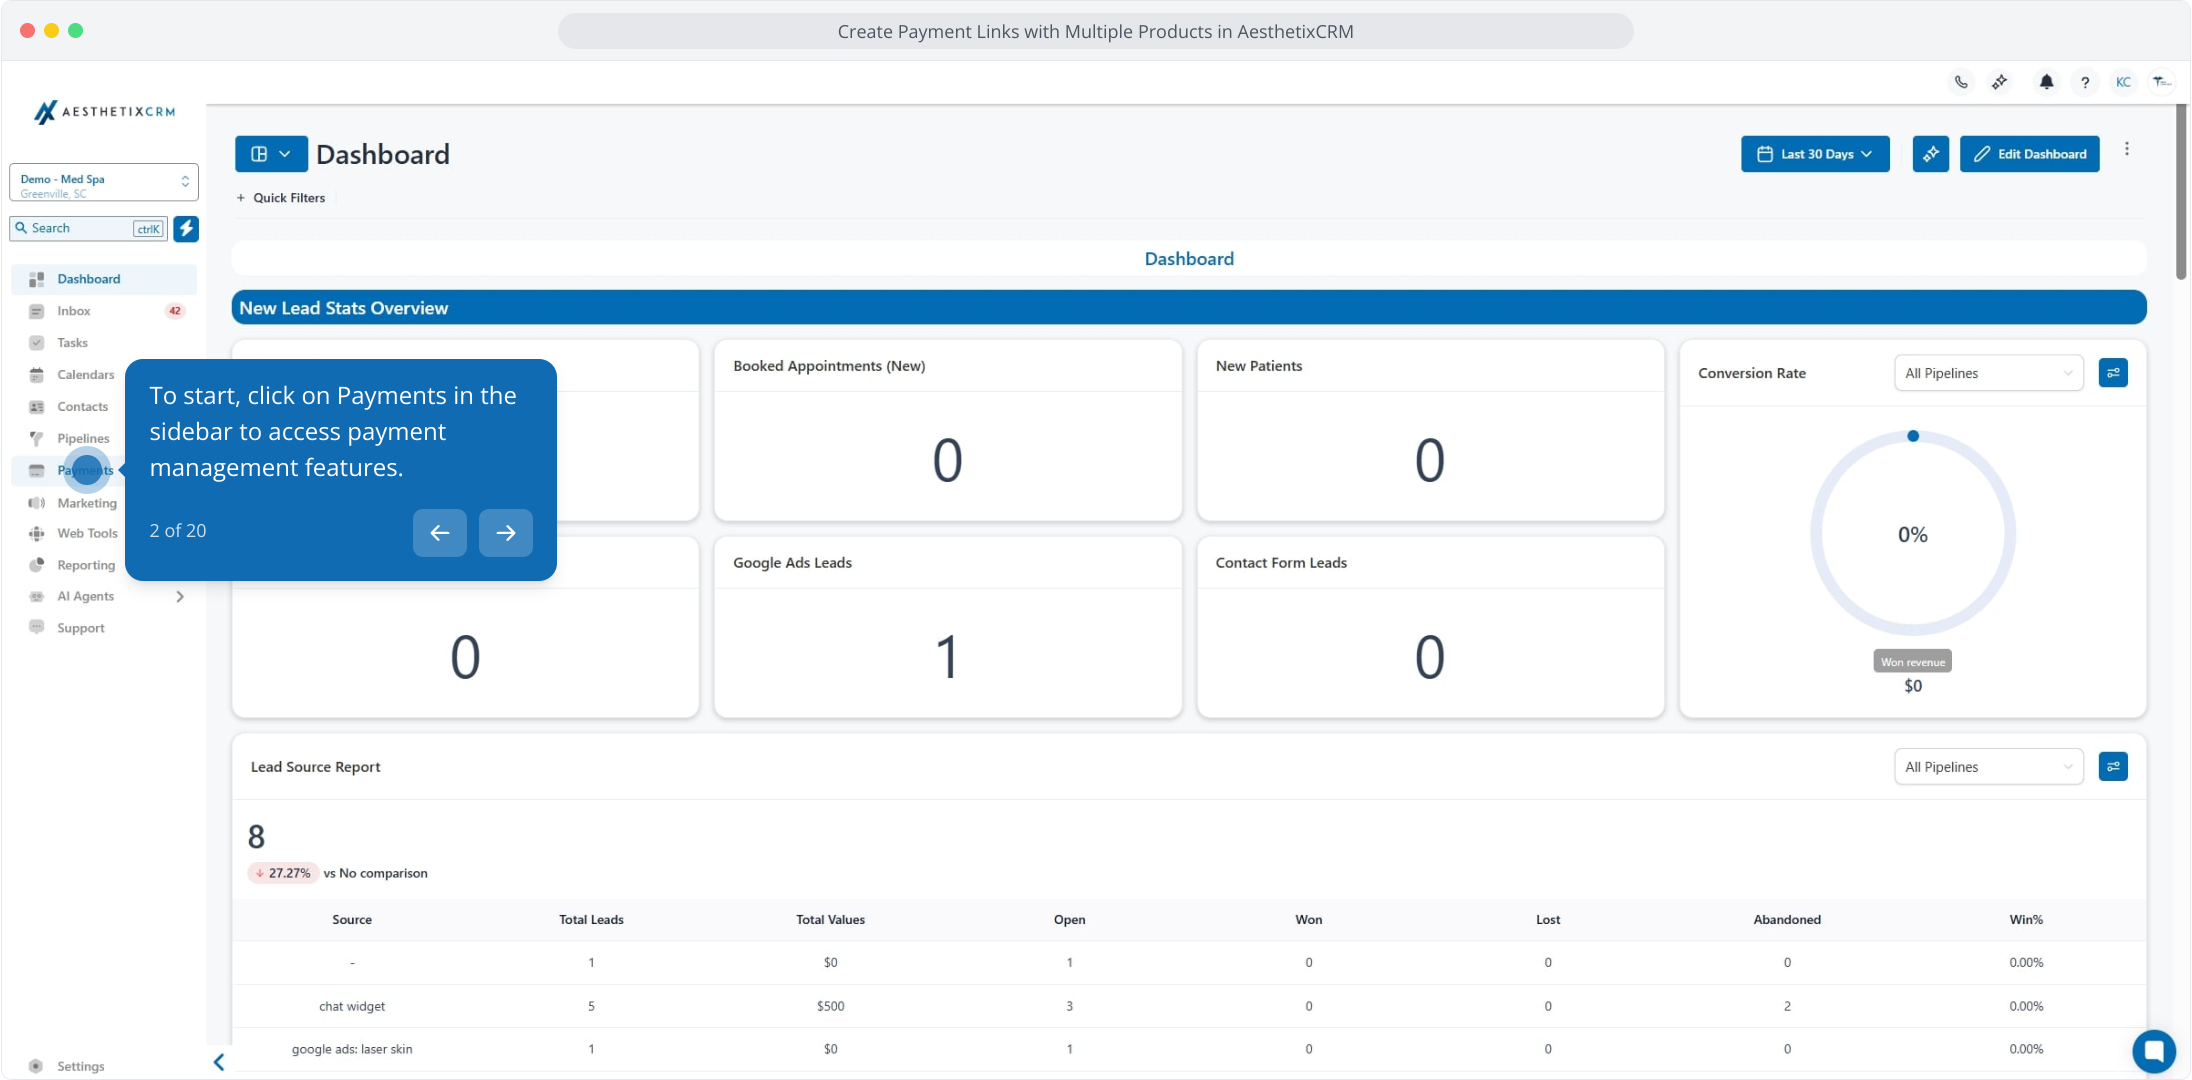
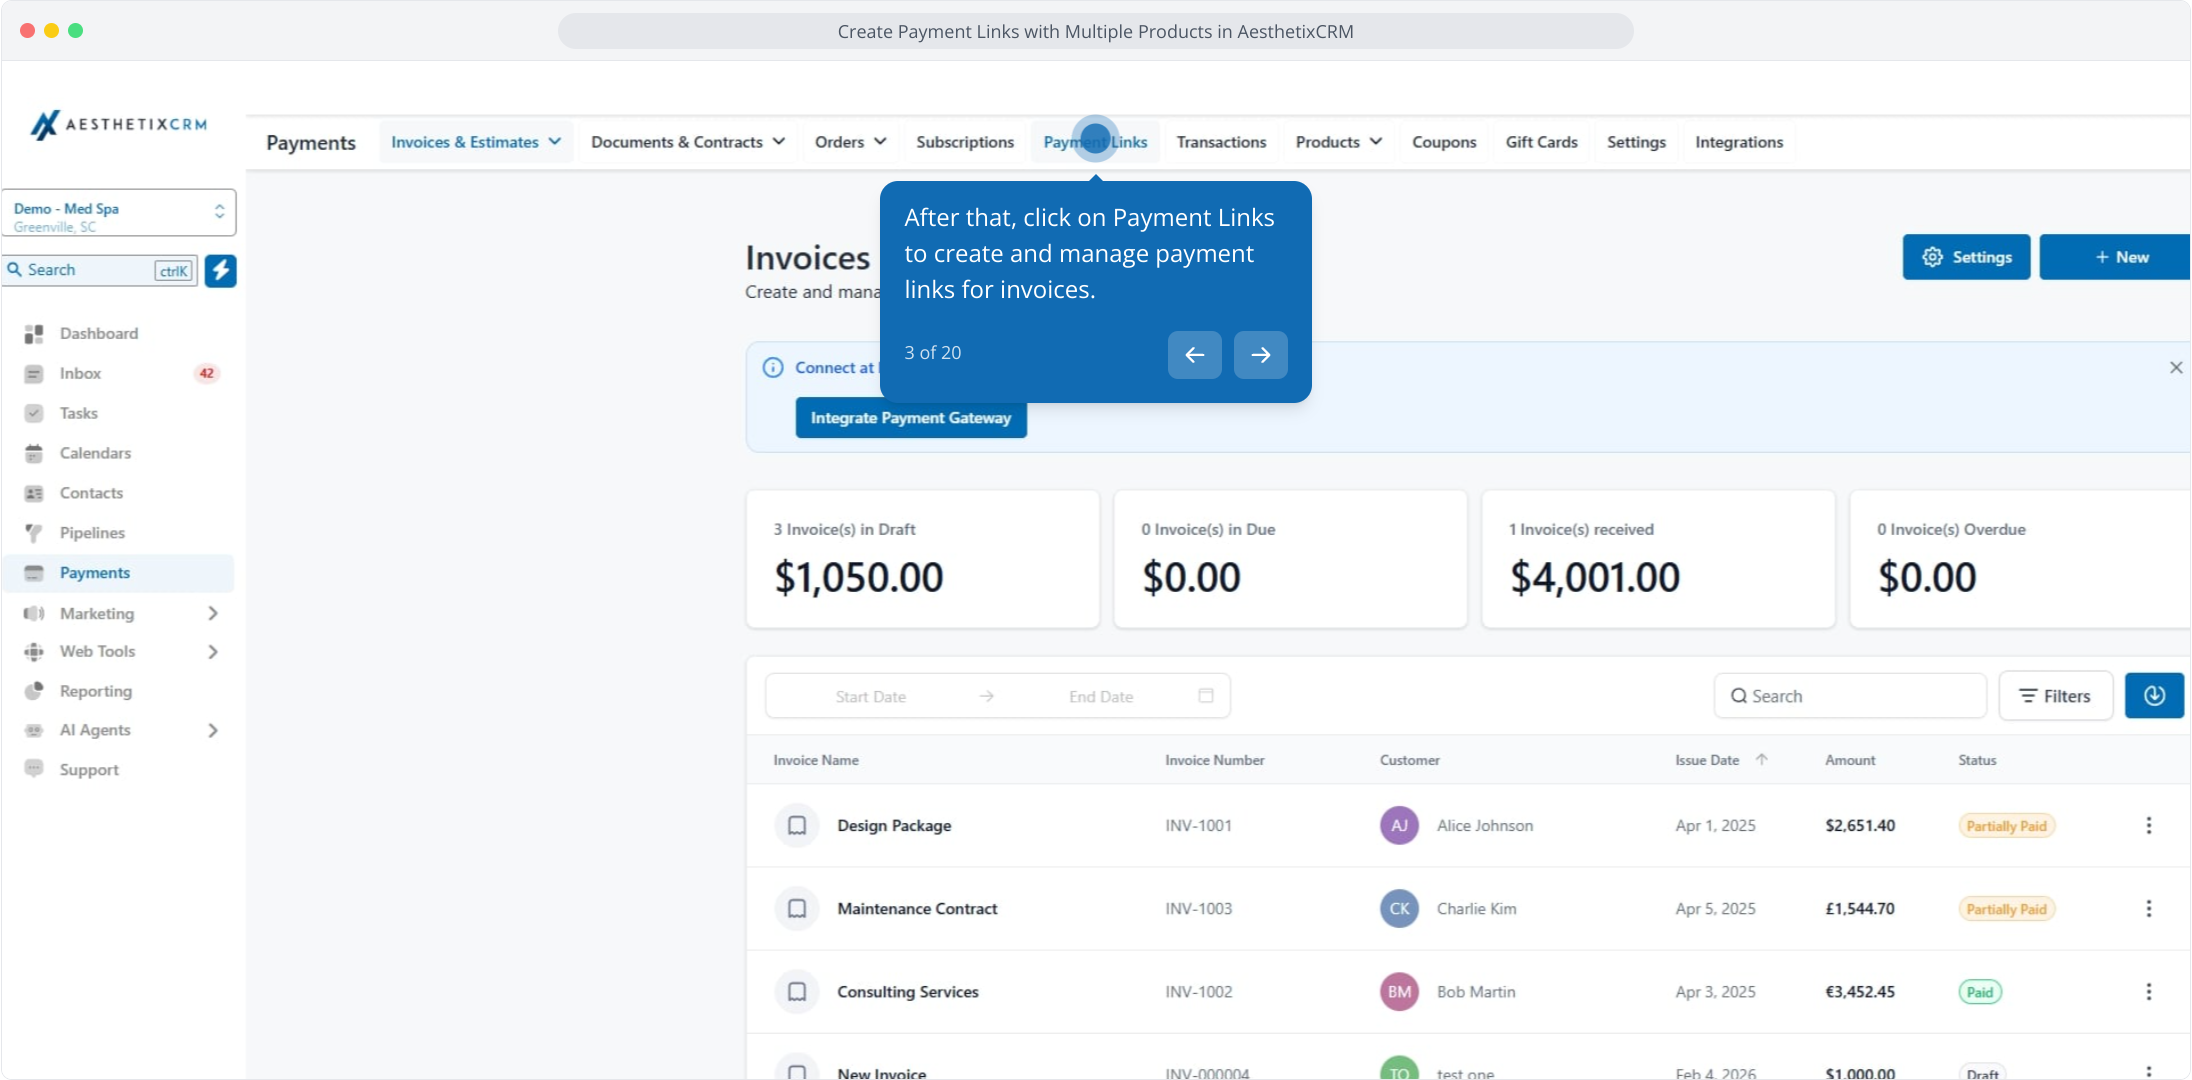
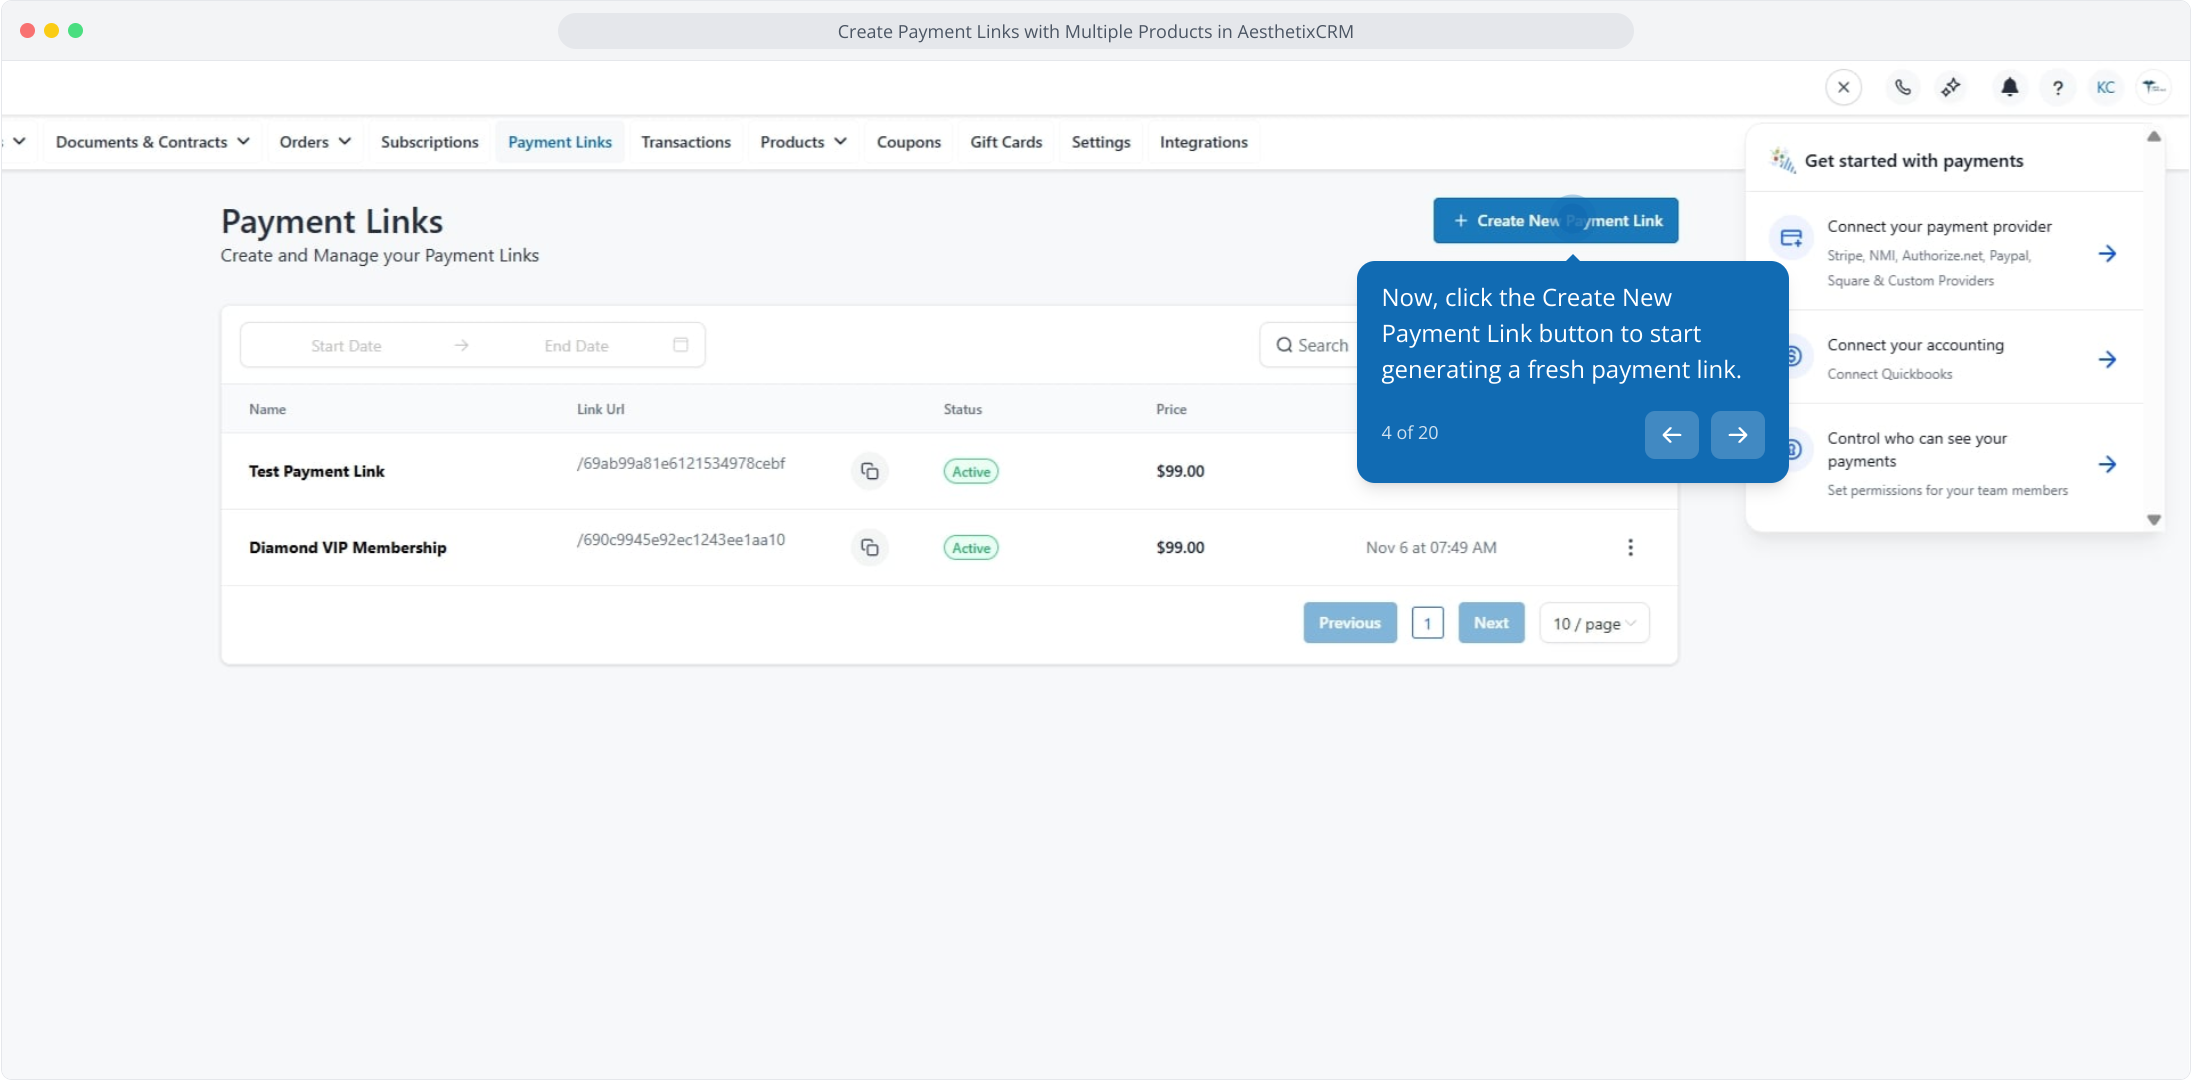
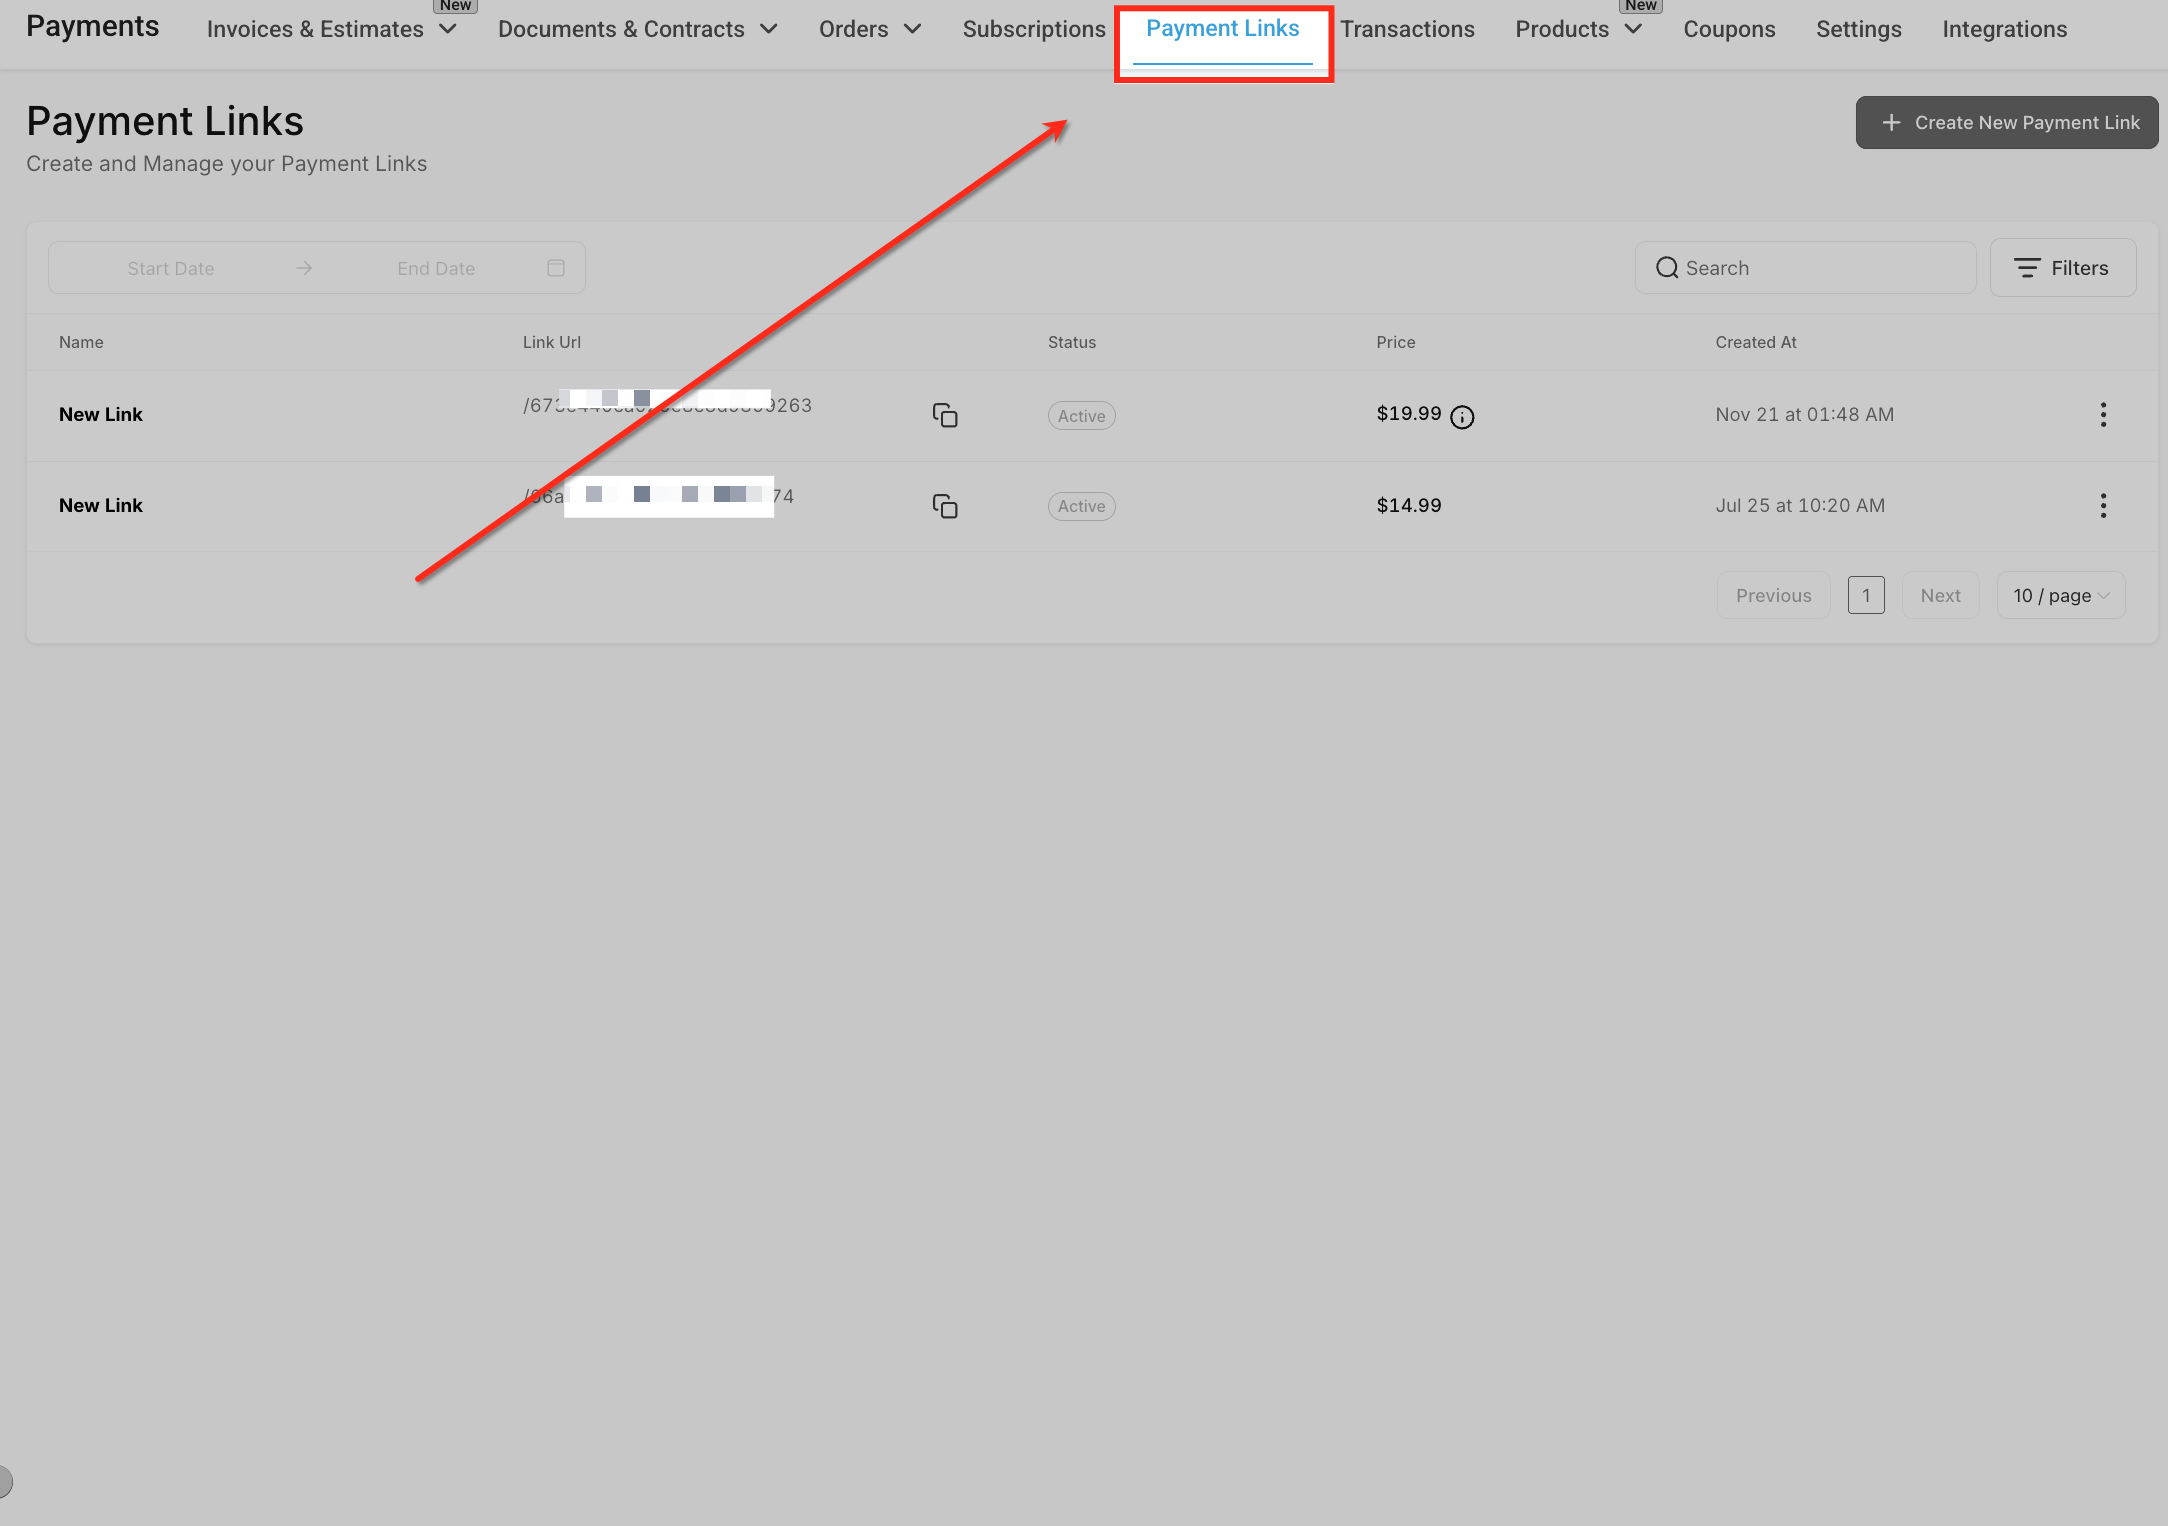
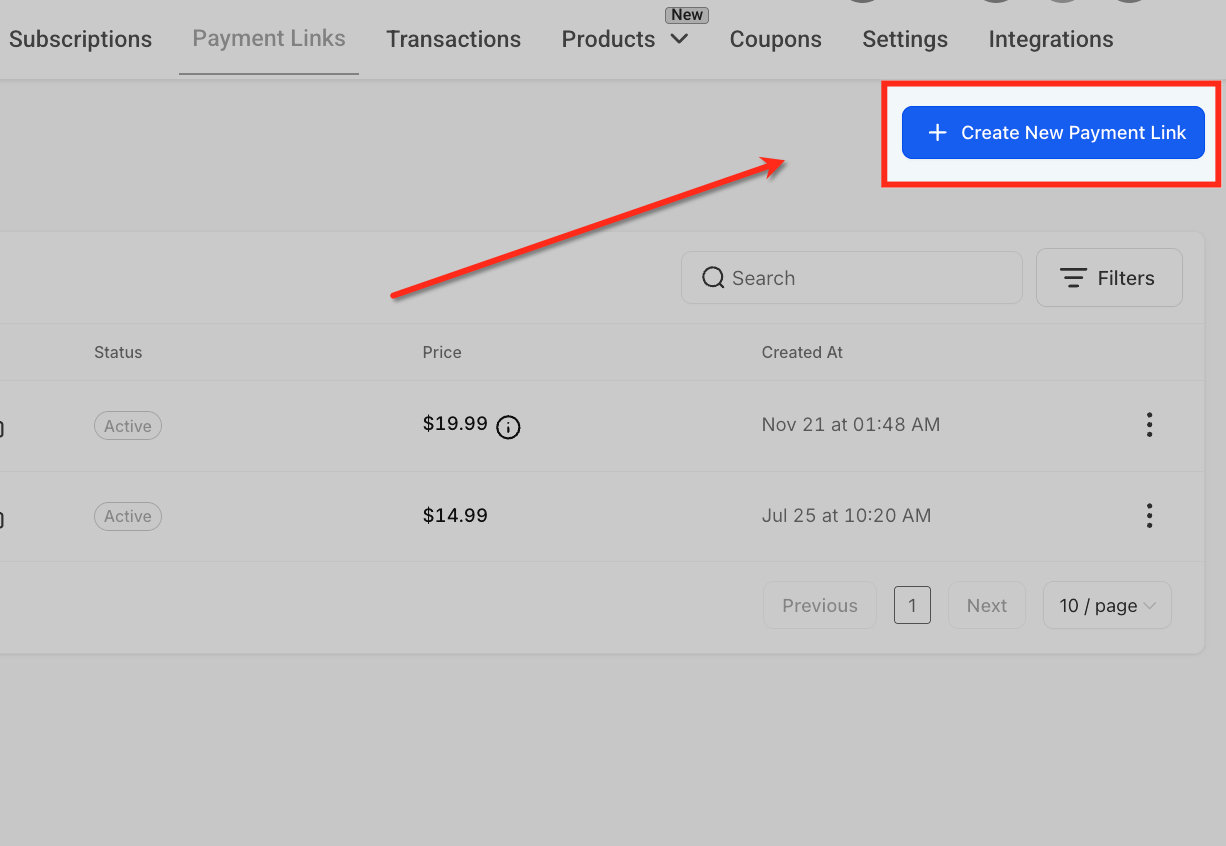
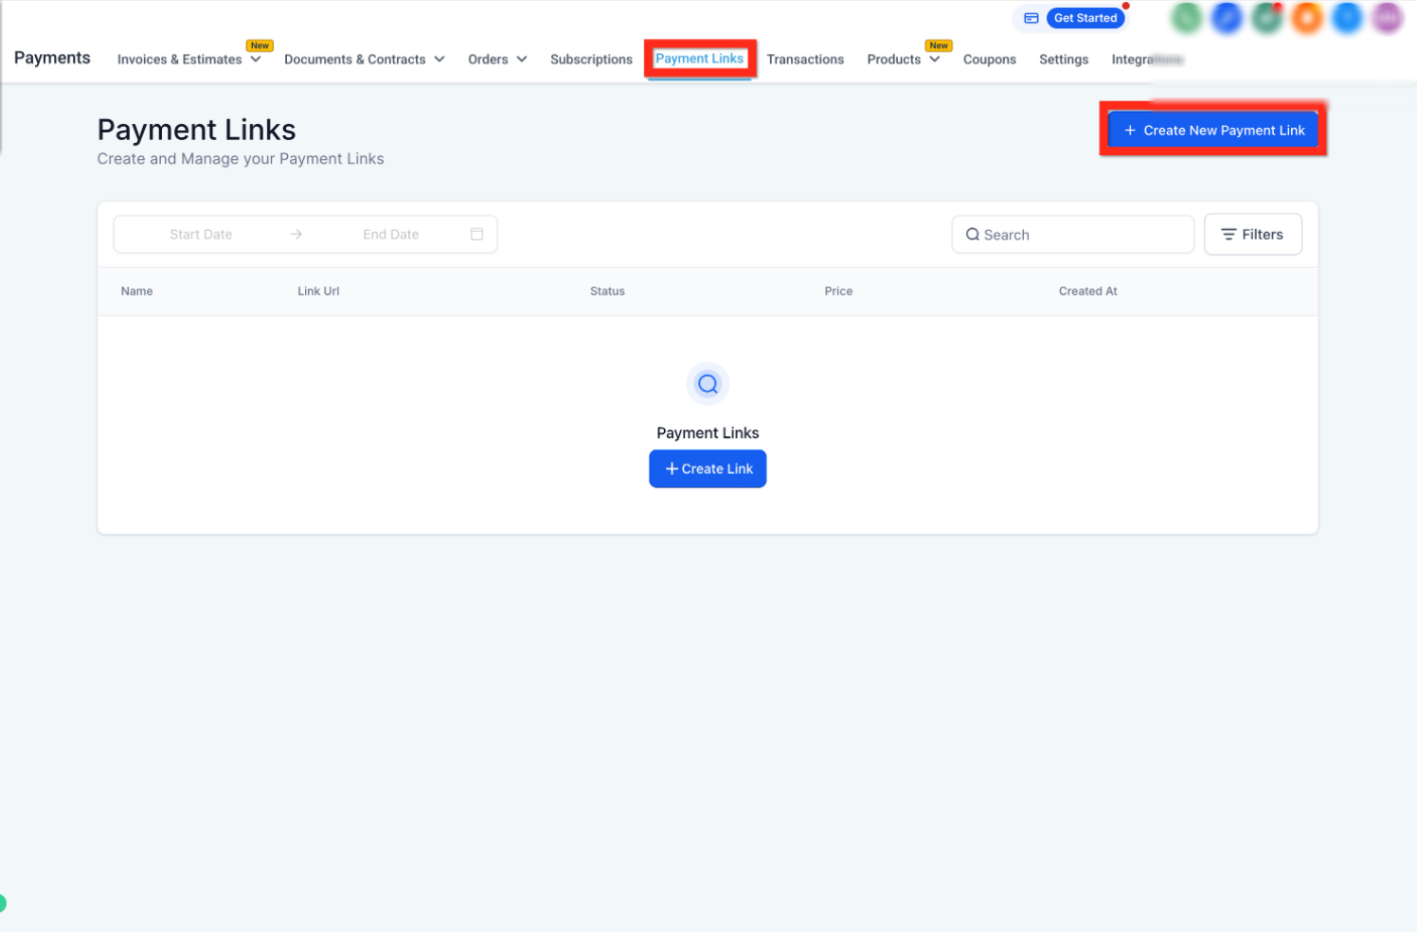
In the Payments section, open Payment Links, then click Create New Payment Link to begin building your checkout page.
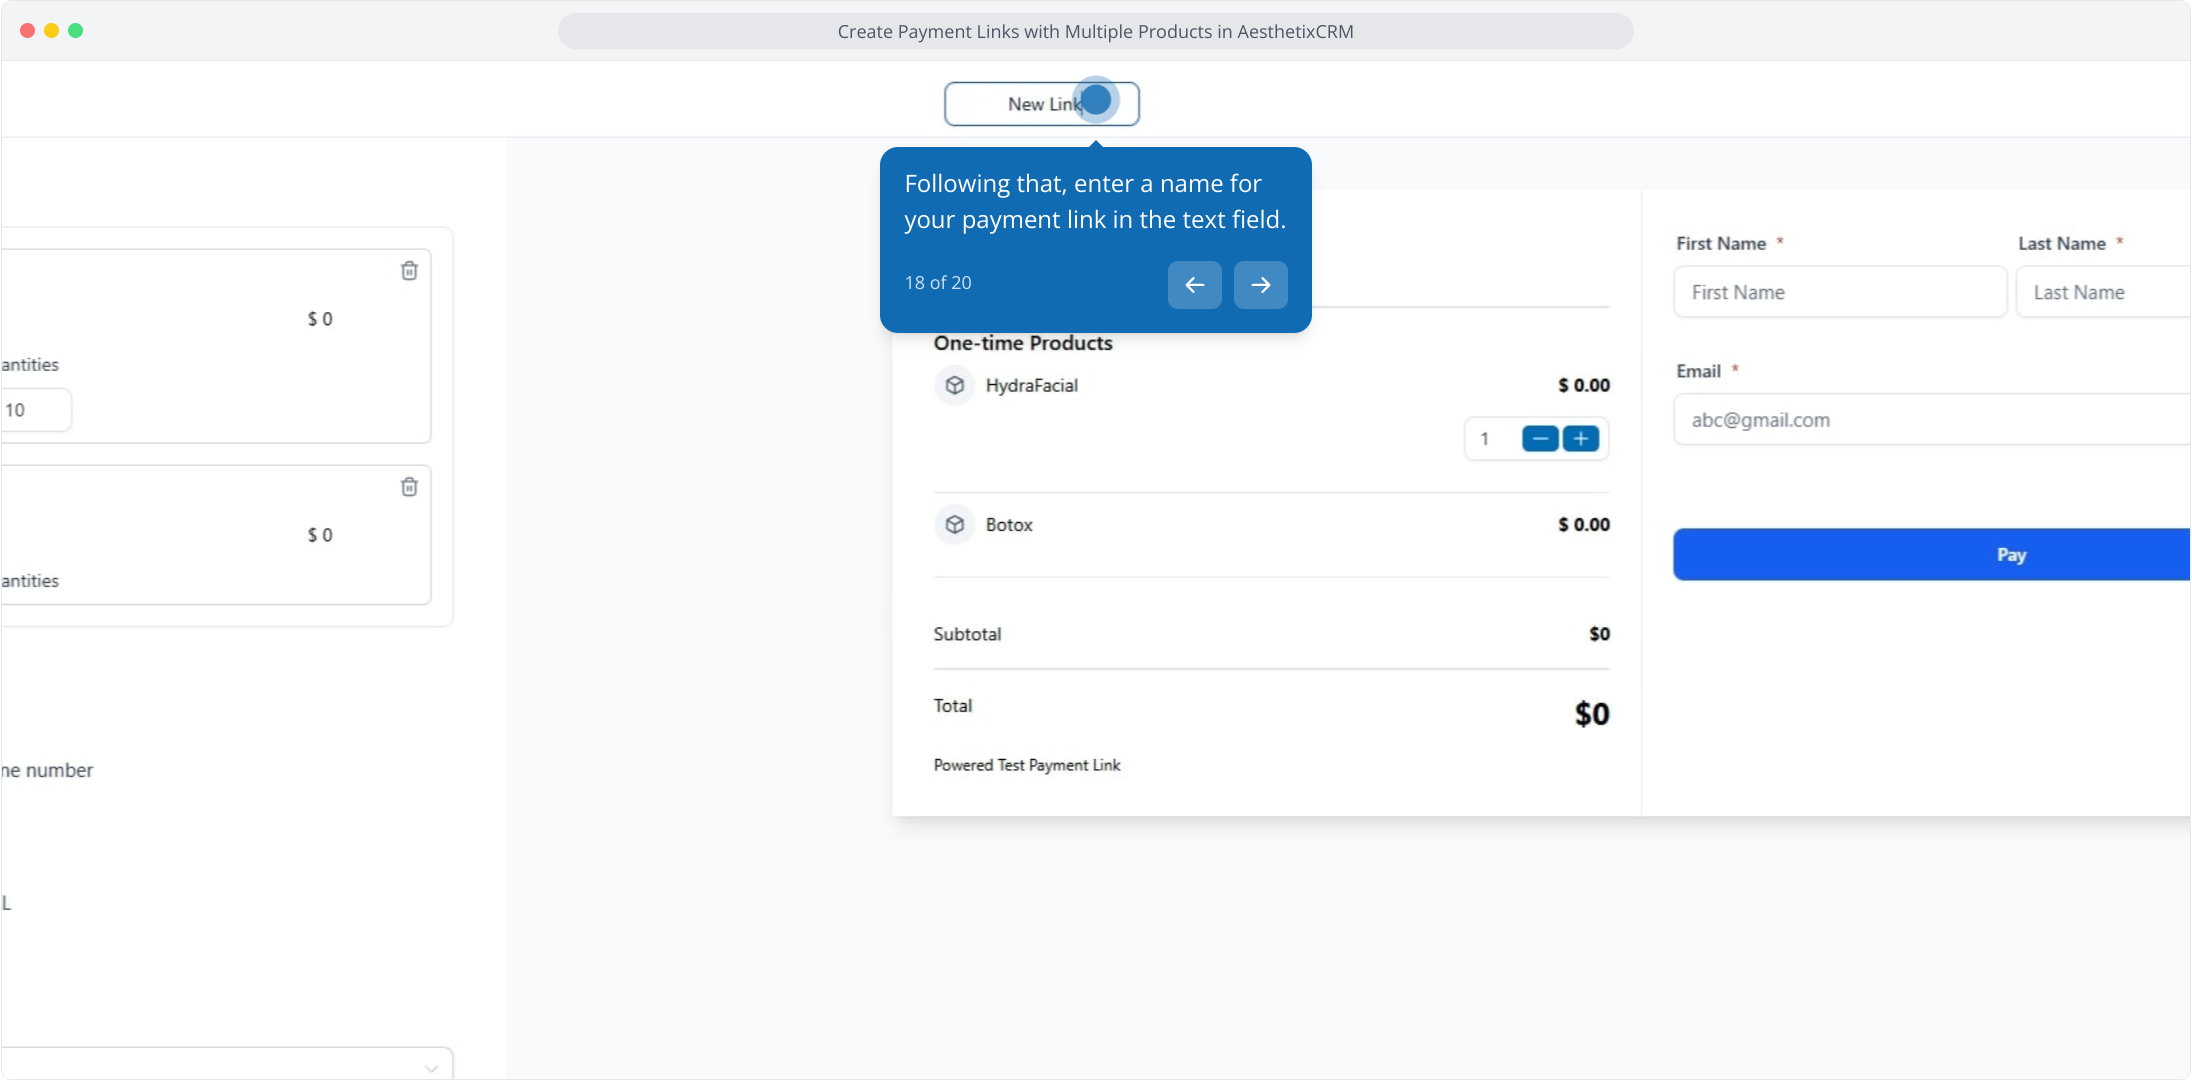
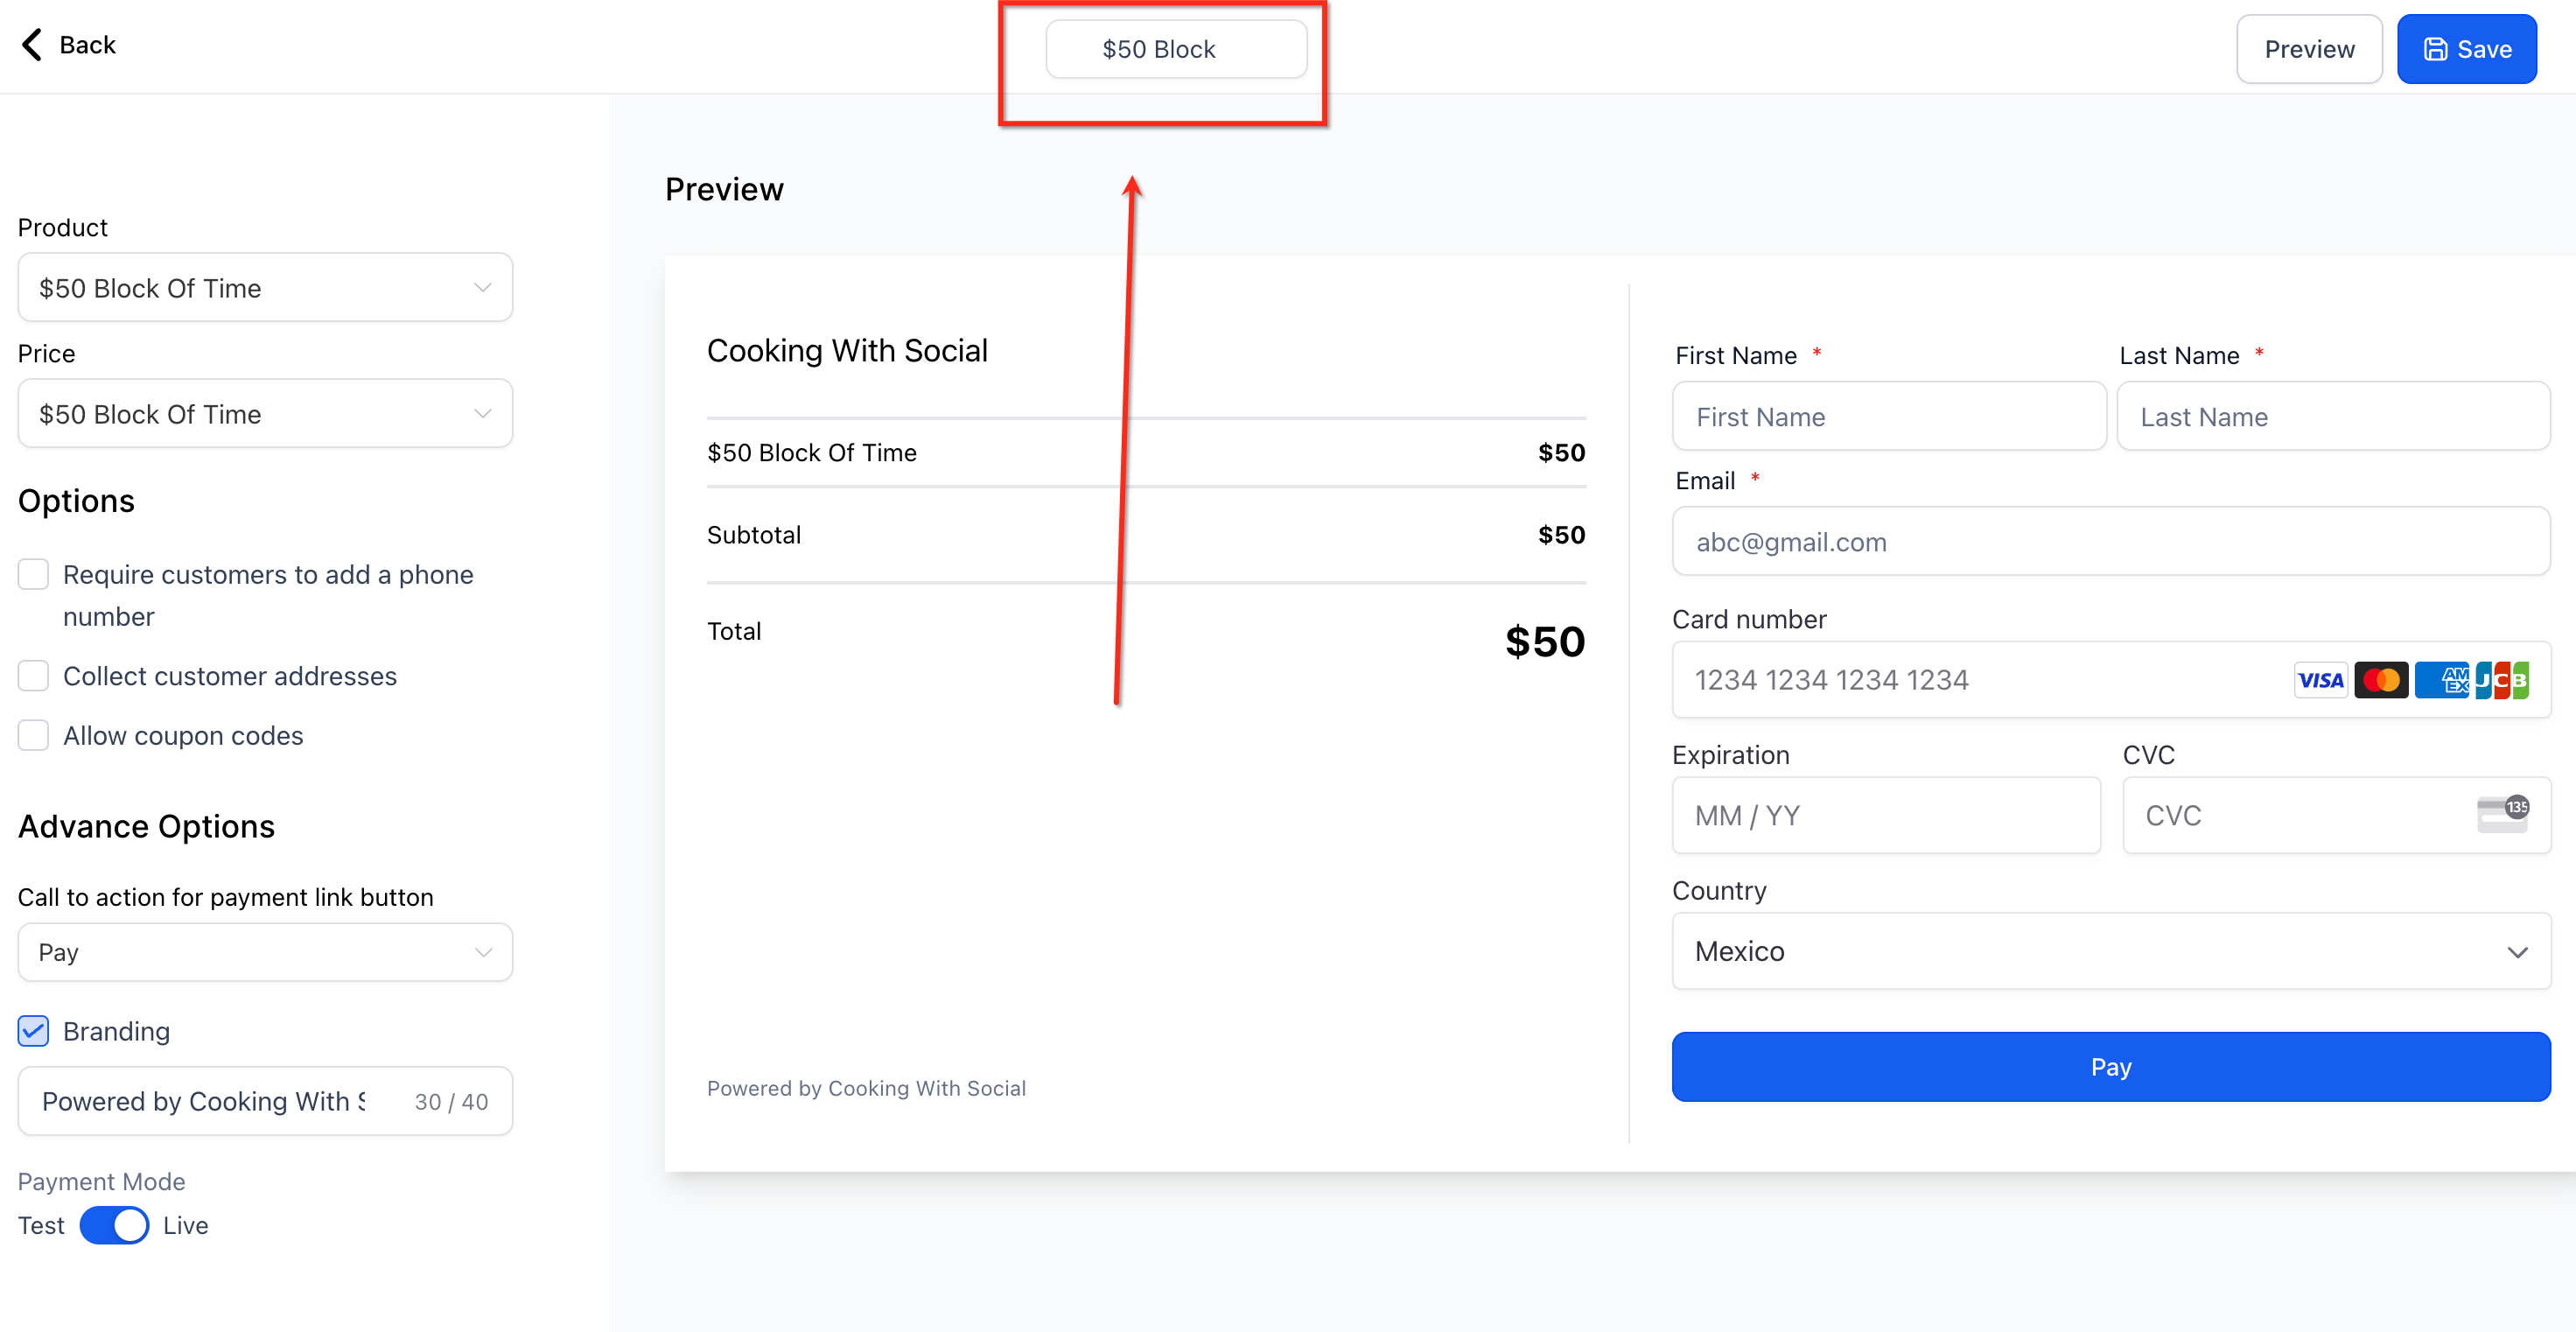
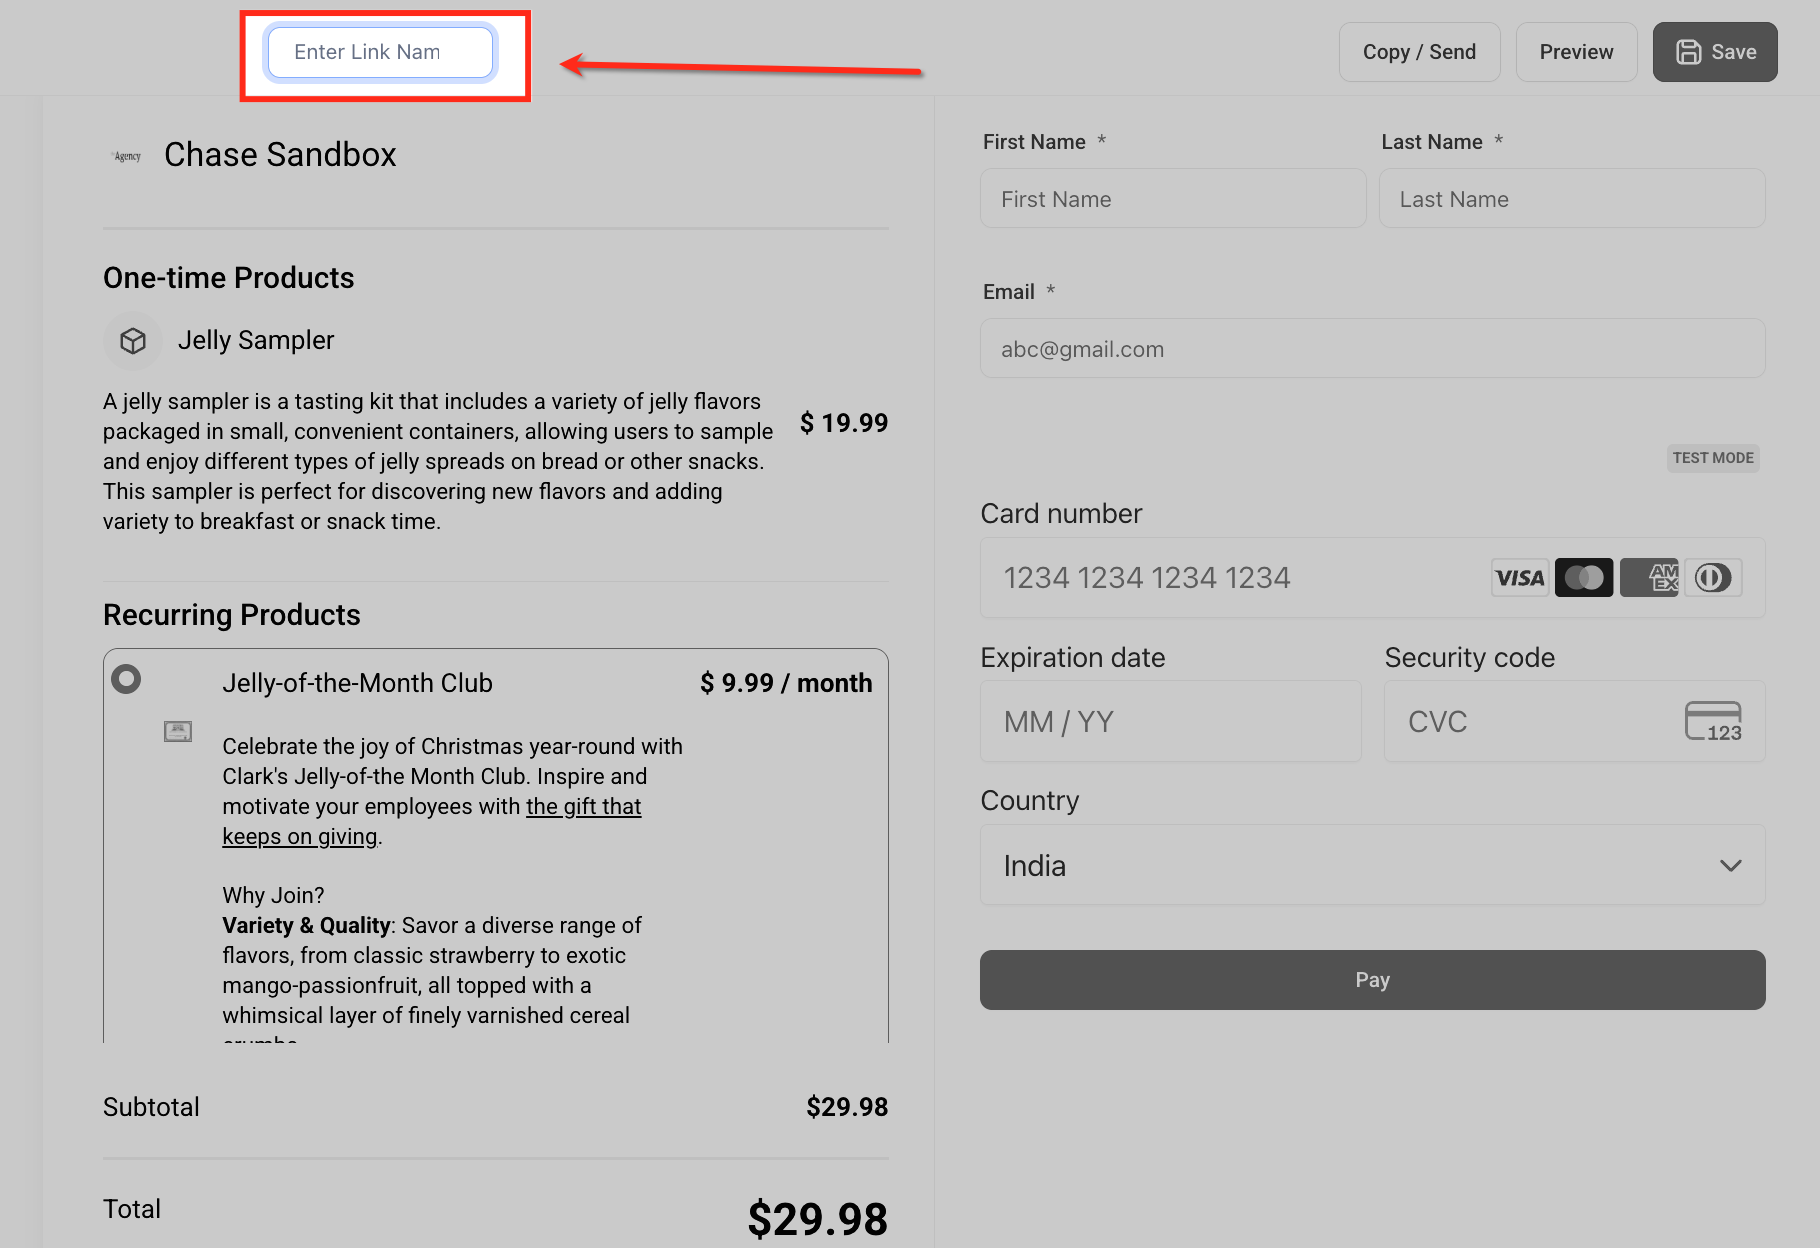
Enter a name for the link at the top of the screen. This is an internal name that helps you organize and identify links in your dashboard. It does not appear on the customer-facing checkout page.
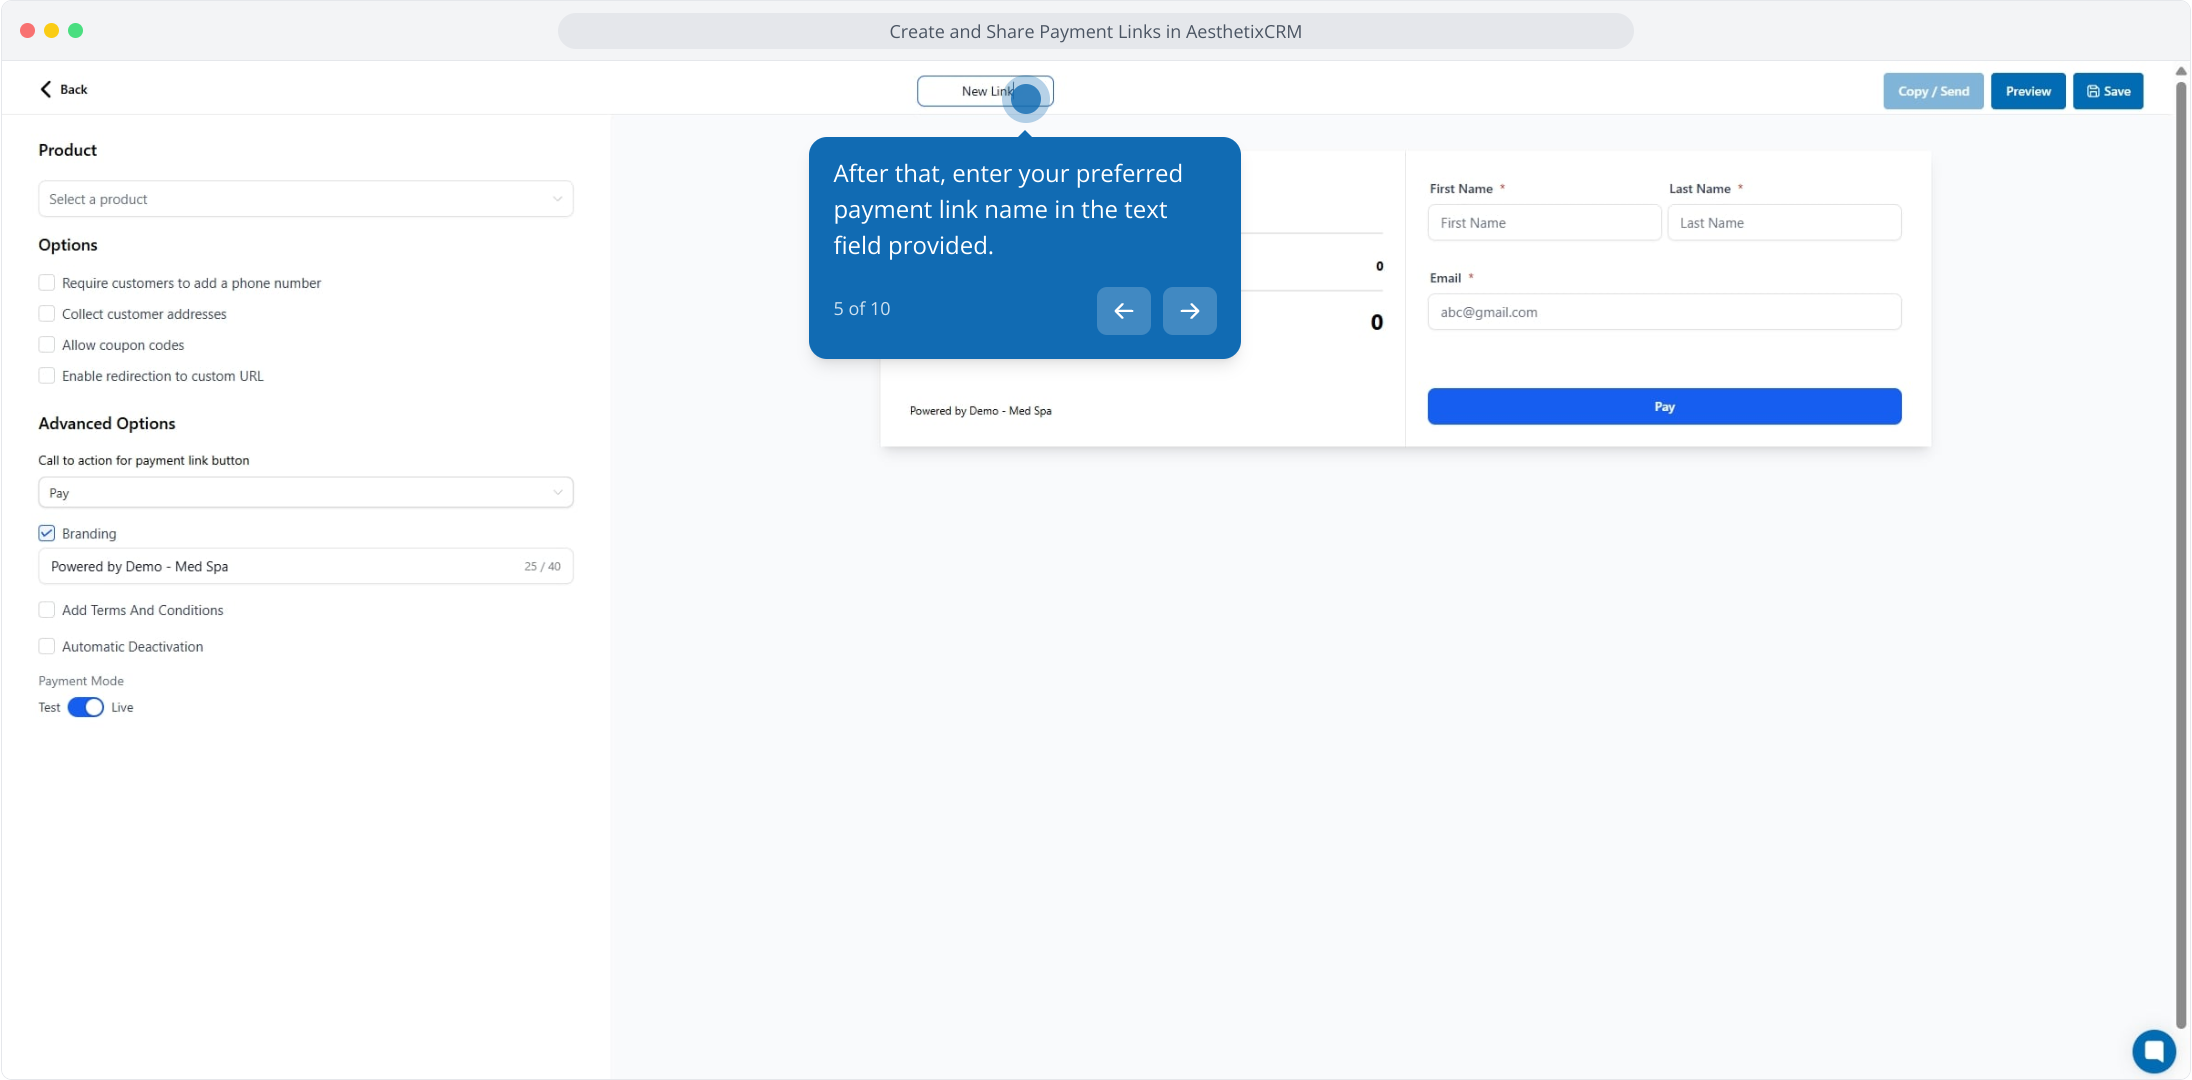
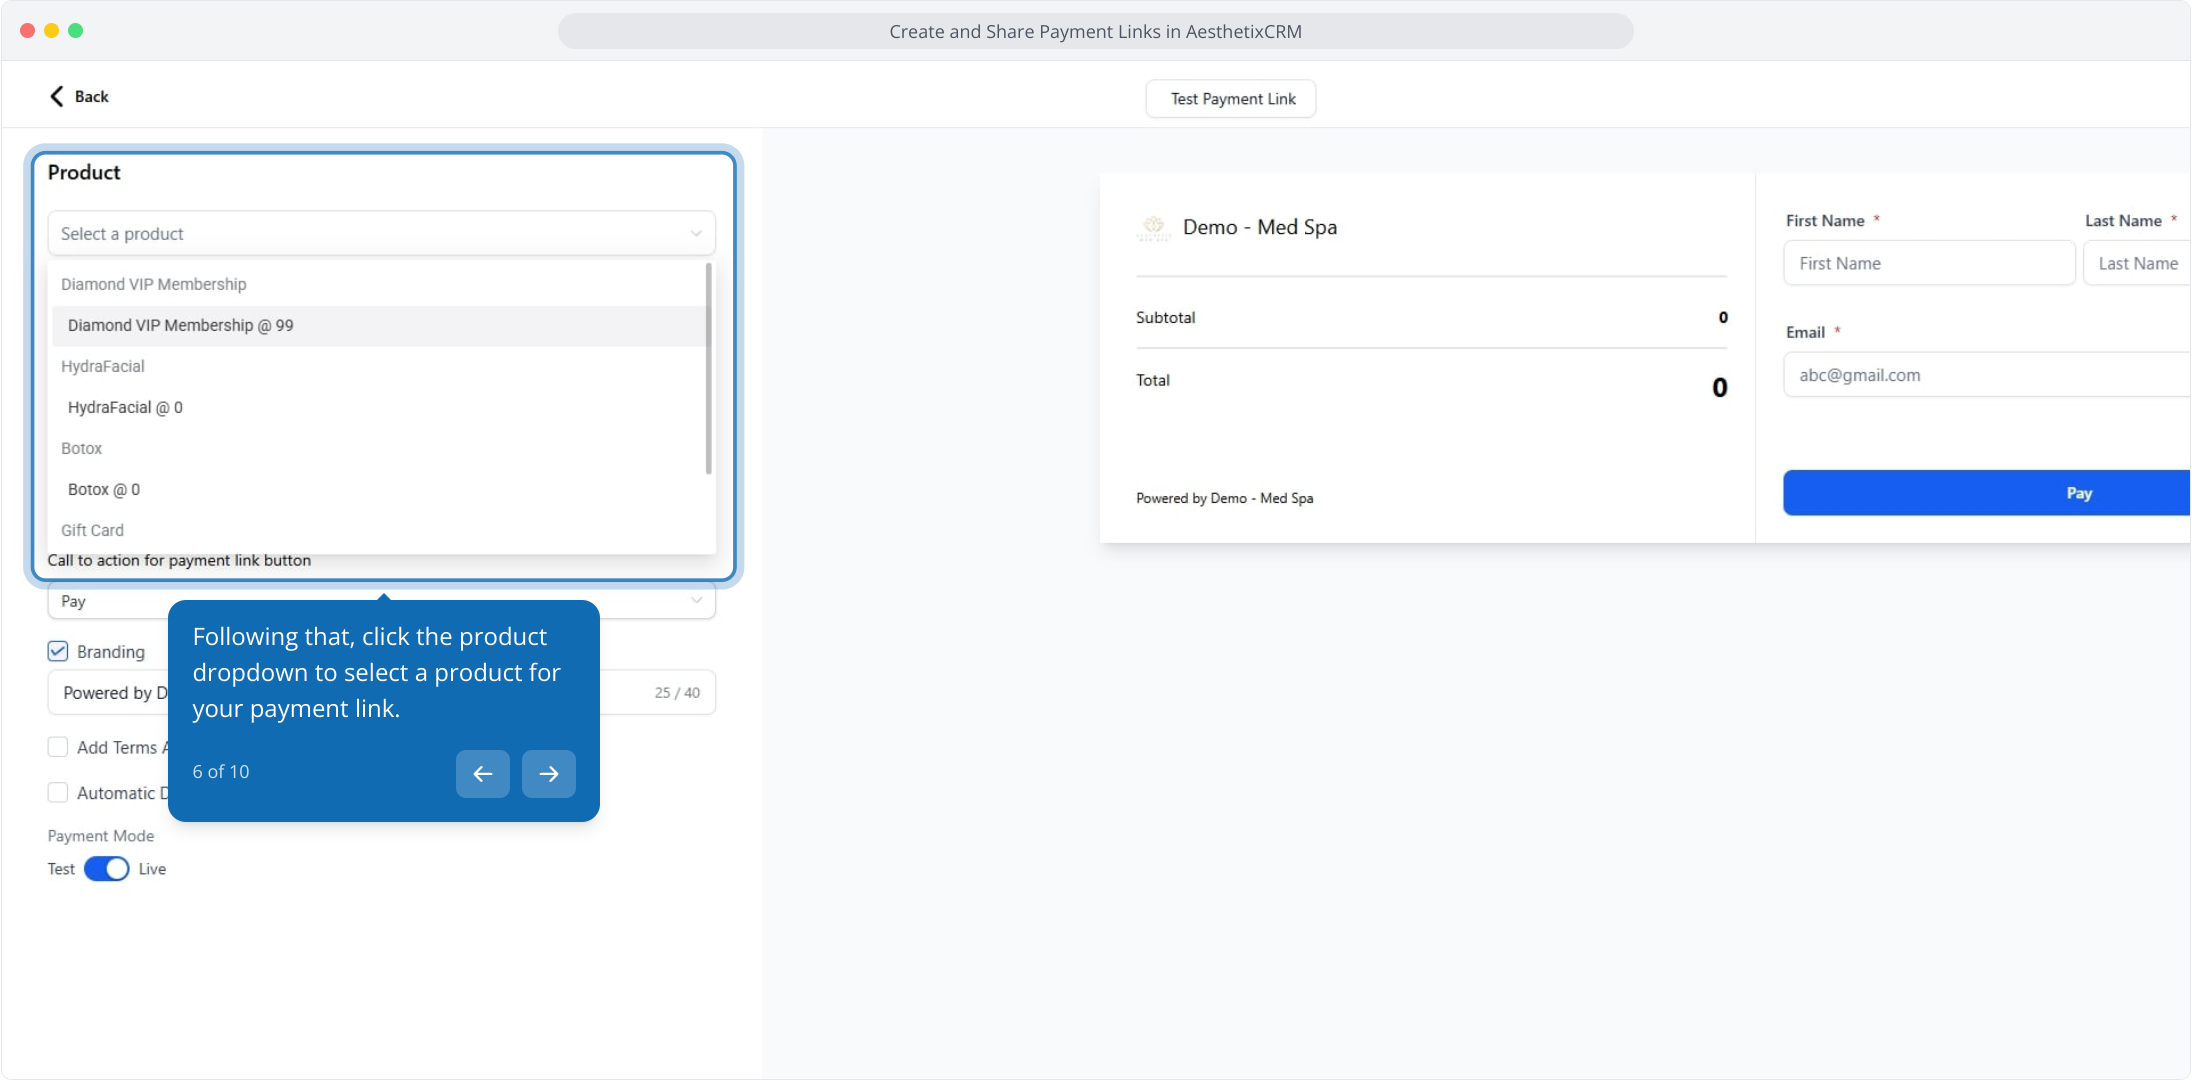
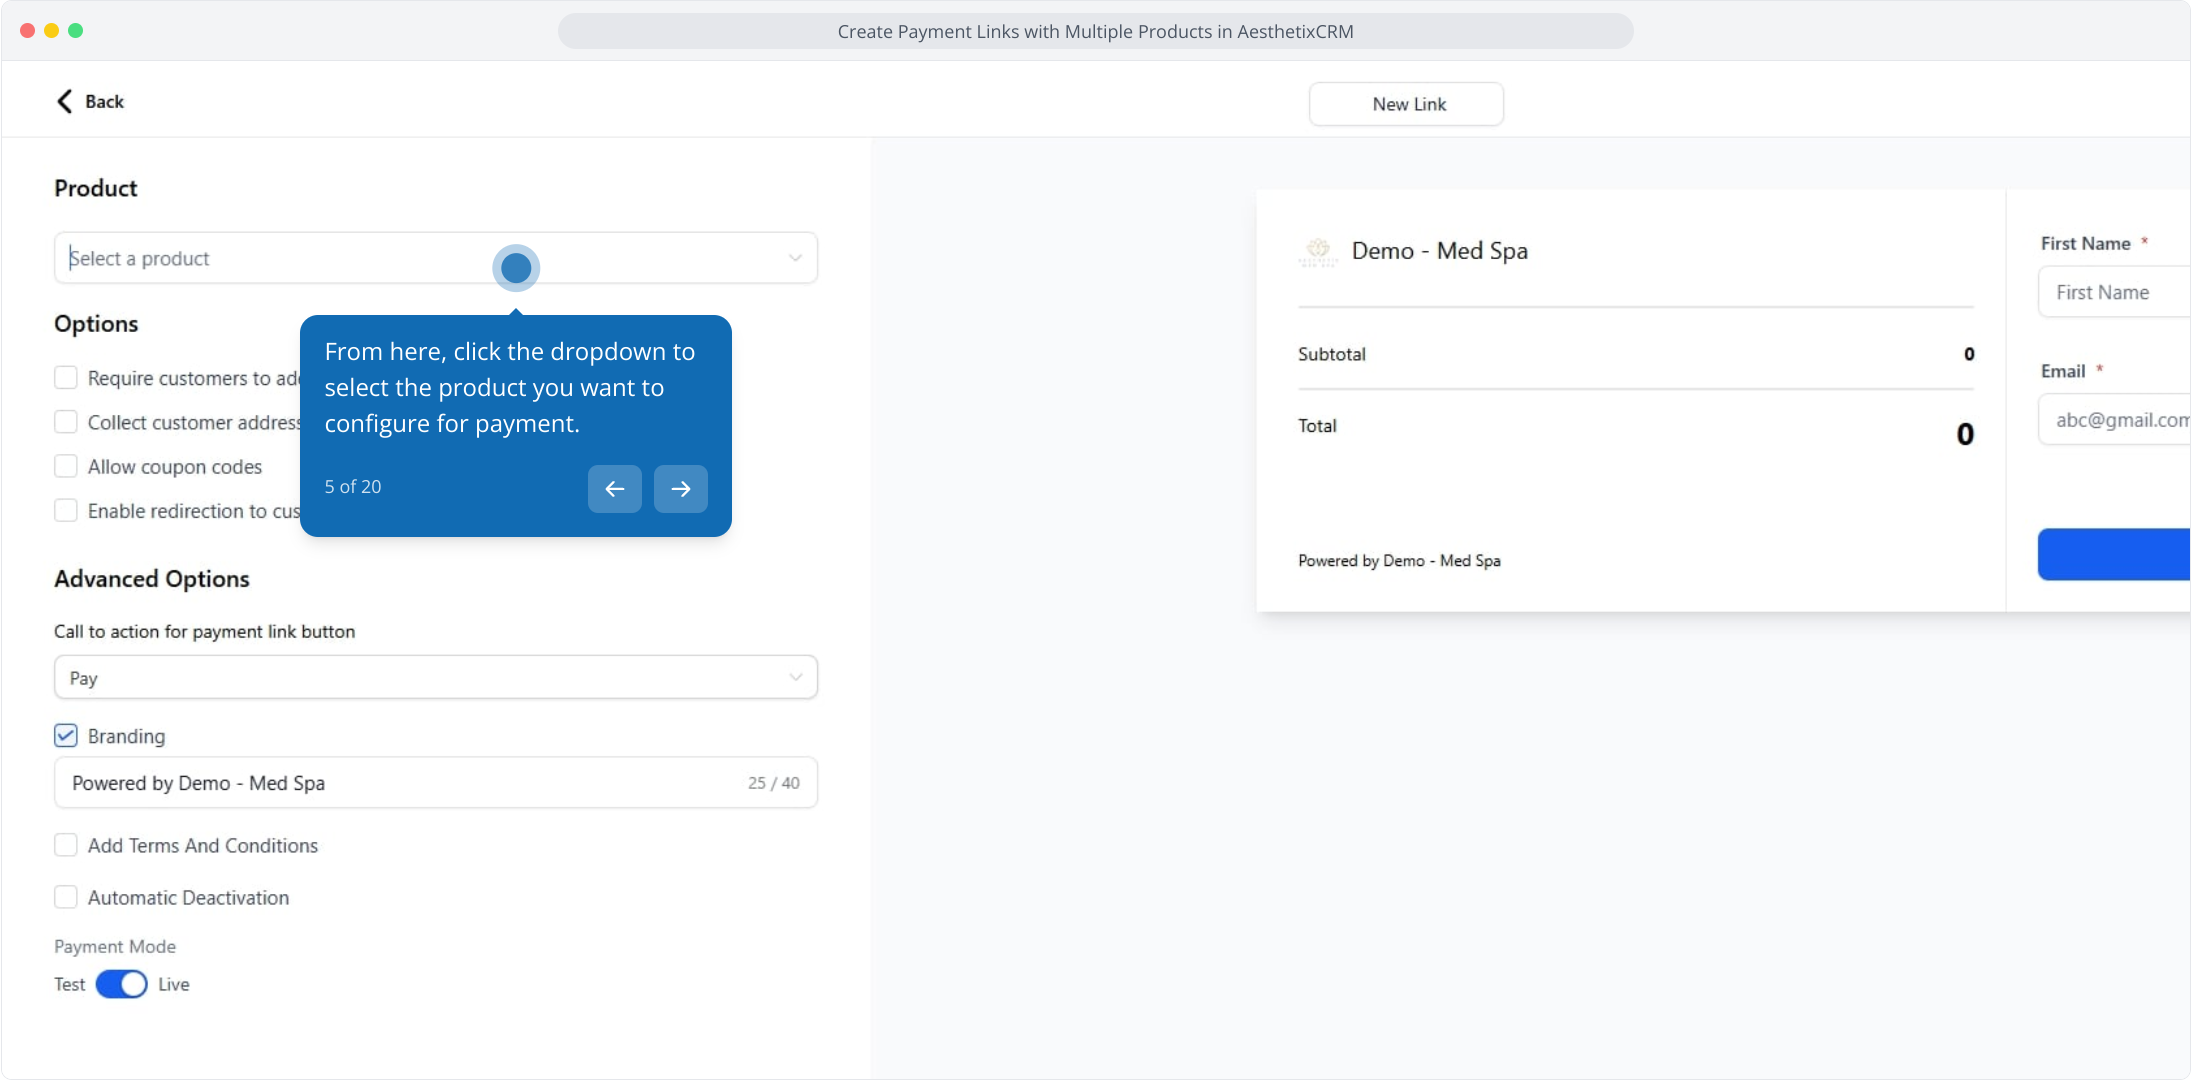
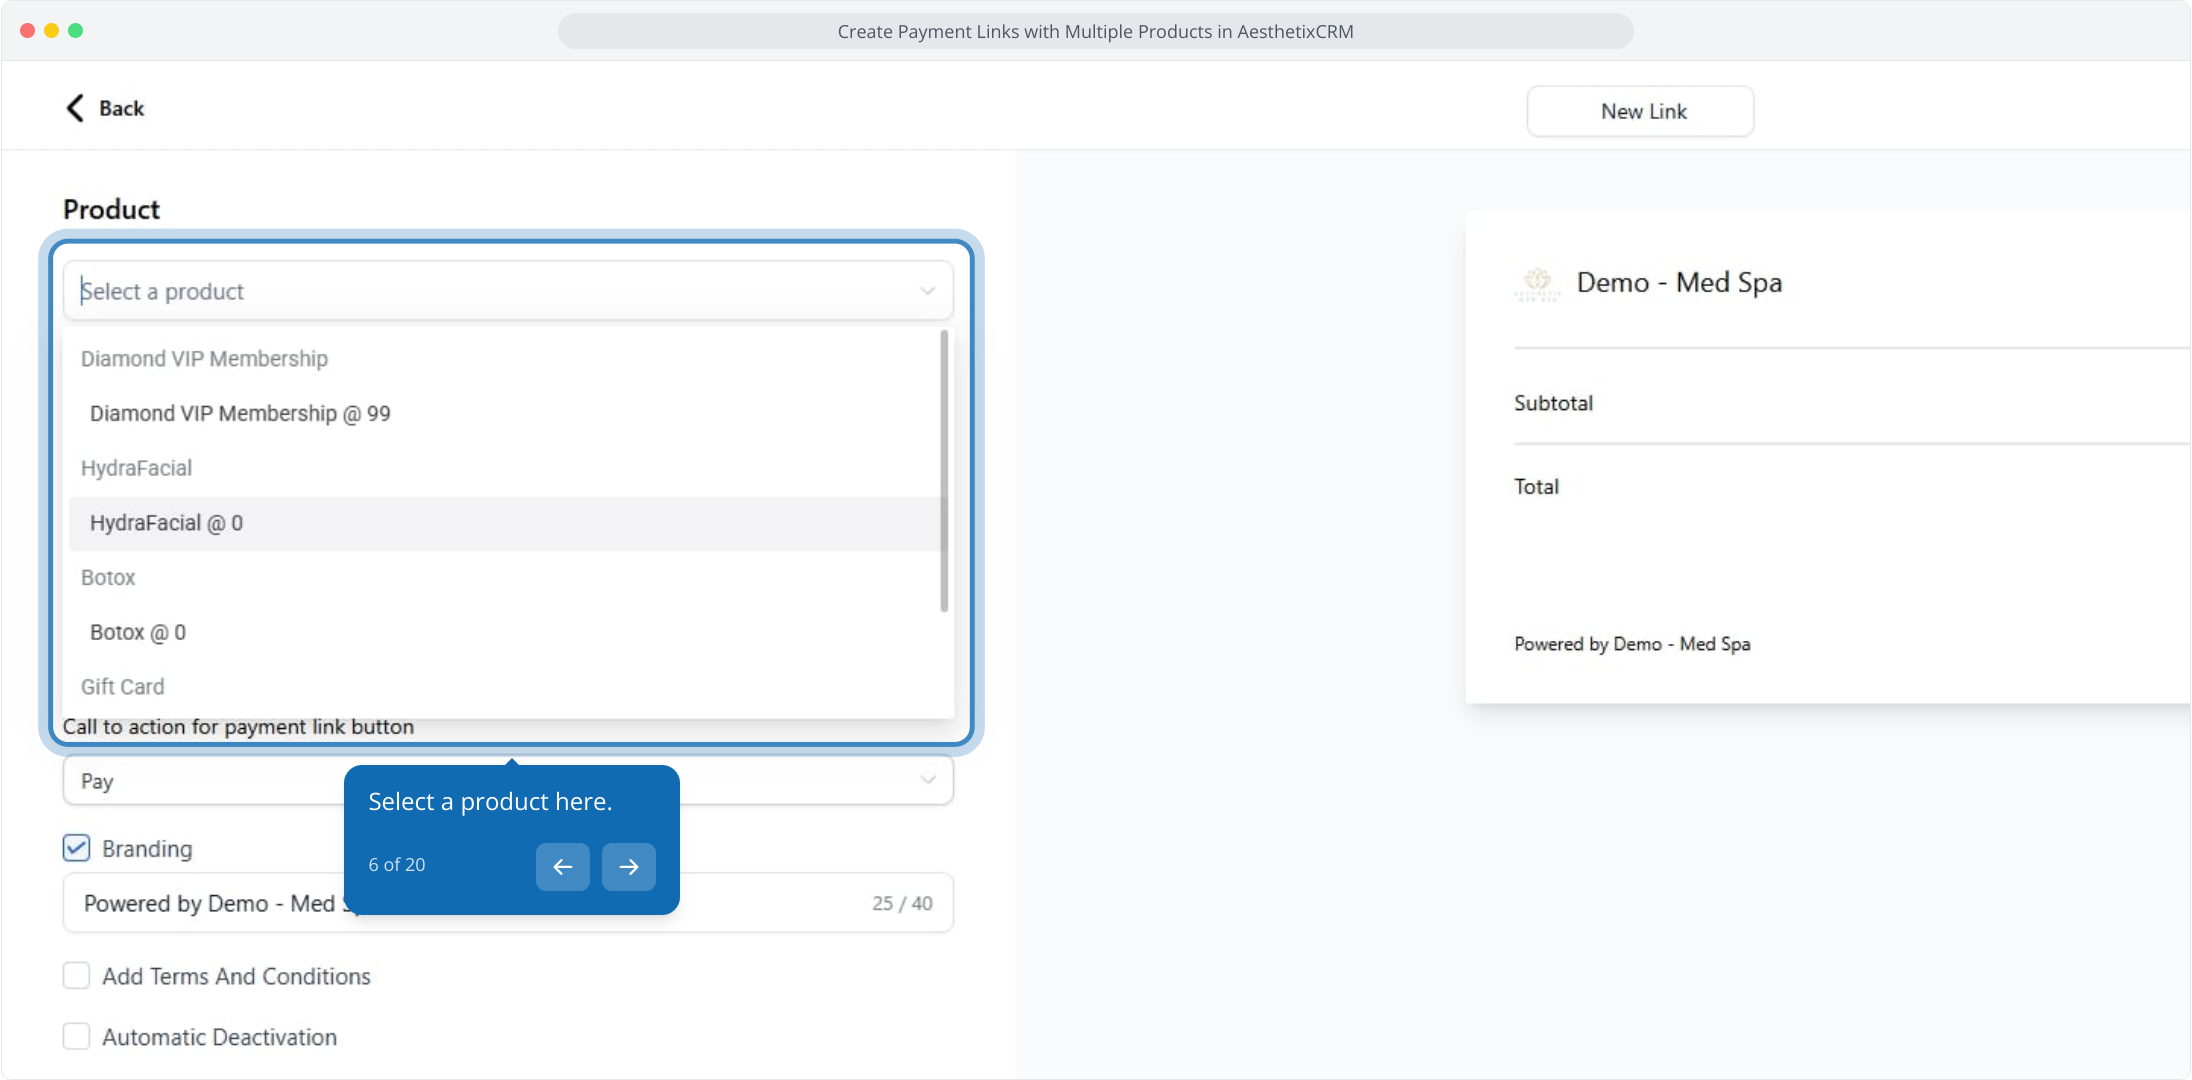
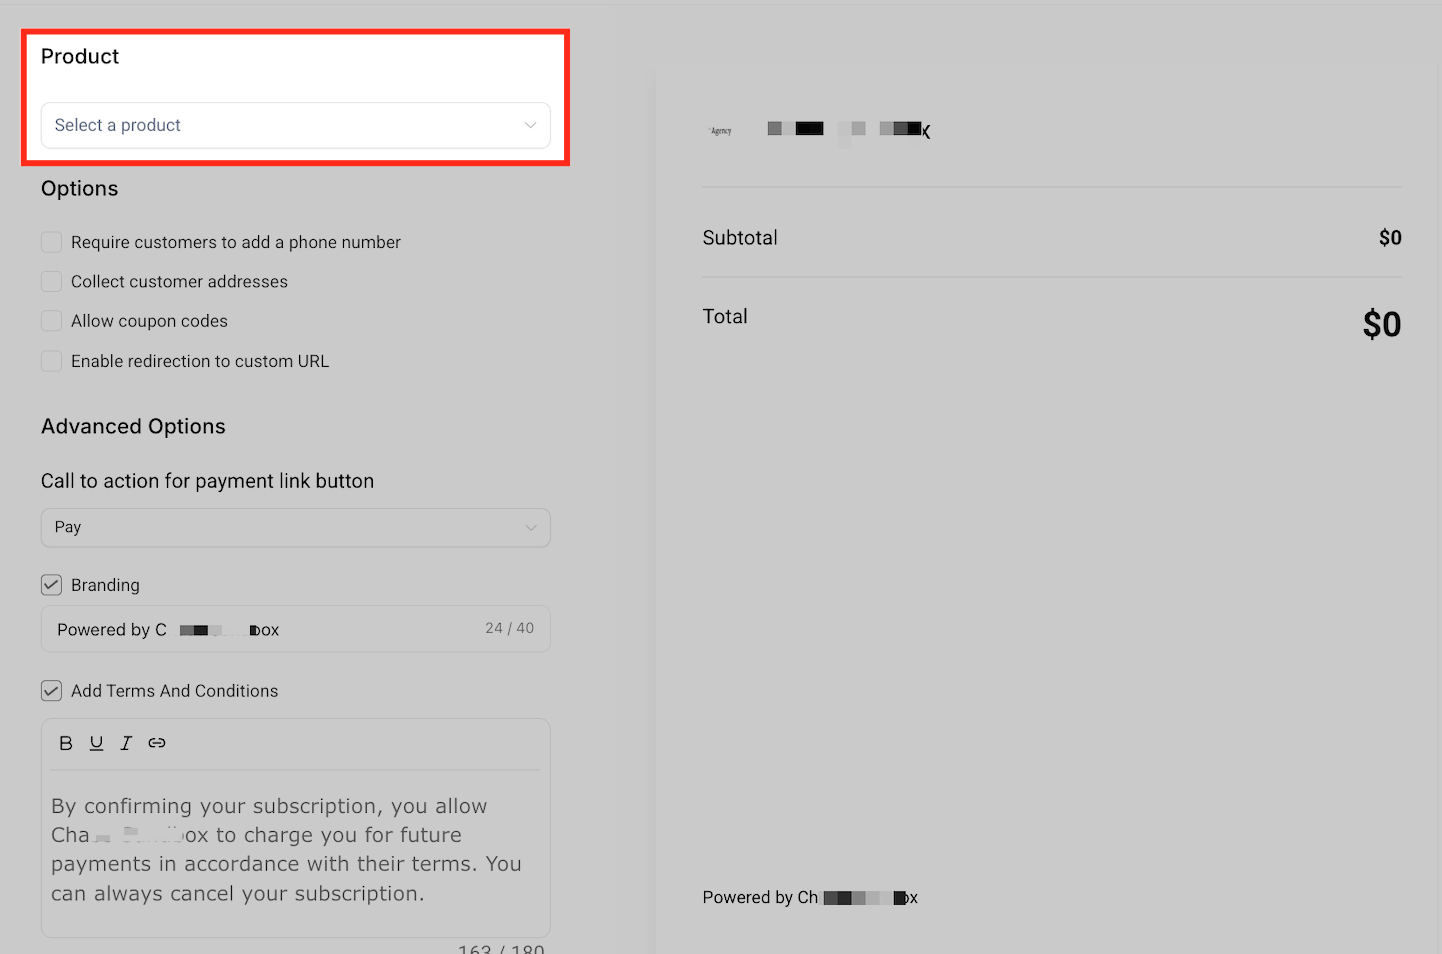
Click the product dropdown and choose the first product to include, then confirm its price. You can select from both one-time and recurring products in your product library. This first selection is required before you can add more products or configure additional settings.
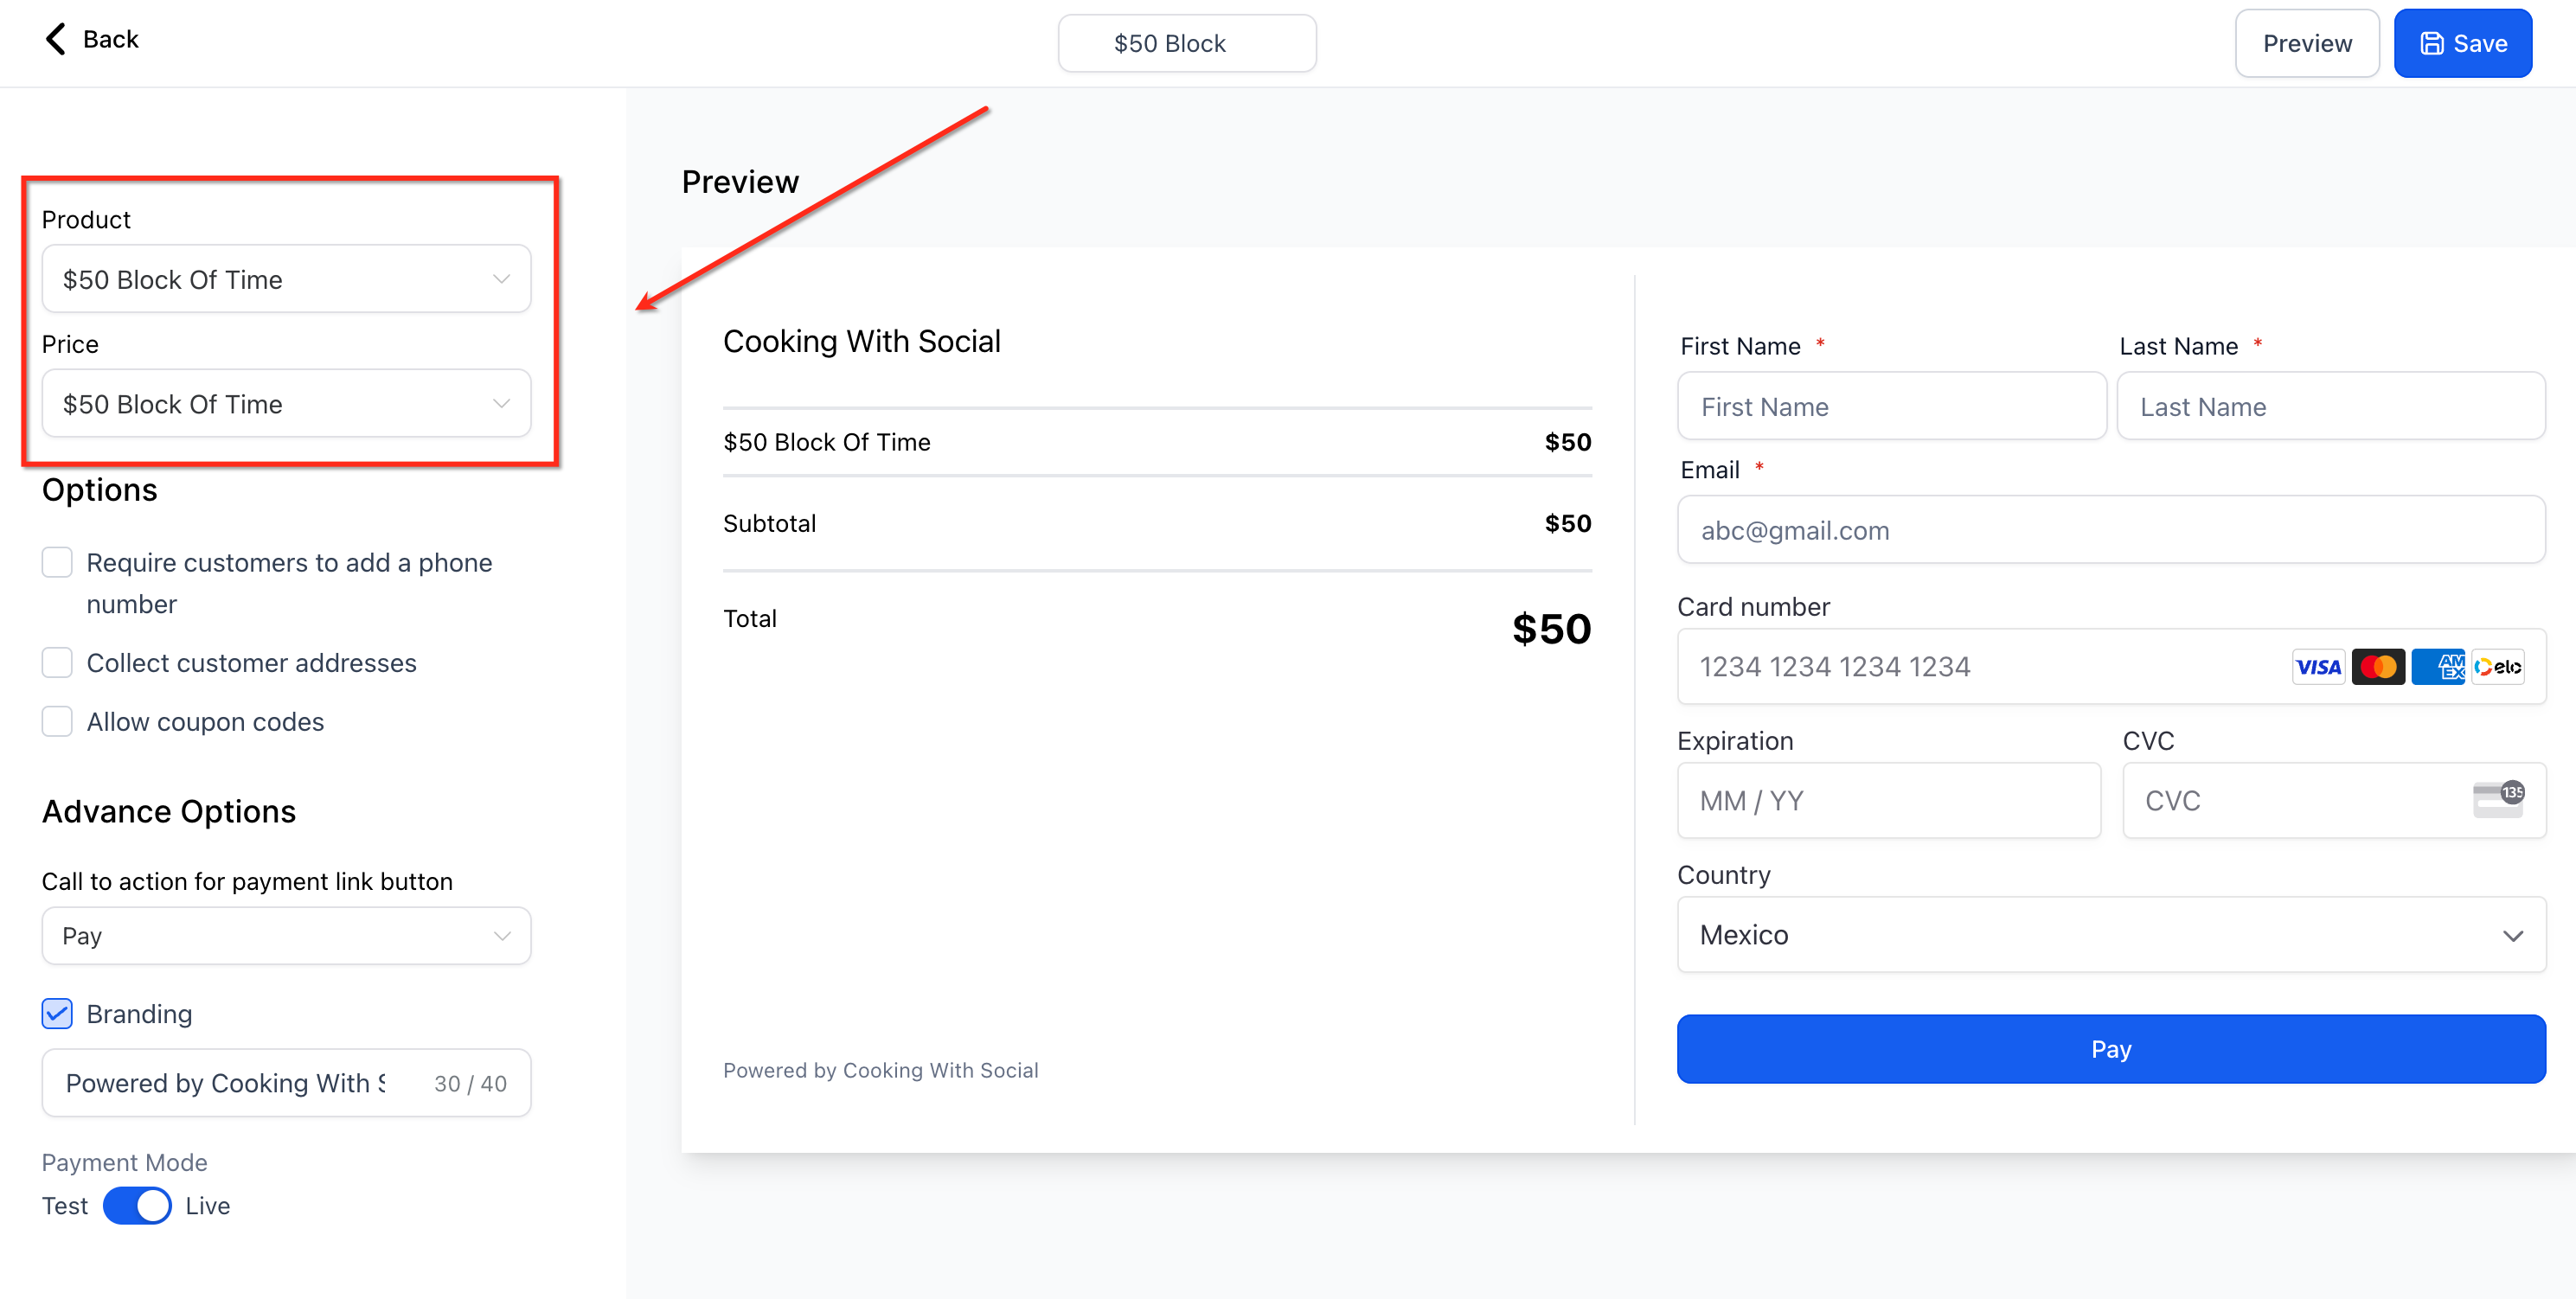
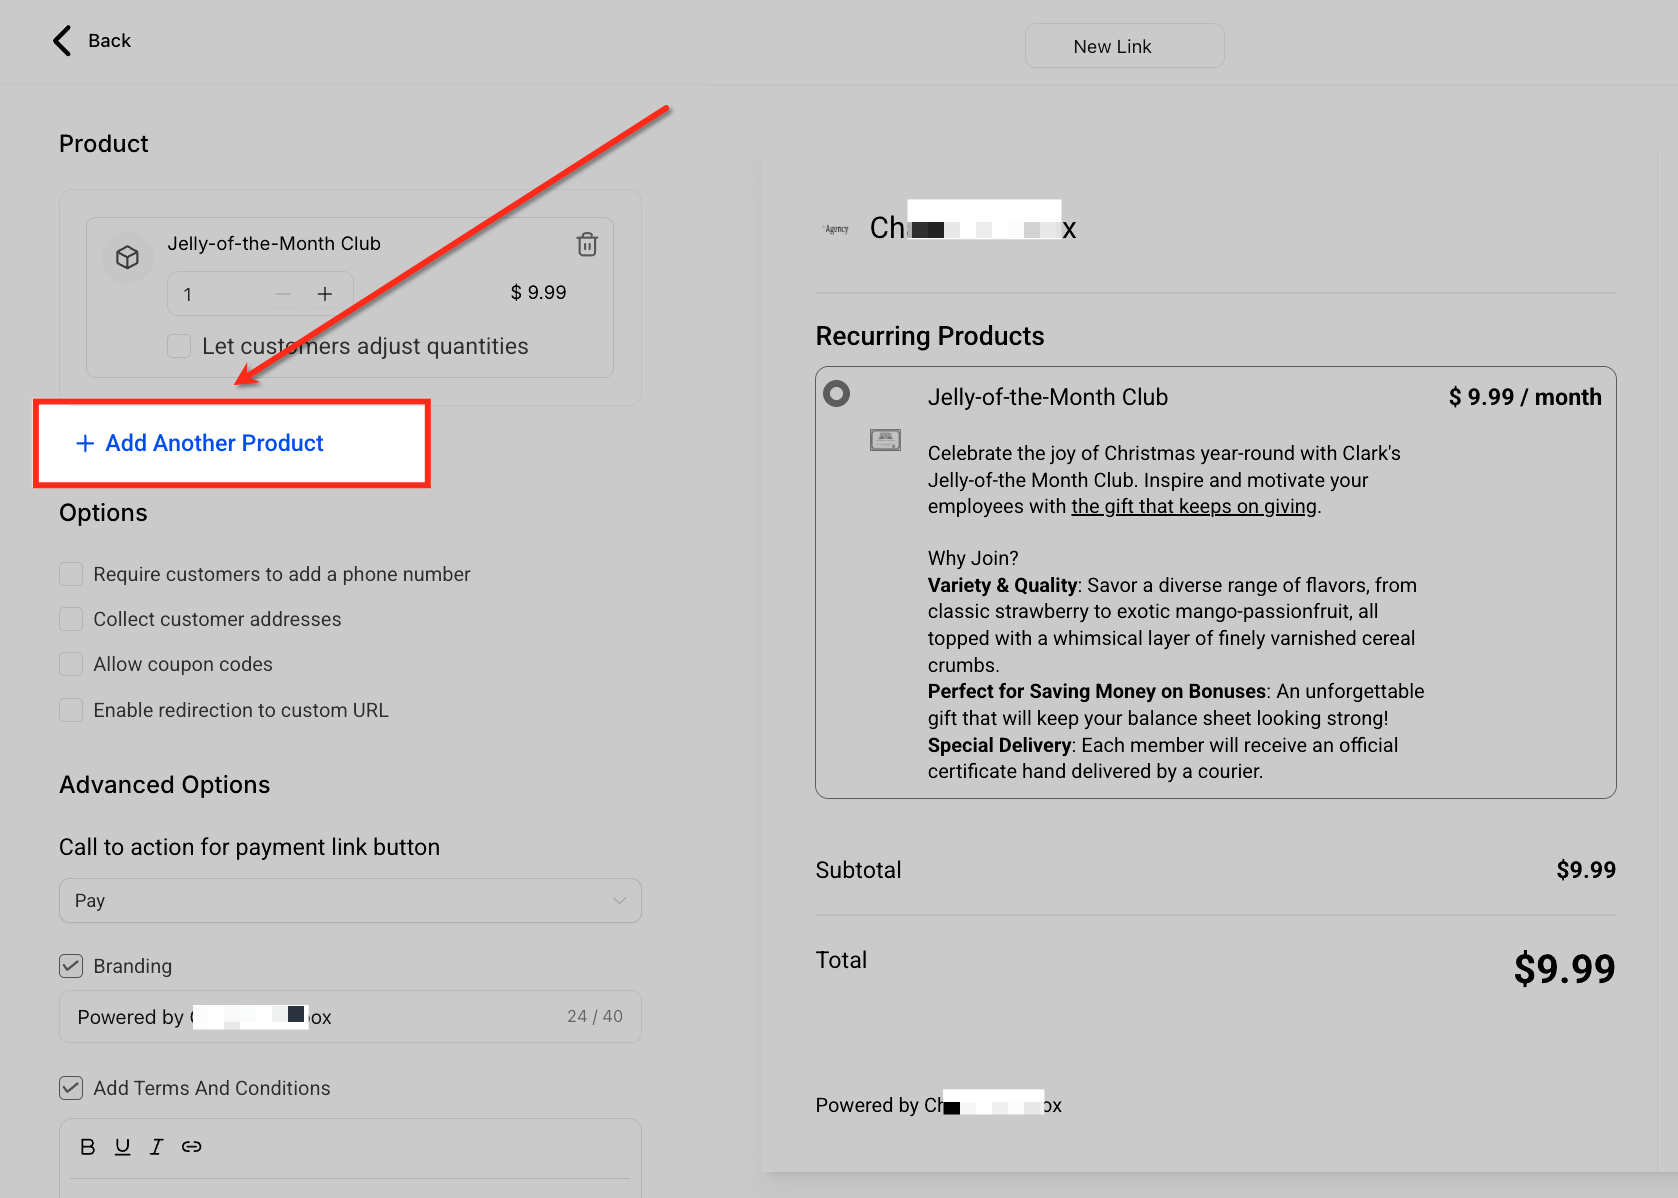
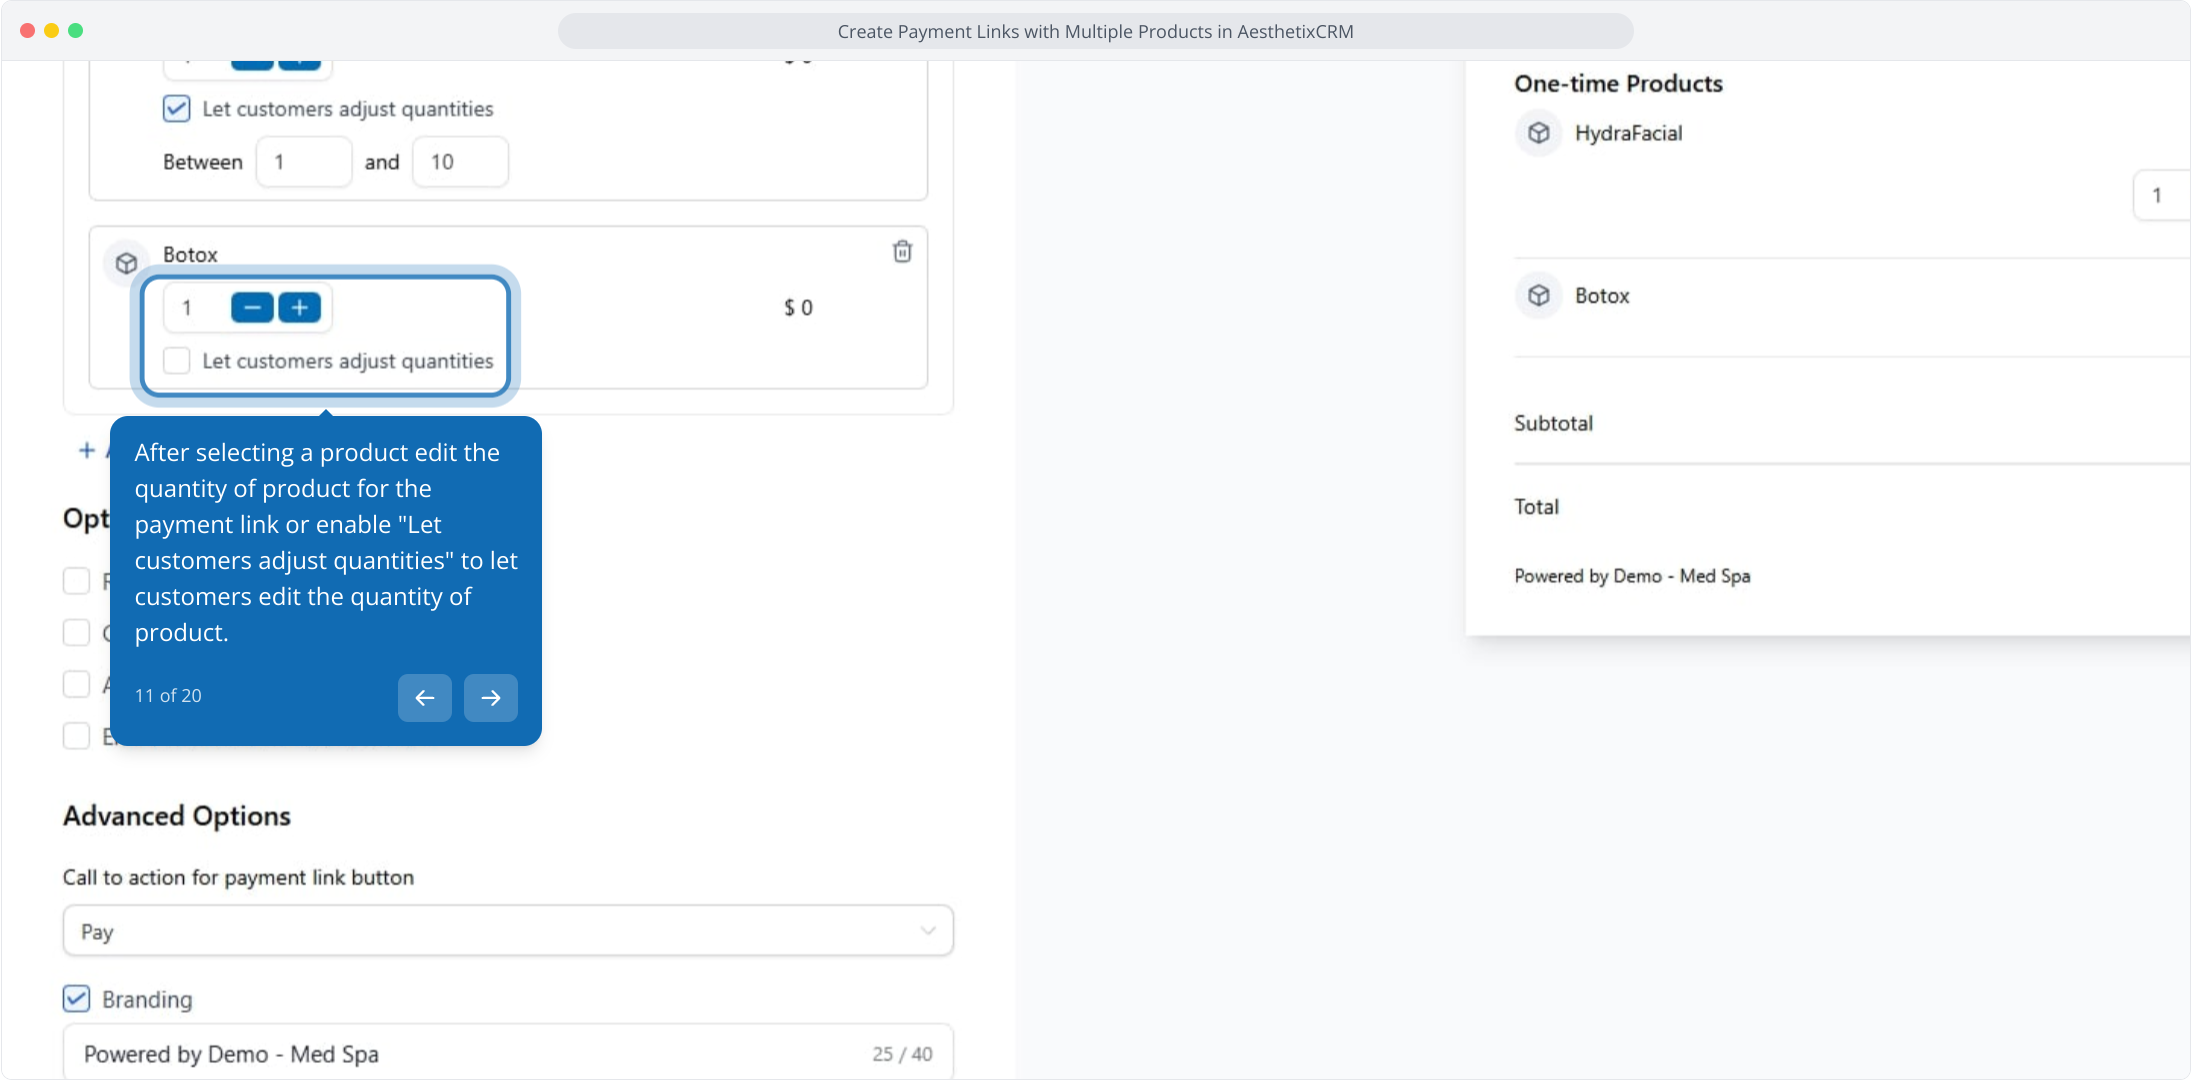
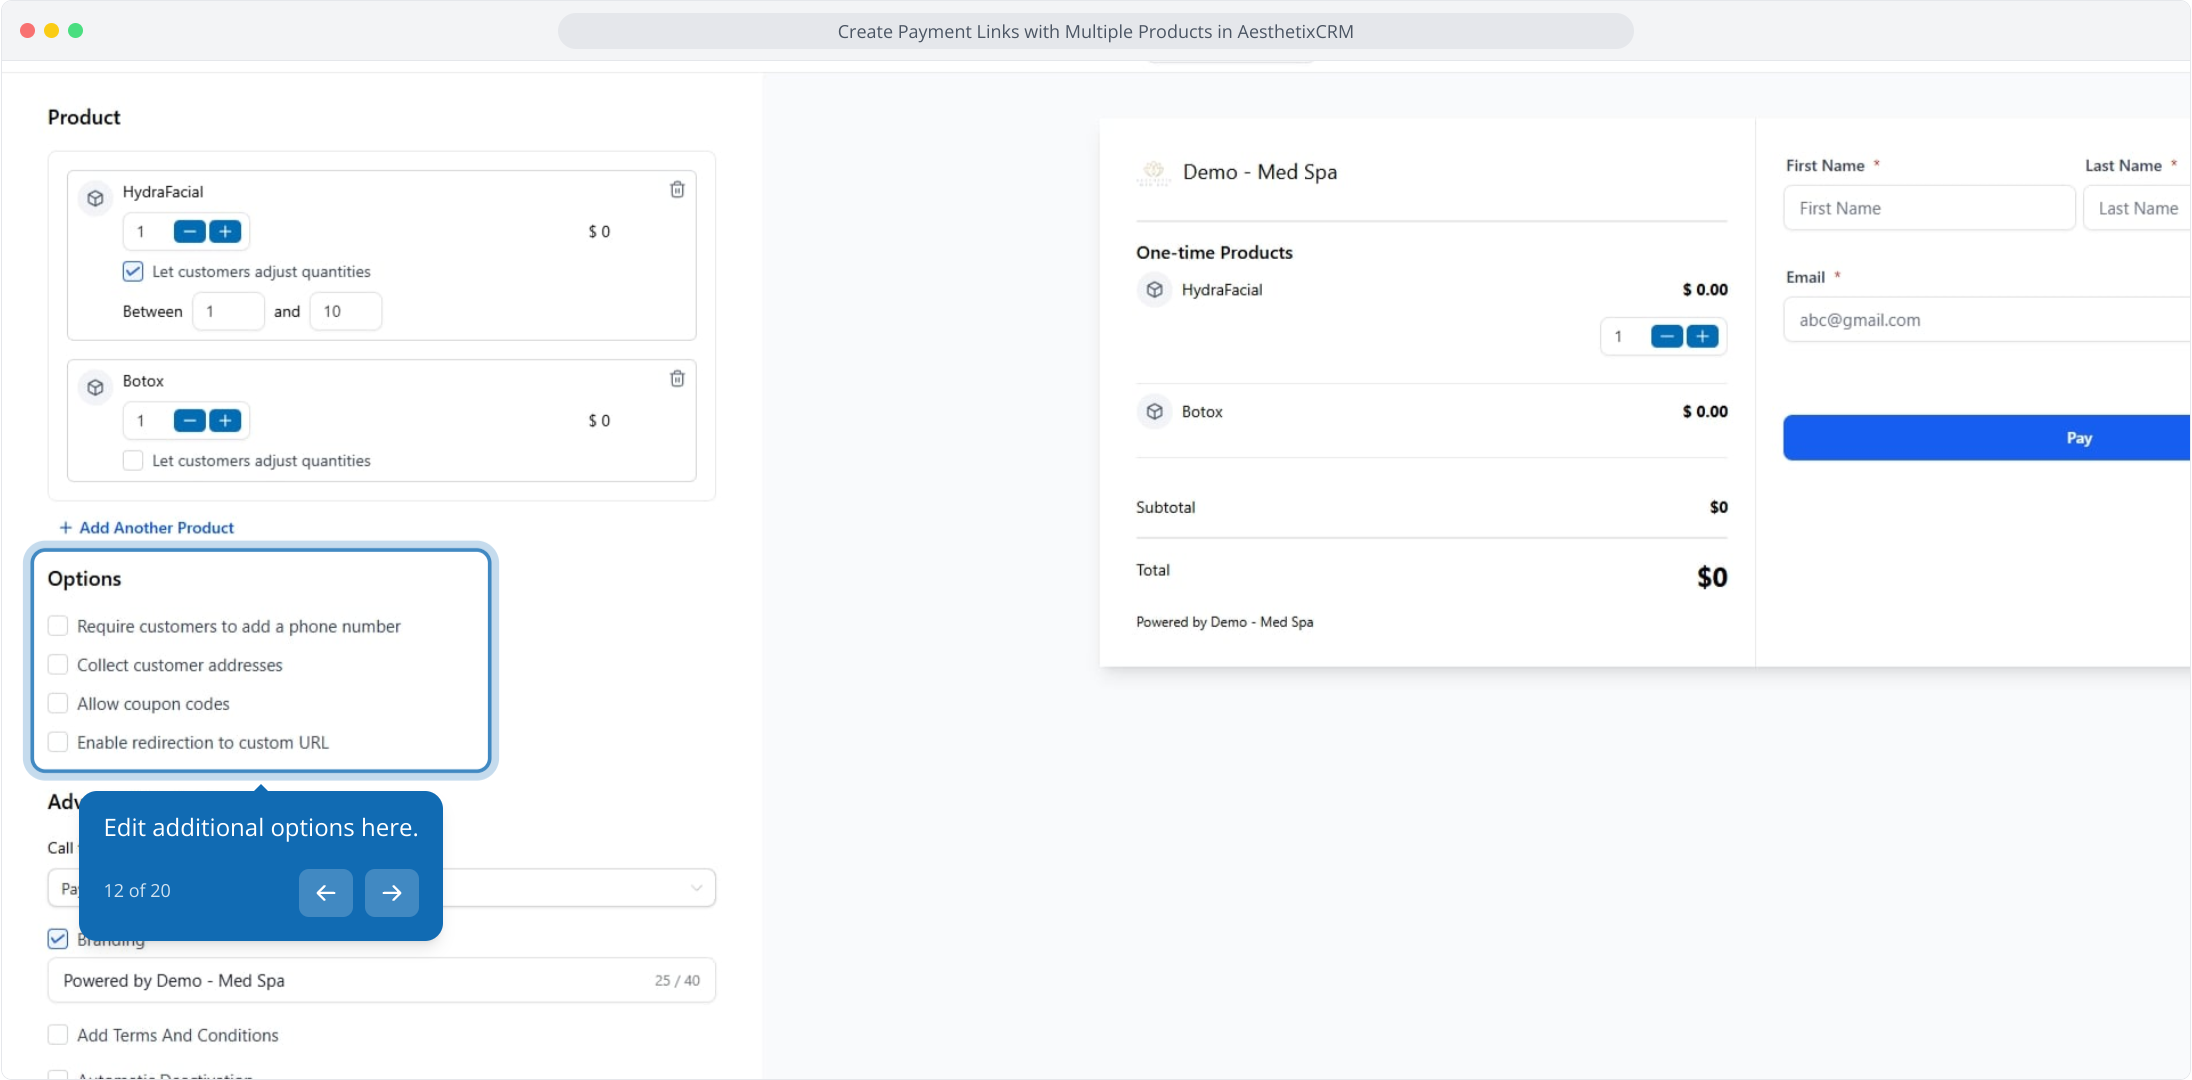
Click Add Another Product to bundle several offerings into one checkout. You can combine multiple one-time products with one recurring product, so a patient can, for example, buy a treatment package and start a monthly membership in a single transaction. Recurring items are grouped separately on the checkout page under their own heading.
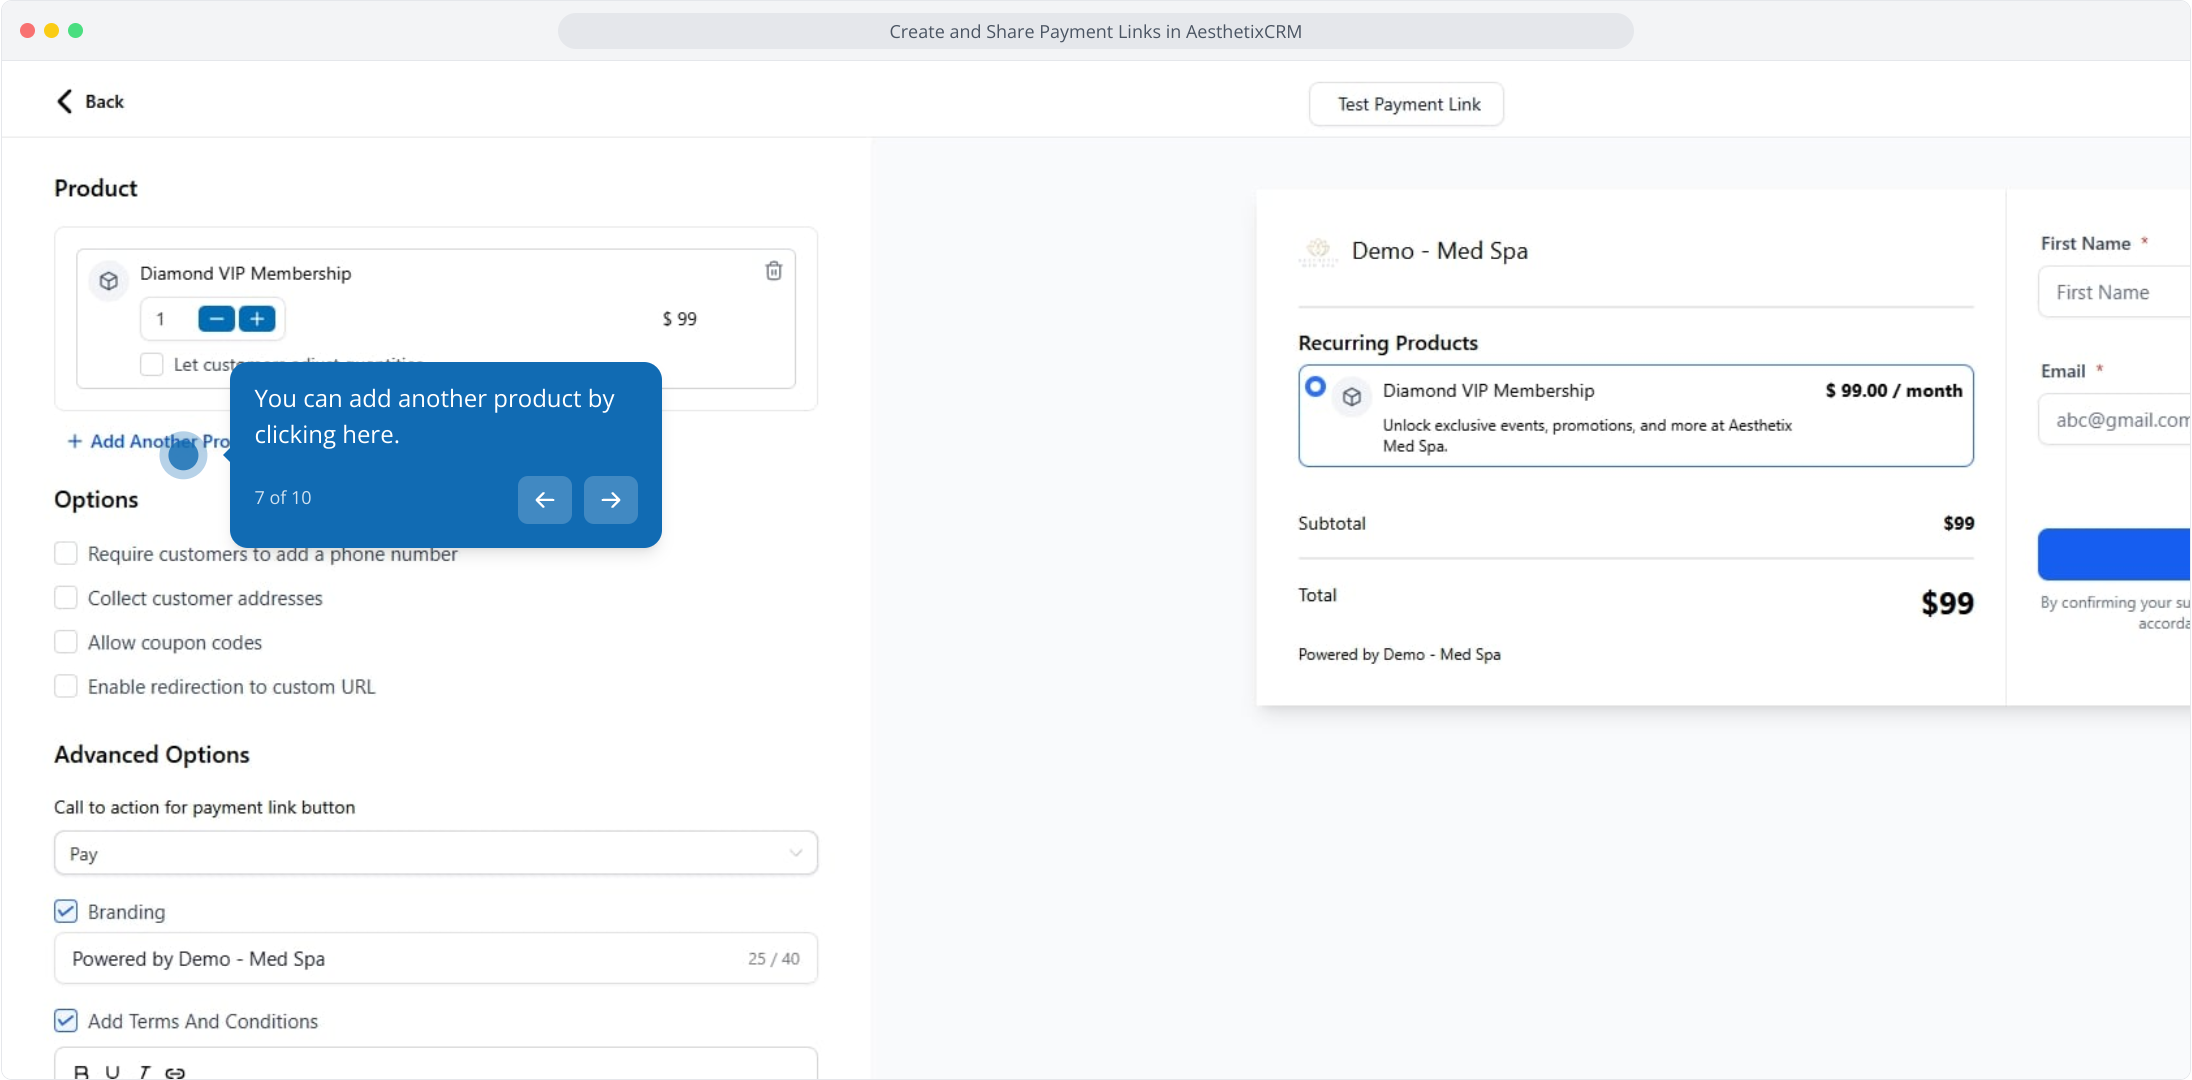
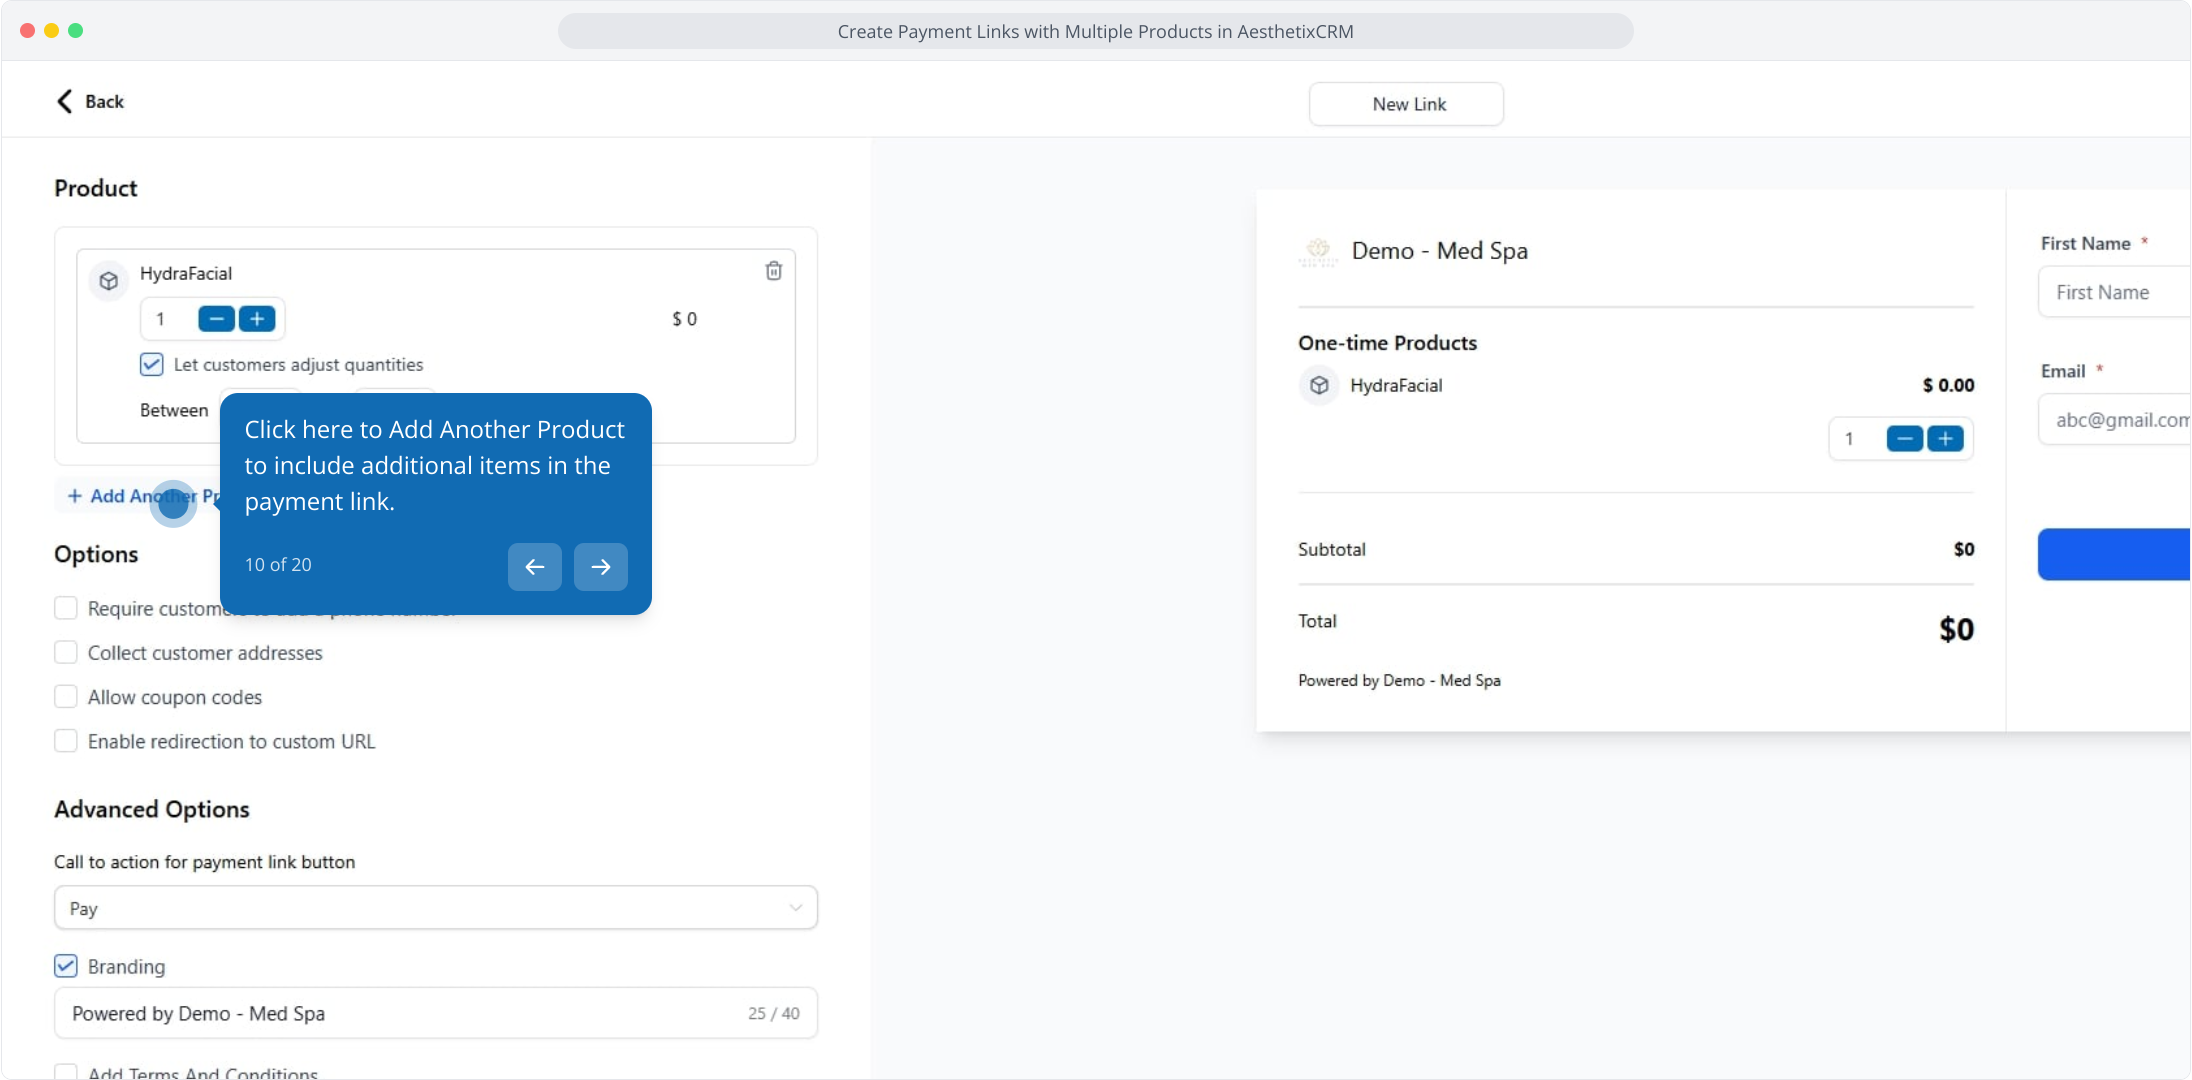
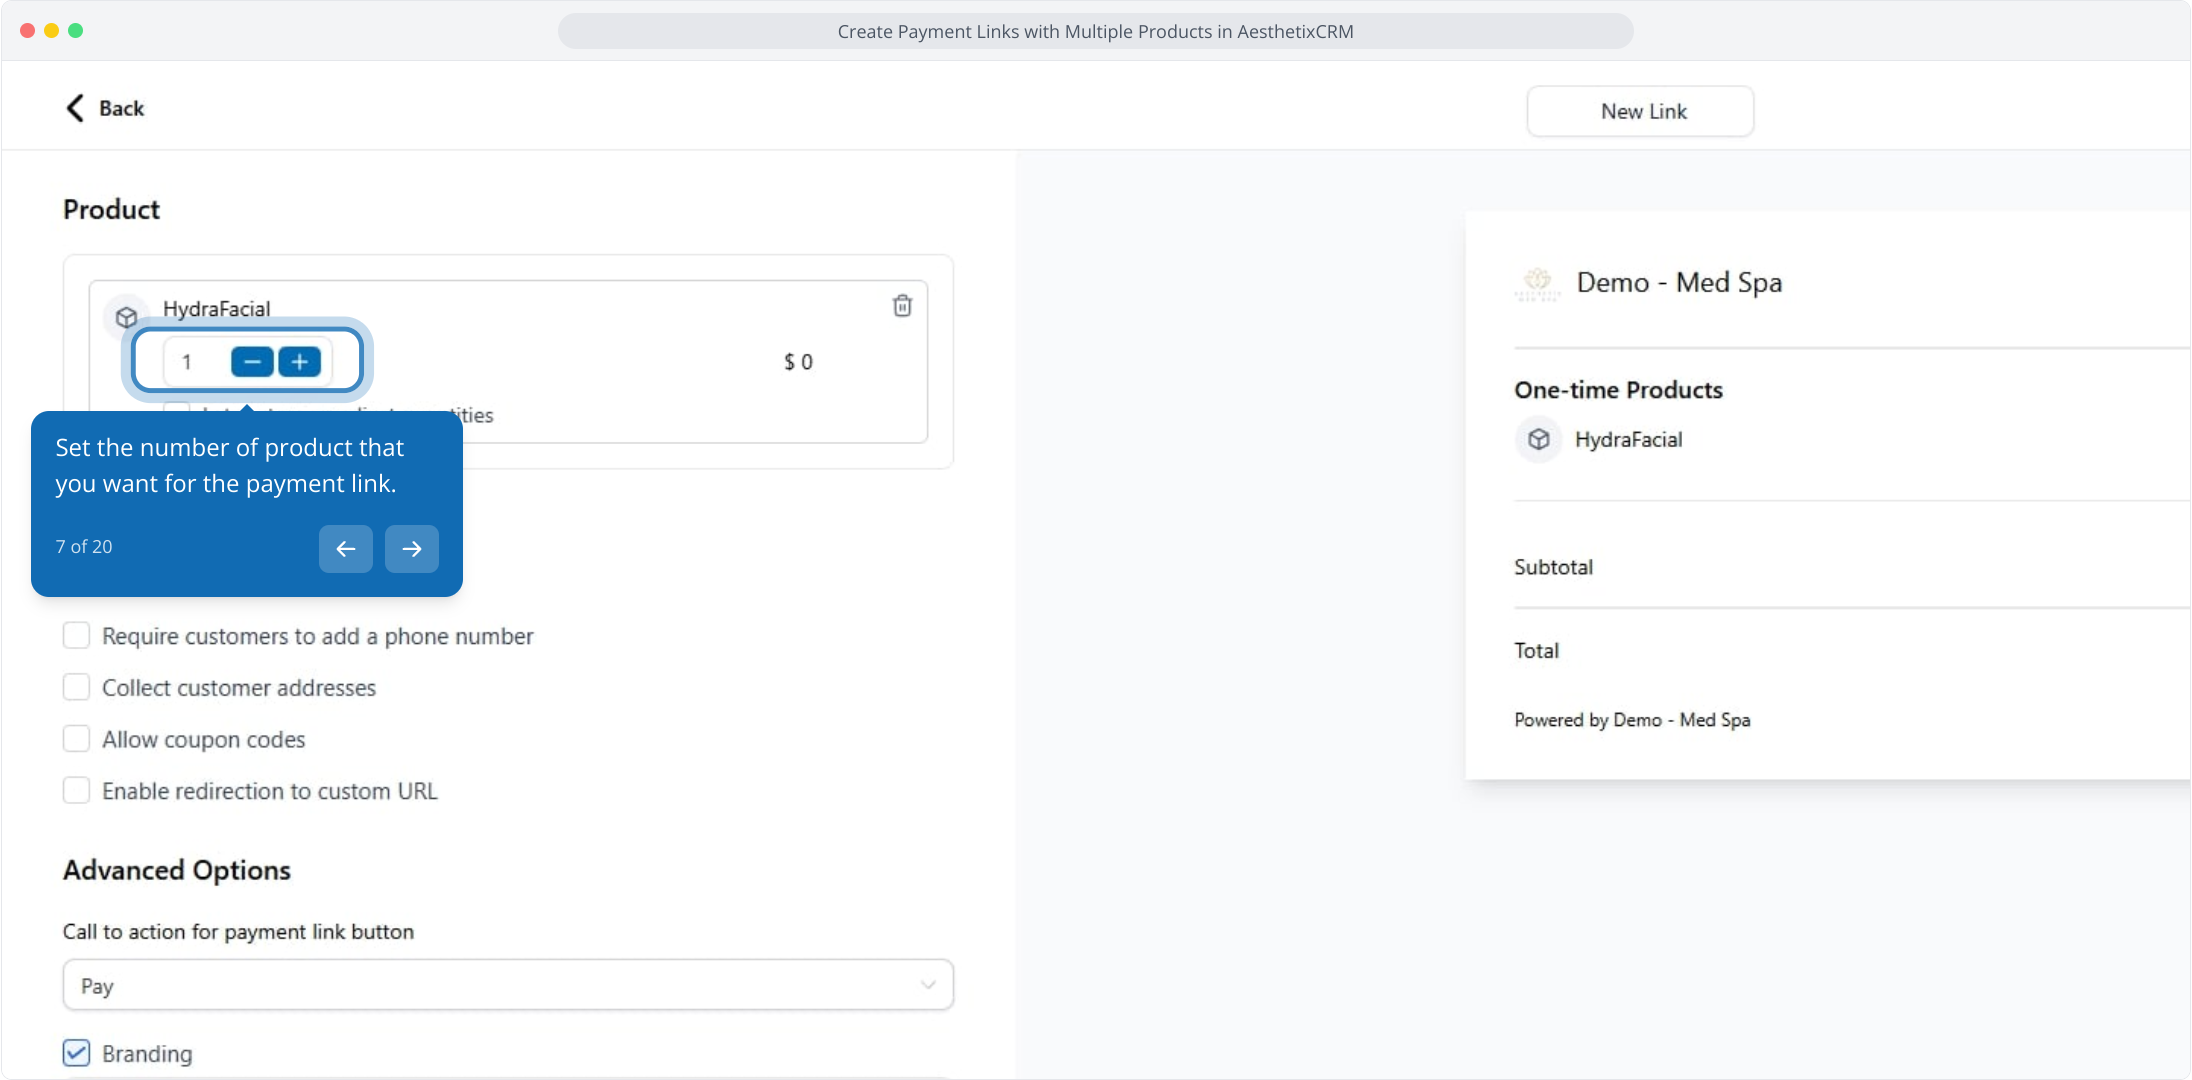
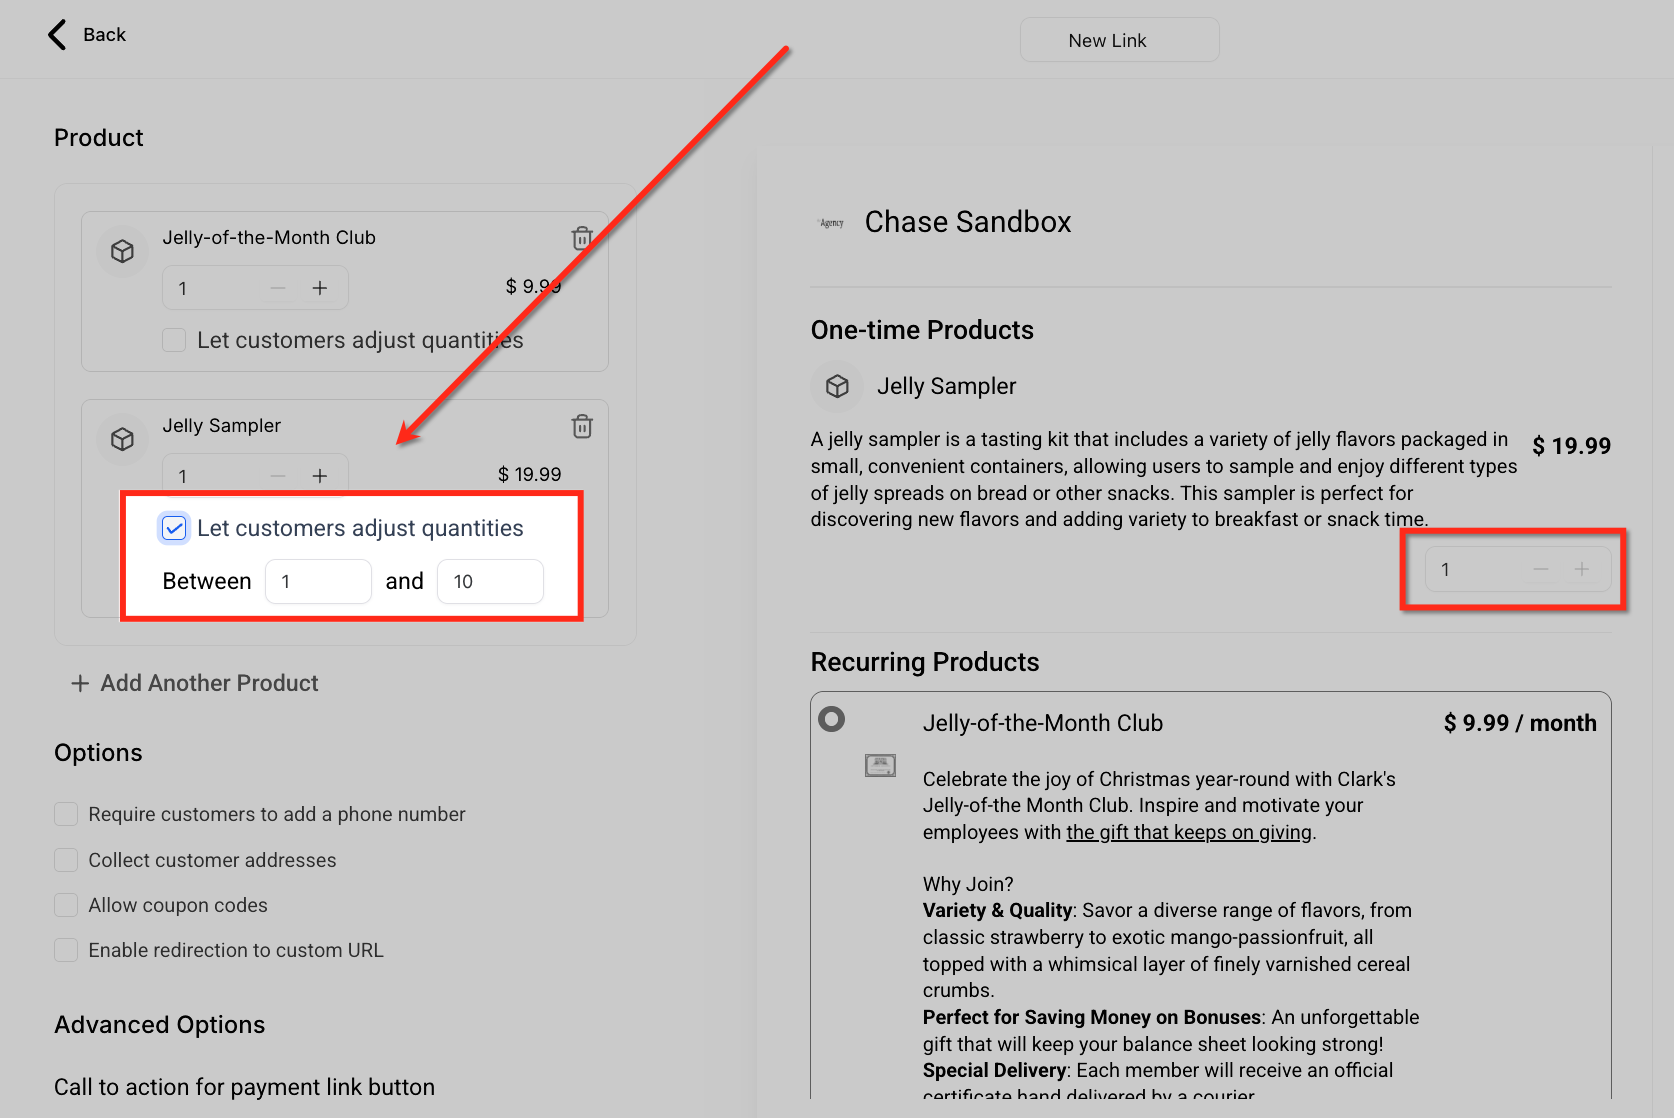
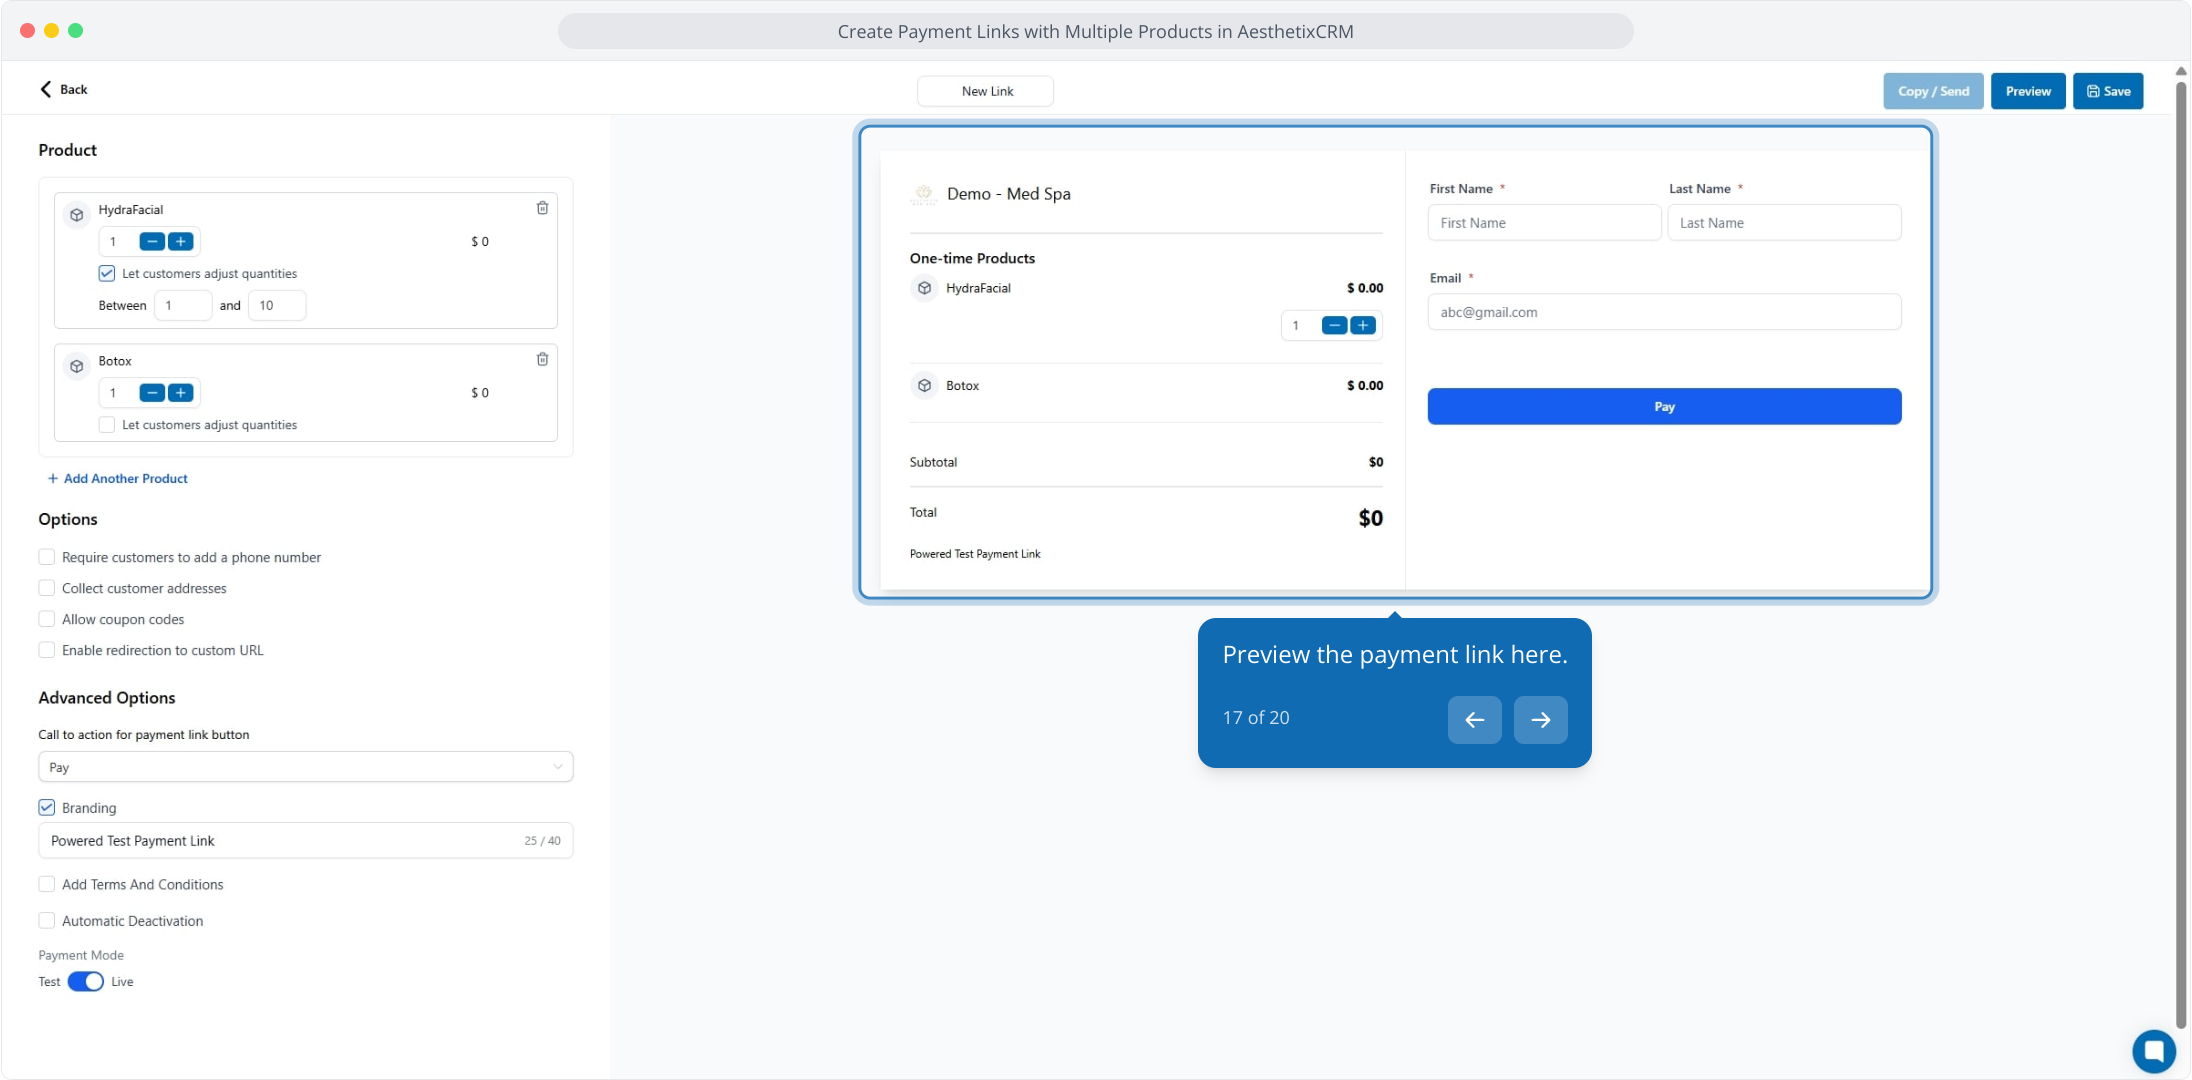
Set the quantity for each product, and turn on Let customers adjust quantities if you want patients to choose how many units to buy. You can set minimum and maximum limits to control bulk orders. This is useful for retail products where a patient may want several units.
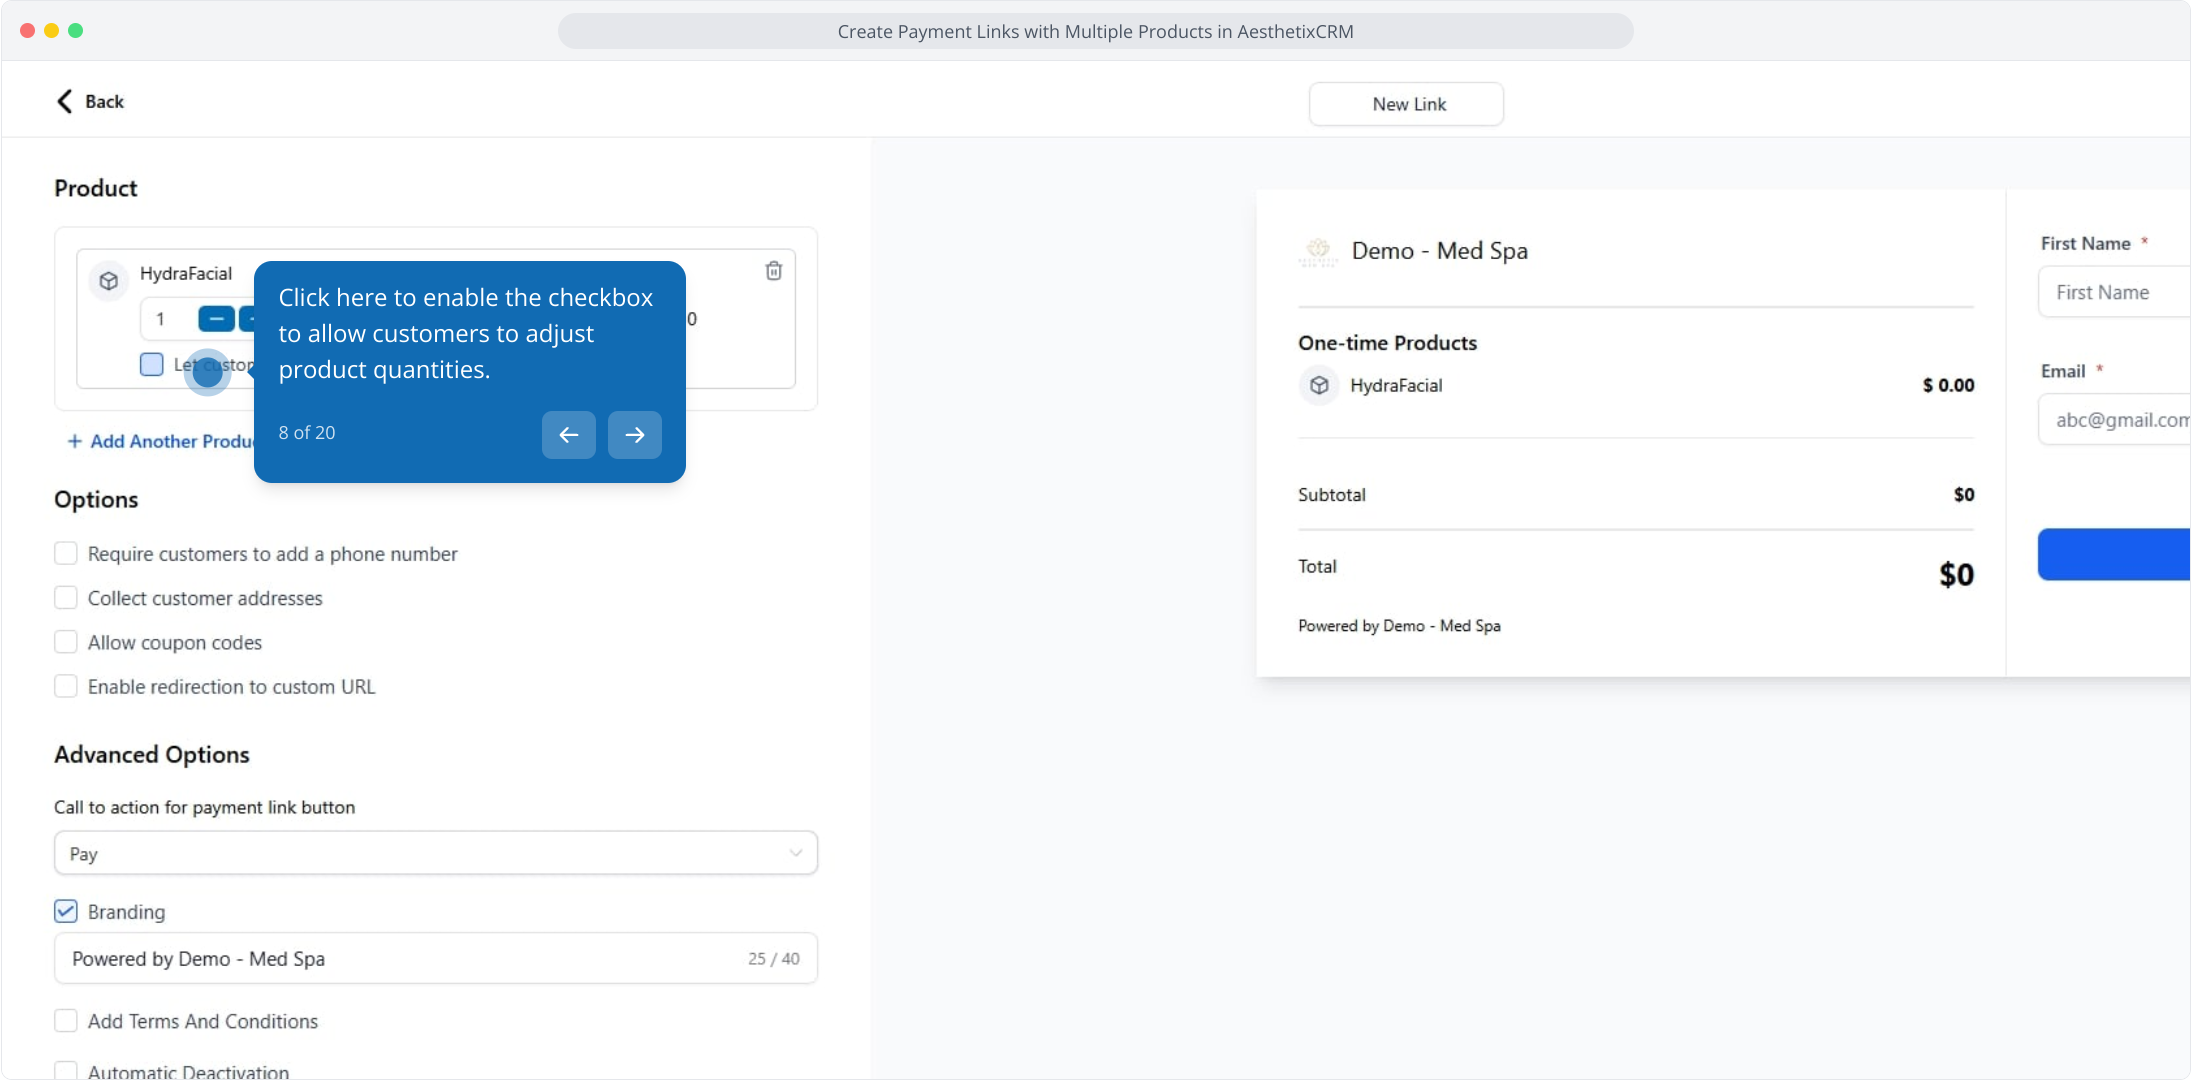
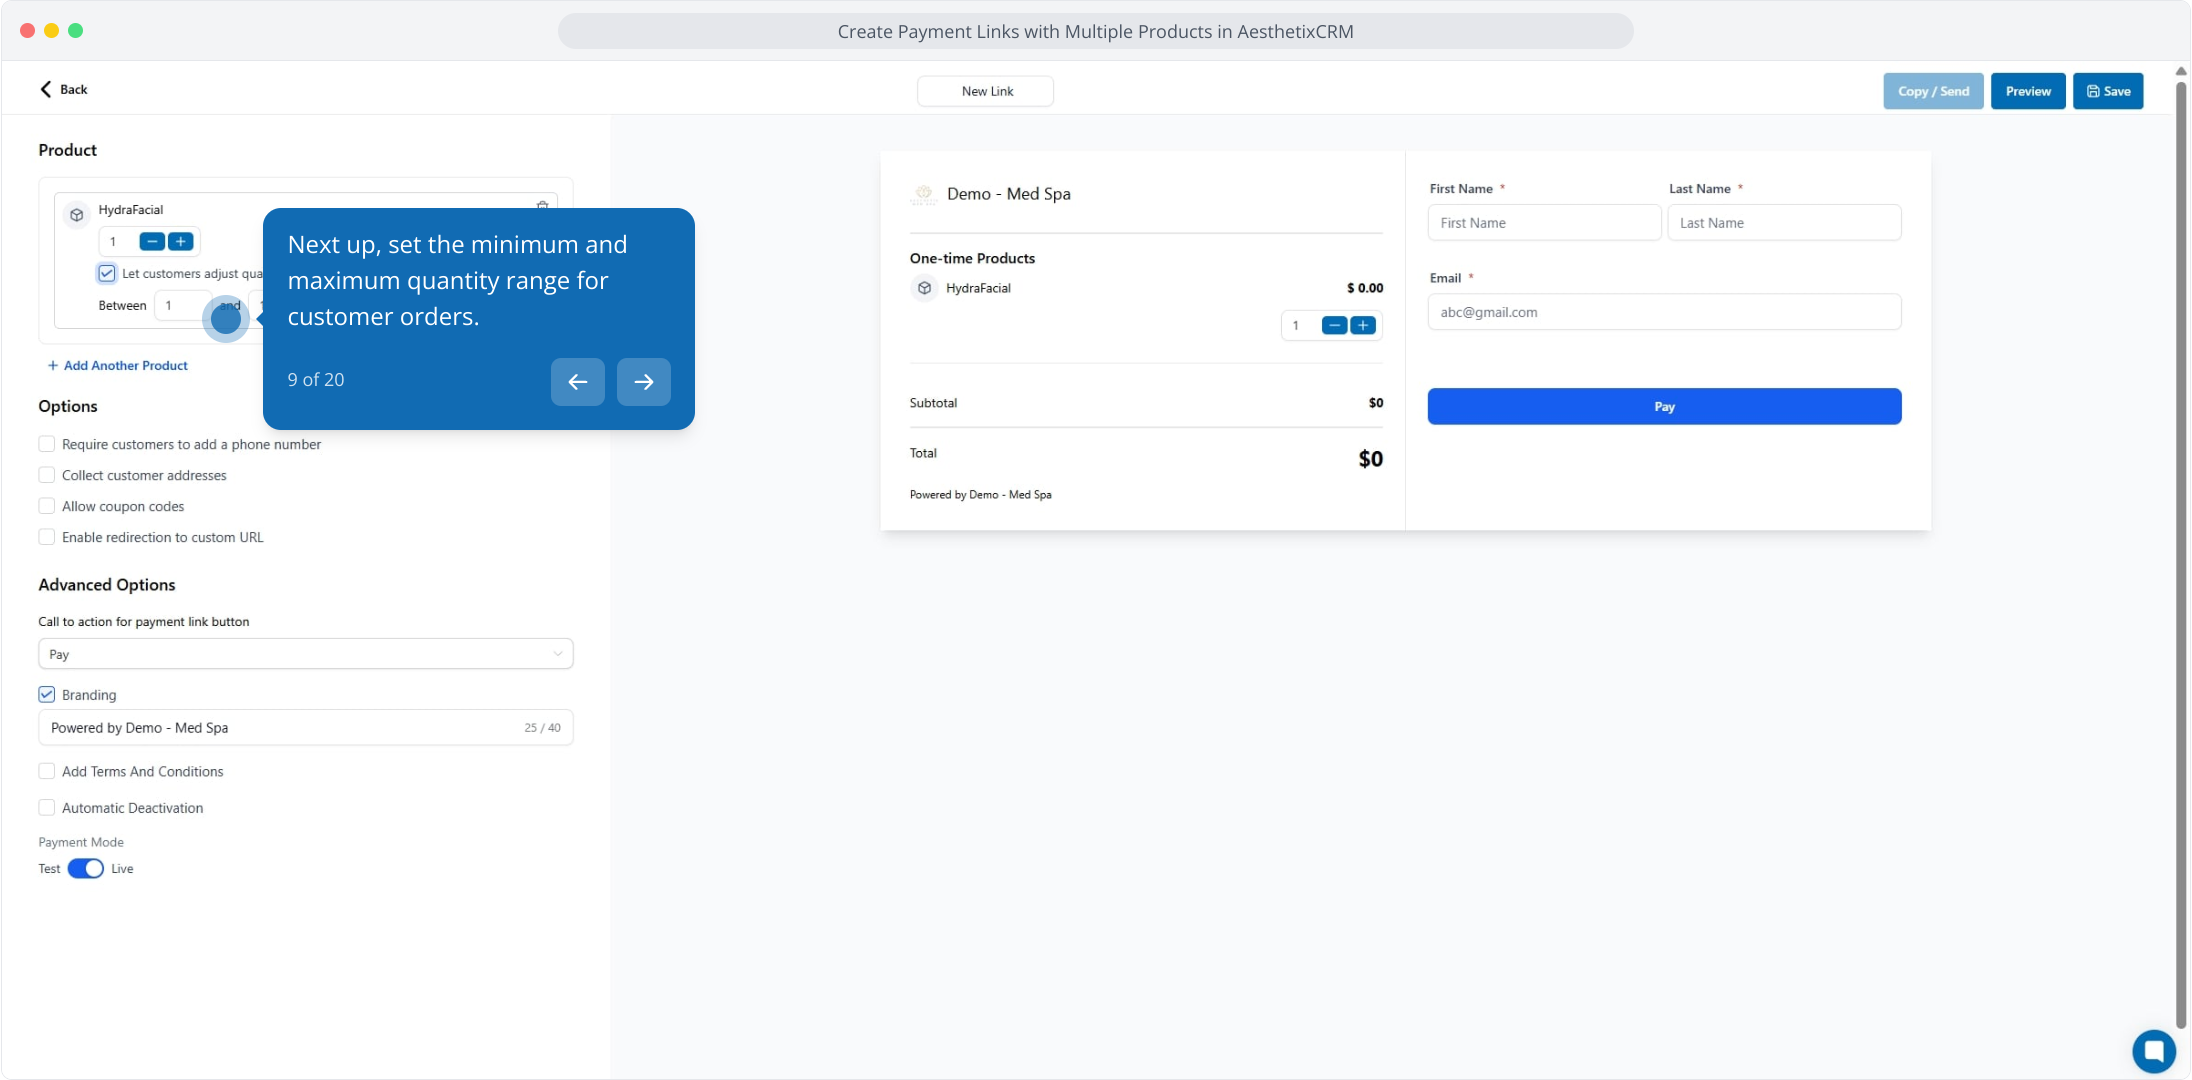
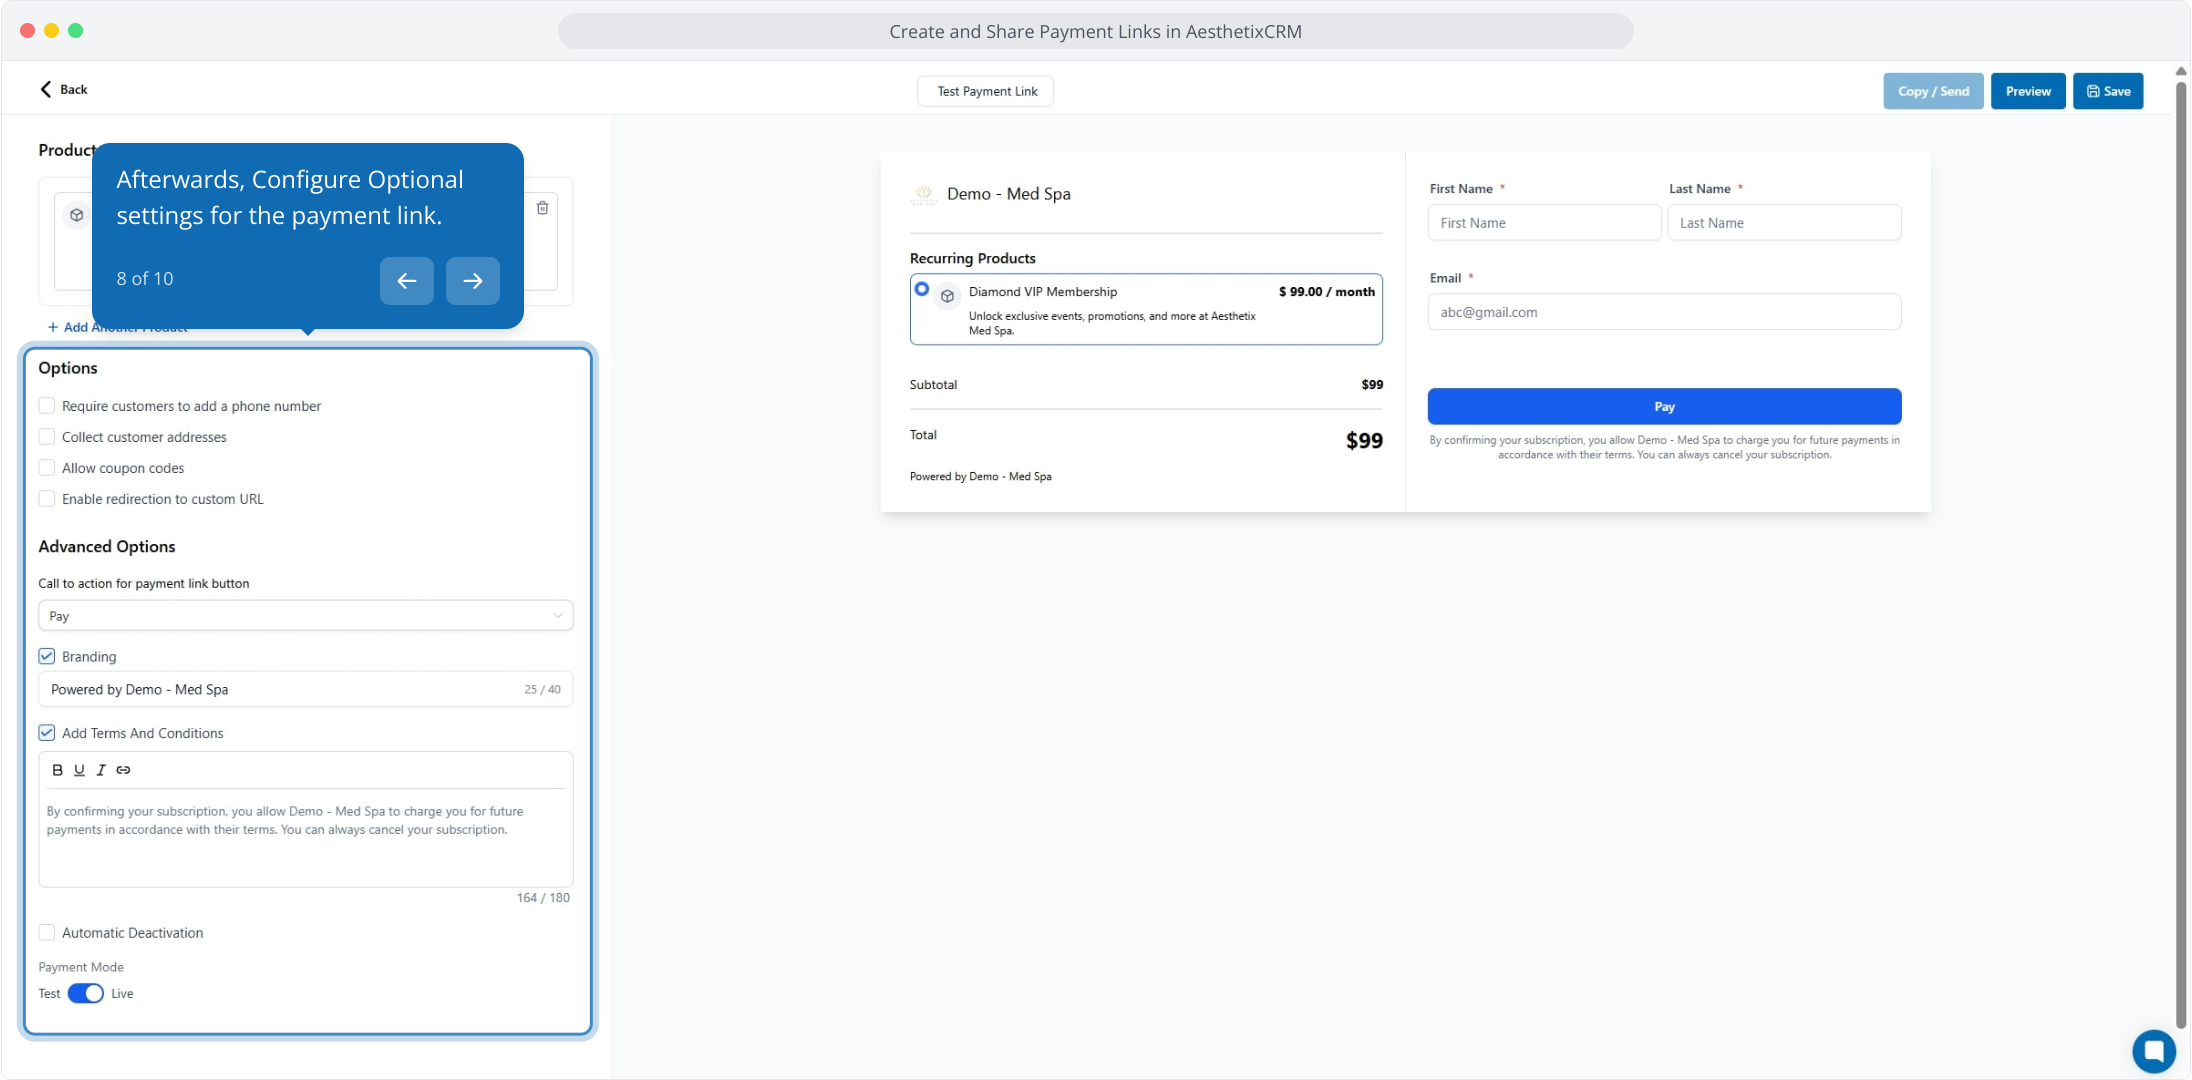
Fine-tune how the checkout behaves and looks. Optional settings include:
Require a phone number: Make phone collection mandatory at checkout, helpful for appointment follow-ups and verification.
Collect customer addresses: Show street, city, state, country, and postal code fields, ideal for shipping retail products or compliance needs.
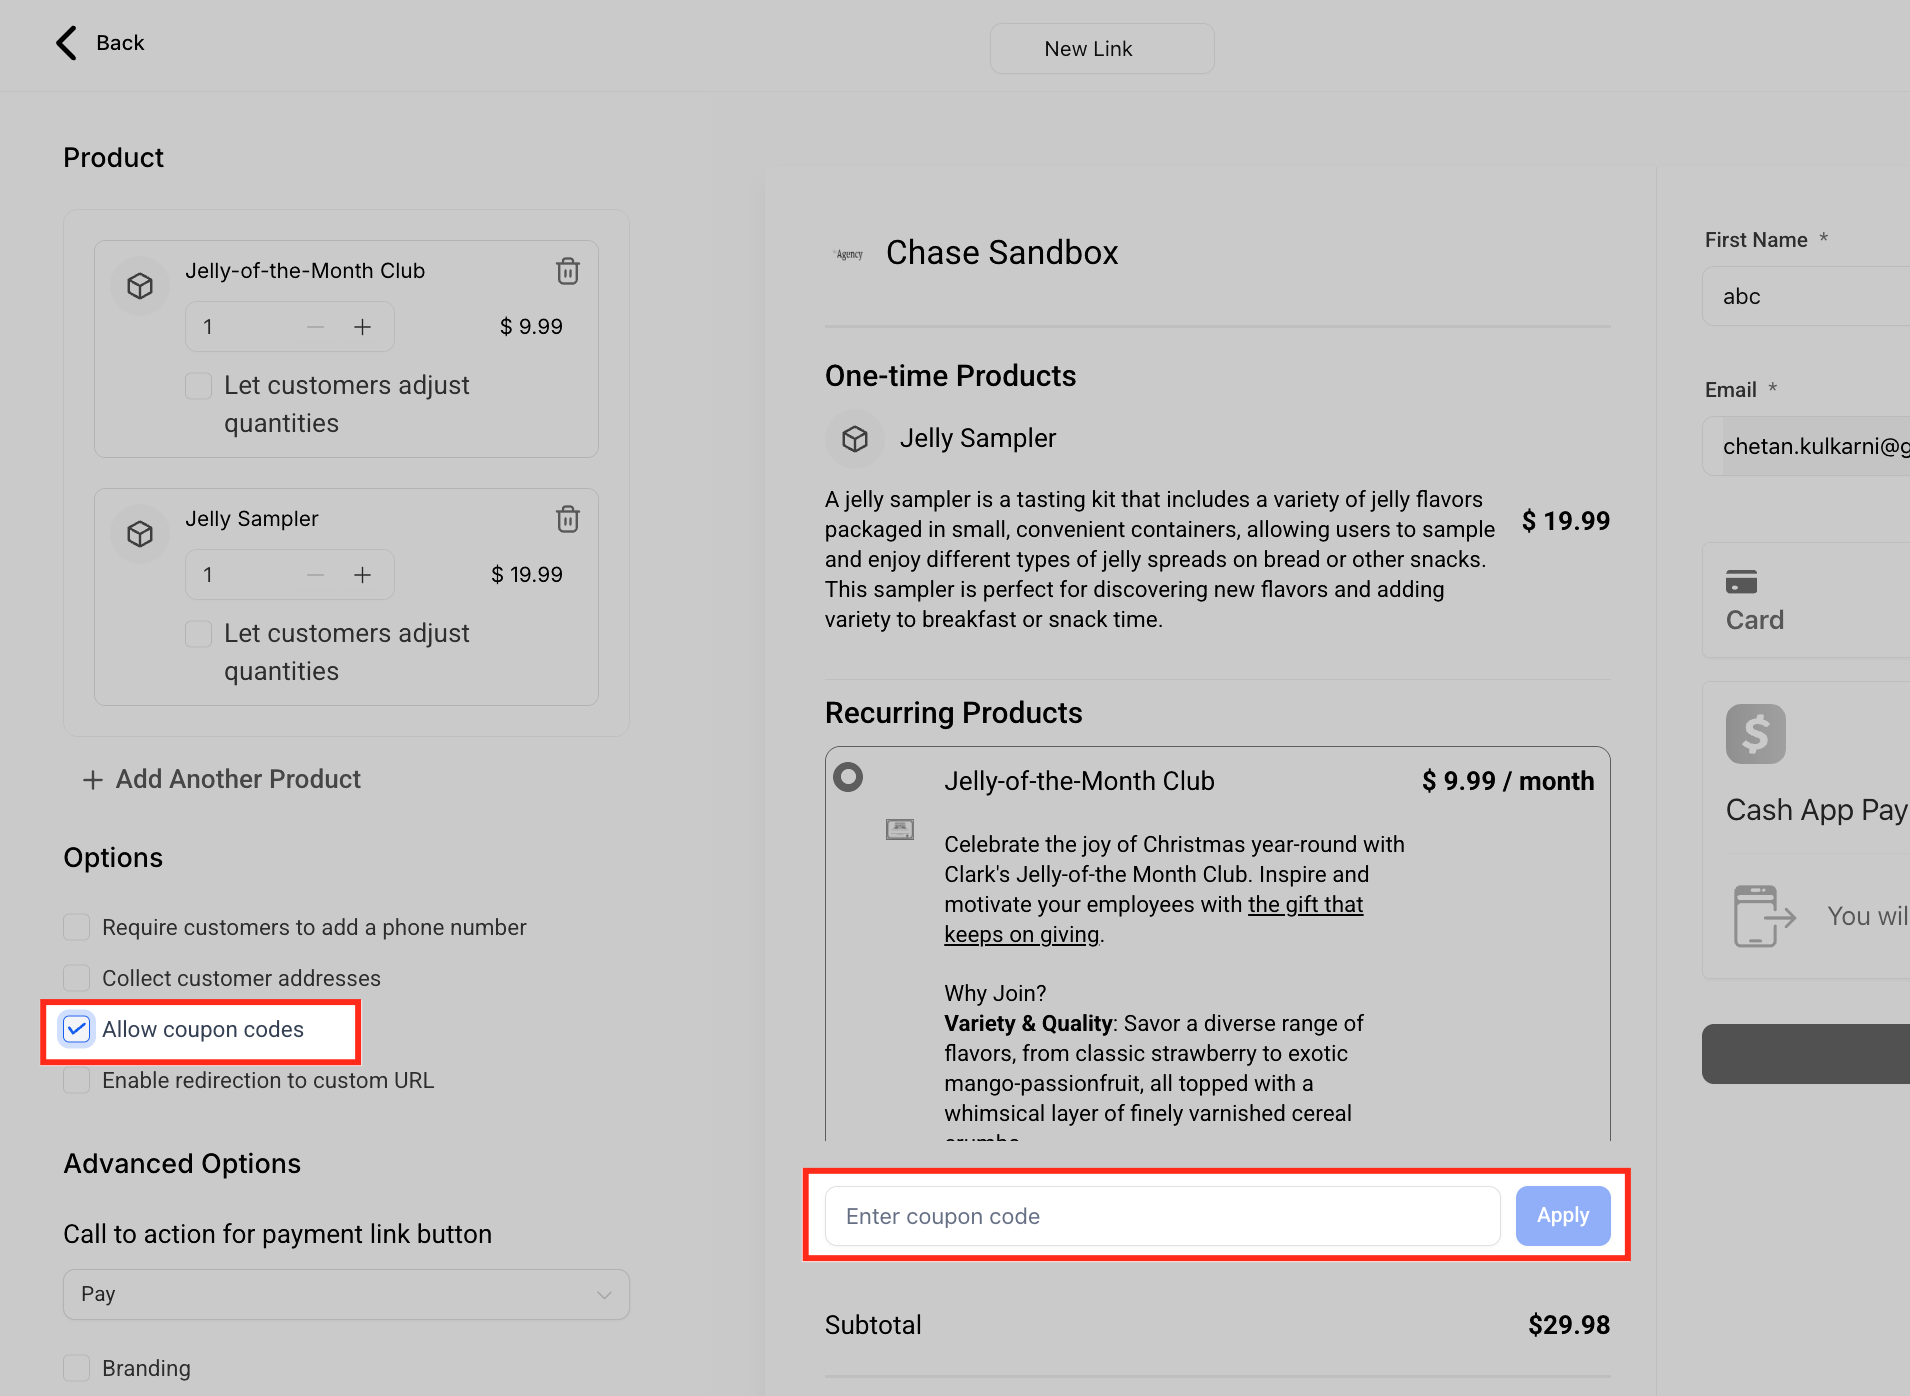
Allow coupon codes: Display a coupon field so patients can apply discount codes at checkout.
Redirect after purchase: Send patients to a specific page after payment, such as a thank-you page or booking instructions, and choose whether it opens in a new tab.
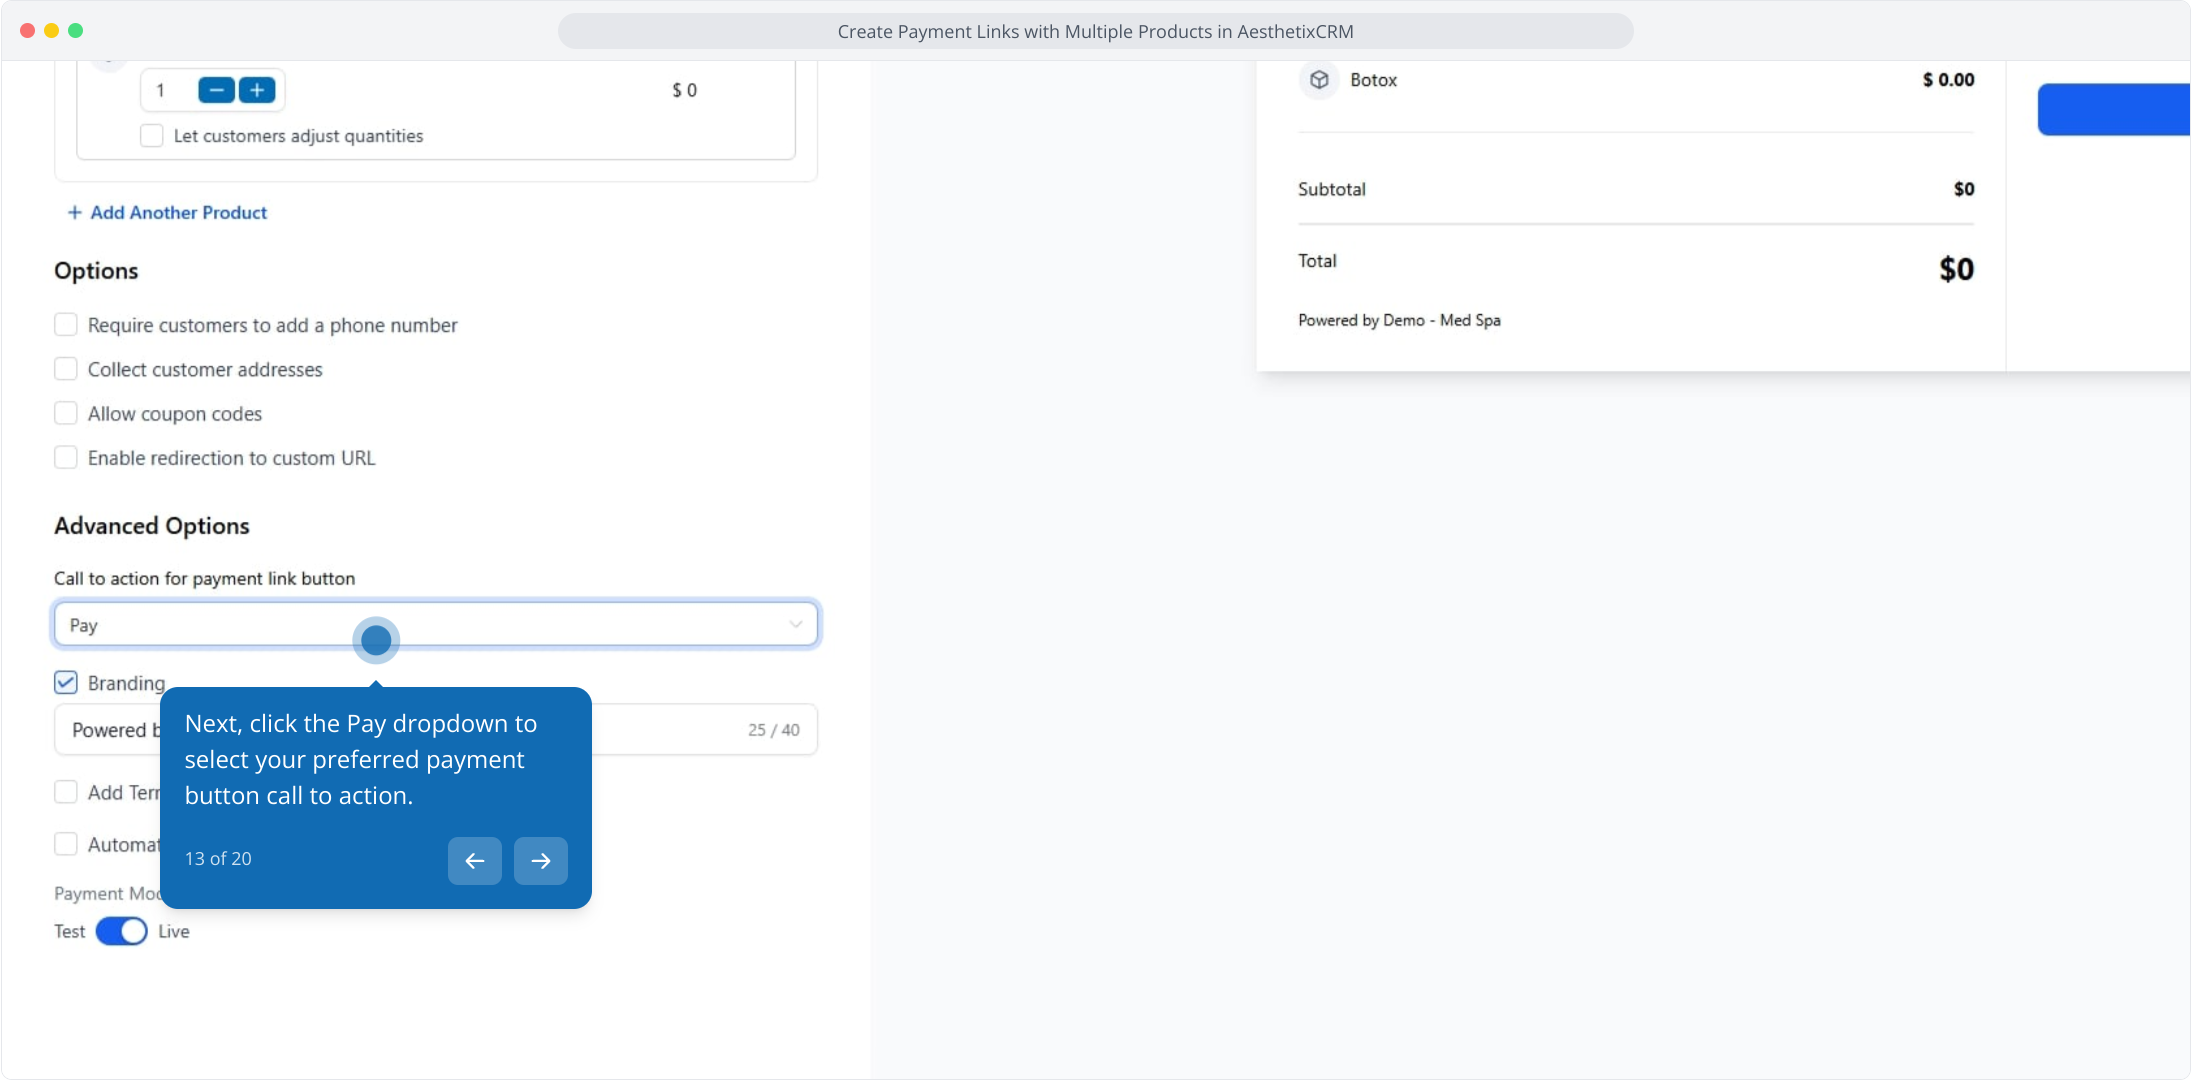
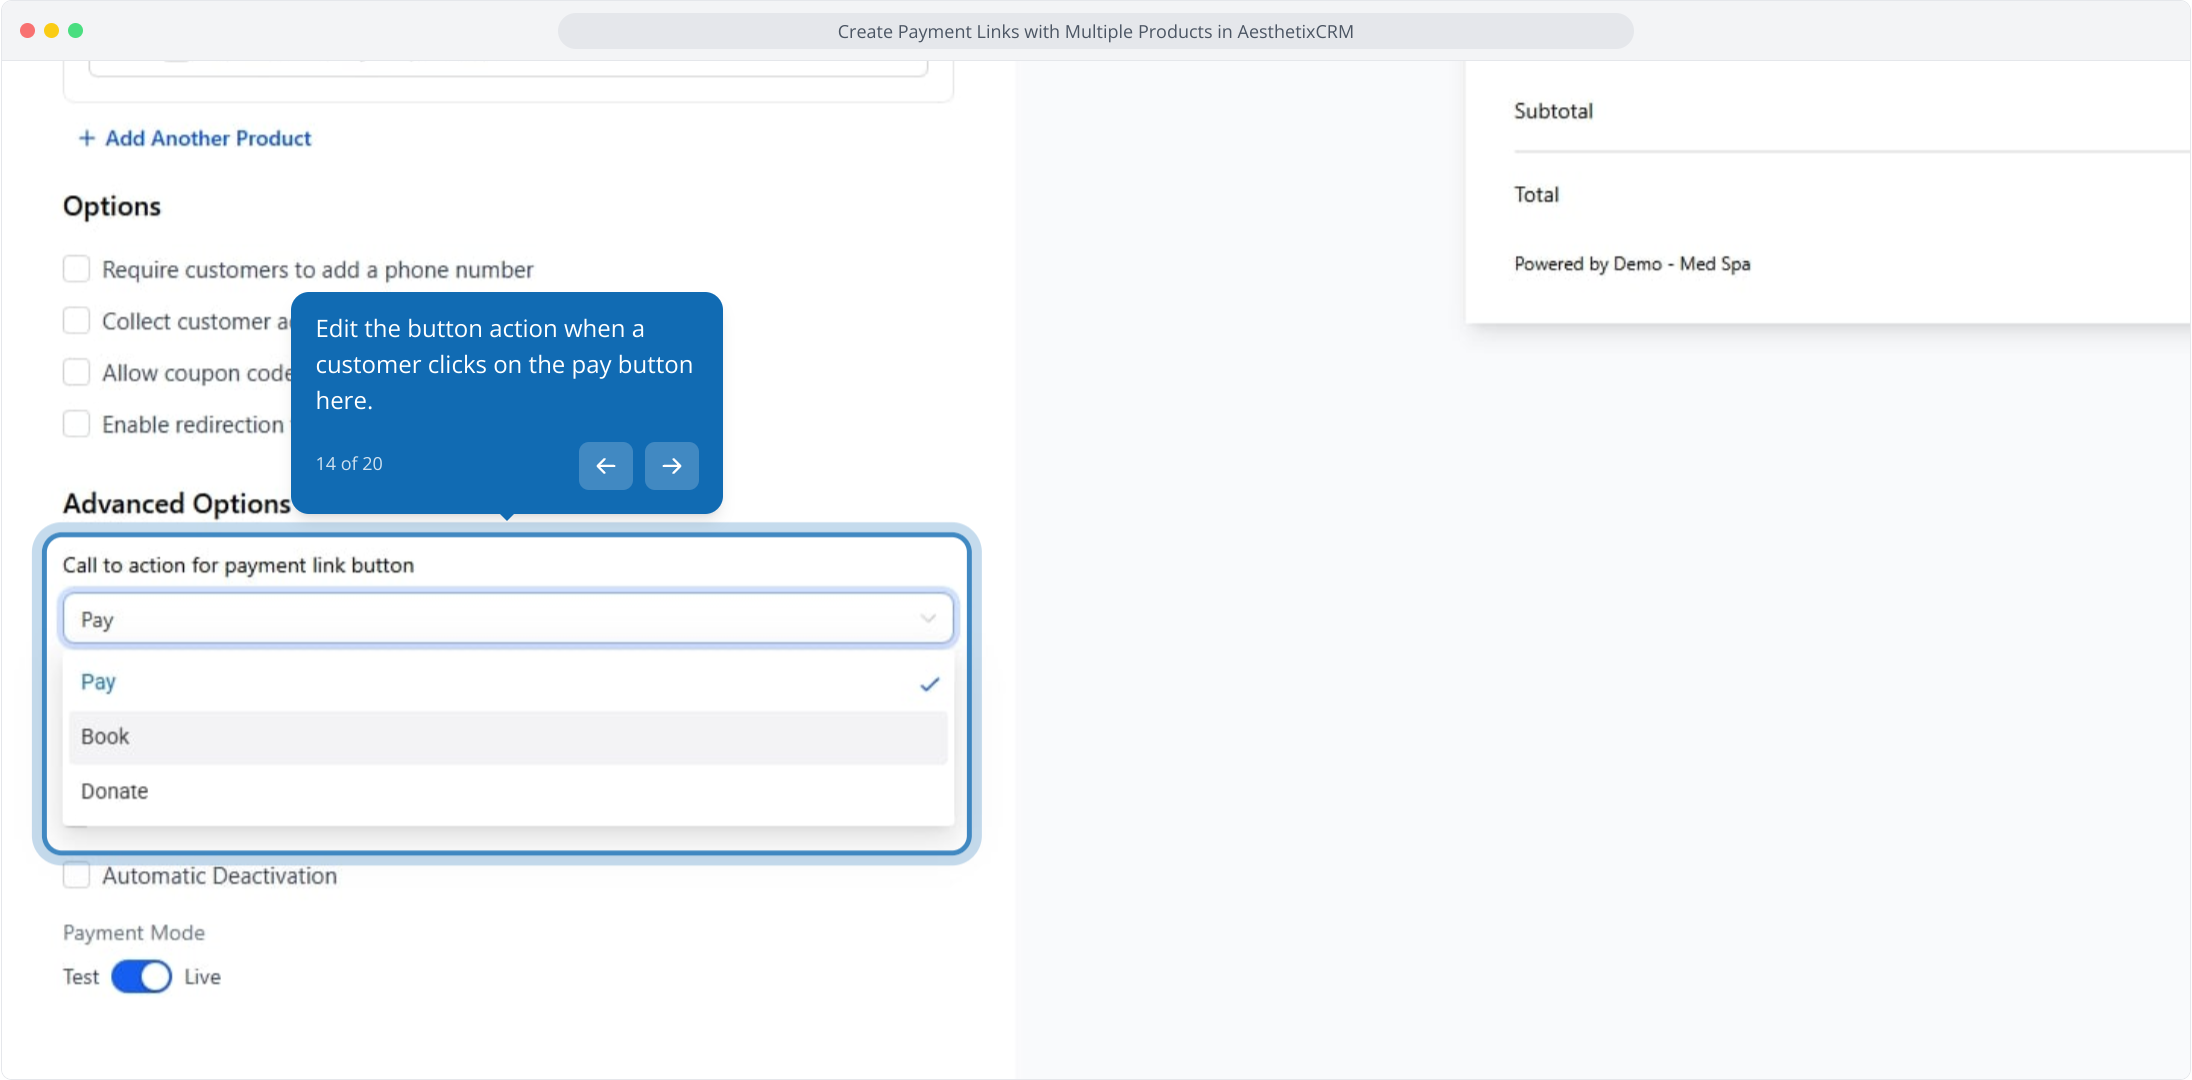
Call-to-action button text: Personalize the button label (for example, Pay, Book, or Donate) to match your offer.
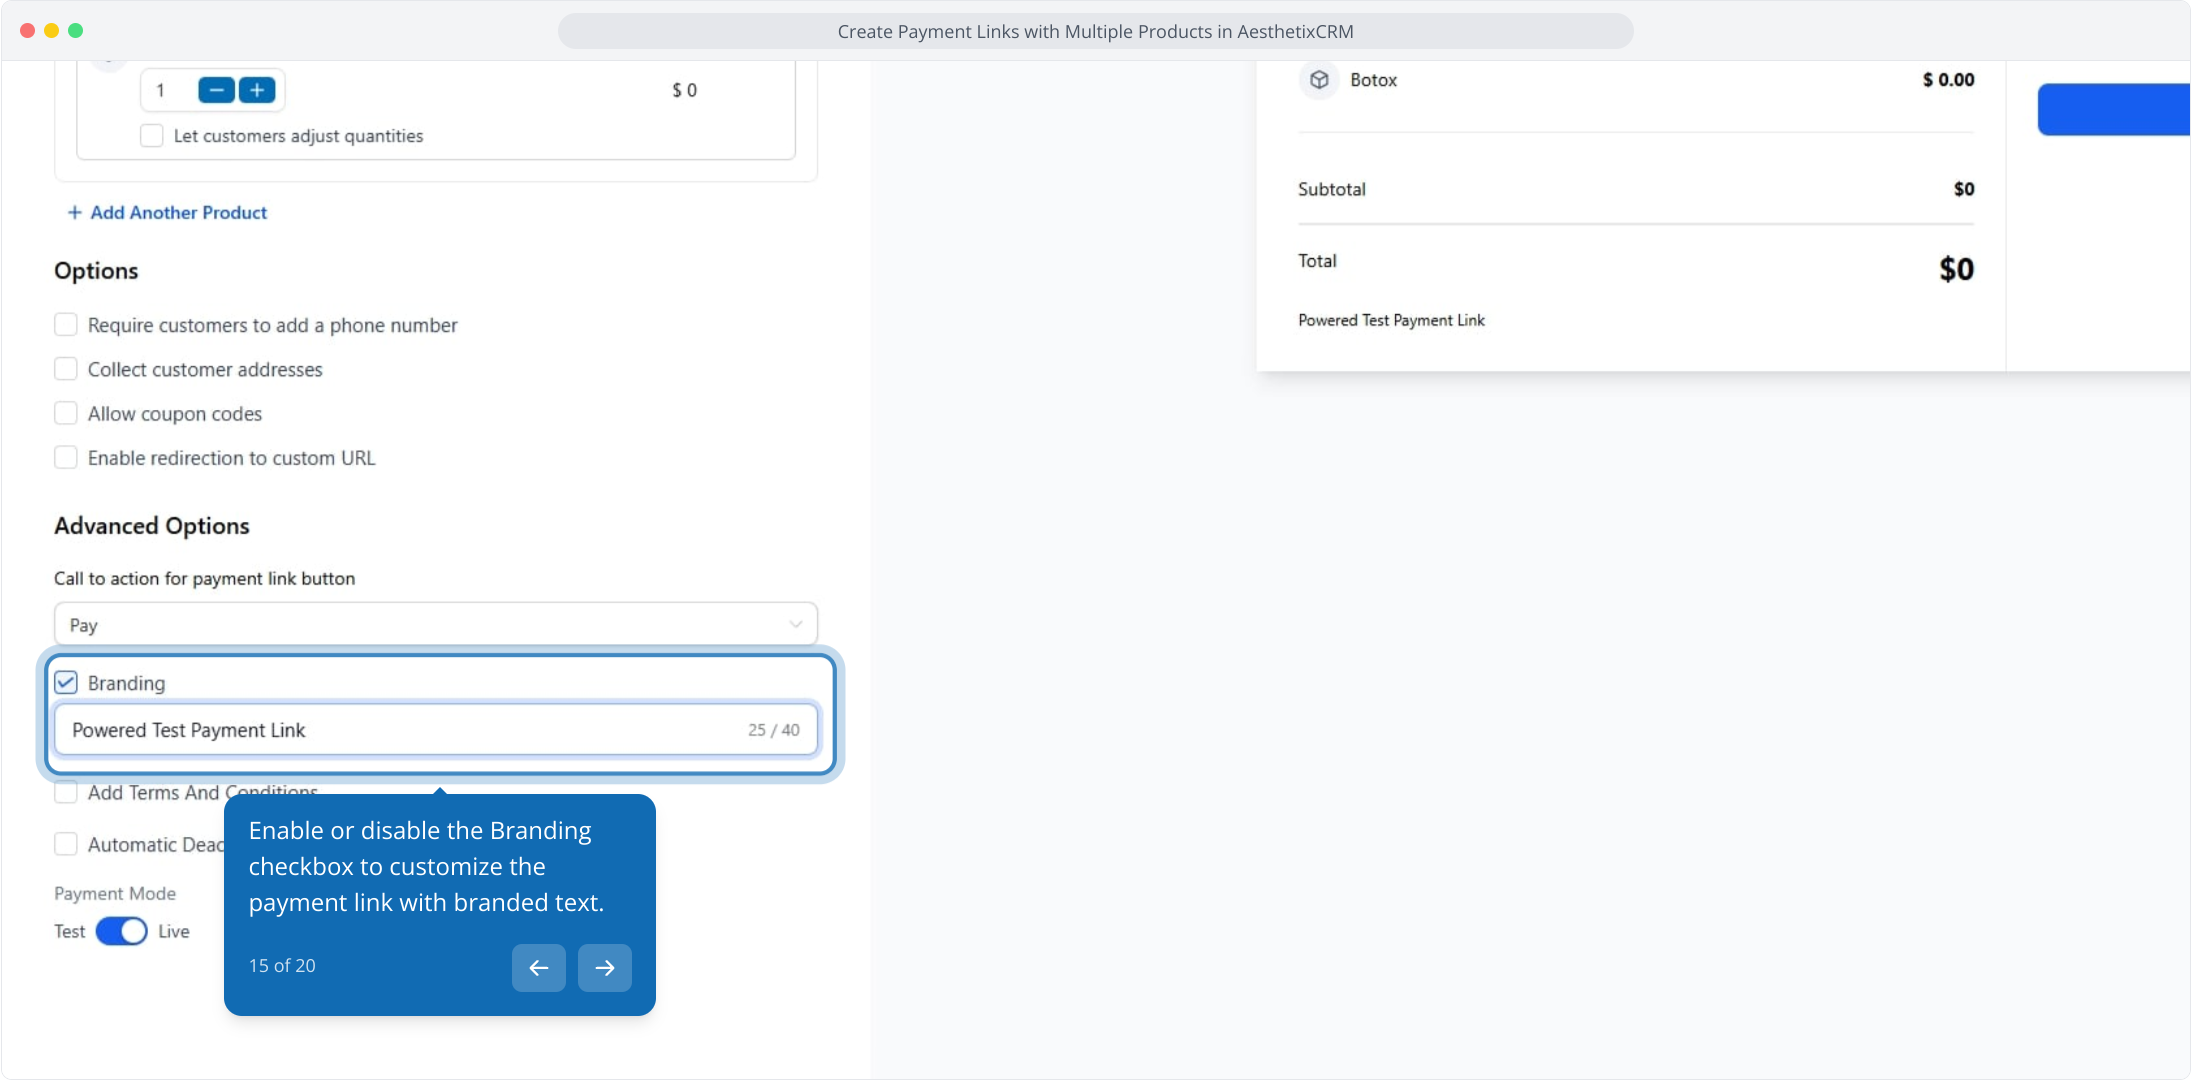
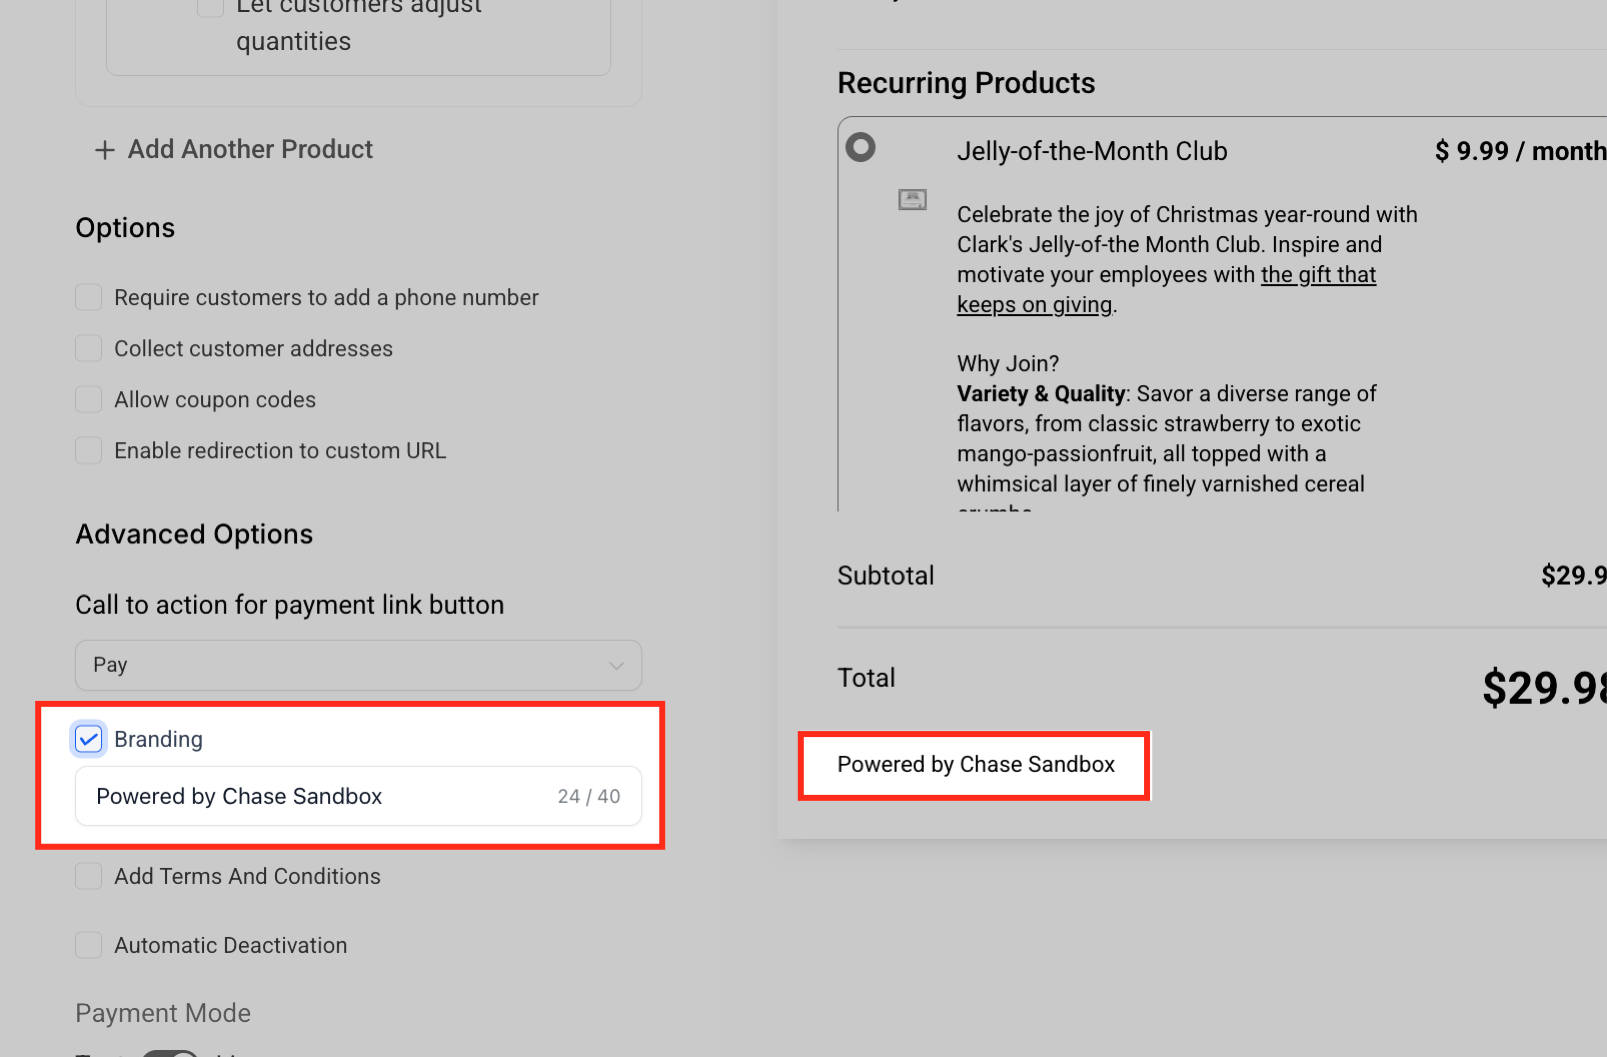
Branding message: Add a custom "Powered by" label that displays your practice name on the checkout page.
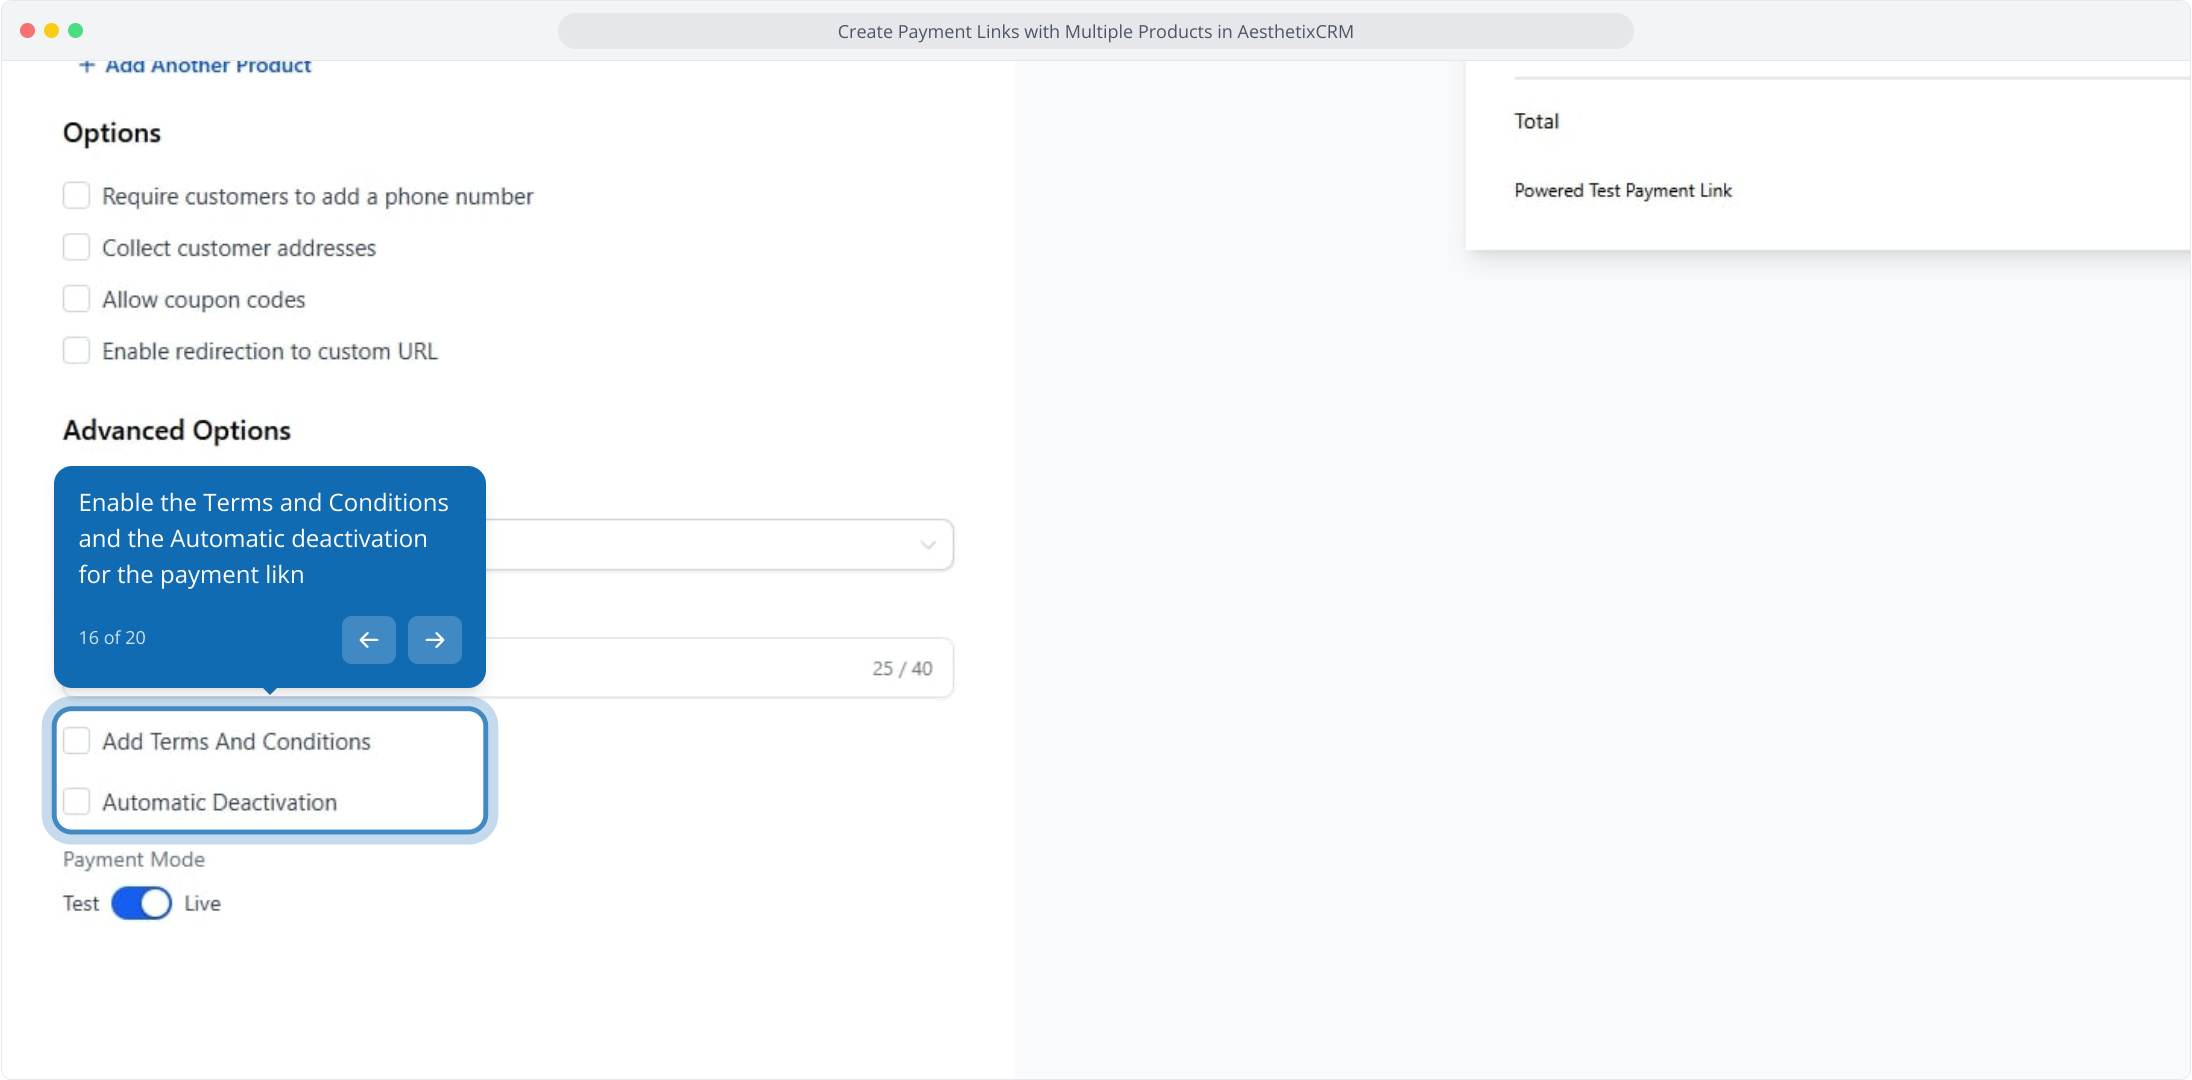
Terms and conditions: Add legal or policy text that appears just below the Pay button so patients review key terms before paying.
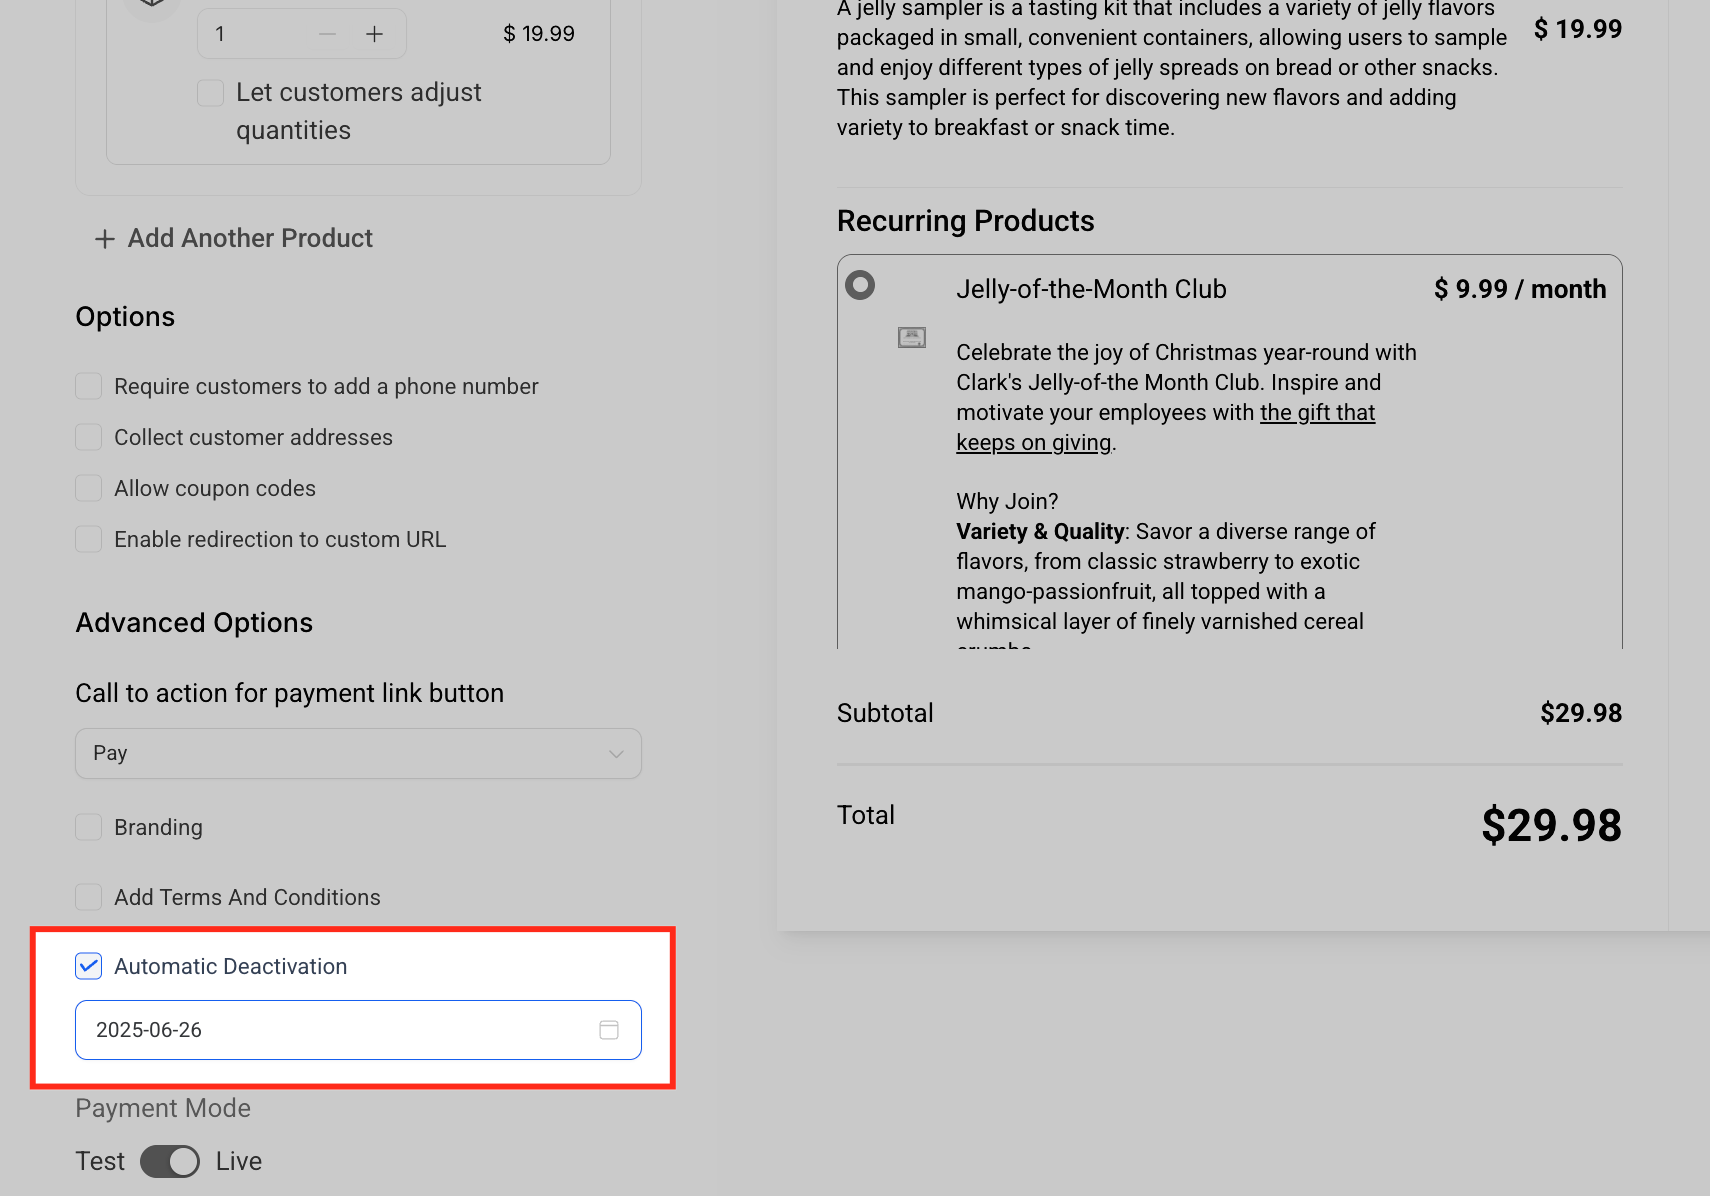
Automatic deactivation: Set a date when the link should expire, useful for limited-time promotions.
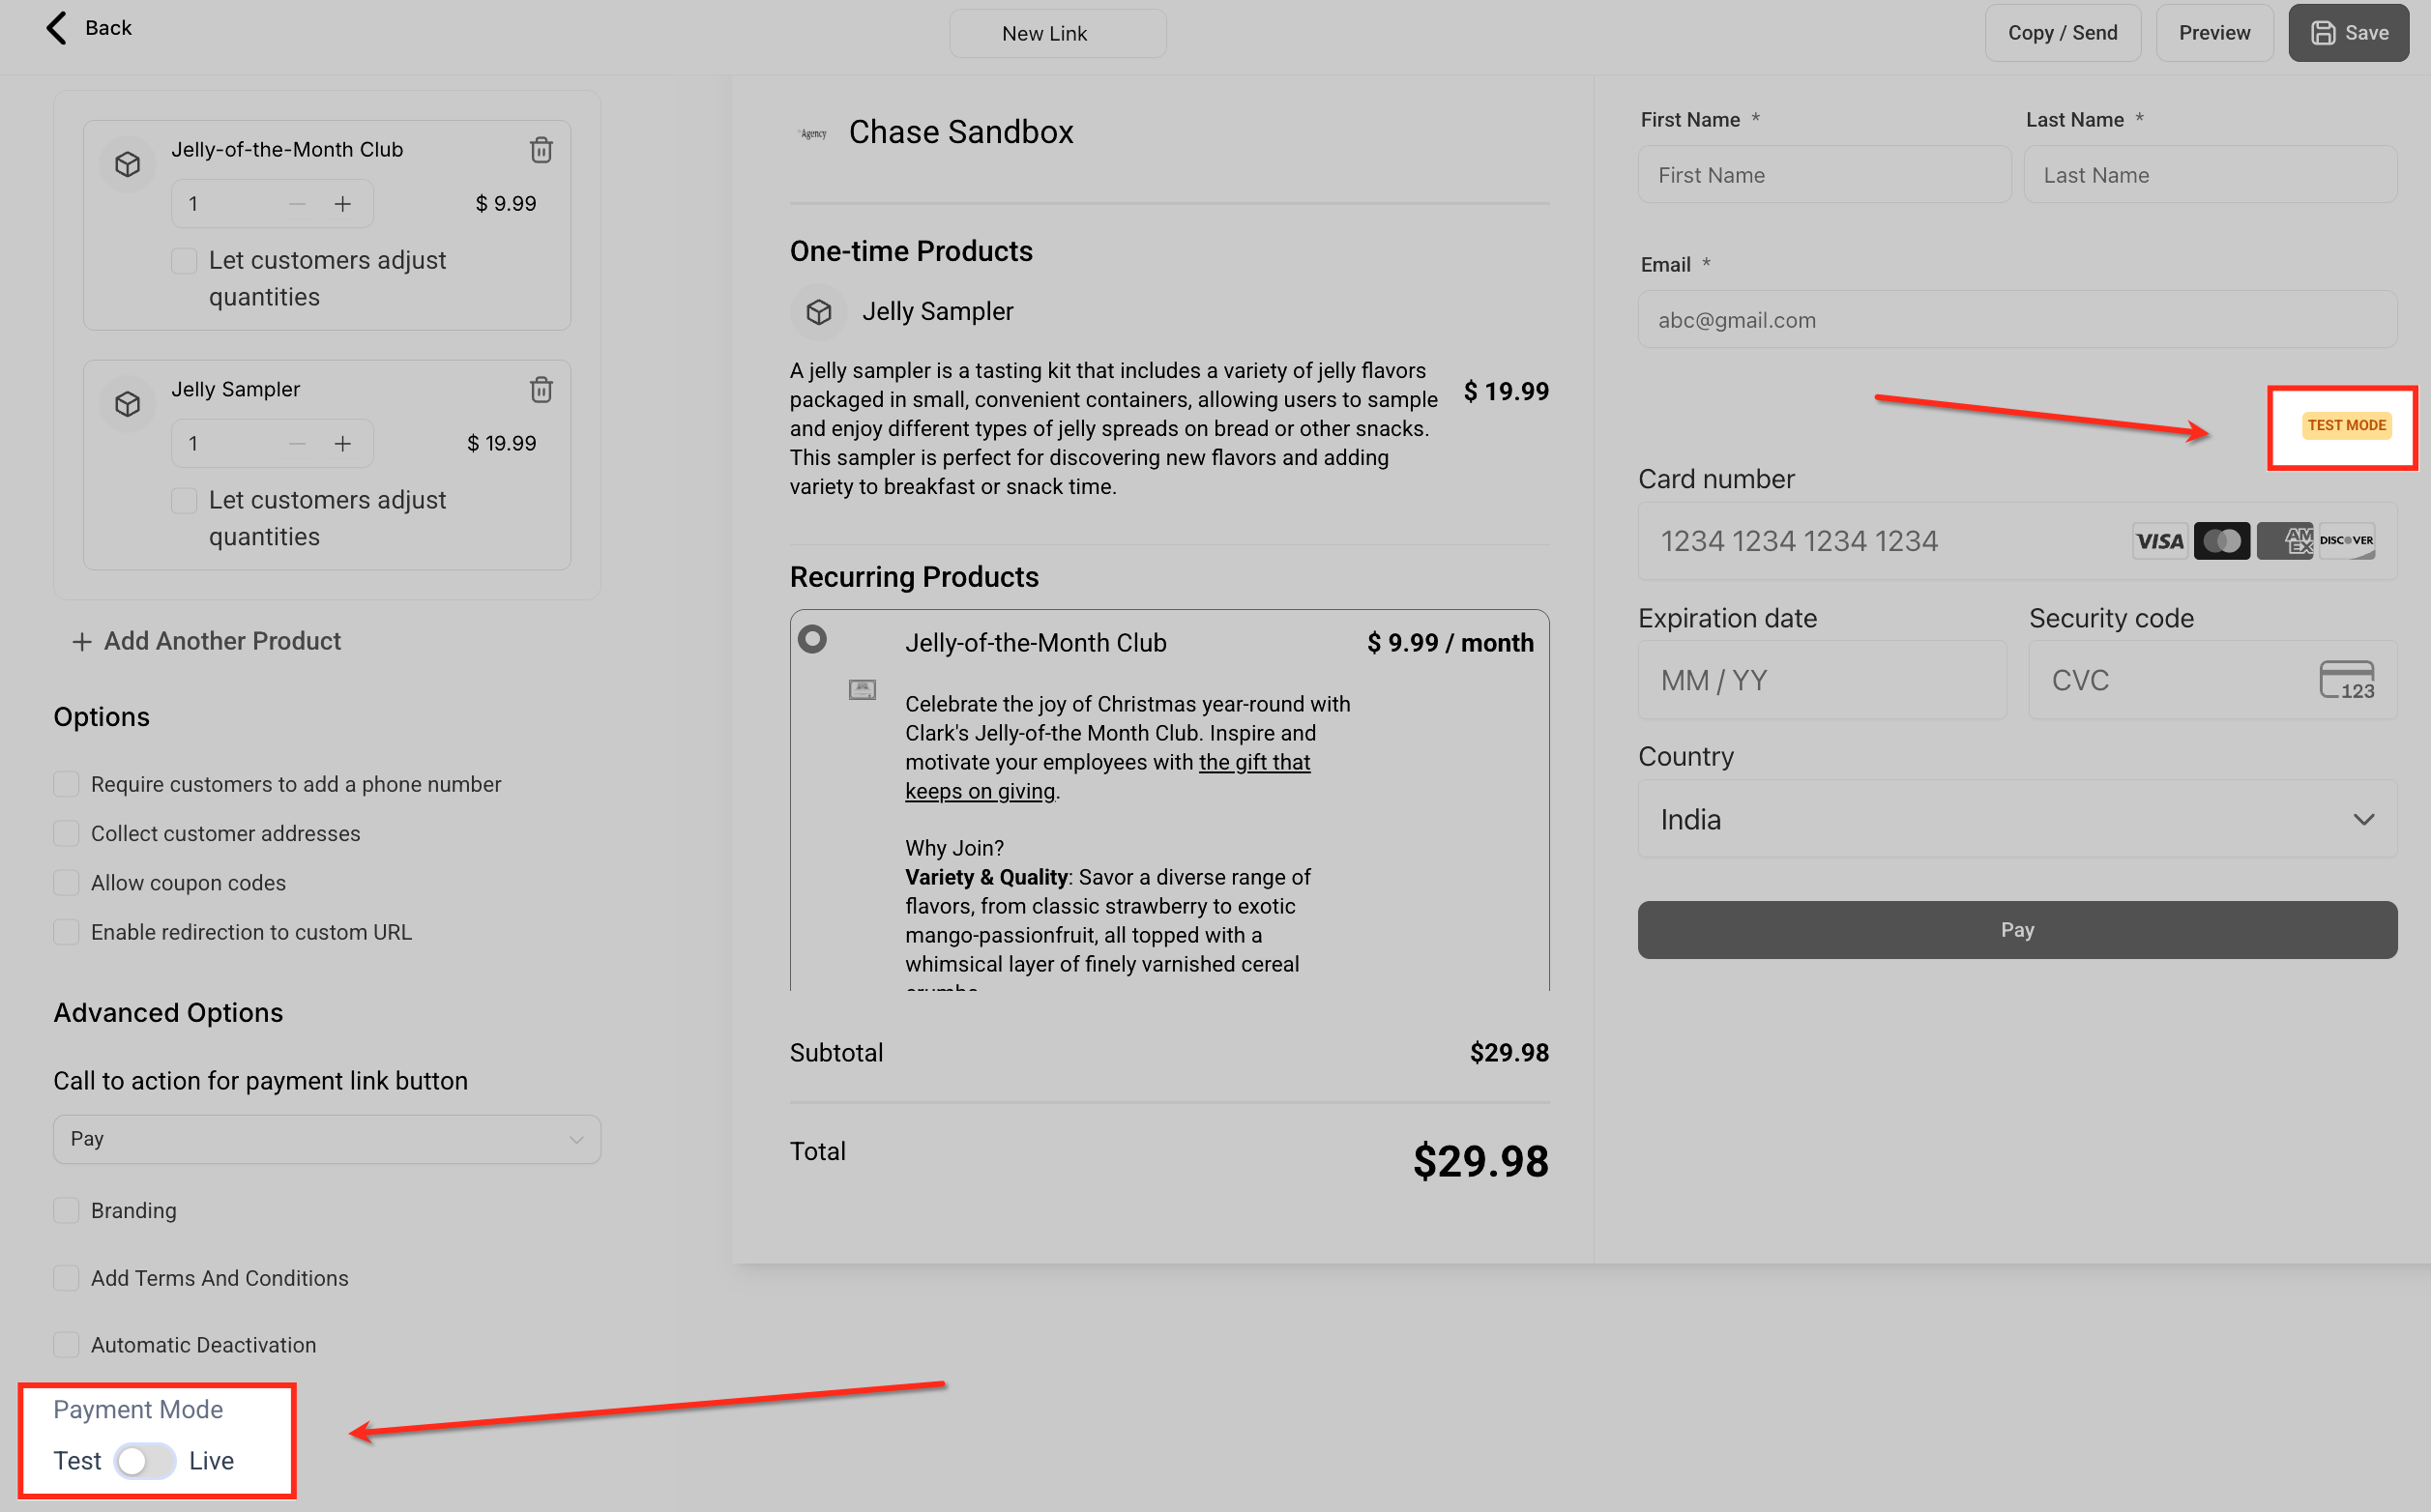
Payment mode: Use the Test and Live toggle to simulate payments with test cards before switching to Live to accept real transactions.
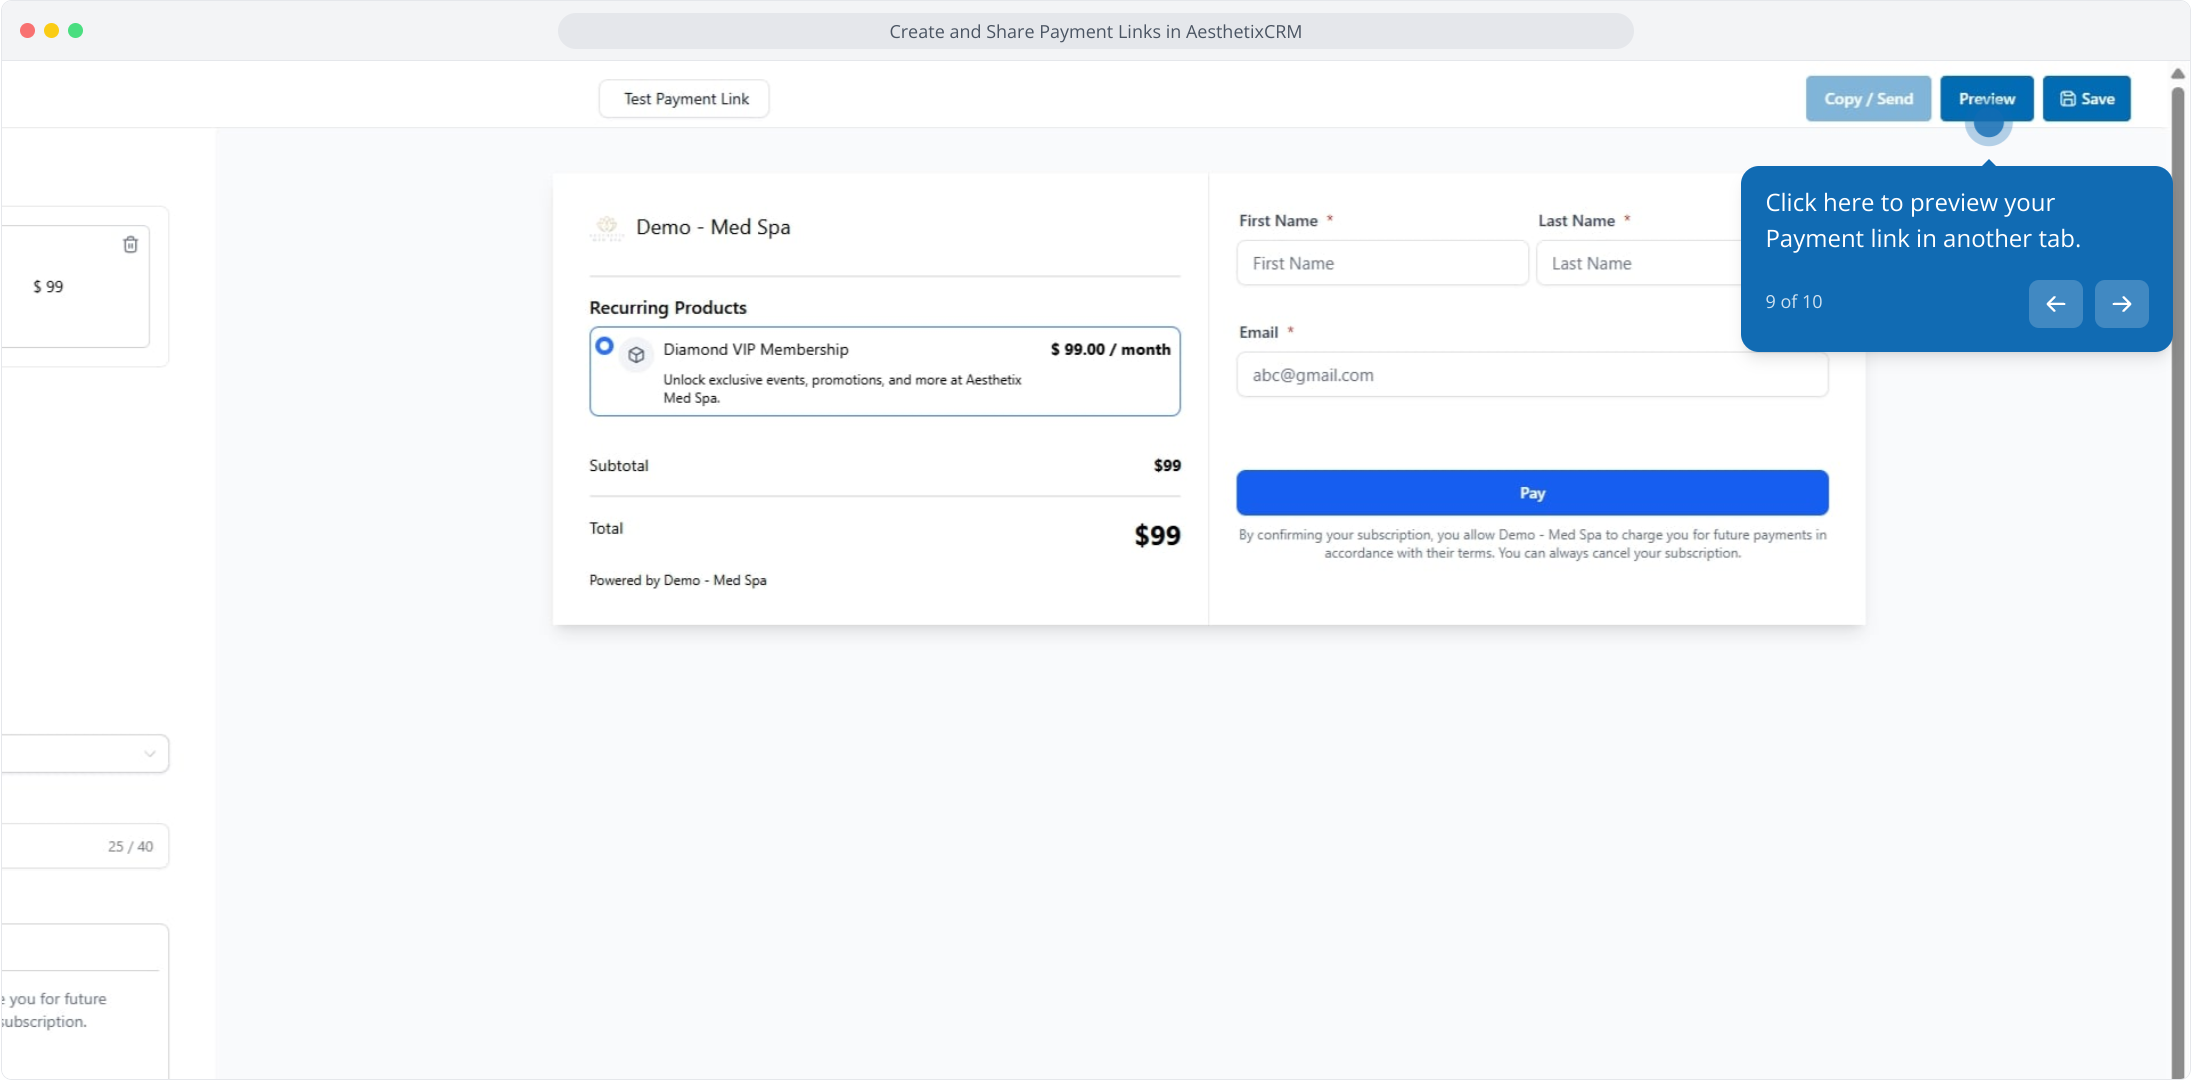
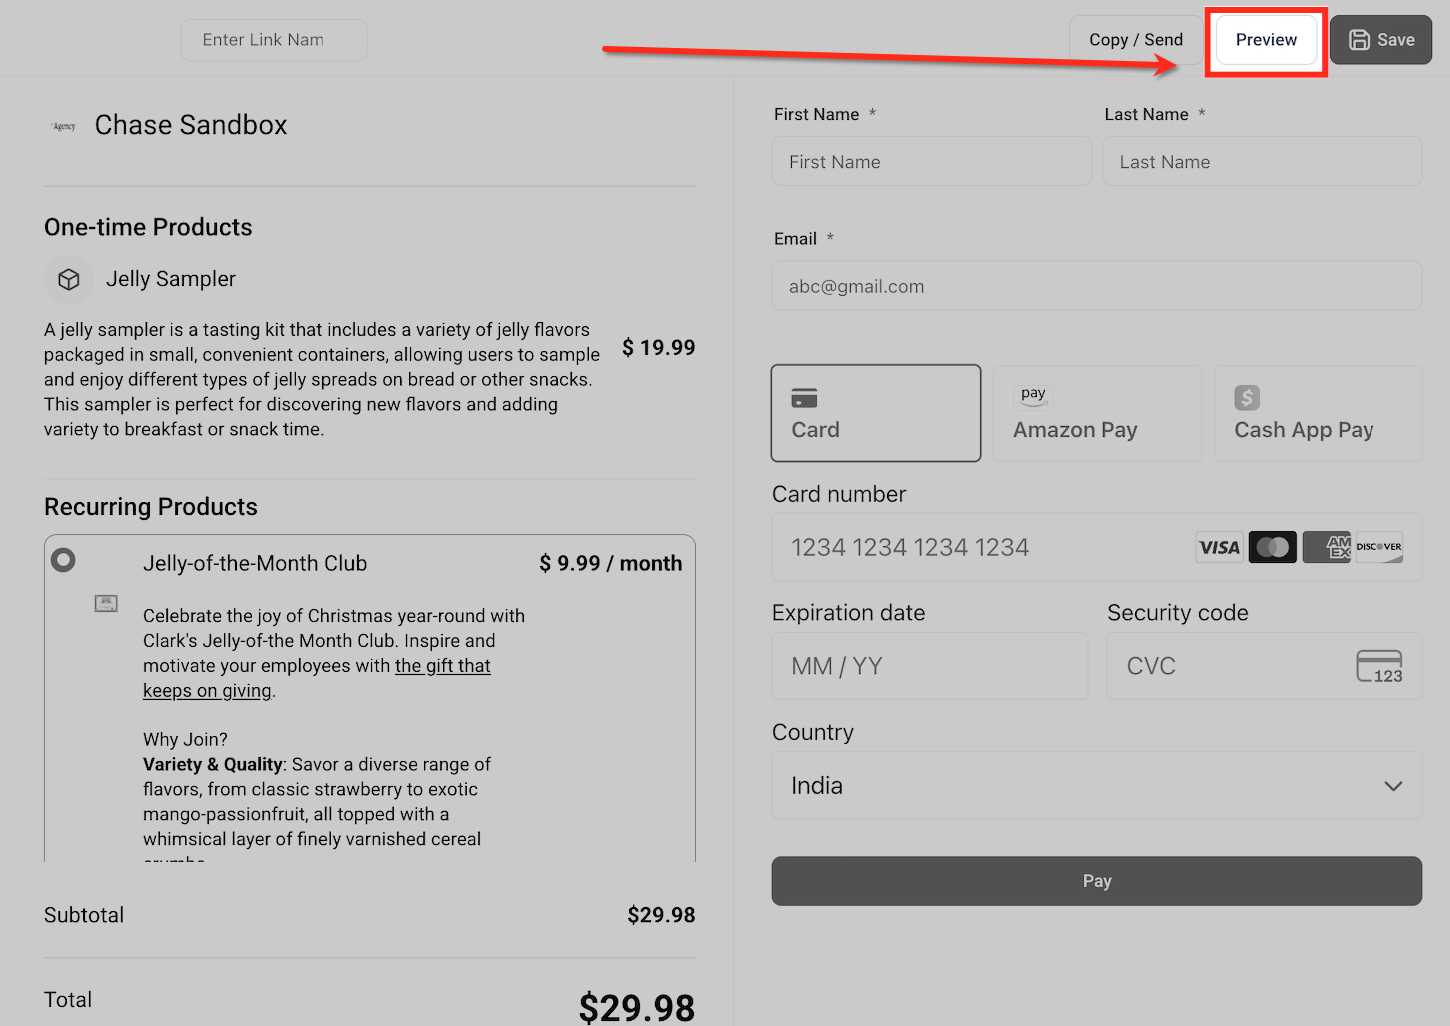
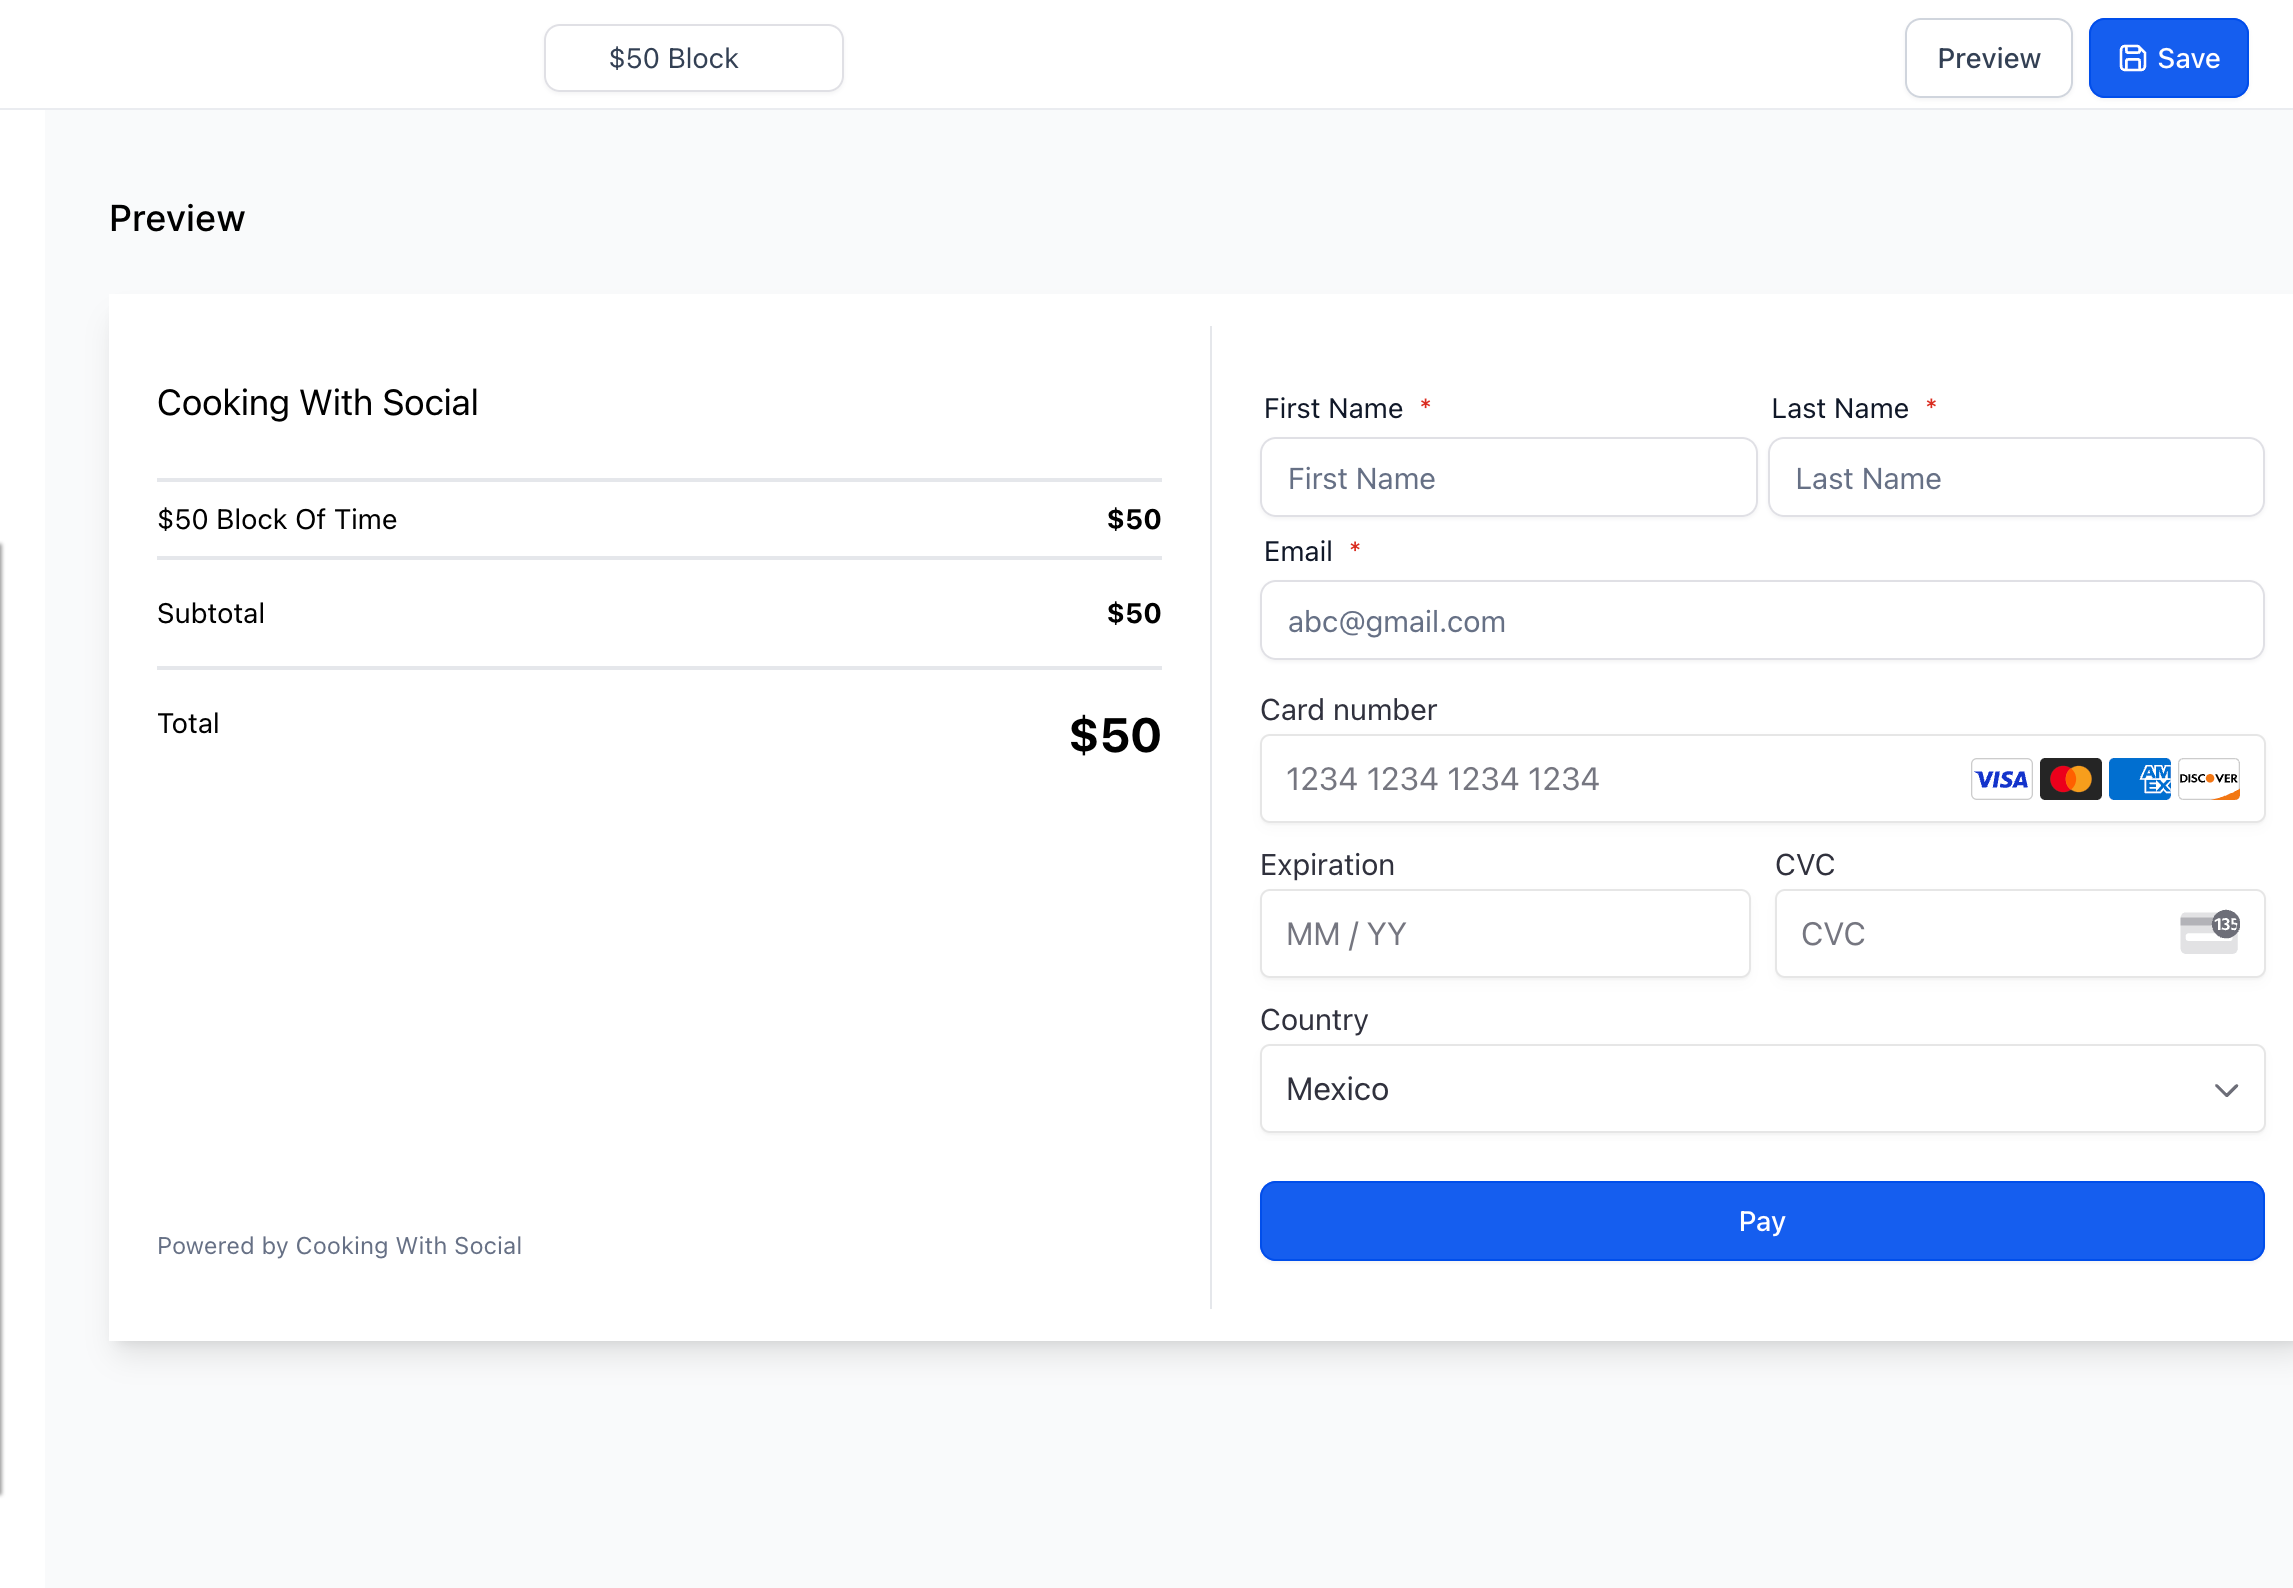
Click Preview to open the payment link in another tab and see exactly what patients will see. Verify product grouping, branding, form fields, and overall layout before you share.
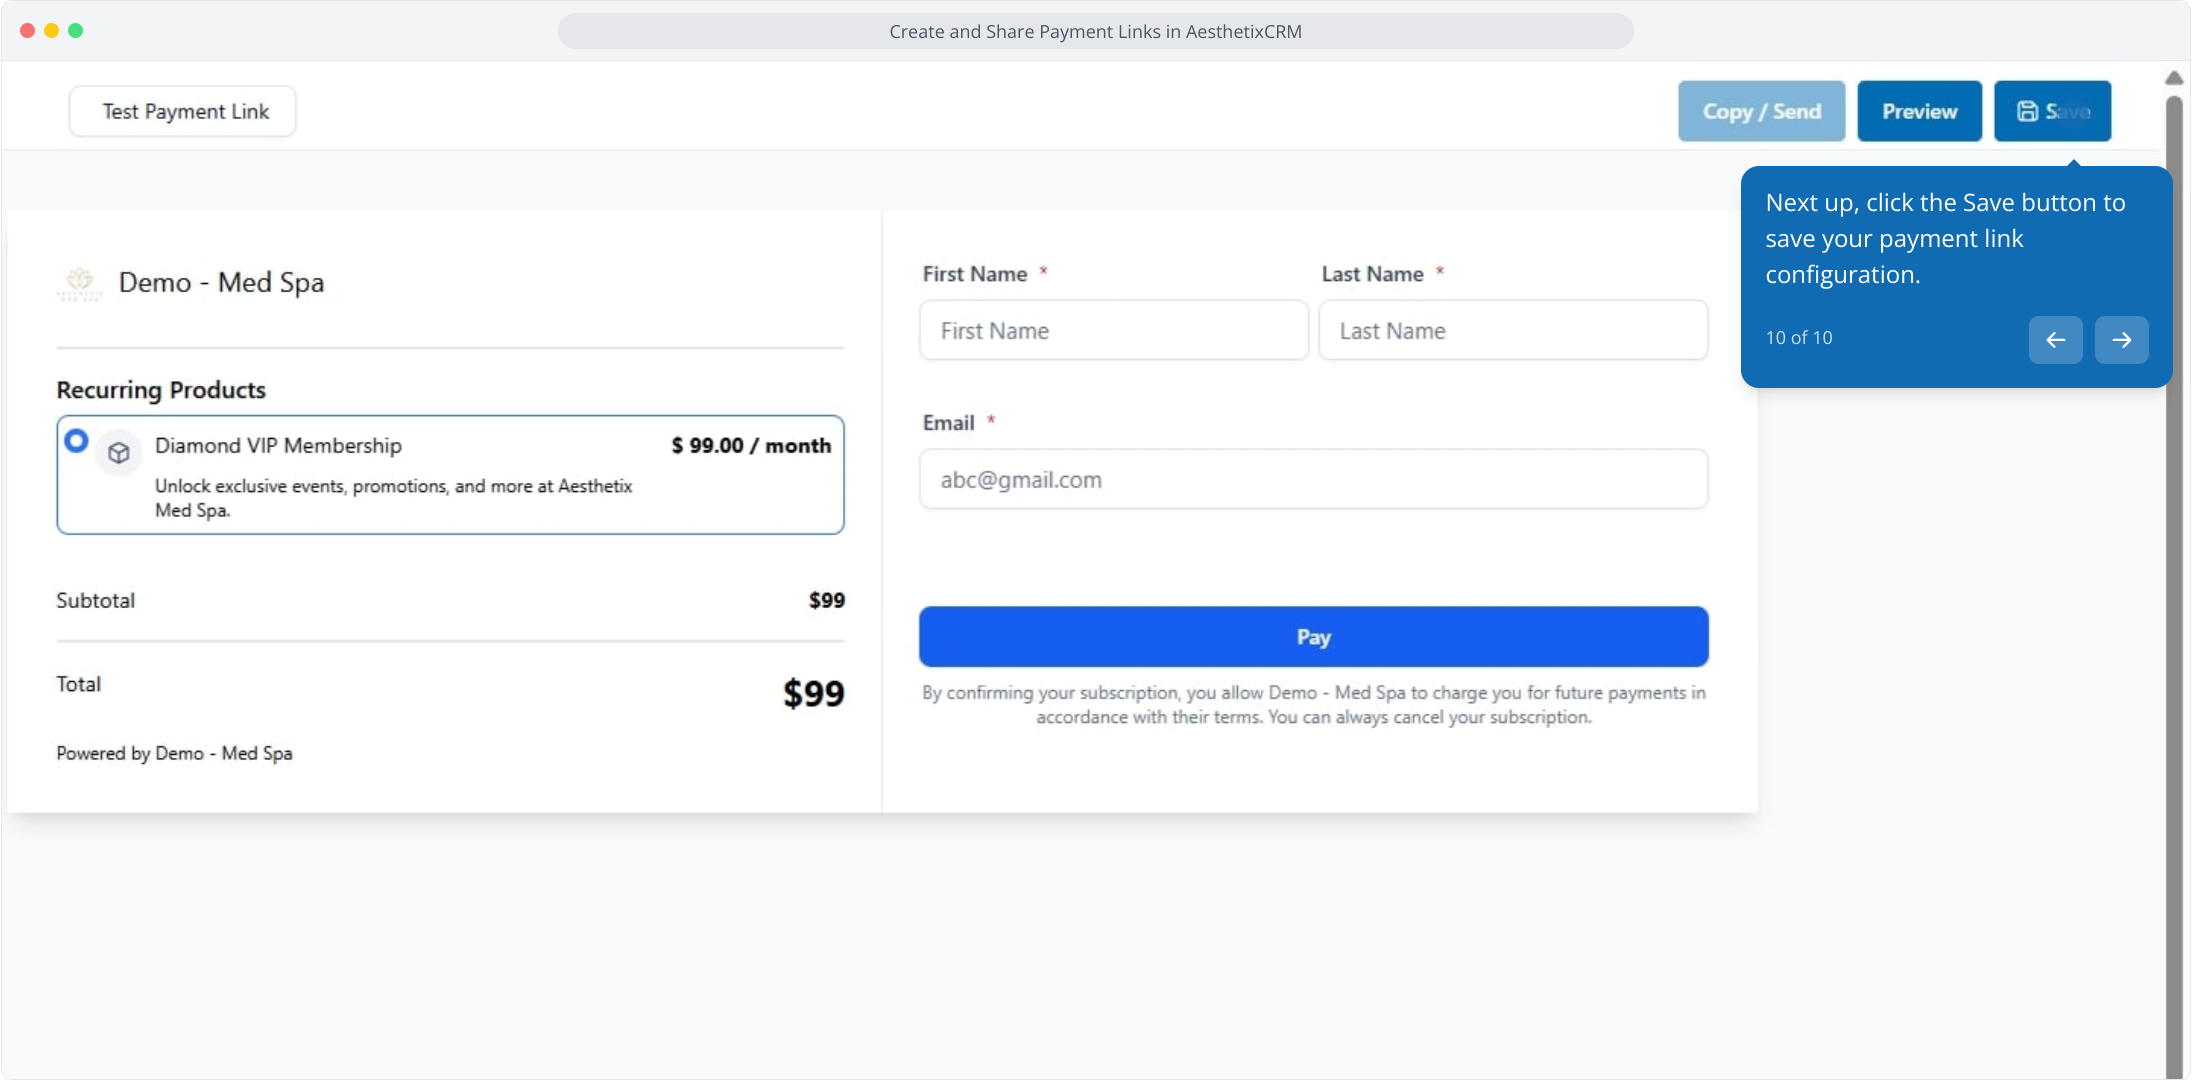
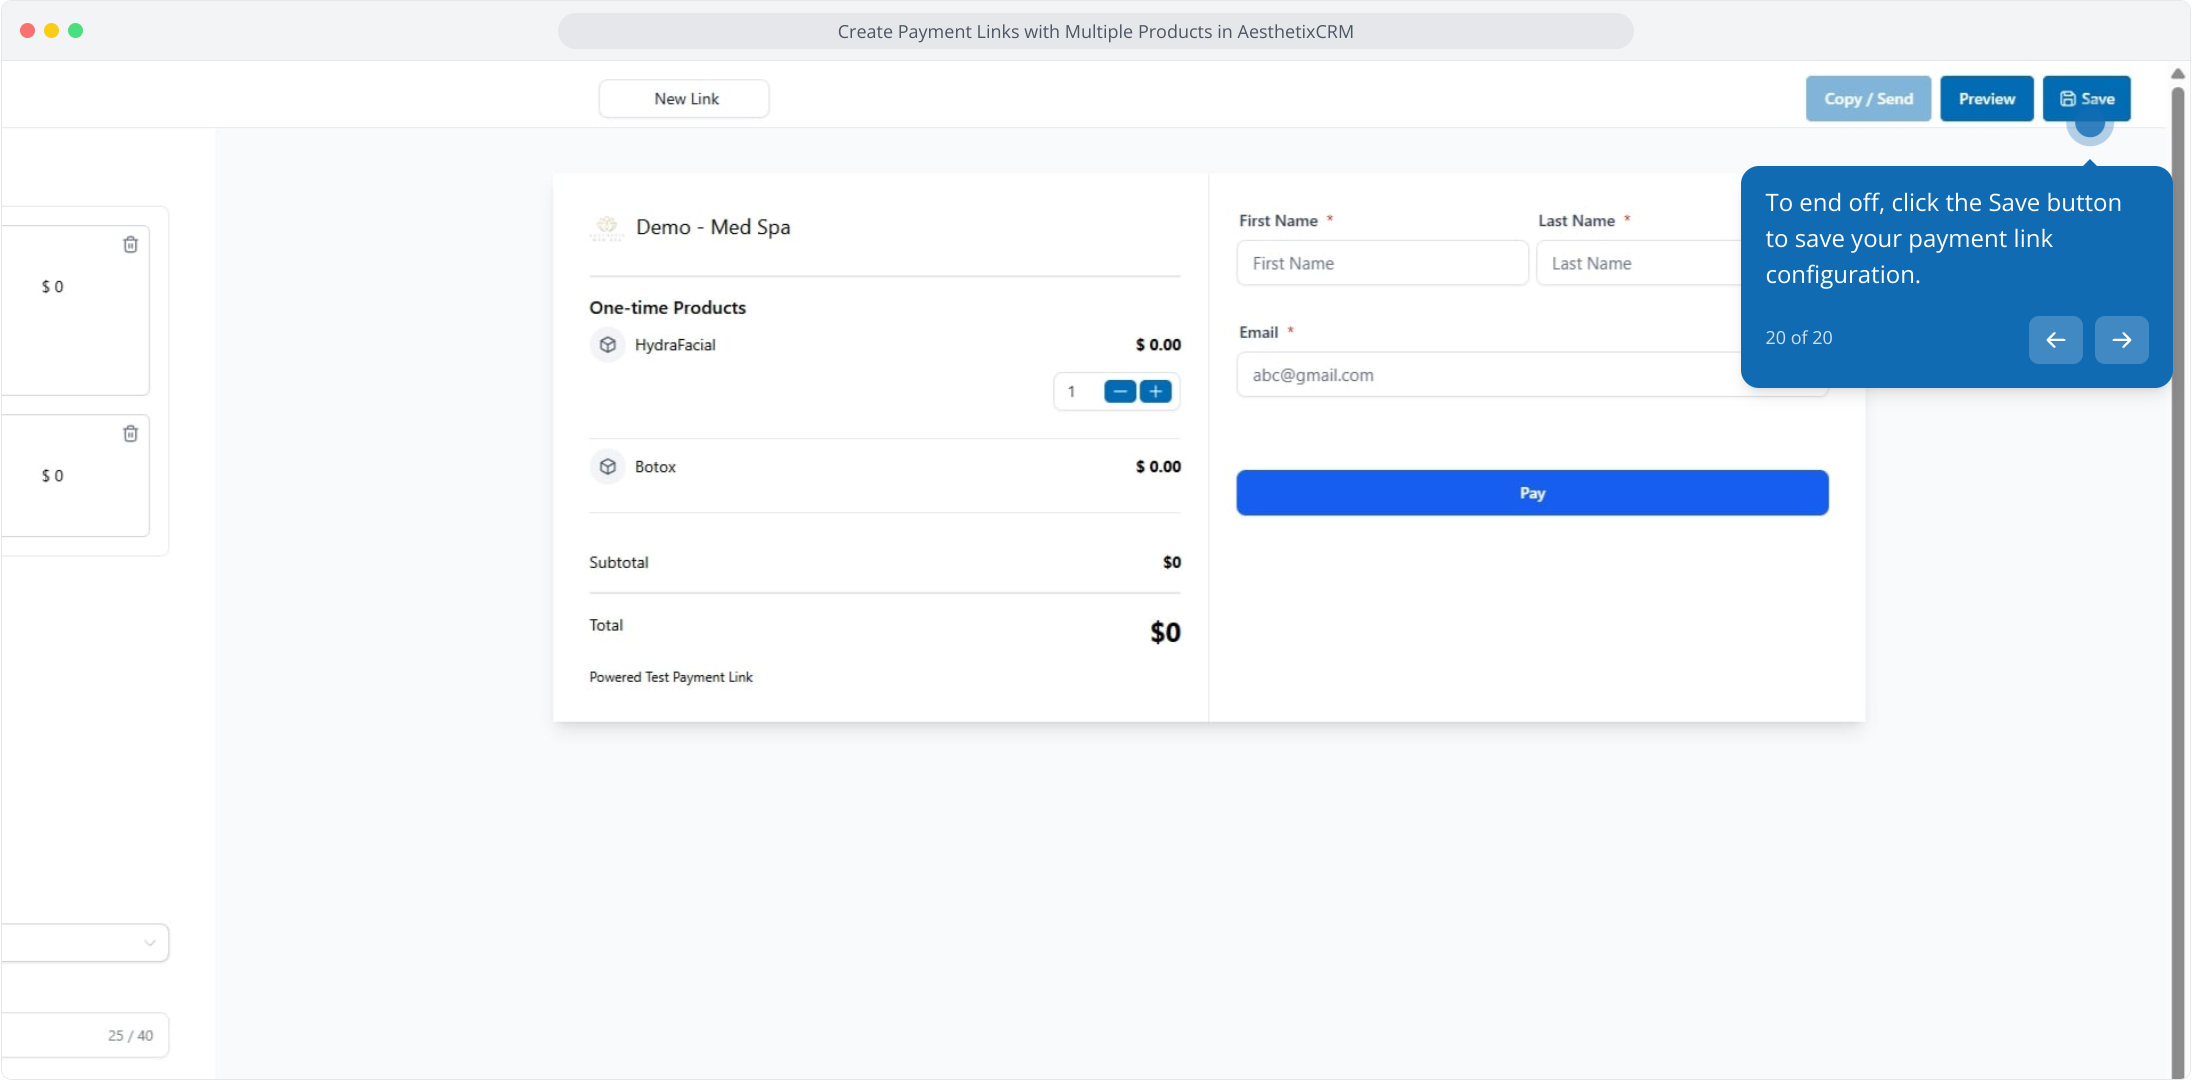
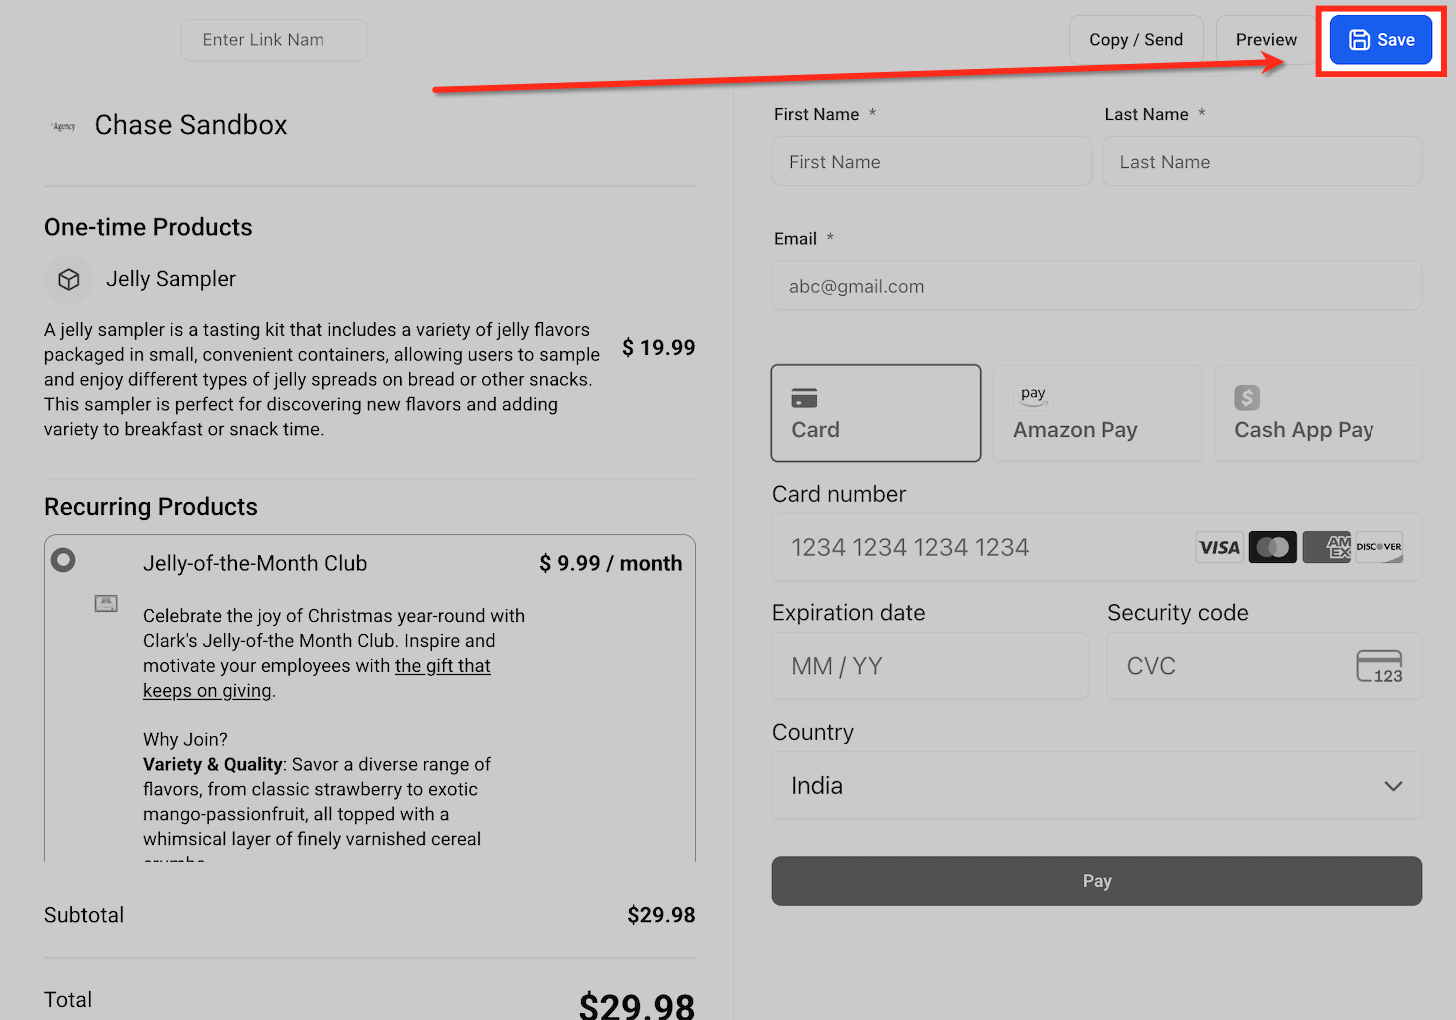
Once your products and settings are finalized, click Save to publish the link and make it ready to share.
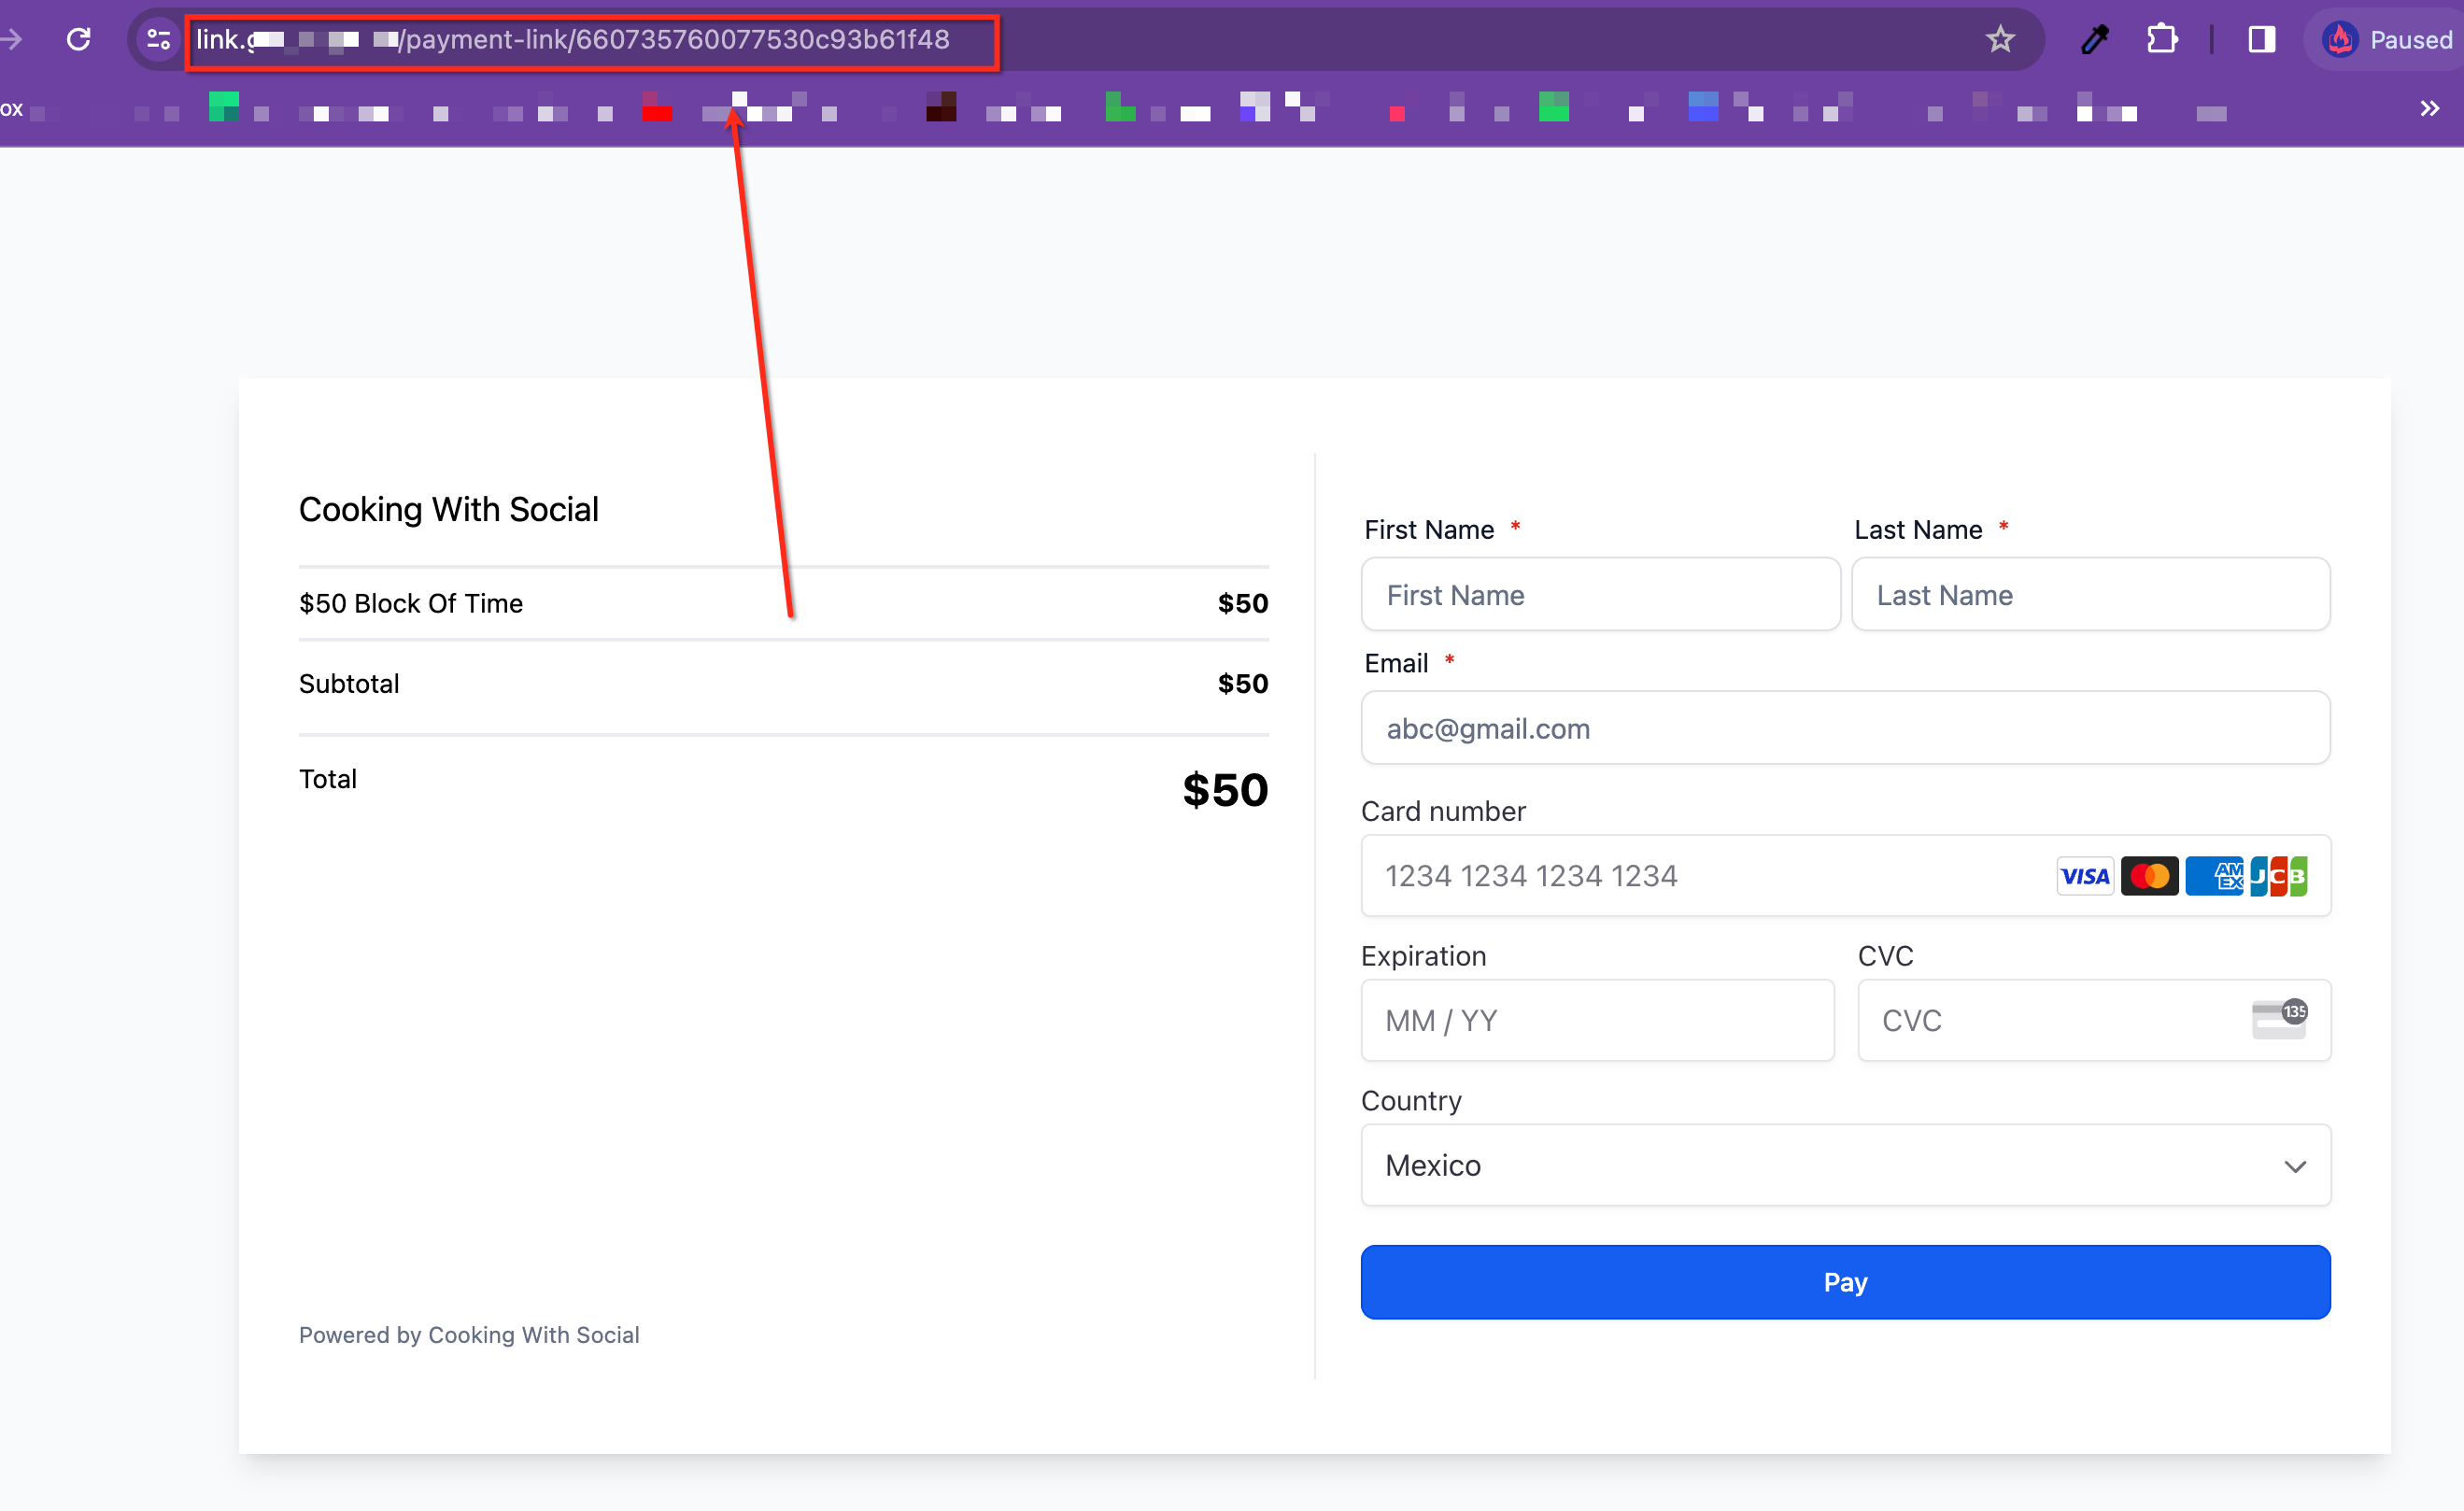
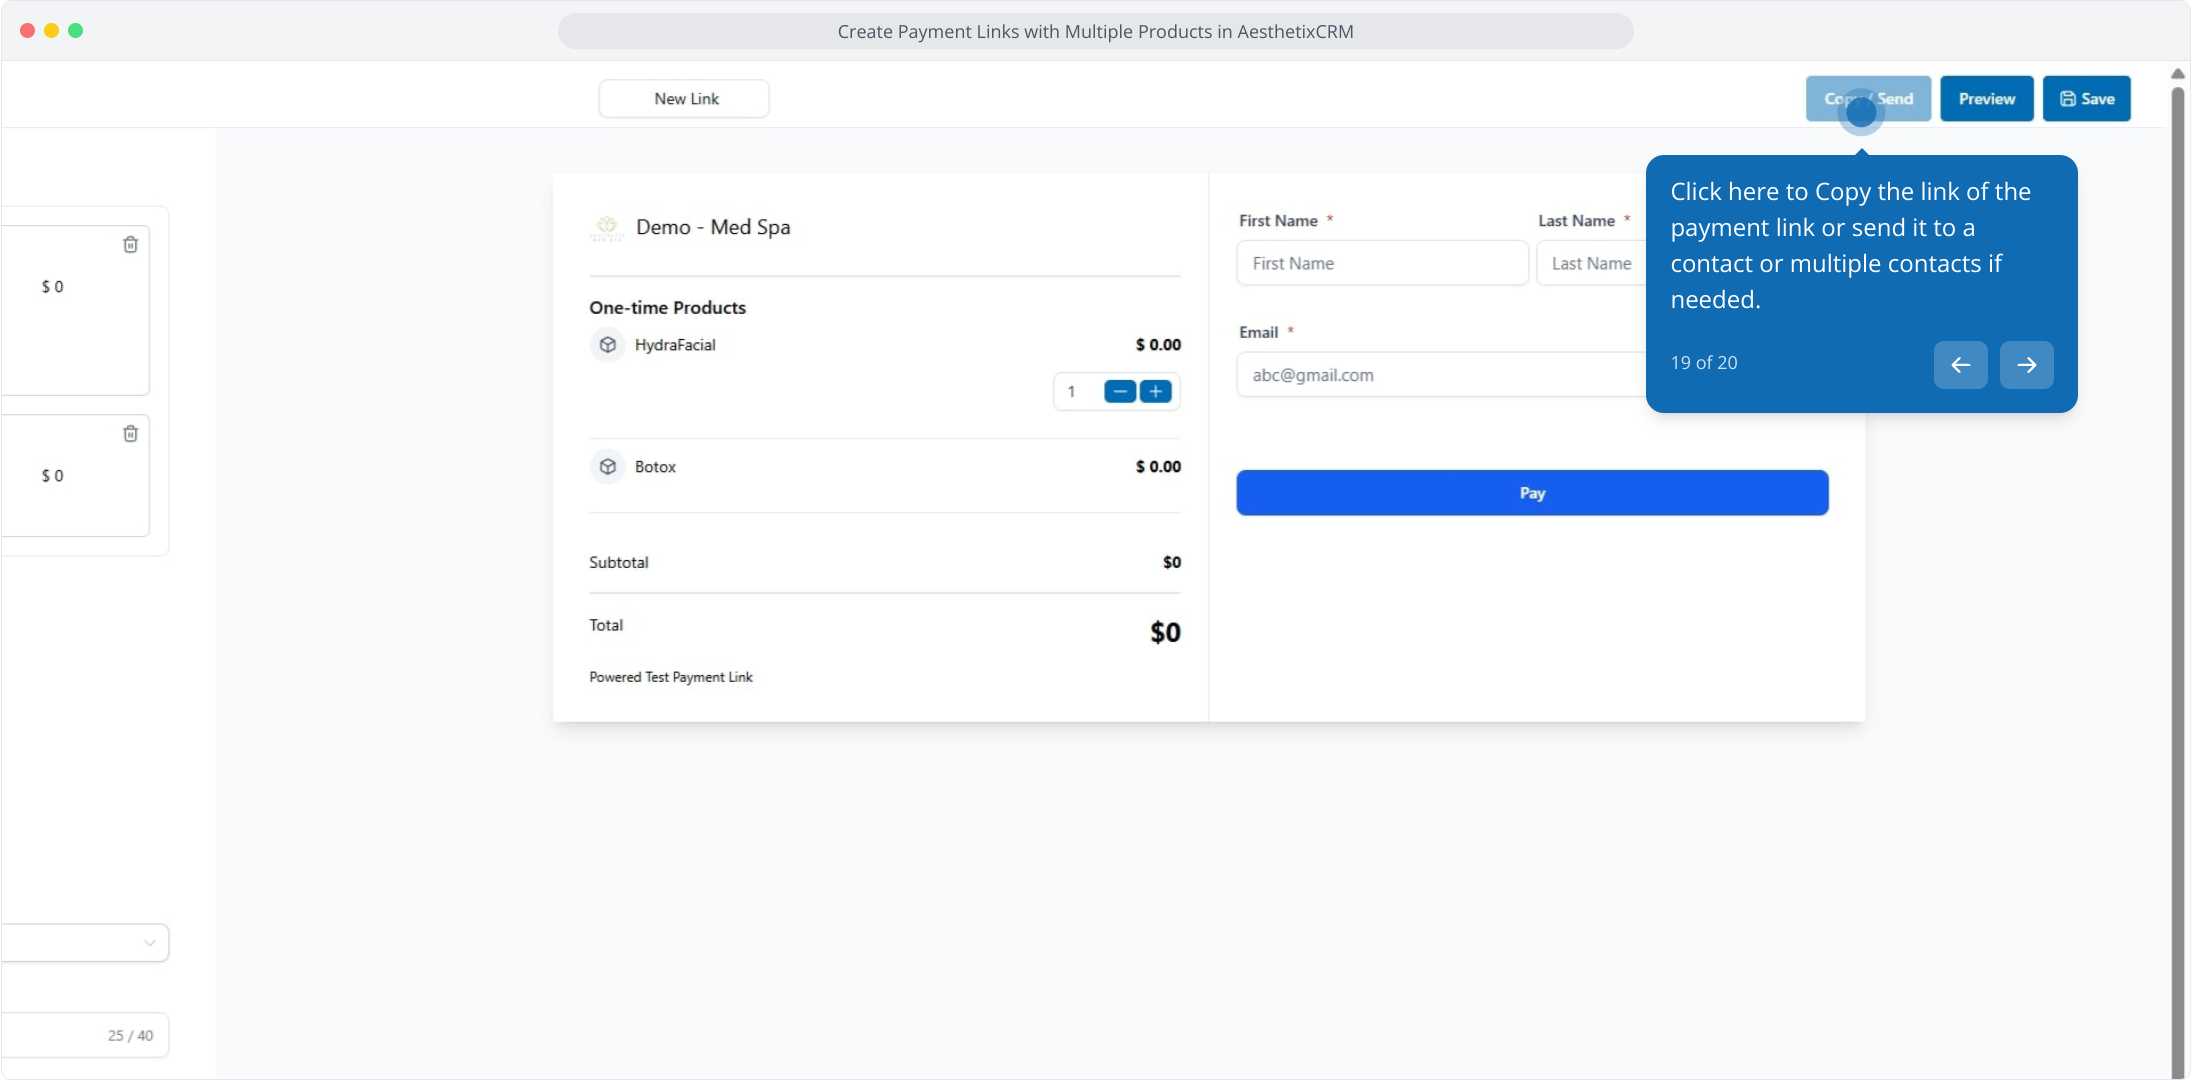
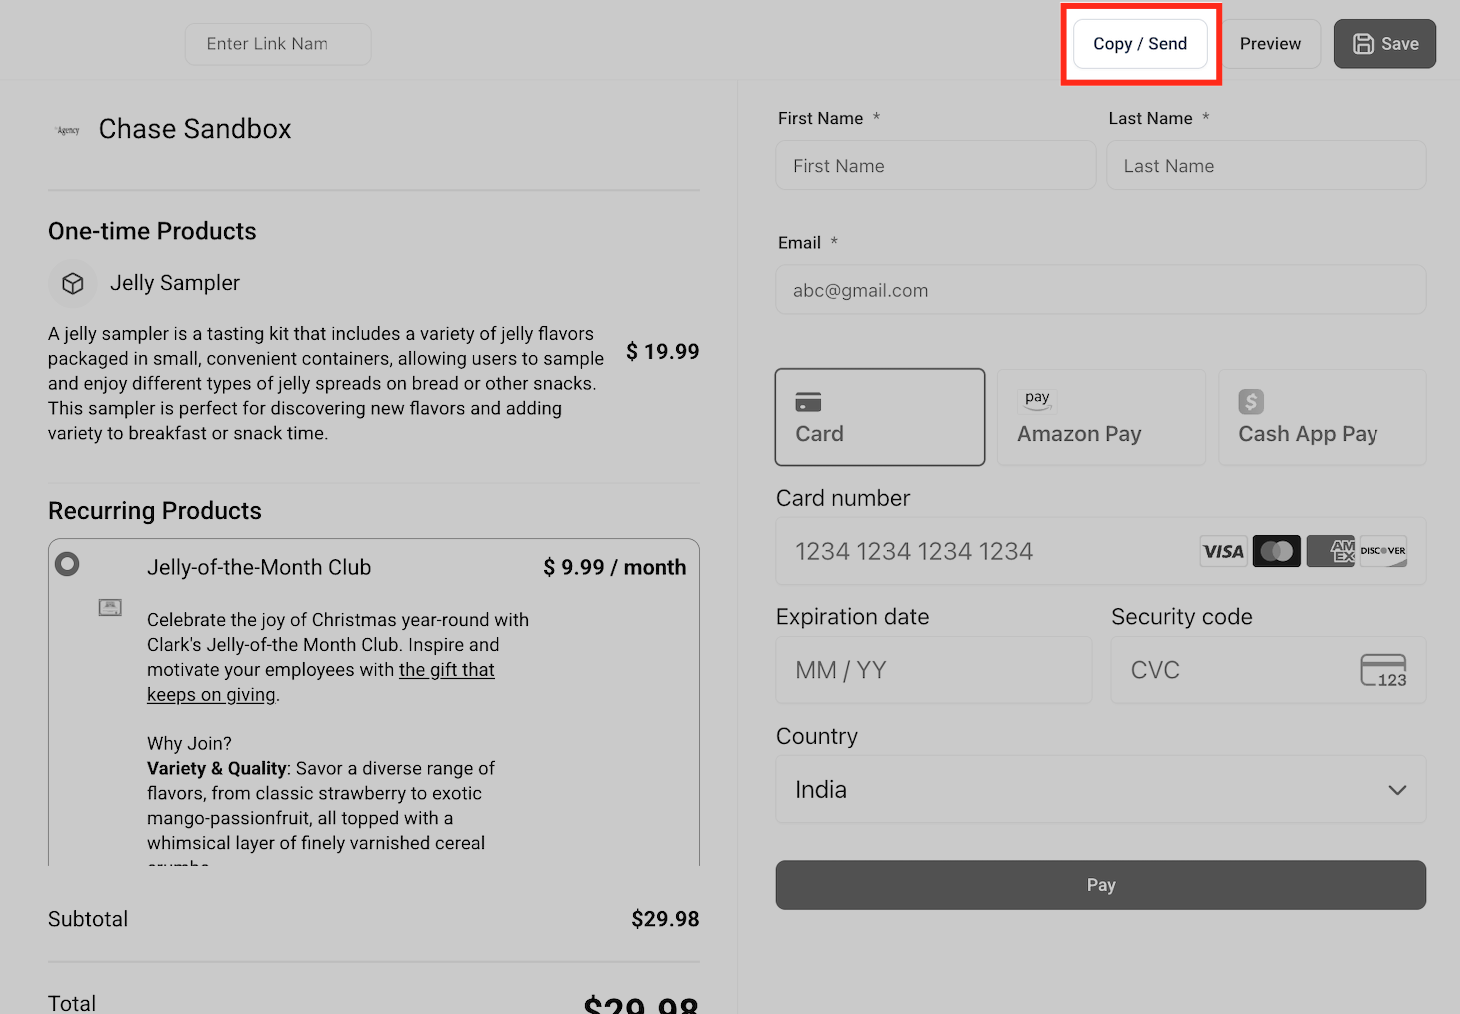
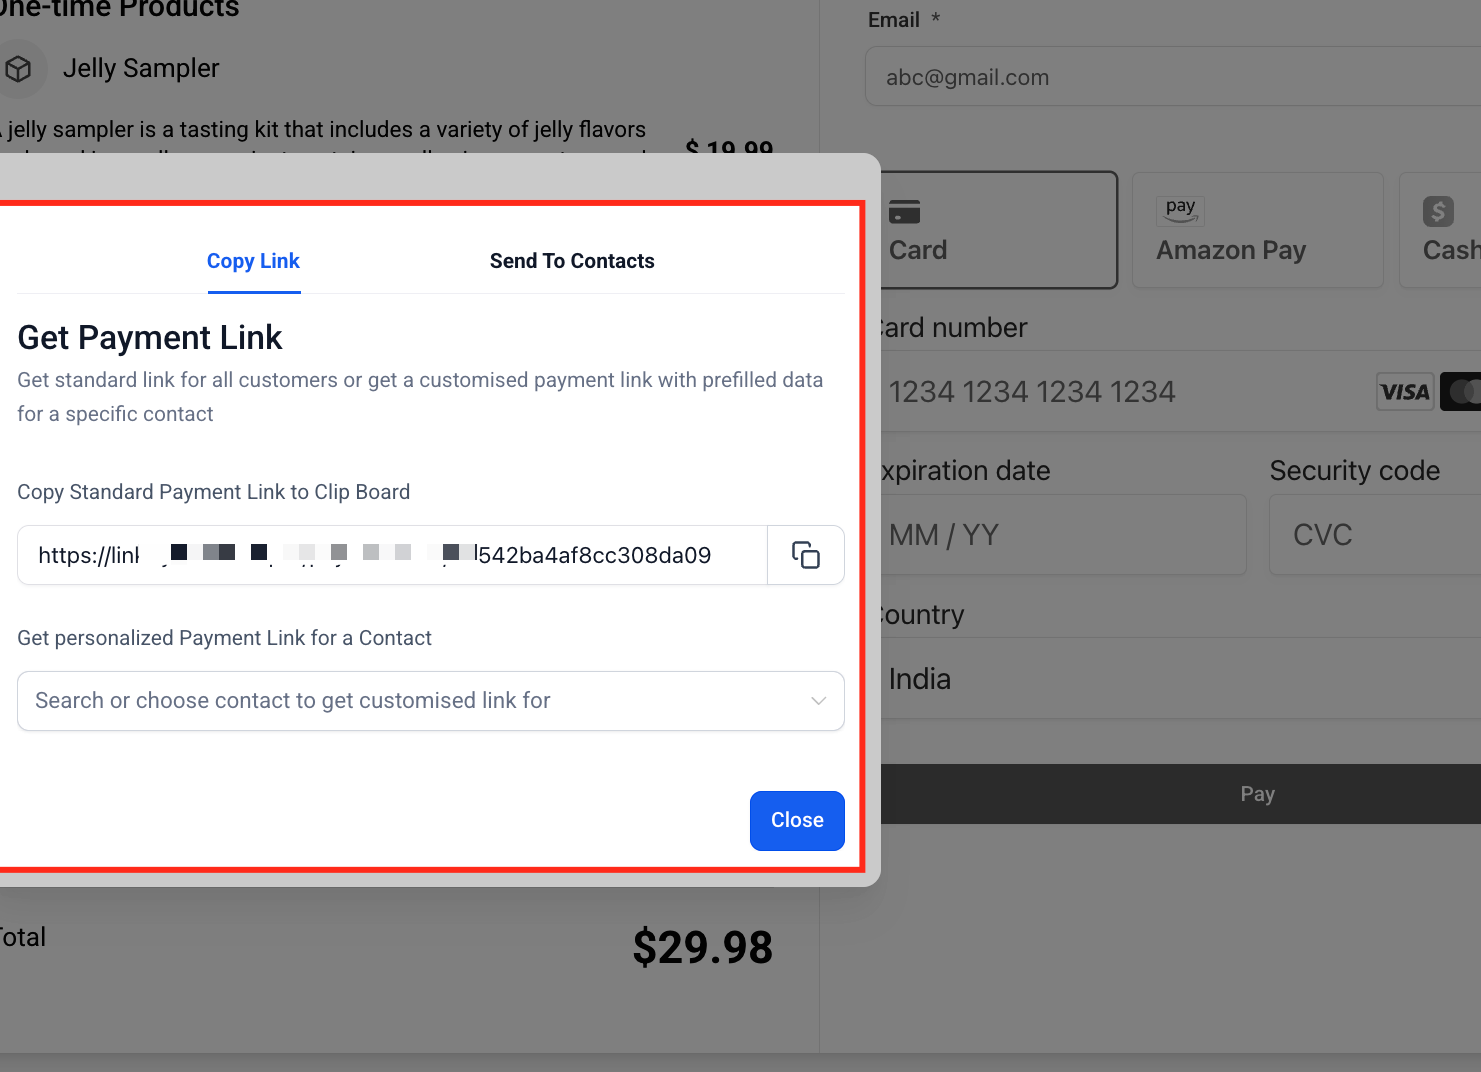
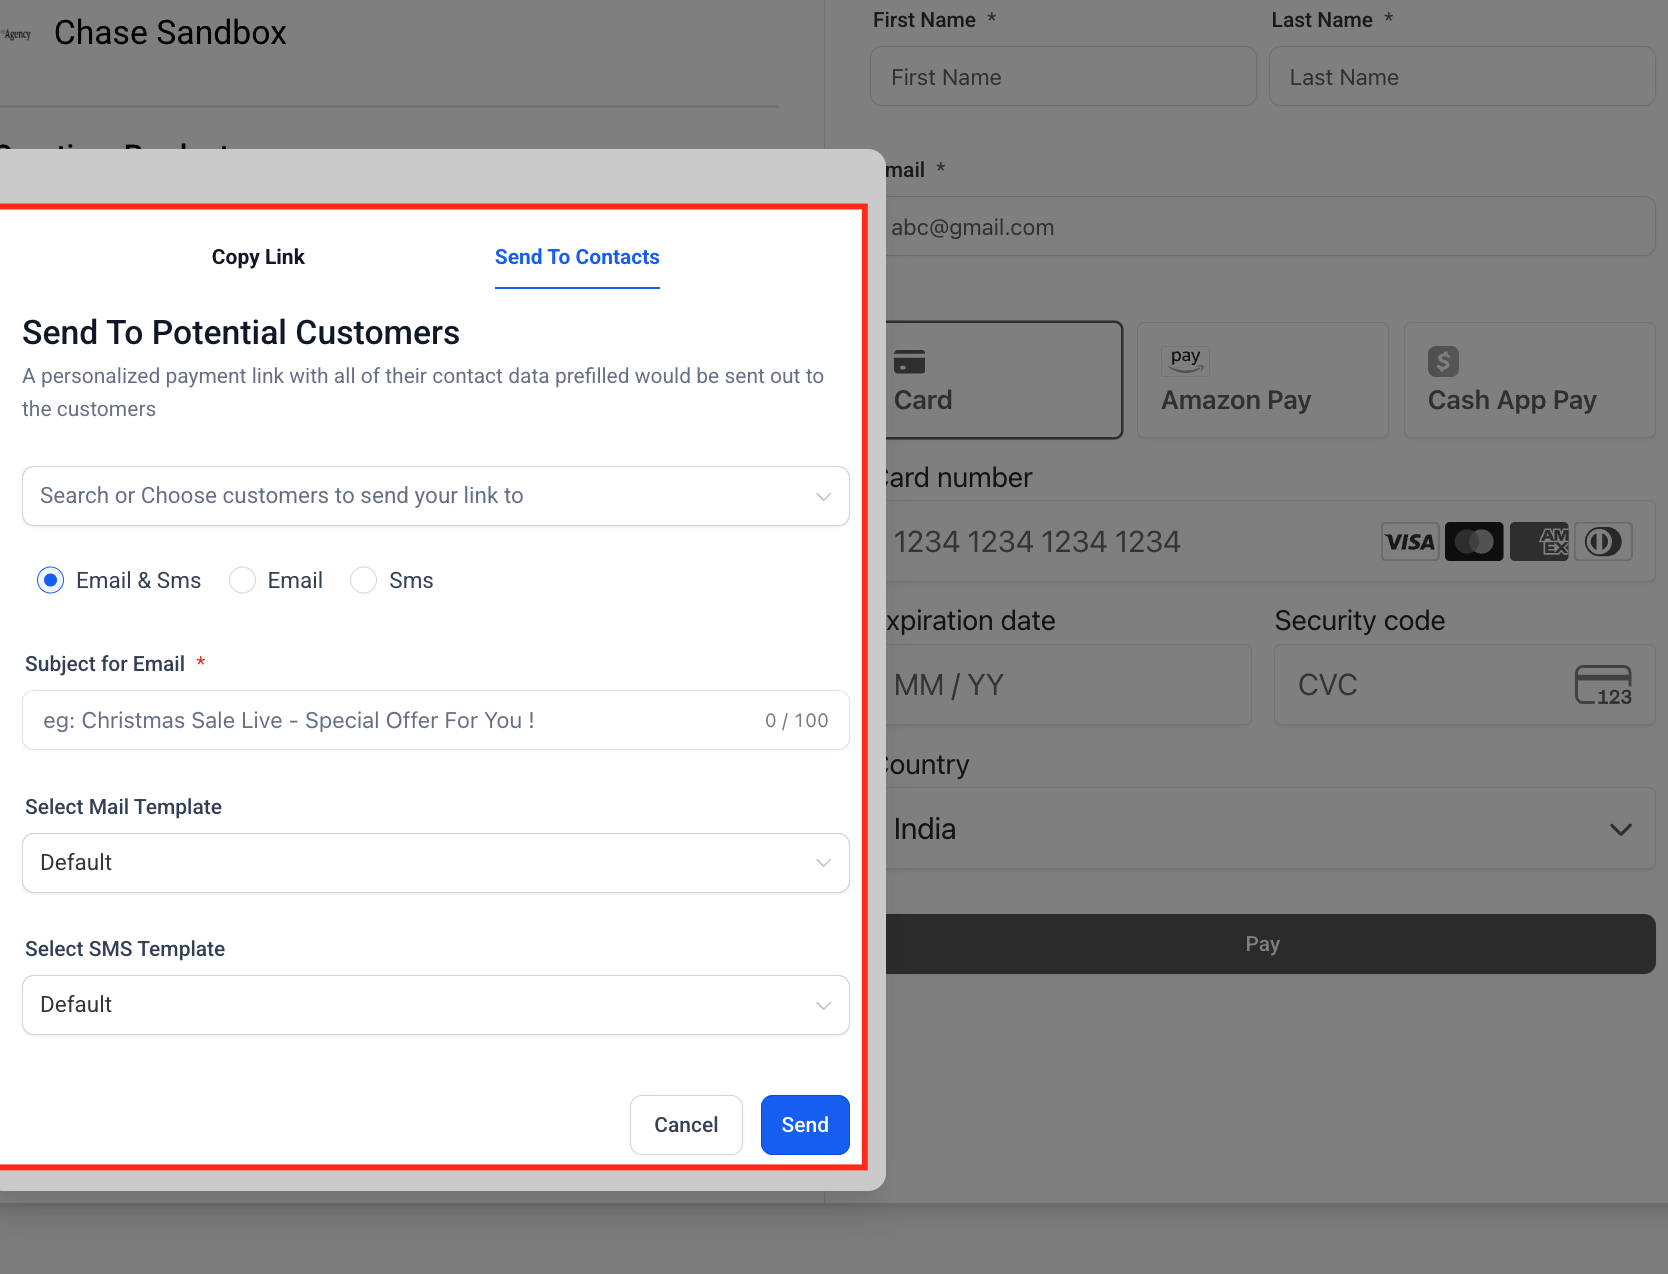
Click Copy / Send to distribute your link. You can copy a standard link for general use, or generate a personalized link with a patient's details pre-filled by selecting a contact from the dropdown. You can also send links directly to contacts by email, SMS, or both. See the guide on sending payment links and text-to-pay requests for the full send flow.
Interactive walkthrough
The hosted checkout localizes field labels, buttons, and validation and error messages based on the Platform Language set in your Business Profile. To change the default checkout language, update the Platform Language in your Business Profile.
You can pre-populate patient details and control post-purchase behavior by adding parameters to the link URL.
To pre-fill contact fields:
firstName=
lastName=
email=
phone=
To automatically redirect after purchase (with an optional countdown timer):
redirectIn=
redirectUrl=
For example, a link can carry firstName=Jane&lastName=Smith&[email protected]&phone=2155554545&redirectIn=8&redirectUrl=yoursite.com/thank-you so the patient's information is already filled in and they are sent to your thank-you page after paying.
Do I need a product before I can create a payment link? Yes. Create at least one product under Payments, then Products, before building a link. Any image saved to the product displays automatically on the checkout page.
Is there a limit to how many products I can add to one link? There is no limit on one-time products. You can include as many as you need, plus one recurring product per link.
How are products organized on the checkout page? Items are grouped under One-Time Products and Recurring Products so patients can clearly see what they are paying for now versus on an ongoing basis.
Can I reuse a payment link? Yes. A link can be reused for many patients unless you set an automatic deactivation date or configure it for one-time use.
Can I edit a payment link after creating it? Yes. Open the link from the Payment Links list and update its details at any time.
Why isn't my manual payment option showing on the checkout page? Manual payment methods (such as bank transfer) are not supported on the single payment link checkout page. Only automated methods appear. To accept a manual payment, use a traditional invoice or order form instead.
Can I share the link outside of Aesthetix CRM? Yes. Copy the link and share it by email, SMS, messaging apps, or social media, or embed it on your website.
Can I test a link before sending it to patients? Yes. Switch the Payment Mode toggle to Test to simulate a checkout with test card numbers, then switch to Live when you are ready to accept real payments.
