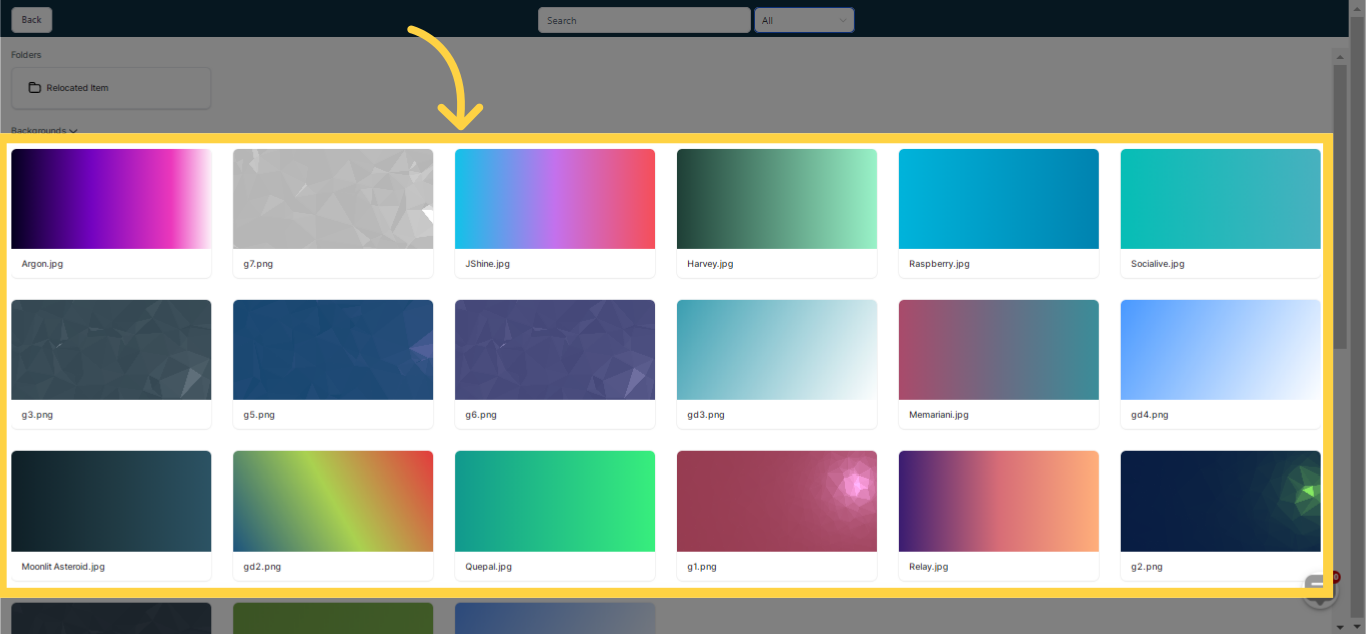
To manage all your media files holistically, head over to the Media tab in your CRM. You can find this tab under the Sites section, and clicking it will take you to the relevant subsection in the Settings area. This specialized space provides a simplified way to arrange, access, and administer your media resources. It enables you to seamlessly integrate them into your website or content for a visually attractive and interactive user experience.
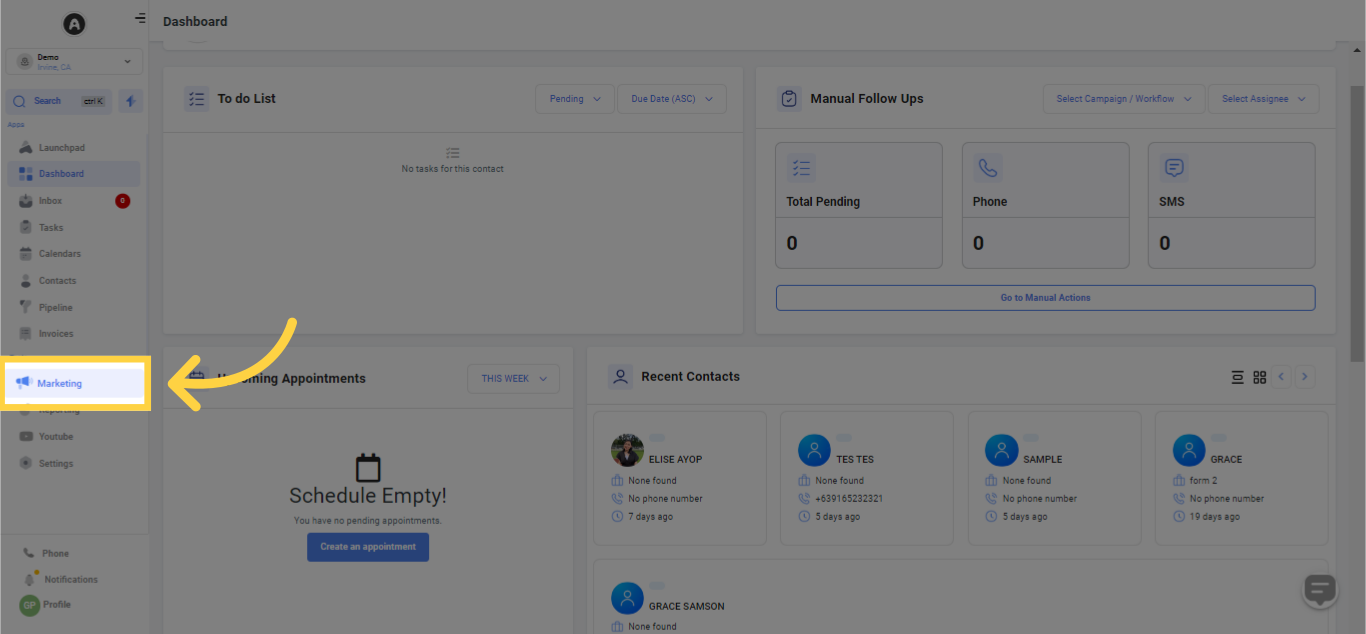
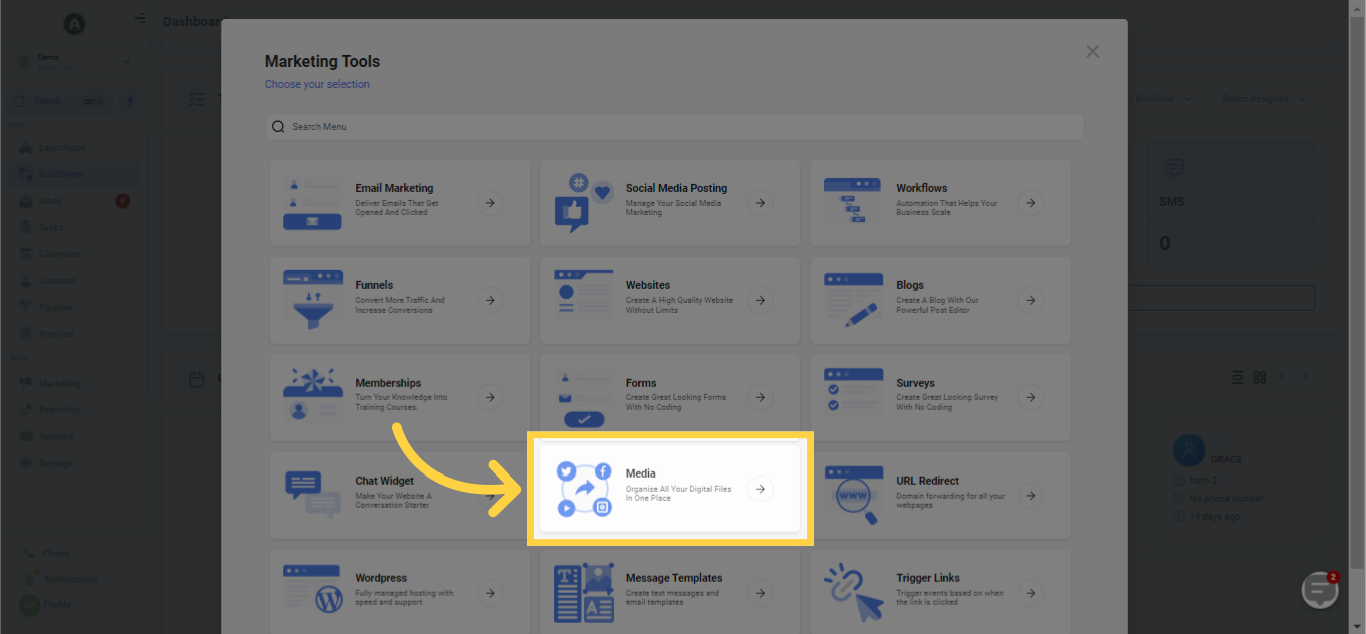
Clicking this will direct you to your CRM's Media Library.
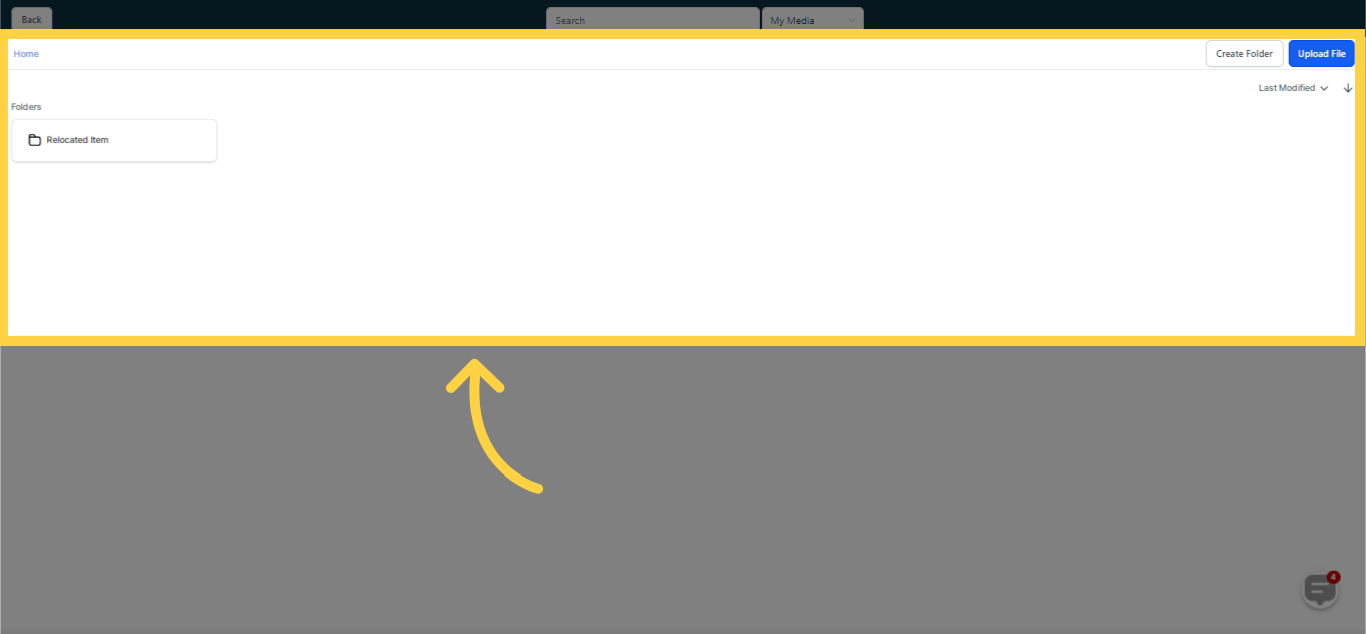
Once you arrive at the Media Section, select the 'Open Media Library' button to delve into your CRM's comprehensive range of media files. This function enables easy searching through your stored resources, simplifying the process of finding and managing various media formats like images and videos.
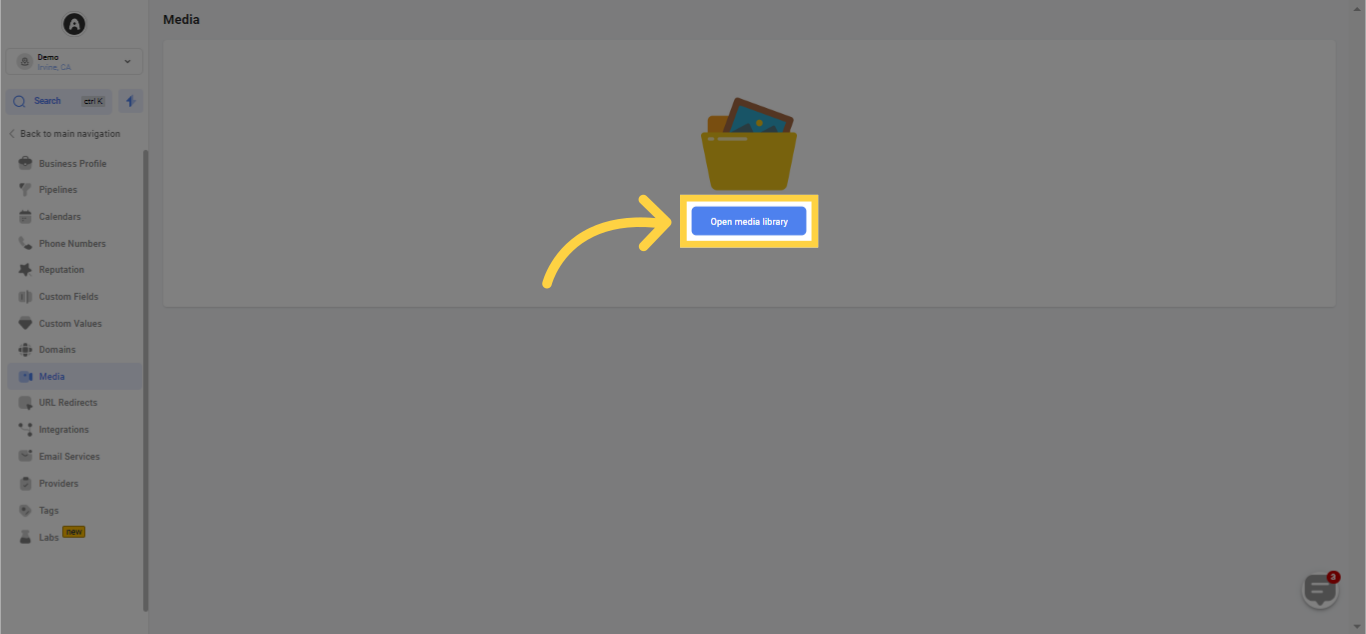
Ensure all your content is housed in an orderly and well-arranged storehouse to consistently project a professional and refined image.
)
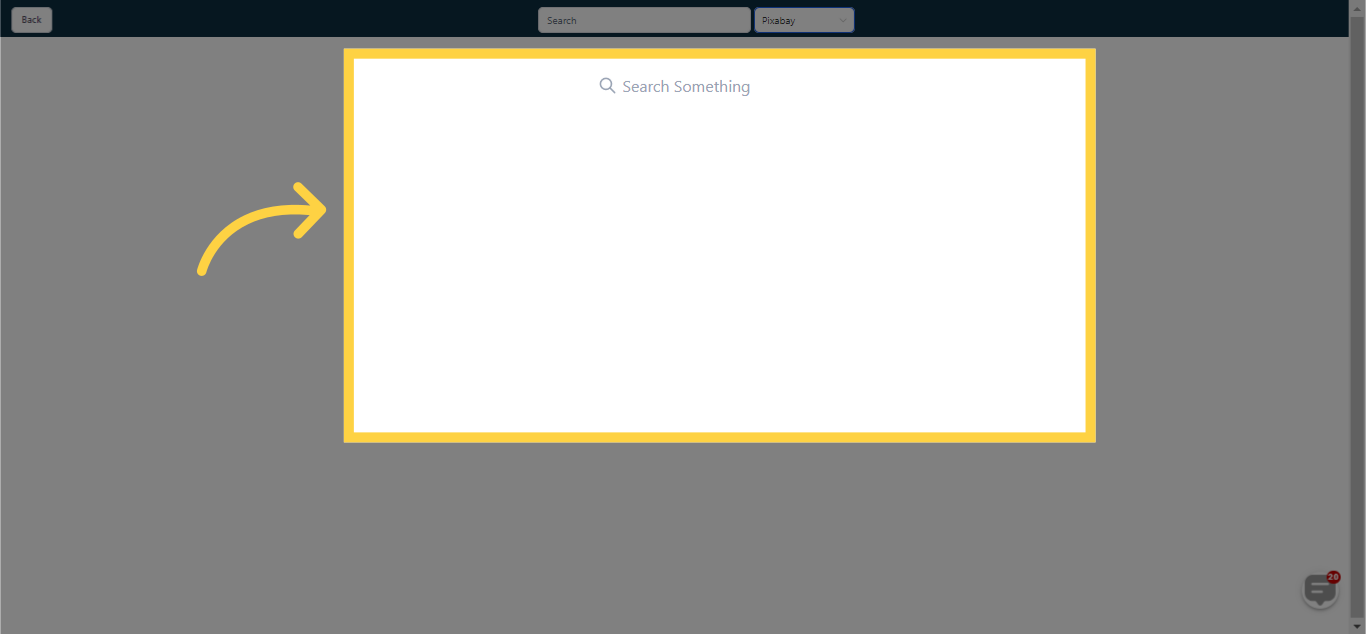
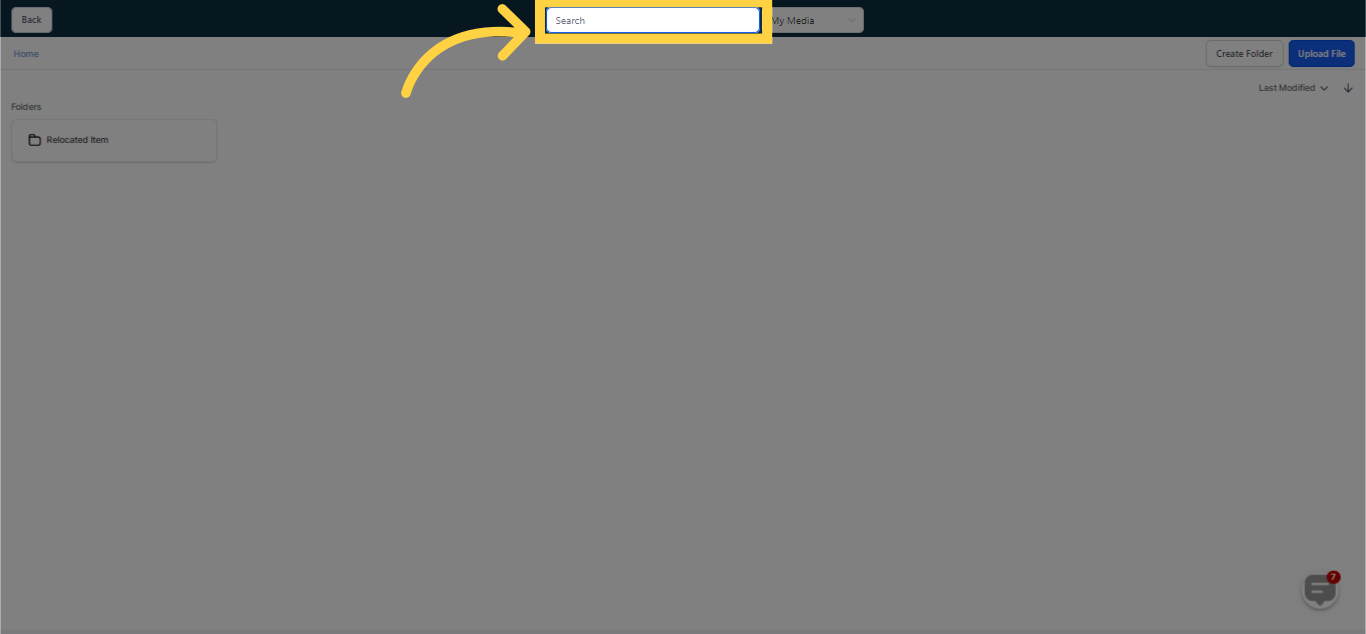
Easily find specific files in your Media Library by just inputting pertinent keywords or the file name in the provided search box. This handy tool enables quick identification of your desired file among your media storage, saving you time and boosting productivity.
)
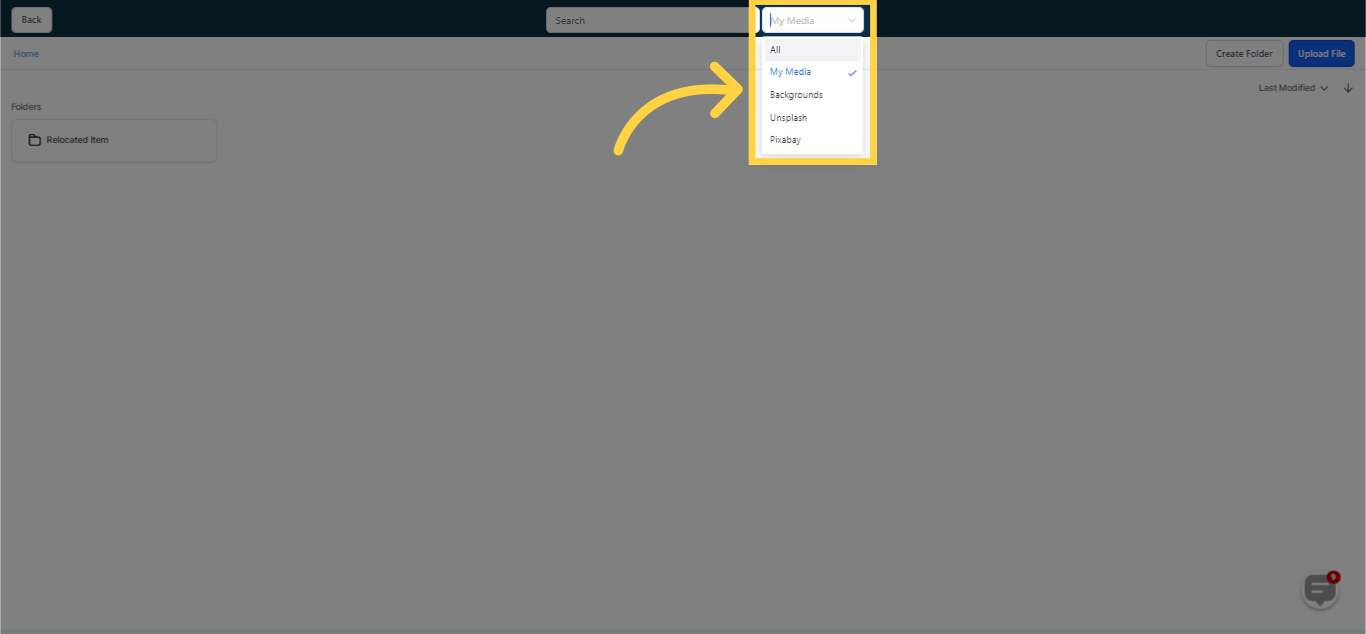
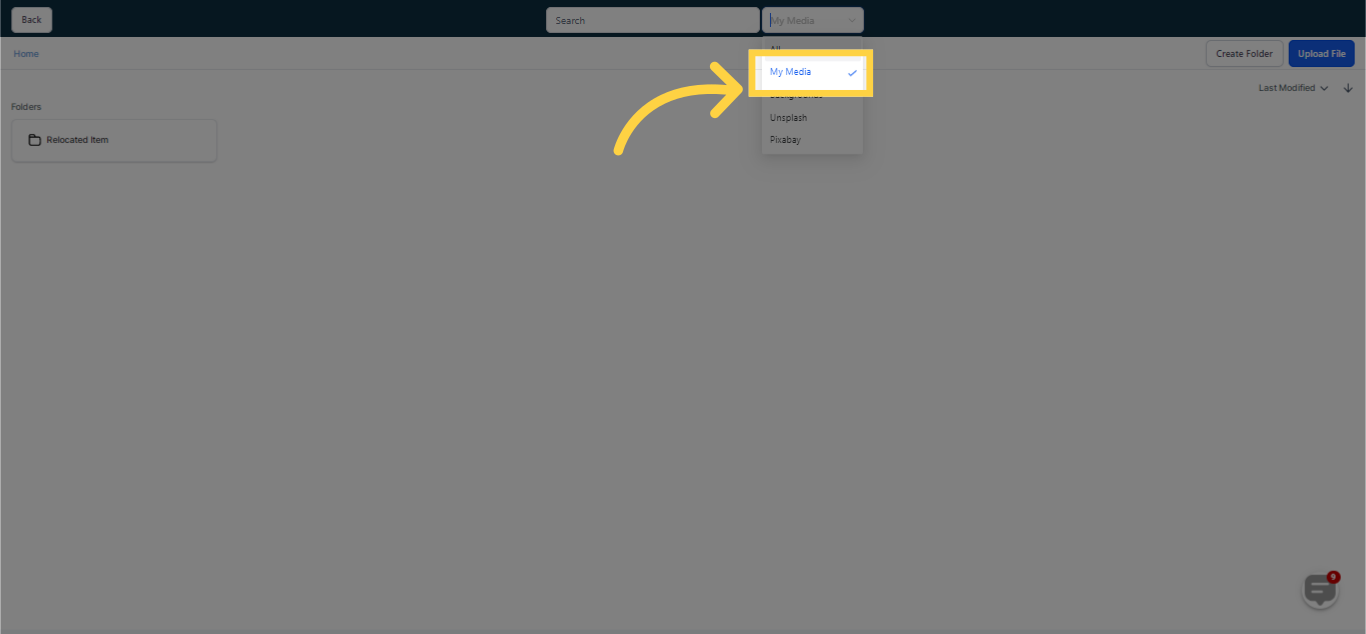
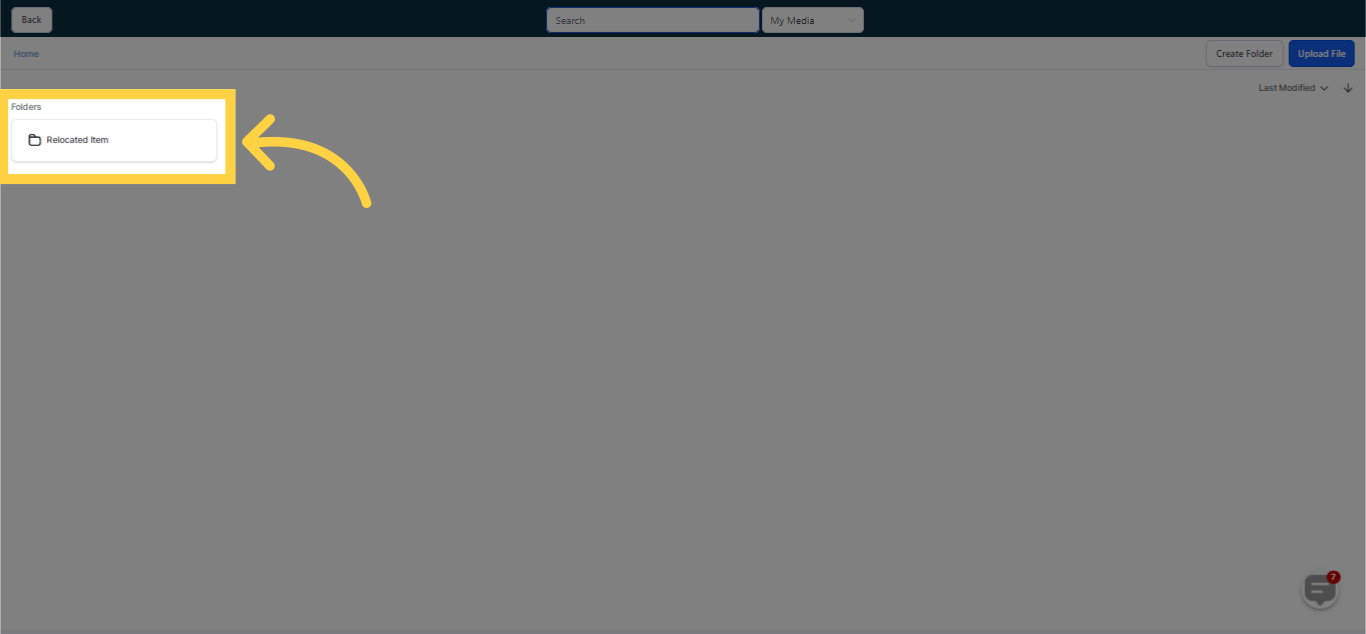
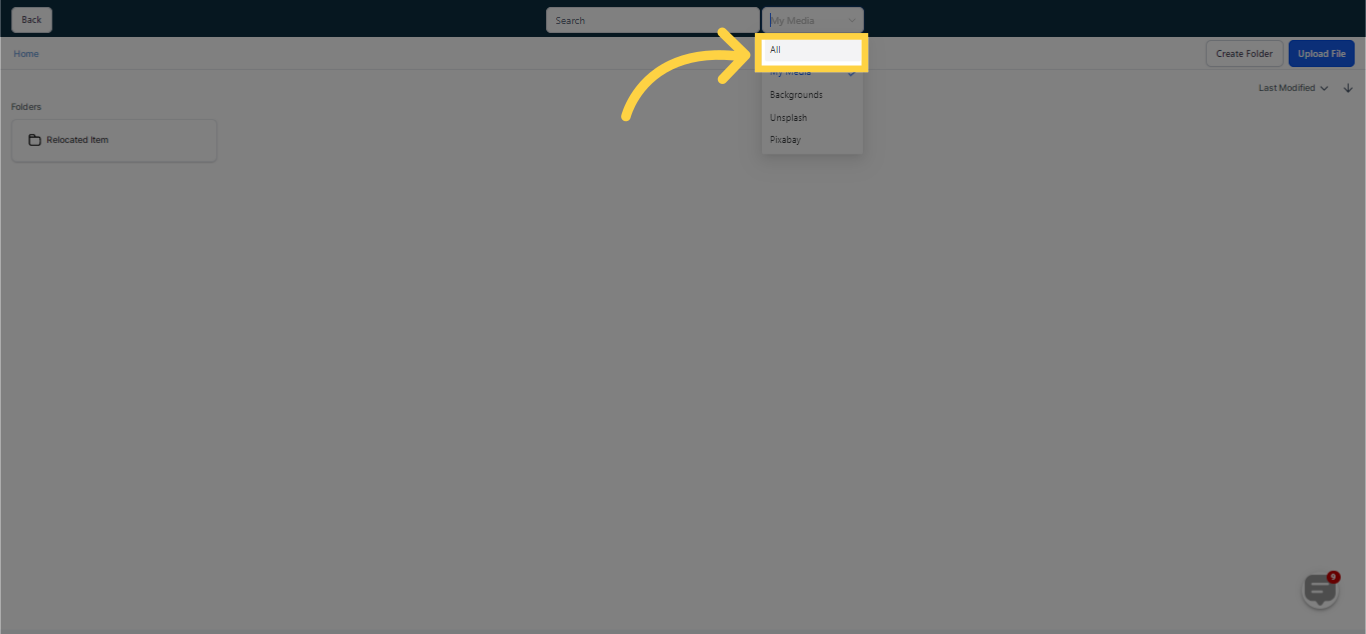
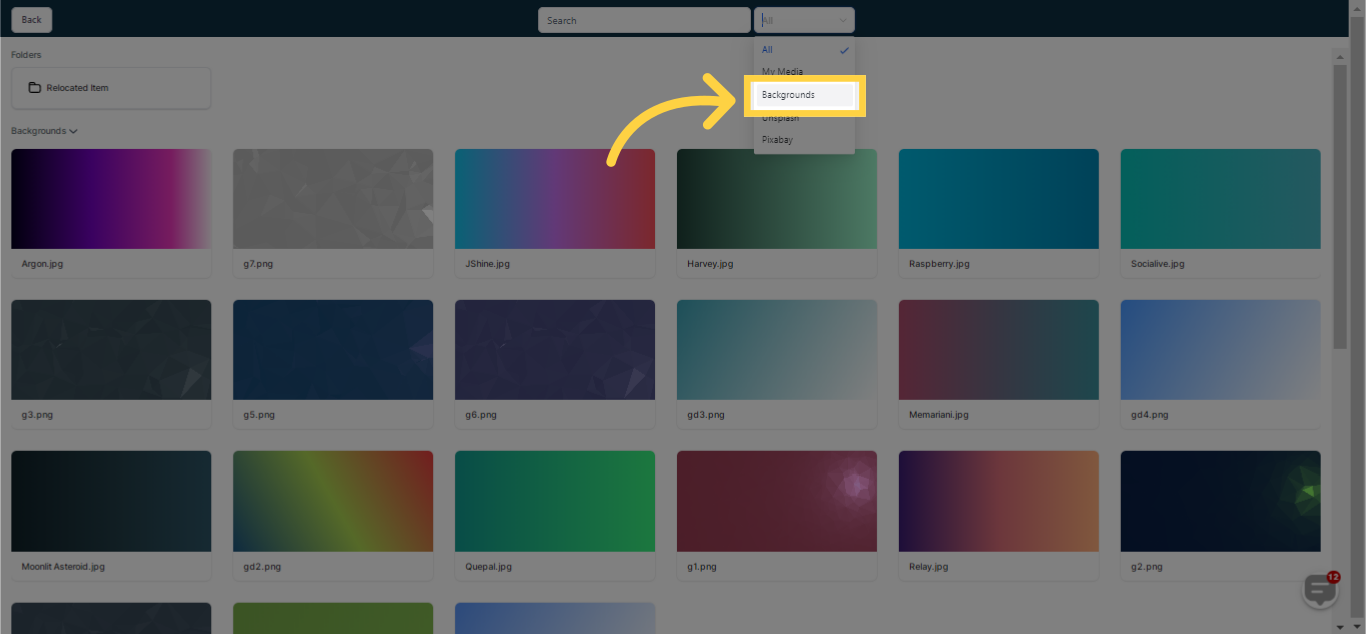
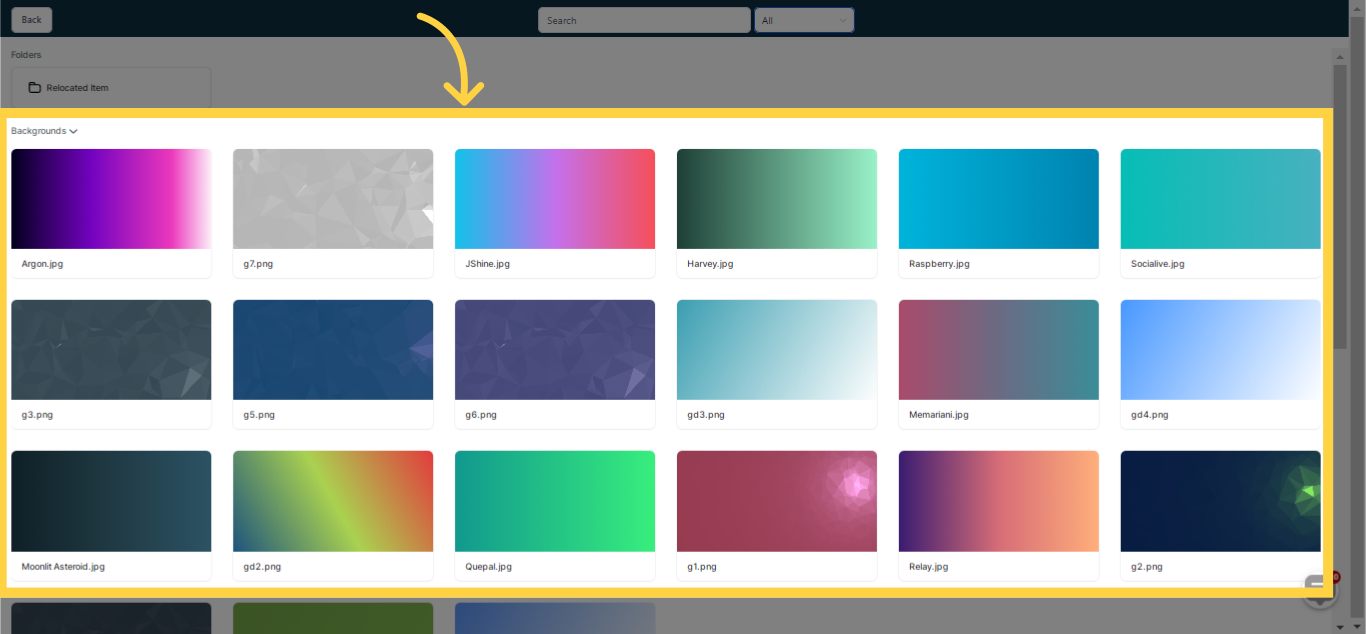
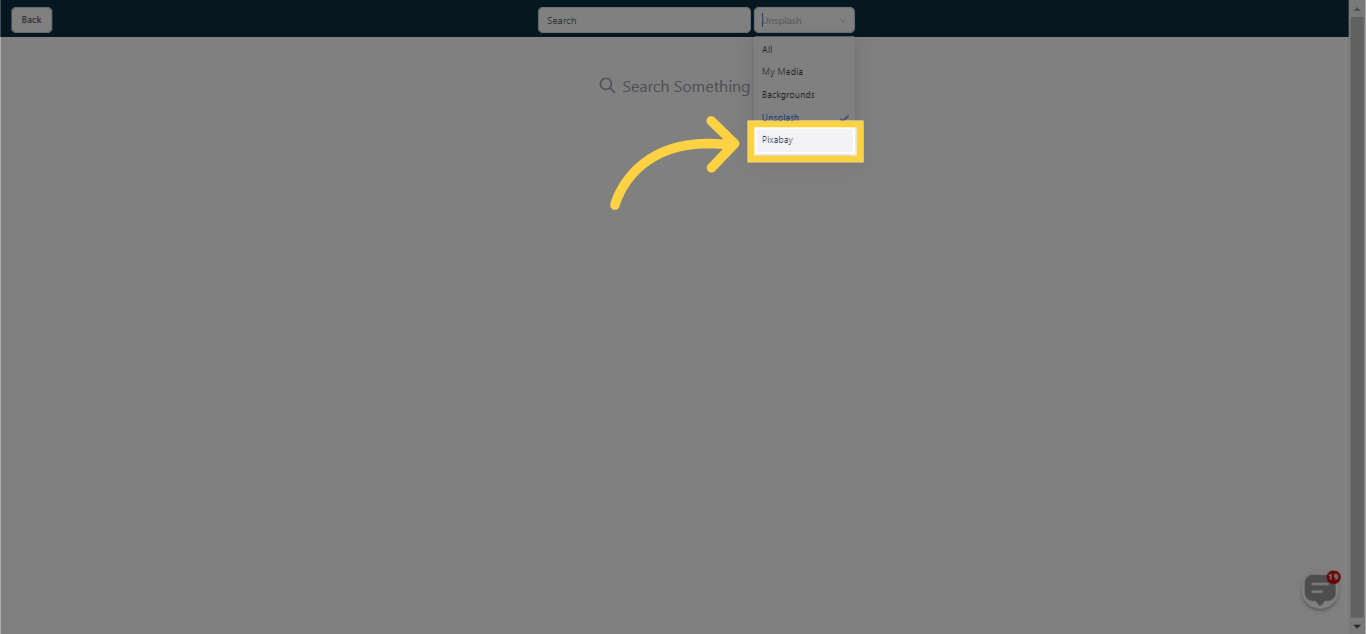
Utilize the dropdown menu at the top of the page to navigate additional media selections and view All, My Media, Backgrounds, Unsplash, and Pixabay. Keep a record of all media uploads in your CRM in a single location, simplifying your media management process to the fullest!
