The Media Library is the central storage space for every image, video, and document your practice uses across the CRM, from funnel and website assets to email graphics and social posts. You'll find it under Marketing > Media in your account.
Click Marketing in the left-hand menu.
Click Media.
Click Open Media Library to launch the full library view.
Once inside, you'll see your uploaded folders and files, along with a search bar and sorting controls across the top of the page.
From the Media Library, click Upload File.
A window will open showing the files stored on your computer.
Select the file (or files) you want to add and upload them into the library.
Uploaded files become instantly available to use anywhere in the CRM: funnels, websites, emails, social posts, and forms.
Folders keep your library organized as your file count grows. For a med spa, it helps to structure folders by treatment line (Botox, laser, injectables), by campaign (spring promo, holiday gift cards), or by location if your practice has multiple sites.
Click Create Folder.
Enter a name for the new folder in the window that appears.
Click to confirm, and the folder will show up in your library alongside your existing folders.
The Media Library groups content in a few useful ways:
Folders: All folders you've created appear together for quick navigation.
Files: Every file in the current view is listed for easy access.
Sort: Use the sort control to order items by Name or Last Modified, whichever makes it easier to find what you're looking for.
Categories: Use the dropdown at the top of the library to switch between All, My Media (your own uploads), Backgrounds, Unsplash, and Pixabay stock photo sources, all managed from the same screen.
Use the search bar at the top of the Media Library and type a keyword or file name. The library will narrow the results instantly, which is especially helpful once you've built up a large collection of before/after photos, brand assets, and campaign graphics.
A File Type dropdown sits in the toolbar next to Sort, letting you narrow a folder down to just the format you need instead of scrolling past everything else.
In the Media Library, locate the File Type dropdown in the top toolbar.
Click it and choose a category: Photos, Videos, Audio, Docs, PDFs, Other, or All (the default).
Browse the library or combine the filter with Search: only matching files stay visible.
To reset, either switch File Type back to All, or move to a different source (My Media, external libraries, etc.), which automatically clears the File Type selection while keeping your search term in place.
A few things worth knowing about the filter:
File type categories: Photos (JPG, PNG, SVG, GIF), Videos (MP4, MOV, WEBM, AVI), Audio (MP3, WAV, OGG), Docs (DOCX, TXT, CSV, XLSX, PPTX), PDFs, and Other (ZIP, RAW, and anything that doesn't fit the categories above).
It does not change what's stored, only what's currently visible.
It's a personal, per-session preference and won't sync to other team members on your account.
It automatically disables itself in sources that only contain one file type (for example, Unsplash, since every result there is already an image).
Available on desktop and web. Filtering isn't yet available in the mobile app.
Right-click any file or folder in the Media Library to open a menu with the available actions:
Rename a folder: right-click the folder and select Rename.
Delete a folder: right-click the folder and select Delete. This removes the folder permanently.
Get File Links: right-click an image and select Get Link to copy its direct URL to your clipboard, useful when you want to drop that exact image into a website page or funnel.
Move to Folder: right-click a file, choose Move, then pick the destination folder to relocate it.
Rename a file: right-click the file and select Rename to change its name.
Delete a file: right-click the file and select Delete to remove it permanently from your library.
Multi-Select lets you act on several files or folders at once instead of repeating the same action one file at a time.
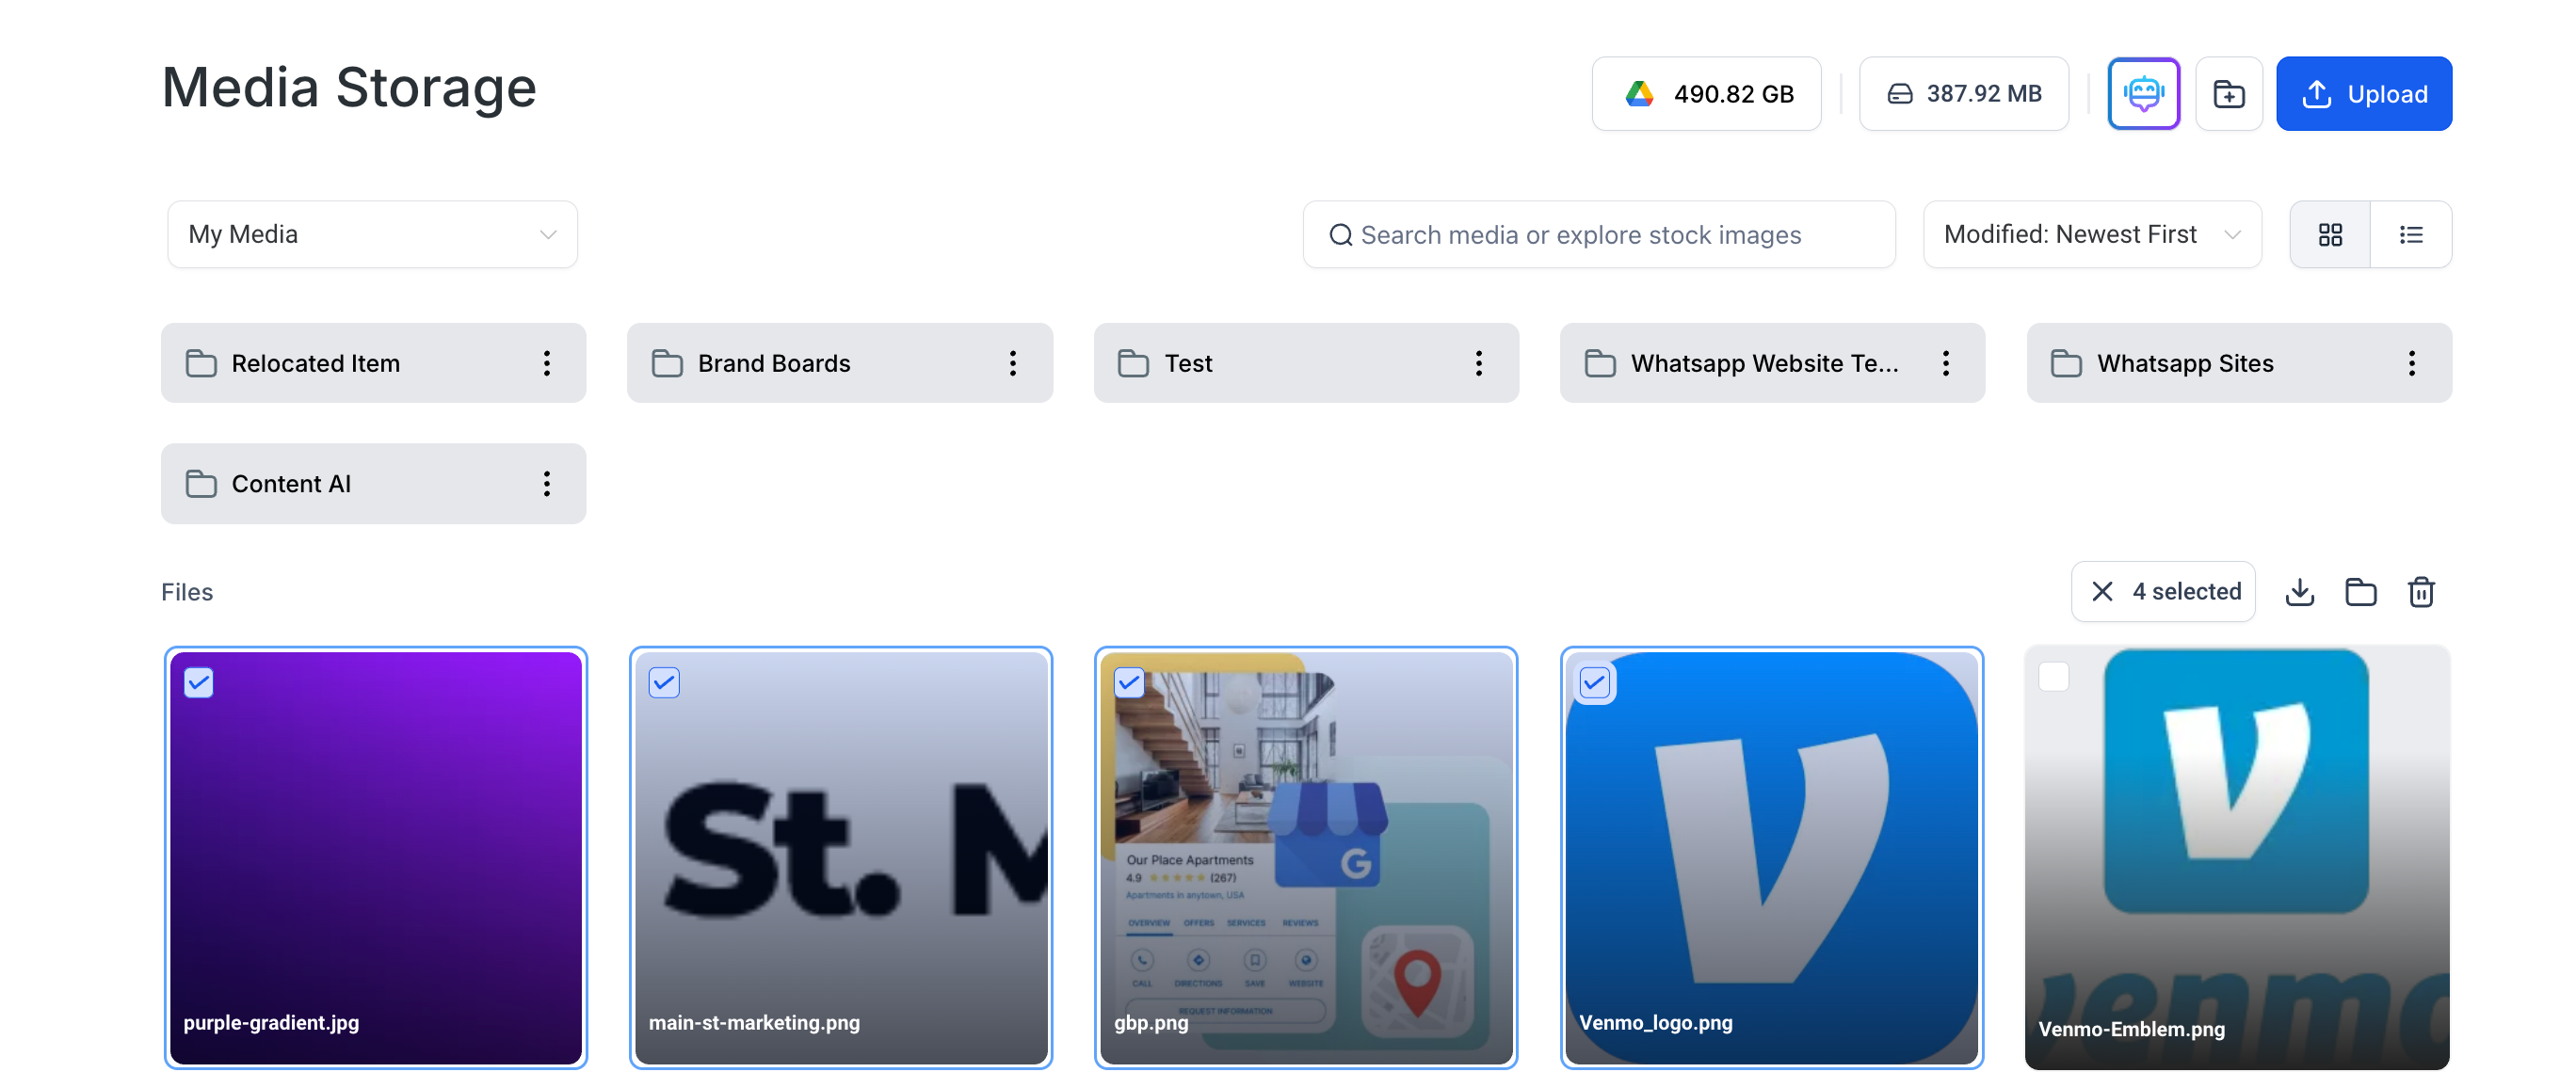
In Grid View: click and drag your mouse across the files you want to select, or use the Select option in the three-dot menu. Selected items display a checkmark in the top-left corner.
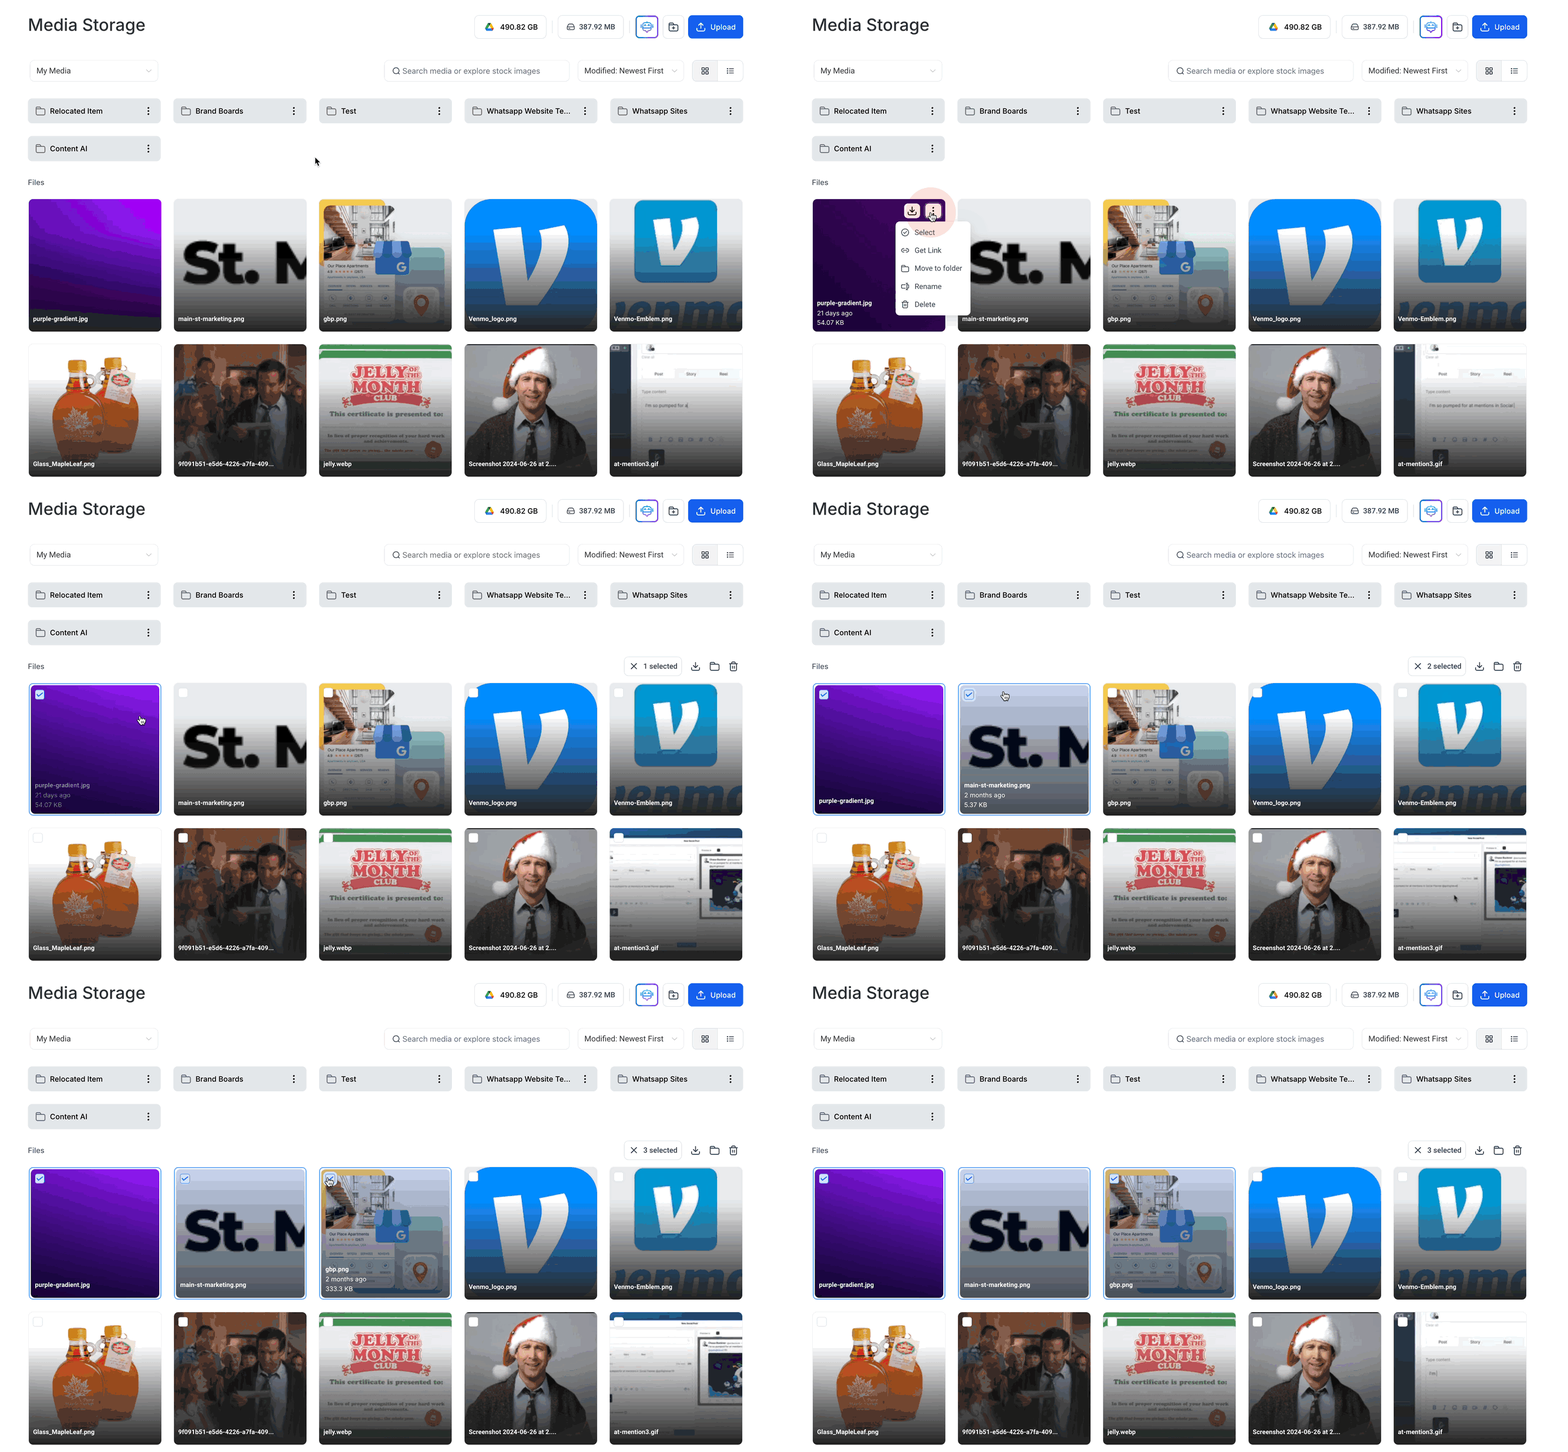
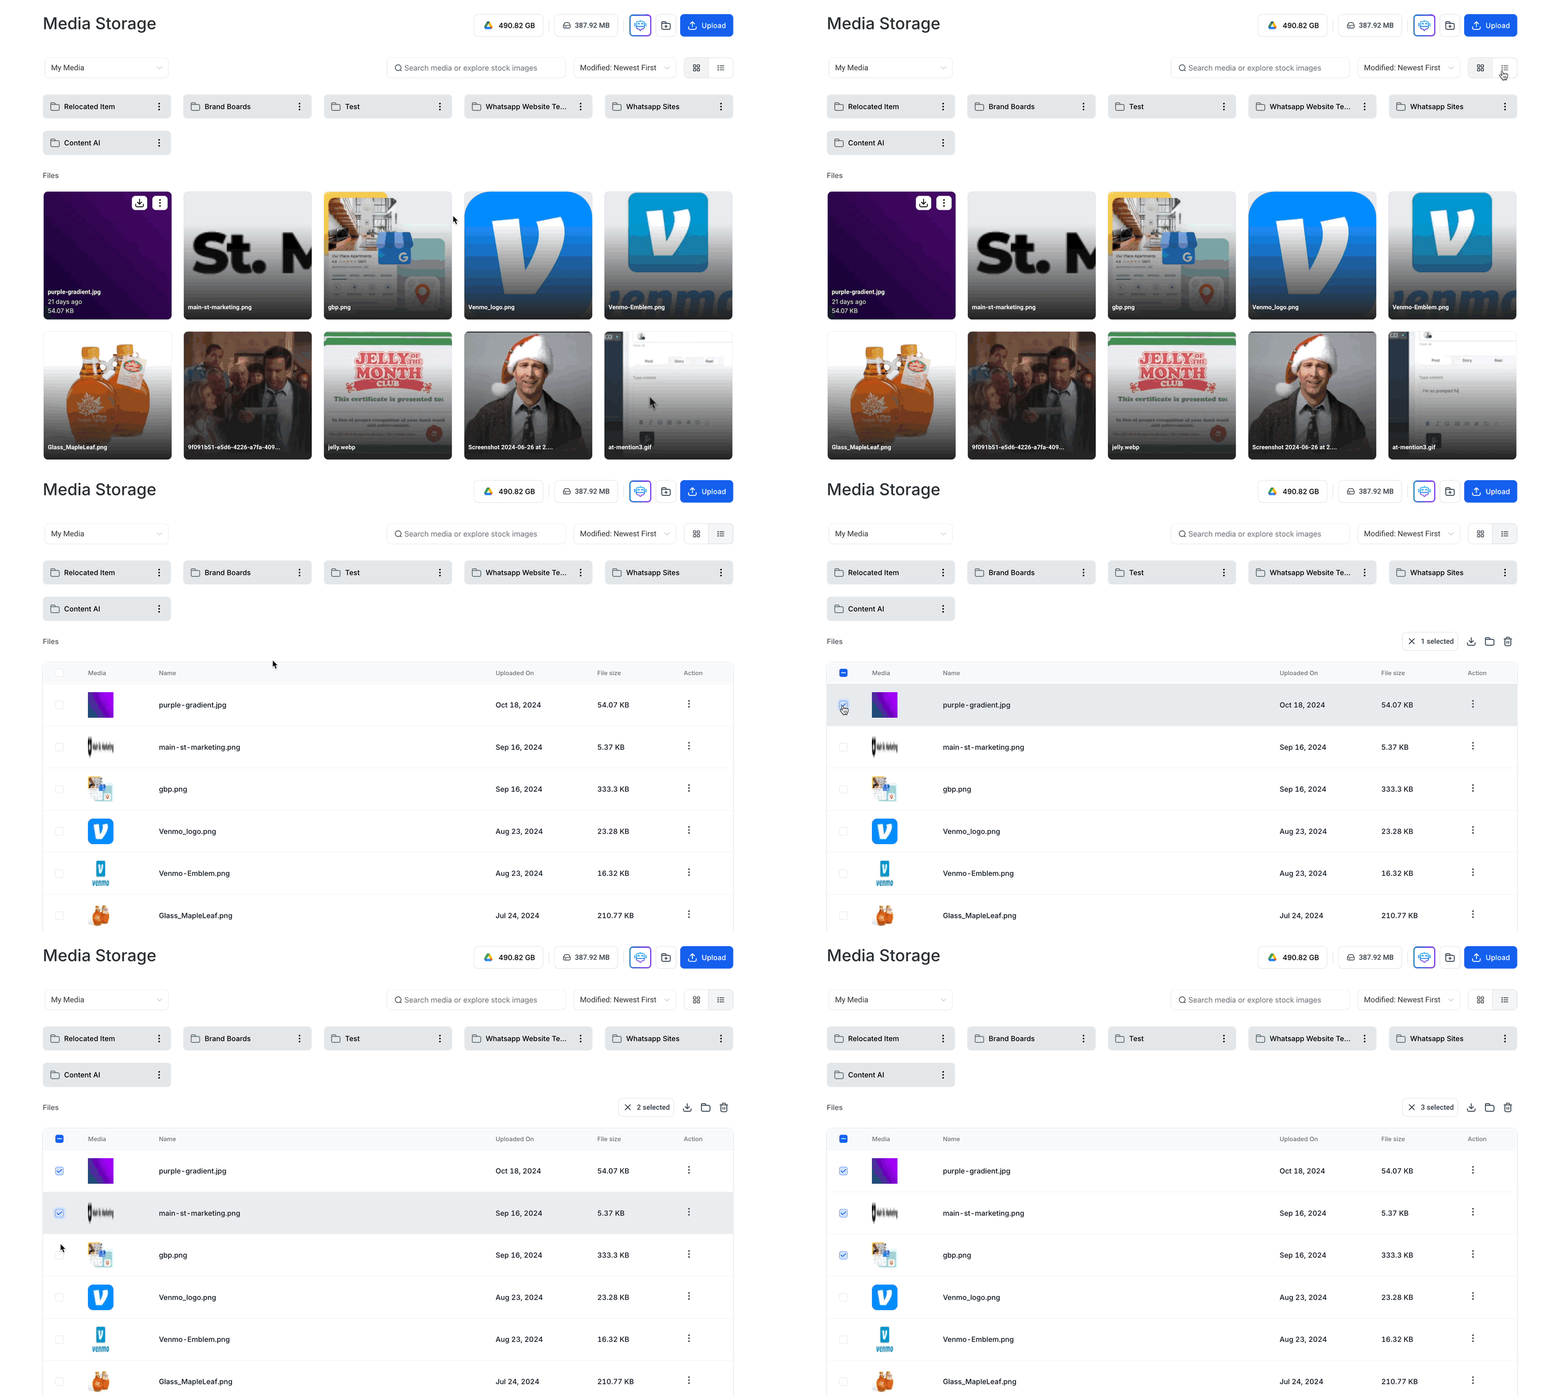
In List View: use the checkboxes next to each file or folder to select multiple items.
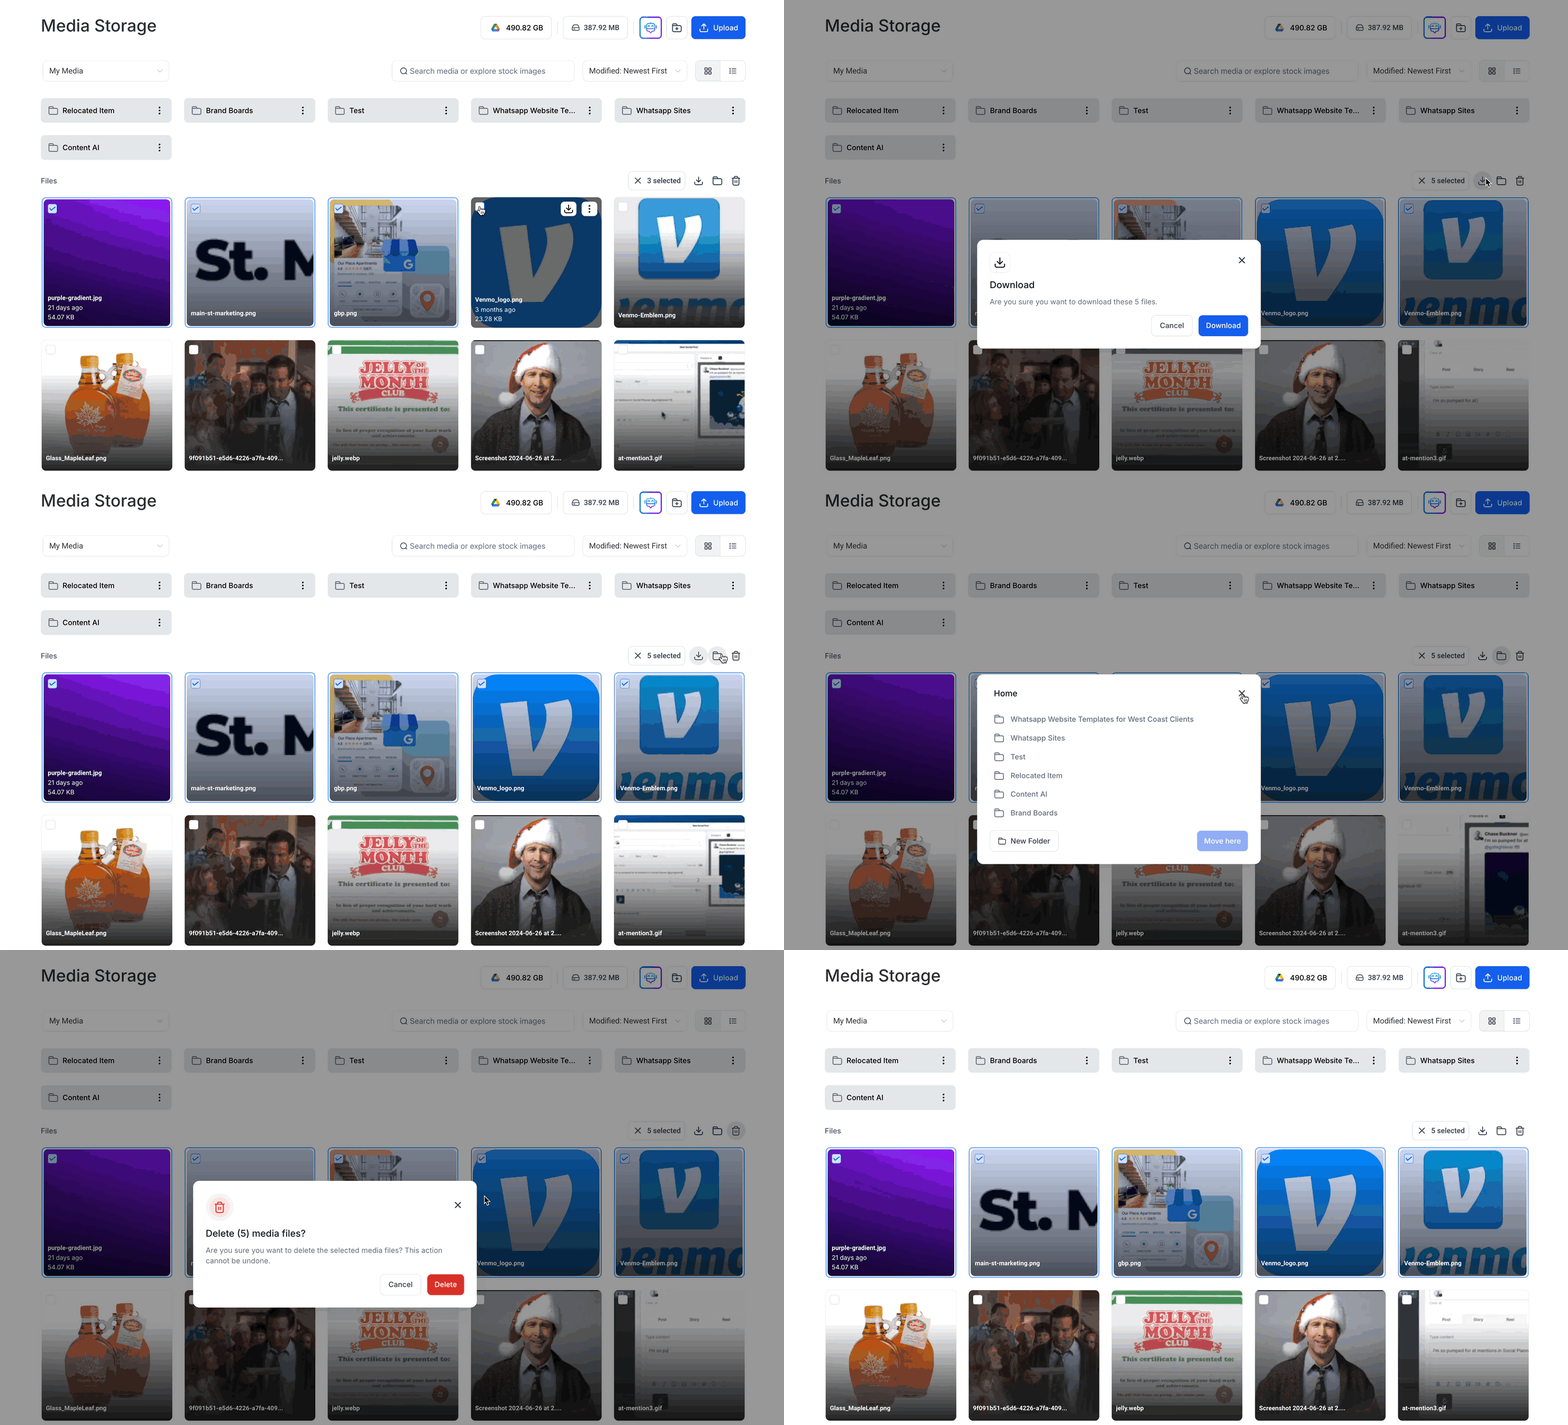
Performing bulk actions: once files are selected, use the on-screen buttons to move, download, or delete them all in one operation.
A few limits to keep in mind:
Multi-select works within a single folder at a time. To act on files across different folders, repeat the process in each folder separately.
You can select up to 100 files at once for a bulk action.
If a file is larger than 2 GB, it will be skipped during a multi-download and needs to be downloaded on its own.
While in multi-select mode, Rename and Get Link are disabled, since those actions only make sense for a single file at a time.
If several selected files share the same name during a move or download, you'll be prompted to rename or skip files so nothing gets overwritten.
If your practice stores before-and-after treatment photos in the Media Library, treat that folder like any other space that holds patient information. Restrict access to staff who need it, avoid file names that include a patient's full name, and remove photos you no longer need for clinical or marketing records.
Where do I find the Media Library? Go to Marketing > Media, then click Open Media Library.
Can I organize my media into folders by treatment or campaign? Yes. Click Create Folder, name it however fits your practice (by treatment line, campaign, or location), and move existing files into it using the Move to Folder option.
How do I quickly find one file among hundreds? Use the search bar to look up a file by name or keyword, and use the File Type dropdown to narrow results to just photos, videos, audio, docs, or PDFs.
Does the File Type filter delete or move my files? No. It only changes what's currently visible in the library. Nothing about your storage or file organization is affected.
Will my File Type filter selection be the same for my whole team? No. It's a personal, per-session setting, so each team member sets their own filter and it resets each time.
Can I select and manage multiple files at once? Yes, using Multi-Select. Drag to select in Grid View or use the checkboxes in List View, then move, download, or delete the selected files together.
Is there a limit to how many files I can select or download at once? You can select up to 100 files for a bulk action. Files over 2 GB are skipped during multi-download and must be downloaded individually.
How do I get a shareable link to an image for a website or funnel? Right-click the image in the Media Library and select Get Link. The direct URL is copied to your clipboard automatically.
Can I use stock photos instead of uploading my own? Yes. Use the category dropdown in the Media Library to browse Backgrounds, Unsplash, or Pixabay alongside your own uploaded media.
Is Multi-Select or File Type filtering available on mobile? File Type filtering is not yet available on mobile; it currently works on desktop and web only. Basic search is available in the mobile Media Library.
