Google Ads conversion tracking lets you send real patient actions, such as booked consultations, form submissions, or won opportunities, back to Google Ads as conversions. This gives Google the data it needs to optimize your campaigns toward the leads that actually become patients, and it improves your reporting and return on ad spend. This guide covers creating a conversion action, then sending conversions from Aesthetix CRM using either Ad Manager or Workflows.
Connect your Google account to Aesthetix CRM first. Go to Settings, then Integrations, select Google, and link the Google Ads account you want to use. Without this connection, conversion actions will not appear and conversions cannot be sent. For the full connection steps, see the Connecting Google & Google Business Profile article in this collection.
Aesthetix CRM supports offline conversions only. Website, app, and phone-call conversion sources set up directly in Google Ads are not supported by the sending features described here.
A conversion action is a rule that records when a desired action happens. For offline conversions, such as a deal marked won in the CRM, Google matches identifiers passed on the ad click, called GCLID, GBRAID, or WBRAID, to attribute the result back to the ad and keyword. These identifiers must be present on the contact record for a conversion to be attributed. Because of this, capture and store whichever identifier is available on the first touch, then send it with the conversion.
You can create the conversion action two ways: inside Aesthetix CRM's Ad Manager, or directly in the Google Ads platform. Choose one. Ad Manager is faster and keeps everything in one place. The Google platform-side option gives you the full Google Ads interface.
Ad Manager lets you create and manage Google Ads offline conversion actions without leaving the CRM. Conversions you create here sync to your connected Google Ads account via API, and existing Google Ads conversions are imported automatically.
Access Ad Manager. Go to the Marketing section from the left-hand menu, then click Ad Manager in the top navigation.
Open Ad Manager settings. Click the gear icon next to the Create Campaign button.
Select Google Ads conversions. Click Google Ads under Platform Settings, then switch to the Conversions tab. This lists your synced and newly created conversion actions.
Create a new conversion. Click + Create a new conversion in the top-right corner.
Enter a conversion name. Give it a clear, descriptive name, for example "Qualified Lead - Consultation Booking."
Choose a conversion source. Select a source such as Converted lead, Qualified lead, Purchase, or Signup that best matches the action you are tracking.
Set the conversion count. Use Many per click for purchases or repeatable actions, or One per click for leads and one-time form submissions to prevent duplicates.
Set the conversion value. Choose to use the same value for each conversion, a different value per conversion, or no value. If you use a value, enter an amount and currency code.
Set the conversion window. Choose how long to track conversions after an ad click, for example 30, 60, or 90 days.
Save the conversion action. Click Create. It syncs instantly to your connected Google Ads account via API, with no manual setup in the Google Ads UI. The attribution model for offline conversions is fixed to Data-driven, per Google Ads guidelines.
To edit or delete a conversion, click the three-dot menu next to it and choose Edit or Delete.
If you prefer the Google Ads interface, create the offline conversion action there. Confirm you have admin or standard access to the correct Google Ads account, and decide whether this action should be a Primary action used for bidding.
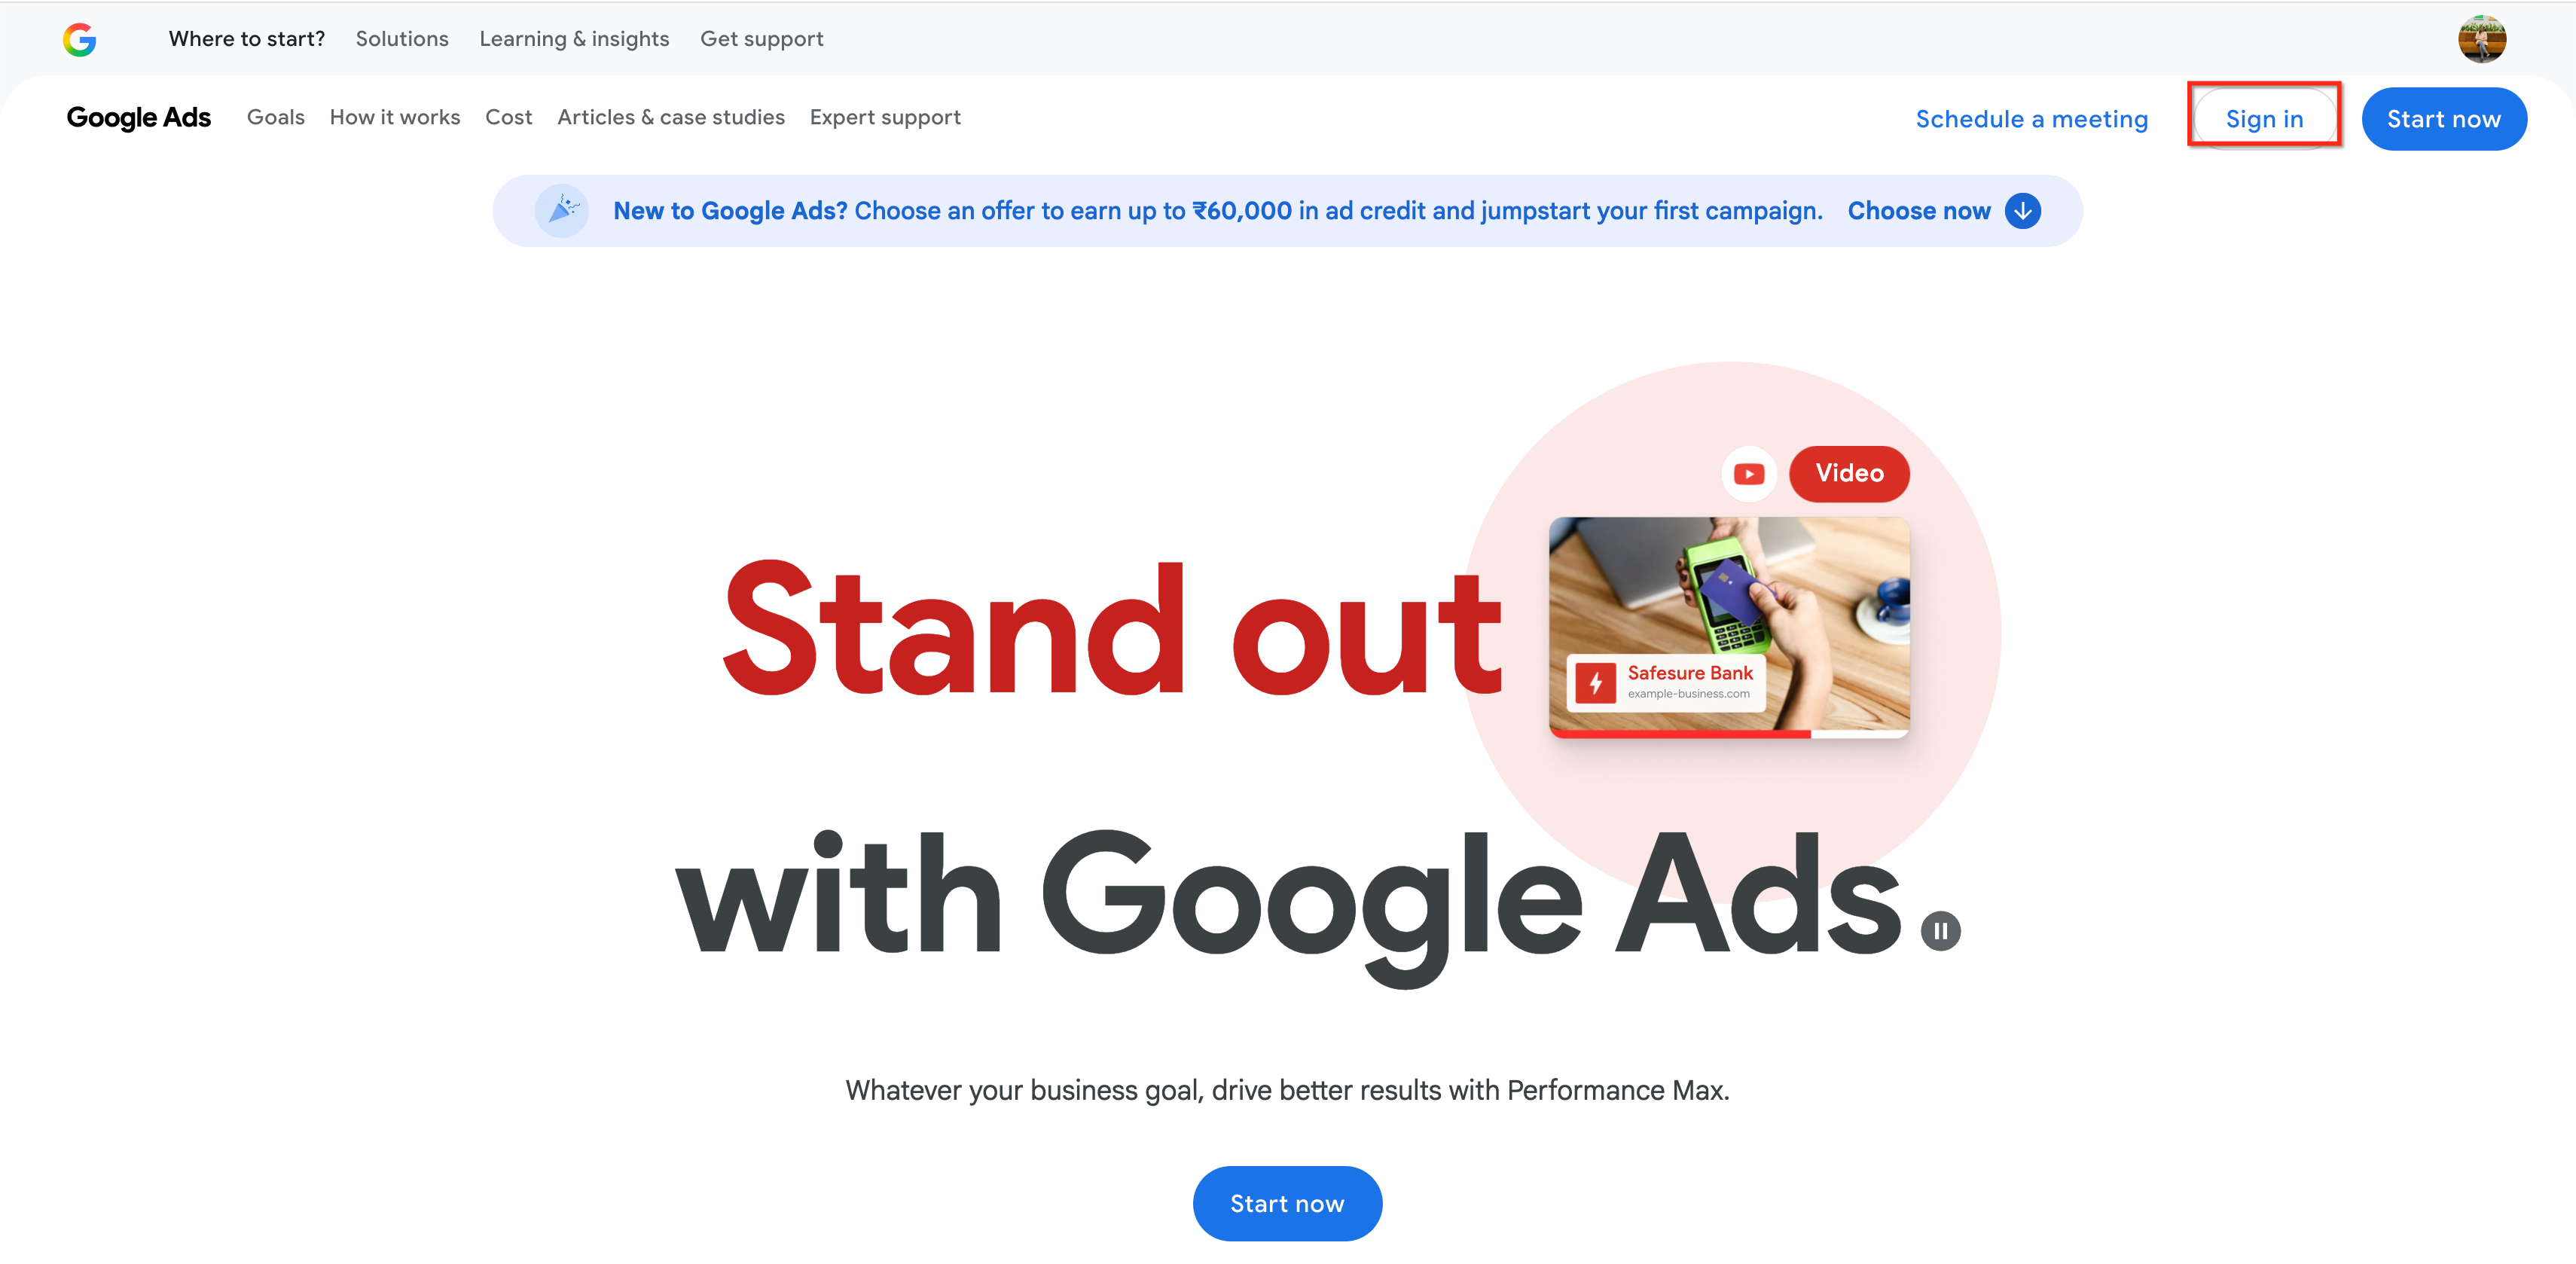
Head into your Google Ads account at ads.google.com and sign in.
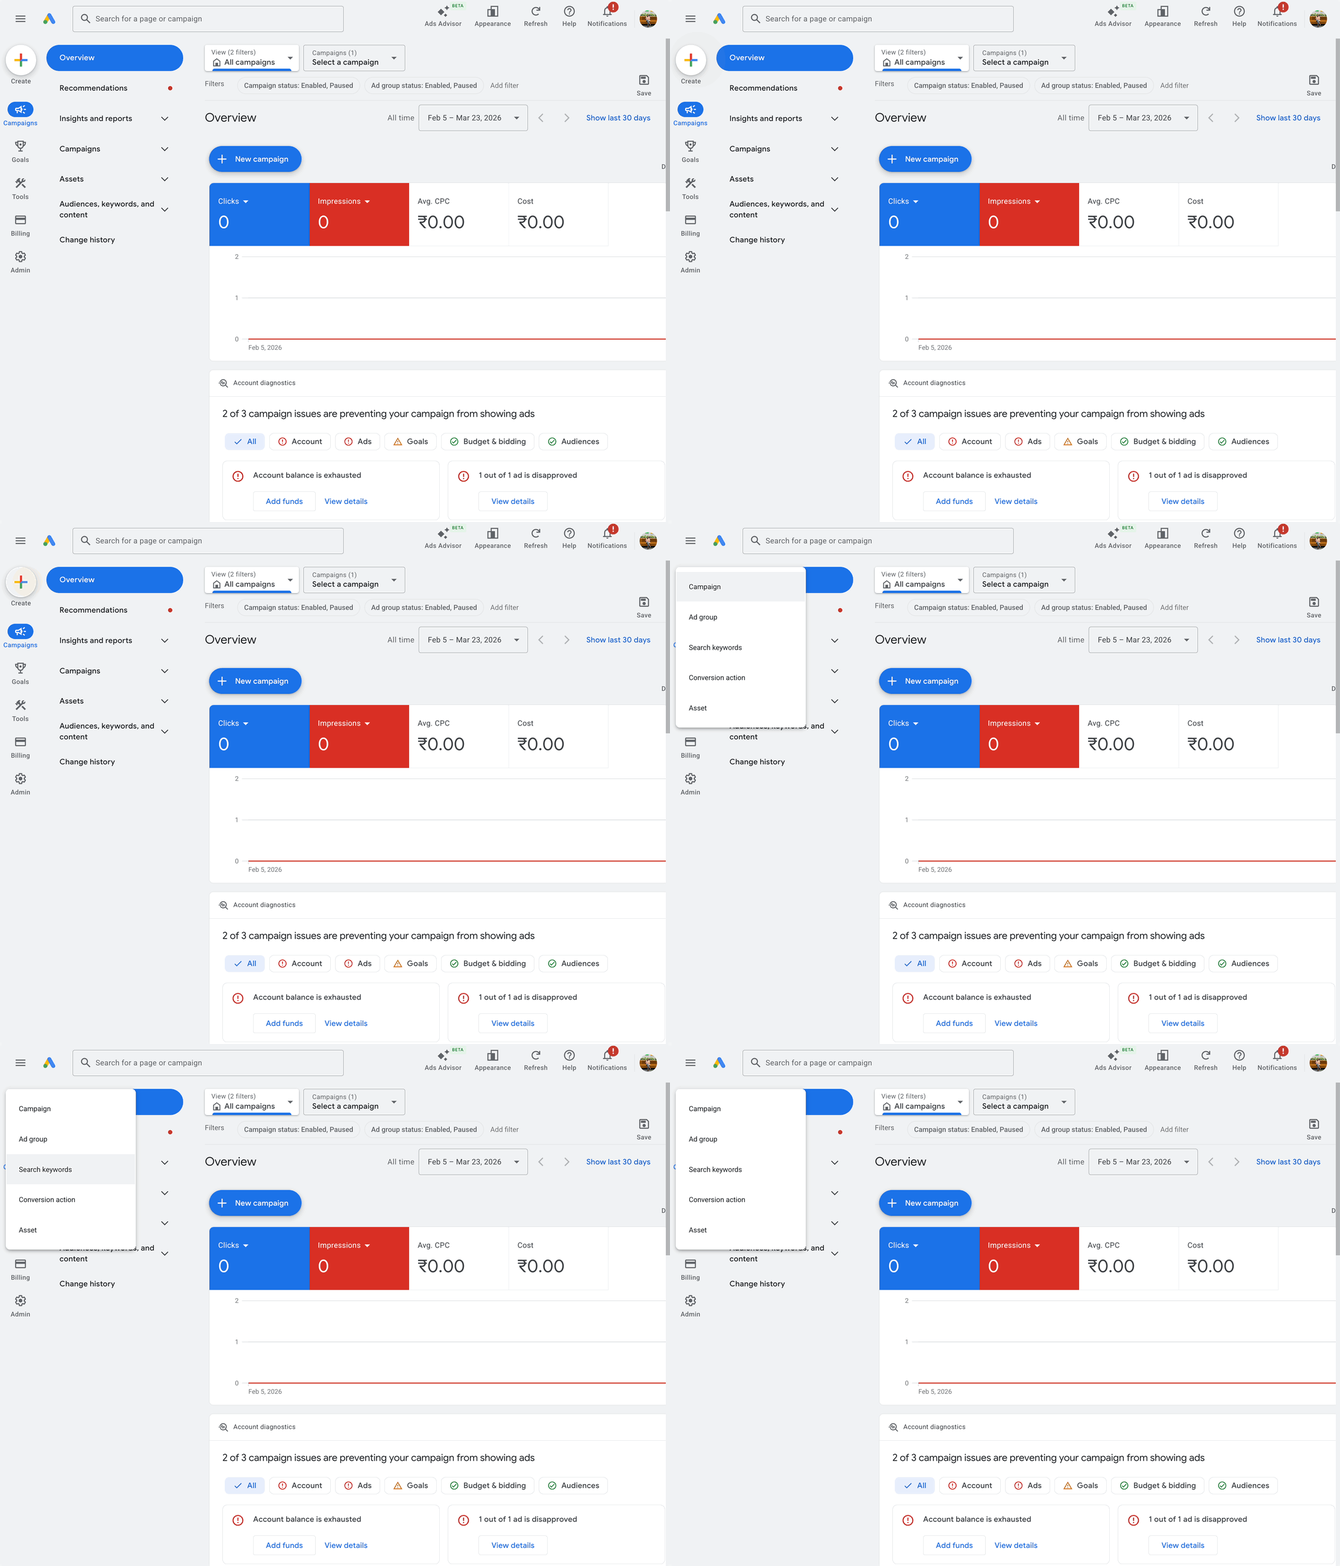
Click the + and select Conversion Action from the dropdown.
Choose the data sources to measure conversions, depending on your current Google Ads prompt.
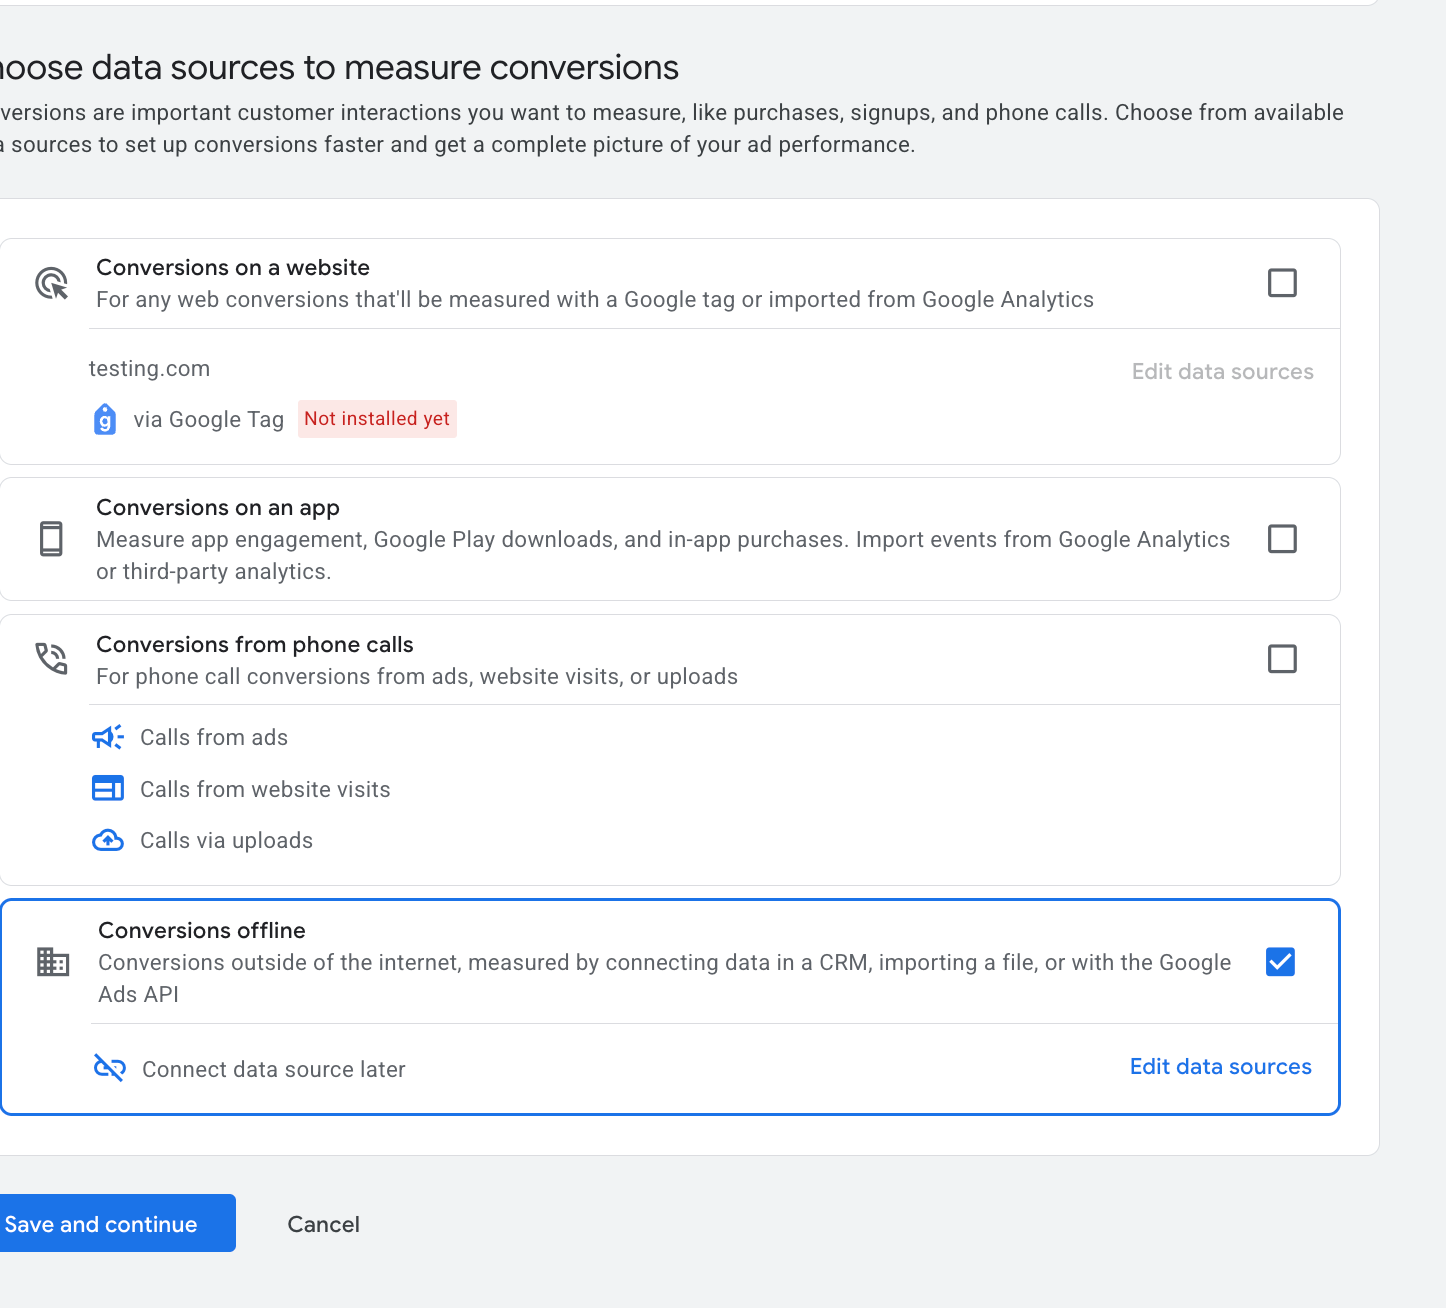
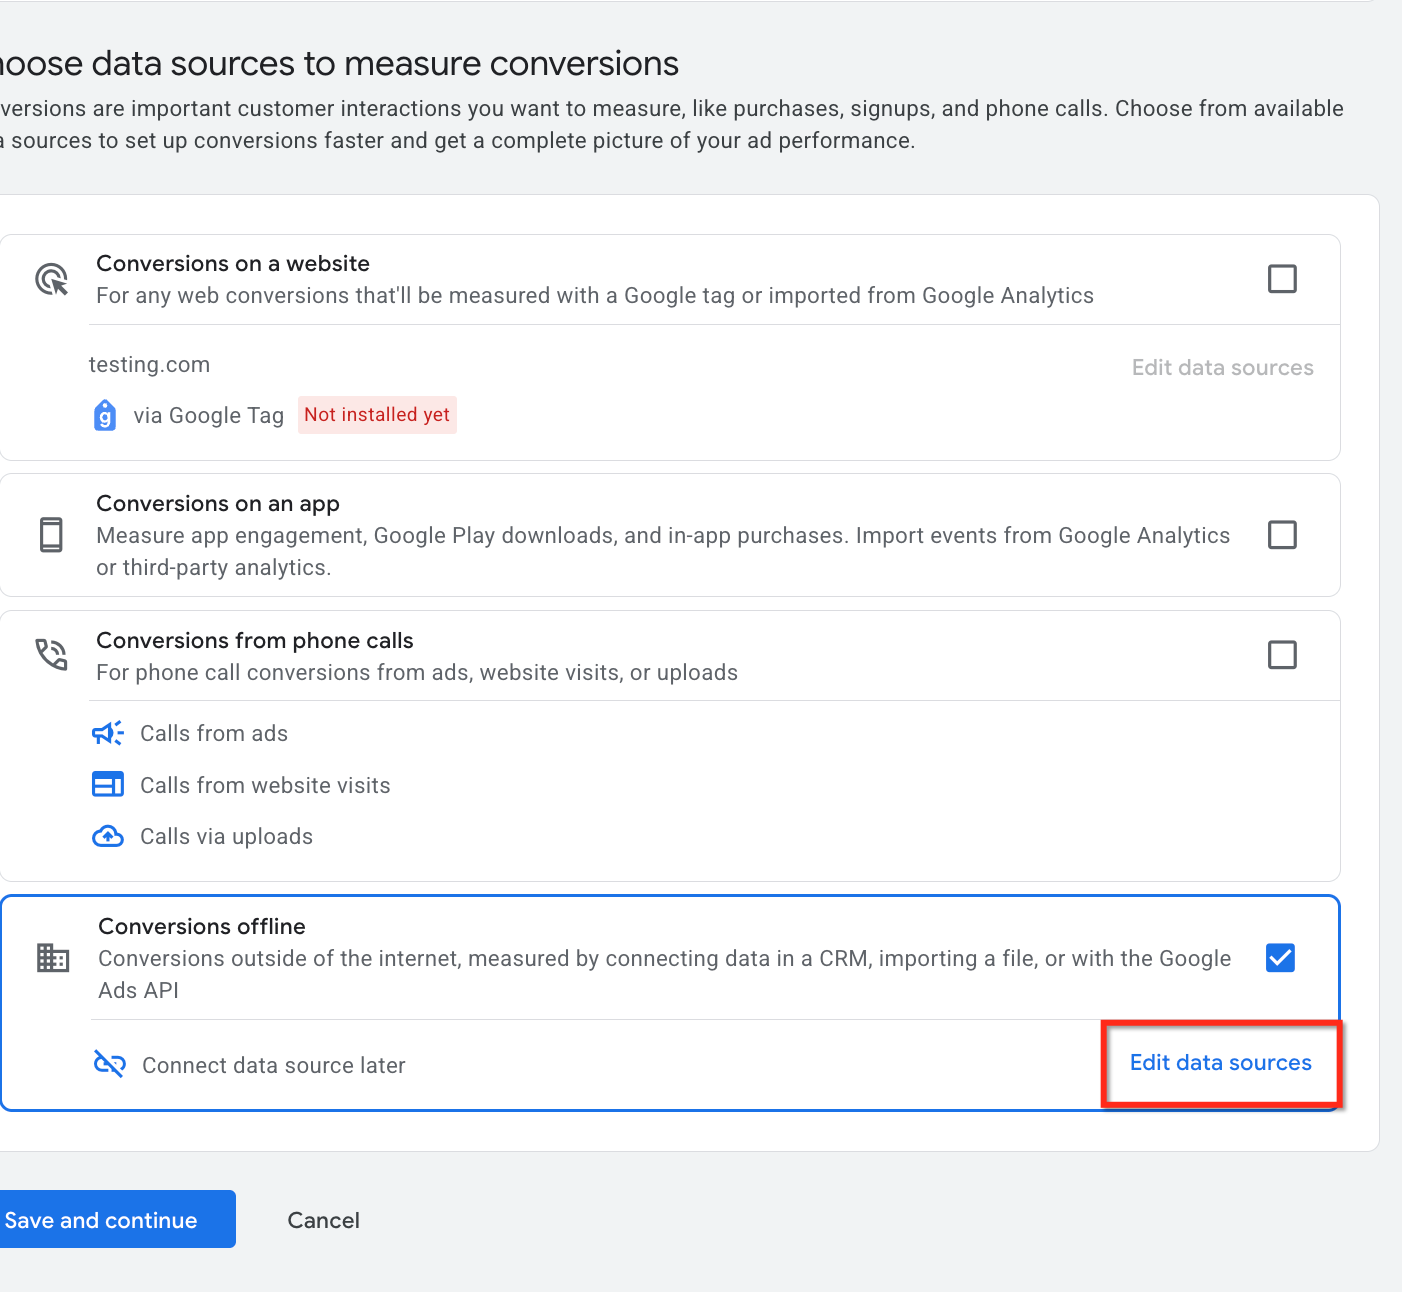
Choose the Conversions offline option. Aesthetix CRM supports offline conversions only; website, app, and phone-call sources are not supported.
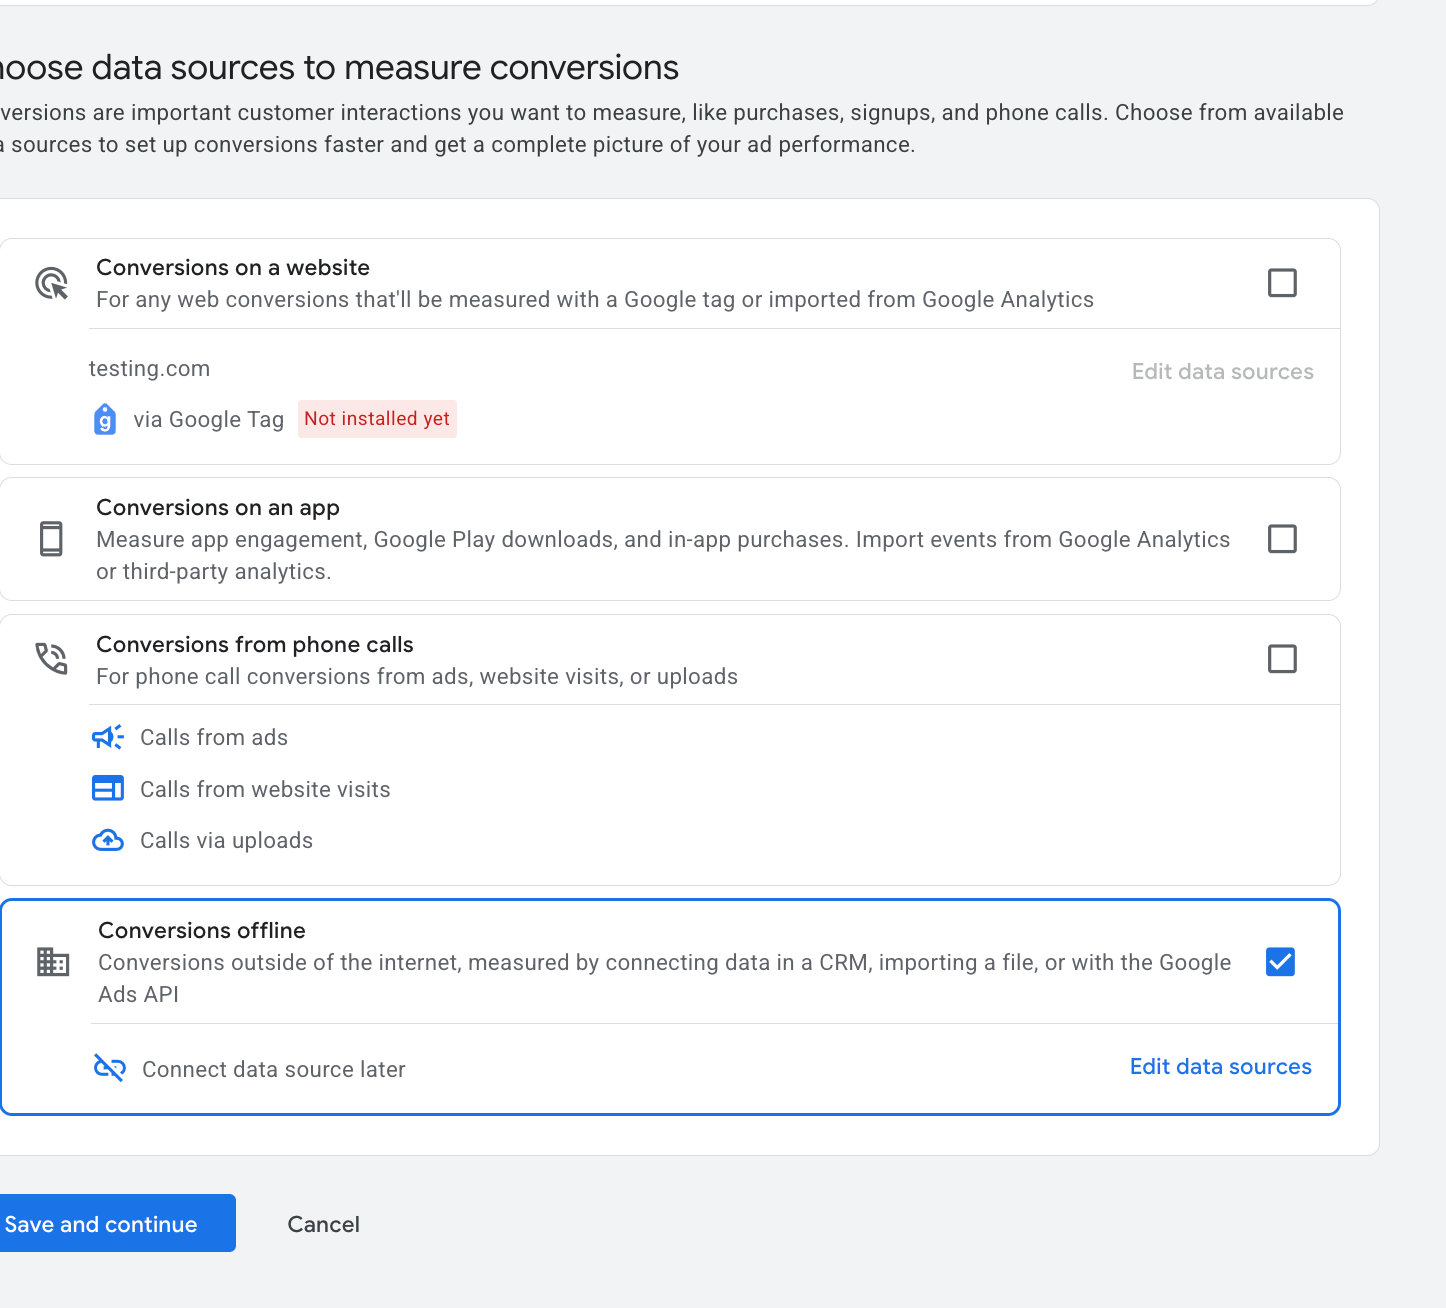
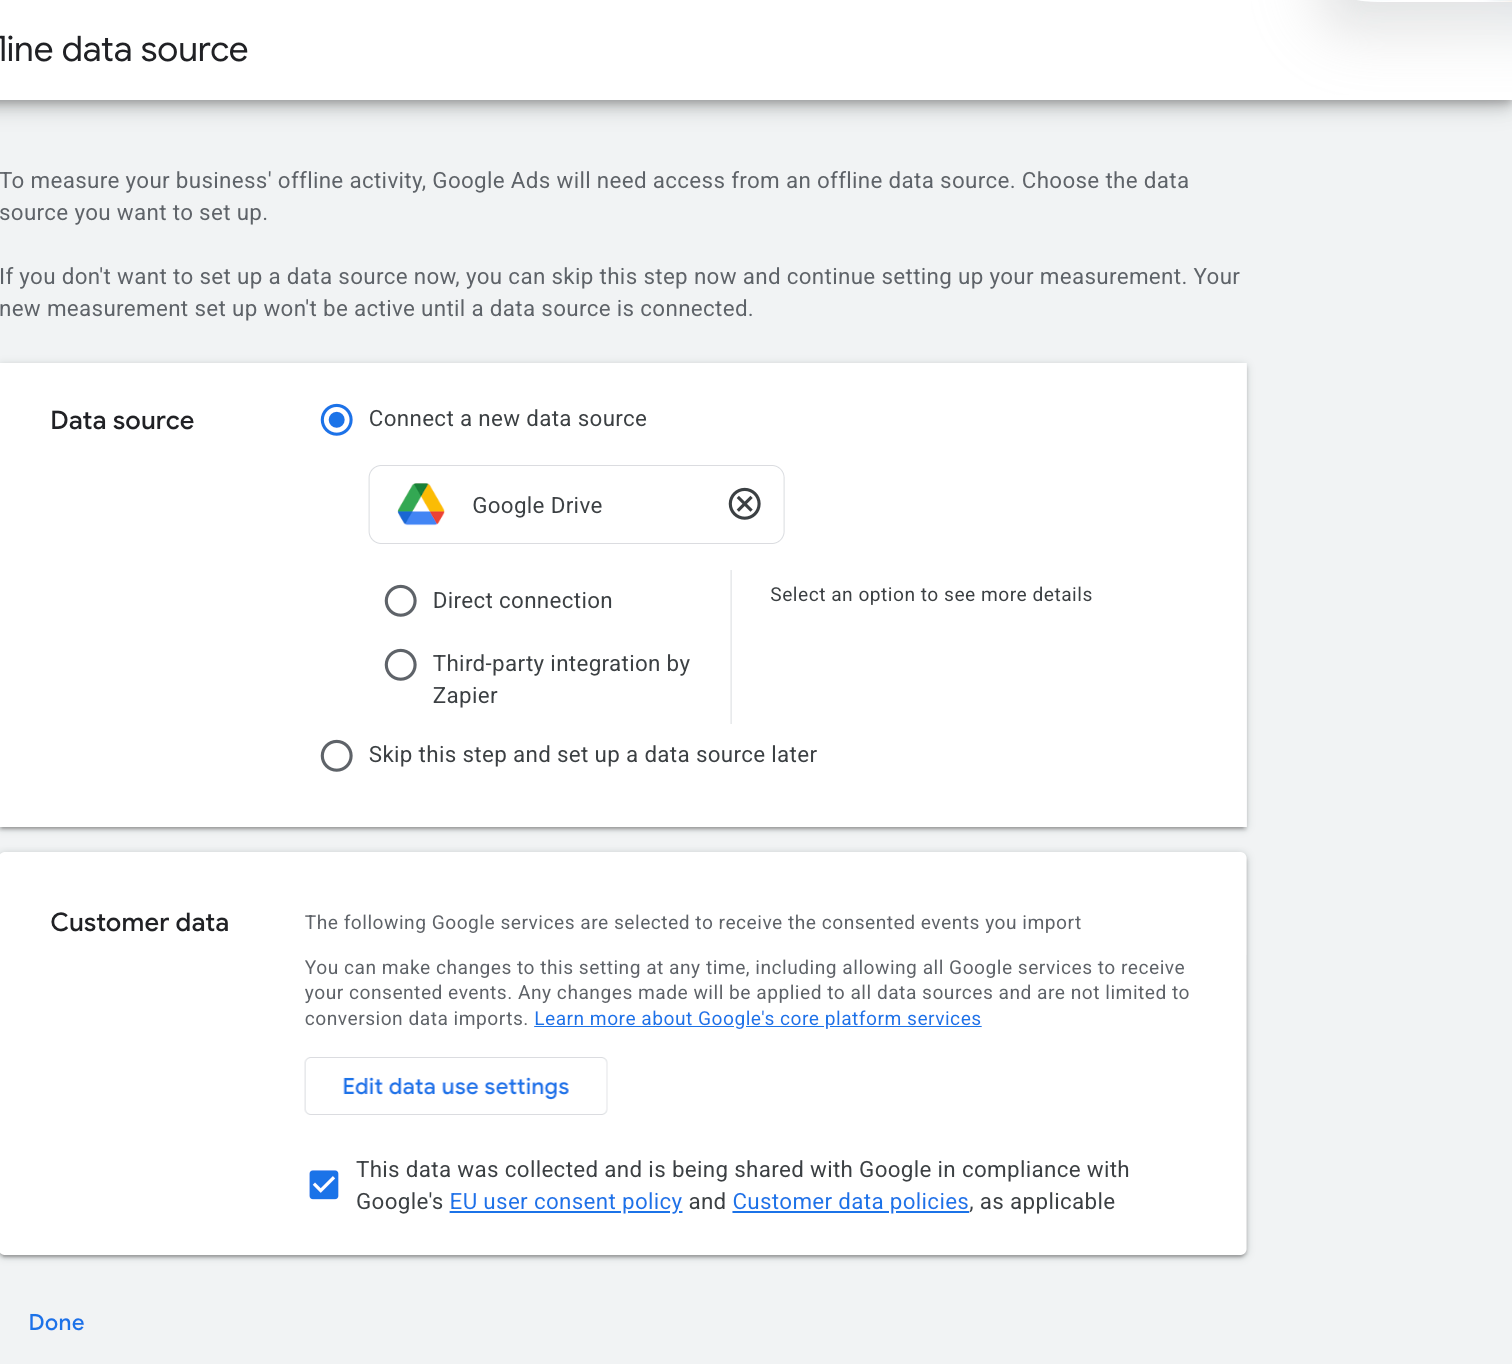
Click Edit Data Sources to add an offline data source, then select "Skip this step and set up a data source later."
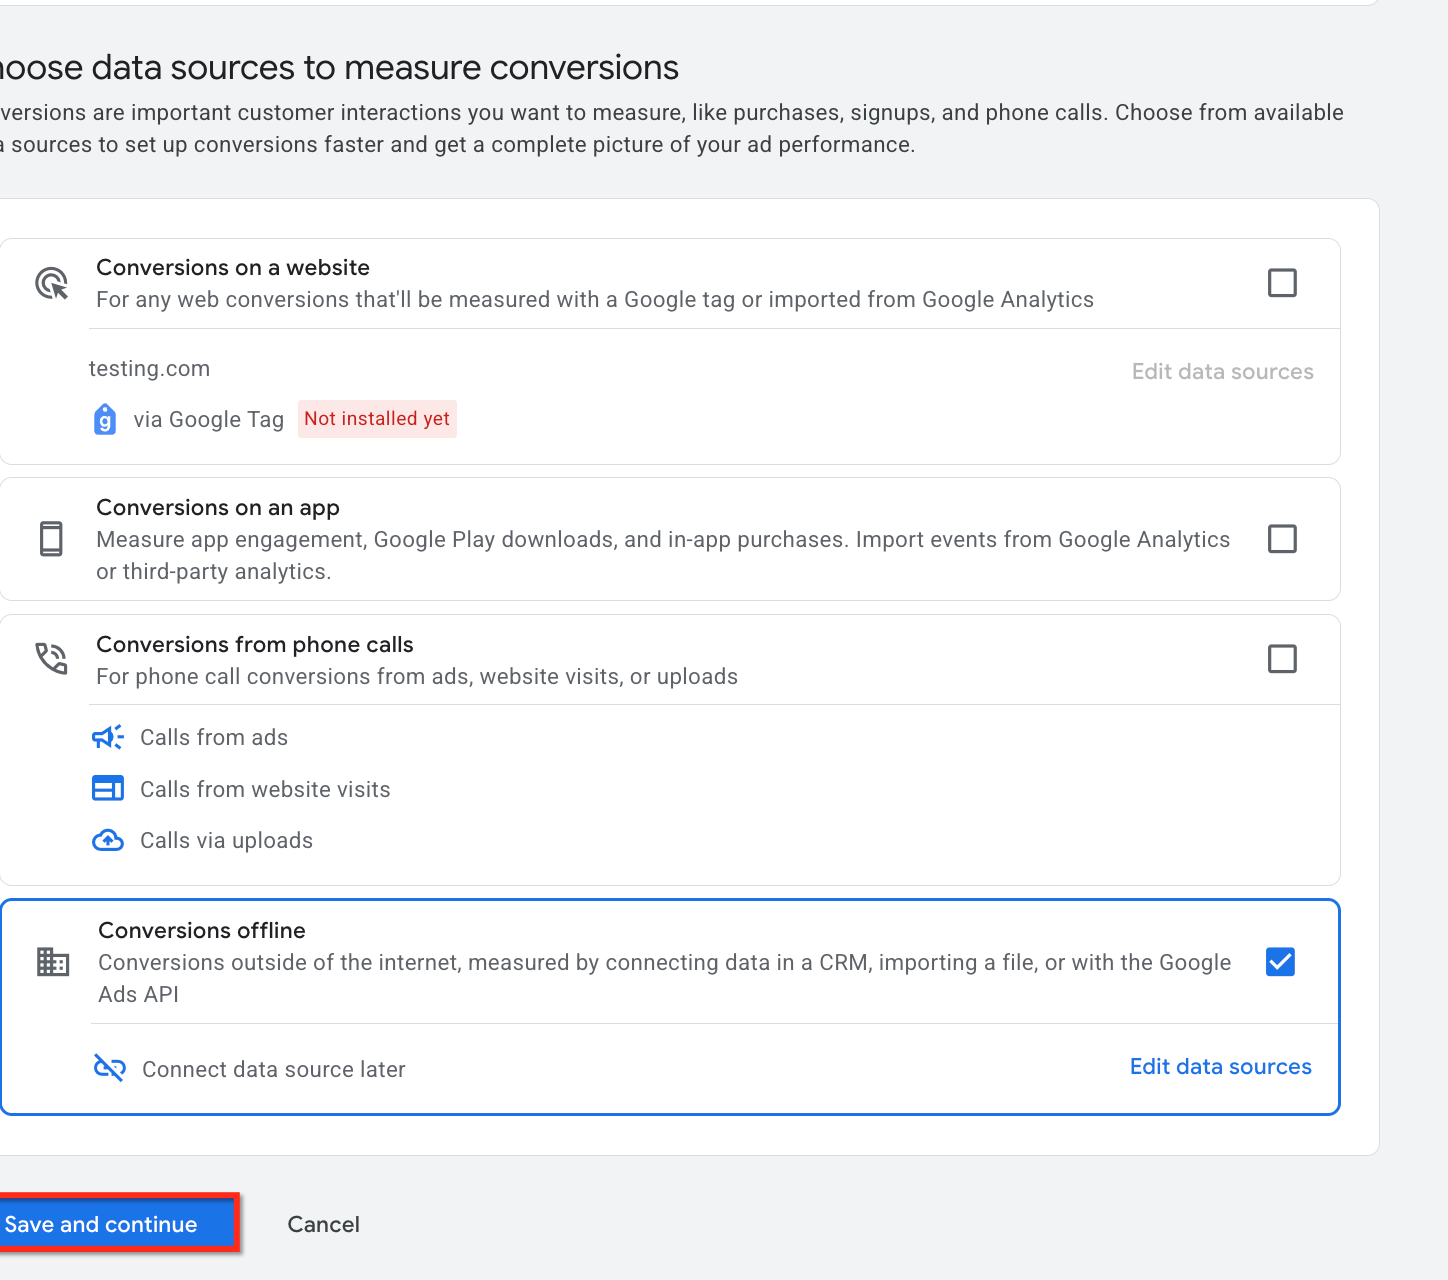
Click Save and Continue.
Select the Conversion Category to define what you want to measure. Click See all to view the full list of categories.
Add the data source to the category.
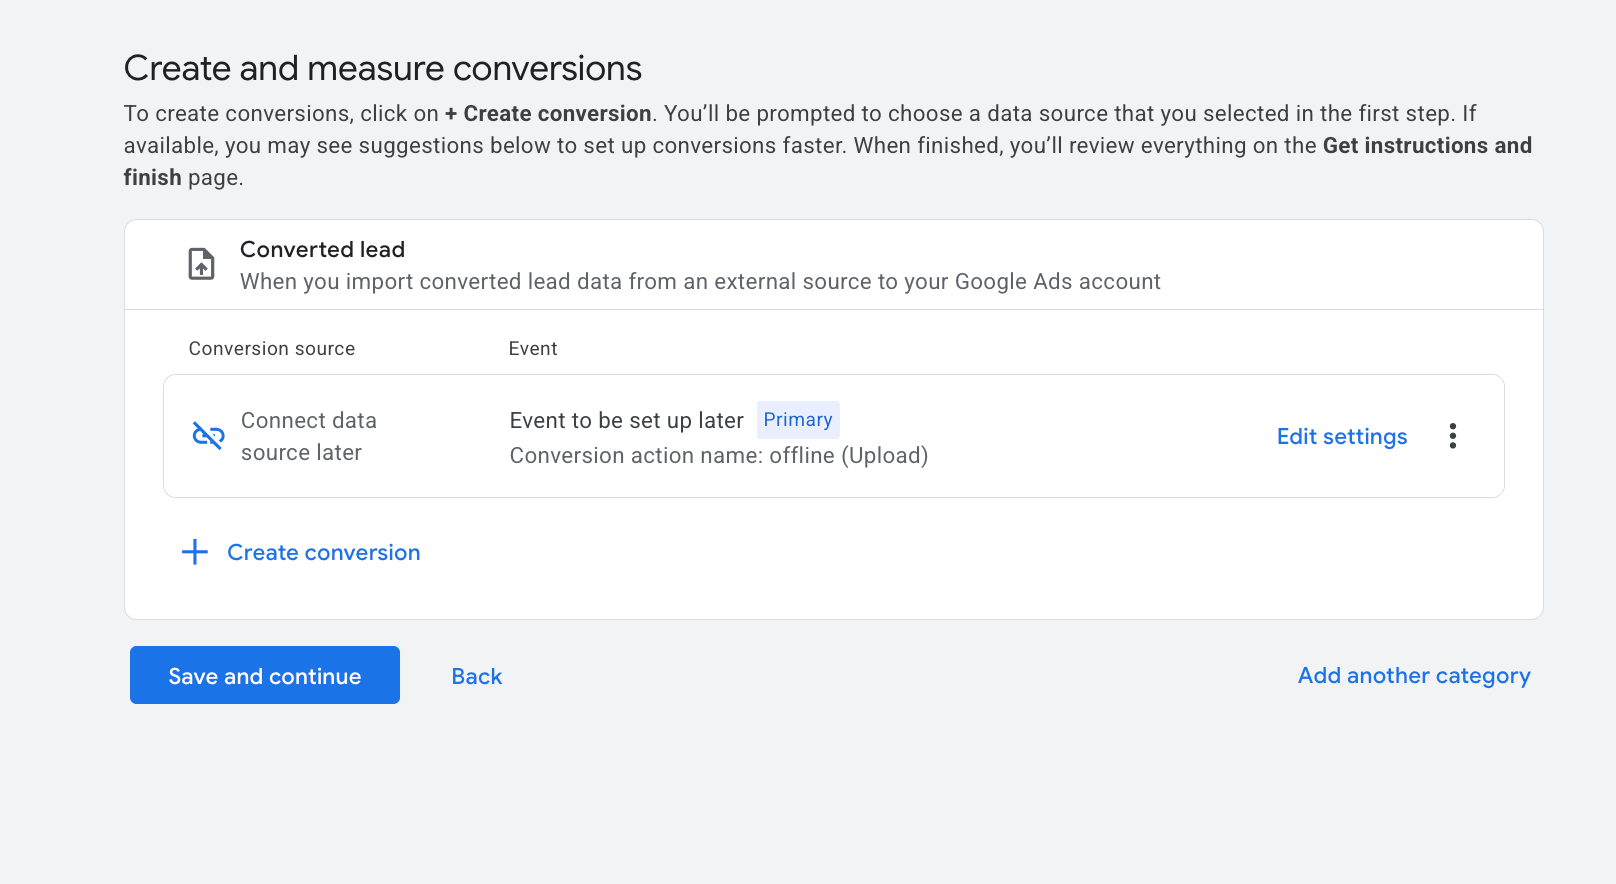
Click Edit settings to define the details.
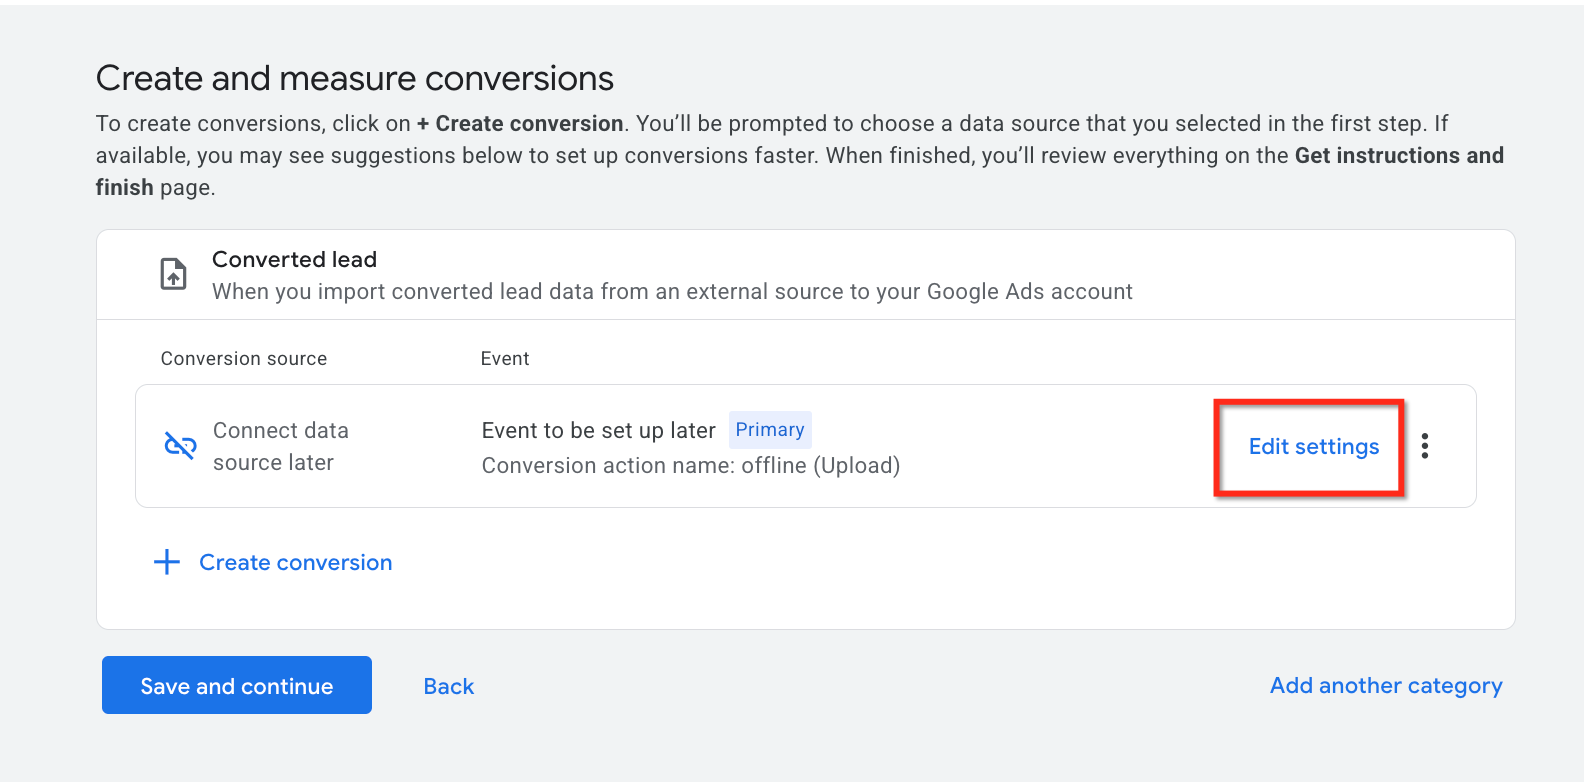
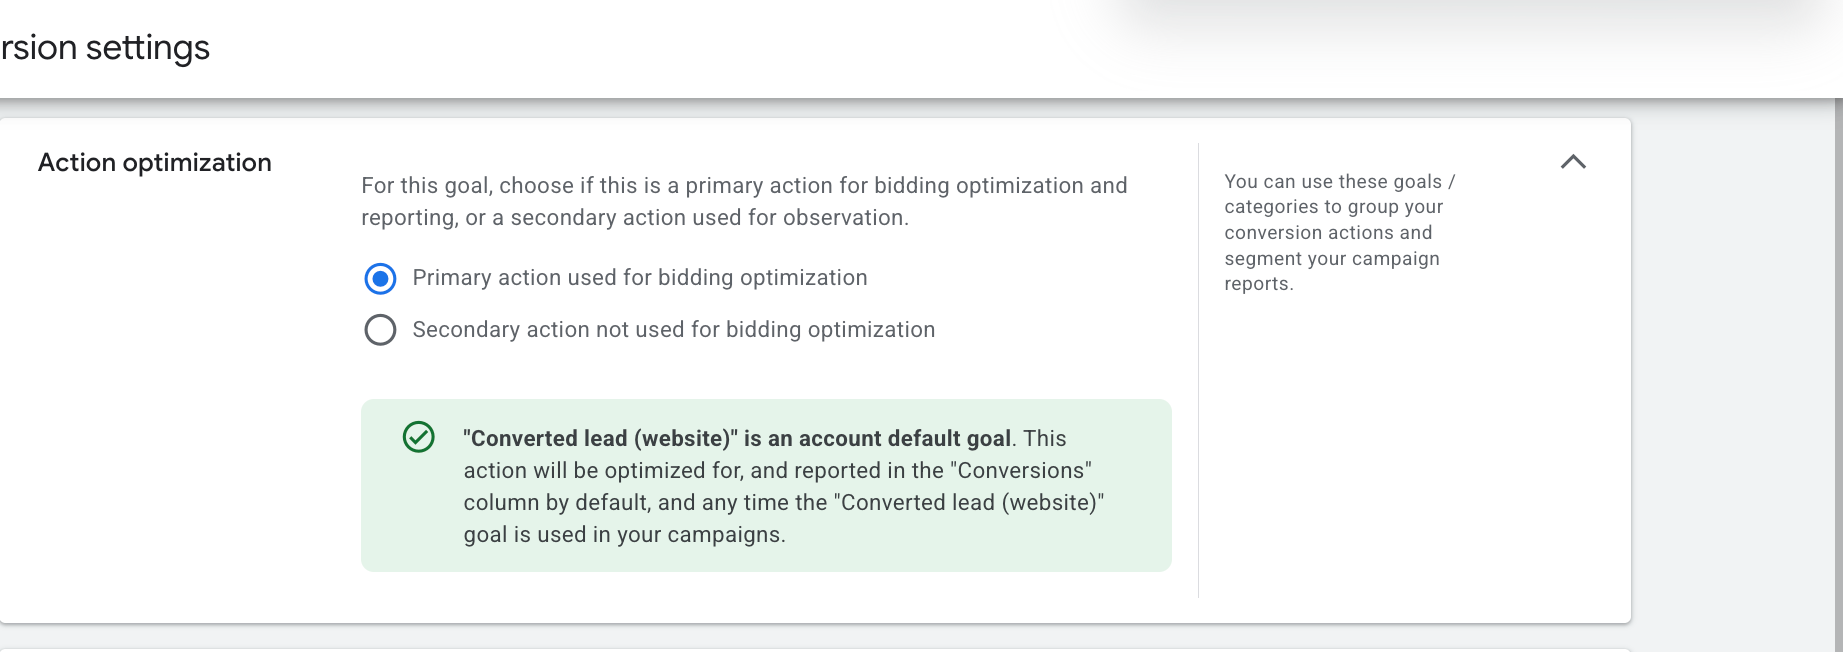
Under action optimization, leave Primary action used for bidding optimization selected.
Give the conversion a name, for example "Consultation Booked." Copy and save the exact name, because you will need it later.

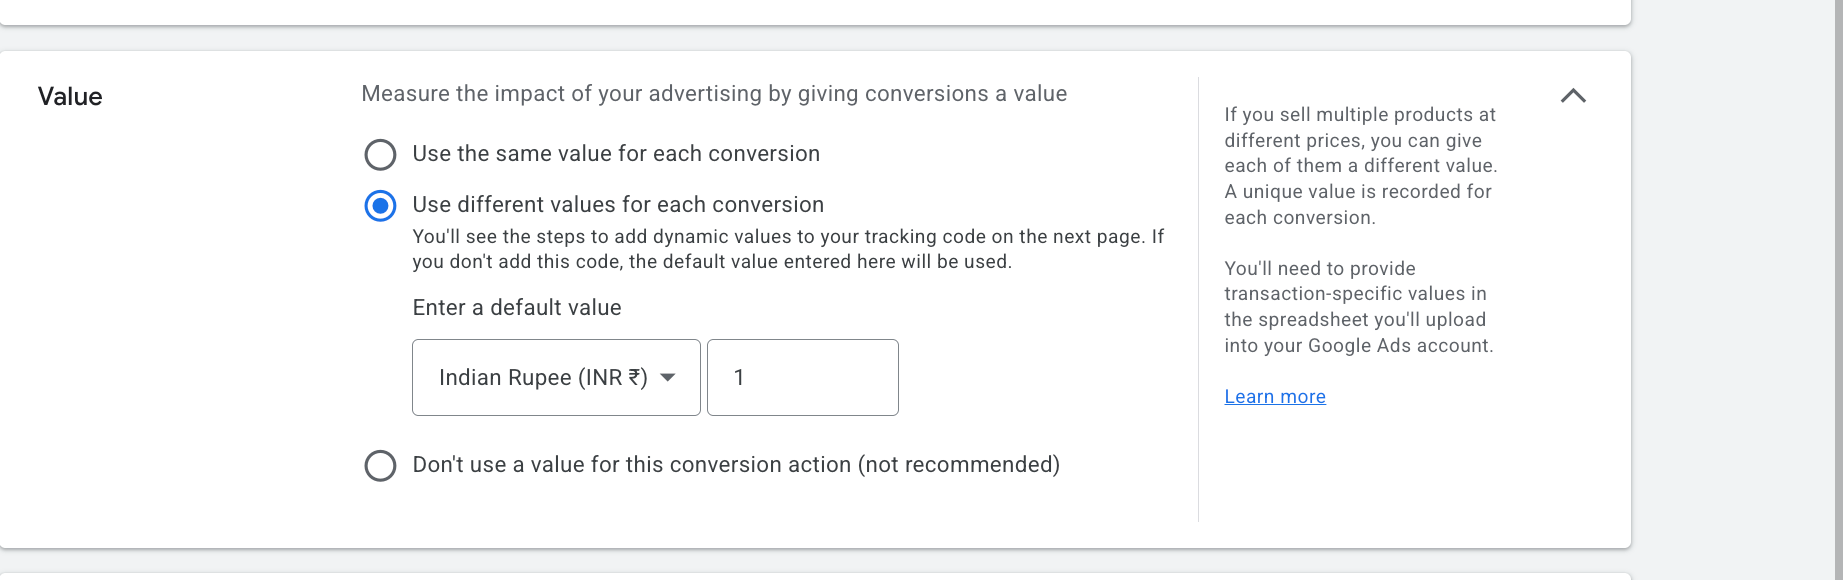
Select the value for your conversion: same value, different value, or do not use a value.
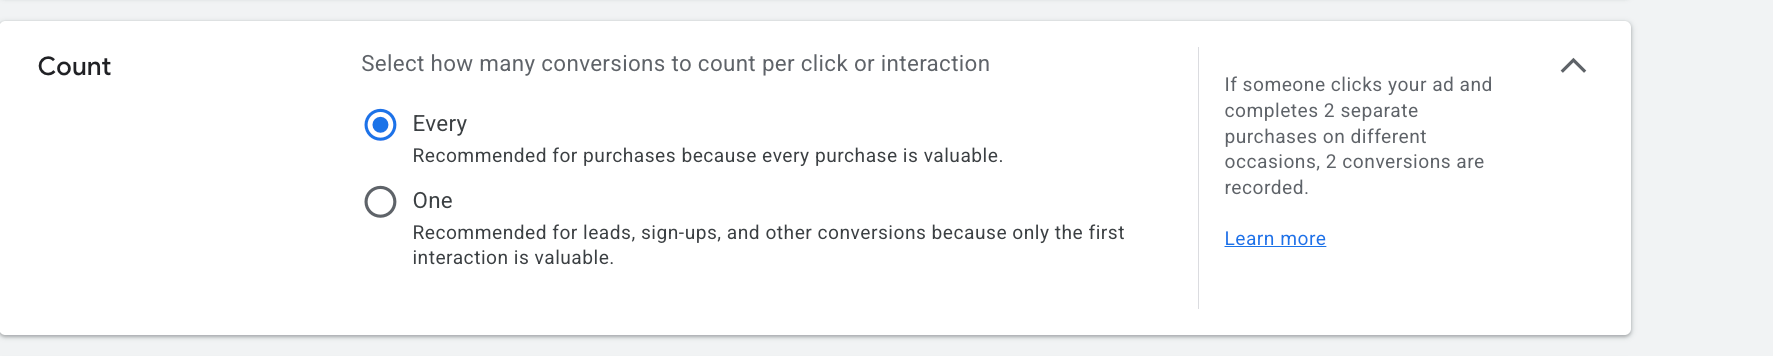
Select the count. We recommend Every for revenue events; use One for lead generation to avoid inflating conversions.
Set up the conversion window and attribution model. Set the click-through conversion window to 90 days, select an engaged-view window, and set the attribution model to Last Click or Data Driven, which is recommended.
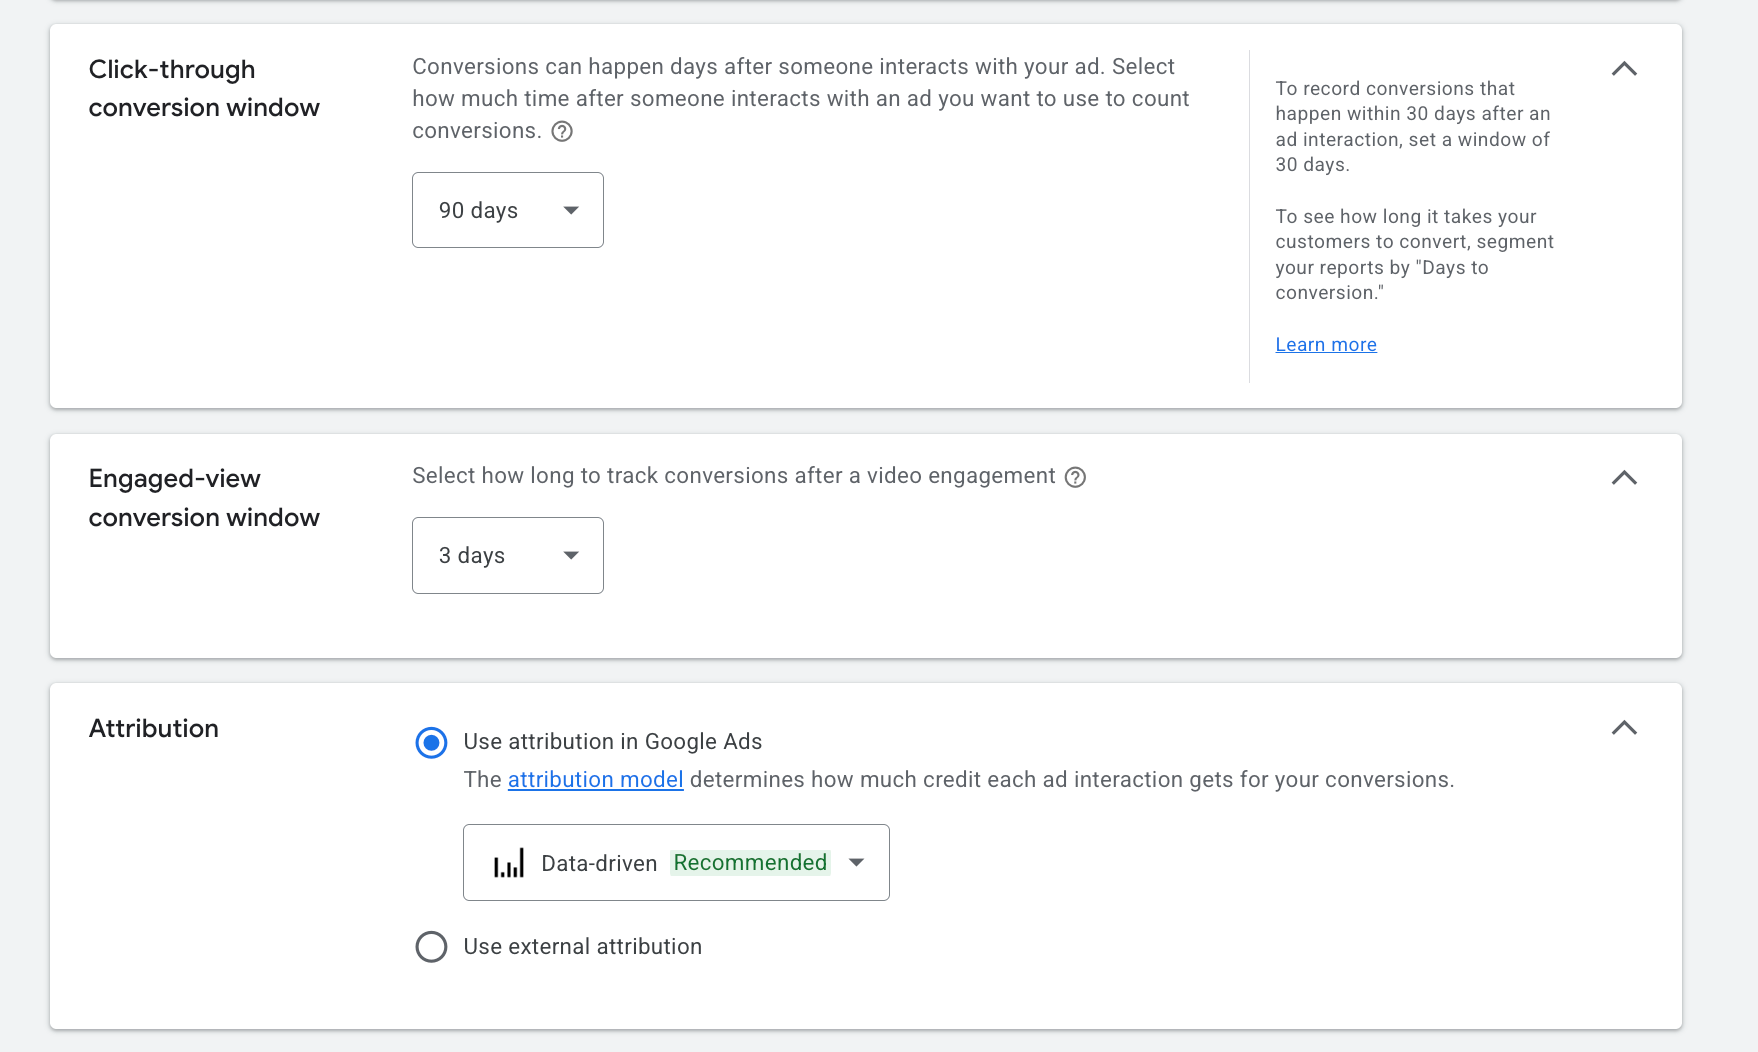
Click Done to save the conversion settings.

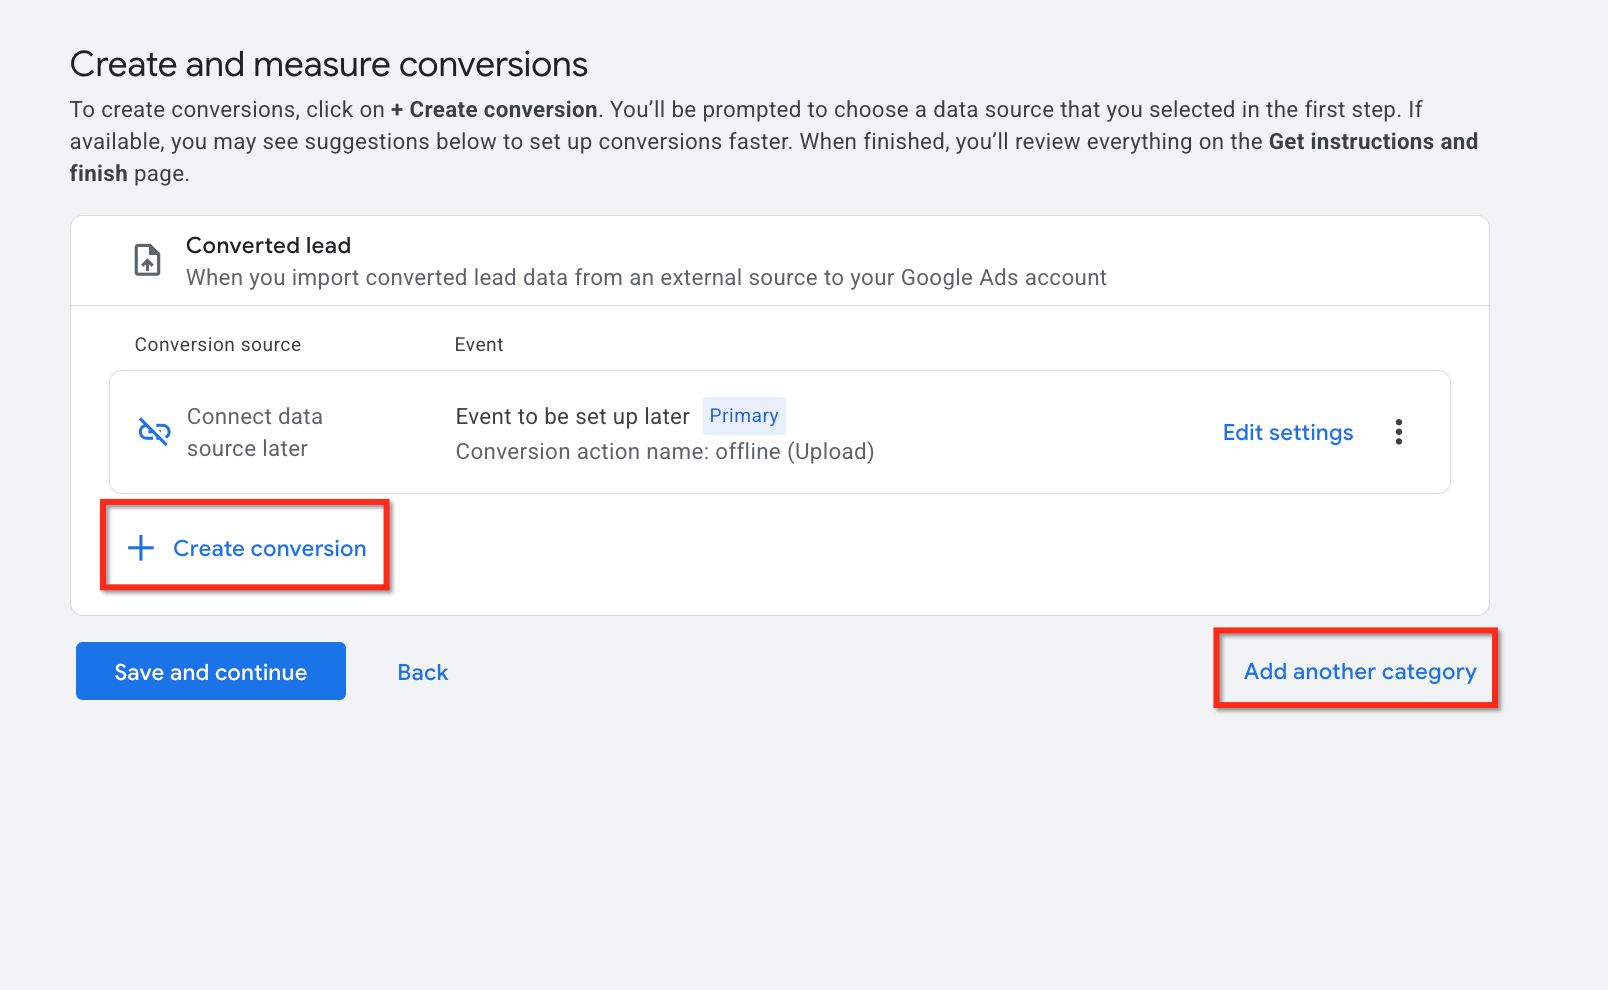
Click Save and continue, then choose Create Conversion. Use Add Another Category to add more.
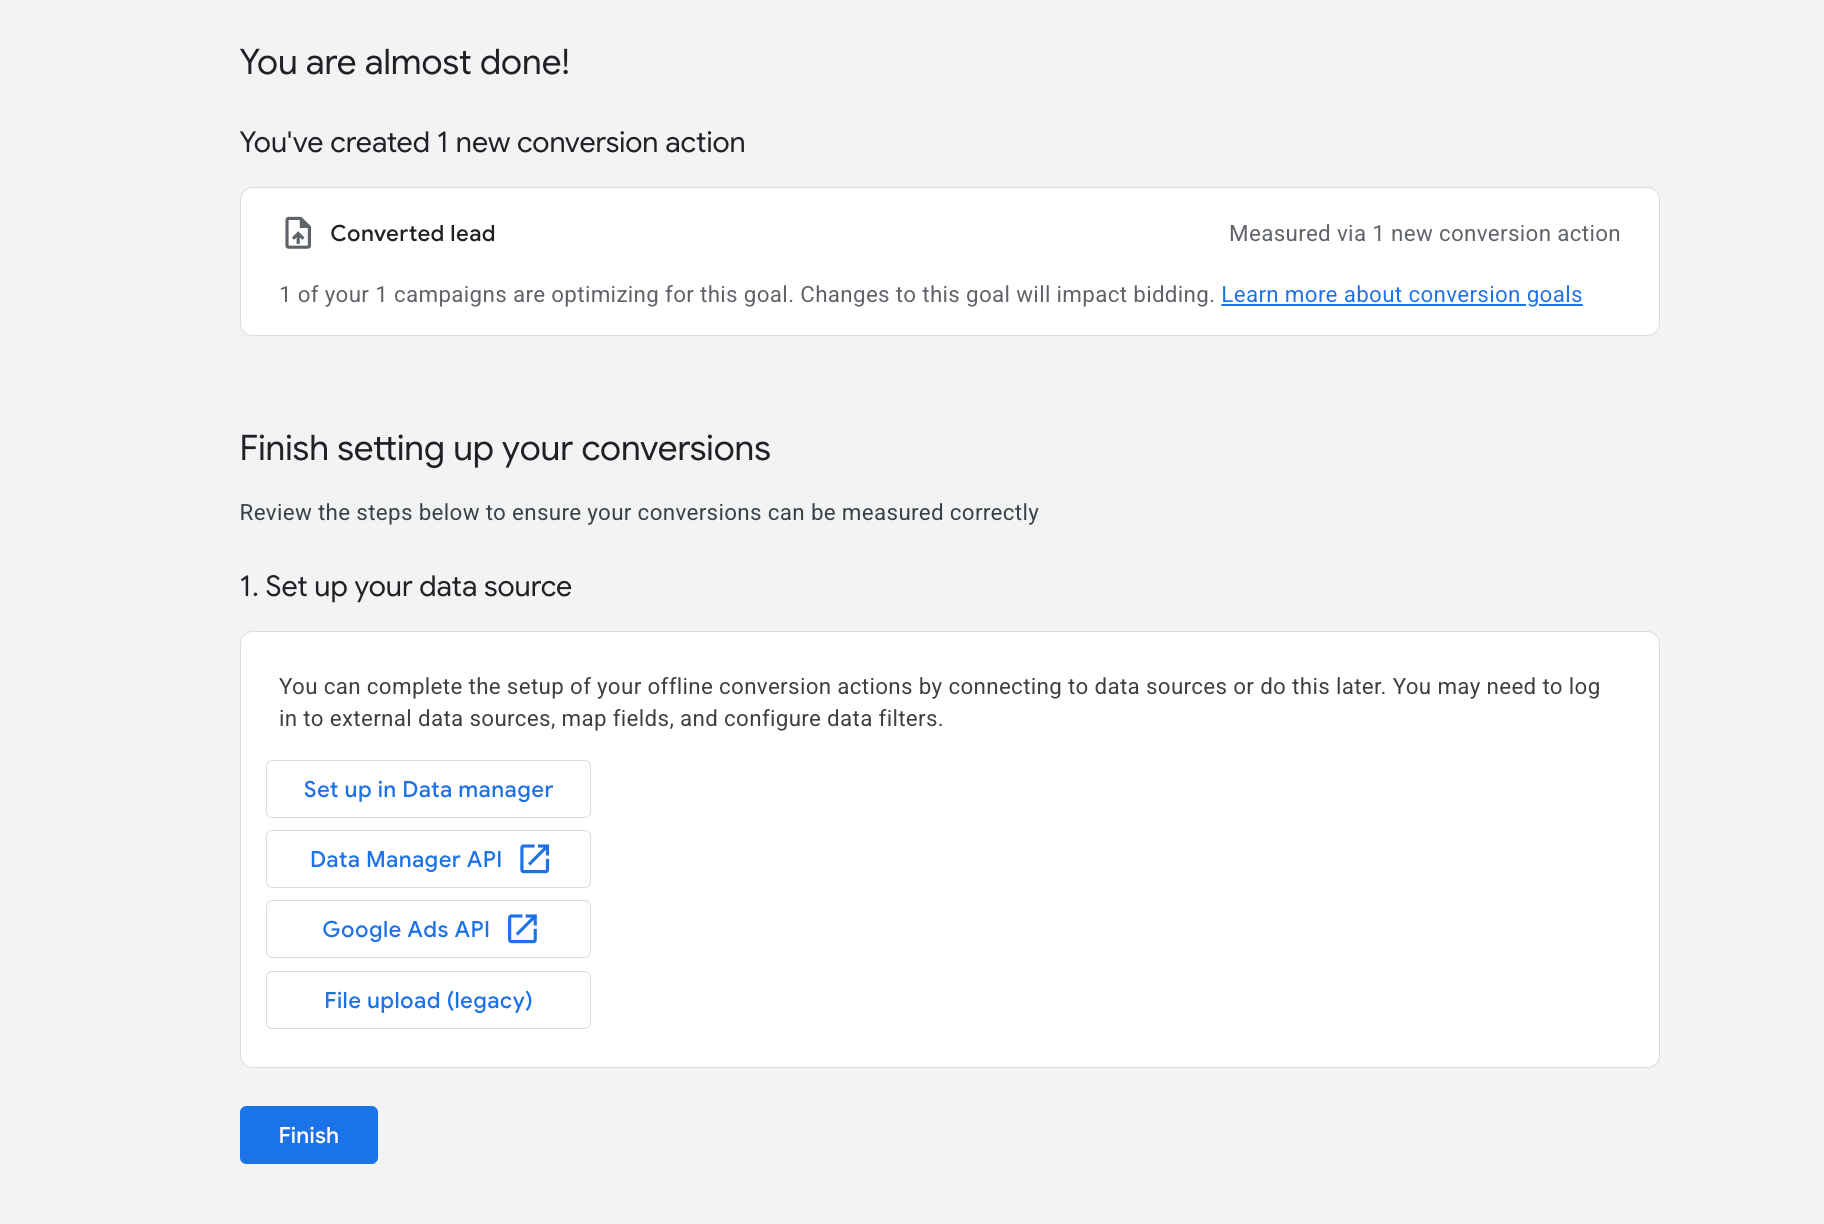
Click Finish to complete the conversion creation.
Once a conversion action exists, use the Add to Google Ads workflow action to send conversion events into your Google Ads account when a patient action occurs. Your connected Google Ads account must already have at least one conversion action created, or the conversion dropdown in the workflow will be blank.
Access the workflow builder. Go to Automations, then Workflows, and create a new workflow or open an existing one.
Add a relevant trigger. Choose a trigger that reflects the event you want to track, such as Form Submitted, Appointment Booked, Order Form Submission, Survey Submission, Call Status, or Customer Replied.
Add the "Add to Google Ads" action. Click the plus icon where you want the conversion to fire, then select Add to Google Ads.
Configure the action:
Action Name: A clear, descriptive name such as "Consultation Booked Conversion." This appears in your workflow logs.
Conversion: Select or paste the exact conversion name from Google Ads. The name must match exactly, including capitalization, spacing, and punctuation, or the action will be skipped.
Currency: Choose the currency for the conversion value.
Conversion Value: Enter the value of each conversion. For example, a new-patient consultation might be valued at $100.
Custom Mapping: Toggle on if you want to manually map GCLID, GBRAID, or WBRAID to specific workflow fields for more granular control.
Save and publish. Click Save Action, then publish and save the workflow.
Open the workflow's Execution Logs tab and find the Add to Google Ads action. Executed means the conversion was sent successfully. Skipped means something is missing, usually a missing GCLID, GBRAID, or WBRAID on the contact, or a mismatched conversion name.
A common setup sends a conversion to Google Ads when an opportunity is marked Won, but only for patients who originally came from Google Ads.
Create a new workflow. Go to Workflows, click Create Workflow, select Start from Scratch, and name it, for example "Op Status Won - Send to Google."
Add the trigger. Add the Opportunity Status Changed trigger, then add a filter for Move to Status: Won. This fires when an opportunity first moves into Won.
Confirm the contact came from Google Ads. Add an If/Else condition. Under Contact Details, search for Session Source and choose First Attribution is Paid Search. Add an OR condition for Last Attribution is Paid Search. This ensures only Google Ads contacts continue, which prevents API errors from non-Google leads.
Send the conversion. On the Google Ads path, add the Add to Google Ads action and select your Won Opportunity or Won Patient conversion.
Publish and monitor. Publish and save, then watch the execution logs to confirm conversions are sending.
Form submission, order purchase, or survey submission: Add the matching trigger with filters, then add the Add to Google Ads action and select your conversion.
Number pool calling: Use the Call Status trigger with filters for Call Direction Incoming and your Pool Number. Add the pool number script to your funnel or website header settings, then add the Add to Google Ads action.
Chat widget: Use the Customer Replied trigger with a filter for Reply Channel equal to Chat Widget, then add the Add to Google Ads action.
GCLID: Used for traditional web tracking on Search campaigns.
GBRAID and WBRAID: Used in privacy-focused environments, mainly on iOS and Android app campaigns.
At least one identifier is required for reliable matching. If your conversion is set to One per click, GCLID is required, because GBRAID and WBRAID only support Many per click tracking. Keep this in mind when troubleshooting skipped conversions.
Should I set the count to Every or One? Use One for lead generation to avoid inflating conversions when a contact repeats the same event. Use Every for revenue events like purchases.
How long until I see conversions in Google Ads? Processing can take from a few hours up to 24 to 48 hours depending on volume. Some reporting latency is normal, so use absolute dates when checking reports.
Do I need GCLID, GBRAID, or WBRAID to upload offline conversions? Yes. At least one identifier is needed for reliable matching. Capture whichever is available on the first touch, then include it when the conversion is sent.
Should I use Ad Manager or Workflows to send conversions? Use Ad Manager for a centralized ads workspace with built-in mapping. Use Workflows when you need granular automation or custom logic. Both can send to the same Google conversion action.
Which triggers work with the Add to Google Ads action? It works with Form Submission, Order Purchase, Number Pool Calling, Survey Submission, and Chat Widget.
What should I do if the action says Skipped in the logs? Confirm the contact has a valid GCLID, GBRAID, or WBRAID from a real Google ad click, and that the conversion name in the workflow matches the one in Google Ads exactly.
Will conversions I create in Aesthetix CRM appear in Google Ads? Yes. Any conversion action created in Ad Manager is synced to your connected Google Ads account via API, and existing Google Ads conversions are imported automatically.
Is Google Tag Manager required? No. This does not require Google Tag Manager, though GTM can still help if you track additional client-side events.
Where do I verify that conversions are being recorded? In Google Ads, check Tools and Settings, then Conversions, and use the Conversion columns in campaign reports. In the CRM, use Ad Manager reporting once sending is configured.
