The Chat Widget on your website does more than collect messages. You can automate how your practice responds to live chat conversations, combine several communication channels into one widget, and, for developers, control the widget directly with a public API and events.
This reference covers three advanced areas: automating live chat with Workflows, setting up the all-in-one multichannel widget, and using the public web chat API and events for custom behavior. You configure the widget itself under Web Tools → Chat Widget.
Live chat conversations can trigger automations the same way any other contact activity can. When a visitor starts or continues a live chat, you can use Workflows (Marketing → Workflows) to respond automatically, route the conversation, notify your team, or update the contact record.
This is useful for a busy medical aesthetics practice. When your front desk is with a patient and cannot answer a live chat right away, a workflow can send an immediate acknowledgment, tag the contact, and alert a team member so no prospective patient goes unanswered.
To build this automation, create or open a workflow in Marketing → Workflows and add the live chat trigger, then attach the actions you want to run when a chat comes in (for example, sending an internal notification, applying a tag, or starting a follow-up sequence). Because live chat feeds the same contact timeline as your other channels, every action available in Workflows can be applied to a live chat conversation.
Note: Automations for live chat live in Marketing → Workflows, not in the widget builder. The widget captures the conversation; Workflows decides what happens next.
The All-in-One Chat widget lets you offer several communication channels in a single interface, including Live Chat, SMS/Email, WhatsApp, Facebook, Instagram, and Voice AI. Instead of managing separate widgets, your visitors get one place to choose how they want to reach your practice.
Manage Live Chat, SMS/Email, WhatsApp, and optional Facebook, Instagram, and Voice AI channels from one widget.
Customize the initial welcome message to guide visitors into the right channel.
Choose Sticky or Embedded / Inline placement to fit your page layout.
Keep consistent branding with a unified color scheme.
Set up quickly and choose channels based on your active communication channels.
Before you begin, confirm two things:
Account access. Make sure you have the appropriate permissions to create or edit chat widgets in your account.
Channel prerequisites. The widget can surface multiple channels, but some options only appear when you meet their prerequisites:
Facebook shows in the Chat Type selector only if a Facebook Page or account is connected in your account.
Instagram shows only if the Instagram account is connected in your account.
Voice AI shows only if a Voice AI widget is configured in your account.
WhatsApp can be selected only if a WhatsApp number is connected in your account and a WhatsApp chat widget exists.
If a channel does not meet its prerequisites, it will not appear as an option in the Chat Type multi-select for that widget.
Navigate to the Chat Widget section. Log in to your account, then in the left-hand navigation go to Web Tools → Chat Widget.
Create a new chat widget and then choose All-in-One Chat from the list of chat types.
Note: If you do not see All-in-One Chat, ensure your account has access to the latest updates. You may need to refresh or log out and log back in.
Select channels. After creating the All-in-One Chat widget, open it and go to the Style tab. In Chat Type, use the multi-select dropdown to choose any combination of:
Live Chat
SMS/Email
Voice AI
You can enable any number of these channels at once. The preview updates instantly to reflect your selection.
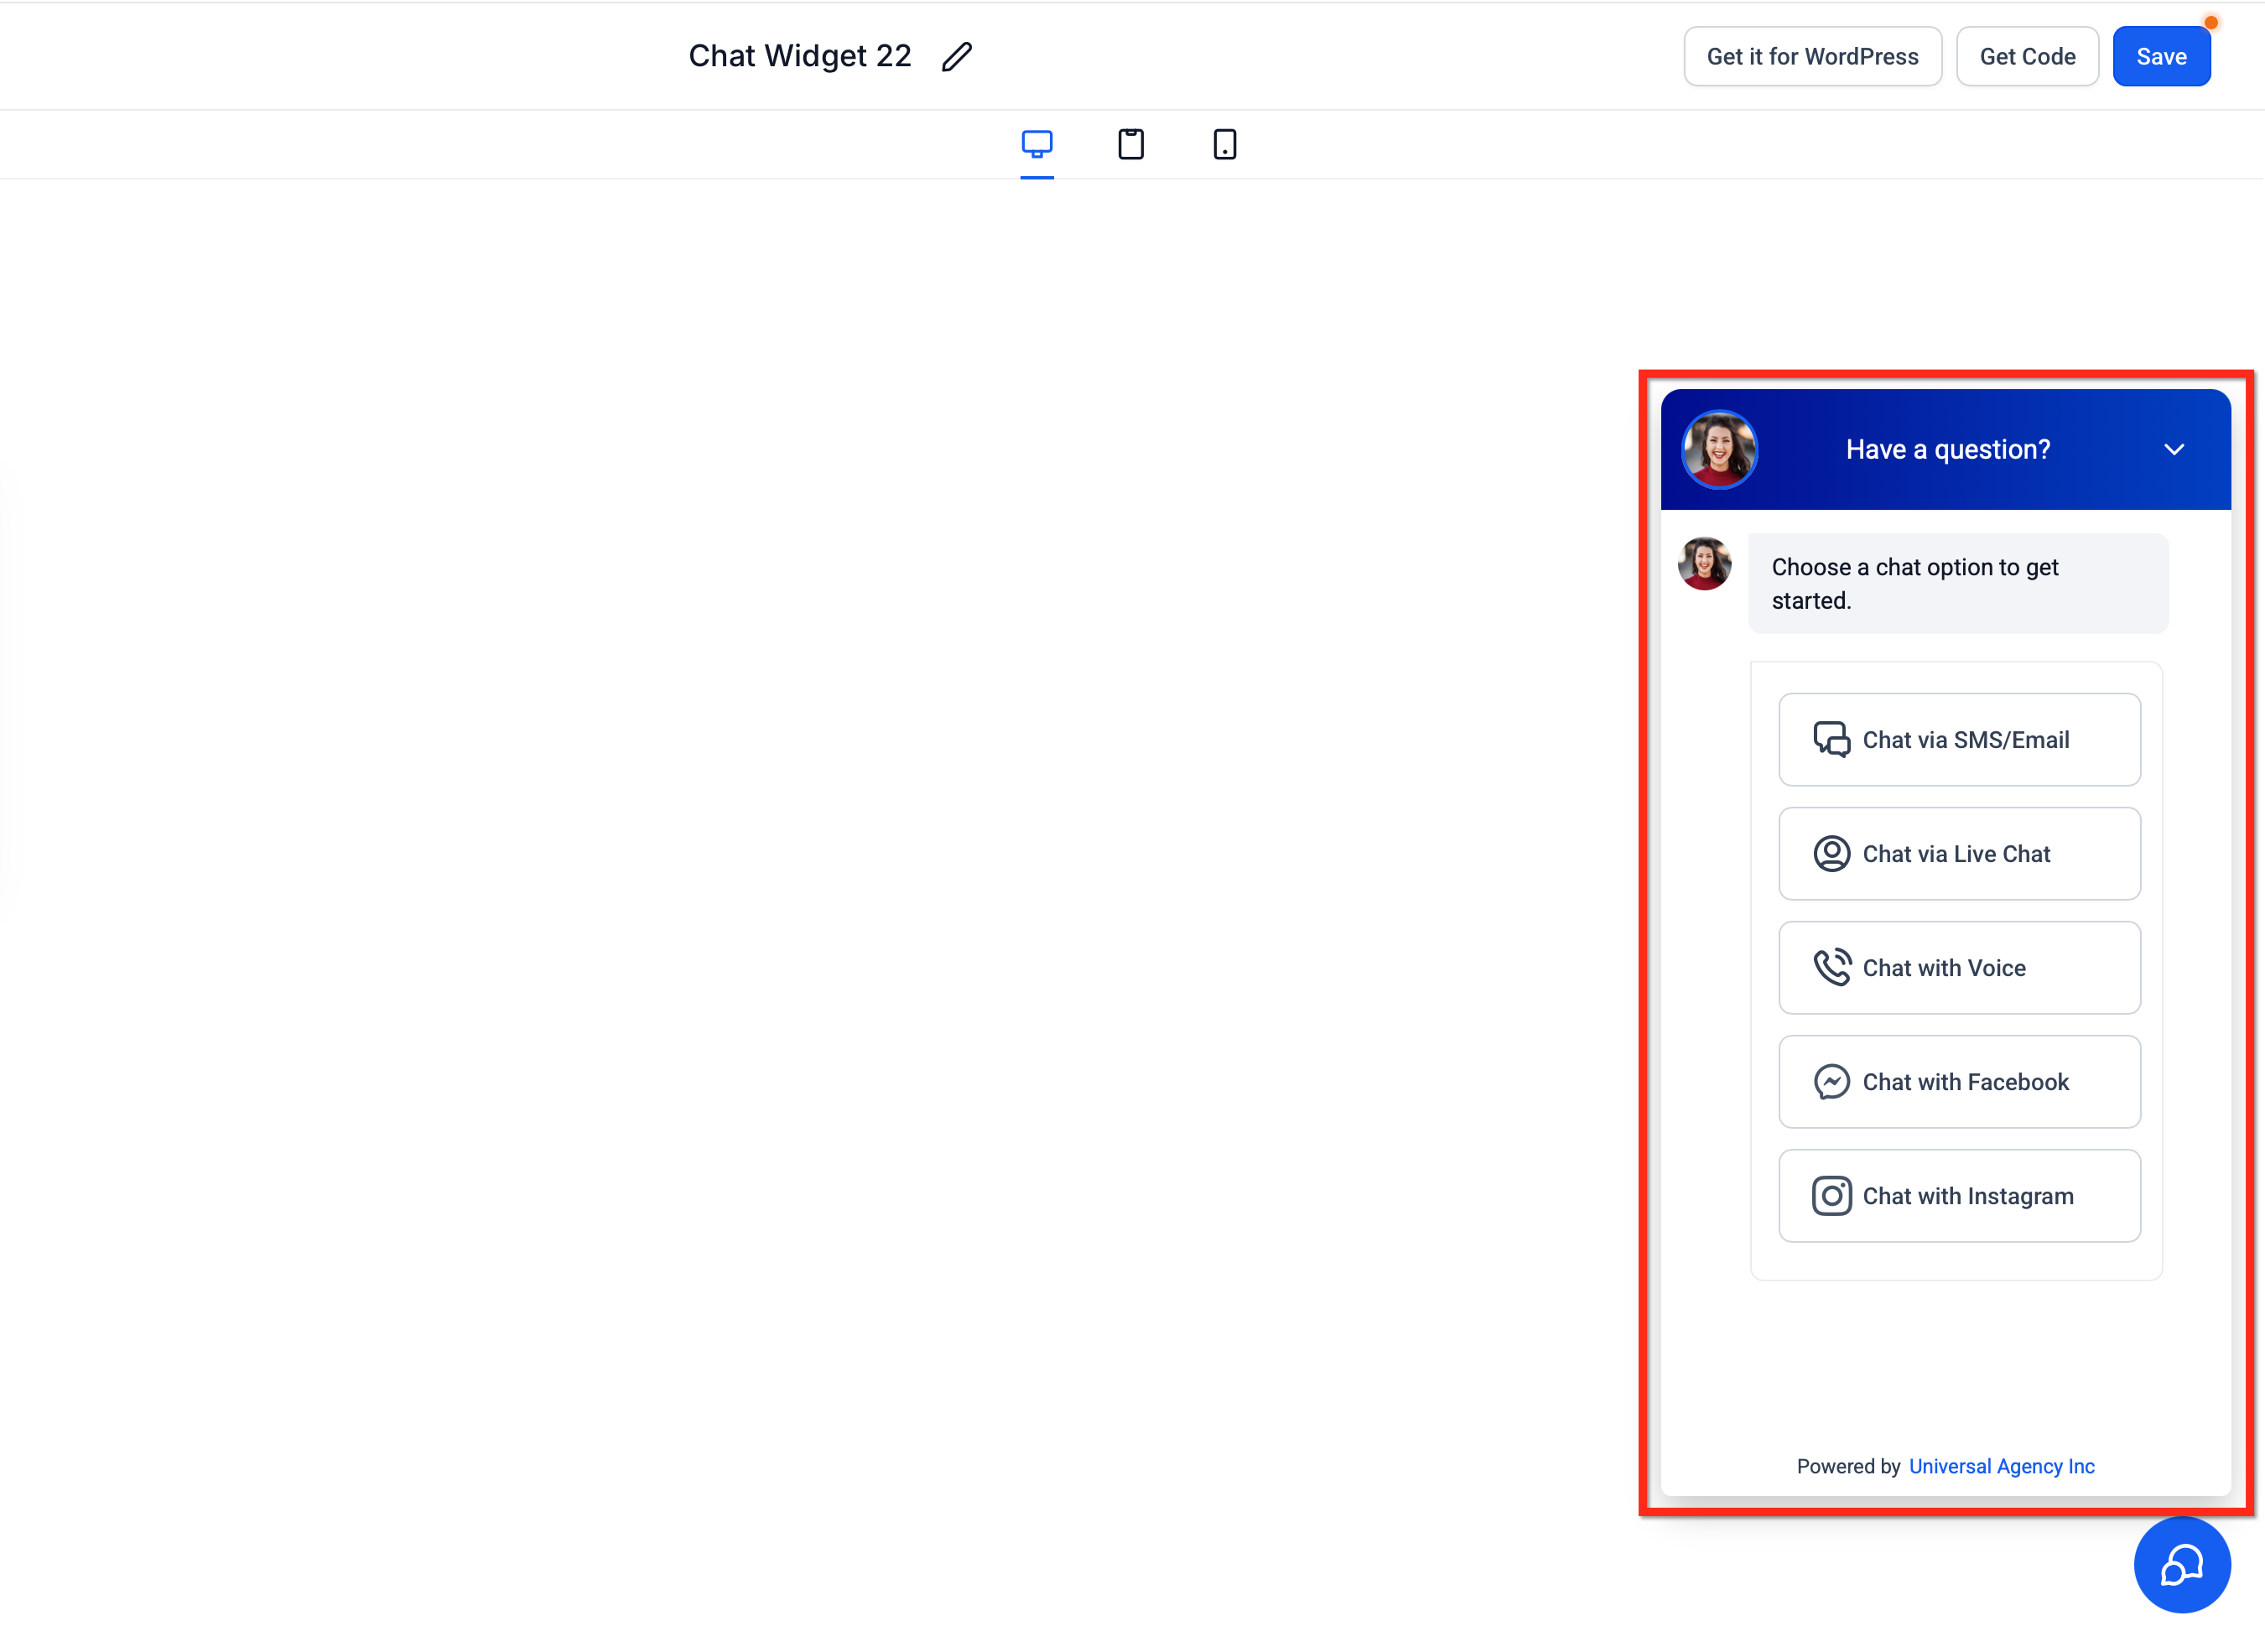
Choose your widget placement. Still under the Style tab, select a placement under Widget Placement: - Sticky: Keeps the widget fixed in a corner of the page. - Embedded / Inline: Renders the All-in-One Chat experience inline within your page content. With Embedded / Inline placement, the widget opens automatically and stays visible on the page; the floating chat bubble and its initial prompt popup do not appear, and the embedded widget cannot be minimized.
Customize widget settings.
General settings: Name your widget for easy reference (for example, "Main Website Widget") and configure the widget color to match your brand.
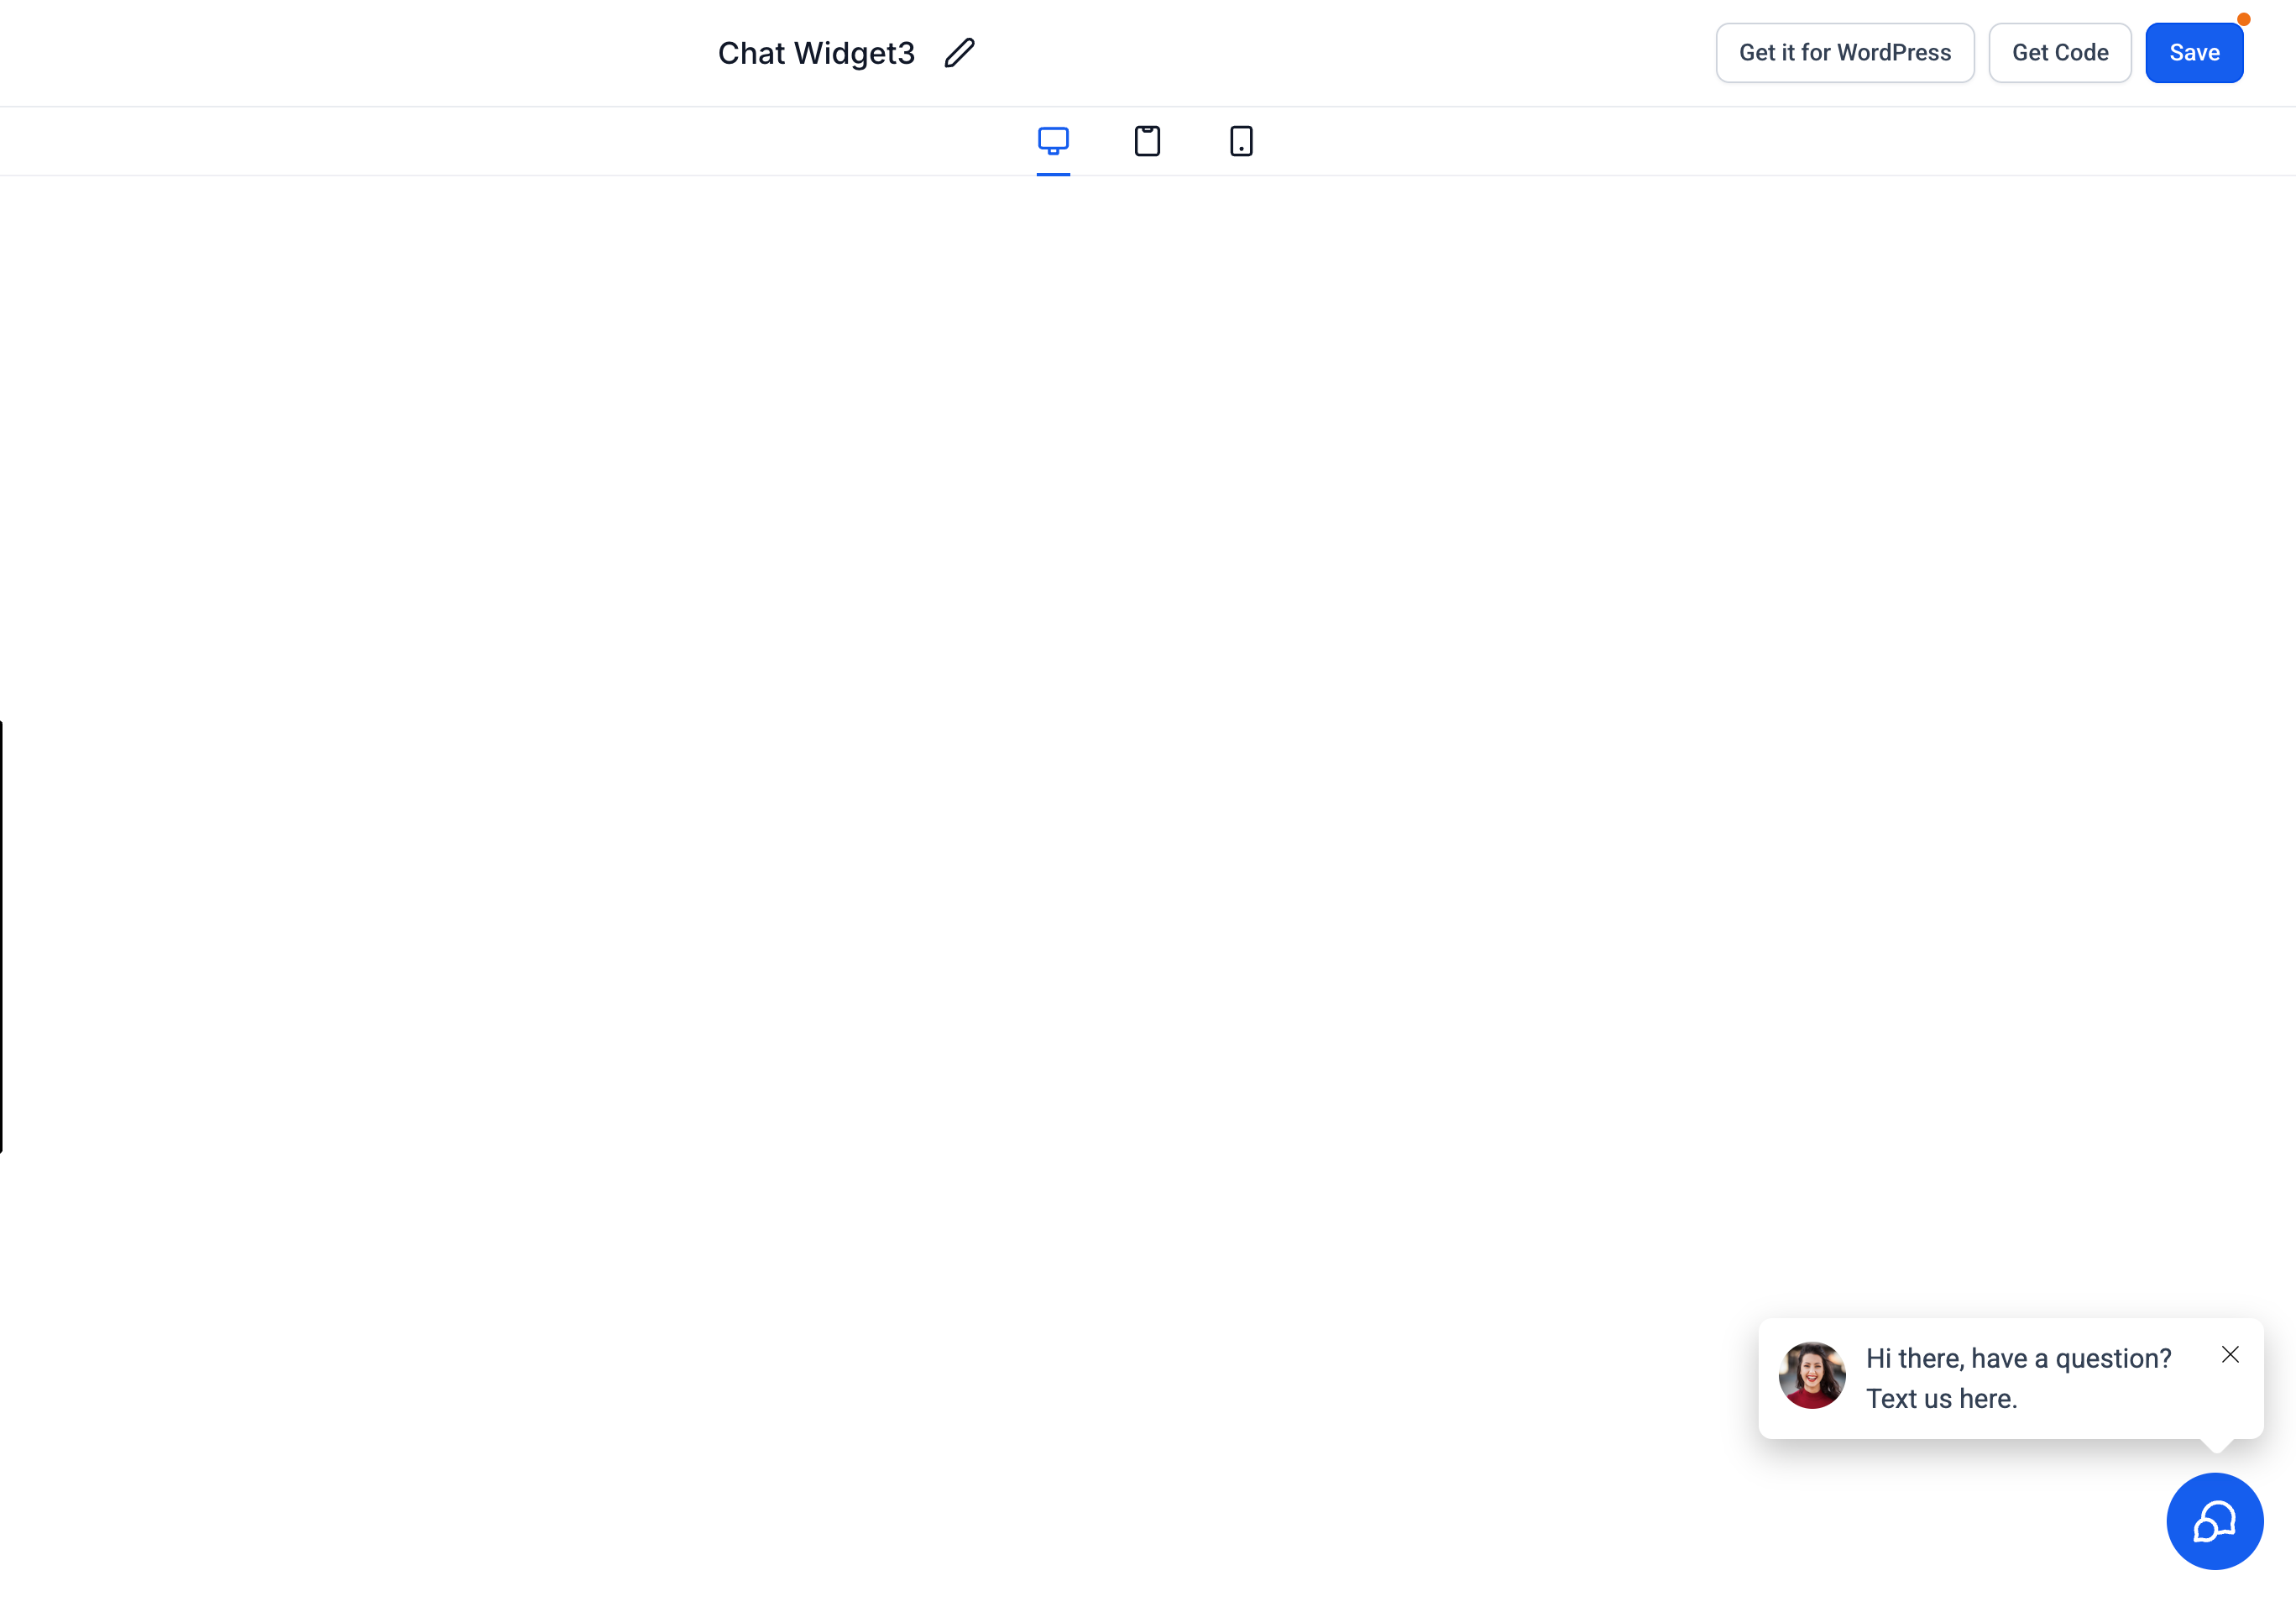
Channel settings:
Live Chat: Set your display name, greeting message, and offline behavior (if any).
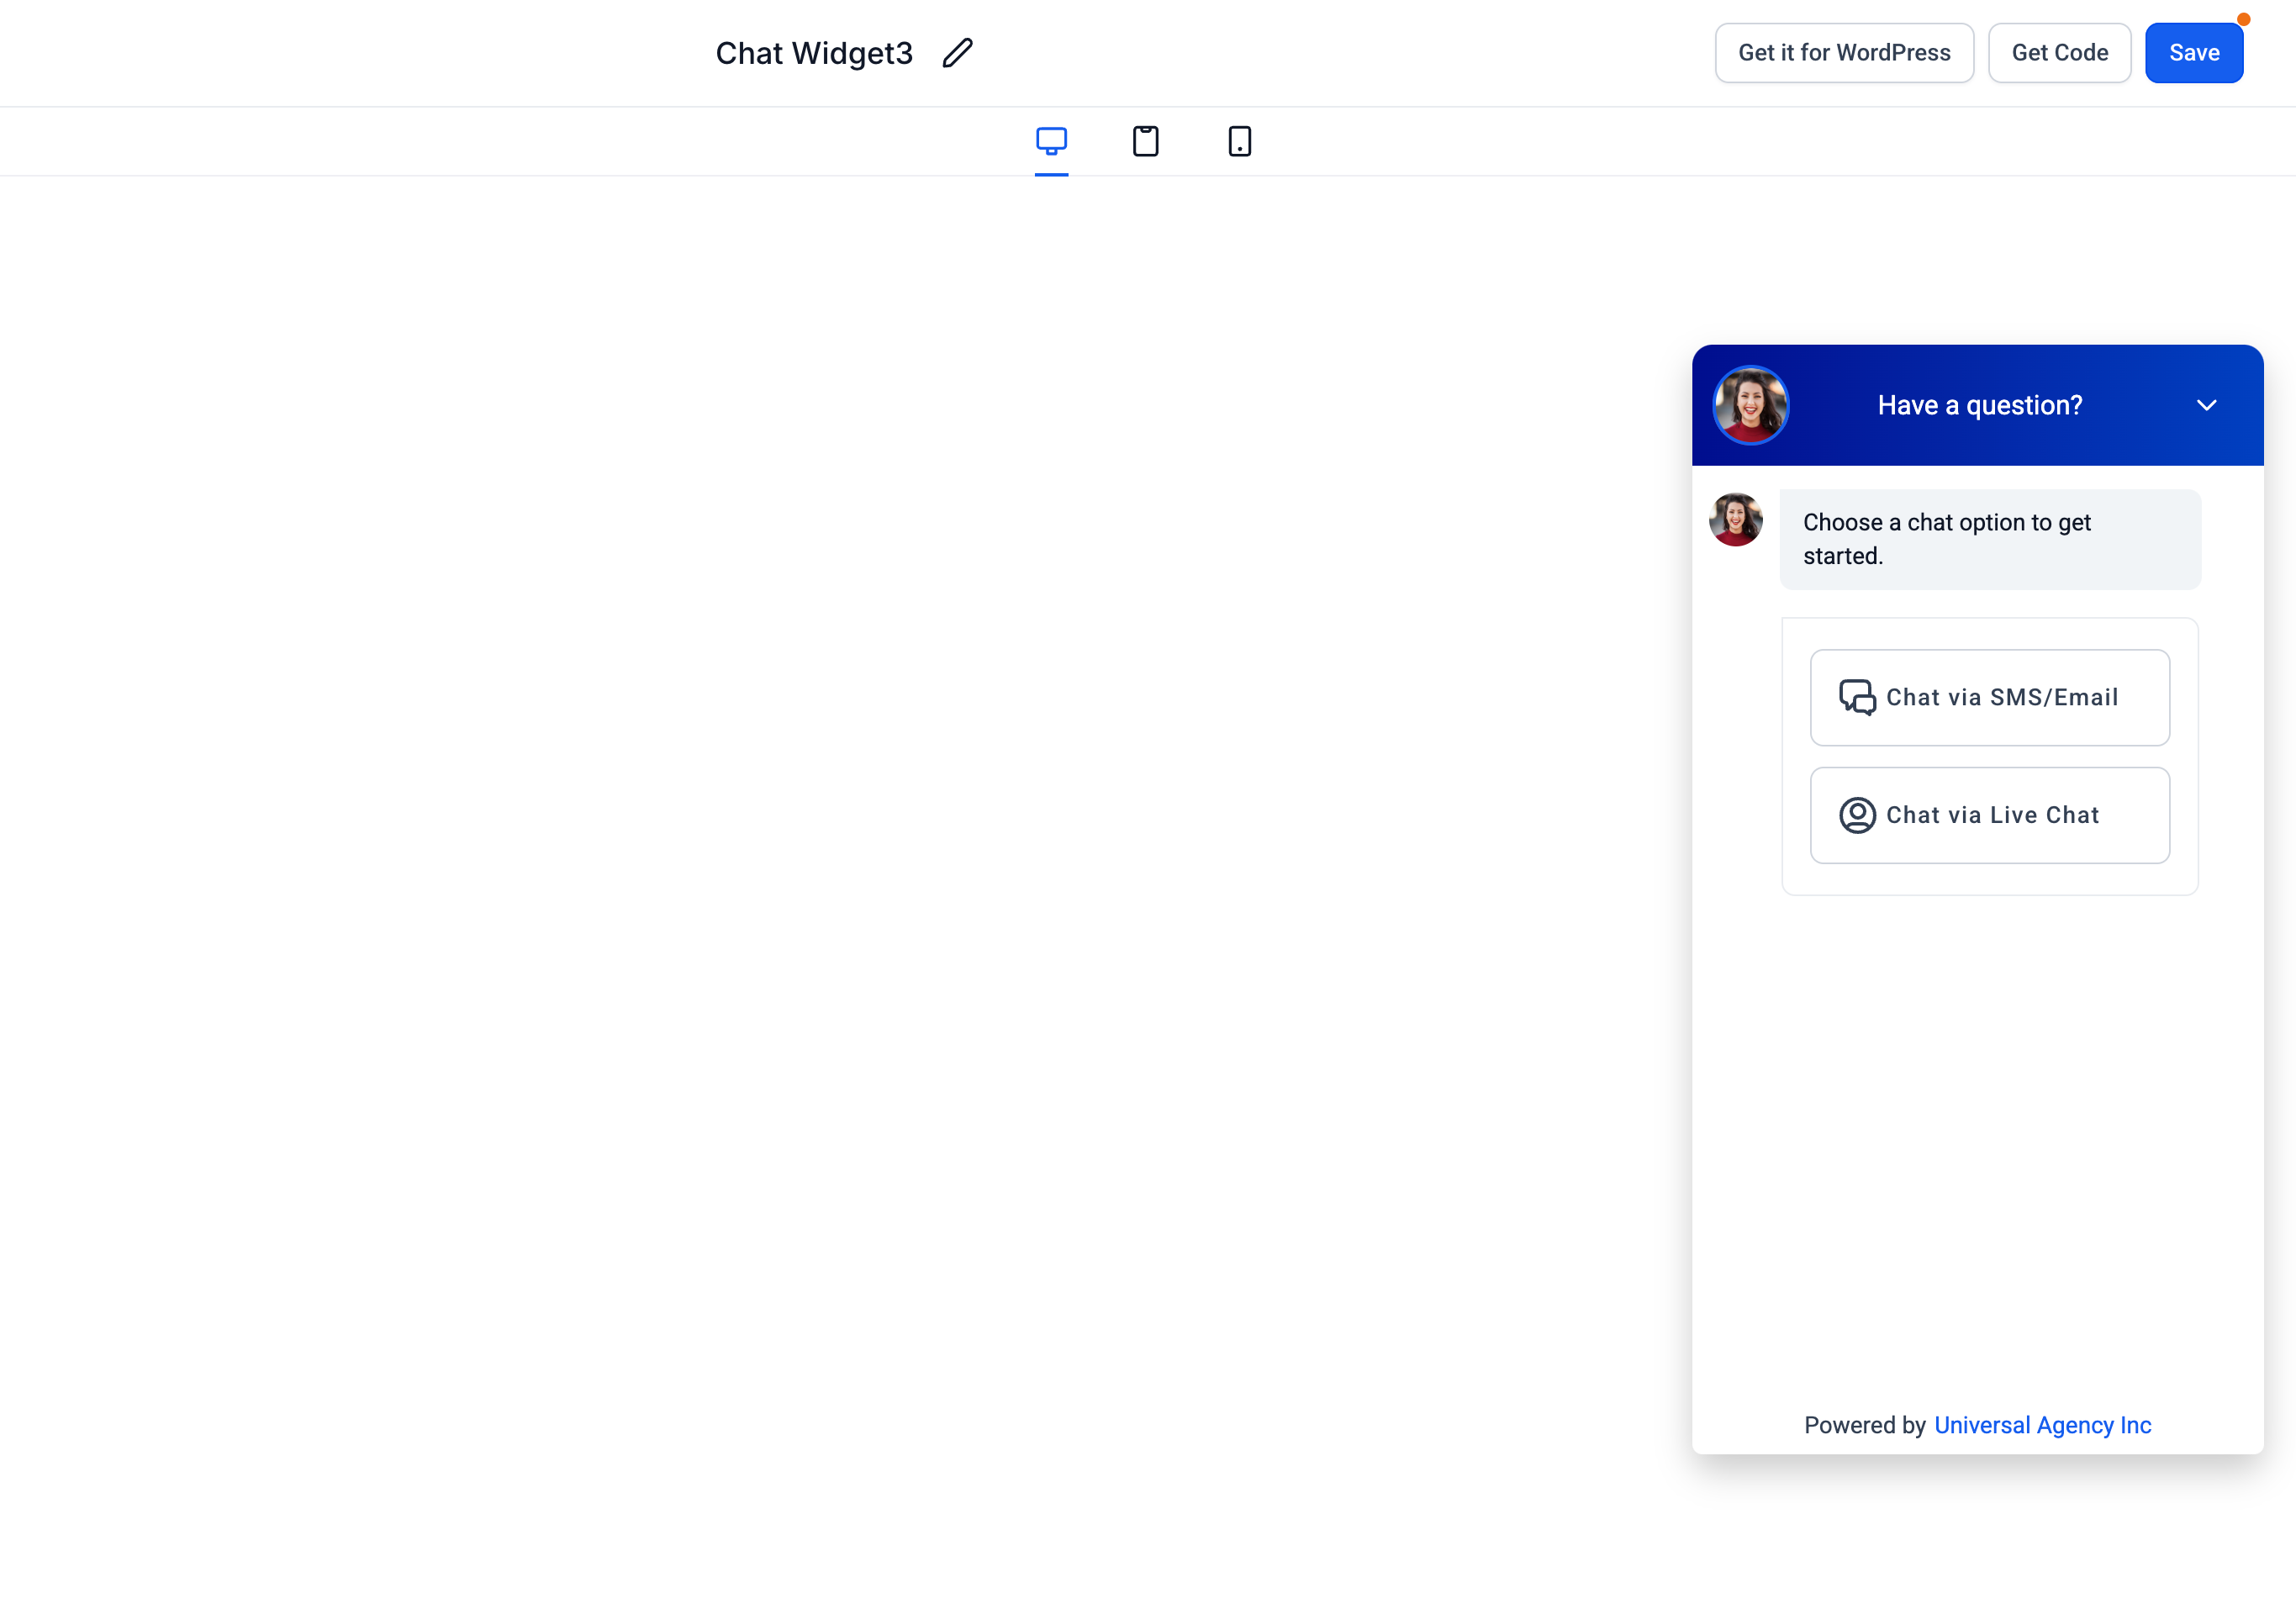
- **Email Chat:** Add messages and customize the form fields to greet your visitors.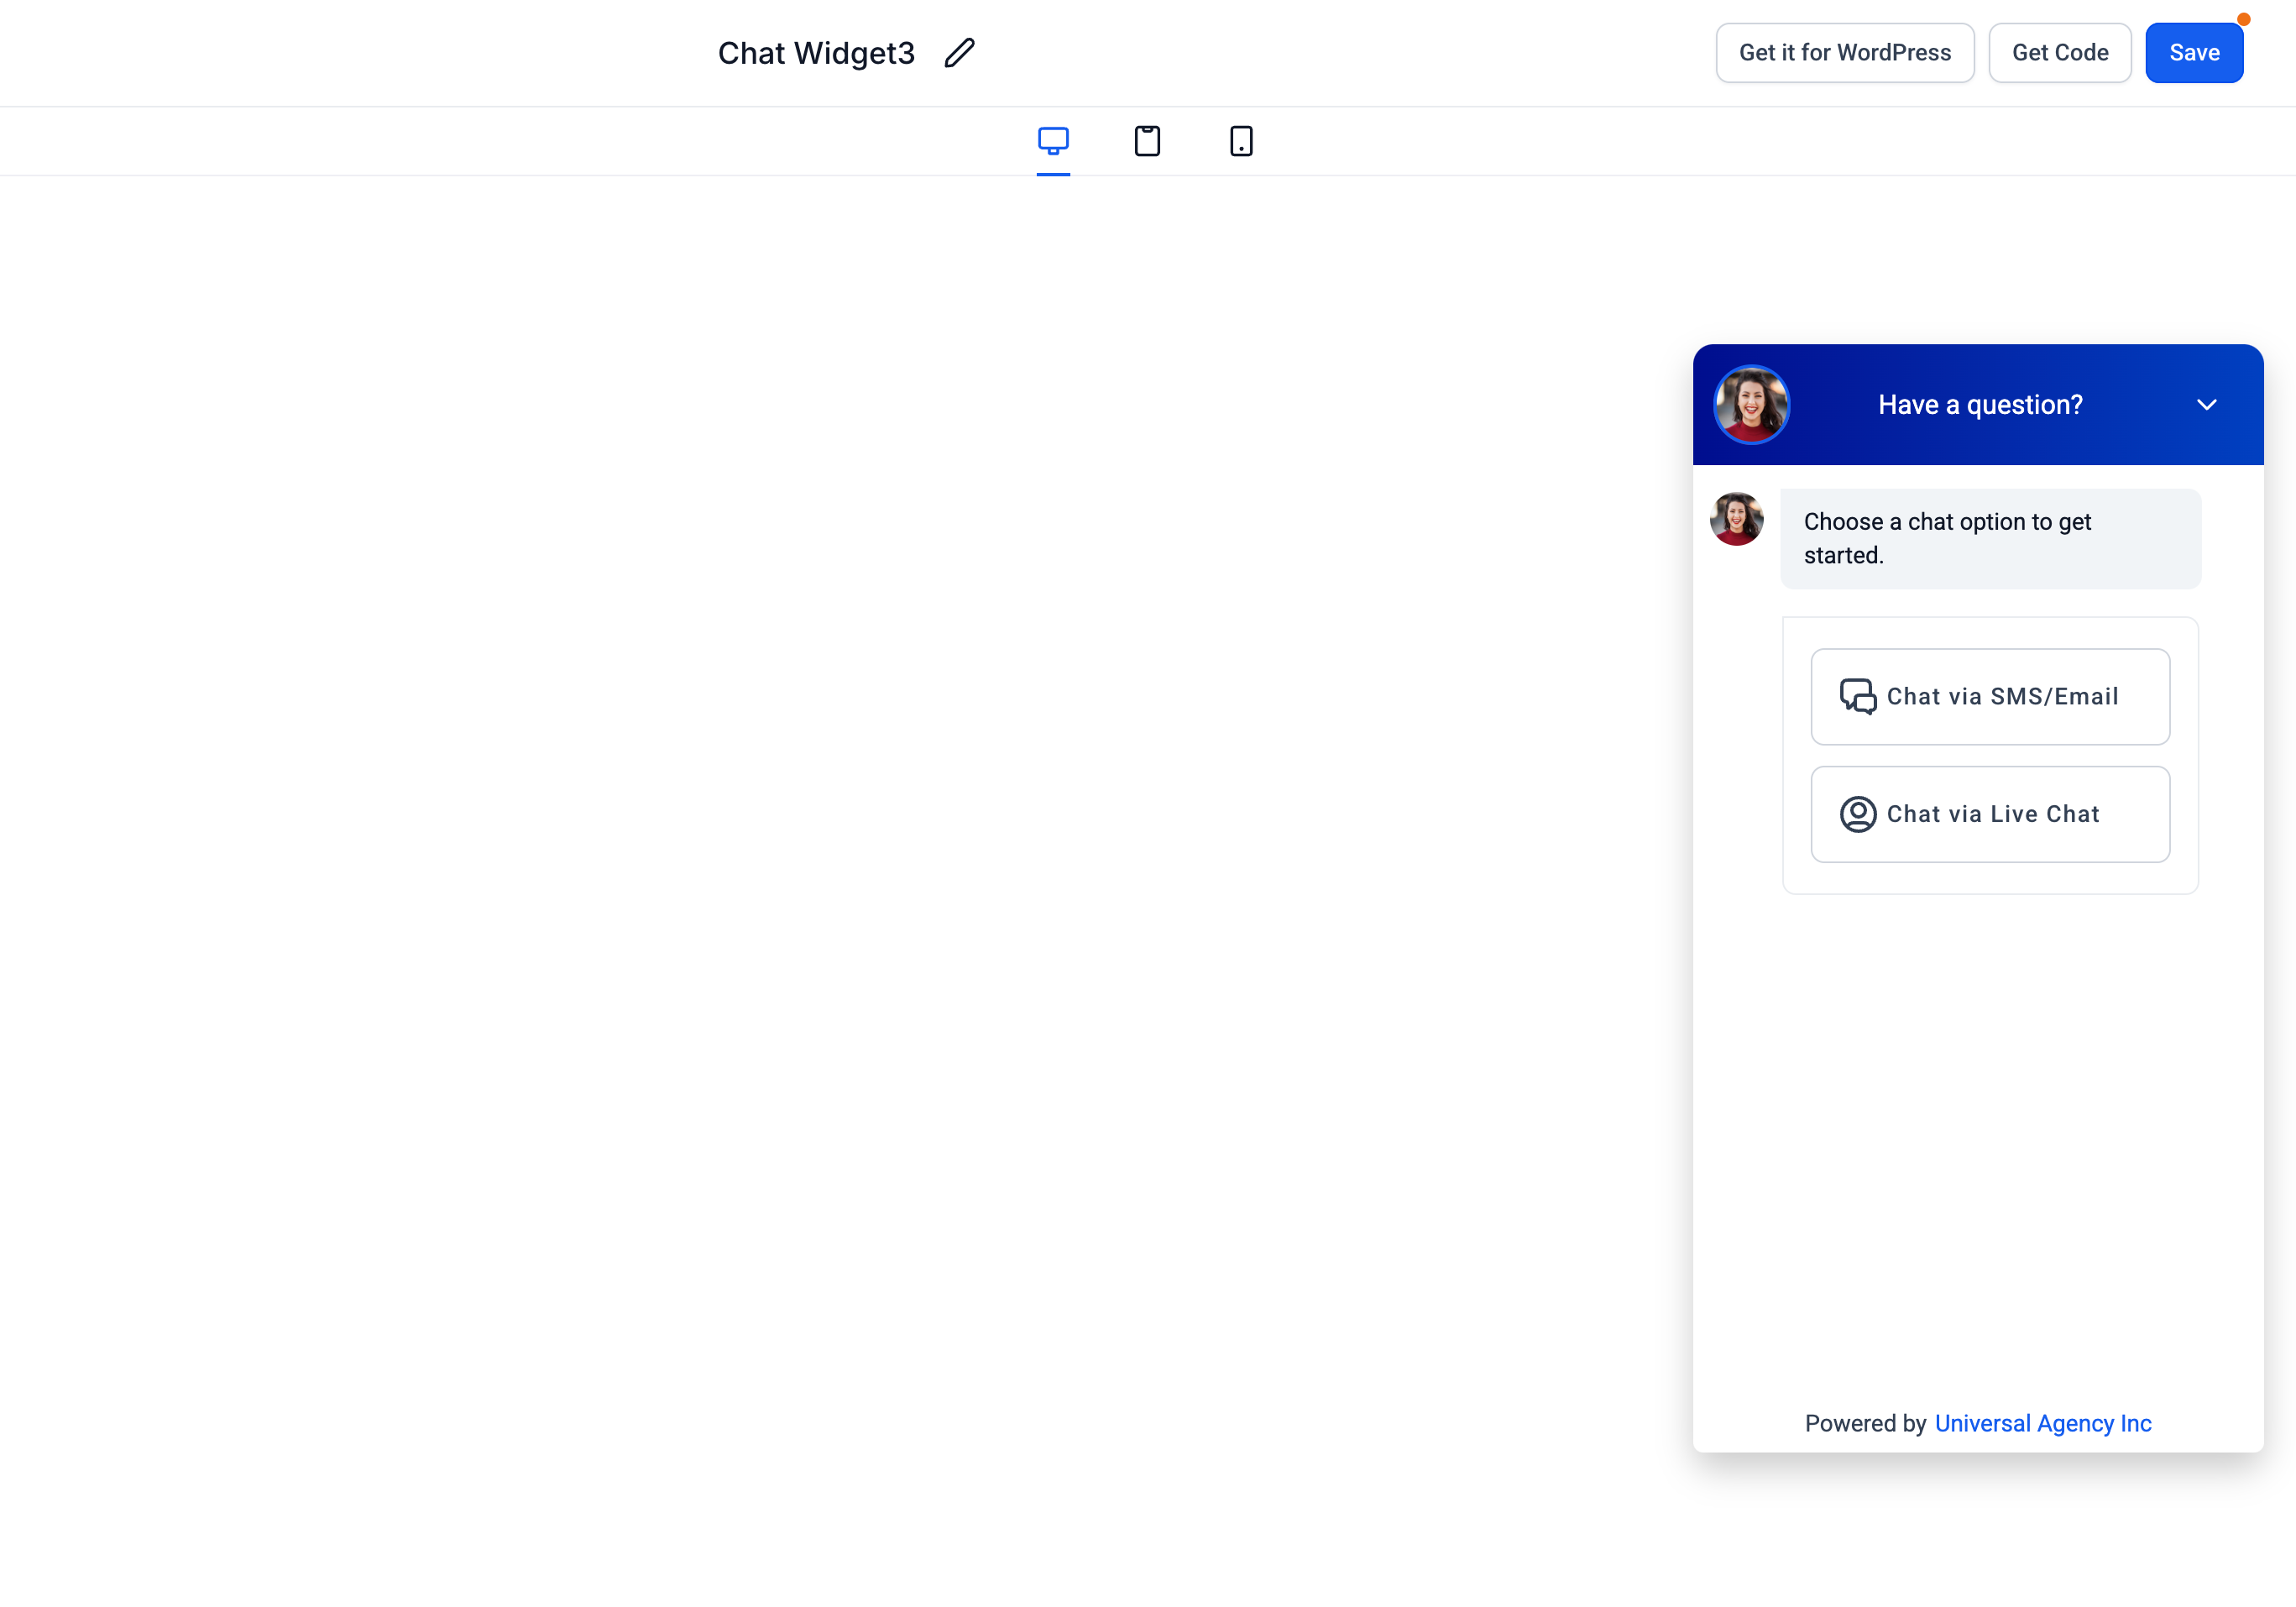
- **WhatsApp:** If enabled, confirm your WhatsApp number and default greeting message.Initial message: Personalize the message that appears when visitors open the widget (for example, "Hello! How can we help you today?").
Live Chat within the All-in-One chat also supports two editable prompts in the Chat Window tab: the Contact Form Intro Message and the Contact Form System Message. Leaving either field blank skips the prompt and opens the form.
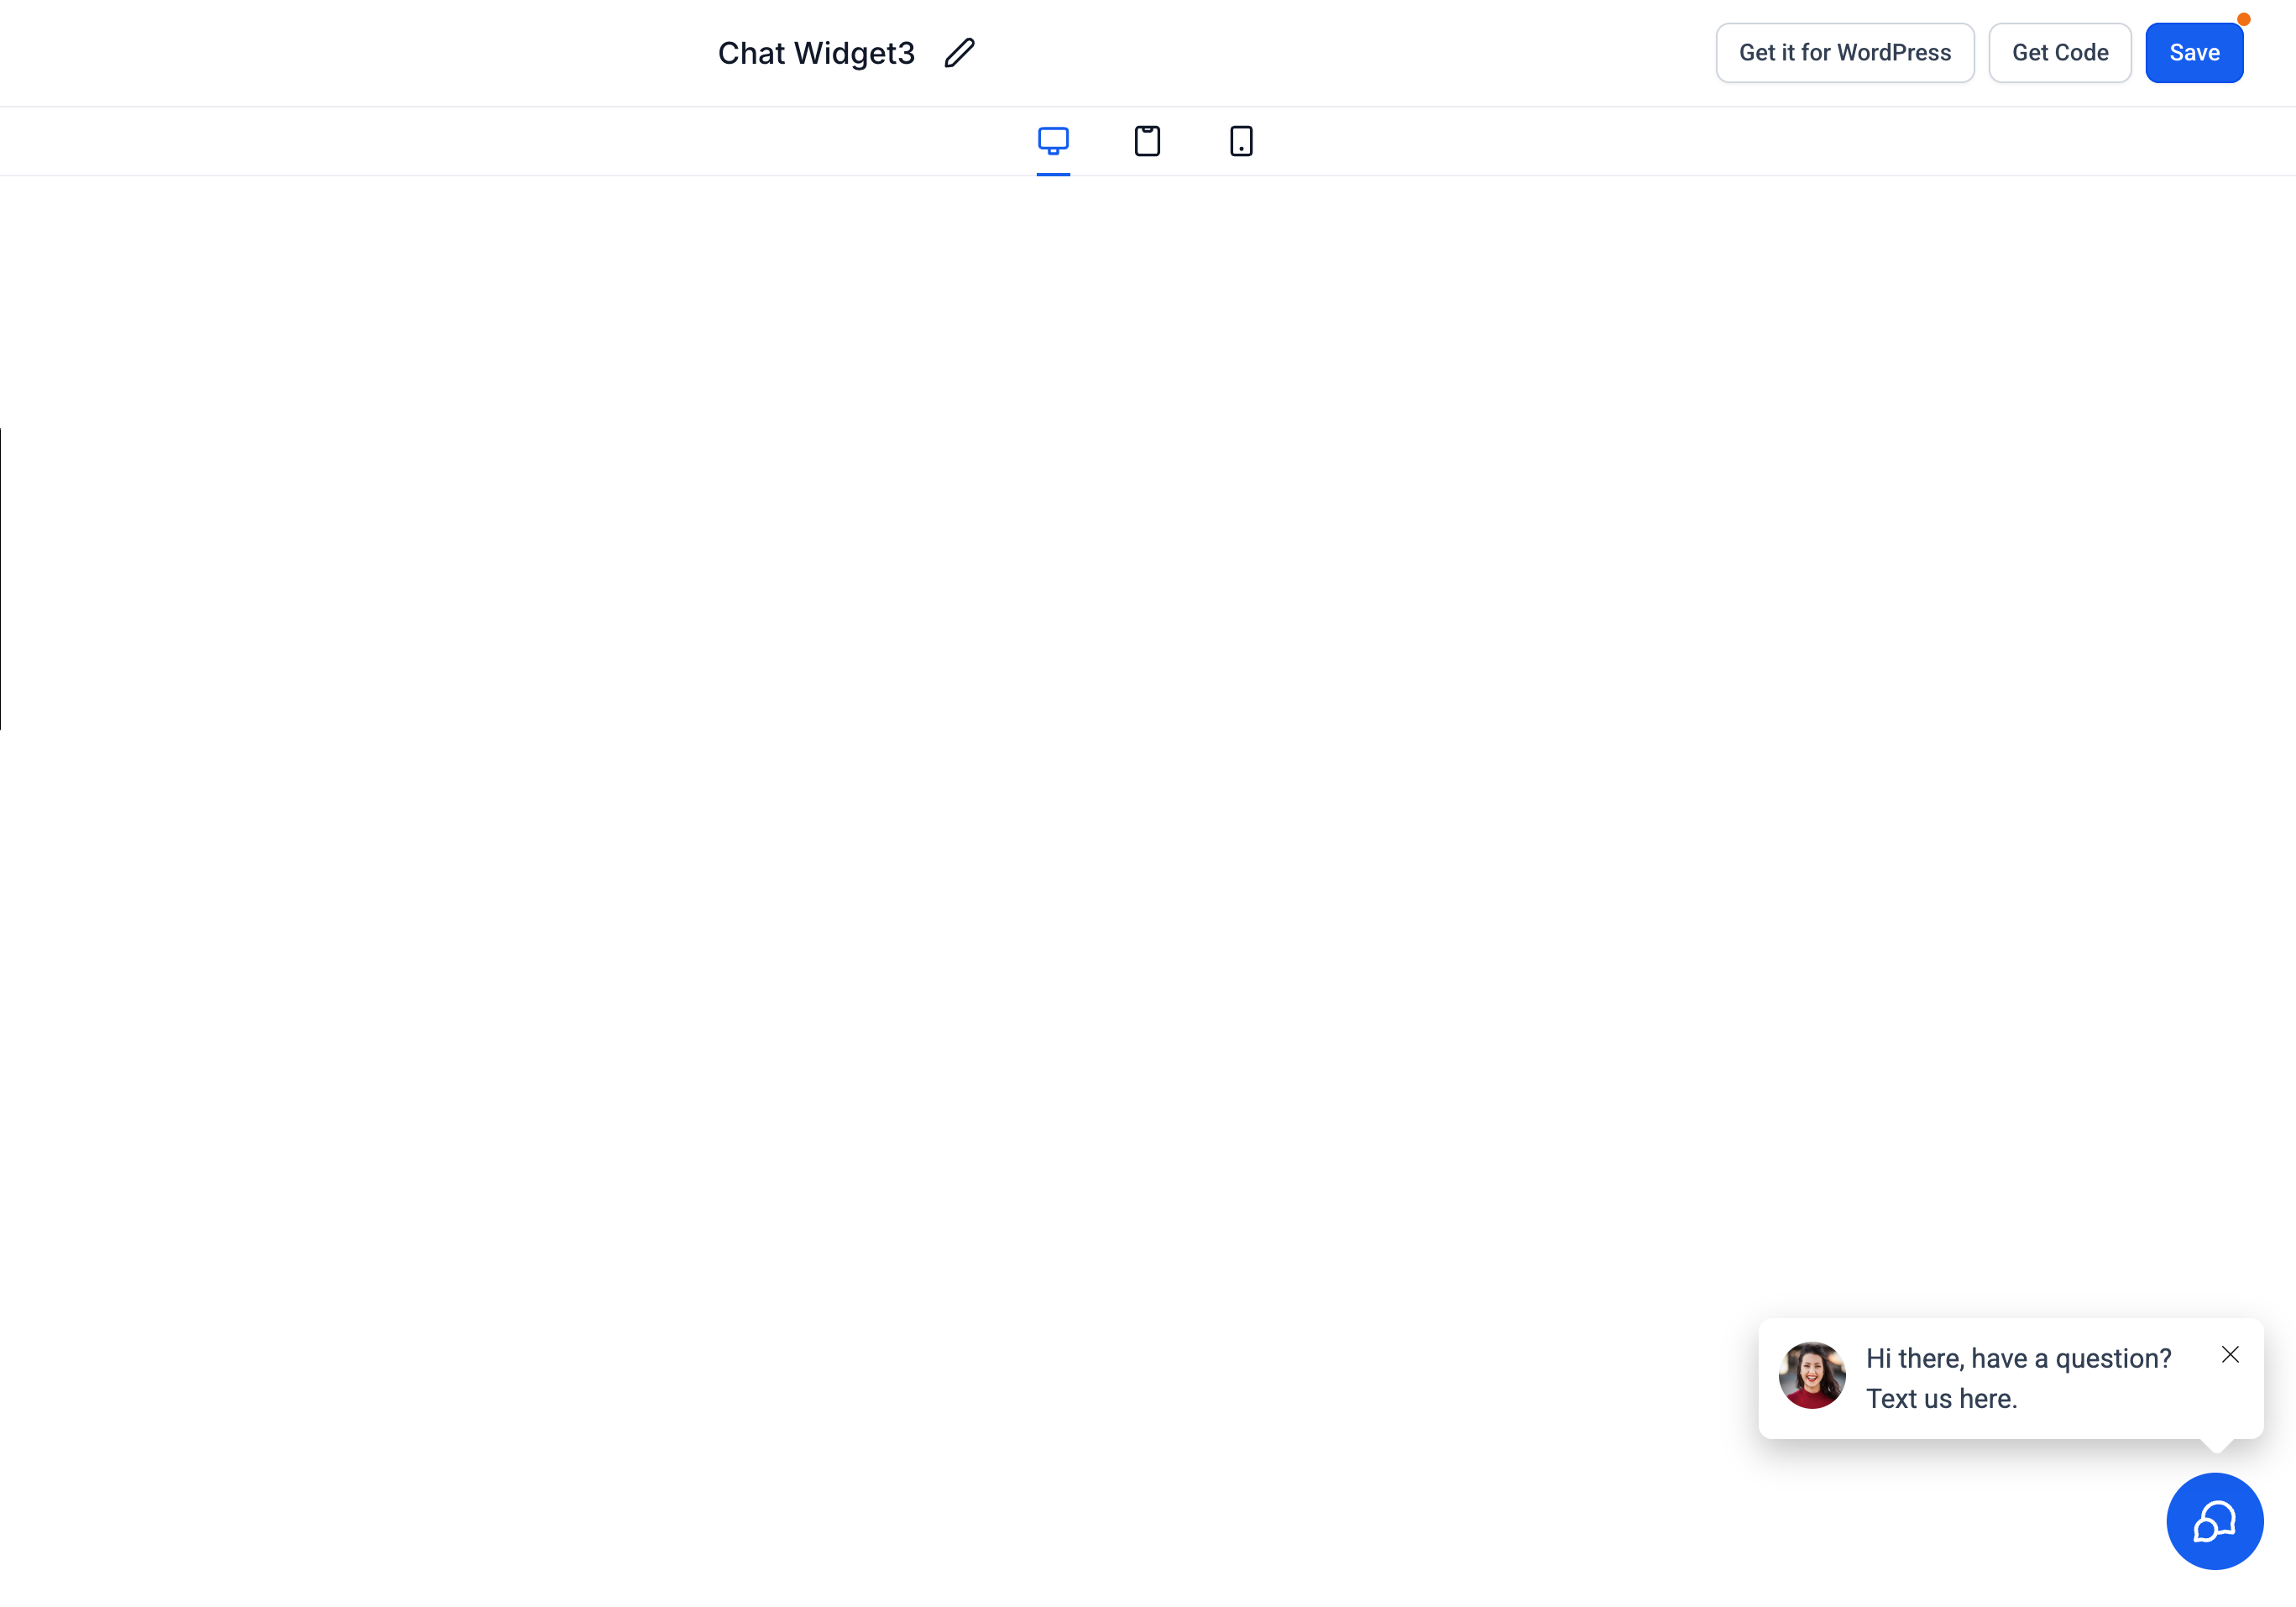
Save and preview. Click Save to store your changes, then preview the widget on your website to confirm that each channel is functioning as intended.
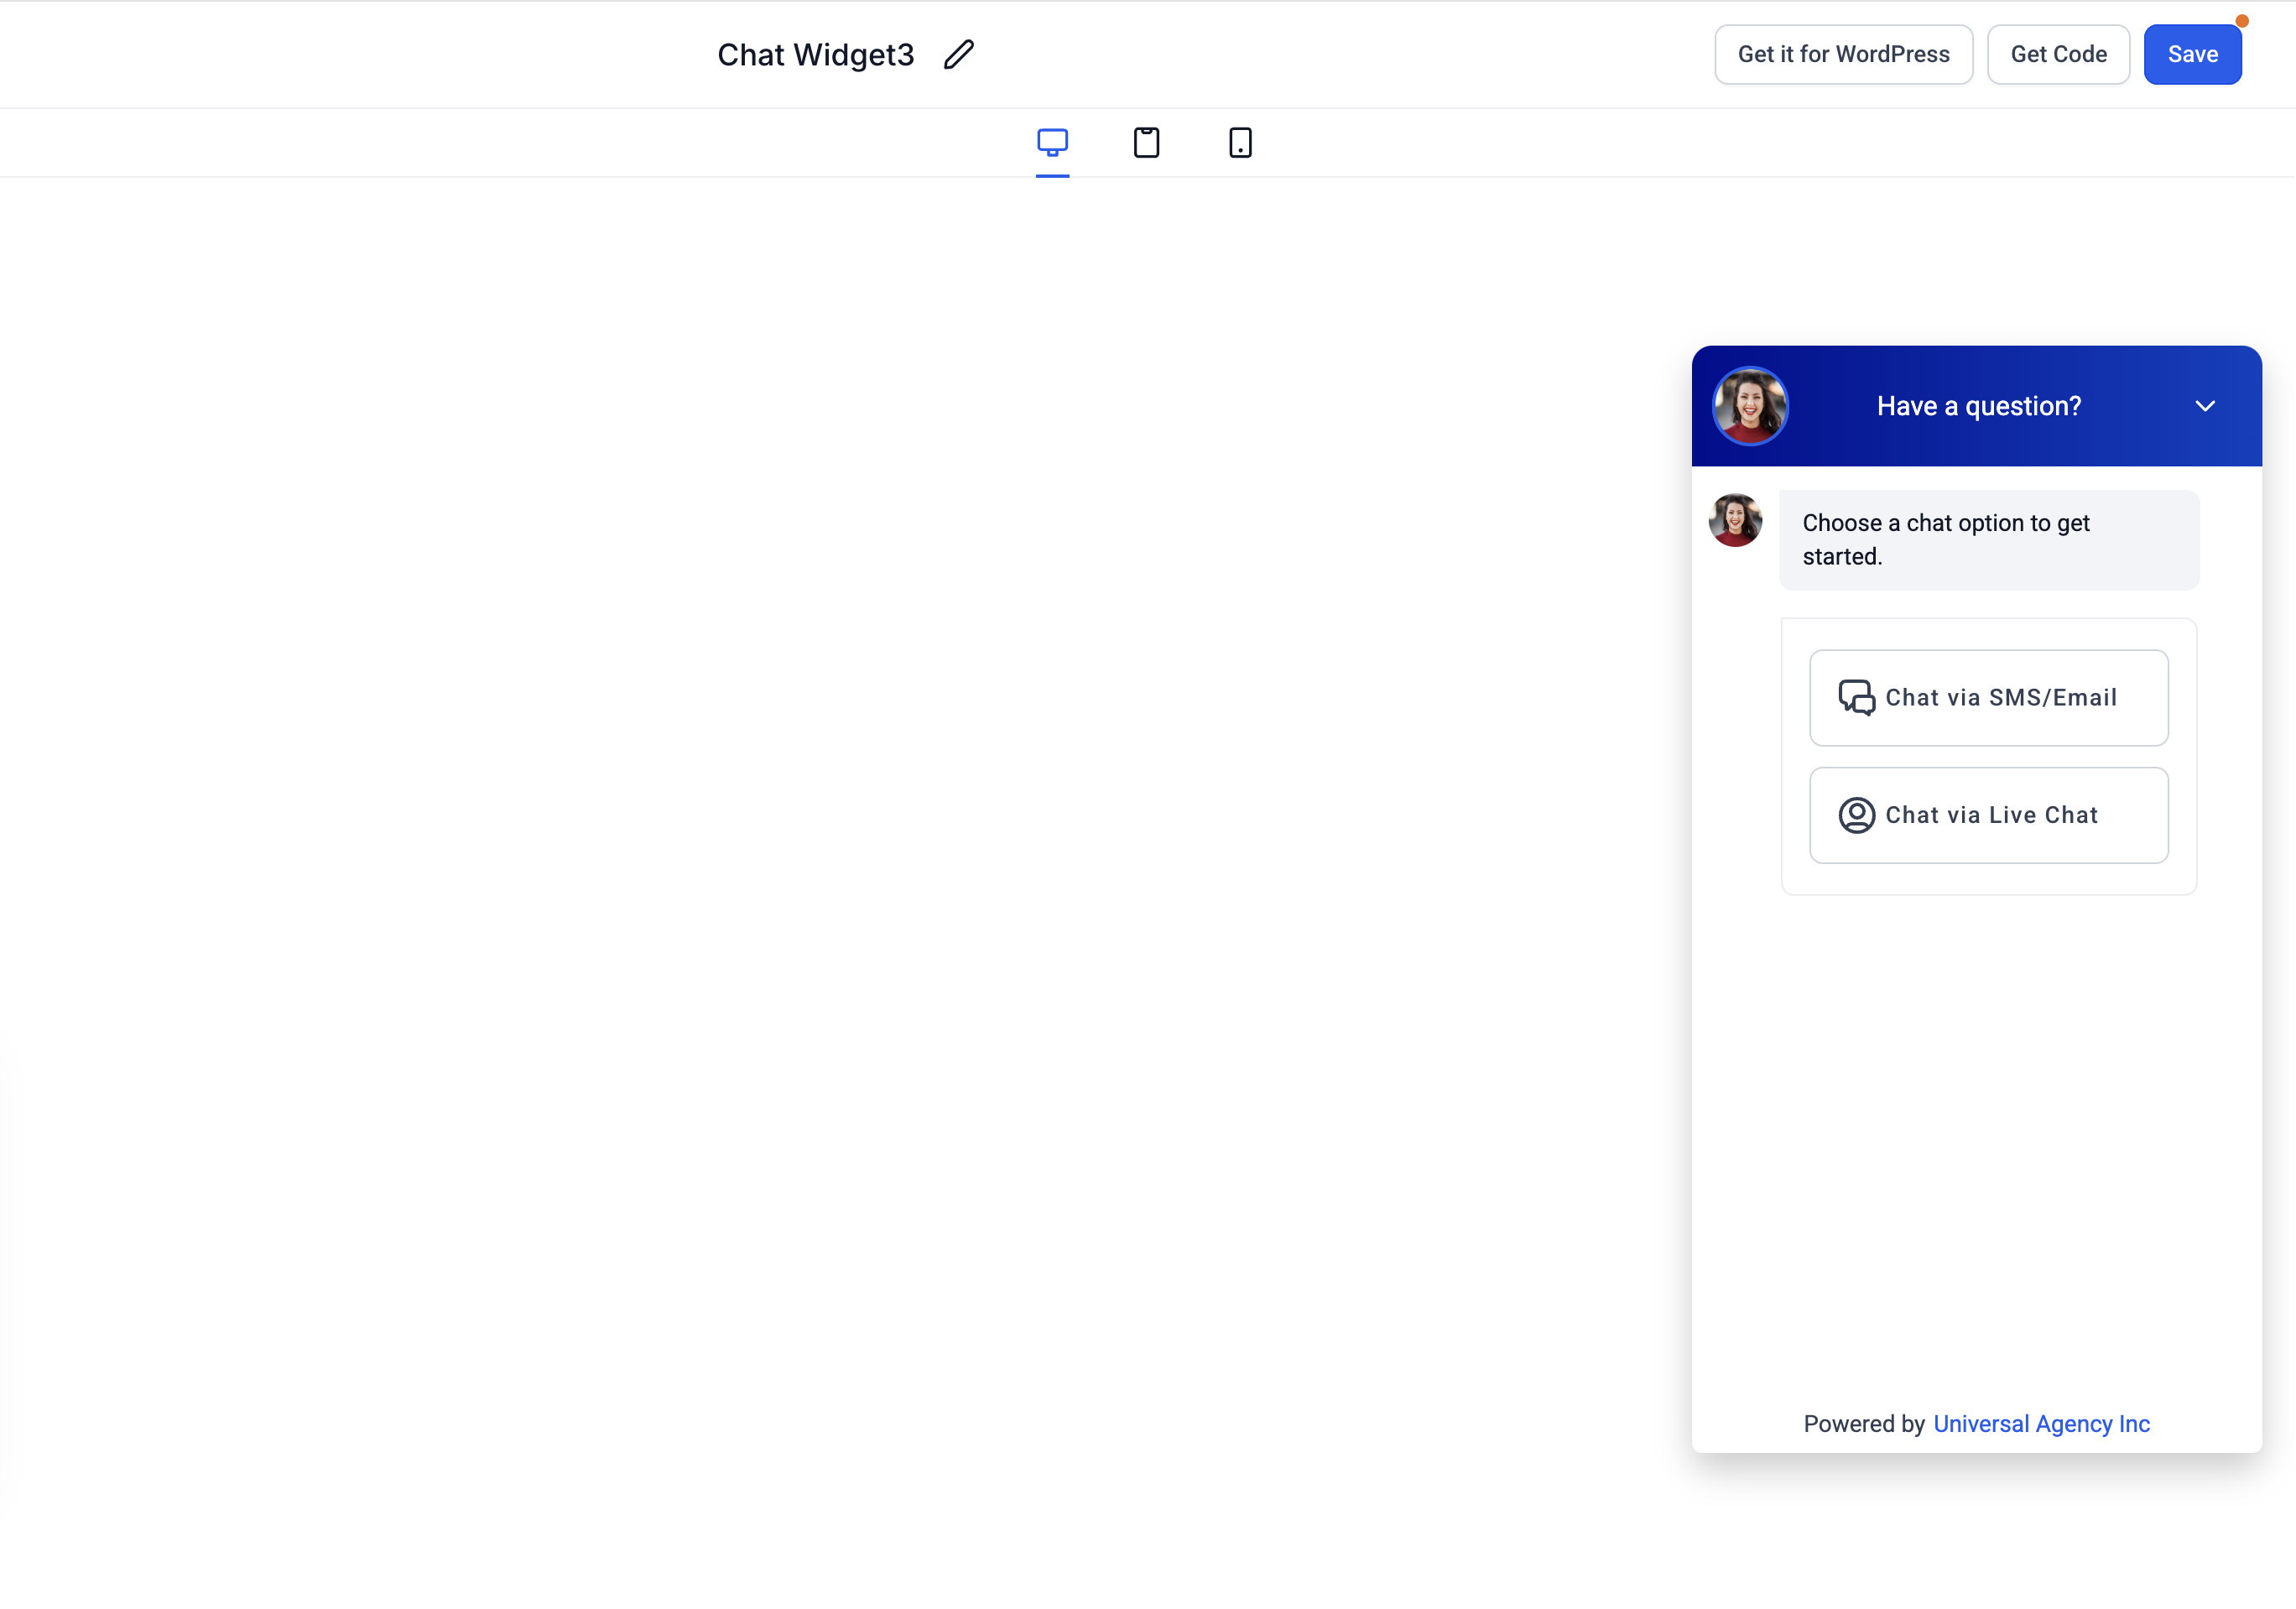
Switching channels. Visitors can switch between any enabled channels (for example, Live Chat, SMS/Email, WhatsApp, Facebook, Instagram, or Voice AI) using the controls in the chat header. Only the channels you selected in the Chat Type multi-select appear in the widget.
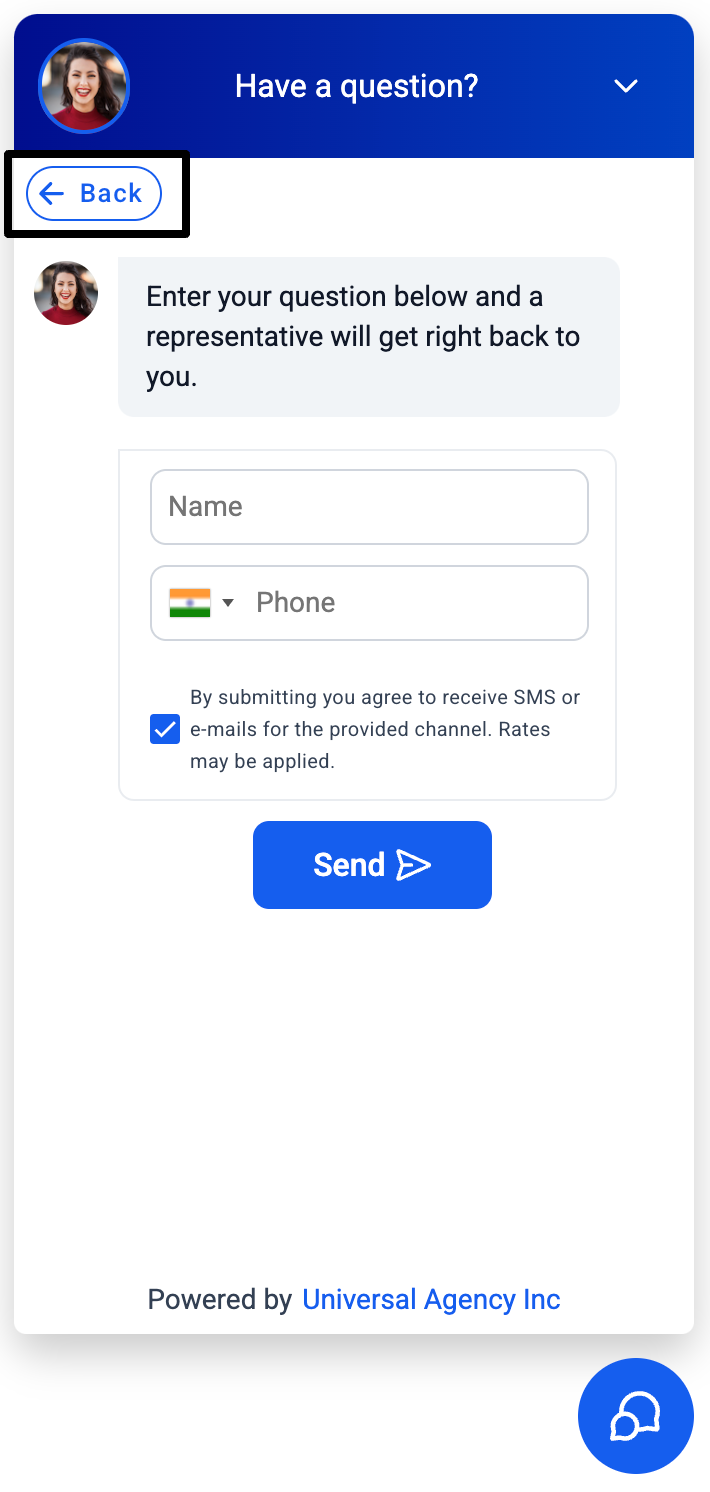
Active conversations. Chat sessions remain active until manually ended by a user in your account or closed due to inactivity based on your widget's timeout settings.
Contact form fields. For Email and WhatsApp Chat, a standard contact form field (for example, "Message") is available to capture visitor information.
The widget builder covers most needs, but a few advanced configurations are only available by editing the widget code after you copy it from the builder. Add the attributes below to the widget snippet to customize behavior beyond what the builder exposes.
Open icon URL. Changes the default message icon on the chat widget open button.
Close icon URL. Changes the default close icon on the chat widget close button.
Next prompt timer. Determines the number of seconds the widget waits before showing the chat bubble to a visitor when they revisit. The default is 86400 seconds (24 hours), meaning the prompt bubble stays hidden for 24 hours after a visitor closes the widget. To make the chat bubble visible on every page visit, set the value to 0.
Server URL. By default the widget communicates with the server (submitting leads and similar) through a base URL. This attribute lets you point the widget at a different server, which is mainly used for testing and debugging.
The Chat Widget exposes a public JavaScript API and events so developers can control it programmatically, for example opening the widget from a custom button on your site.
openWidget opens the widget programmatically from any other action, such as a button click:
window.leadConnector.chatWidget.openWidget();
closeWidget closes the widget programmatically from any other action, such as a button click:
window.leadConnector.chatWidget.closeWidget();
isActive() returns true if the widget is open (expanded) and false if the widget is closed (collapsed):
window.leadConnector.chatWidget.isActive();
Localize widget via API lets you change widget labels after the widget has loaded.
Internationalization (i18n). The widget does not have automatic i18n support based on a language code, but you can change any of the labels within the widget using attribute names. The available labels and their default English (en-US) values are below.
Key | Default value (en-US) | Description |
|---|---|---|
name | Name | Name field label |
phone | Mobile Phone | Mobile input field label |
Email input label | ||
message | Message | Message input field label |
required | Required | Error message for required fields |
received | Received | Acknowledgement label below your acknowledgement text |
sending | Sending | Visible when lead submission is in progress |
invalid_value | Invalid value | Error message for invalid values in input fields |
send | Send | Title of the submit button |
powered_by | Powered by | Powered-by branding text |
There is currently no way to change the widget labels in the WordPress plugin settings. Instead, add label-changing code to the footer of your WordPress website, which updates the labels after the widget loads. If you are not comfortable editing the footer directly, a headers-and-footers plugin makes the process easy.
LC_chatWidgetLoaded fires after the widget has fully loaded on the page, giving you a hook to run your own code once the widget is ready.
Where do I set up automations for live chat? Live chat automations are built in Marketing → Workflows. Add a live chat trigger to a workflow, then attach the actions you want, such as sending an internal notification, applying a tag, or starting a follow-up sequence. The widget itself is configured separately under Web Tools → Chat Widget.
What if I don't have a WhatsApp number? You can still use the All-in-One Chat widget with just Live and Email Chat. WhatsApp Chat stays hidden until a valid number is added.
Can I customize the color for each channel? The All-in-One Chat widget applies one unified color scheme across all channels to maintain a consistent brand experience.
Do I need separate permissions to set this up? Typically, users with access to Web Tools → Chat Widget can create and configure widgets. If you don't see the option, contact your account admin.
How do I end a Live Chat session? A user in your account can end the session from the Inbox, or it will automatically close after the specified inactivity timeout.
Why is my widget not showing up on my site? Confirm you embedded the widget code on your website correctly. You can find this code under Web Tools → Chat Widget → Install Code.
Why isn't WhatsApp available as a channel? Confirm you have an active WhatsApp number connected. If it is still not visible, double-check your WhatsApp integration settings.
My widget emails aren't sending. What should I check? Make sure your email address is verified and properly set up in your account settings.
Do I need to write code to use the Chat Widget? No. The widget builder covers most setups without any code. The advanced code attributes and the public API are optional and intended for developers who need custom behavior, such as opening the widget from their own button.
Can I use Embedded / Inline placement with the All-in-One Chat widget? Yes. Under the Style tab, choose Embedded / Inline under Widget Placement. The widget then opens automatically and stays visible within the page instead of appearing as a floating bubble, and it cannot be minimized once placed.
