The messaging settings in your Chat Widget control the words your website visitors see before, during, and after they reach out. From the welcome greeting that invites a conversation to the acknowledgment message that confirms their submission, these fields let you set the tone for every new inquiry. You can also add a customizable pre-filled message so each conversation opens with clear intent, giving your front desk instant context on what a prospective patient needs.
This guide walks through configuring the acknowledgment message and language settings, then explains how to use the pre-filled message field to capture a meaningful first message on new widgets.
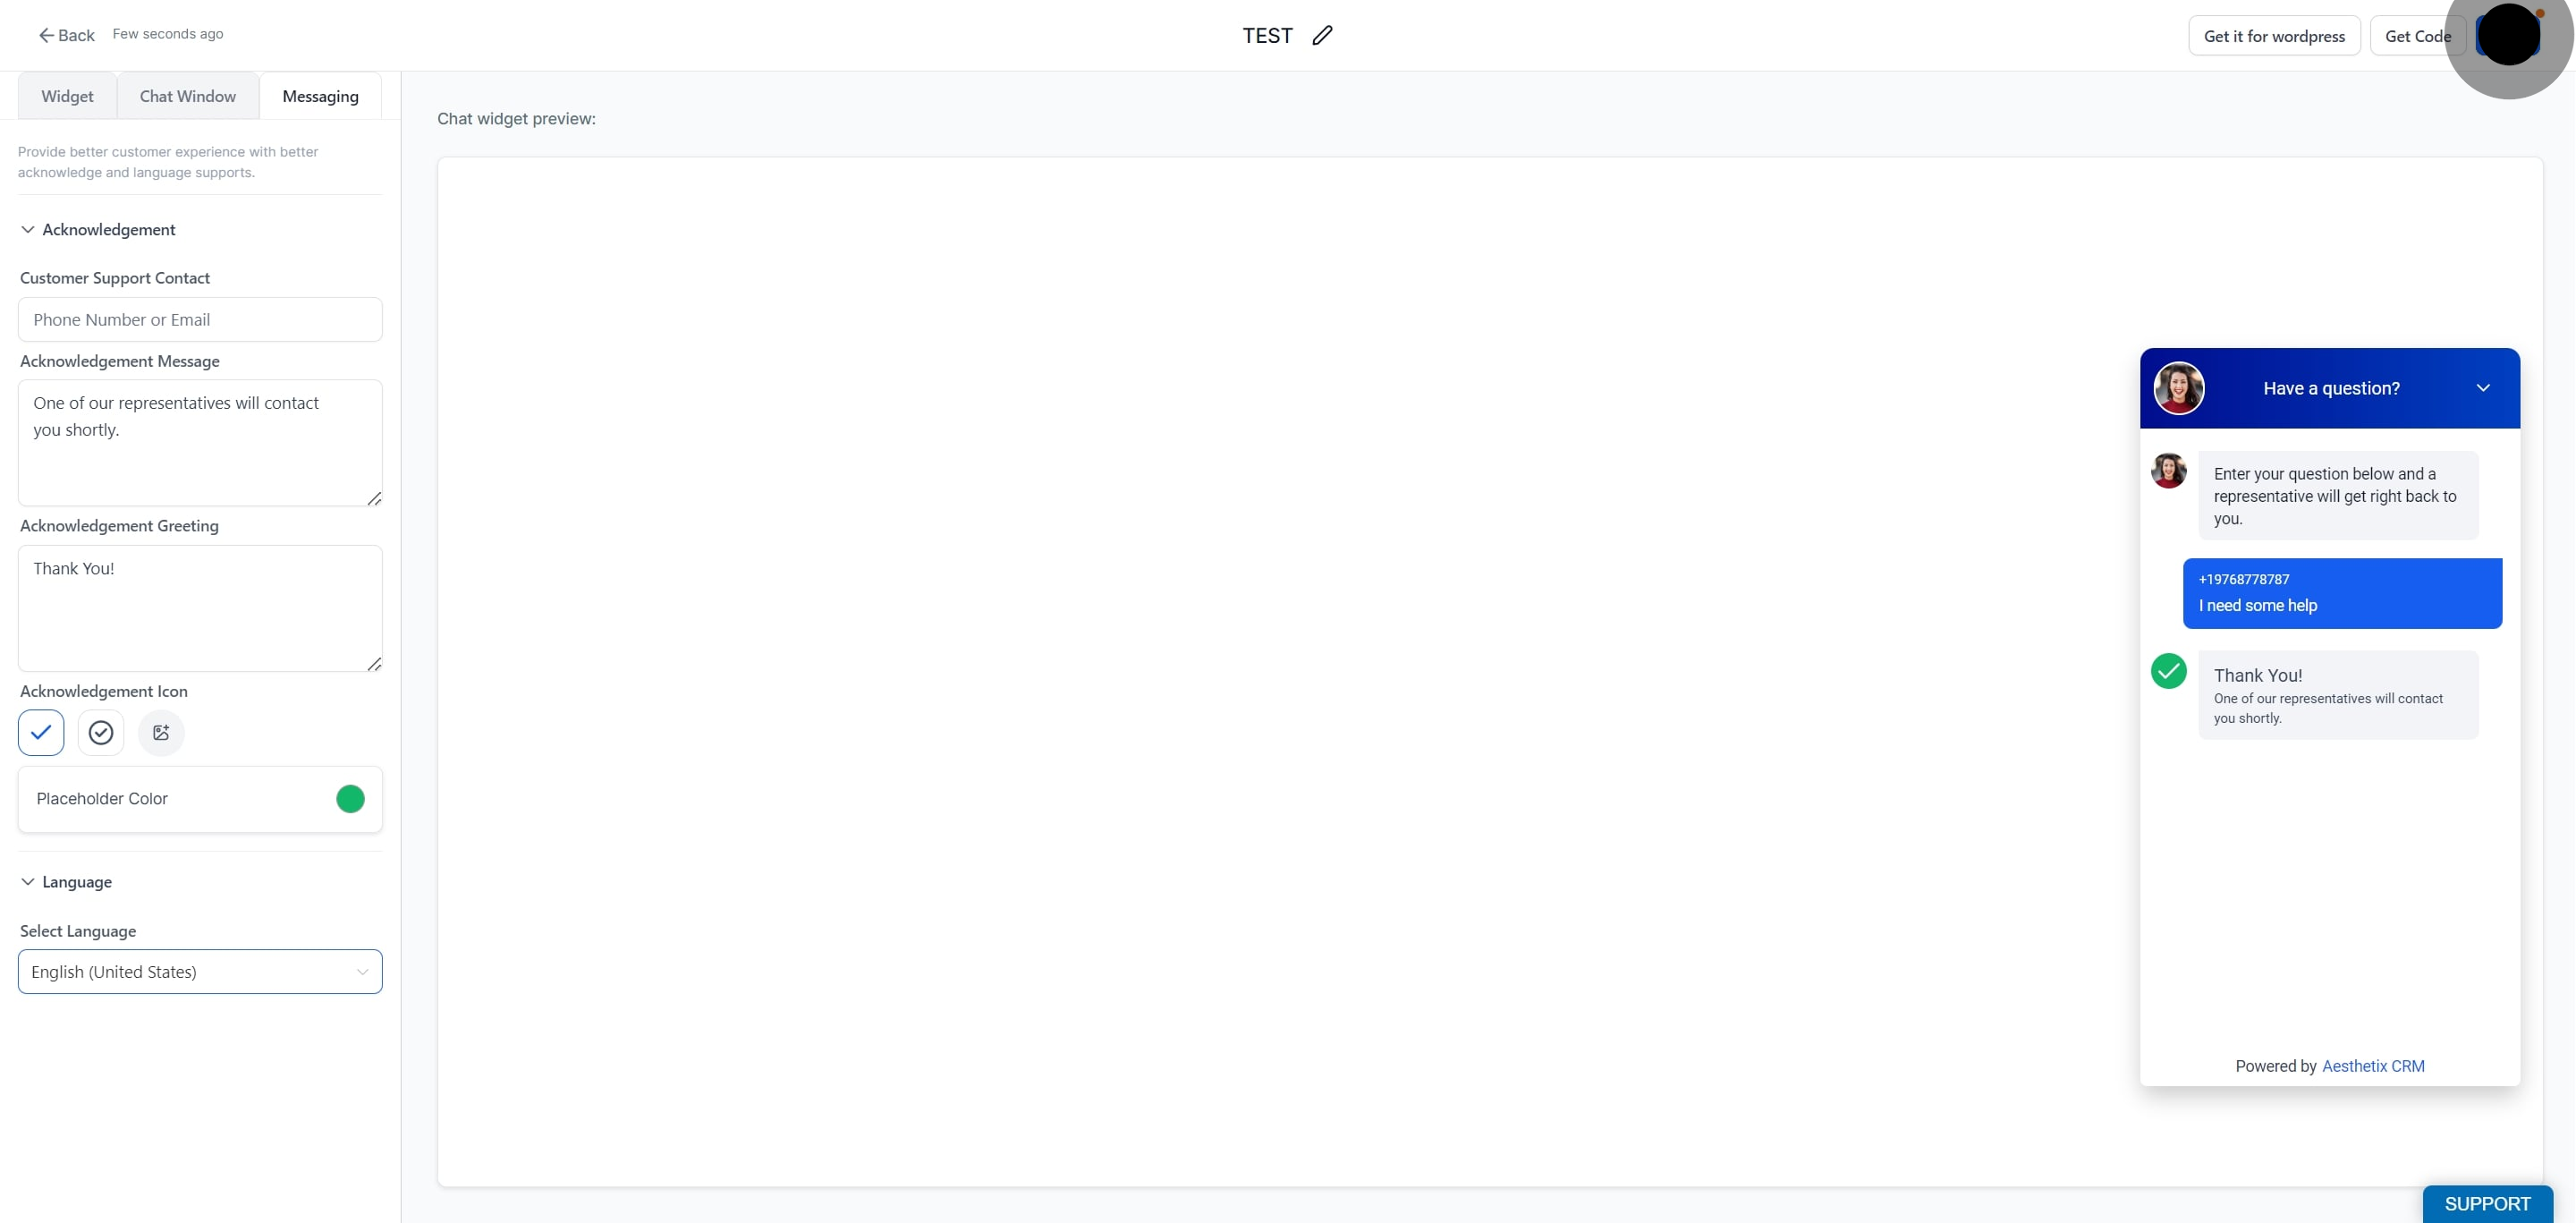
The acknowledgment message is the confirmation your visitors see after they submit their details, along with the support contact information and greeting you choose to display.
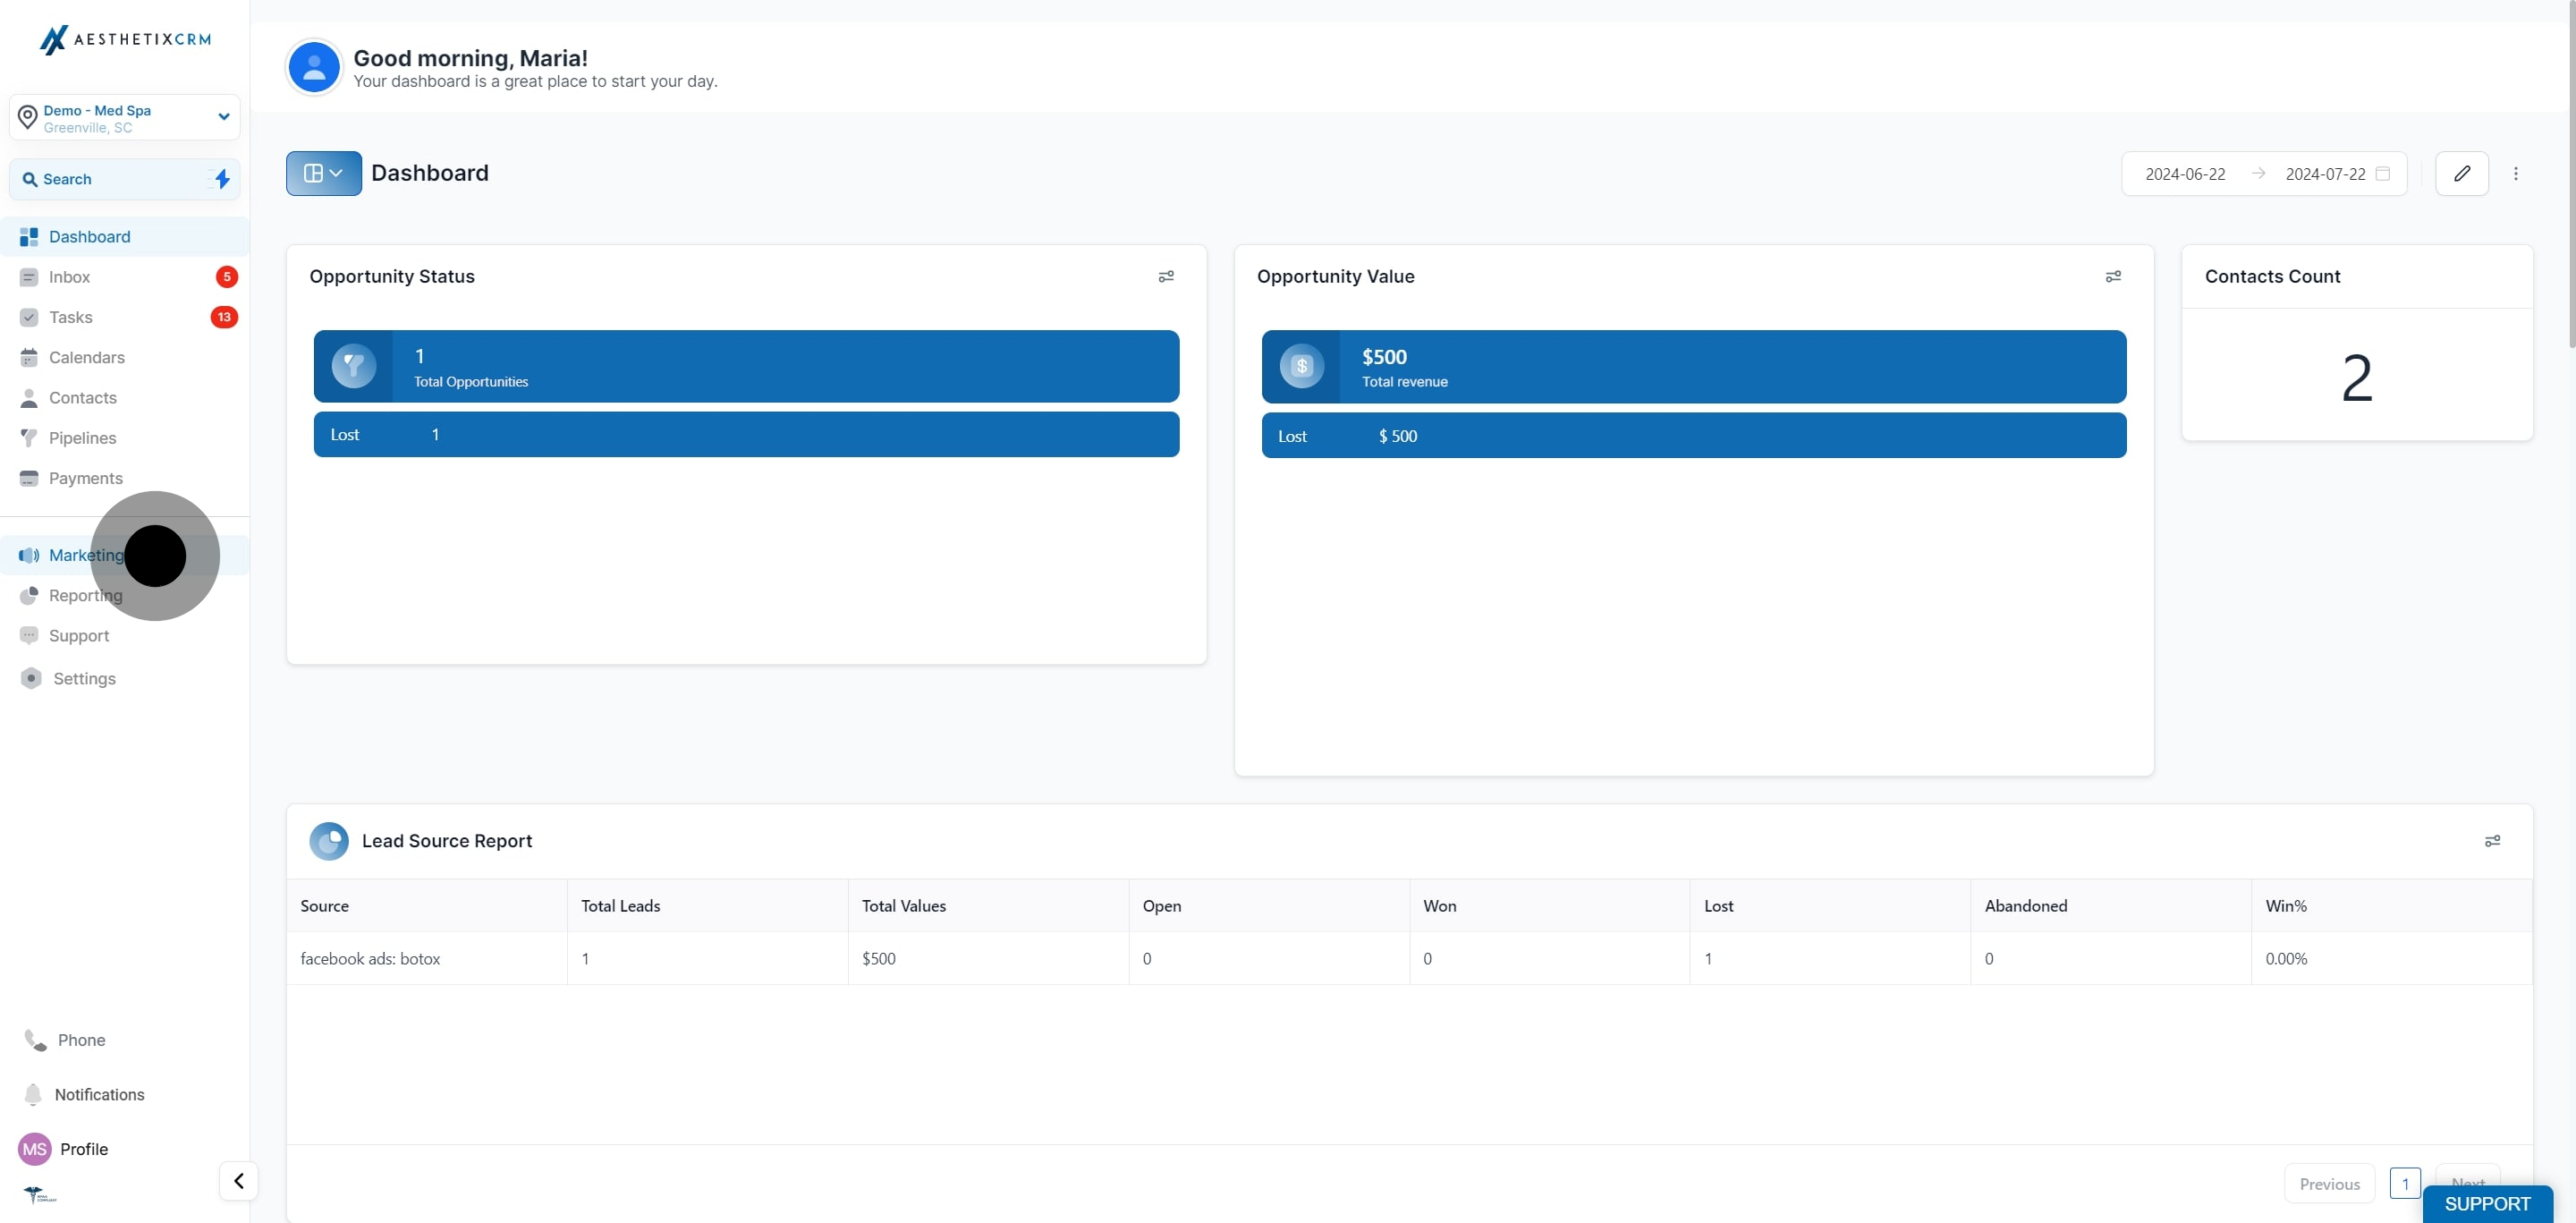
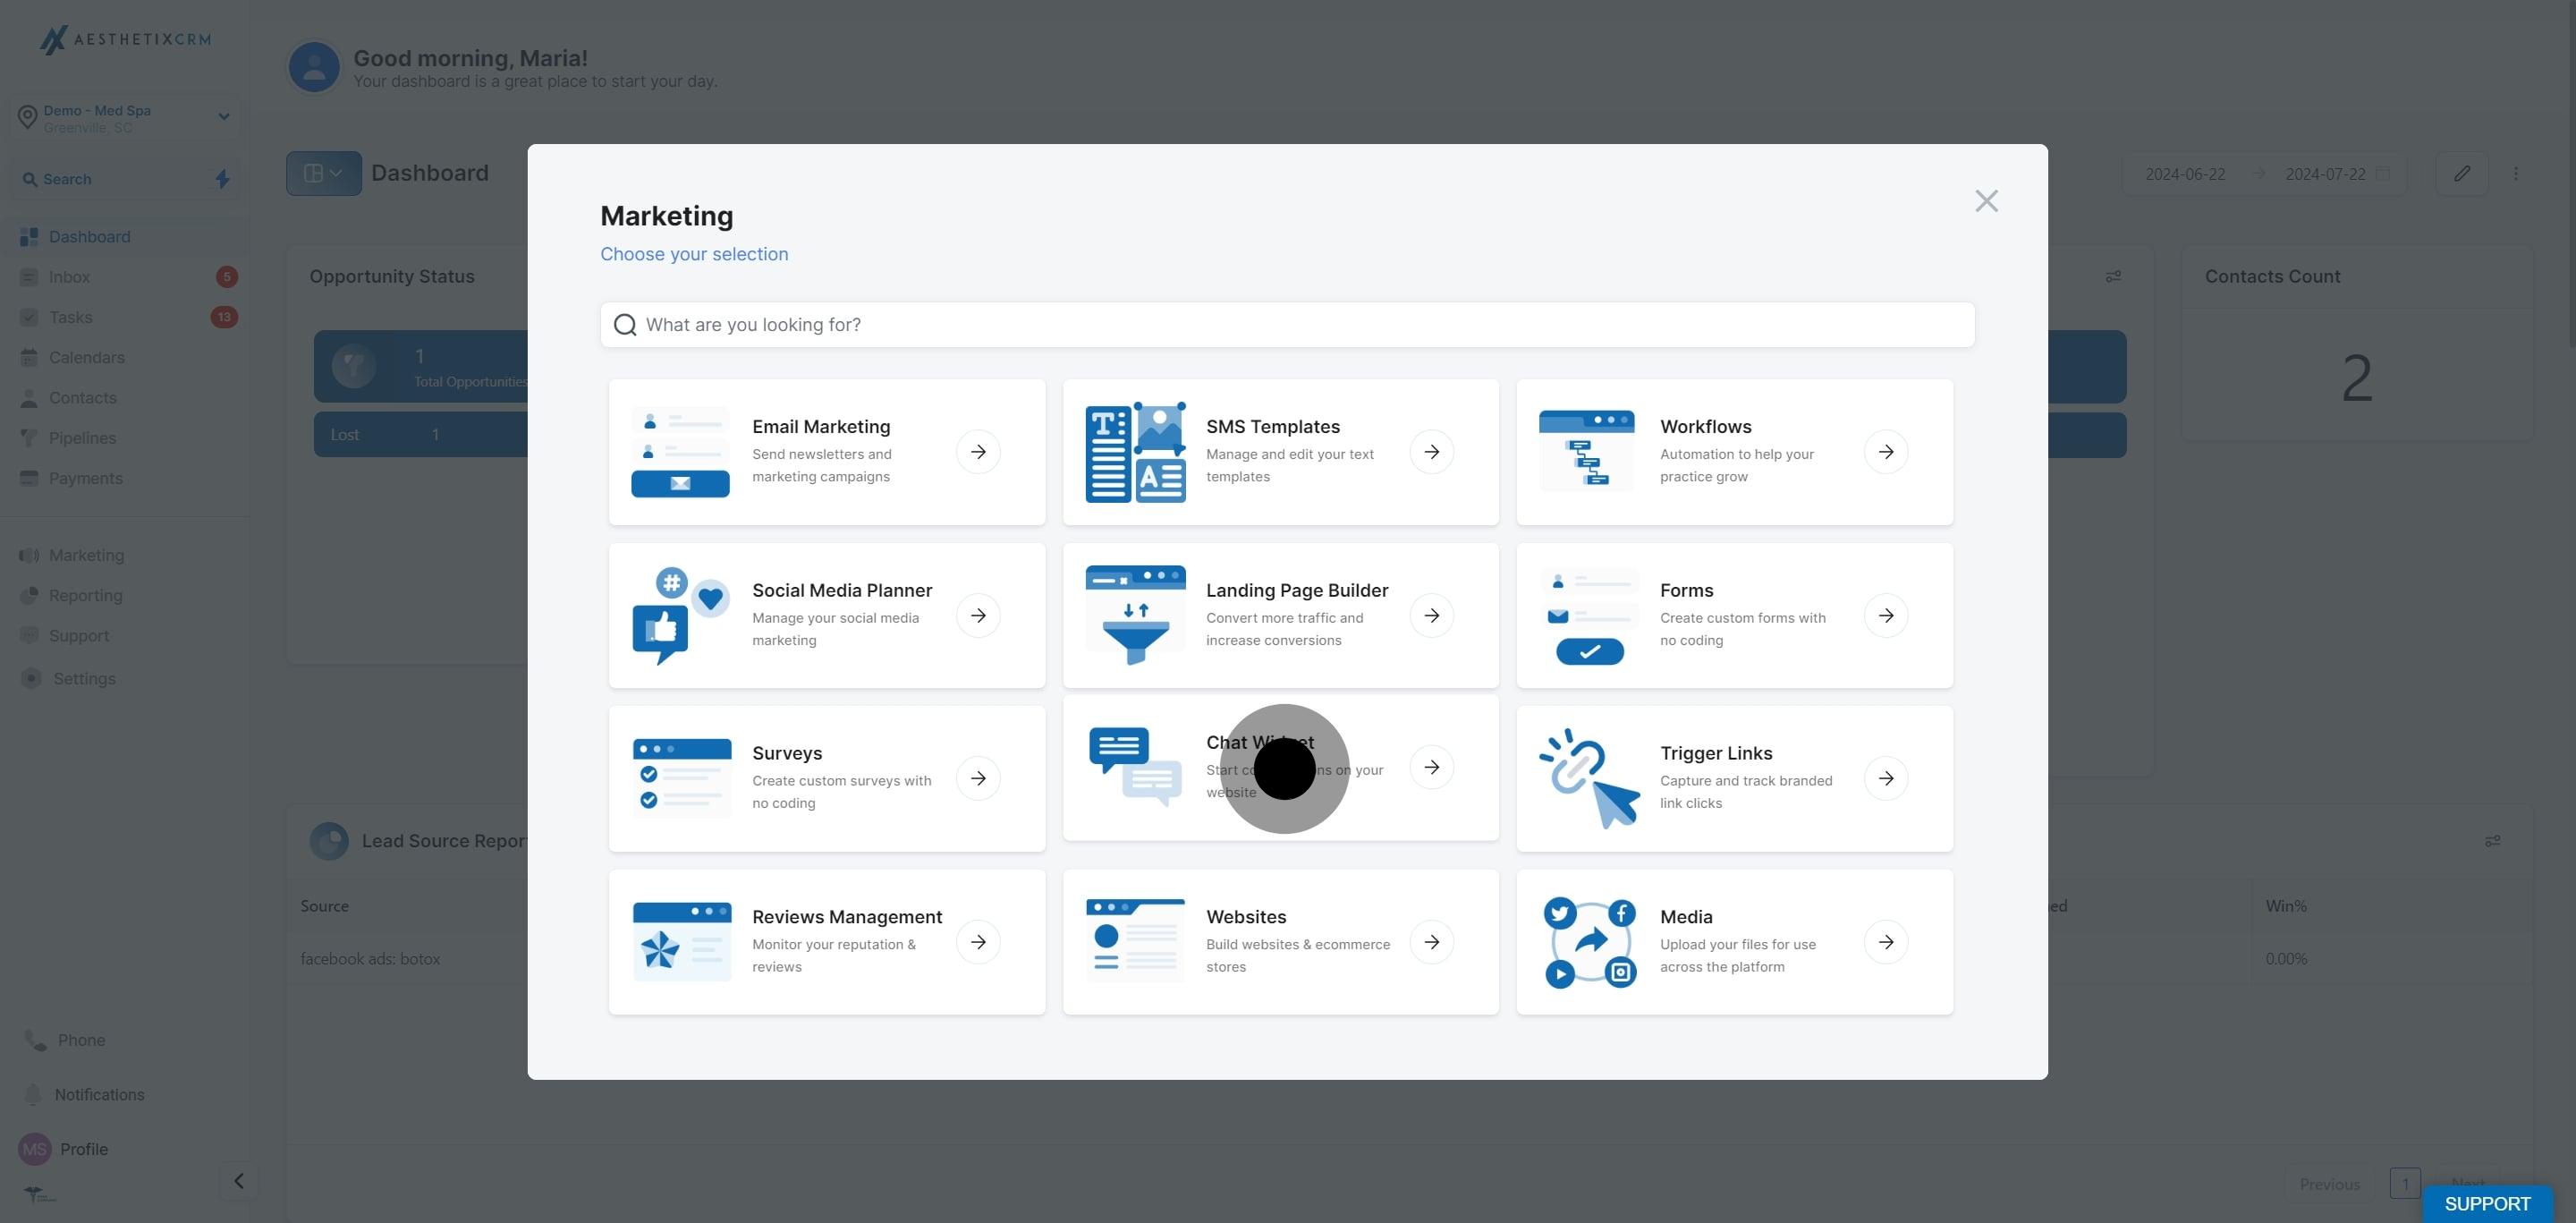
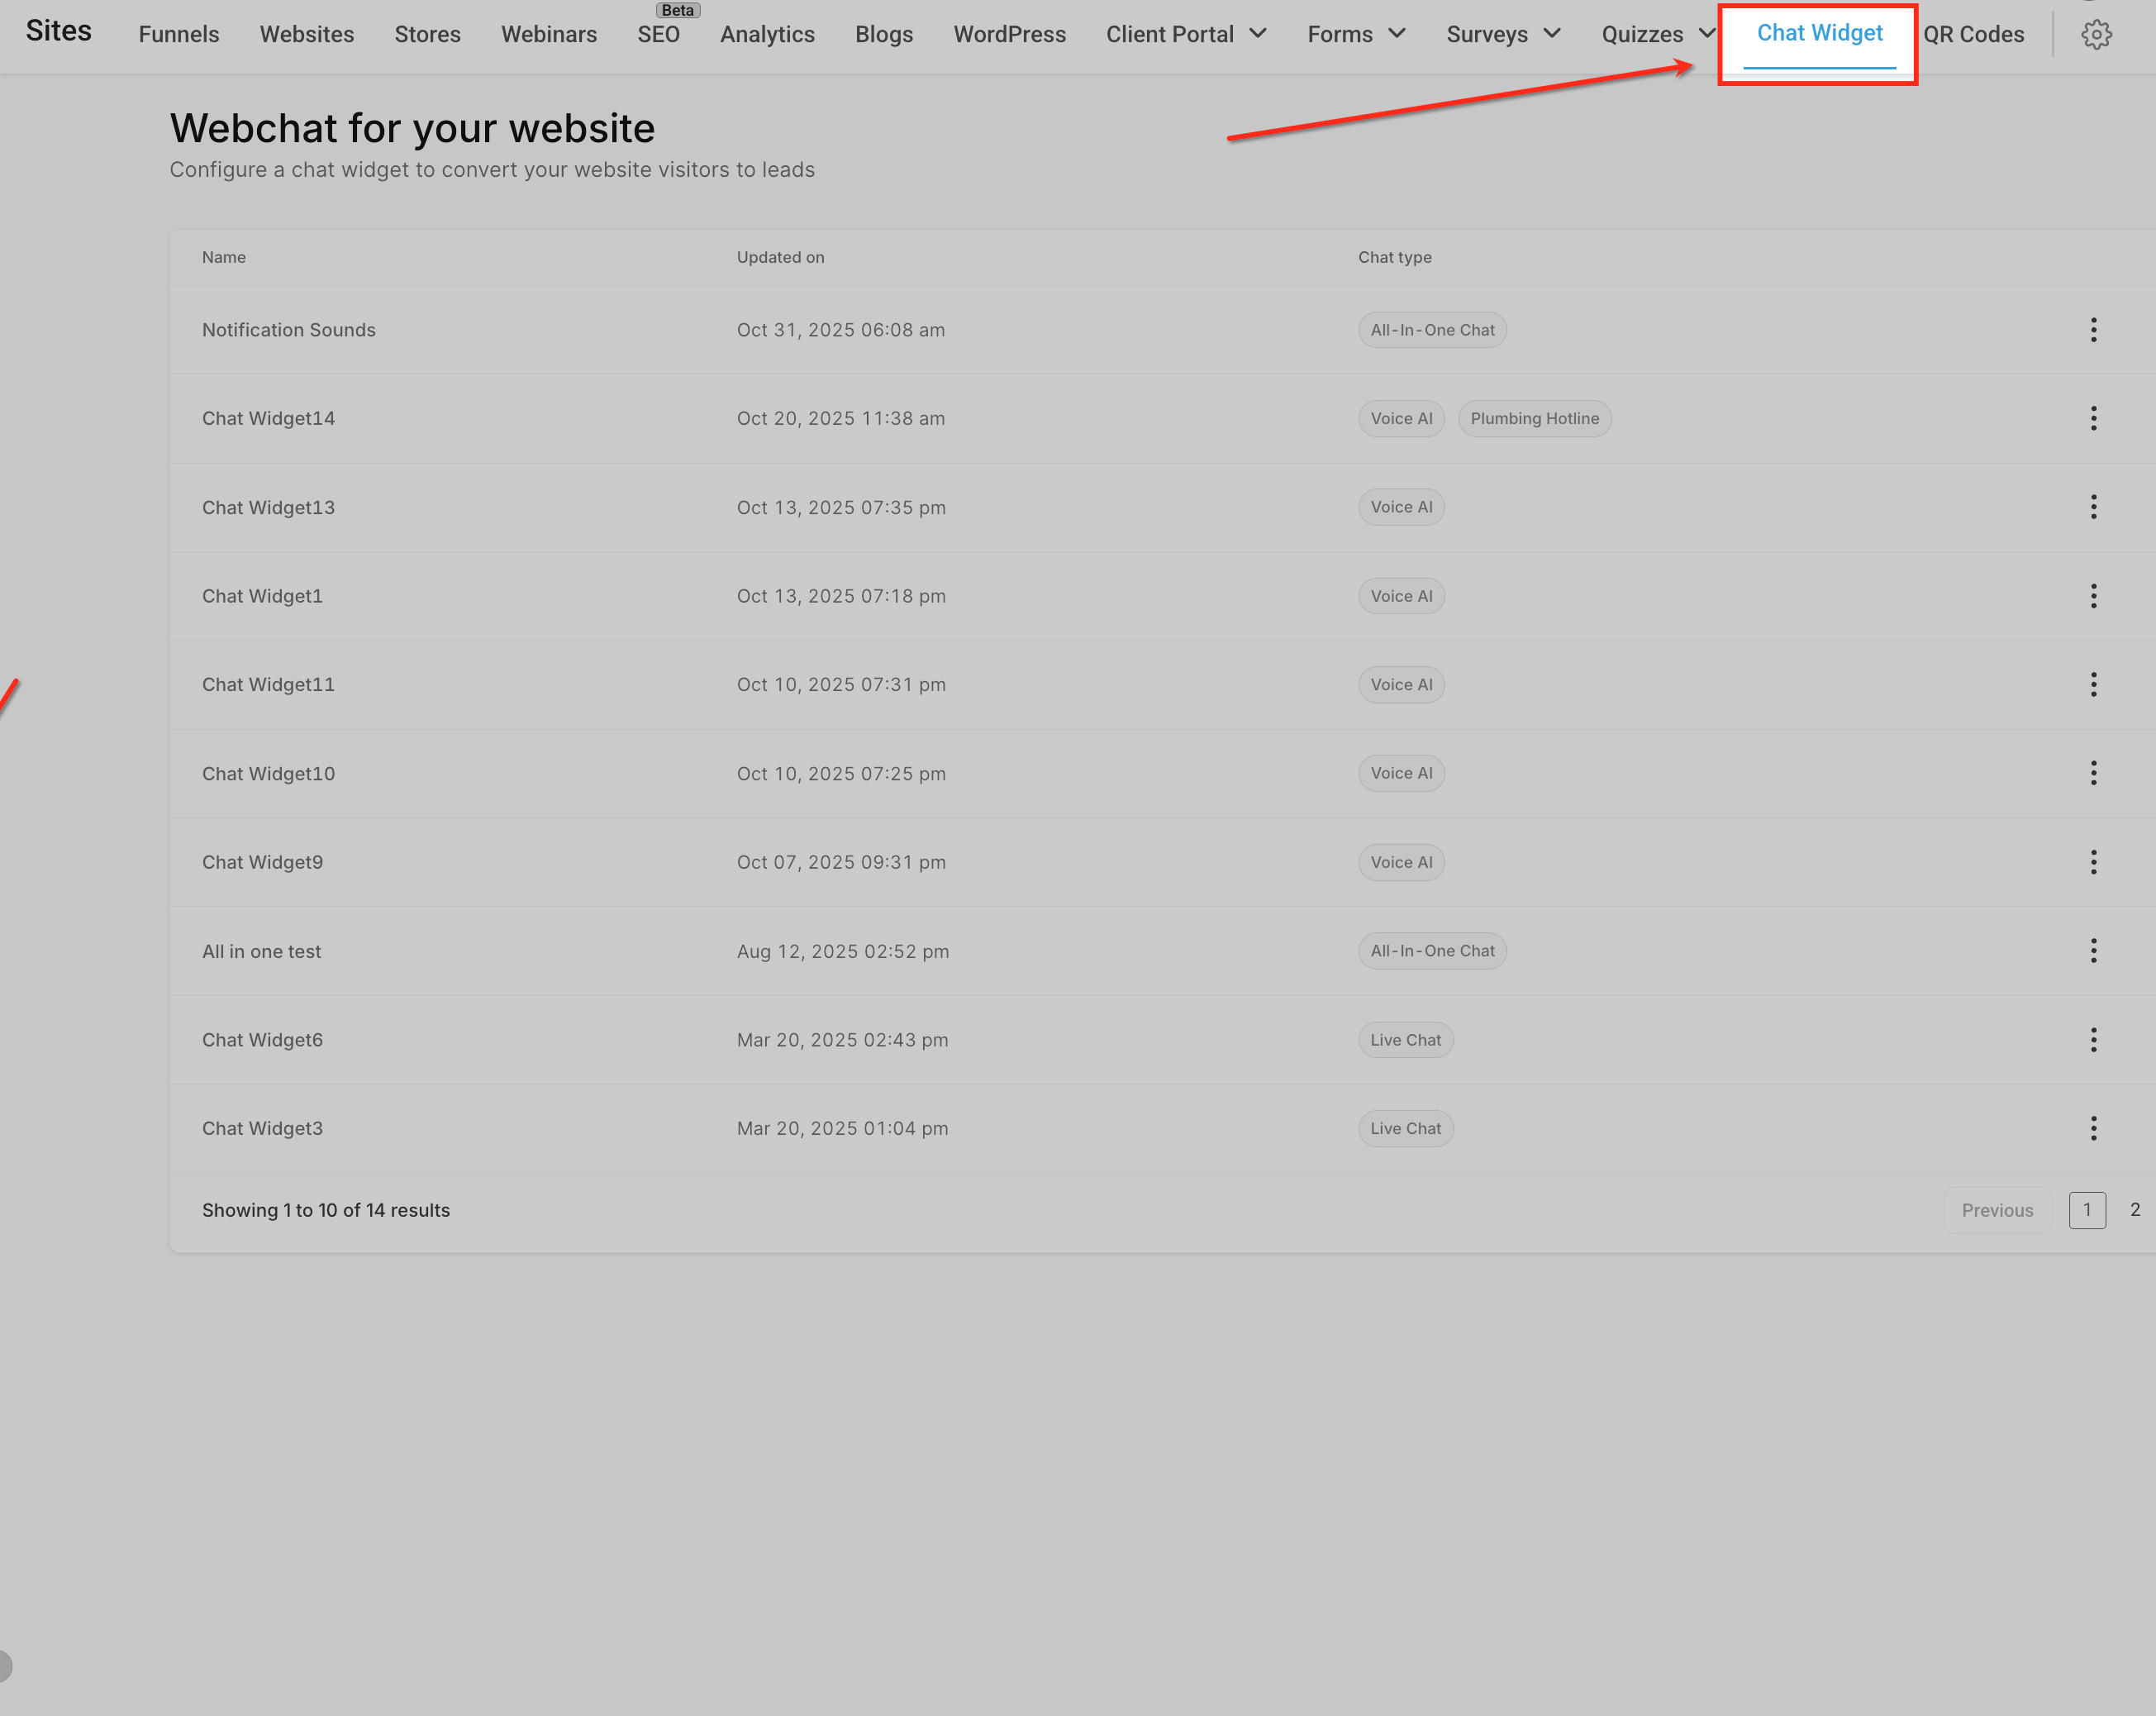
In your account, click Web Tools, then select Chat Widget from the menu.
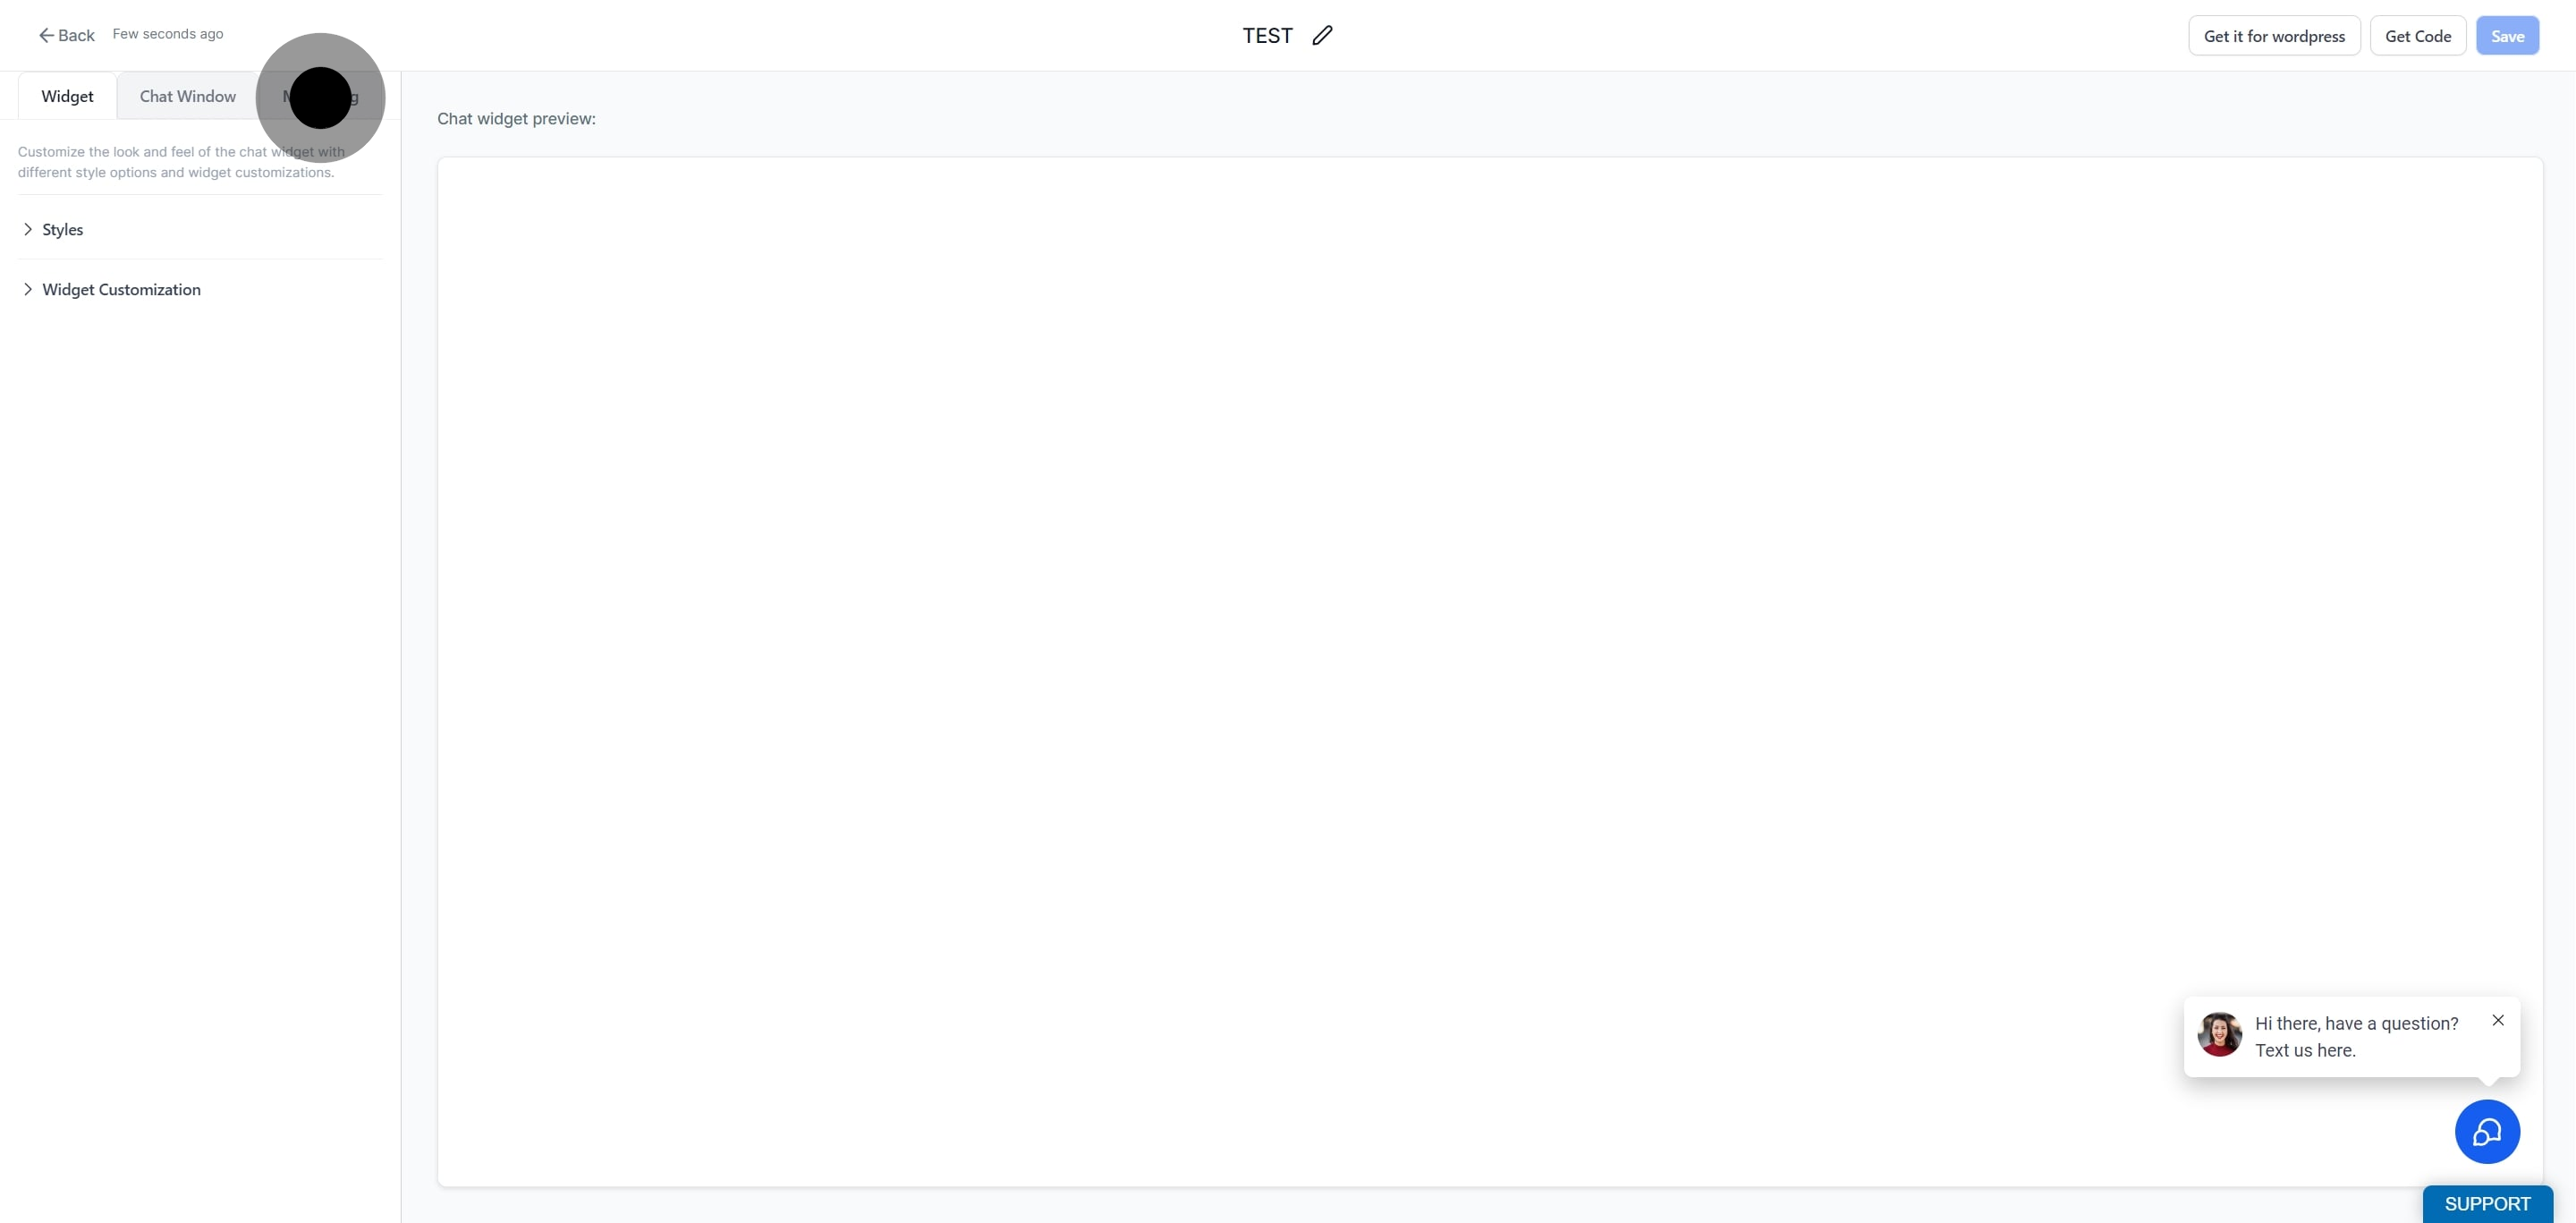
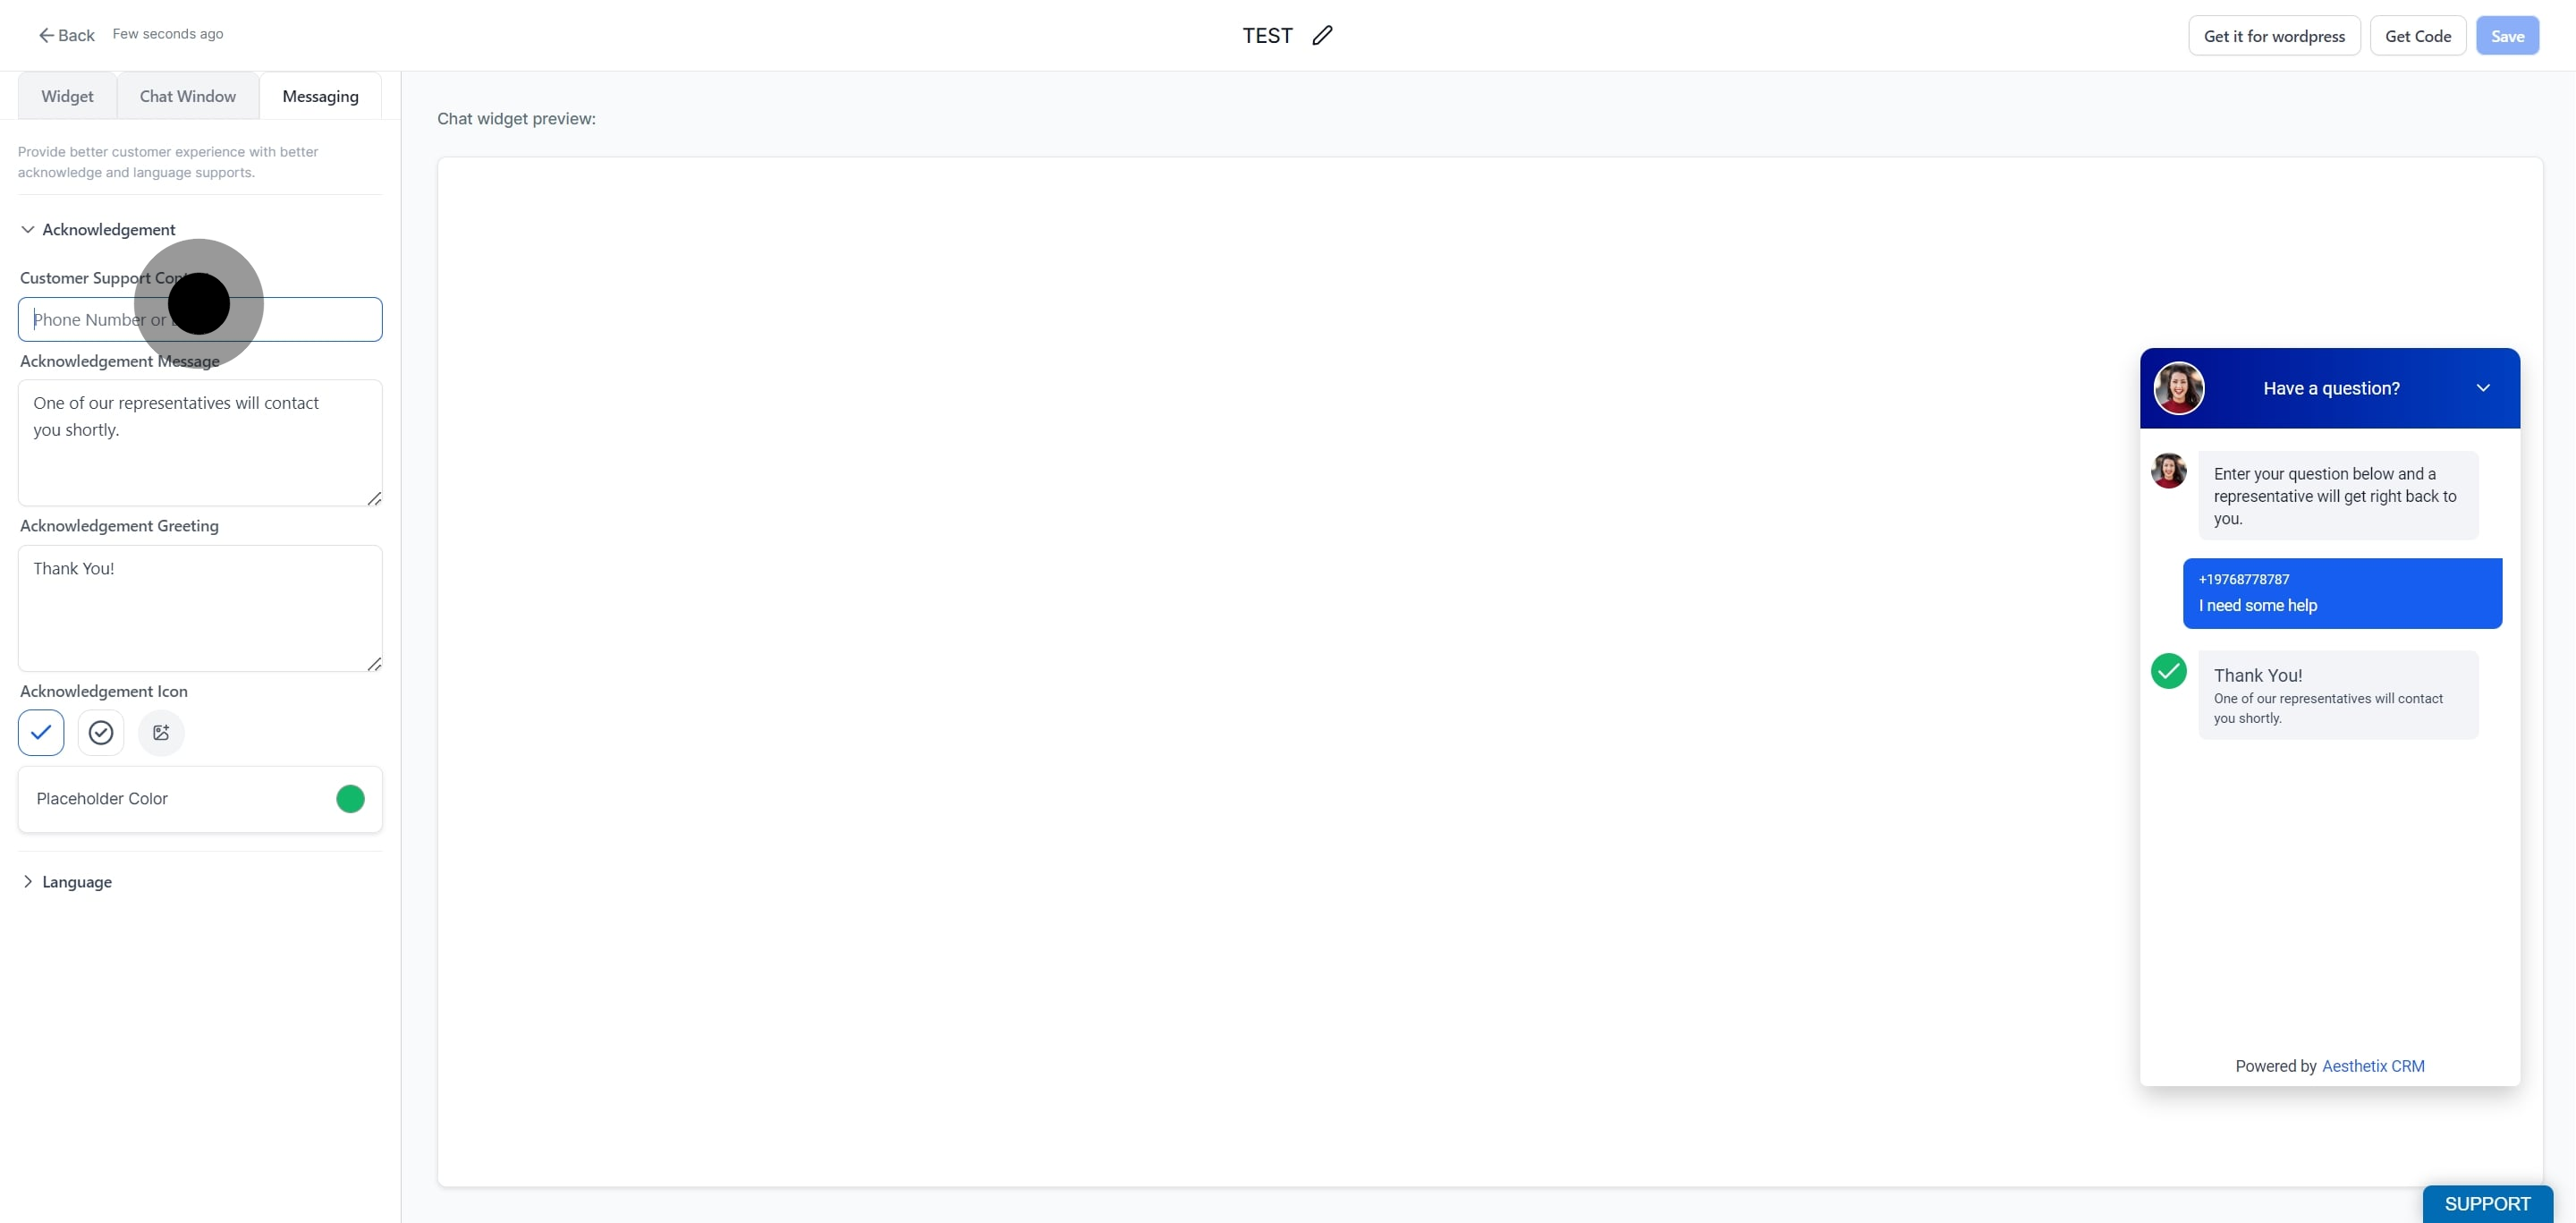
Click Messaging, then select Acknowledgement to open the confirmation message options.
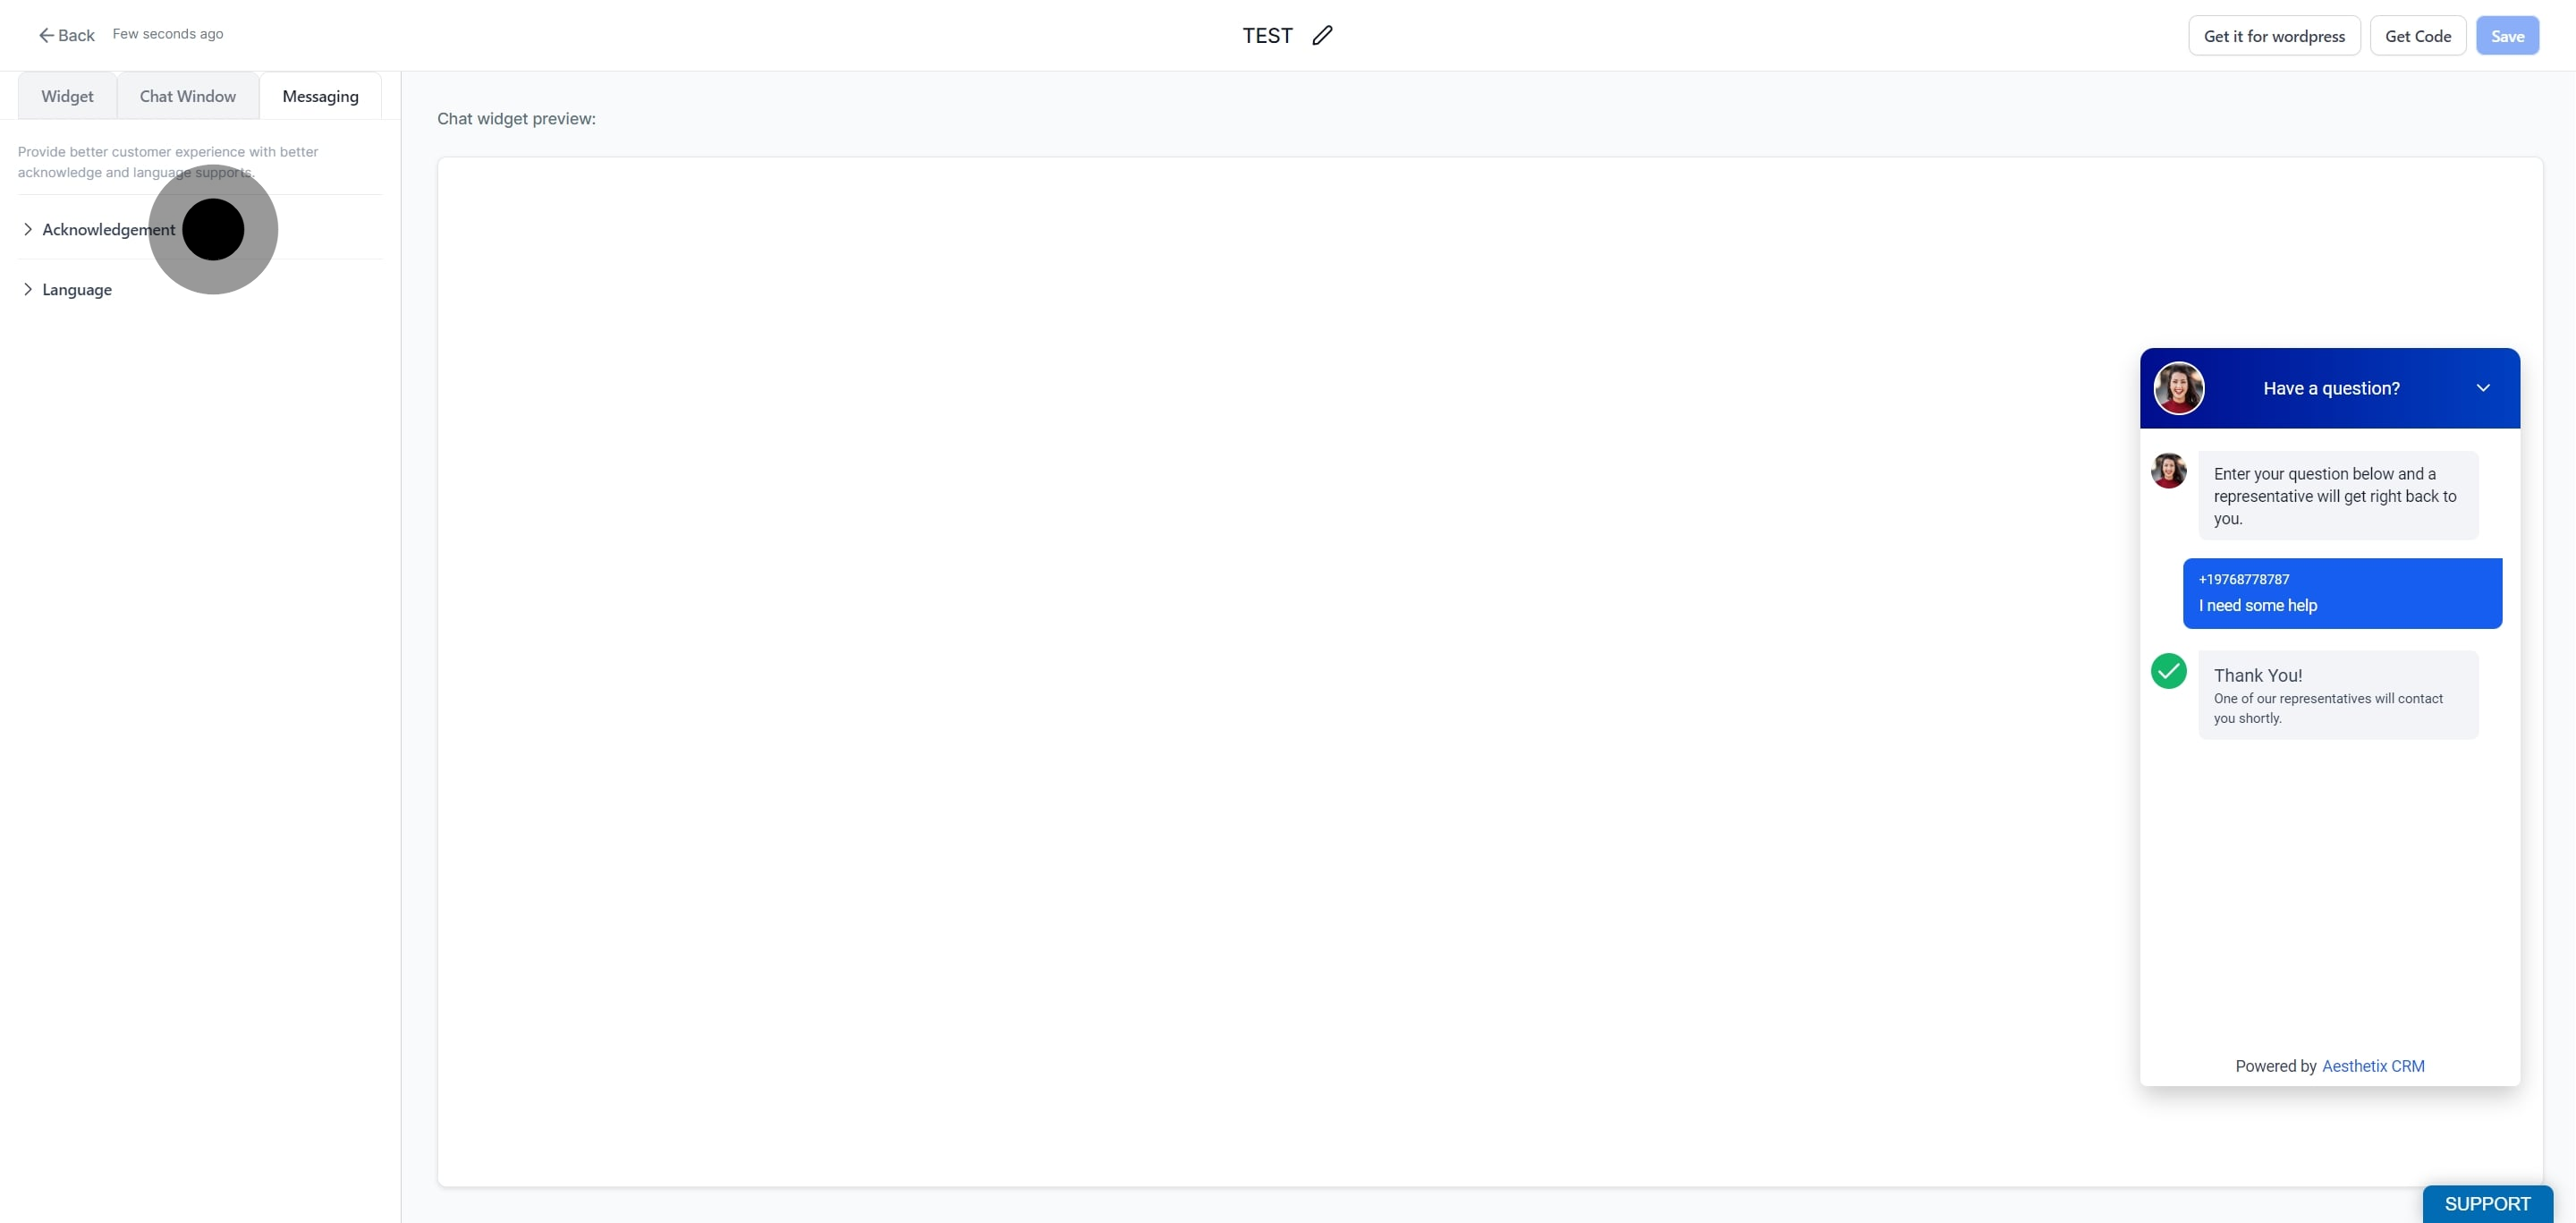
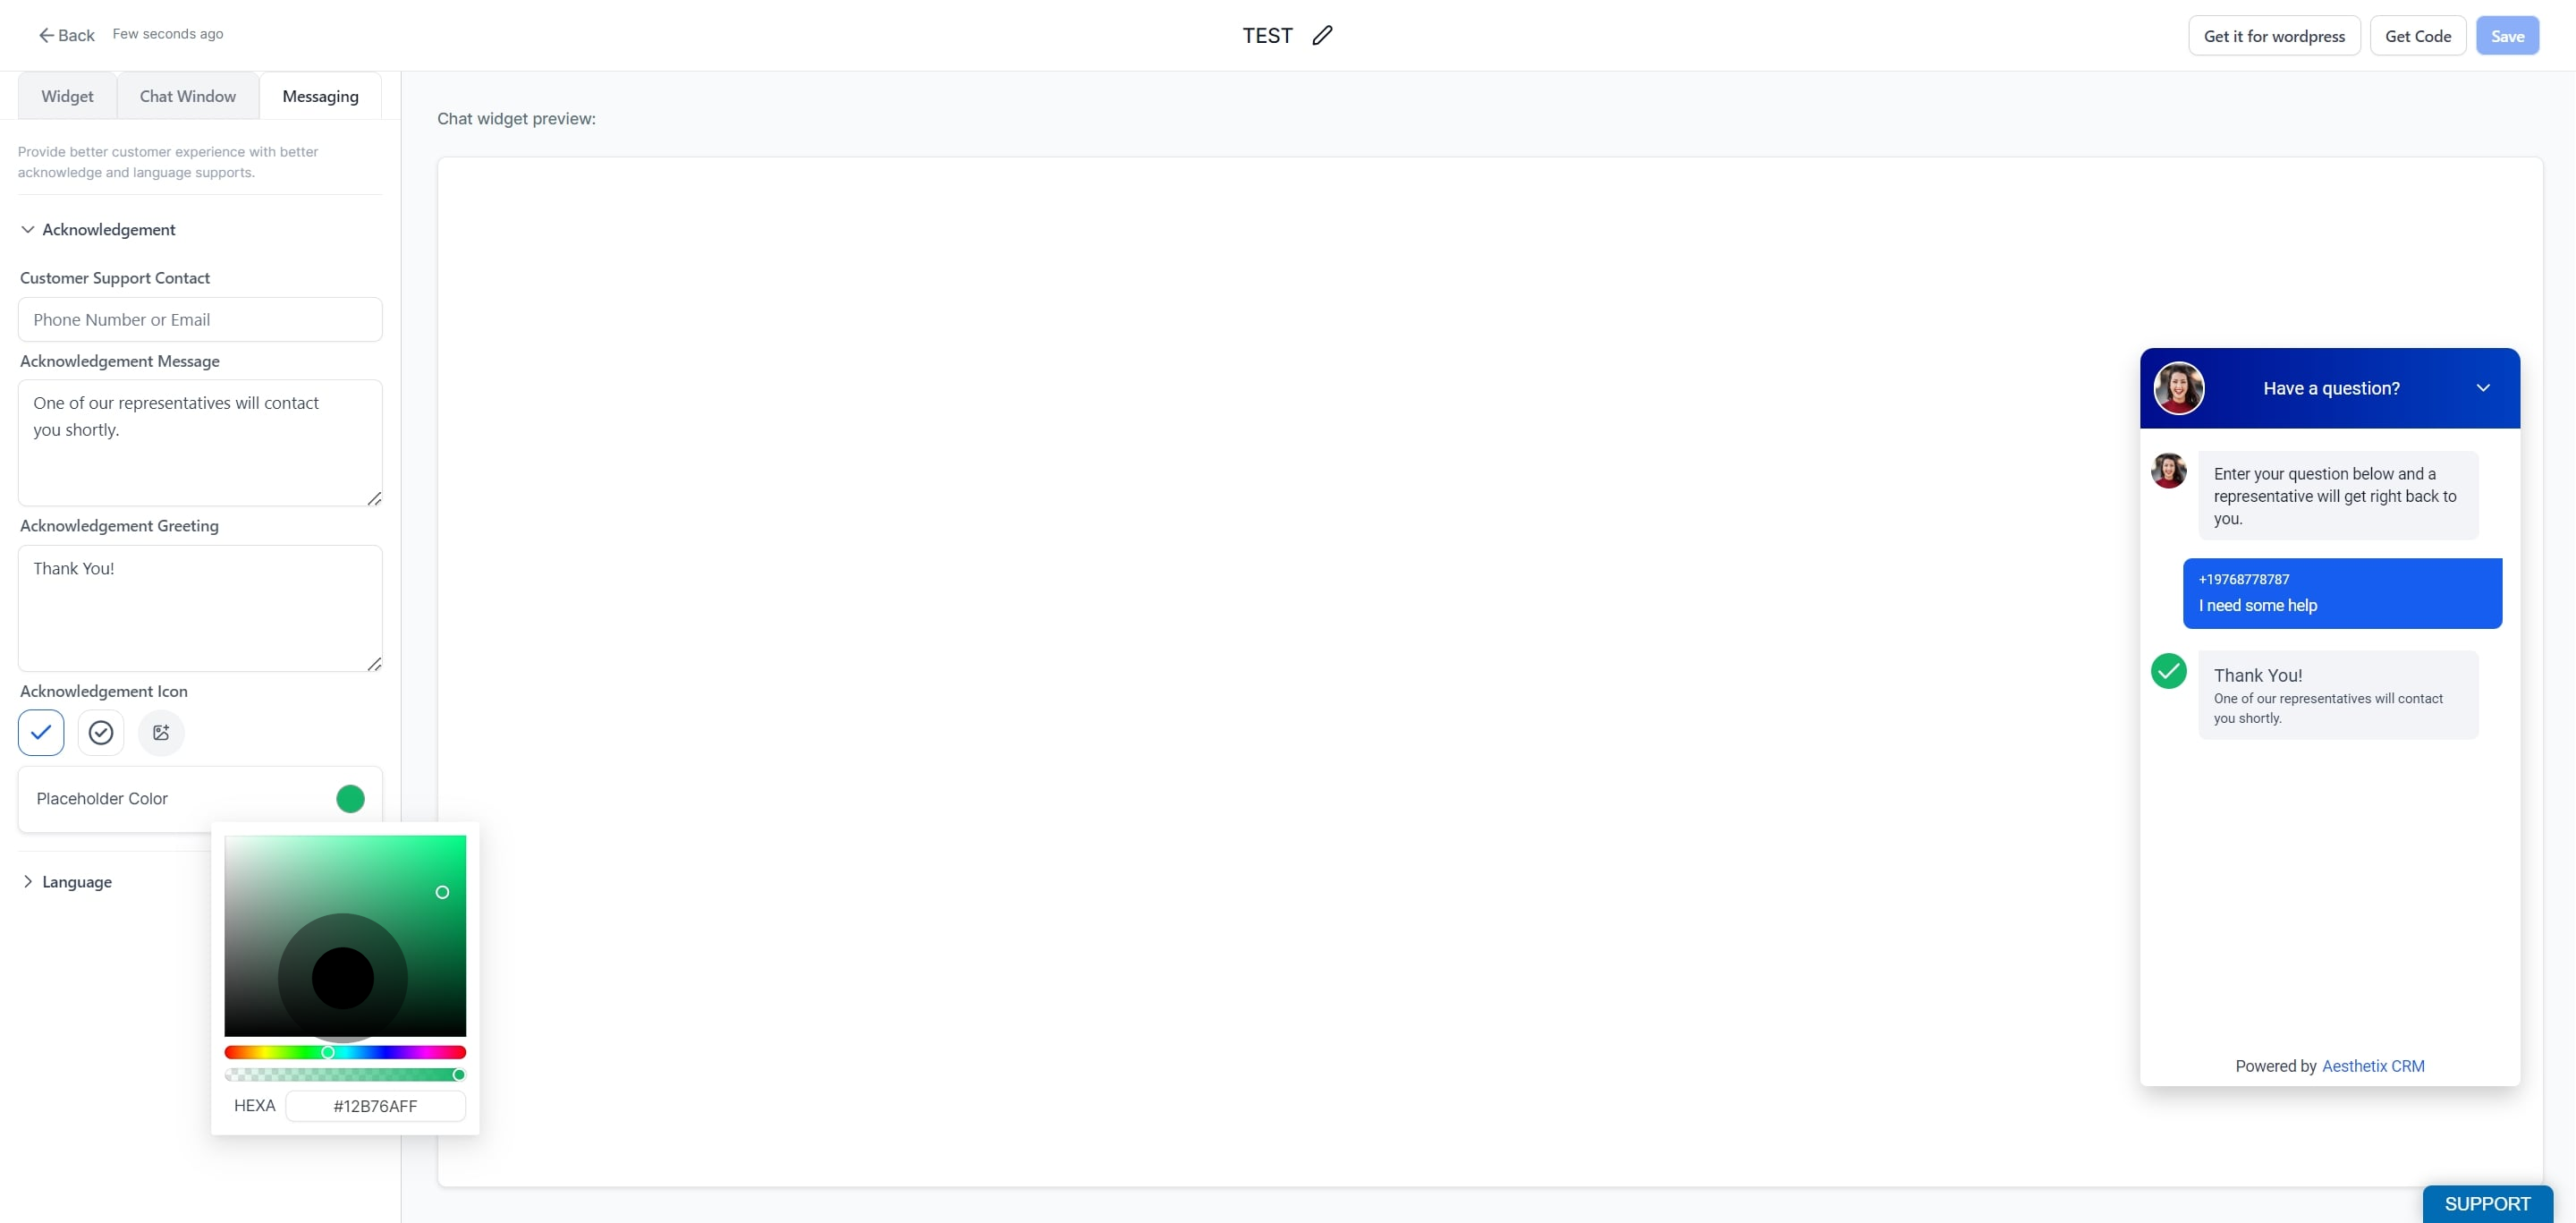
Input the customer support contact information you want visitors to see.
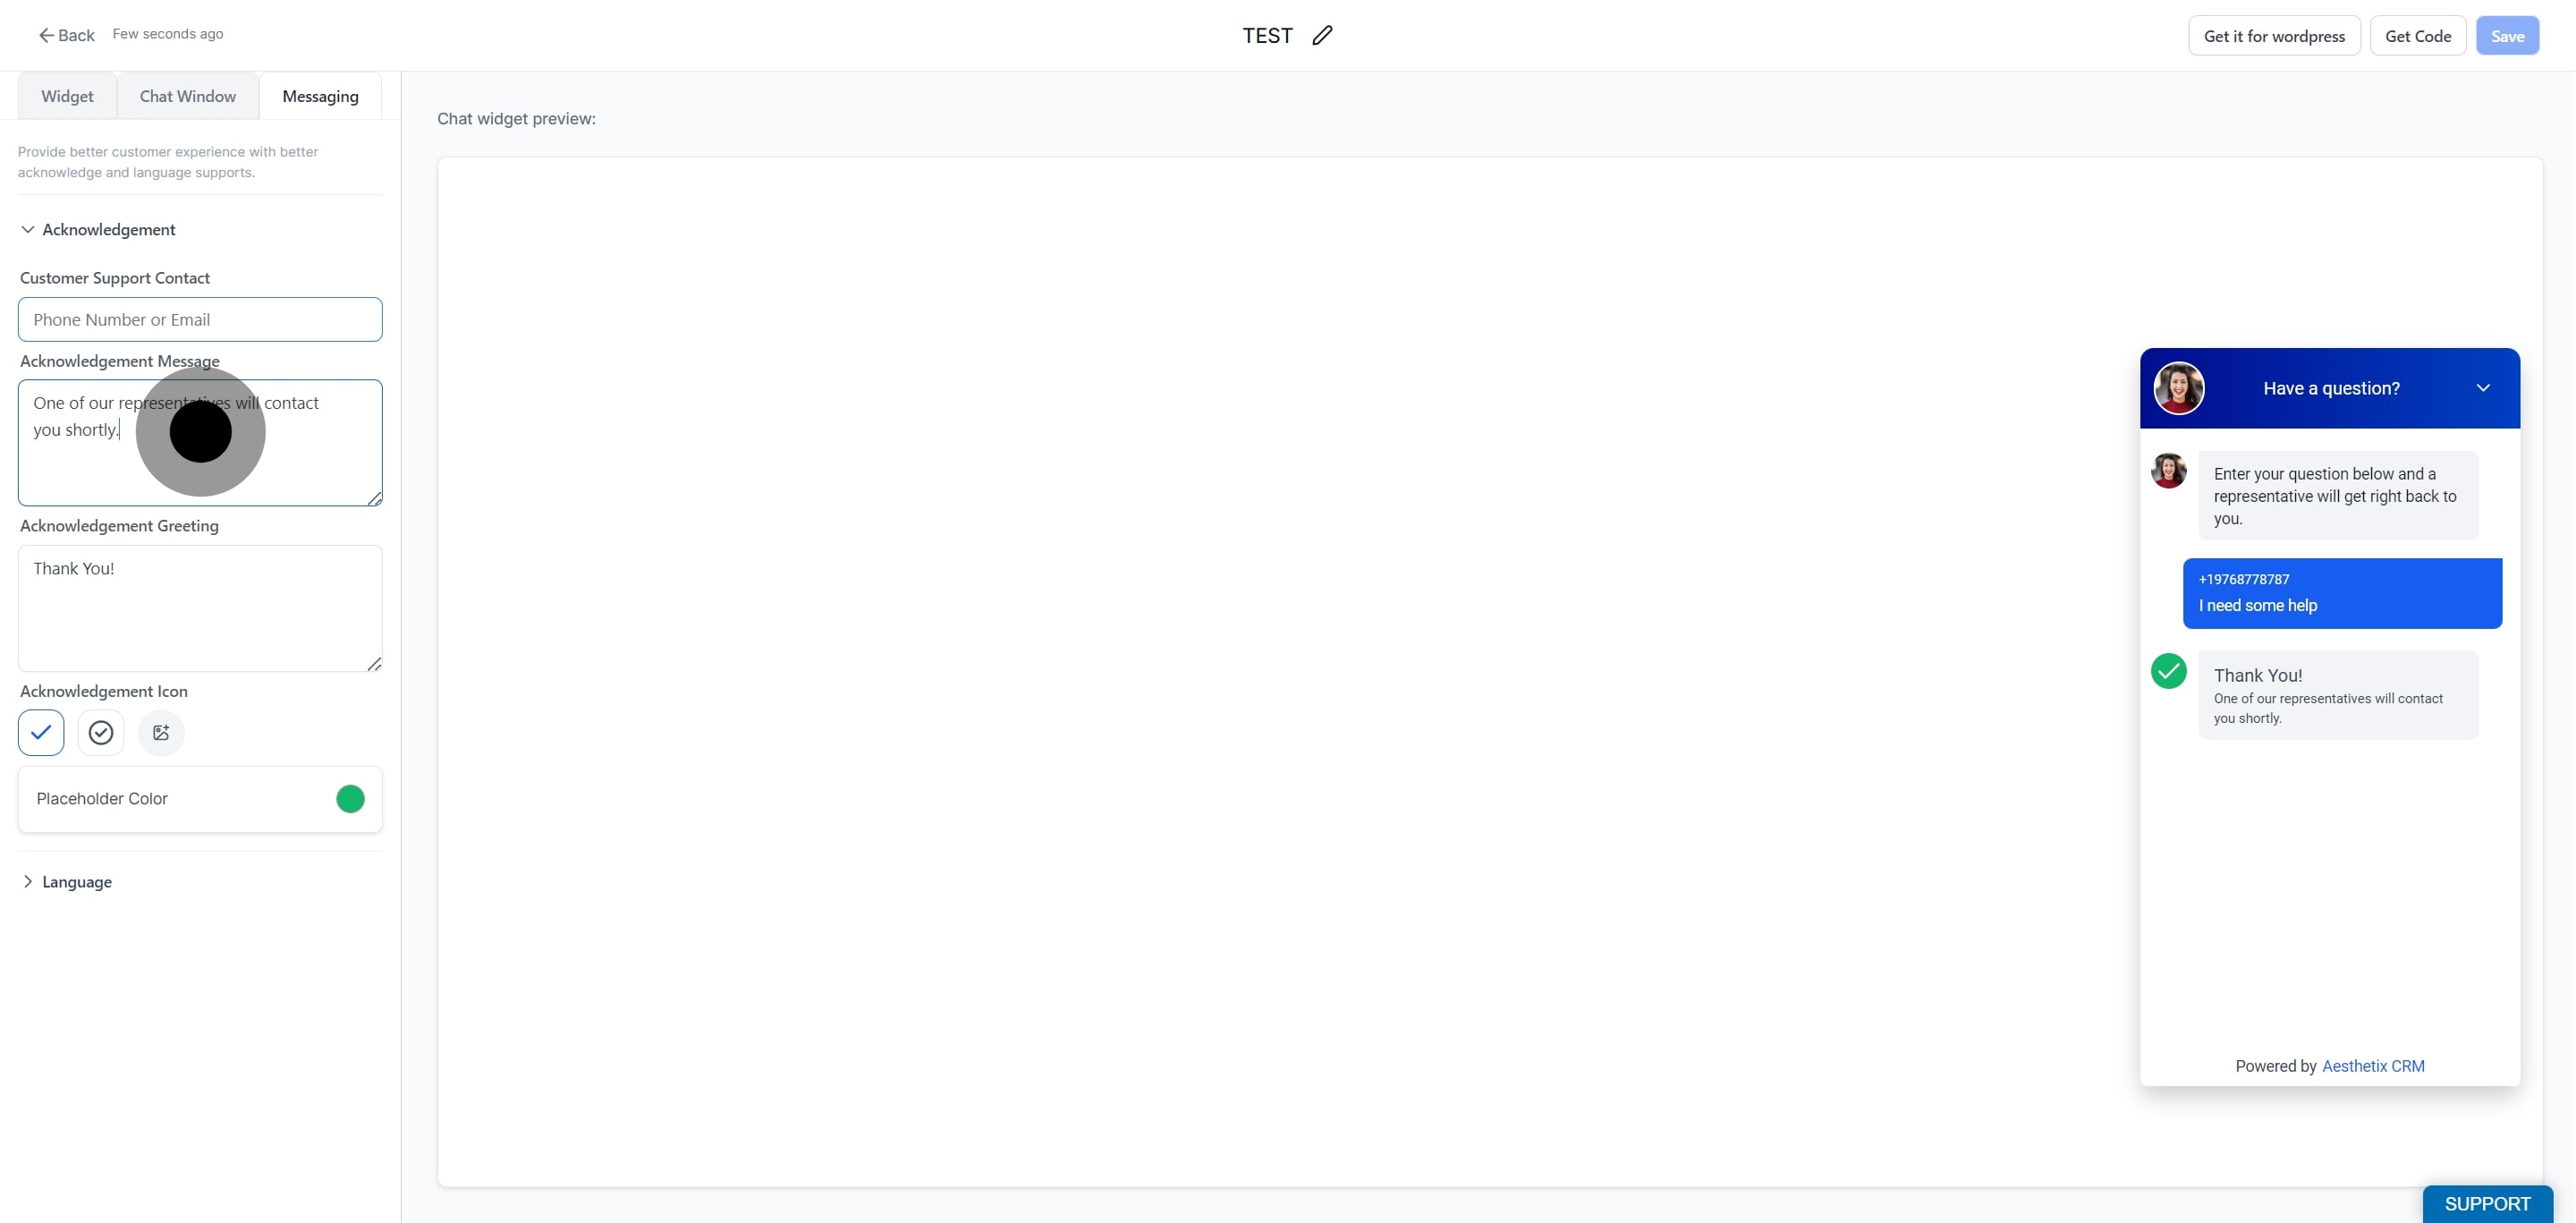
Enter your acknowledgment message, the text confirming their inquiry was received.
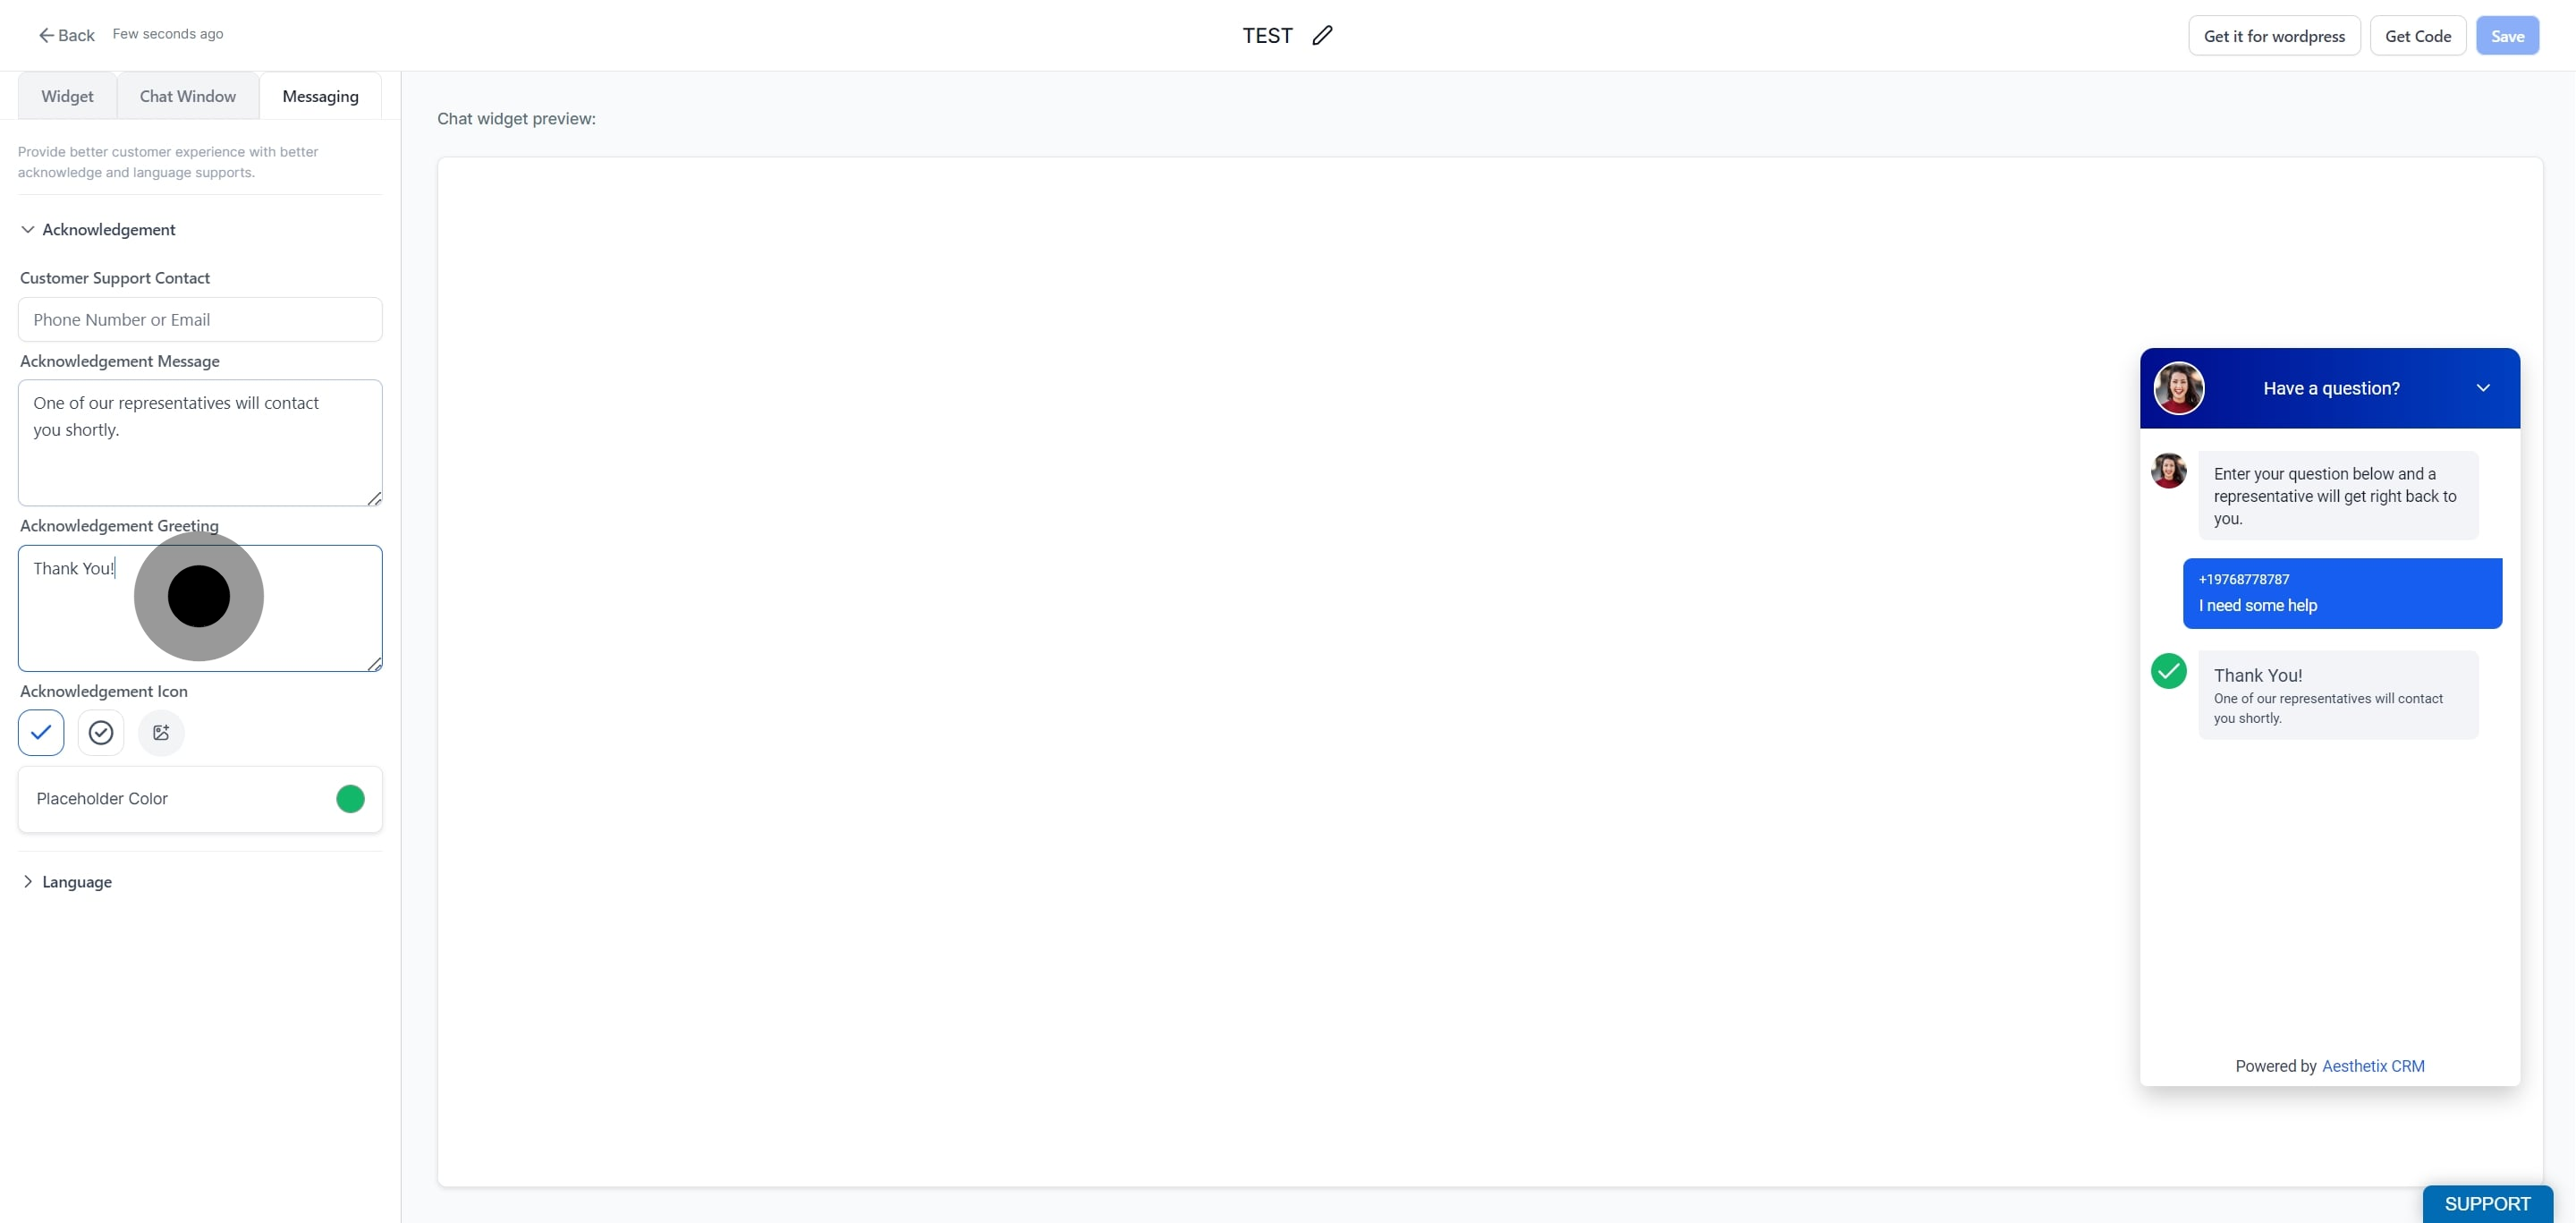
Enter your acknowledgment greeting to personalize the confirmation.
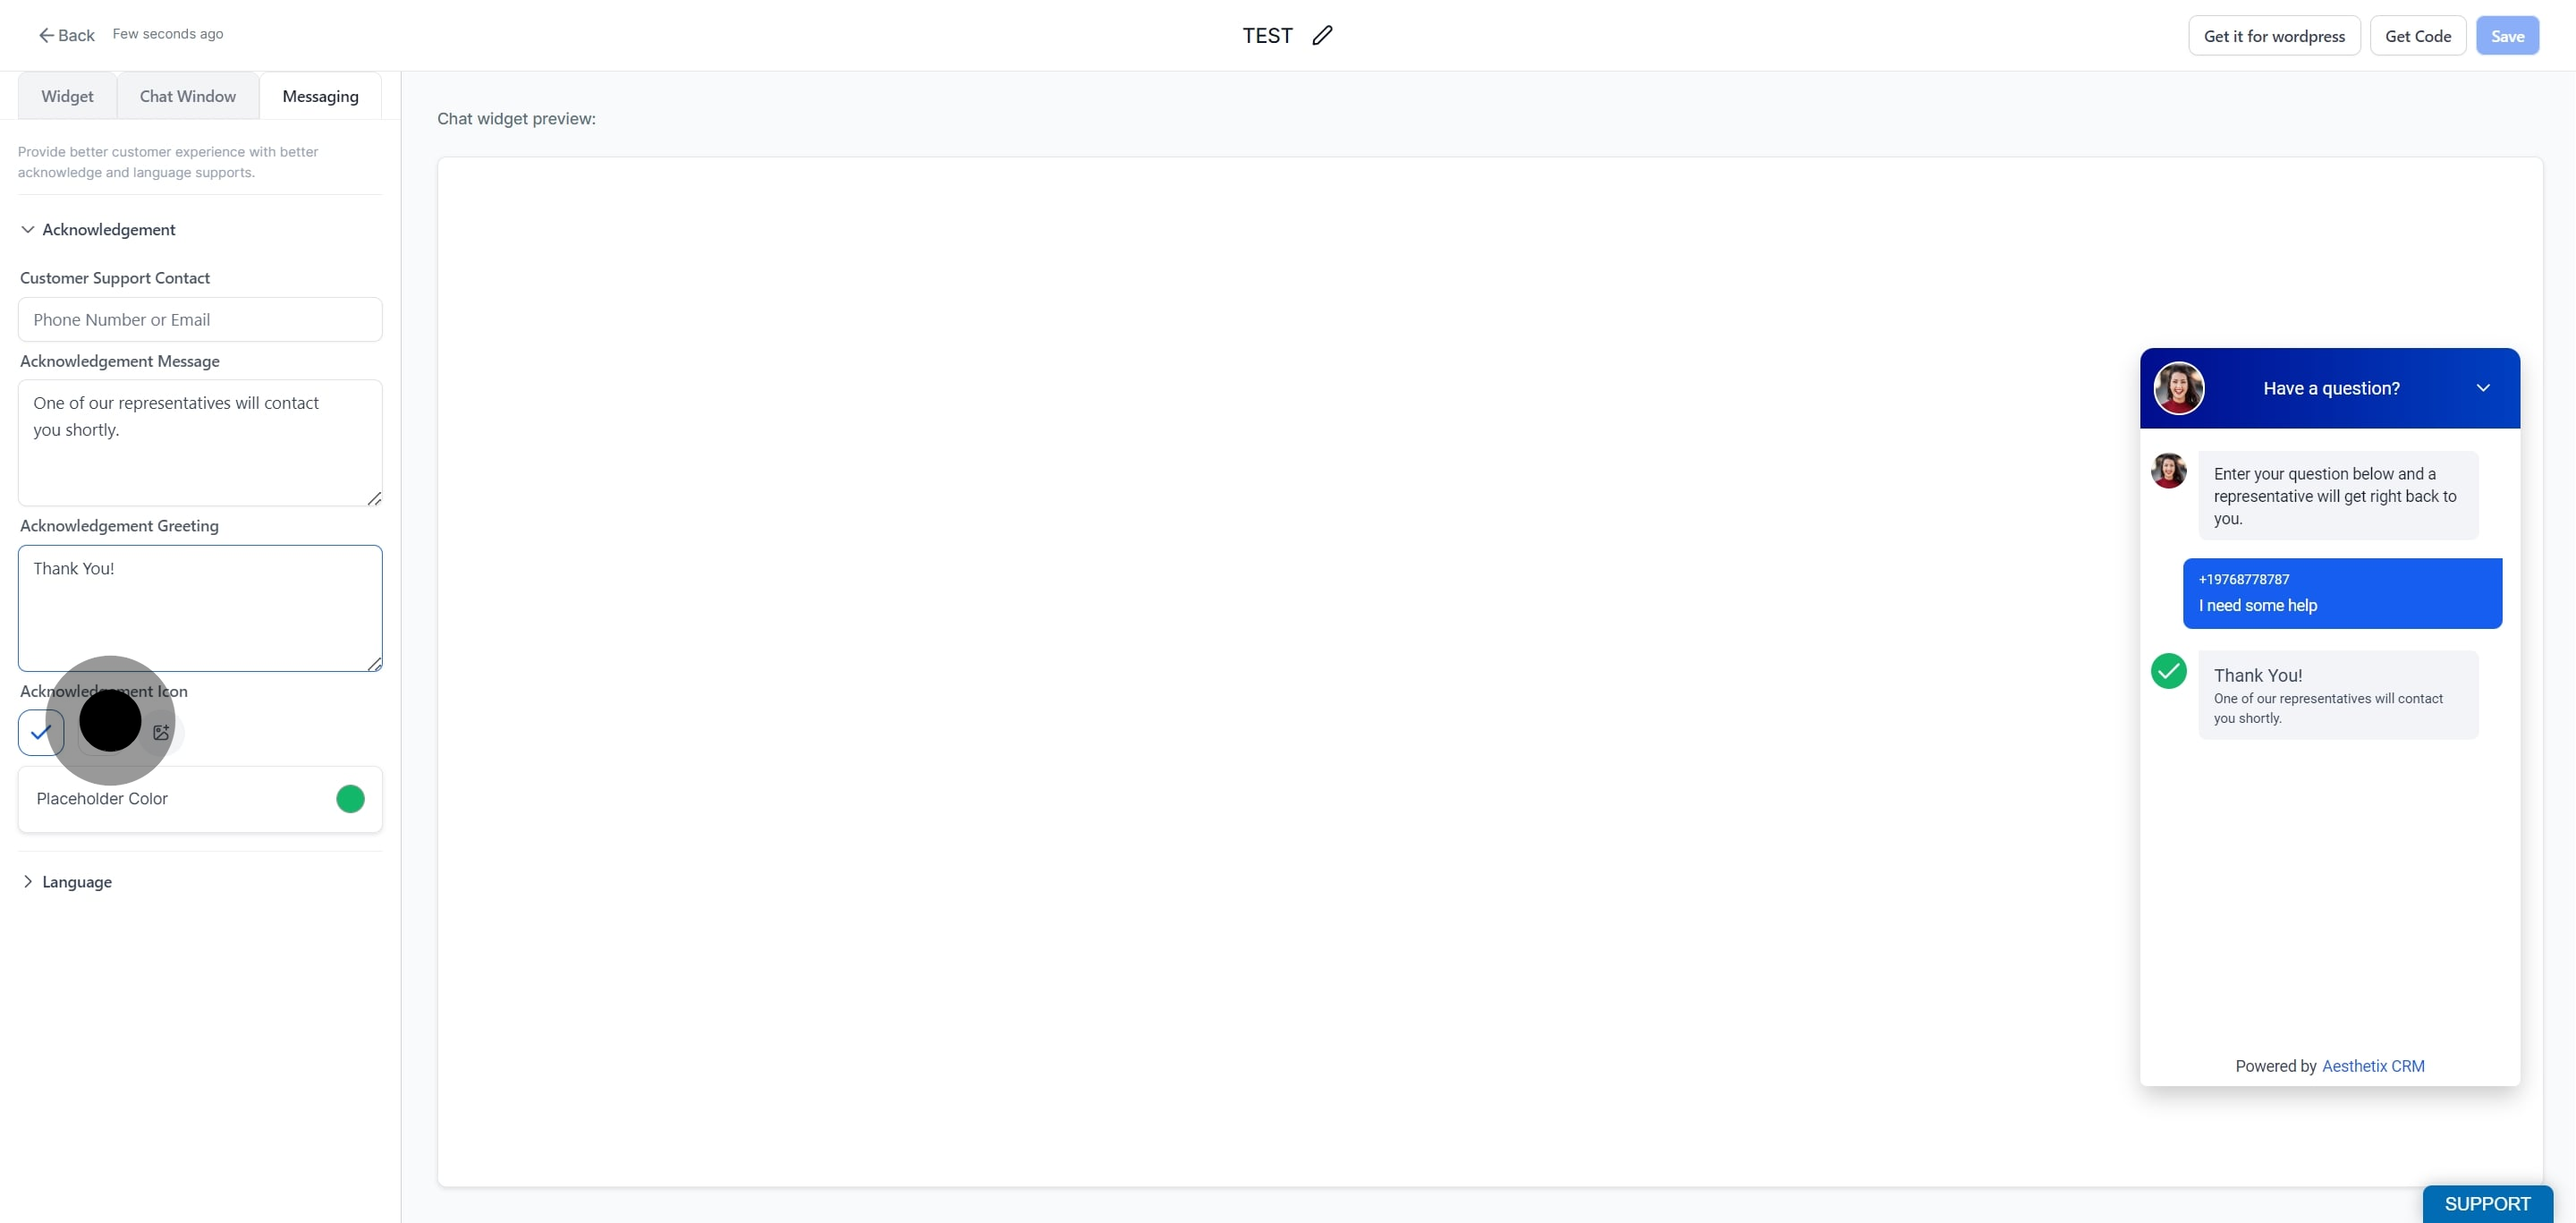
Choose an acknowledgment icon to display alongside the confirmation.
Select the placeholder color that fits your brand.
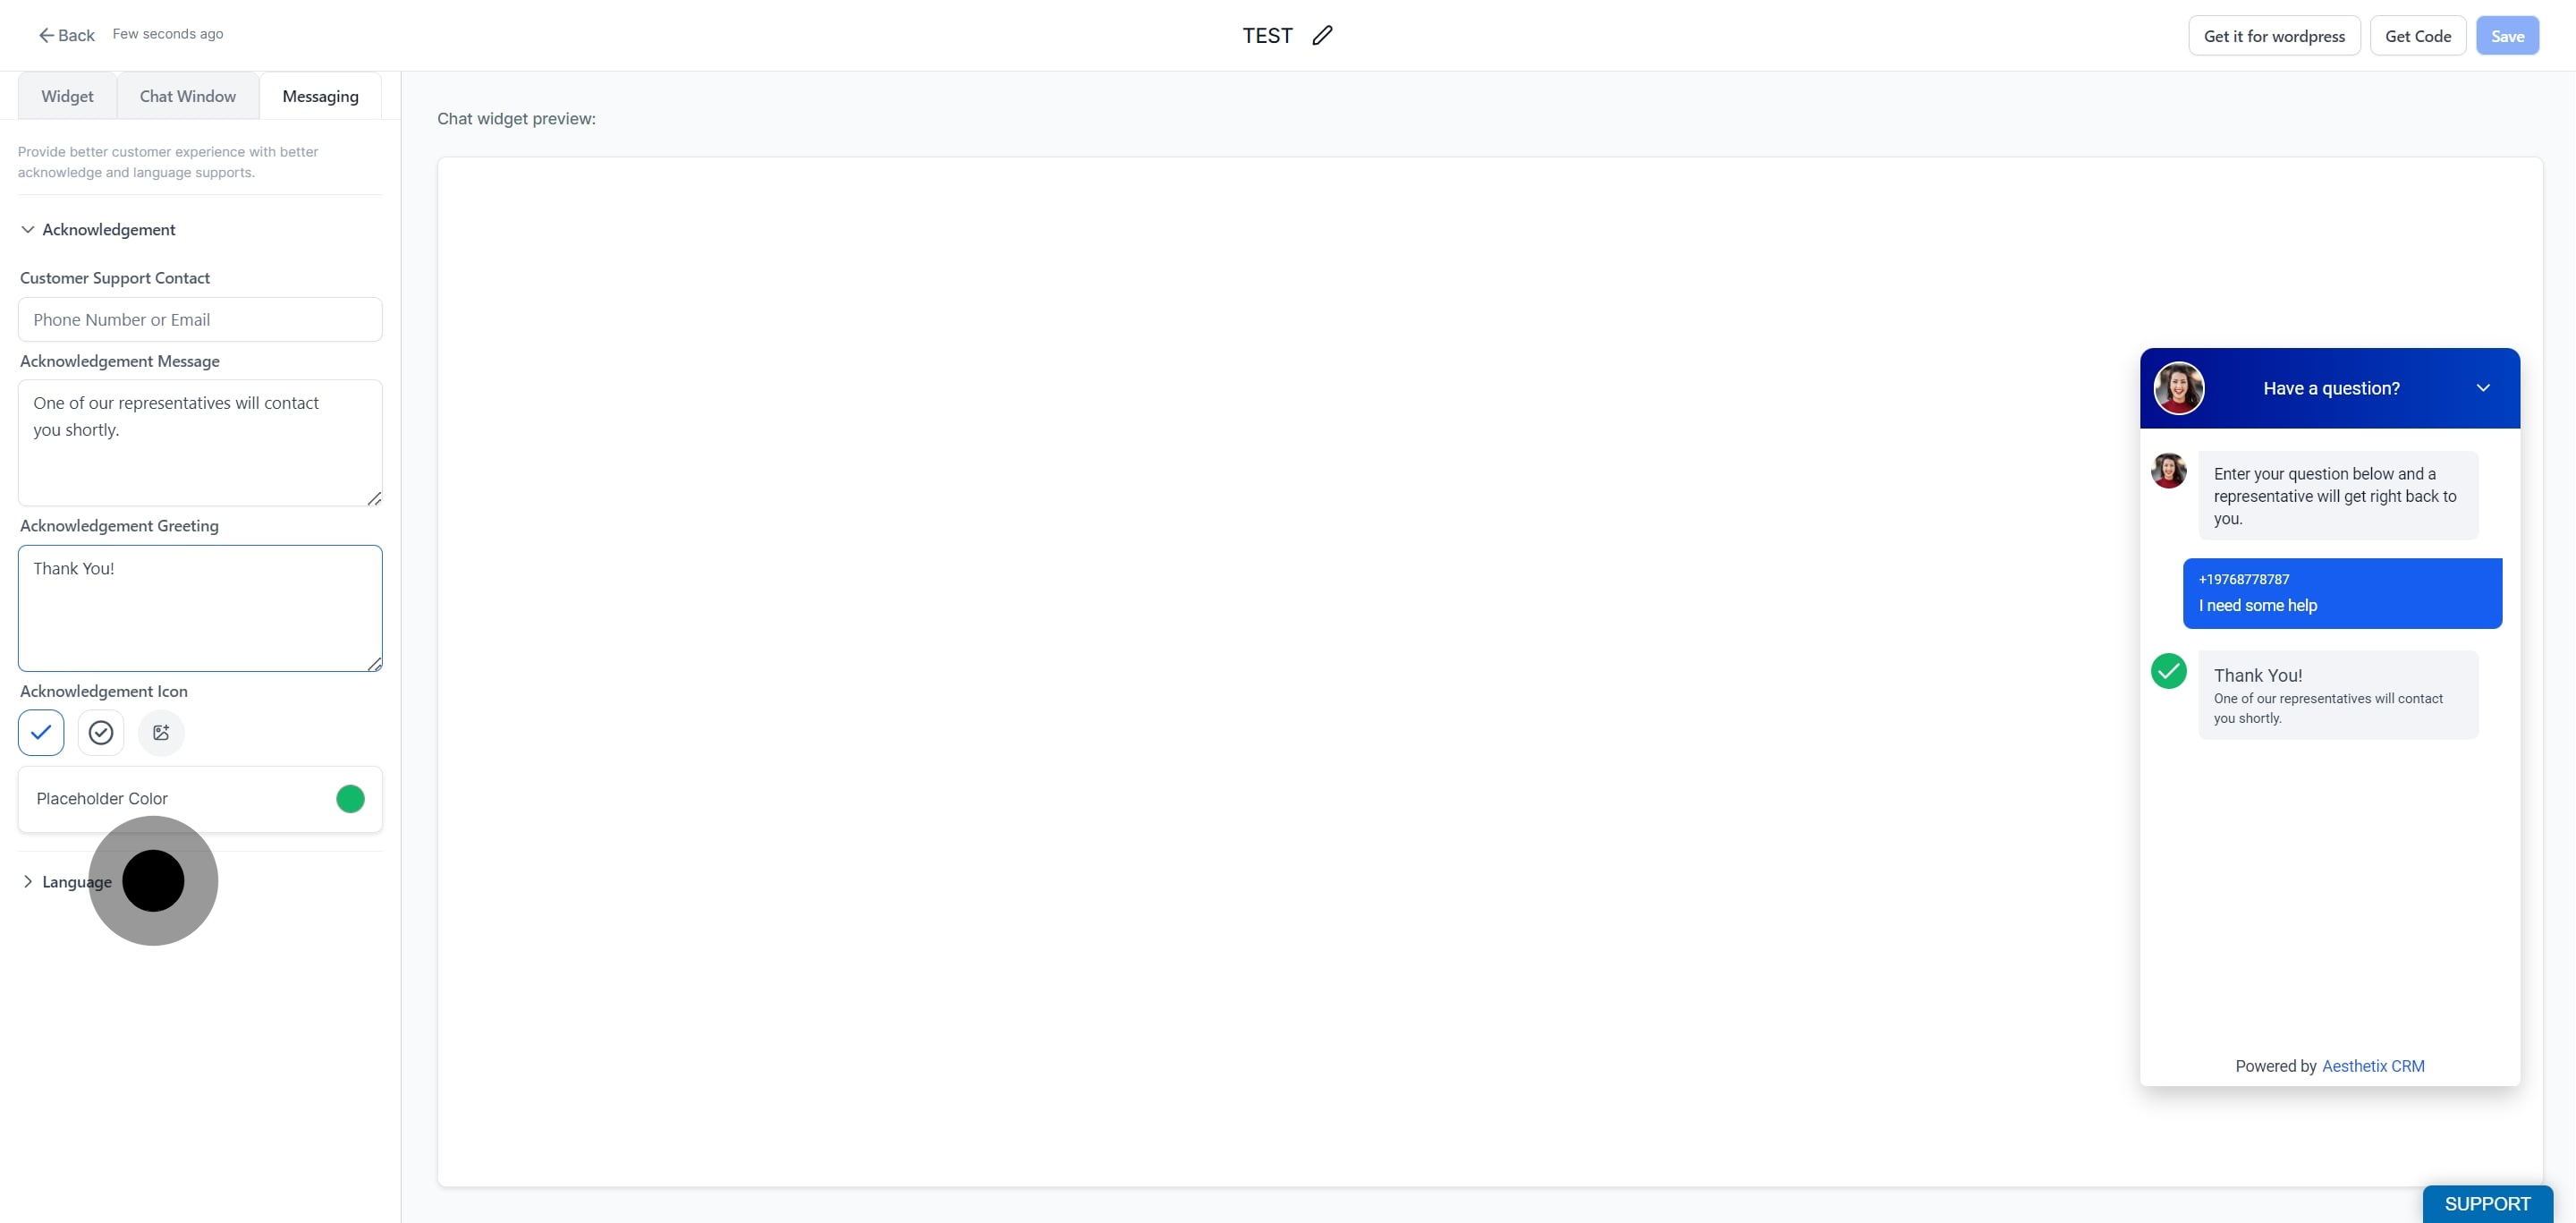
Click Language, then select the desired language for your messaging.
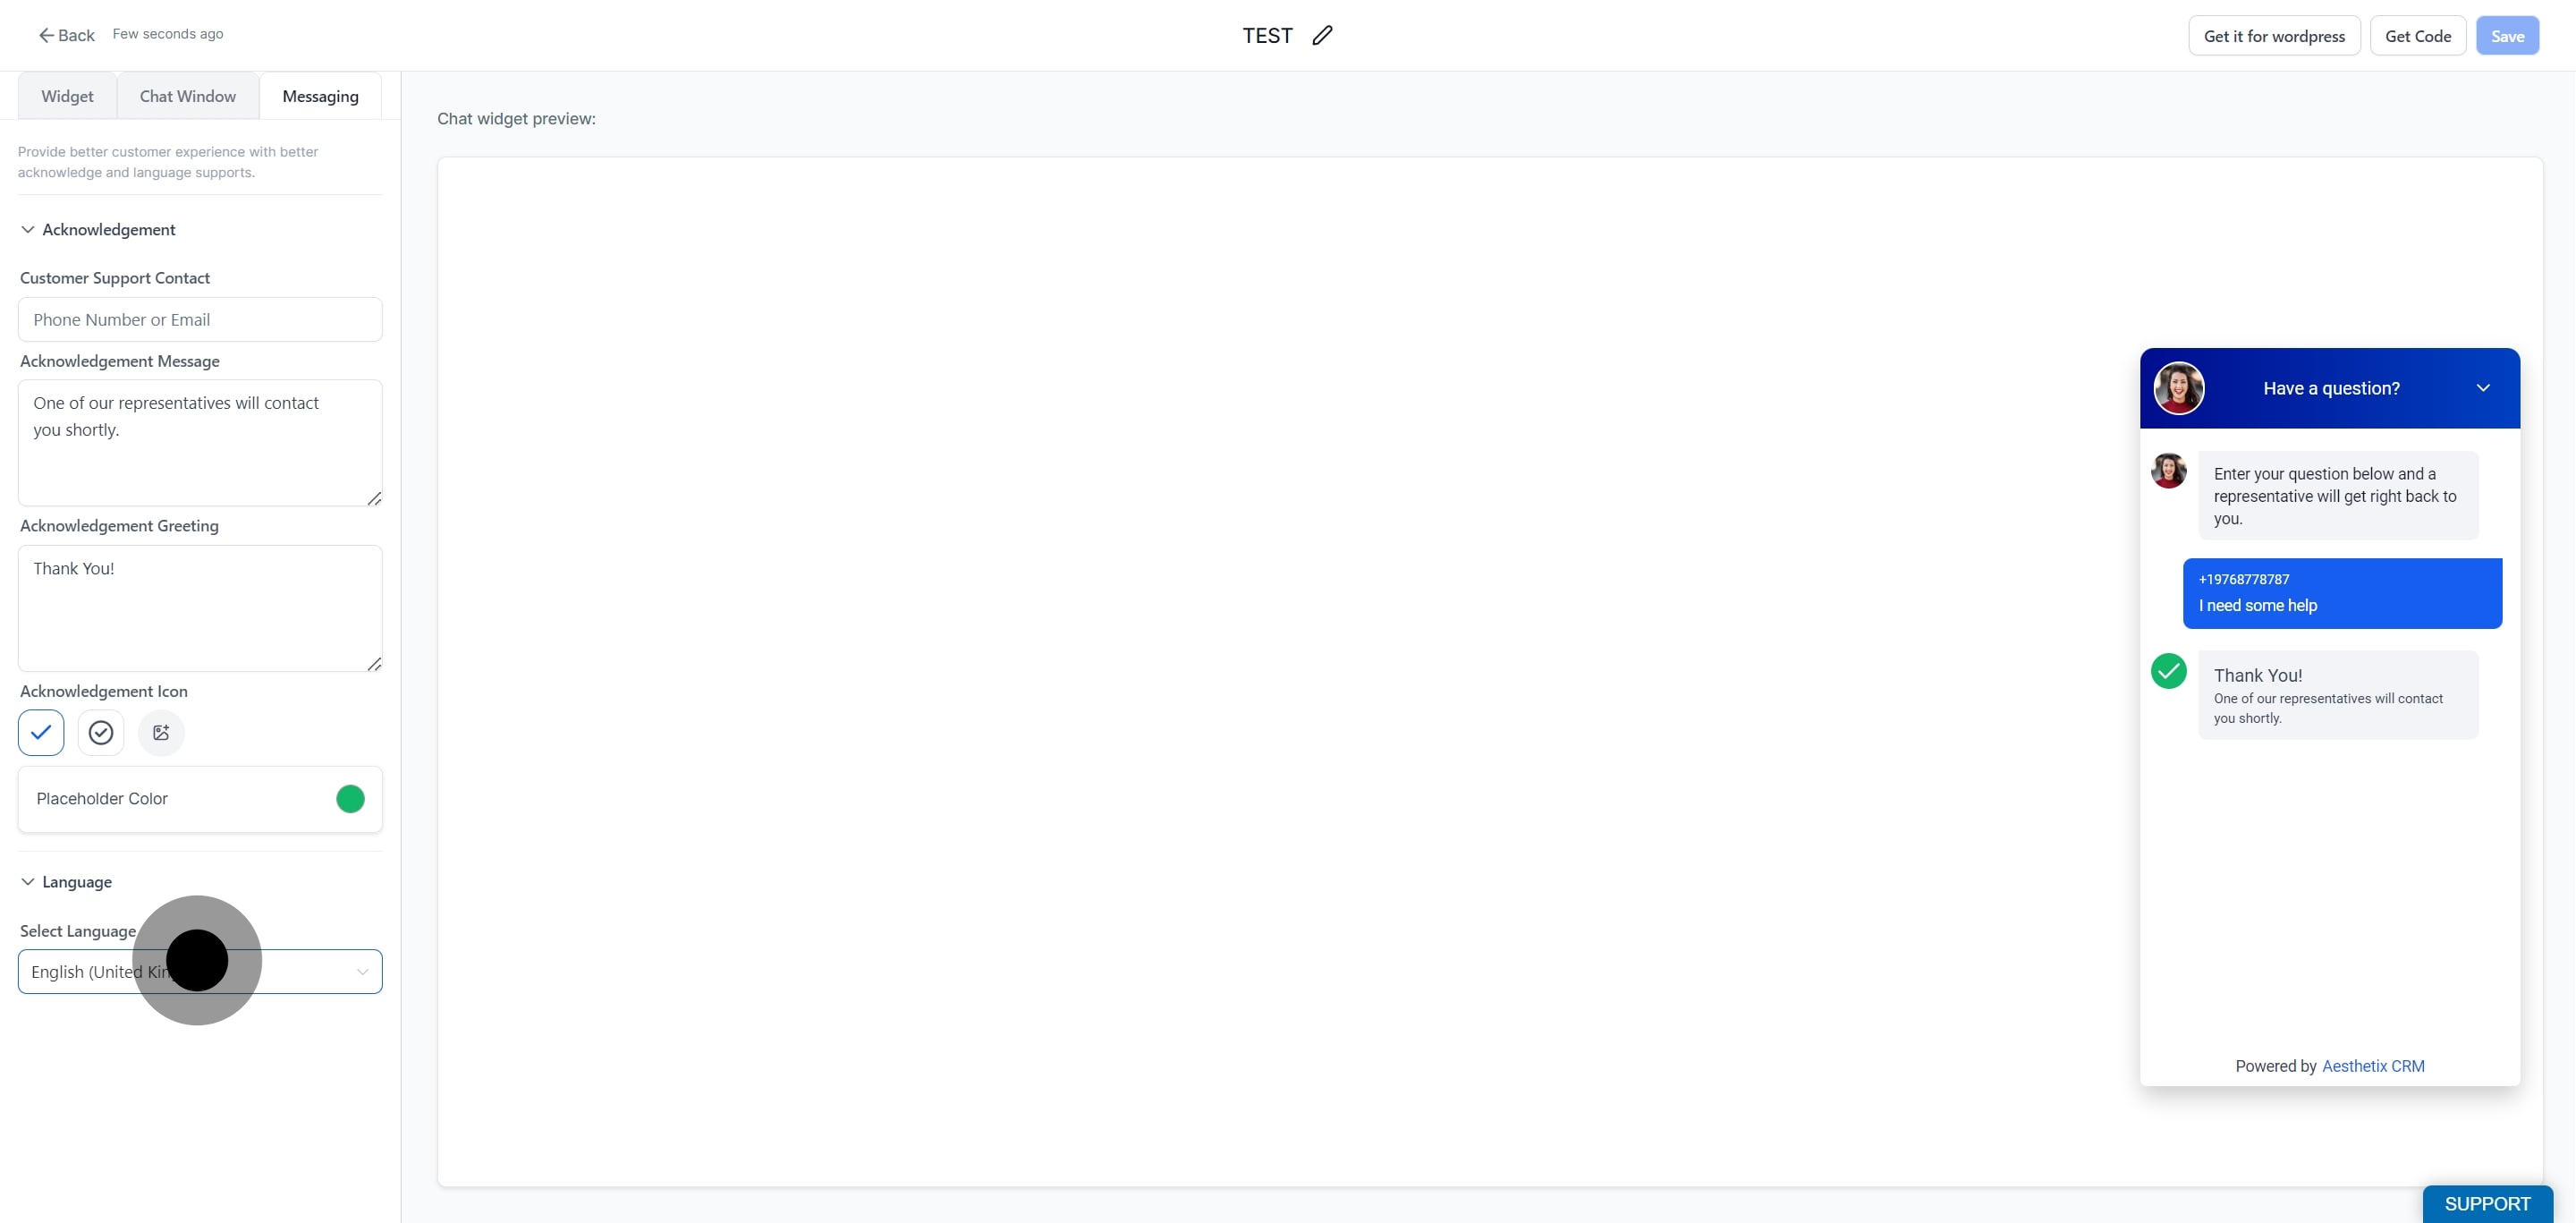
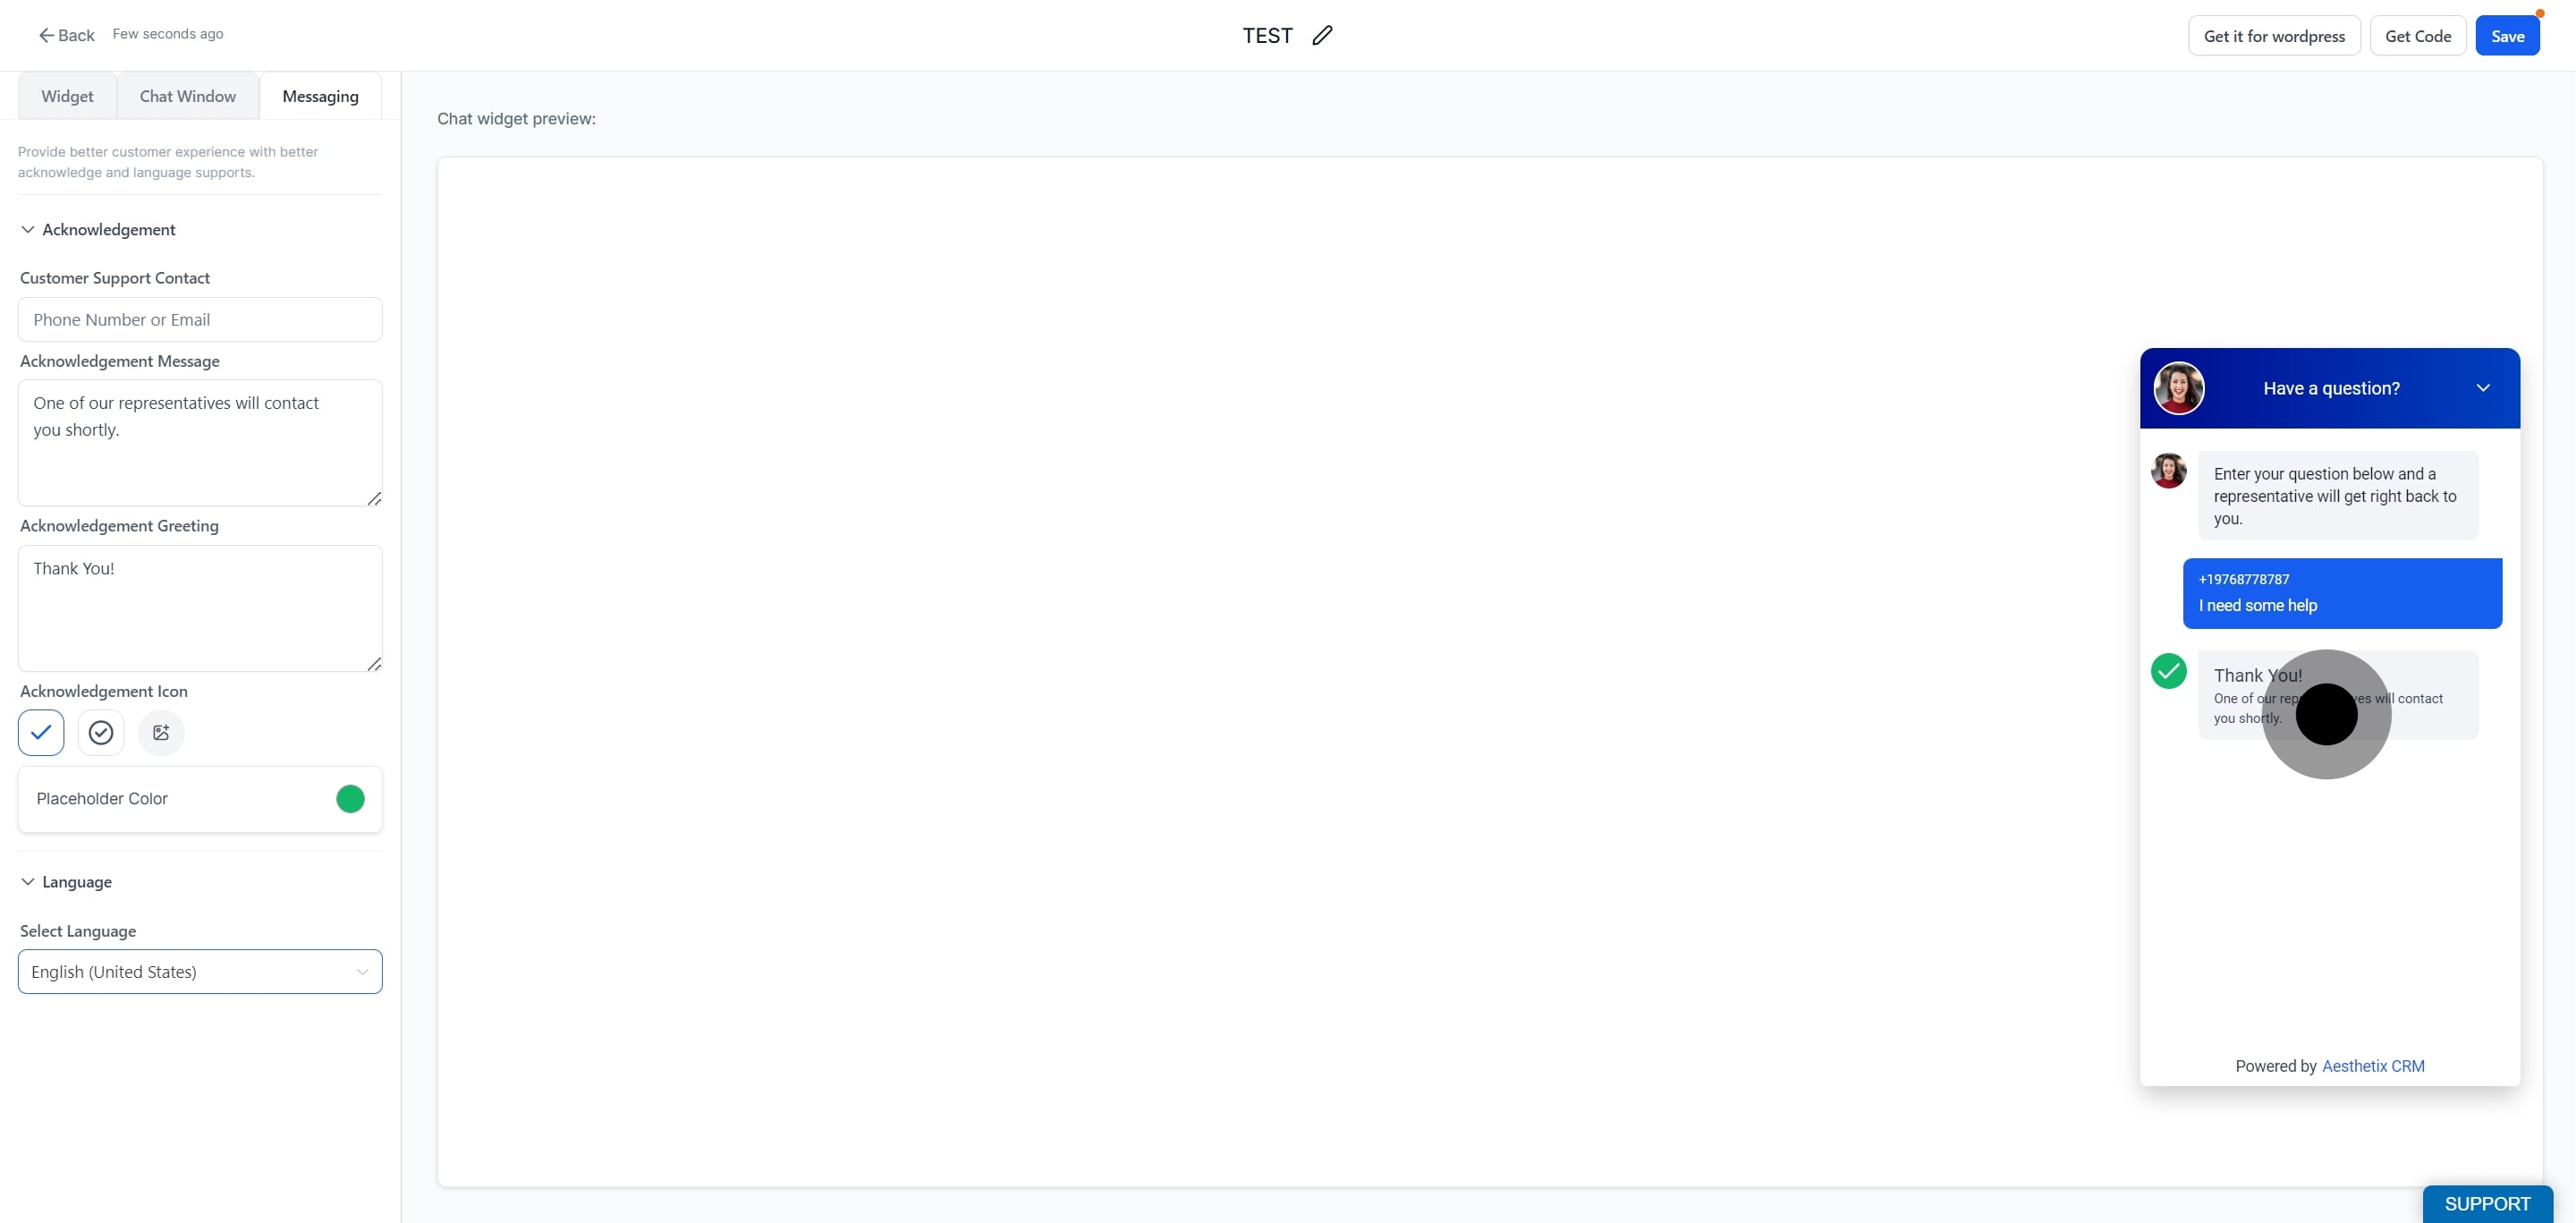
Preview your thank you message in real time, then click Save to apply your changes.
The customizable message field is a pre-filled "Message" textbox that appears in the contact form of newly created chat widgets (except Live Chat). It lets you define default text, such as "Hi, I'd like to learn more about..." so visitors always submit an opening message while their personal details (name, phone, email) are stored privately in your CRM rather than in the conversation transcript.
The field is required when no other message field exists and optional when your form already includes one. Visitors can freely edit or replace the pre-filled text before sending.
Providing a default message delivers immediate value for your practice:
Guarantees a clear, consistent first message for every chat.
Keeps contact information inside CRM records, not exposed in the chat thread.
Preserves flexibility, working whether your contact form already has a message field or not.
Improves front-desk efficiency by giving your team context up front.
Enhances marketing attribution by ensuring each transcript starts with visitor intent.
A default "Message" field appears in the builder whenever you create a WhatsApp, Email/SMS, All-in-One Chat, or Voice AI widget.
If your contact form lacks a message field, this field is mandatory and pre-populated with editable text.
If your form already contains a message field, the field is optional. You can keep, remove, or reorder it.
The widget saves, embeds, and generates code seamlessly in either case.
Note: Live Chat widgets still rely on the existing free-form message box and do not include this pre-filled field.
Within the widget builder you can:
Click the Message field and type any default text (max 255 characters).
Insert merge fields for dynamic, personalized messaging.
Rearrange the field order via drag-and-drop.
Toggle "Required" on or off when the field is optional.
After the widget loads on your site, visitors see your pre-filled text inside the message box. They can:
Send it as-is for a quick start.
Modify or delete the content before submitting.
Benefit from immediate context with no extra typing.
The customizable message field is available in:
WhatsApp Chat Widget
Email/SMS Chat Widget
All-in-One Chat Widget (multi-channel)
Voice AI Chat Widget
Setting up takes less than two minutes.
Open Chat Widget Settings. From your account navigation, go to Web Tools and select Chat Widget at the top. This opens the main dashboard where you can view, manage, and edit all existing chat widgets created for your account.
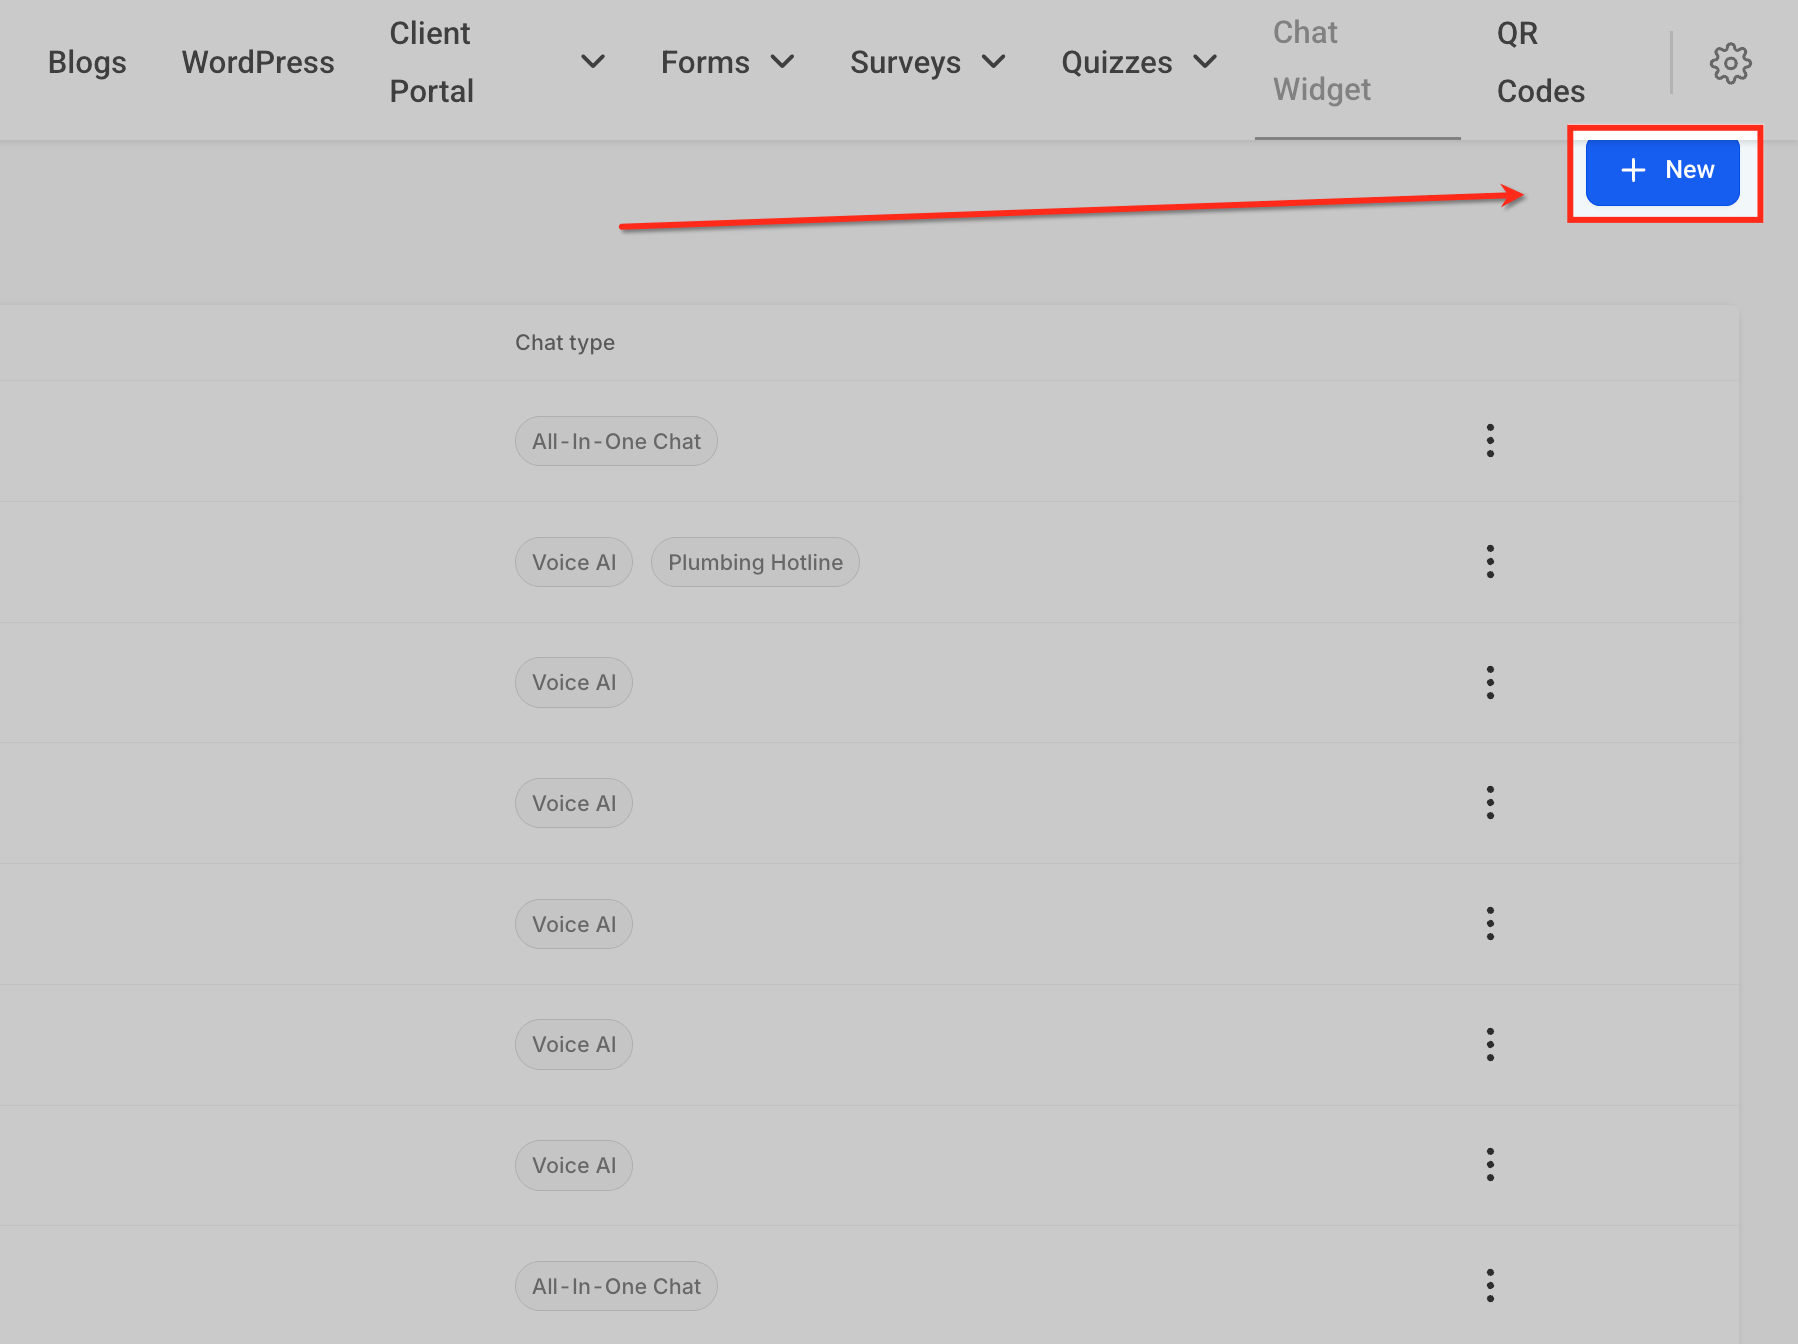
Create a New Widget. Click the + New button in the top-right corner of the Chat Widget page. This begins the setup process, allowing you to choose the widget type (WhatsApp, Email/SMS, All-in-One Chat, or Voice AI) and start customizing its design and behavior.
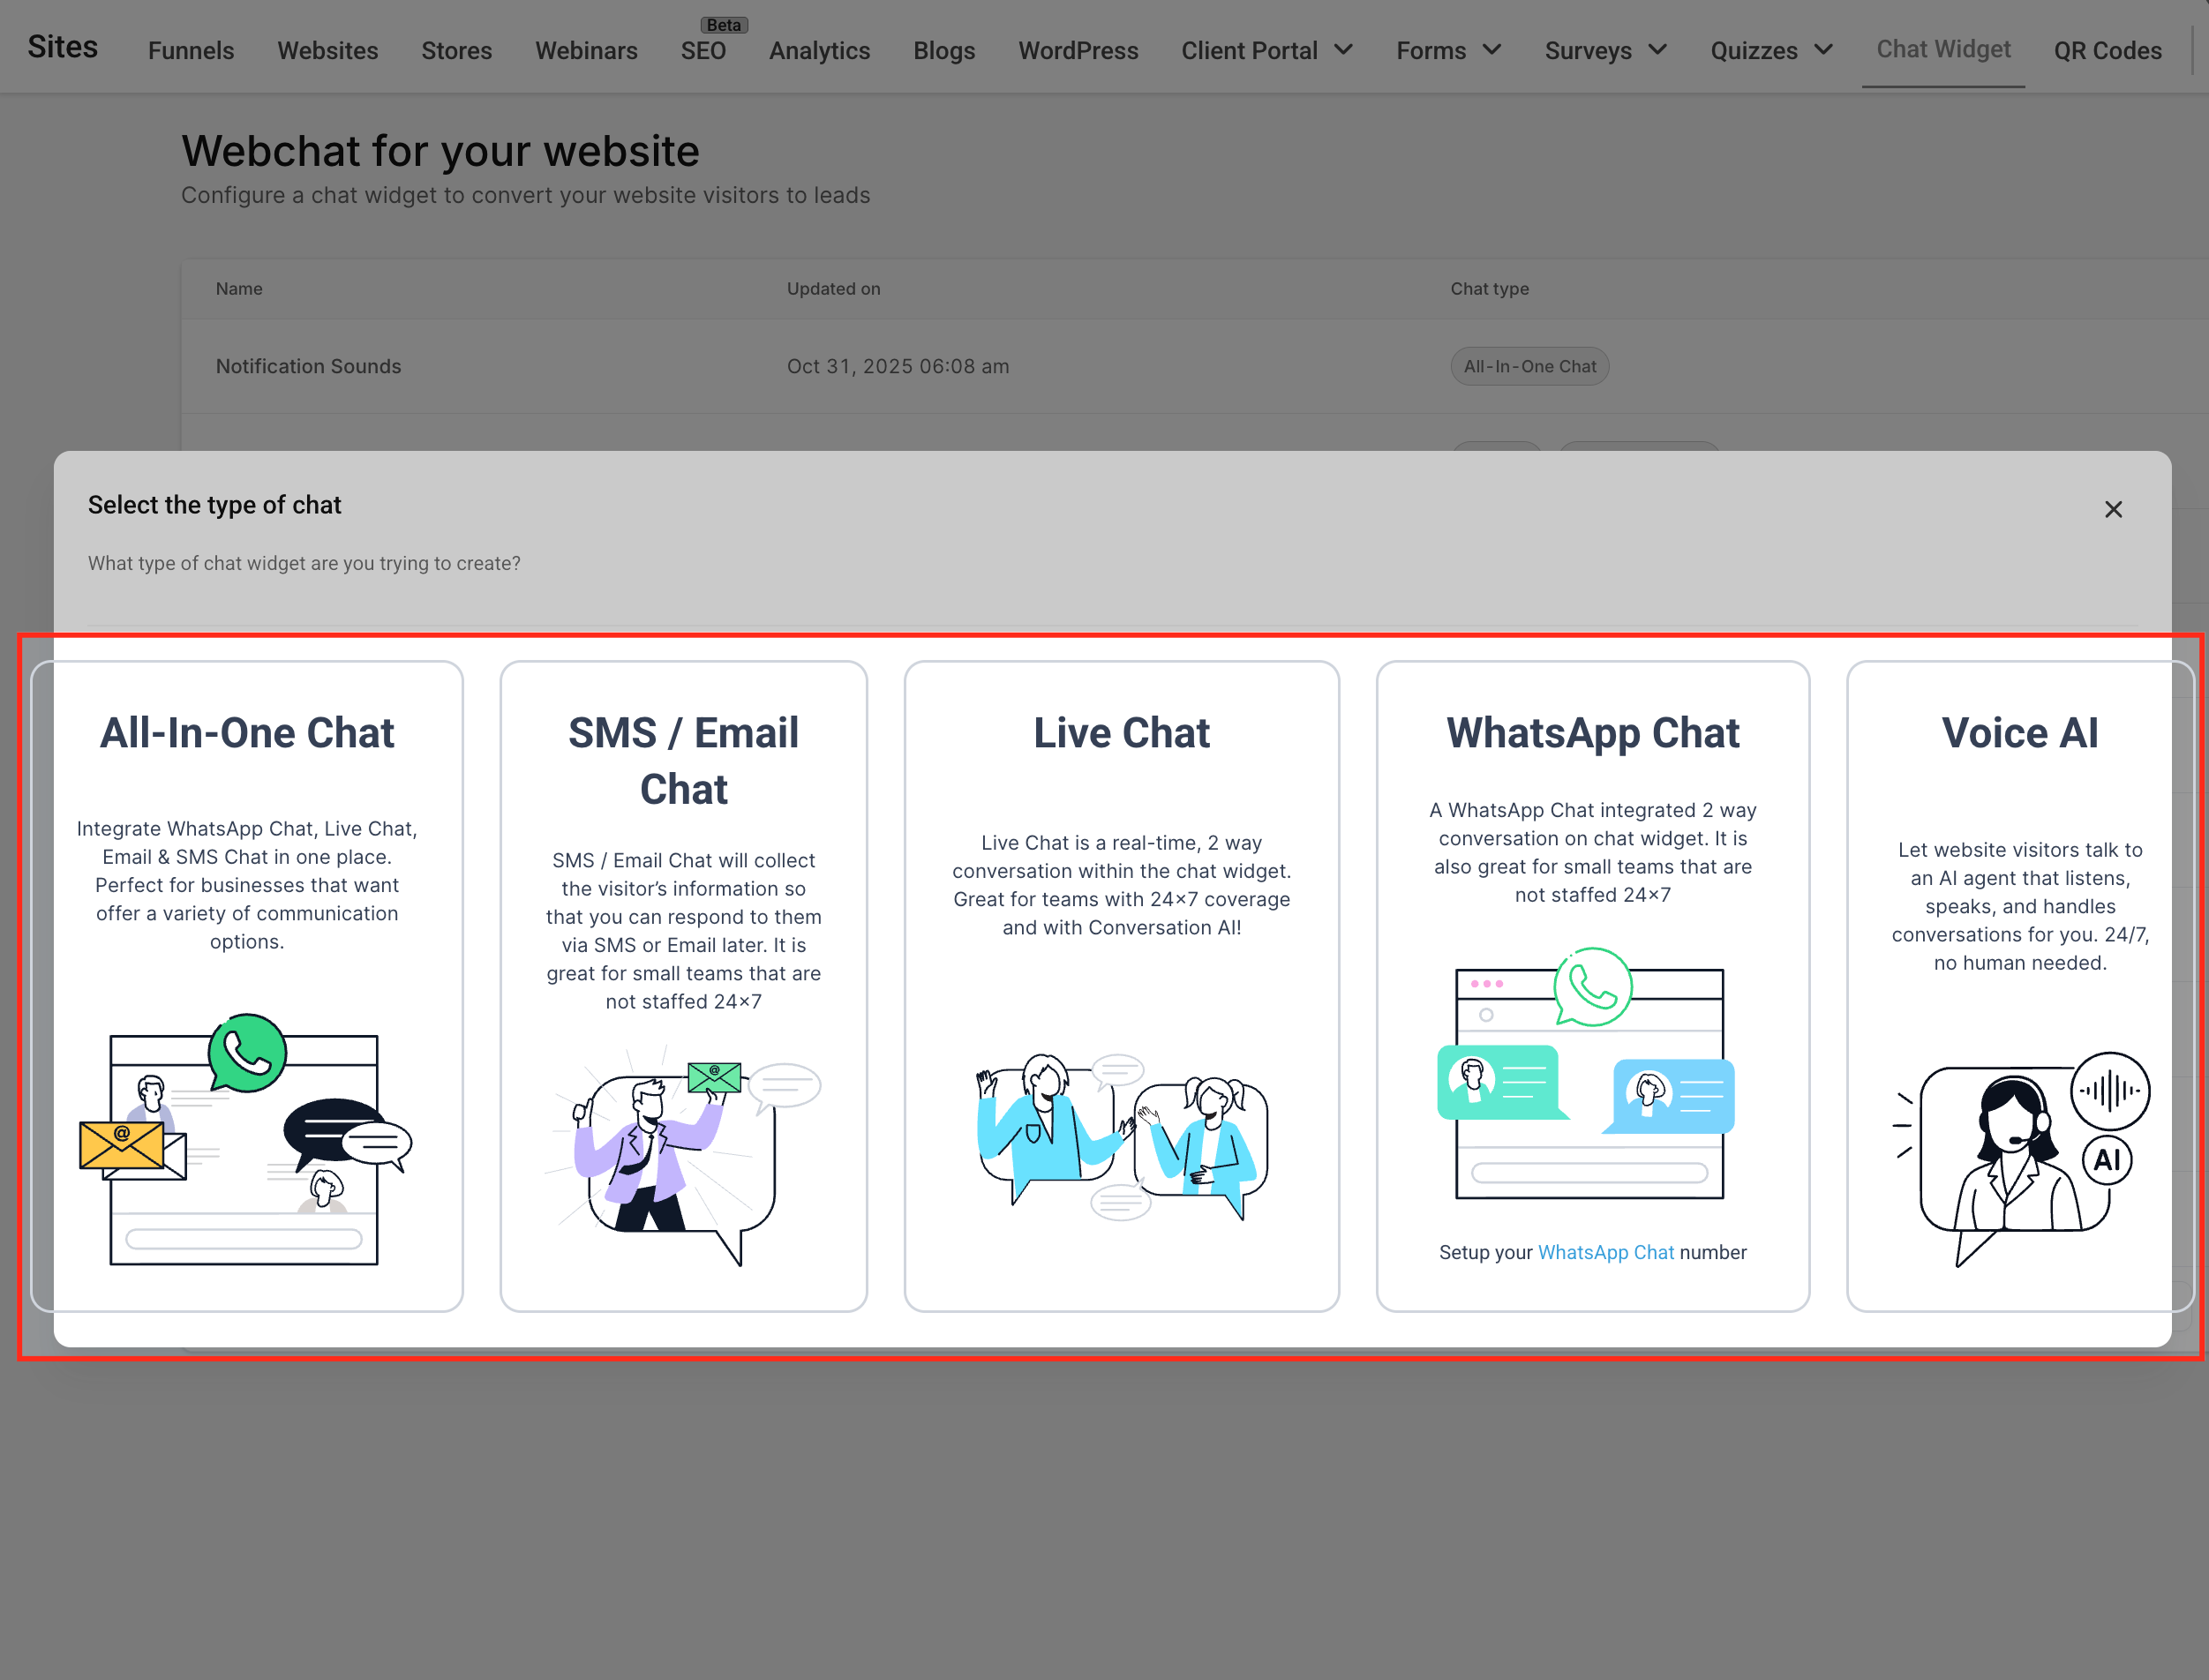
Select Chat Type. Choose the type of chat widget you want to create from the available options: All-In-One Chat, SMS/Email Chat, Live Chat, WhatsApp Chat, or Voice AI. Each option supports different communication methods, so pick the one that best fits how you want to interact with your website visitors.
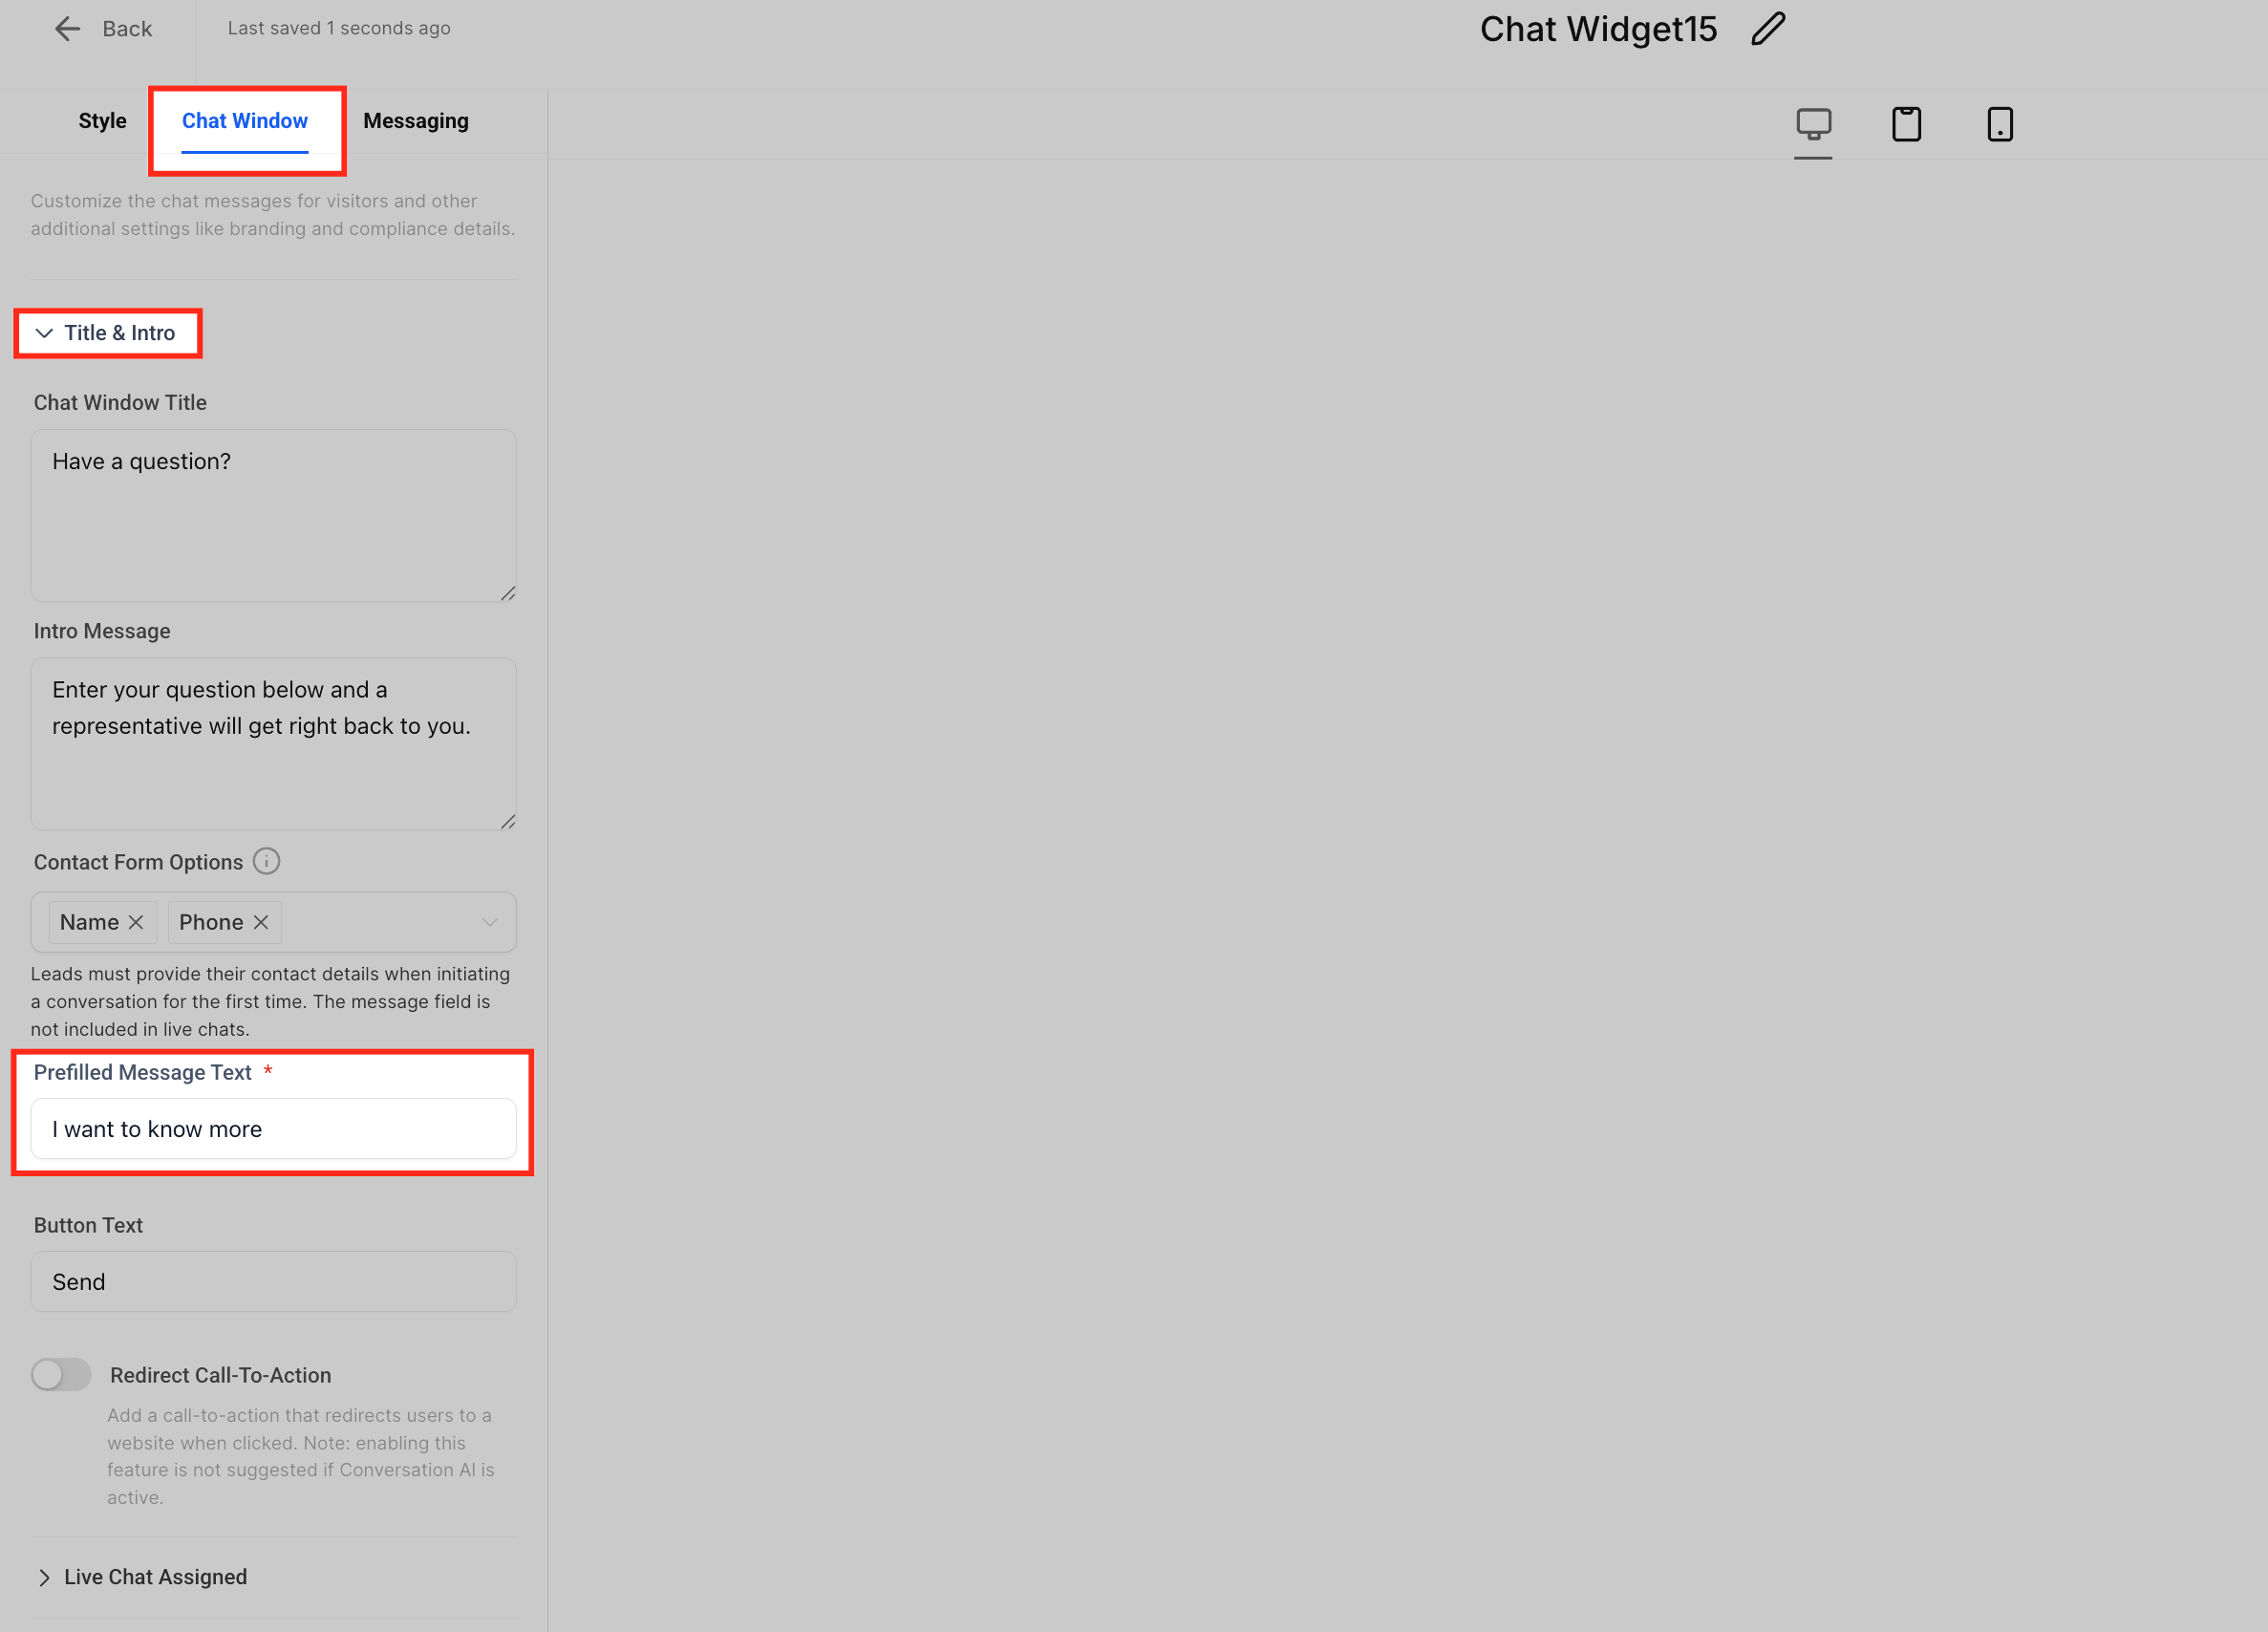
Configure the Chat Window. After selecting the chat type, open the Chat Window tab to customize visitor-facing details. Here you can edit the Chat Window Title, add an Intro Message, and define a Prefilled Message Text, a default message visitors see when starting a chat, which they can edit before sending.
Does the pre-filled message replace my existing message field?
No. If your form already has one, the new field is optional and you choose which to keep.
Can I use different default messages on different pages?
Yes. Create multiple widgets with unique pre-filled text and embed each on specific pages of your website.
Is the visitor's edited message stored in the contact record?
The final message appears in the conversation transcript, while personal details remain in the CRM contact.
Does Live Chat support the pre-filled message field?
Not yet. Live Chat continues to use its native free-text box without a pre-filled value.
Can I remove the field later without breaking my embed code?
Yes. Edit the widget in your account, remove the field, and save. The live widget updates automatically.
How many characters can the default text contain?
Up to 255 characters, including spaces.
Will workflows that trigger on "Customer Replied" still work?
Yes. The visitor's first submitted message, whether pre-filled or edited, triggers any "Customer Replied" automation.
