The chat window is the open panel visitors see when they engage your Chat Widget on your website. Customizing it lets you set the header, greeting, fields, and layout so the experience matches your practice and captures the right patient information. This guide walks you through personalizing each part of the chat window and saving your changes.
To reach the chat window customization options, navigate to Web Tools > Chat Widget.
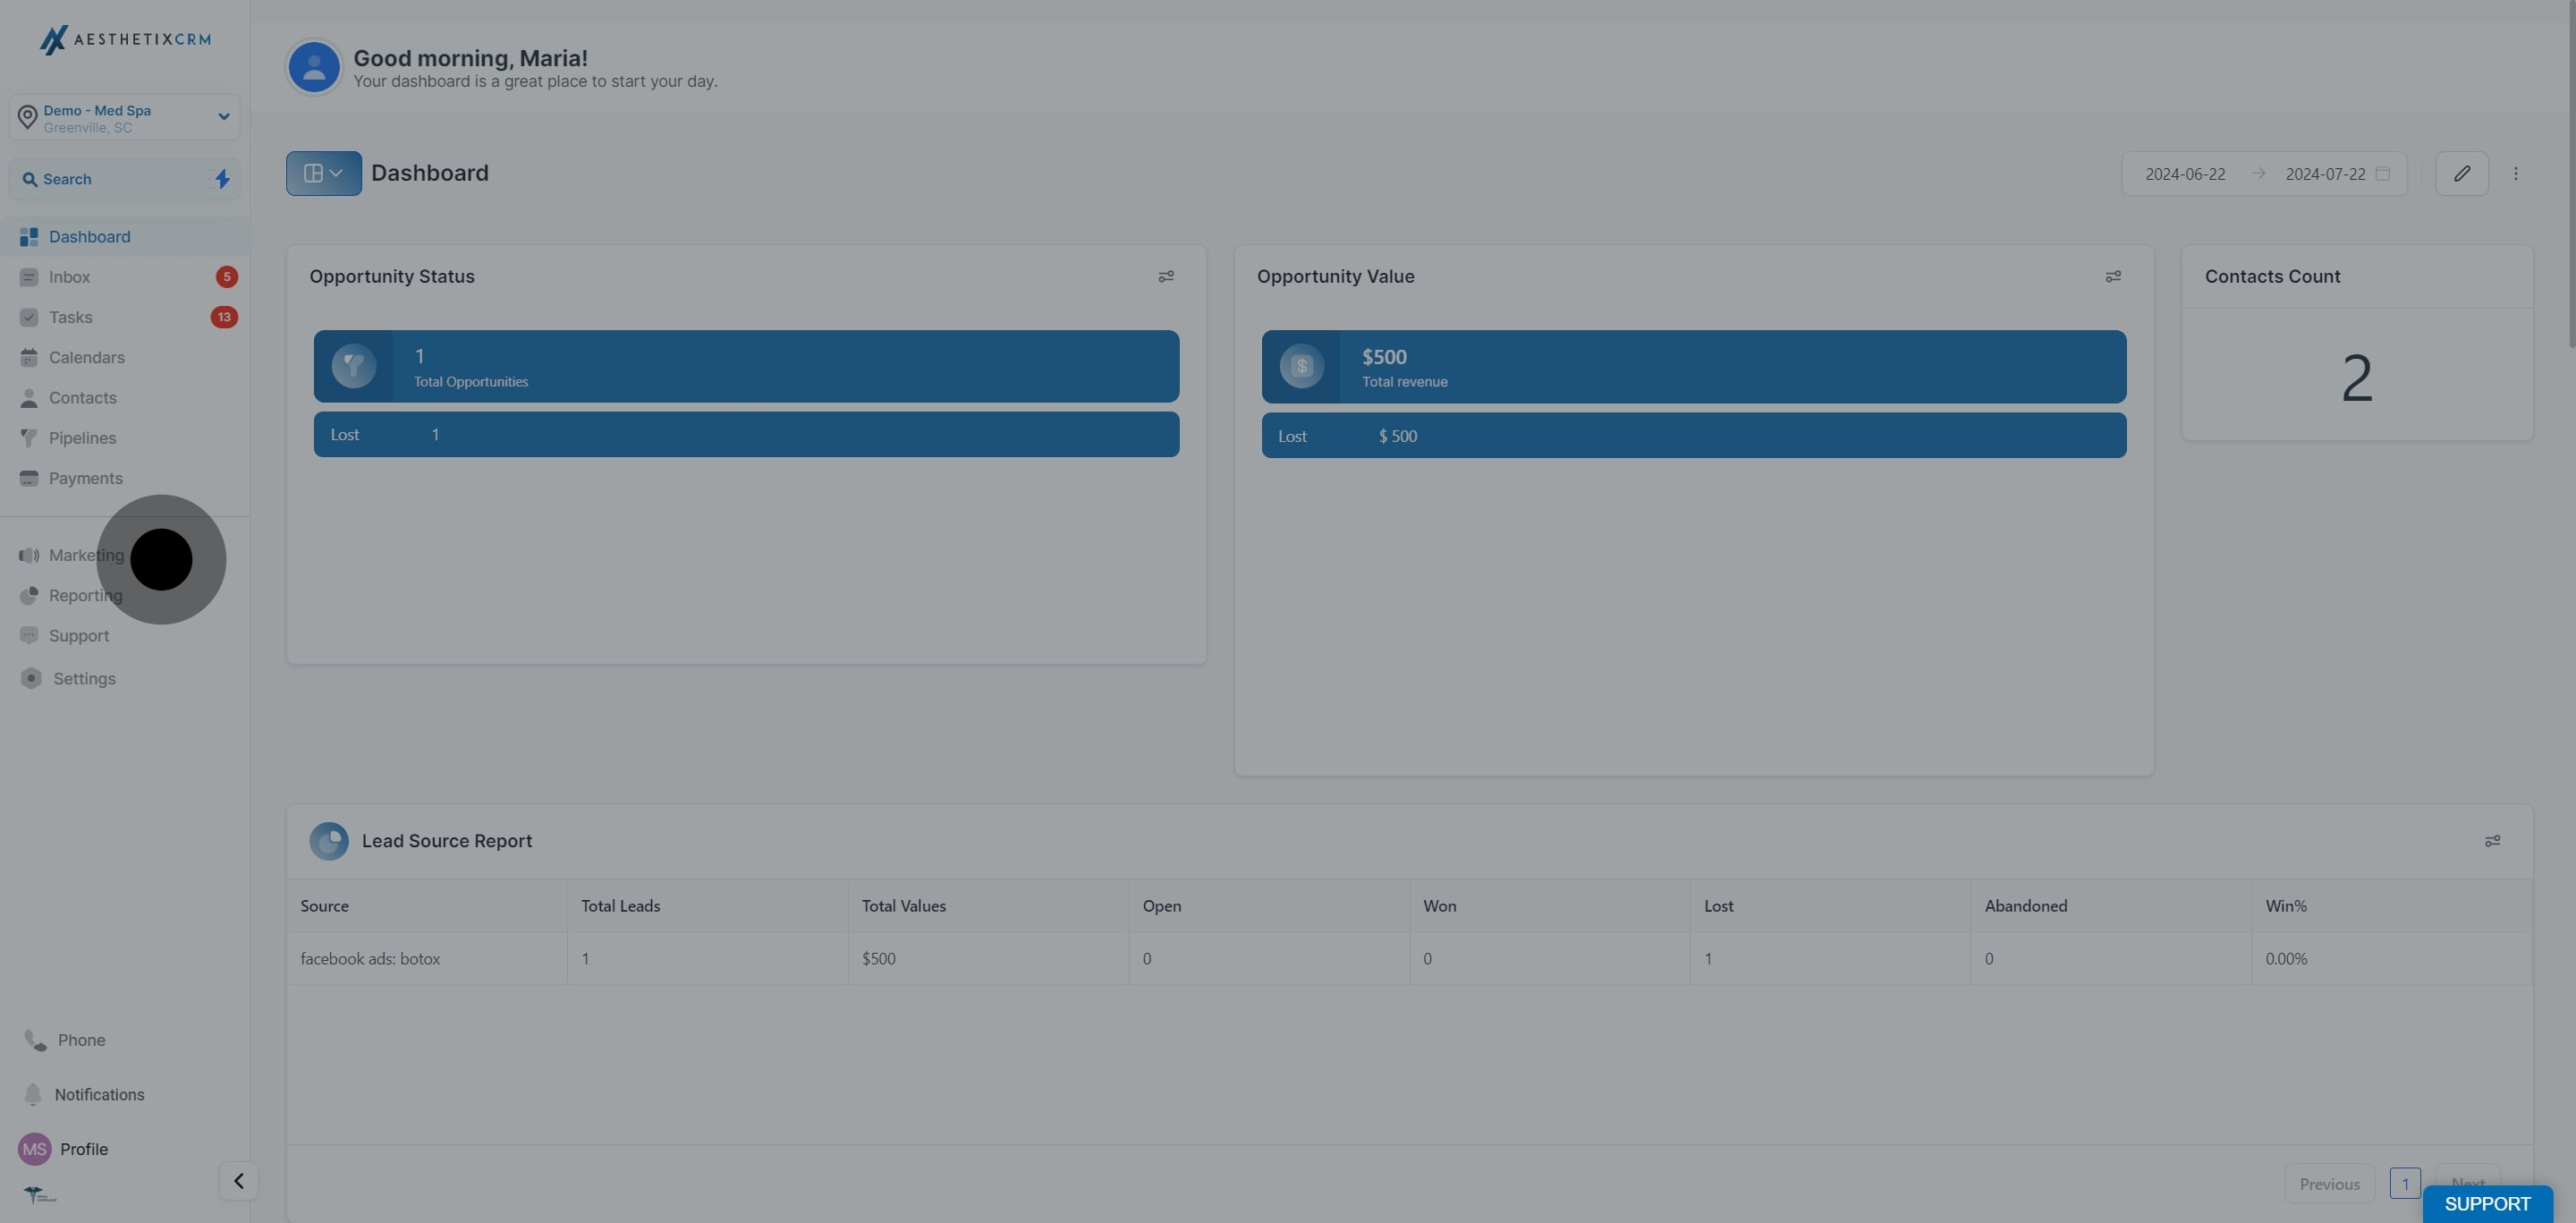
From the left sidebar, click Web Tools.
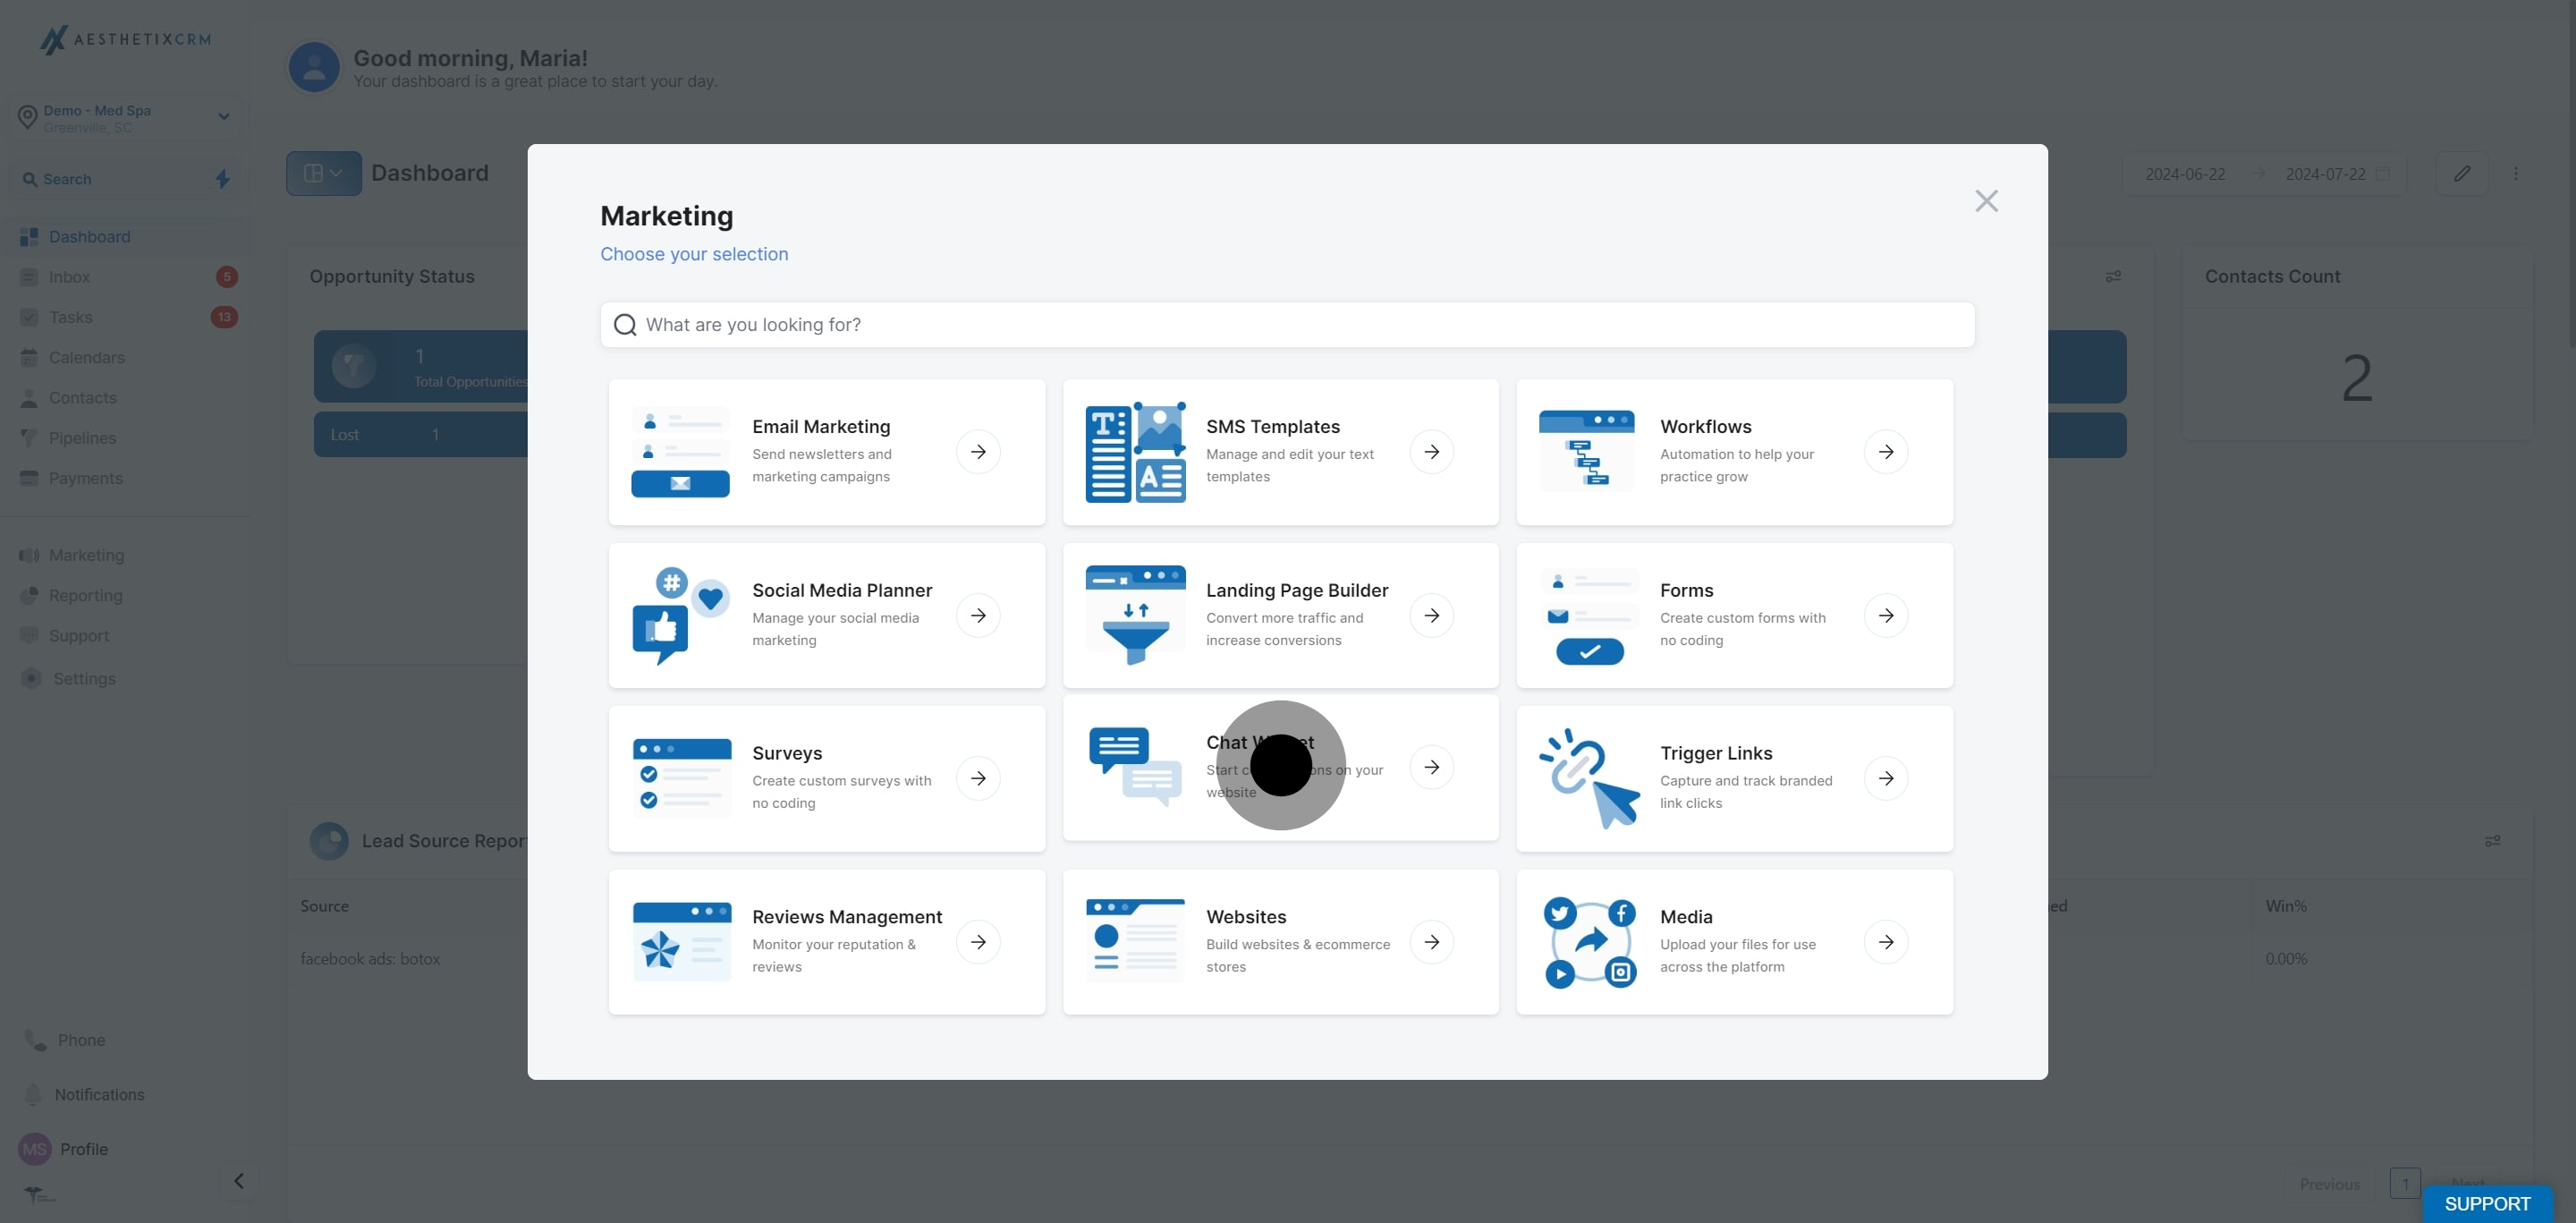
Choose Chat Widget from the menu.
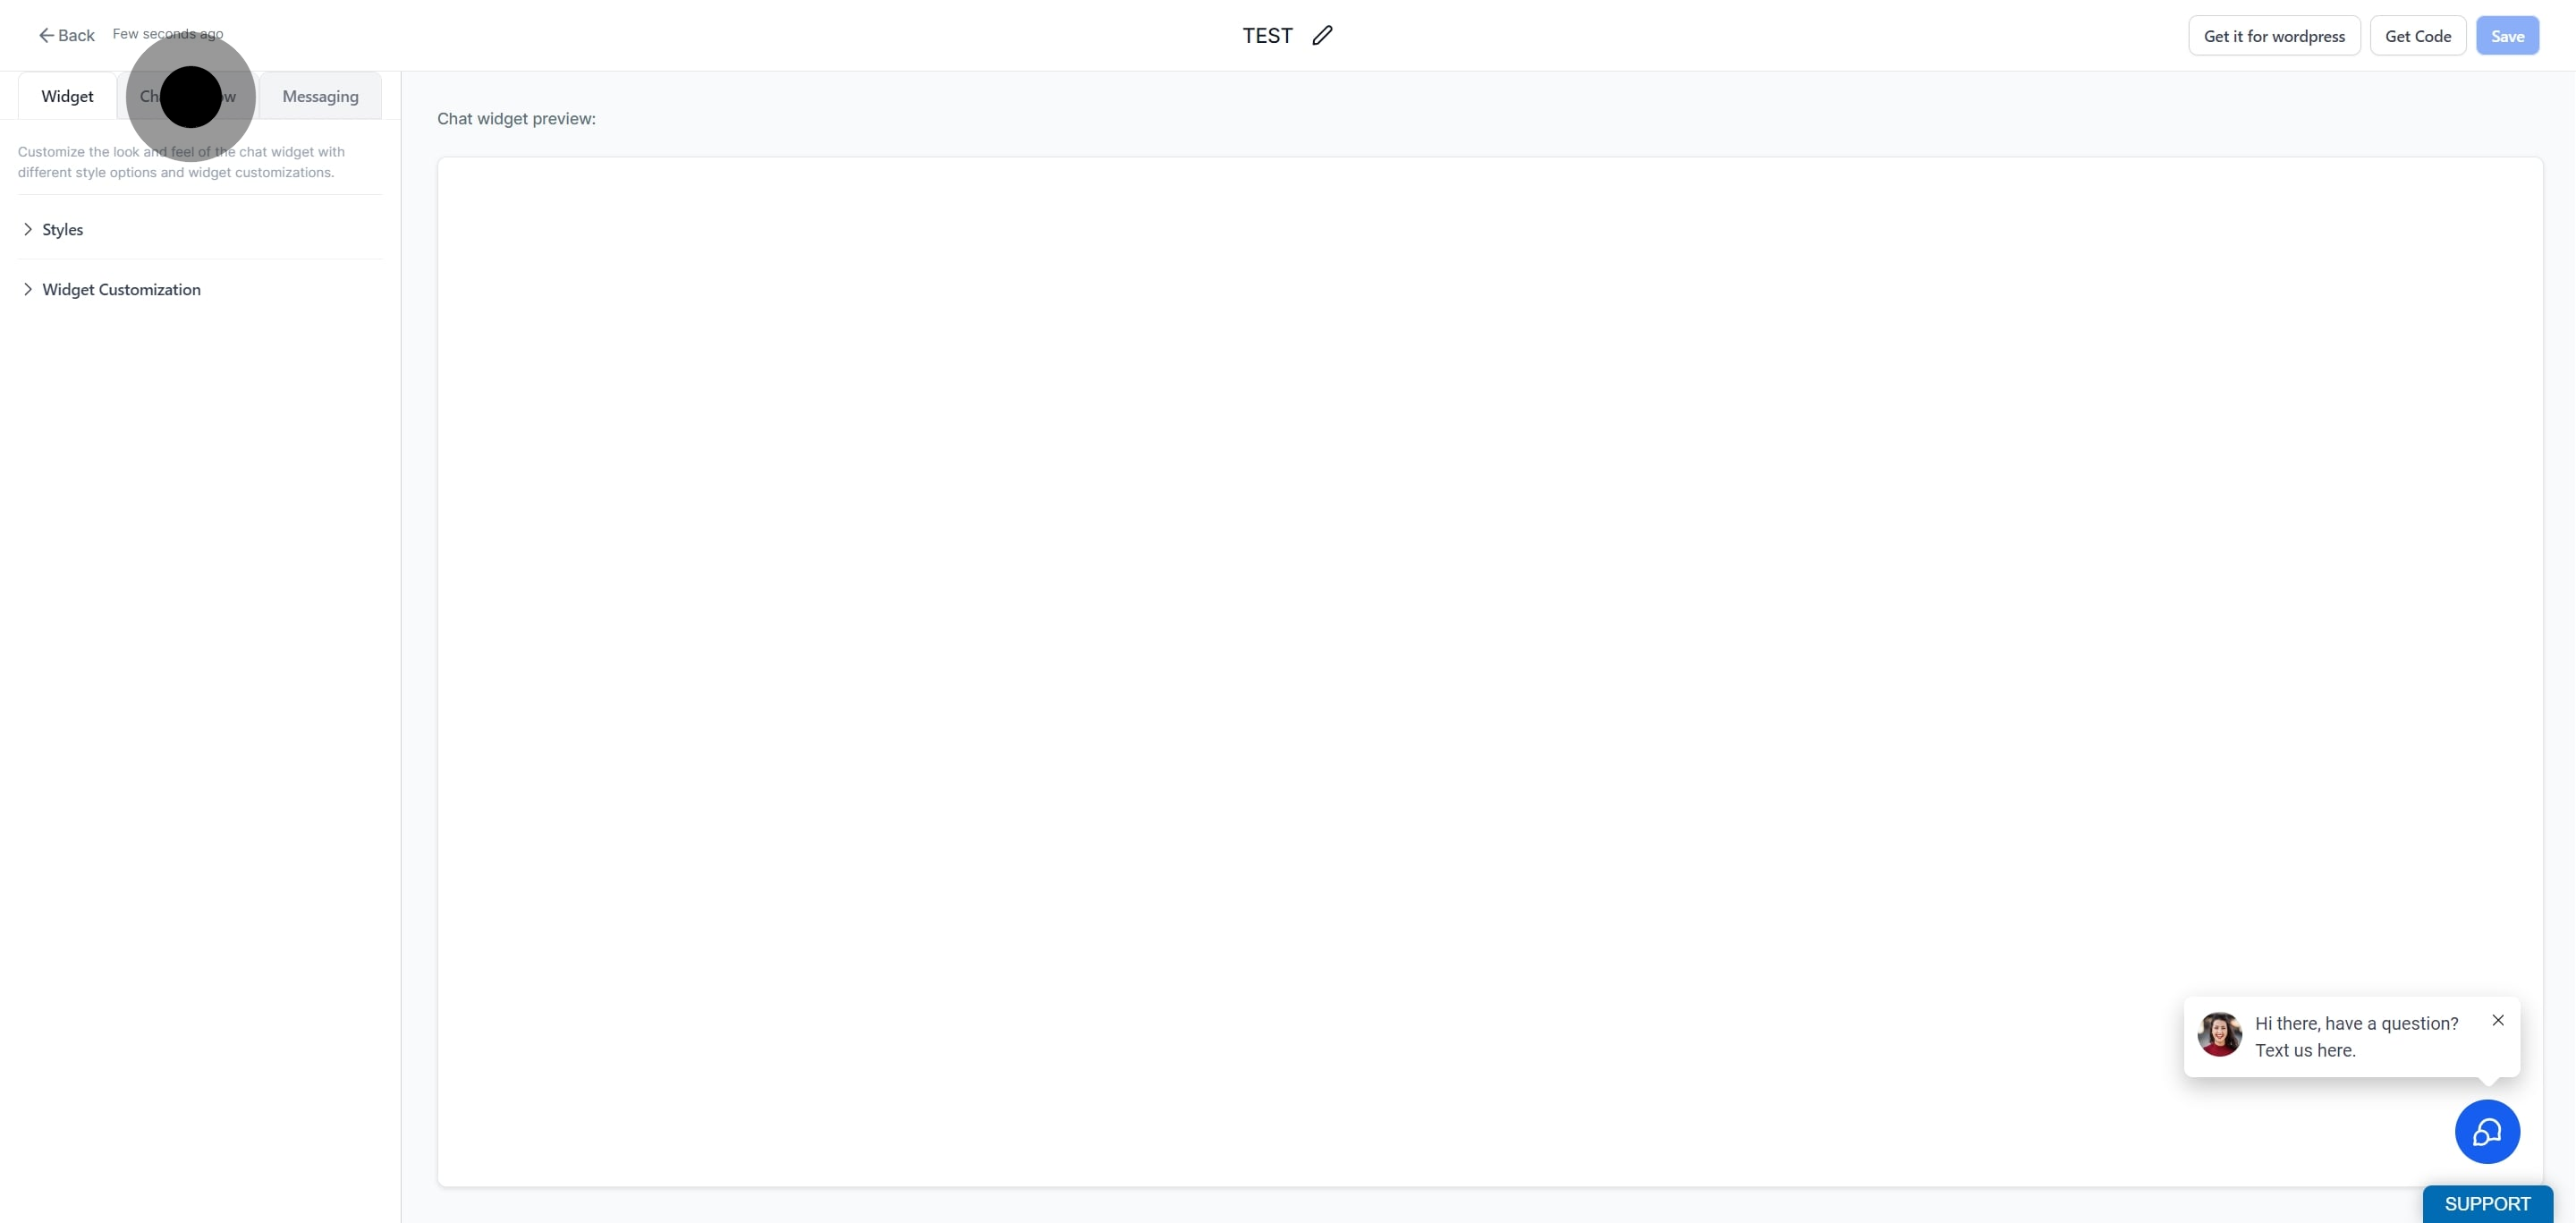
Click Chat Window to access the customization panel.
The title and intro form the header and greeting your visitors see first.
Navigate to the Title and Intro section.
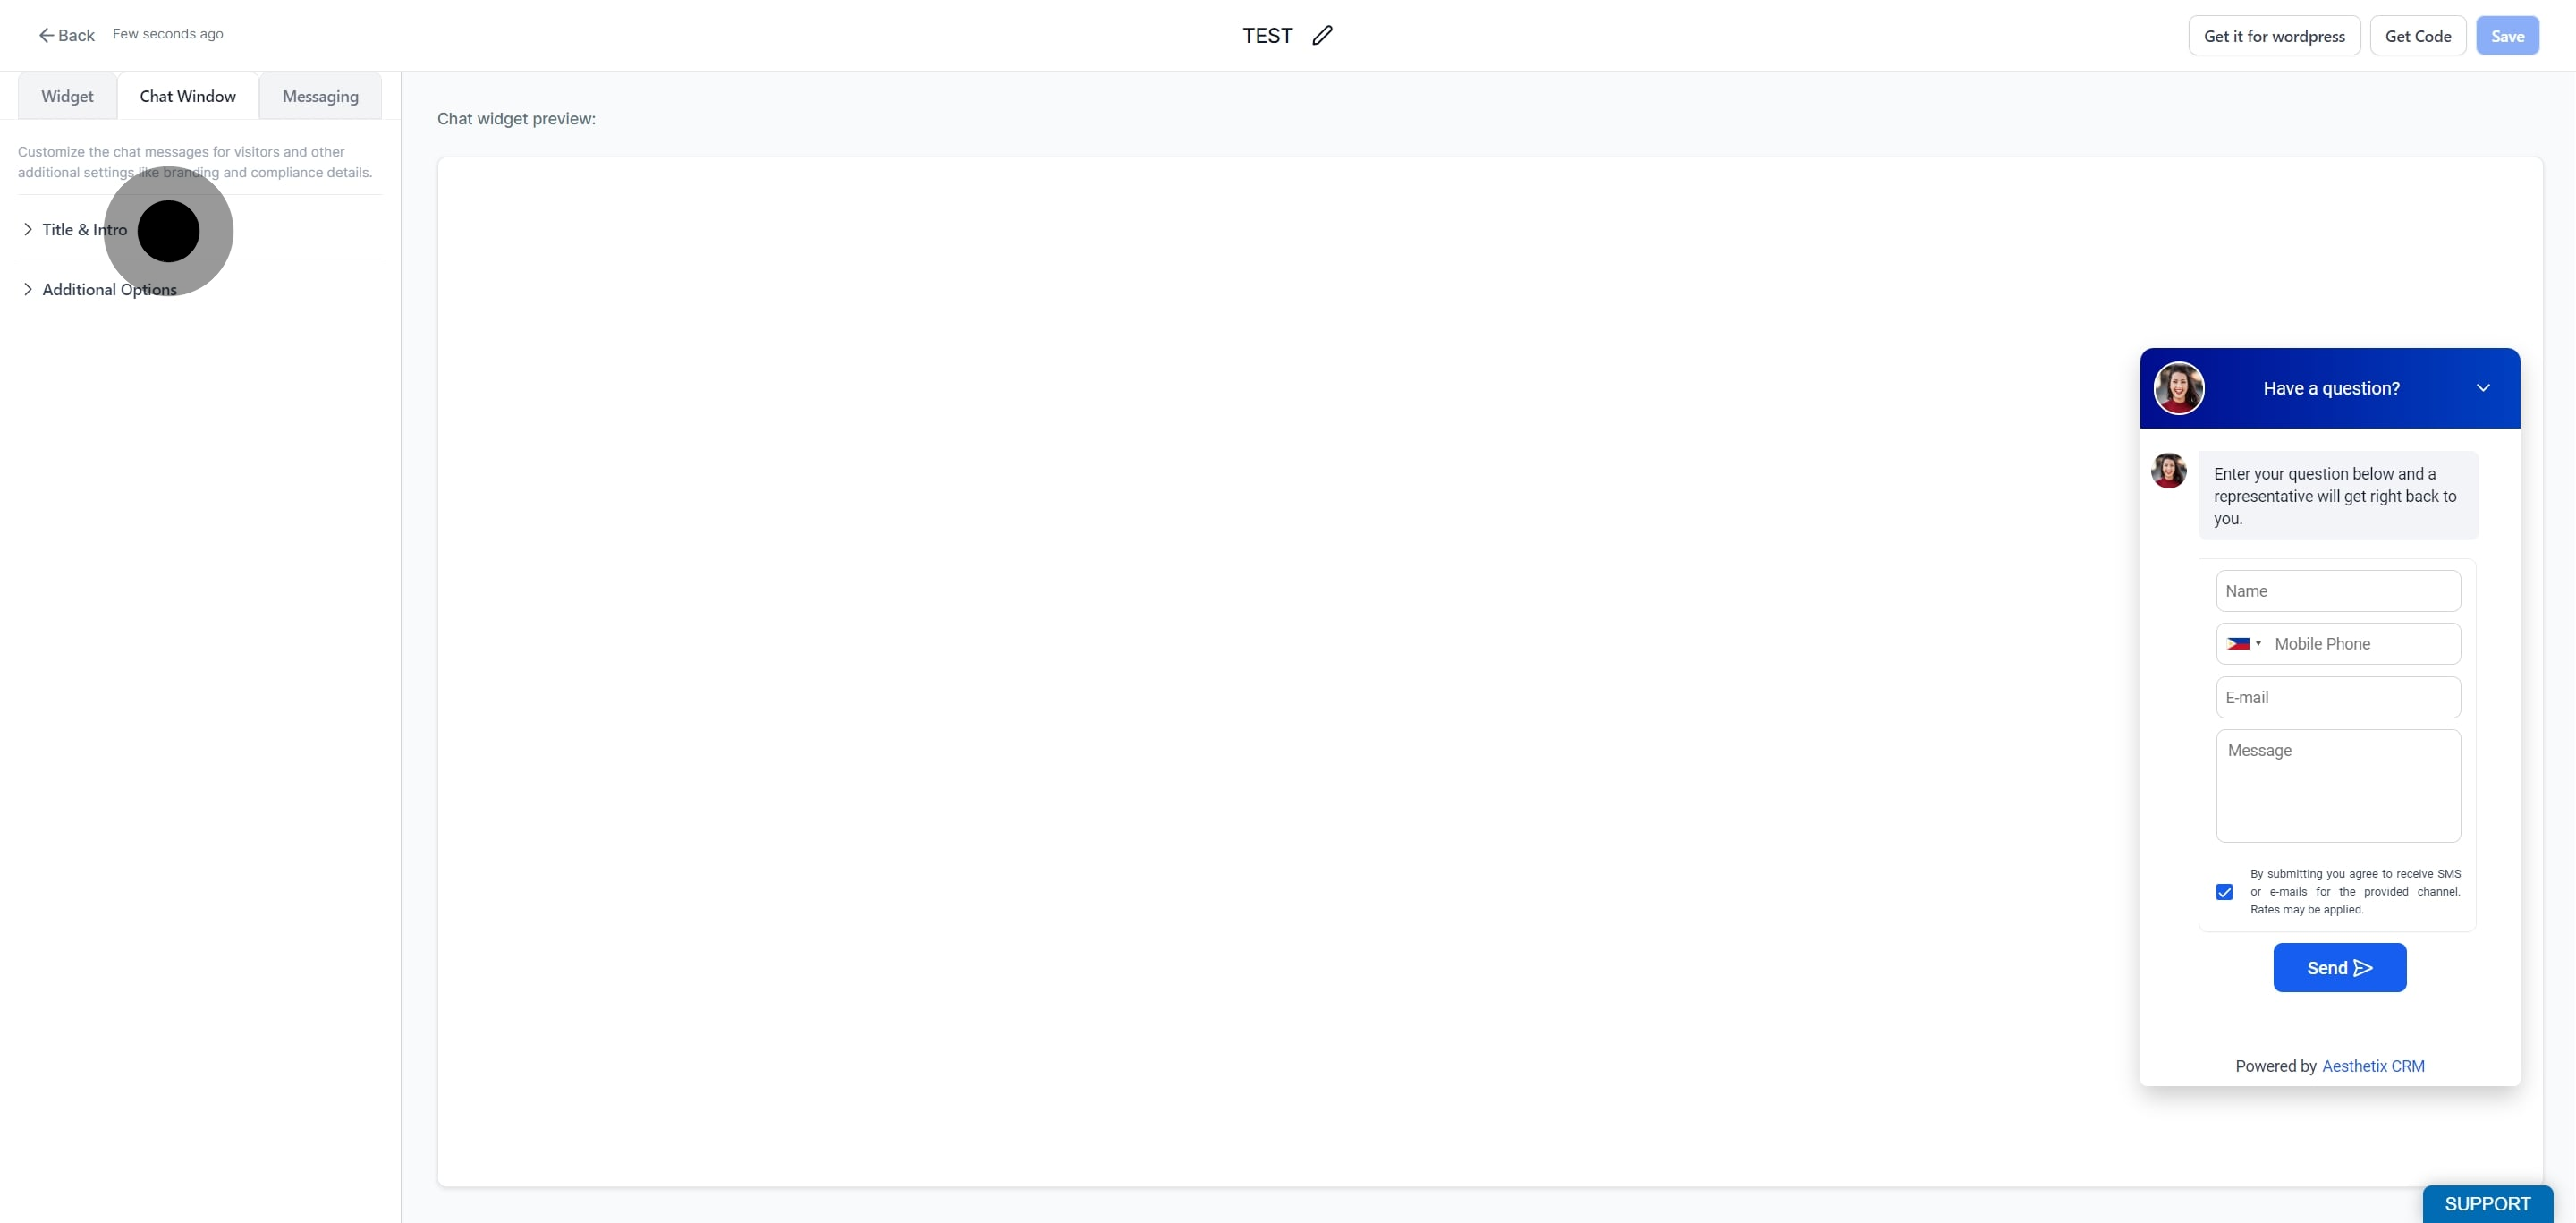
Type your chat window title in the designated field. This is the header that appears at the top of the open chat window.
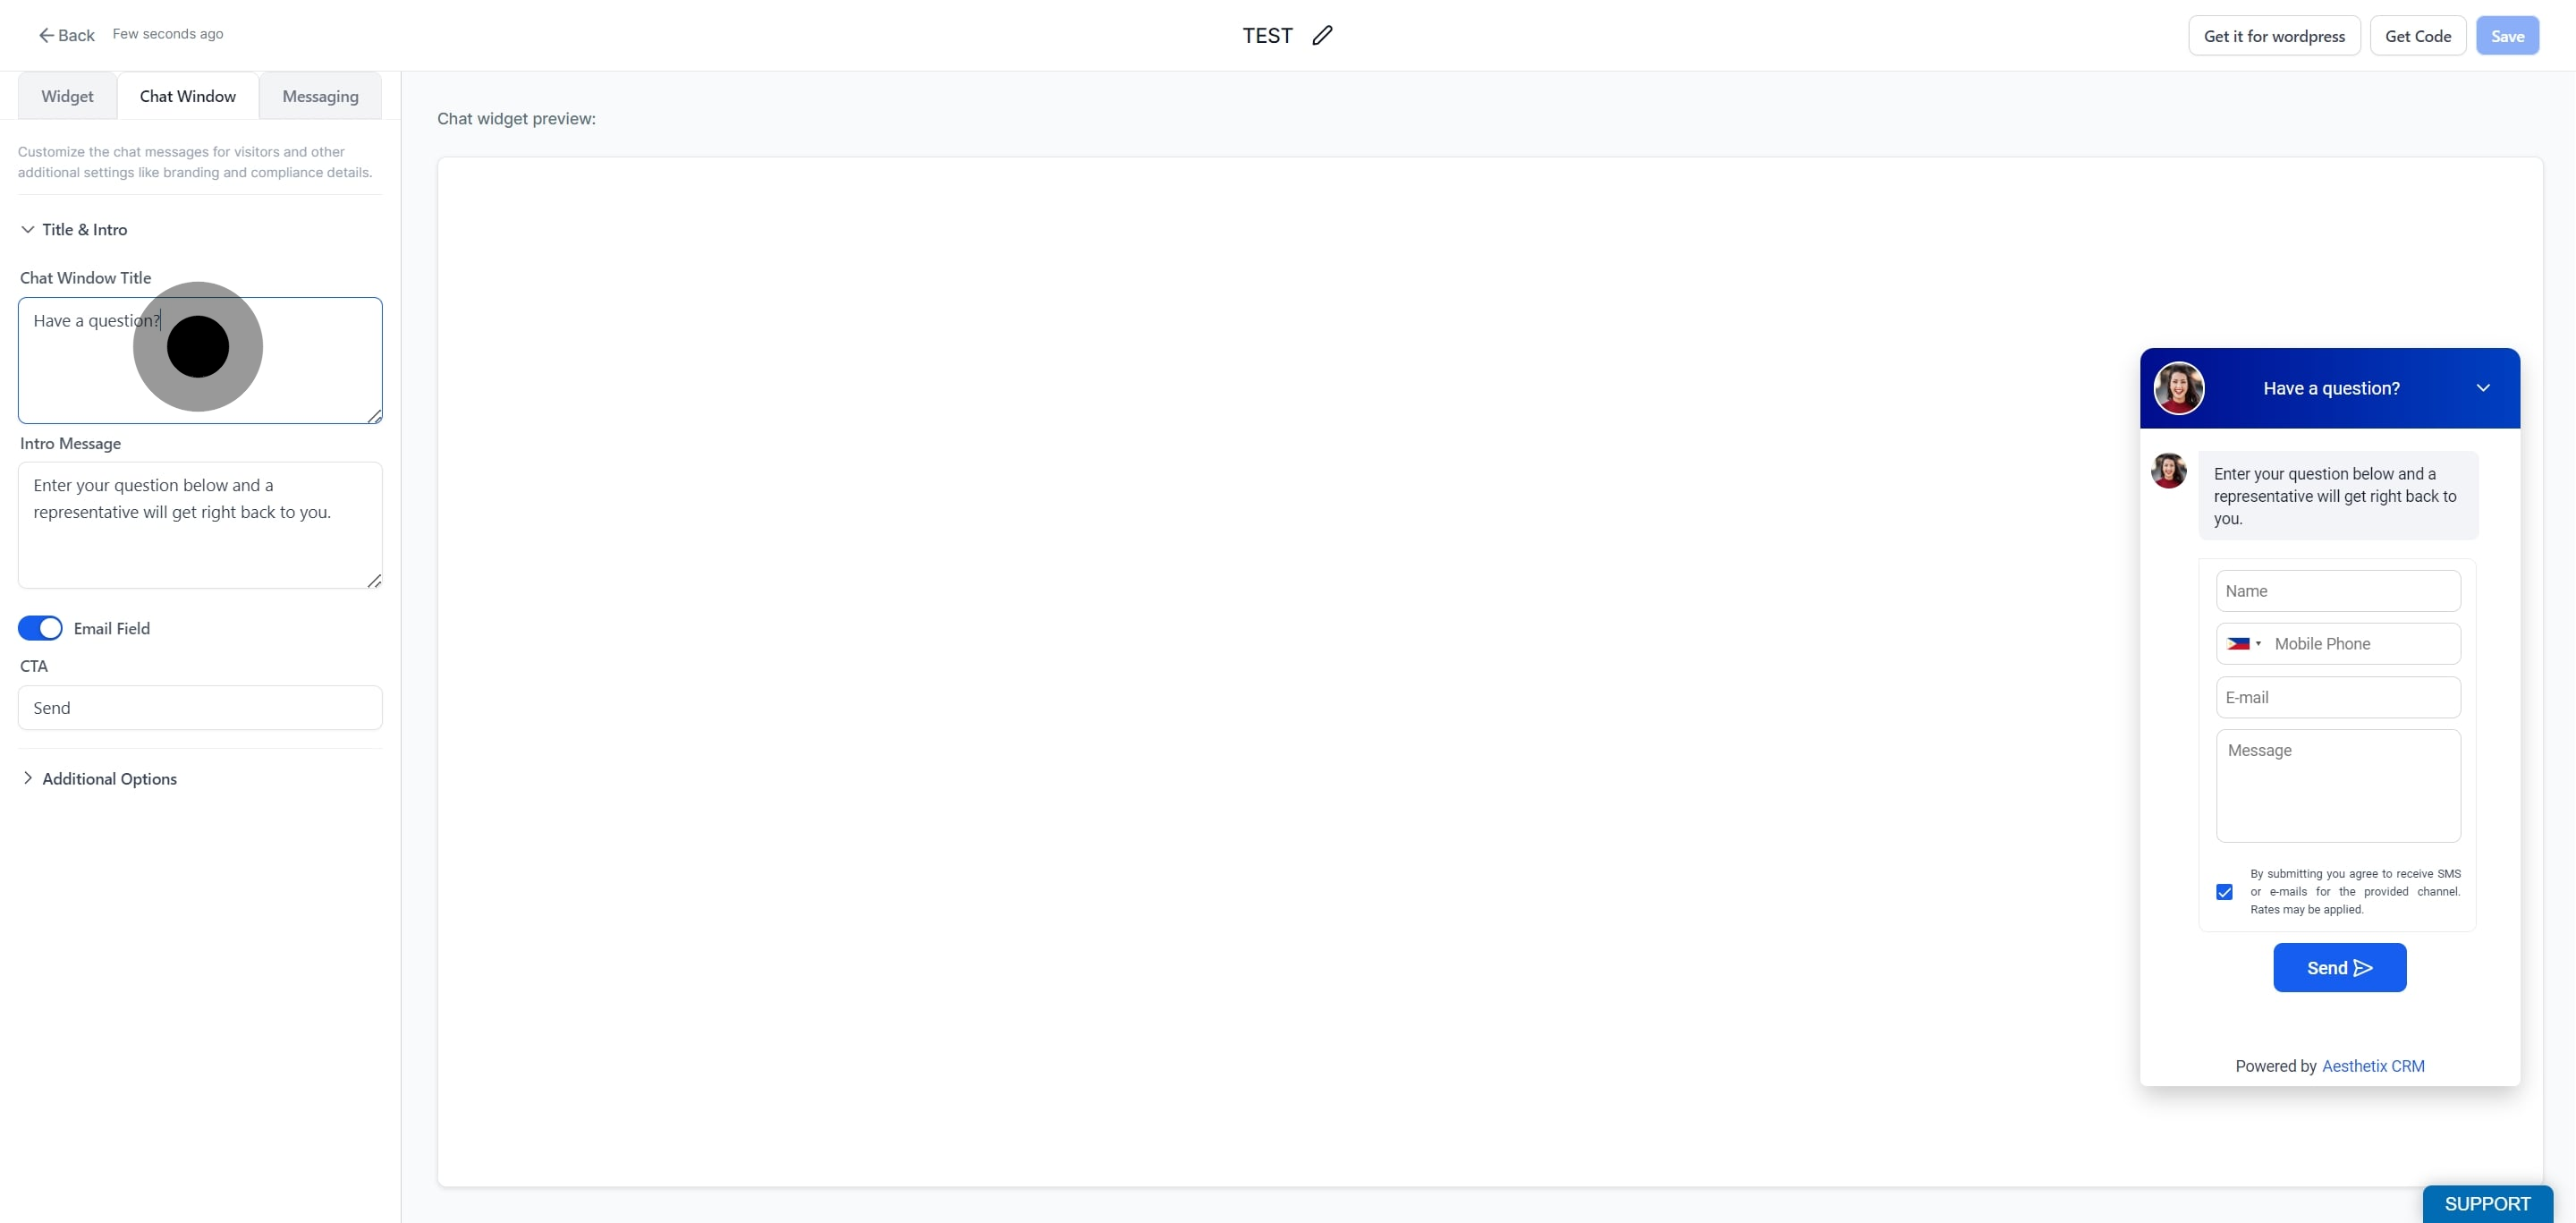
Type the intro message that greets visitors when the chat window opens.
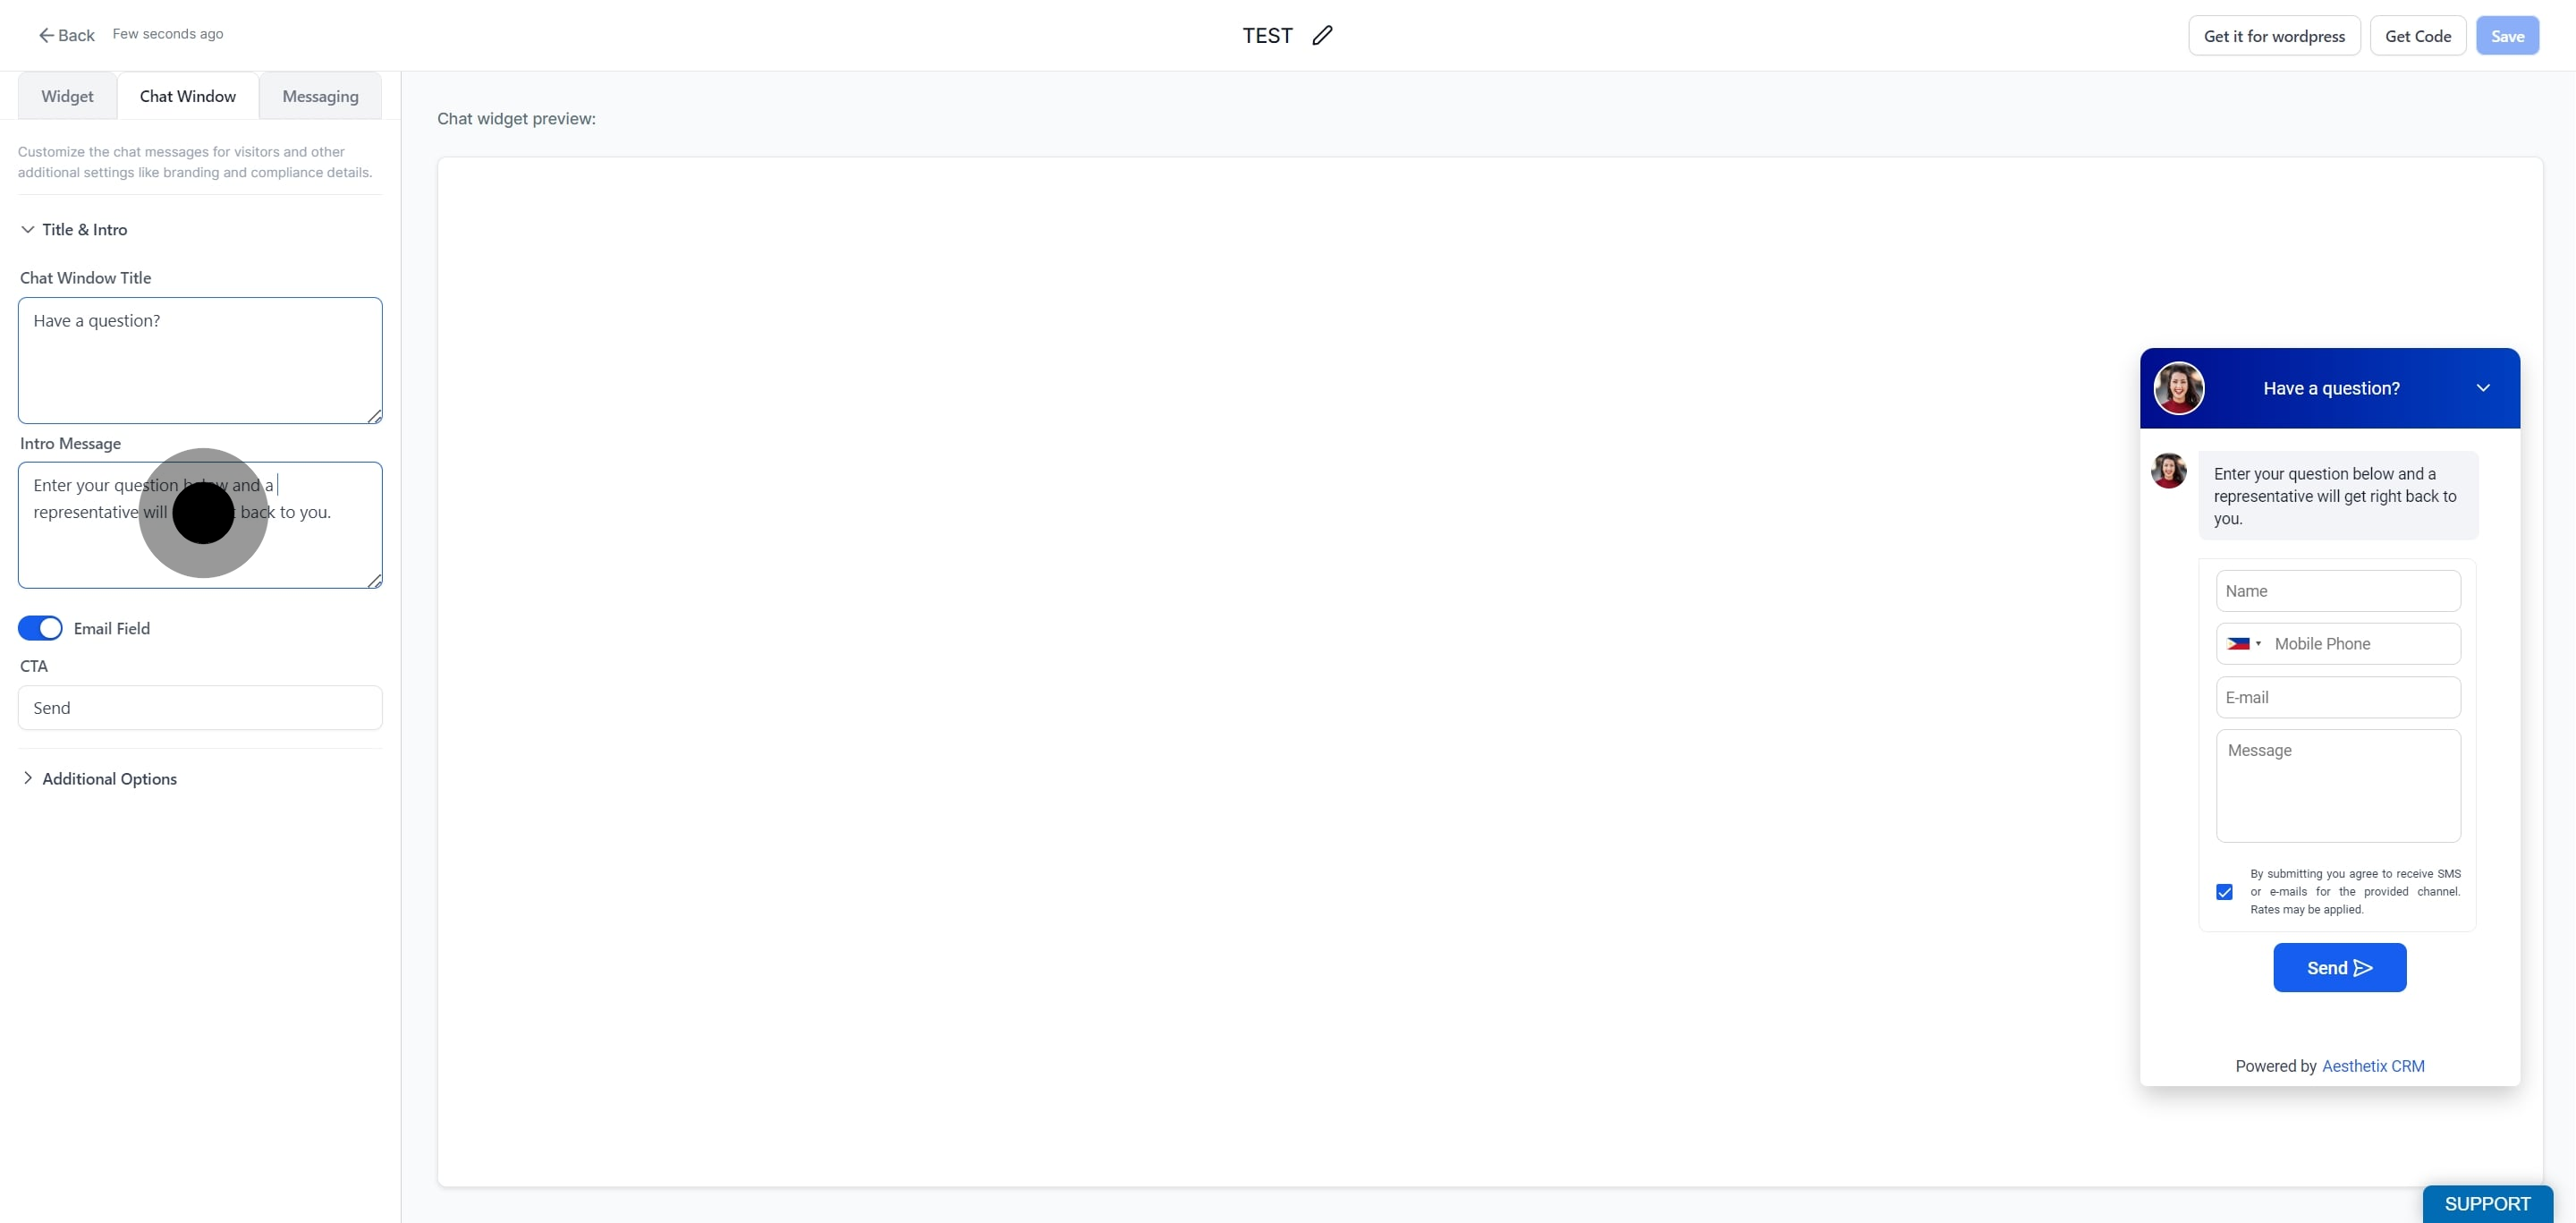
Decide which contact fields visitors complete and what prompt encourages them to start a conversation.
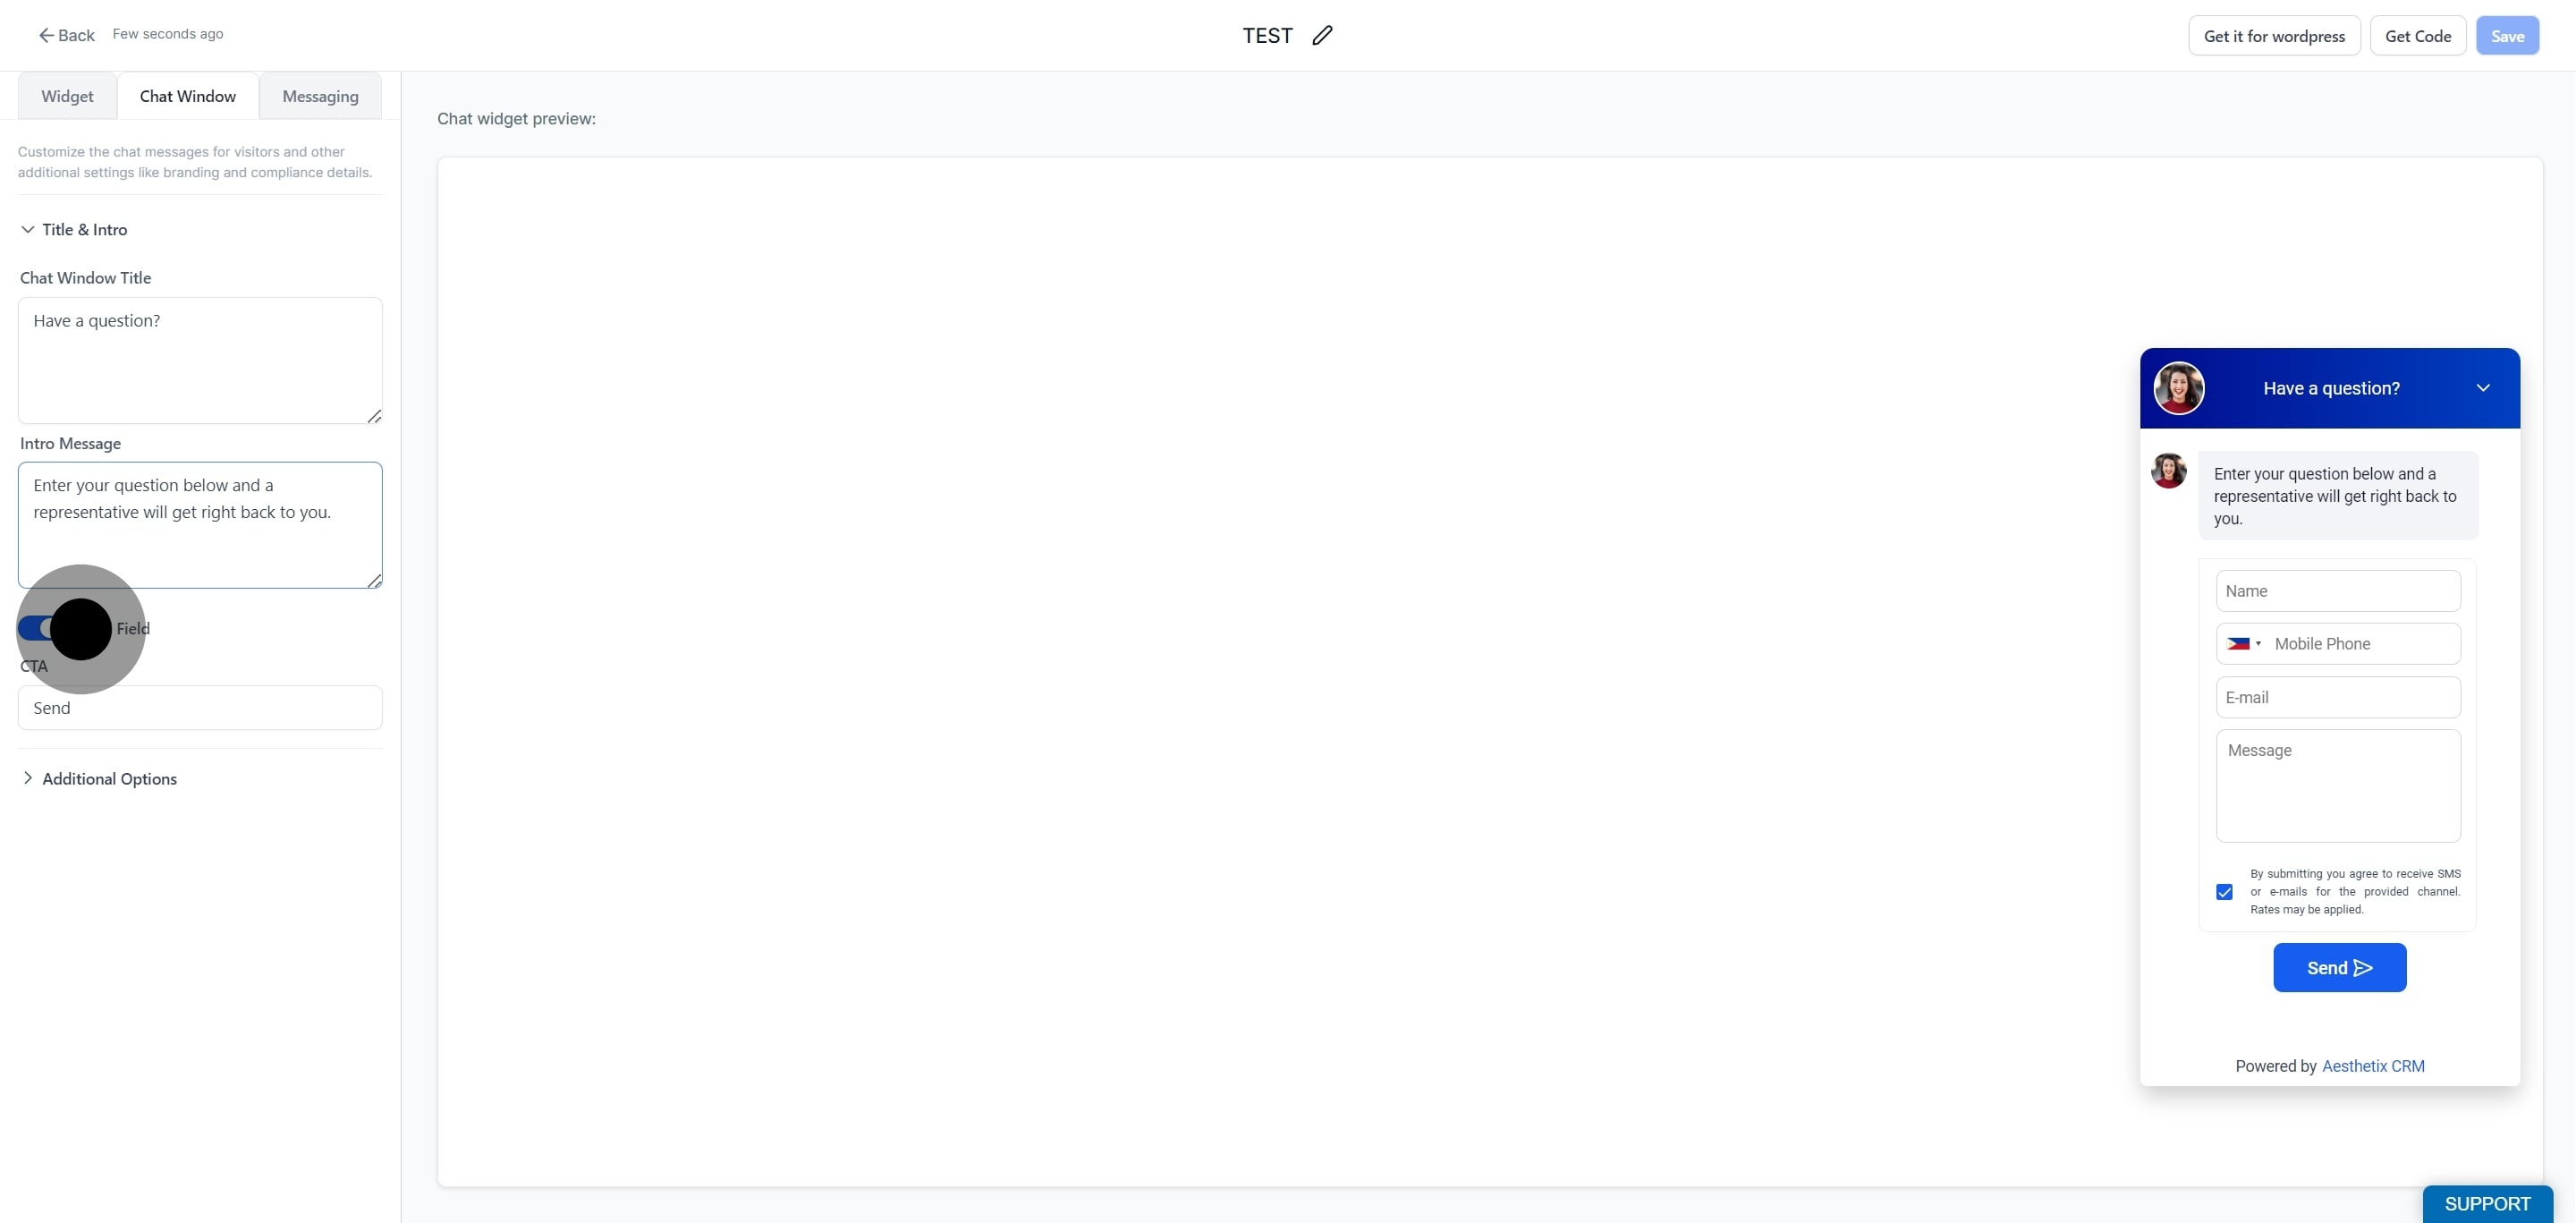
Click the email field if you want to include it in the chat window. This lets you capture a visitor's email address alongside their message.
Type the call to action (CTA) you want to appear in the chat window. This is the button or prompt that invites visitors to reach out.
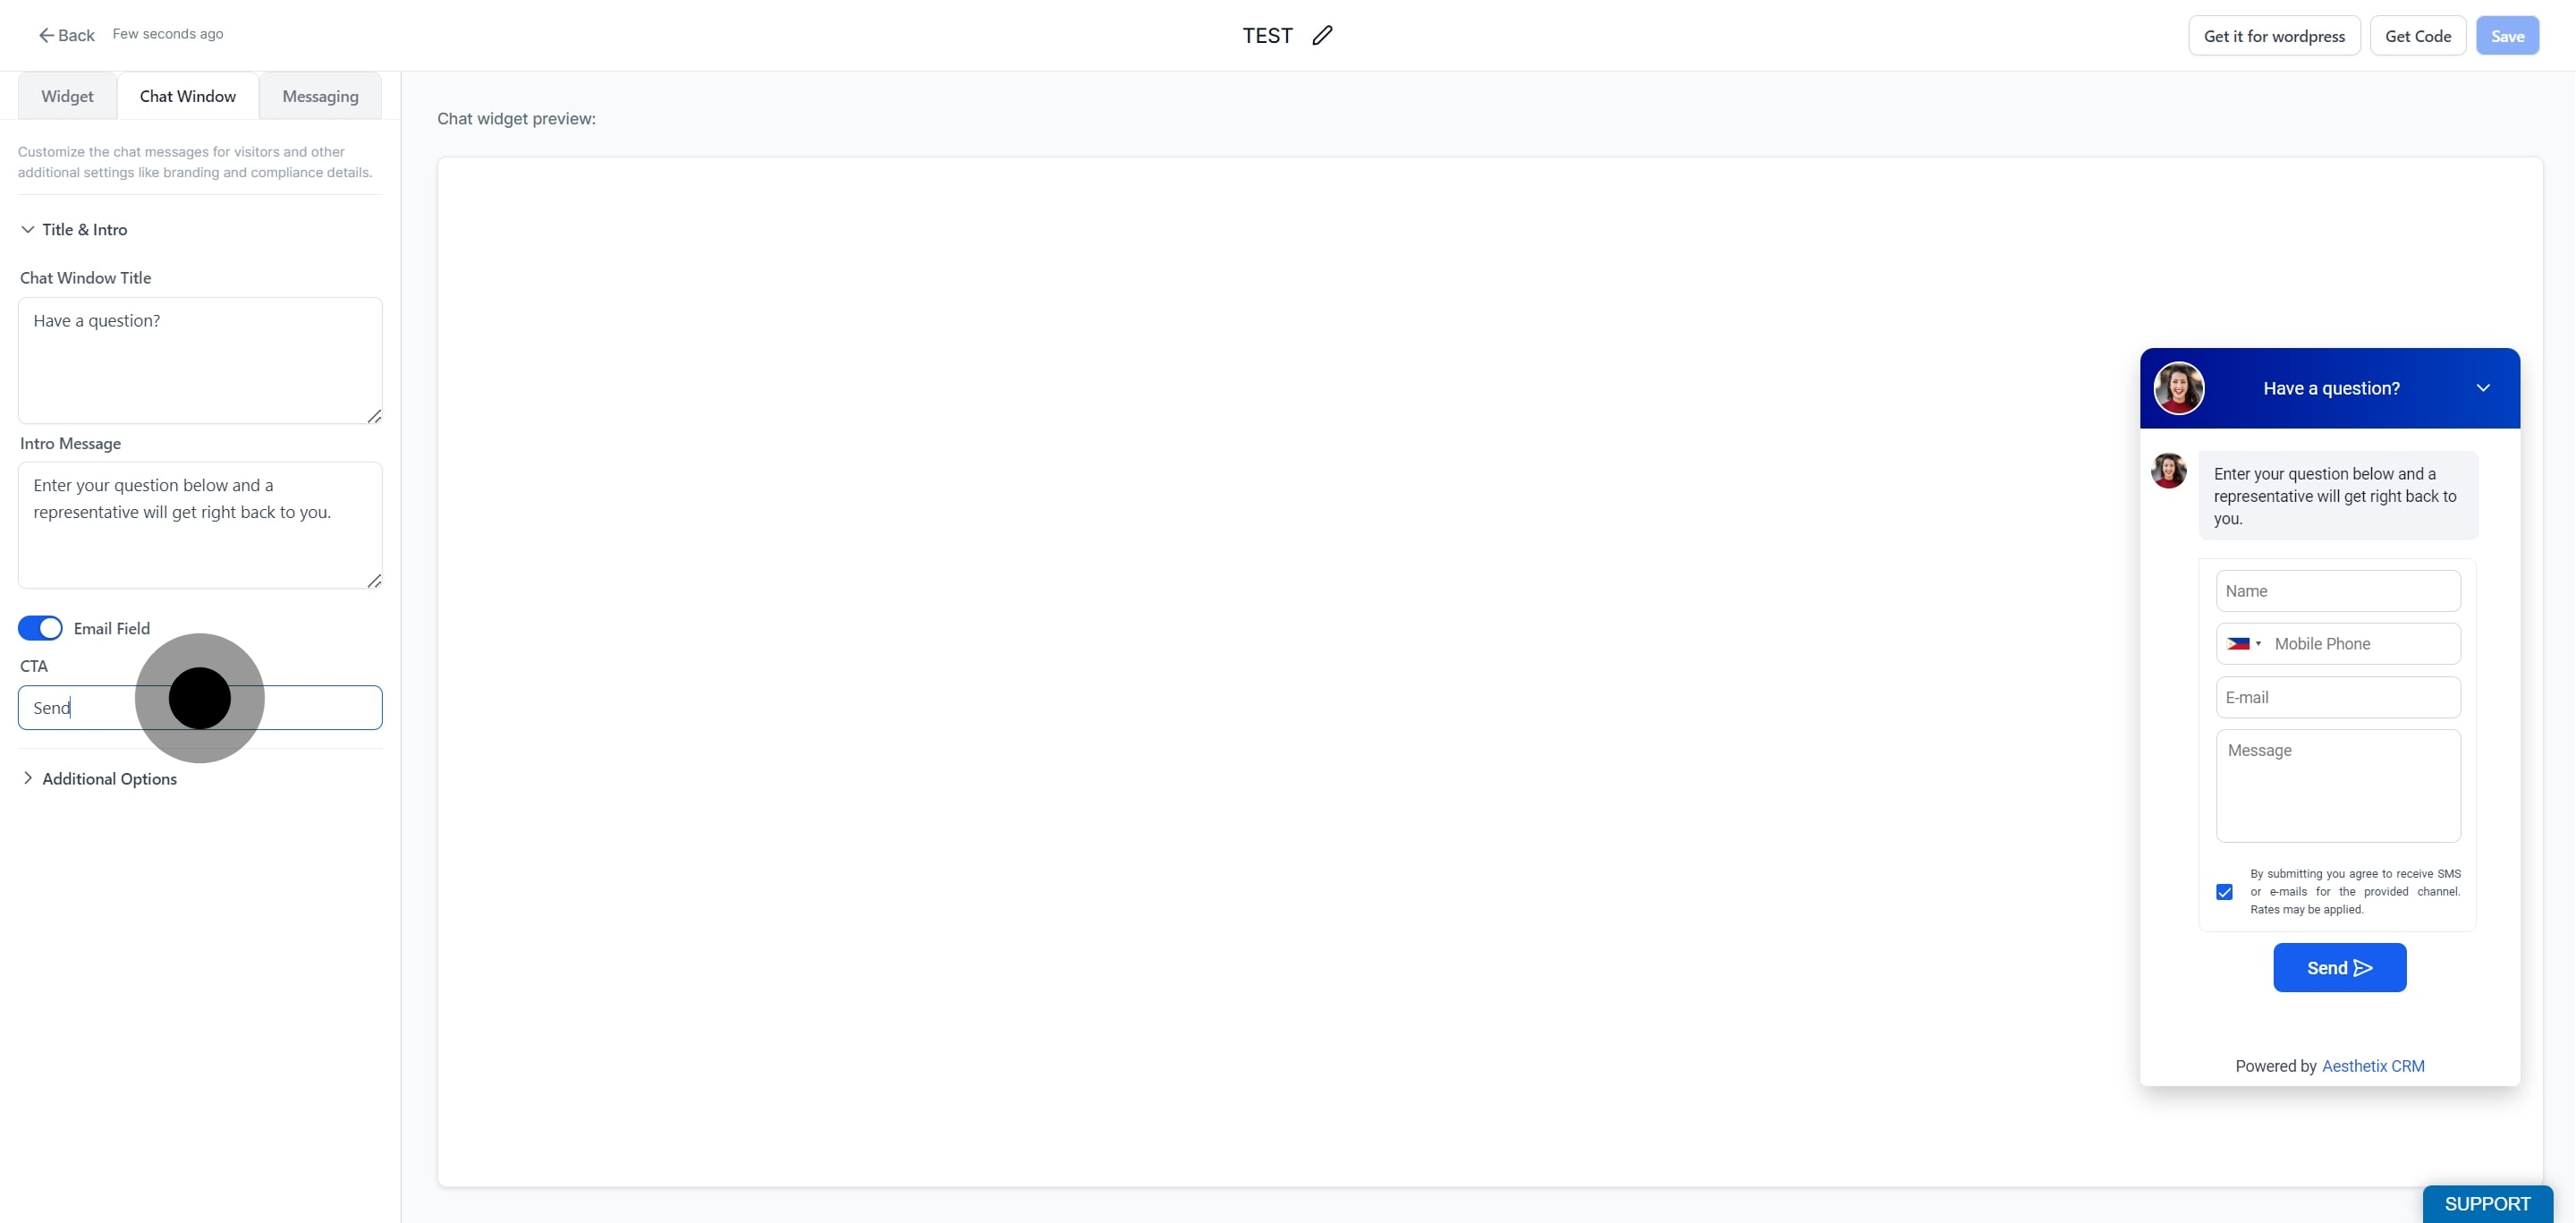
Additional options let you customize chat messages, branding, and compliance settings for your visitors.
Go to Additional Options to access more customization settings.
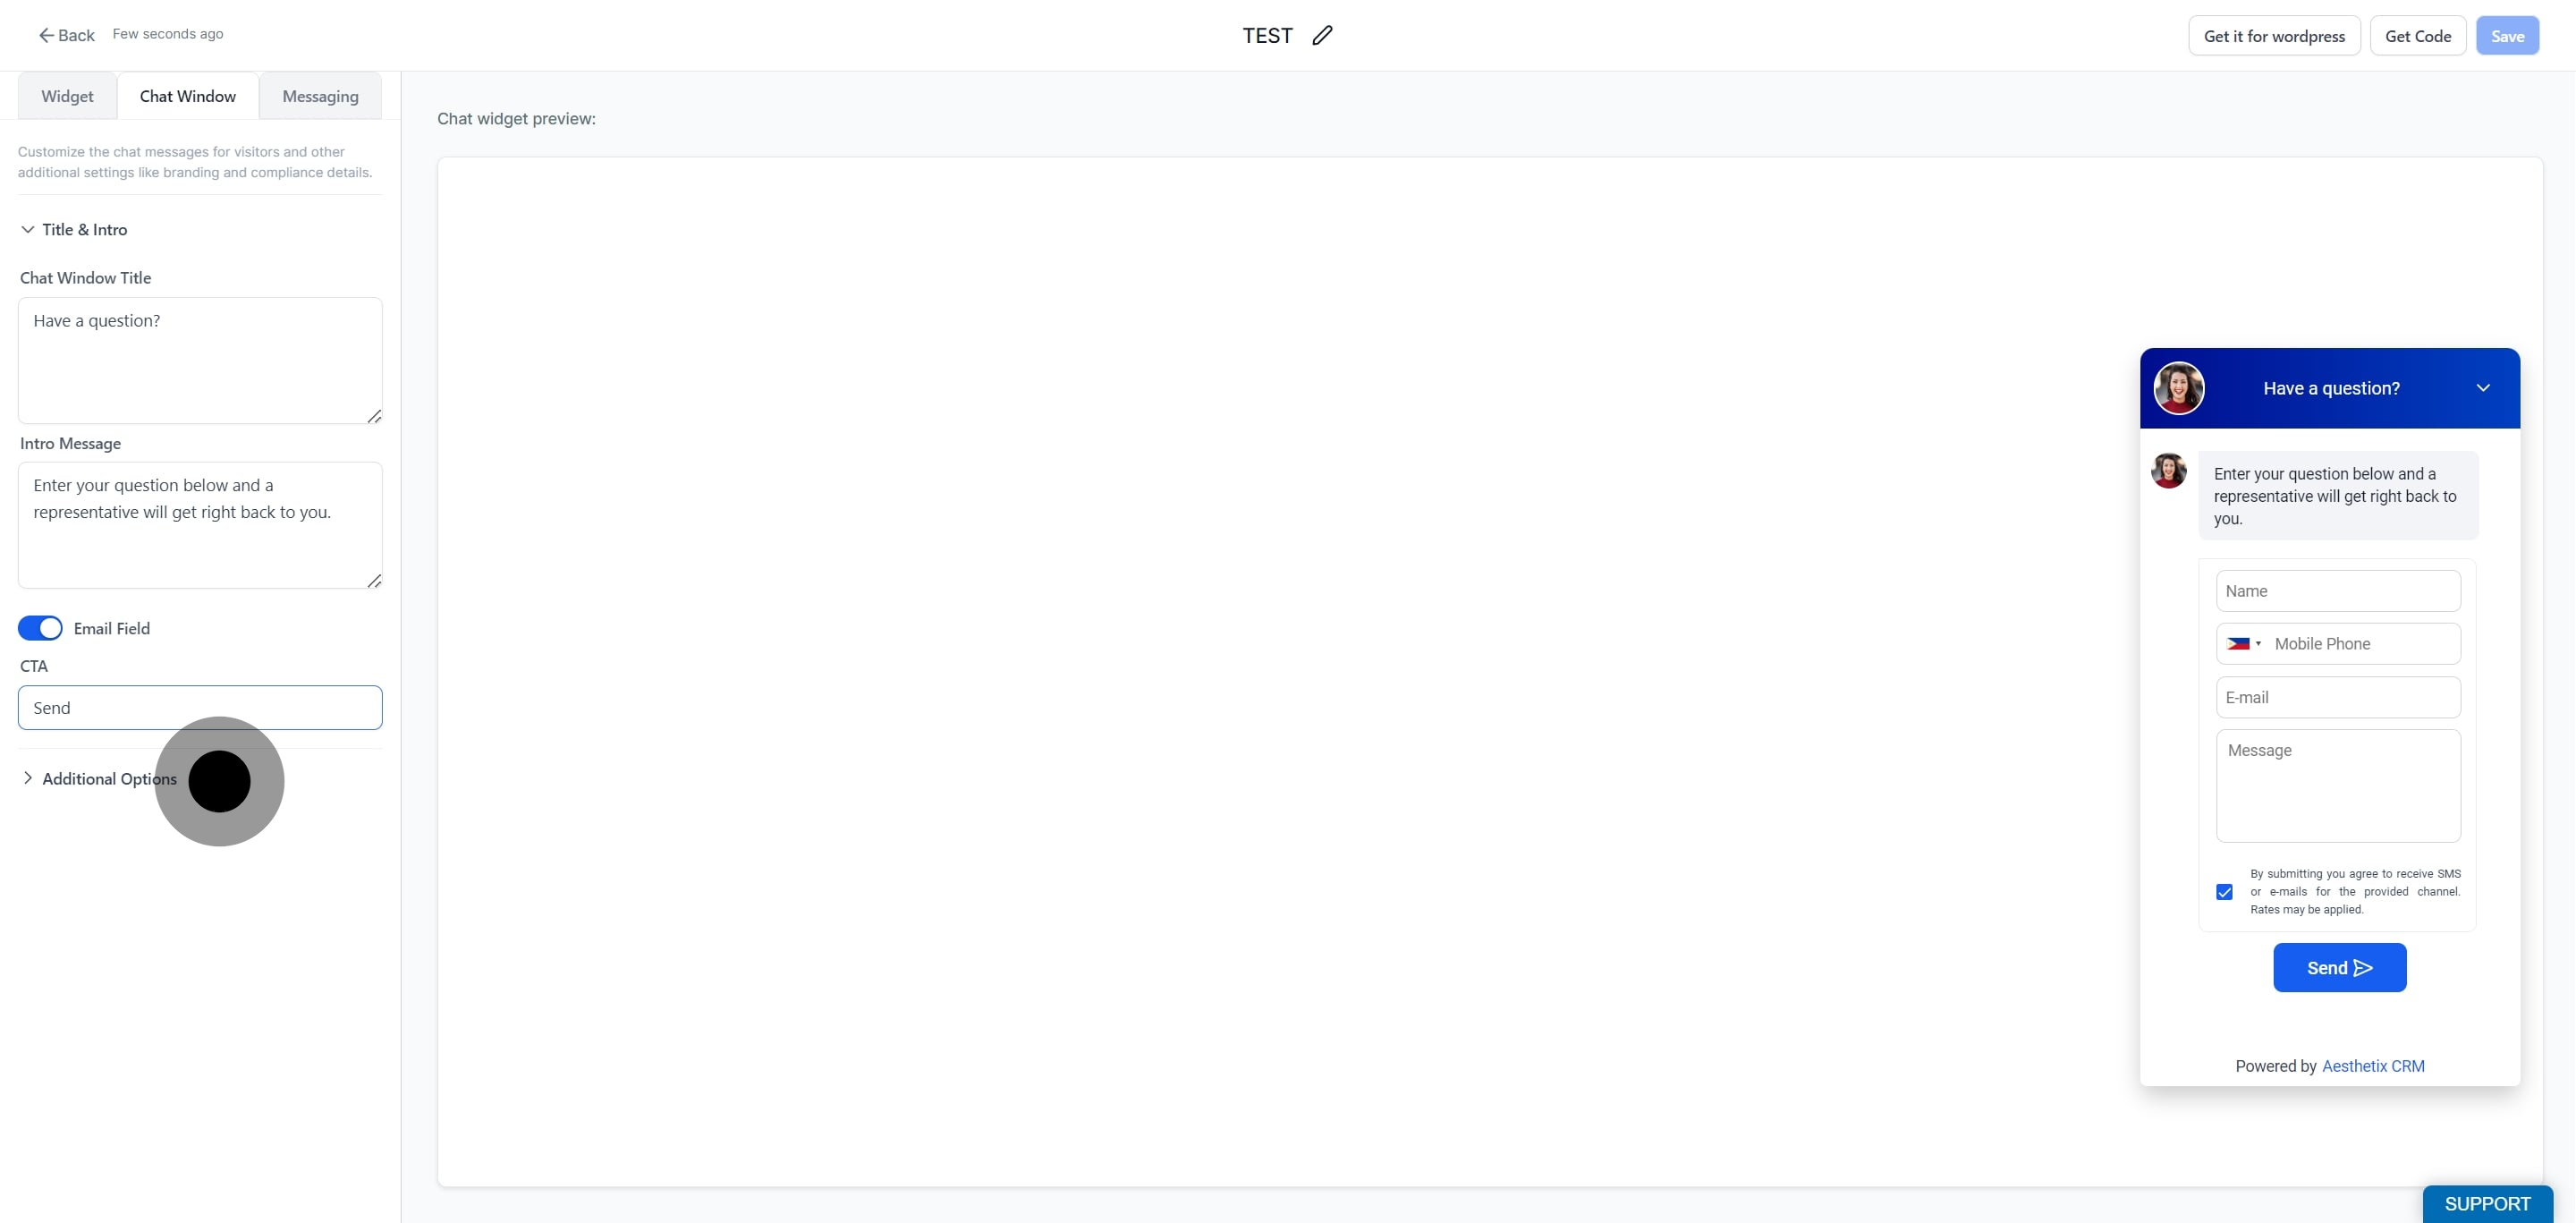
Enable branding if desired to display your practice name and link within the chat window.
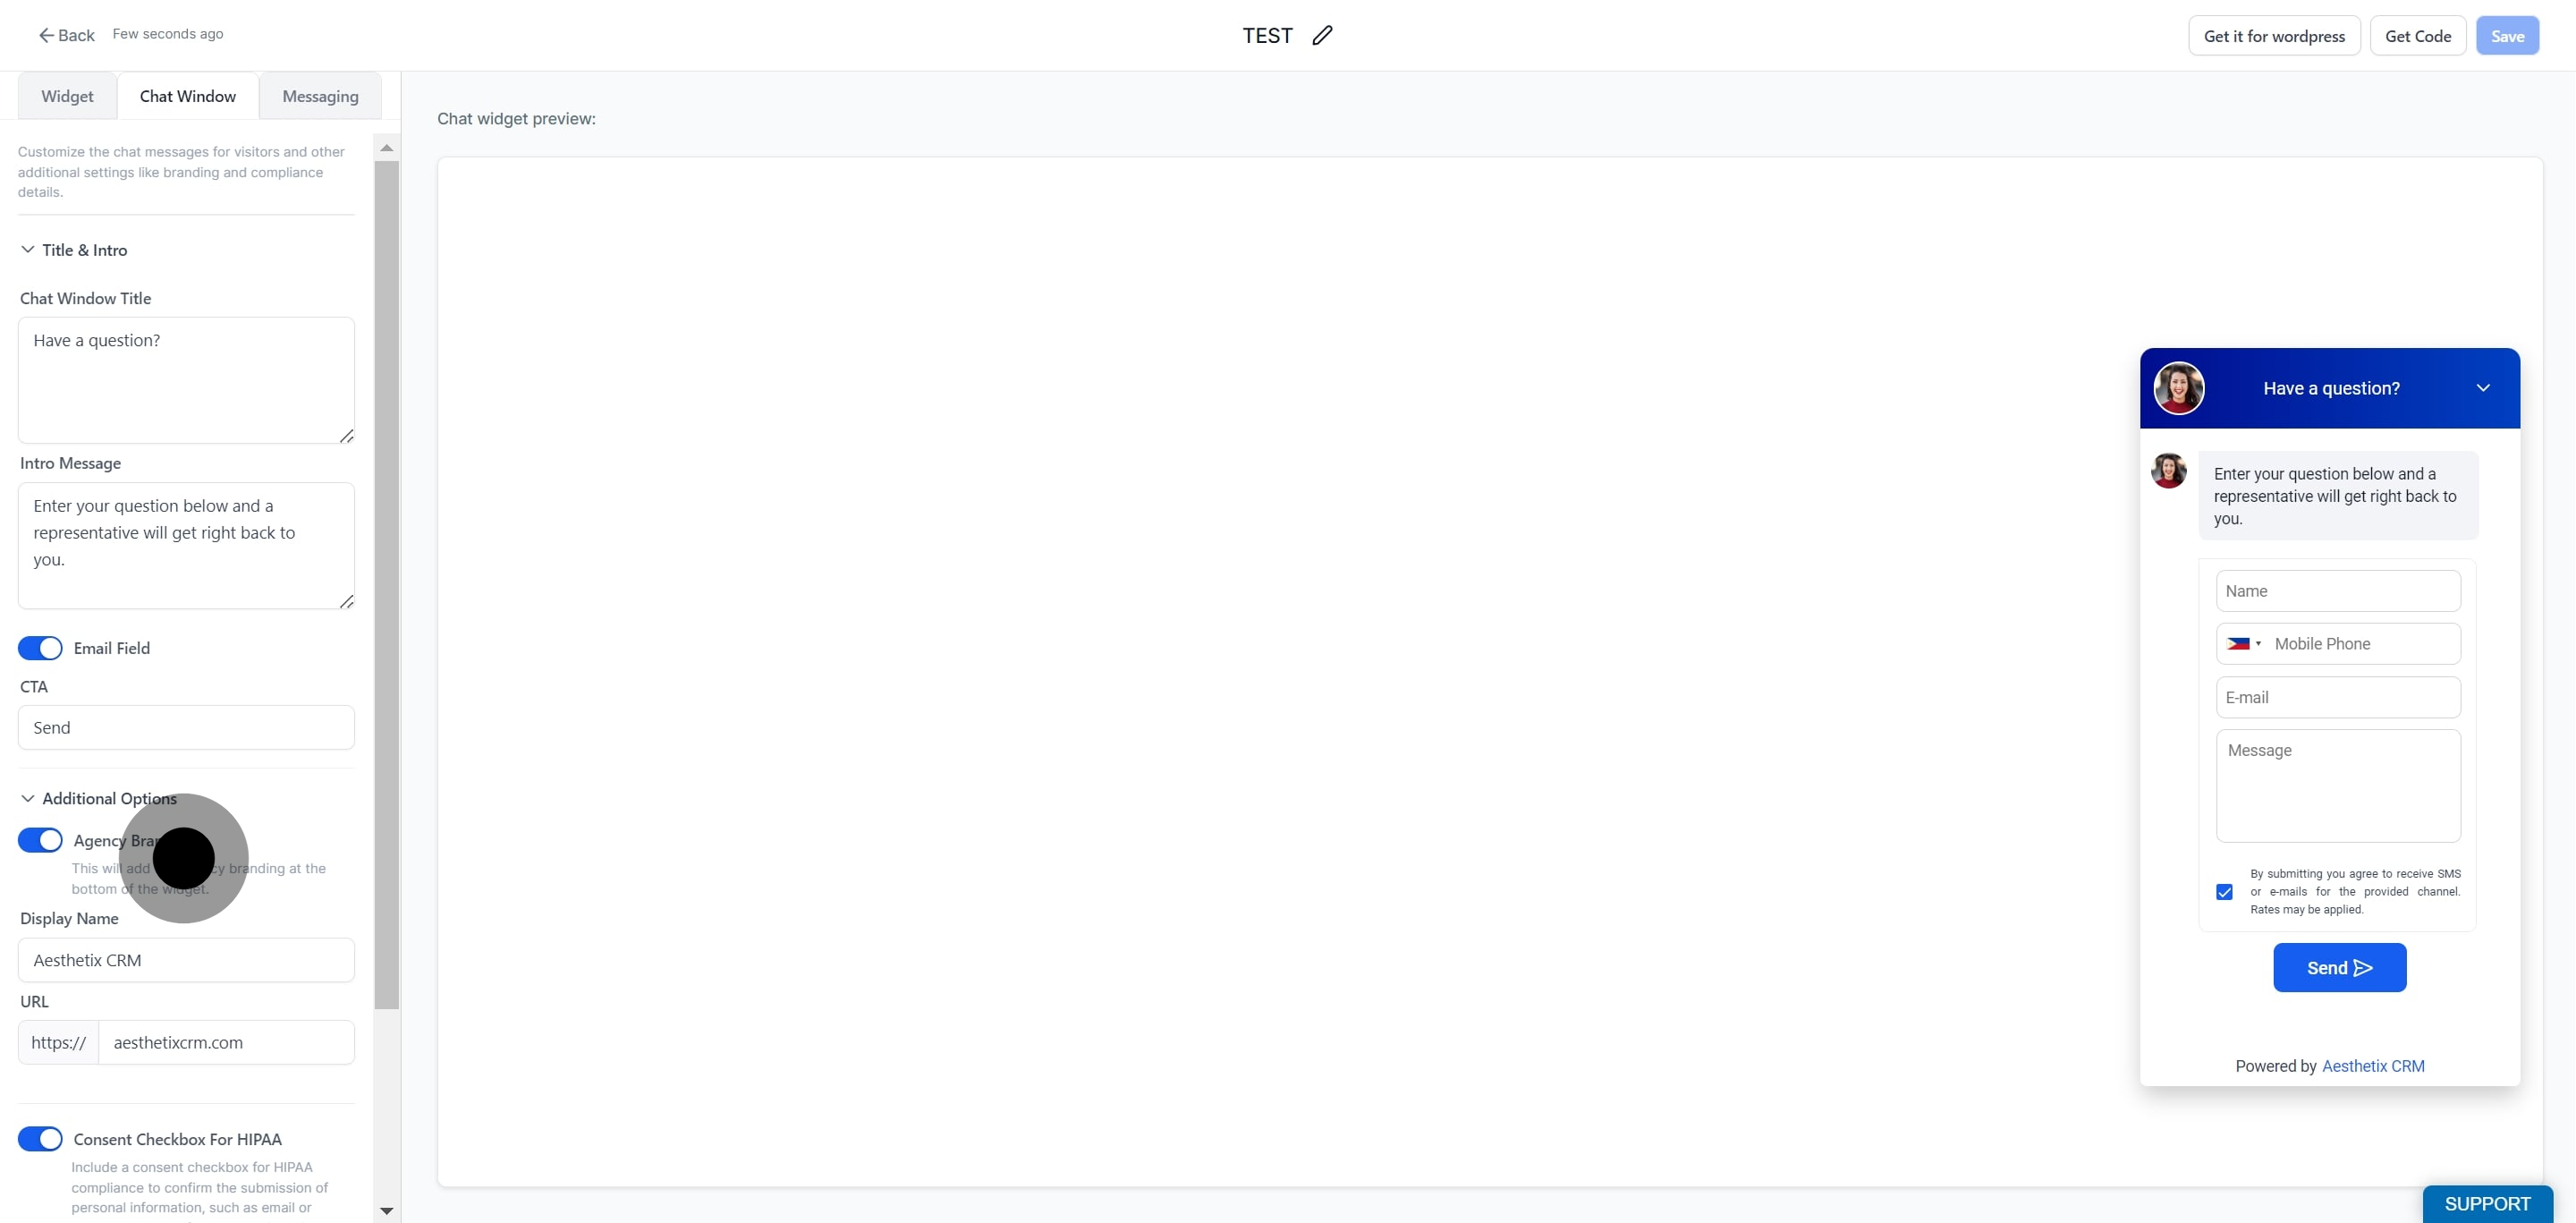
Type the display name you want shown in the branding area of the chat window.
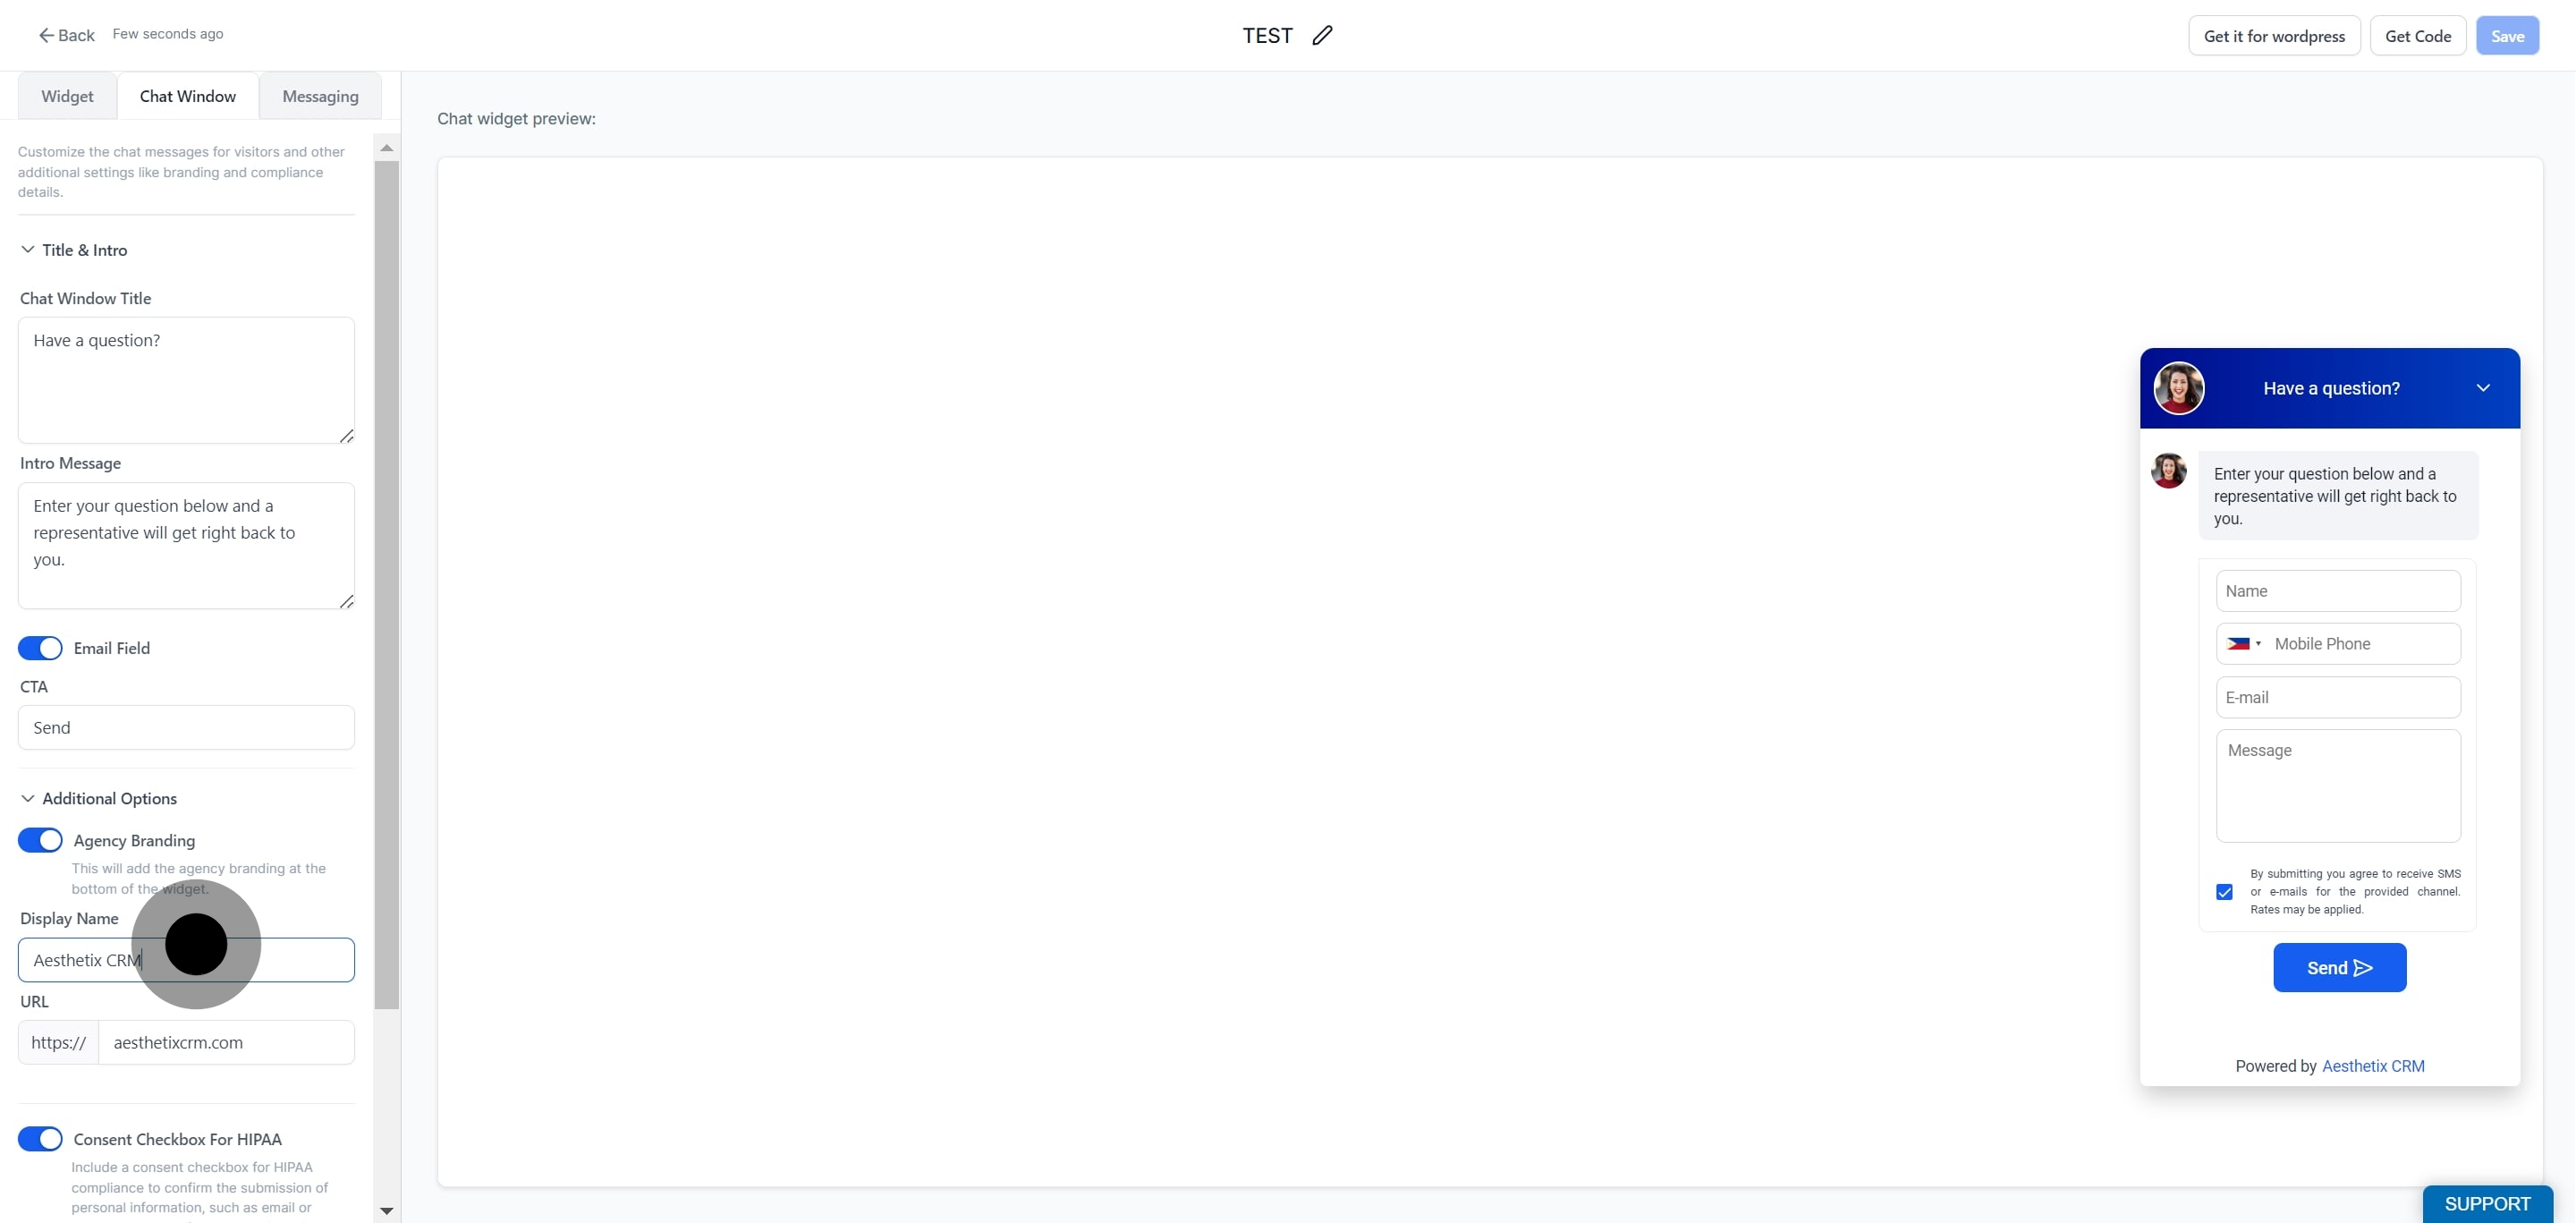
Type the URL you want linked from the branding display name.
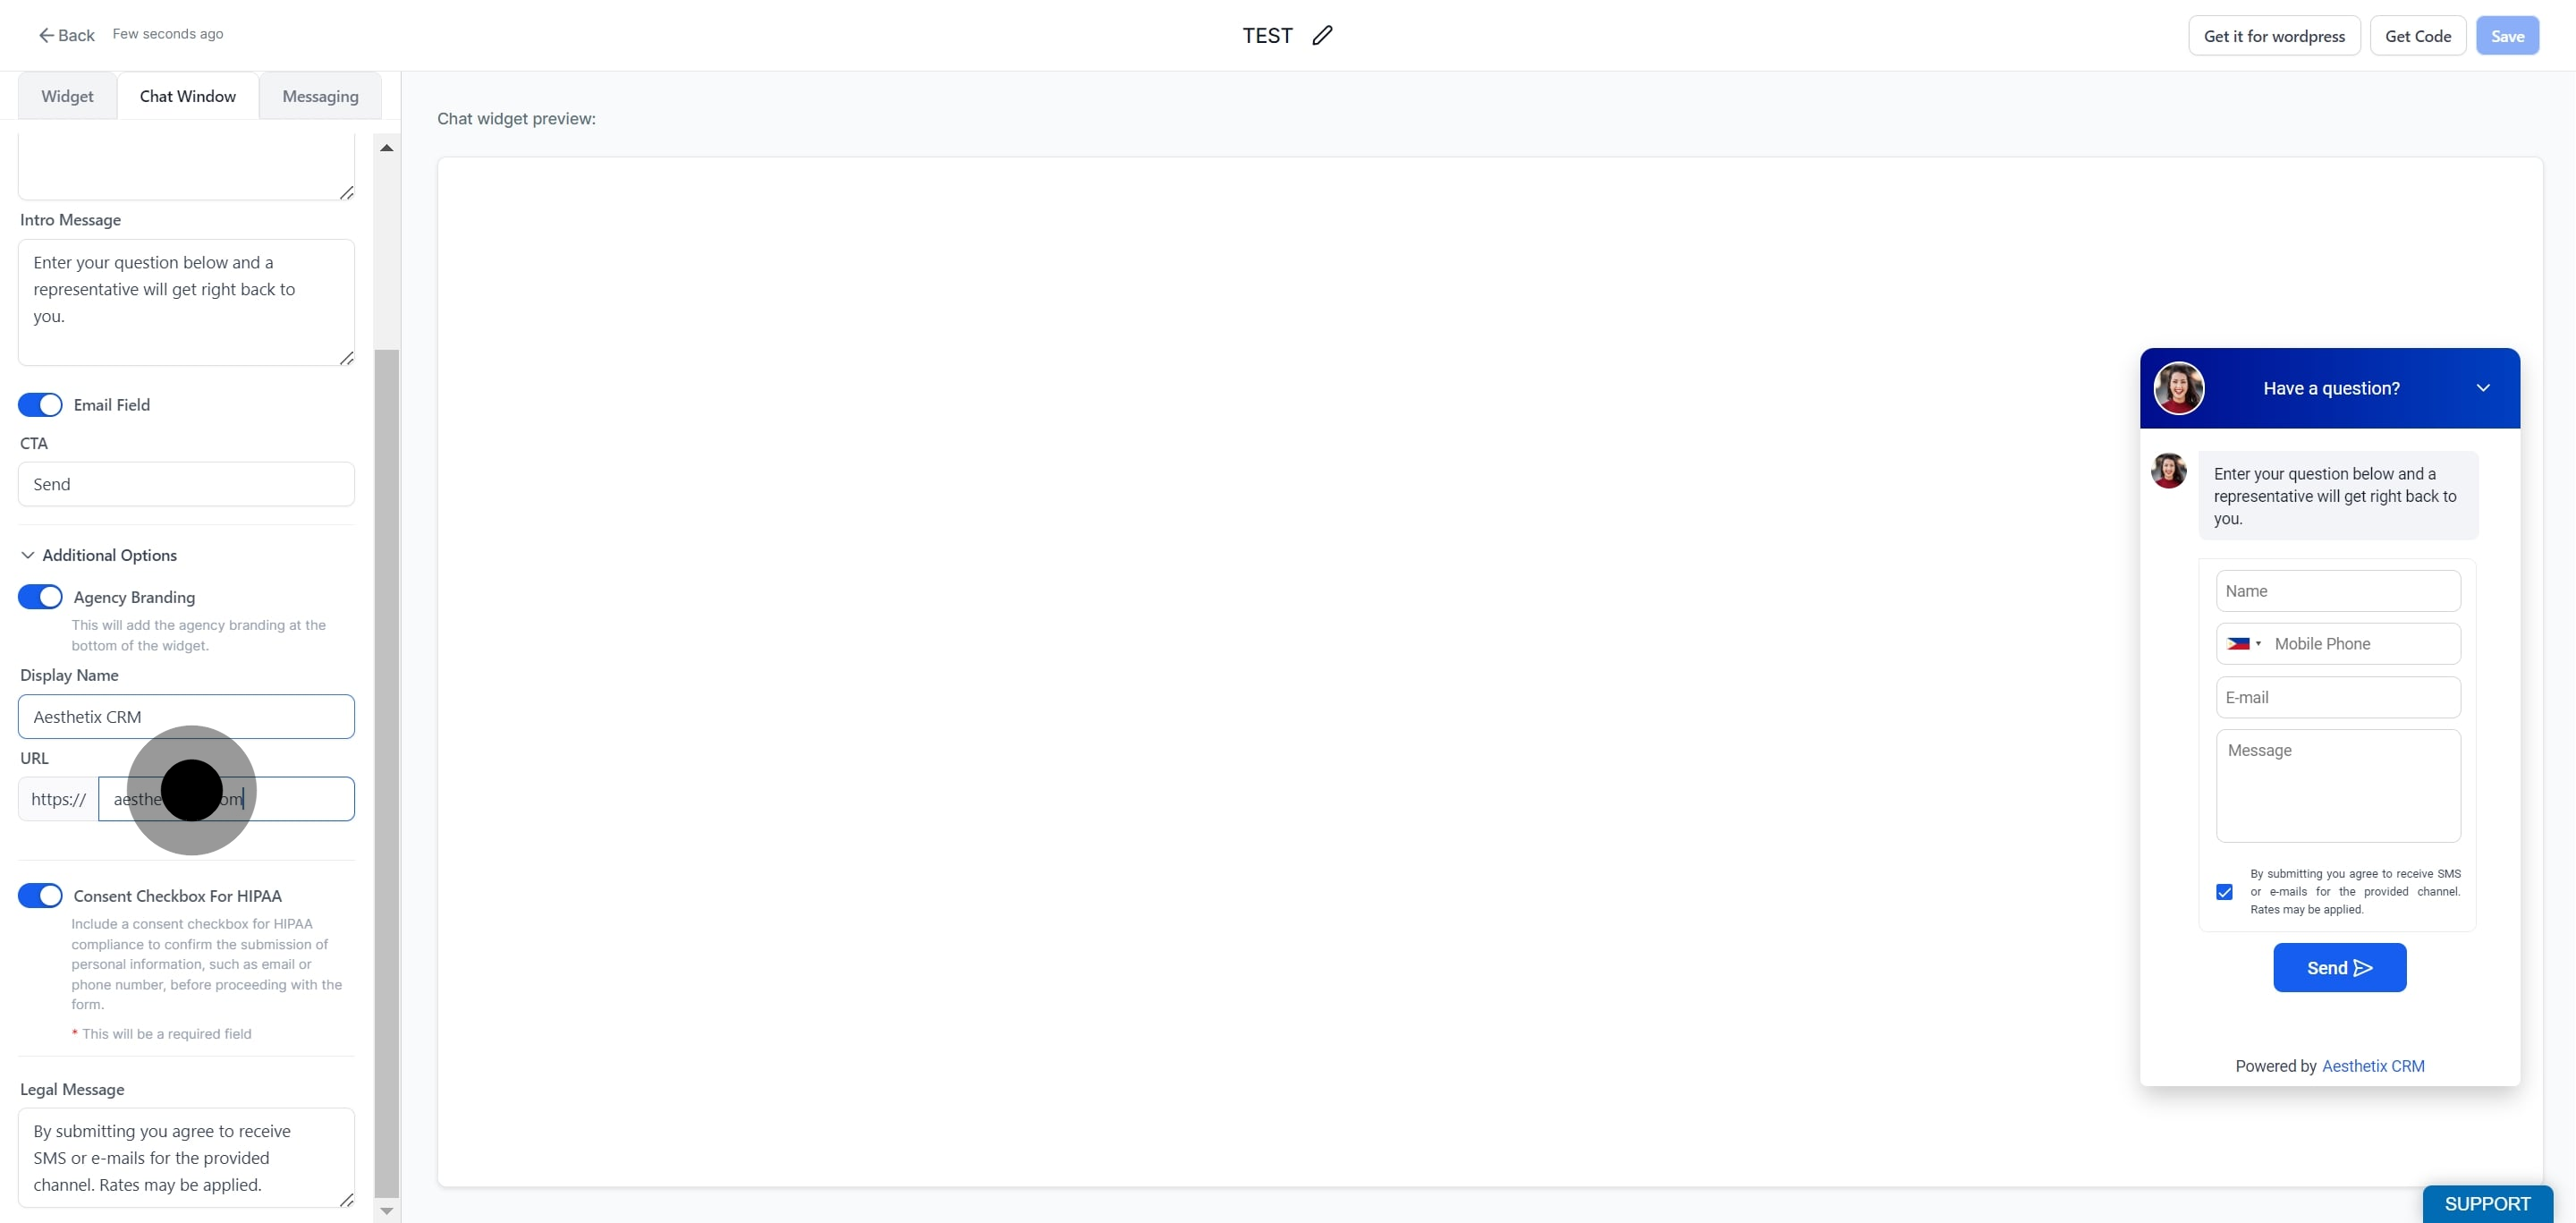
For medical aesthetics practices, consent and disclaimer settings help keep your intake compliant.
Enable the consent checkbox for HIPAA compliance if needed. This prompts visitors to agree before submitting their information.
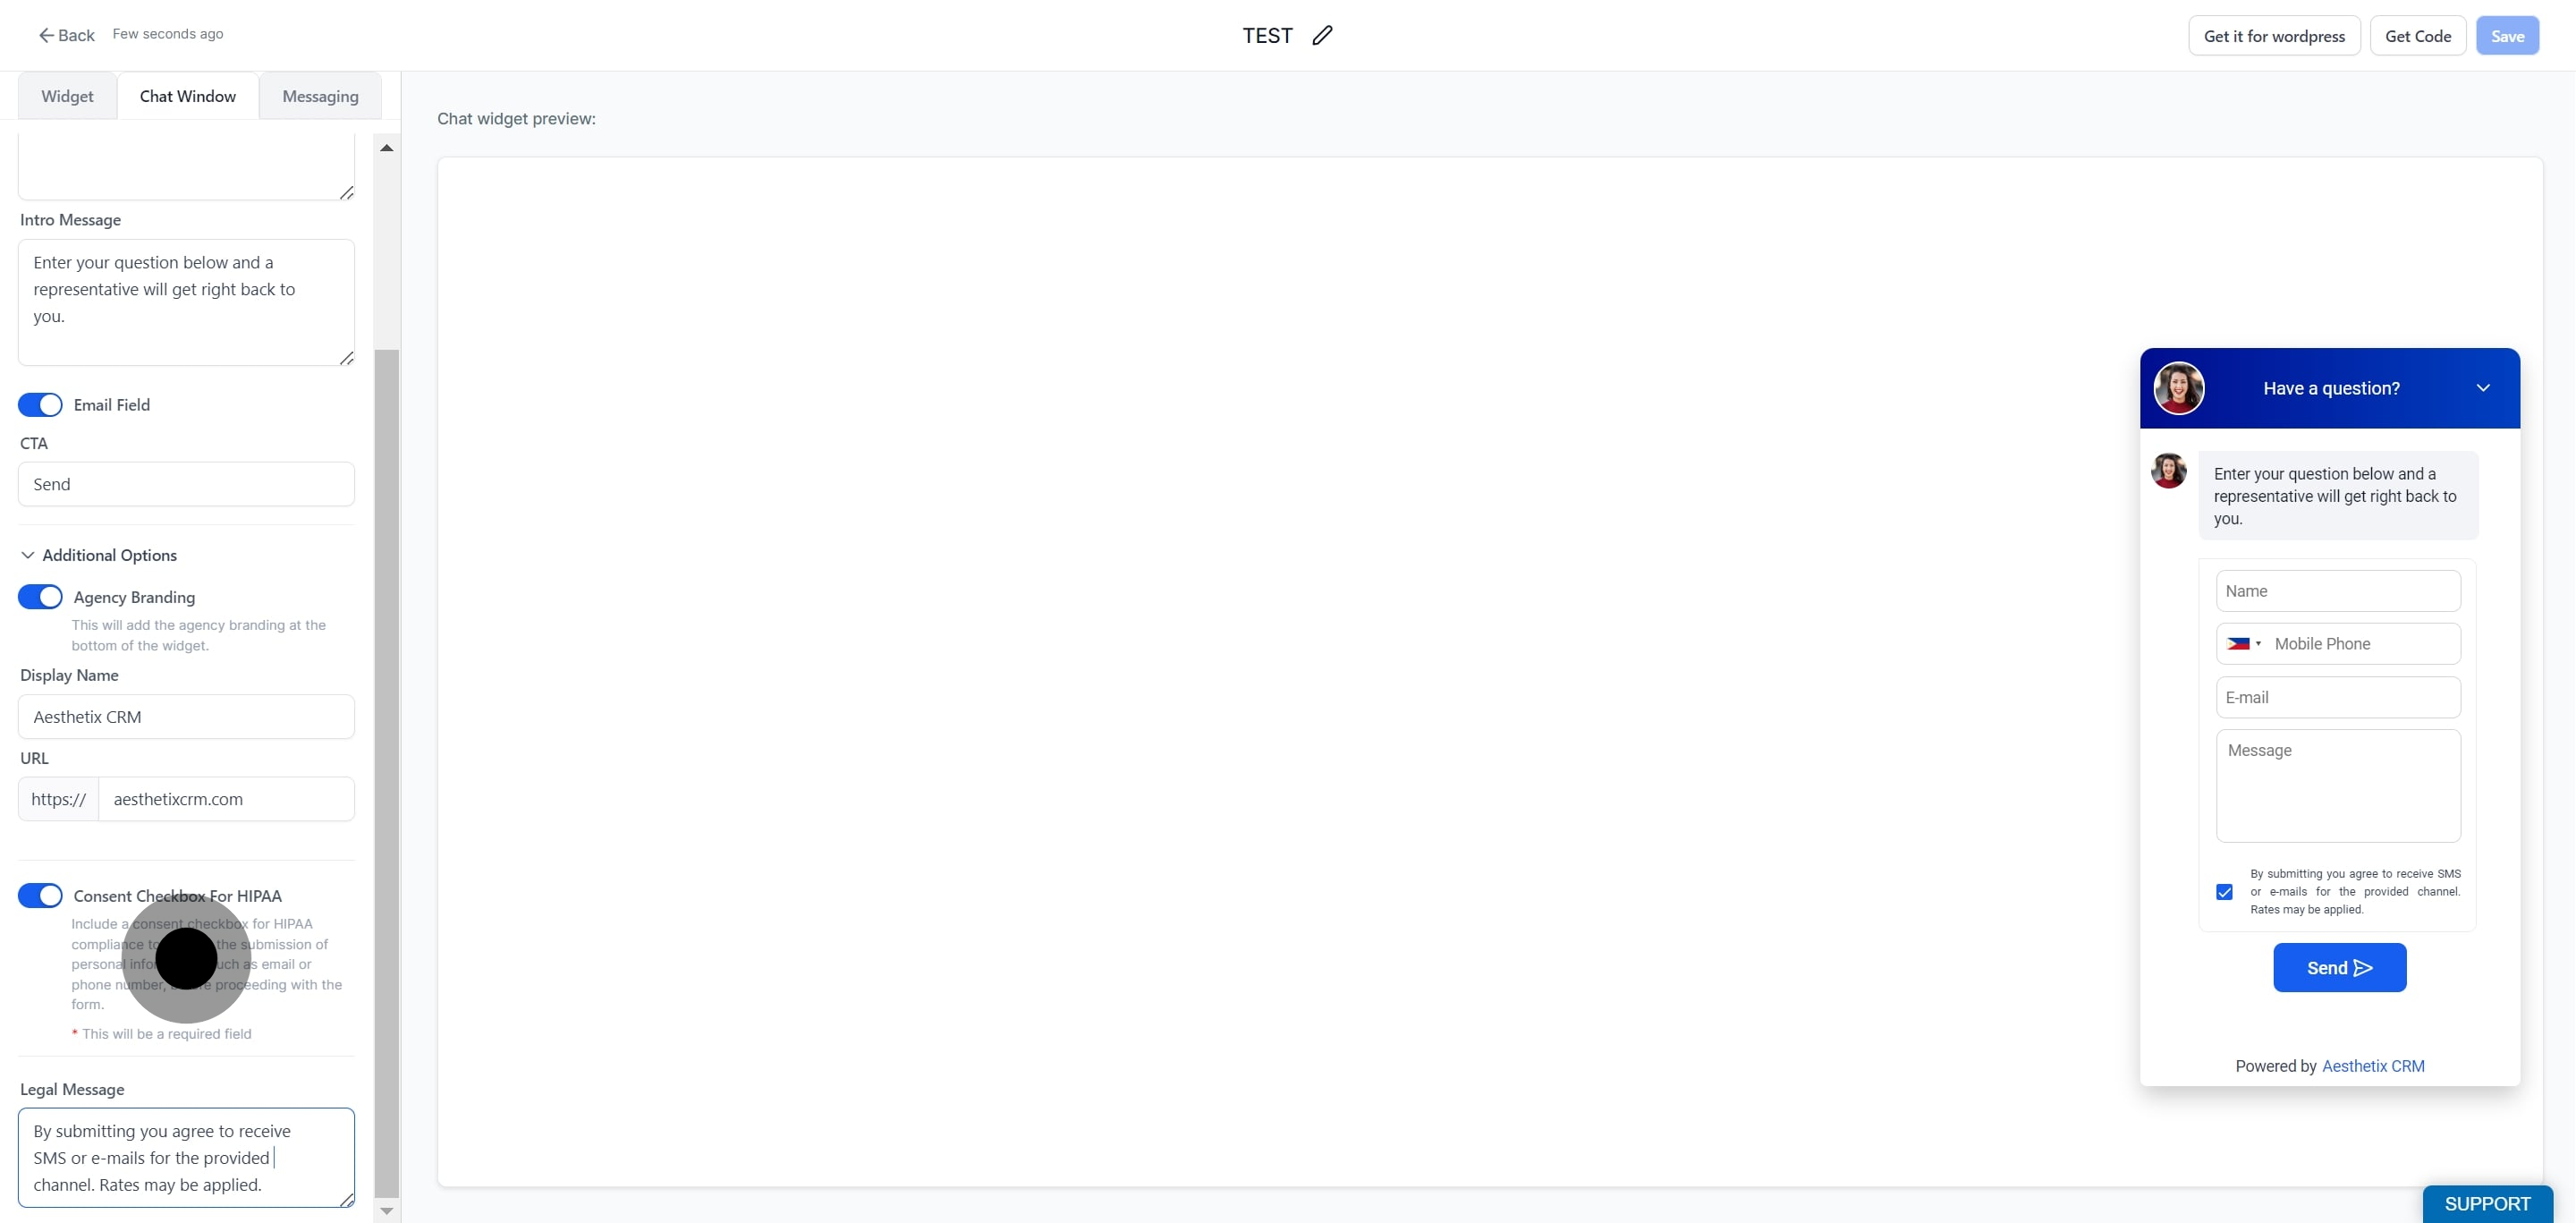
Optionally, add a legal disclaimer to your chat widget. Use this to include any required consent language or terms your practice needs visitors to acknowledge.
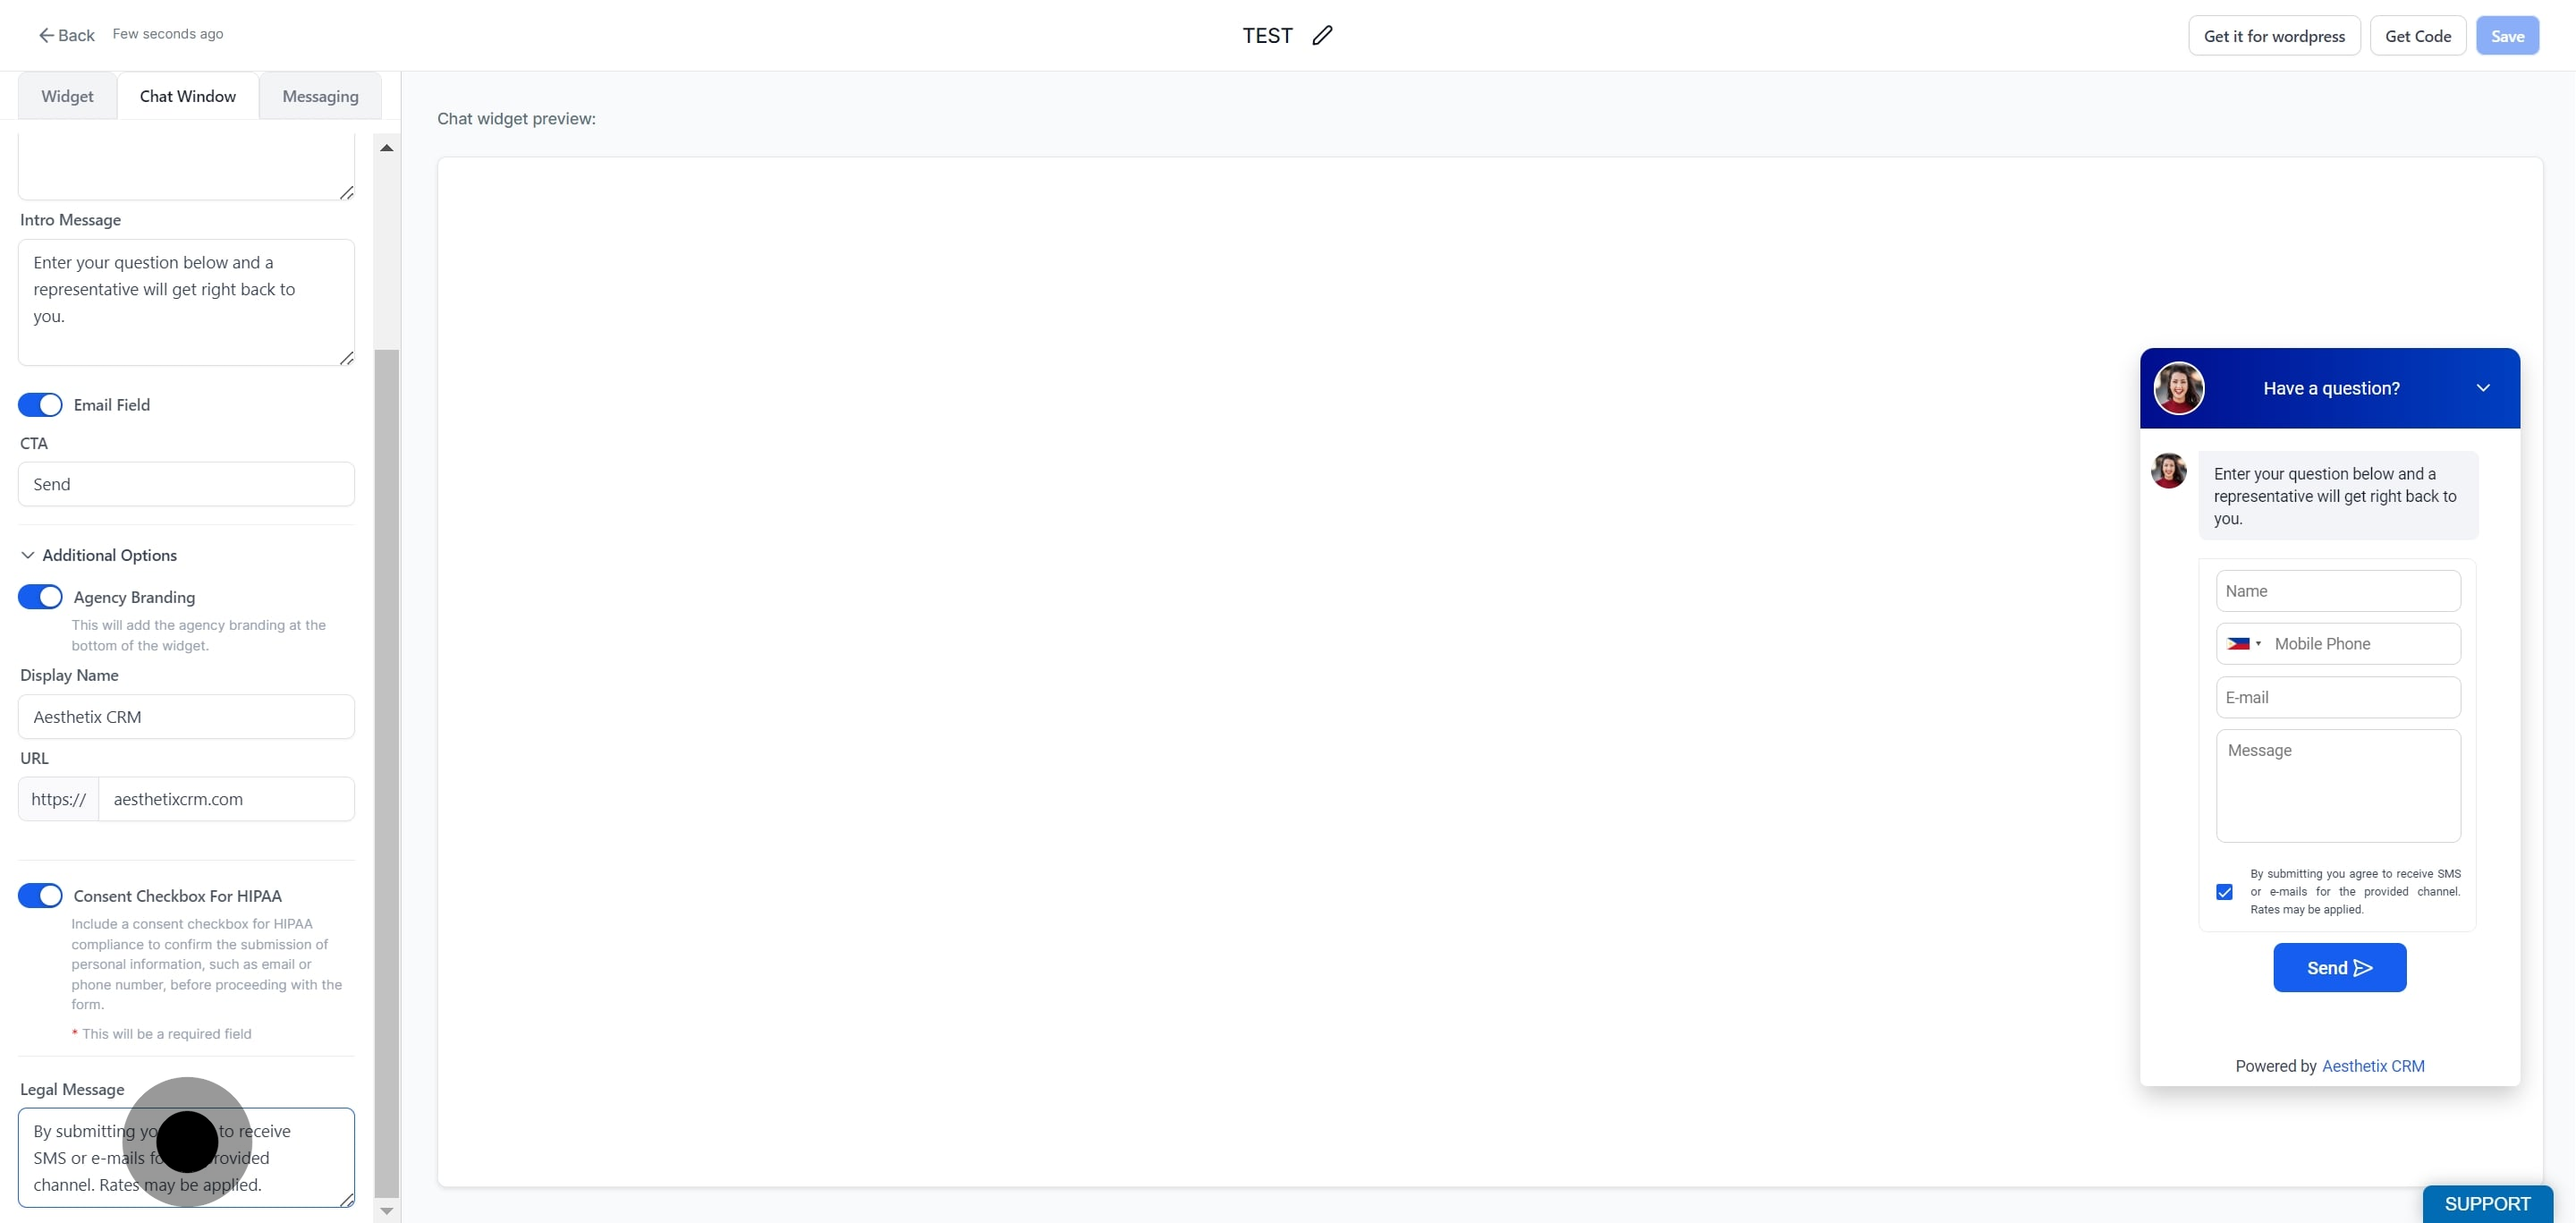
Note: Enabling the consent checkbox and adding a legal disclaimer supports HIPAA-appropriate intake. Confirm your disclaimer language with your compliance resource before publishing.
Review your customized chat window and save your changes to apply them.
Preview your customized chat widget design to see how the window will appear to visitors.
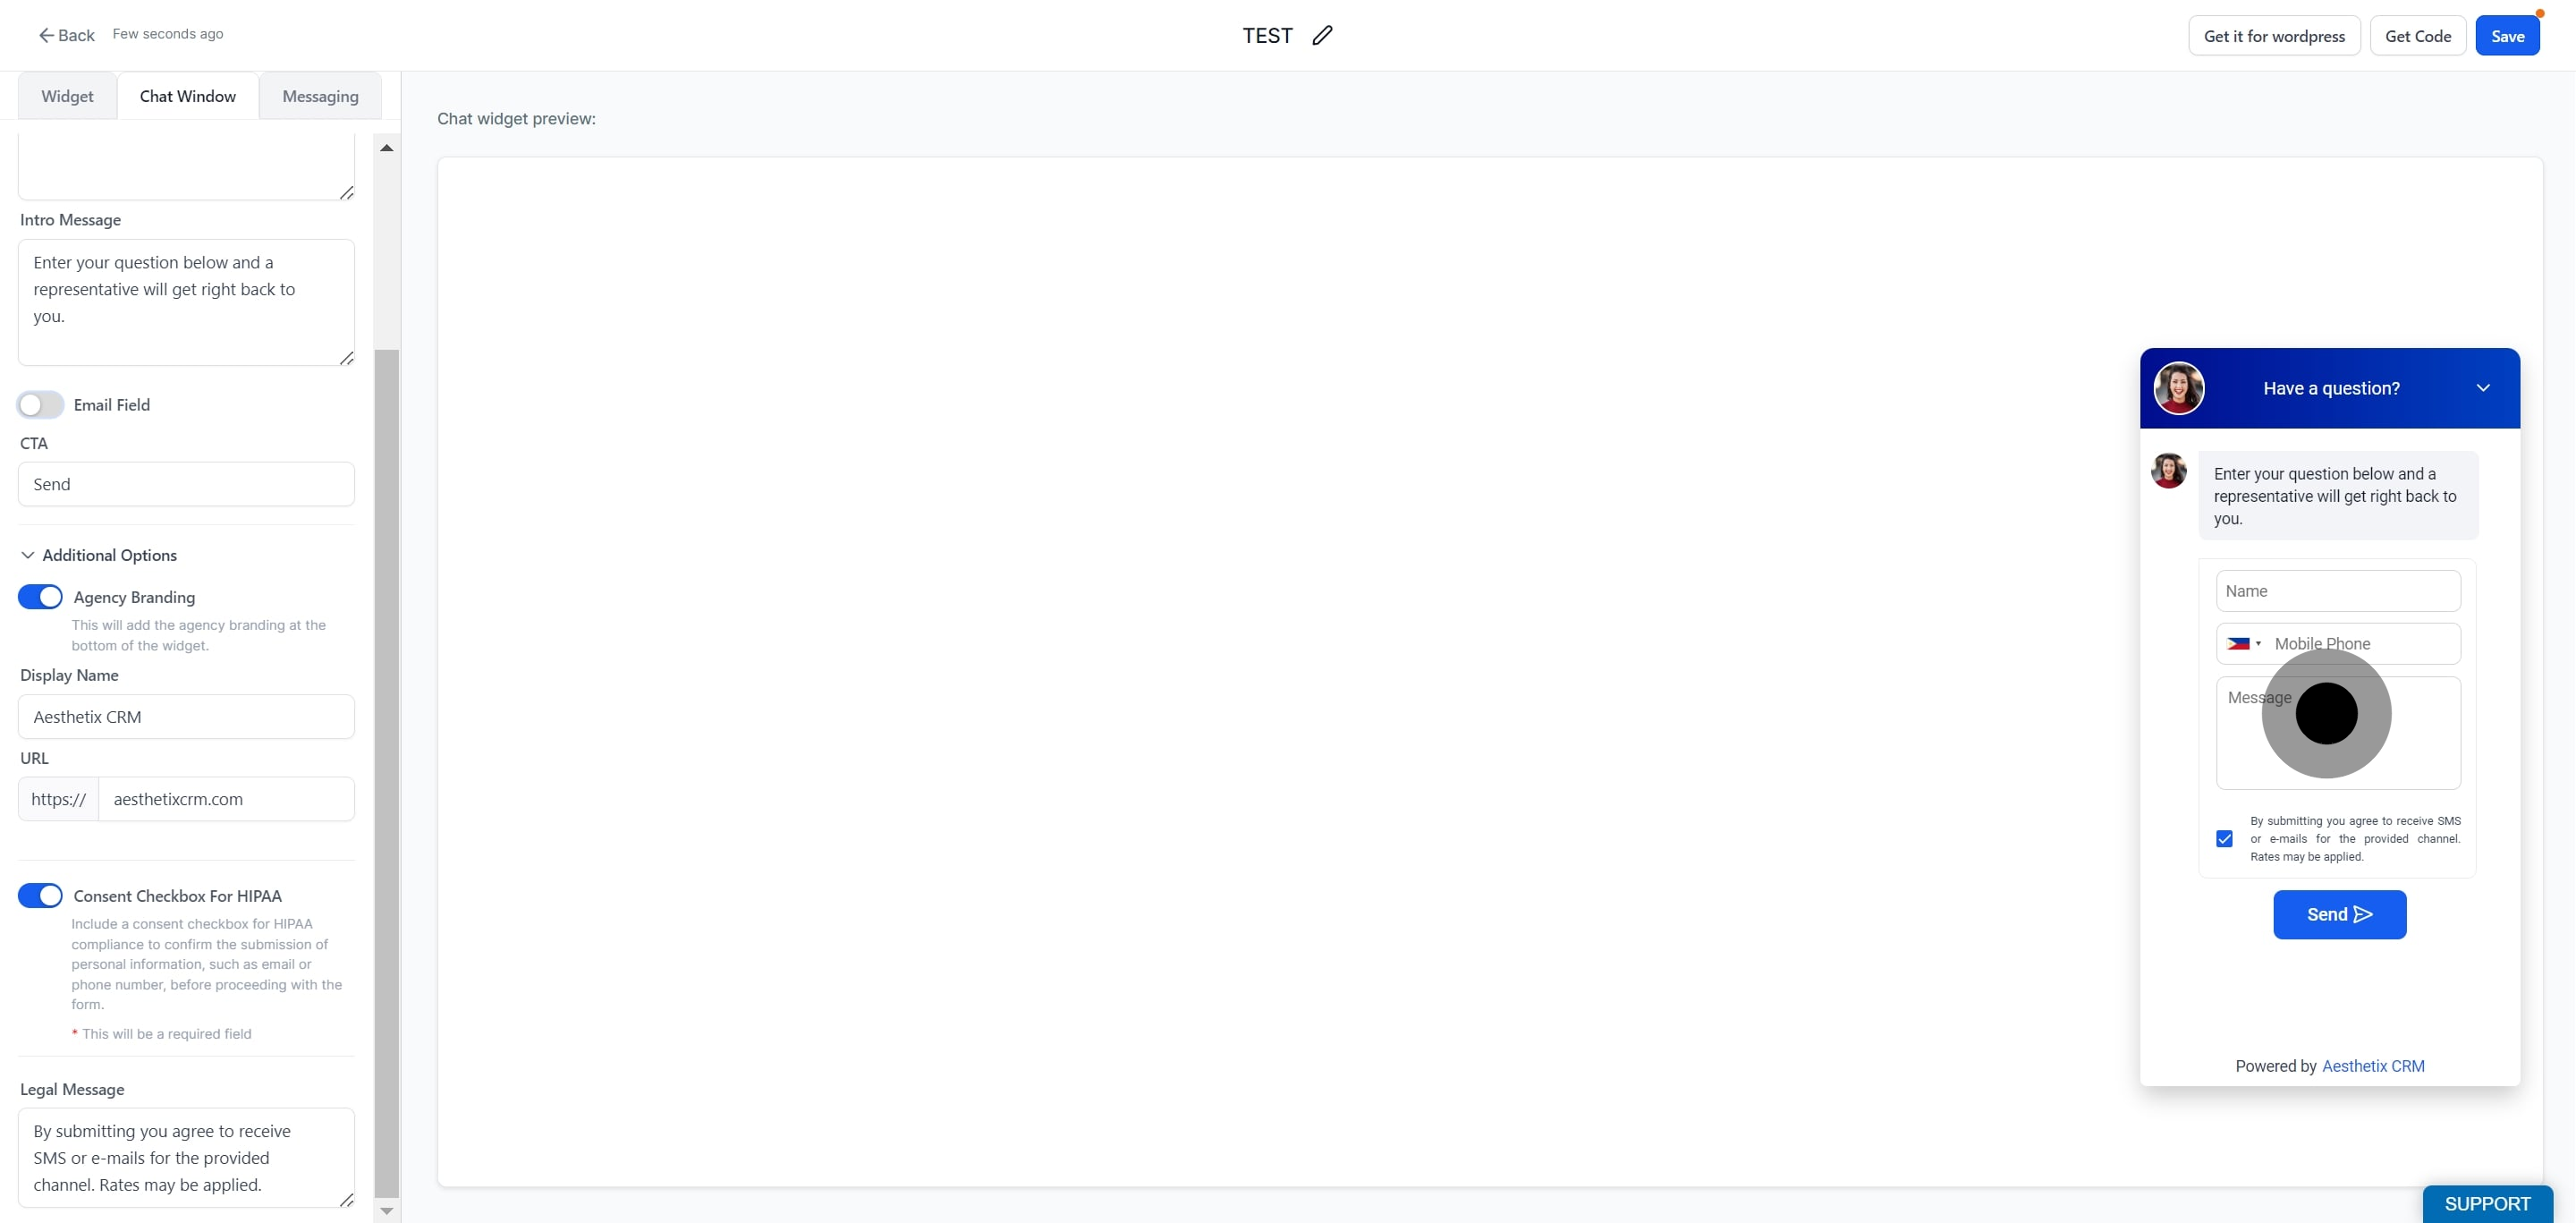
Lastly, click Save to apply your changes.
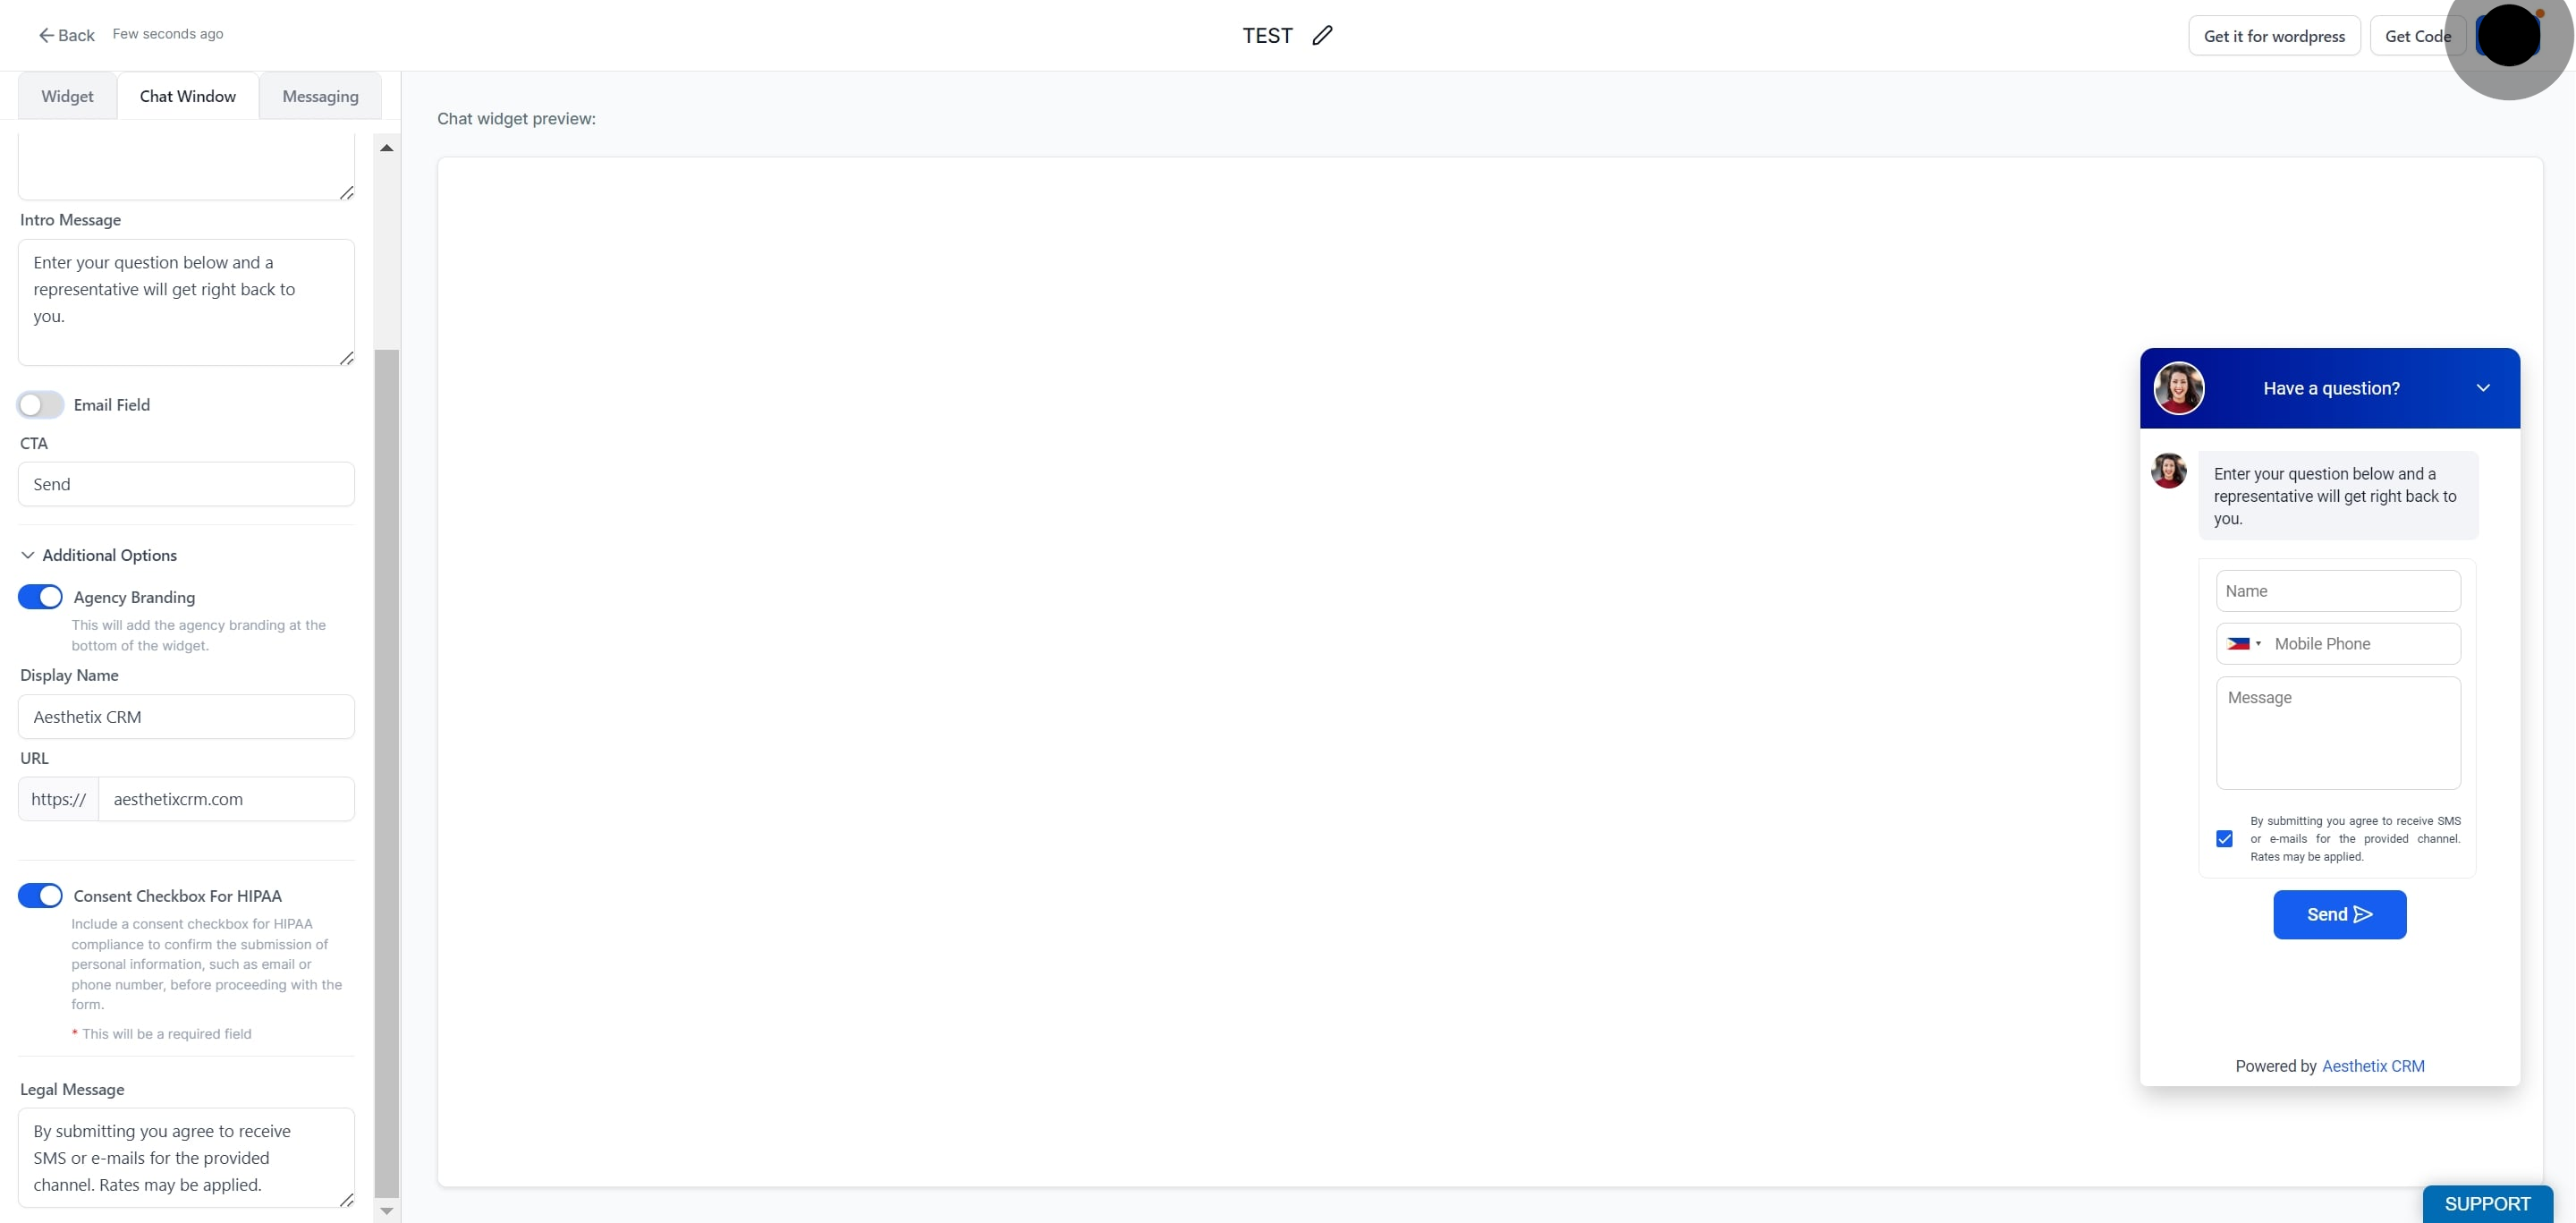
Where do I find the chat window settings? Navigate to Web Tools > Chat Widget, then open the Chat Window tab to access all title, intro, field, branding, and consent options.
What is the difference between the title and the intro message? The title is the header shown at the top of the open chat window, while the intro message is the greeting that welcomes visitors when the window opens.
Do I have to include the email field? No. The email field is optional. Enable it only if you want to capture a visitor's email address along with their message.
What is the call to action used for? The call to action is the prompt or button that invites visitors to start a conversation. A clear, welcoming CTA encourages more visitors to reach out.
Should I enable the HIPAA consent checkbox? If your practice collects patient information through the chat window, enabling the consent checkbox helps you gather agreement before a visitor submits their details. Confirm your requirements with your compliance resource.
Can I add my own disclaimer text? Yes. The legal disclaimer field lets you add custom consent language or terms that visitors can review within the chat window.
Will my changes appear right away? Your changes take effect once you click Save. Use the preview to confirm the window looks correct before saving.
