The Chat Widget lets website visitors start a conversation with your practice directly from your site. Customizing its appearance helps the widget feel like a natural part of your brand, so patients and prospective clients recognize it as an extension of your practice. This guide walks you through styling the chat bubble, choosing colors and themes, personalizing greetings, and setting the widget's position and size.
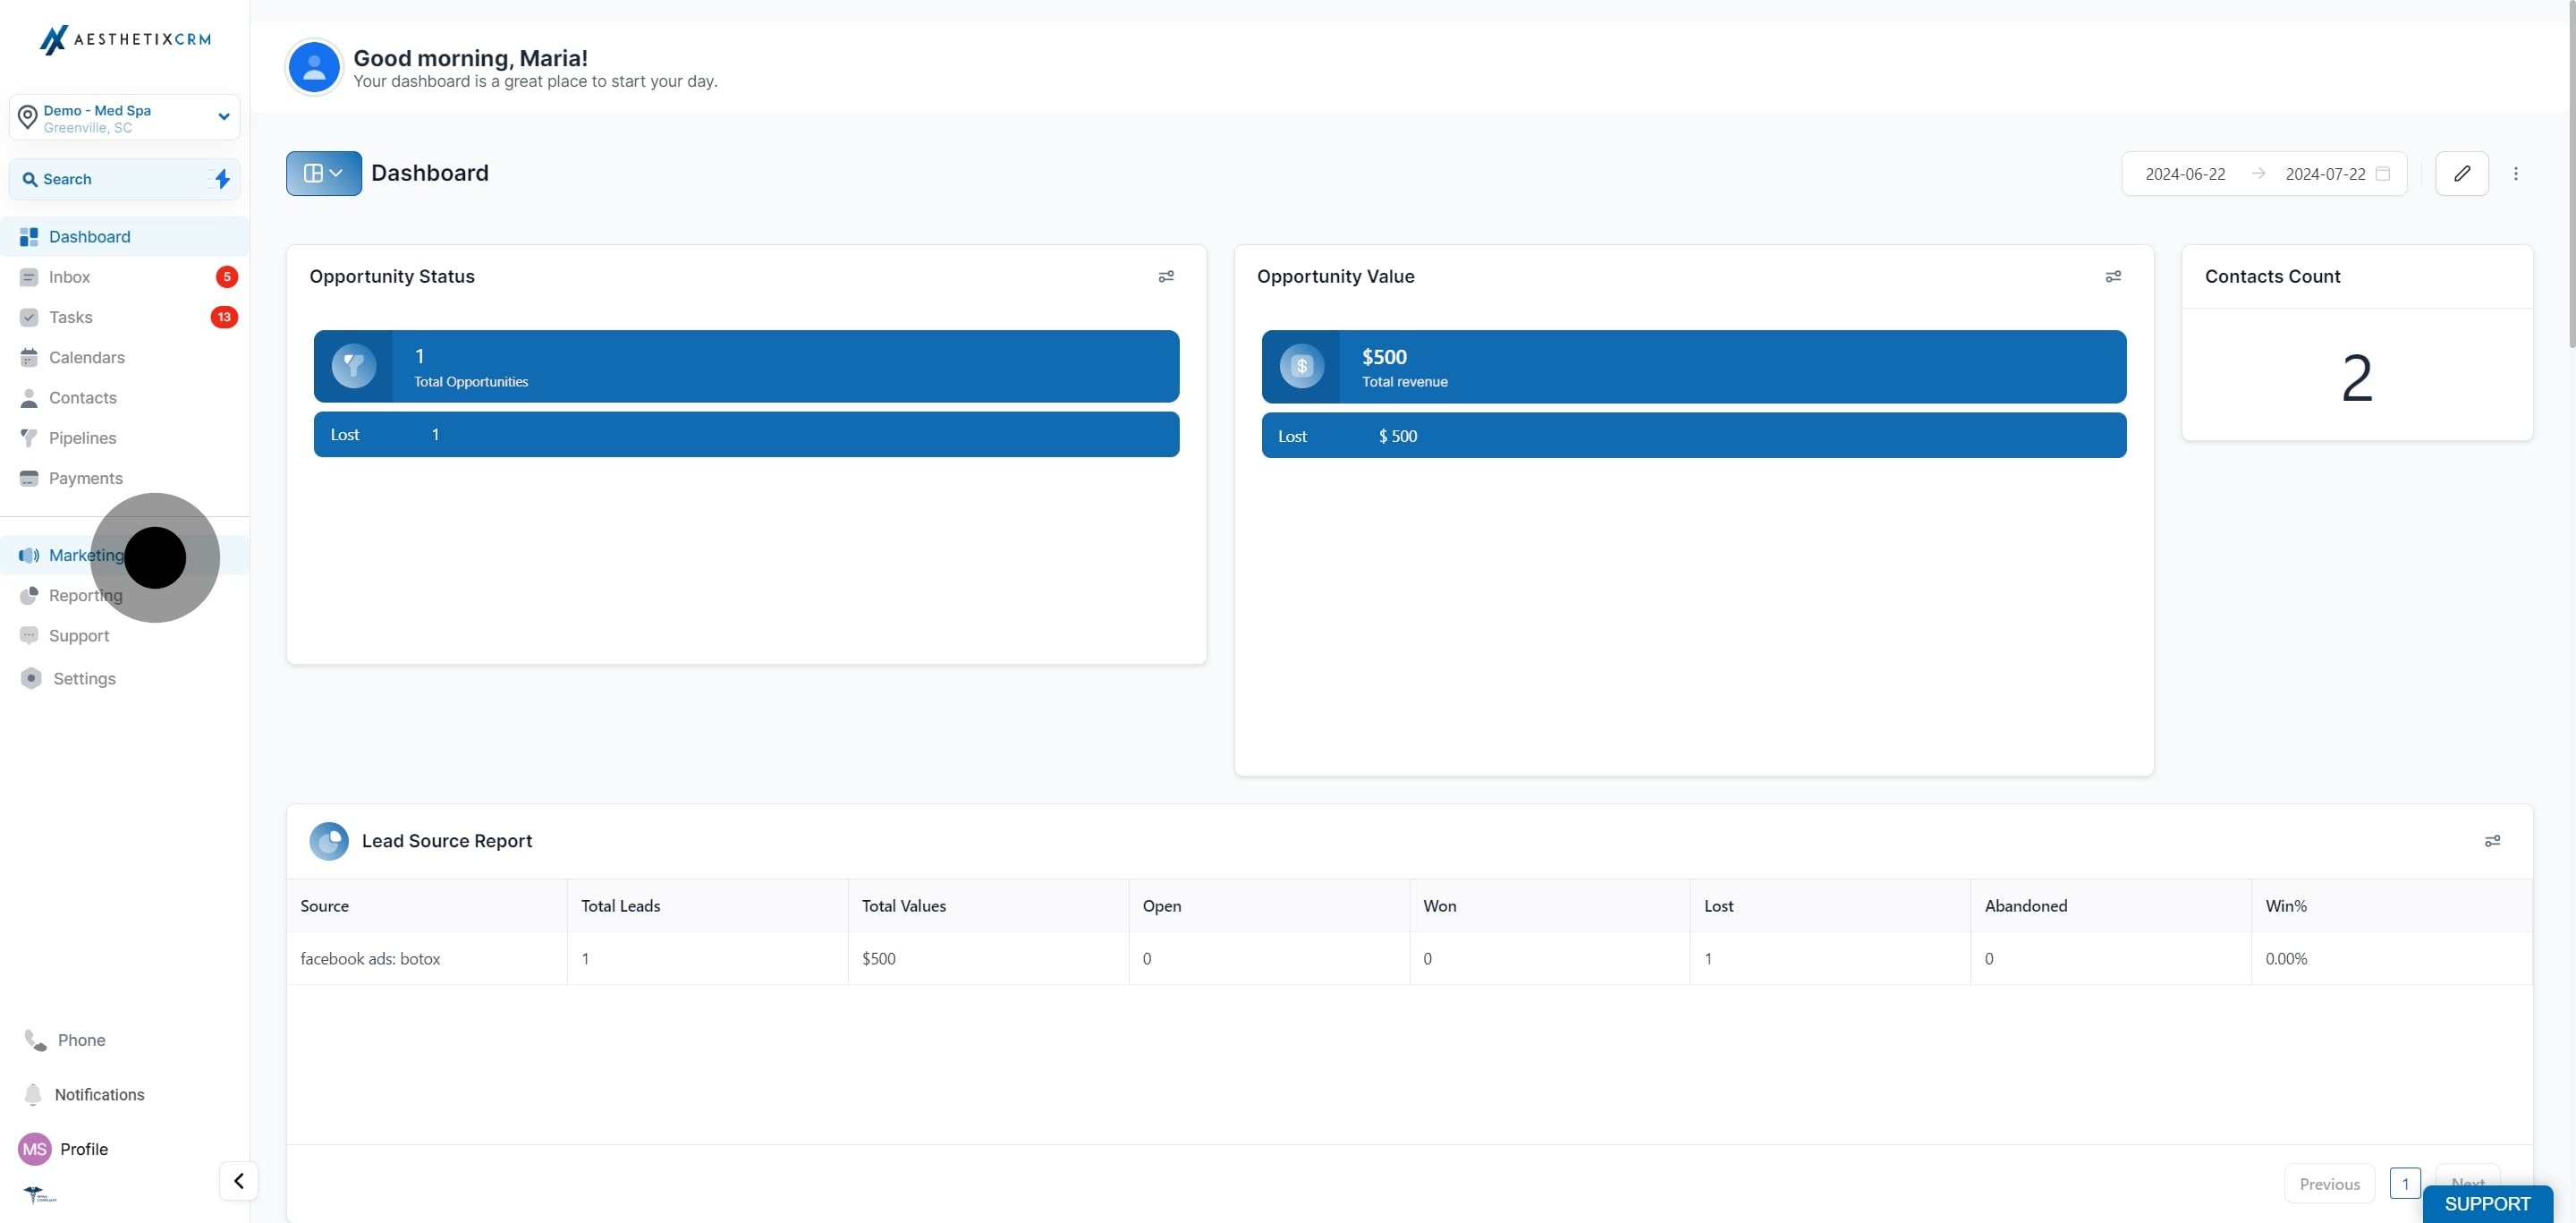
To find the Chat Widget, go to Web Tools in your account, then select Chat Widget.
From your account, open Web Tools.
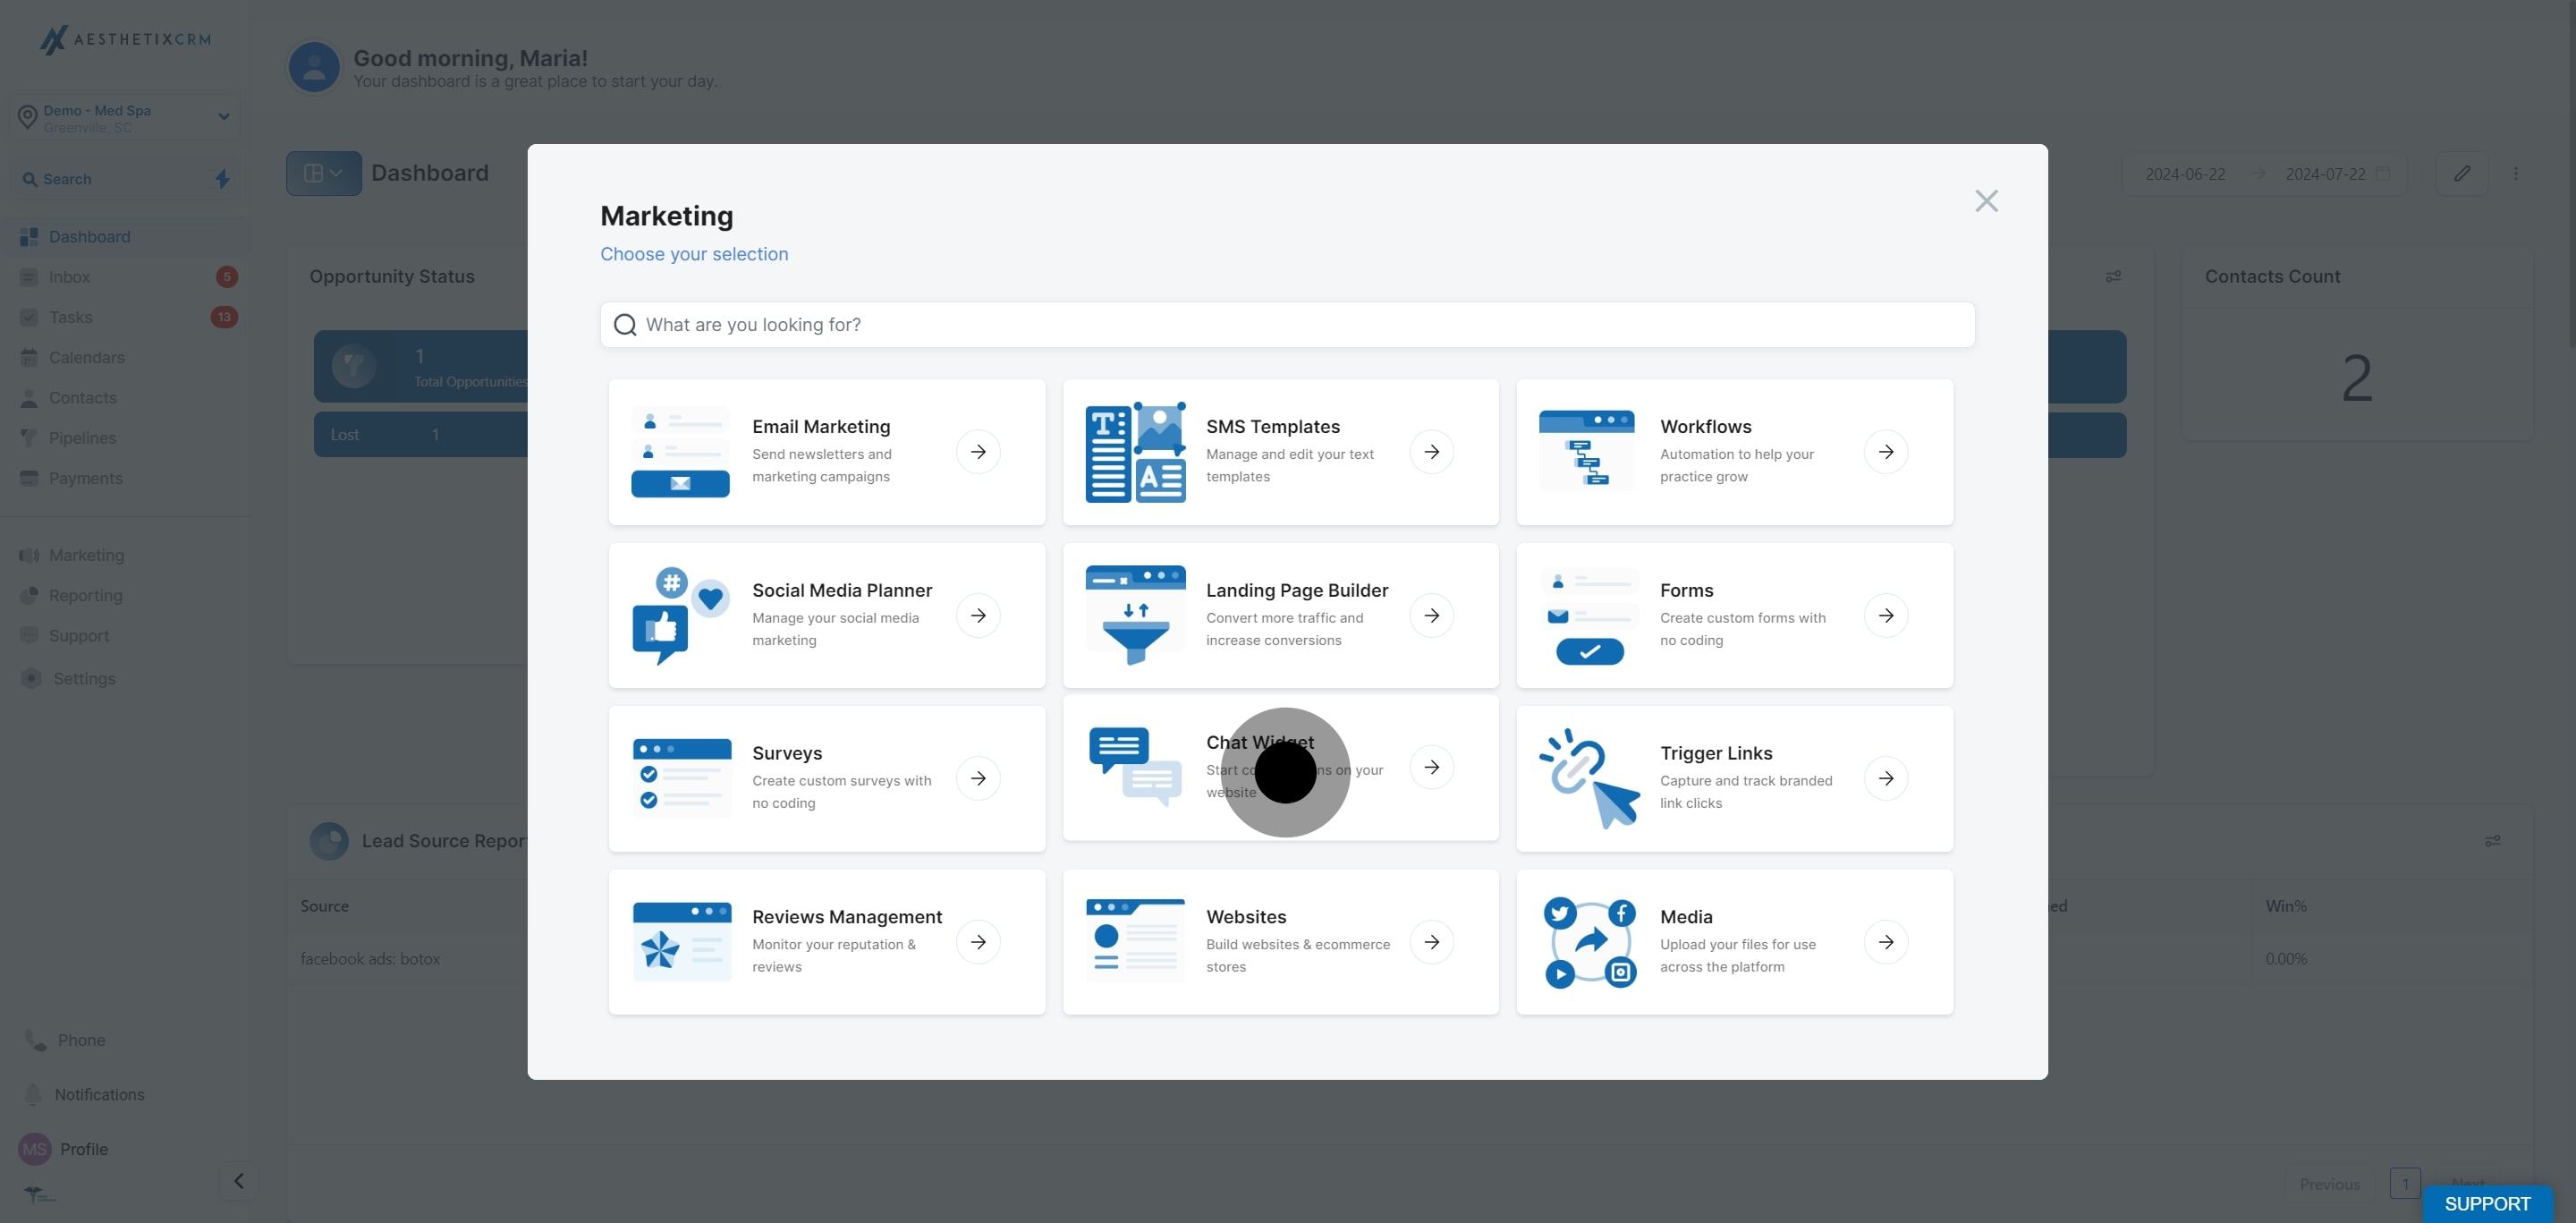
Select Chat Widget from the menu to start conversations on your website.
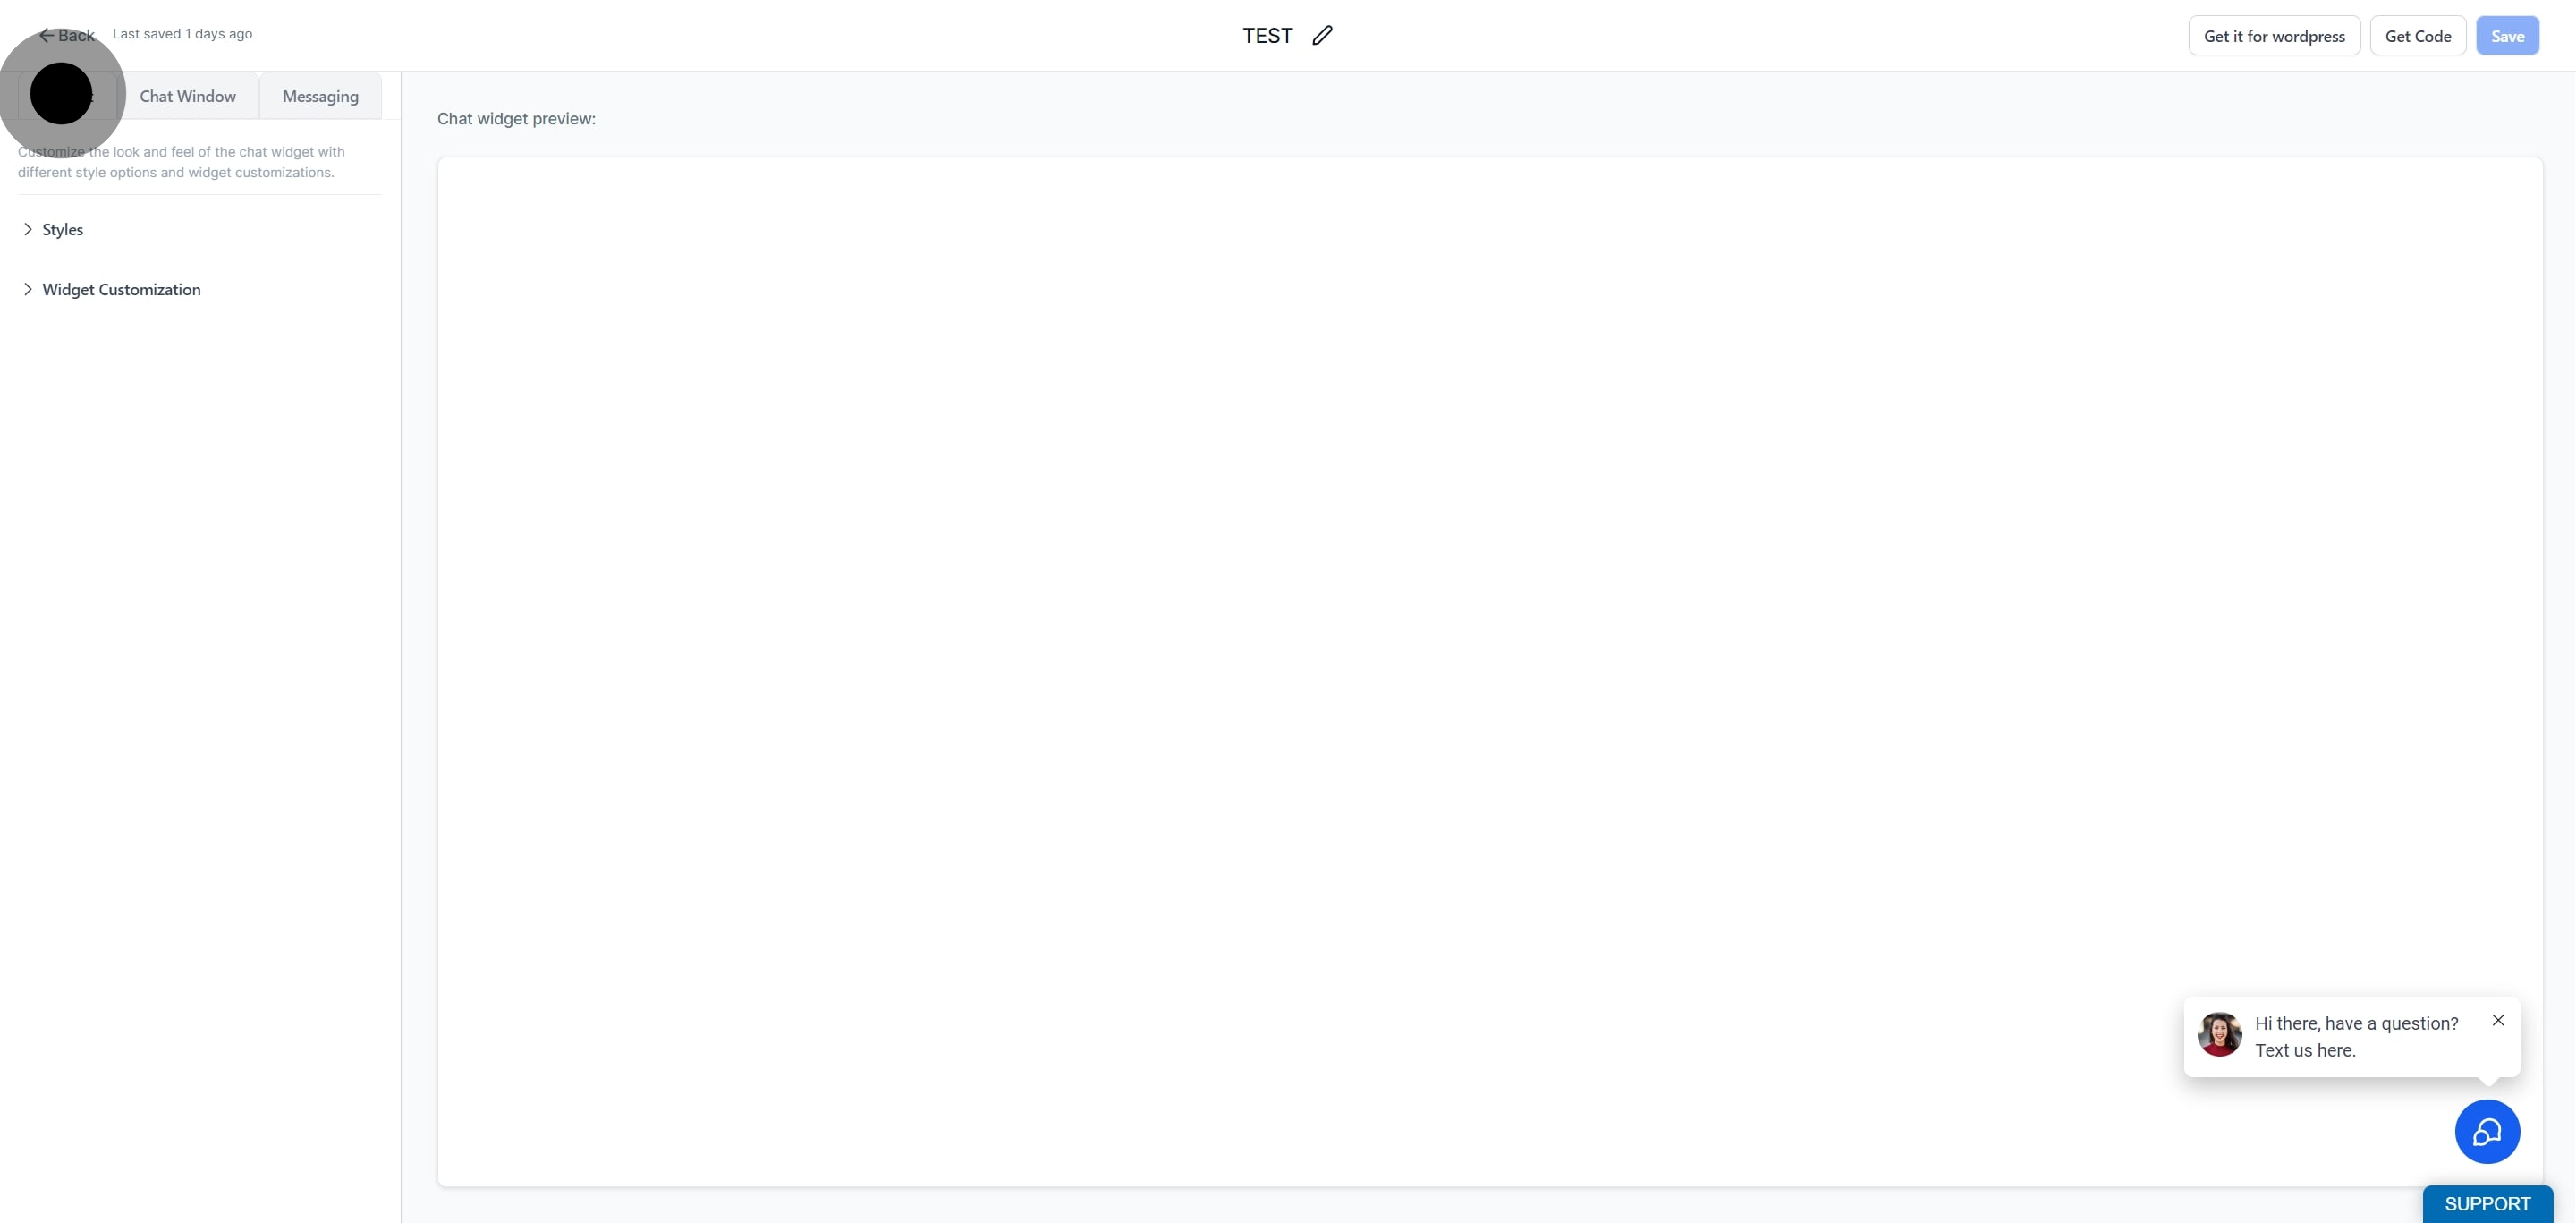
Click Widget.
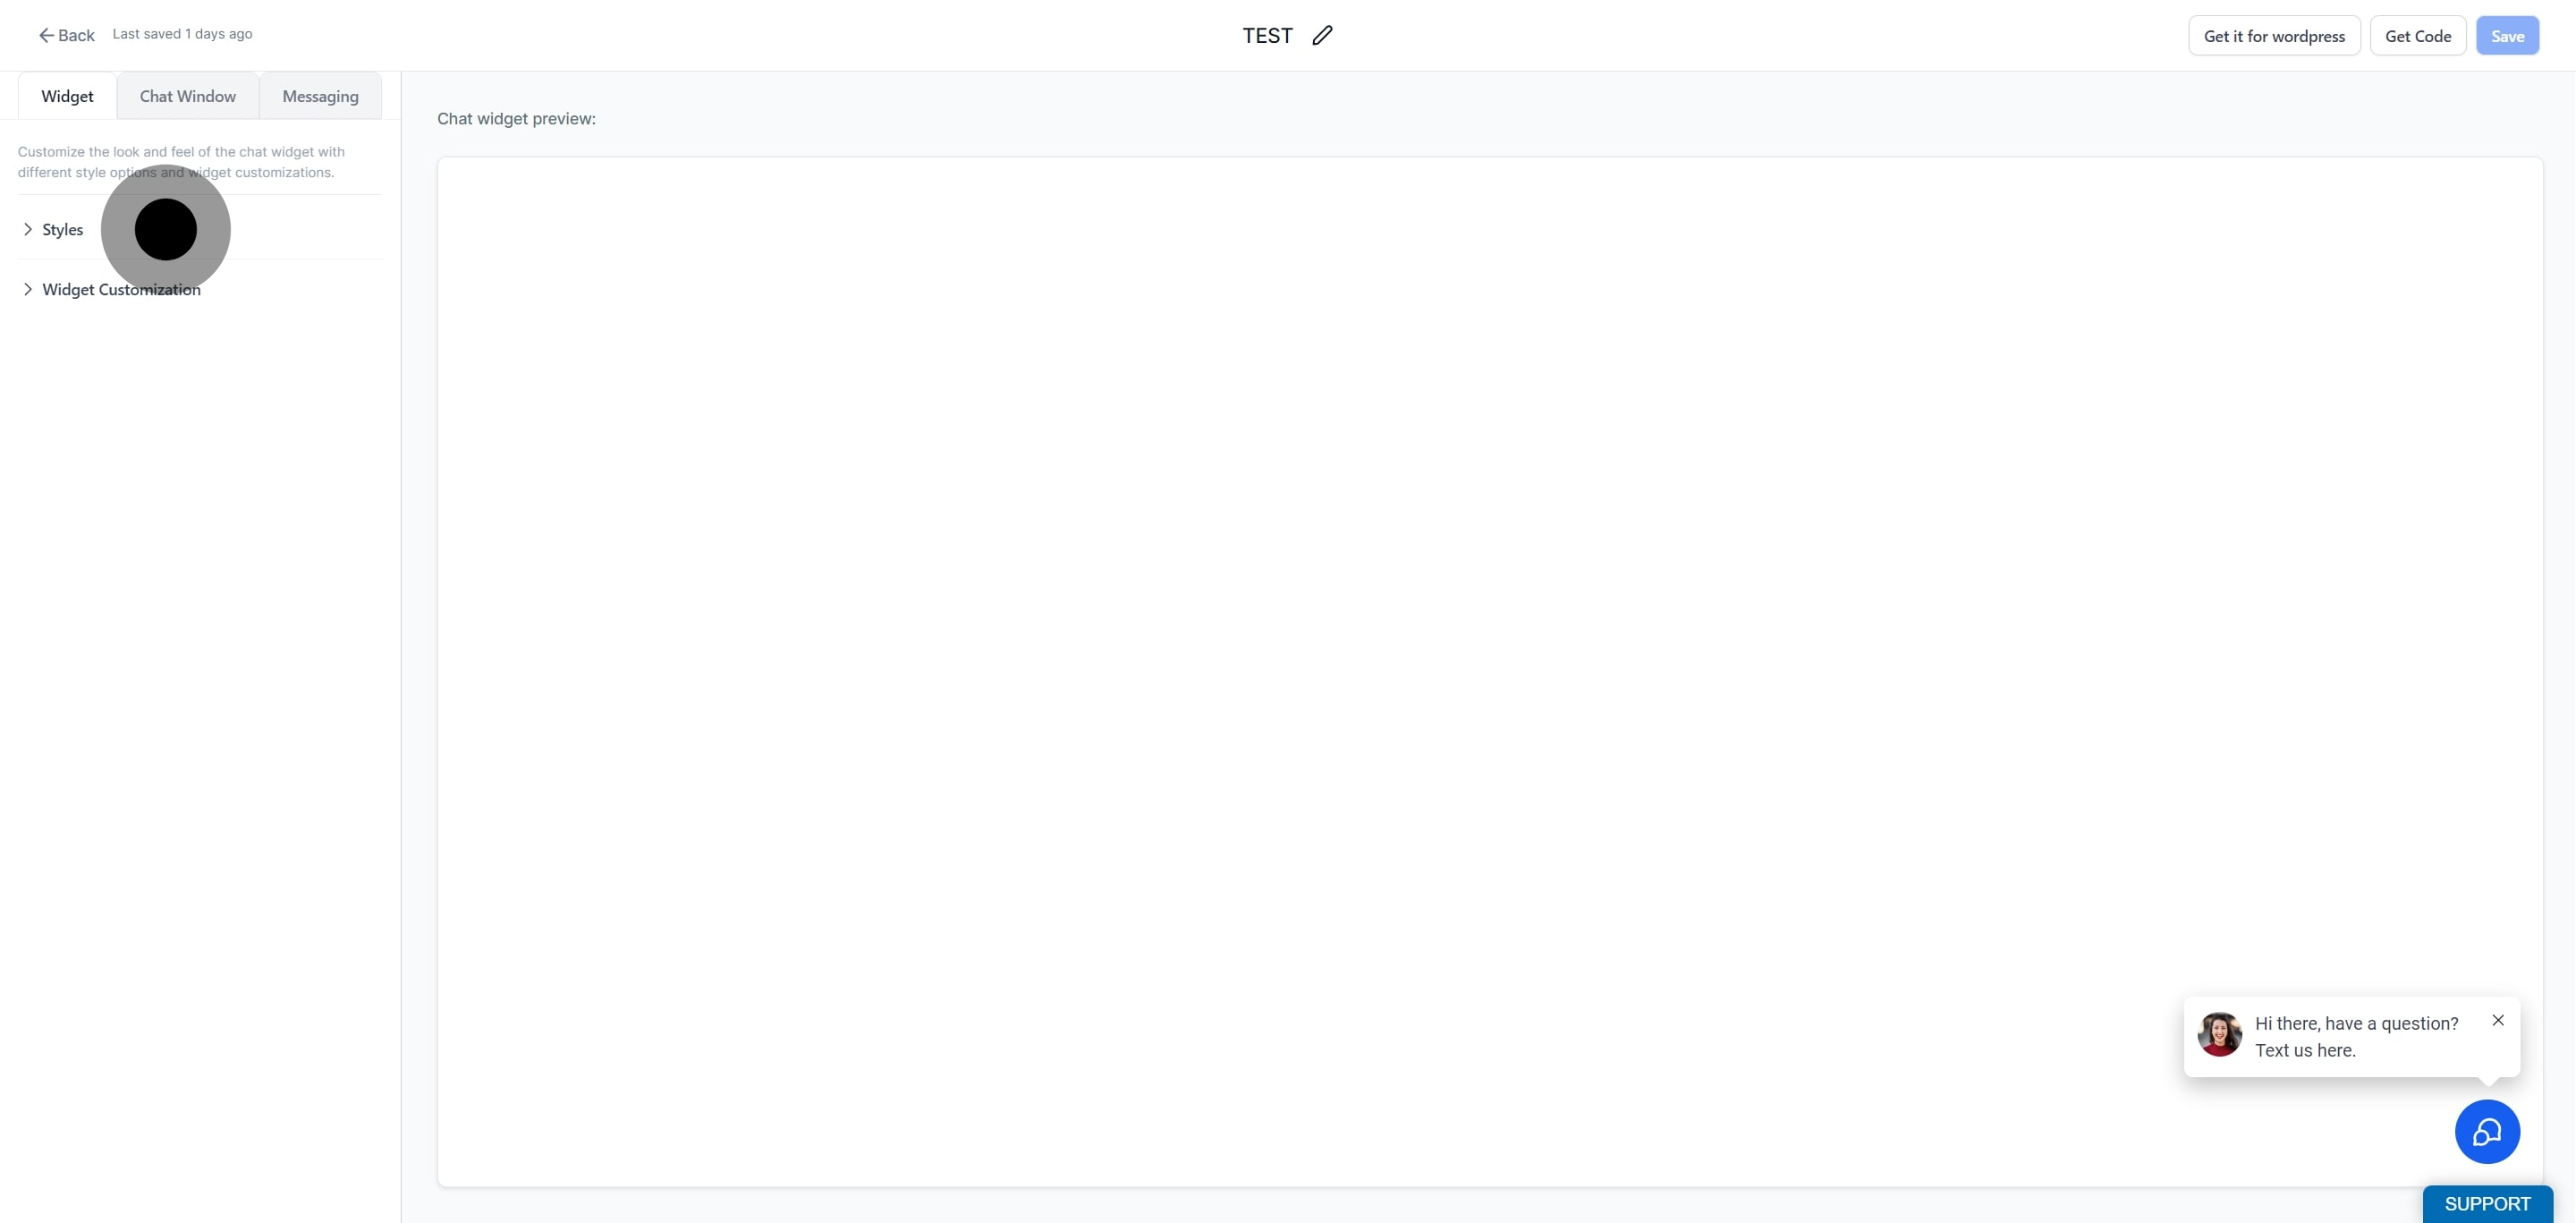
Navigate to Styles.
Choose the chat prompt you want to use.
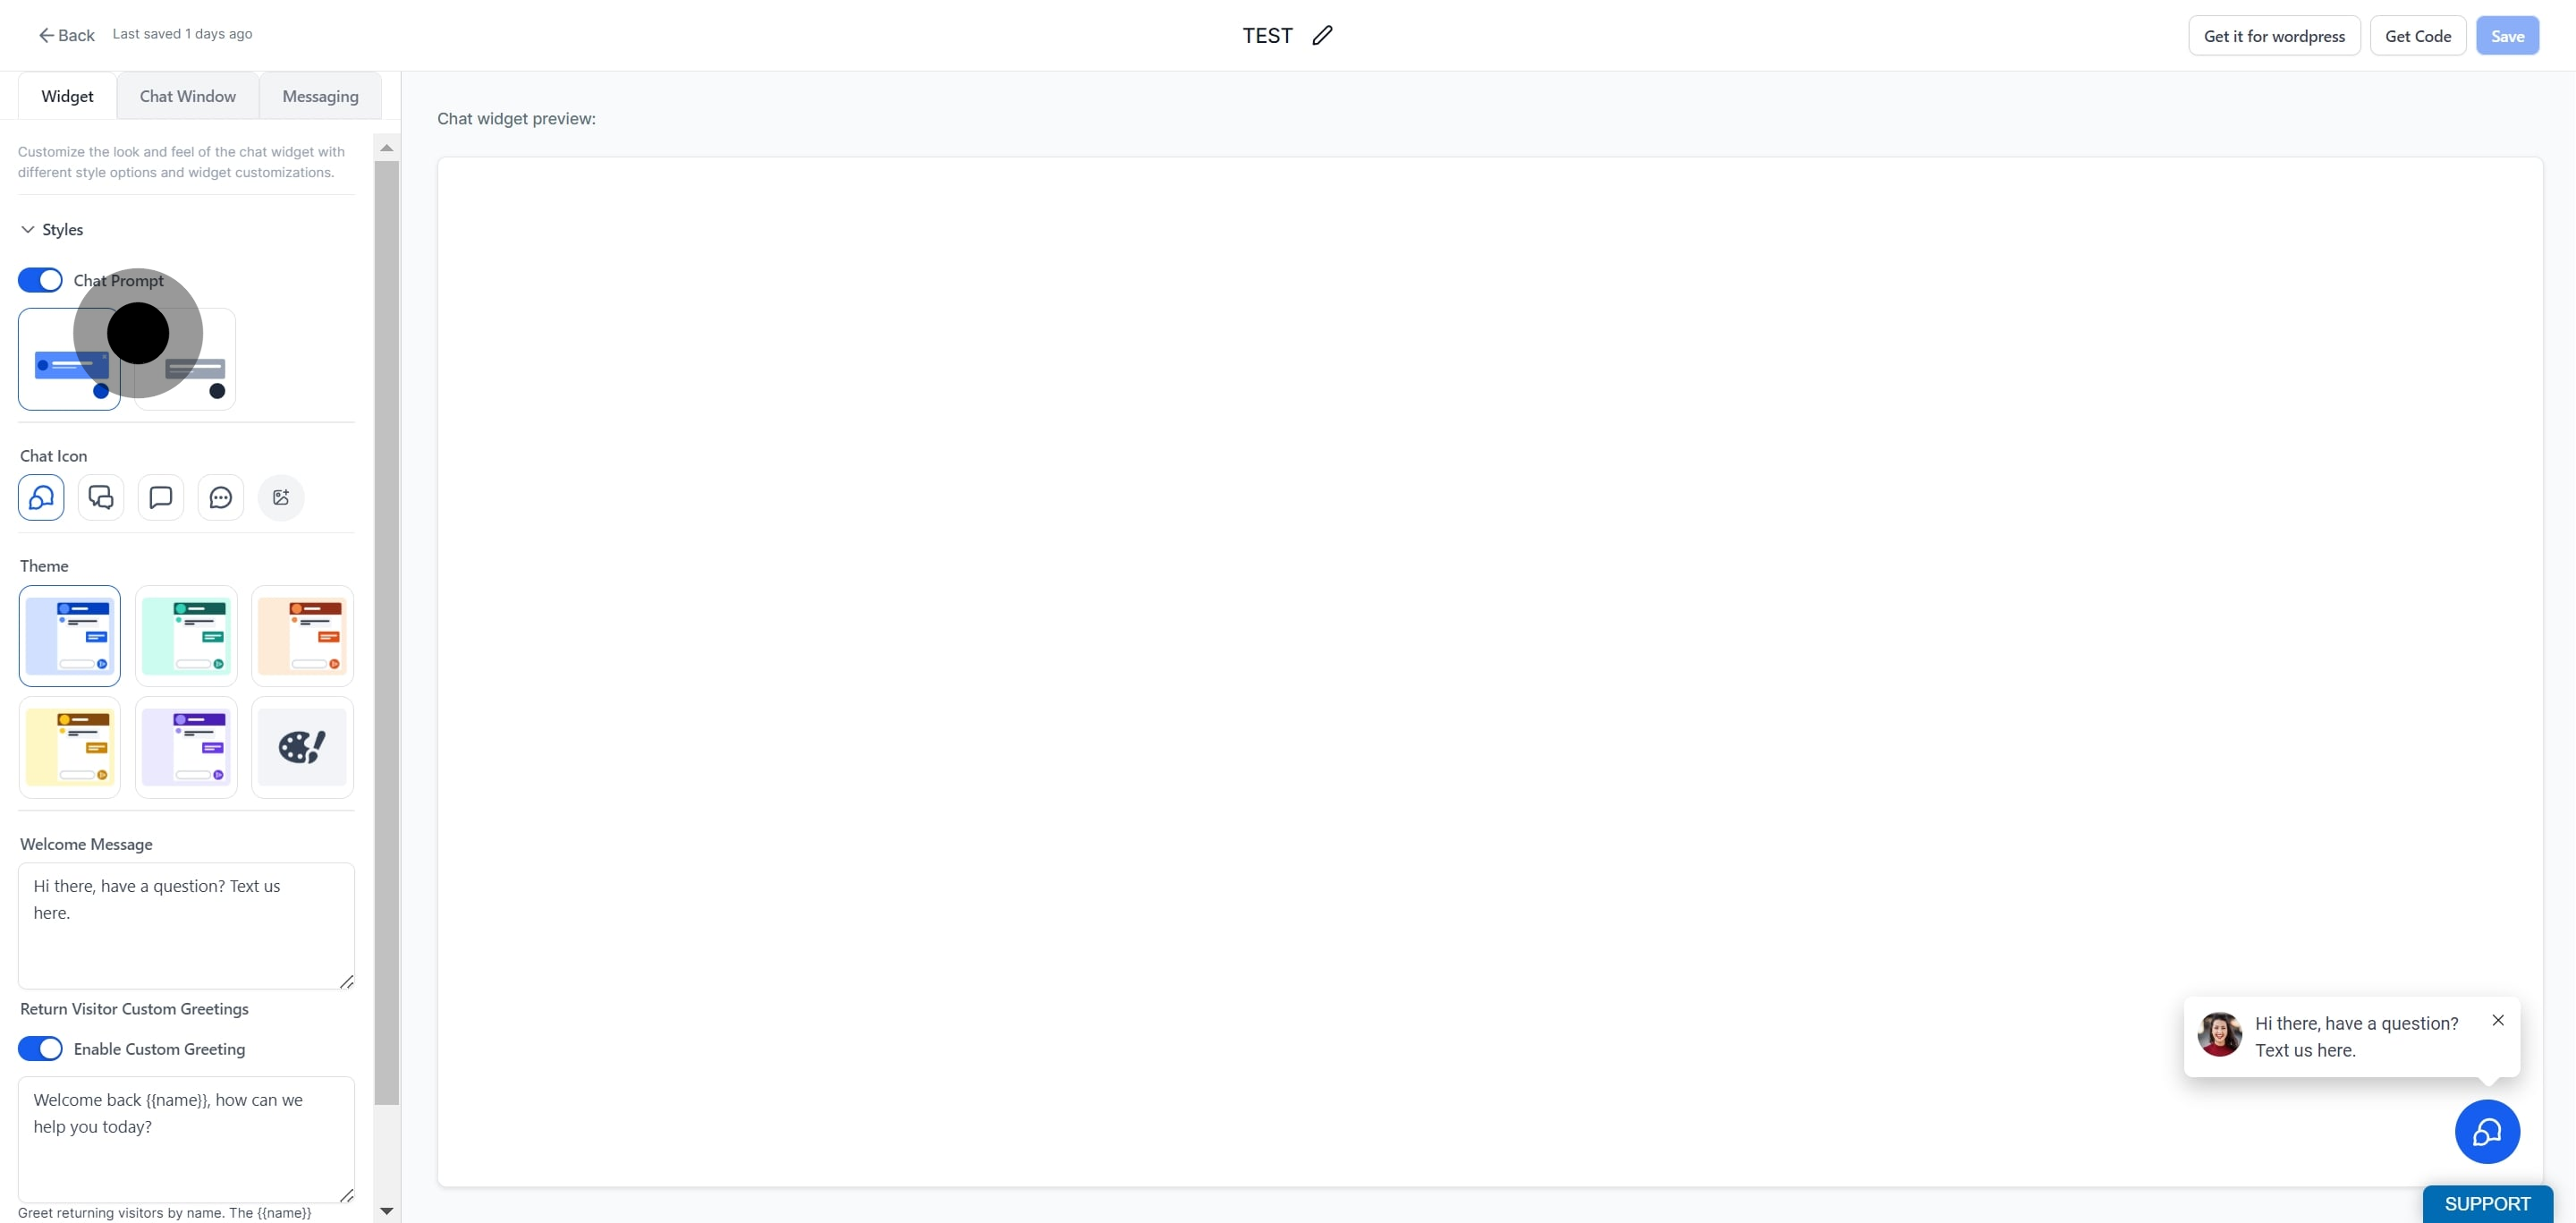
Select the chat icon that suits your preferences.
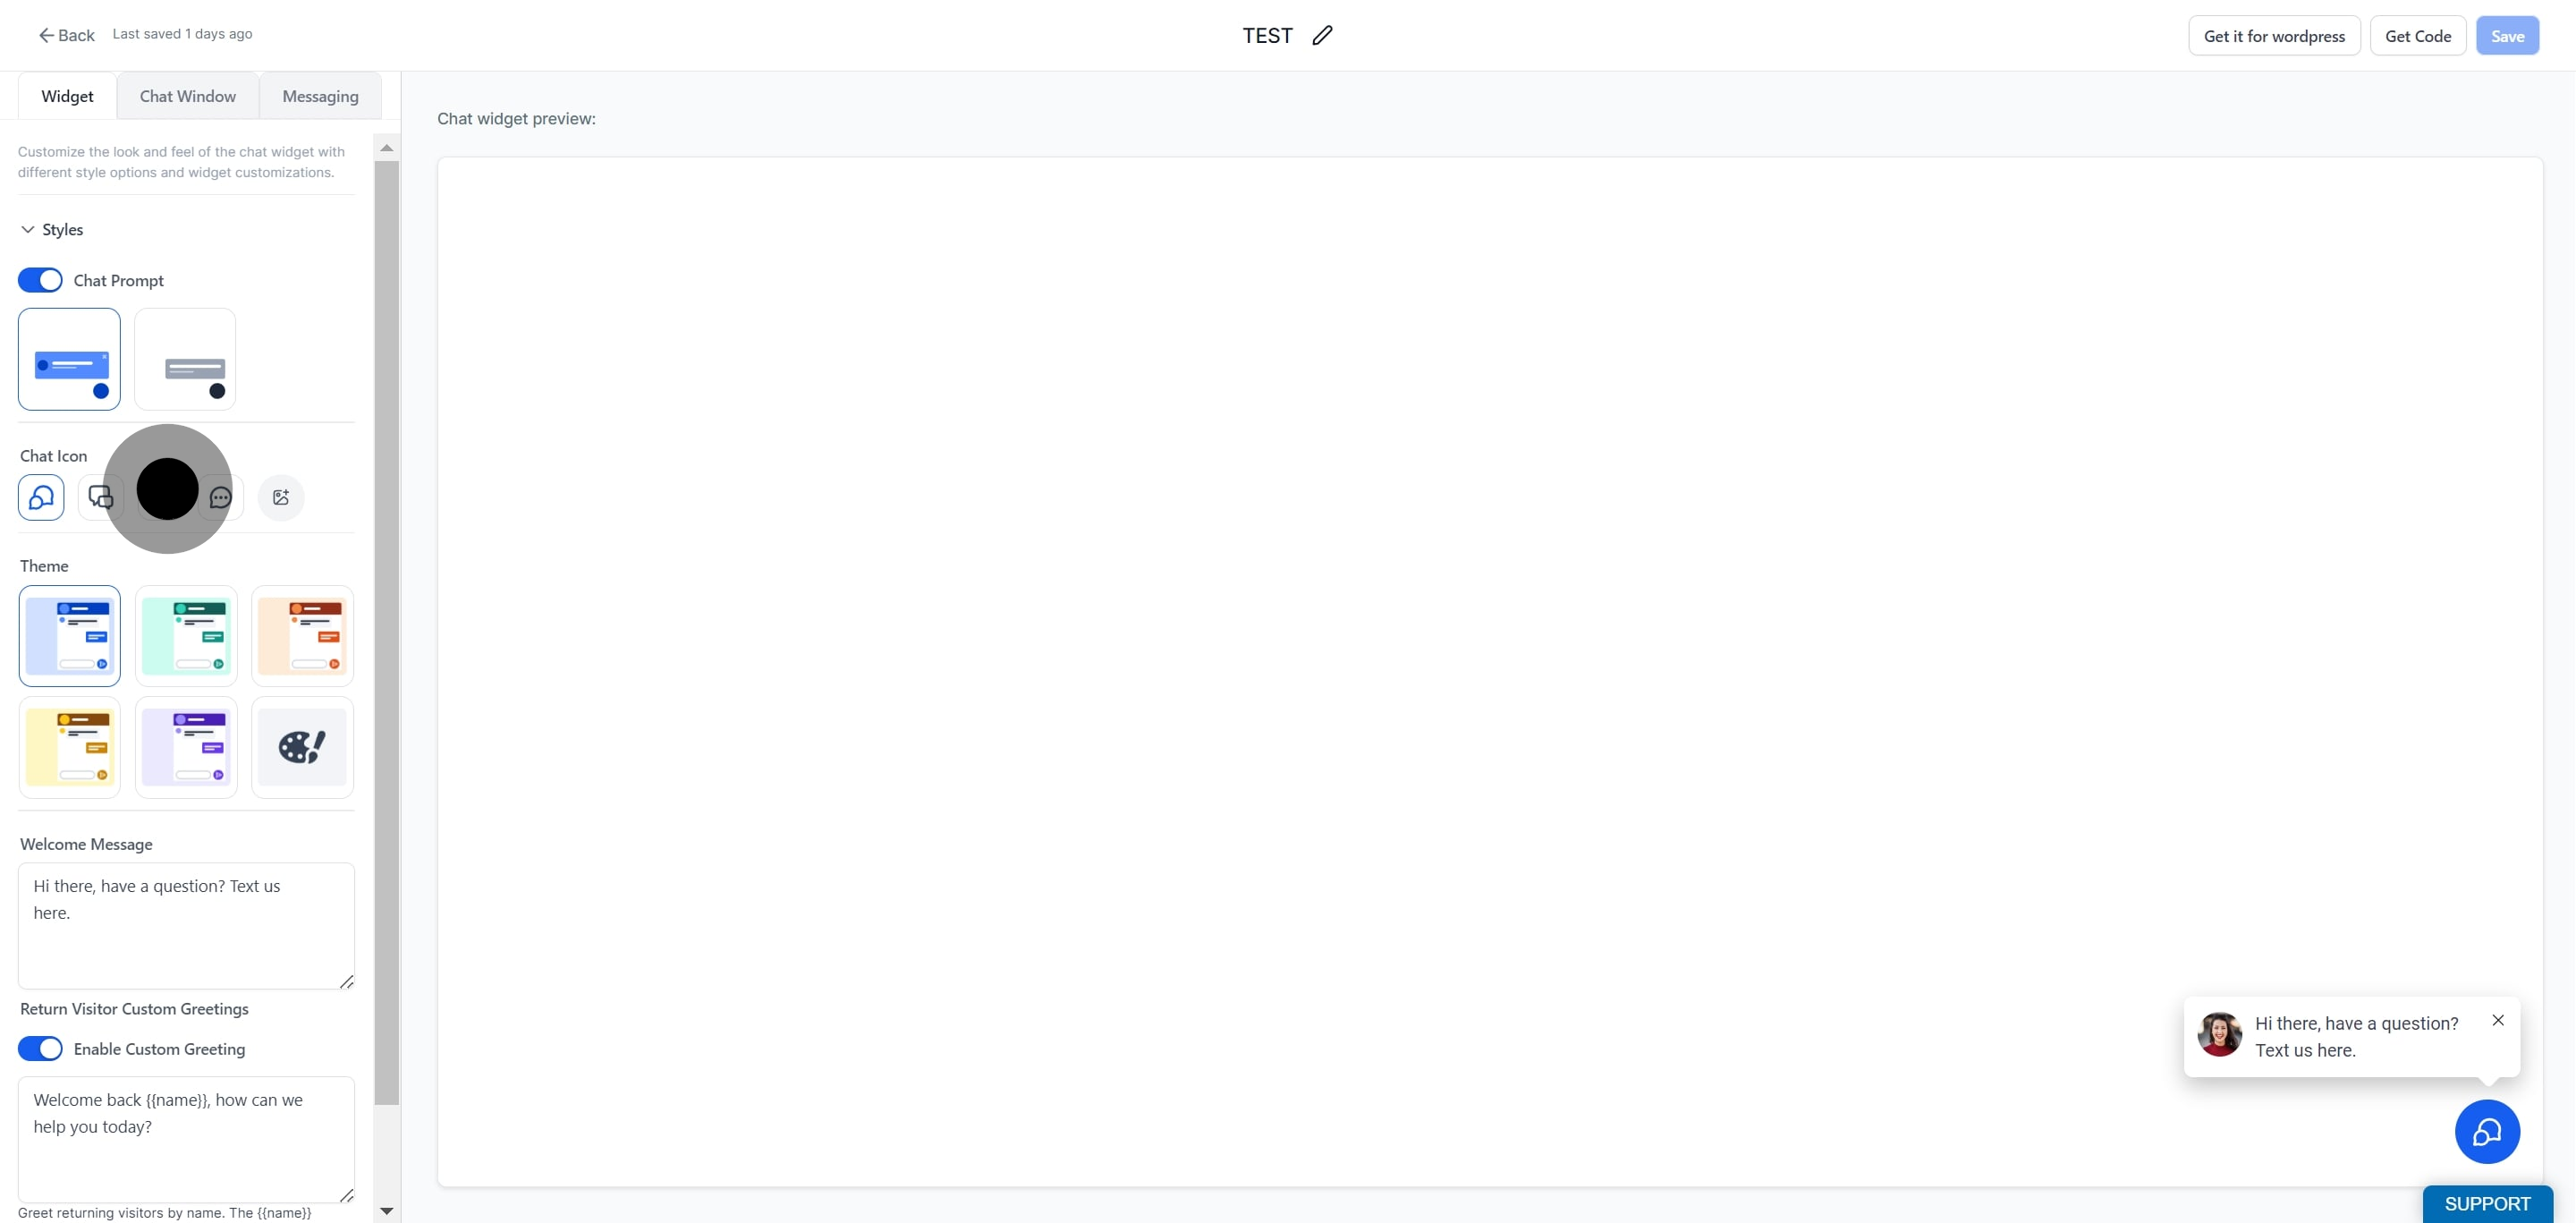
Pick the theme you want for your chat widget. The theme sets the color scheme so the widget aligns with your practice branding.
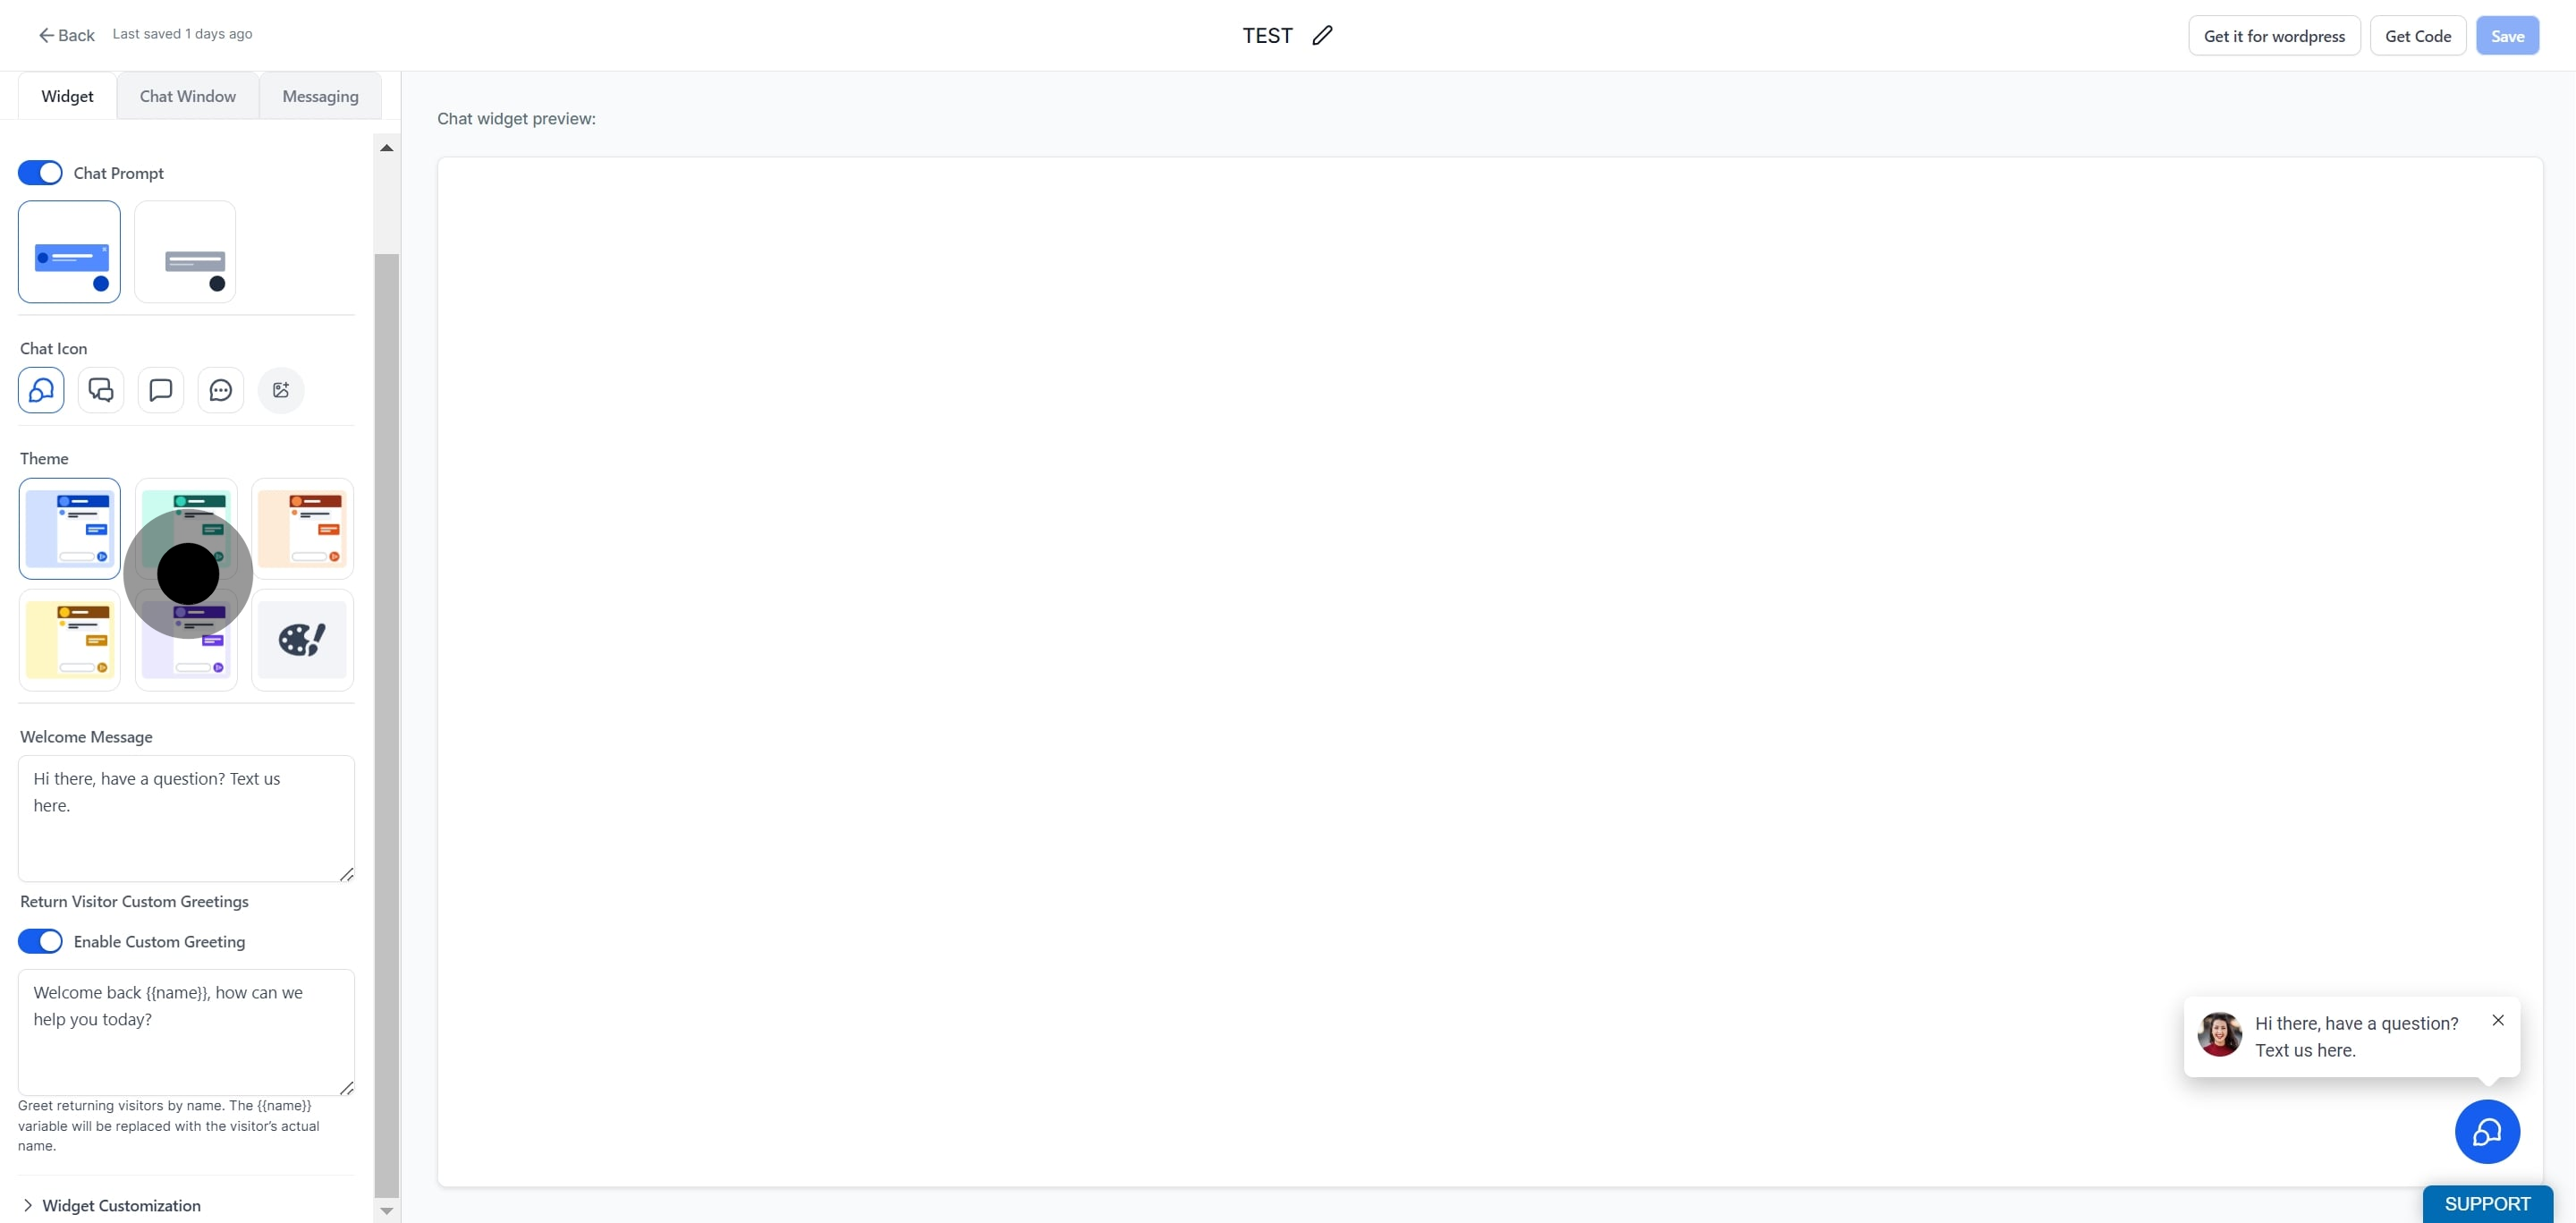
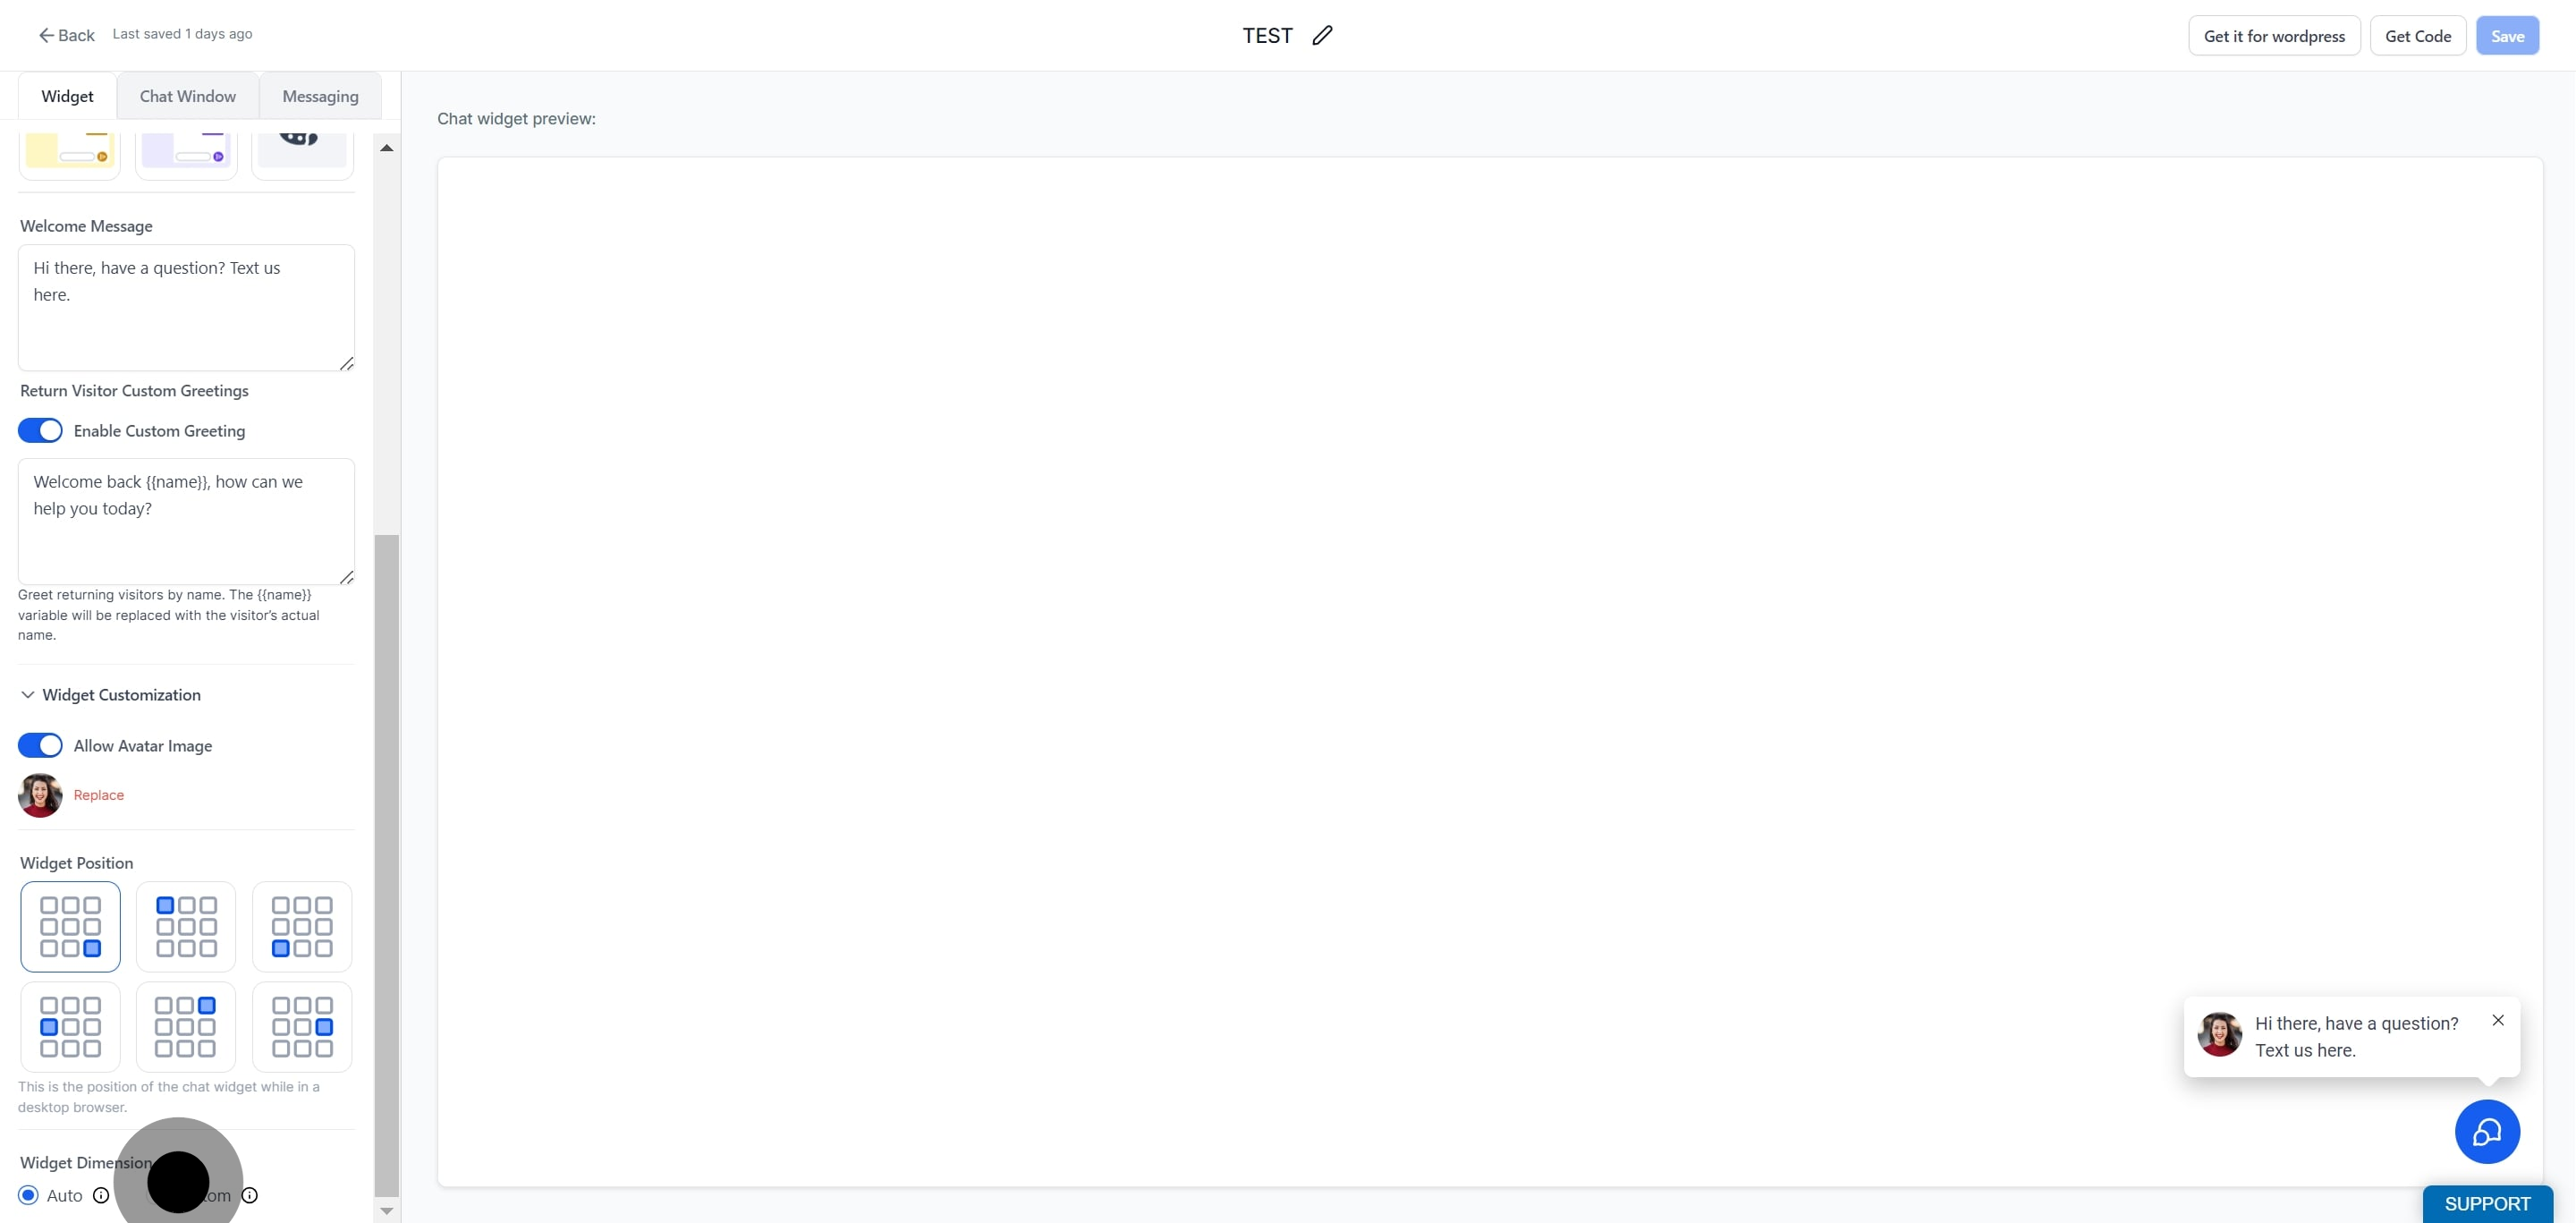
Enter your welcome message in the designated field. This is the message new website visitors see, and you can use it to offer support or invite visitors to book a consultation.
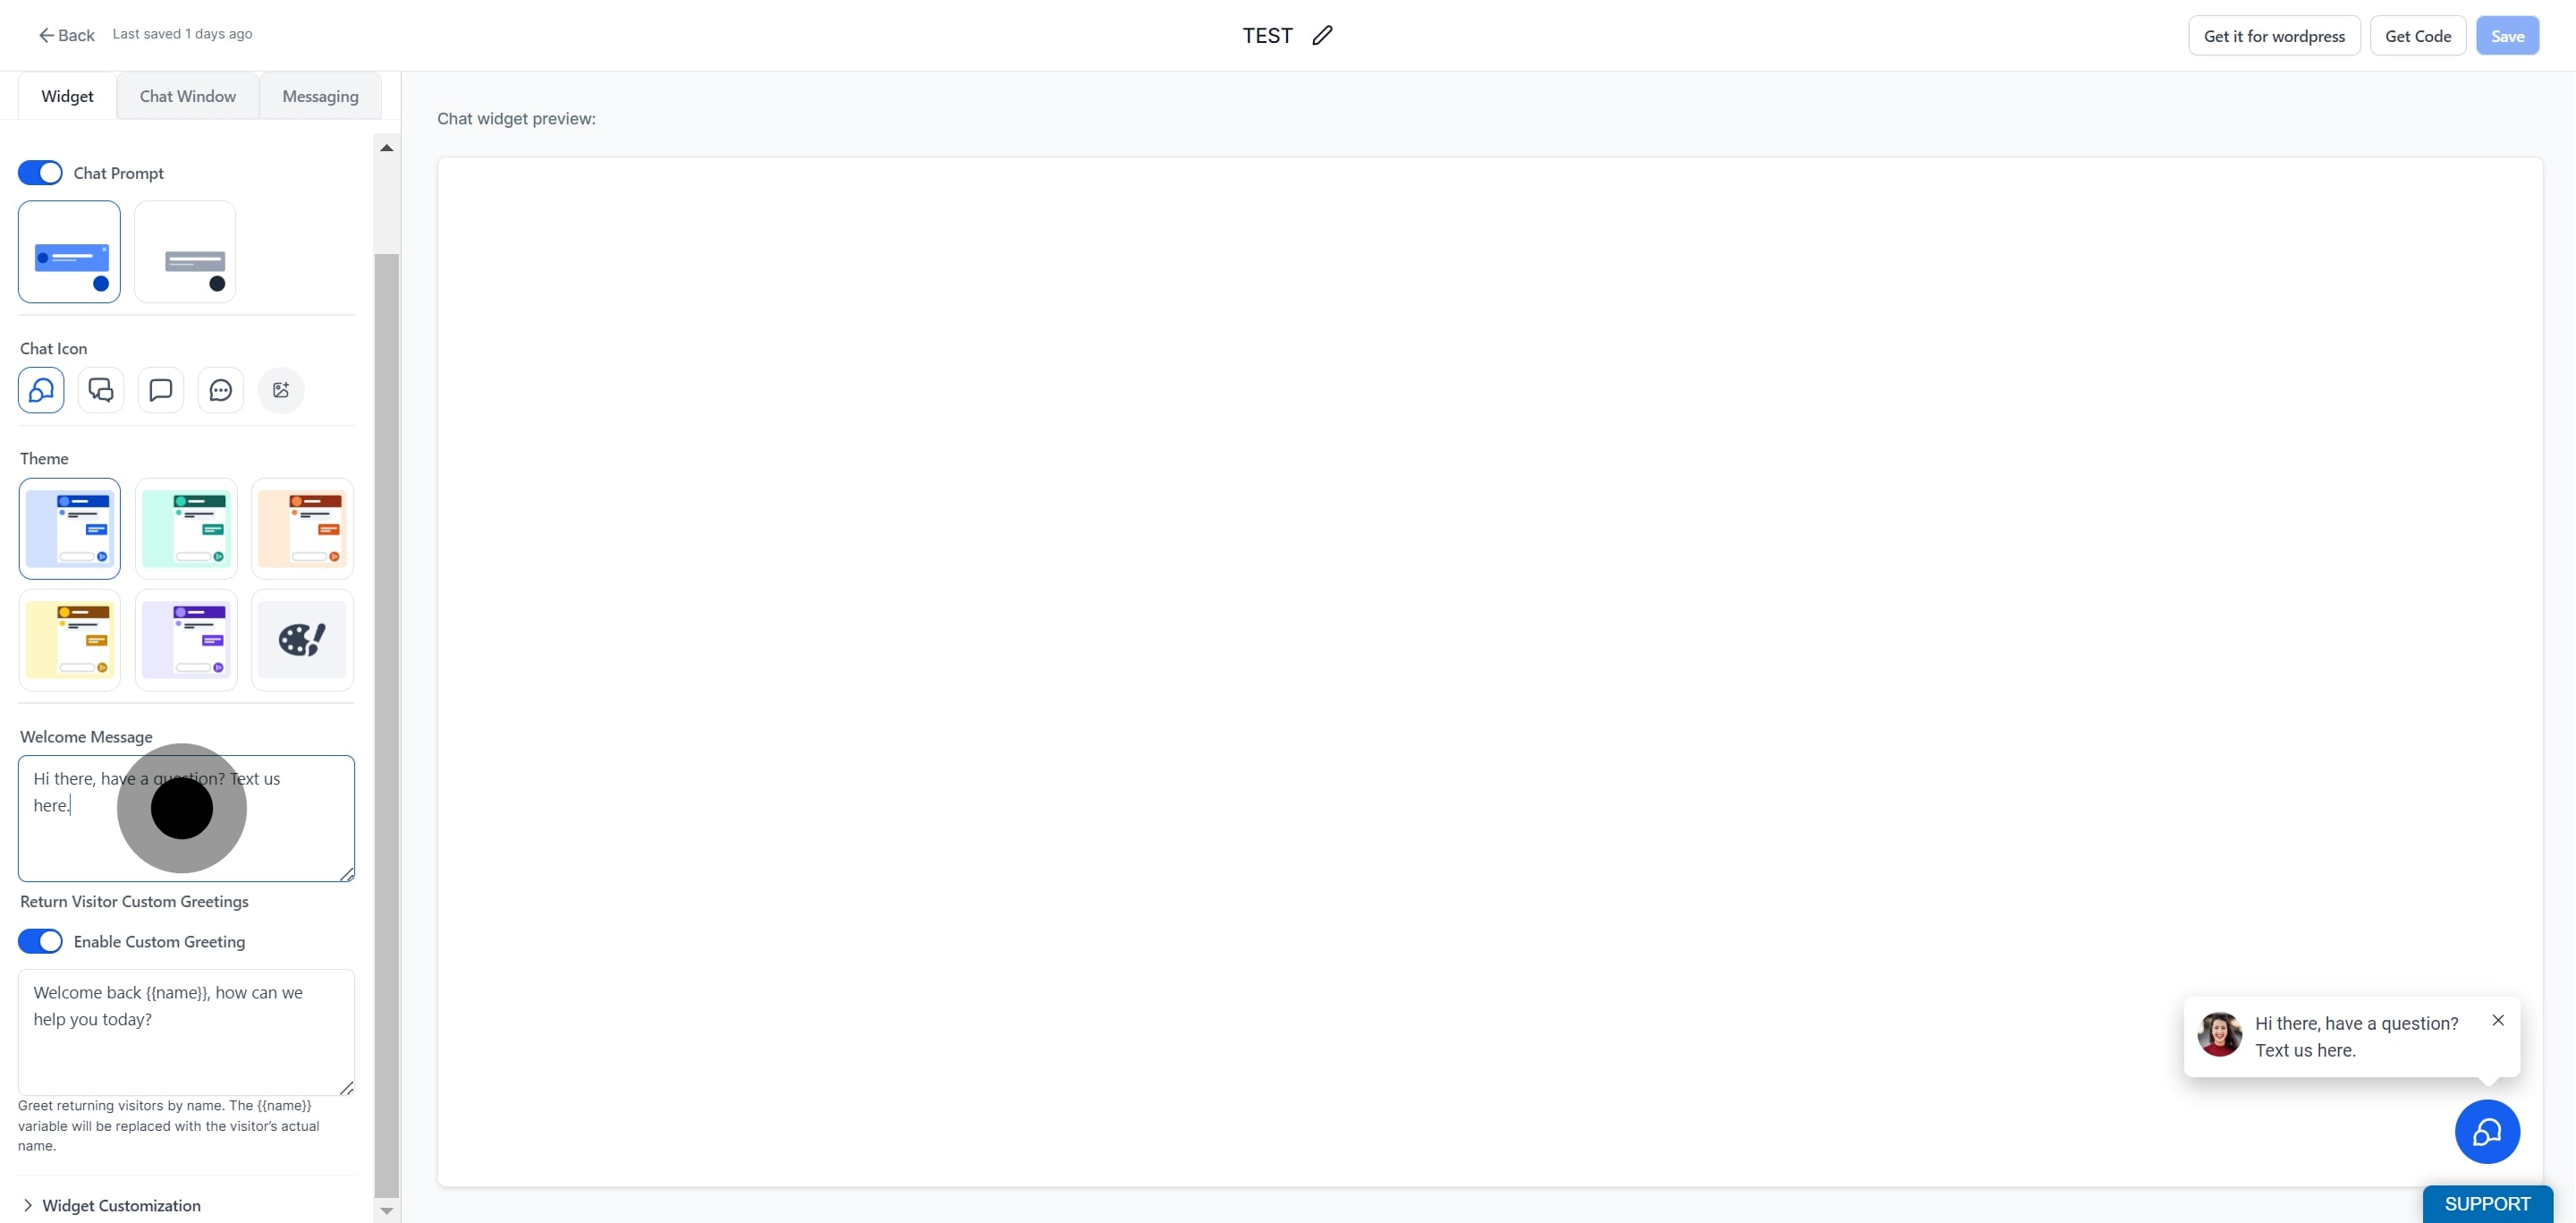
Enable the custom greeting under Return Visitor Custom Greetings.
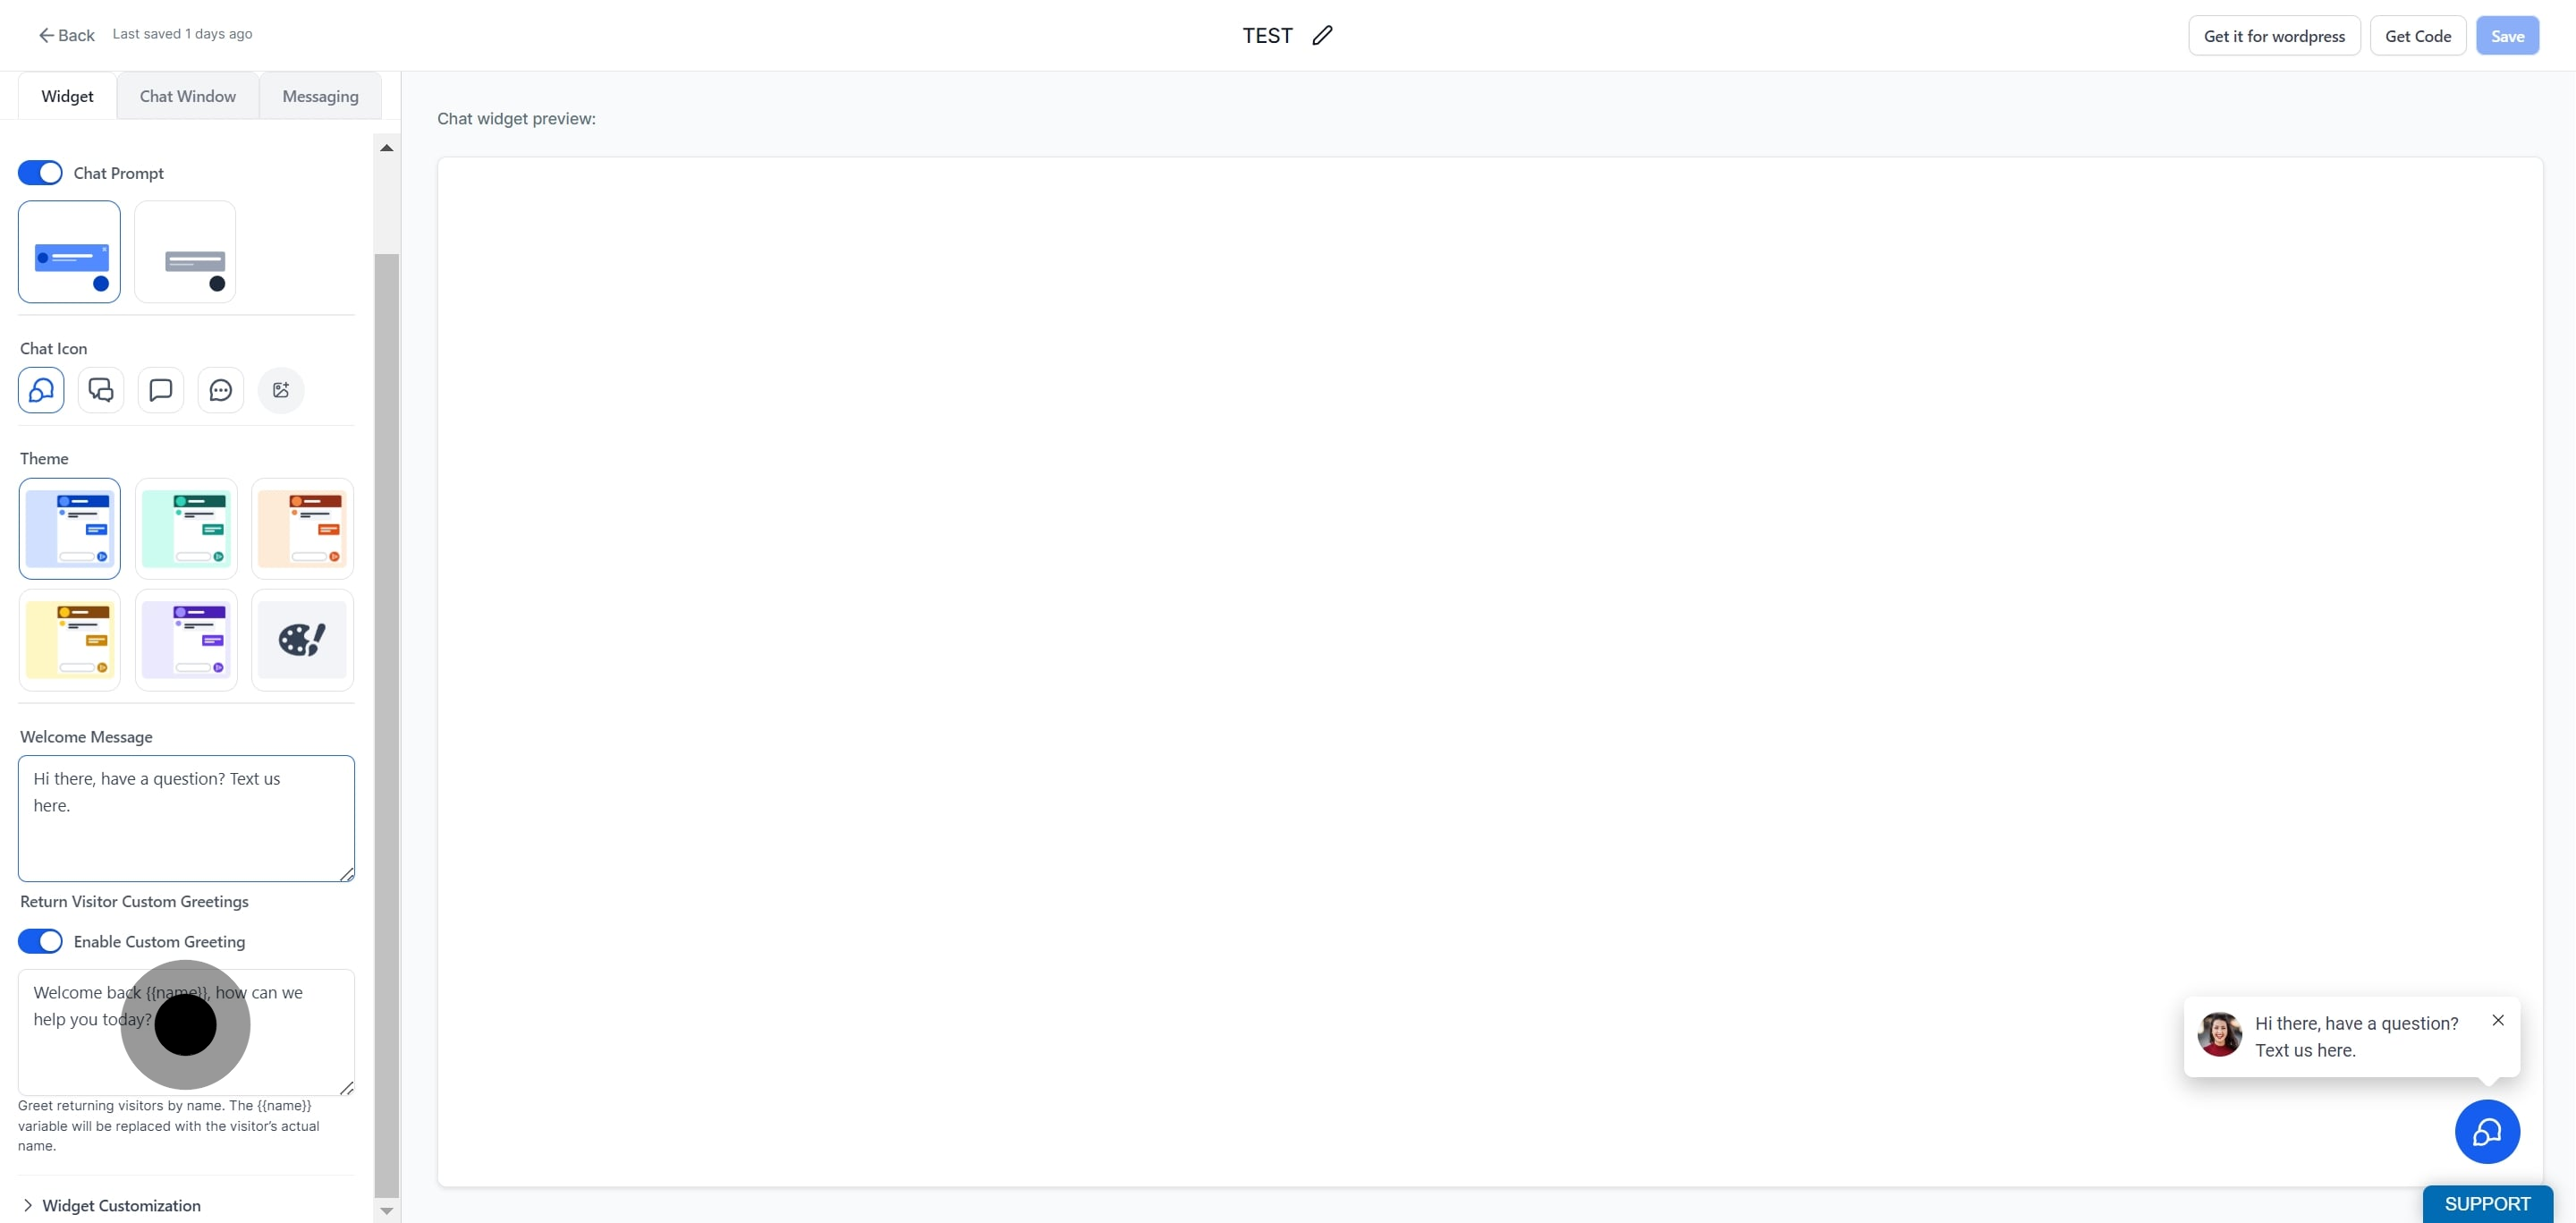
Note: Return visitor greetings require visitor tracking to be enabled on your website. When it is, you can tailor a personalized message for returning patients and prospects to build a stronger connection.
Click Widget Customization.
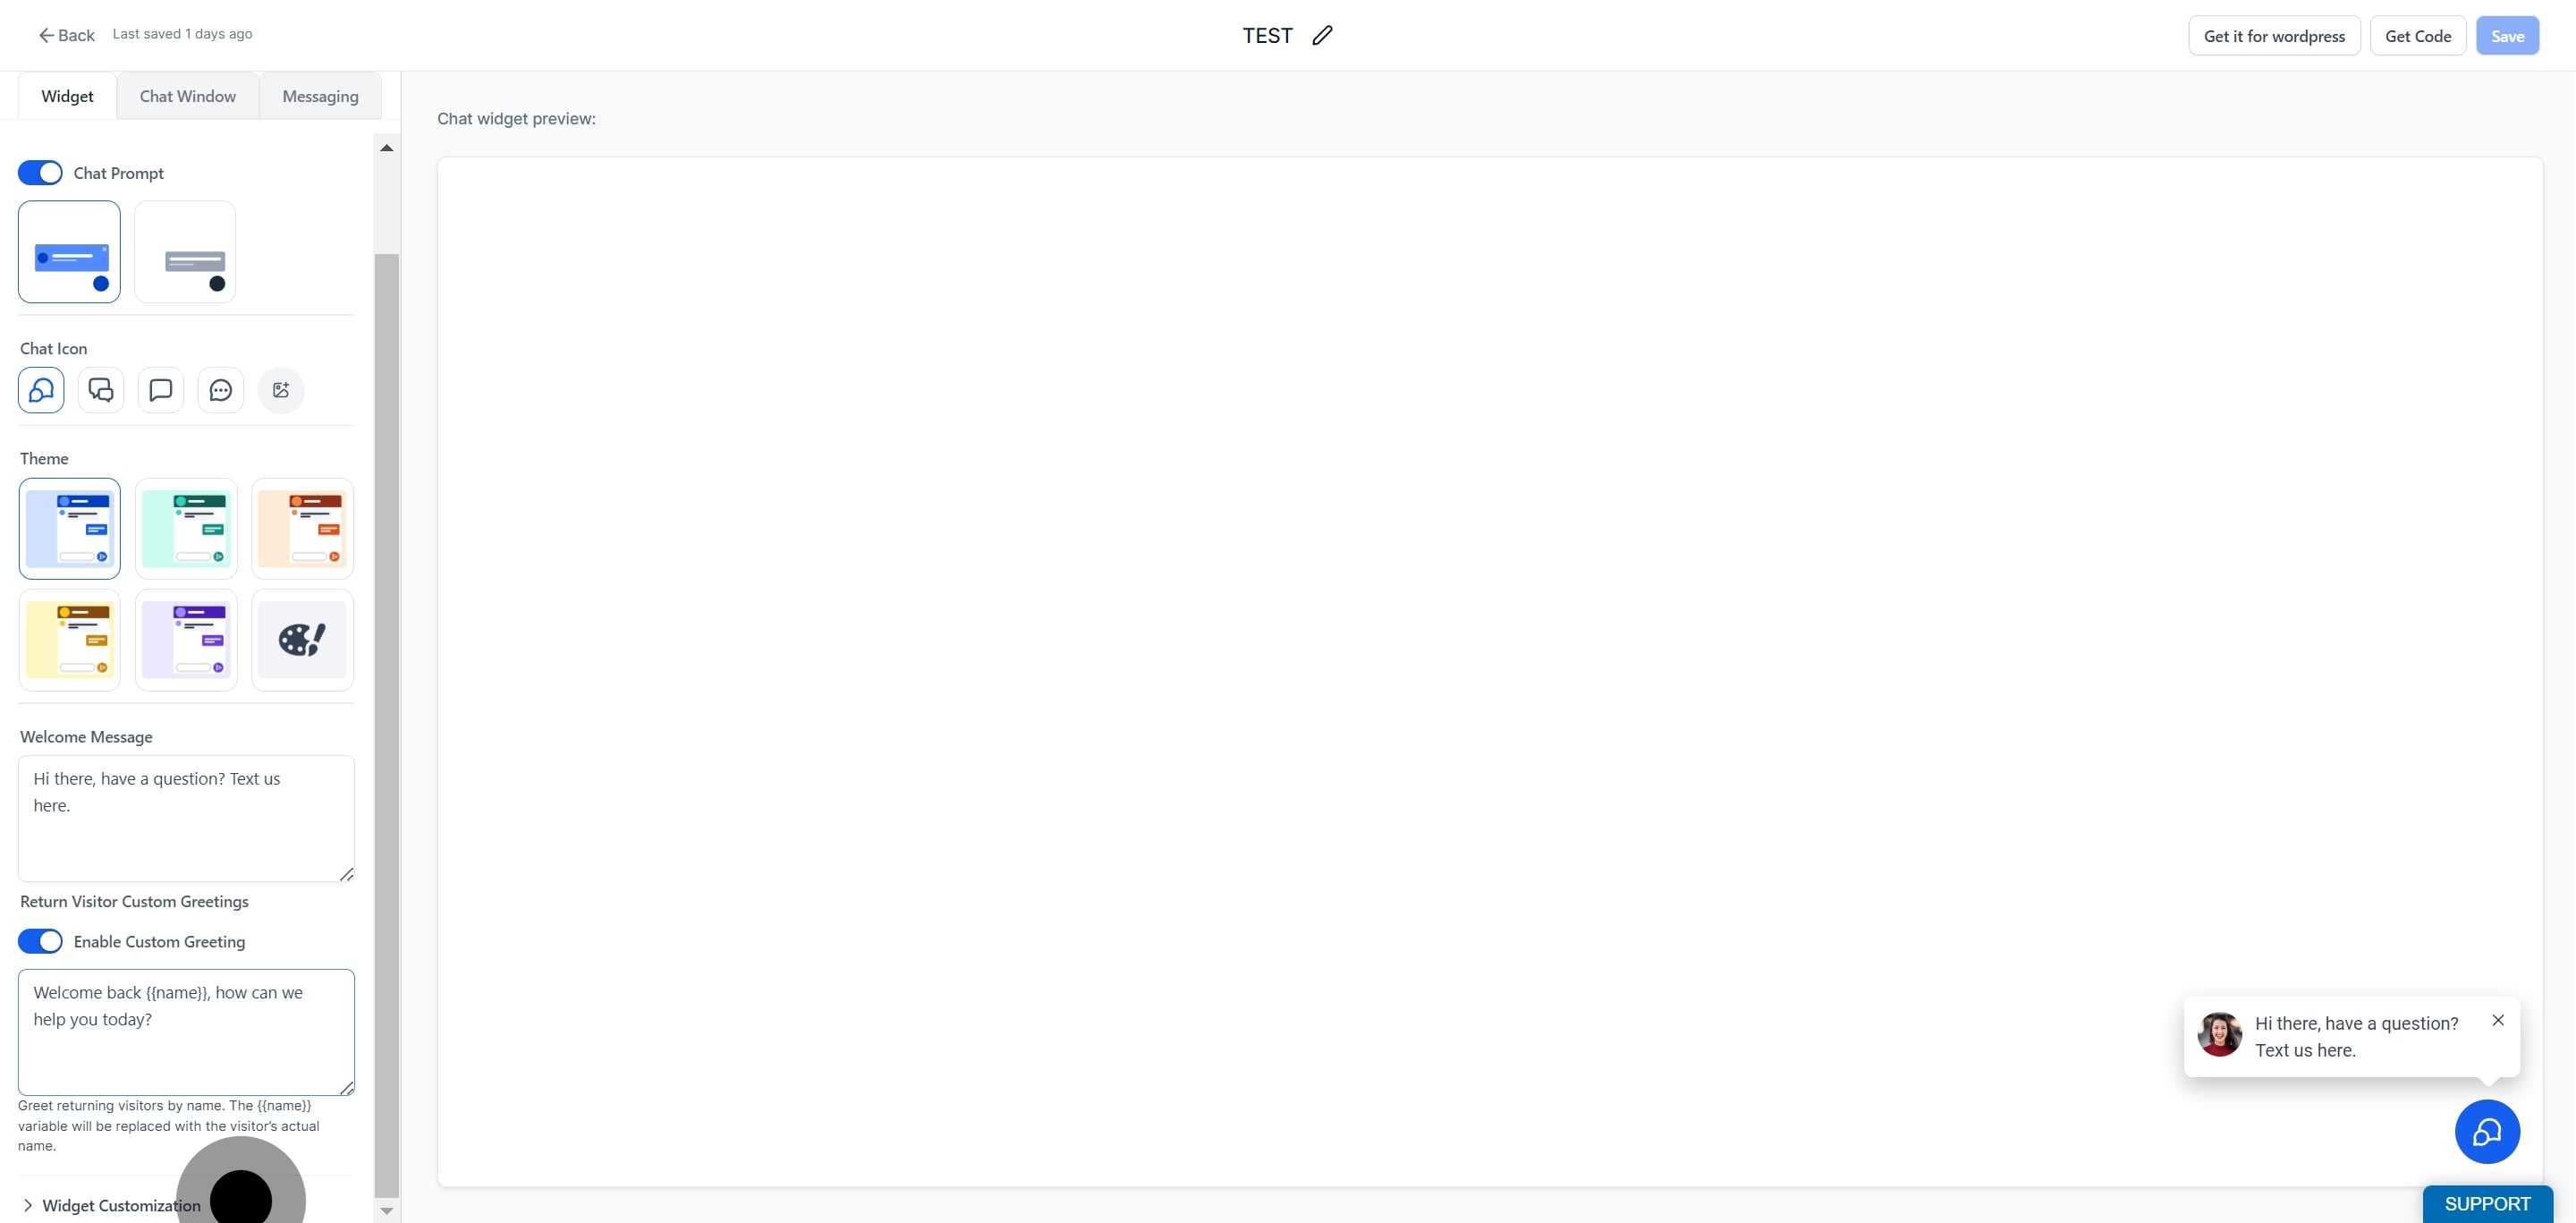
Optionally, enable and replace the avatar image. We recommend adding your practice logo or a friendly team member's photo to establish a stronger connection with visitors.
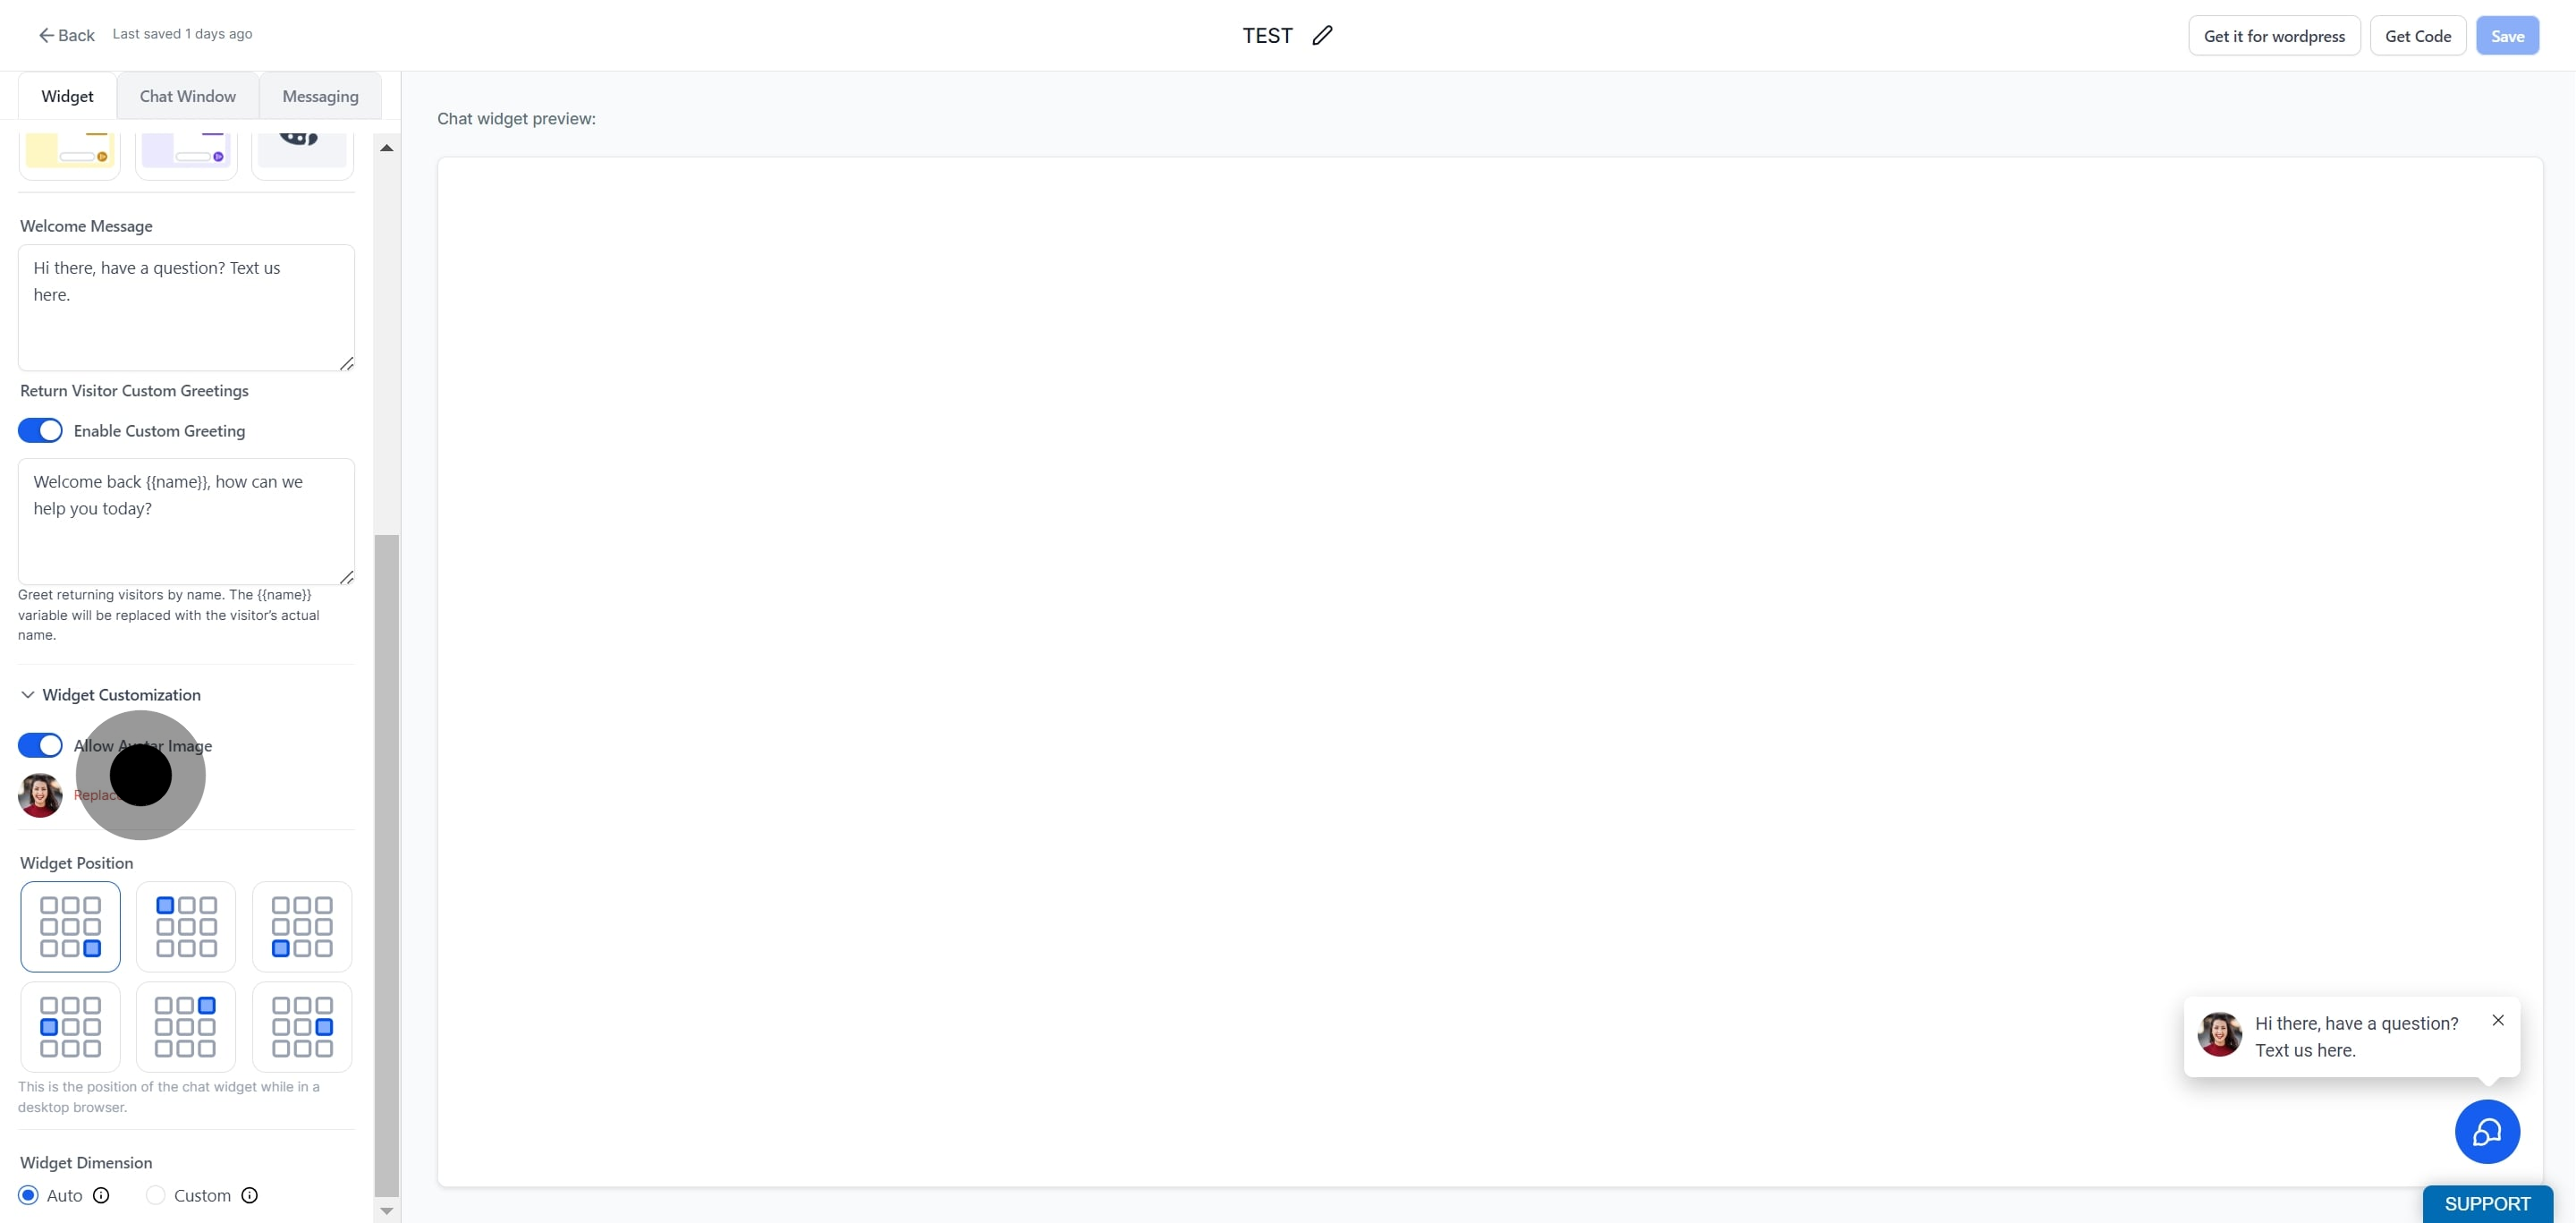
Choose the widget position you prefer to control where the chat bubble sits on your website.
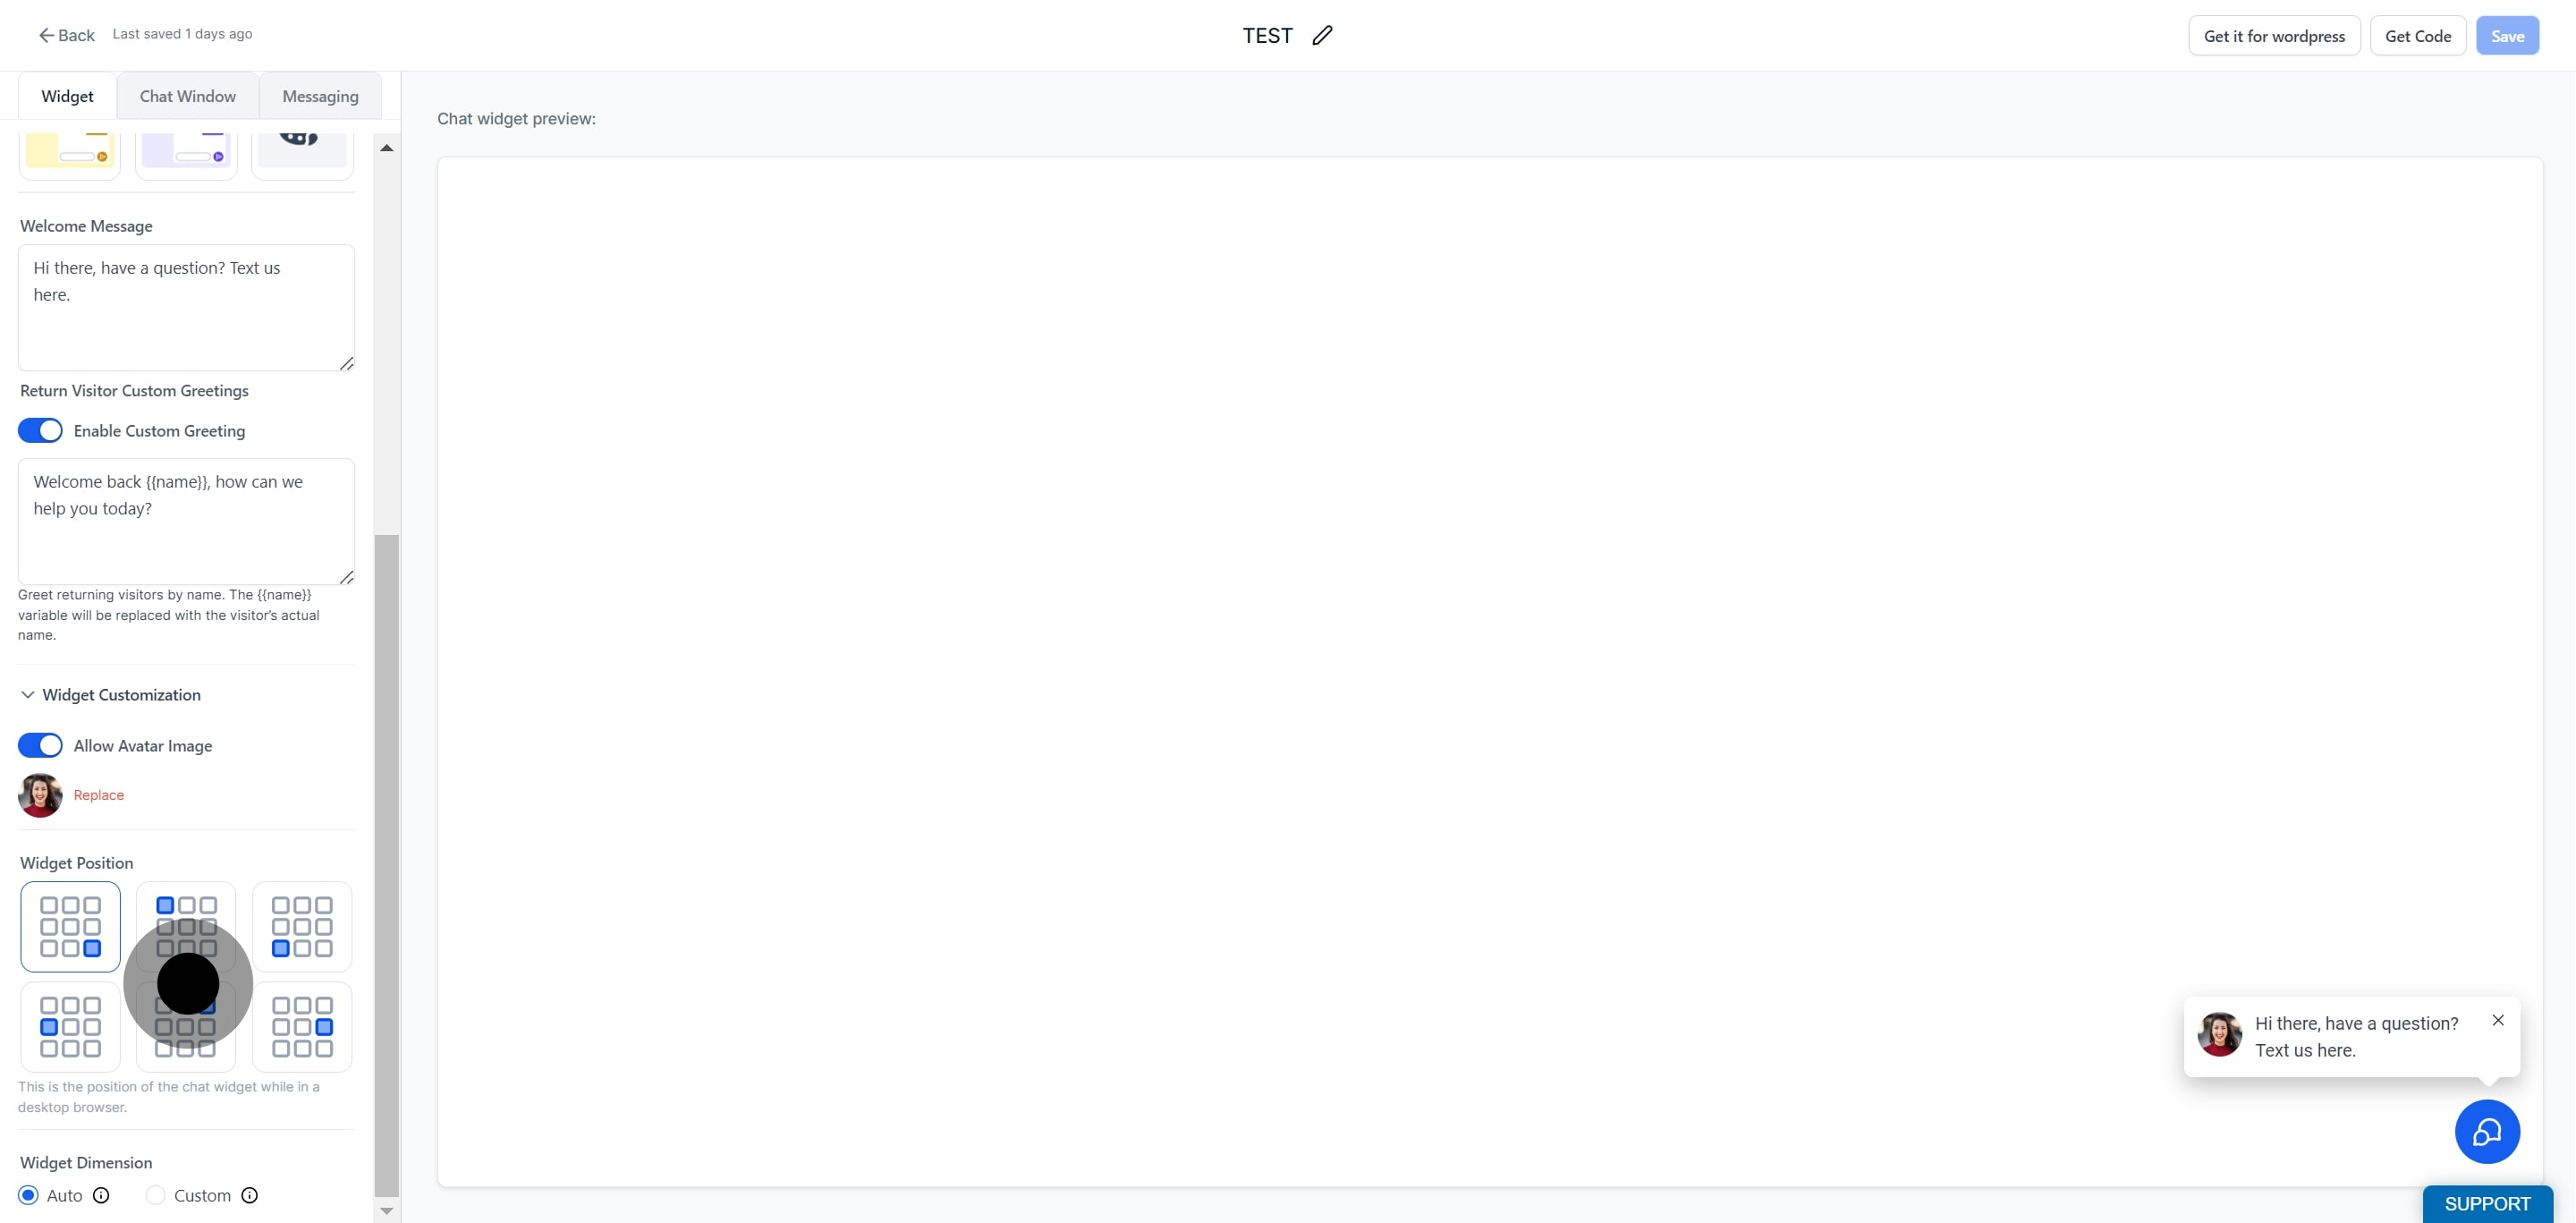
Select the widget dimensions that best fit your needs.
Finally, click Save to apply your changes.
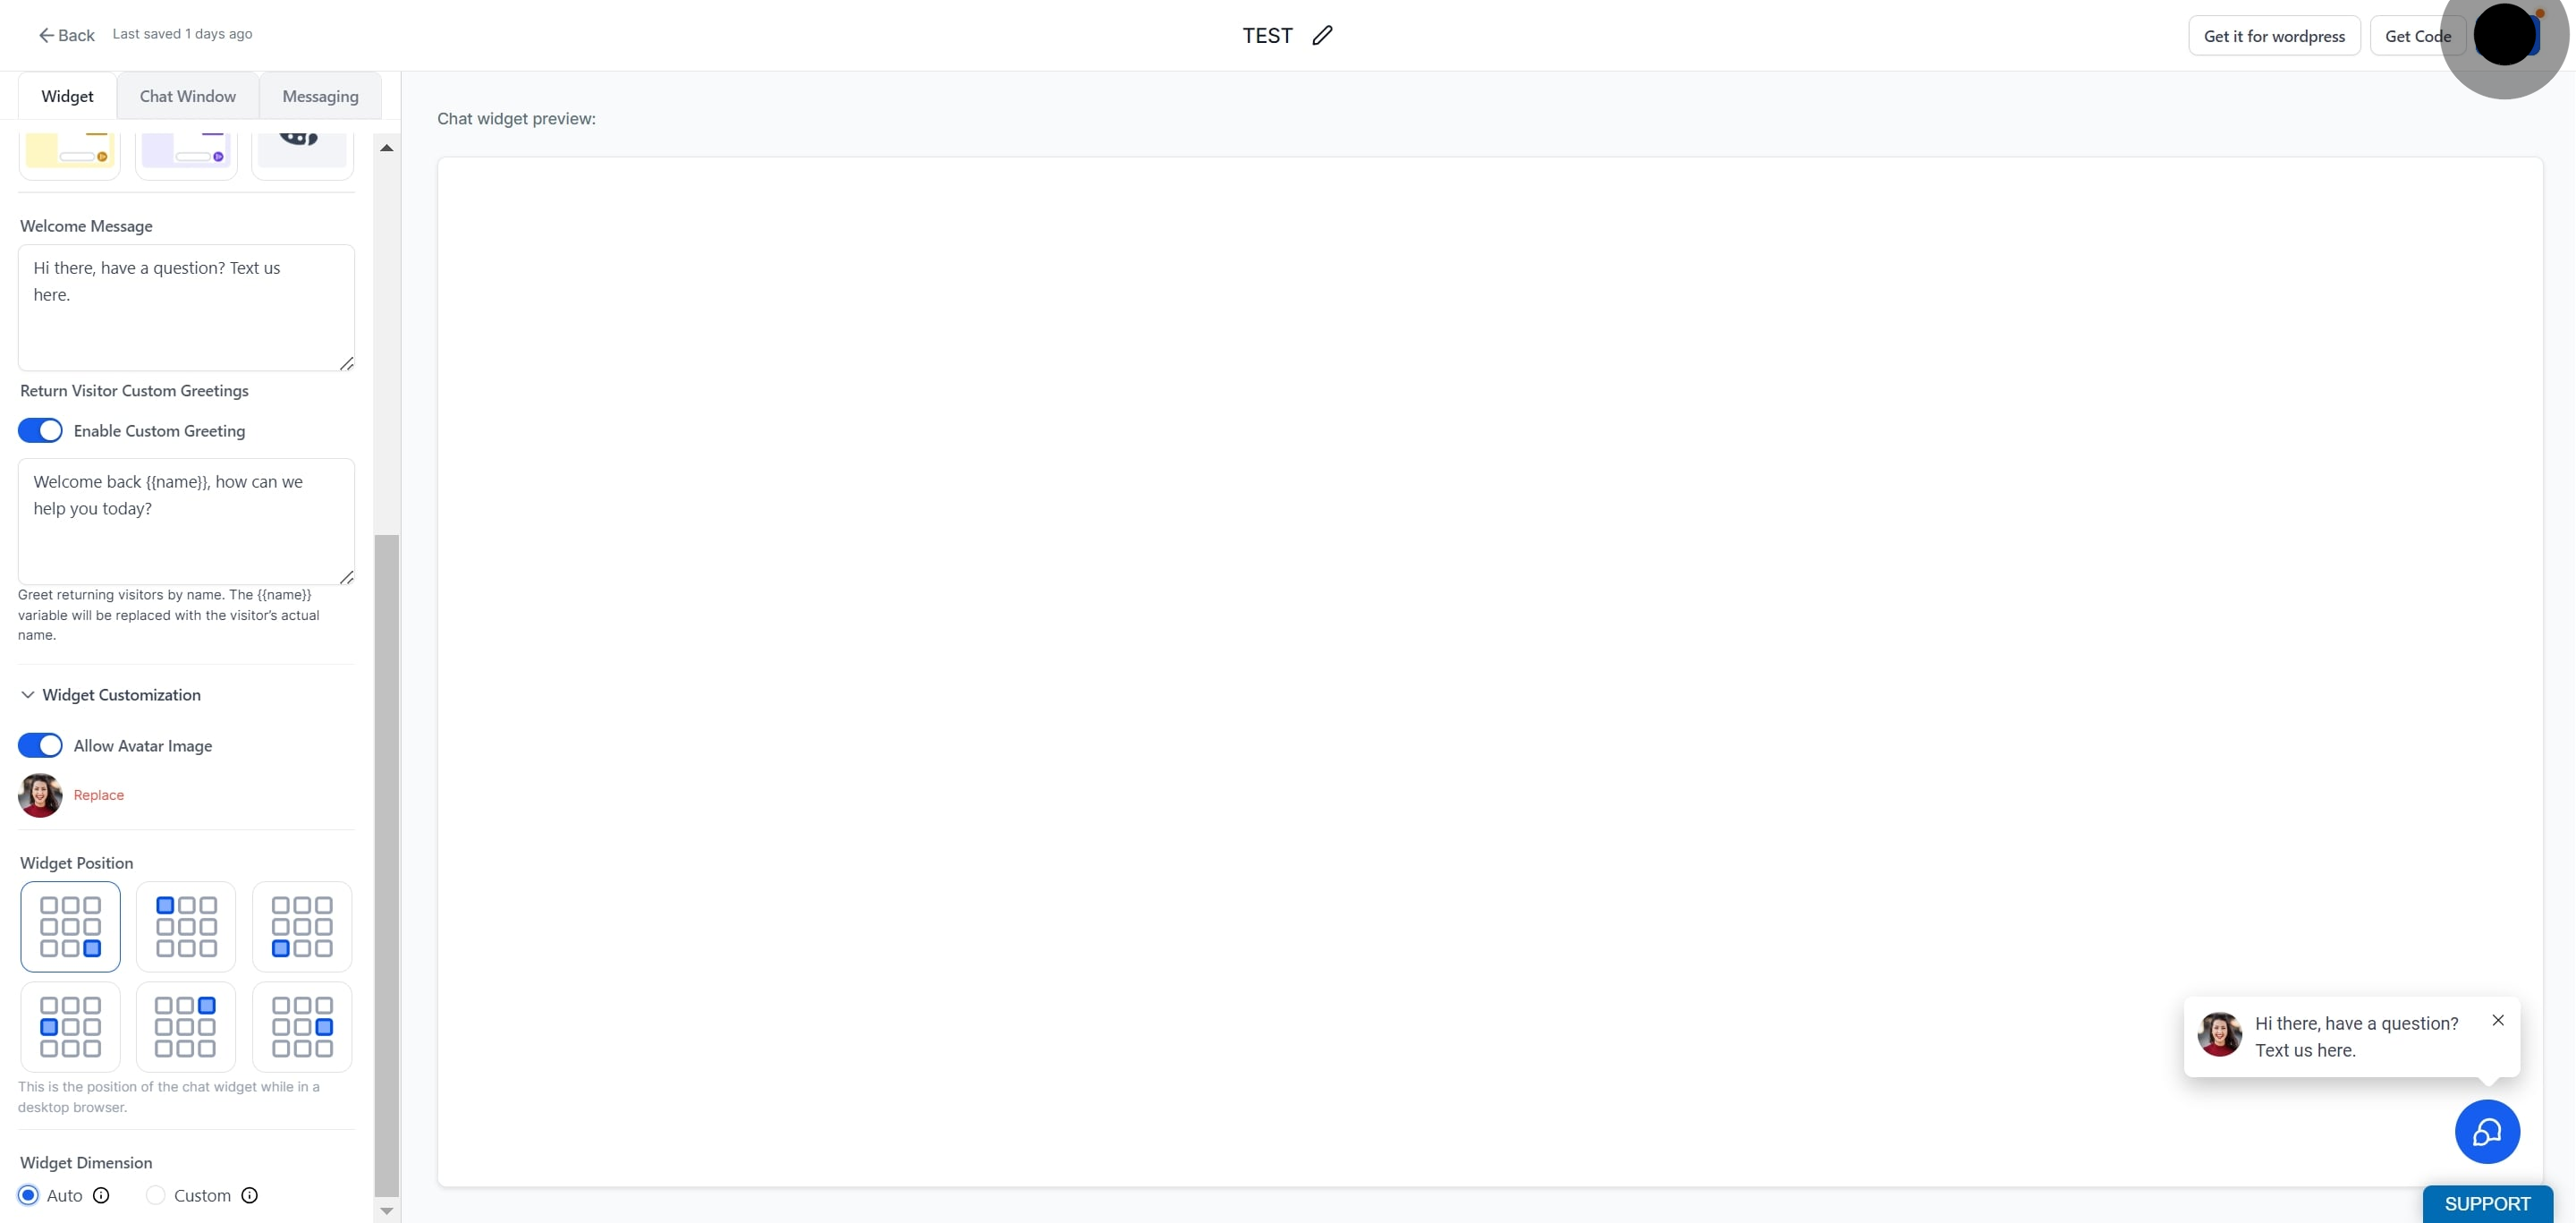
The chat bubble is the button visitors tap to open the chat widget. You can style and preview it before it goes live.
Chat Bubble Preview: Use the preview feature to see what your website chat widget bubble will look like. As you customize, changes appear in real time so you can fine-tune the look before publishing.
Enable chat bubble: Toggle this on to make the chat widget active on your website.
Welcome message control: Customize the welcome message that appears for new visitors. Use this text to offer support or share a marketing message that encourages visitors to click the chat widget.
Chat widget customization: Personalize the experience by changing the image visitors see when they interact with your chat widget. Adding your practice logo or a friendly face helps establish a stronger connection.
Custom message for return visitors: If visitor tracking is enabled on your website, tailor a custom greeting for return visitors to add a personal touch and strengthen the relationship with your audience.
Where do I find the Chat Widget settings? Go to Web Tools in your account, then select Chat Widget. From there, open the Widget tab and navigate to Styles and Widget Customization to adjust the appearance.
Can I change the chat widget's colors to match my practice branding? Yes. Under Styles, select the theme that matches your brand. The theme controls the color scheme for the chat prompt, icon, and bubble.
How do I add my logo or a photo to the chat widget? Open Widget Customization and enable the avatar image option, then upload your image. We recommend using your practice logo or a friendly team member's photo to build a stronger connection with visitors.
Where will the chat widget appear on my website? You control this with the widget position setting under Widget Customization. Choose the placement that works best for your site layout.
Can I show a different message to return visitors? Yes, as long as visitor tracking is enabled on your website. Enable Return Visitor Custom Greetings and enter a personalized message for patients and prospects who come back to your site.
How do I preview the chat bubble before it goes live? Use the Chat Bubble Preview feature. As you make changes, the preview updates in real time so you can see exactly how the bubble will look before saving.
Do my changes take effect right away? Your changes apply once you click Save. Be sure to save before leaving the page so your customizations are not lost.
How do I resize the chat widget? Under Widget Customization, use the widget dimensions setting to select the size that best fits your website.
