Multiple Chat Widgets let you run more than one chat widget within the same Aesthetix CRM account. Each widget can carry its own branding, channels, and behavior, so you can offer the most relevant experience across different sites and landing pages. A consult-booking widget on your injectables page and a general-inquiry widget on your homepage can run side by side, while every conversation still lands in one place.
This article explains how to create several widgets in your account and how to place them onto your sites and pages.
Targeted experience: Add multiple chat widgets with different designs and customizations on different sites.
Hassle-free updates: You do not need to reinstall the code when making changes or updating widget settings.
Maintenance efficiency: Update each widget's settings without disrupting other pages or funnels.
Flexibility: Set a default widget for the whole site or on a page-by-page basis.
Before assigning chat widgets to your sites, you must first create the widgets you plan to use. Follow the steps below to create multiple chat widgets before getting started. If you already have multiple chat widgets, you can skip this section.
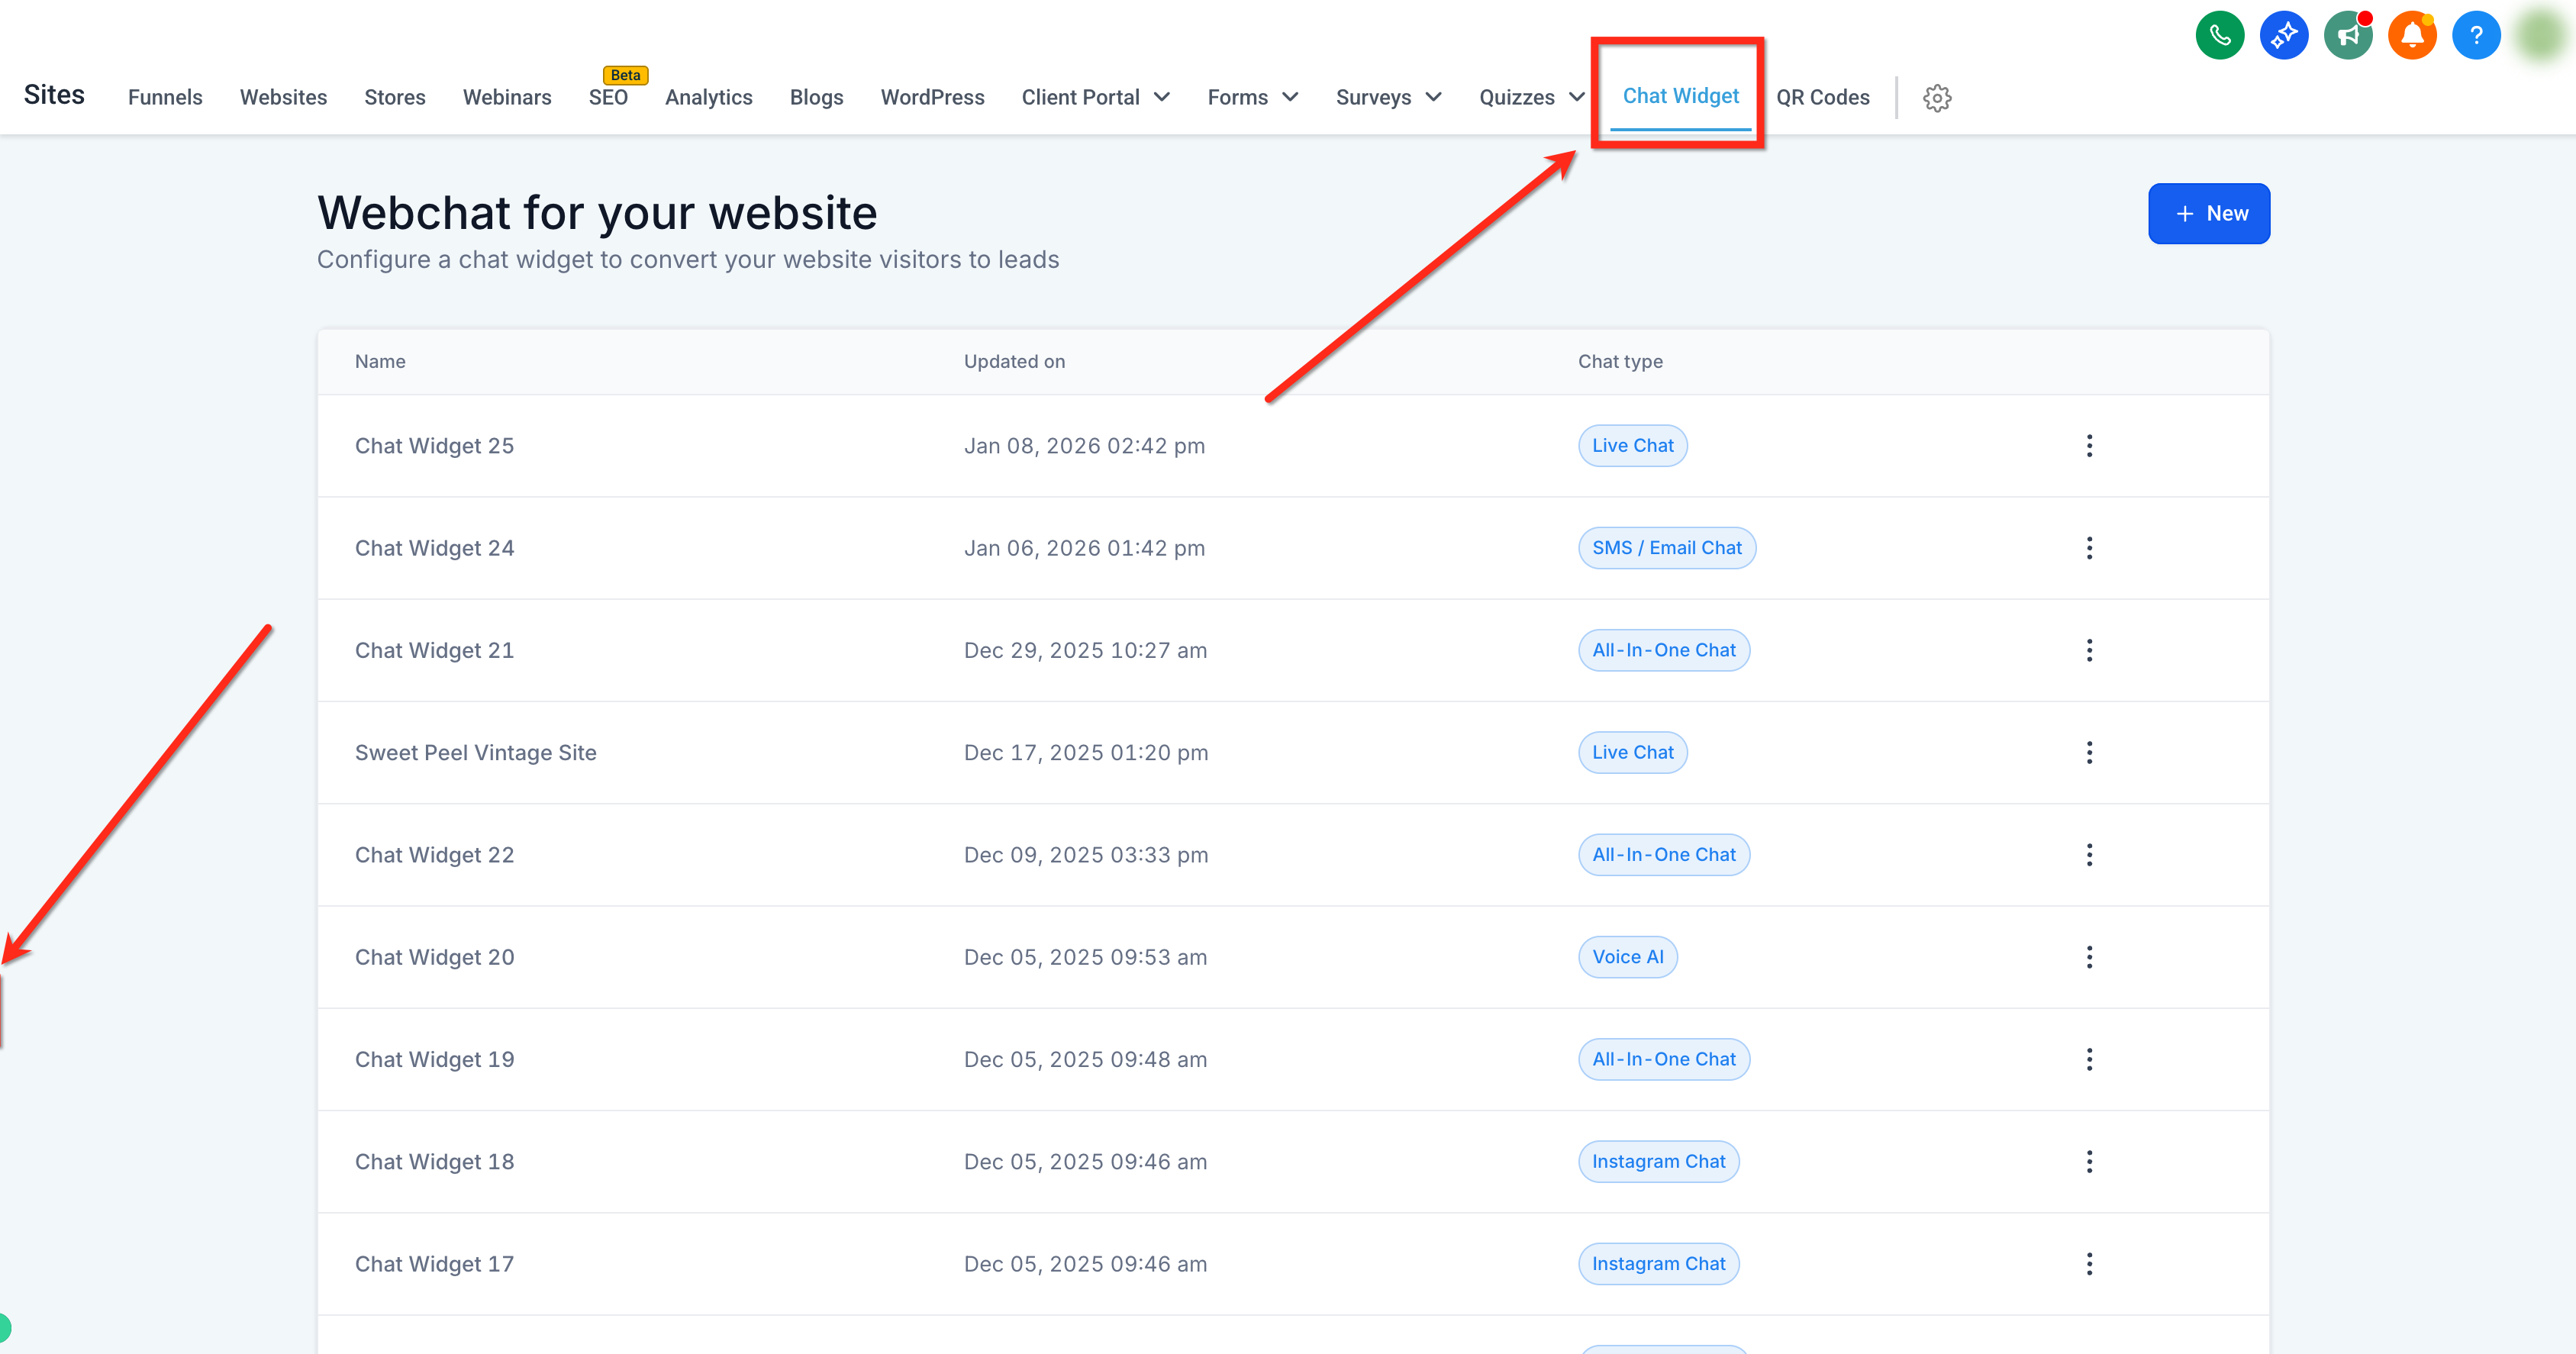
Navigate to Web Tools > Chat Widget.
**
**
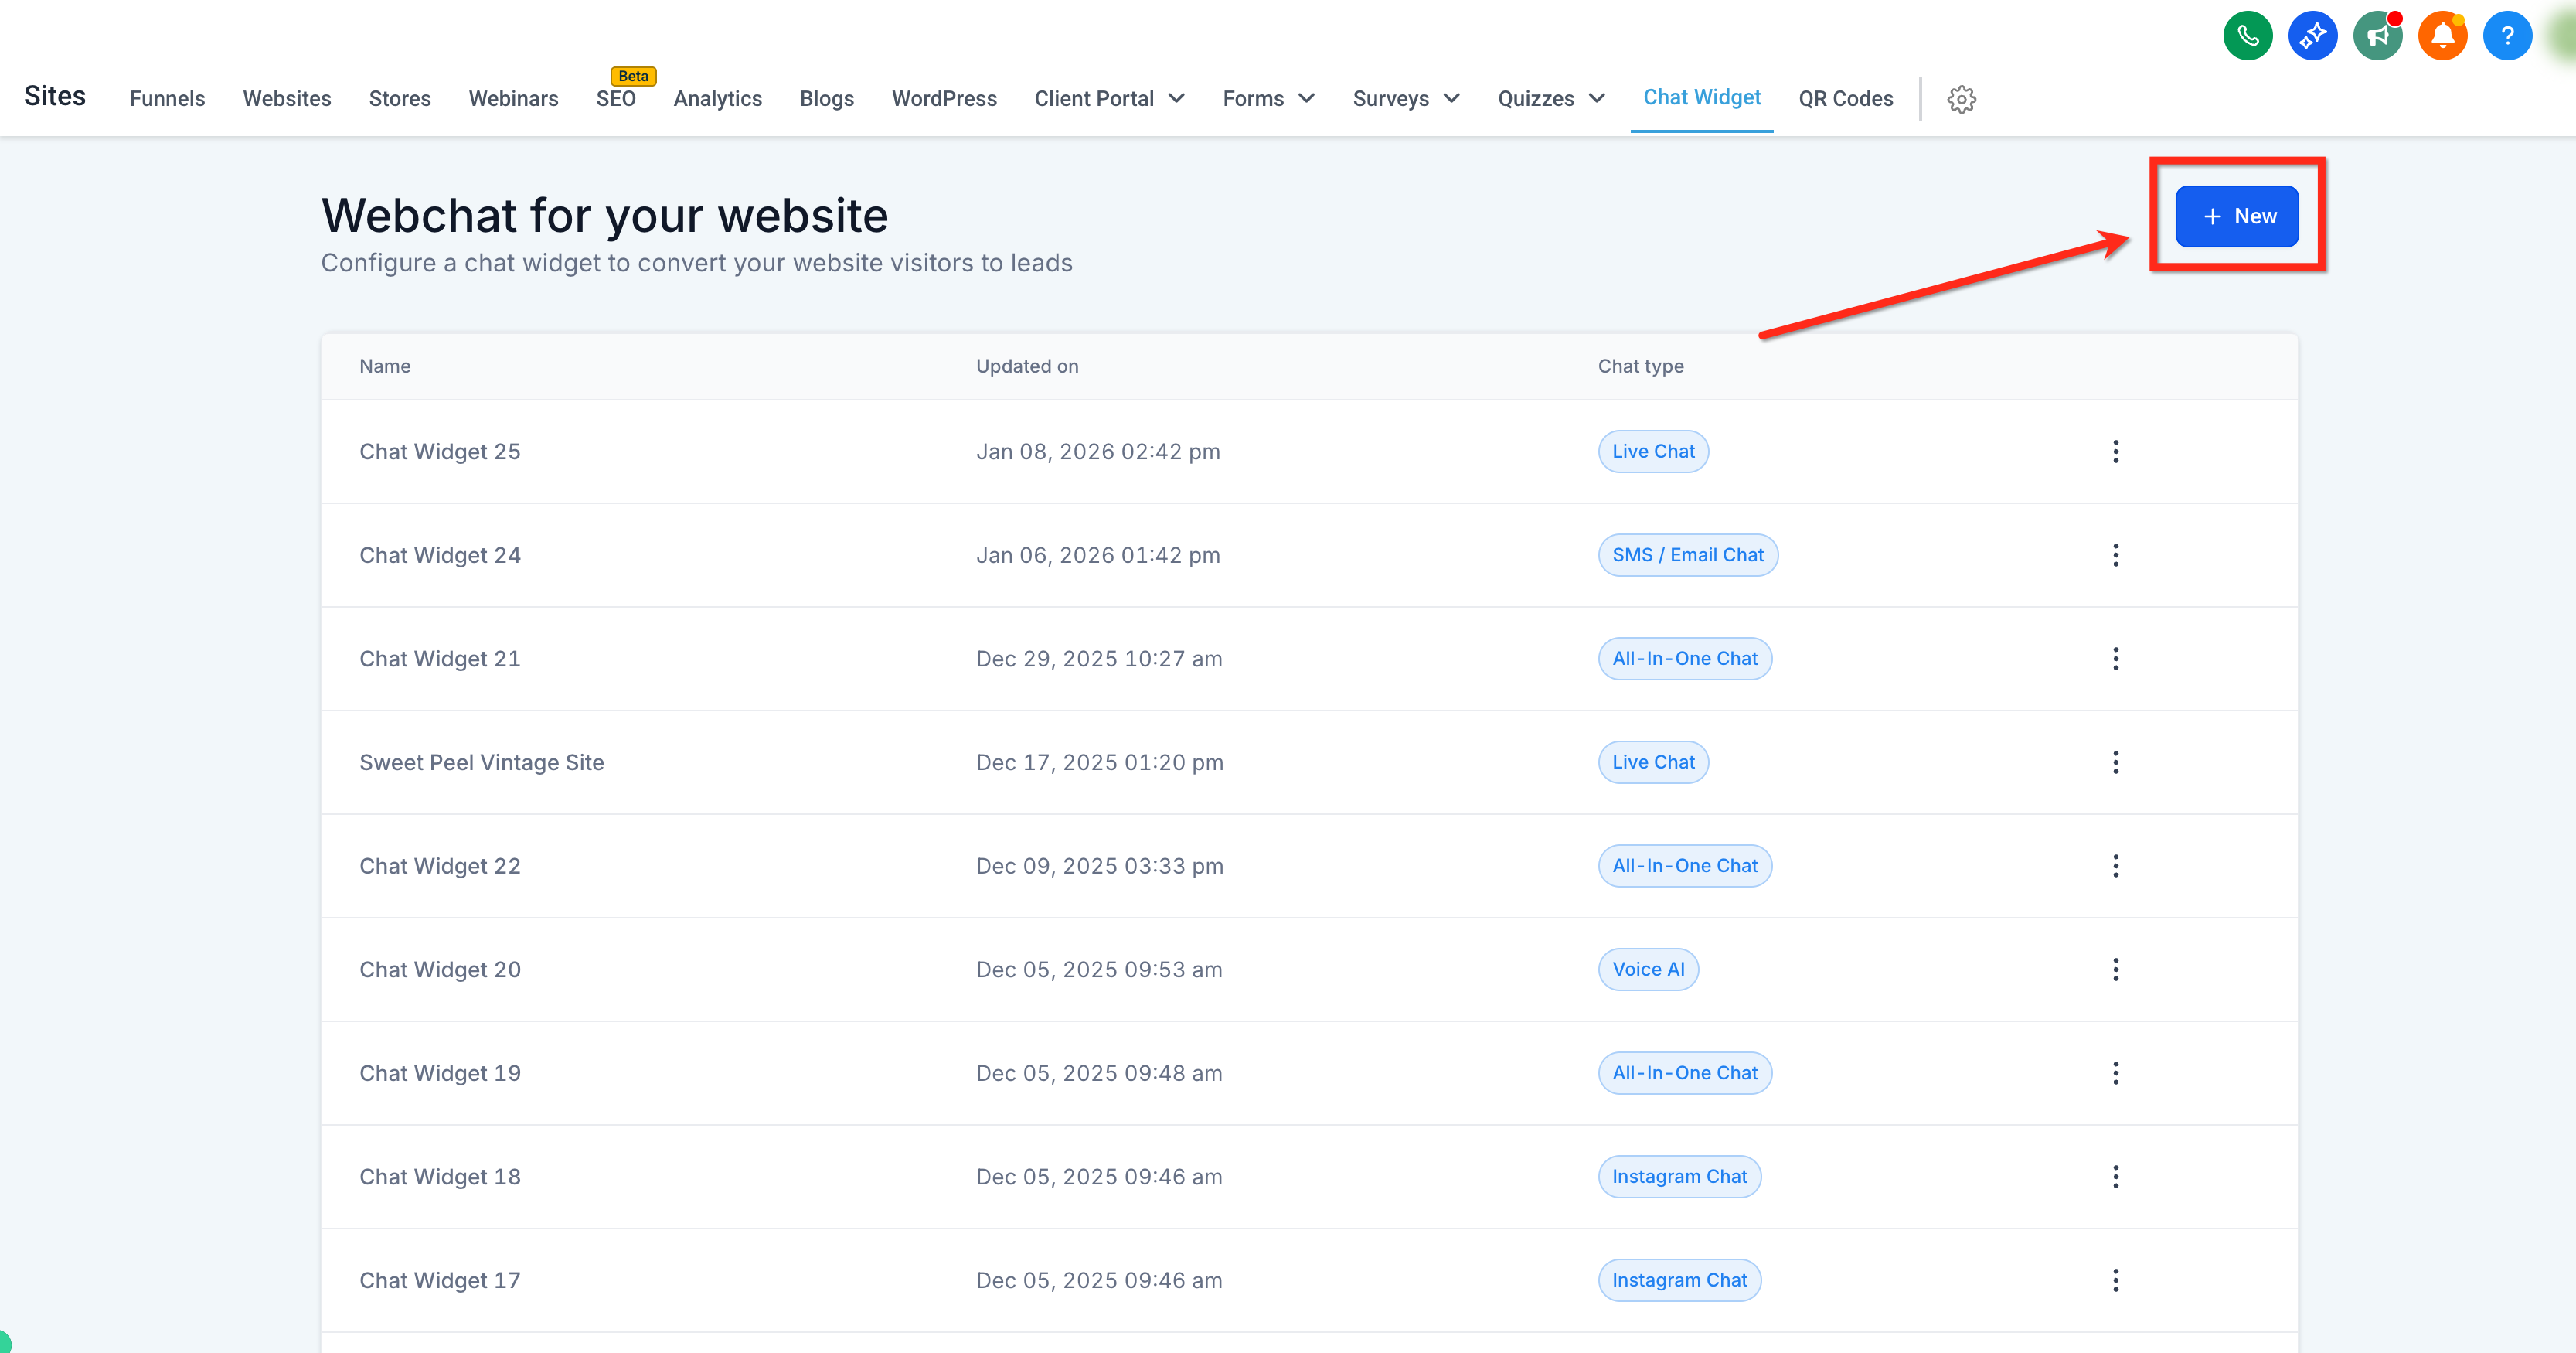
Select the blue + New button.
**
**
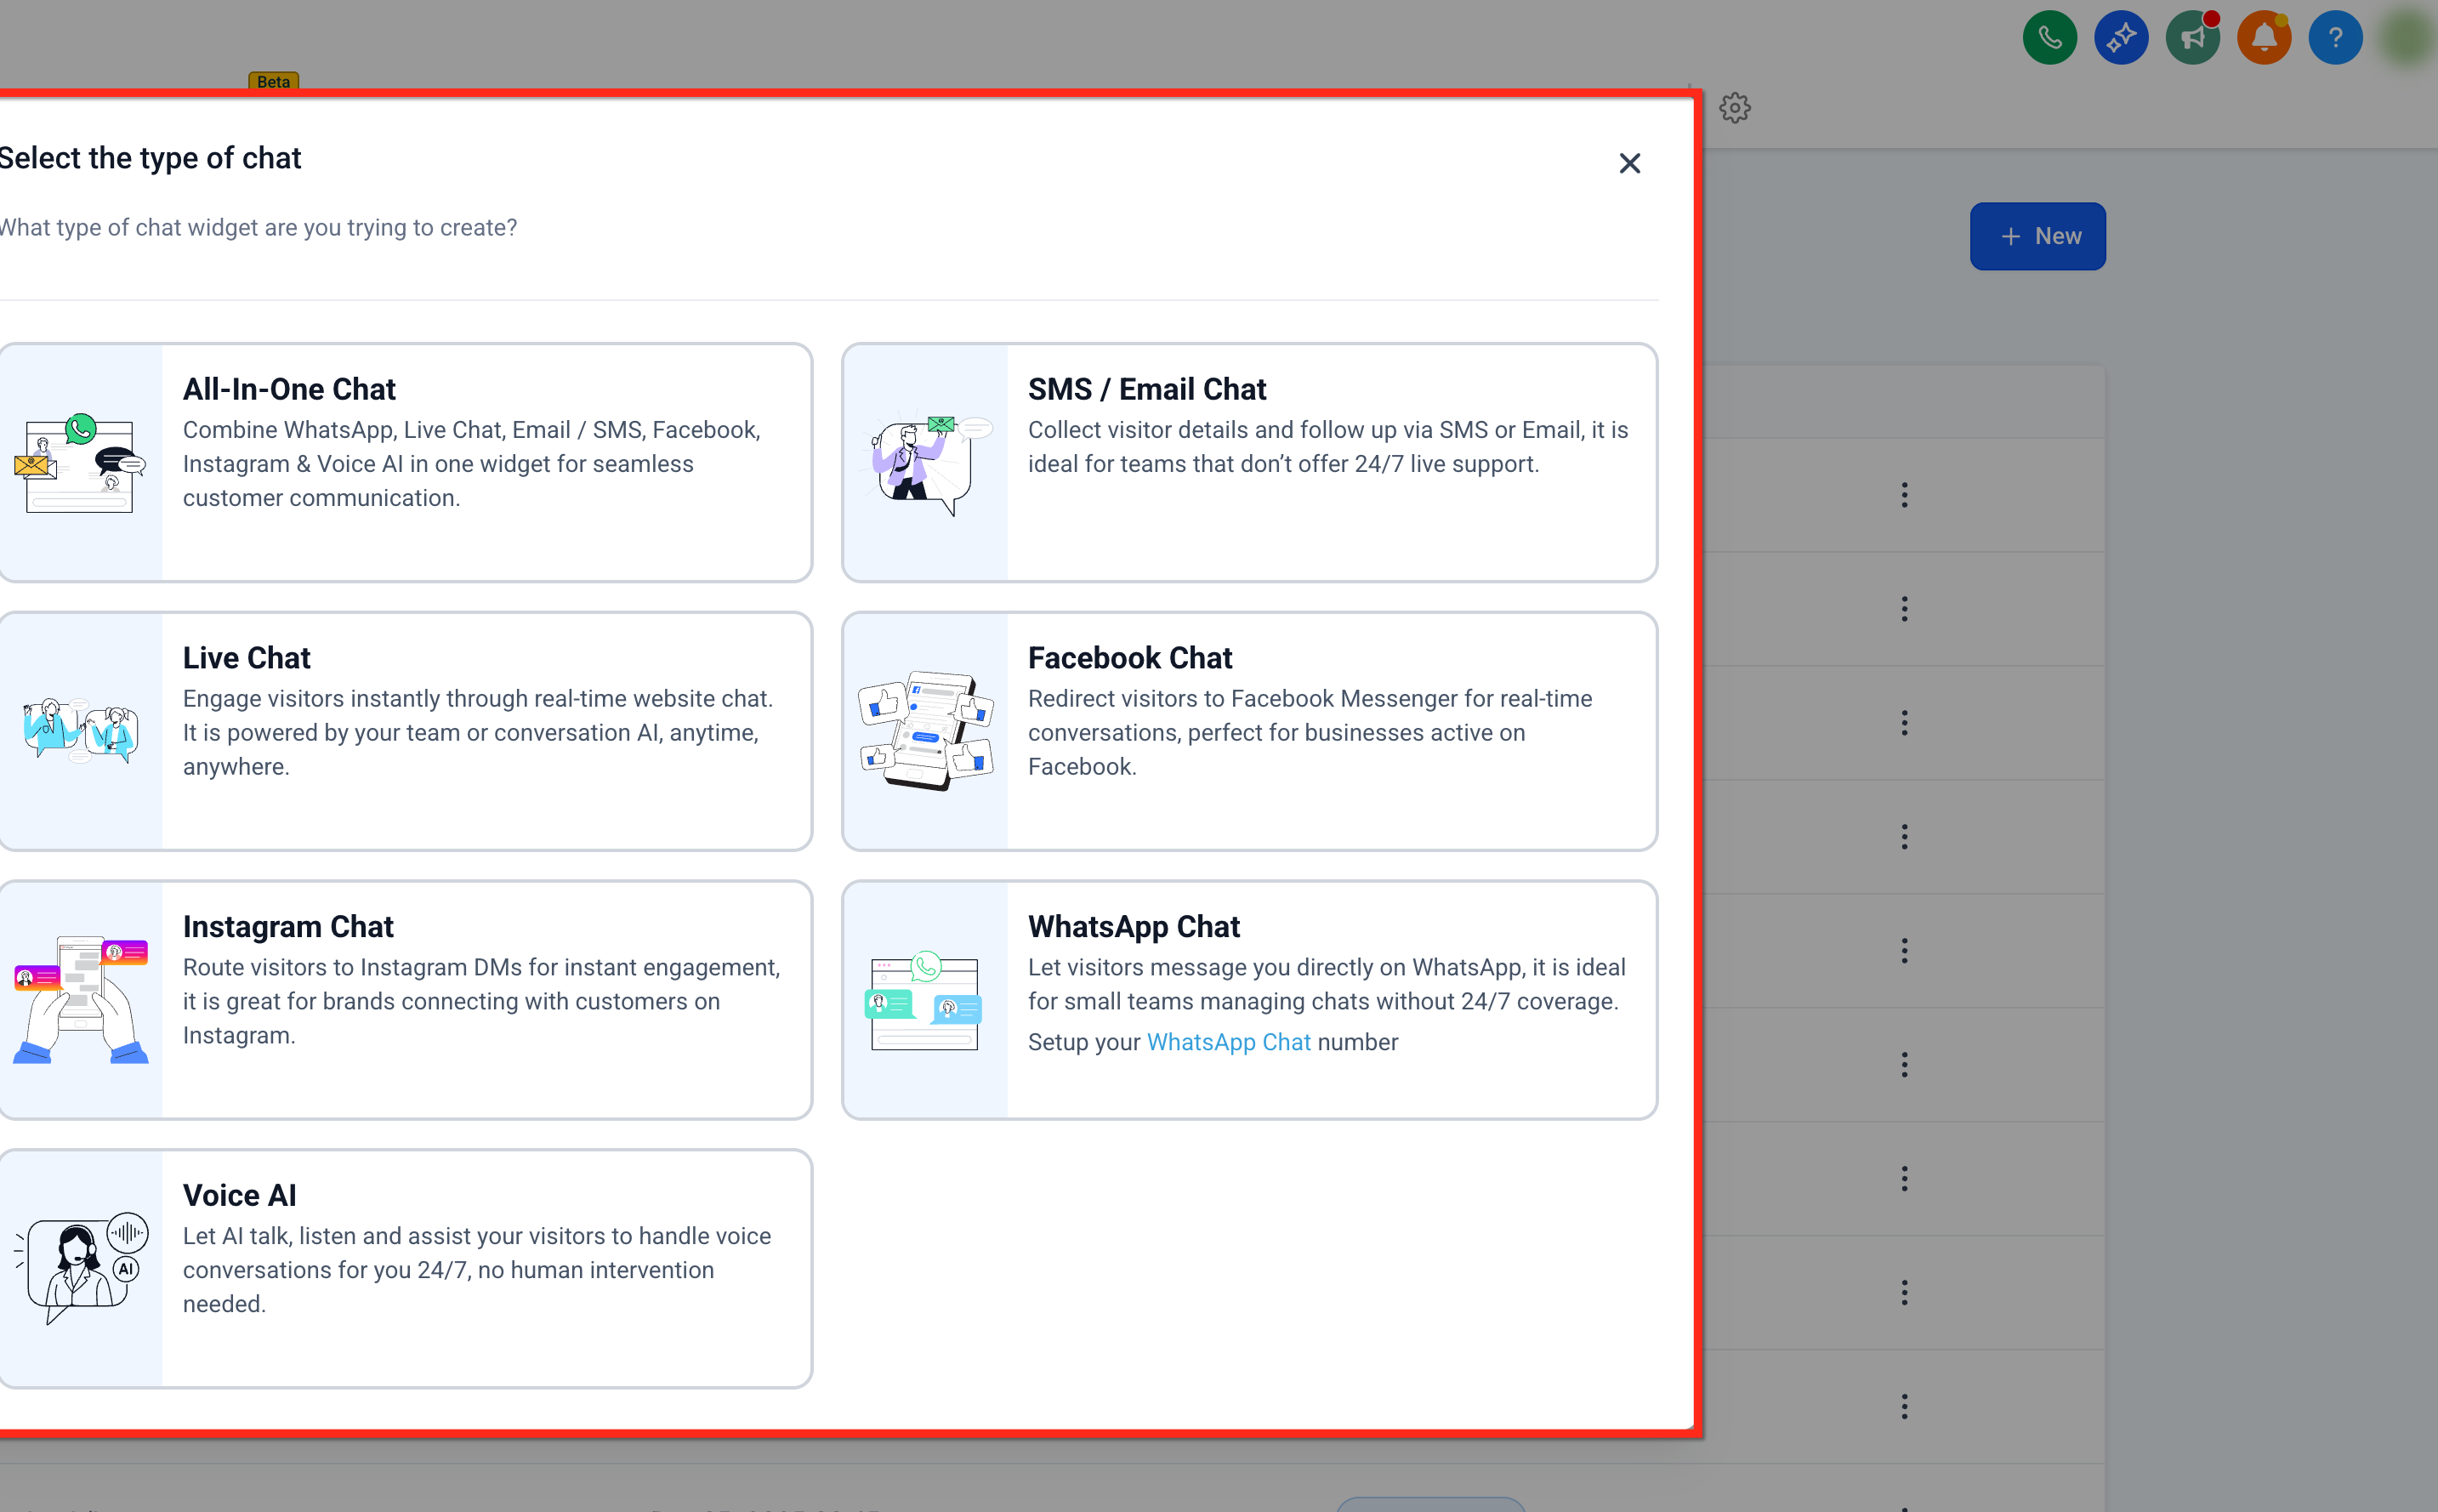
Select the type of chat widget you would like to create.
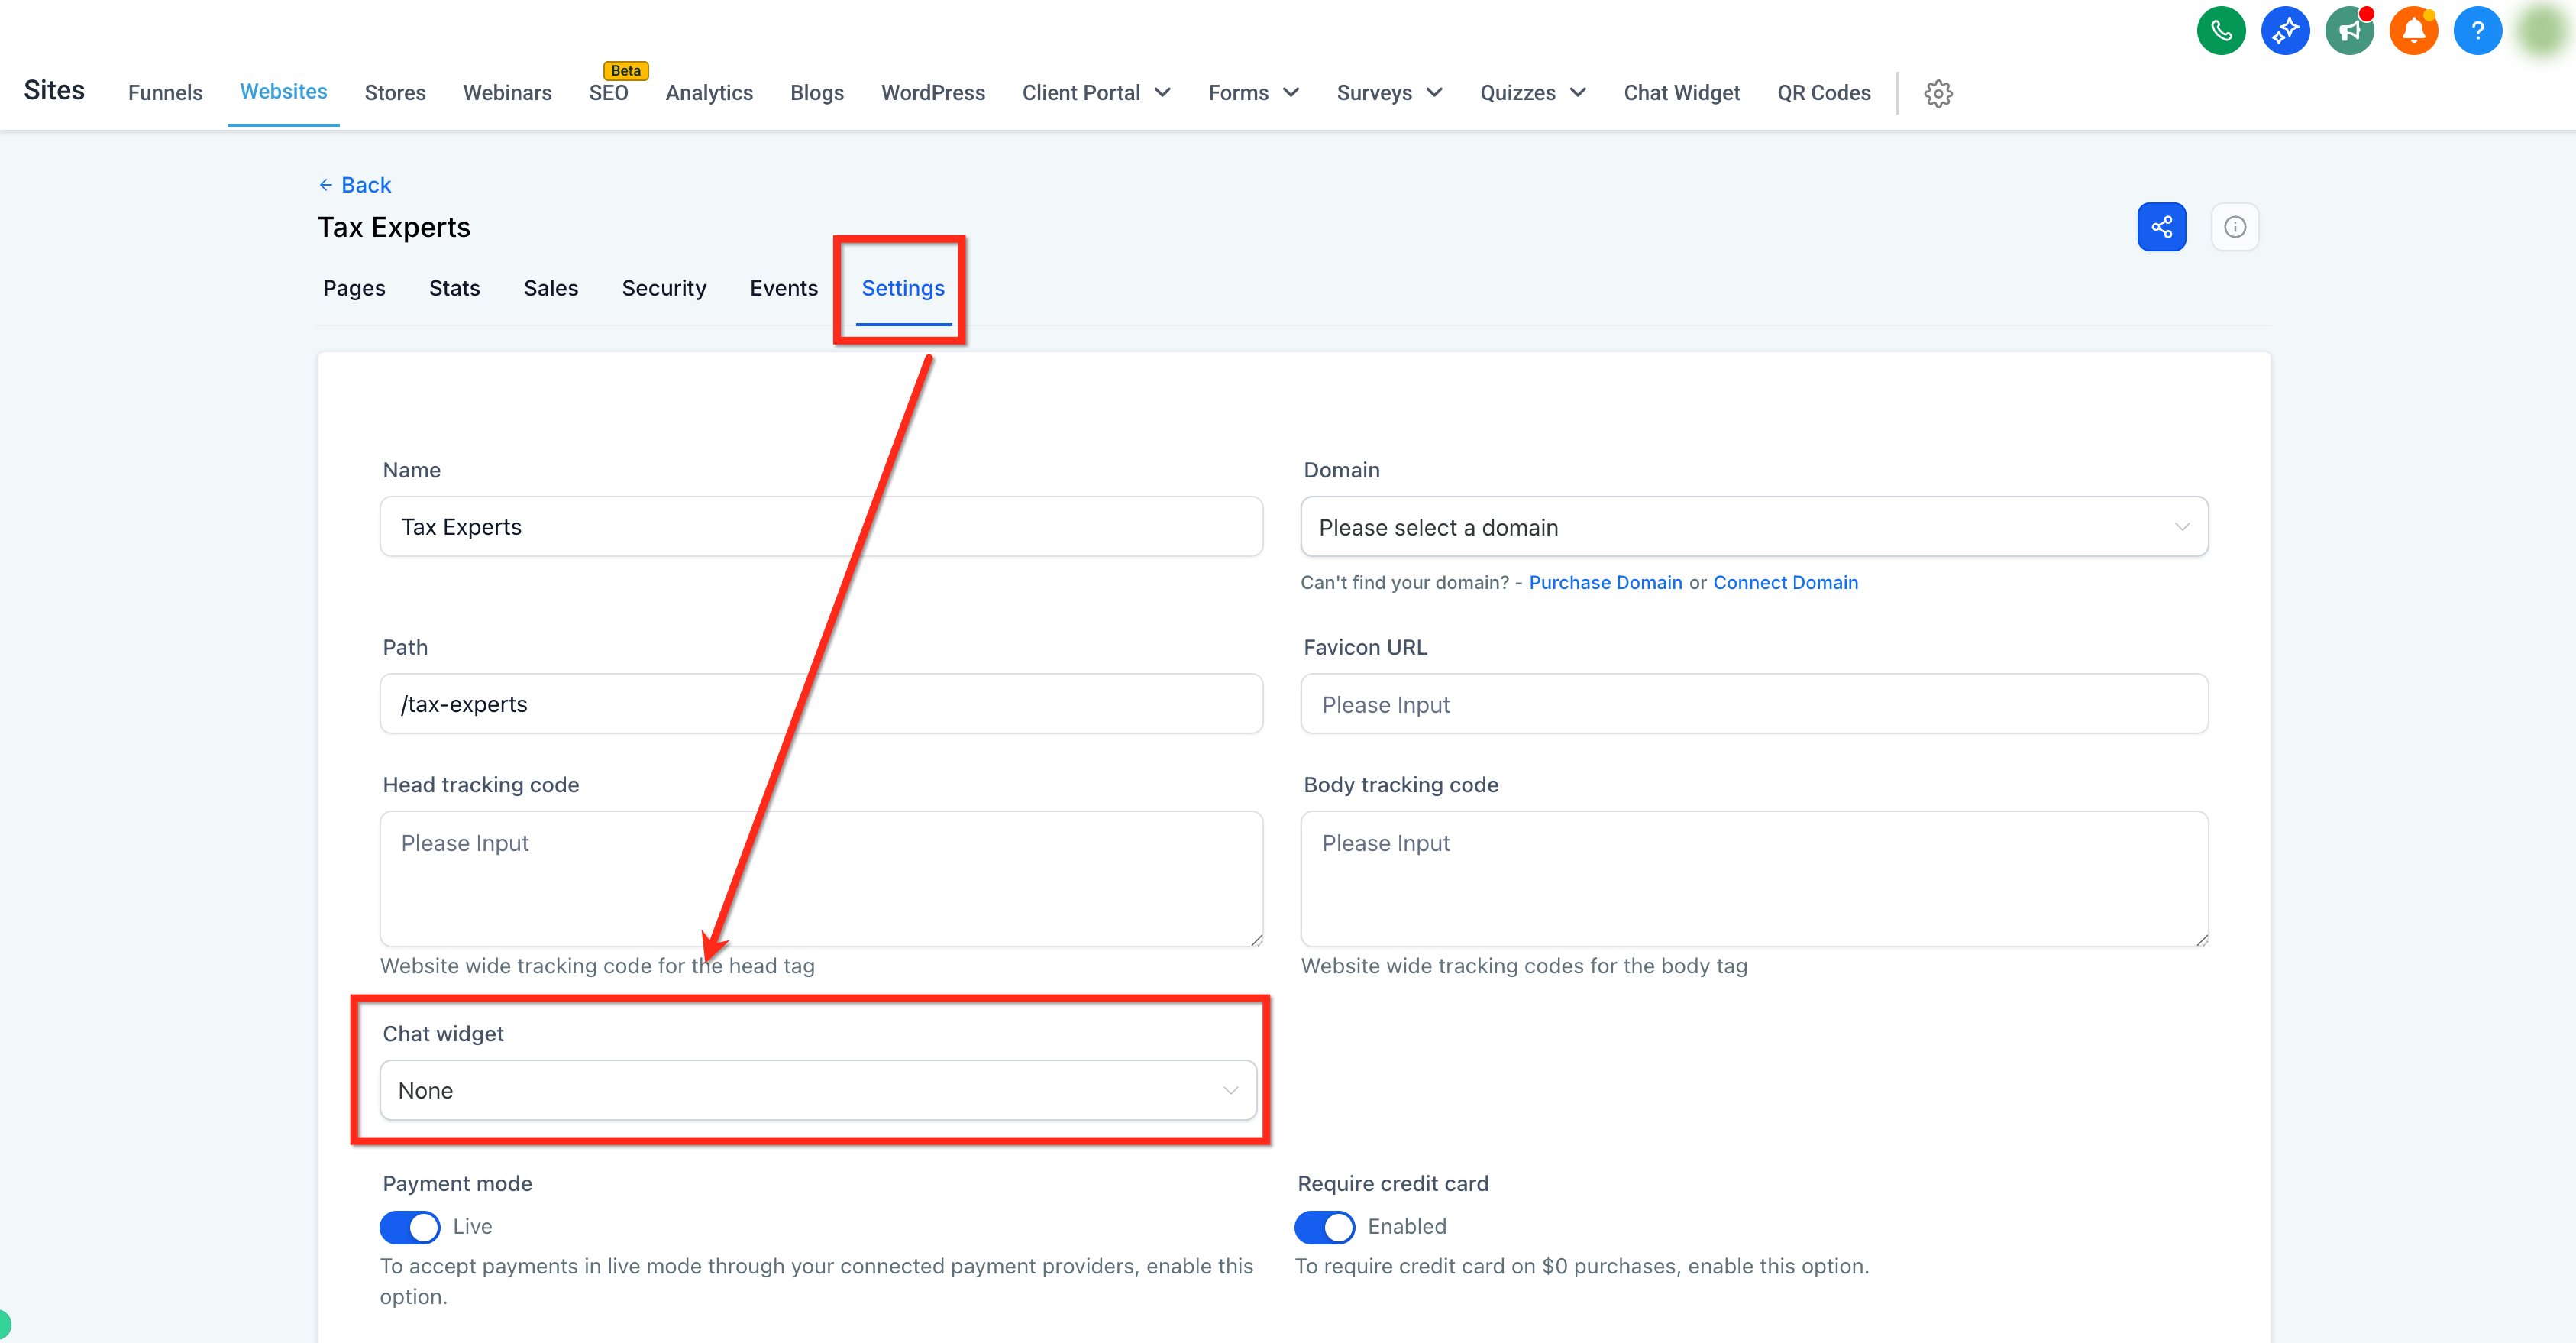
Selecting a chat widget at the site level applies one widget across the entire website or funnel. This lets you choose from all the chat widgets you have created and assign a different widget to each of your sites.
To select a chat widget for a site, follow these steps:
Navigate to Web Tools → Websites or Funnels, then select the website you would like to edit.
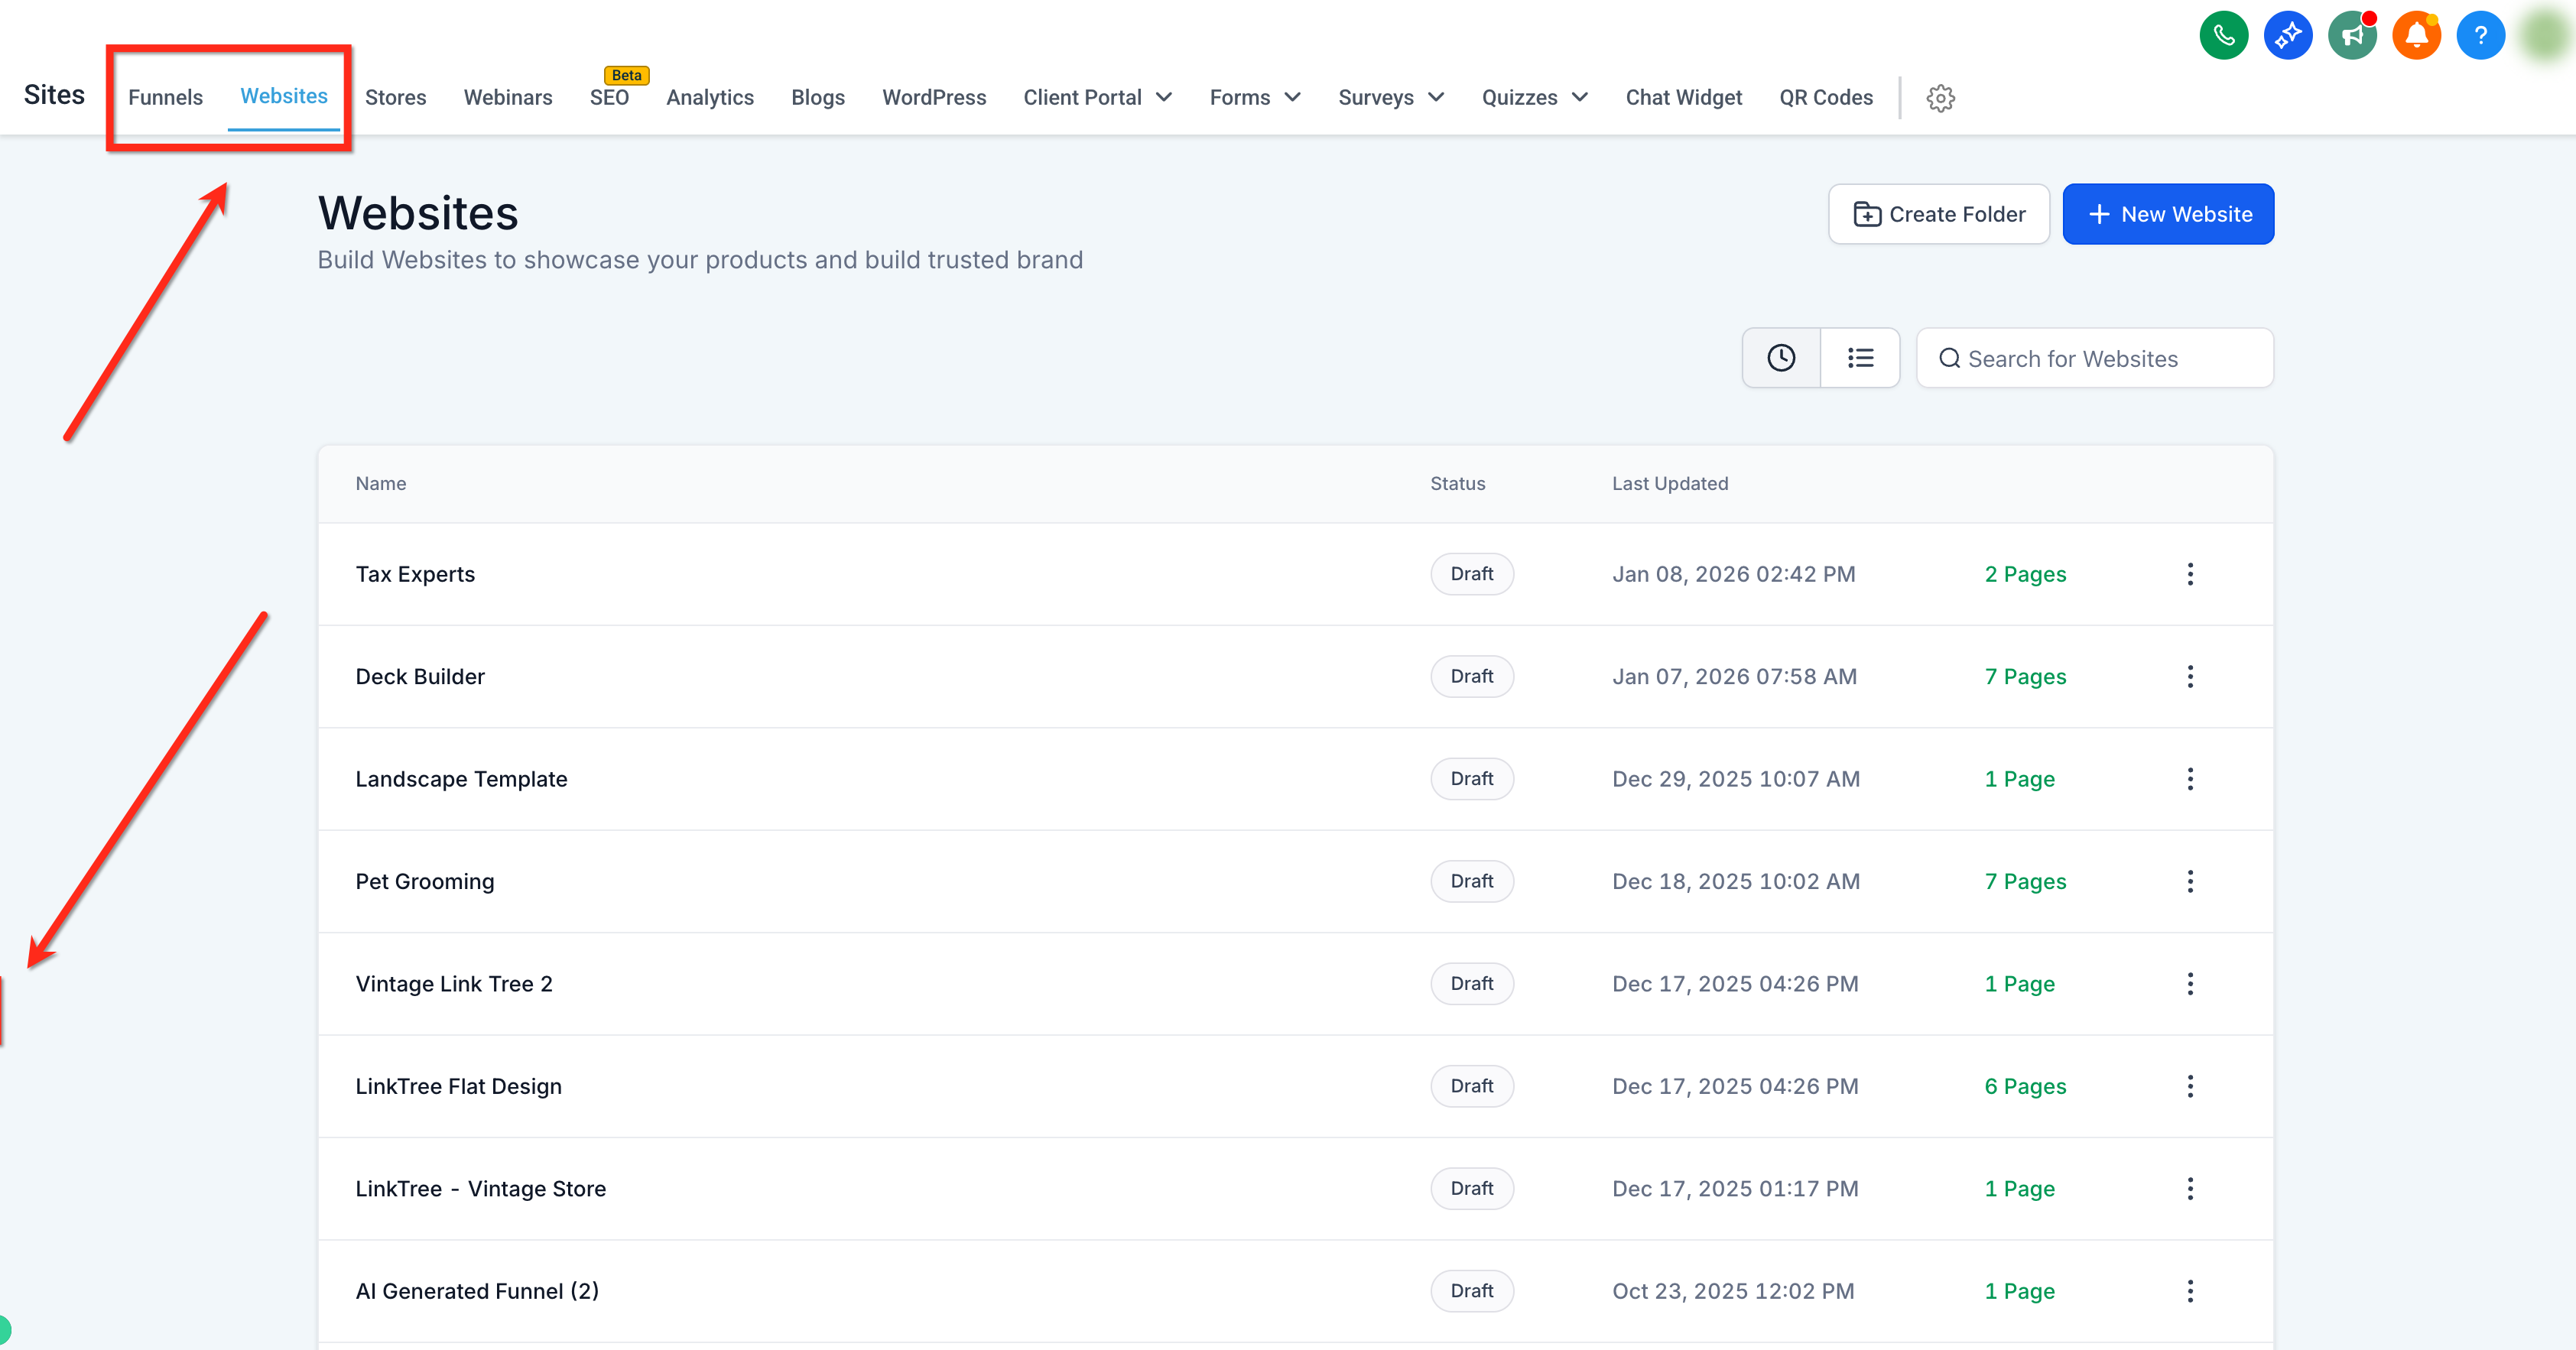
Go to the Settings tab. Use the Chat Widget dropdown to scroll through all created Chat Widgets and select the one you want applied to this site.
Use a per-page code embed to show a Chat Widget only on specific pages or funnel steps within your website or funnel. This method gives you fine-grained control over the visitor's experience, so you can, for example, surface a promotions widget on a single landing page while the rest of the site uses your default.
To assign a chat widget to a single page, follow these steps:
Navigate to Web Tools → Websites or Funnels, then select the website you would like to edit.
Go to the Settings tab. Make sure the Chat Widget dropdown is set to "None," then Save.
Navigate to Web Tools → Chat Widget, open the chat widget you want, click Get Code, and copy the code snippet.
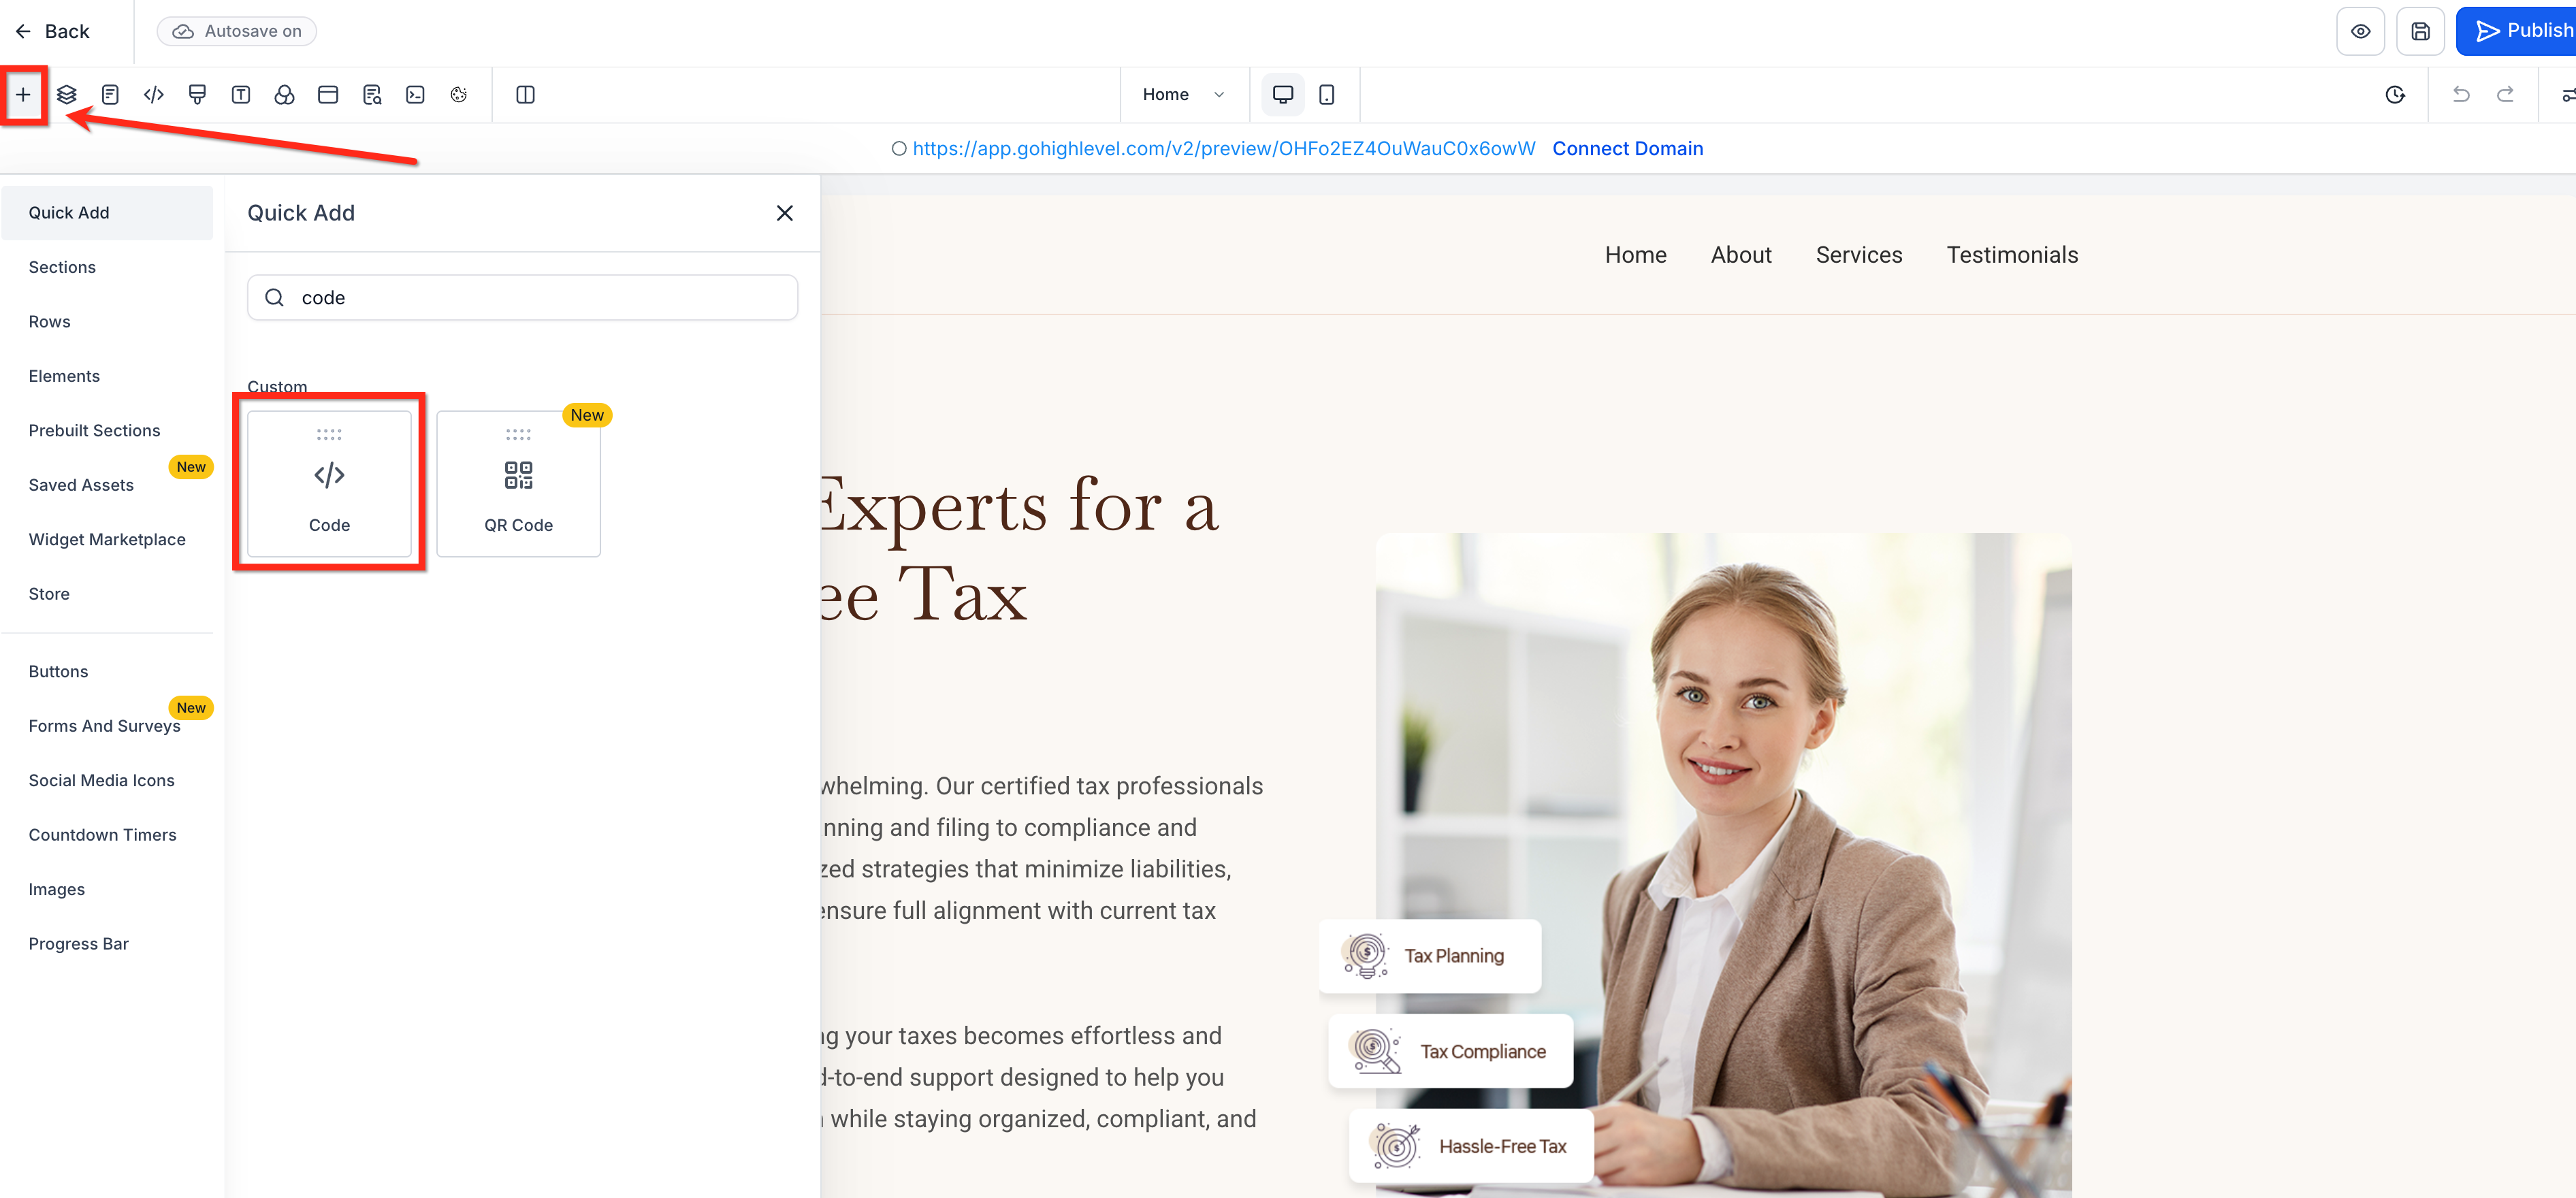
Open the Page Editor for the target page or step. Click Add Element (+), find Code, and drag it onto the canvas.
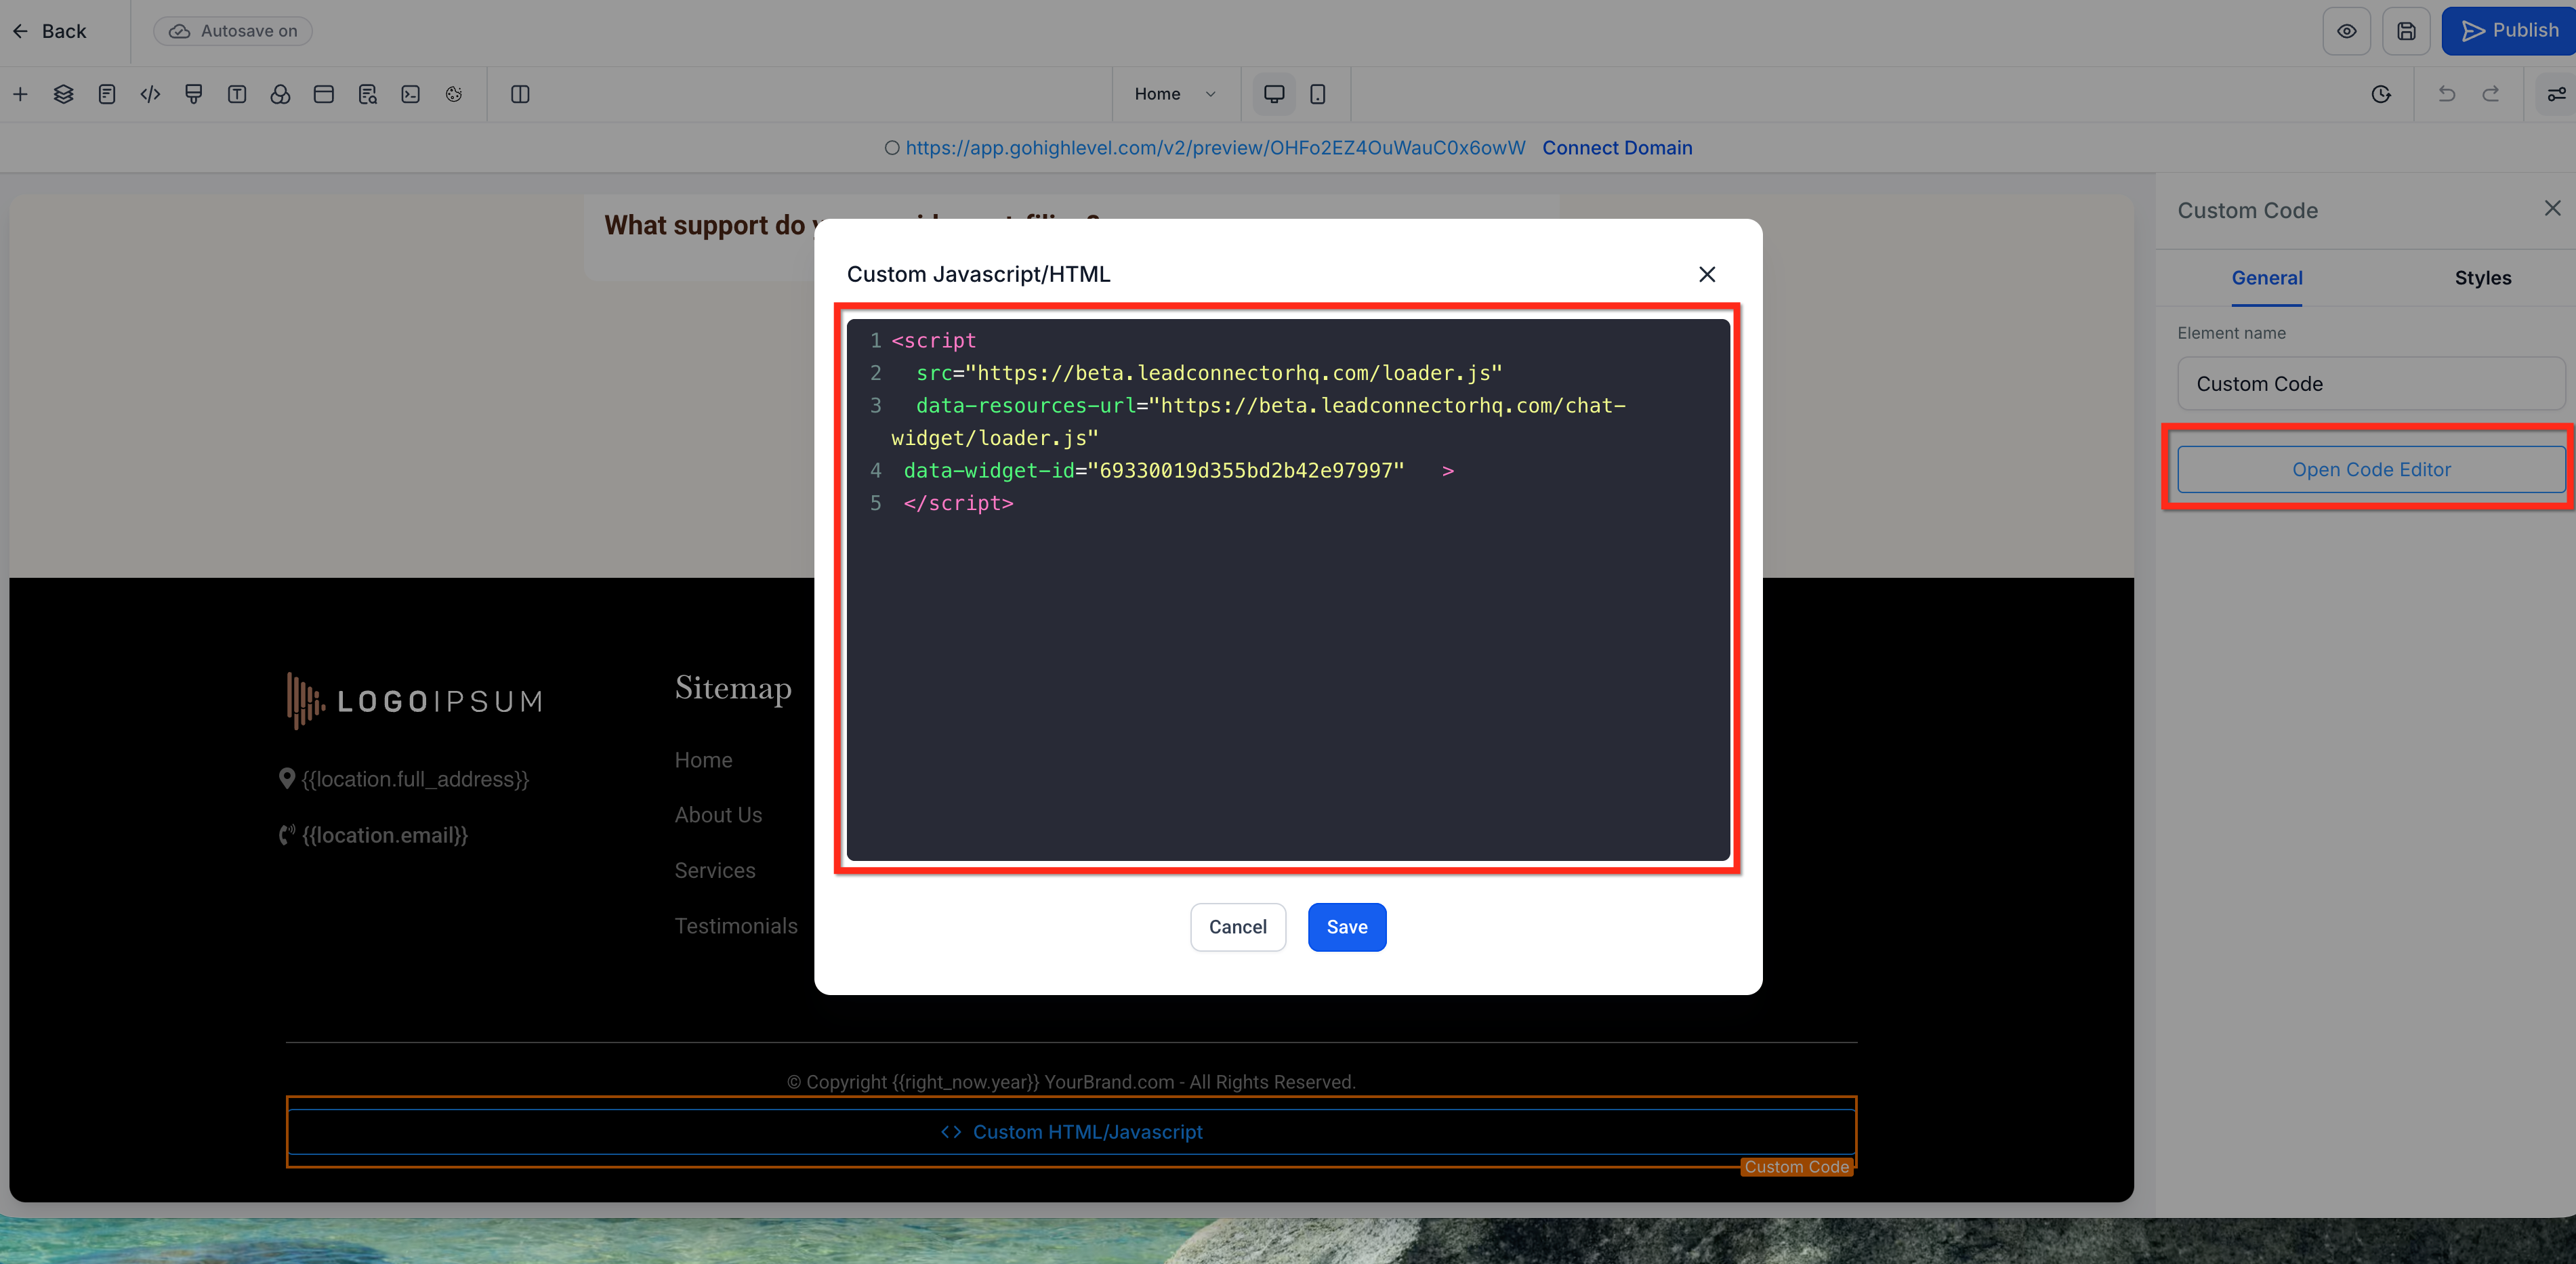
Select the Code element. In the right settings panel, click Open Code Editor, paste the code snippet, and click Save.
Note: If a widget is set under a site's Settings and a code element is also placed on a page, the Settings selection takes precedence. To let a page-specific widget appear, set the site's Chat Widget dropdown to "None."
Do I need to reinstall the code after changing widget styles or settings?
No. The Chat Widget updates automatically to match your changes, so there is no need to re-embed anything.
Which widget shows if I set a widget under Settings and also add one with a code element?
If both are configured, the Settings selection takes precedence. Only the widget selected under Settings will show. To use the page-specific widget, set the site's Chat Widget dropdown to "None."
Will the All-in-One Chat Widget replace multiple widgets?
The All-in-One option centralizes multiple channels in a single widget. You can still run multiple widgets when you want different designs or calls to action per page or site.
How do I verify the correct widget is active on a page?
Use the Preview feature within the editor to see which widget is active on the page.
Can each widget have its own branding and channels?
Yes. Each widget can have its own branding, channels, and behavior, so you can tailor the experience to each site, page, or campaign.
Do all conversations still come into one place?
Yes. No matter how many widgets you run, every conversation flows into the same account, so your team manages them all from one inbox.
