Add or remove your practice logo, set a form background color or image, and reuse images through the media picker.
Your intake forms are often the first branded touchpoint a patient sees, so their look matters. Aesthetix CRM lets you display your practice logo, apply a custom background color or image, and pull approved graphics from a shared media library. This guide walks through each of those styling options so your forms feel like a natural extension of your practice.
Your logo can appear at the top of a form to reinforce your brand the moment a patient starts filling it out. You can turn this on or off at any time from the form builder.
Click Marketing.
Click Forms.
Click Add Form.
Click Start from Scratch.
Click Styles & Options.
Navigate to Miscellaneous.
Toggle the Reflect company logo switch on.
Your logo now displays on the form.
In the same Styles & Options panel, under Miscellaneous, toggle the Reflect company logo switch off.
Click Save.
The logo is removed from the form.
Note: Your logo is pulled from your account branding settings. If no logo appears when the toggle is on, confirm that a logo has been uploaded to your account.
A background image or color can greatly improve the visual appeal of a form, making it more inviting to prospective patients and enhancing the overall experience. You can upload a background that matches your practice's brand identity or design preferences to add a personal touch.
Click Marketing.
Click Forms.
Click Add Form, or select an existing form from your list.
Click Styles & Options.
Click Upload background image.
Upload the desired image by clicking the upload area or dragging and dropping the image file.
Click Save to keep your changes.
Click Preview to confirm the form appears as intended.
Note: Choose a background that keeps your form fields easy to read. Busy or high-contrast images can make text and inputs harder for patients to see.
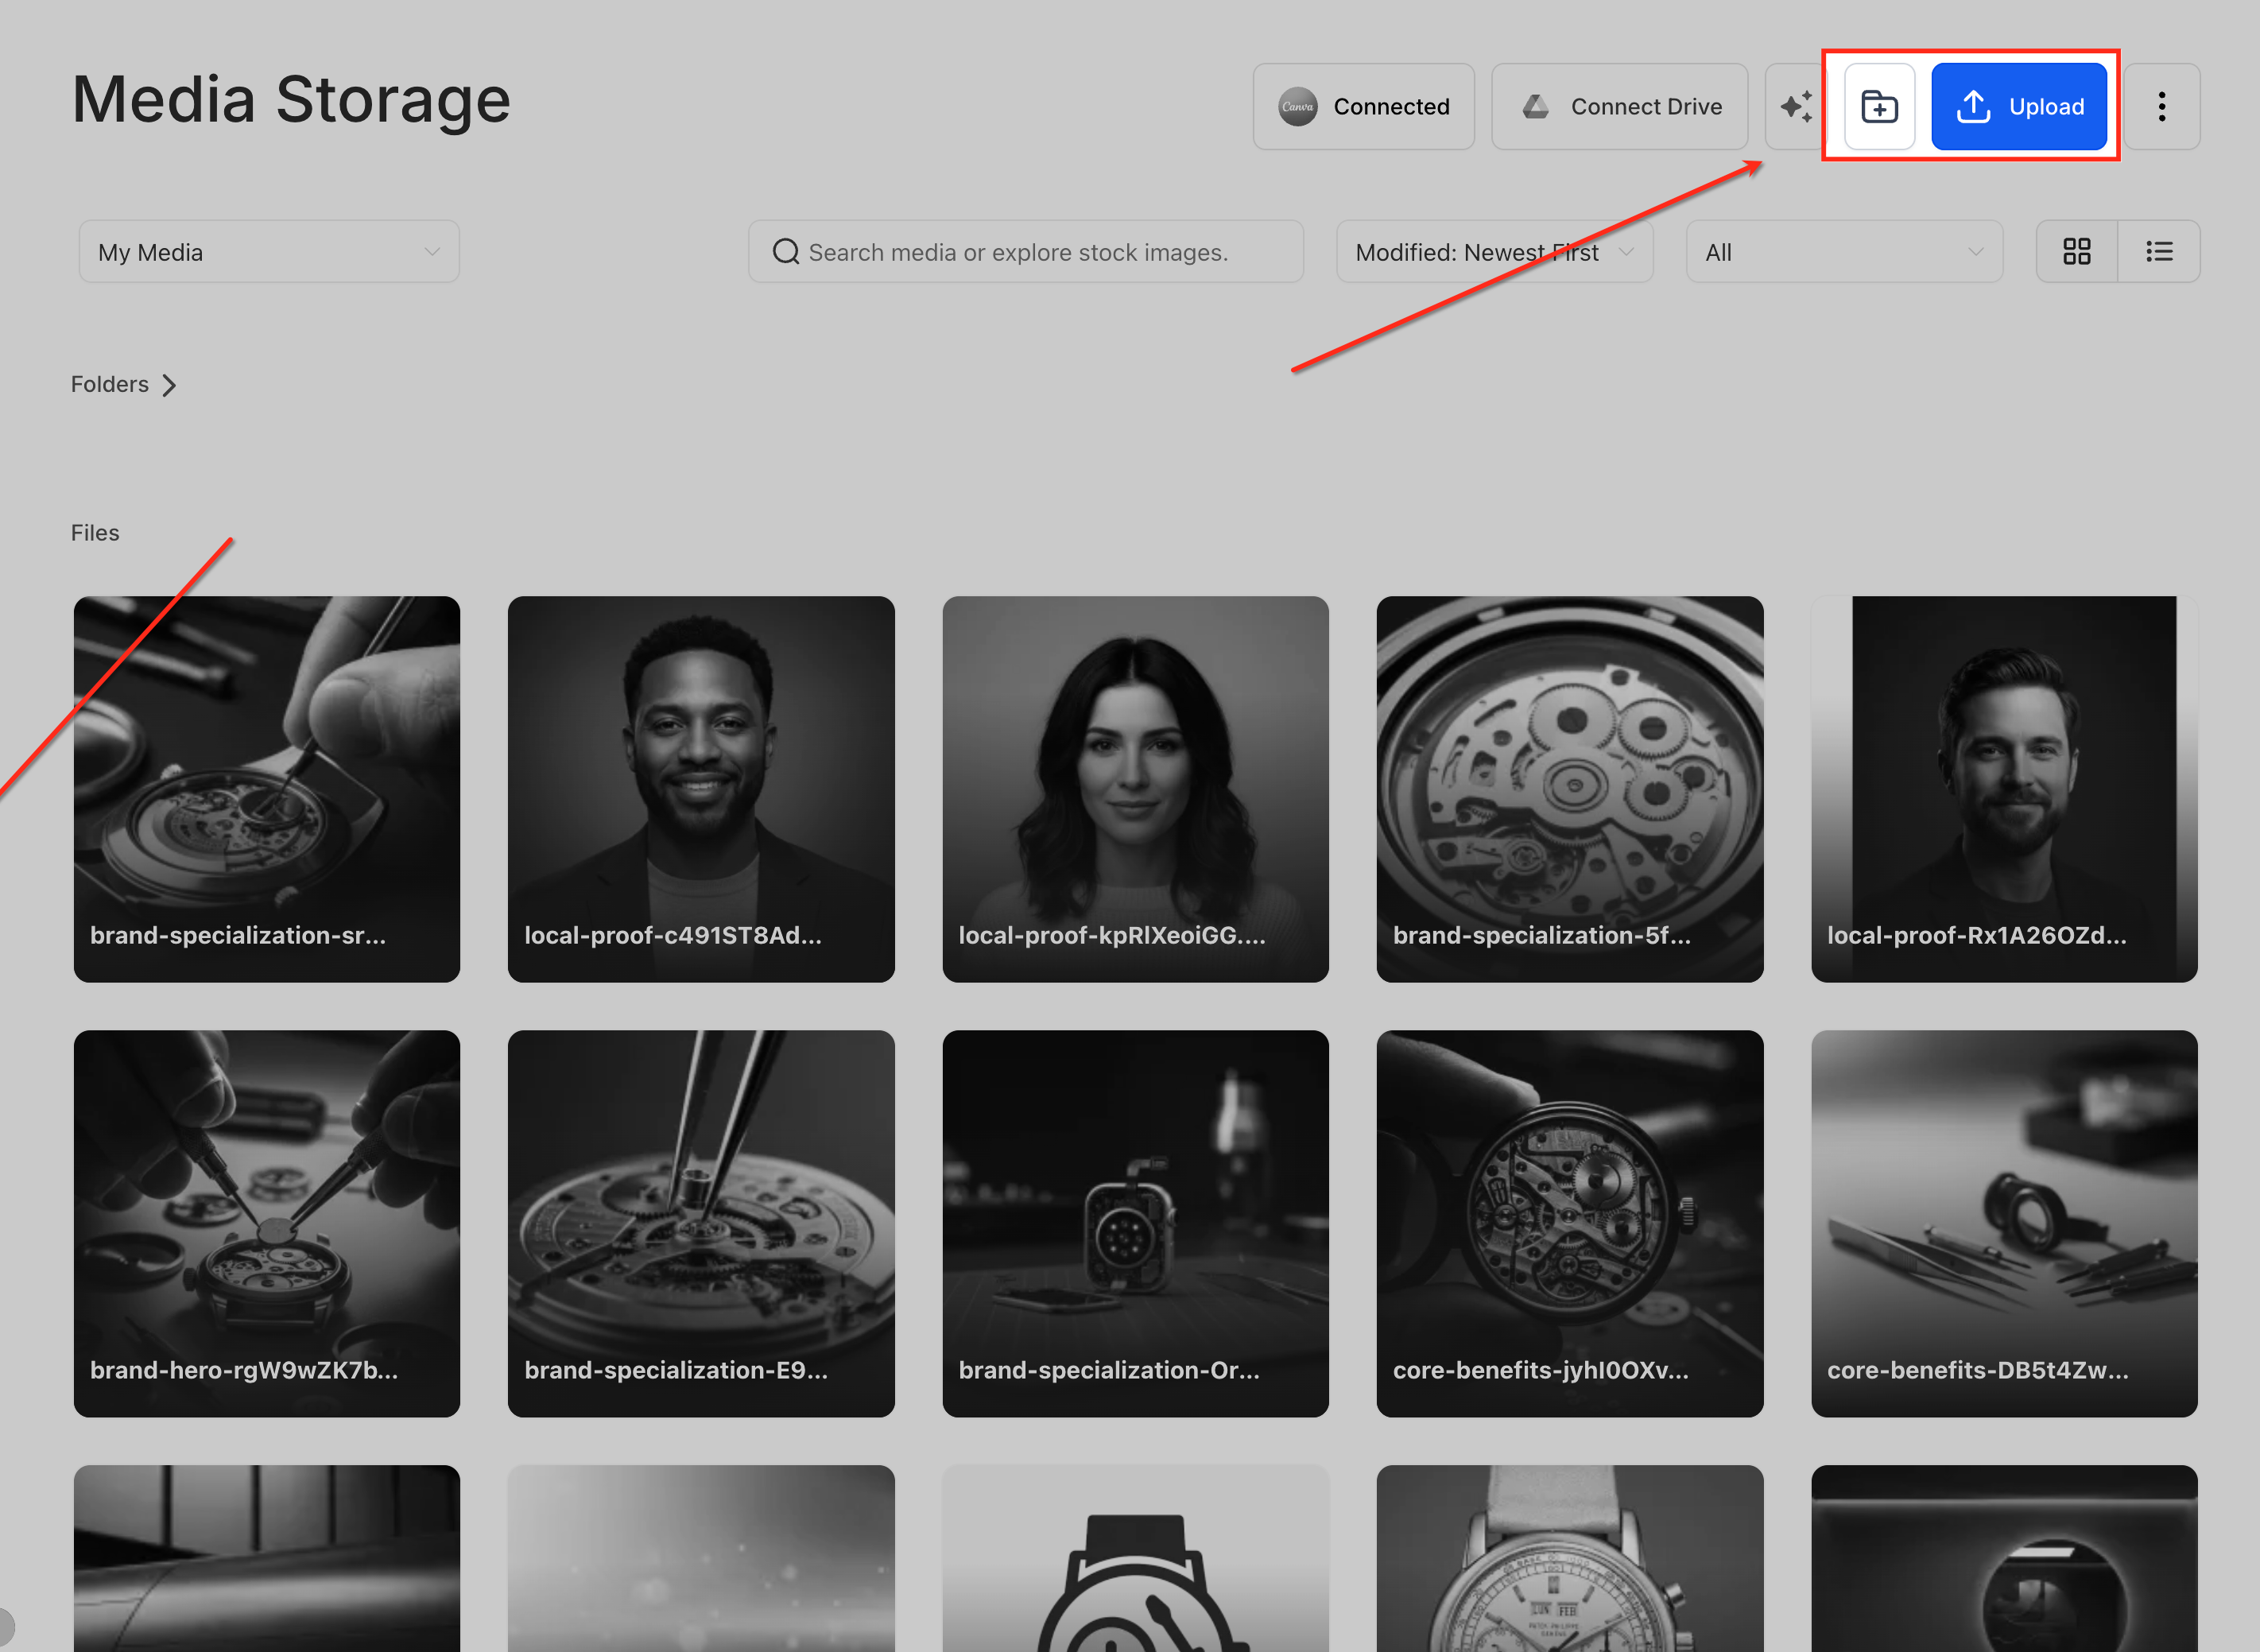
The media picker gives you one consistent way to manage and insert images across forms, surveys, quizzes, and QR codes. It connects these builders to your account's centralized media library, so you can browse, upload, and reuse assets from a single location.
The media picker is a pop-up window that opens when you click options like Change Image or the image icon in a builder. Whenever you add or change an image, it gives you access to your full media library, including folders, uploads, and supported external sources. This keeps image work consistent and organized across tools.
One consistent image experience: Forms, surveys, quizzes, QR codes, funnels, and websites all use the same media picker, creating a familiar and predictable workflow.
Faster, more intuitive selection: Browse folders, search files, preview images, and select assets without switching between different upload interfaces.
Reuse existing assets instead of re-uploading: Access previously uploaded logos, backgrounds, and graphics from your media library, reducing duplication and saving time.
Centralized media management: All images are stored in one place, where you can organize files into folders, rename assets, and manage unused media.
Improved brand consistency: Your team can reuse approved brand assets across multiple builders, helping maintain a consistent visual identity.
Compatibility with media features: Images selected through the picker can benefit from file filtering, image editing, and supported external integrations.
When you open the media picker, you can:
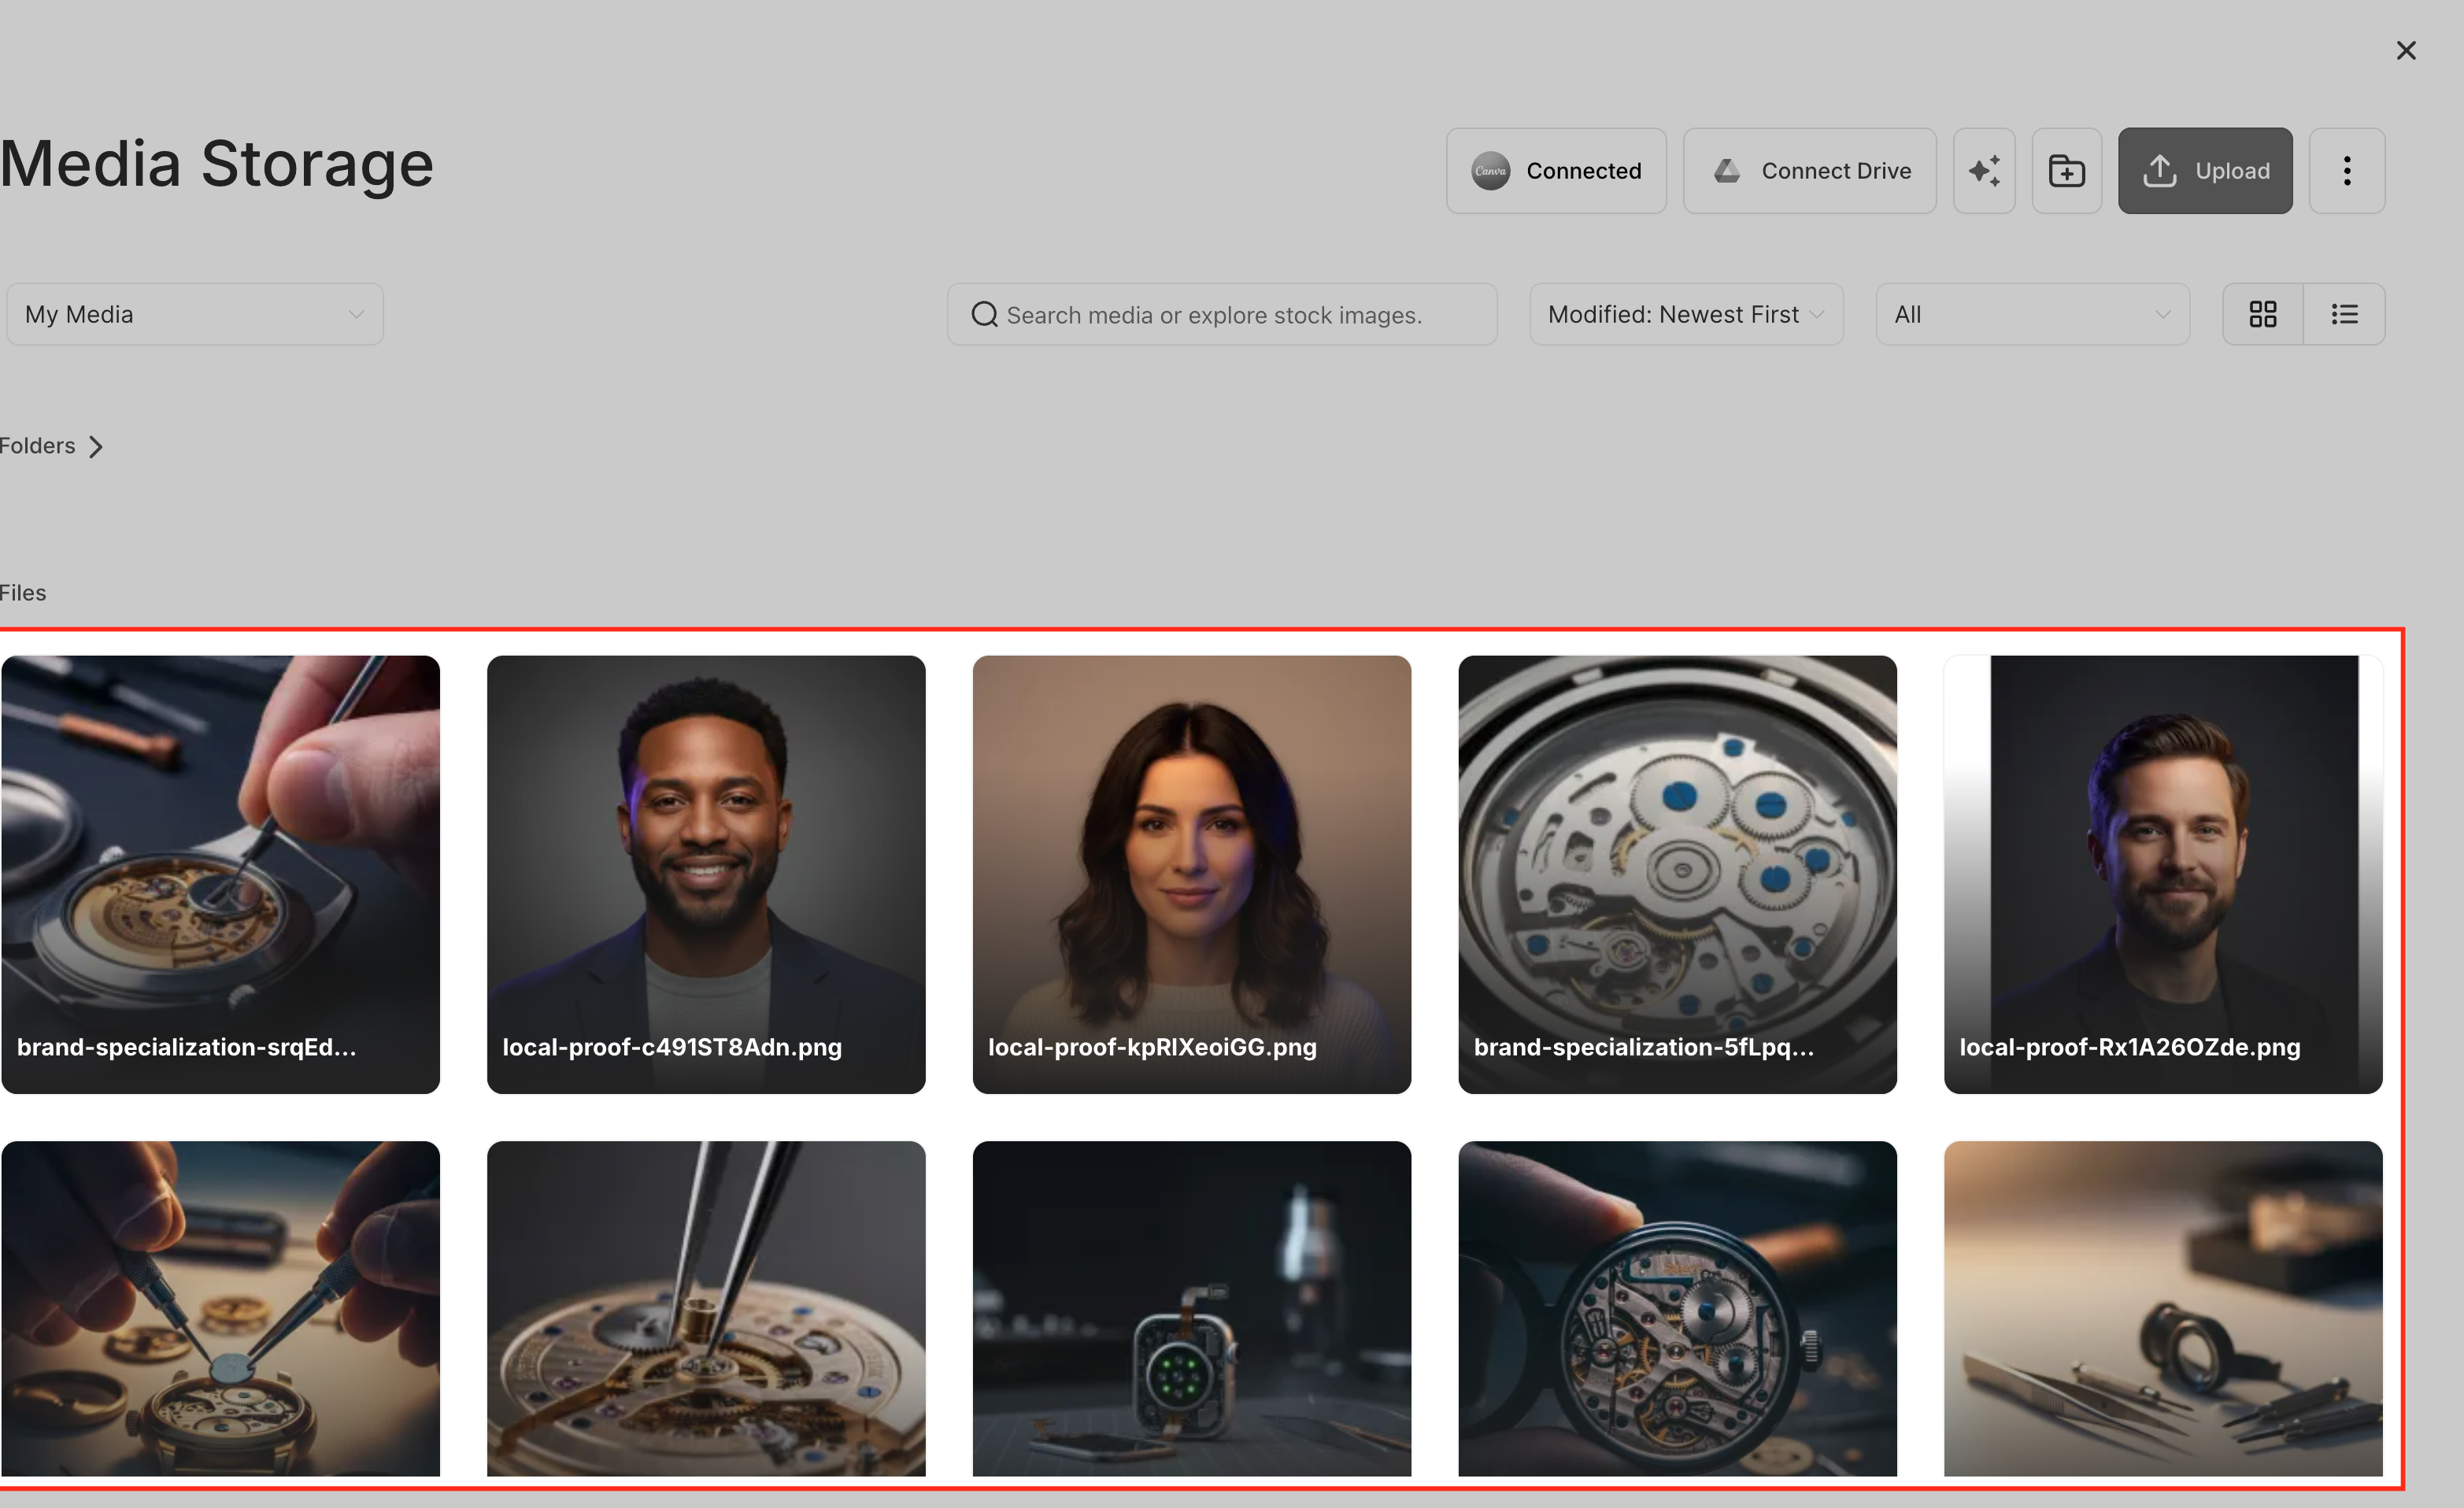
Browse your media library: Navigate folders, switch between grid or list views, and review image details such as dimensions.
Search and filter assets: Locate files quickly using search and available filters.
Upload new images: Drag and drop files directly into the picker to add them to your library.
Preview before inserting: Open images to review them before adding them to your builder.
Edit images (where supported): Use built-in editing tools to adjust images before inserting them.
Image-based elements. Image elements in forms, surveys, and quizzes use the media picker for selecting visuals. Clicking Change Image opens the picker, and selected or uploaded images are stored in your library so the same image can be reused across builders. A typical workflow:
Open your builder (for example, the Form Builder).
Select an image element.
Click Change Image.
Choose or upload an image from the media picker.
Insert the image and save.
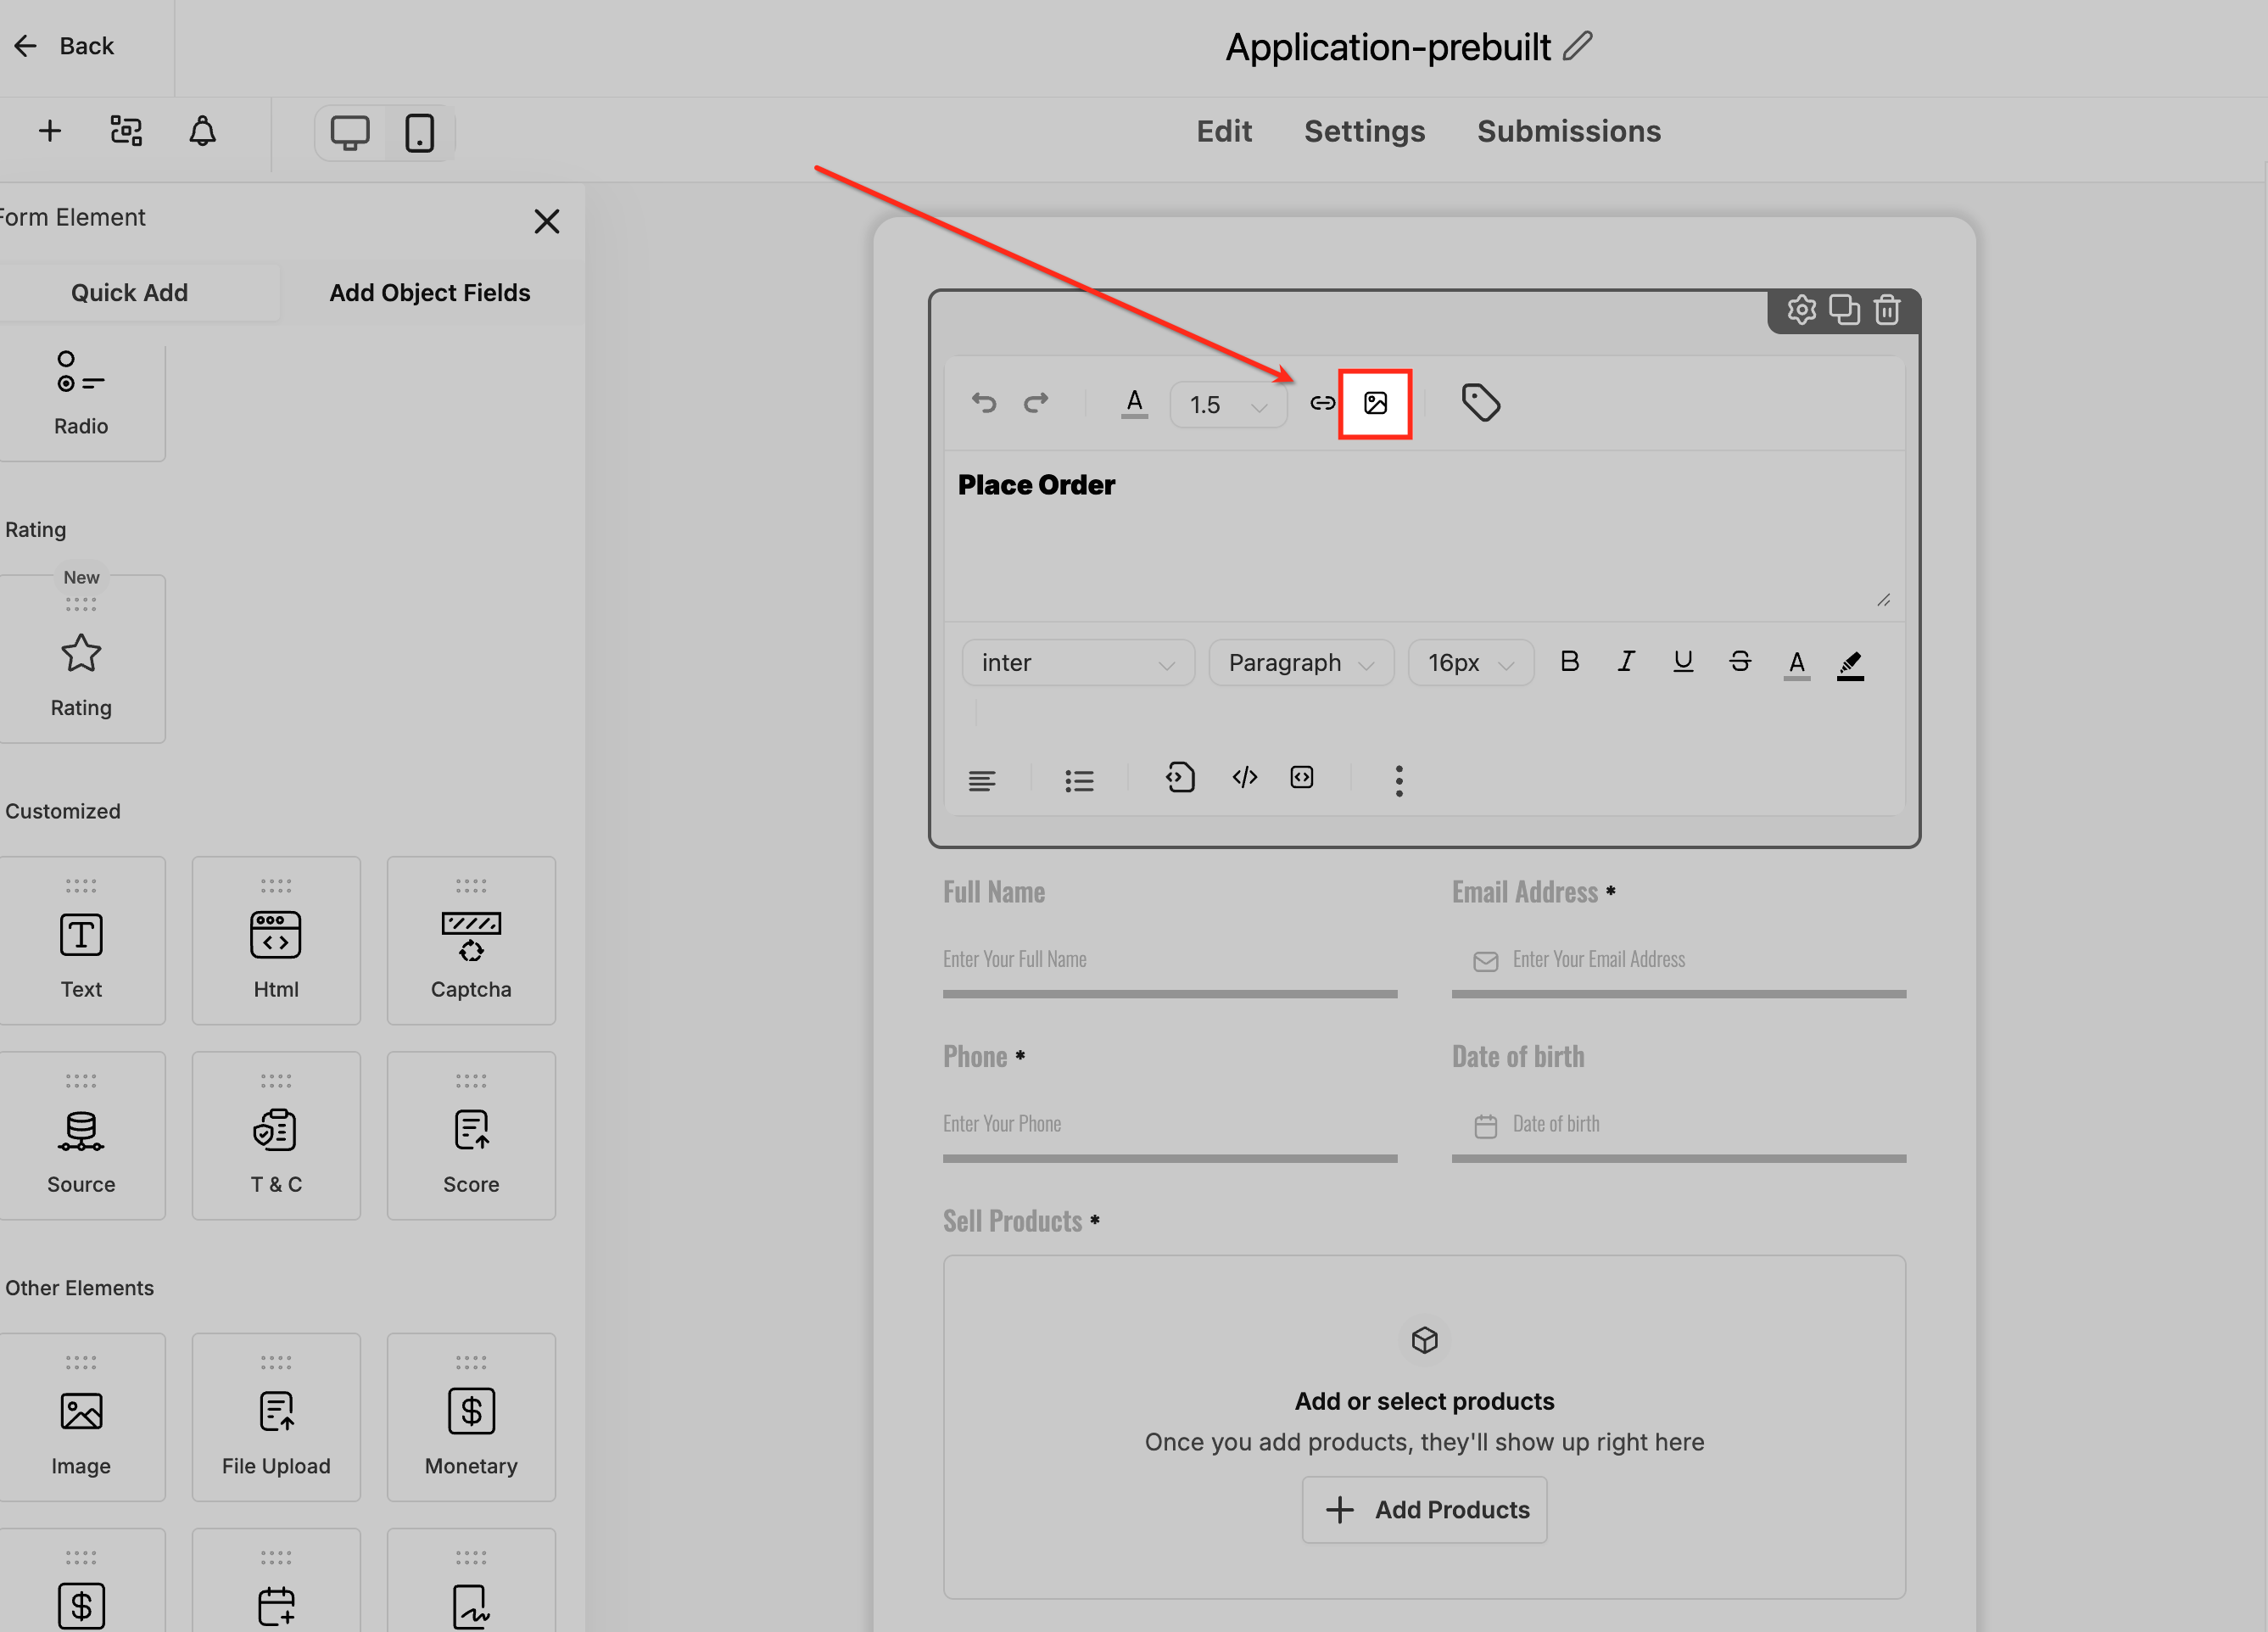
Rich text editors. Rich text editors support inserting images directly within text fields. Click the image icon in the editor toolbar, open the media picker, select or upload an image, and insert it inline within the text. This is useful for adding logos, instructions, or visual context inside descriptions and messages.
Quiz result builder. The quiz result builder supports images for different outcomes so you can visually enhance results. For each result, image selection opens the media picker, where you can reuse existing assets or upload new ones. The same image can be applied across multiple results or quizzes to keep experiences consistent.
QR codes. QR code configurations support adding logos or image overlays through the media picker. Click the image or logo option, open the picker, select or upload a logo from your library, then insert and adjust as needed. Using shared assets keeps branding consistent across campaigns.
Open your media library from the sidebar.
Create folders (for example, Logos, Forms, Quizzes, QR Codes).
Upload commonly used assets.
Navigate to the Form Builder, Survey Builder, Quiz Builder, or QR Codes.
Create or edit an asset.
After clicking the image icon or Upload, the media picker opens as a pop-up within the builder. From here, you can browse your existing media, search for specific files, or upload a new image.

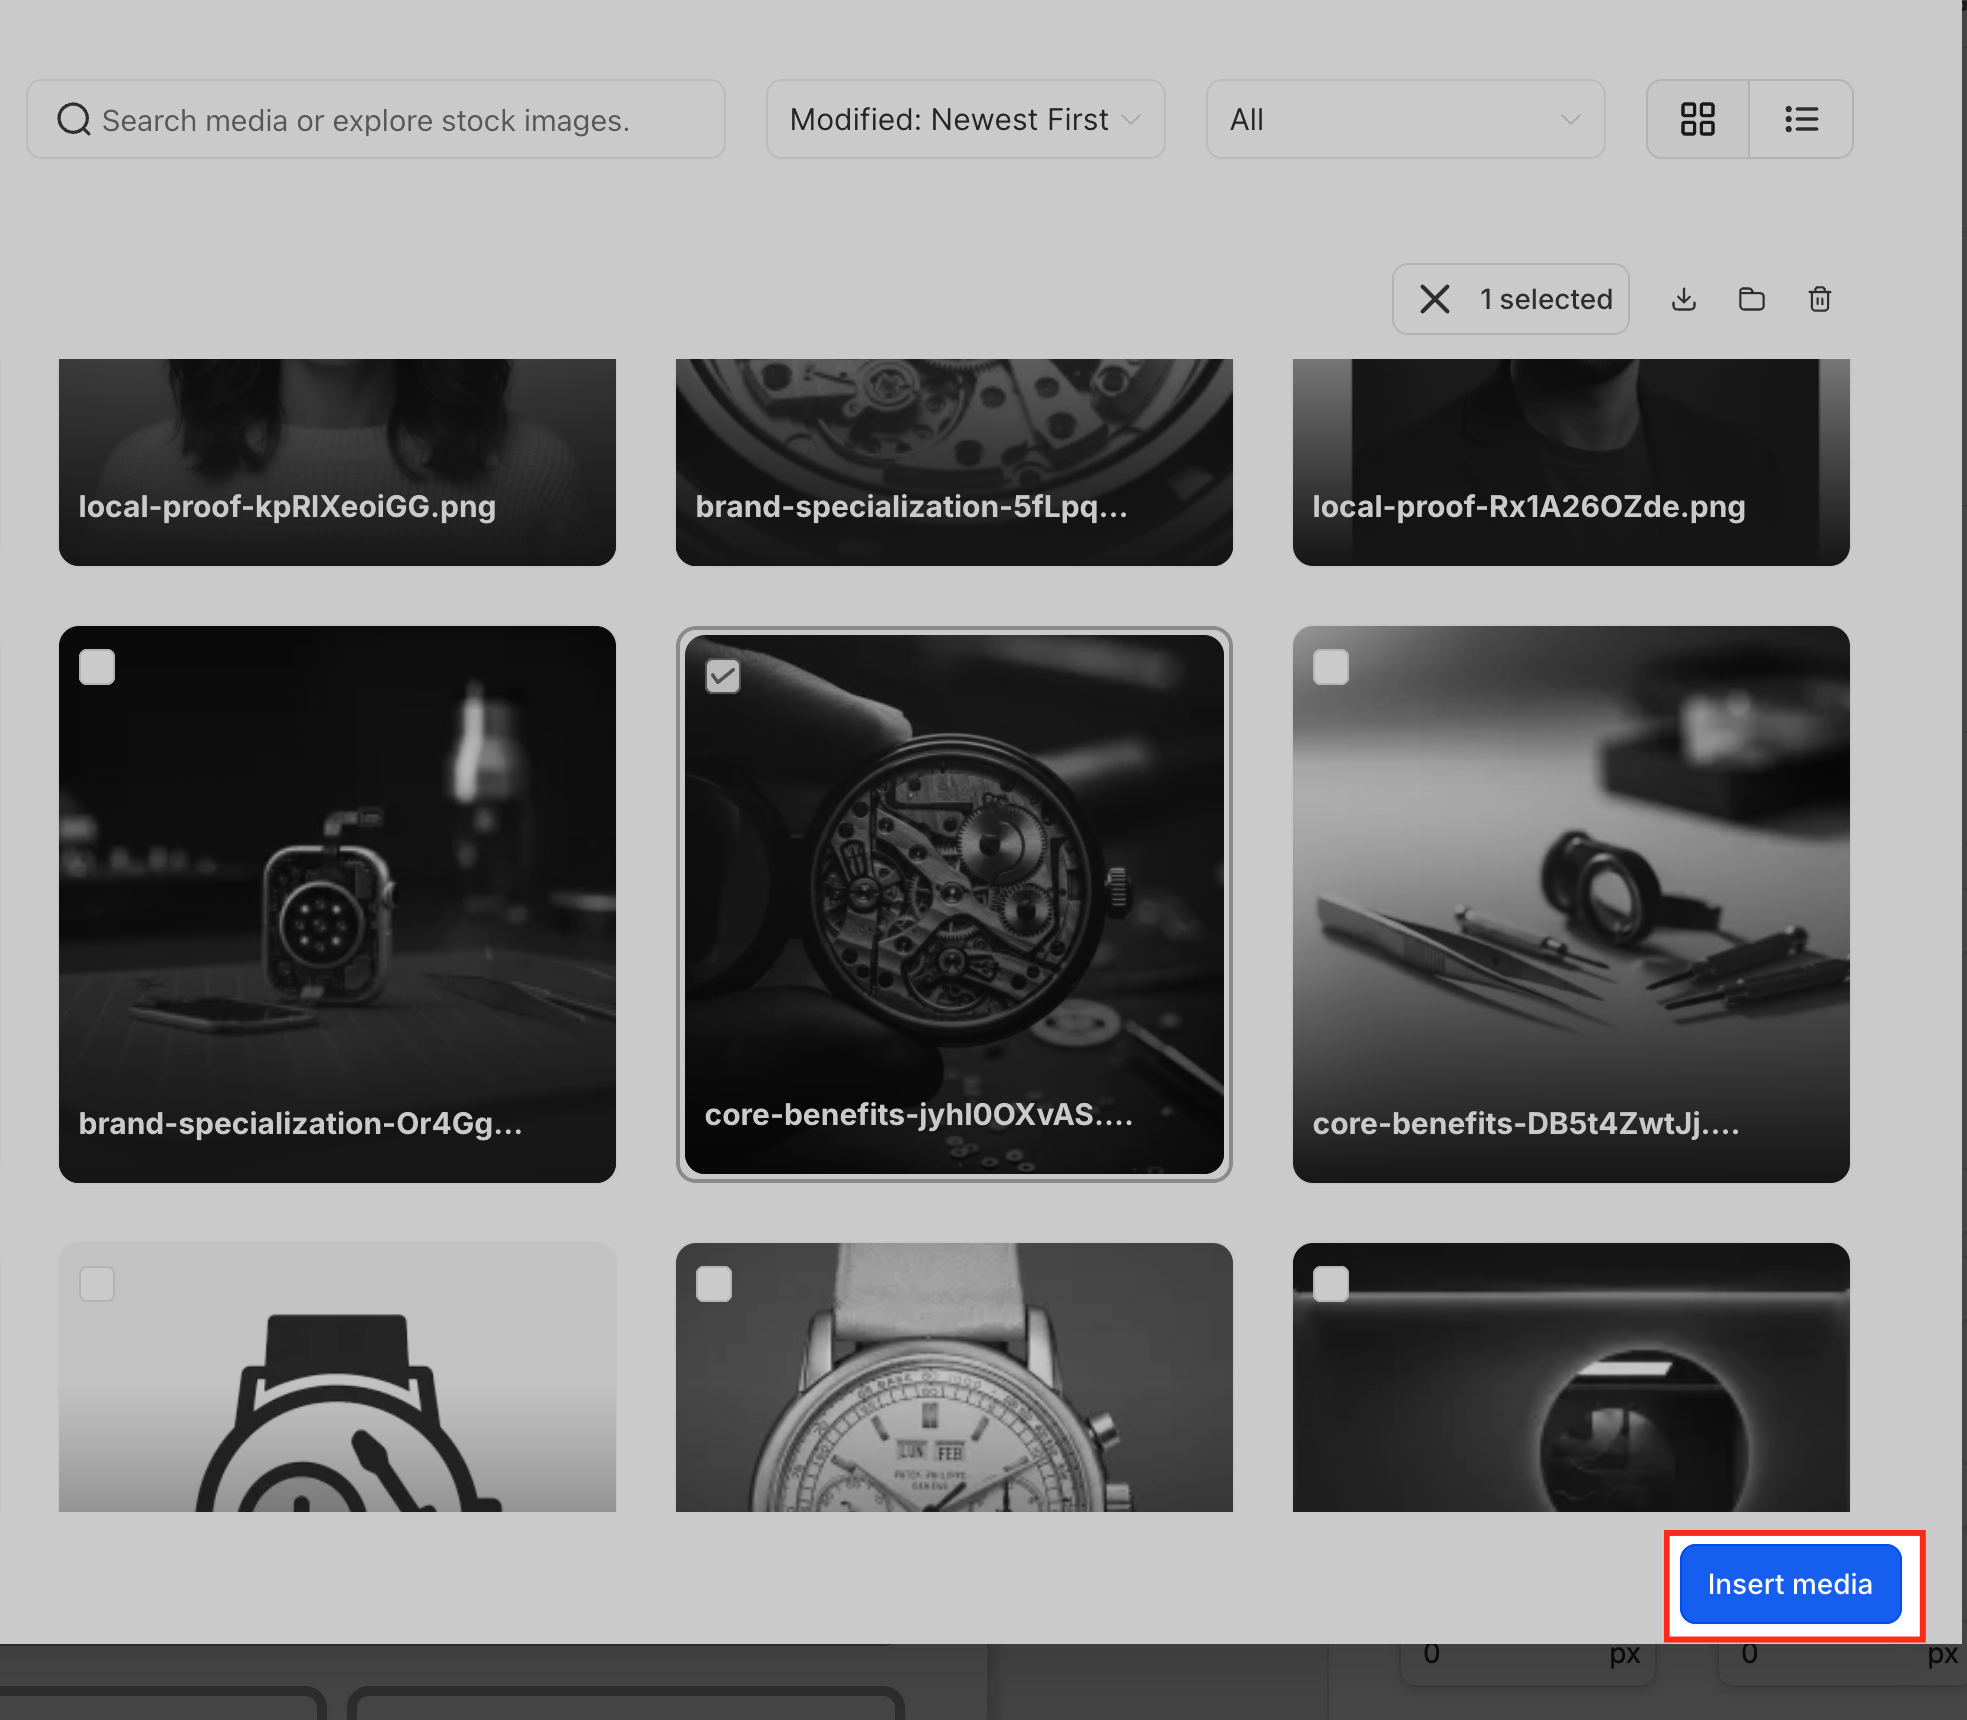
Select the image you want to use, then click Insert Media to add it to your form, survey, quiz, or QR code.
Rename or move files in your media library.
Remove unused assets.
Edit images when needed and reuse the updated versions.
Do I need to enable the media picker?
No. The media picker is available by default in supported areas.
Where are uploaded images stored?
All images are stored in your account's media library and can be reused across different modules.
Does this affect files uploaded by patients?
No. Files submitted by patients follow separate storage processes. The media picker applies to images used in builders.
Can I use external sources like Google Drive?
Yes. Supported external sources can be accessed through the media picker.
What happens to images I already added?
Existing images remain unchanged and continue to function as expected.
Can I rename or organize images that are already in use?
Yes. Changes made in your media library are reflected wherever the image is used.
Are there file size or type limits?
Yes. Limits are based on your media library and the specific builder being used.
Can I edit images inside the media picker?
Image selection happens in the picker. Editing is available through the media library's built-in editor.
Why isn't my logo showing after I toggled it on?
Confirm that a logo has been uploaded to your account branding settings, then reopen the form to refresh the preview.
