Reviews AI helps your practice stay on top of its online reputation by generating thoughtful, on-brand responses to your Google and Facebook reviews. You can let the AI draft replies for your approval or have it respond automatically, so your med spa or plastic surgery practice keeps a strong online presence with minimal effort. This guide walks you through creating and managing your Reviews AI agents, choosing a response mode, customizing your responses, and monitoring everything from one place.
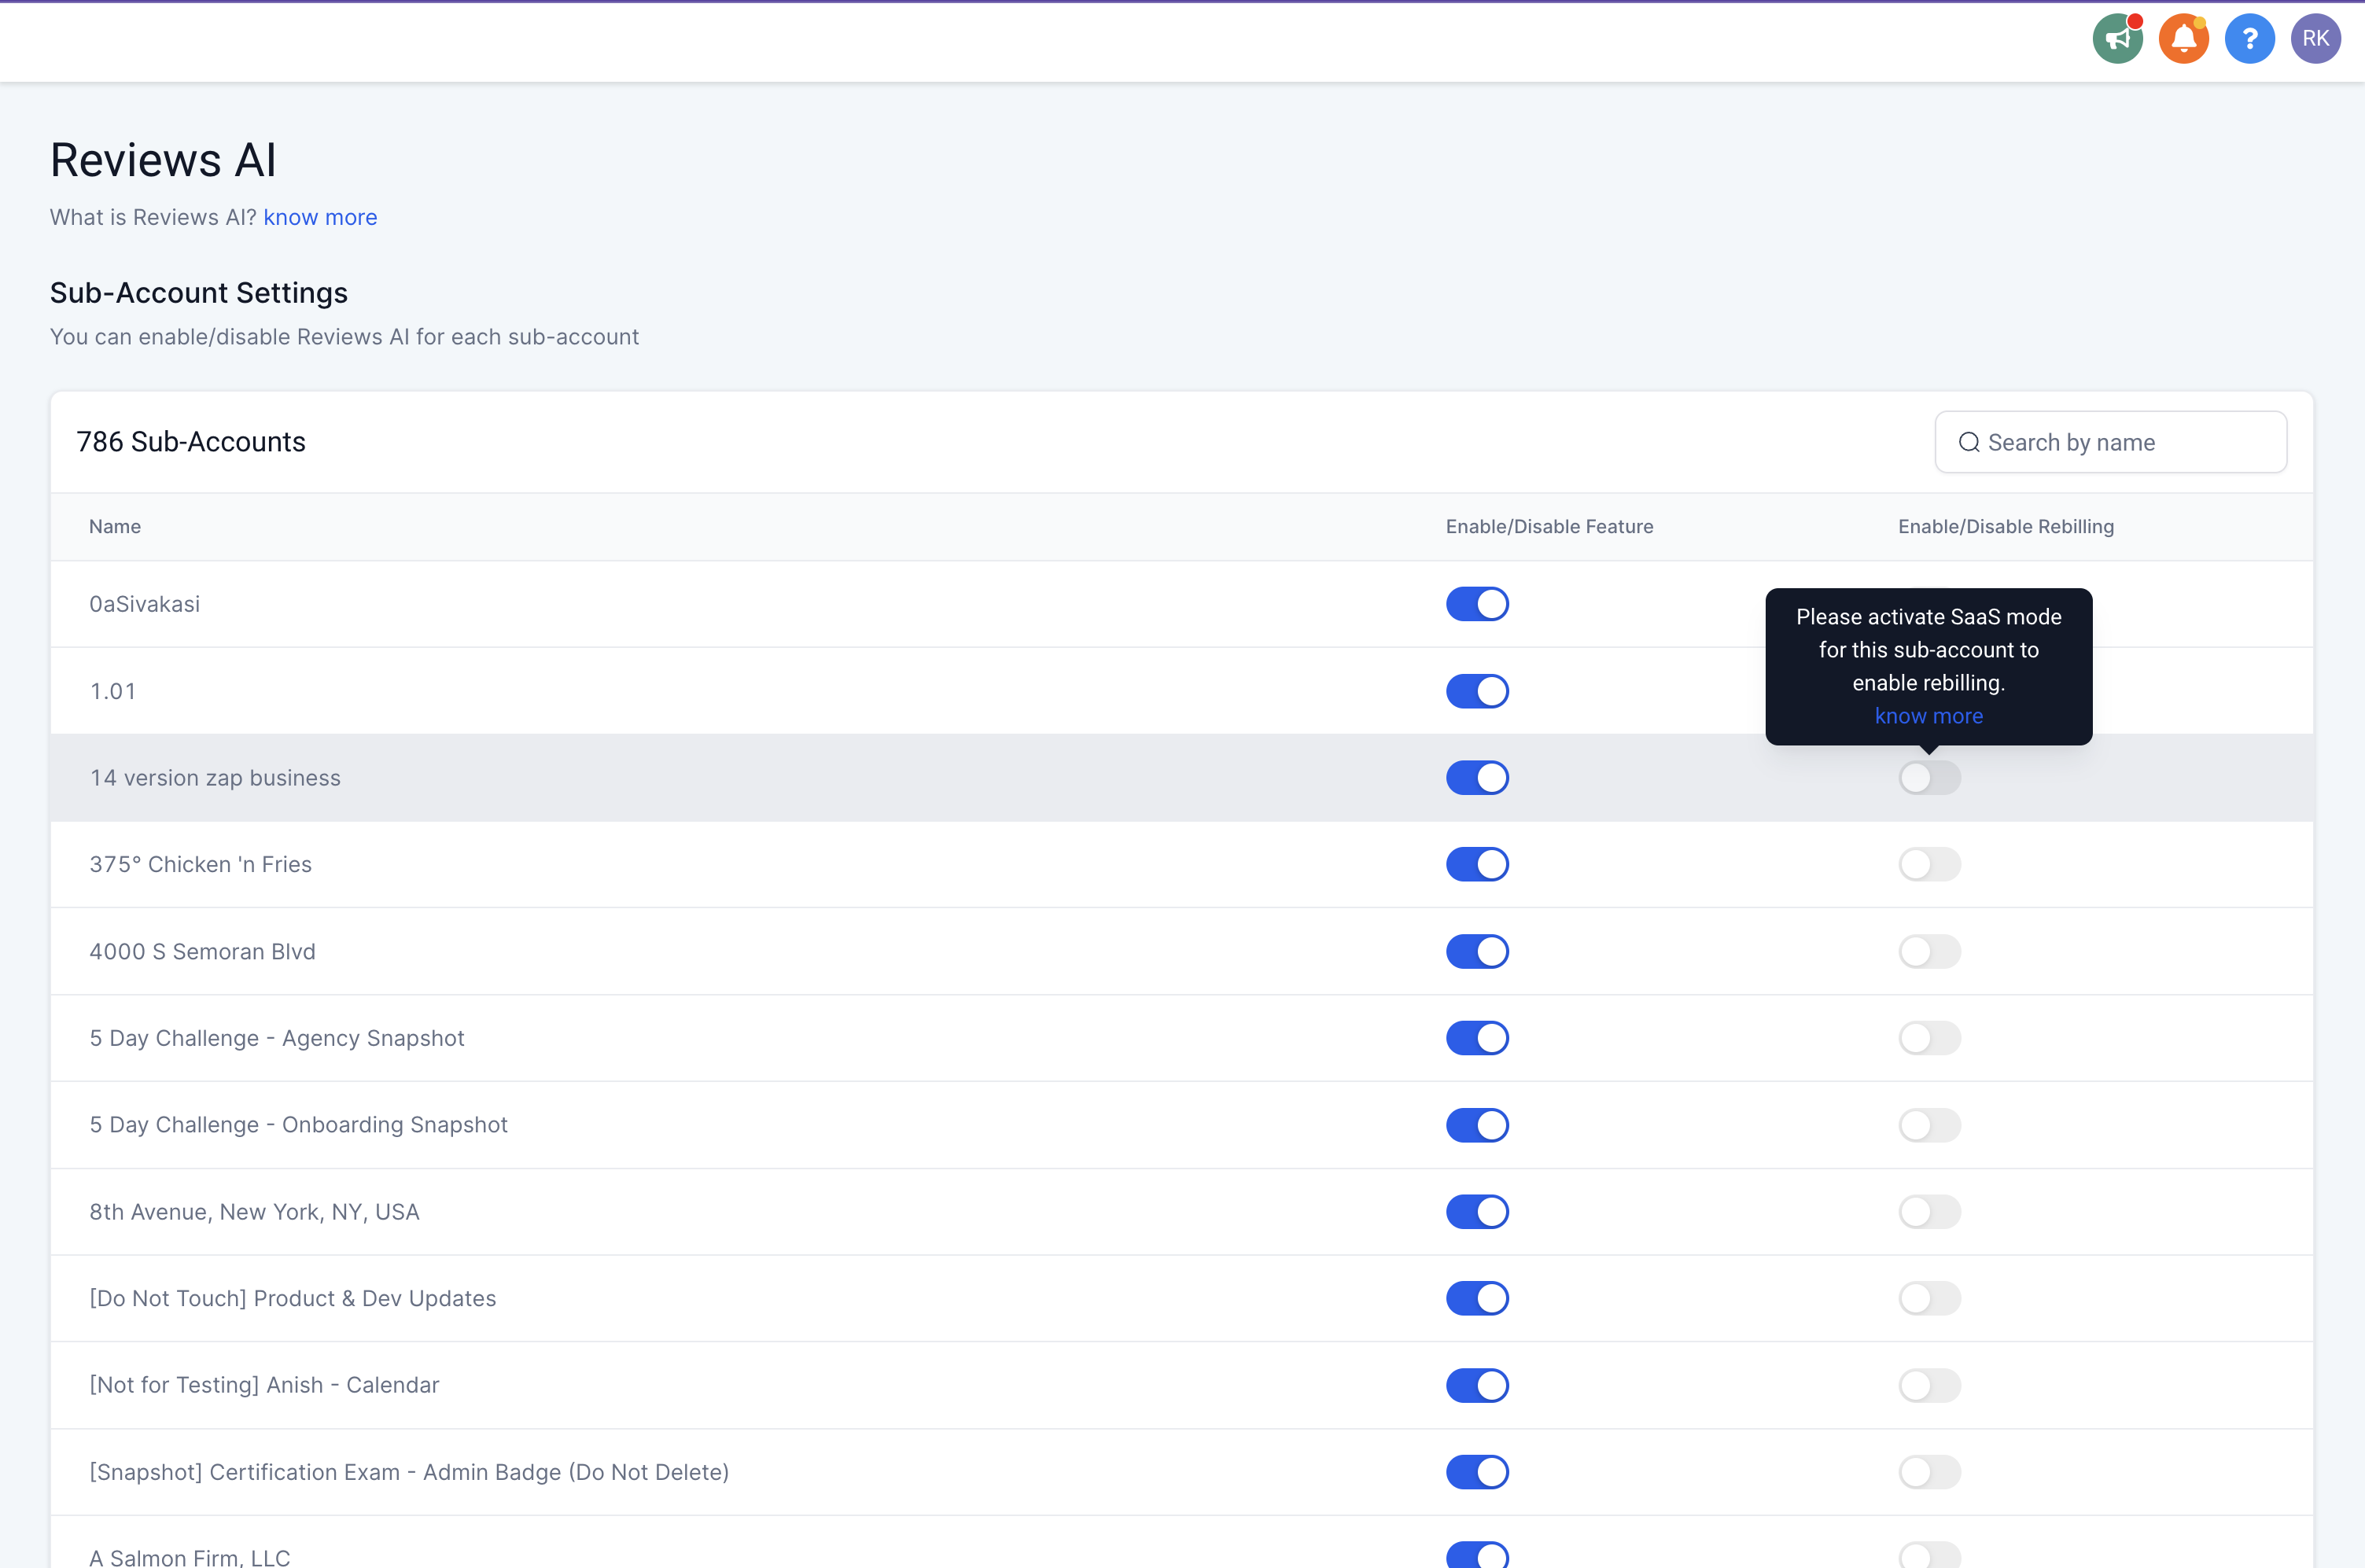
Your Reviews AI agents live inside Reviews Management, where you can create, edit, clone, enable, disable, or delete them at any time.
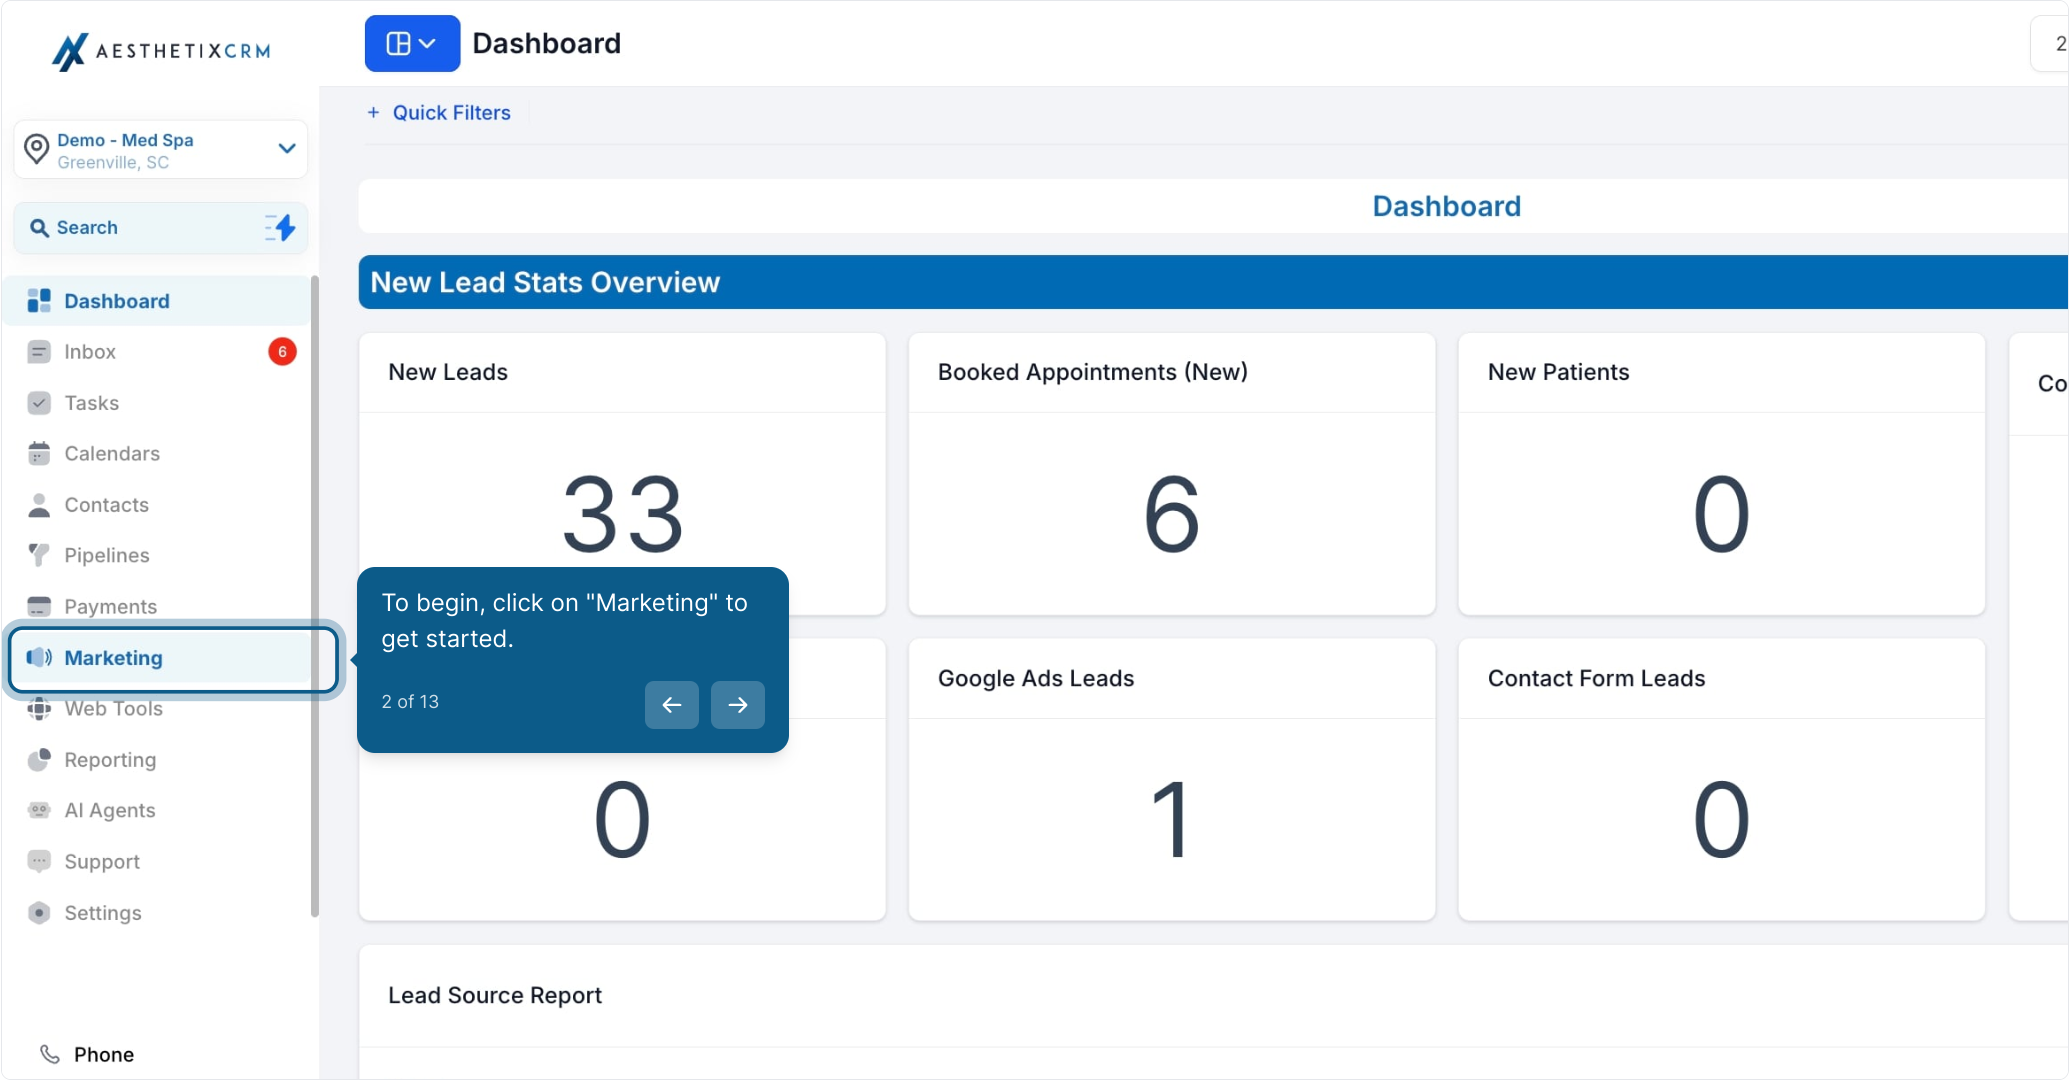
To begin, click on Marketing to get started.
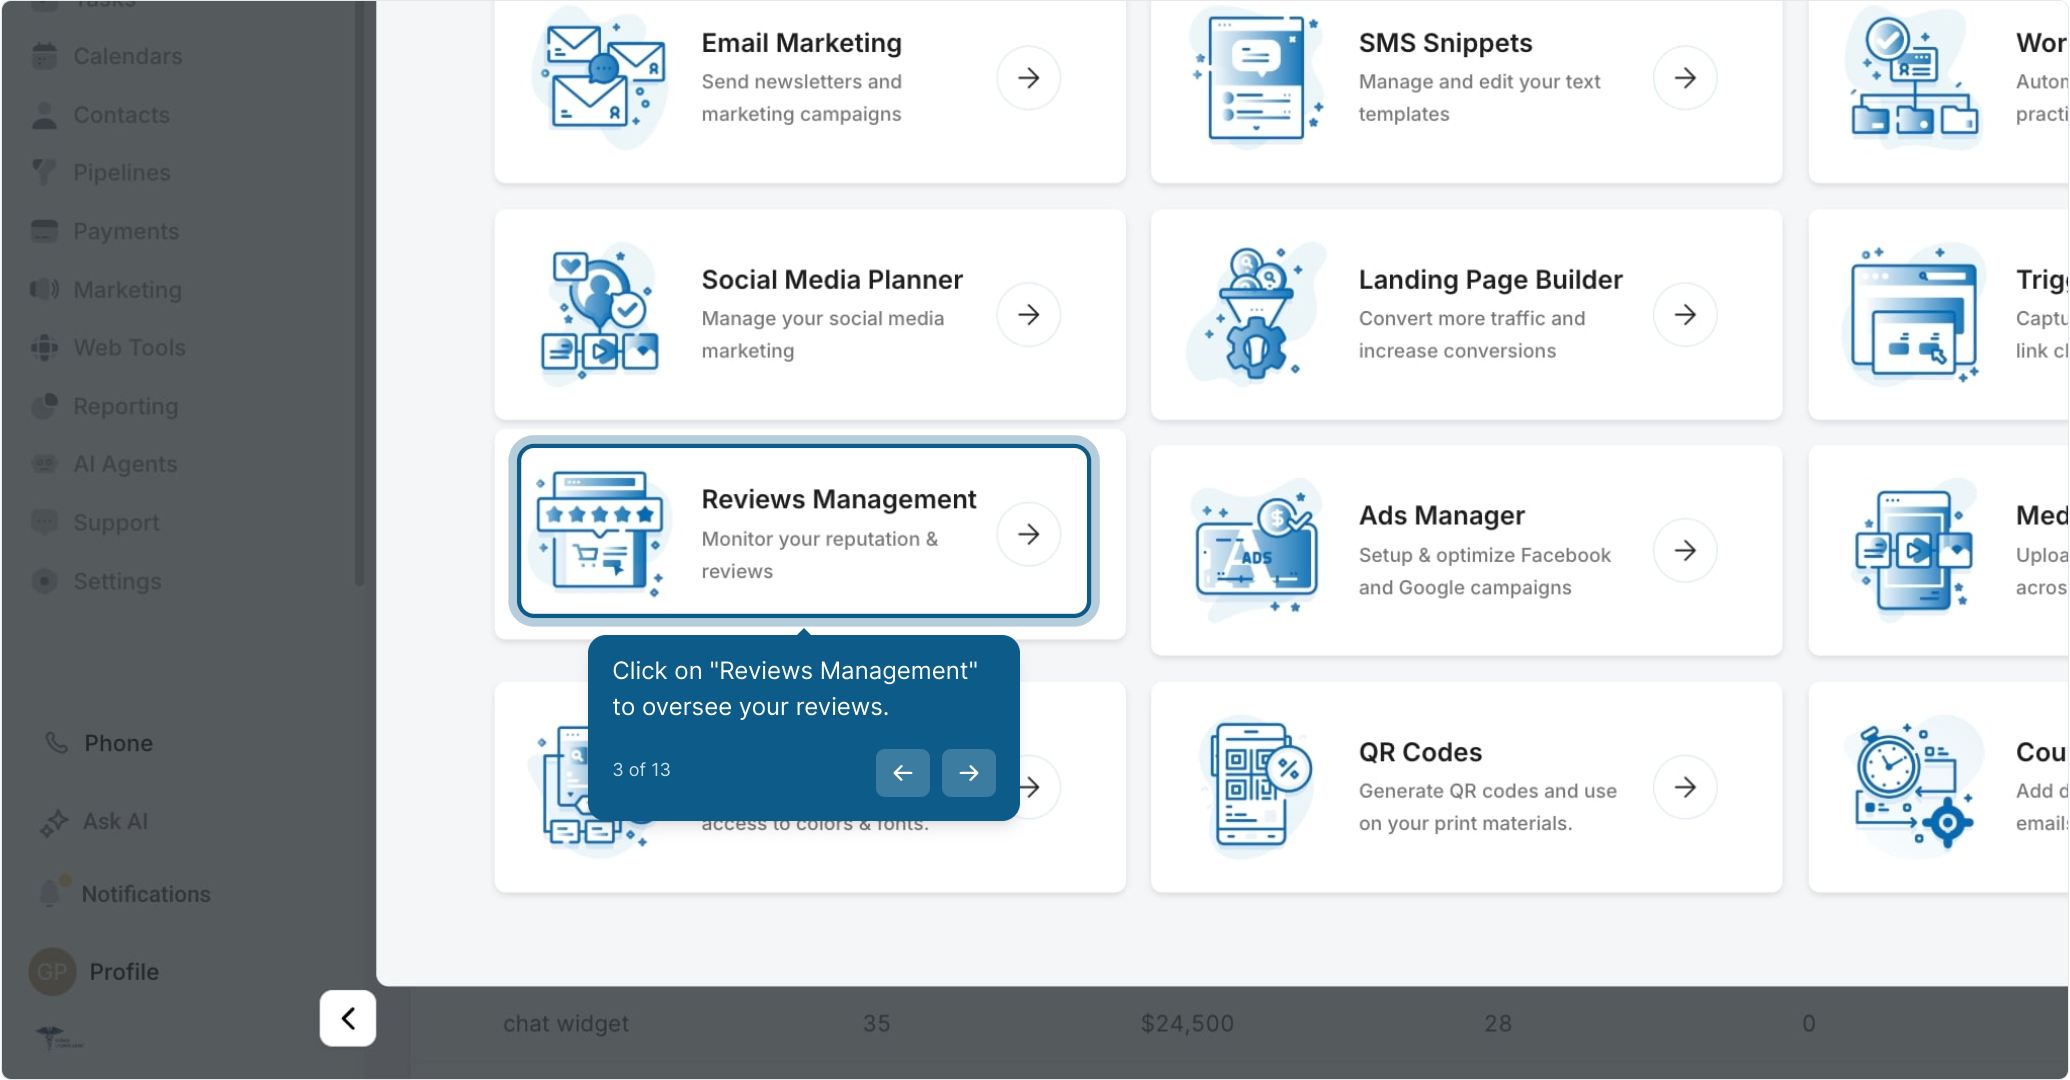
Click on Reviews Management to oversee your reviews.
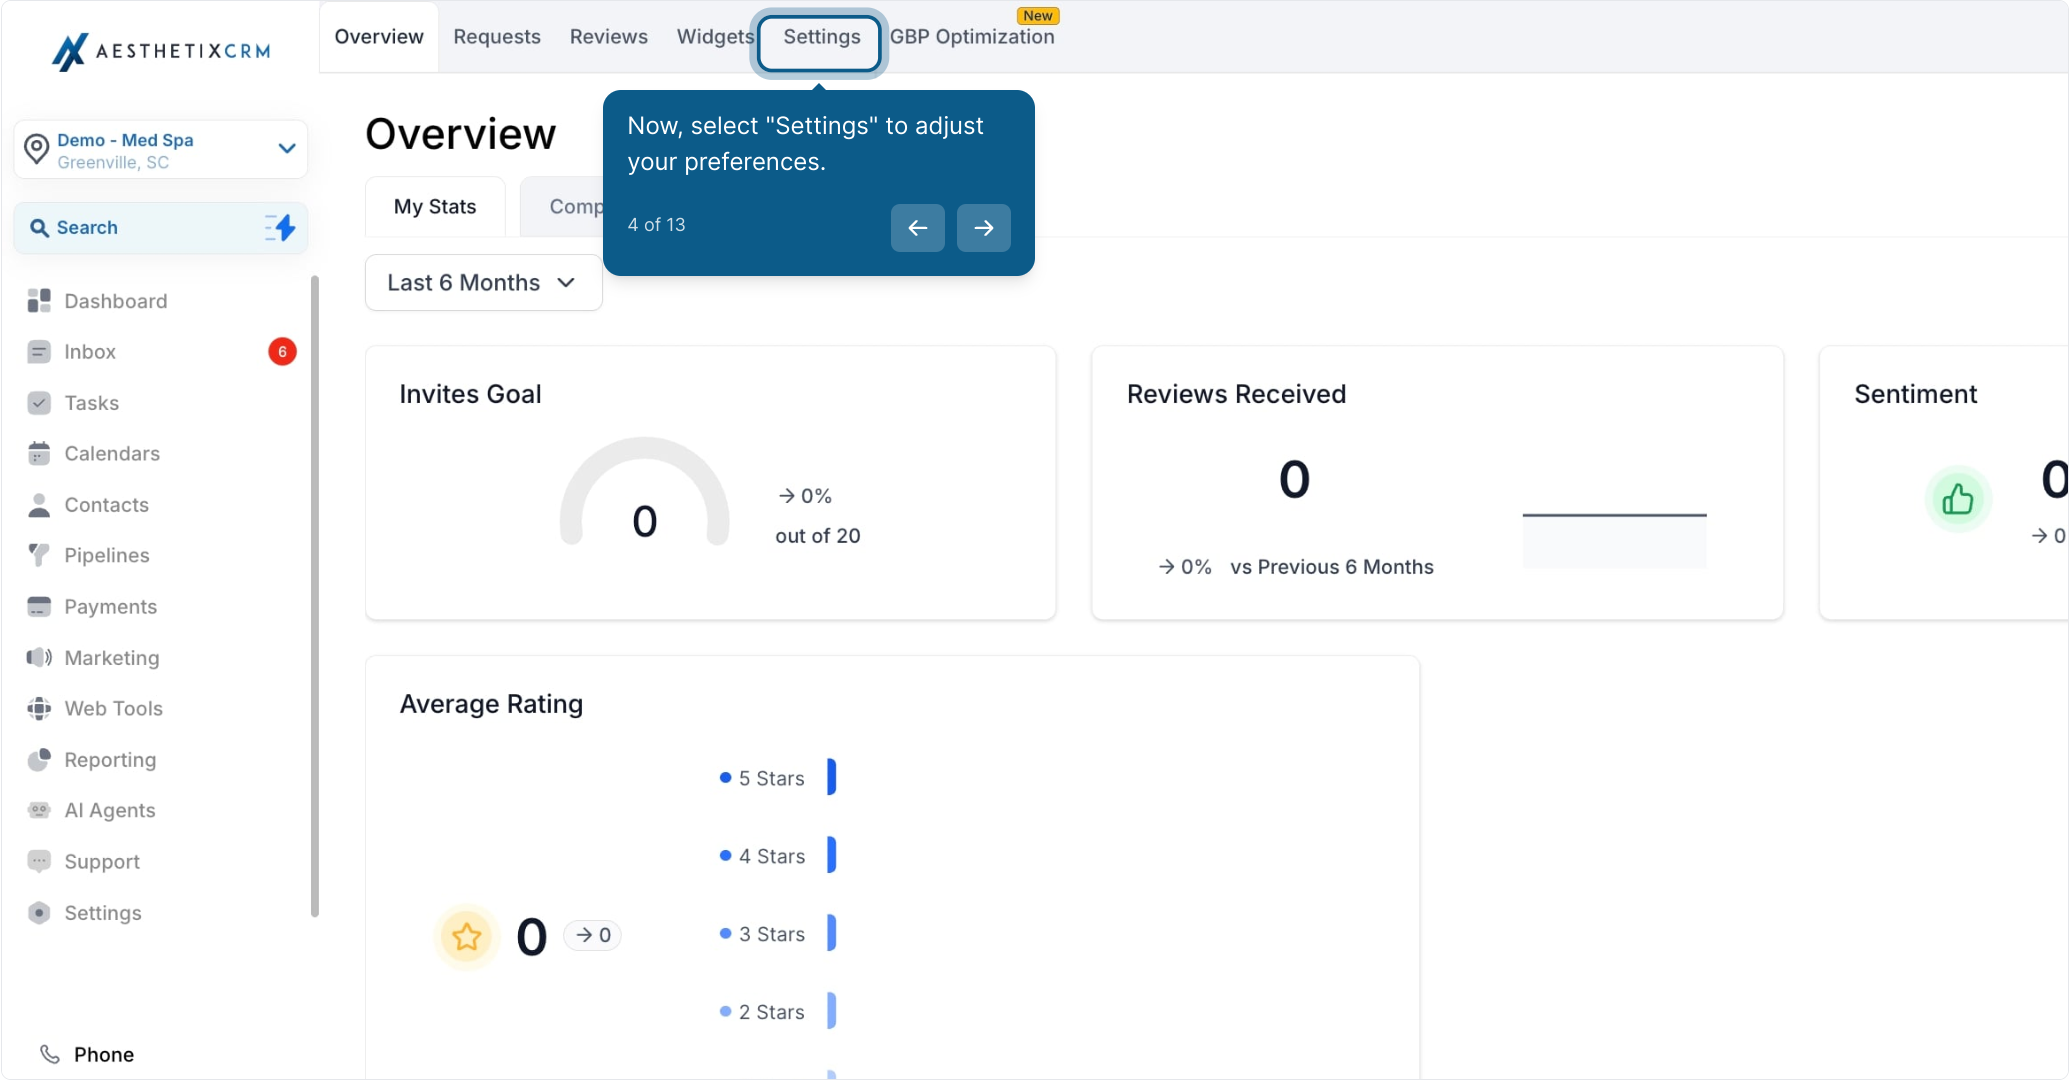
Now, select Settings to adjust your preferences.
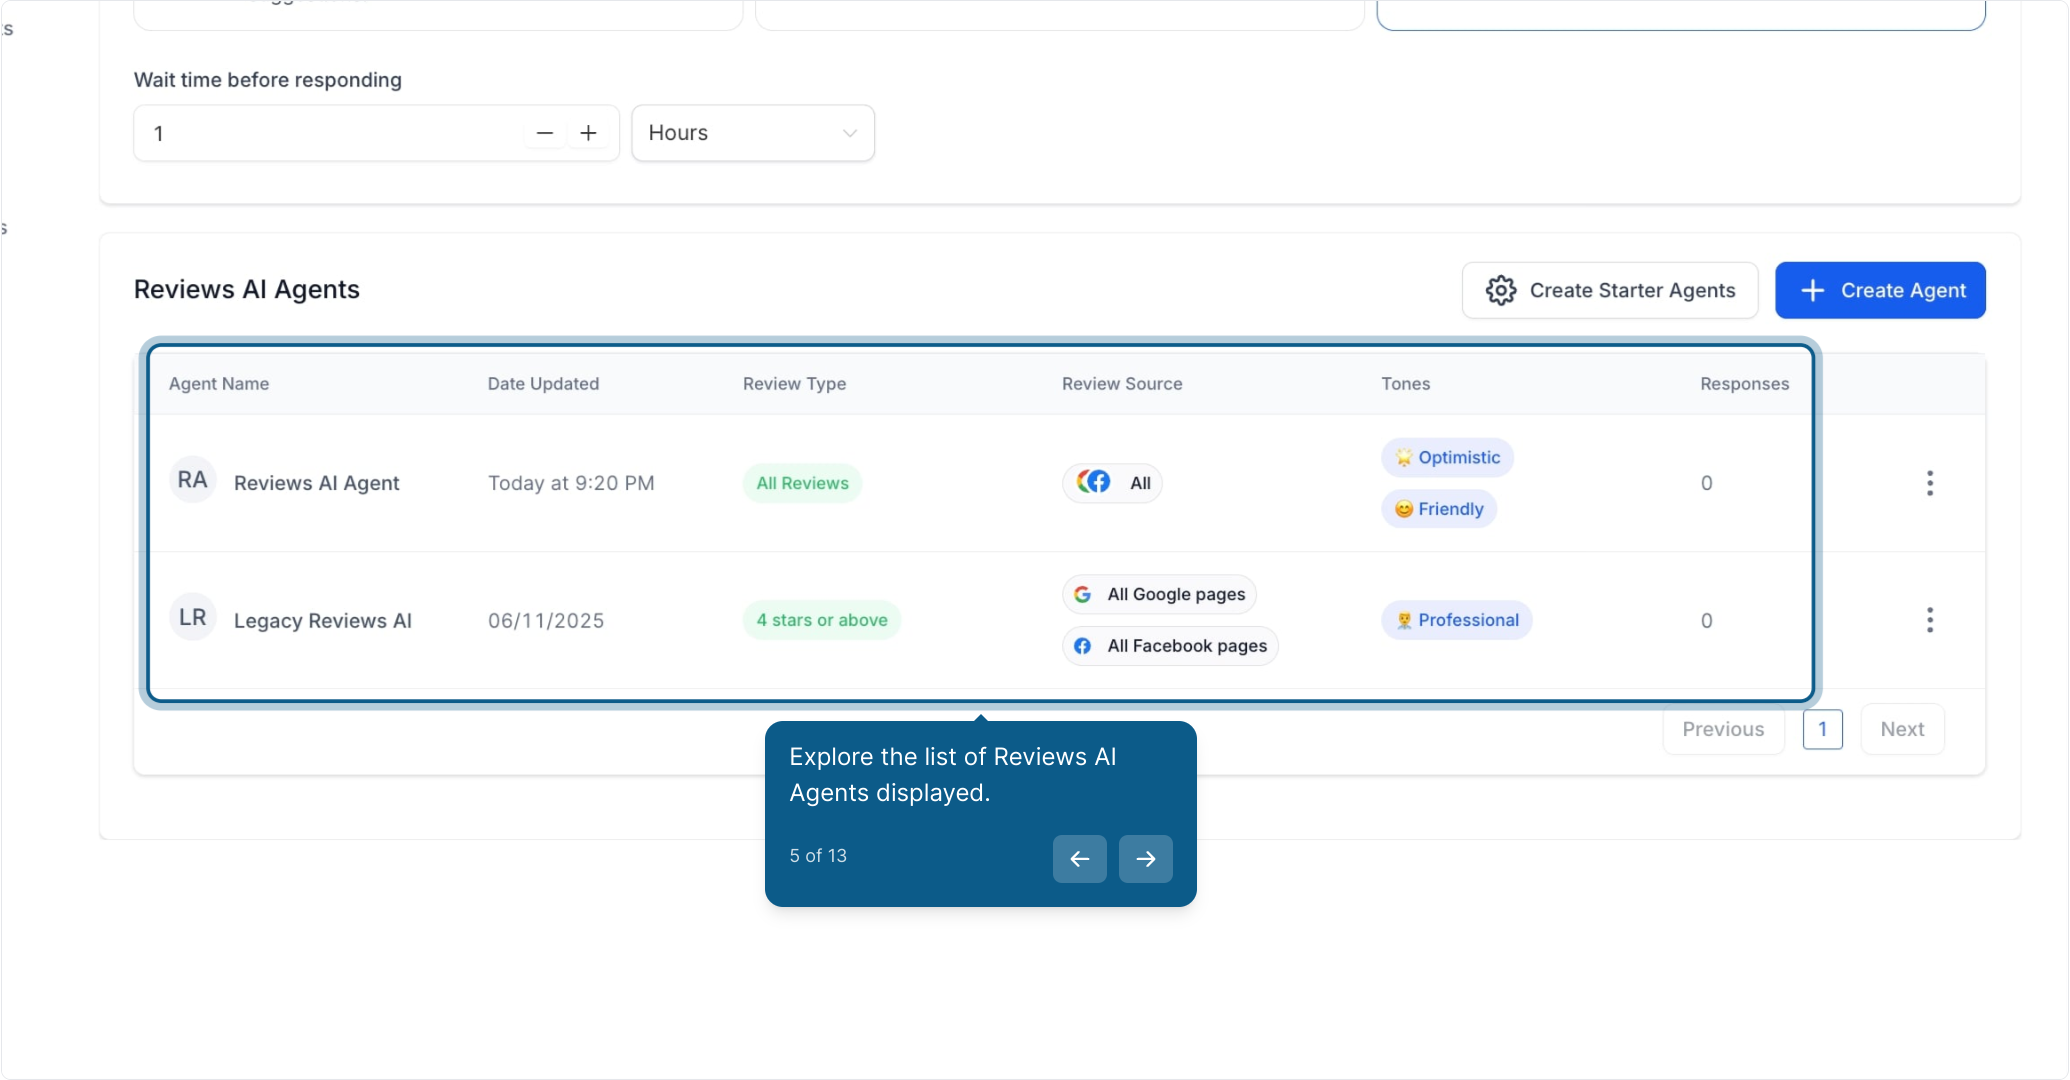
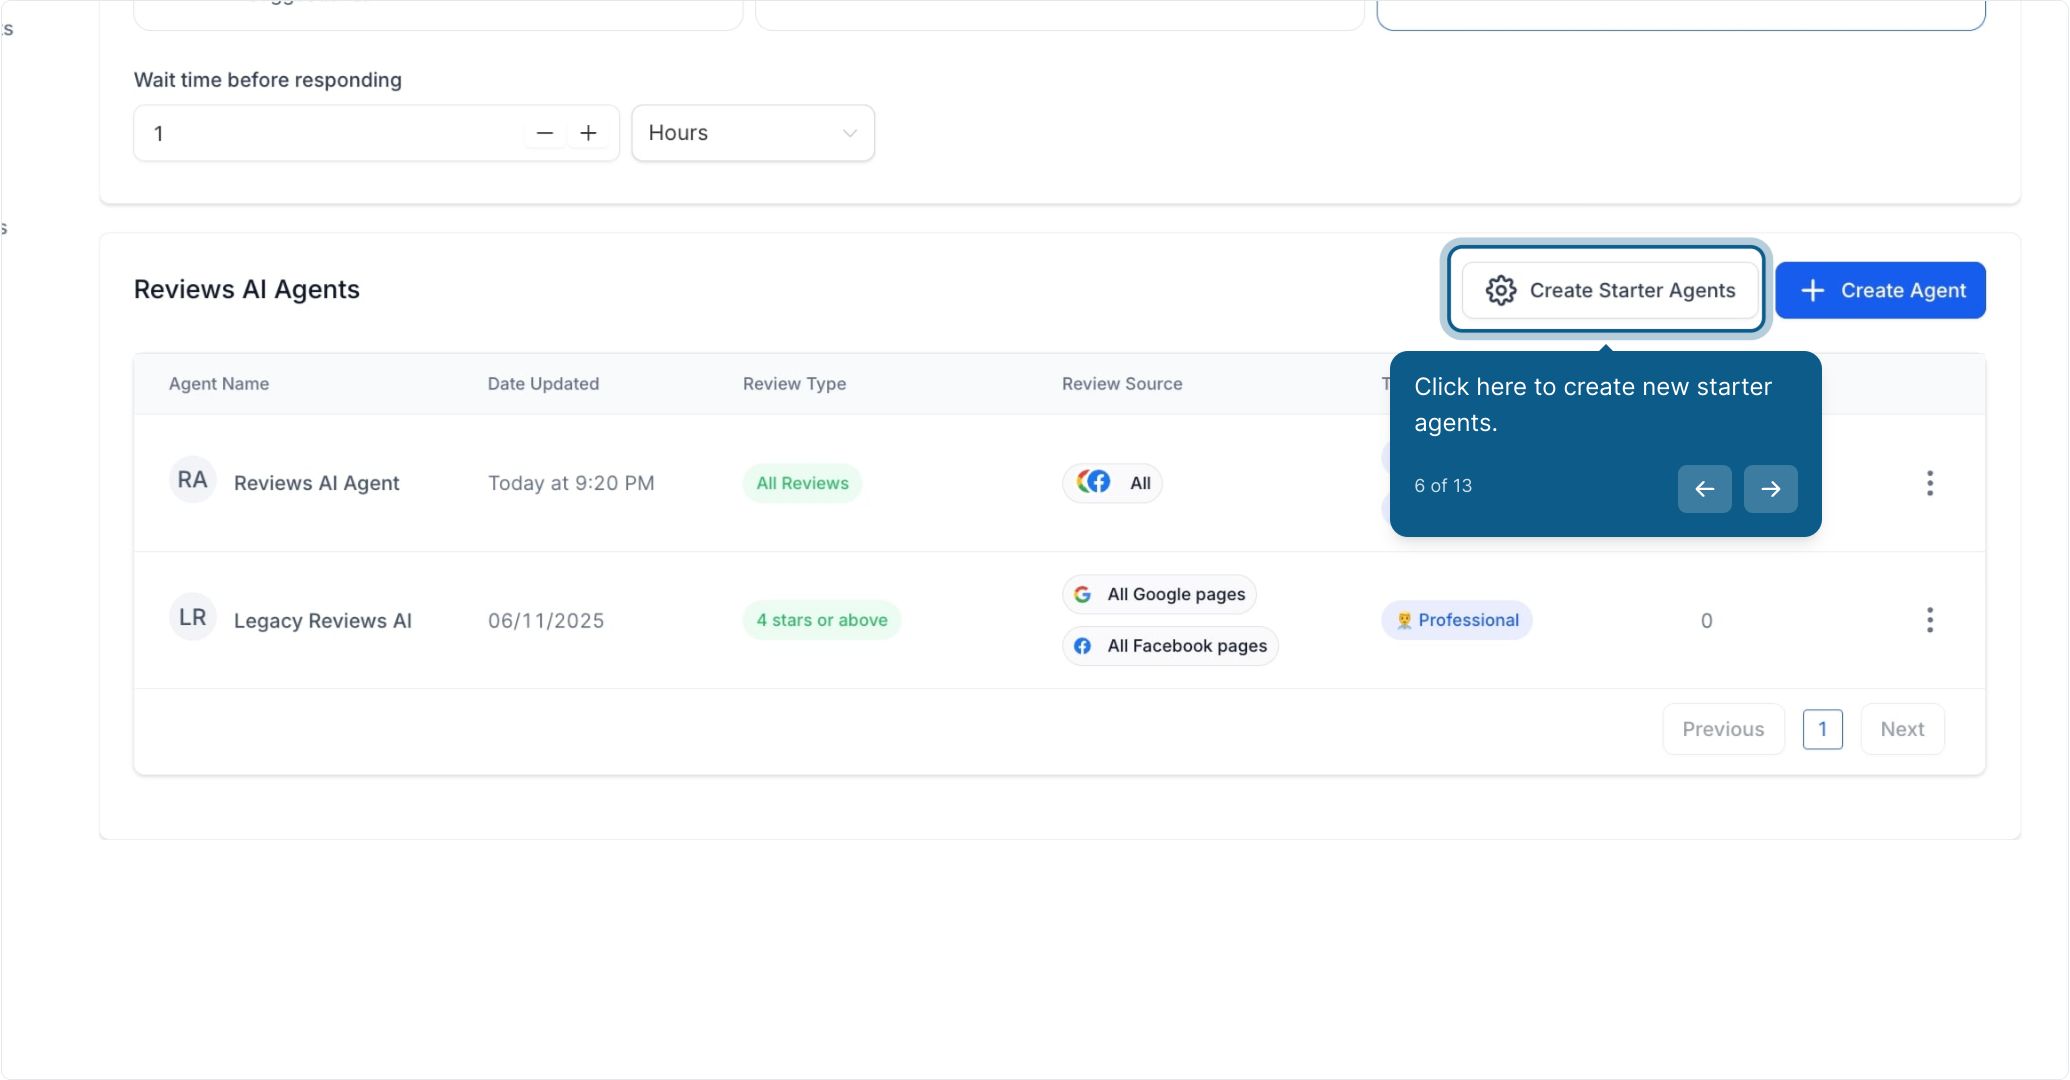
Explore the list of Reviews AI Agents displayed.
Click here to create new starter agents.
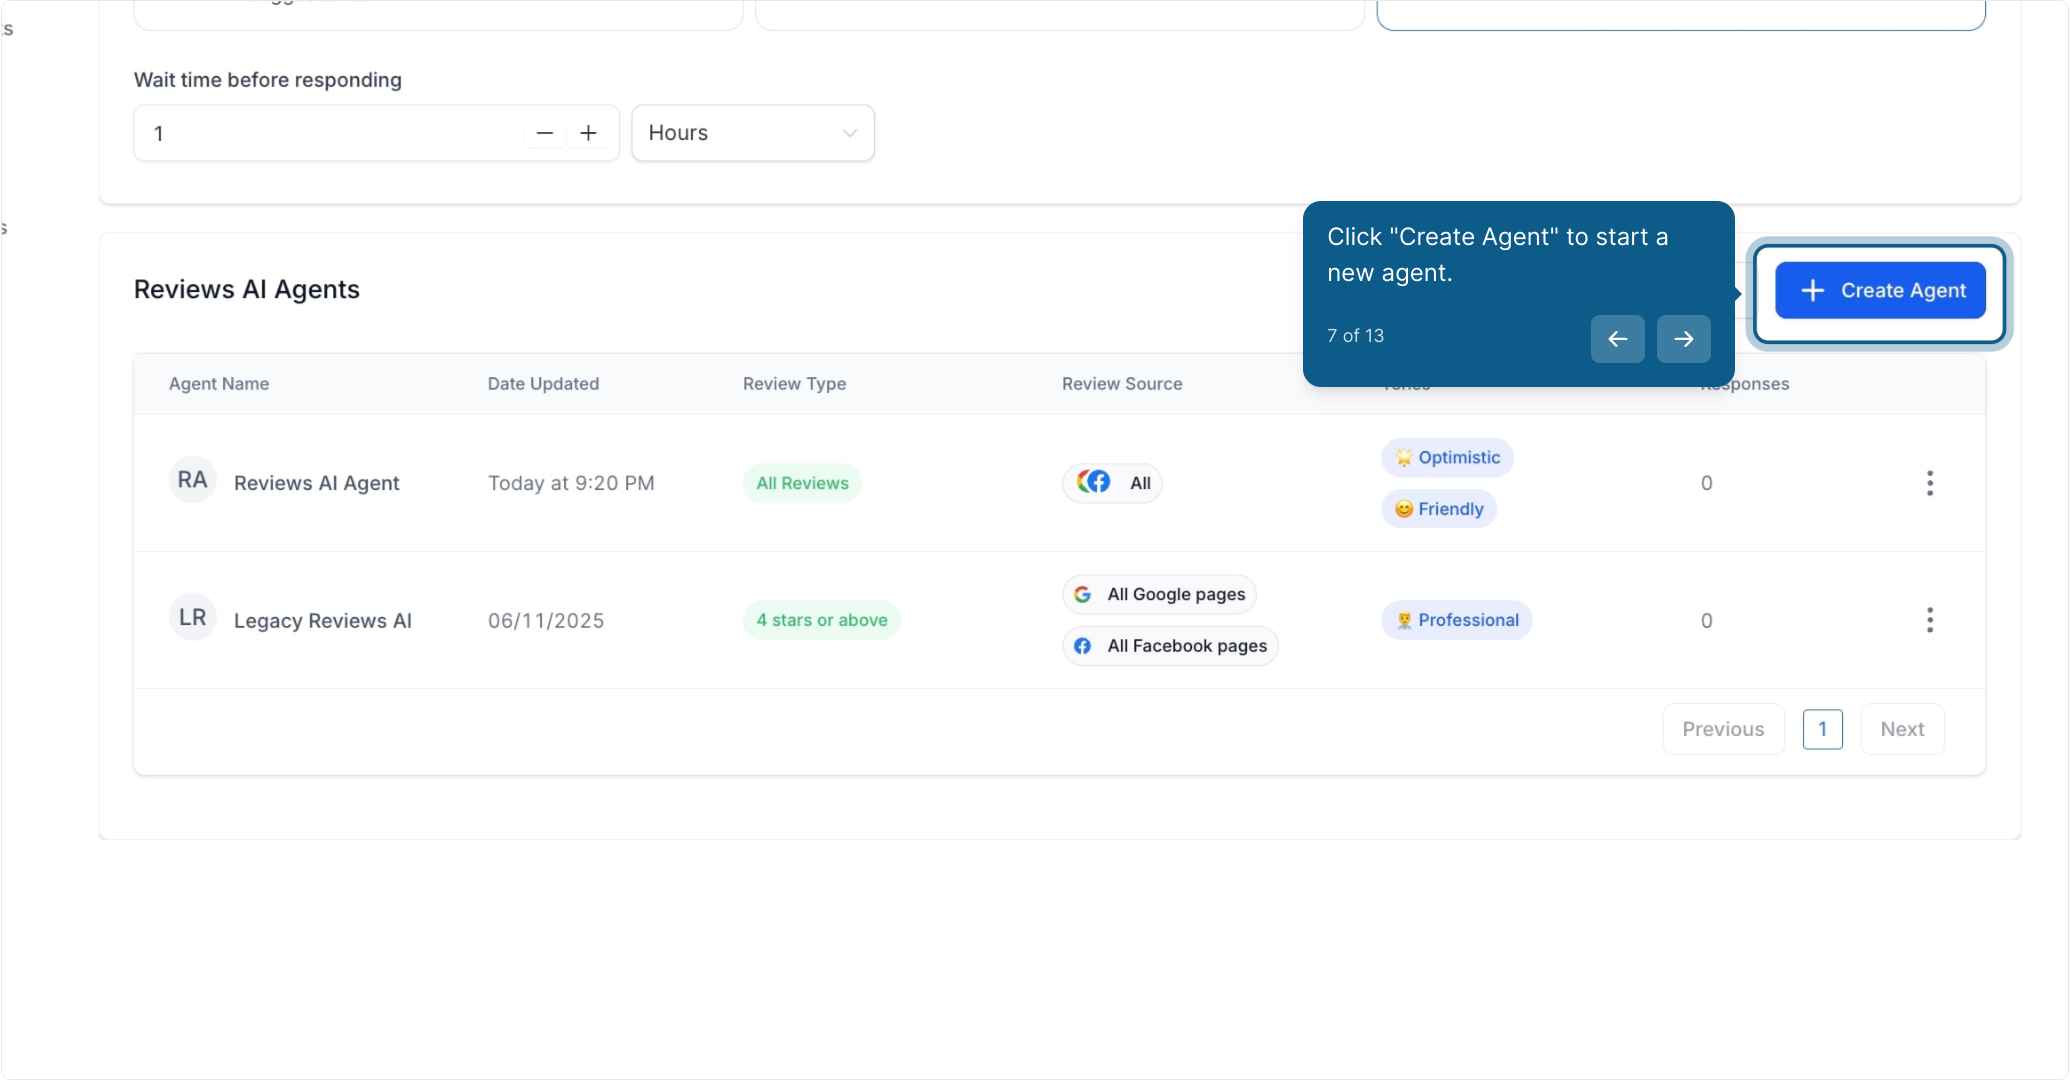
Click Create Agent to start a new agent.
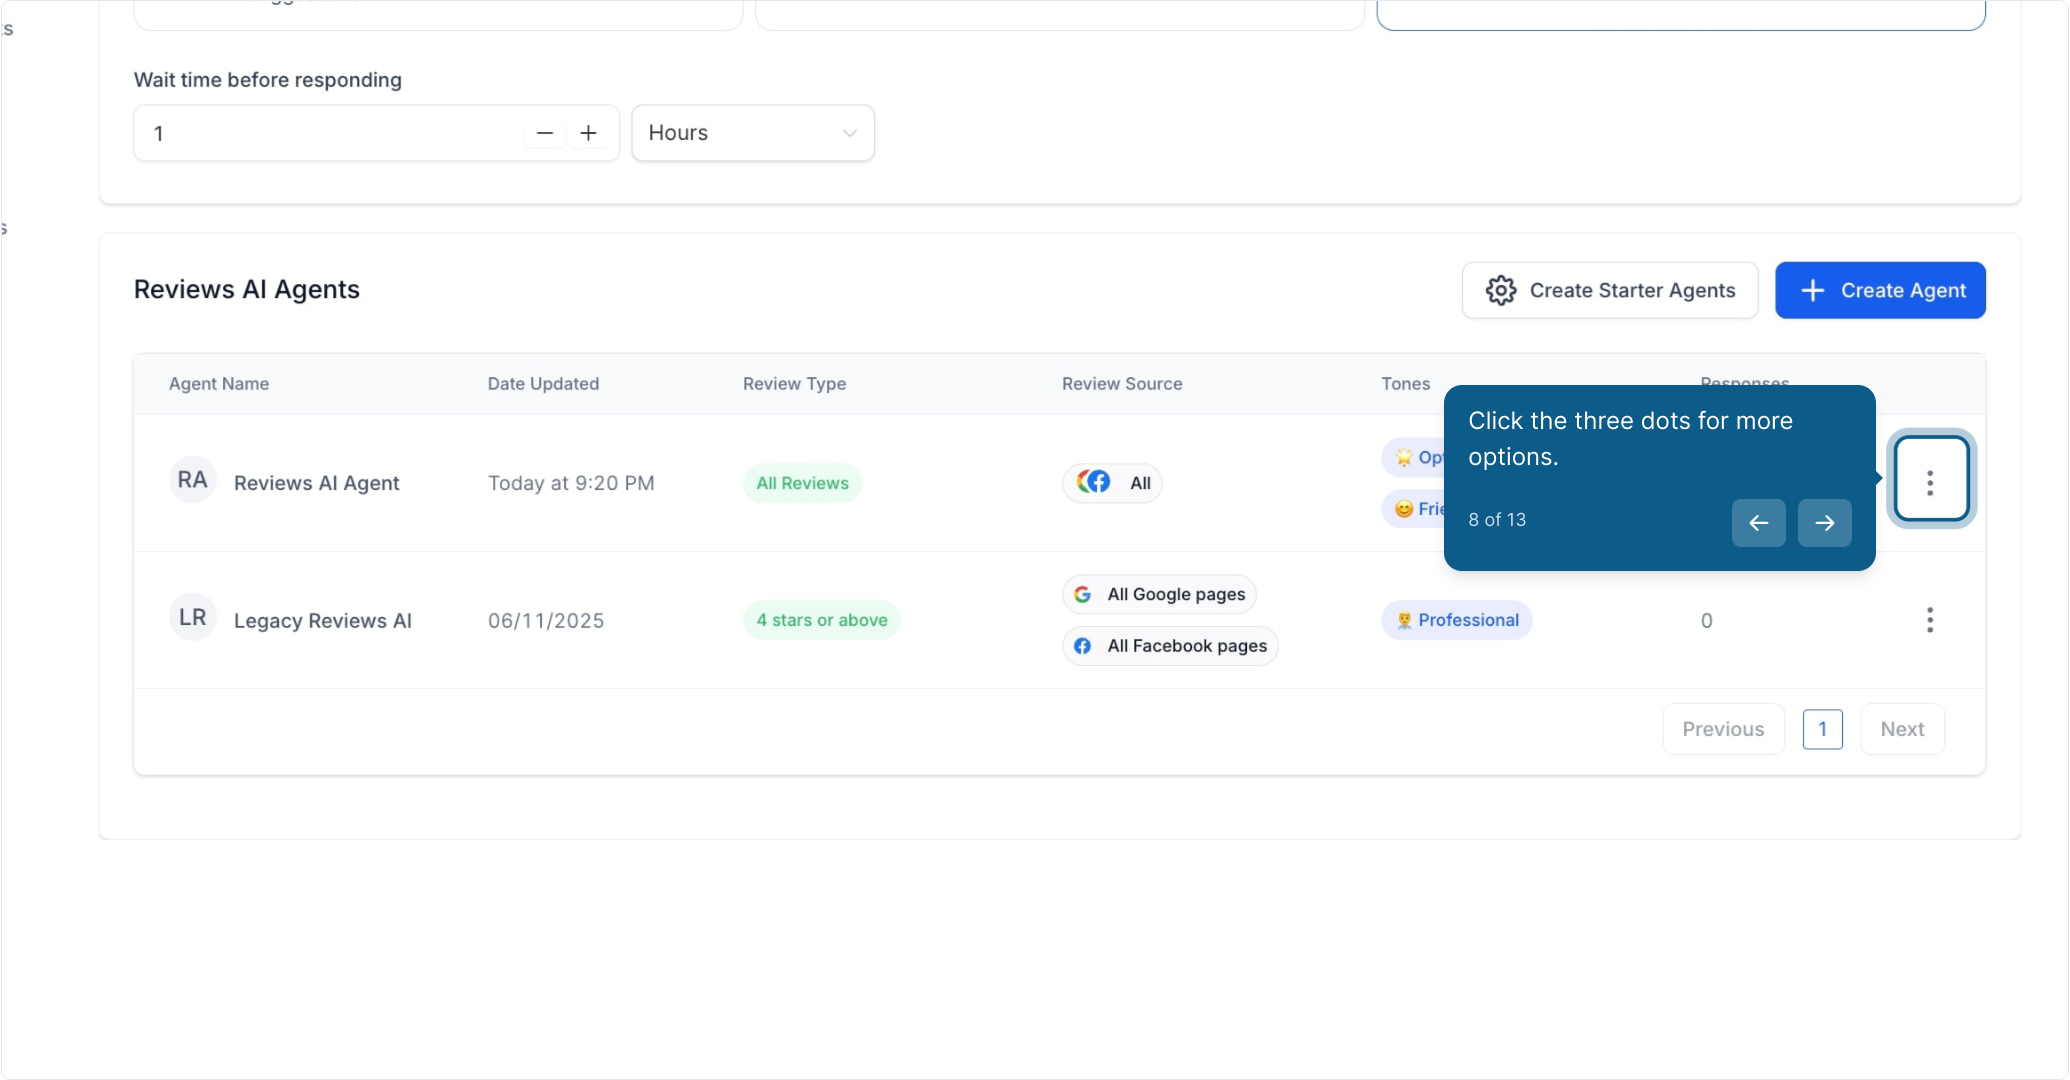
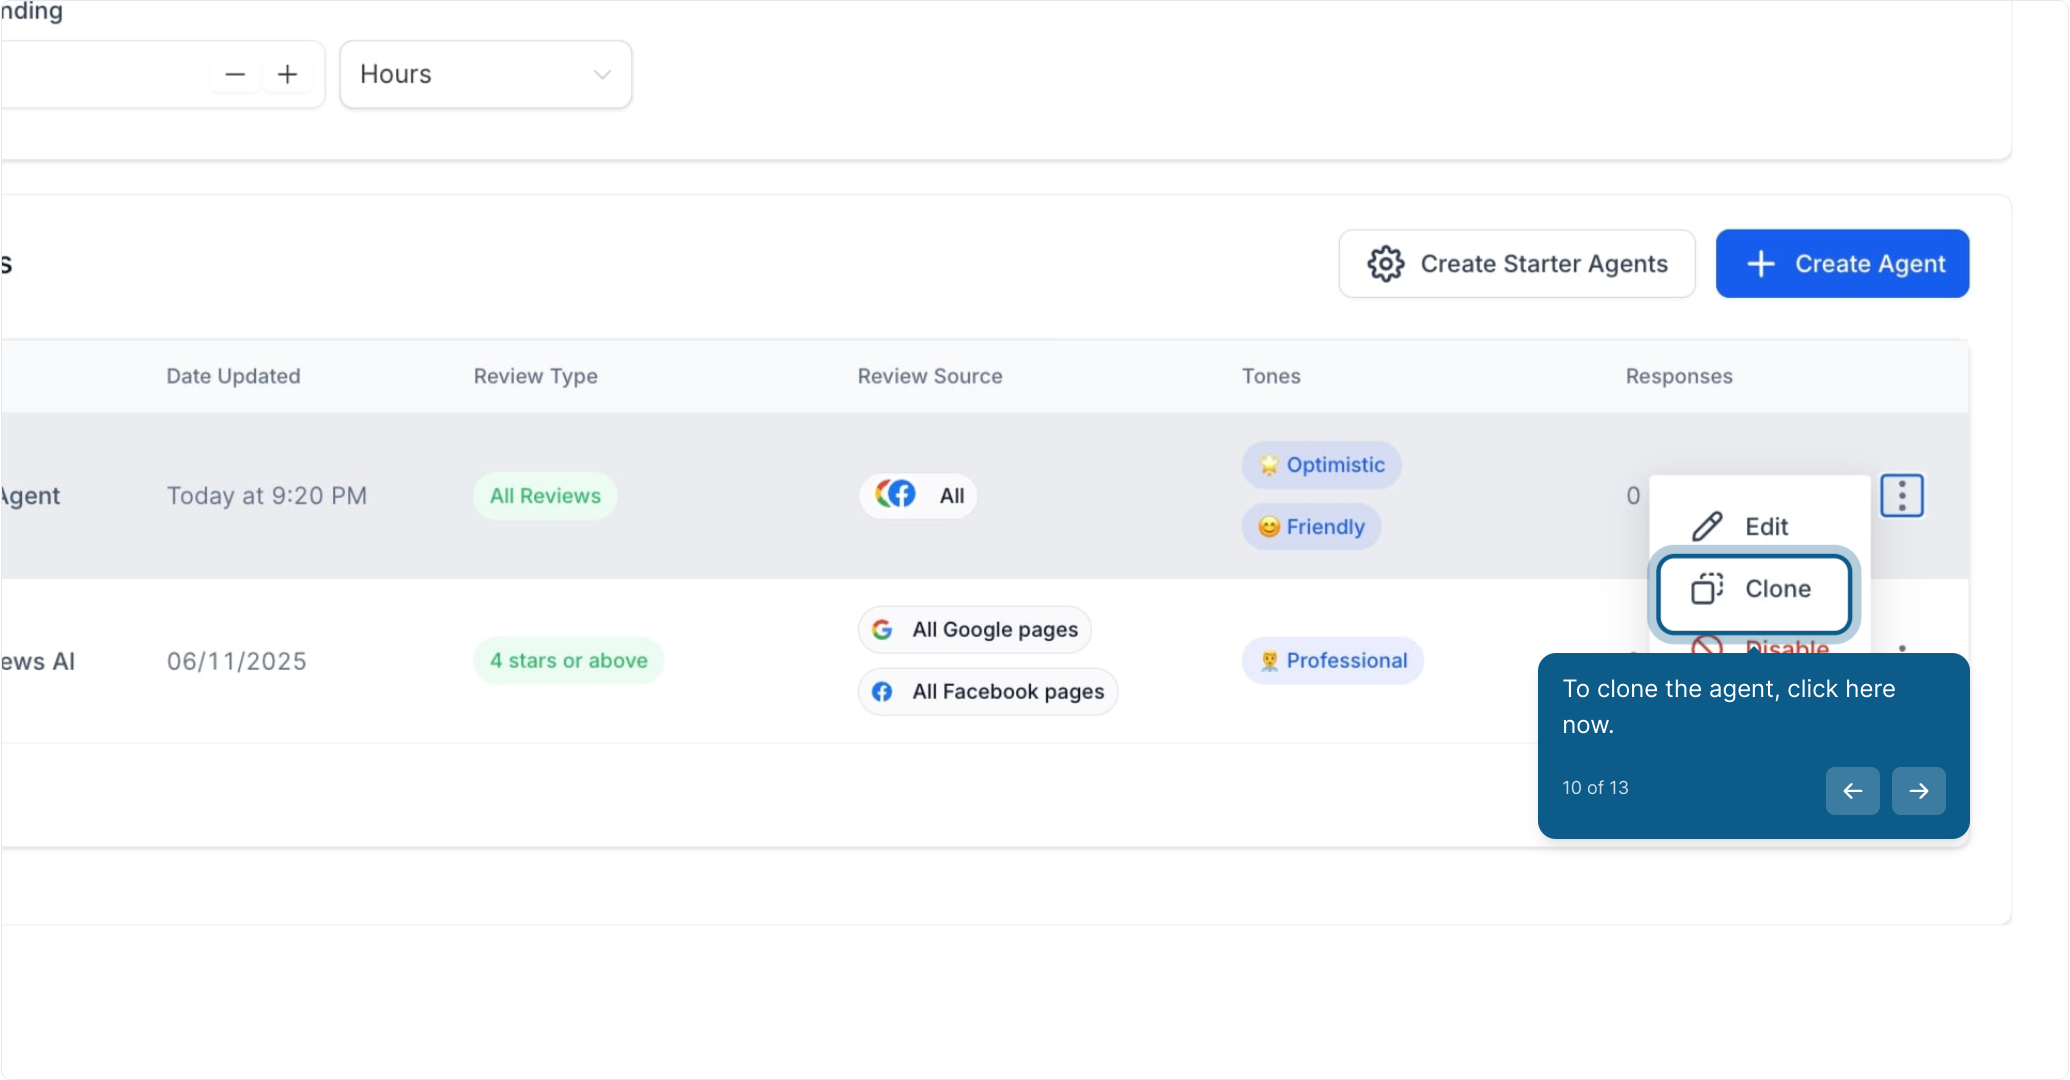
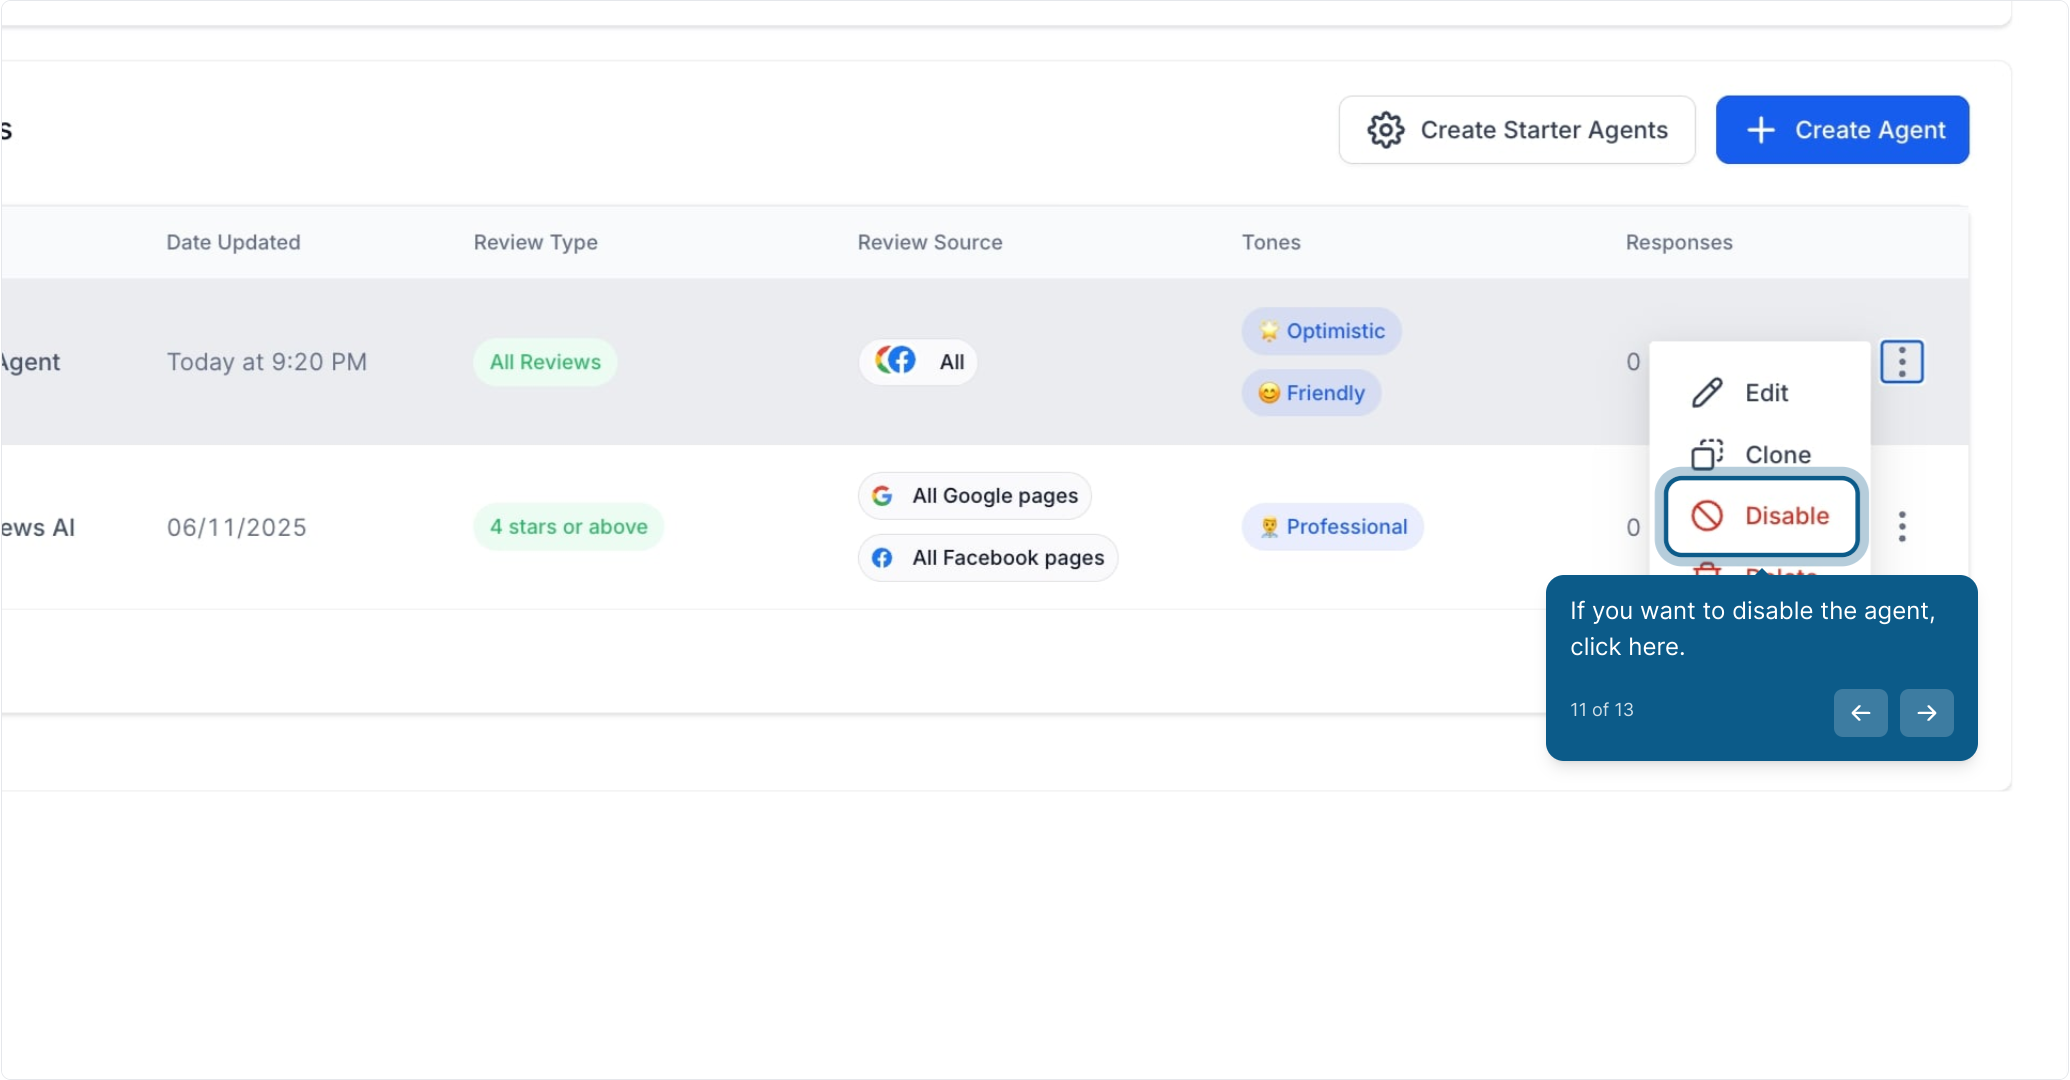
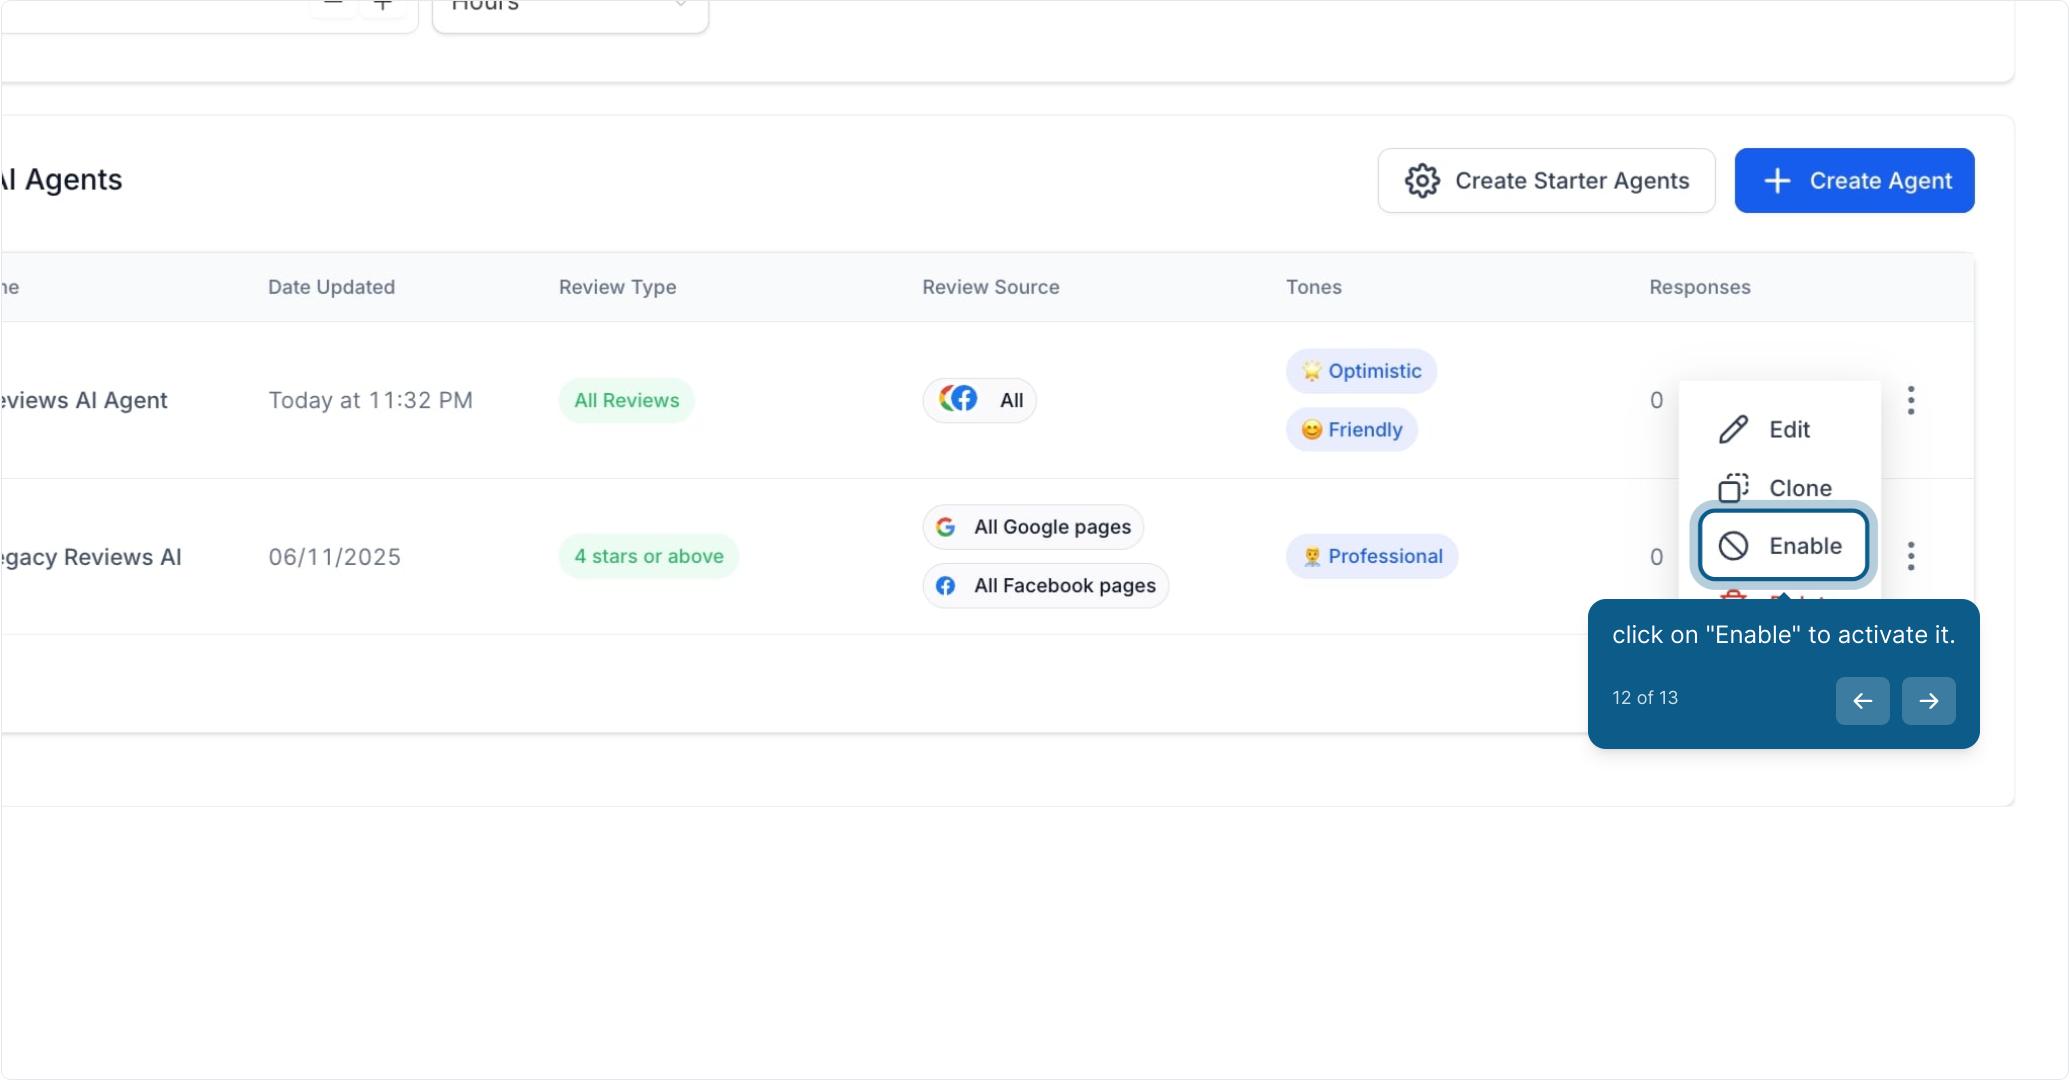
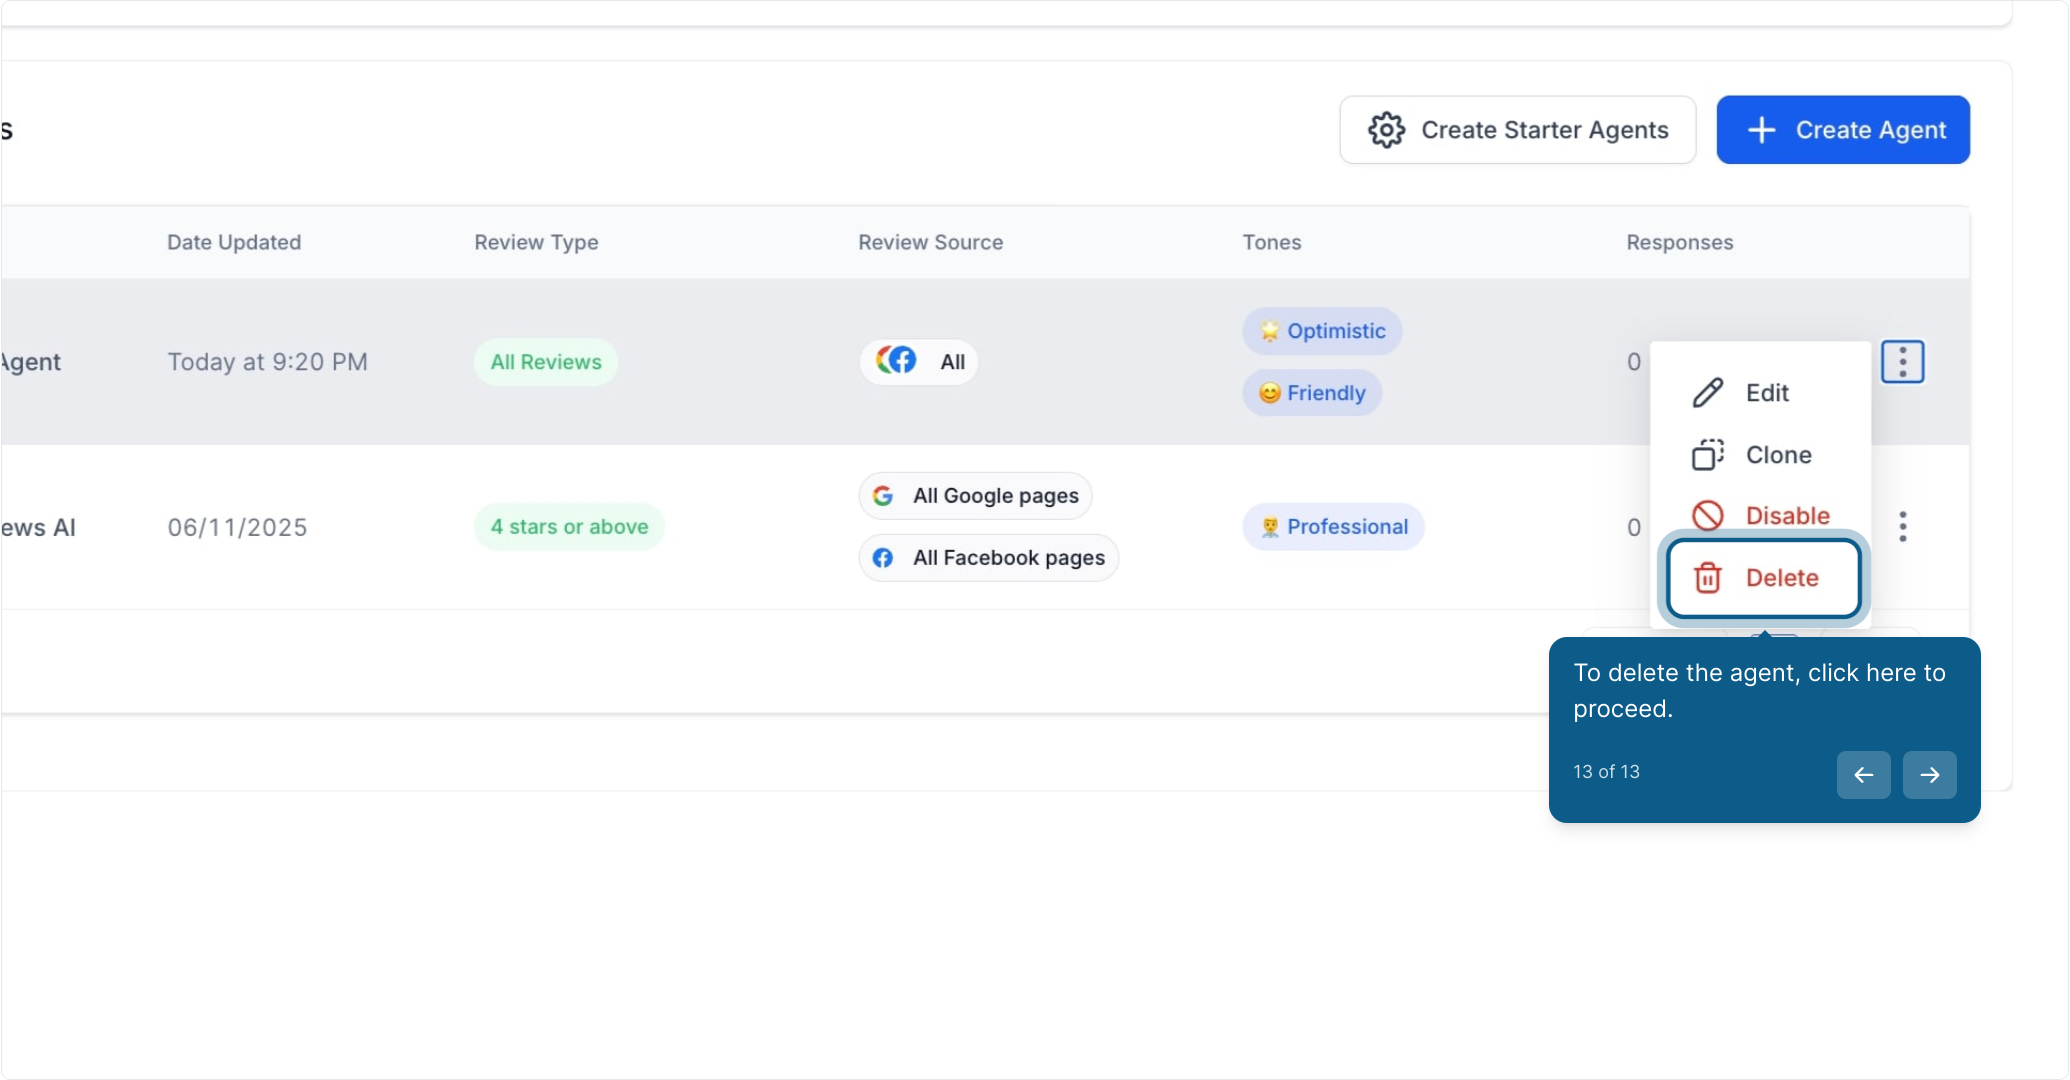
Click the three dots for more options.
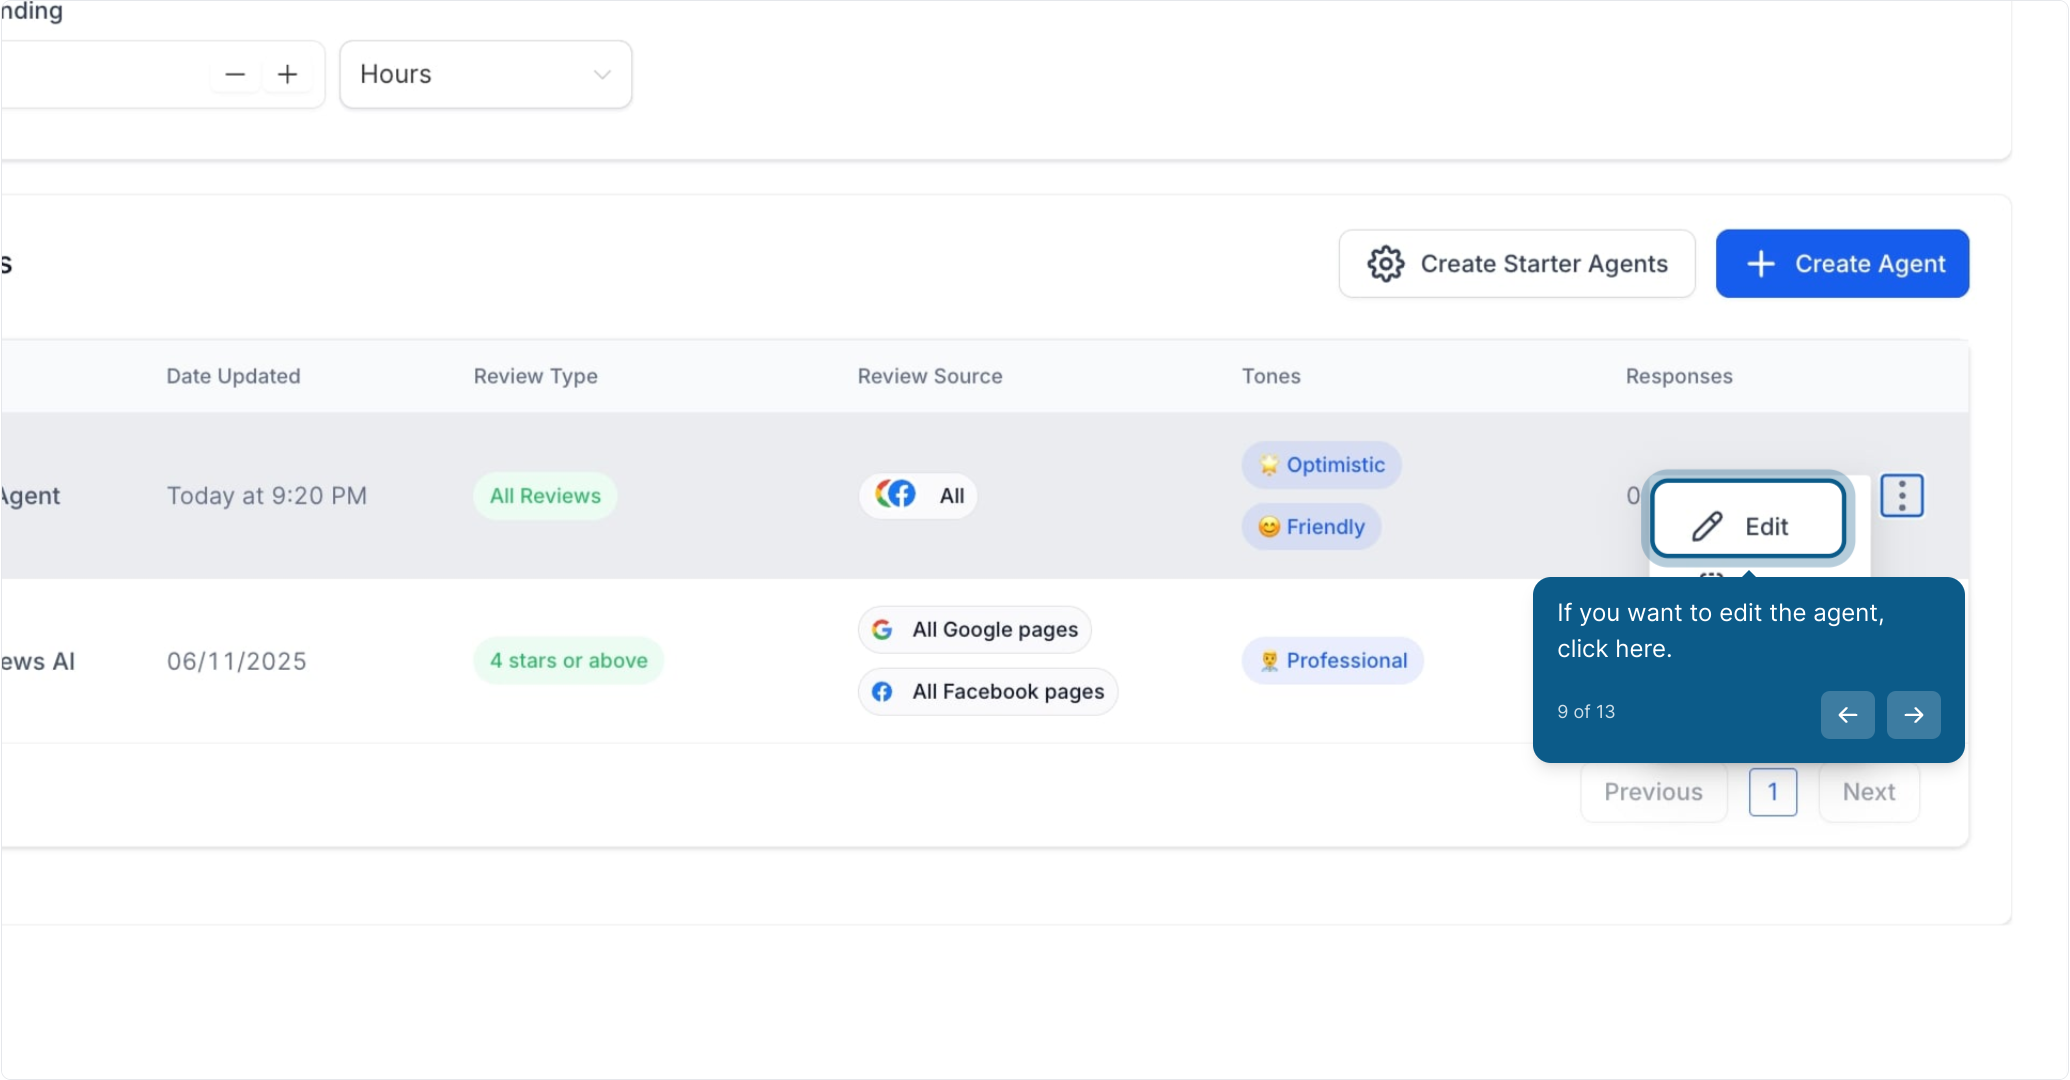
If you want to edit the agent, click here.
To clone the agent, click here now.
If you want to disable the agent, click here.
Click on Enable to activate it.
To delete the agent, click here to proceed.
Once your practice is ready to start responding to reviews, turn on Reviews AI and choose how you want it to work.
Navigate to Reviews Management: In Aesthetix CRM, click Marketing in the main menu, then select Reviews Management from the dropdown.
Access Reviews AI Settings: Within Reviews Management, go to the Settings tab and click the first tab labeled Reviews AI. By default, Reviews AI is set to Off.
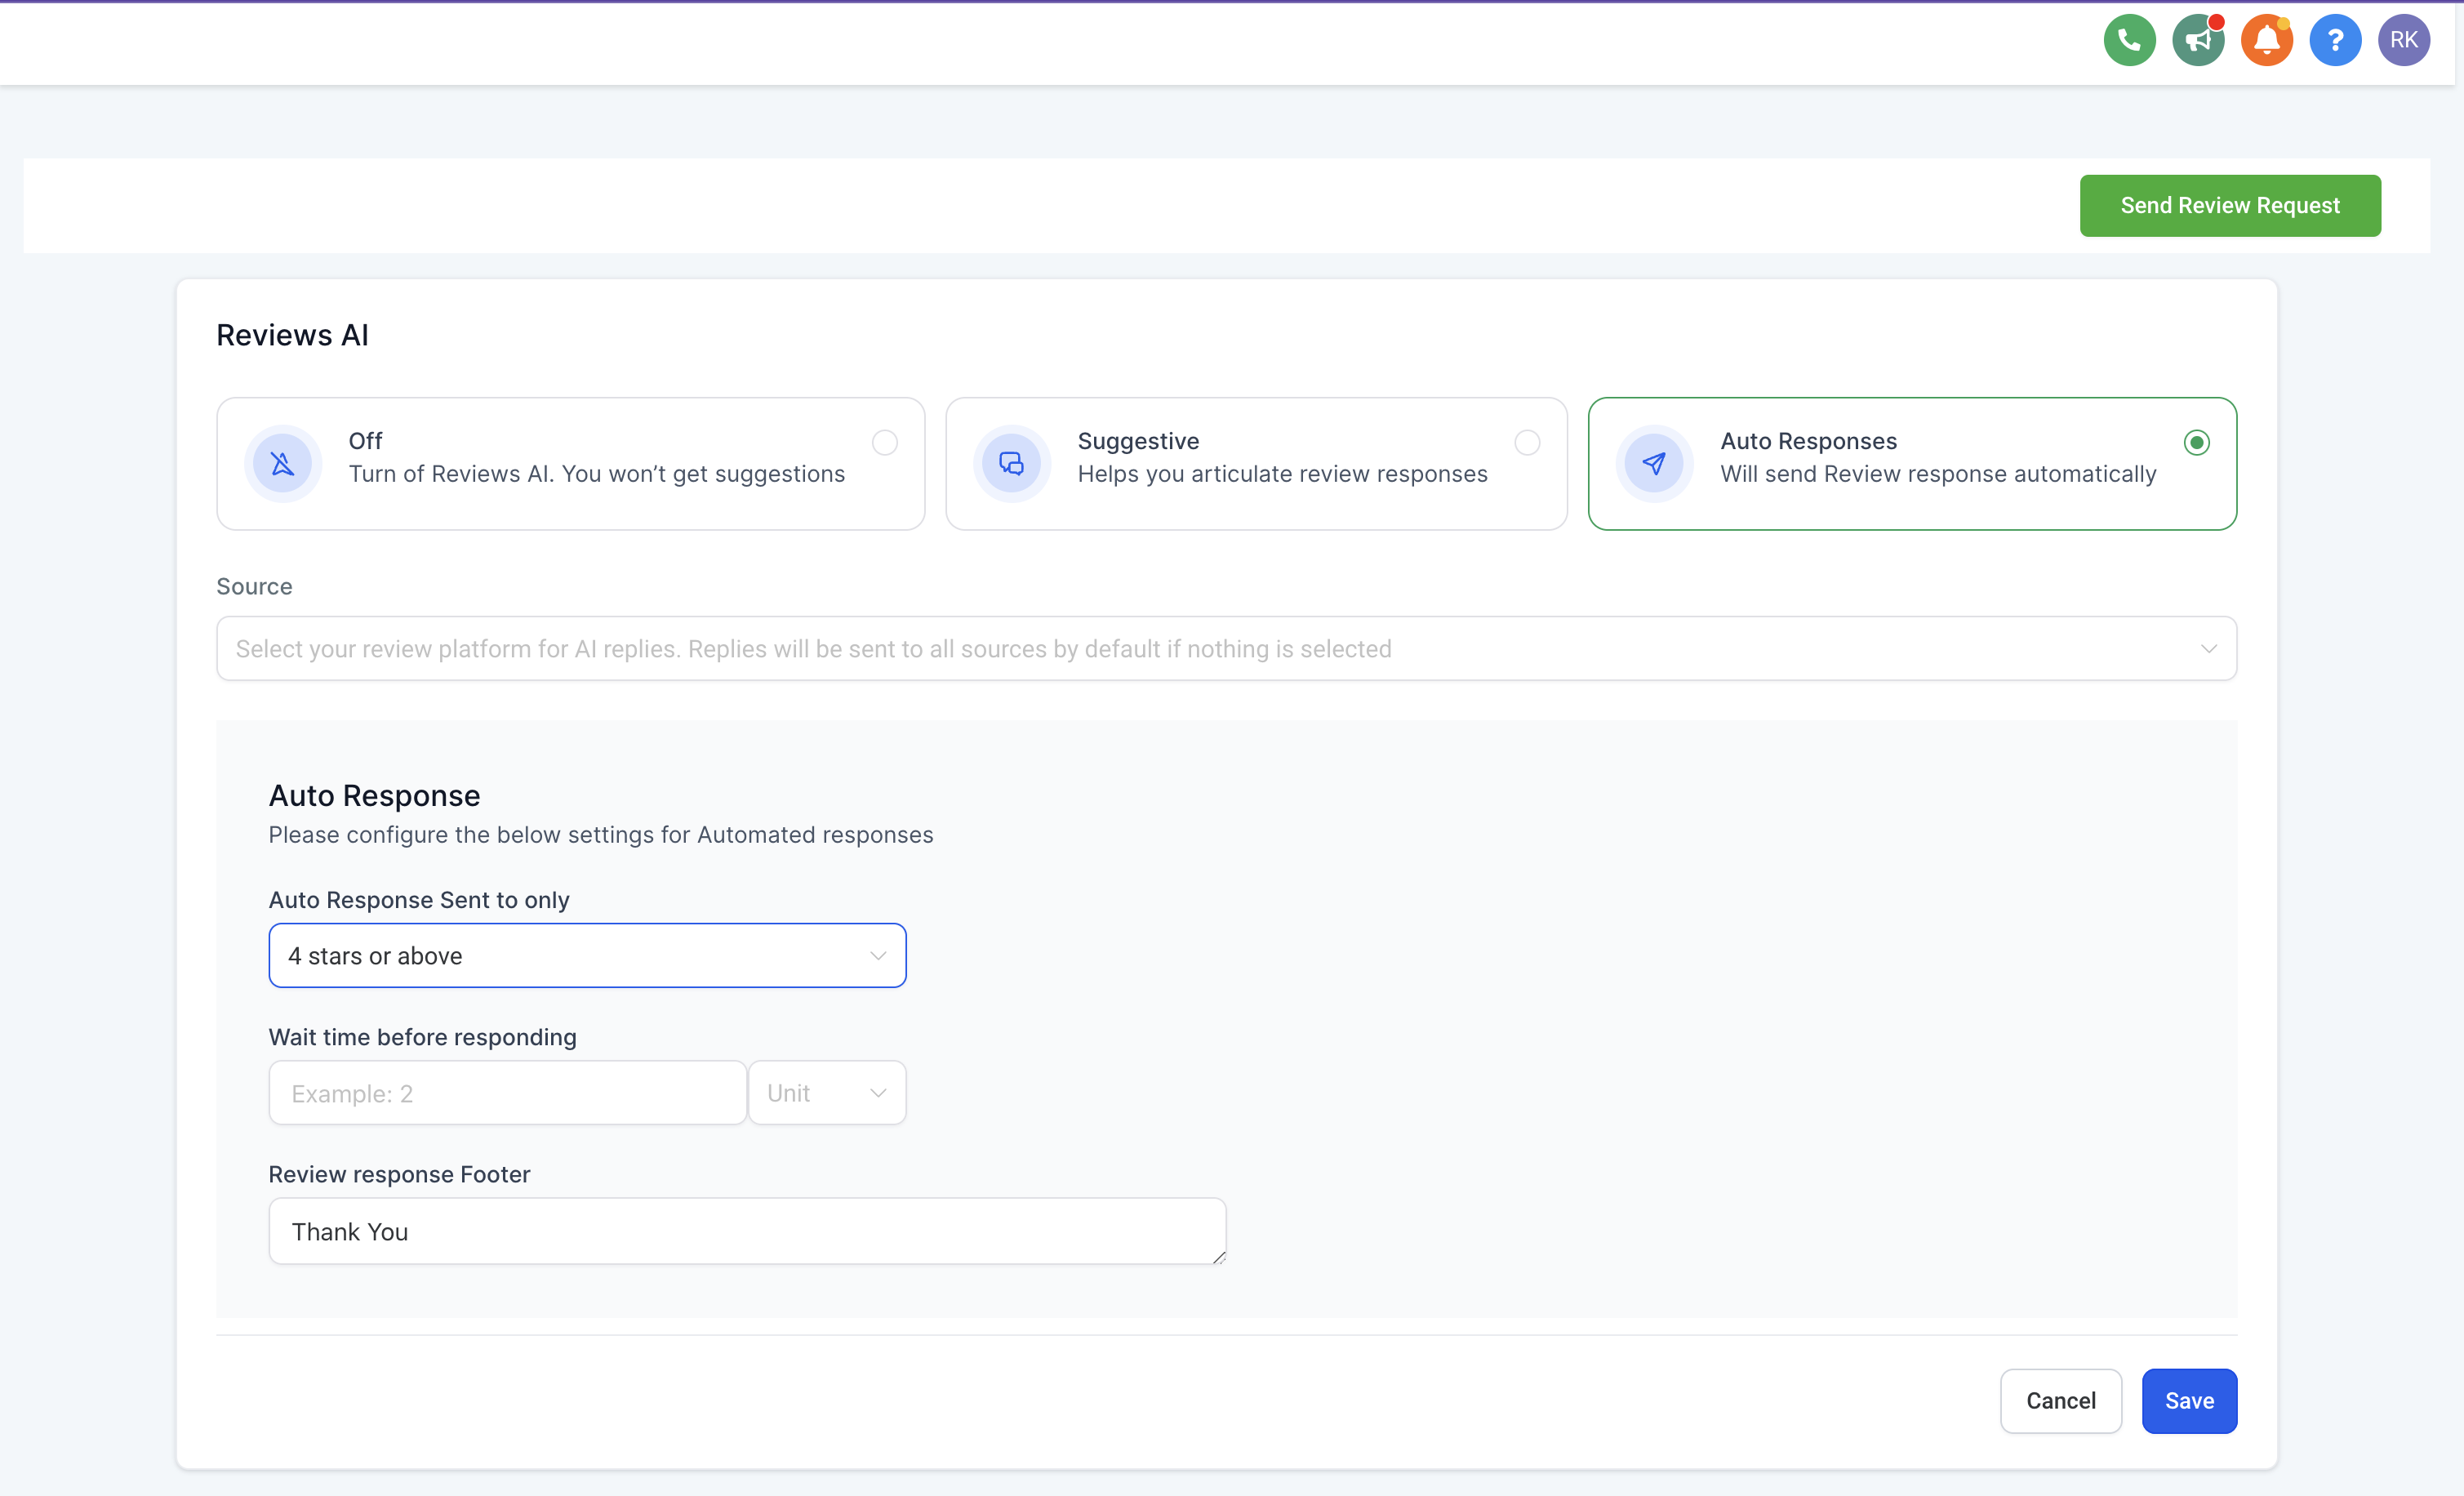
You can decide how much control you want to keep by choosing between two modes:
Suggestive: The AI generates a draft for you to review and edit before posting. It bases each suggestion on the content of the review, making it easier to engage with your patients authentically. In Suggestive mode, you select the AI Reply button and Reviews AI generates a unique response.
Autopilot: The AI automatically posts responses to reviews based on your selected preferences, saving you time while keeping a professional, personalized touch.
Note: You can regenerate a suggested response if you'd like a different draft.
Fine-tune how and when the AI responds so every reply reflects your practice's voice.
Select Review Sources: Choose where the AI should pull reviews from, such as Google and Facebook.
Configure Autoresponse Criteria: Set AI responses to trigger only for reviews that meet certain criteria, such as:
Star Rating: Only respond to reviews with 4 stars and above (optional).
Response Delay: Choose a time delay (e.g., 2 minutes) to make responses feel more natural.
Customize Your Response Template: Personalize your responses with your practice name. For example: "Thank you! – The Aesthetix Med Spa Team." Click Save to apply your settings.
With Autopilot mode, you have the power to:
Customize automated responses based on star ratings.
Define the wait time before sending each response.
Add a personal touch with review response footers, including thank-you notes or your business name.
Tailor auto responses for specific sources, such as Facebook and Google.
Go to the Overview tab within Reviews Management to monitor:
Incoming review requests.
AI-generated responses.
This dashboard provides a centralized view of your practice's reputation management, making it easy to stay on top of online reviews.
Tailor responses to your brand: Customize suggested responses to align with your practice's tone and personality.
Monitor and adjust Autopilot responses: Regularly review and refine your Autopilot responses to ensure they reflect your practice's values and standards.
Engage with patients beyond reviews: While Reviews AI handles responses efficiently, don't forget the importance of deeper patient engagement beyond review replies.
By enabling Reviews AI, your practice can efficiently engage with patient feedback, maintain a strong online presence, and improve client satisfaction, all with minimal effort.
