Showing off your best reviews is one of the easiest ways to build trust with prospective patients. Aesthetix CRM's review widget lets you pull your Google and Facebook reviews into a clean, branded display you can embed directly on your practice website or any third-party platform.
In this guide, you'll walk through customizing a review widget's summary, content, theme, and review elements, then copying the embed code to place it on your site.
A few things to know before customizing your review widget:
The review widget can be embedded on third-party platforms and website builders using the code Aesthetix CRM provides.
You can display your Google and Facebook reviews anywhere you can paste an embed snippet, so it works with virtually any site.
Reviews shown in the widget are pulled from the reviews you've collected in Reviews Management.
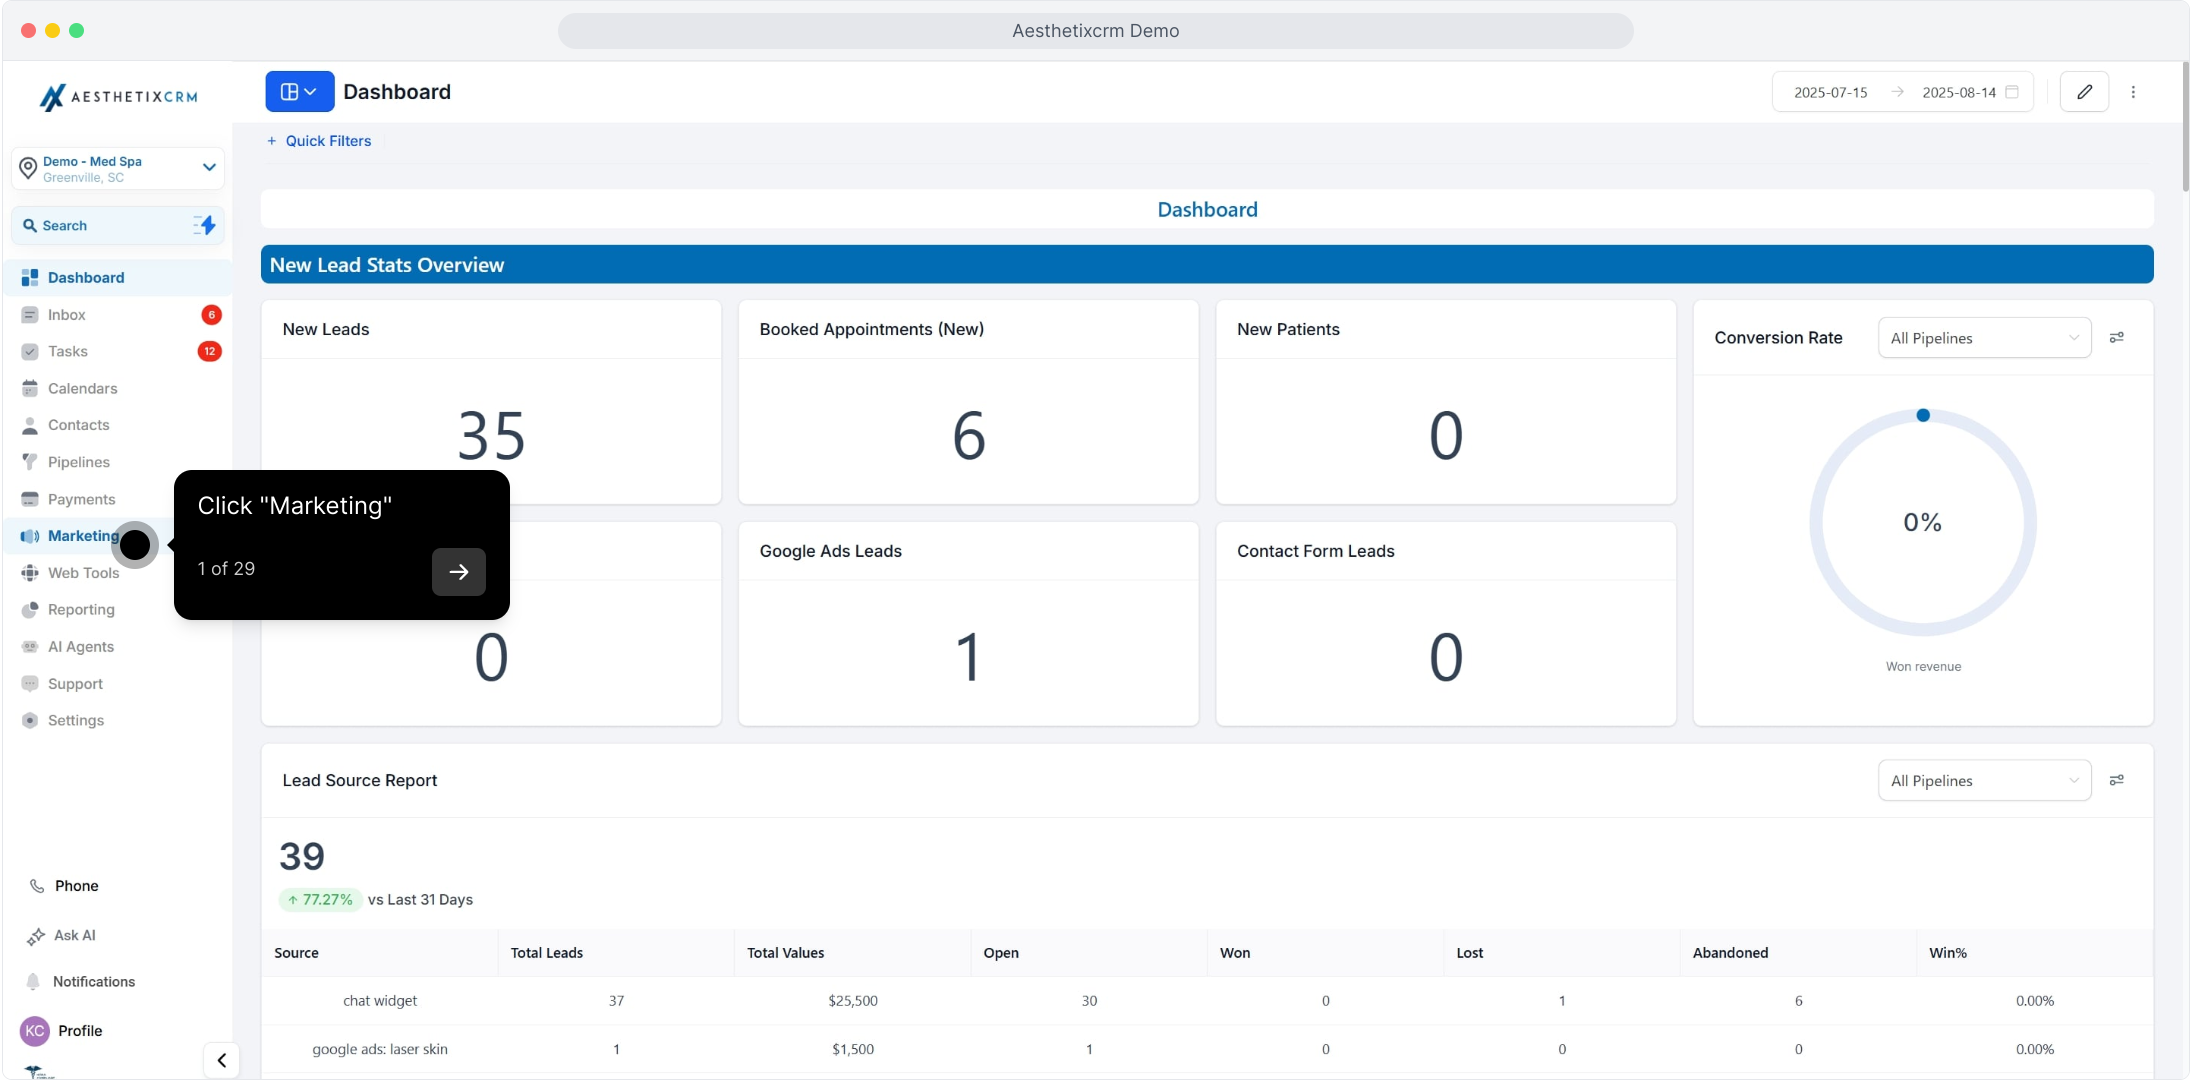
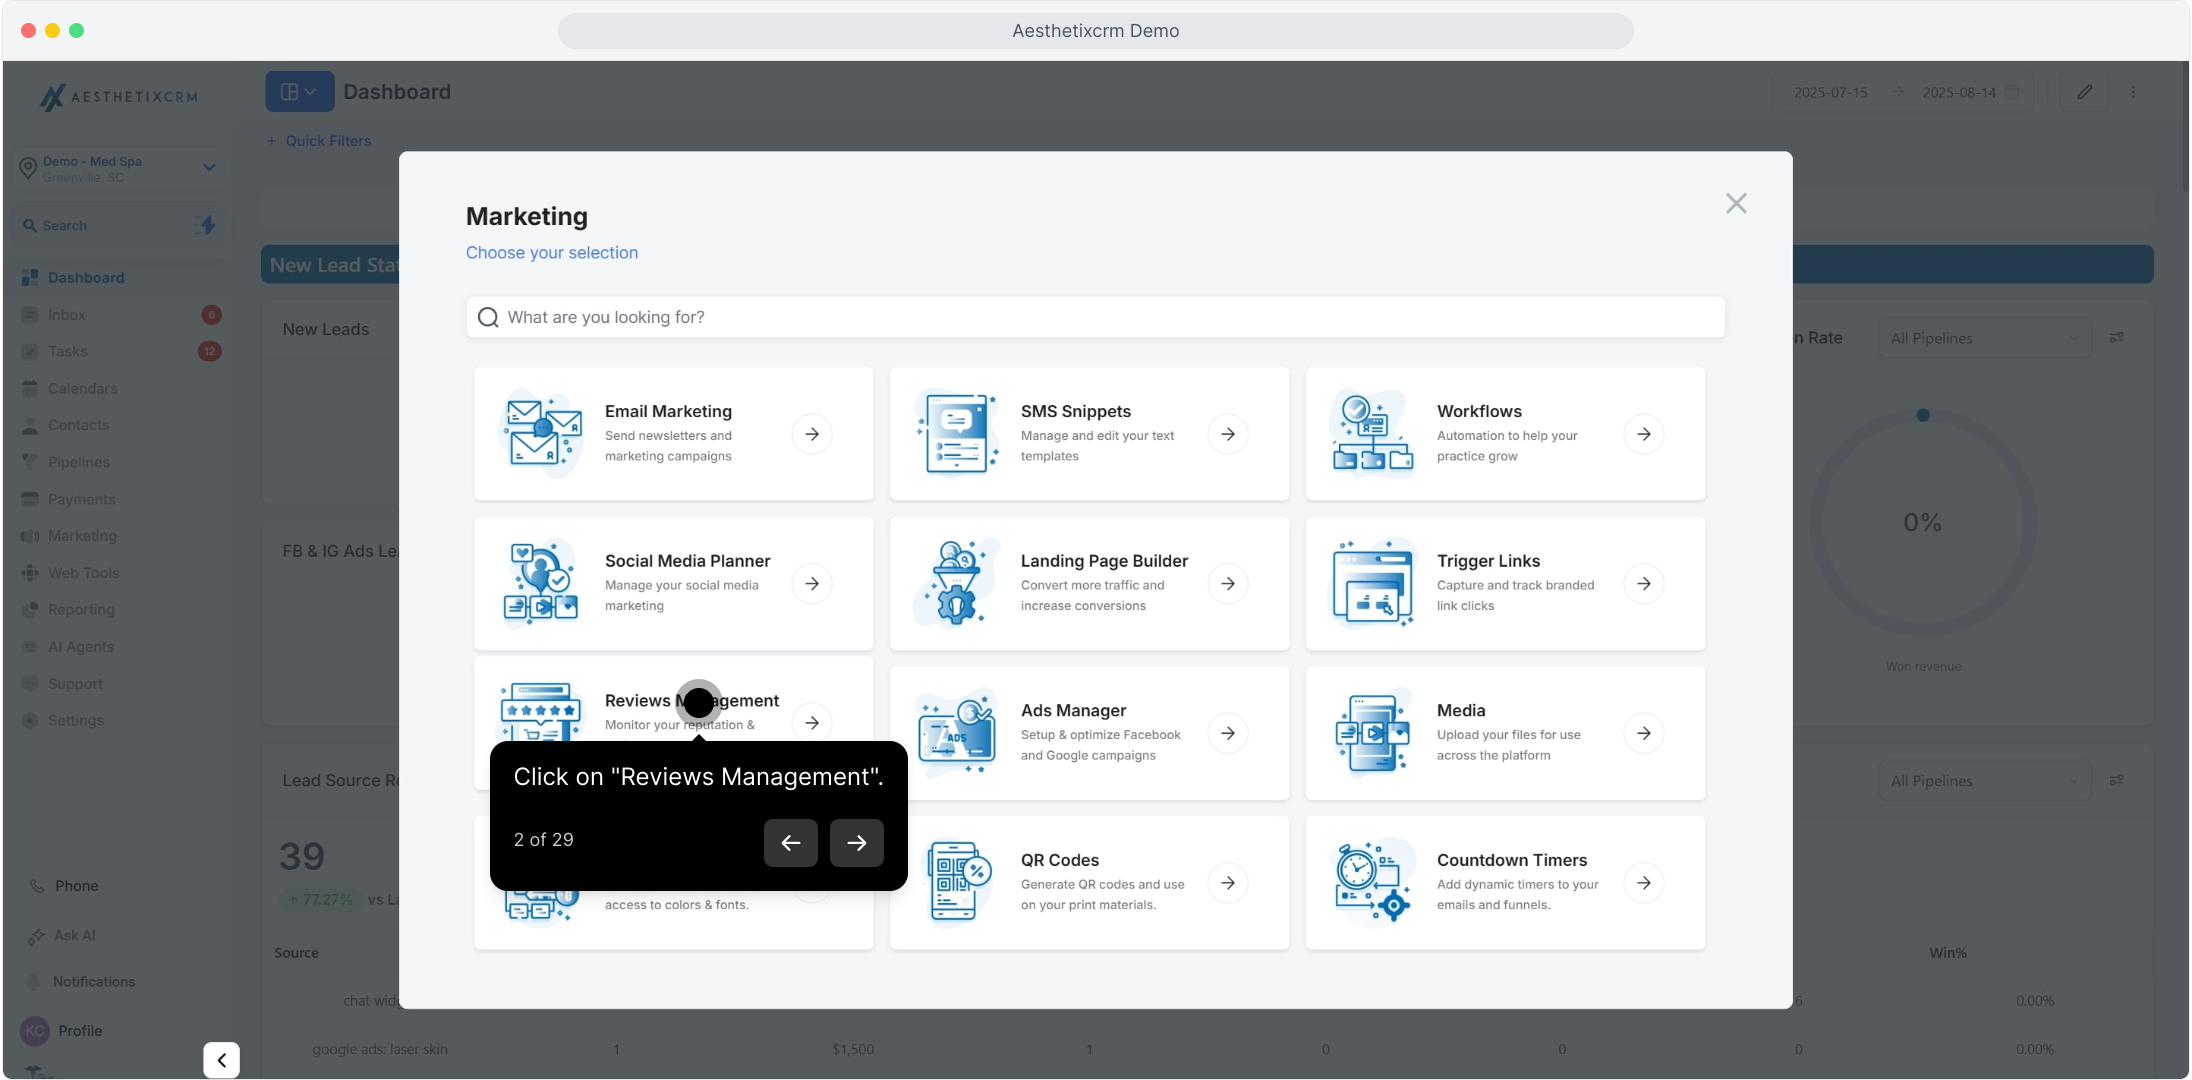
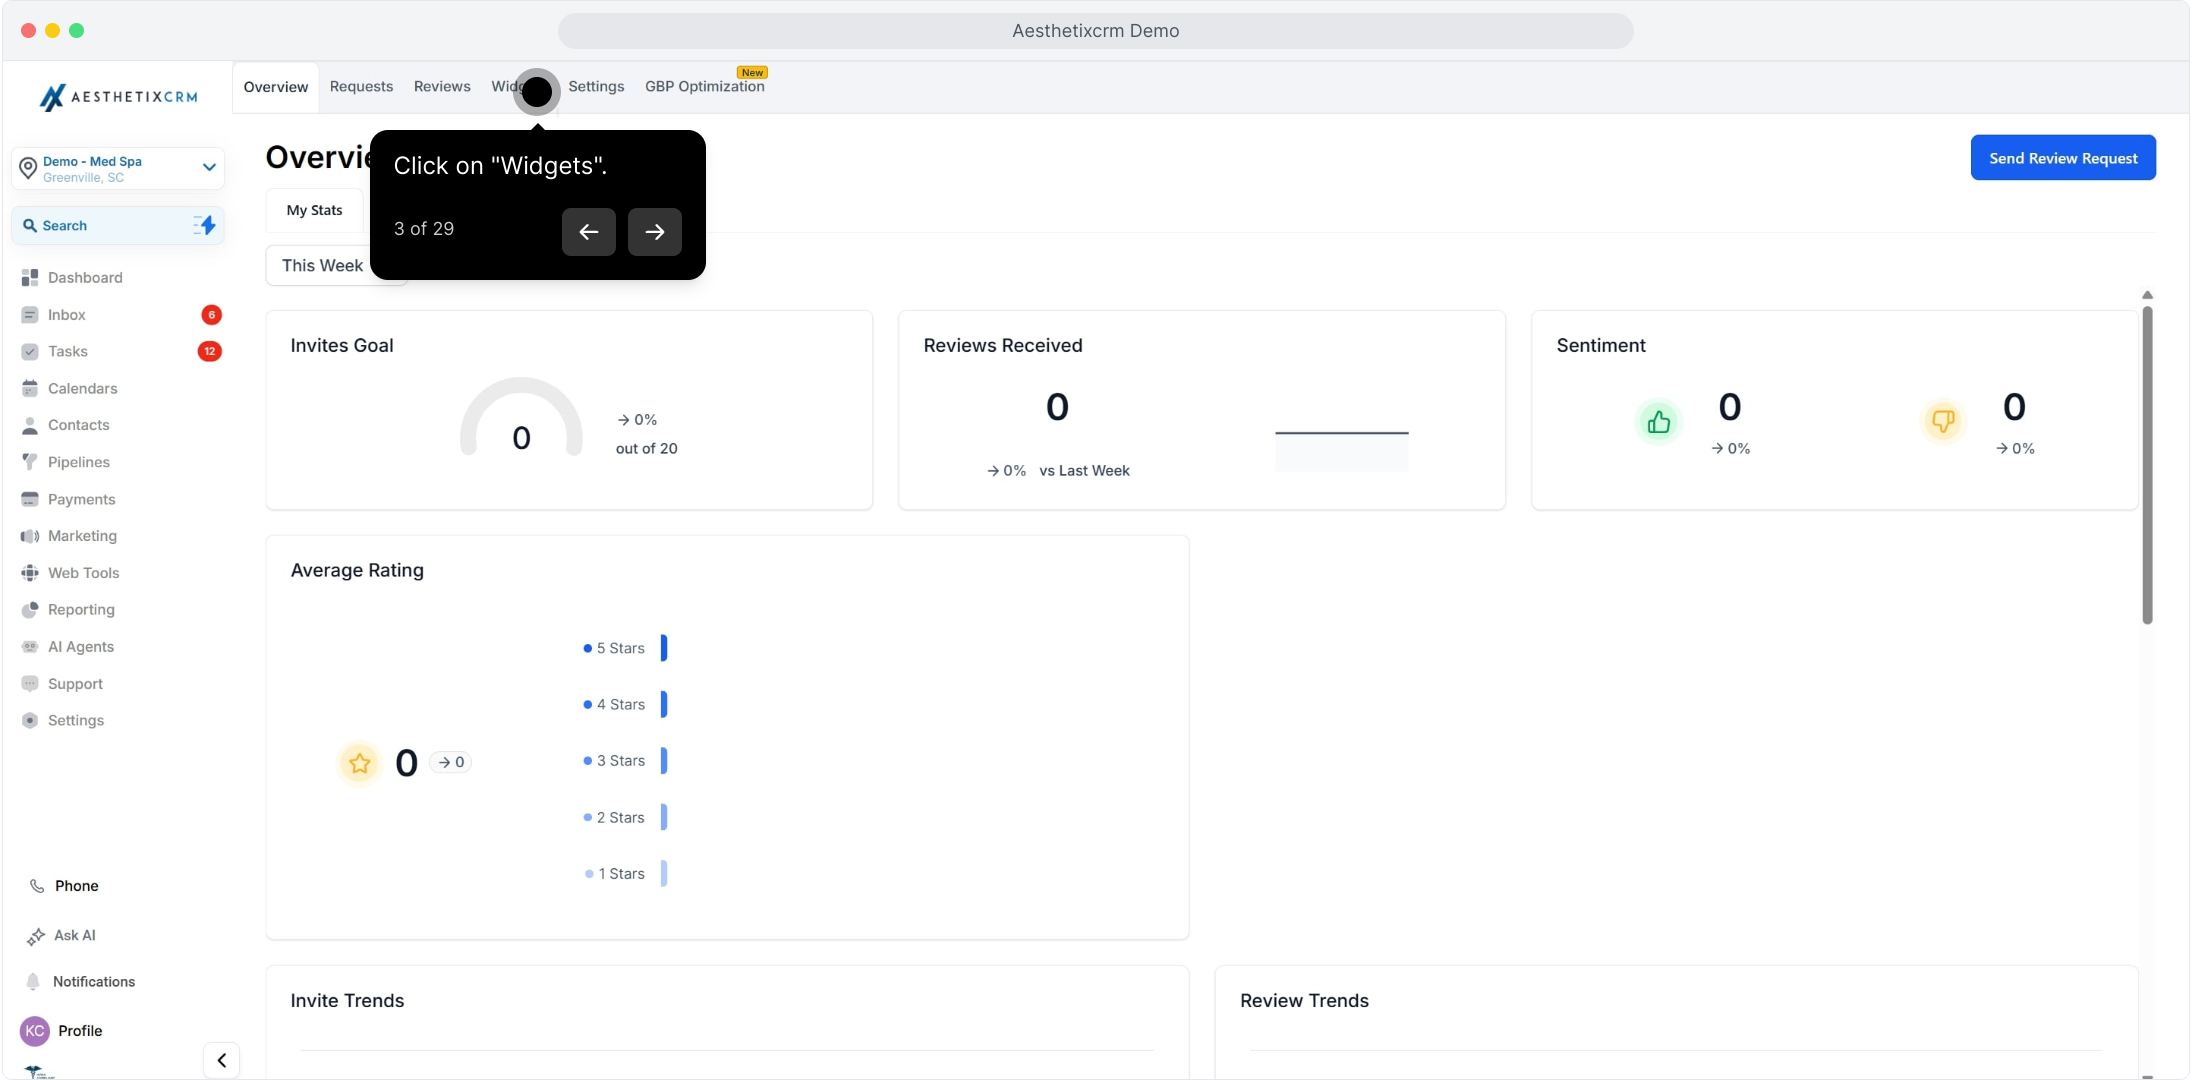
To start customizing a review widget, open Reviews Management and go to the Widgets section.
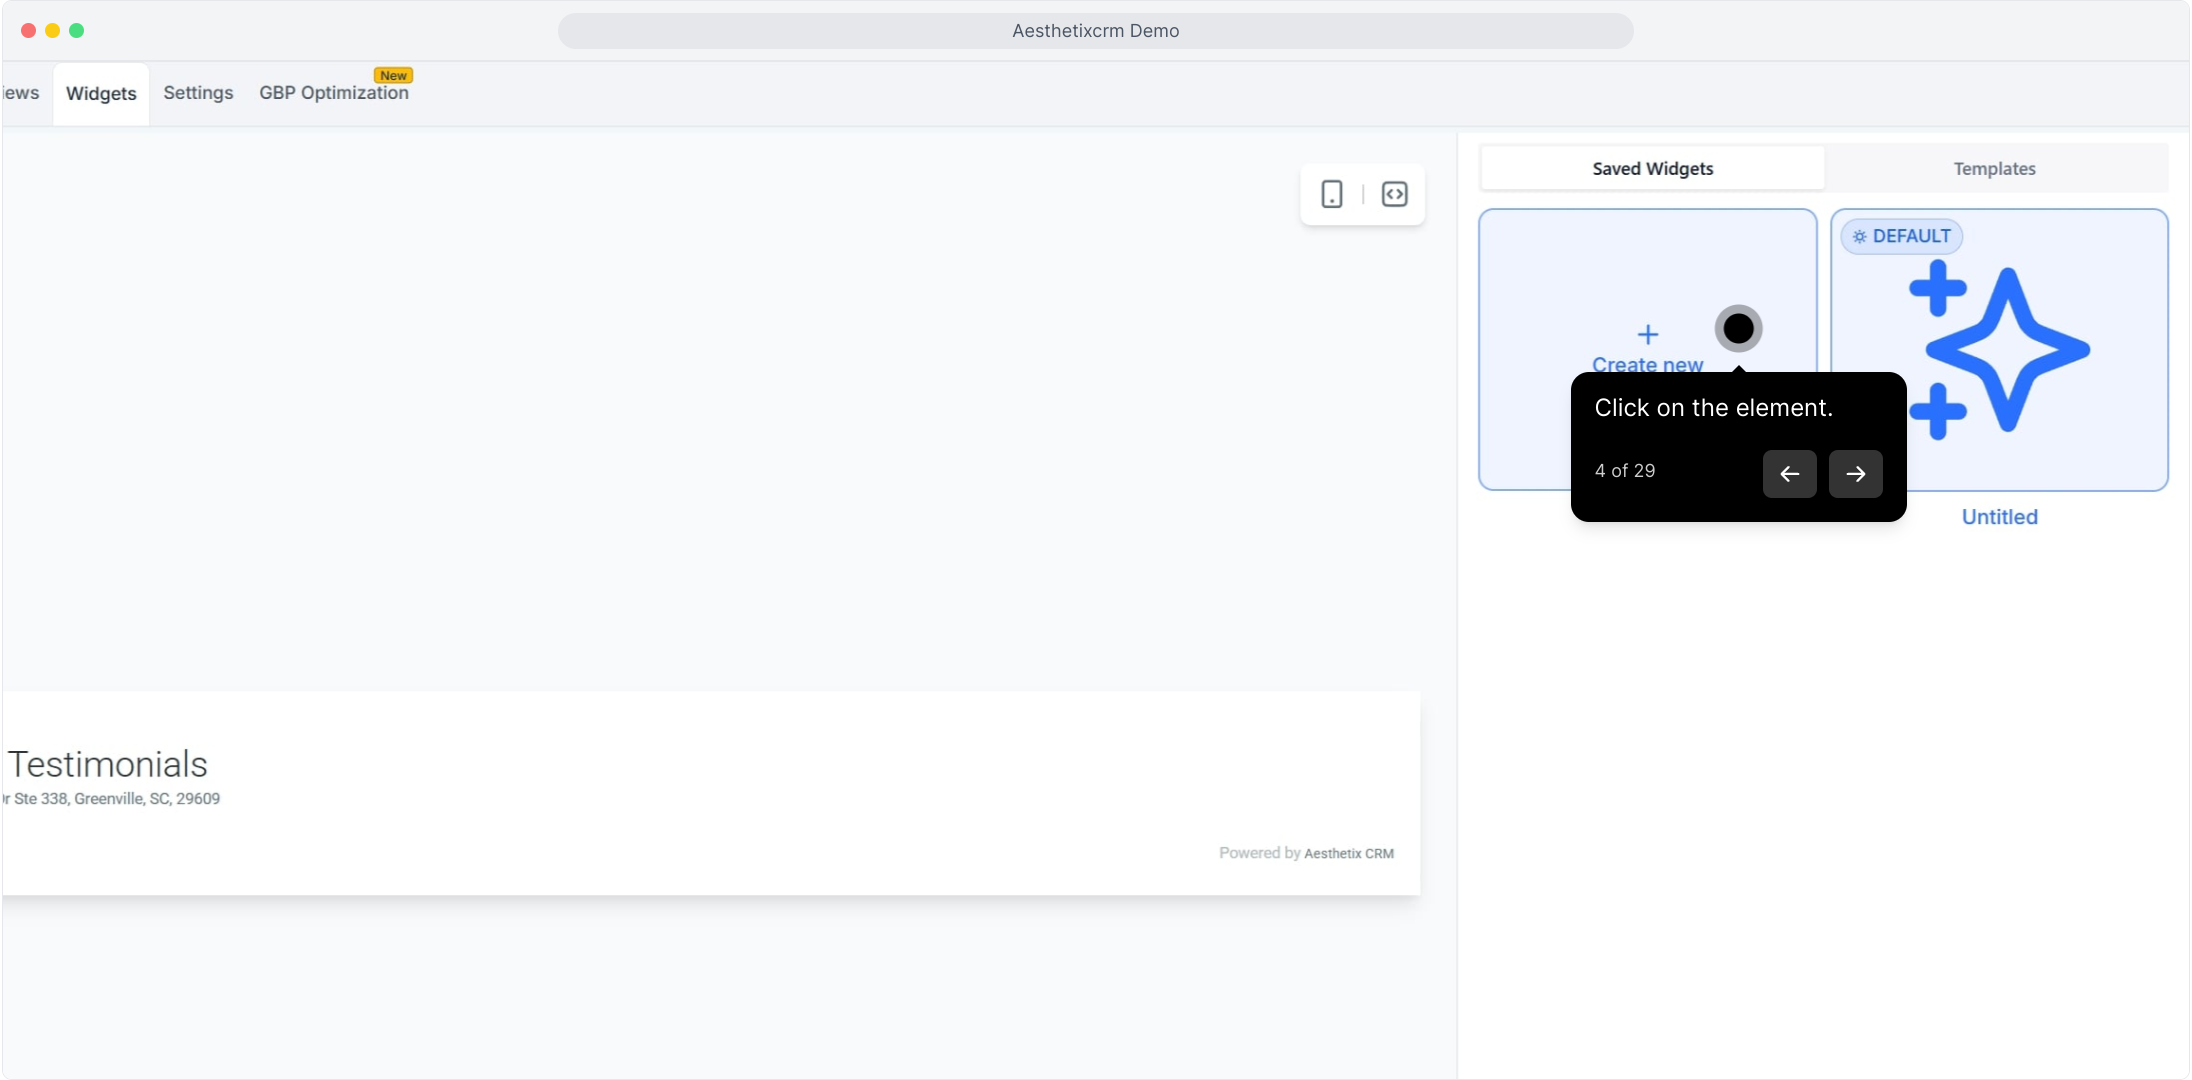
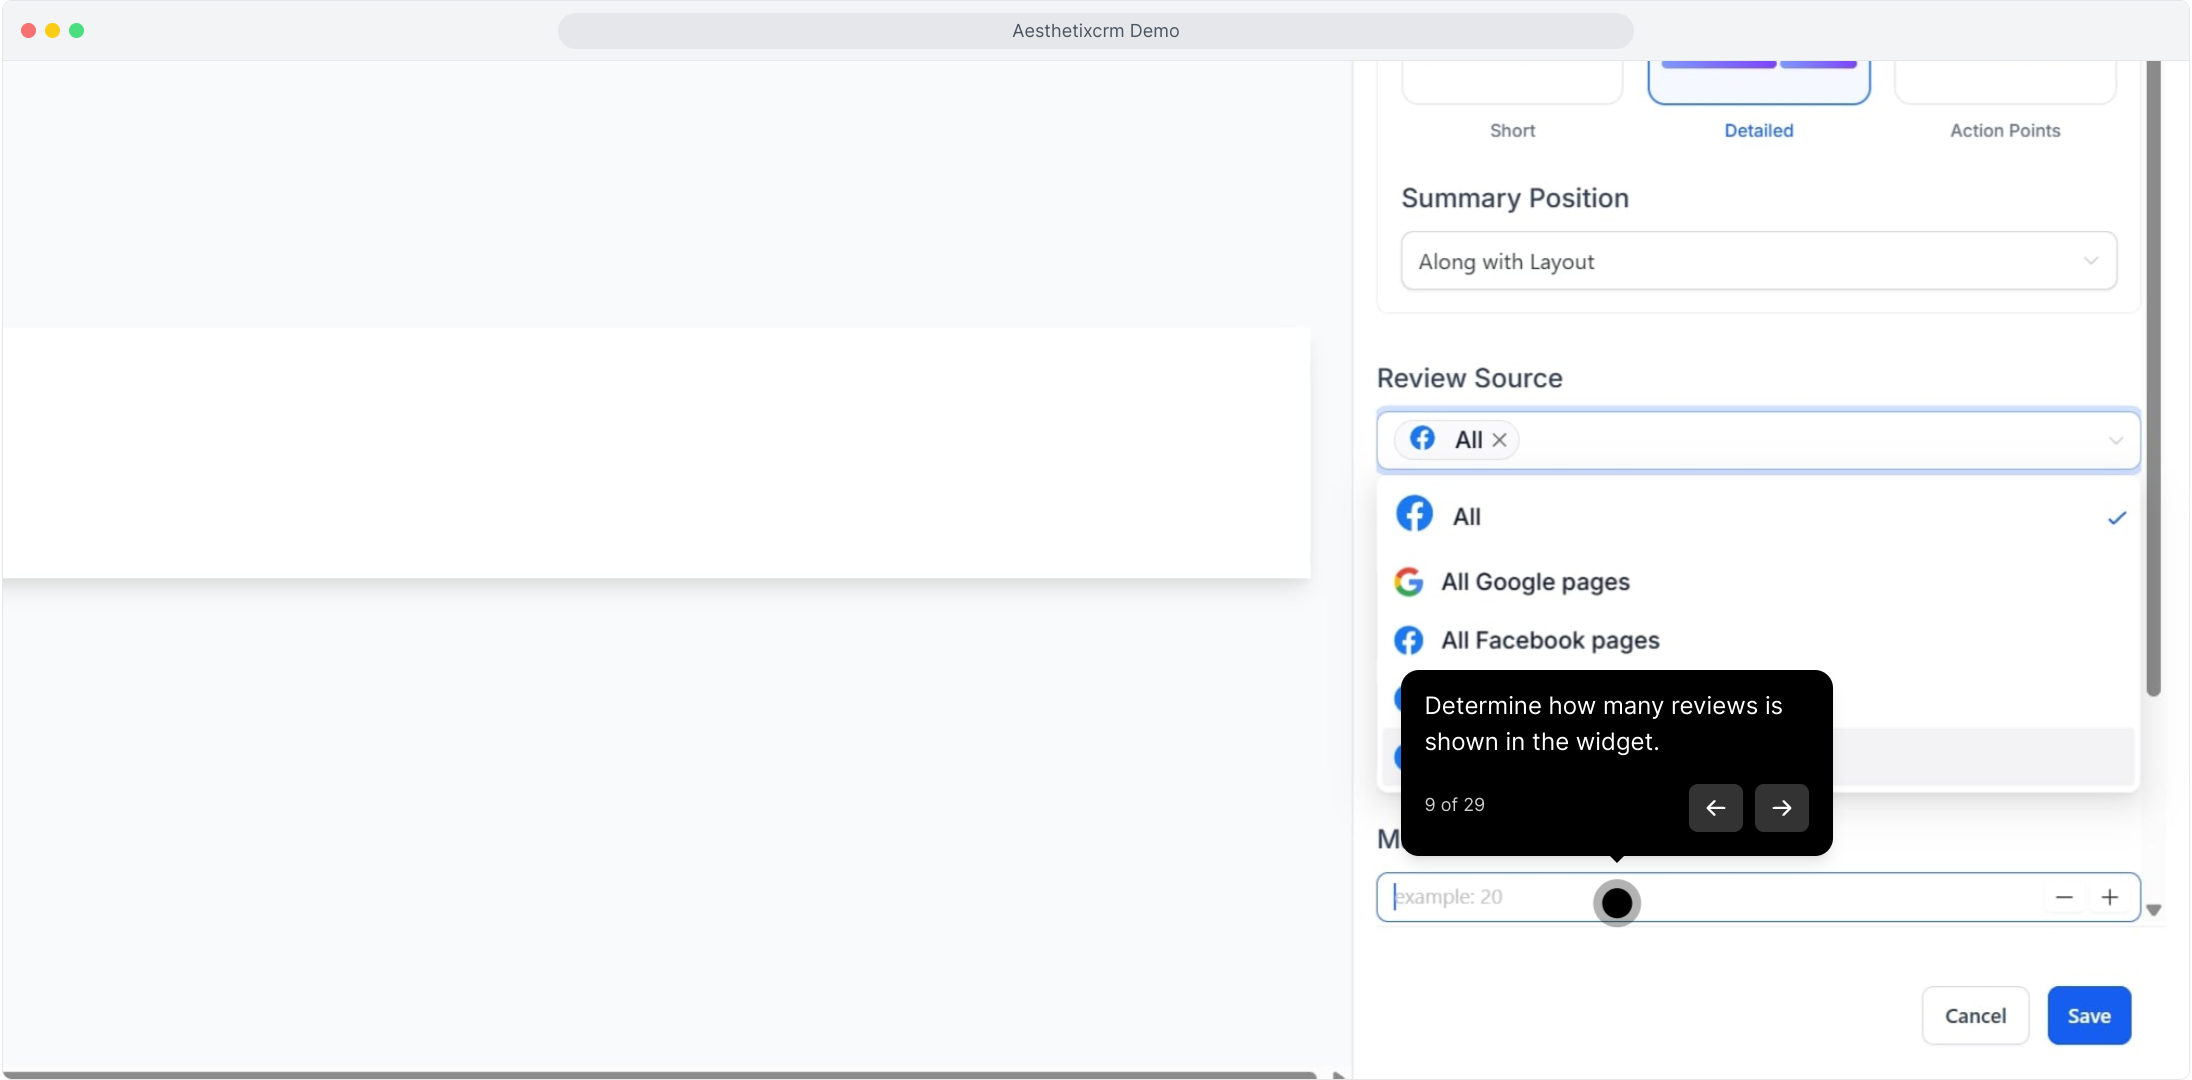
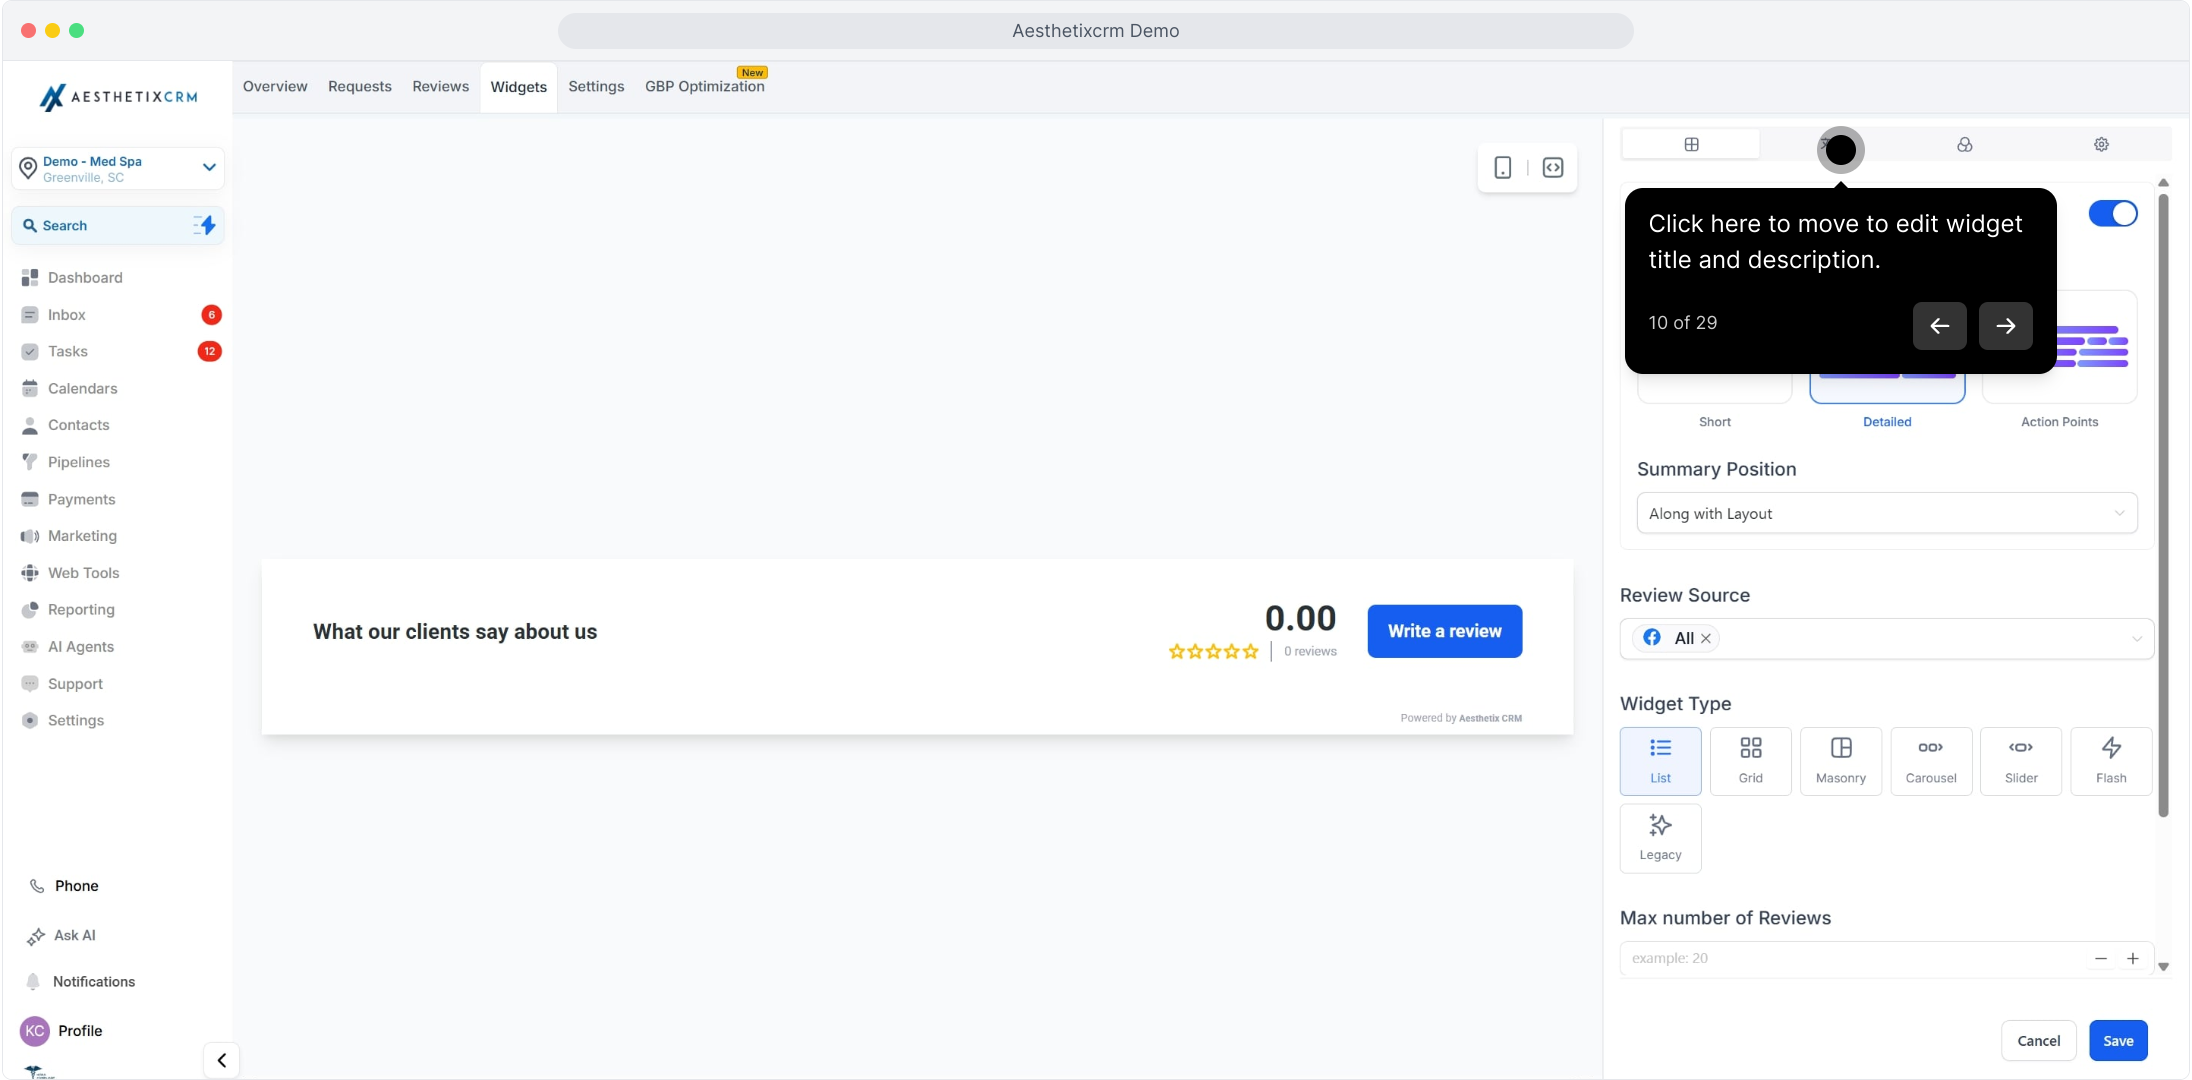
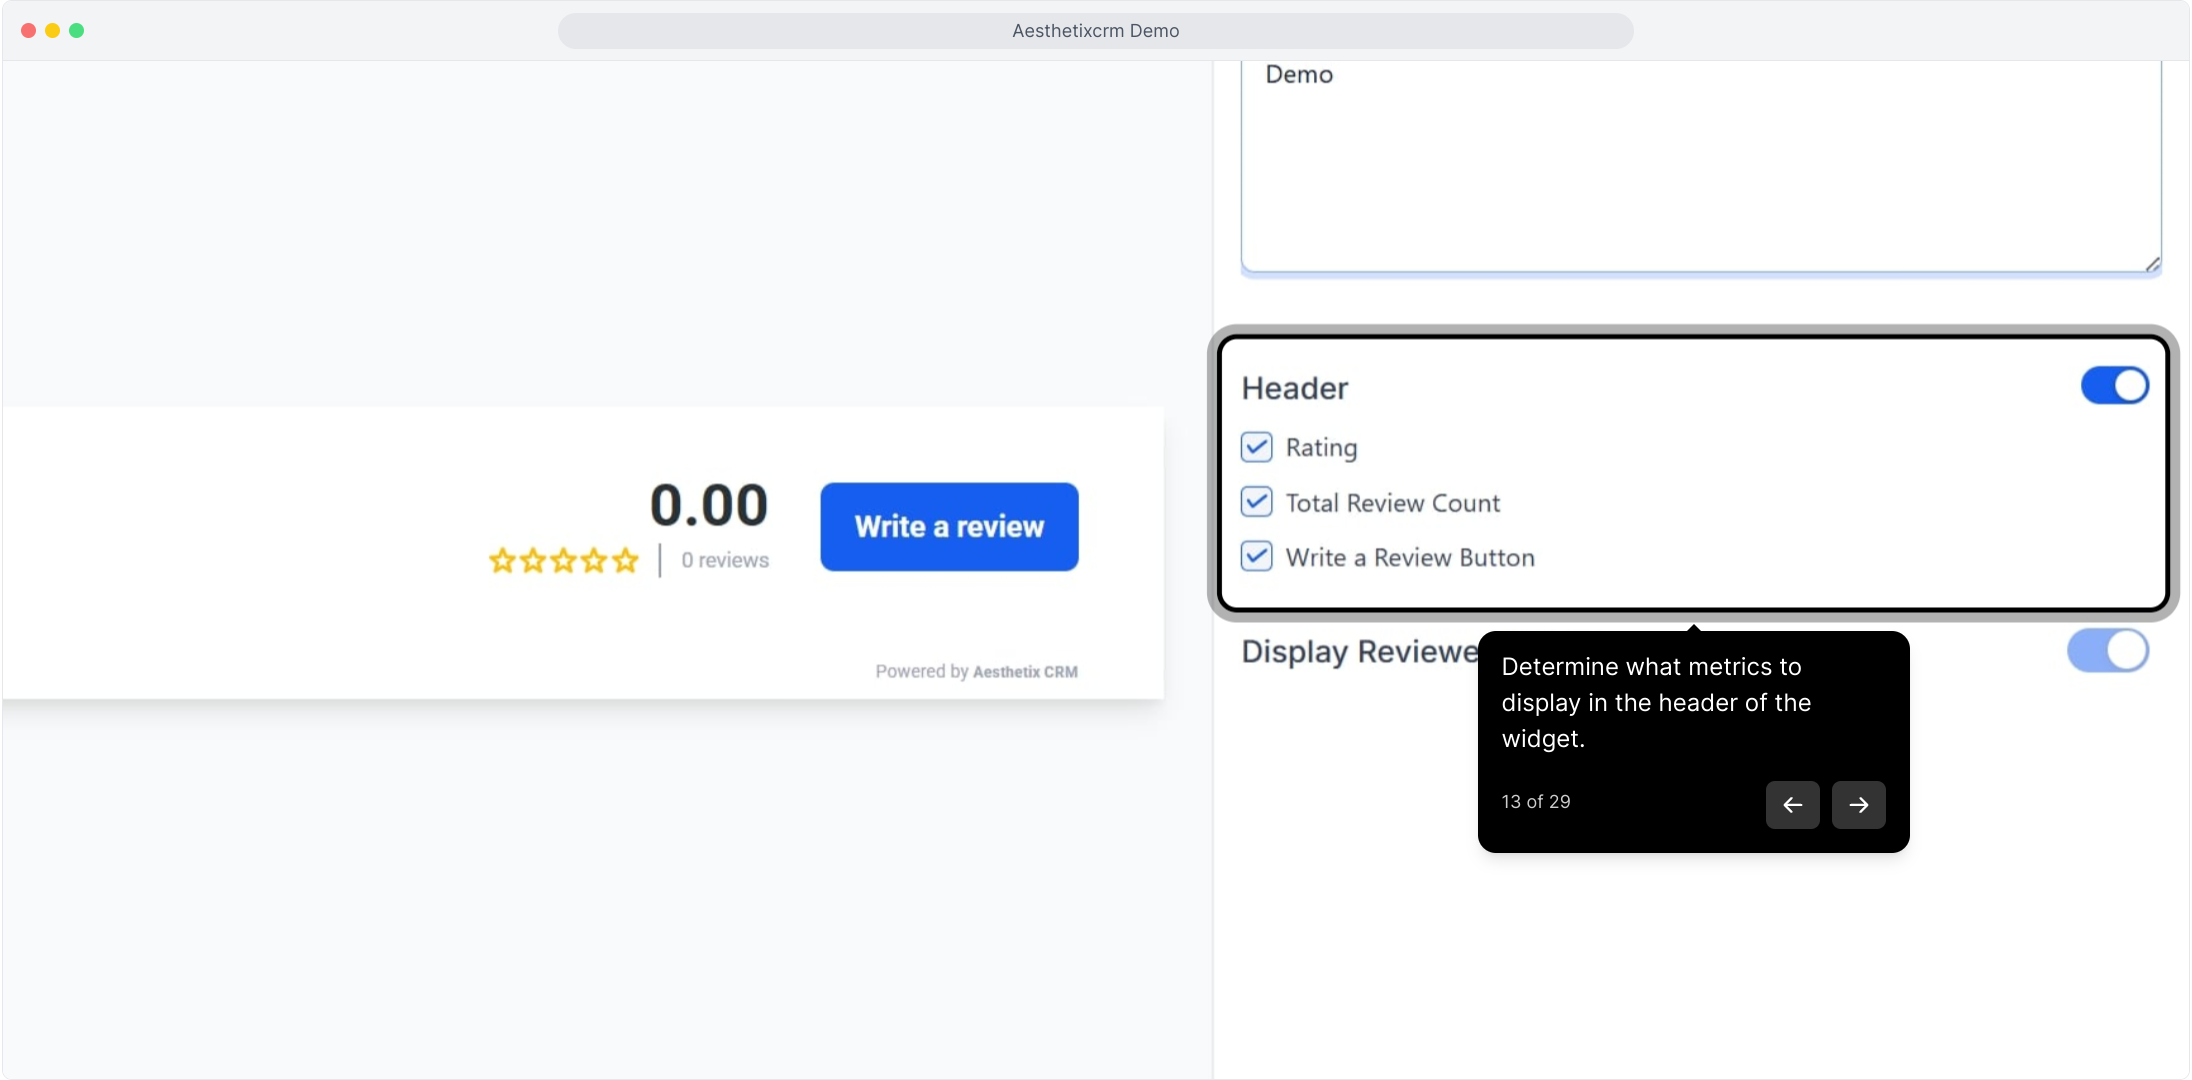
The summary controls how your overall rating and review counts appear at the top of the widget.
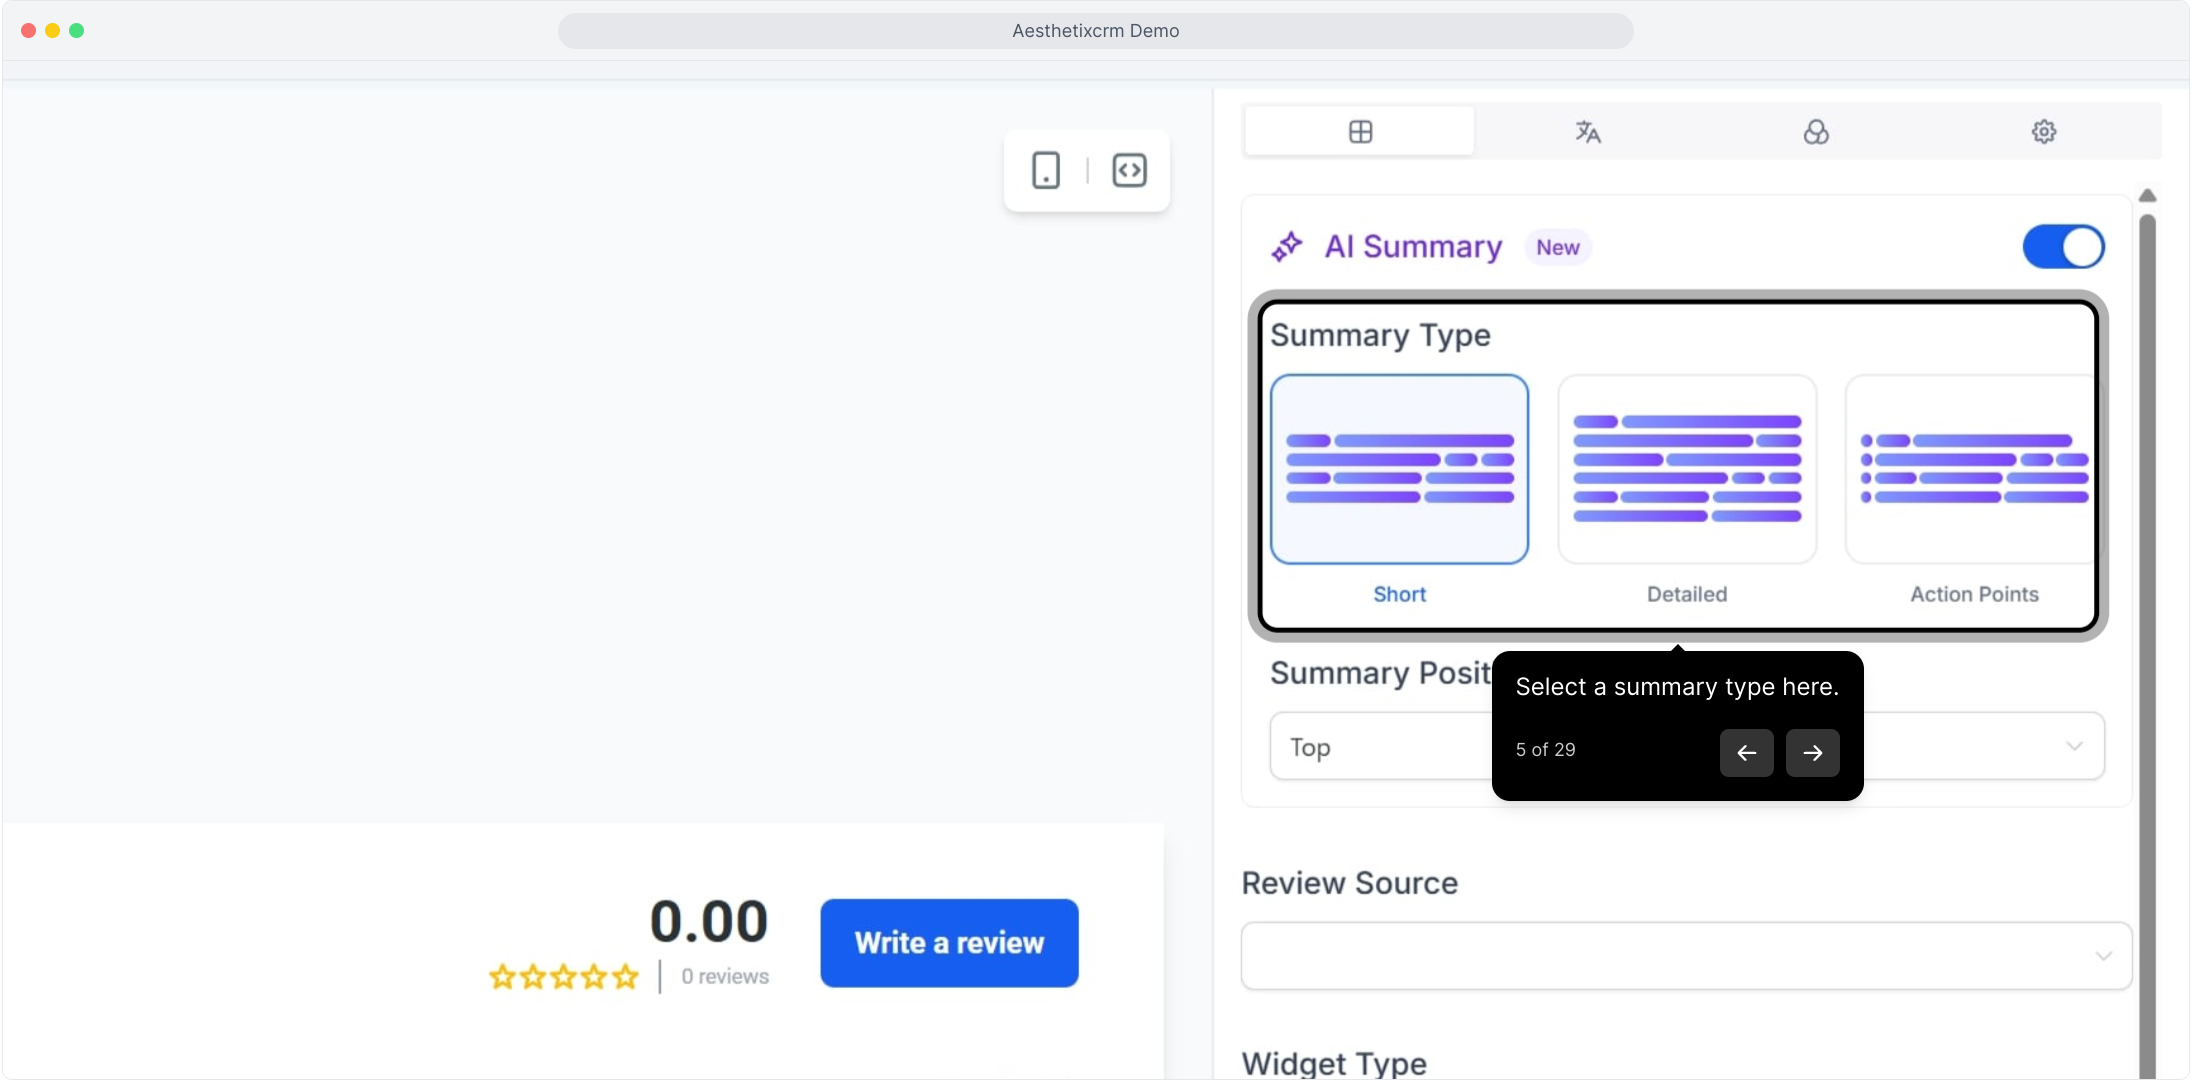
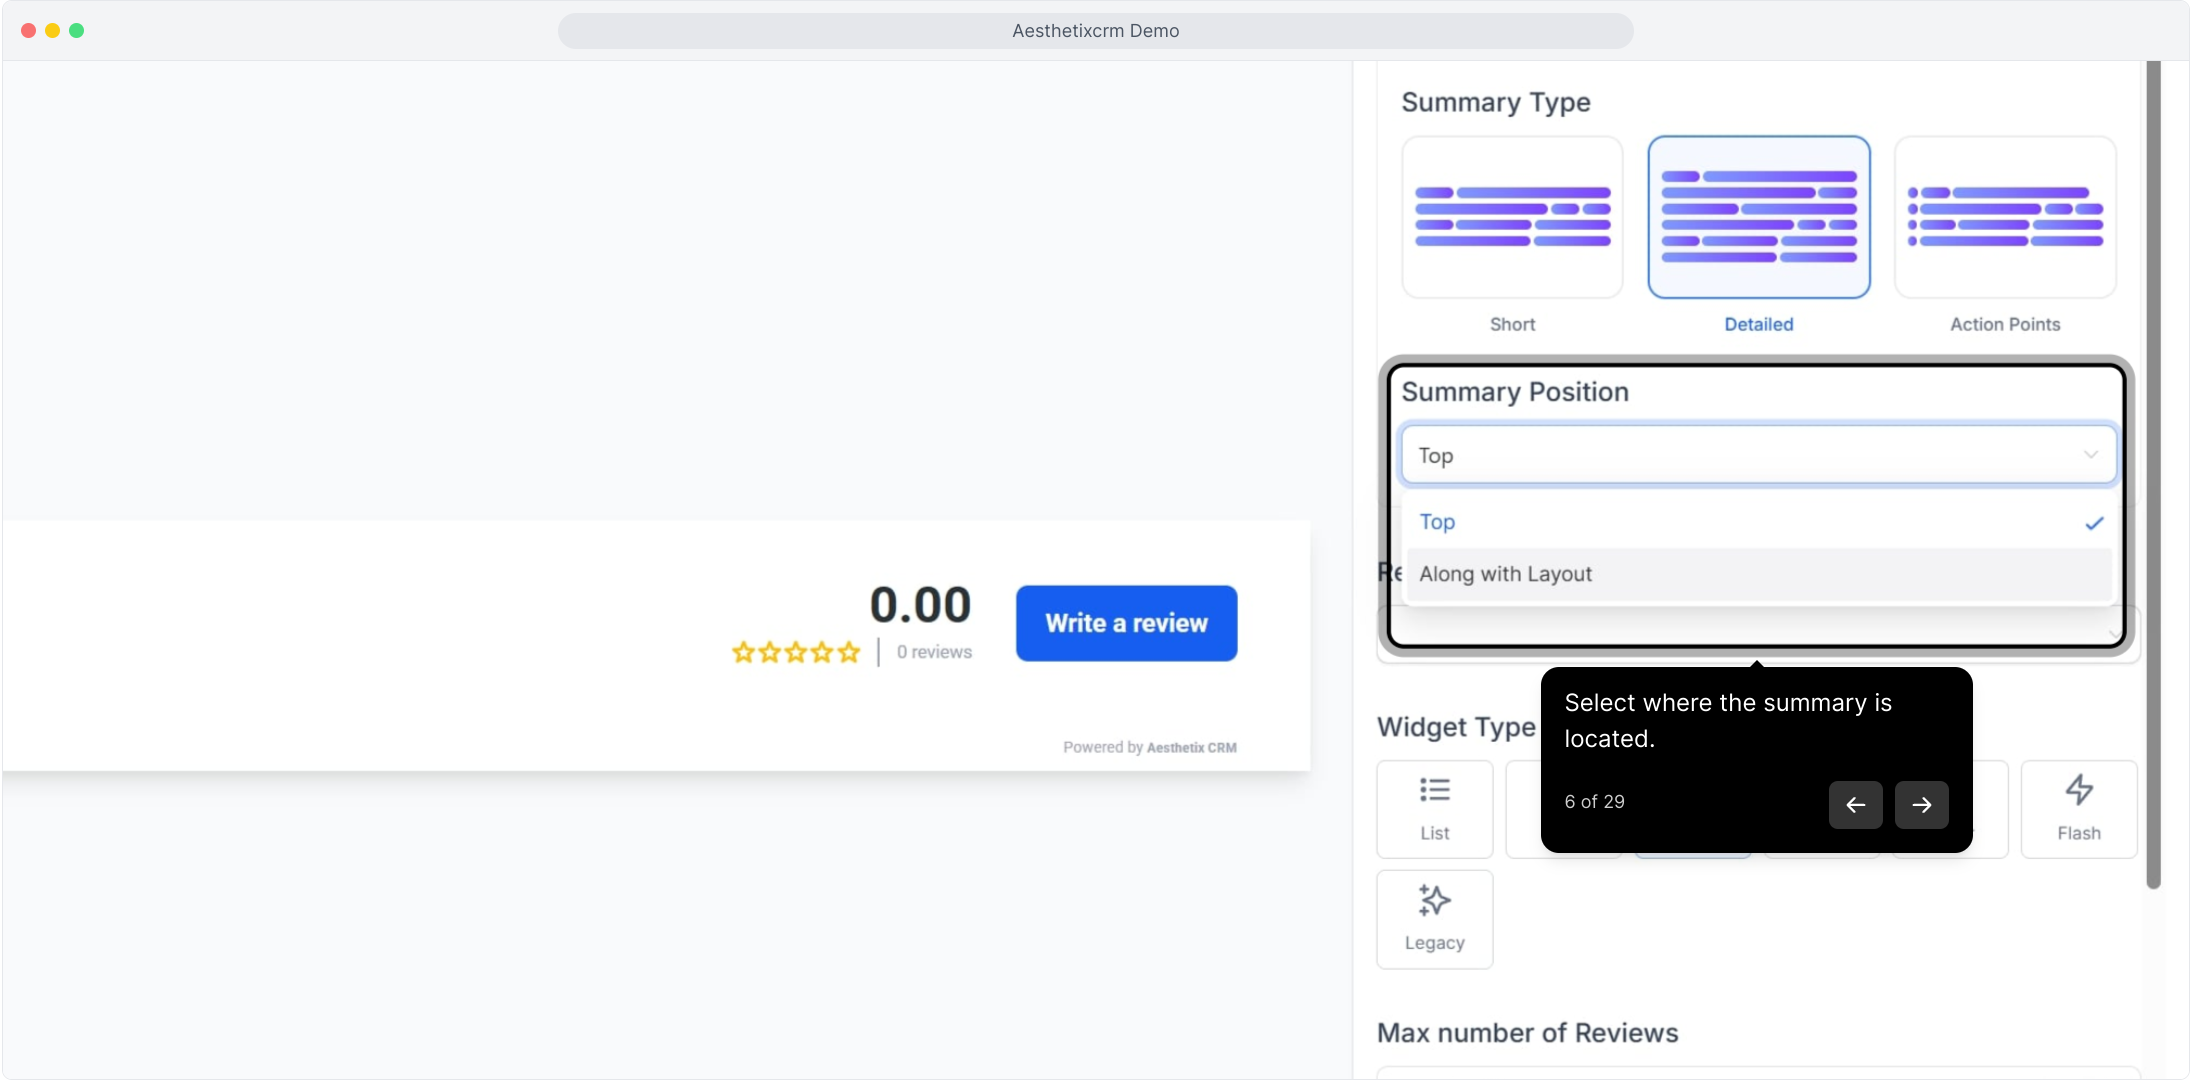
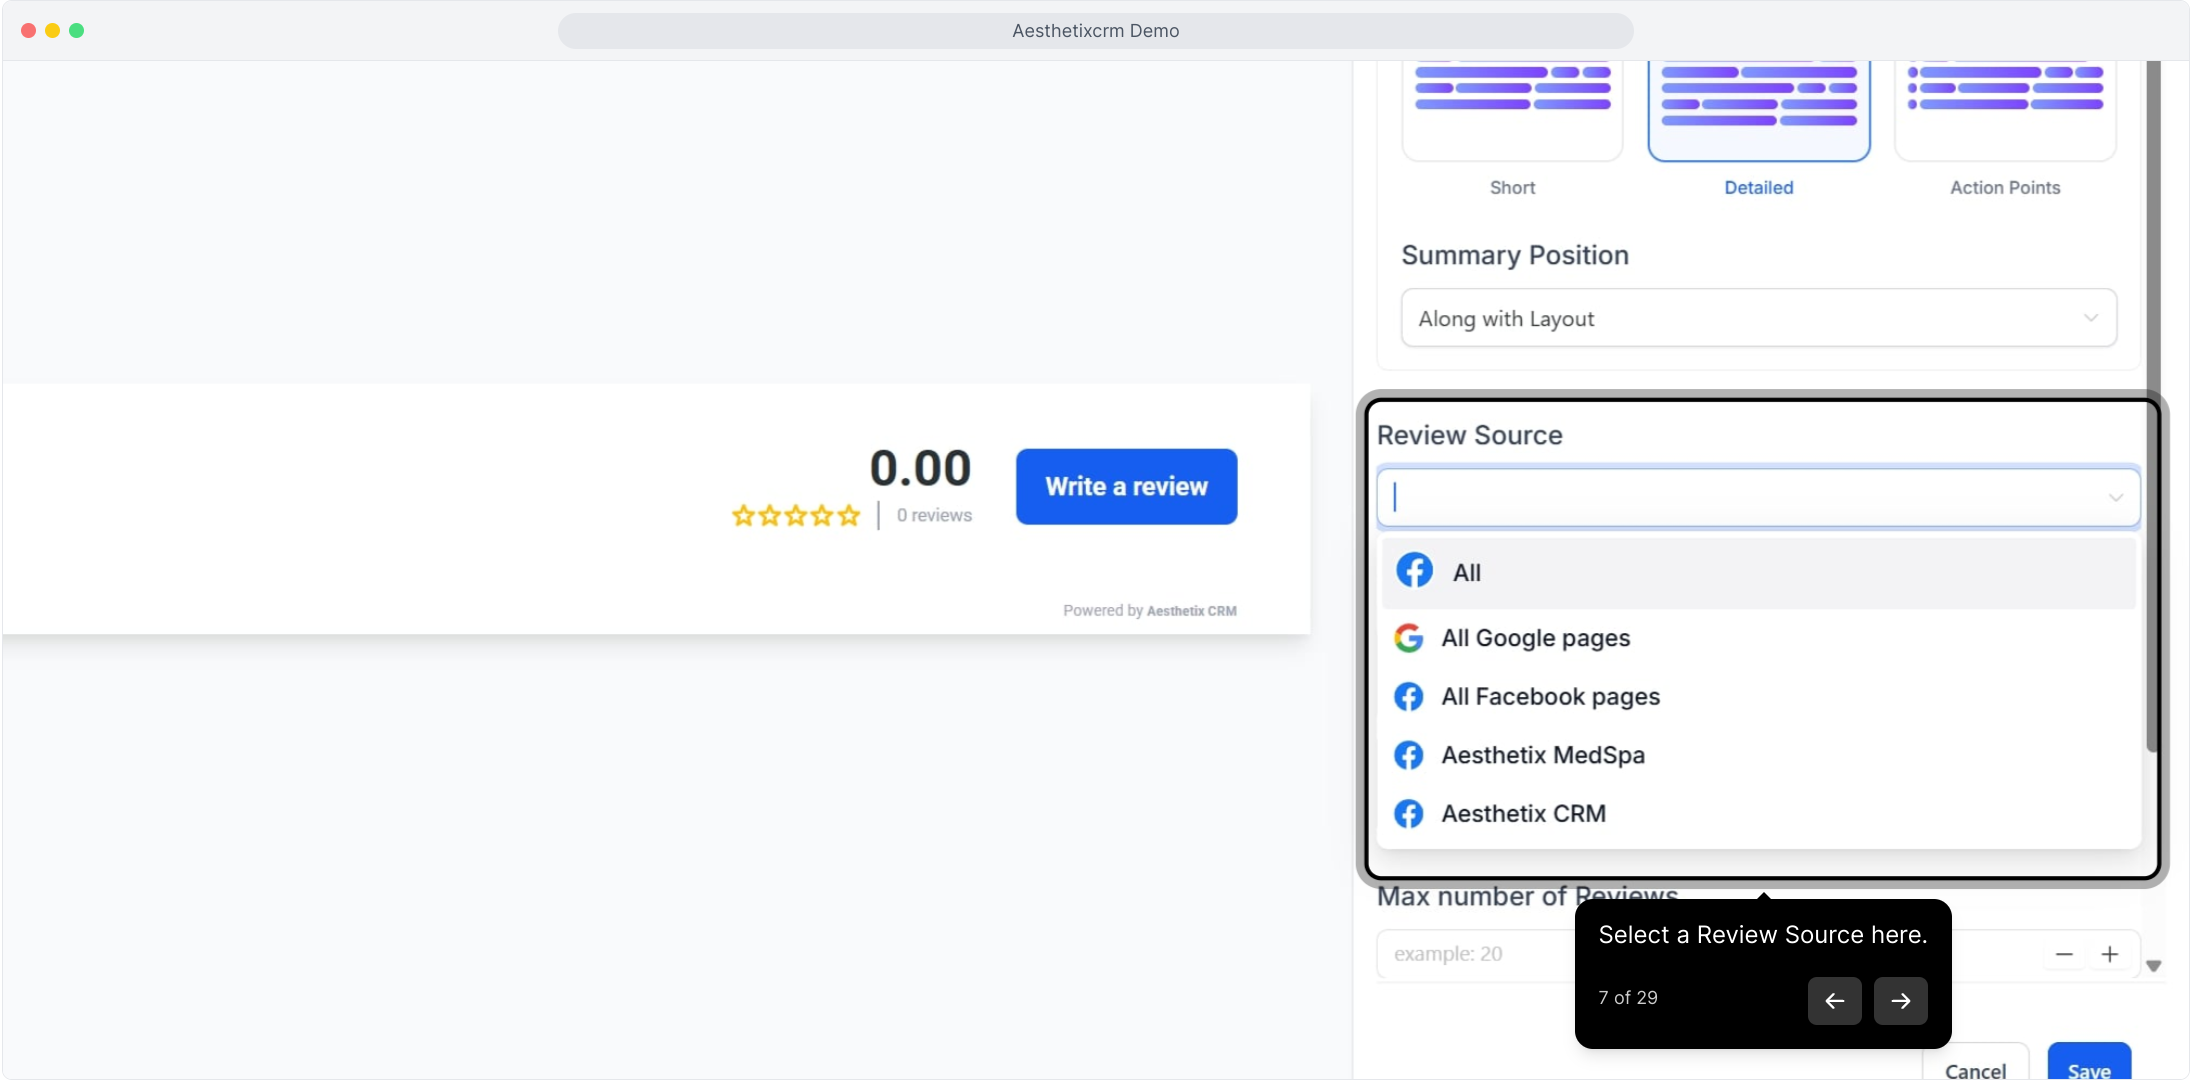
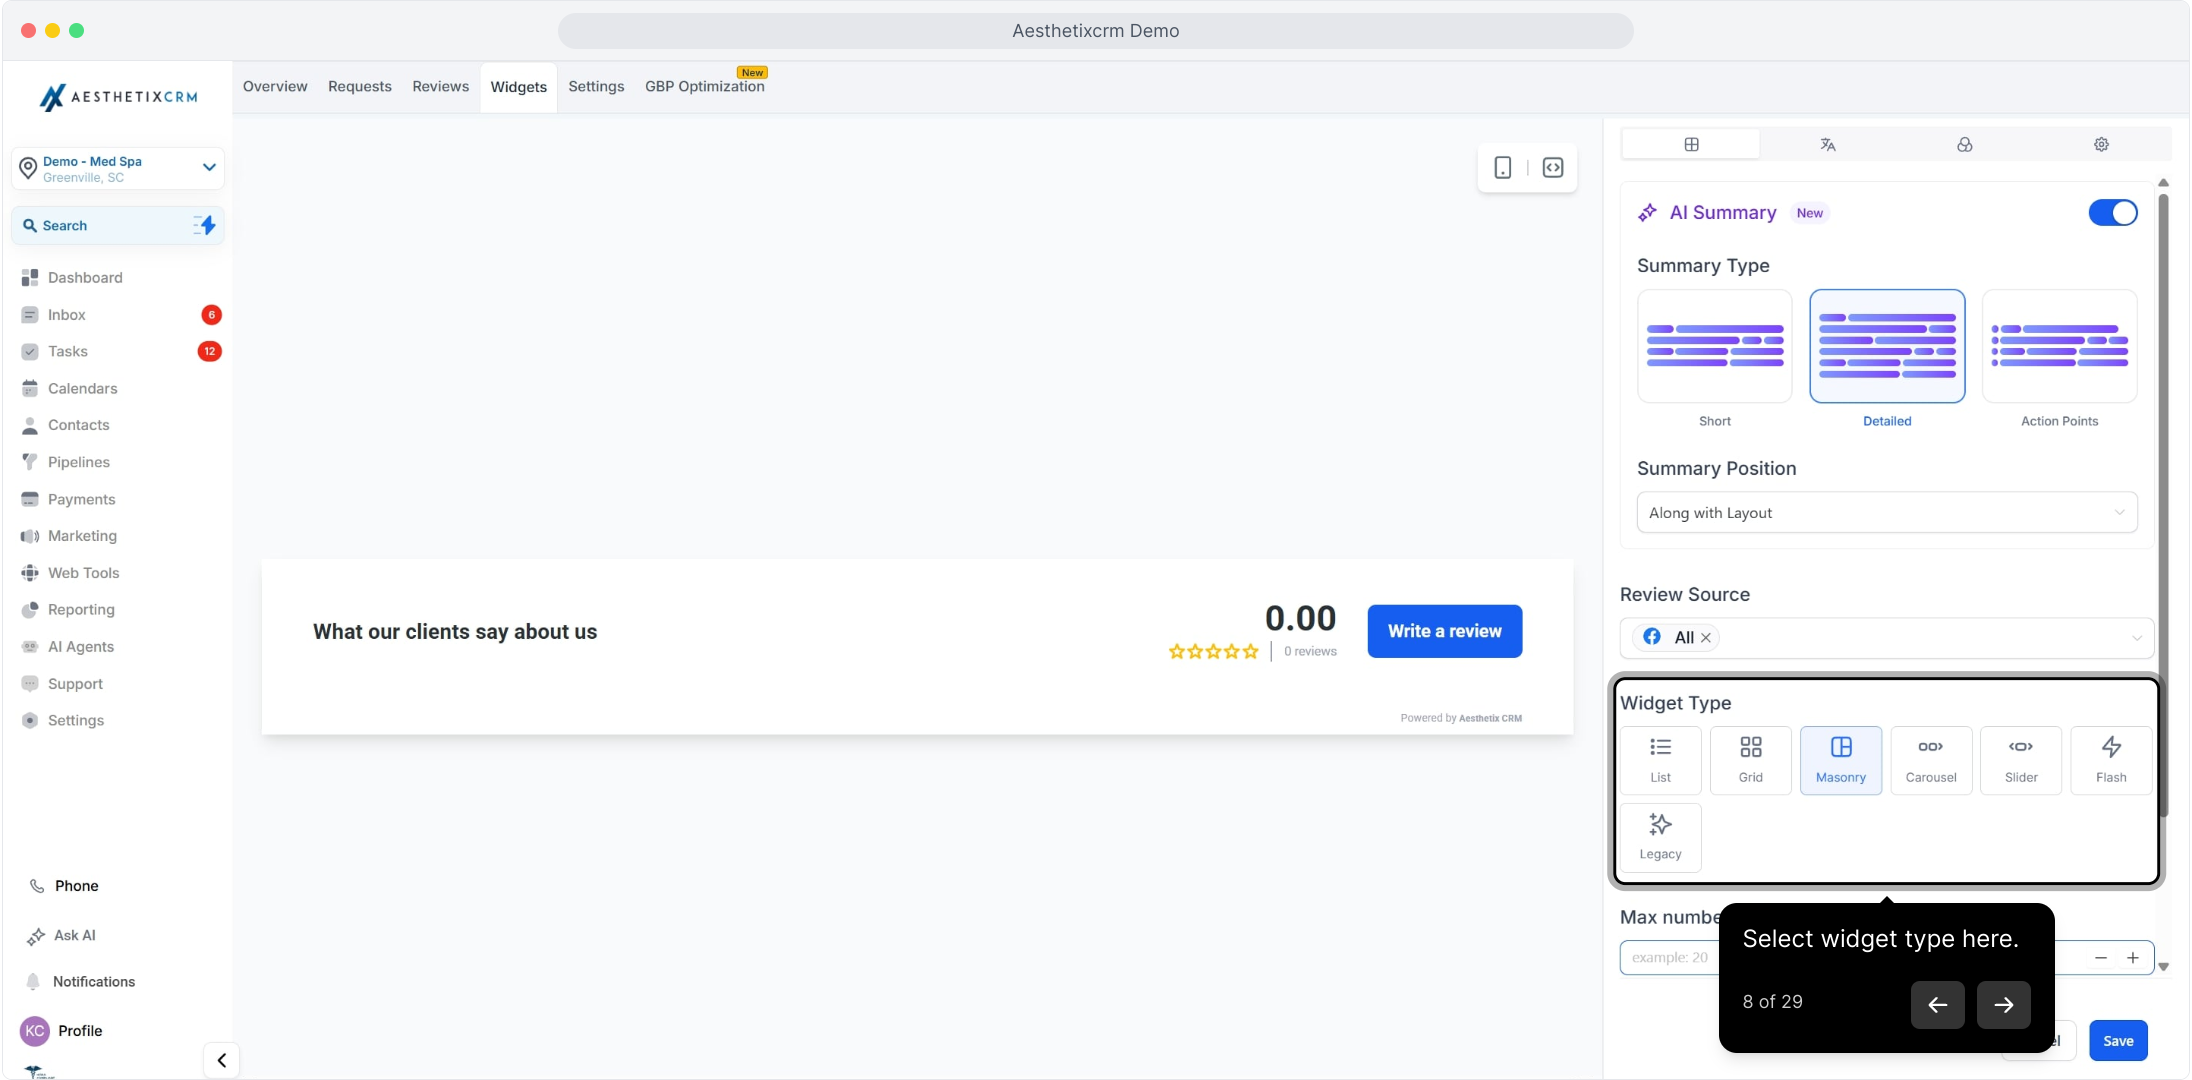
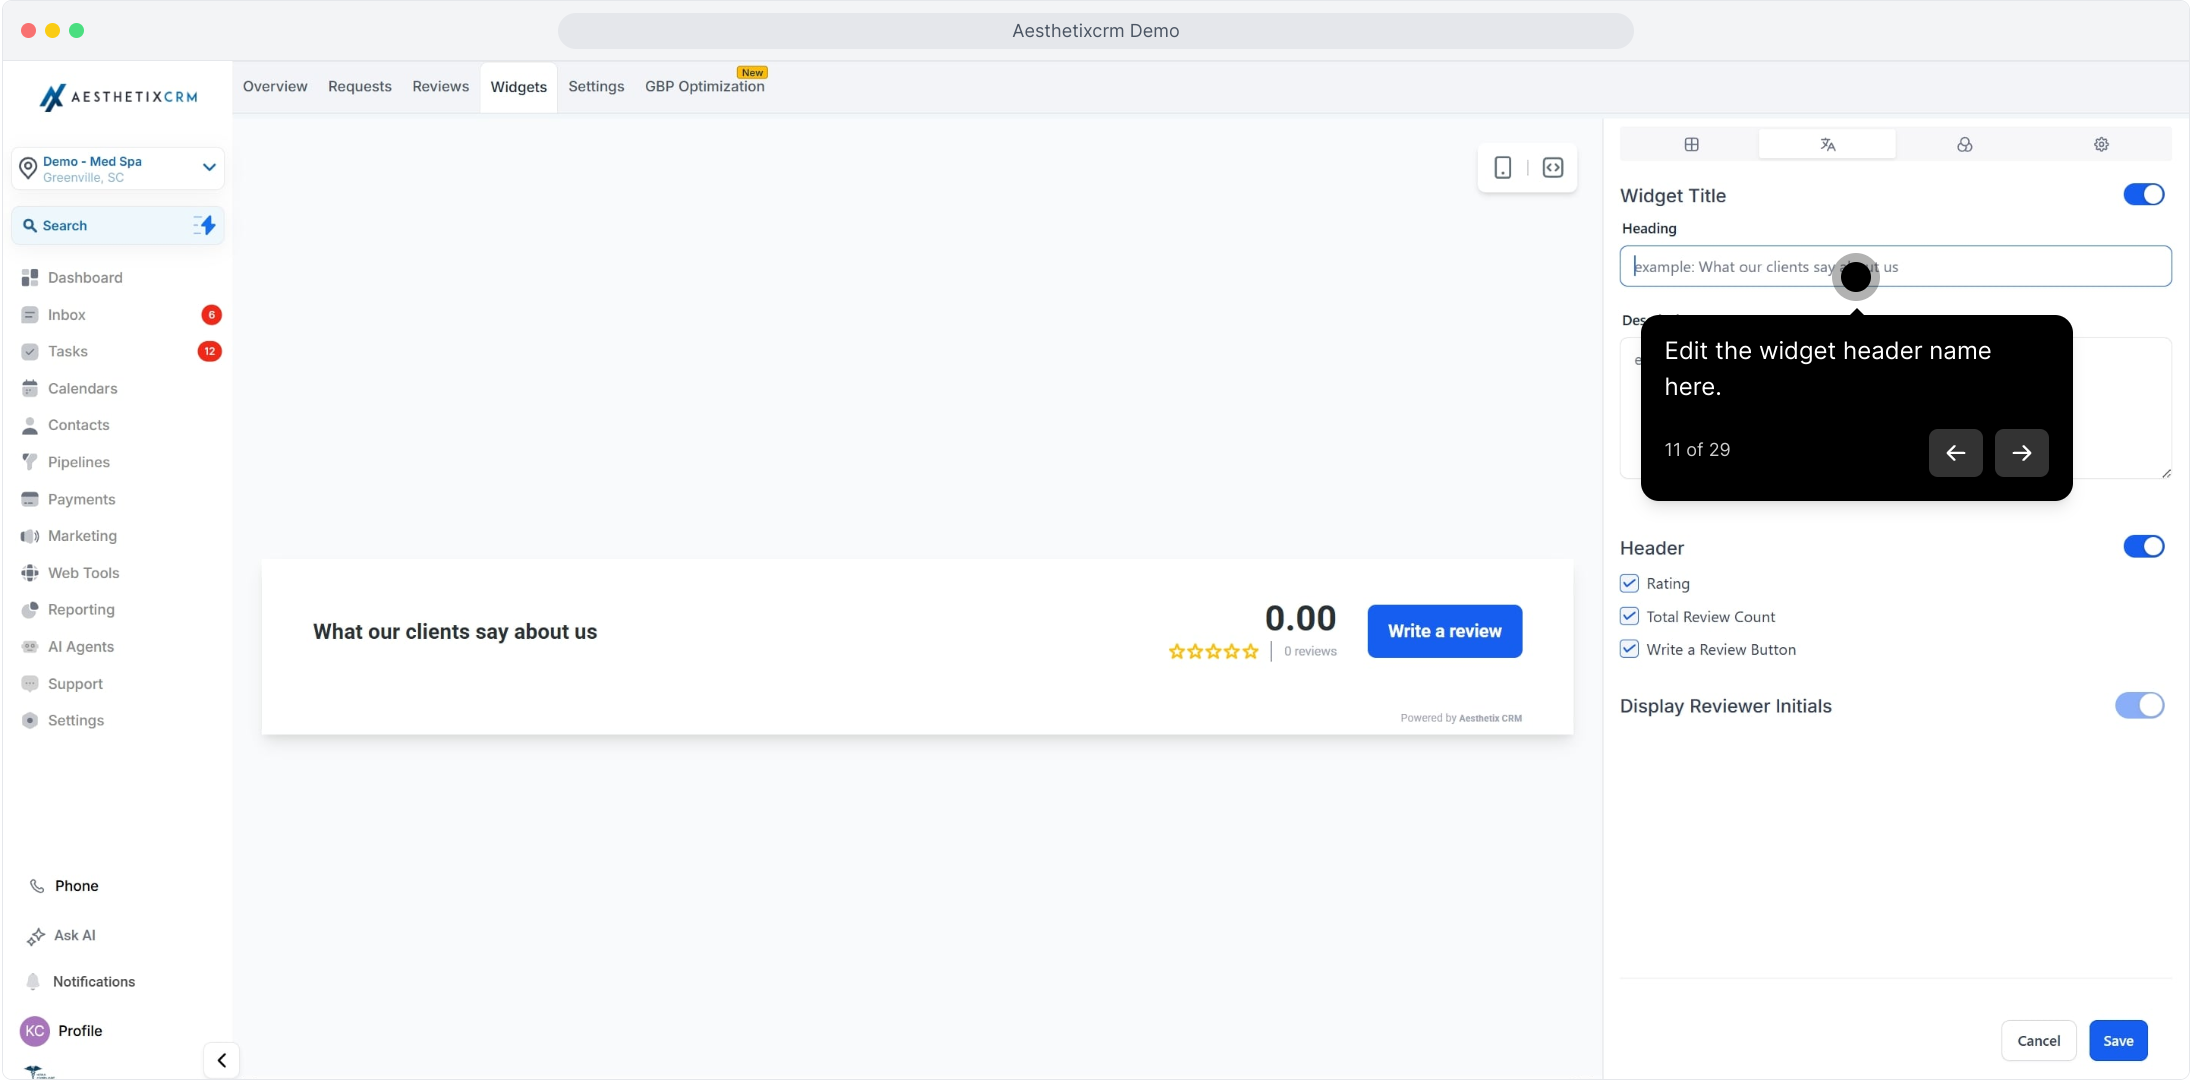
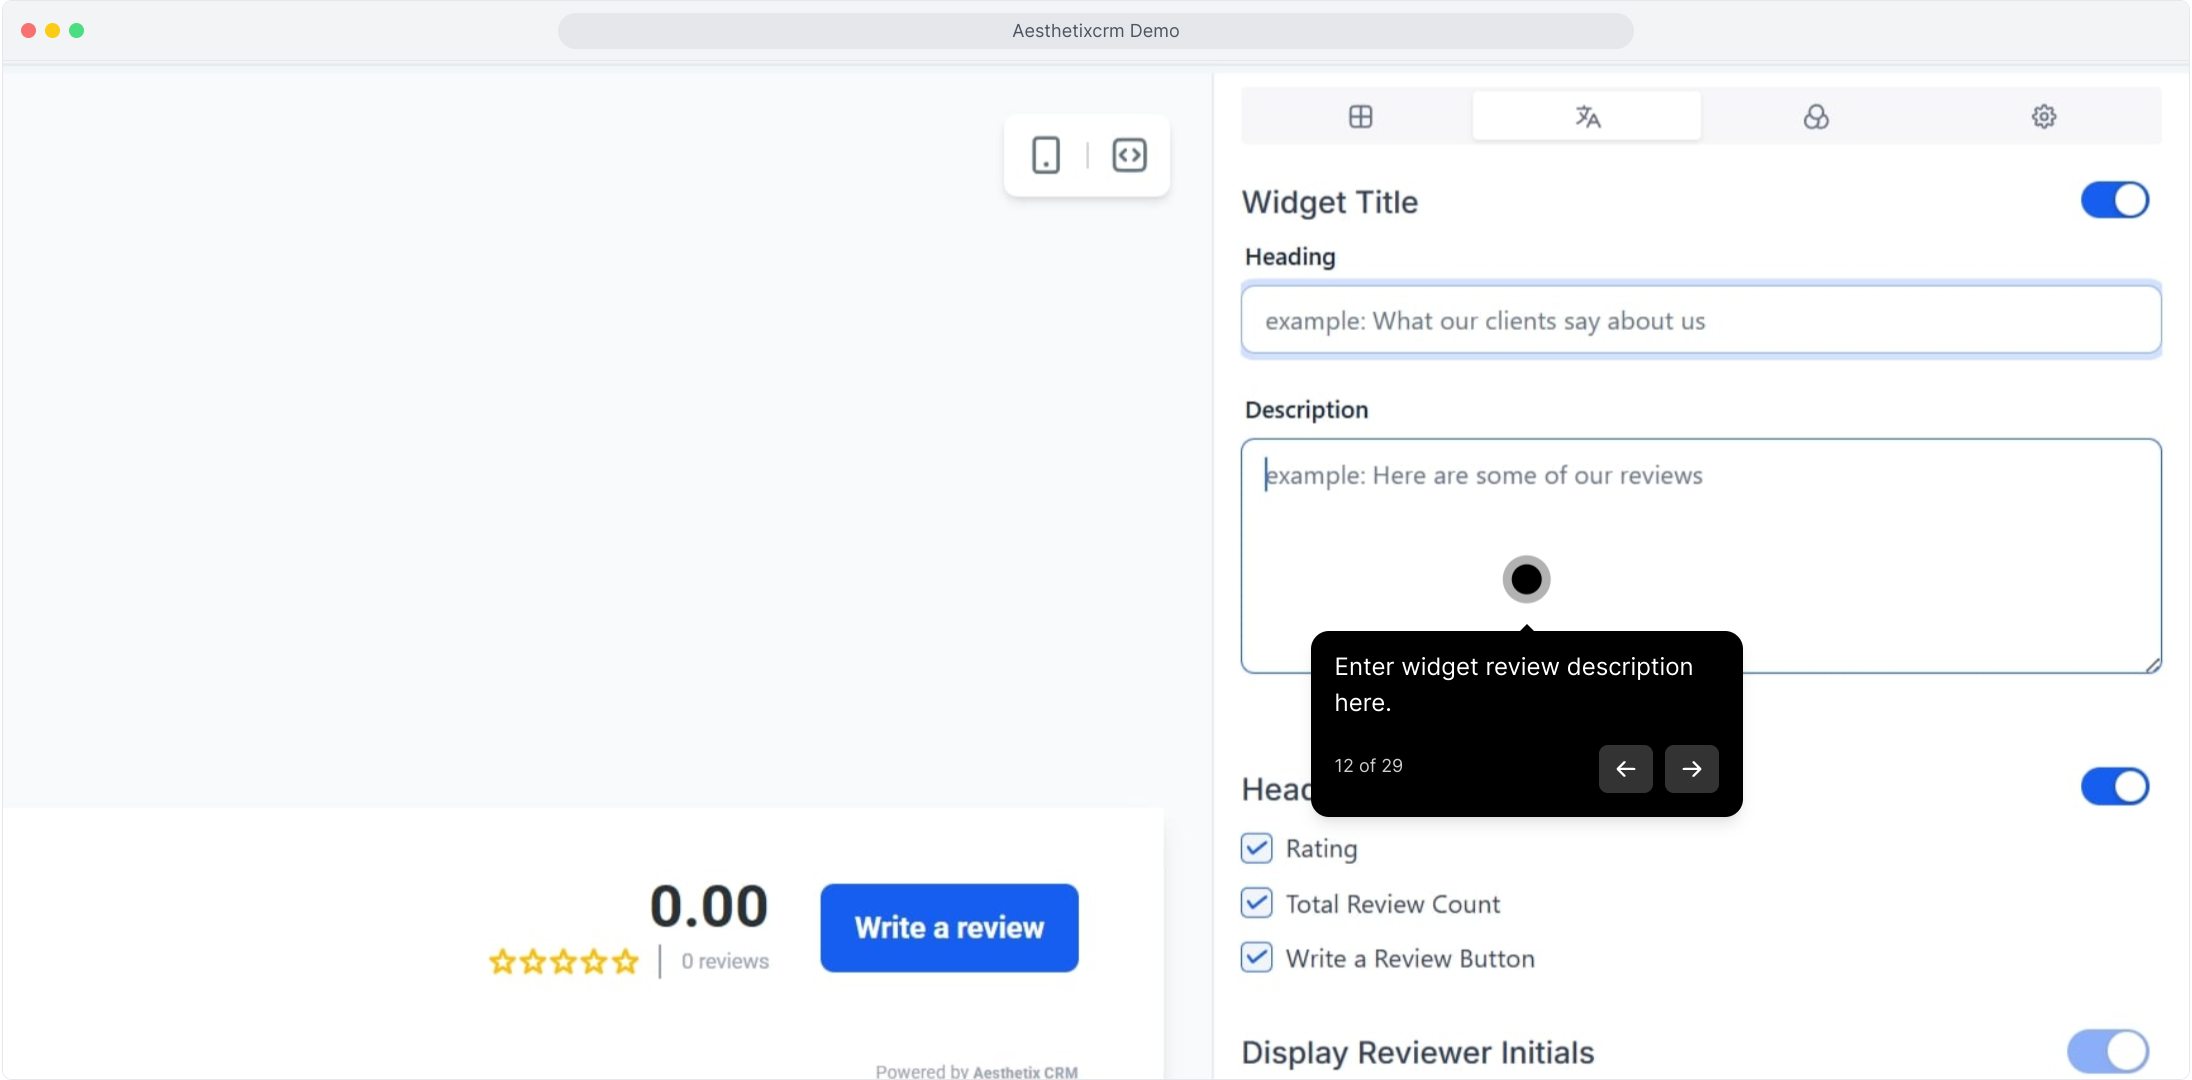
Give the widget a heading and description that fits your practice's voice.
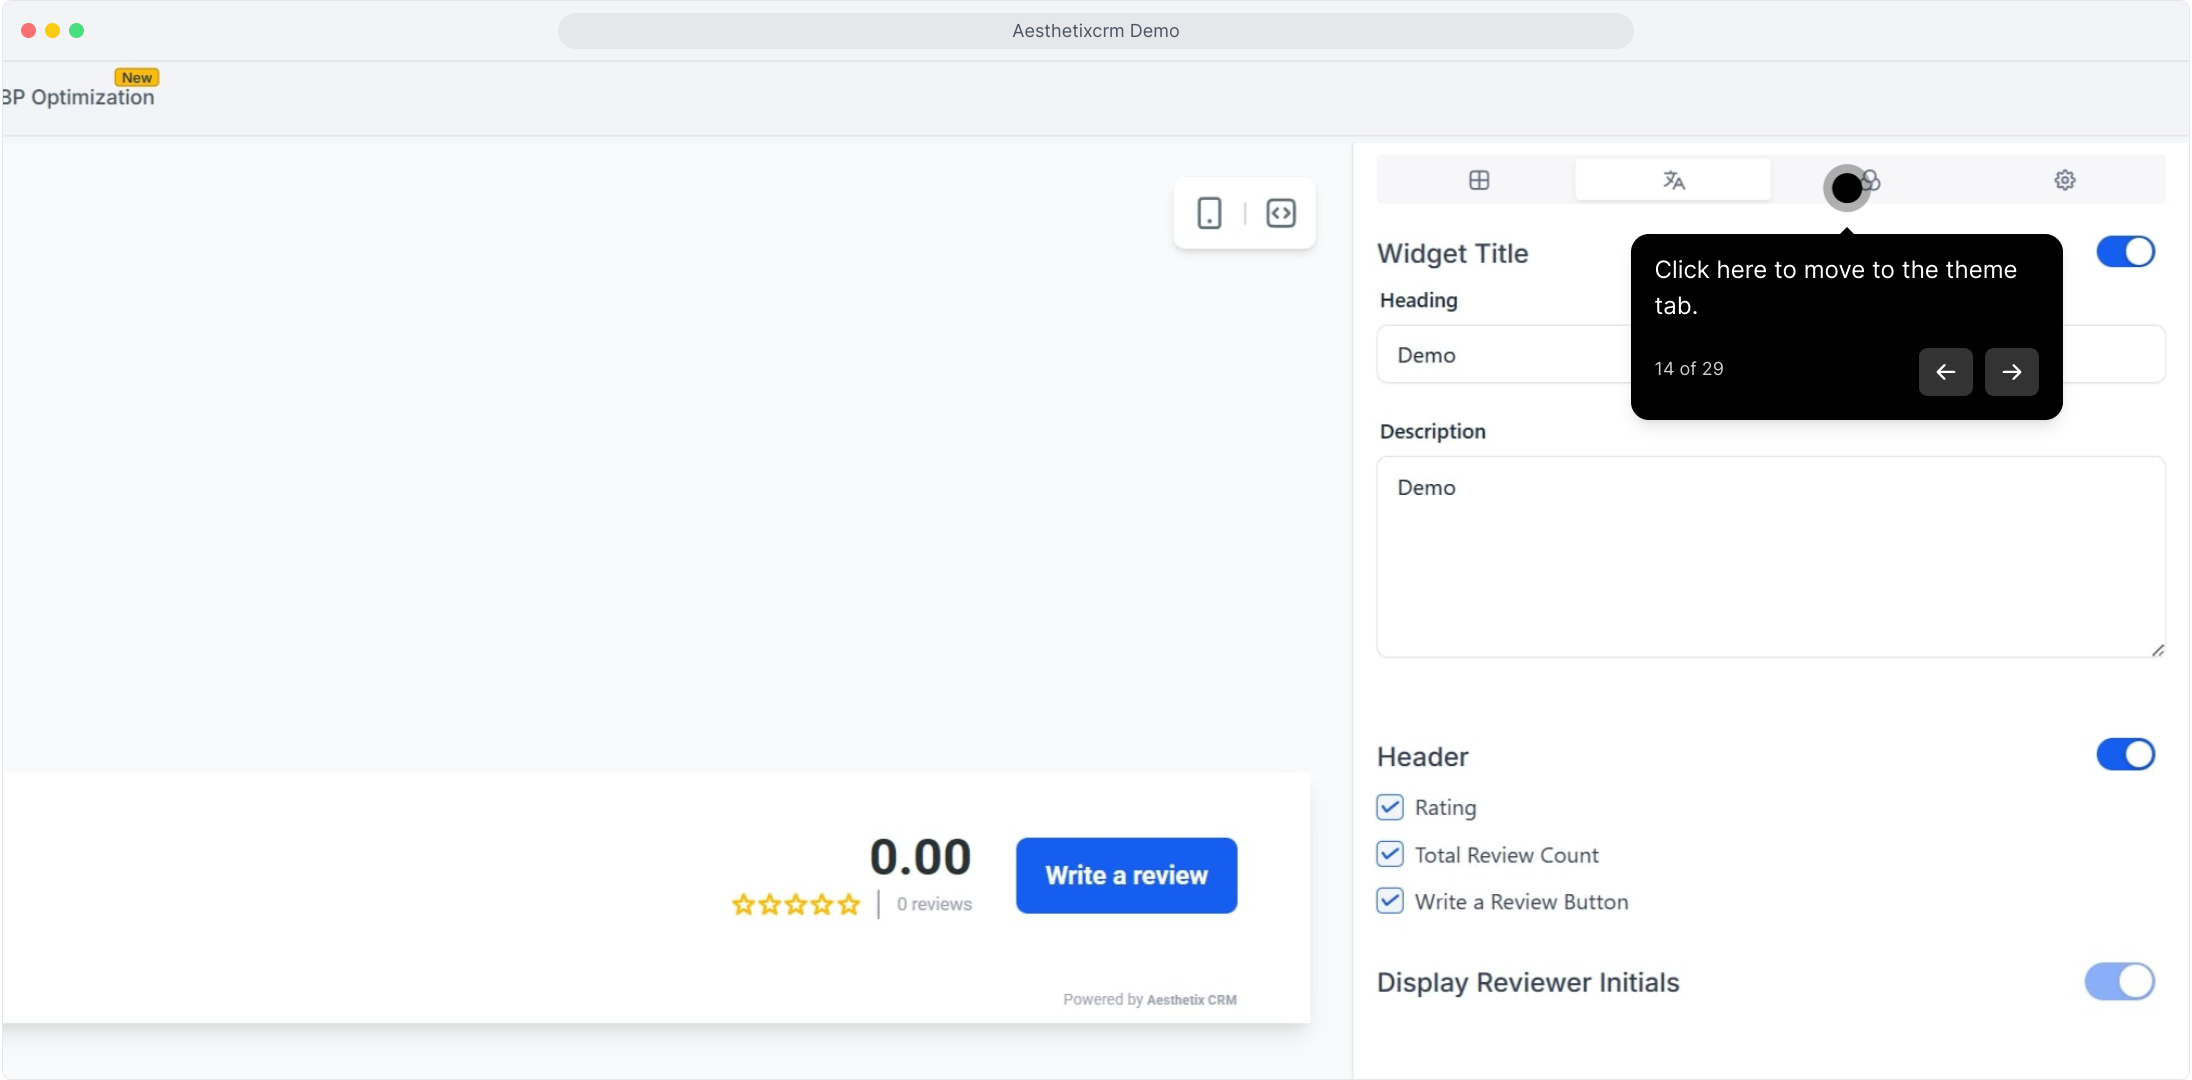
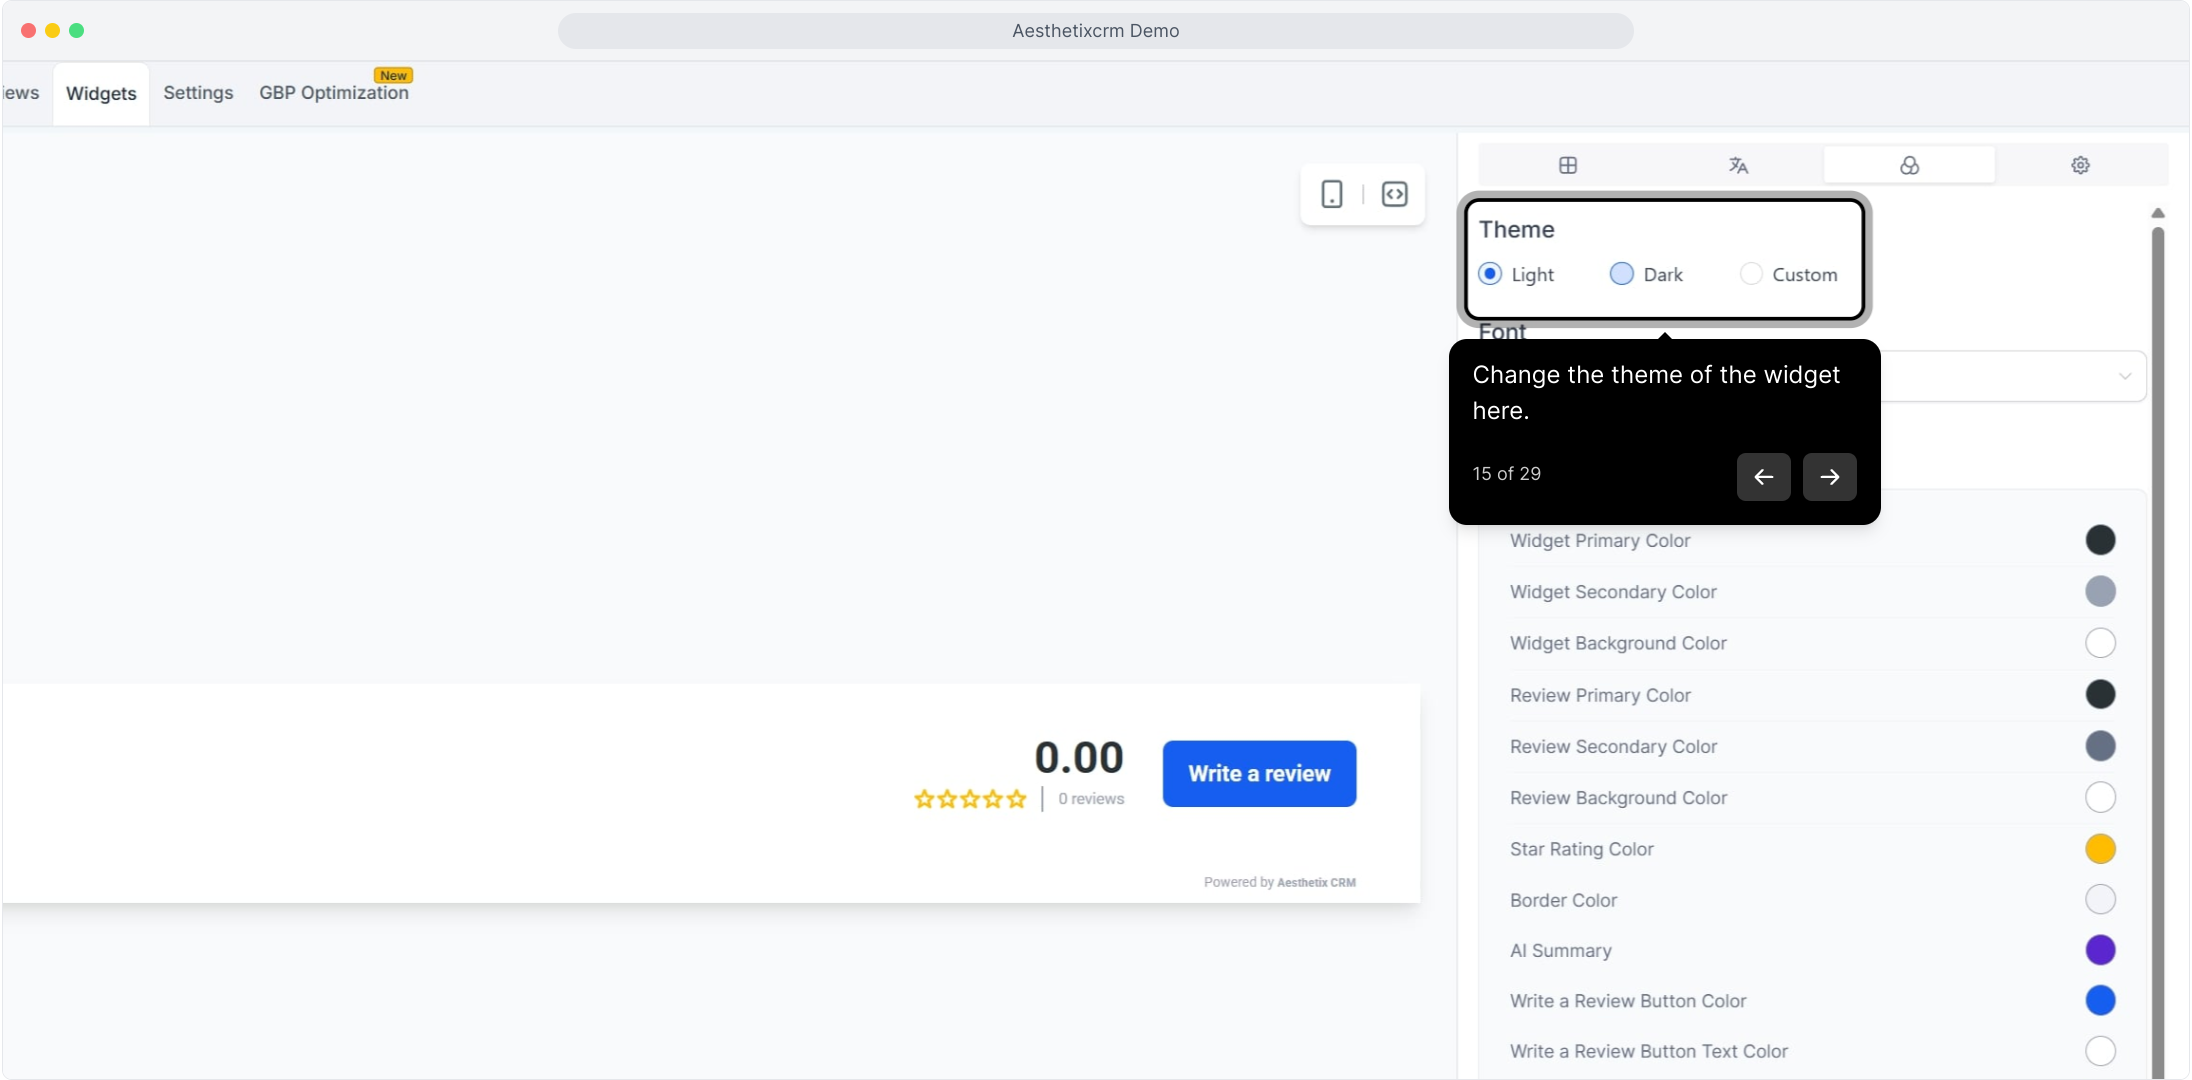
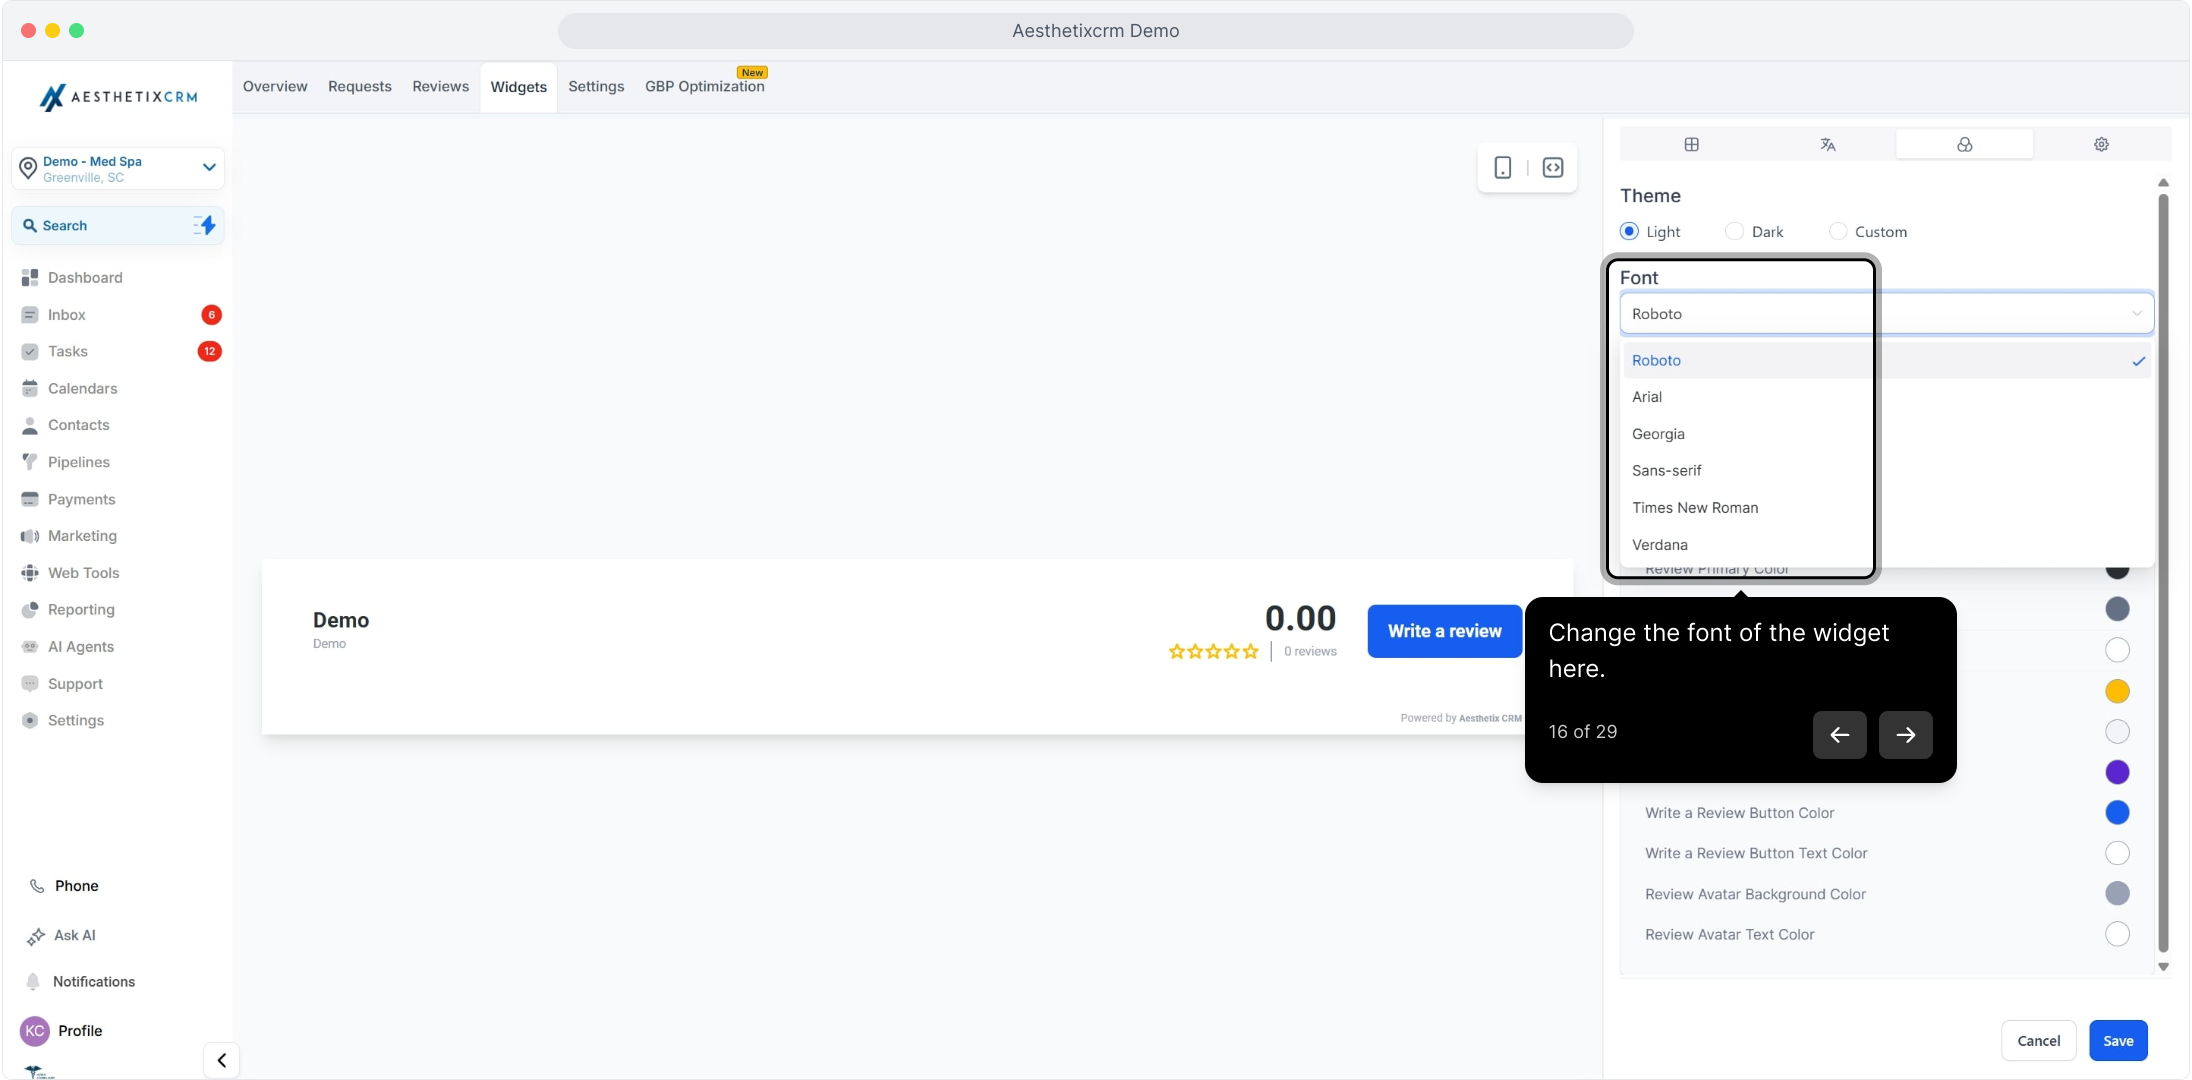
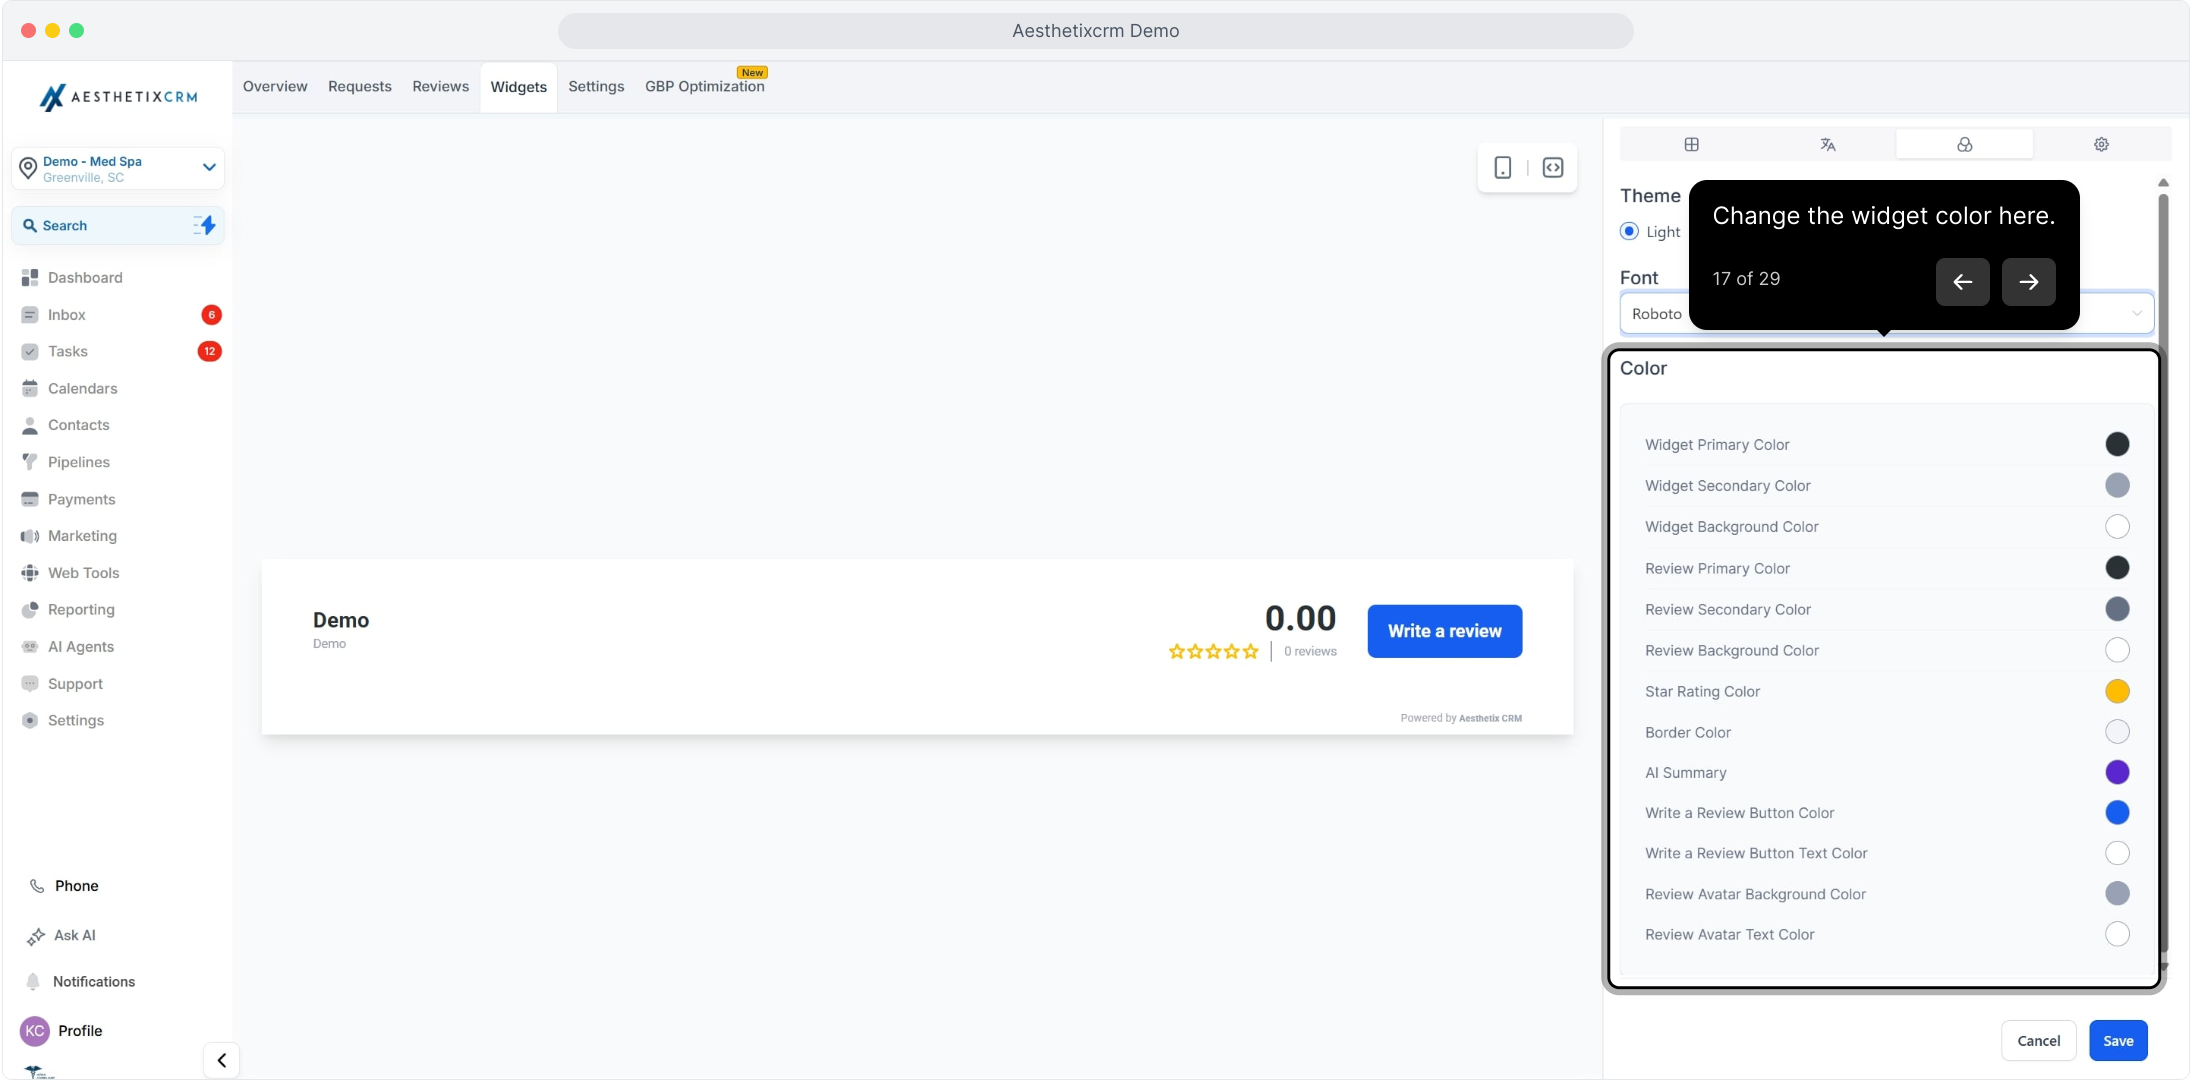
Match the widget's look to your website's branding using the Theme tab.
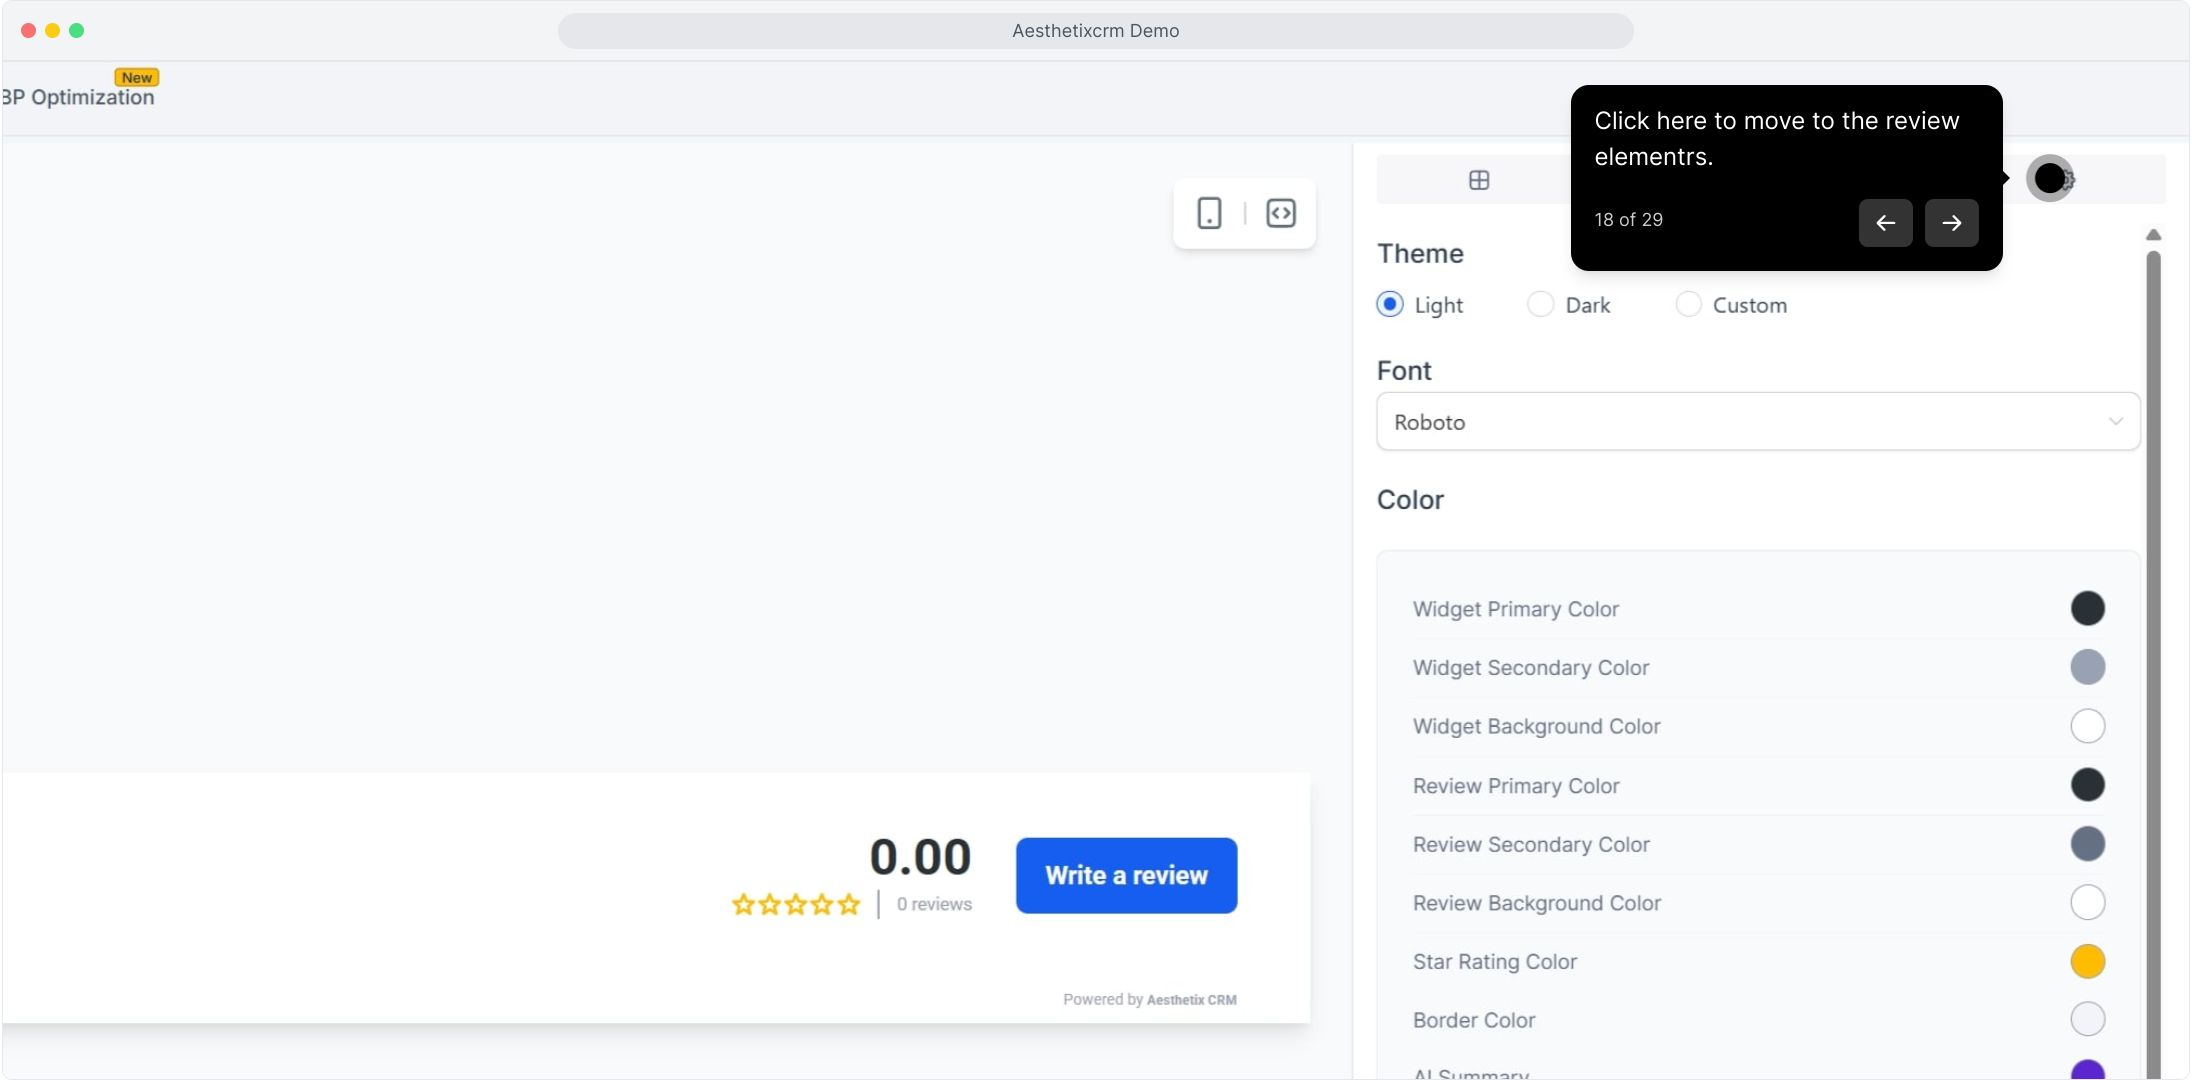
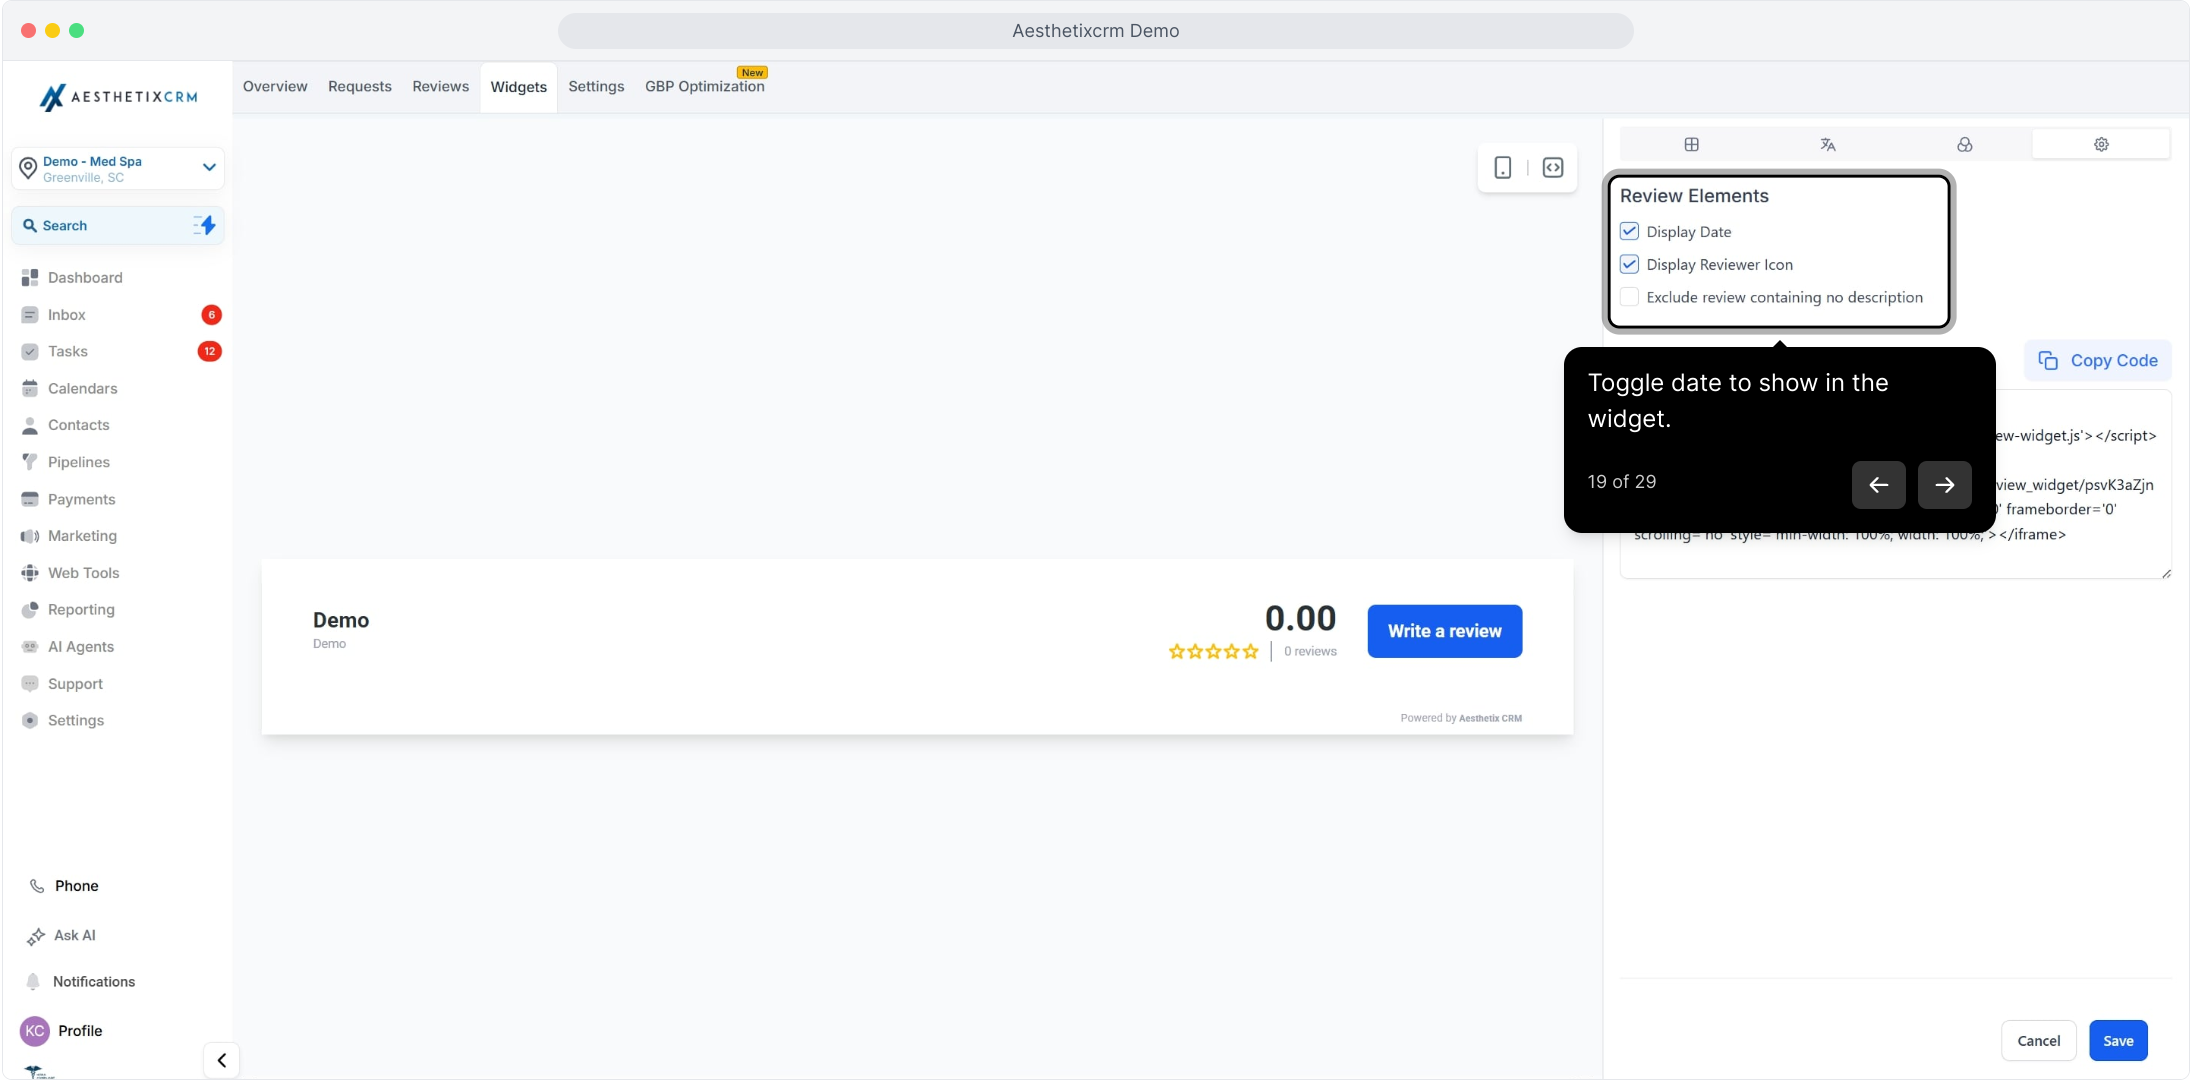
Fine-tune what appears on each individual review card.
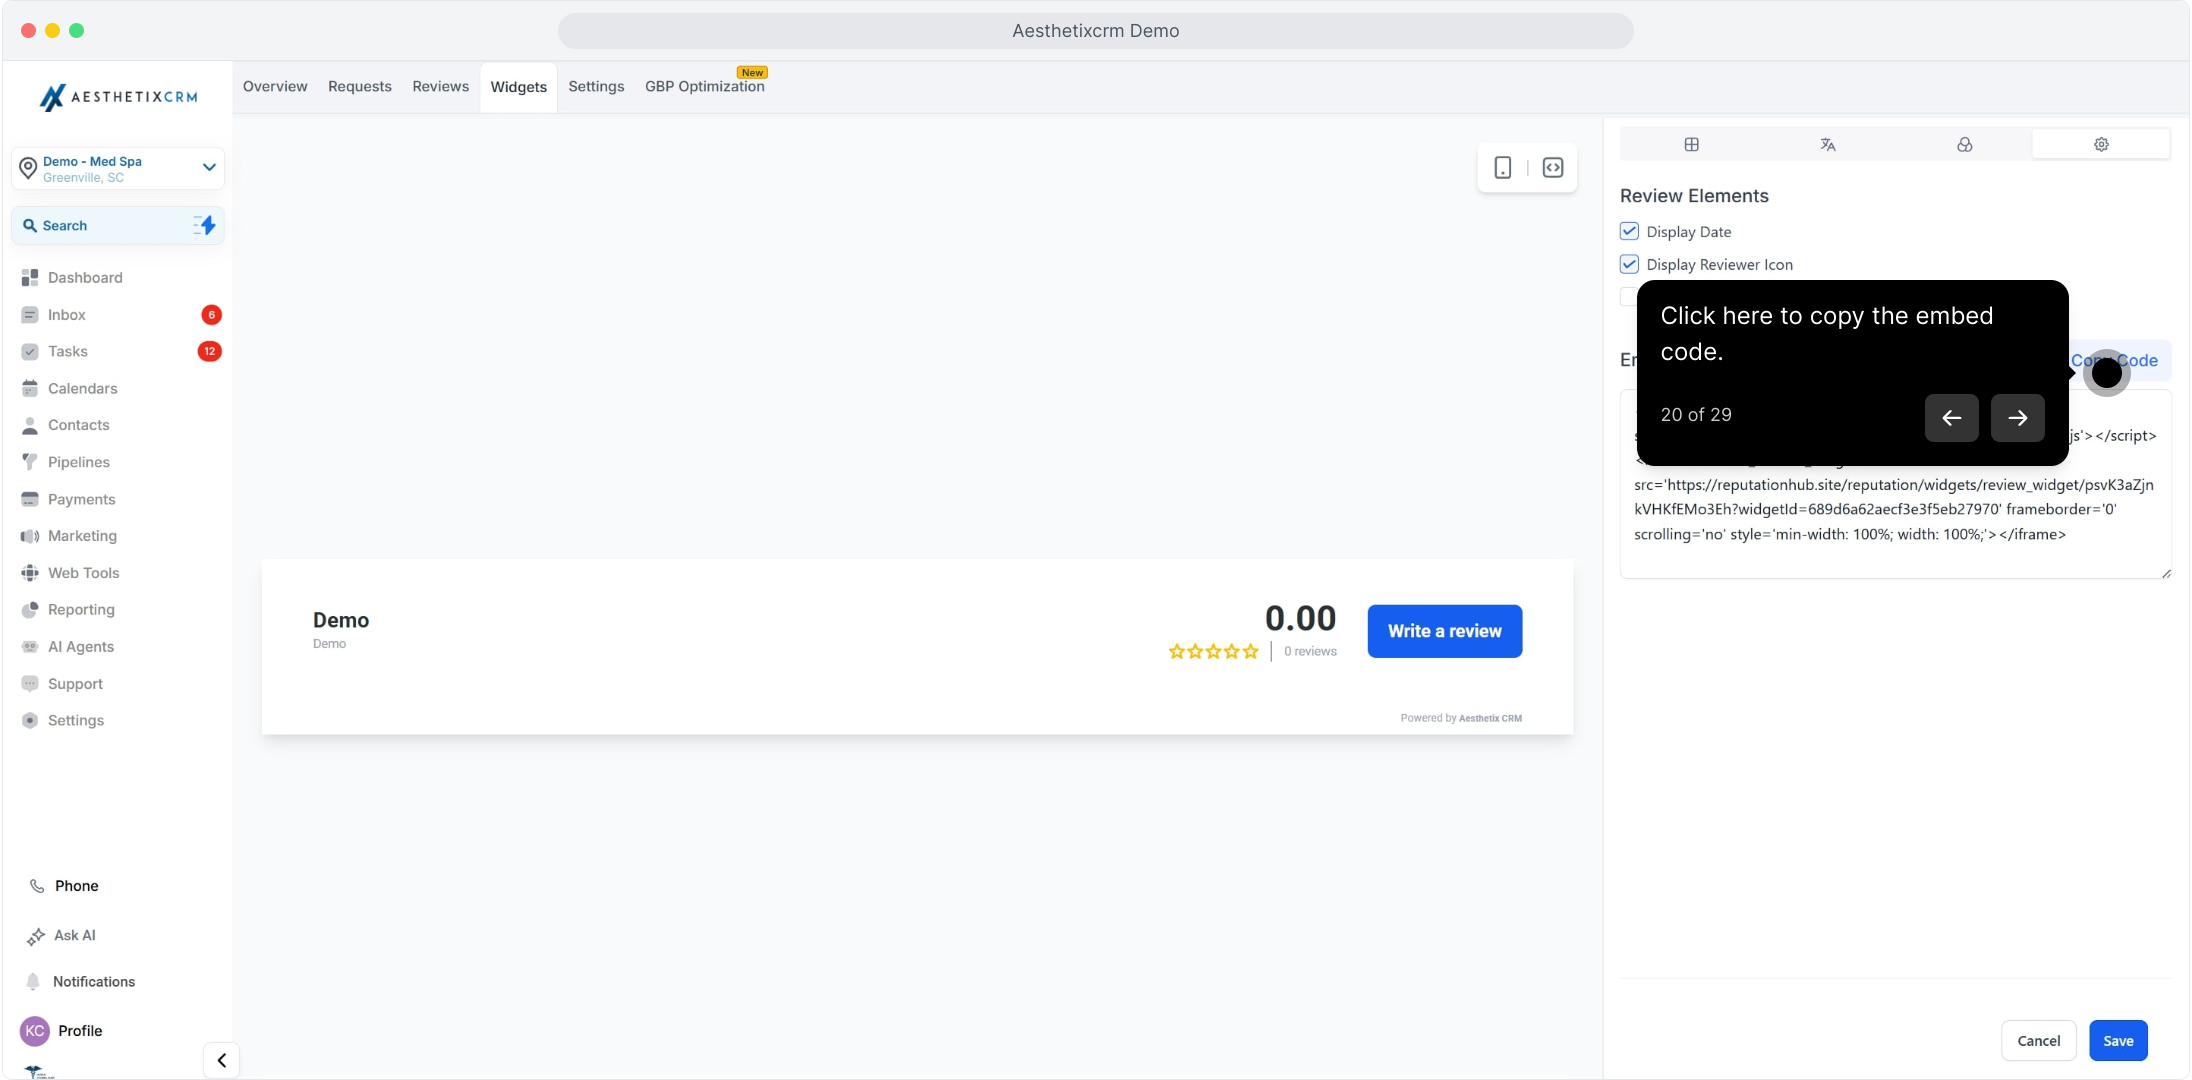
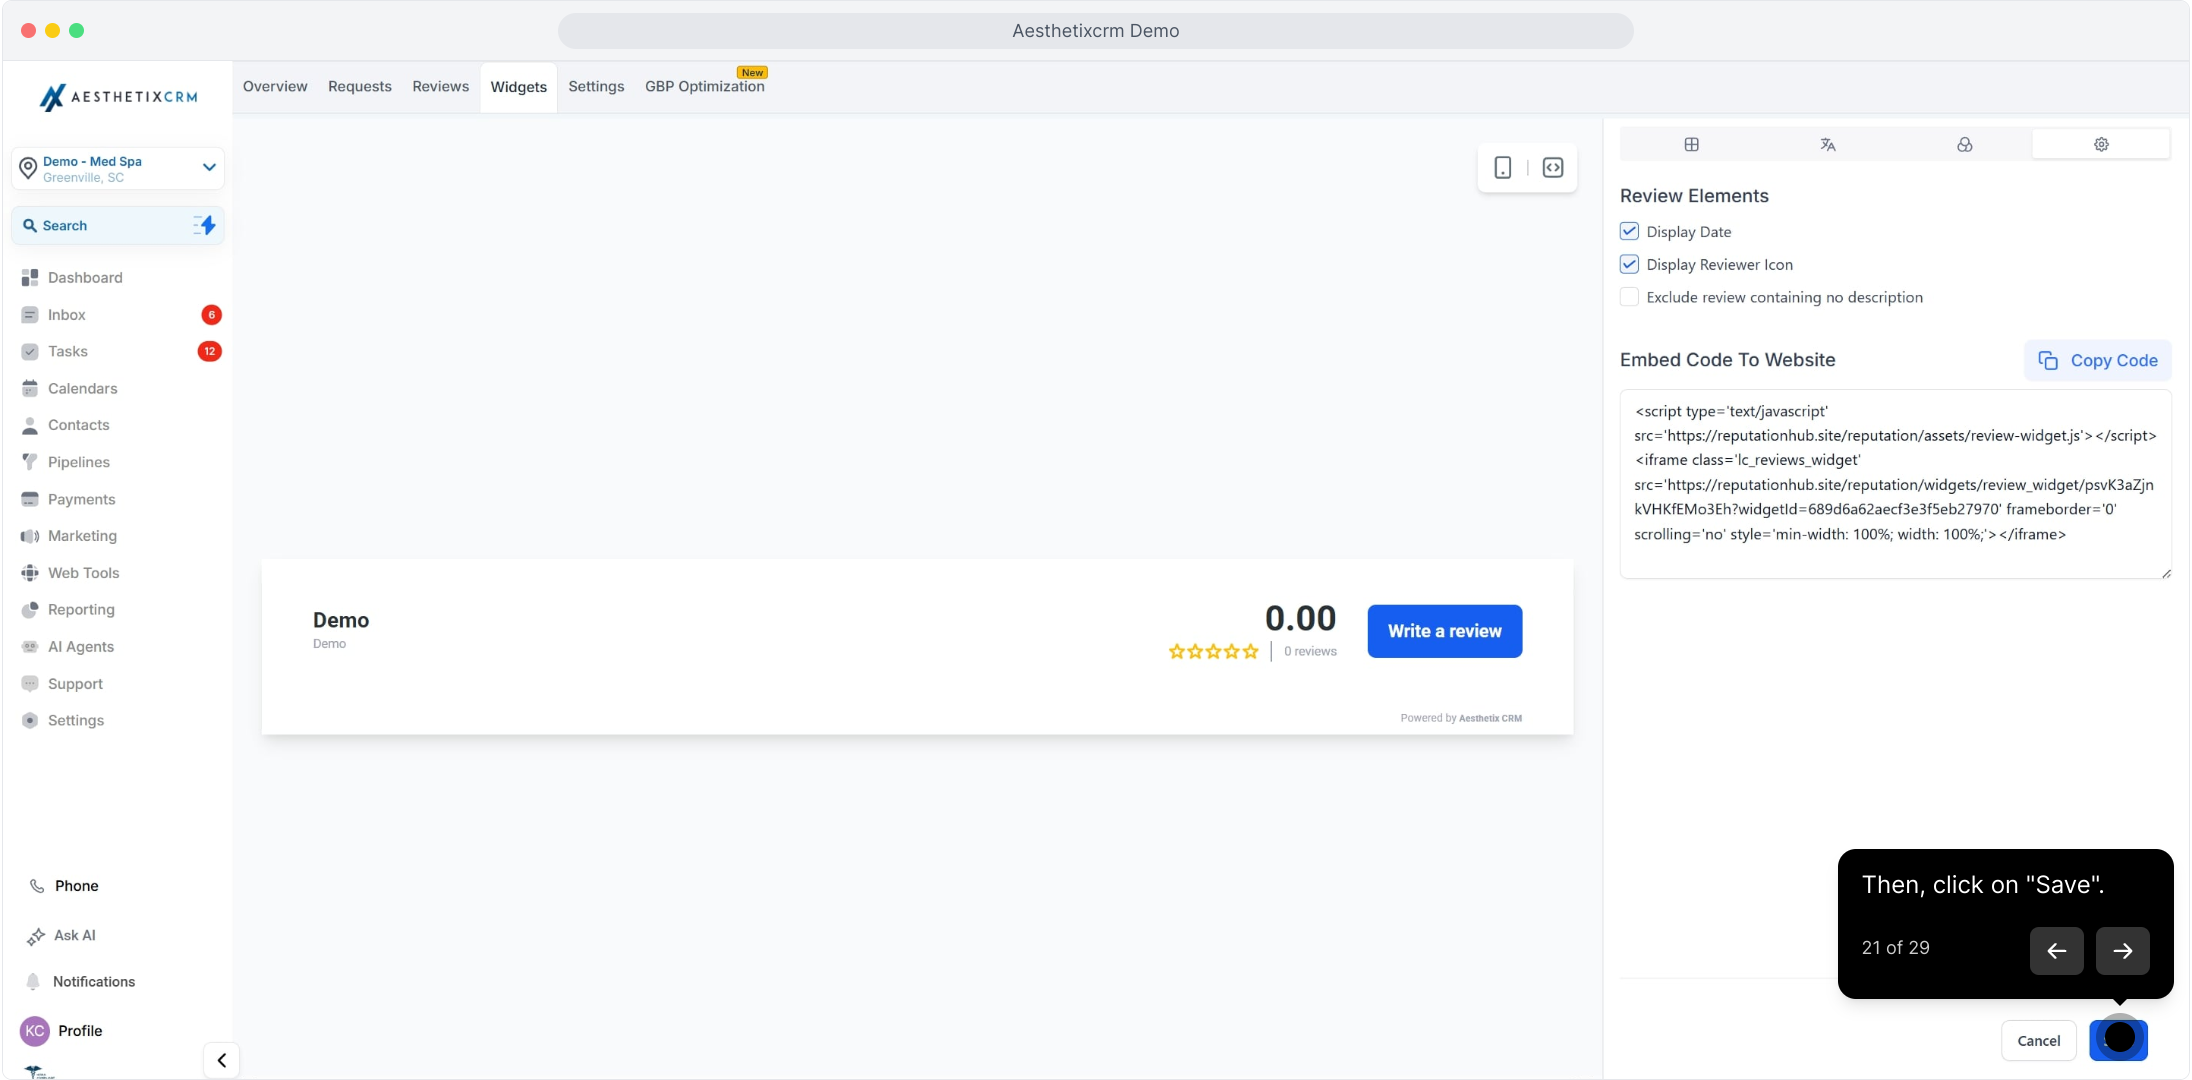
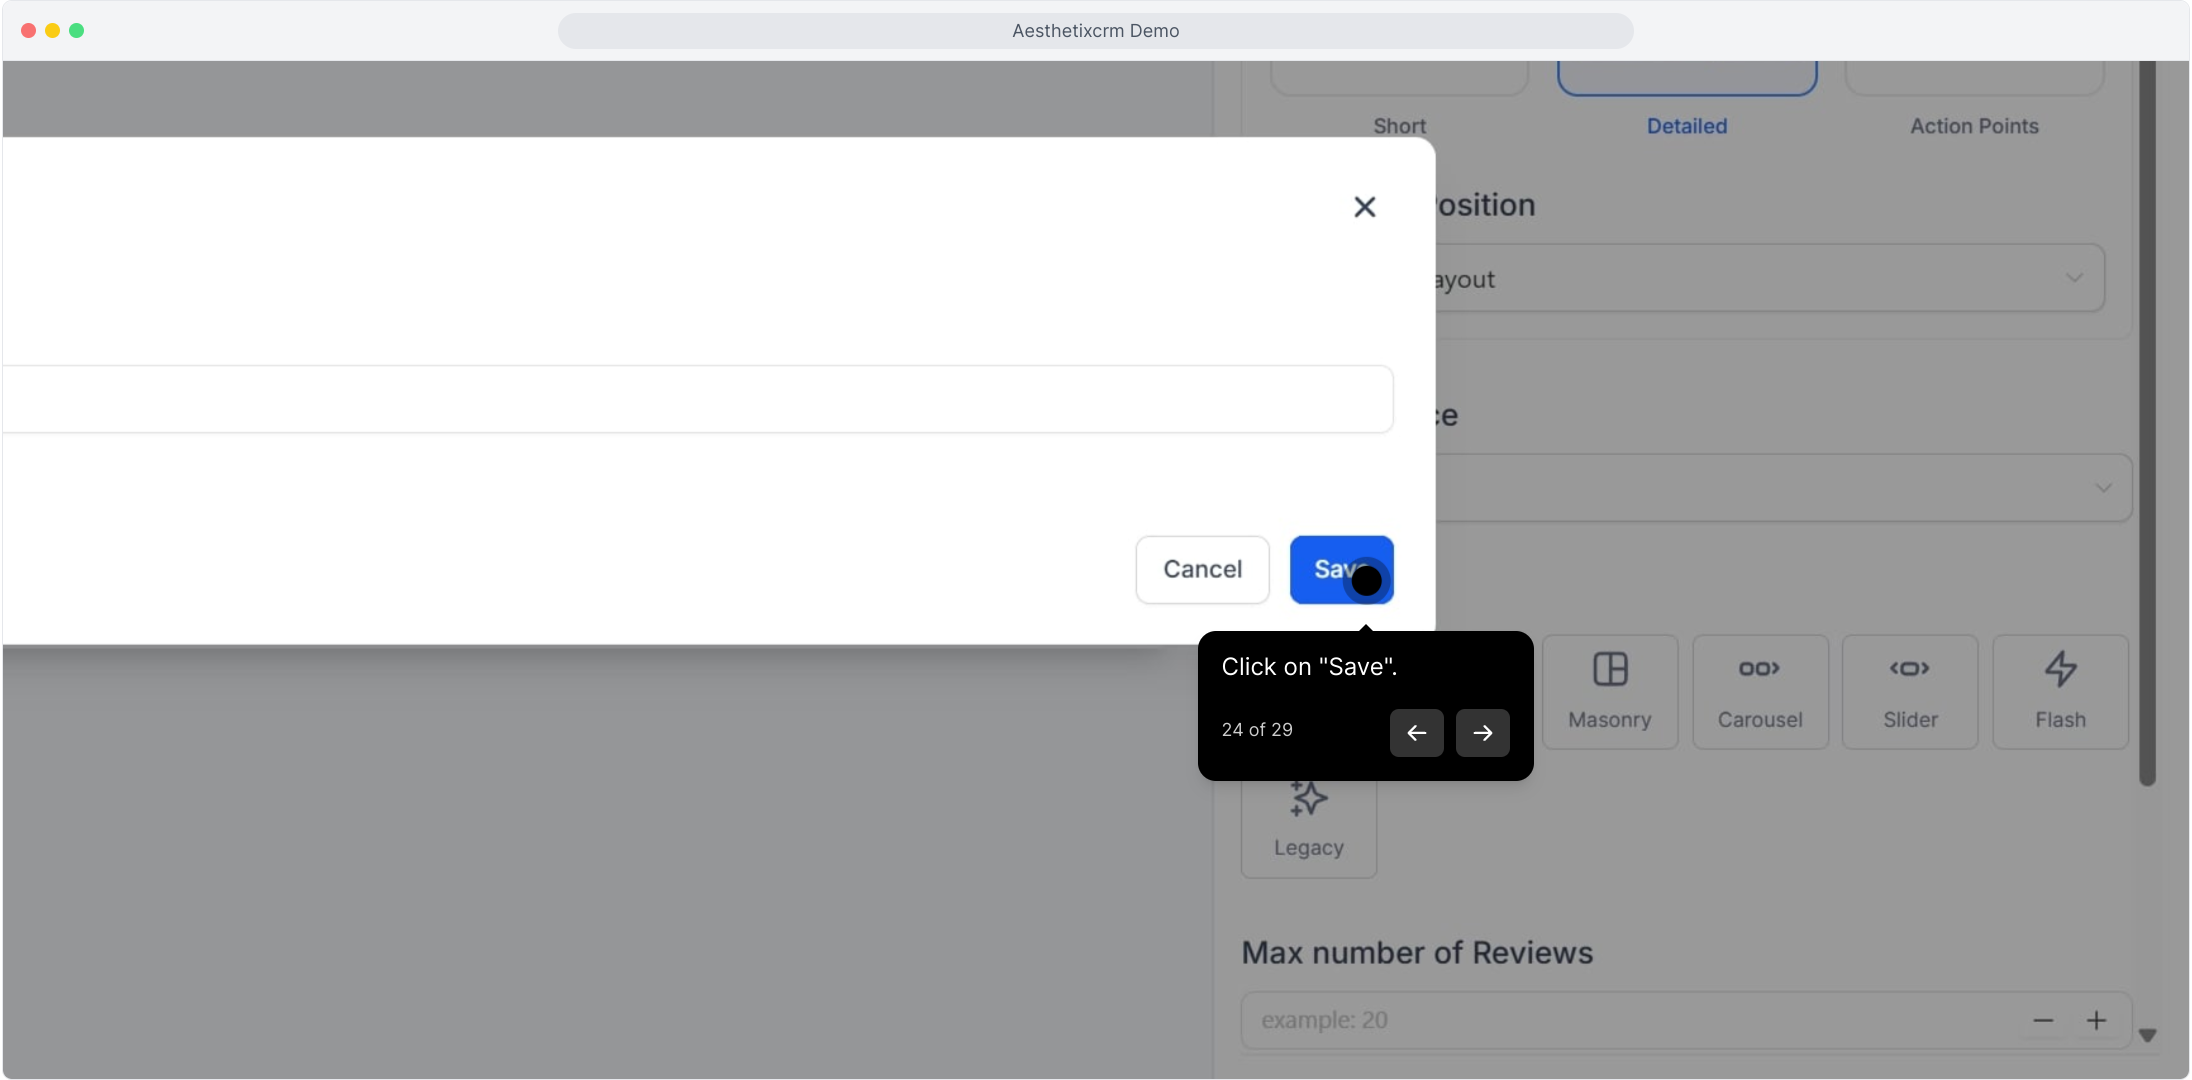
Once the widget looks the way you want, copy the embed code and save your work.
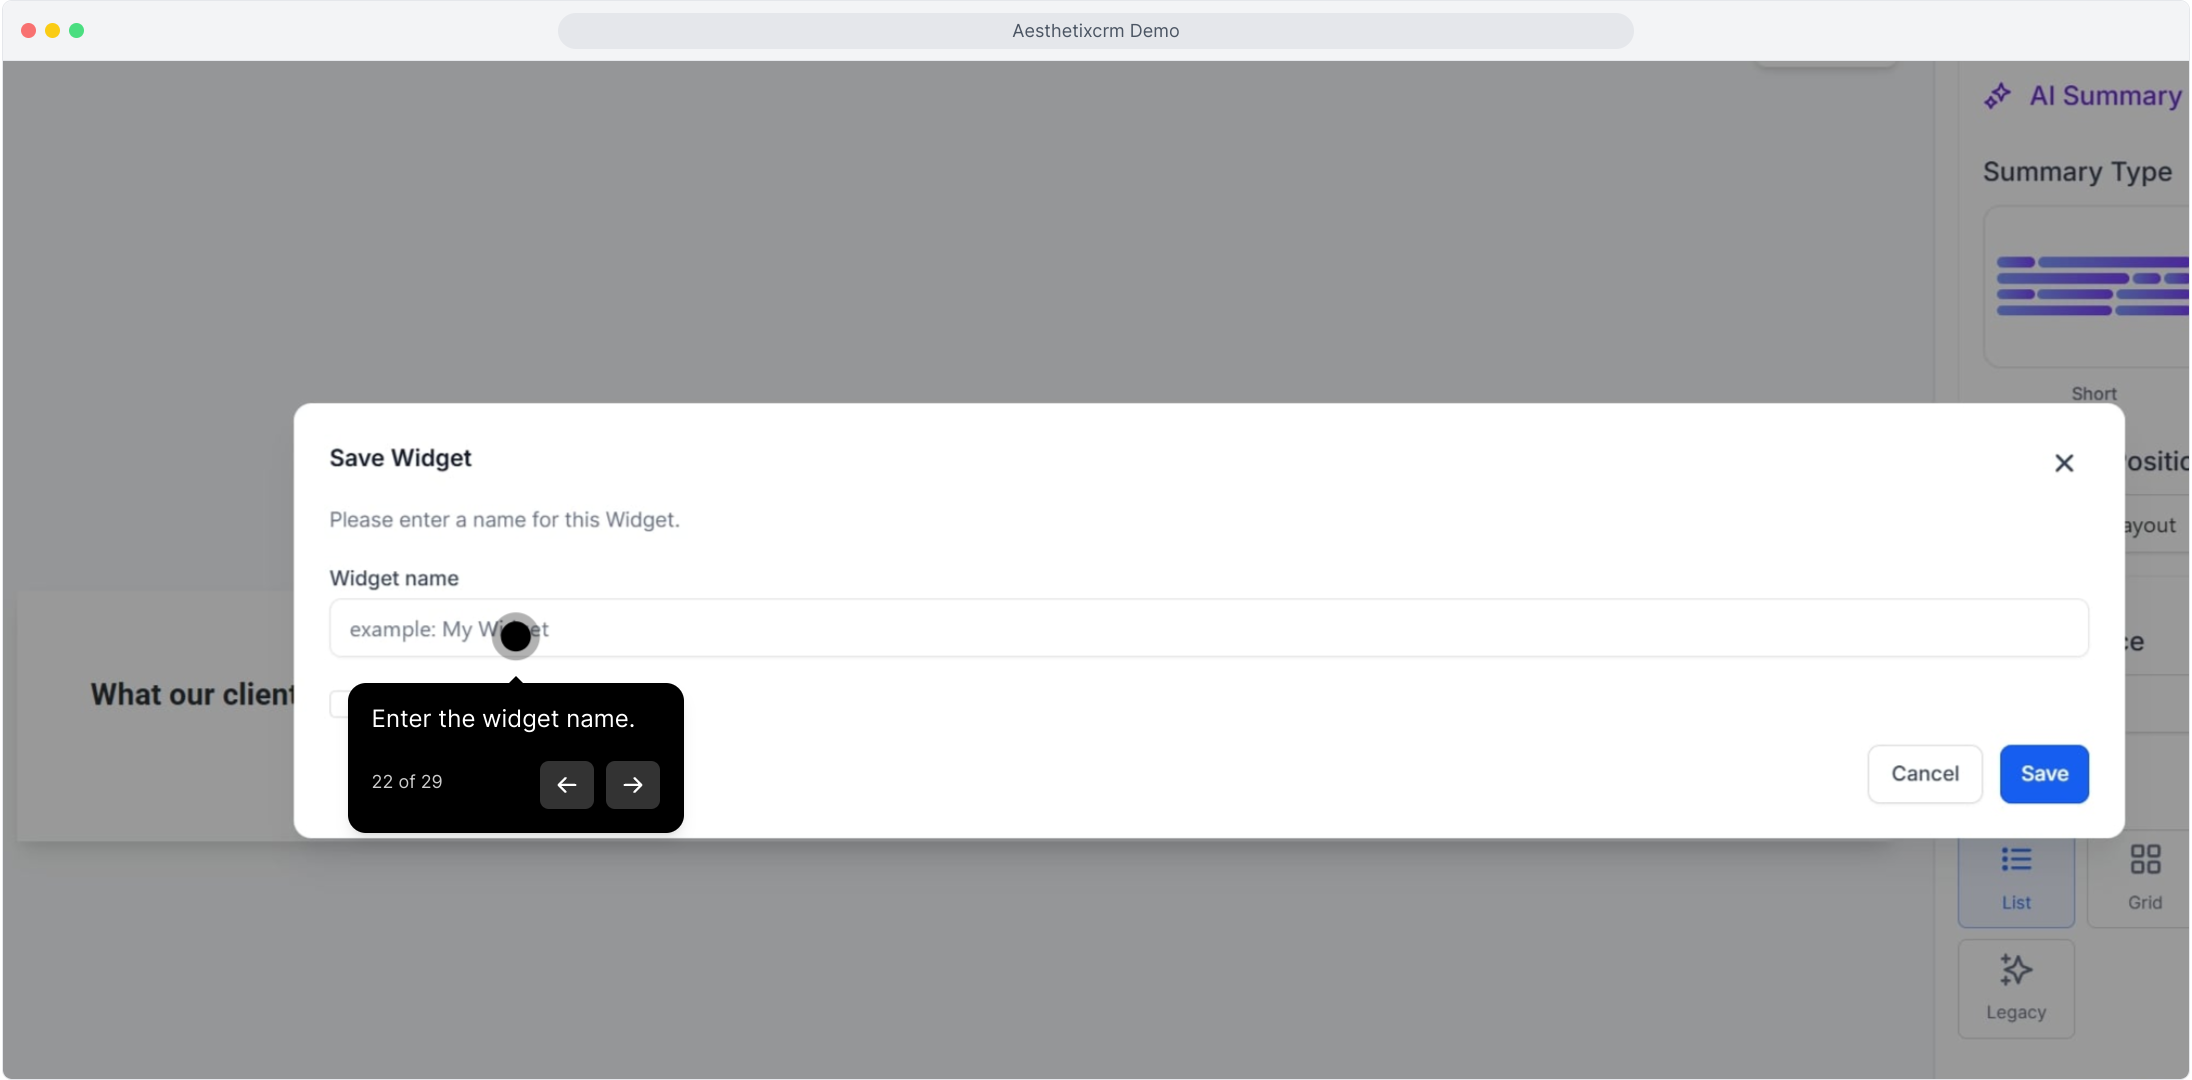
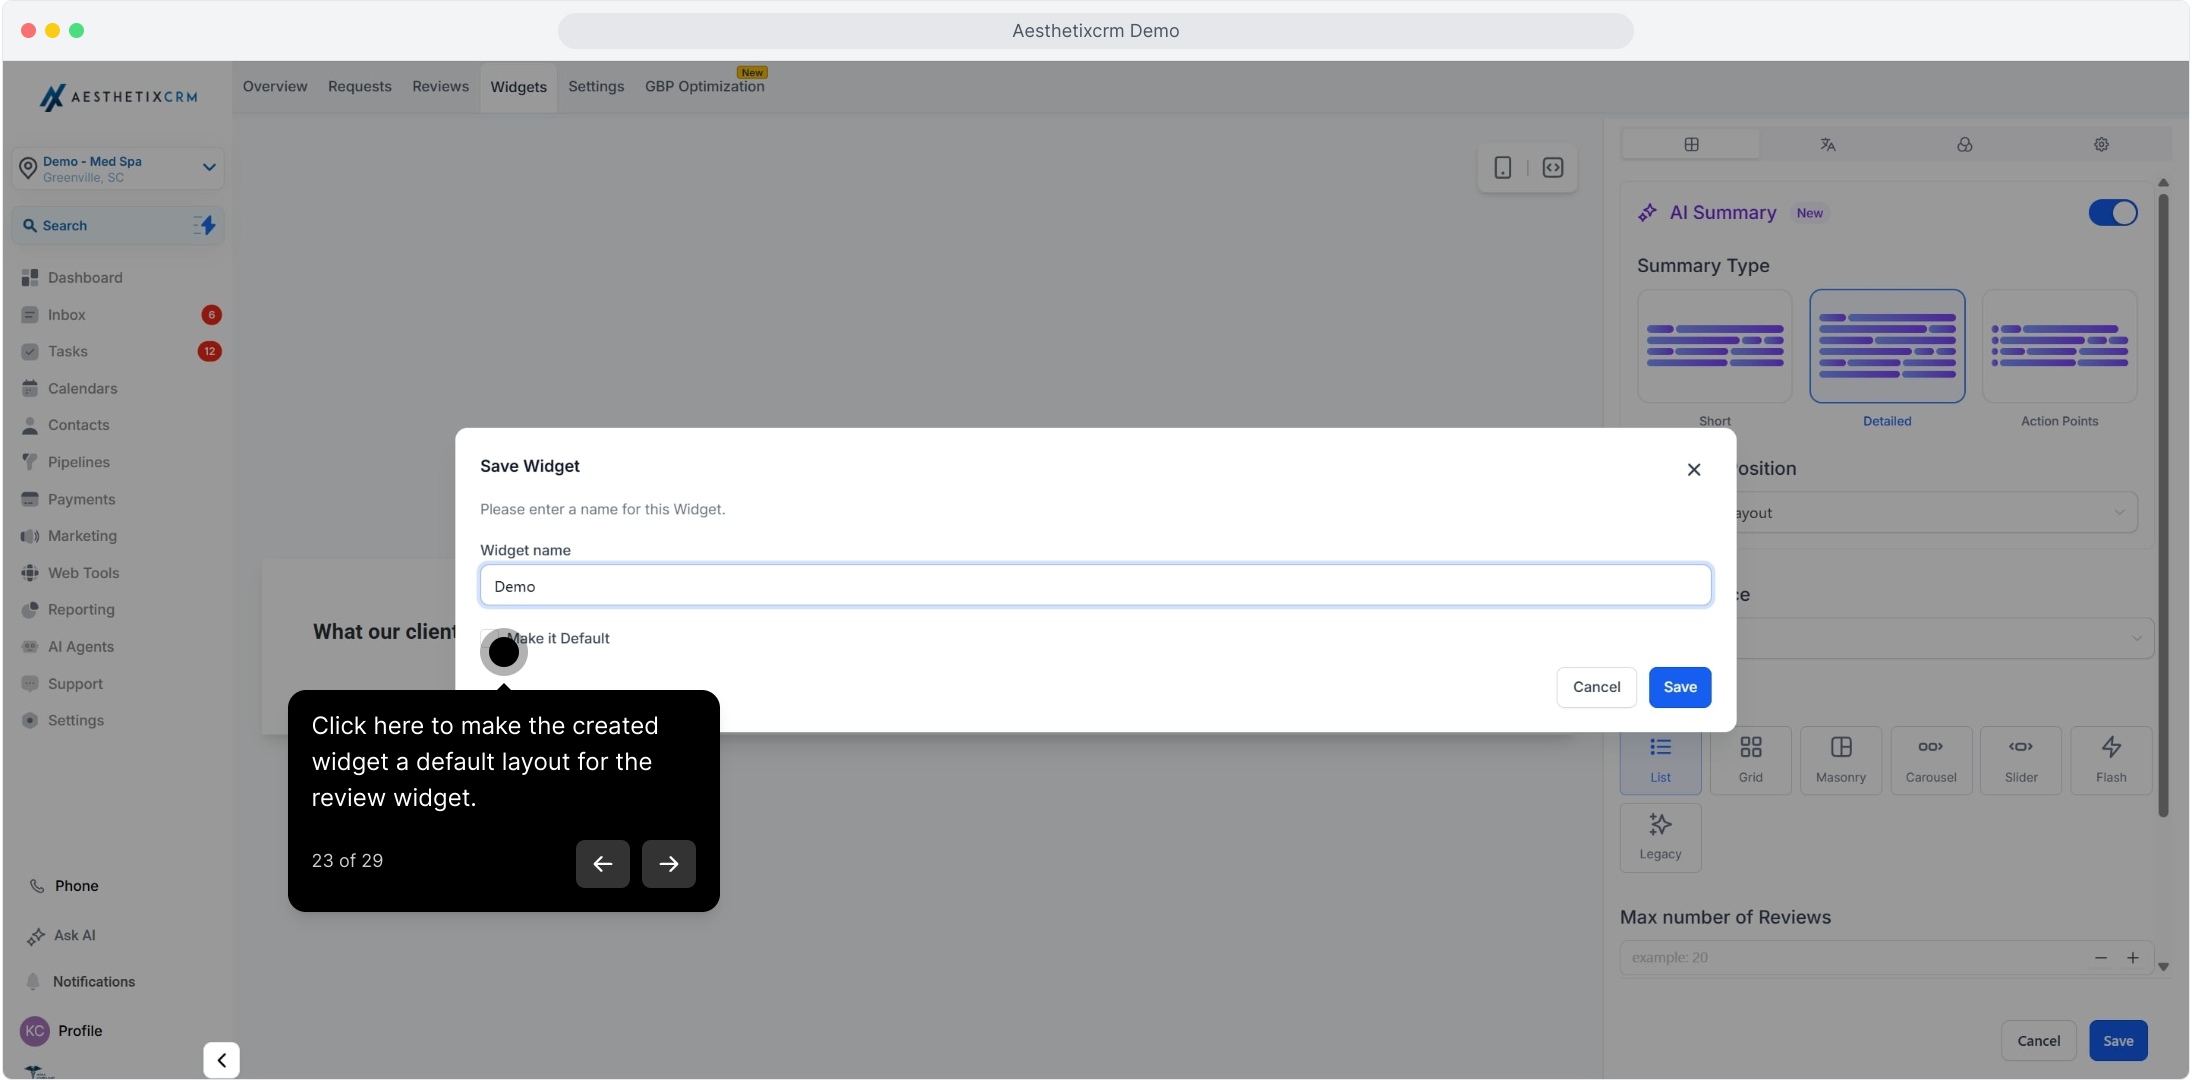
Make the widget you just created the default layout for your review widget.
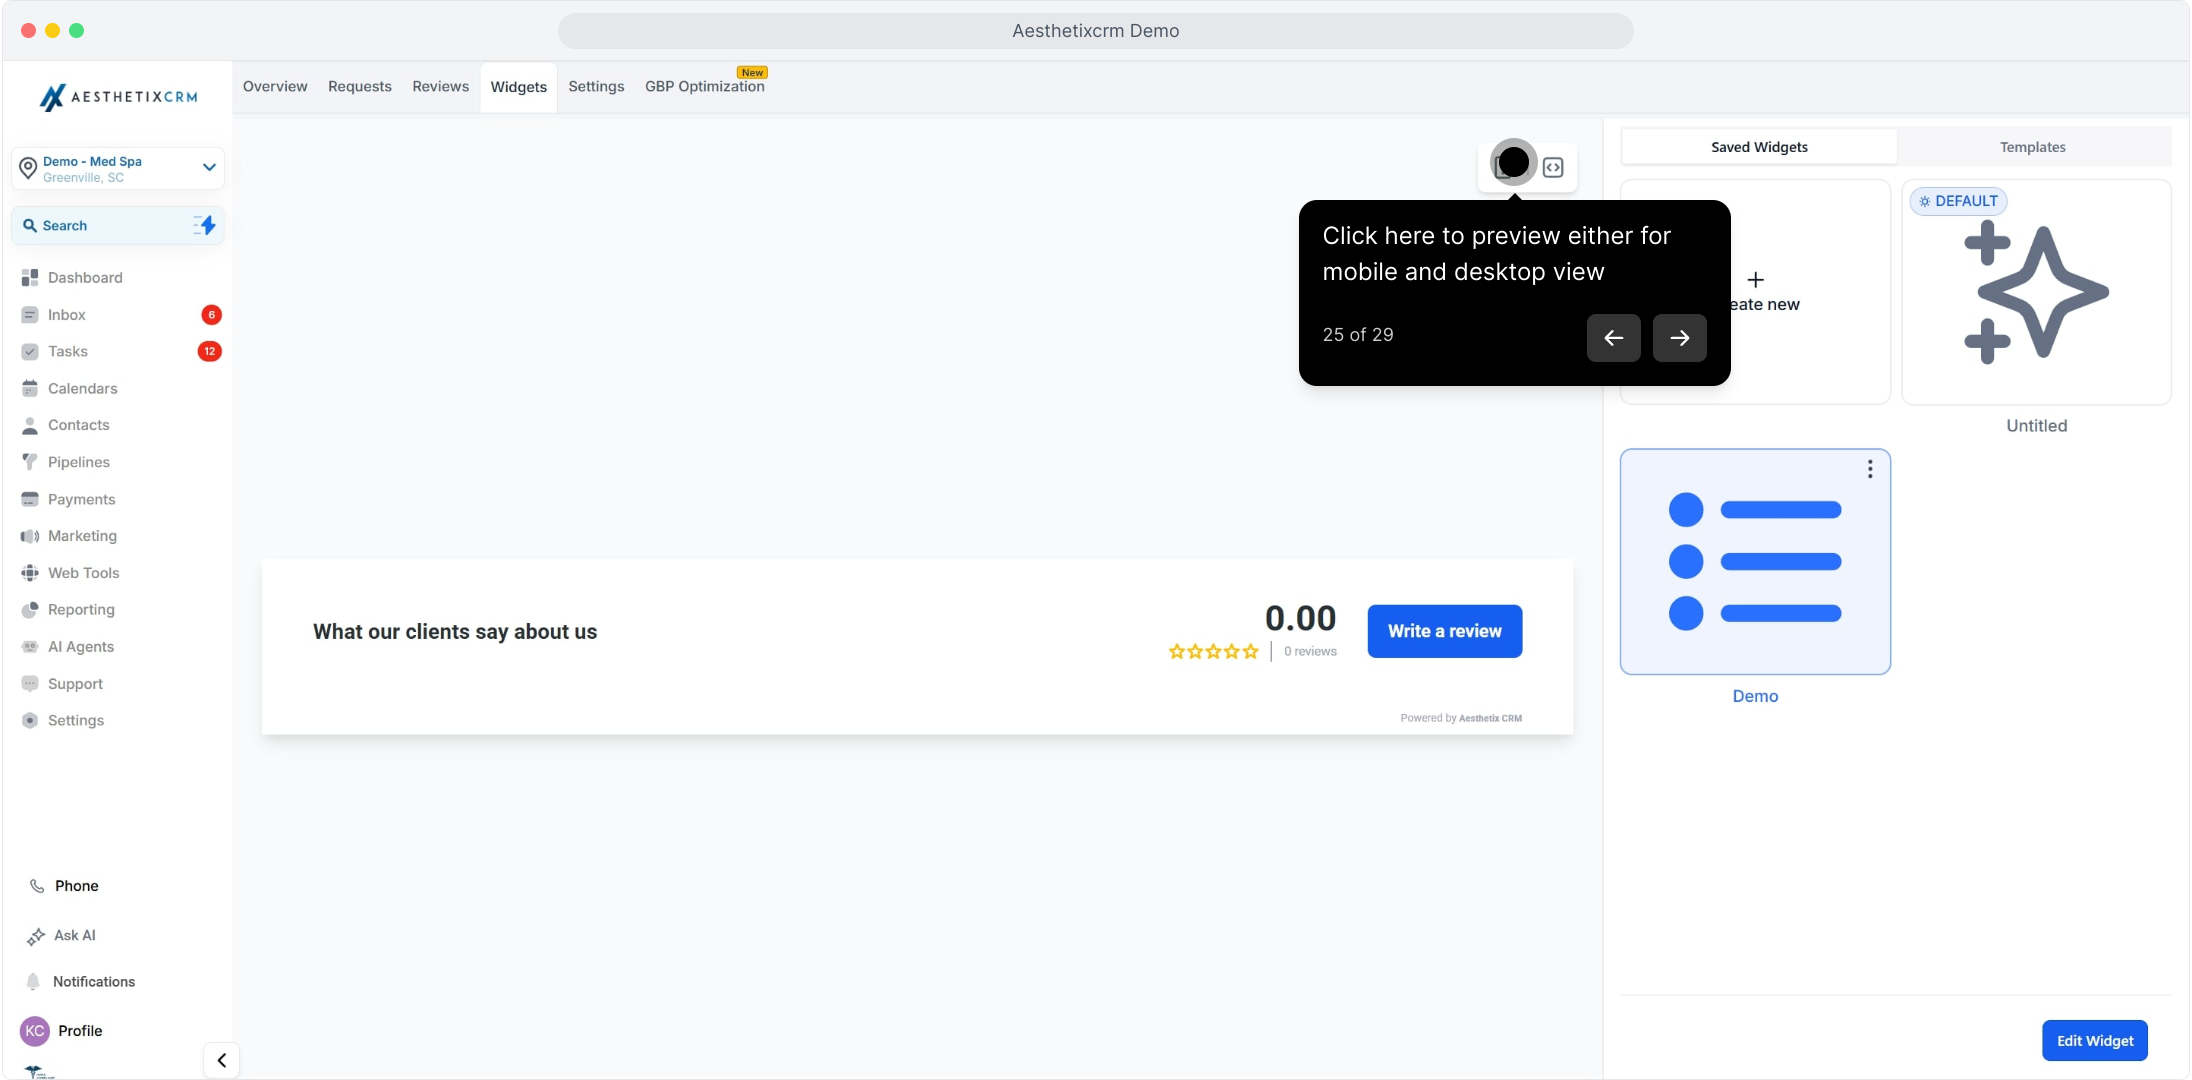
Preview how the widget looks on different devices, then grab the code to embed it on your site or any third-party platform.
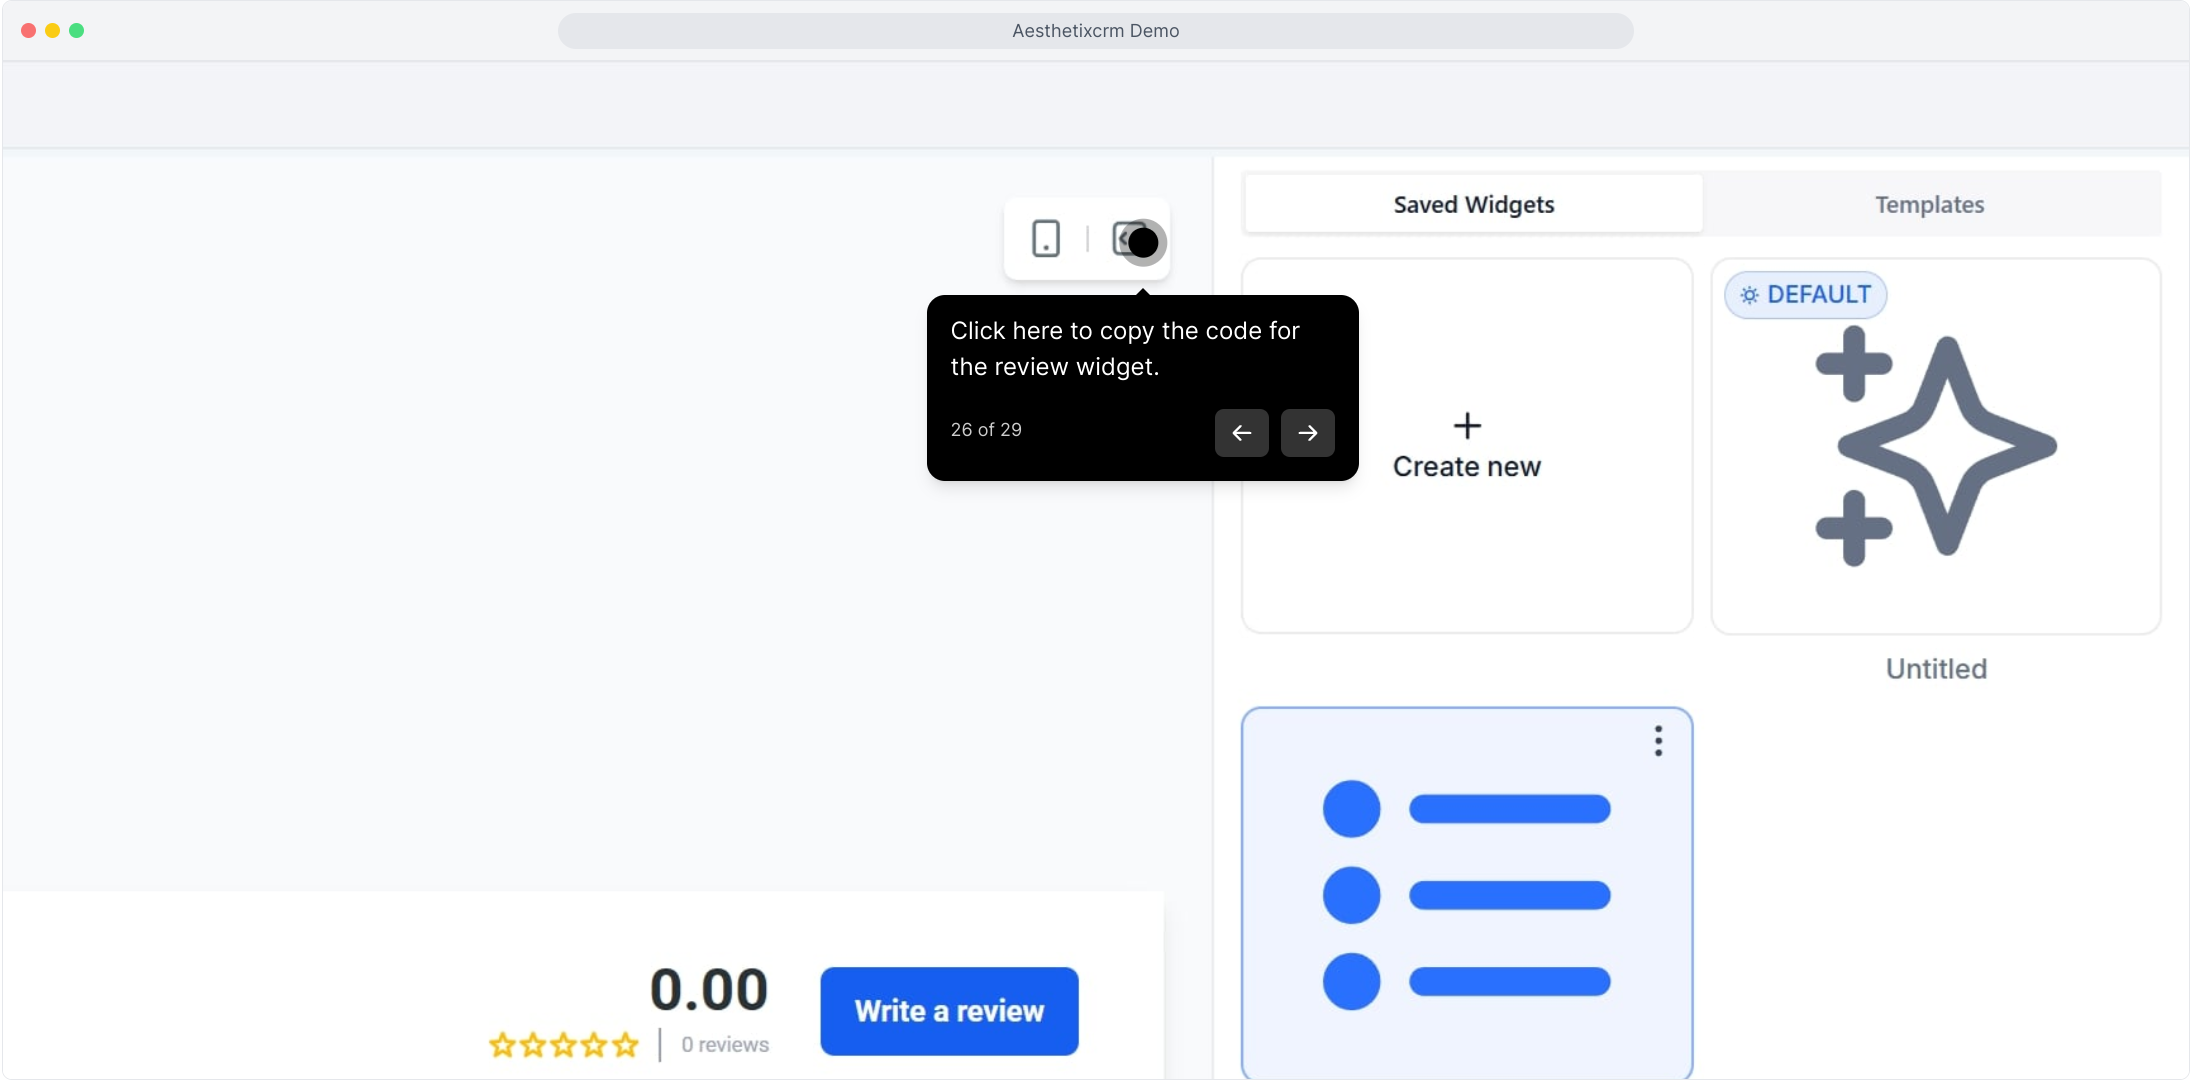
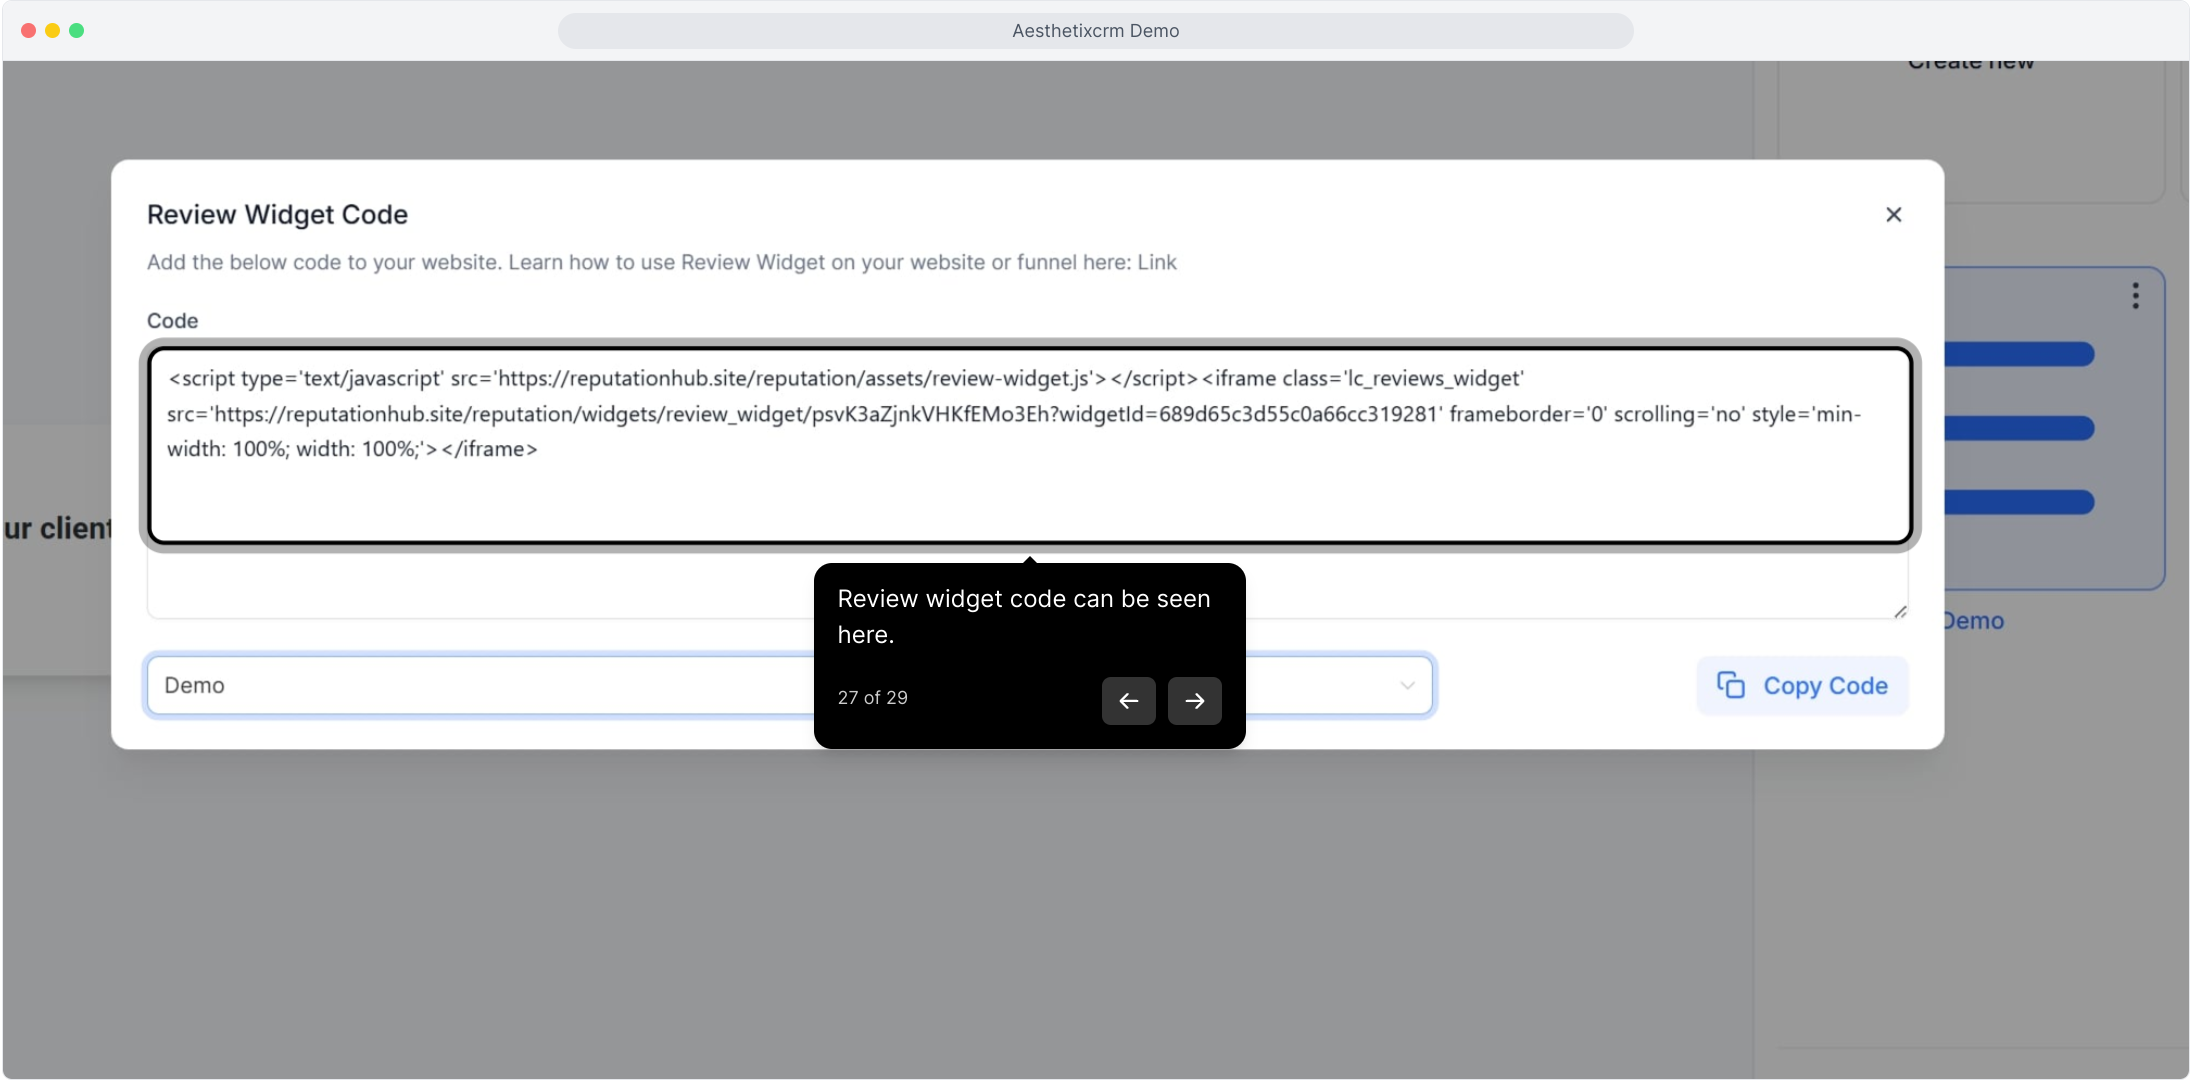
The review widget code can be seen here.
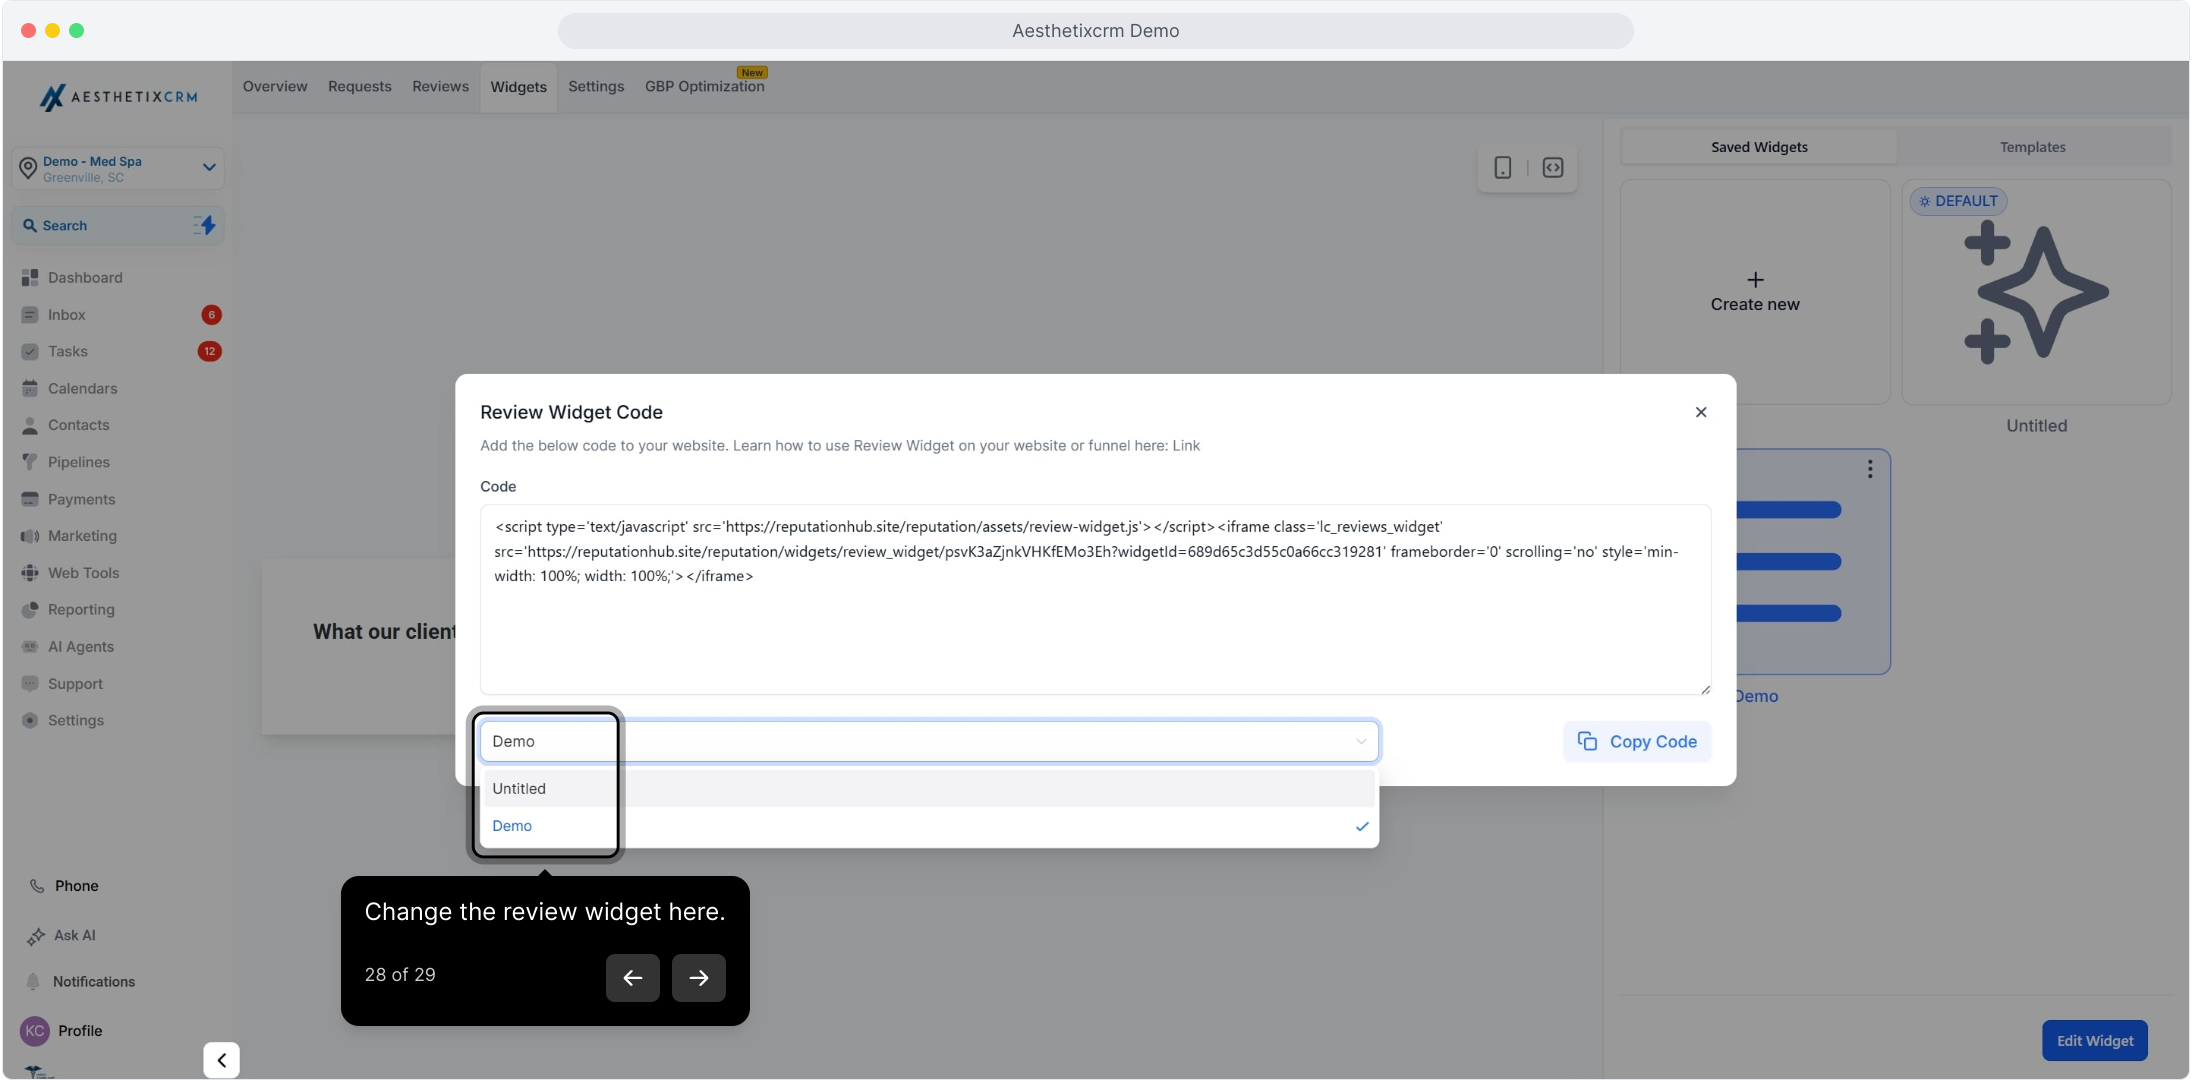
Switch to a different review widget here if you'd like to embed another one.
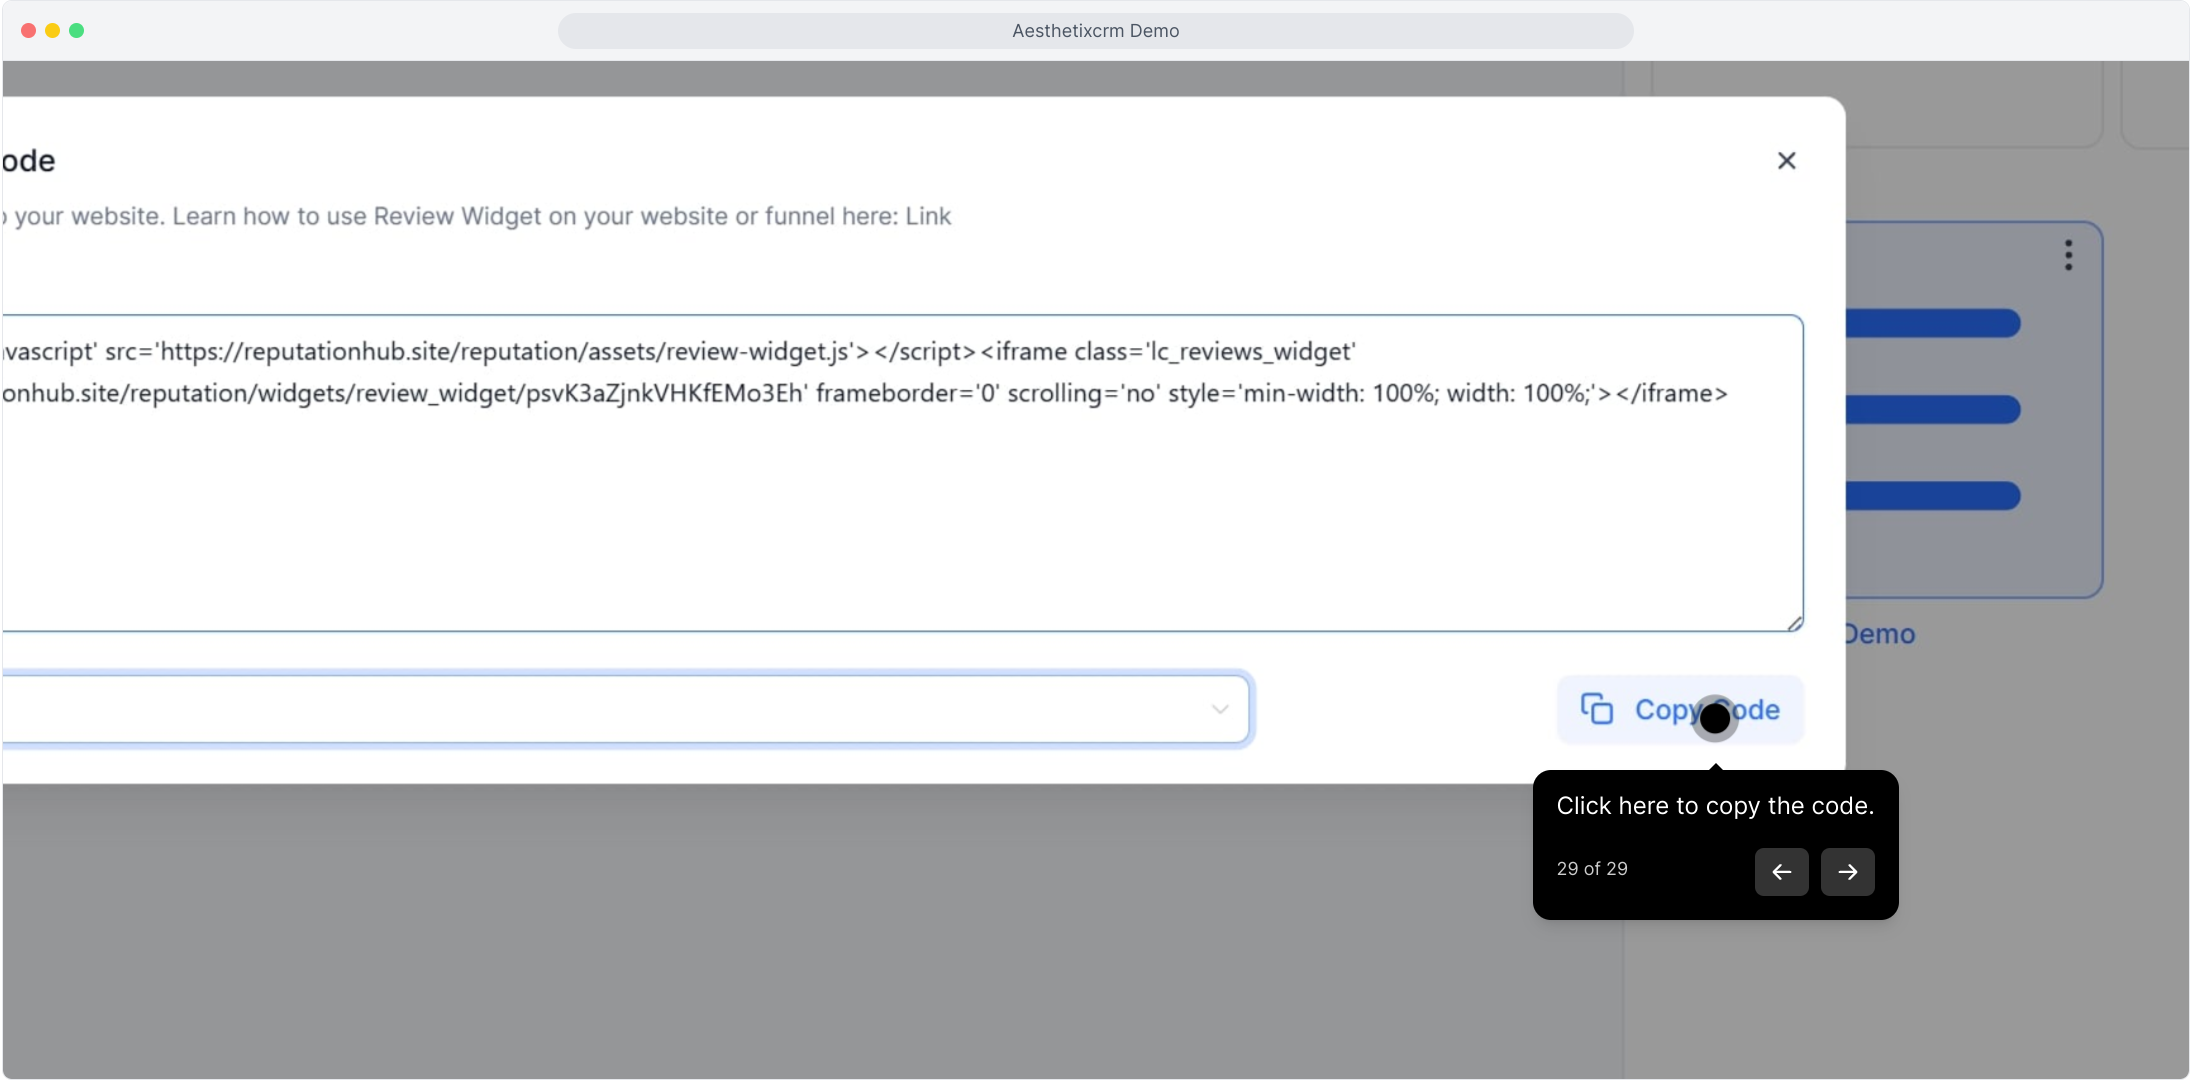
Paste the copied code into your website builder or any third-party platform where you want the reviews to appear.
Note: You can also embed your Google and Facebook reviews directly inside an Aesthetix CRM funnel or website using the Review Widget element in the page builder, then adjust the same styling options there.
