Email review requests help your practice turn happy patients into public five-star reviews. In Aesthetix CRM, you can design your own email templates, start from professionally built layouts, add links to several review platforms in a single email, and automate recurring requests so no patient is missed. This guide walks you through enabling email review requests, building and personalizing your templates, adding multiple review links, and setting up recurring sends.
Before you can send review requests by email, turn the feature on and set your send timing.
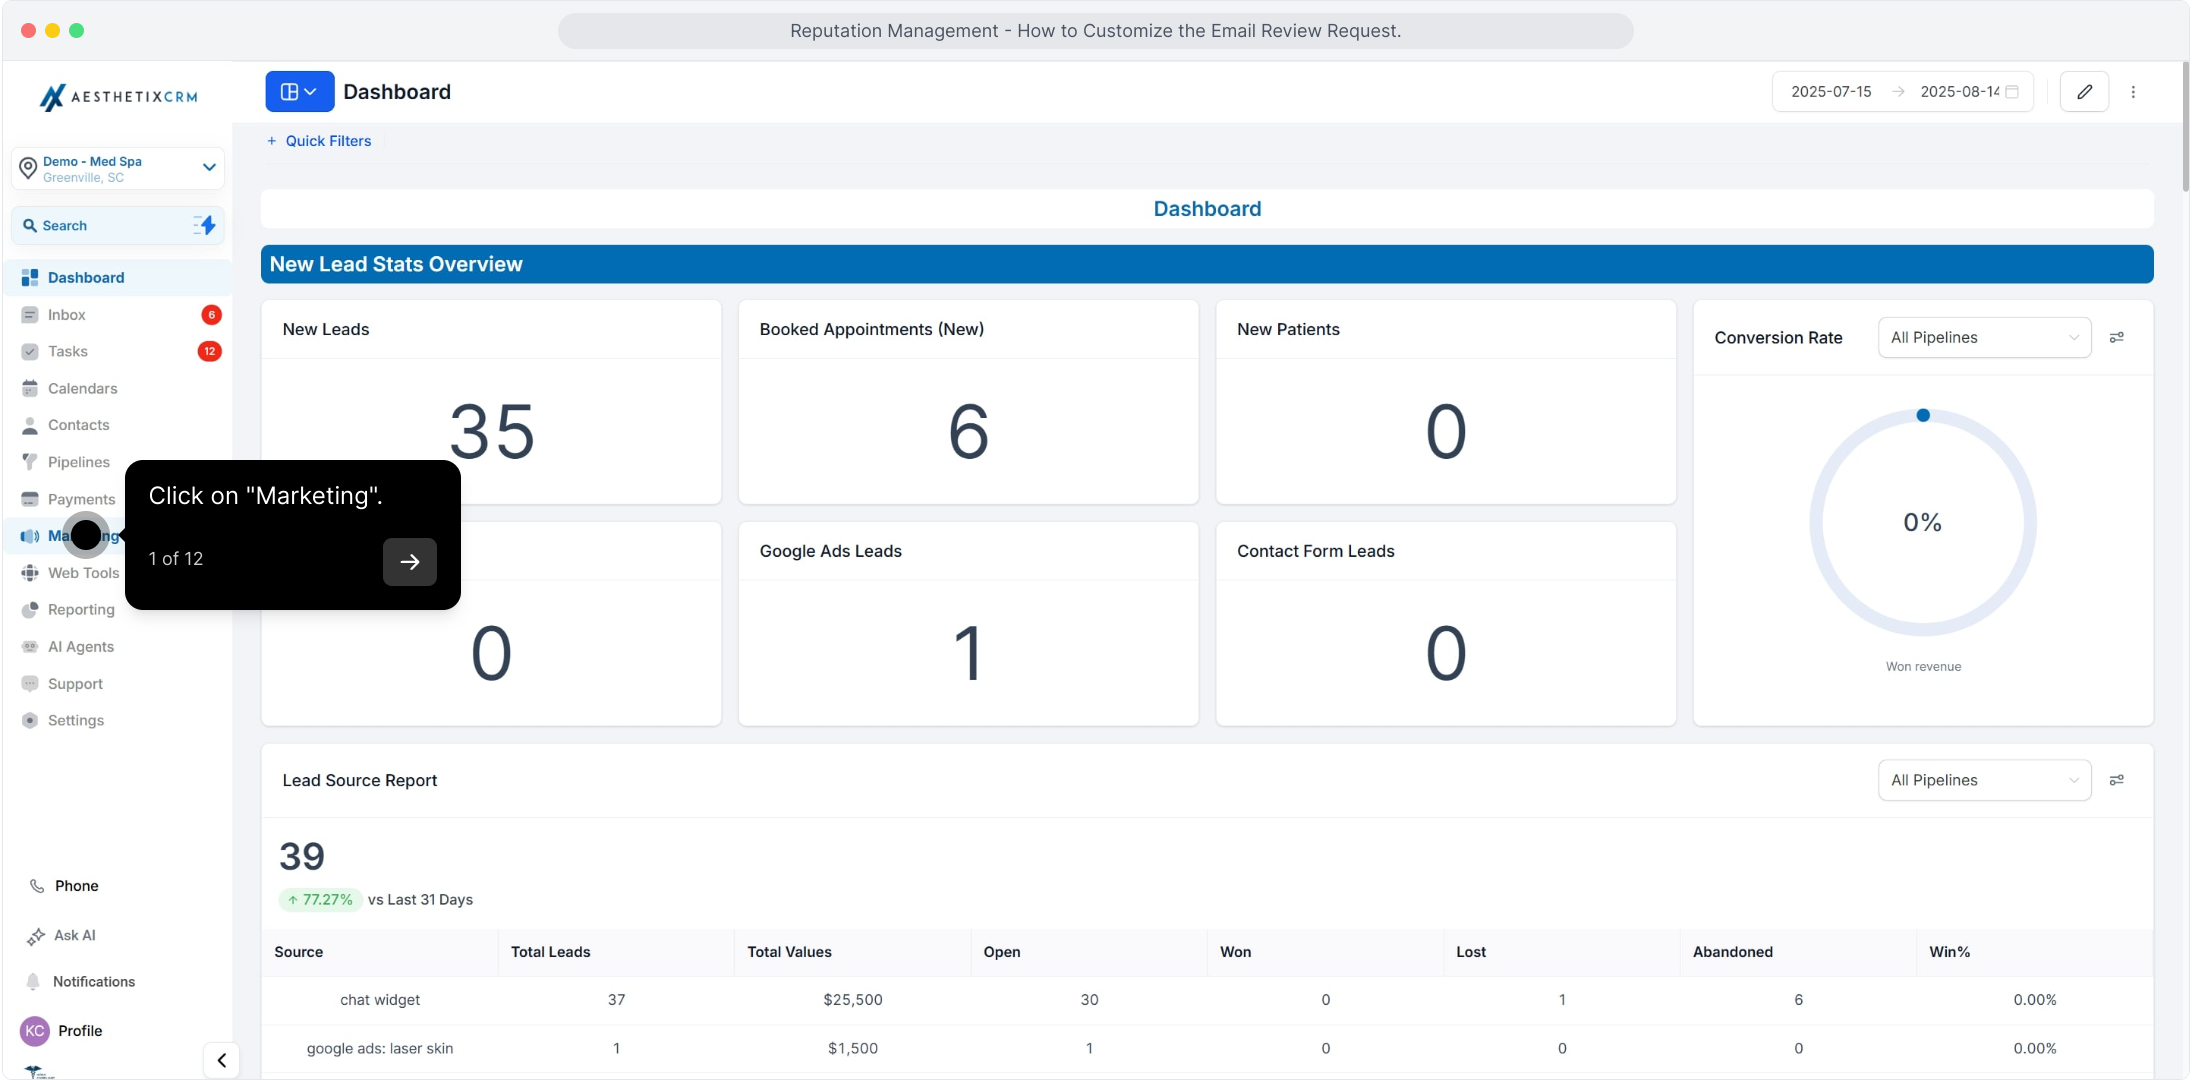
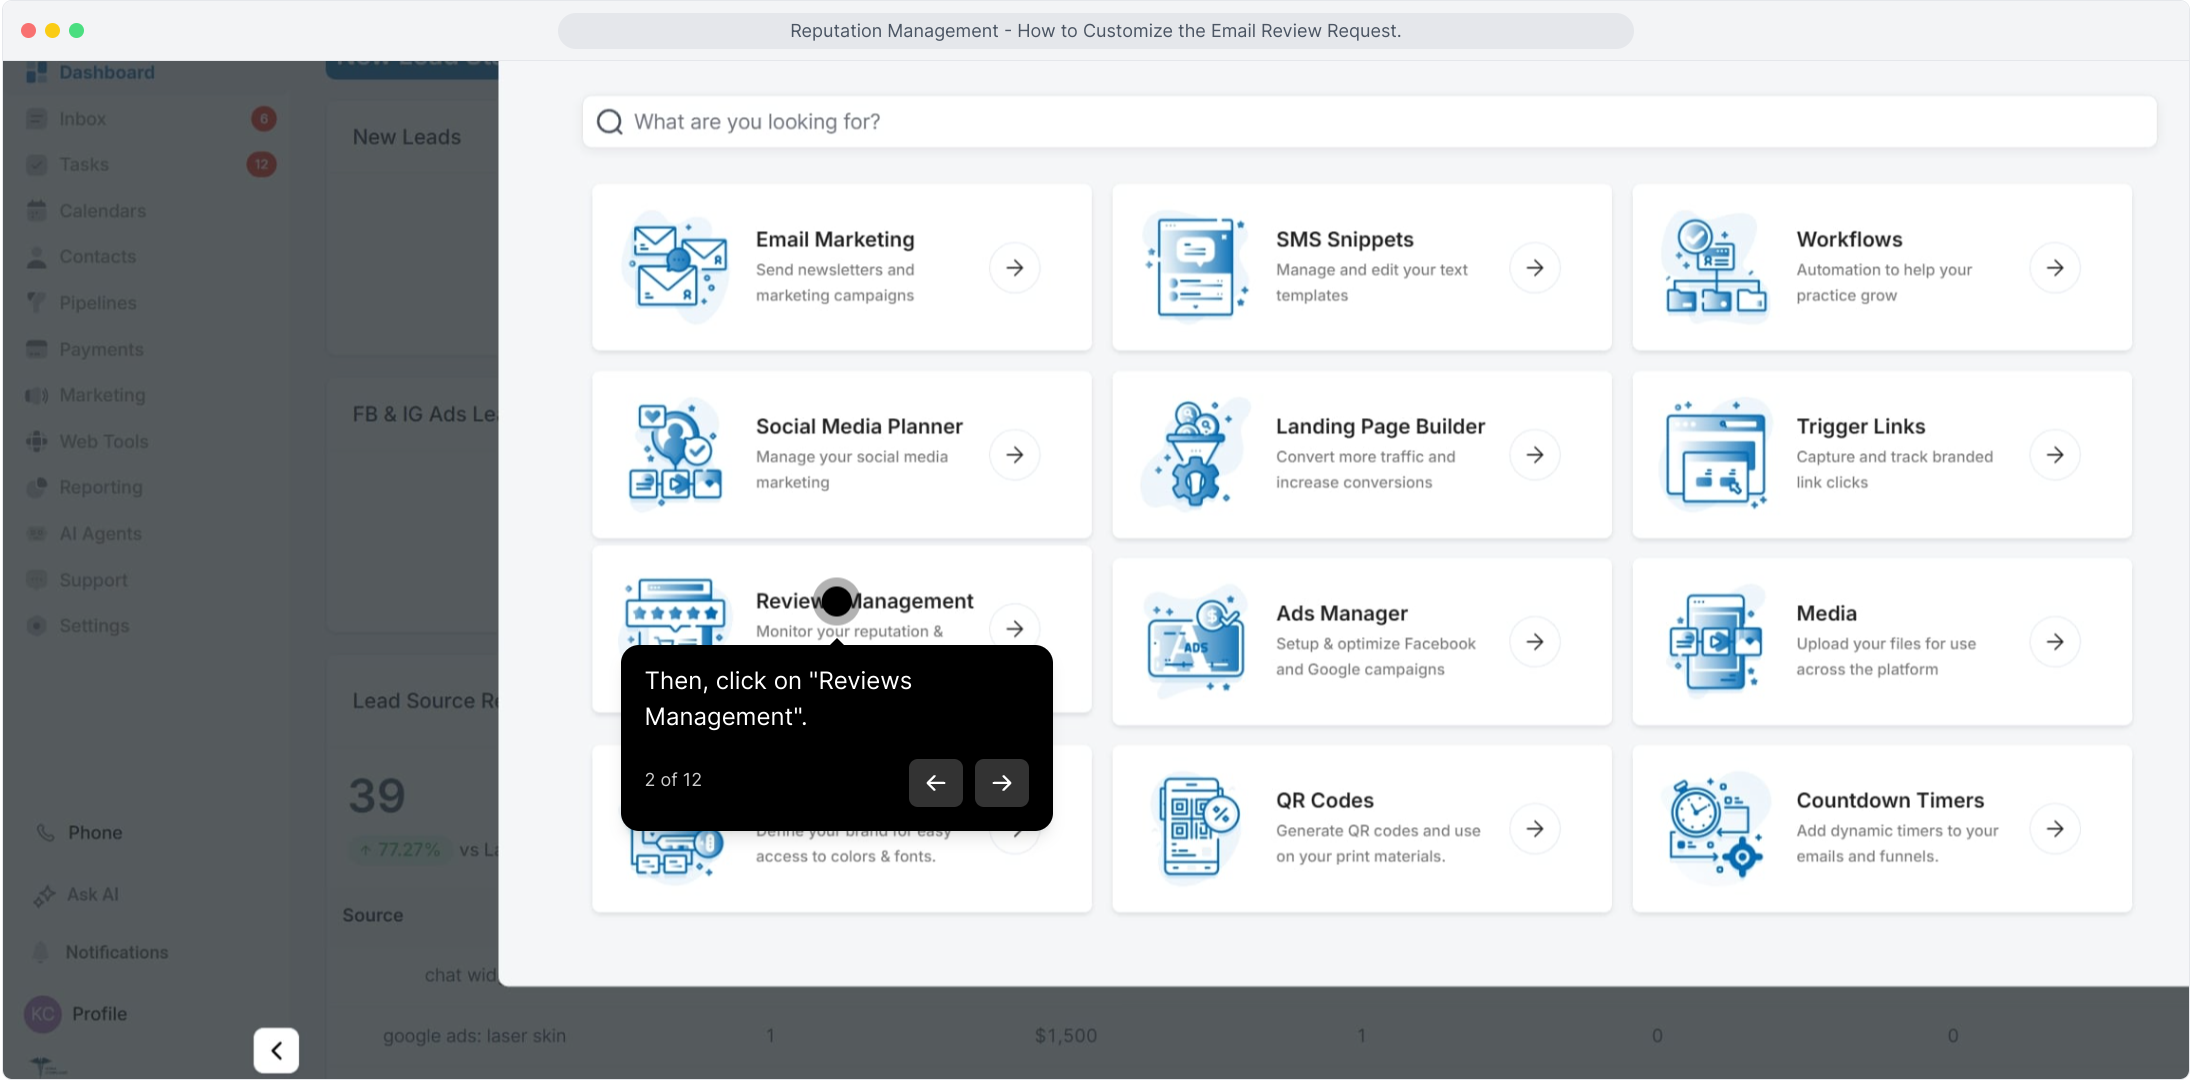
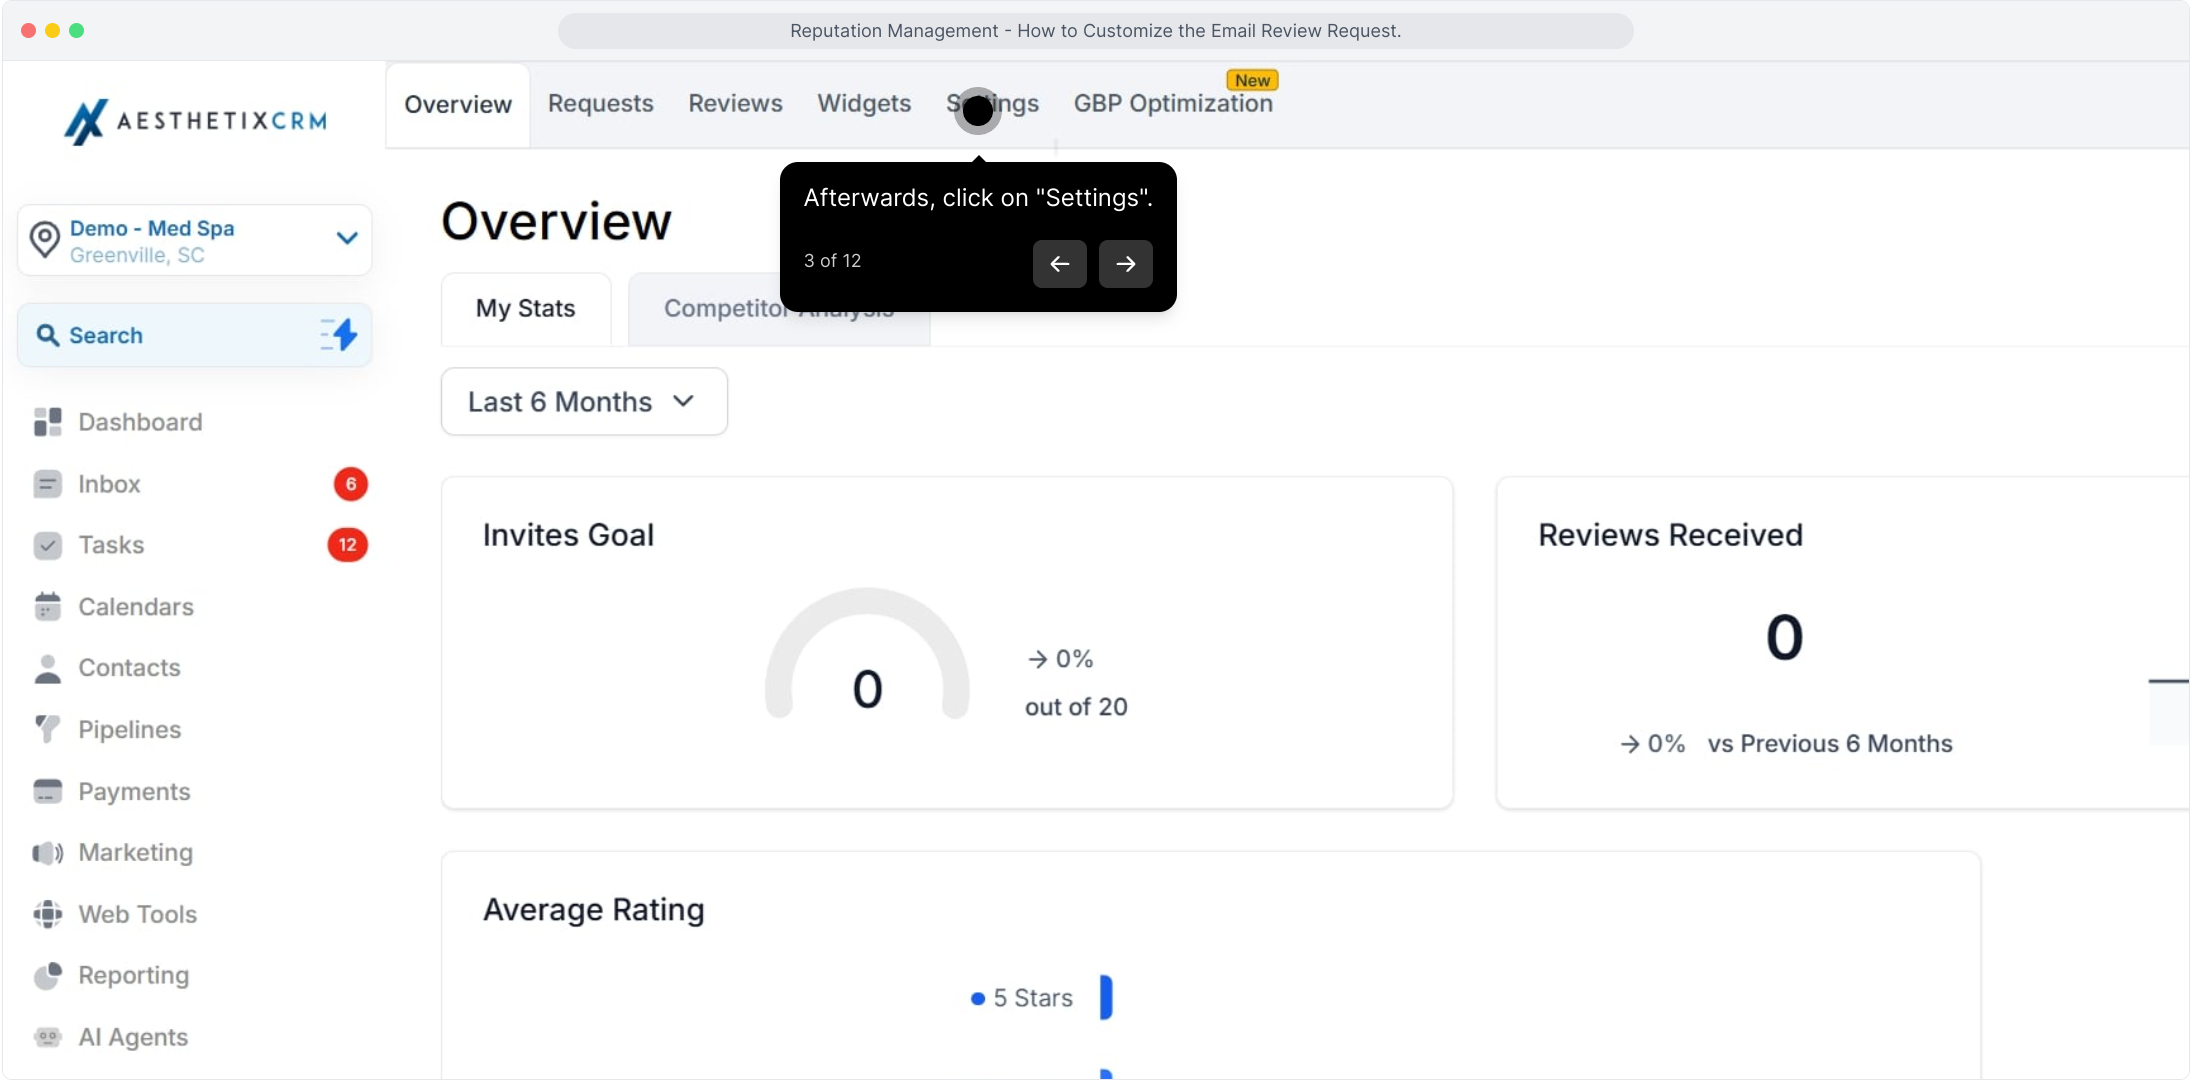
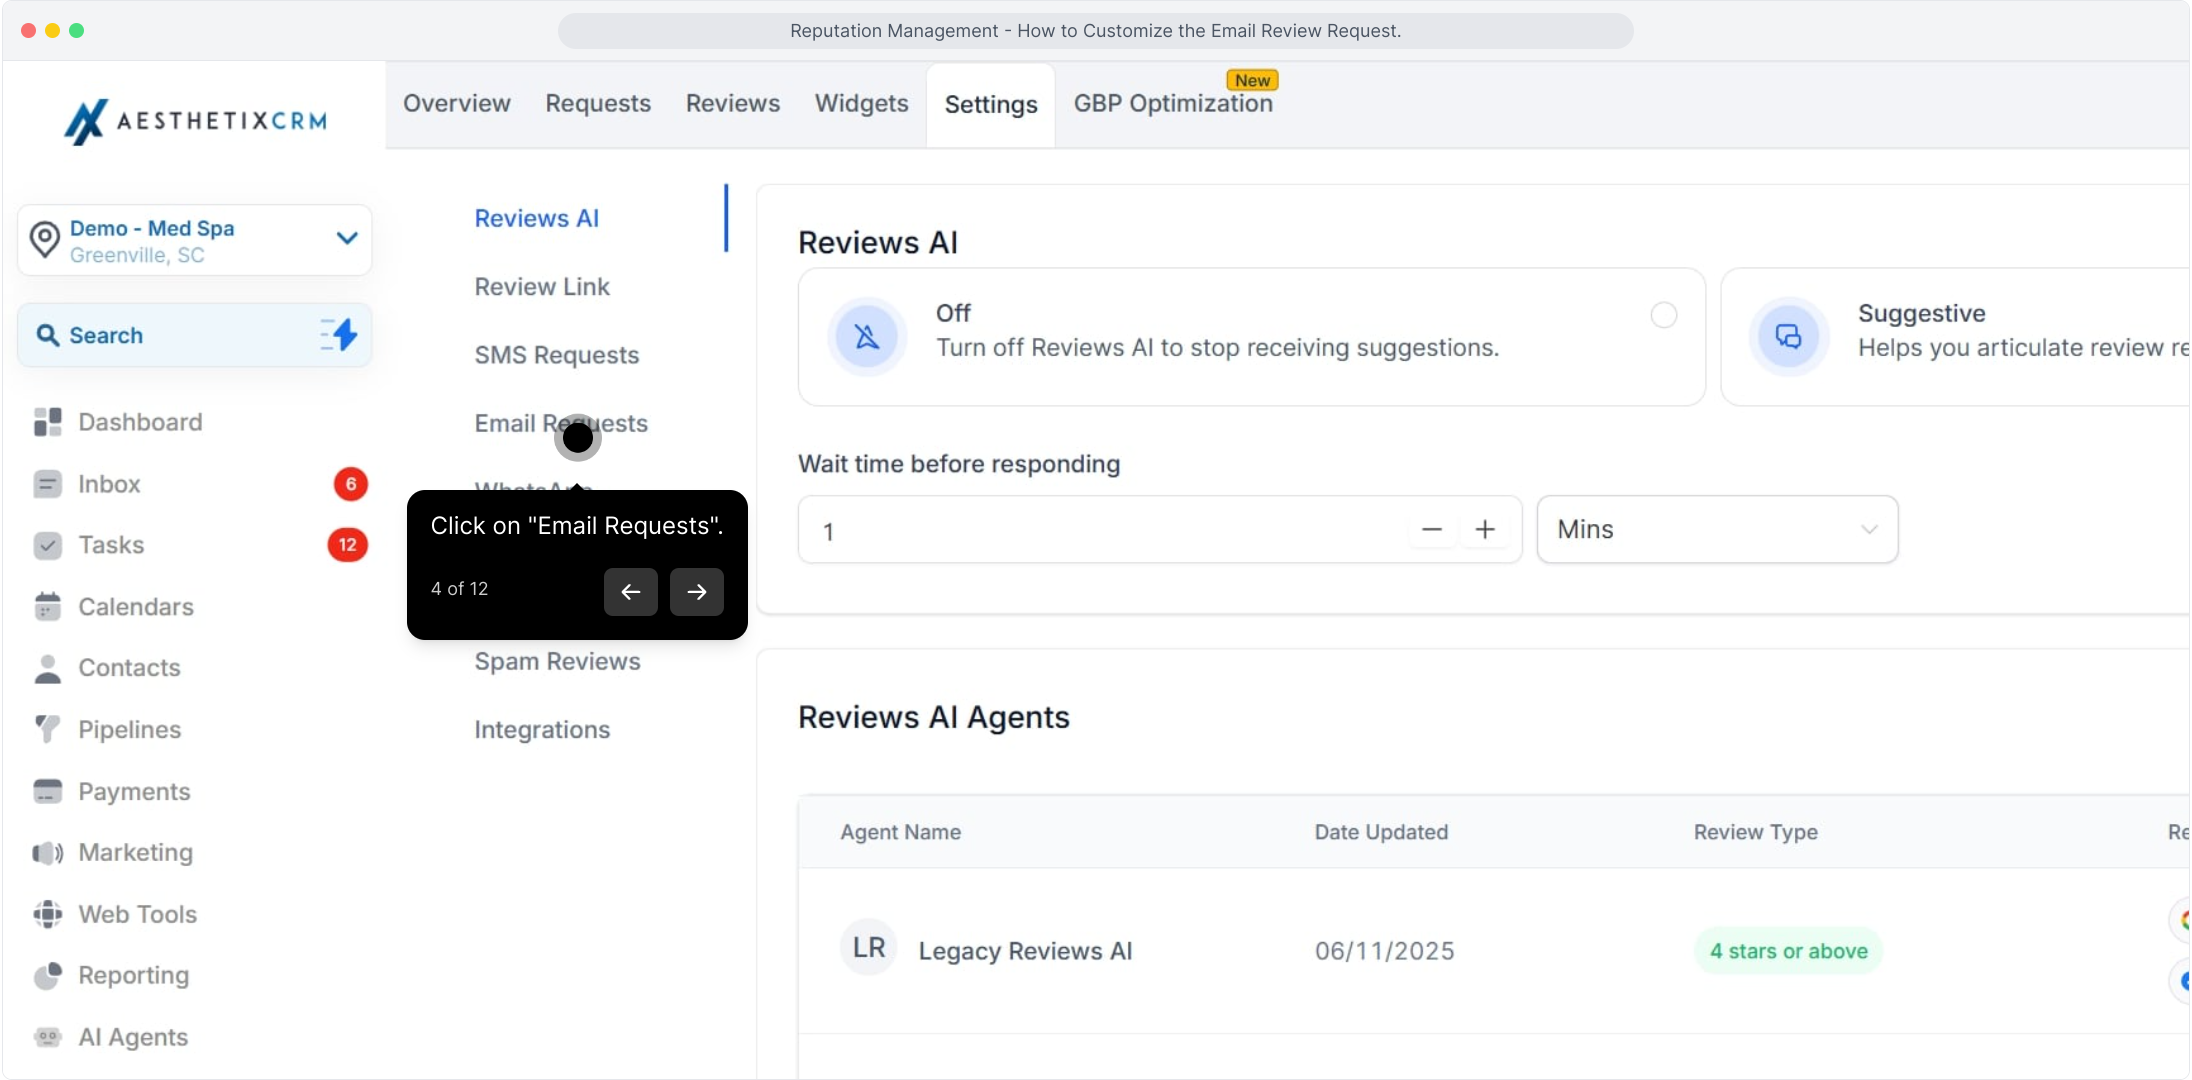
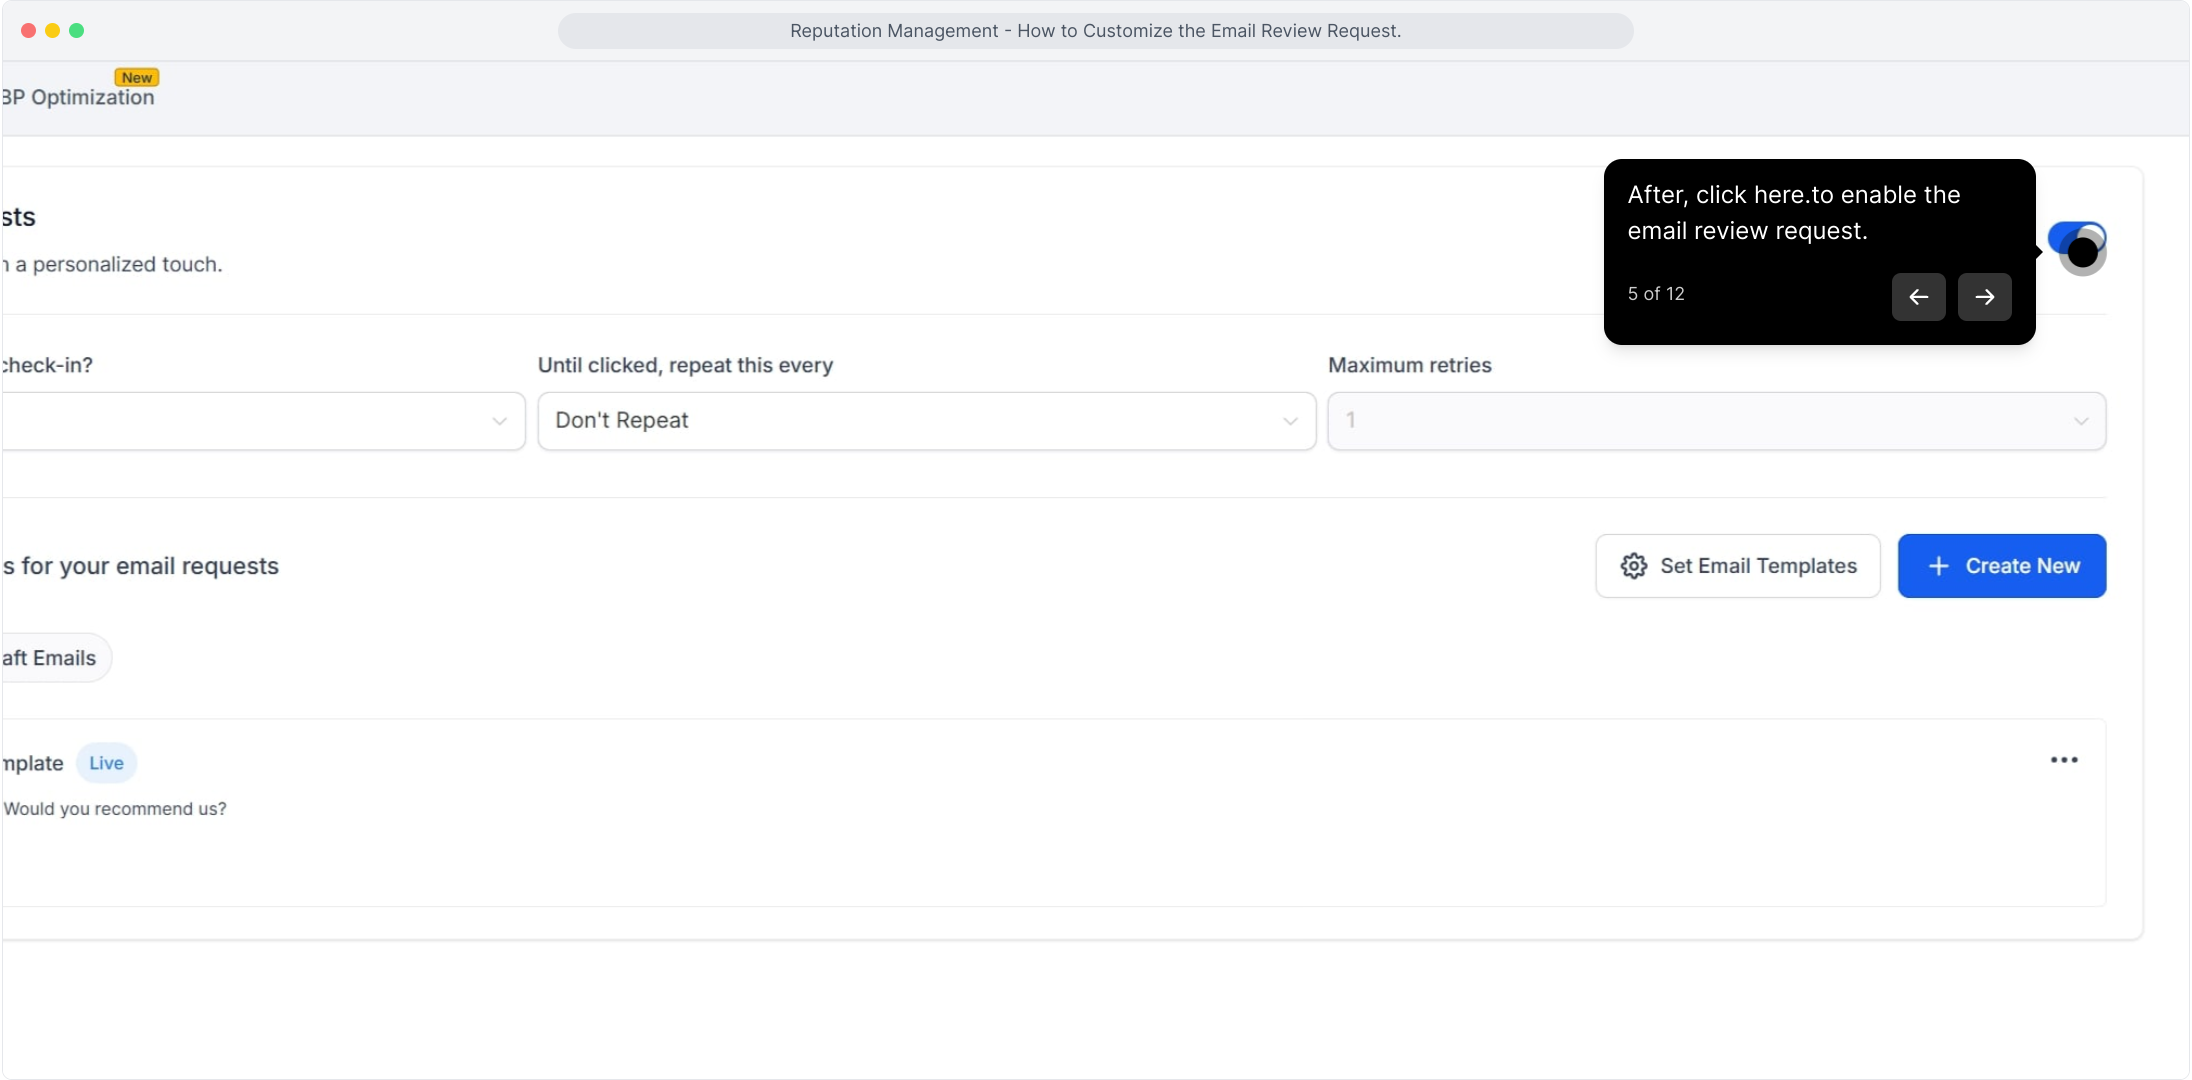
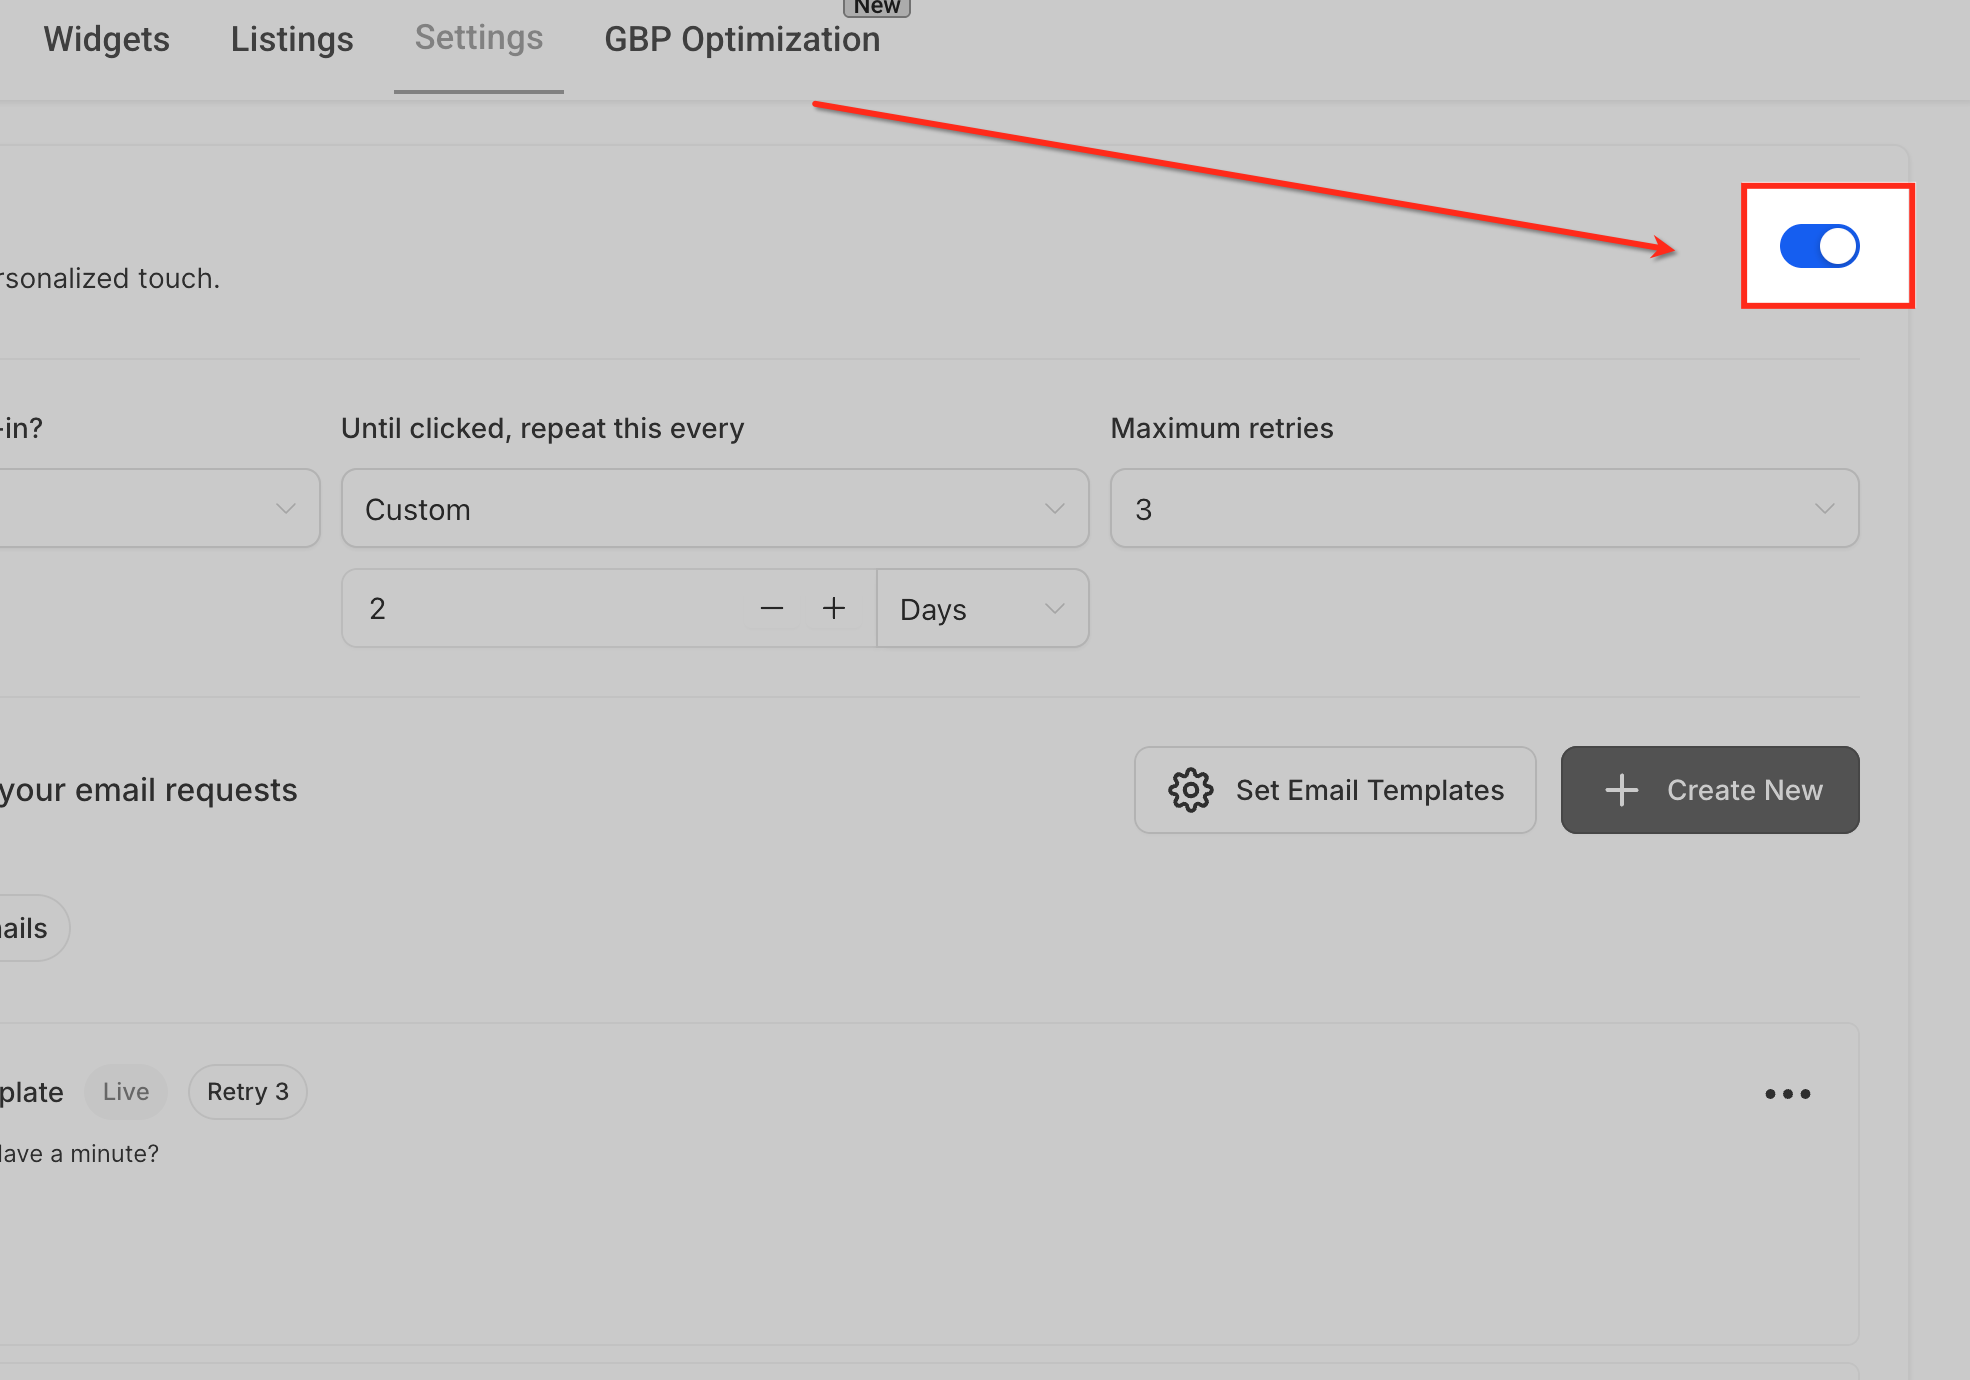
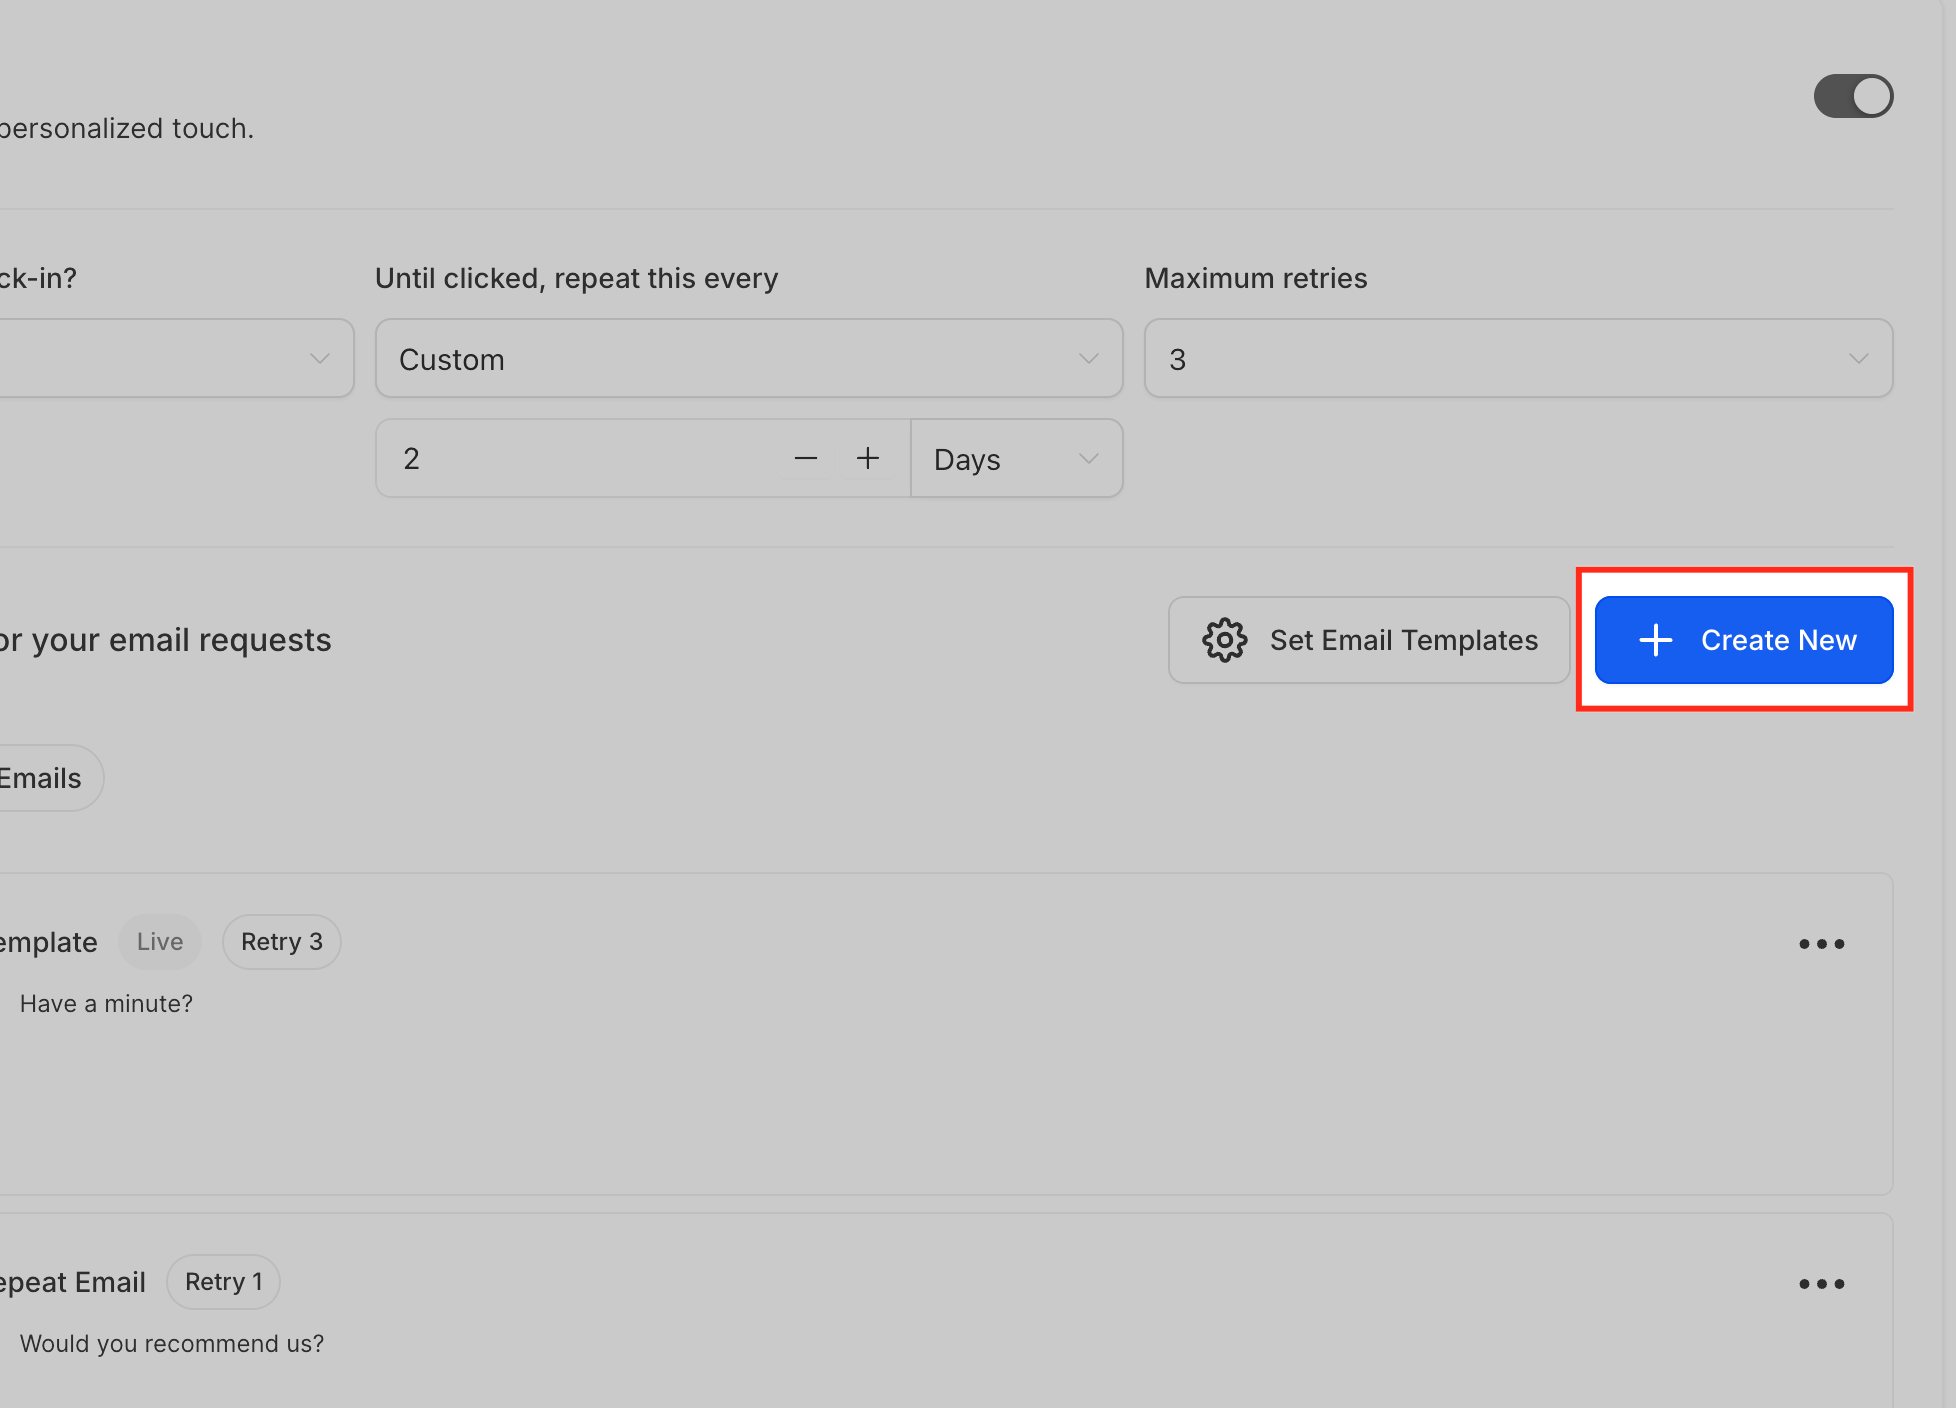
Click here to turn on email review requests. Once enabled, you can also decide:
When the first email should go out (for example, 1 hour after a patient's appointment or check-in).
How often to resend the request until the patient clicks.
The maximum number of retries.
This keeps your review requests consistent without overwhelming your patients.
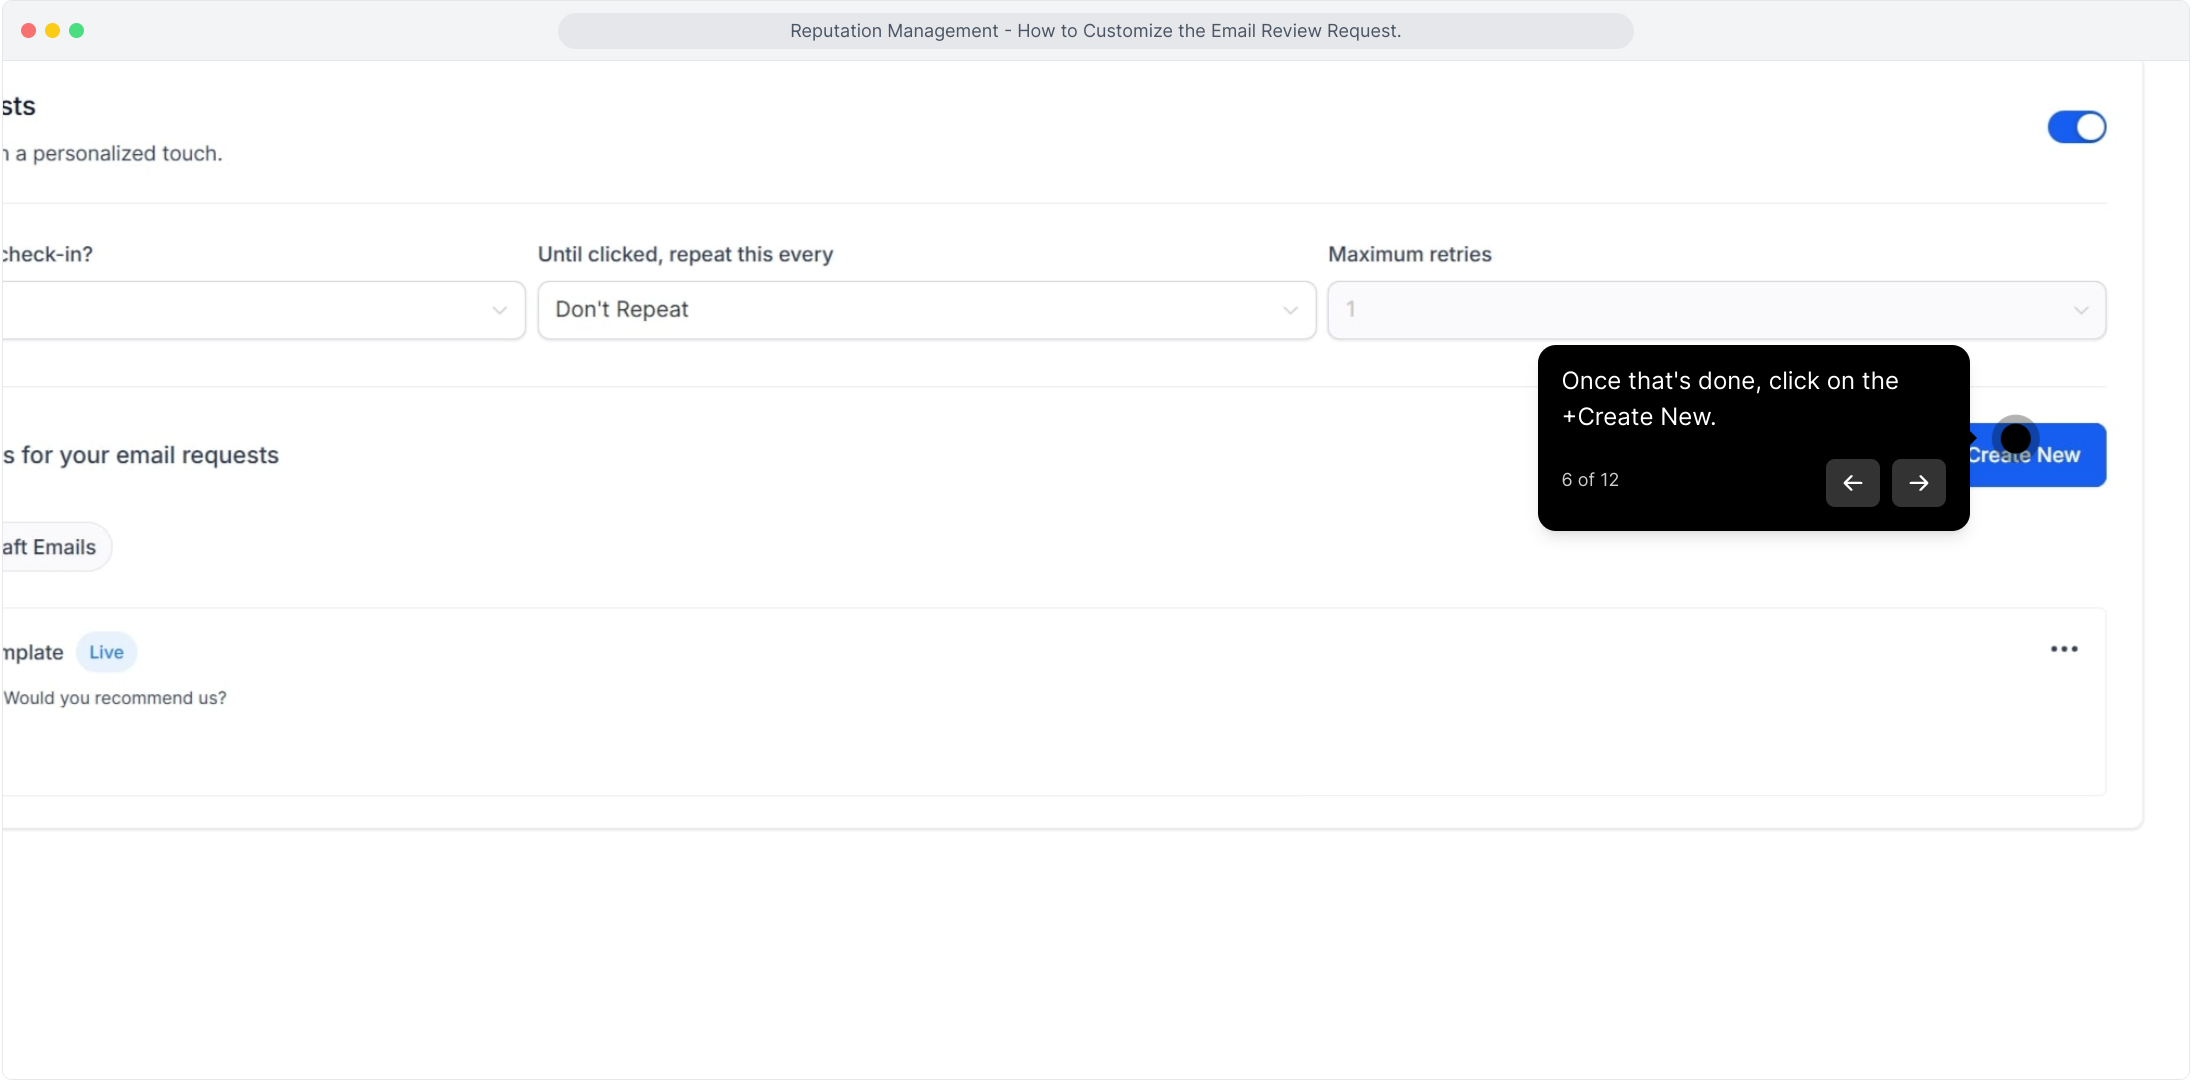
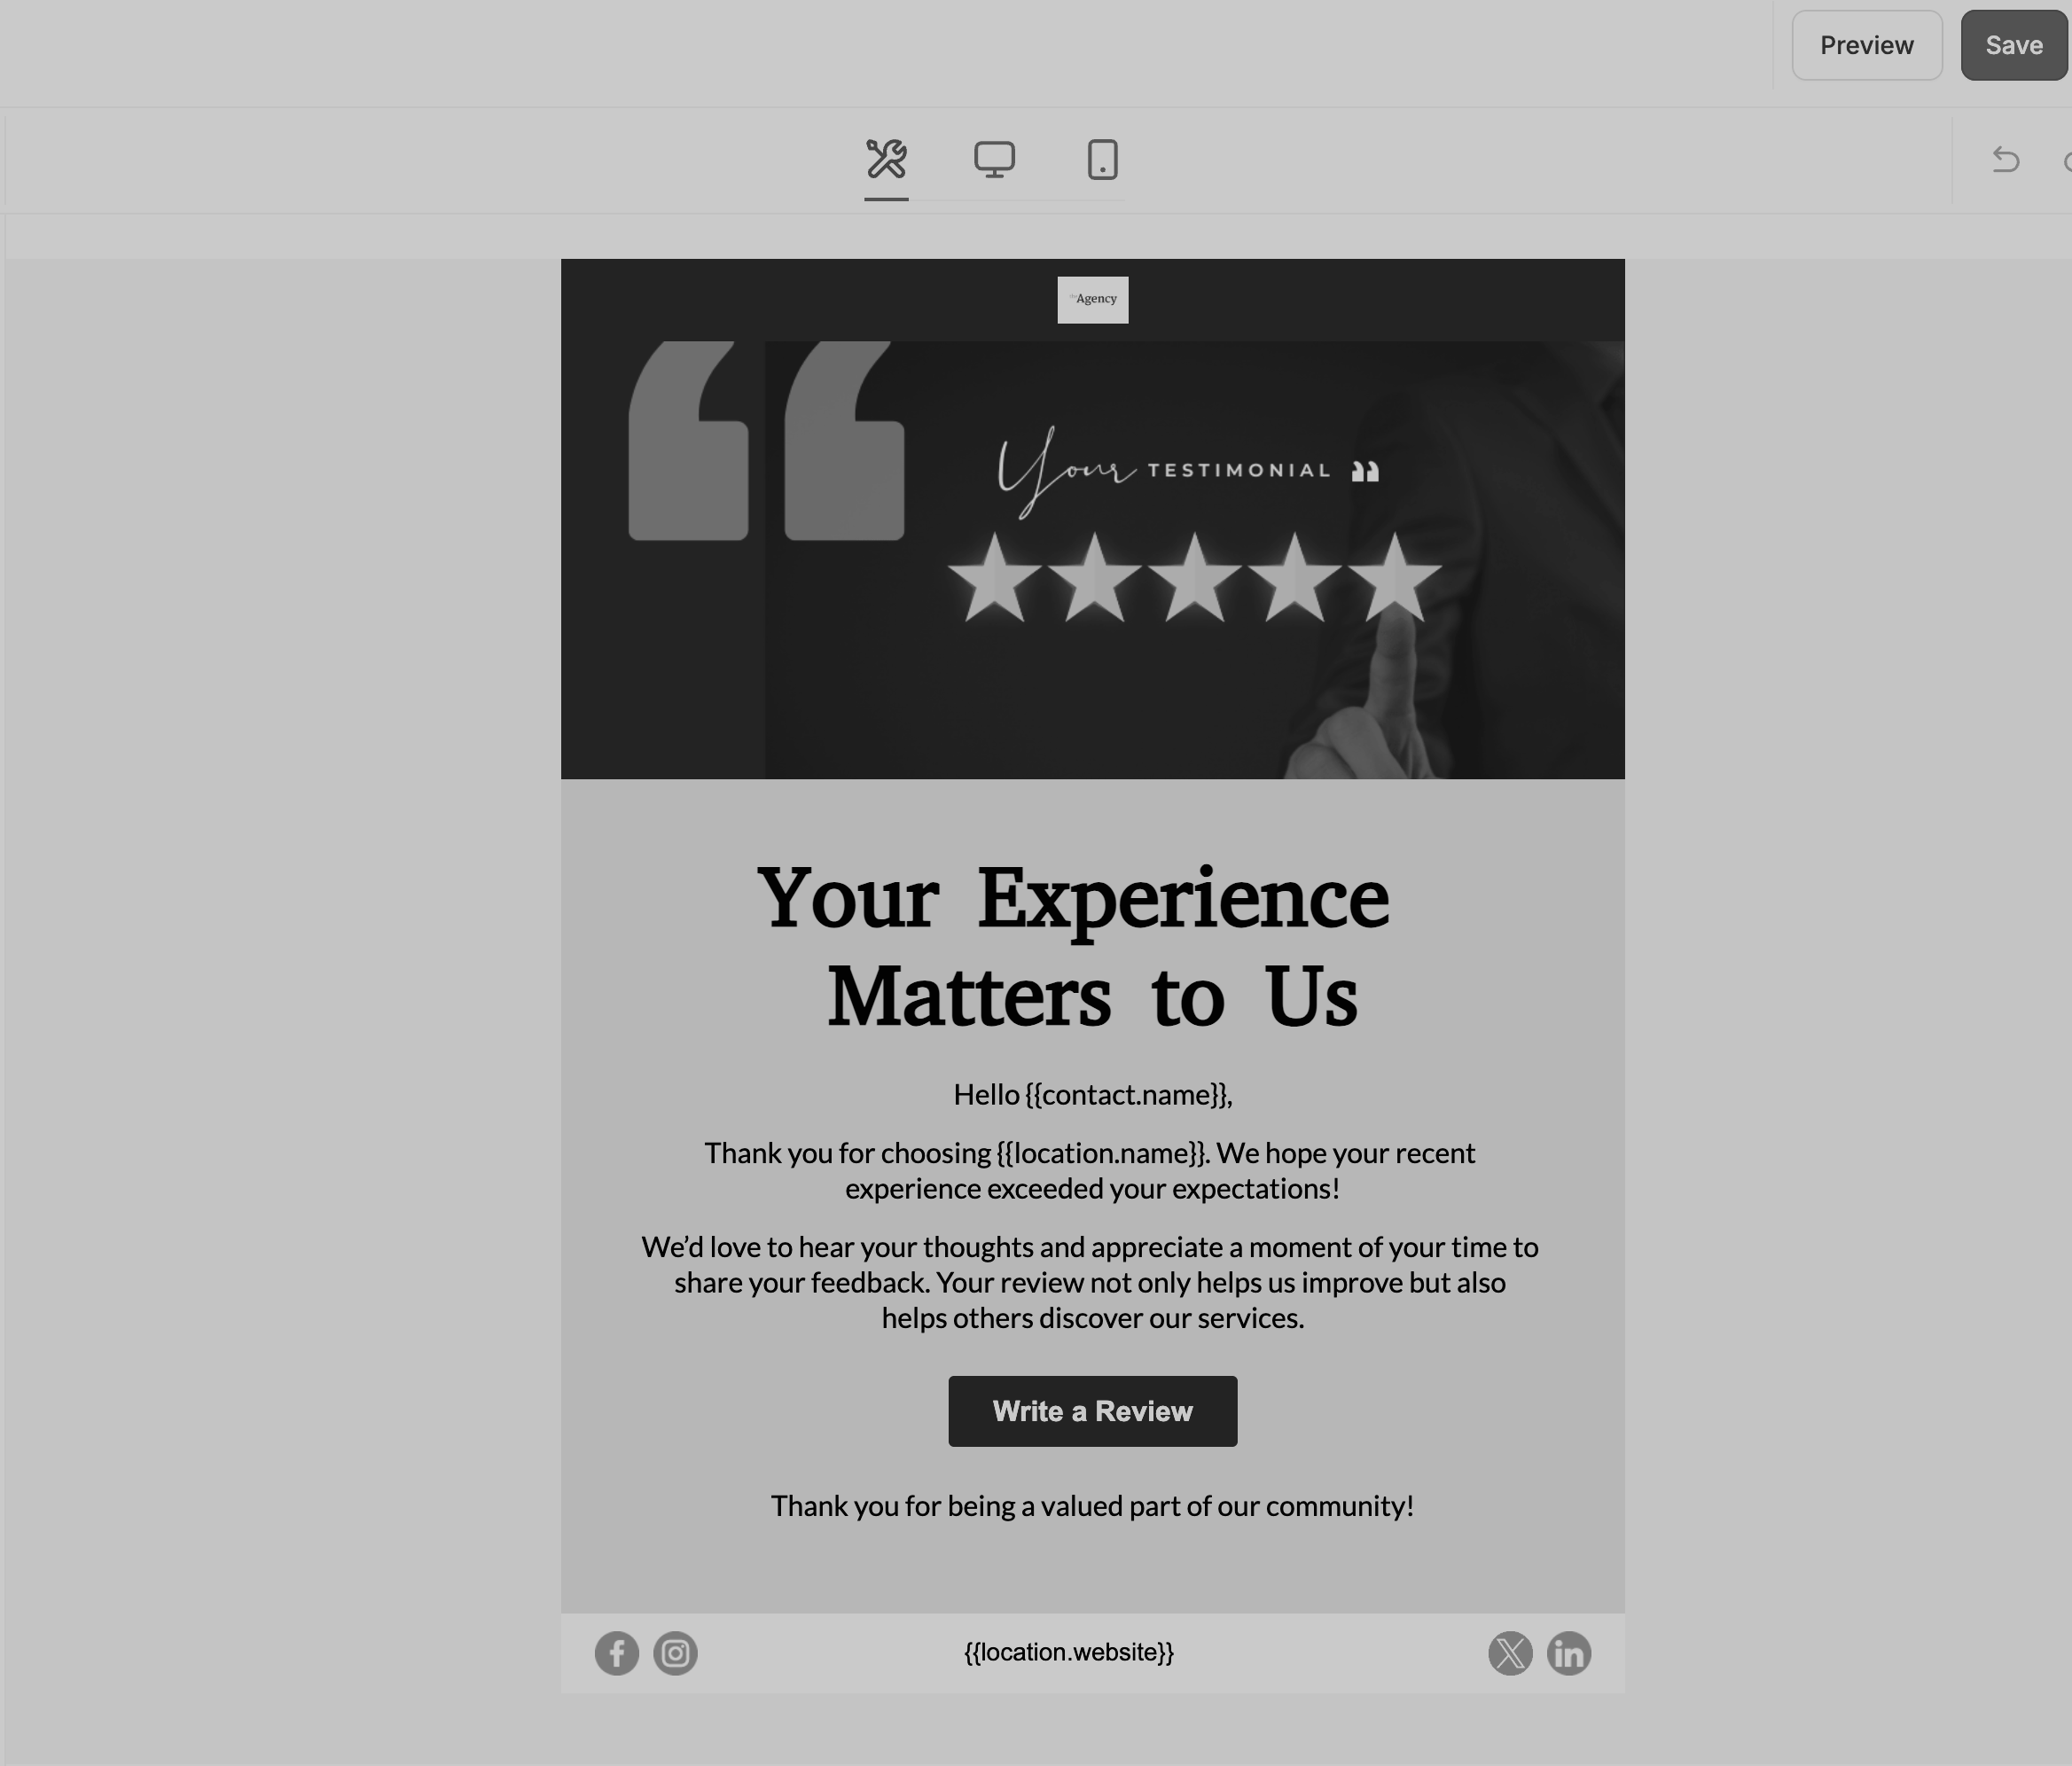
Aesthetix CRM gives you two ways to build a review-request email: start from a blank canvas for full creative control, or begin from a pre-built layout to save time. Either way, you can fully personalize the design to match your practice's brand.
When you start a new email, you'll be given two options:
Create New Template - start with a completely blank design.
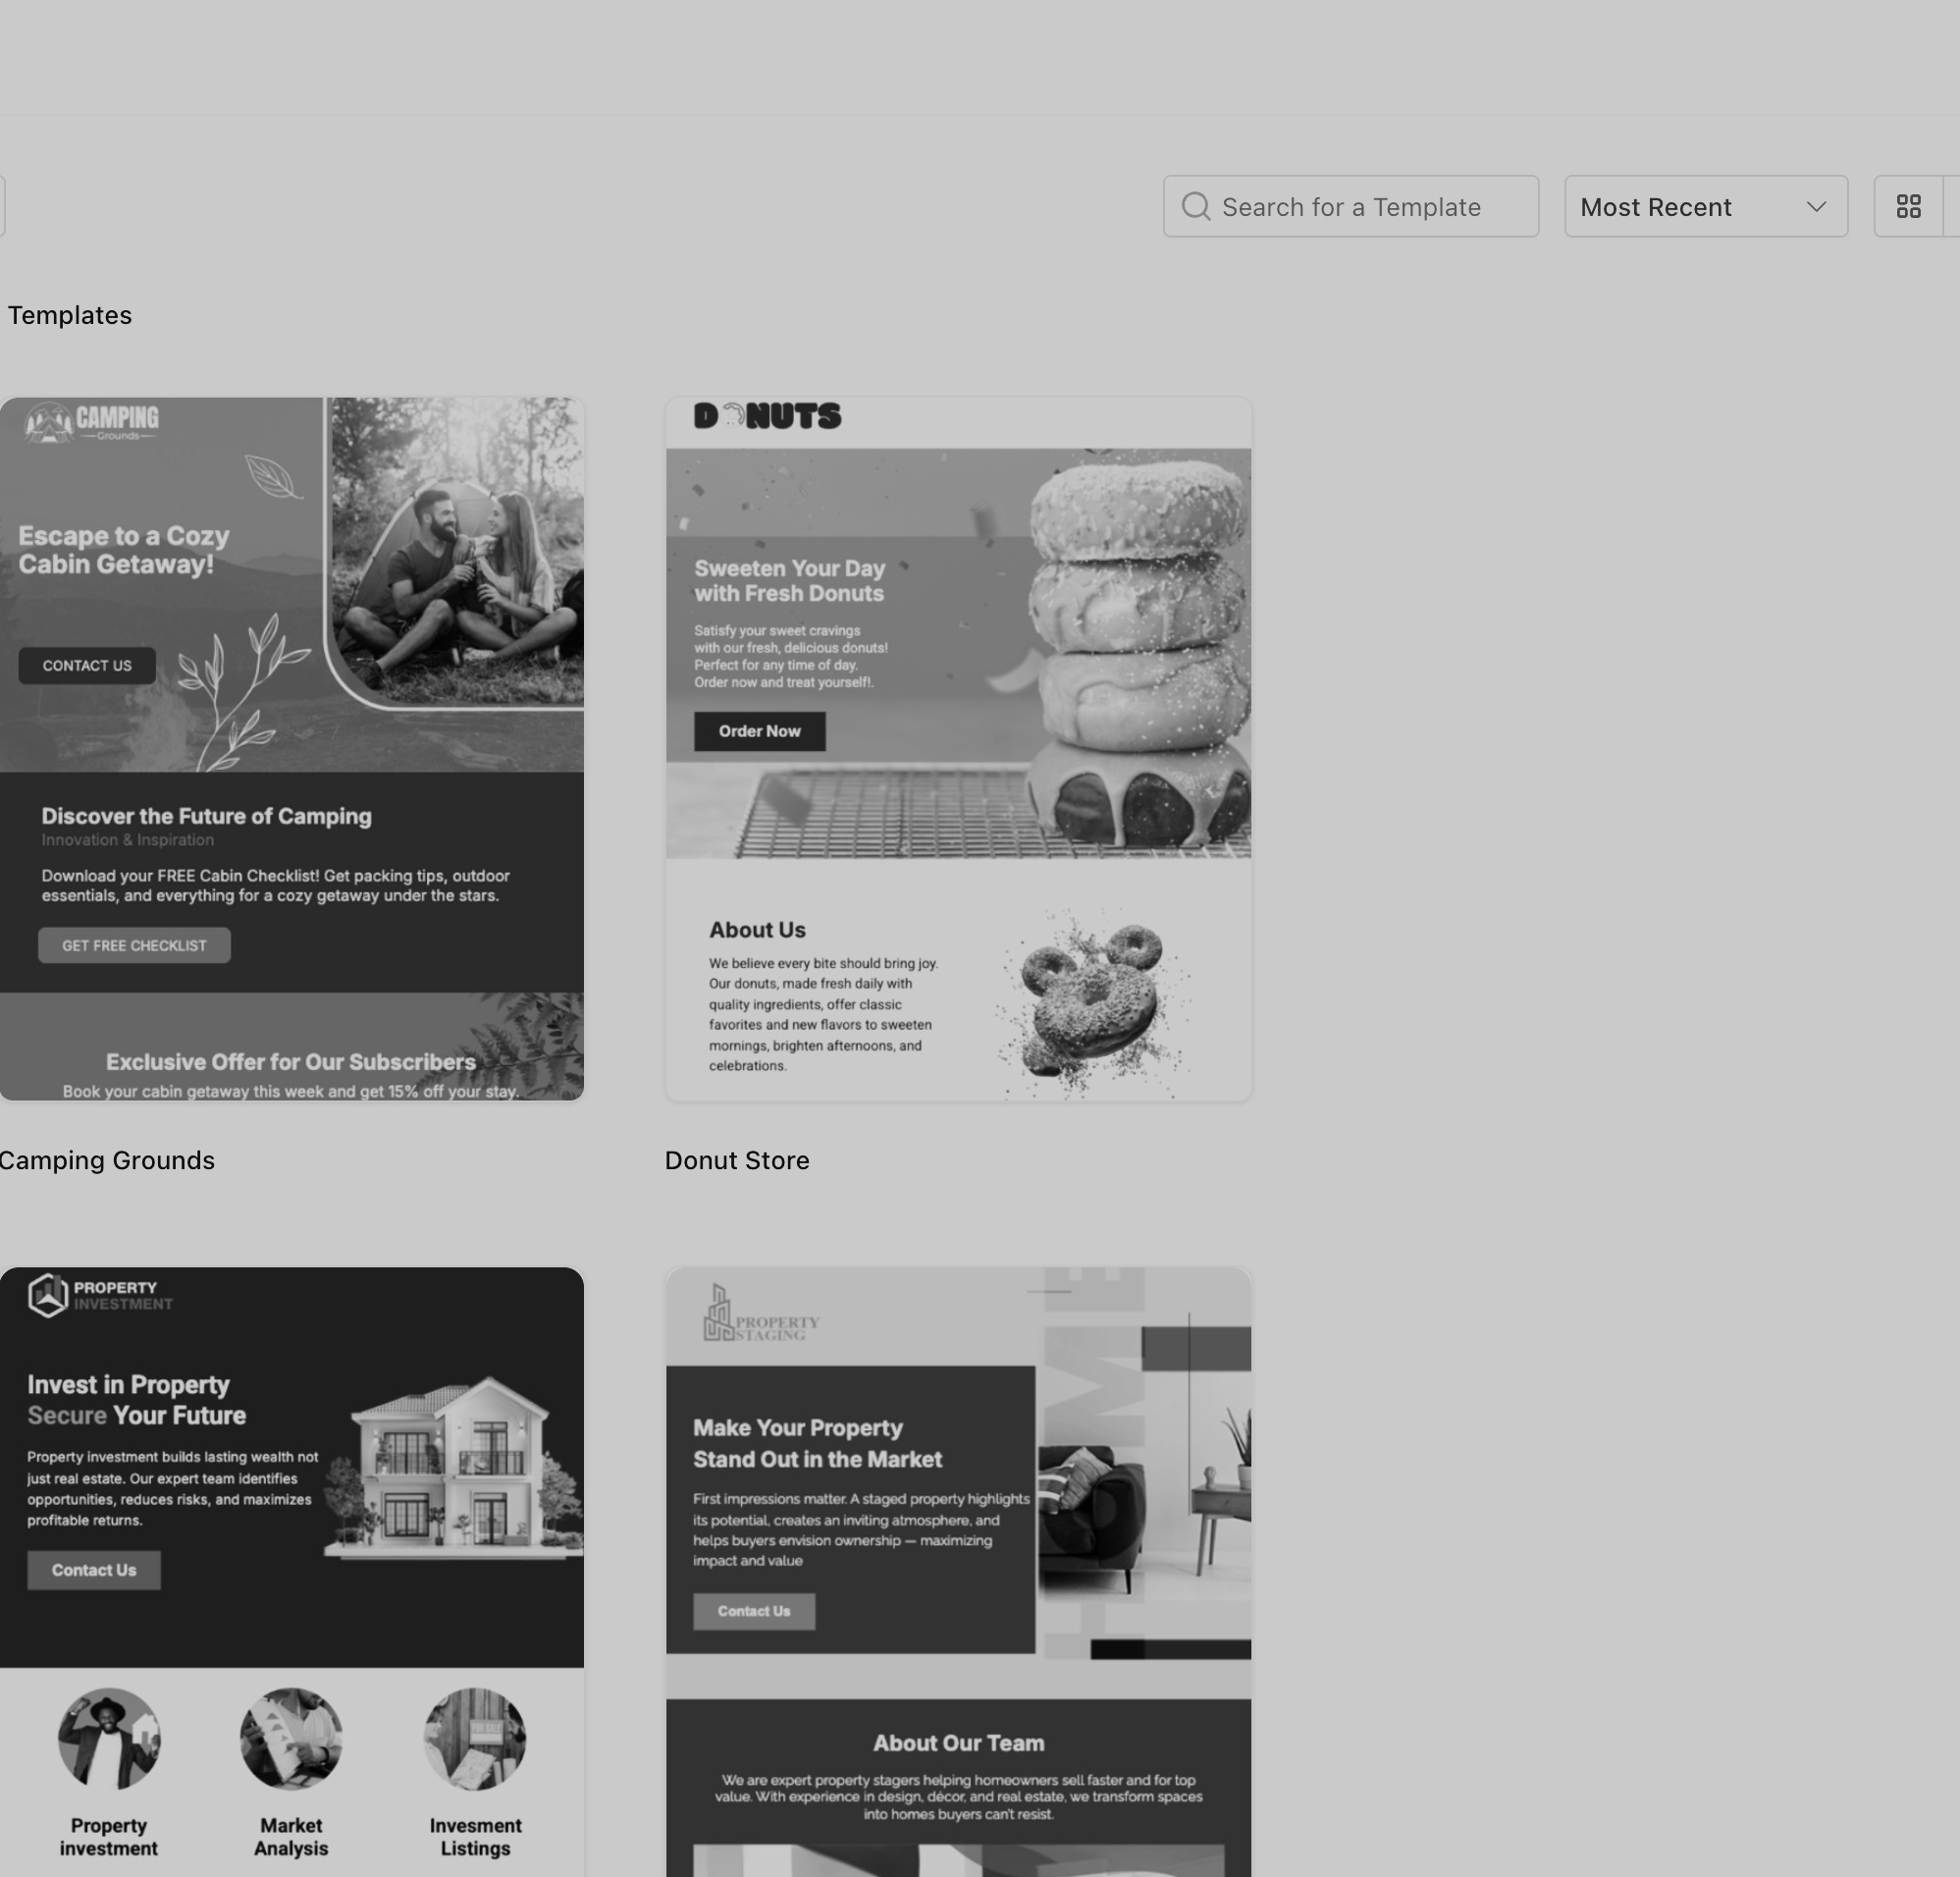
Import from Template Library - browse pre-built layouts and pick one that fits your style.
Choosing the blank canvas gives you complete control over every design element, so you can add custom text, images, and styling that truly reflect your practice's personality.
Customize layouts, colors, and fonts to align with your brand guidelines.
Experiment freely and build unique campaigns from the ground up.
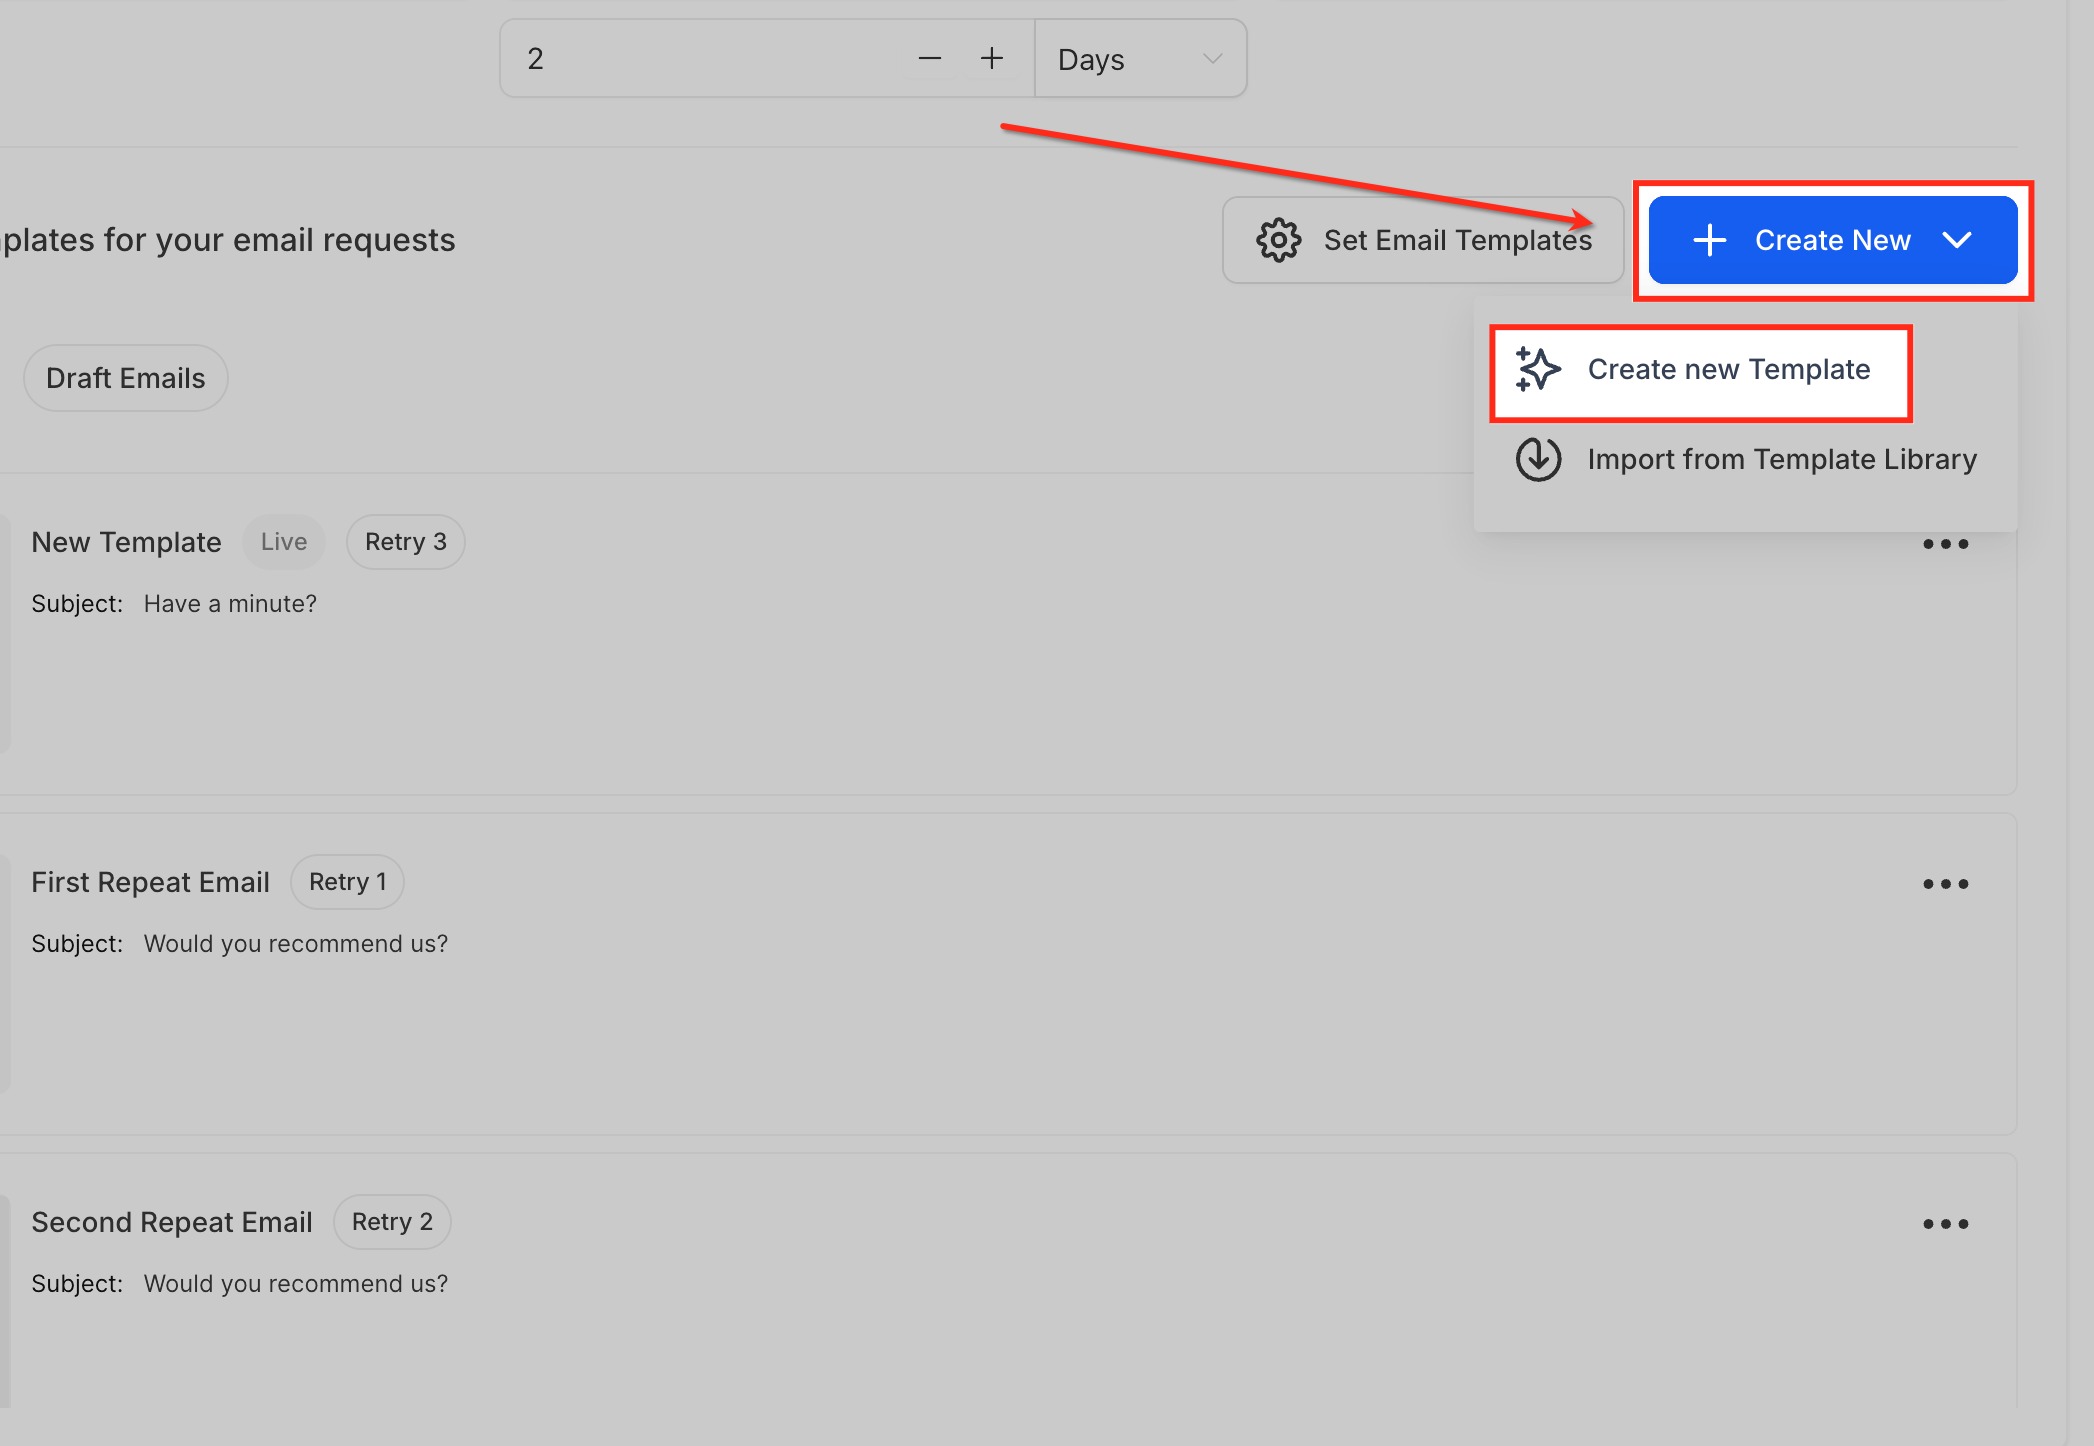
If you prefer a faster route, select the Template Library. You'll see a collection of professionally designed templates, organized by category. Each one is easy to customize, so even a pre-built design can be fine-tuned to reflect your practice's look and feel.
Access a variety of layouts tailored for review-request emails.
Swap in your own text and branding elements effortlessly.
Save significant time while keeping a consistent, professional presentation.
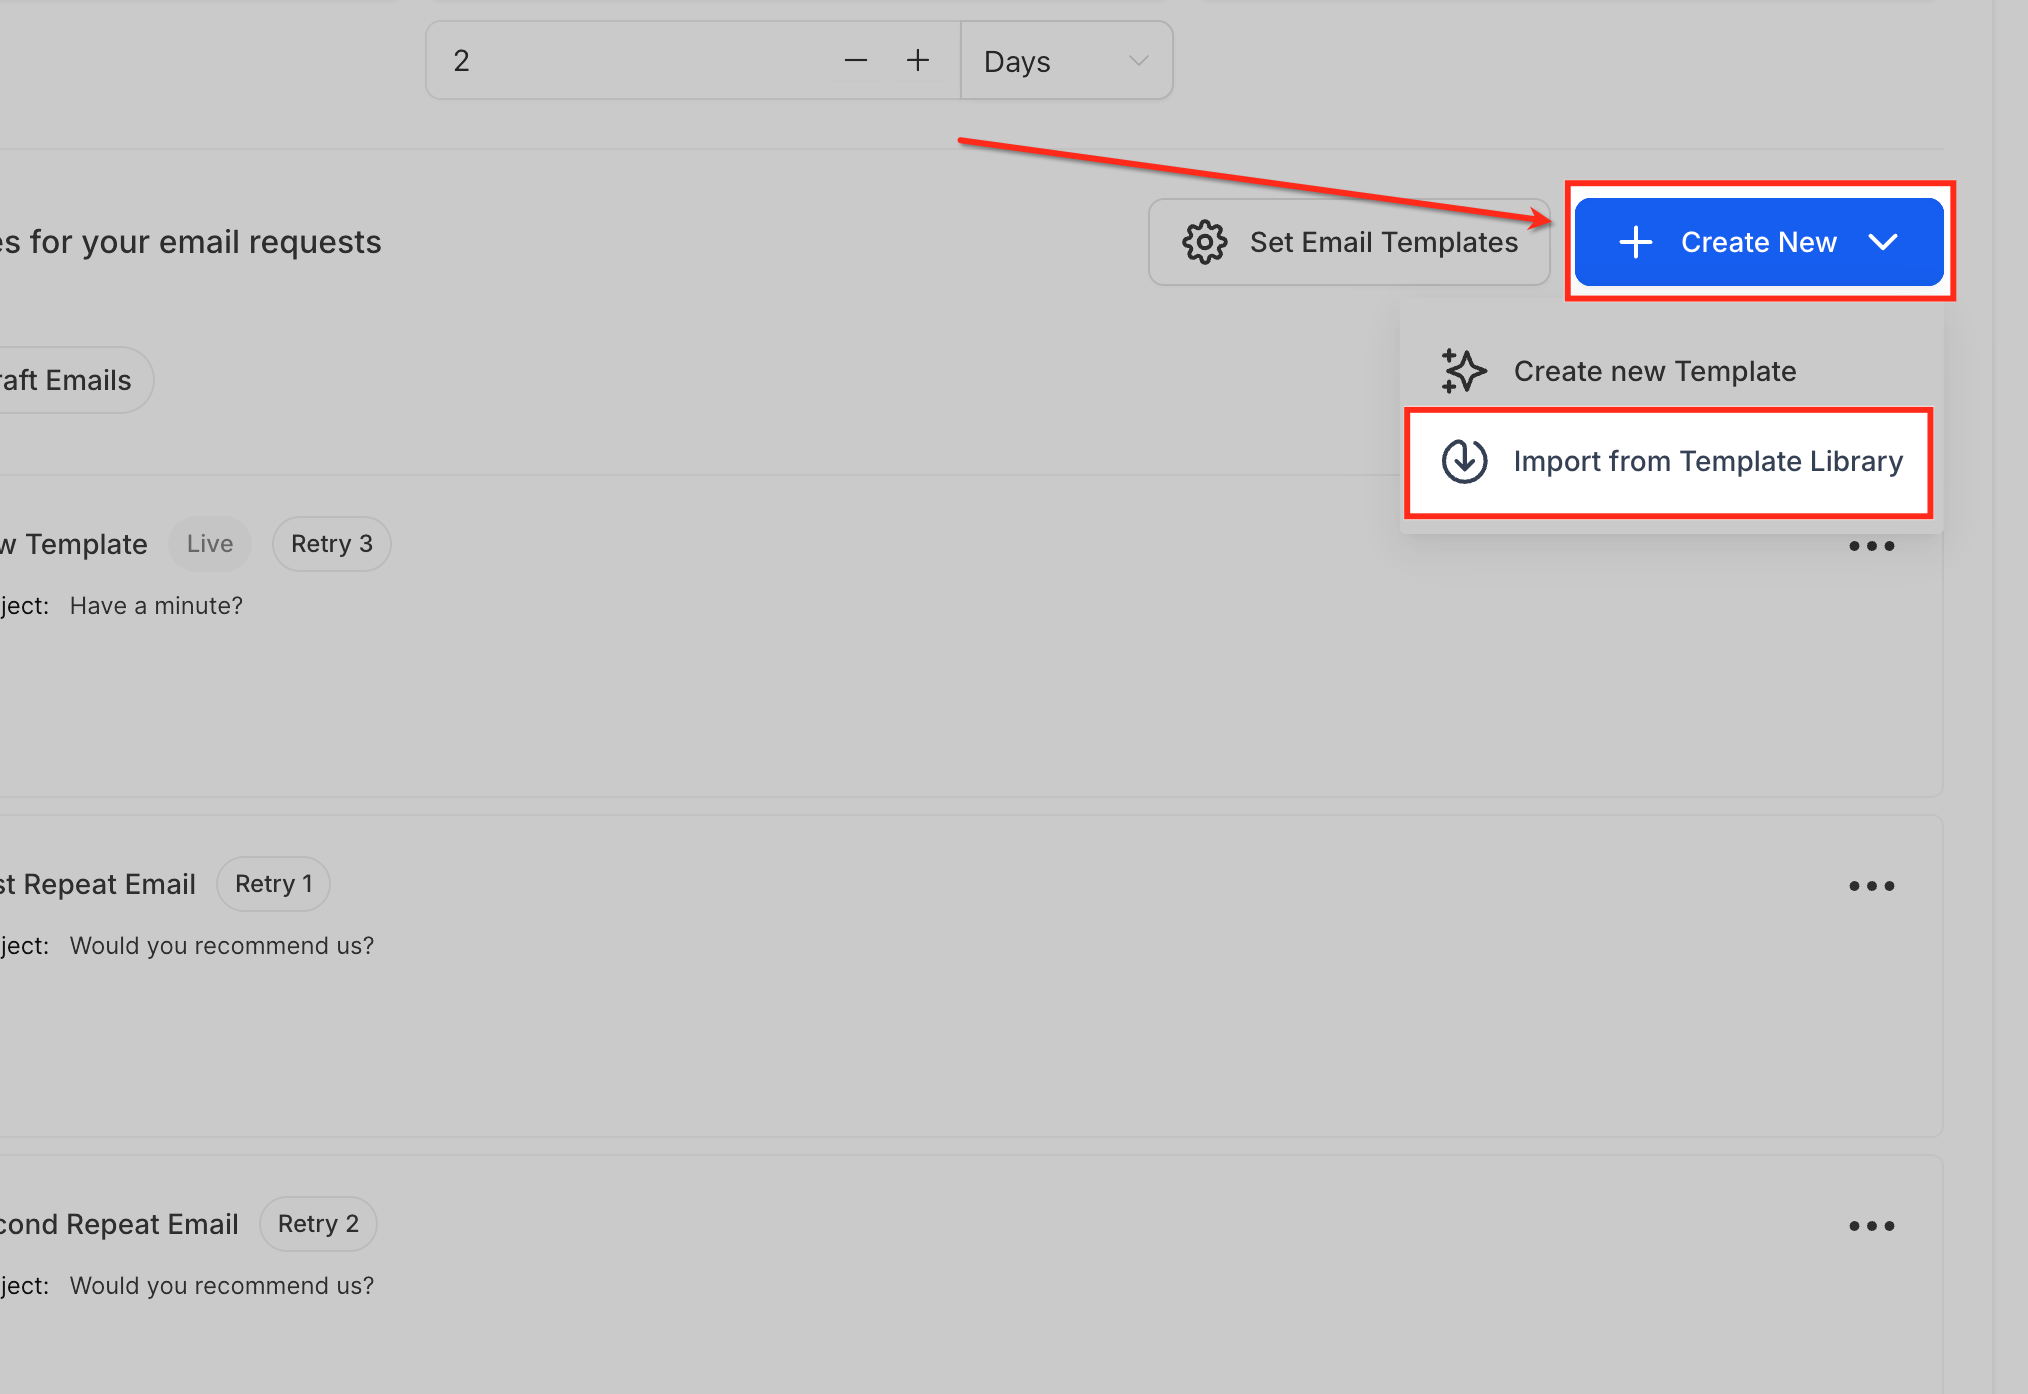
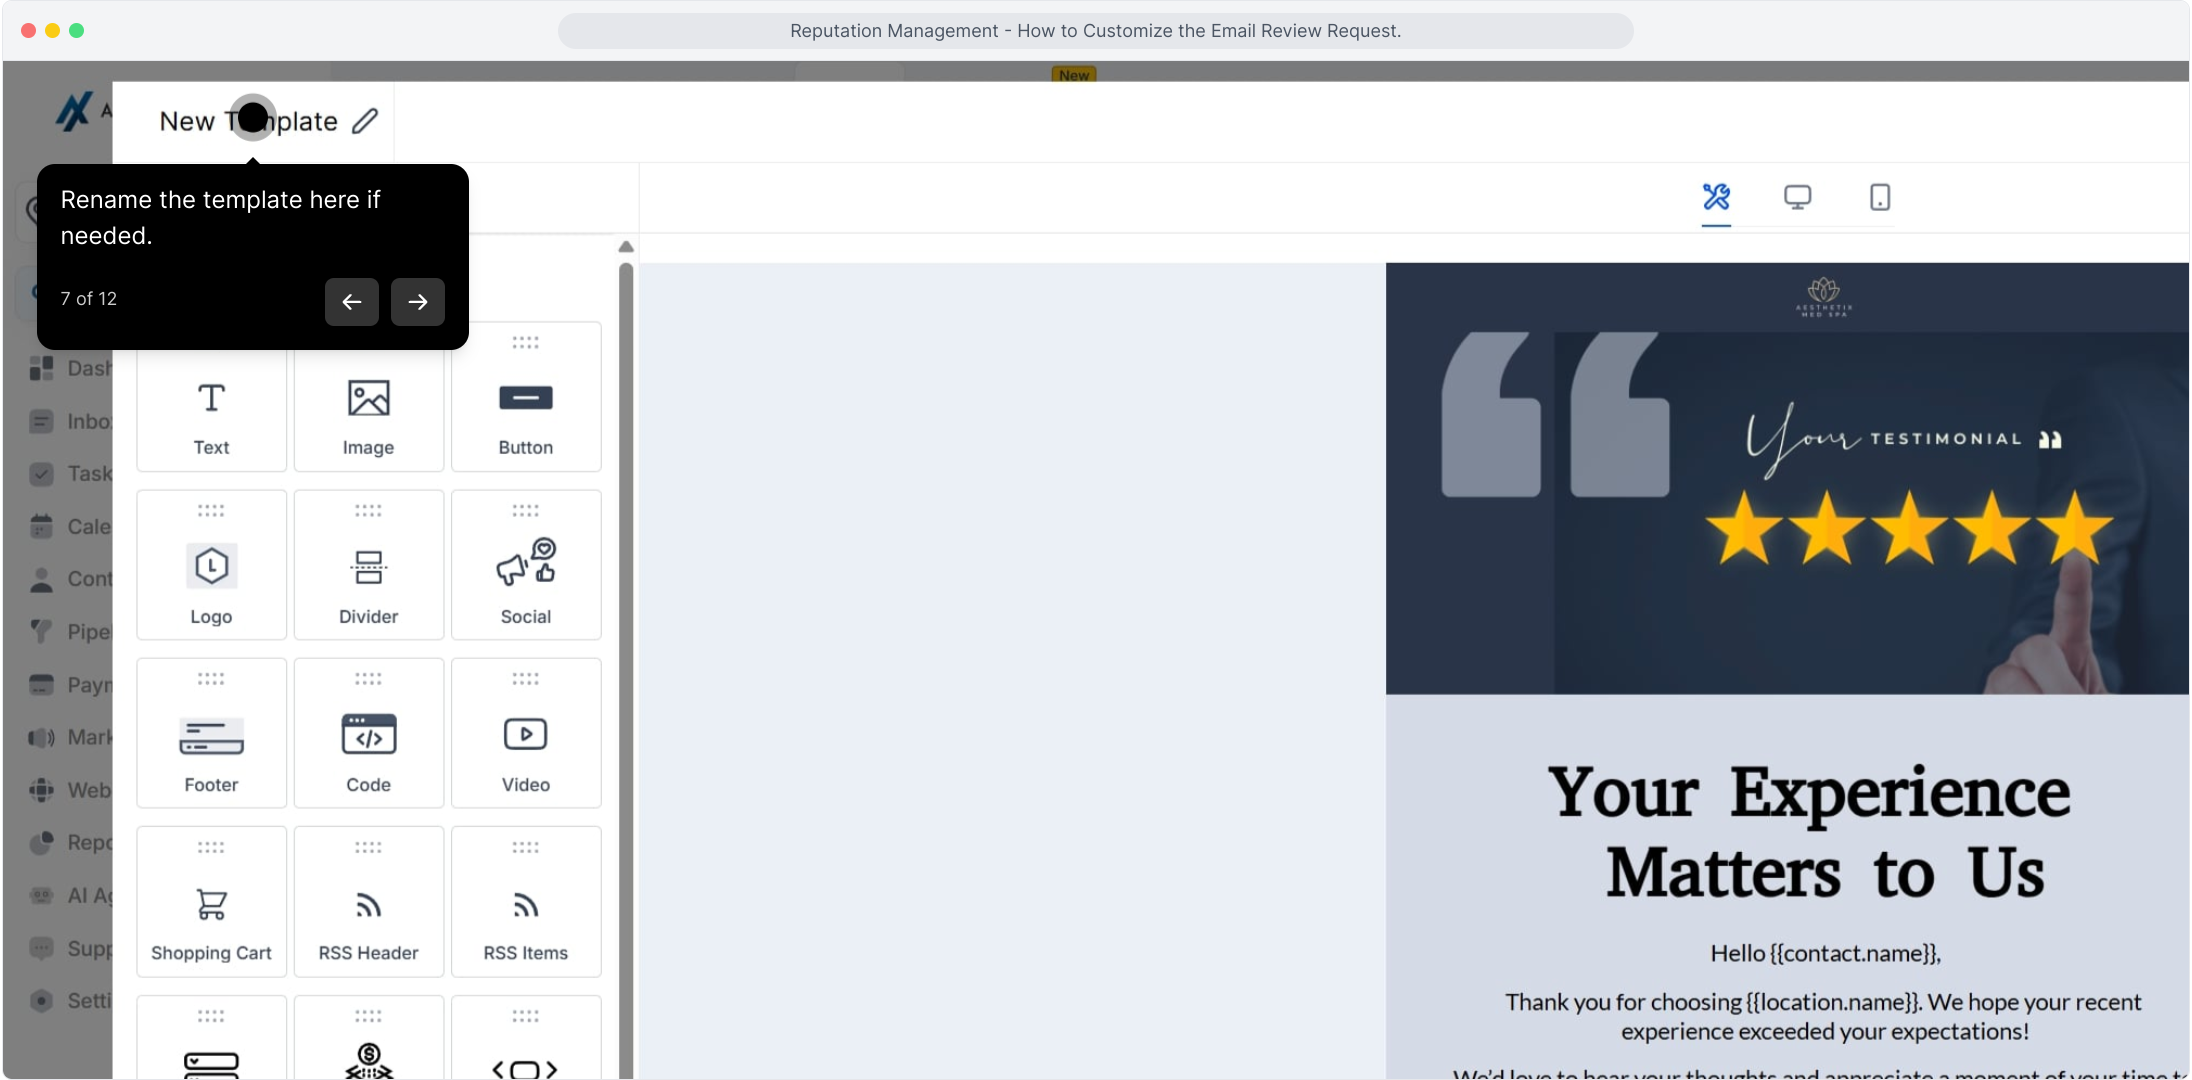
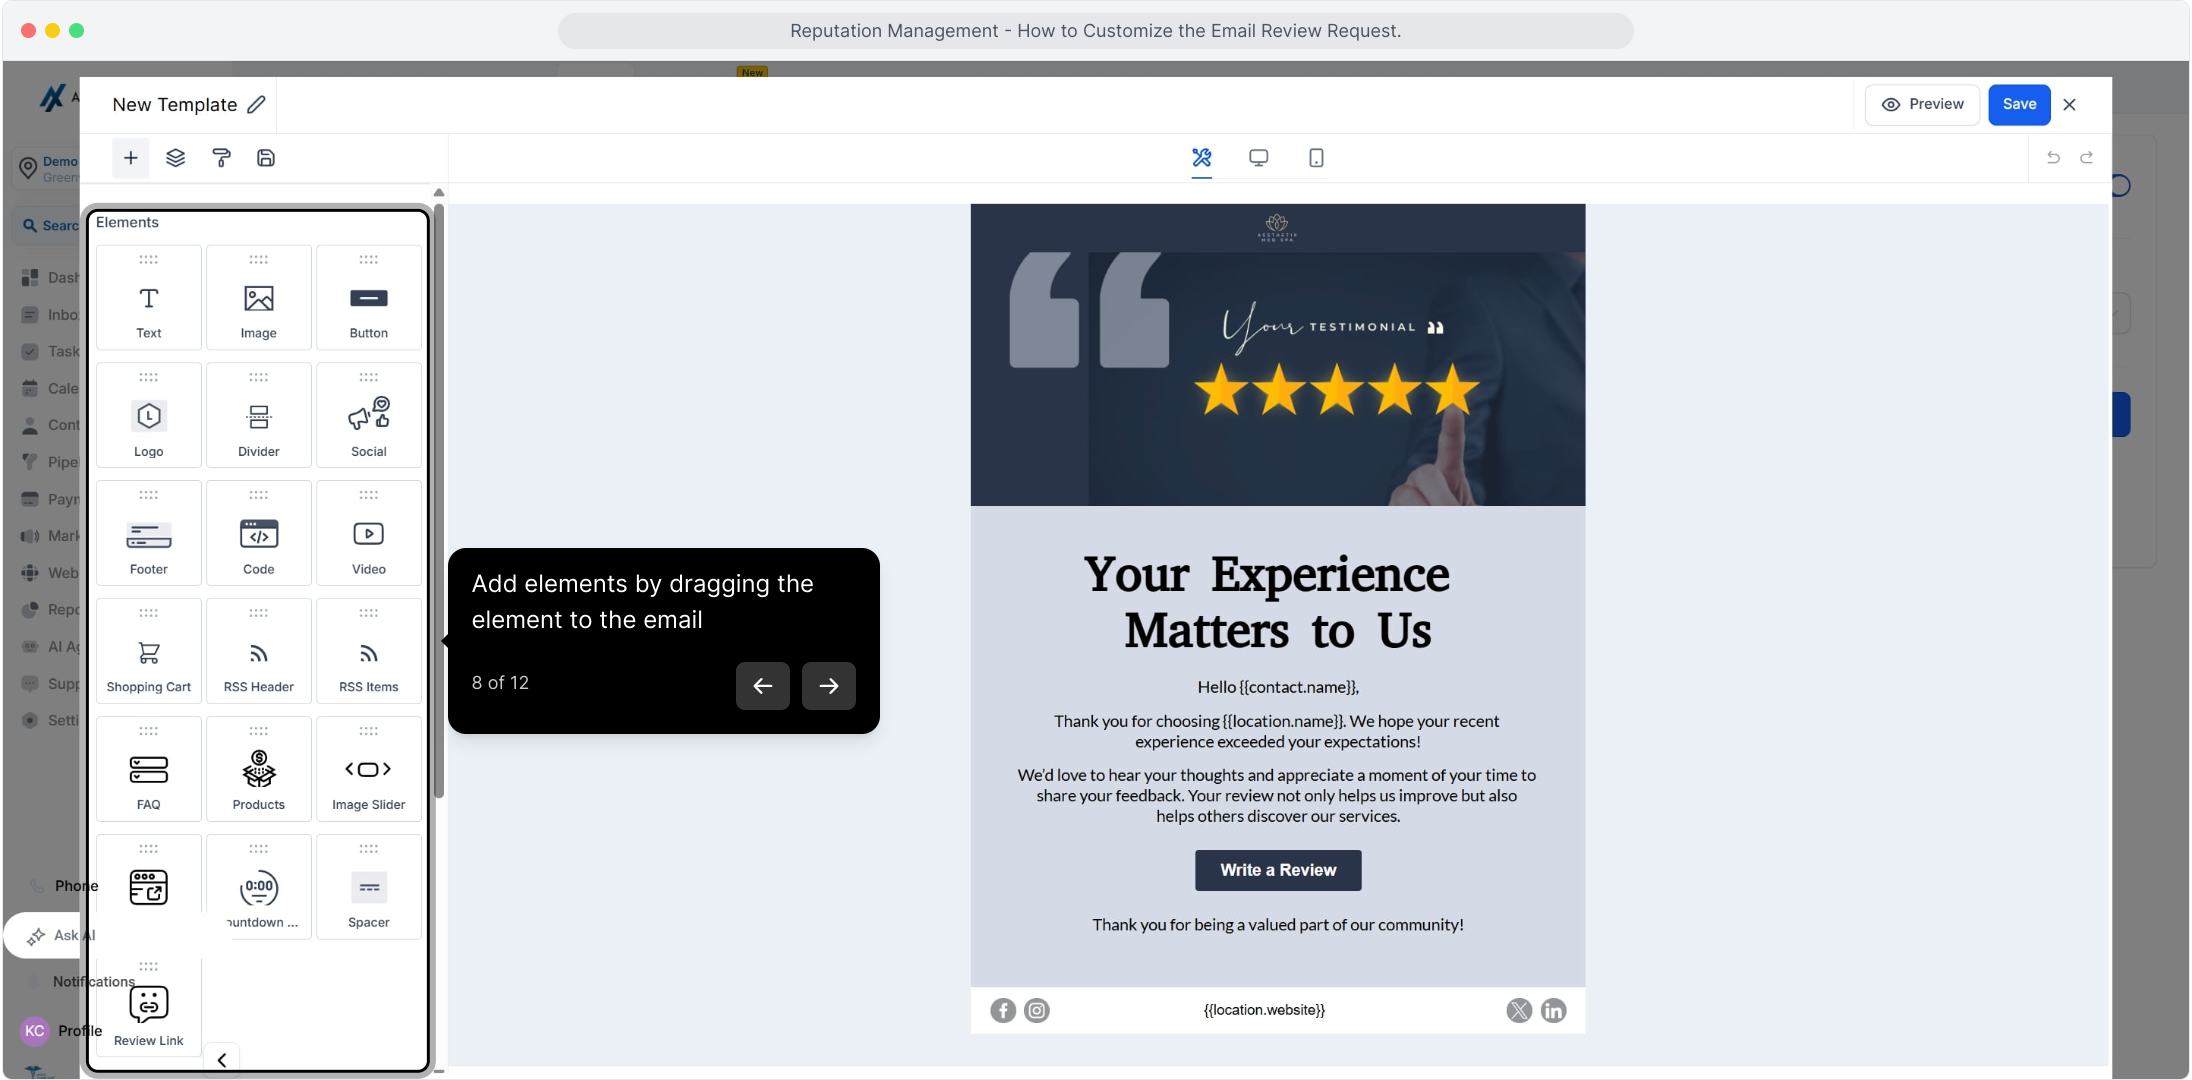
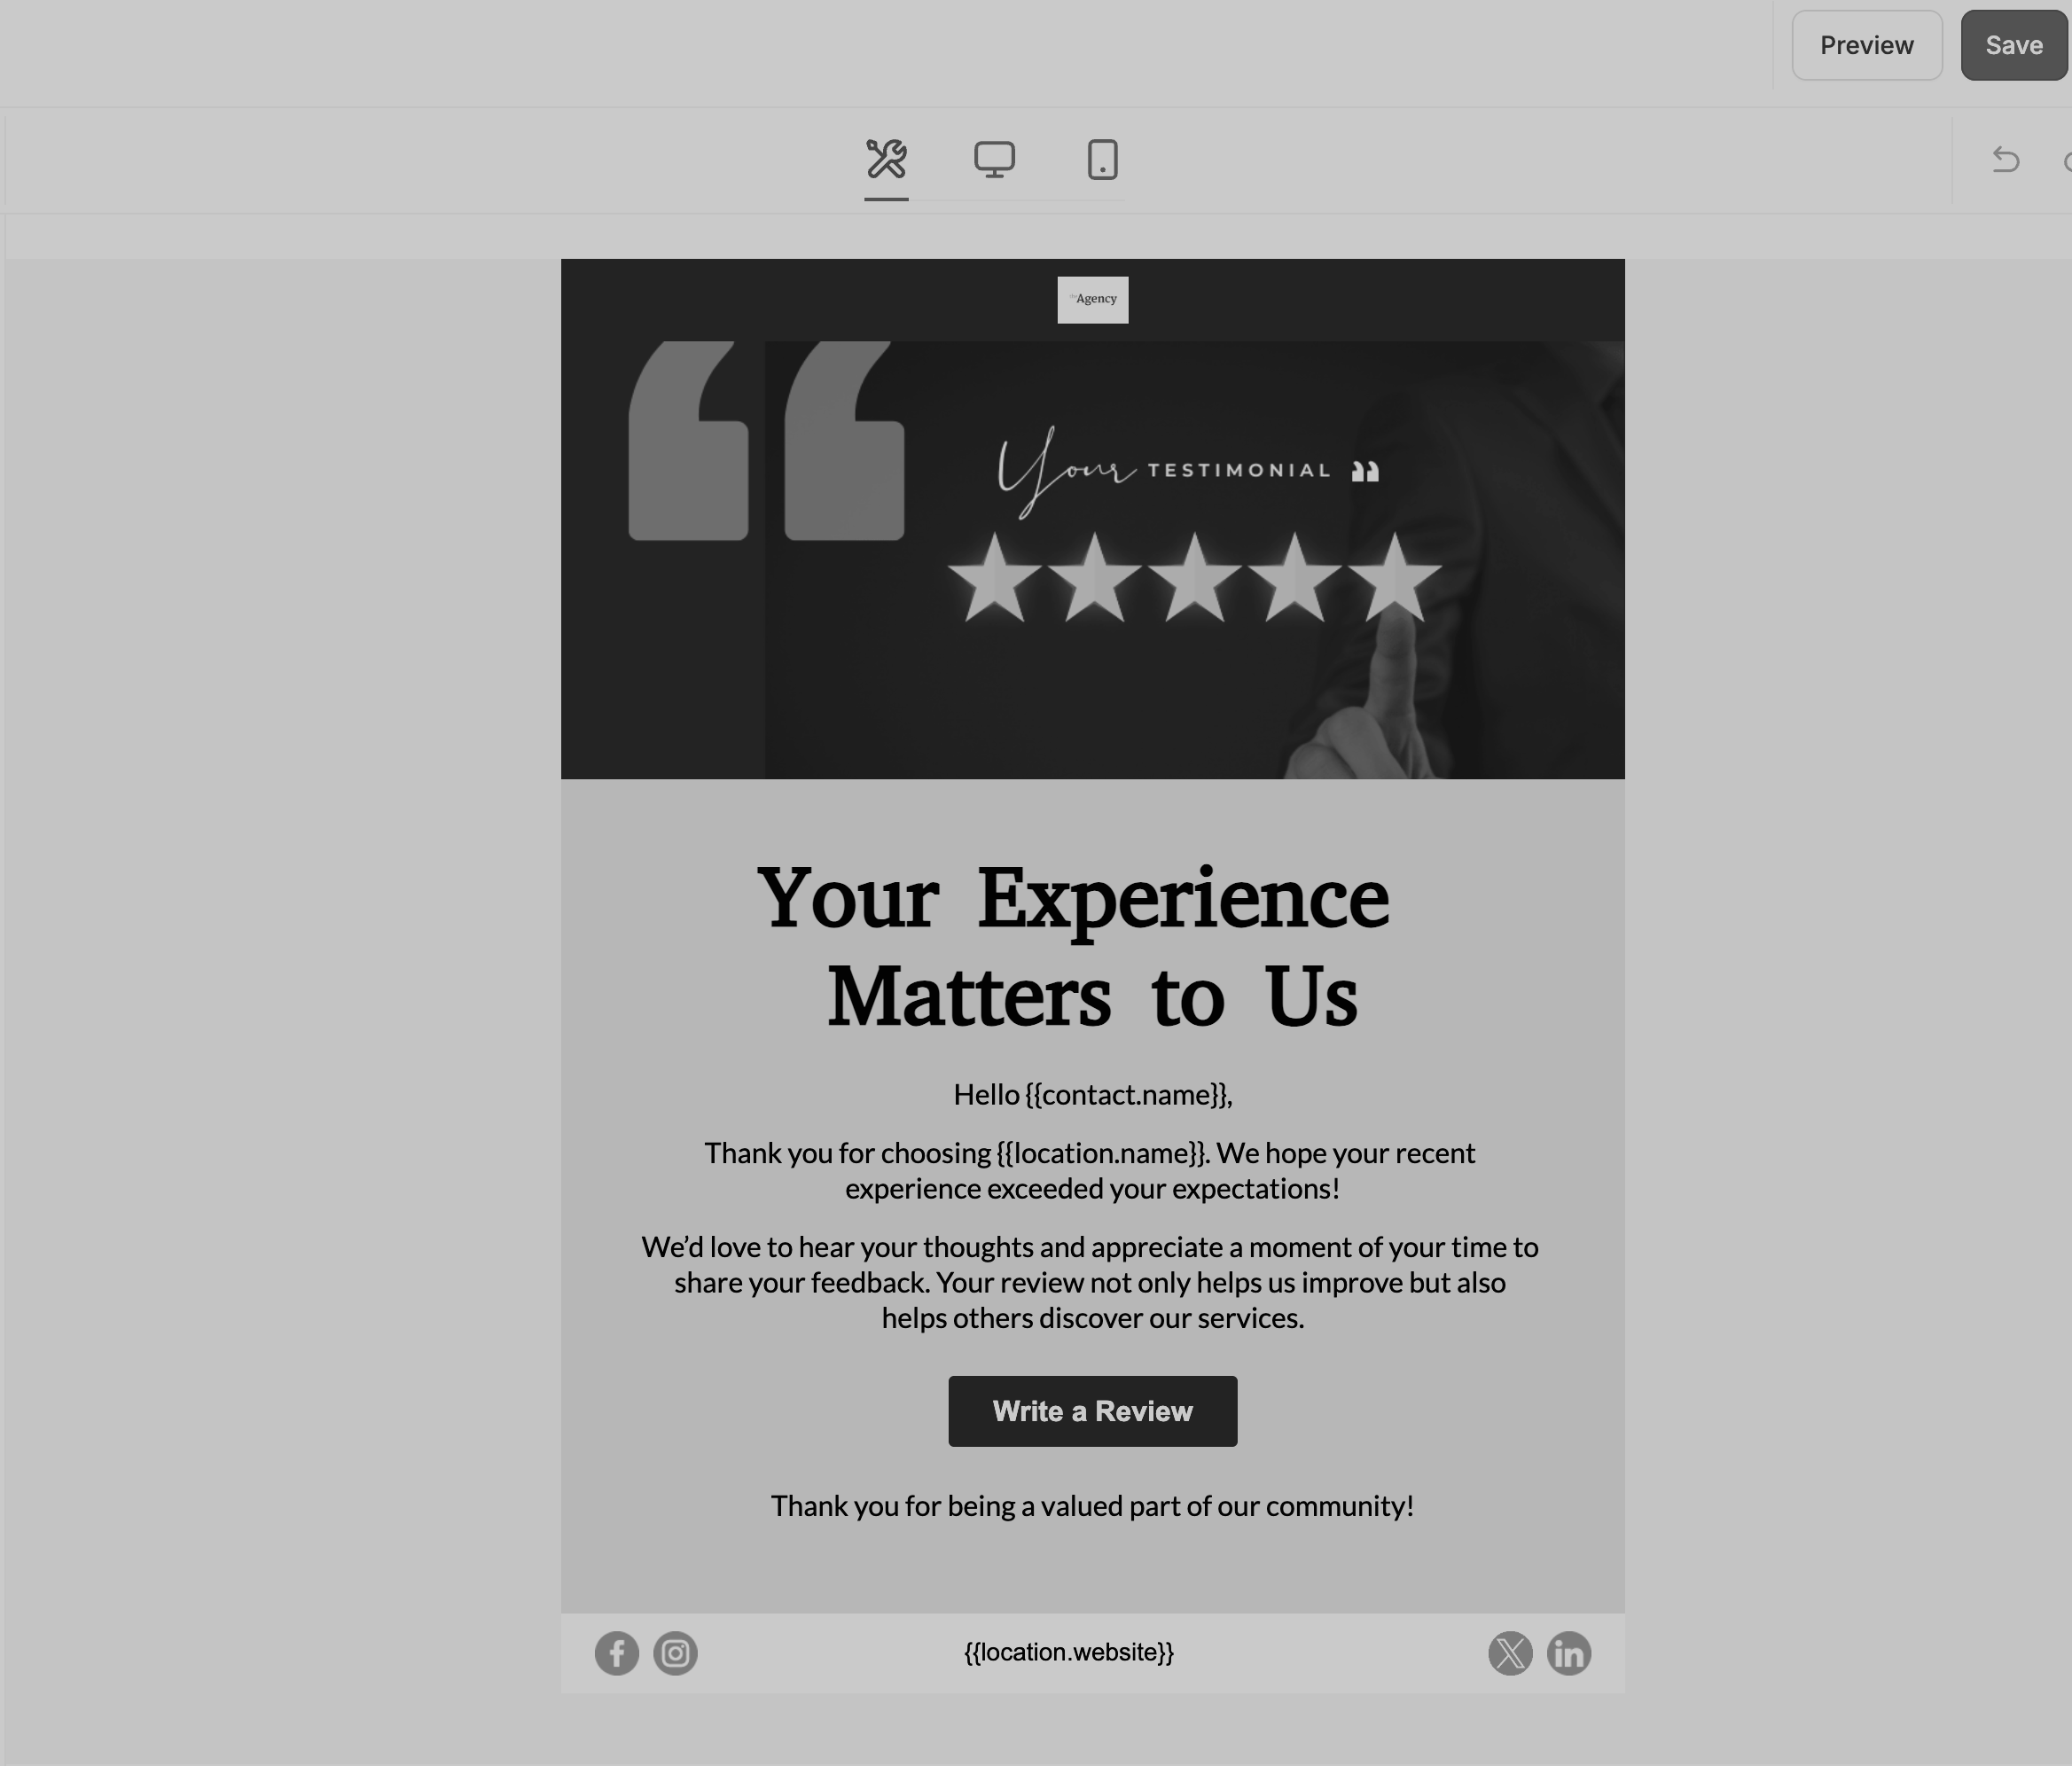
Use the drag-and-drop builder to structure and brand your message.
You can add:
Text, images, and buttons to structure your message.
A Review Link so patients can leave feedback easily.
Logos, social icons, and dividers to make your email look polished.
The Review Links element lets you add several review-platform links (such as Google, Facebook, and others) inside a single email. Built-in auto-validation helps prevent broken or incorrect URLs, and giving patients a choice of where to leave a review reduces drop-off and boosts your conversions.
To add multiple platforms to one review-request email:
Drag and drop the Review Links element into the builder. It pre-selects any connected review platforms.
Add, edit, or deselect platform URLs as needed.
Customize the link text (for example, "Leave a review on Google") to match your brand voice and call to action.
If you have multiple Google Business Profile locations connected, select the specific location.
Reorder links by dragging them into your preferred order.
Confirm there are no validation errors.
Save your template, then Preview and Send (or use it in recurring or workflow-driven review requests).
Note: If you don't see any platforms listed, connect them first under Marketing → Reviews Management → Settings → Integrations, then return to the Email Builder and open Review Links. To hide a platform from an email, simply unselect it in the template - you don't need to disconnect the integration.
Always check how your email looks before you send it.
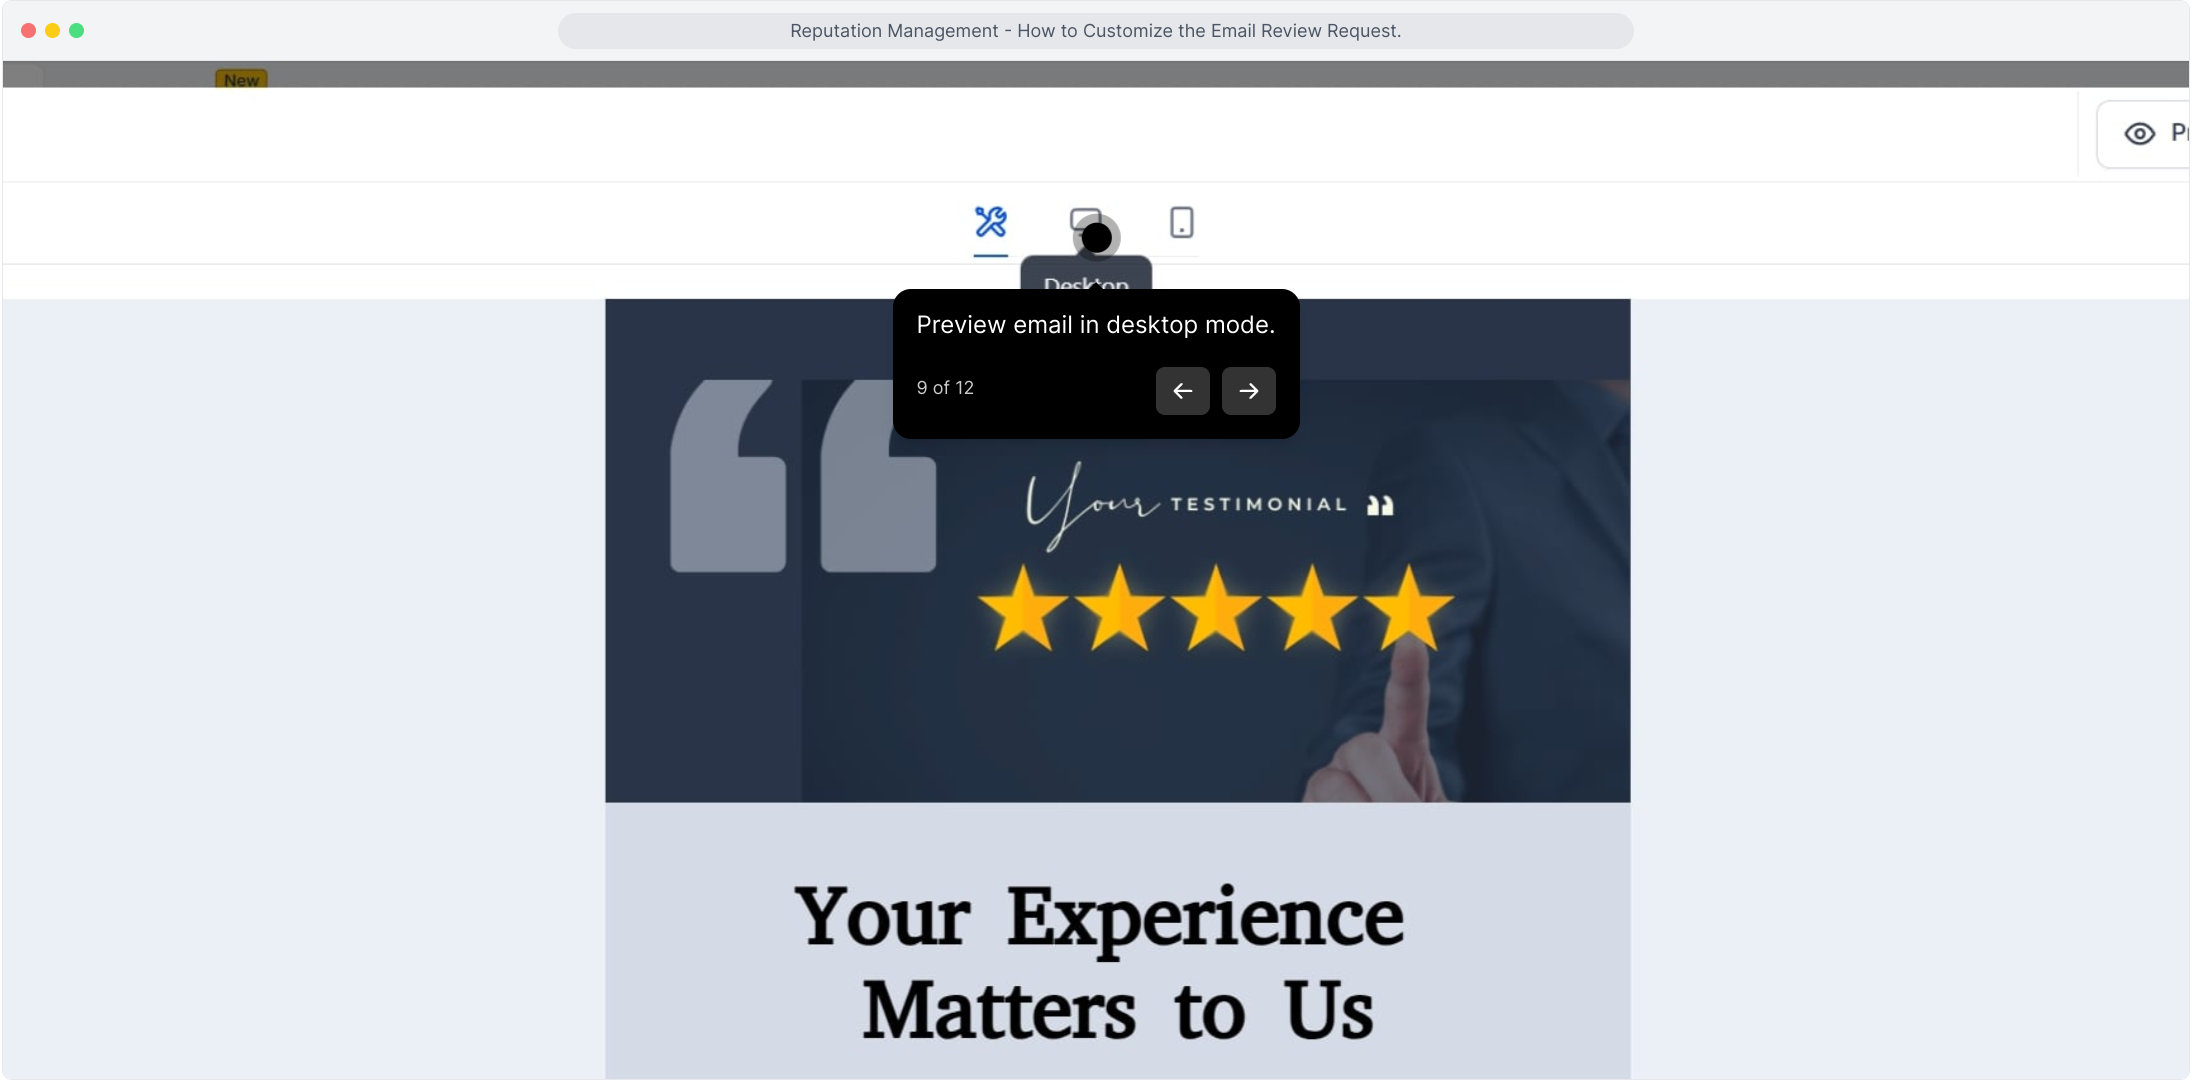
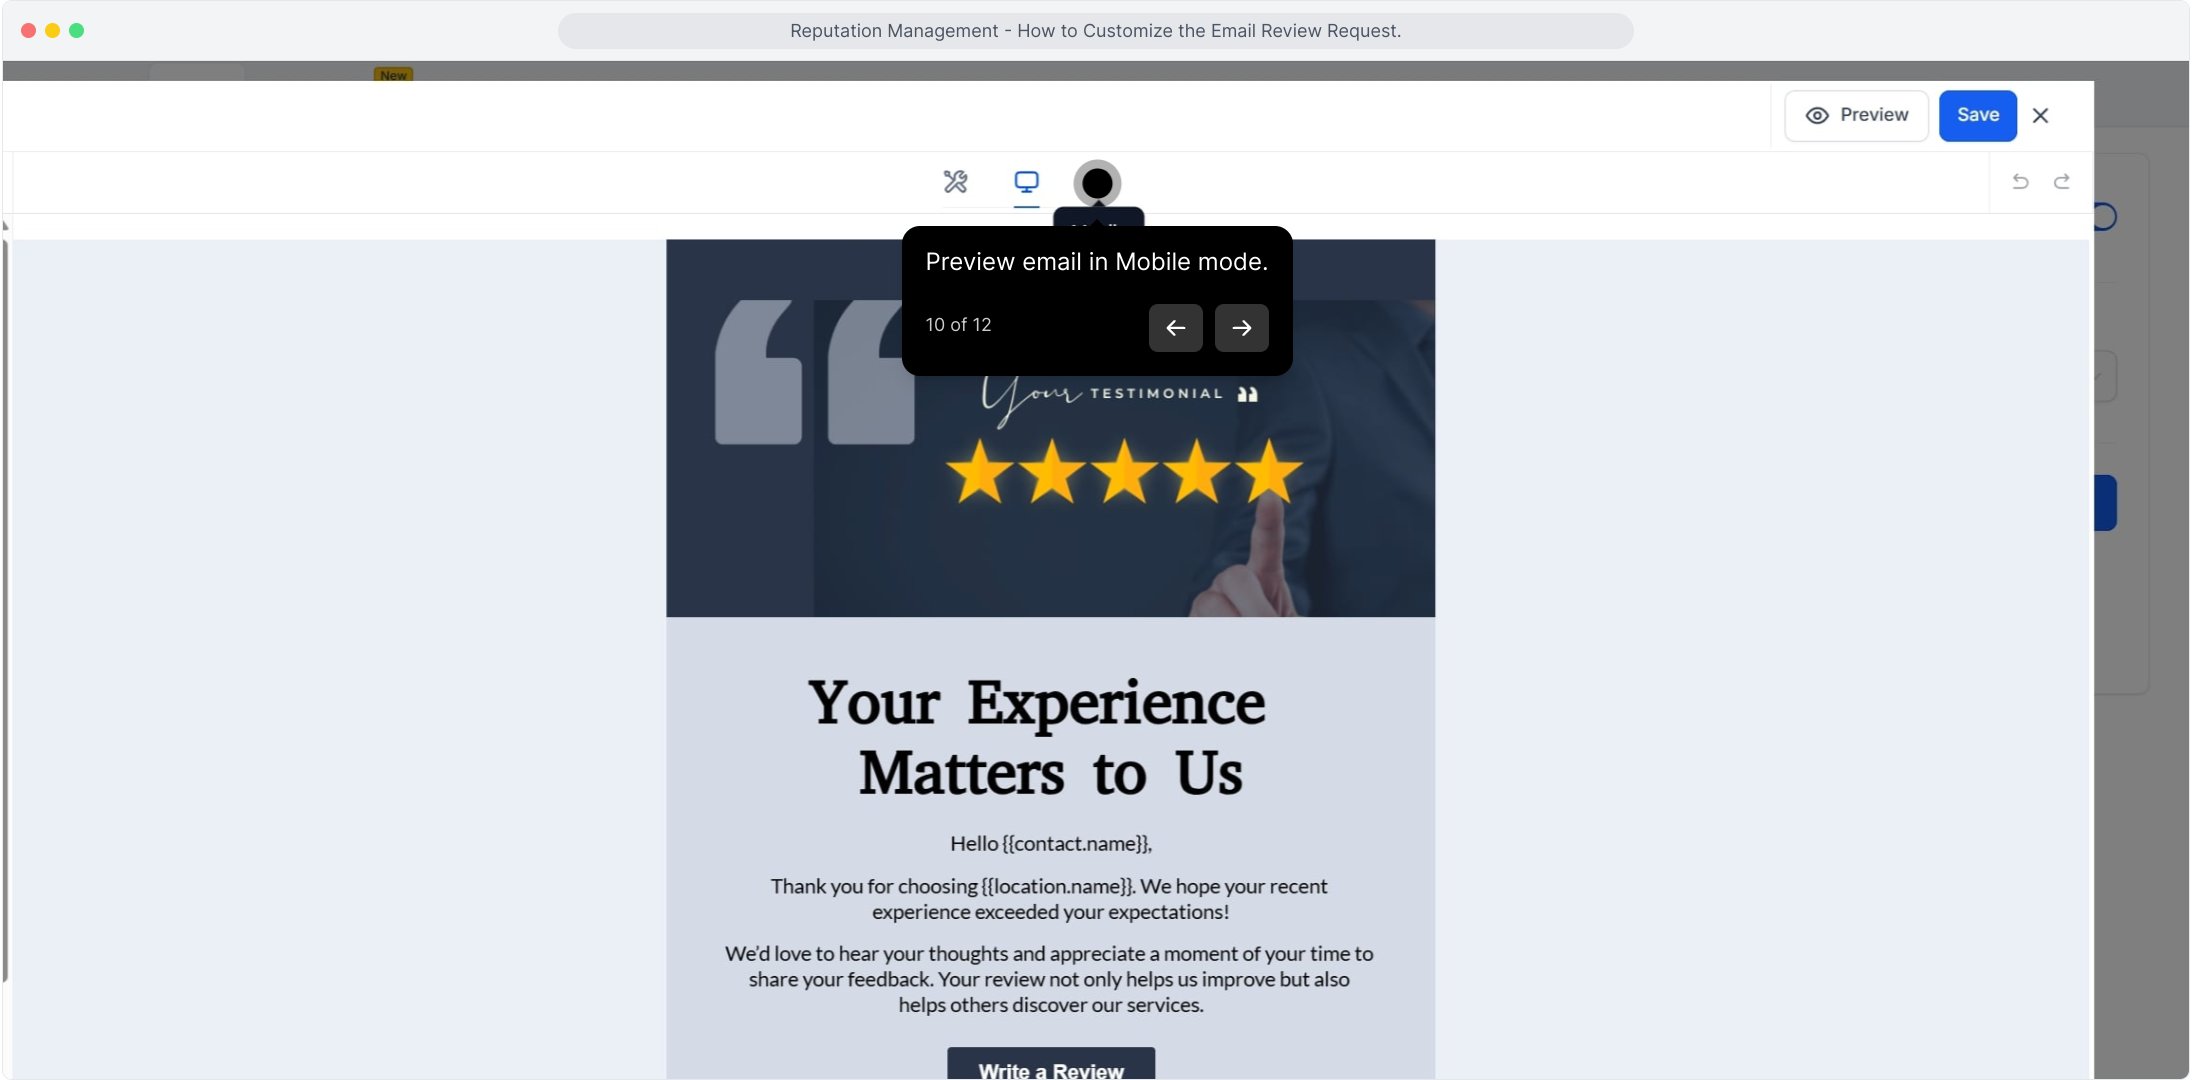
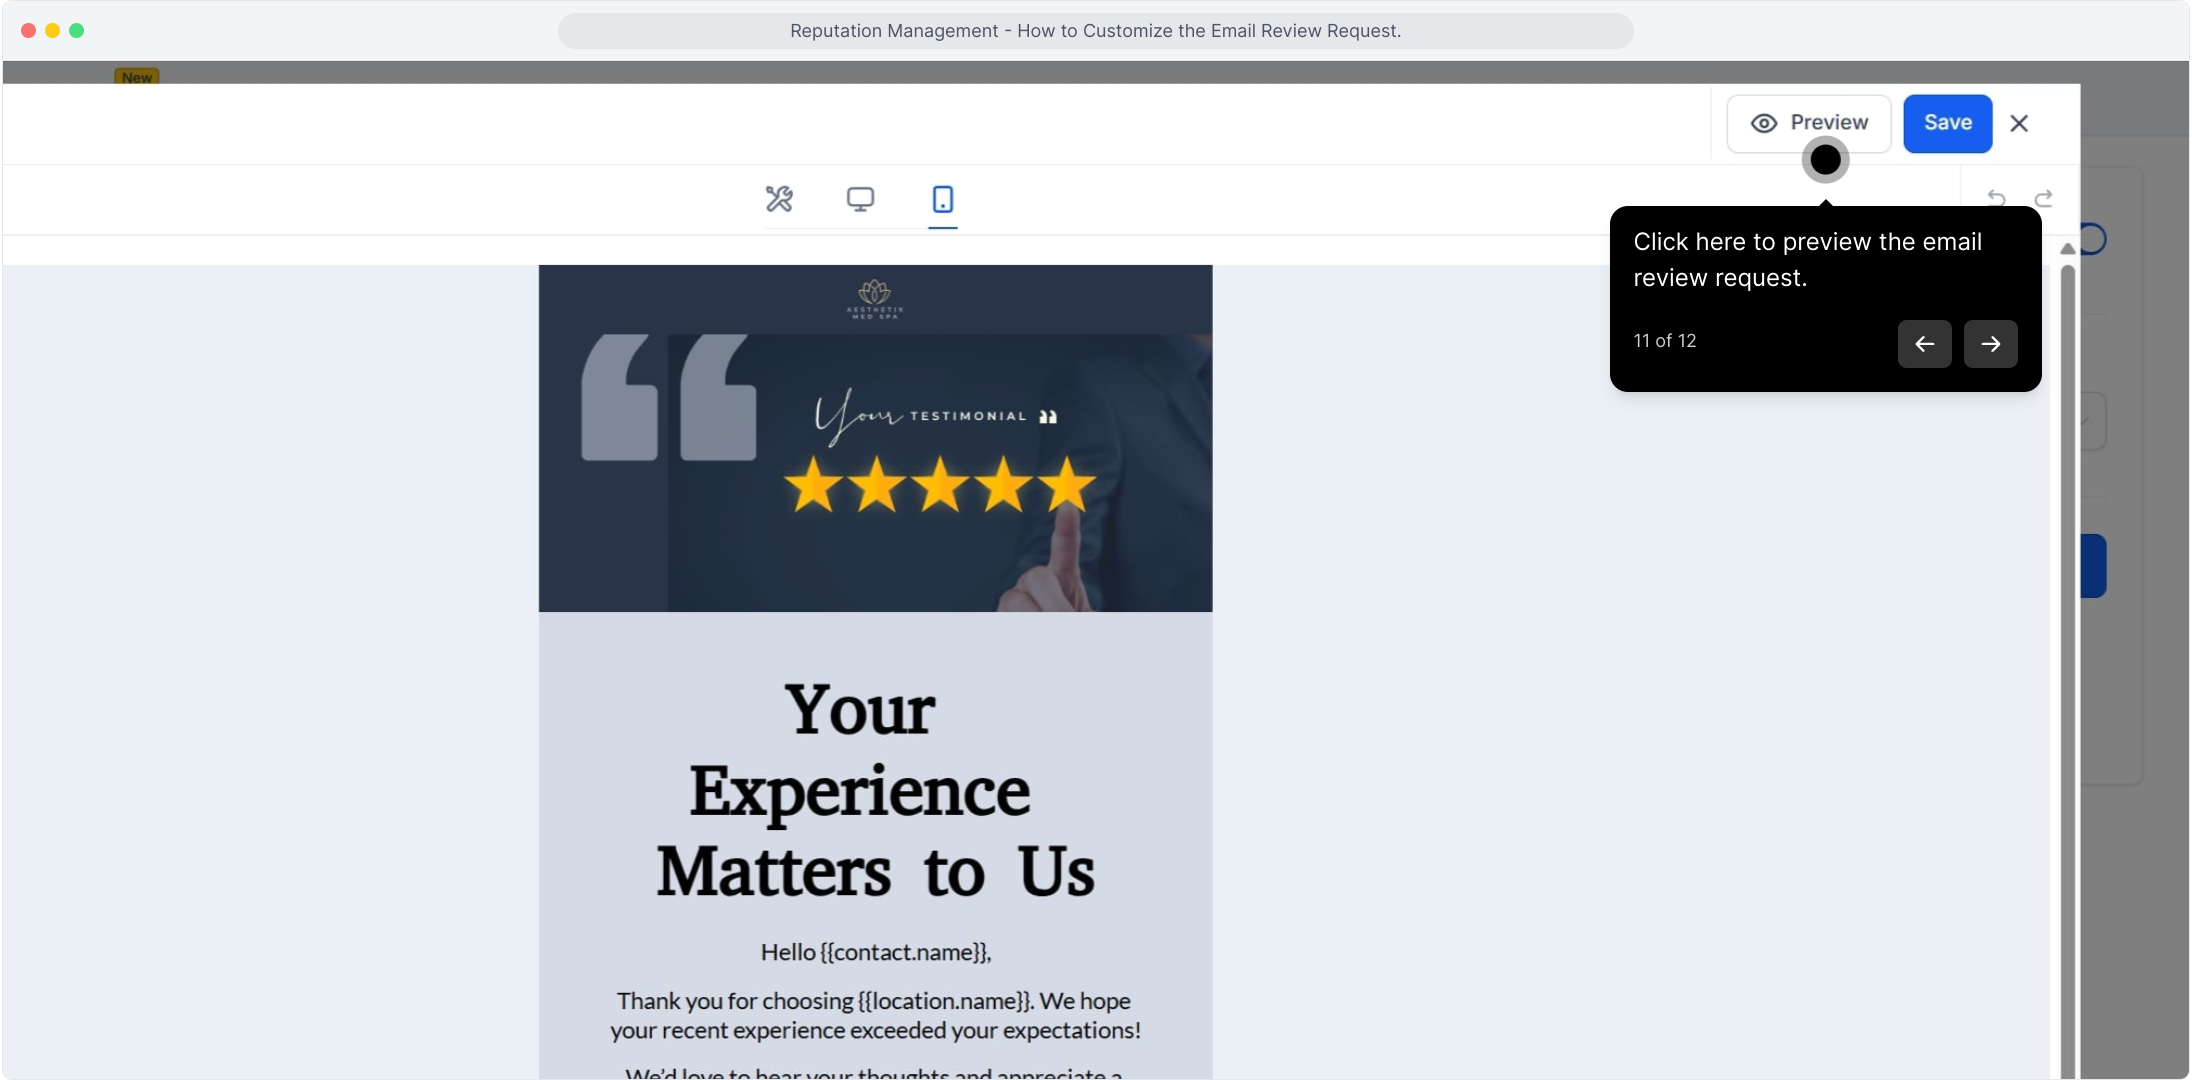
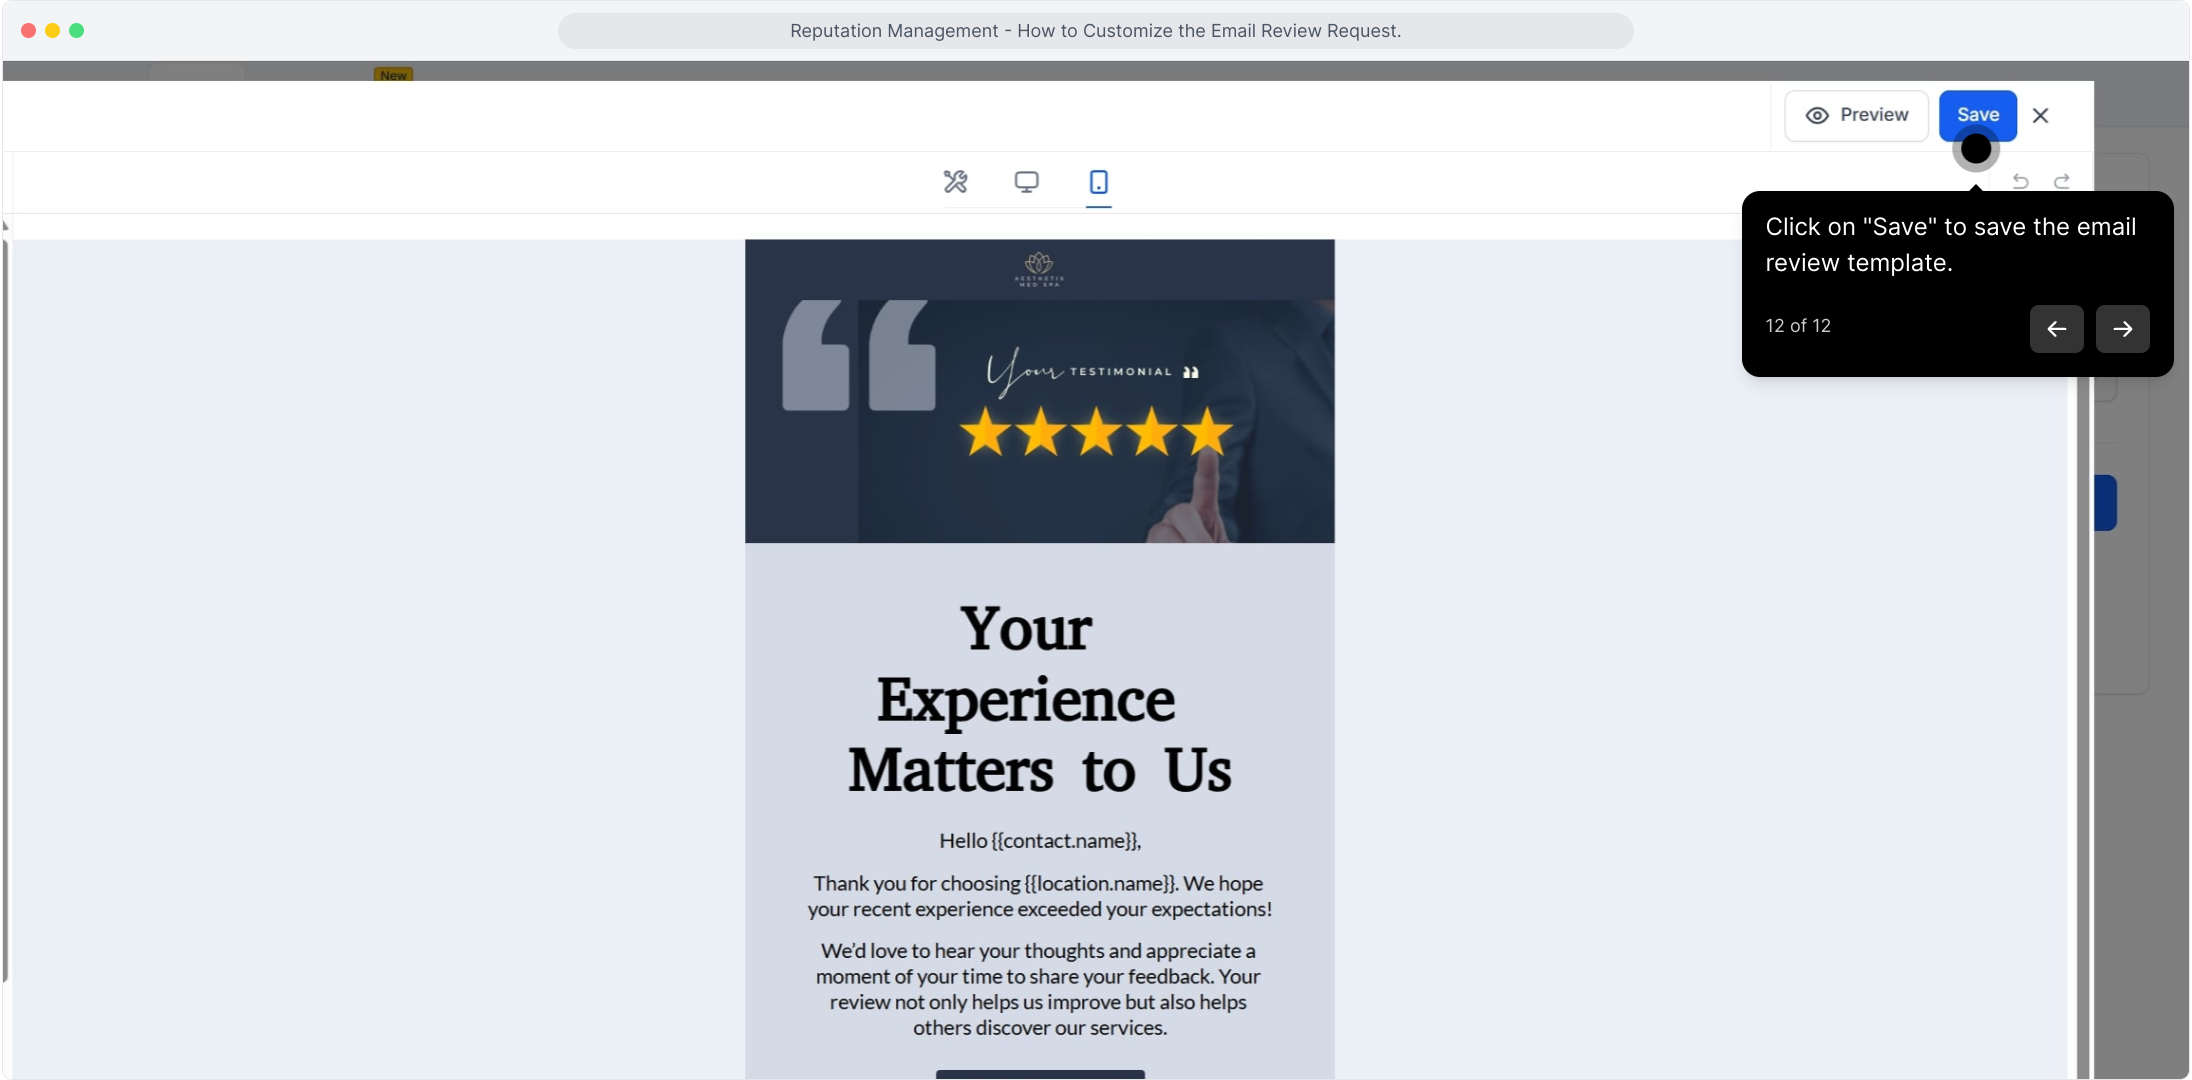
Once your templates are saved, you'll find them listed in the Email Requests dashboard. Next to each template, click the three dots (⋮) to open management options:
Preview & Edit Details - See how your email looks before sending, and adjust key details like the subject line or sender name.
Edit Template - Open the full drag-and-drop editor to make design changes.
Clone - Duplicate an existing template to create a variation without starting from scratch.
Restore - Bring back a previously deleted template if you change your mind.
Delete - Permanently remove a template you no longer need.
This makes it easy to keep your library organized and fine-tuned.
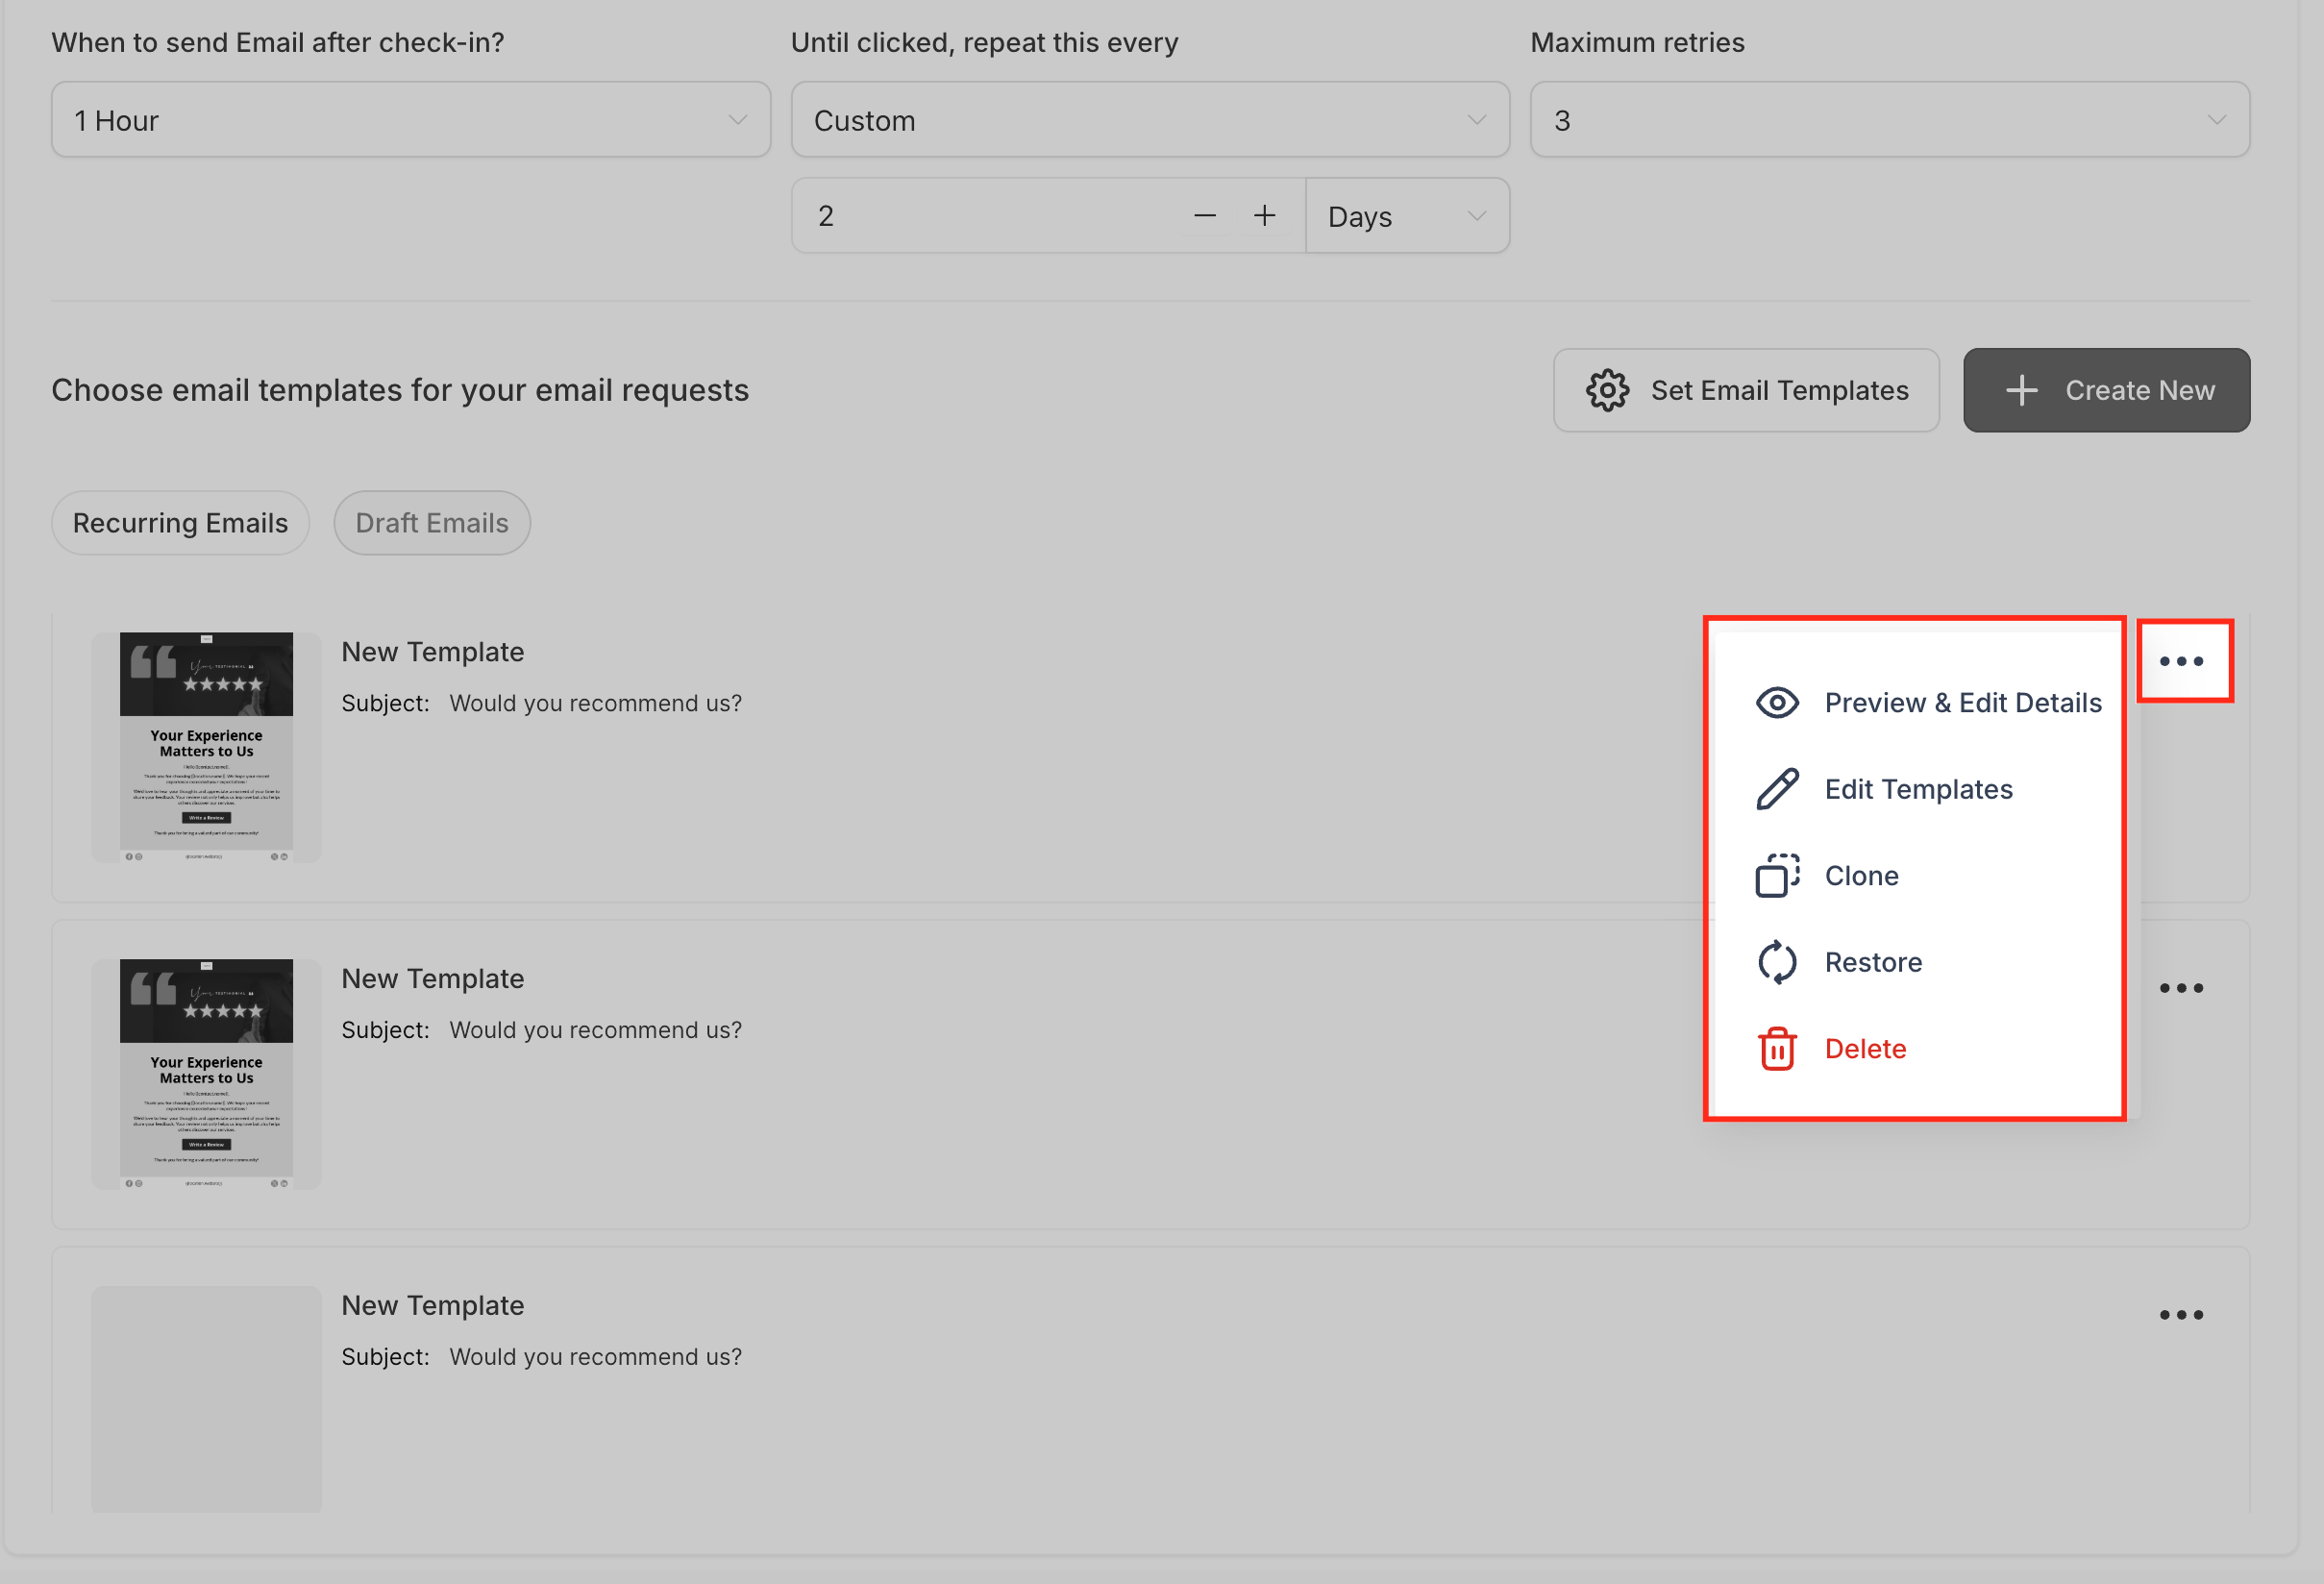
You can assign different email templates to your recurring review requests so each follow-up feels fresh instead of repetitive. This keeps your messaging engaging, on brand, and more likely to earn a review.
To set up personalized recurring review emails:
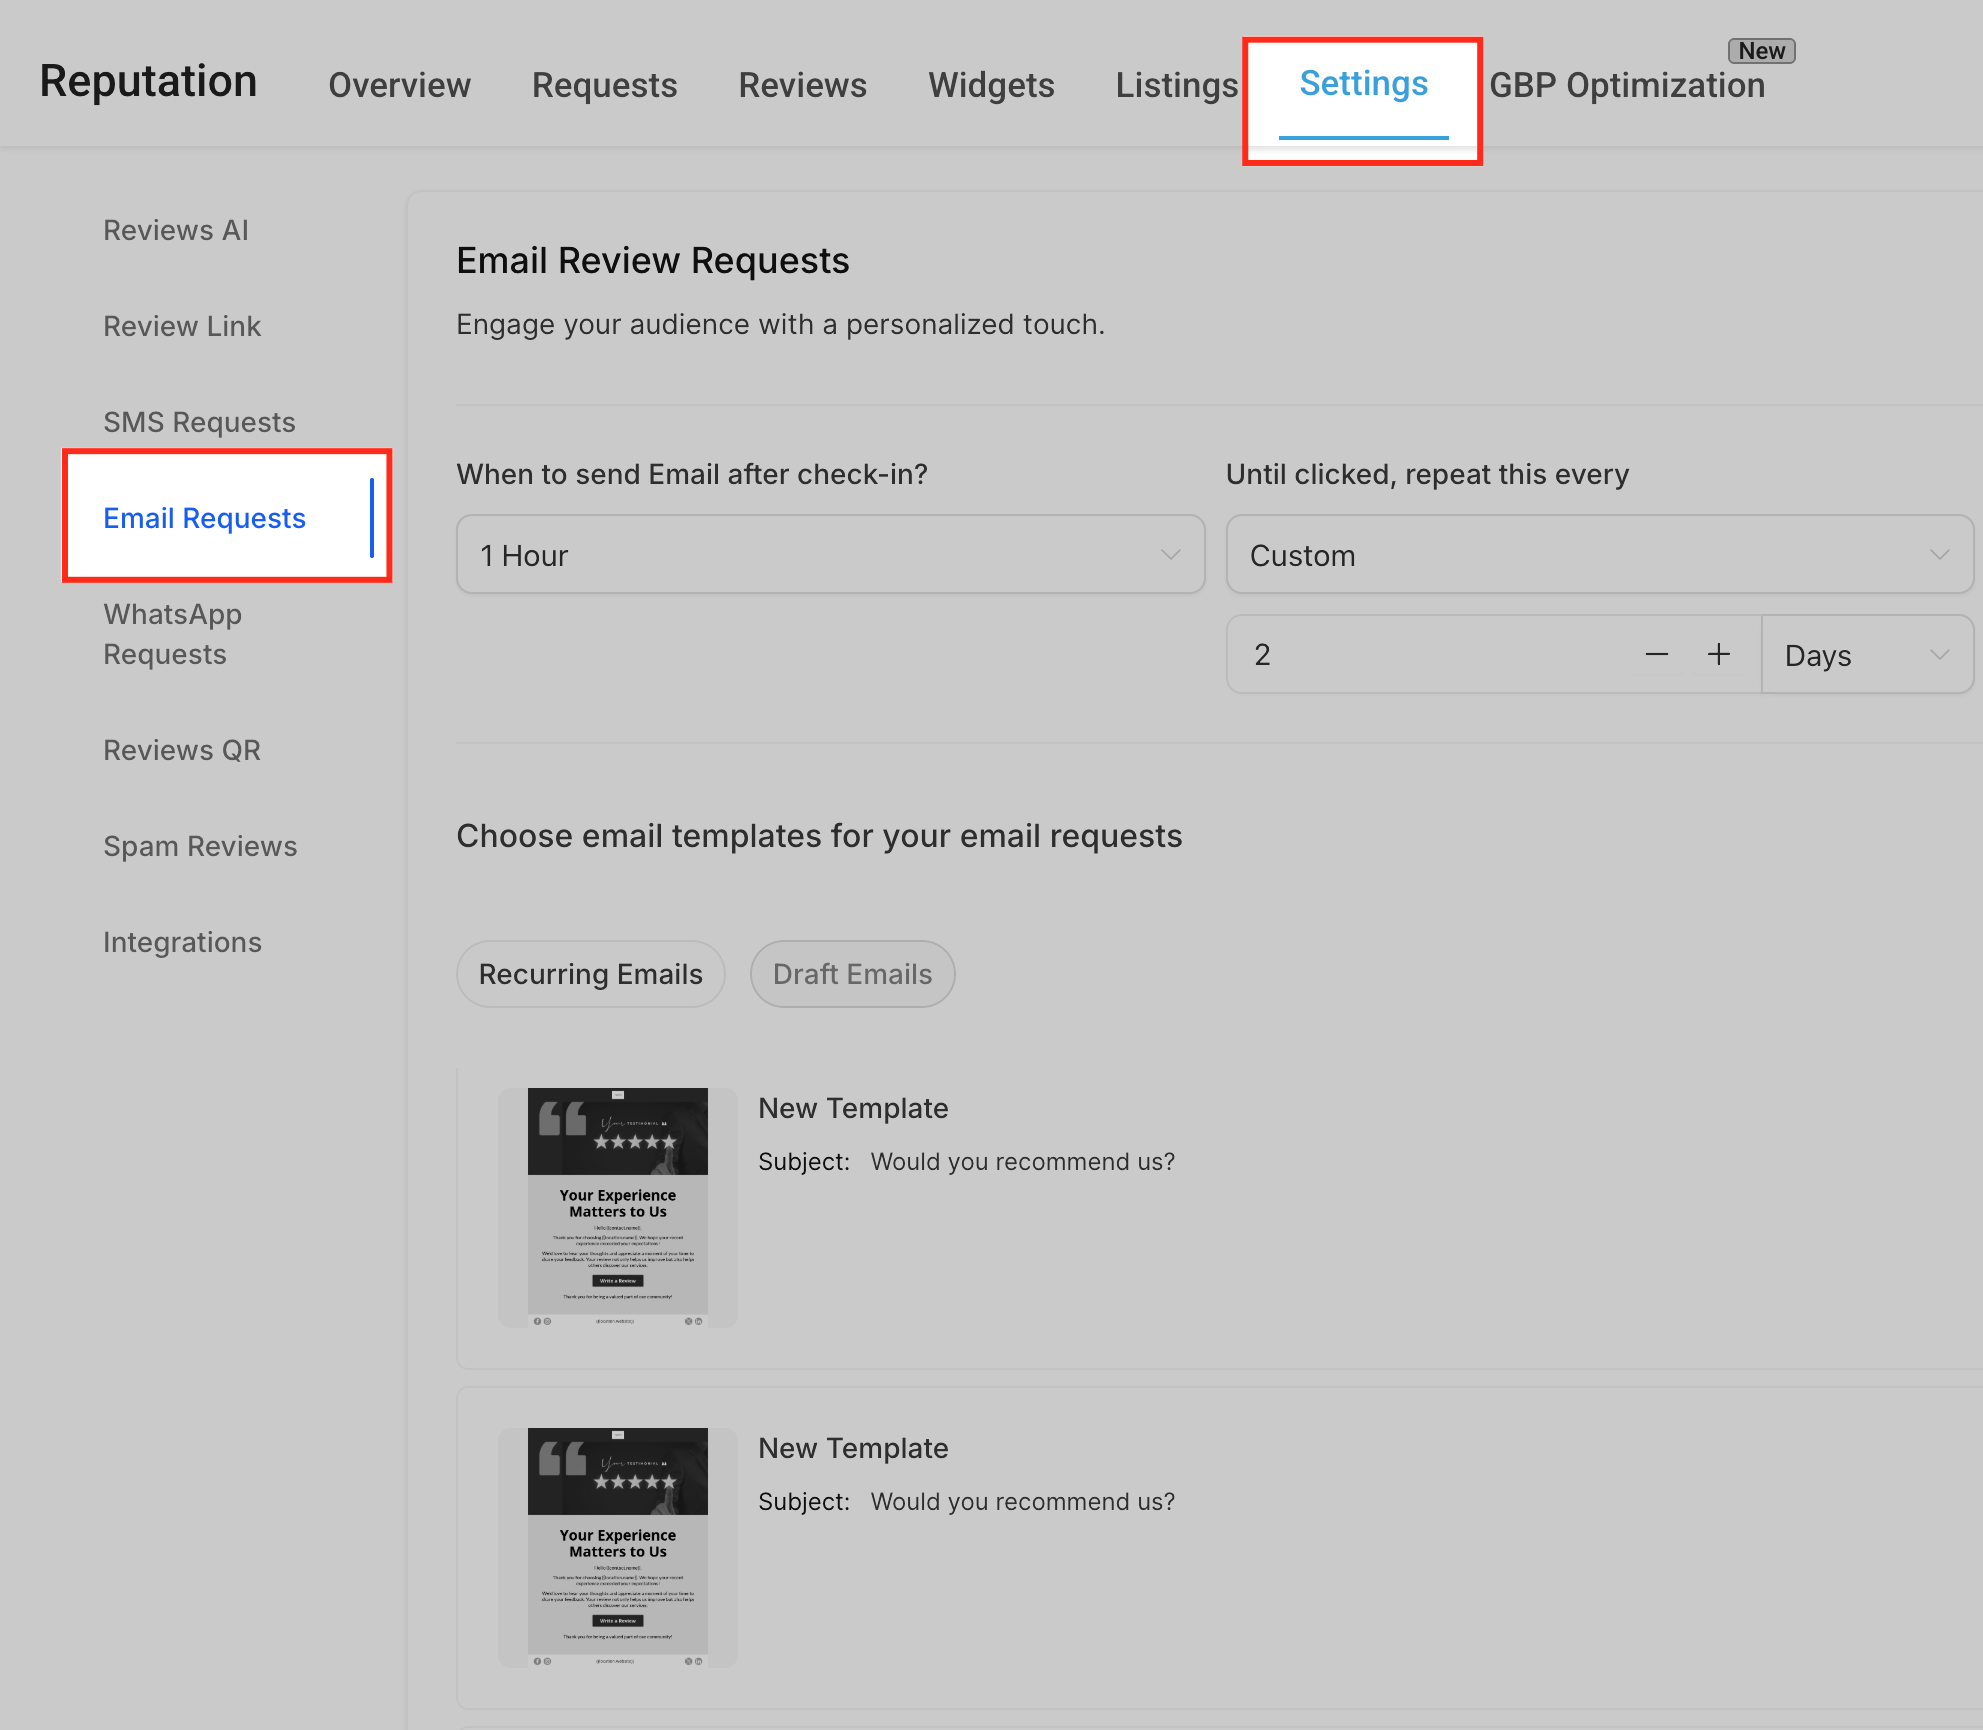
Go to review request settings under Marketing → Reviews Management → Settings → Email Requests.
Enable recurring review requests and set the frequency using the "Until clicked, repeat this every" and "Maximum retries" fields.
Select custom email templates - choose a different template for each follow-up message, using a pre-designed layout or your own customized content.
Save and activate - confirm your selections and save. Your automated review requests will now use the templates you chose.
Note: You can preview every email before activating it to make sure the accuracy and branding are exactly right.
Where do I access email review requests?
In your Aesthetix CRM account under Marketing → Reviews Management → Settings → Email Requests.
Can I still customize an email if I start from a template?
Yes. Once you select a template, you can modify the text, images, colors, and layout elements to perfectly align with your brand.
Do I need any technical expertise to build these emails?
No. The drag-and-drop interface is designed for ease of use across all skill levels.
Do I need to enable anything to see review links?
No. Once your review platforms are connected, they appear automatically in the Review Links element.
Can I customize the call-to-action text for each review link?
Yes. You can edit the text for each platform so it matches your brand voice.
Is there a limit to how many review links I can add?
You can add multiple links to one email. For best readability, keep the list concise.
How does auto-validation work for review links?
The Review Links element automatically checks each link to ensure it's valid, reducing the chance of broken or incorrect URLs.
How many templates can I assign to recurring review emails?
You can assign a different template to each follow-up message, giving your outreach variety.
Can I use these templates in automations or recurring sends?
Yes. Save your template and use it in recurring review emails or in the Review Request workflow action.
