The Client Portal is where your clients log in to view their invoices, courses, messages, community groups, and any documents you send for signature. The dashboard gives you an at-a-glance overview of who has been invited and who has joined, plus quick actions to invite clients, send magic links, and email login access.
You can copy your client portal URL and share it with your clients. This URL updates automatically based on your custom domain selection.
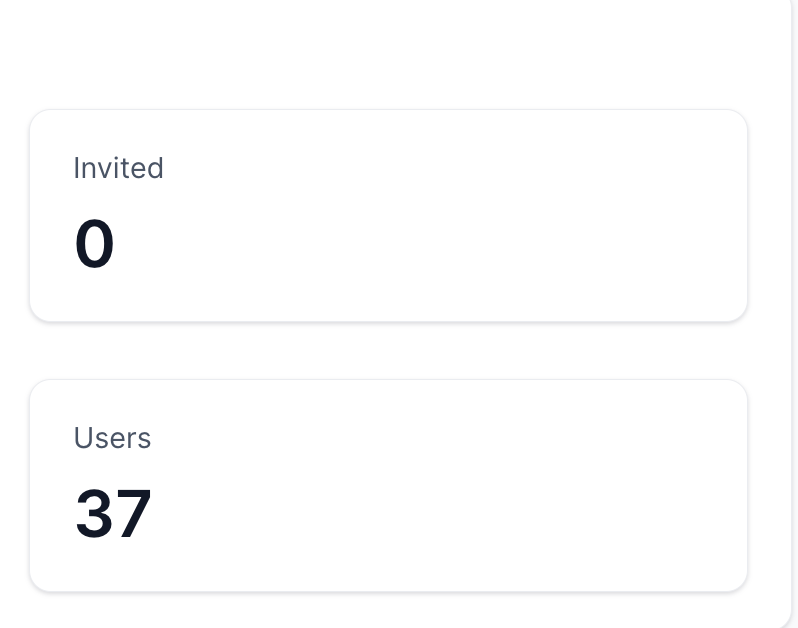
The dashboard shows two counts so you can track adoption at a glance:
Invited Users: the number of clients you have invited to the portal using the Invite option in the action menu.
Joined Users: the actual number of clients who have logged in and joined your portal.
Magic links let your clients log in to the portal directly, without entering a password. They are ideal for sending over email or text message.
Note: Magic links are generated per contact. If you want to use magic links in automated emails with workflow triggers, use the available custom values, which automatically fetch the required data and build the link for you. Magic links generated from the dashboard are short-lived and expire automatically. If a client reports that a link is no longer valid, generate a new magic link and resend it.
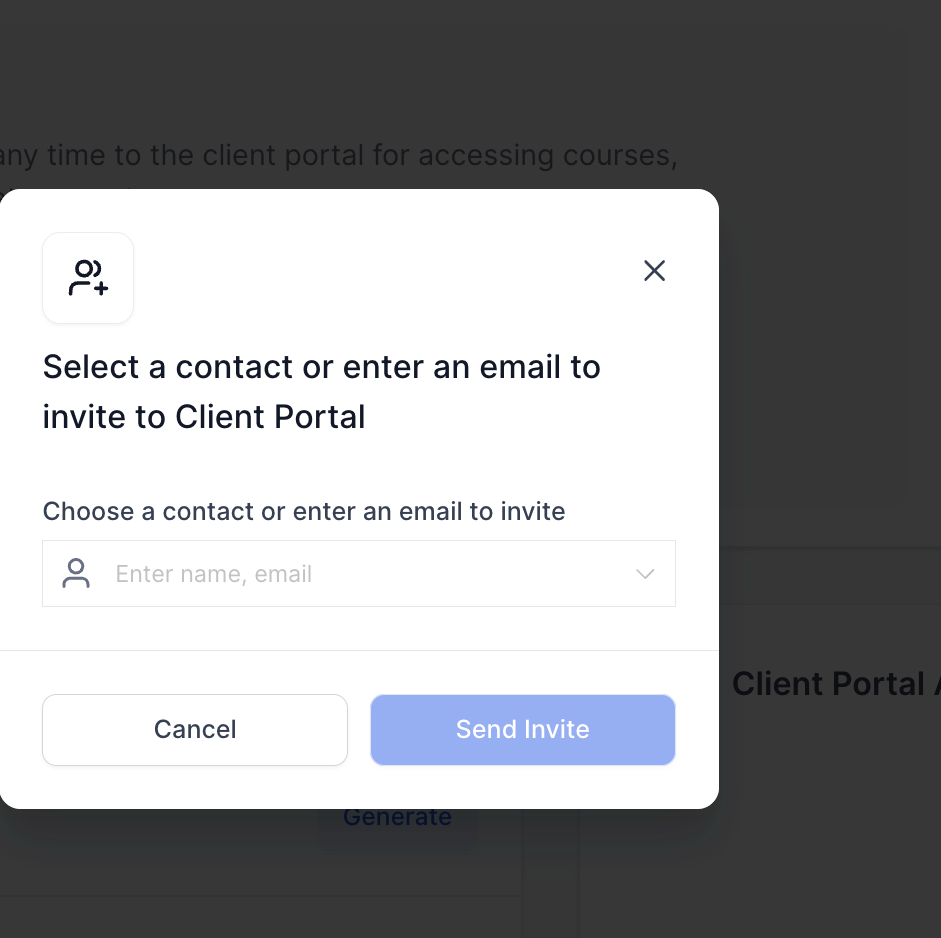
Click the Invite action to add new clients to the portal. You can invite an existing contact or enter an email address directly. The invitation is sent from your default domain.
The Login Email action sends your clients an automatic email with a quick login button. Clients tap the button in the email to log in to the portal without entering a password.
Note: You can select multiple contacts and send them the login email together.
Once your clients log in, they land on a personalized dashboard designed for easy navigation on both web and mobile:
Welcome section: a personalized greeting with the client's name and profile picture displayed at the top.
Quick actions: one-click access to courses, invoices, messages, and community groups, all from the dashboard.
Appointments: clients can review their appointments under Today, Upcoming, and Past, or use a calendar view to find one by date, and book, reschedule, or cancel eligible appointments without leaving the portal.
Contracts and documents: clients can view the contracts and documents you send, sign them online, and download the final signed copies once complete.
App switcher (mobile): a top-bar switcher for moving smoothly between apps on mobile.
Mobile top bar: an optimized, mobile-friendly navigation bar built for smaller screens.
Clients can book, review, and manage their own appointments from the Appointments area of the portal, so they aren't stuck digging through booking links or confirmation emails to find a meeting.
Today, Upcoming, and Past views: clients can browse their appointments by timeframe, or switch to a calendar view to find one by date.
Book an appointment: clients pick an available calendar, date, and time to schedule a new appointment. Their contact information is filled in automatically where it's already on file.
Appointment details: clients can open an appointment to review its details.
Reschedule or cancel: when the calendar's cancellation and rescheduling policies allow it, clients can reschedule or cancel an eligible appointment right from its details.
Book again: once an appointment is complete, clients can start another booking from the same screen.
Note: You control which calendars clients can book through the portal and whether Appointments appears at all. Turn on Client Portal booking under a calendar's Advanced settings > Booking channels for each calendar you want to make available, and enable Appointments under Memberships > Client Portal > Settings > App Permissions. Both steps are required. Turning on only one leaves Appointments hidden from the portal, or visible with no calendar for clients to choose from. You can enable Client Portal booking on multiple calendars so clients have a choice when they book.
You can send contracts or documents for signing straight from the portal:
Send for signature: send contracts or documents to your clients directly from the portal.
View on the client dashboard: clients see the contracts and documents right on their personalized dashboard.
Sign online: clients sign digitally inside the portal, with no paperwork required.
Download final copies: once a document is signed and complete, it can be downloaded with a single click.
