Your Client Portal is where patients log in to view memberships, courses, community spaces, and more. Aesthetix CRM lets you make that experience feel like a natural extension of your practice: apply your own logo and colors, launch an optional branded mobile app, and serve the portal from a custom domain such as portal.yourpractice.com. This guide walks you through branding your portal and connecting a custom domain so every touchpoint reflects your brand.
The Client Portal gives your patients a secure, centralized place to manage memberships, community interactions, and course activity. Custom domains and branding options let you reinforce your practice's identity throughout, so patients always feel like they're interacting directly with you.
You can customize the portal's look and feel to match your brand, then point a custom domain at it so patients reach it through your own web address.
To configure the Client Portal, navigate to Web Tools → Client Portal.
Beyond the web portal, you can offer patients a fully branded mobile app in the Apple App Store and Google Play Store. A branded app is a live mobile app that carries your practice's logo, colors, and content, connecting patients to your practice with just a tap.
Note: Custom code is not supported in the branded mobile app. Double-check your branding and profile details before submitting, as changes cannot be made after submission. Remember to check your email and in-app notifications for status updates.
To begin, navigate to Web Tools → Client Portal > Branded Mobile App**.
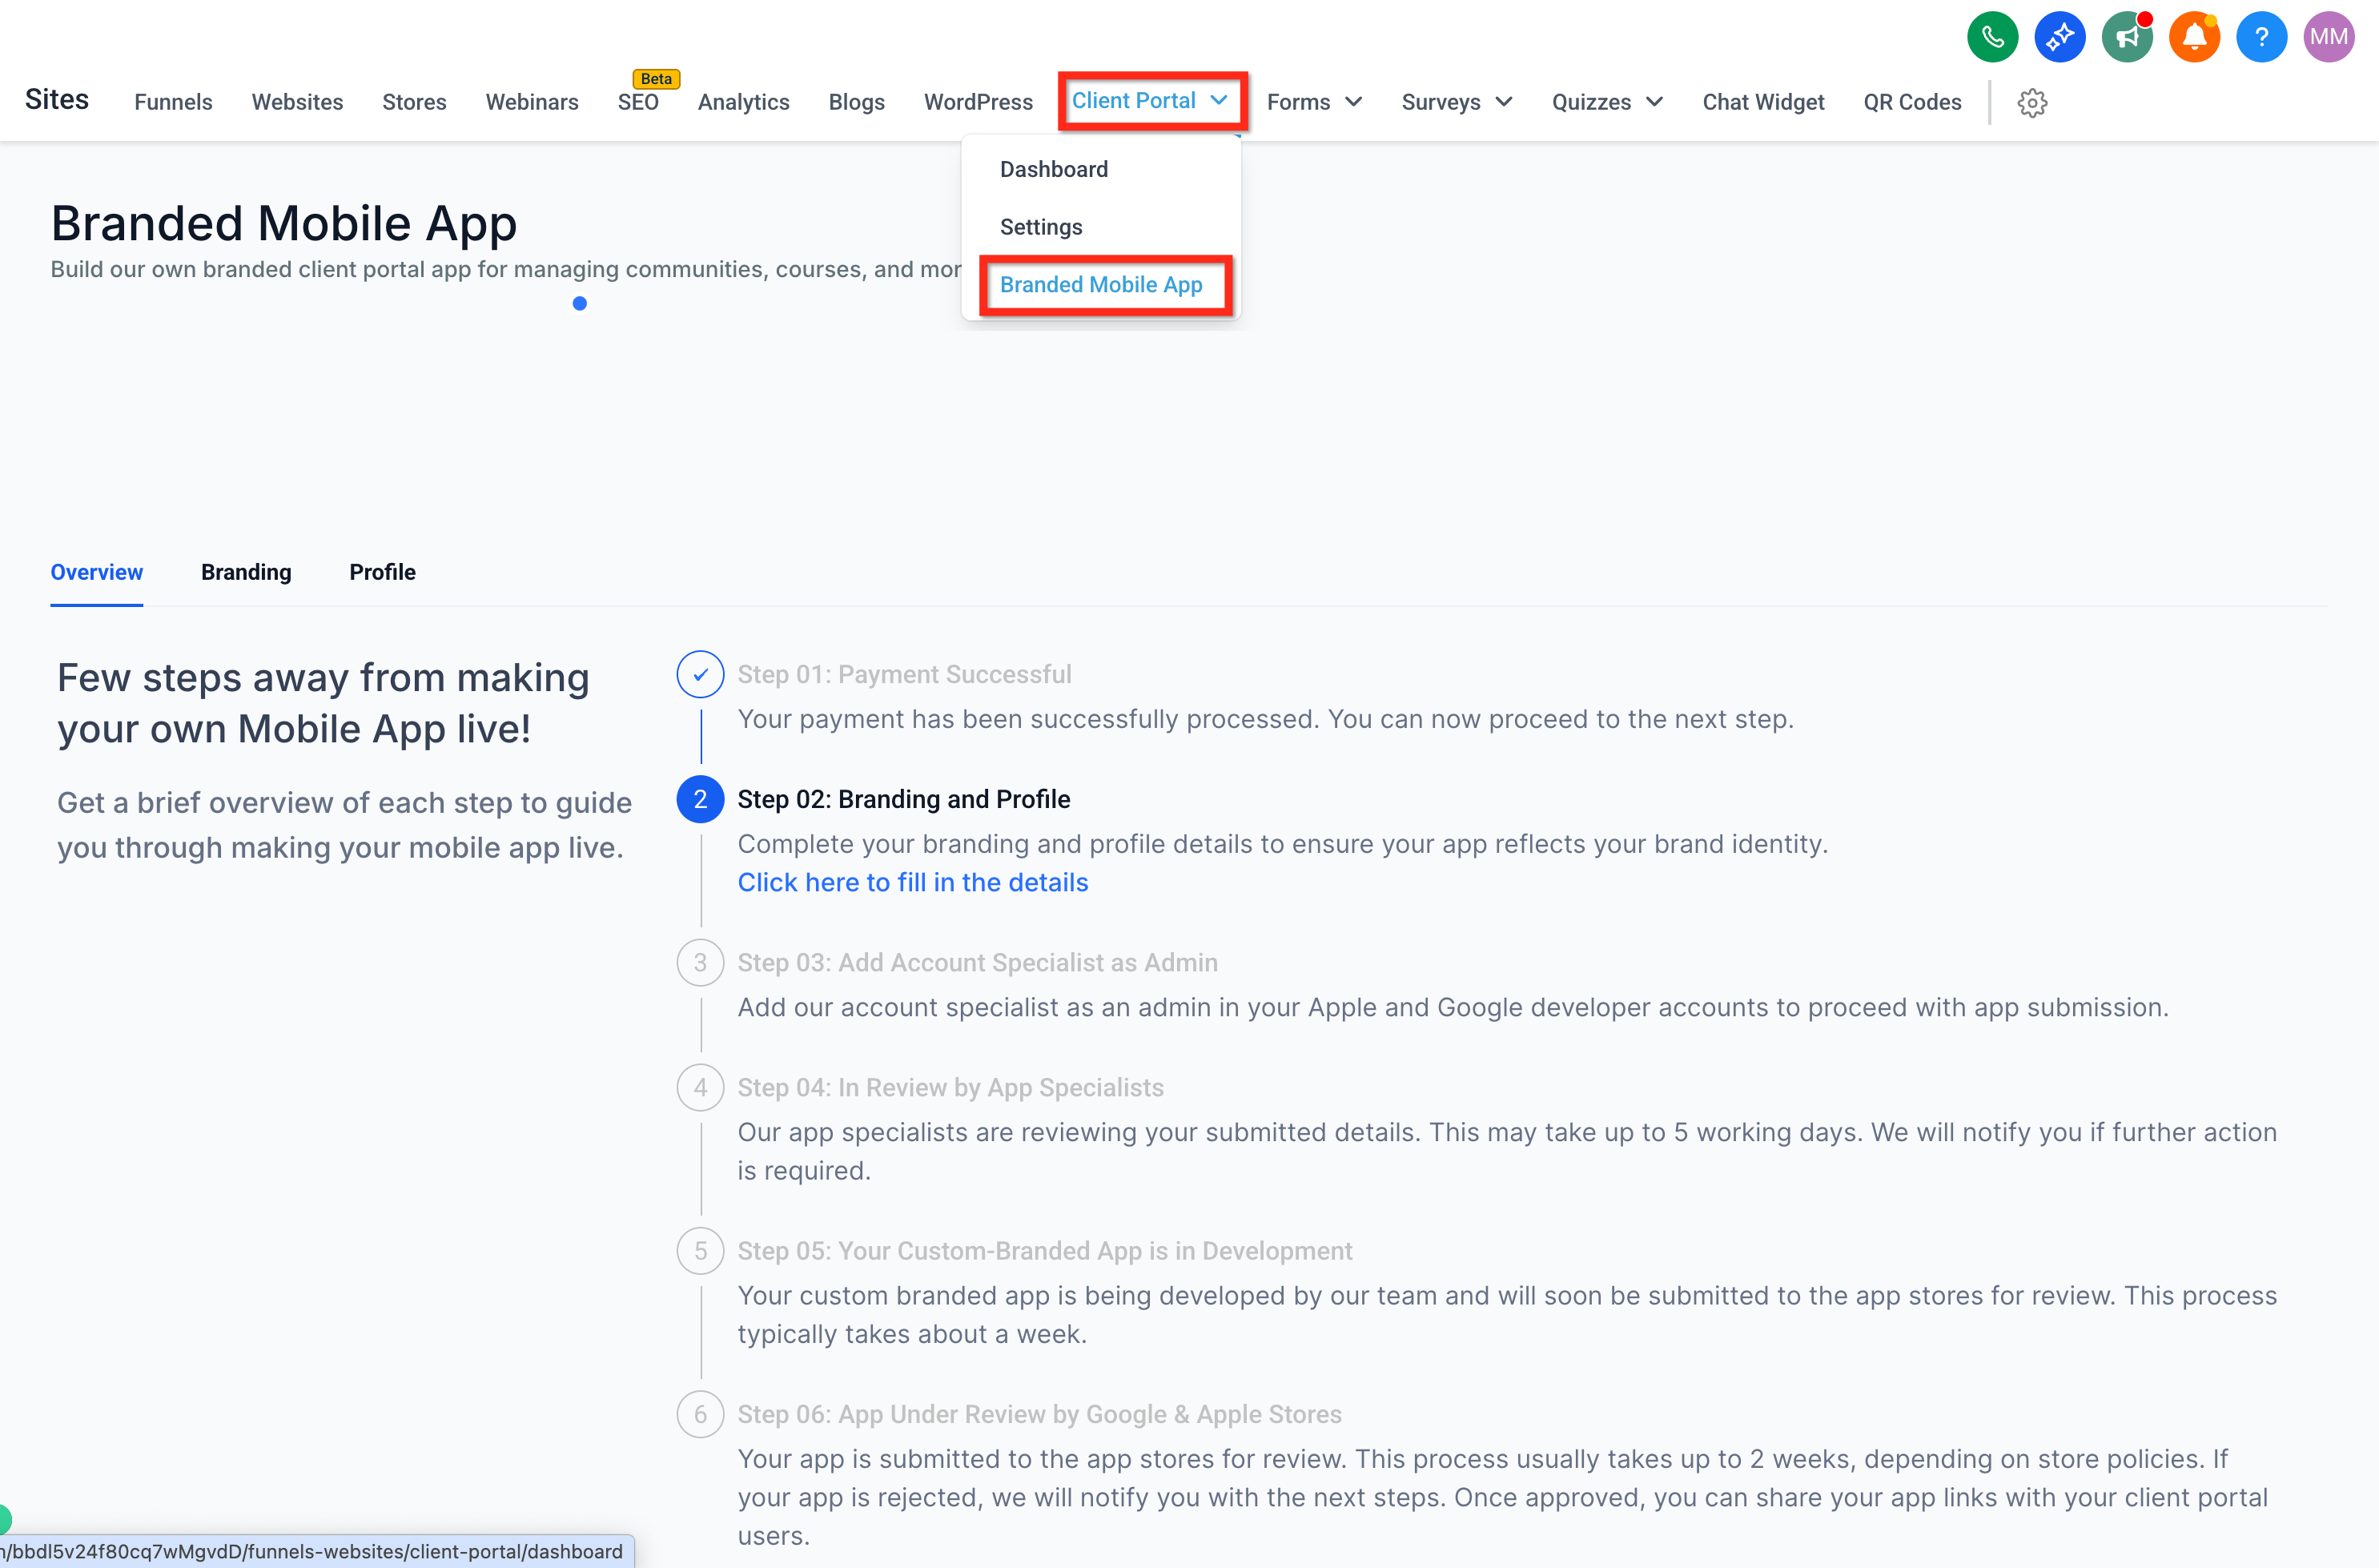
The setup moves through a series of steps. You'll track your progress and receive in-app notifications as your app advances.
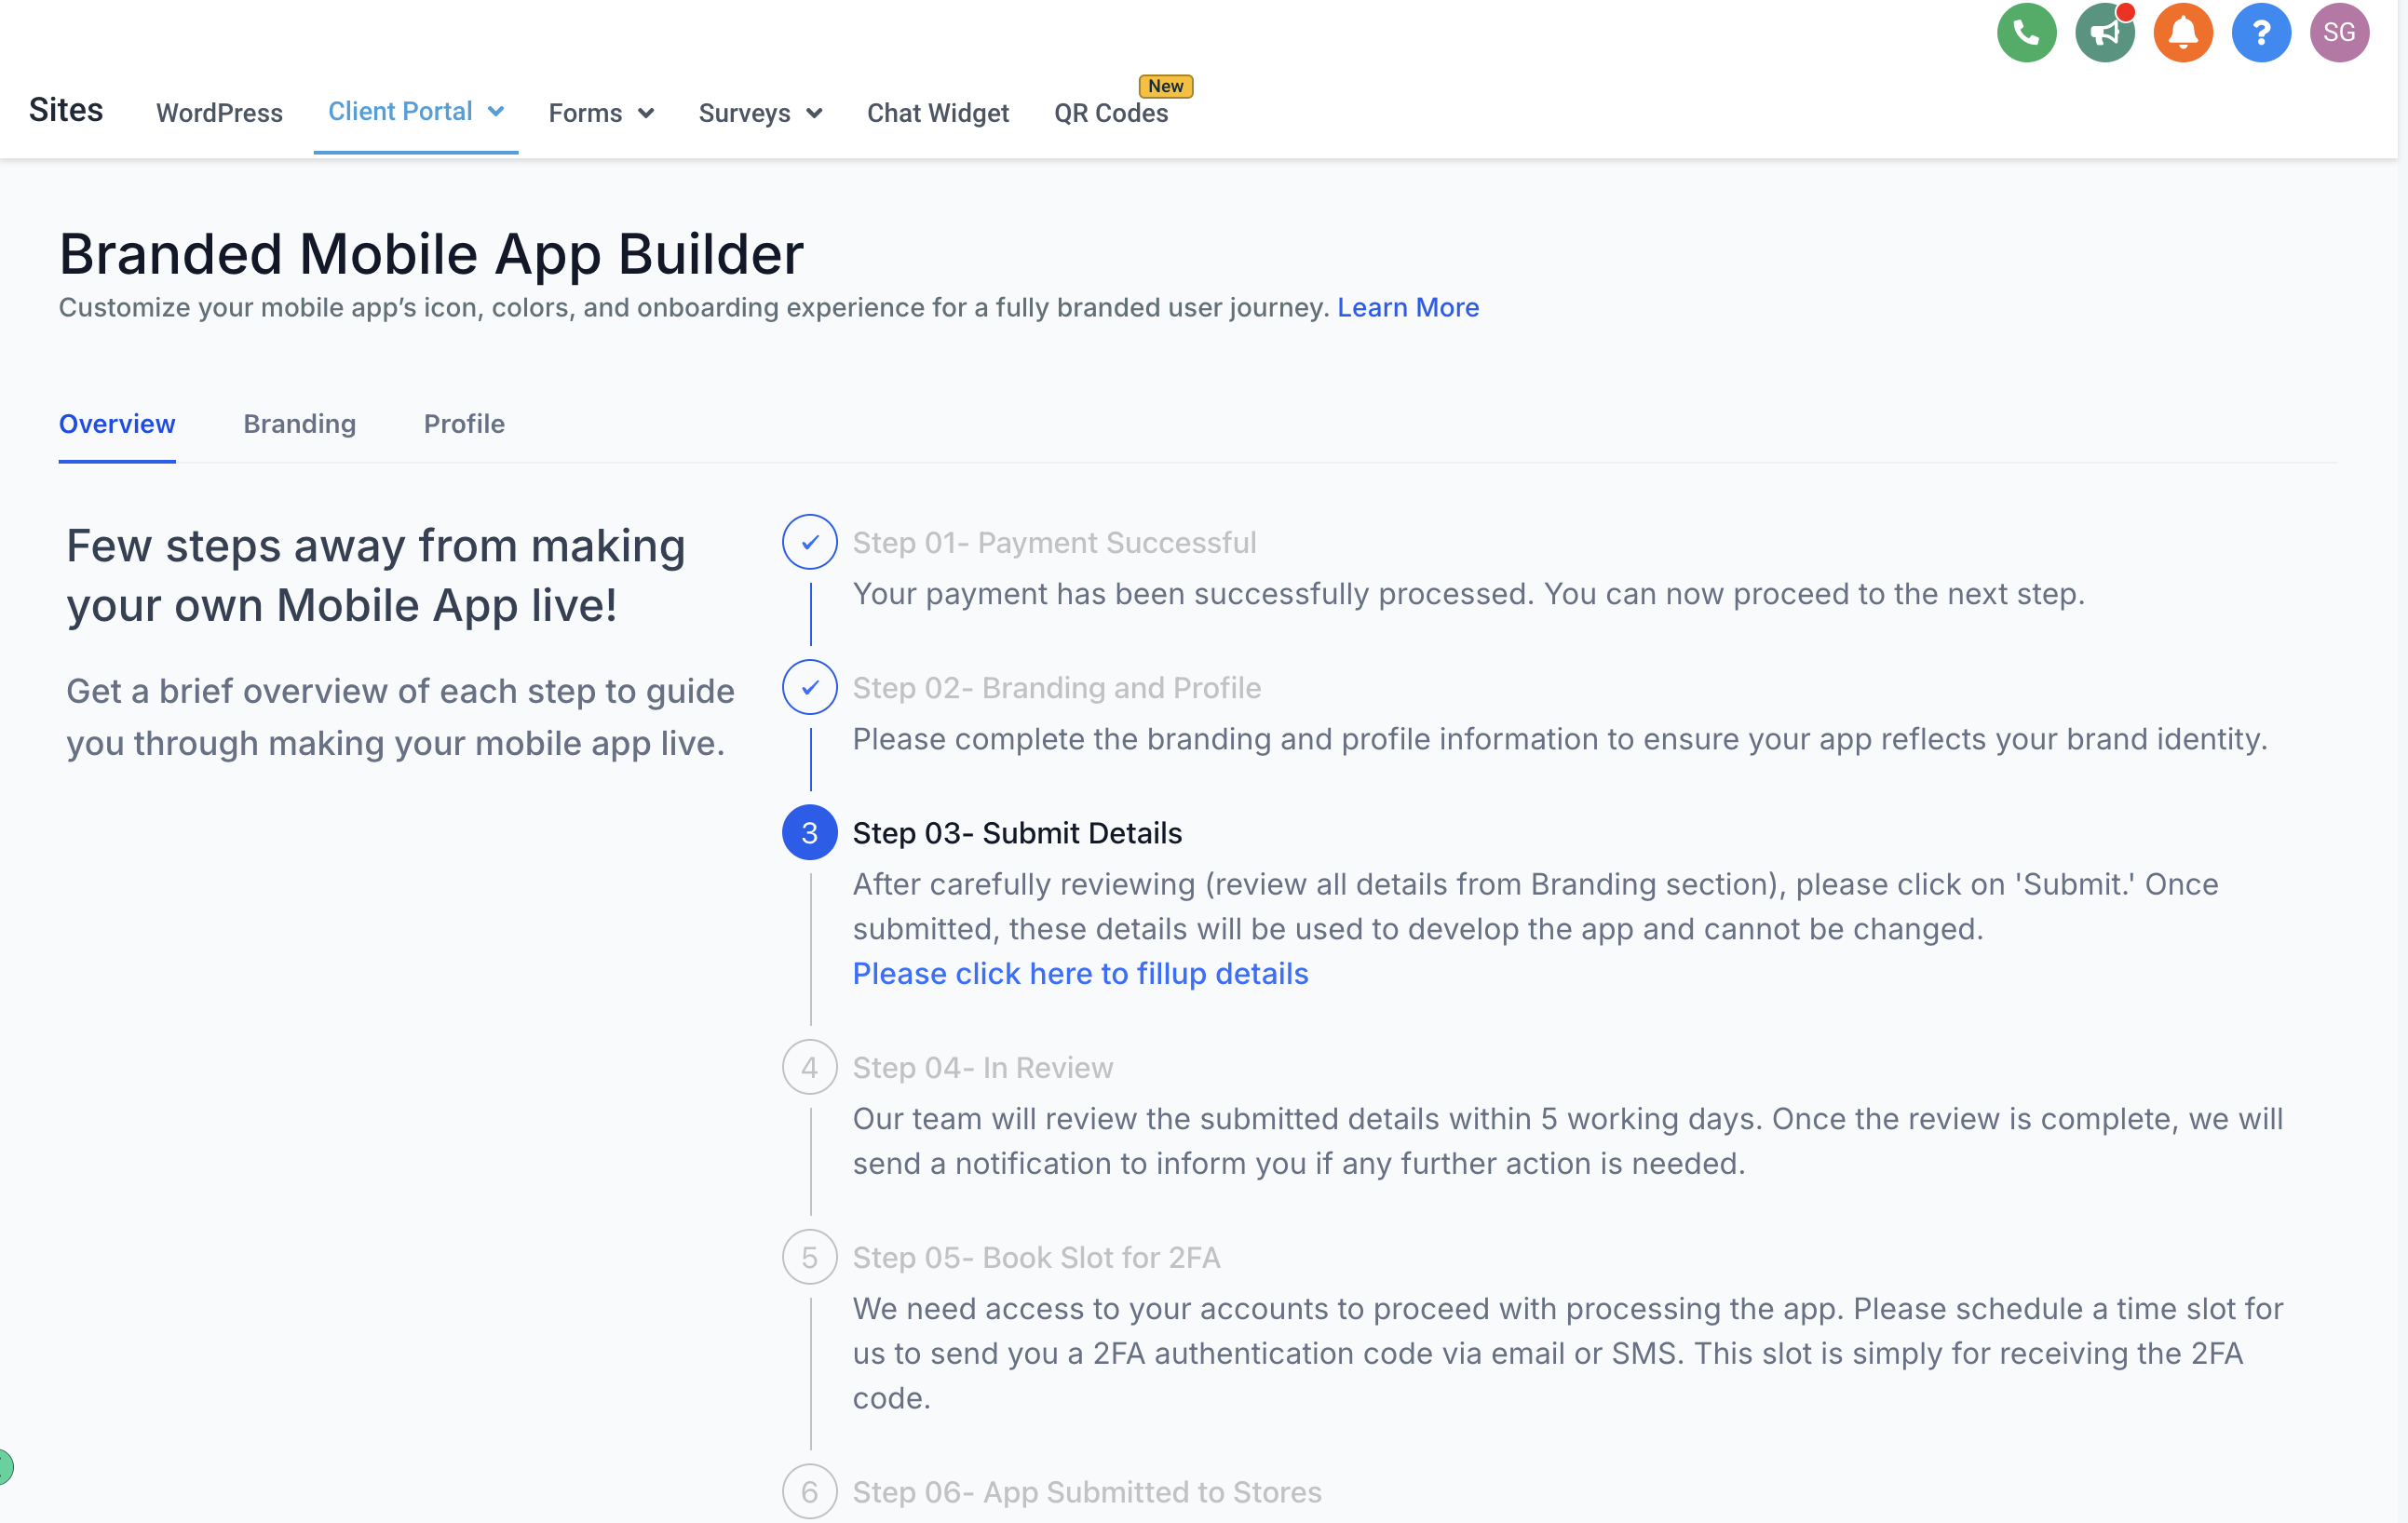
This initial step confirms that your payment has been successfully processed. Once confirmed, you can proceed to the next step. No additional action is needed here.
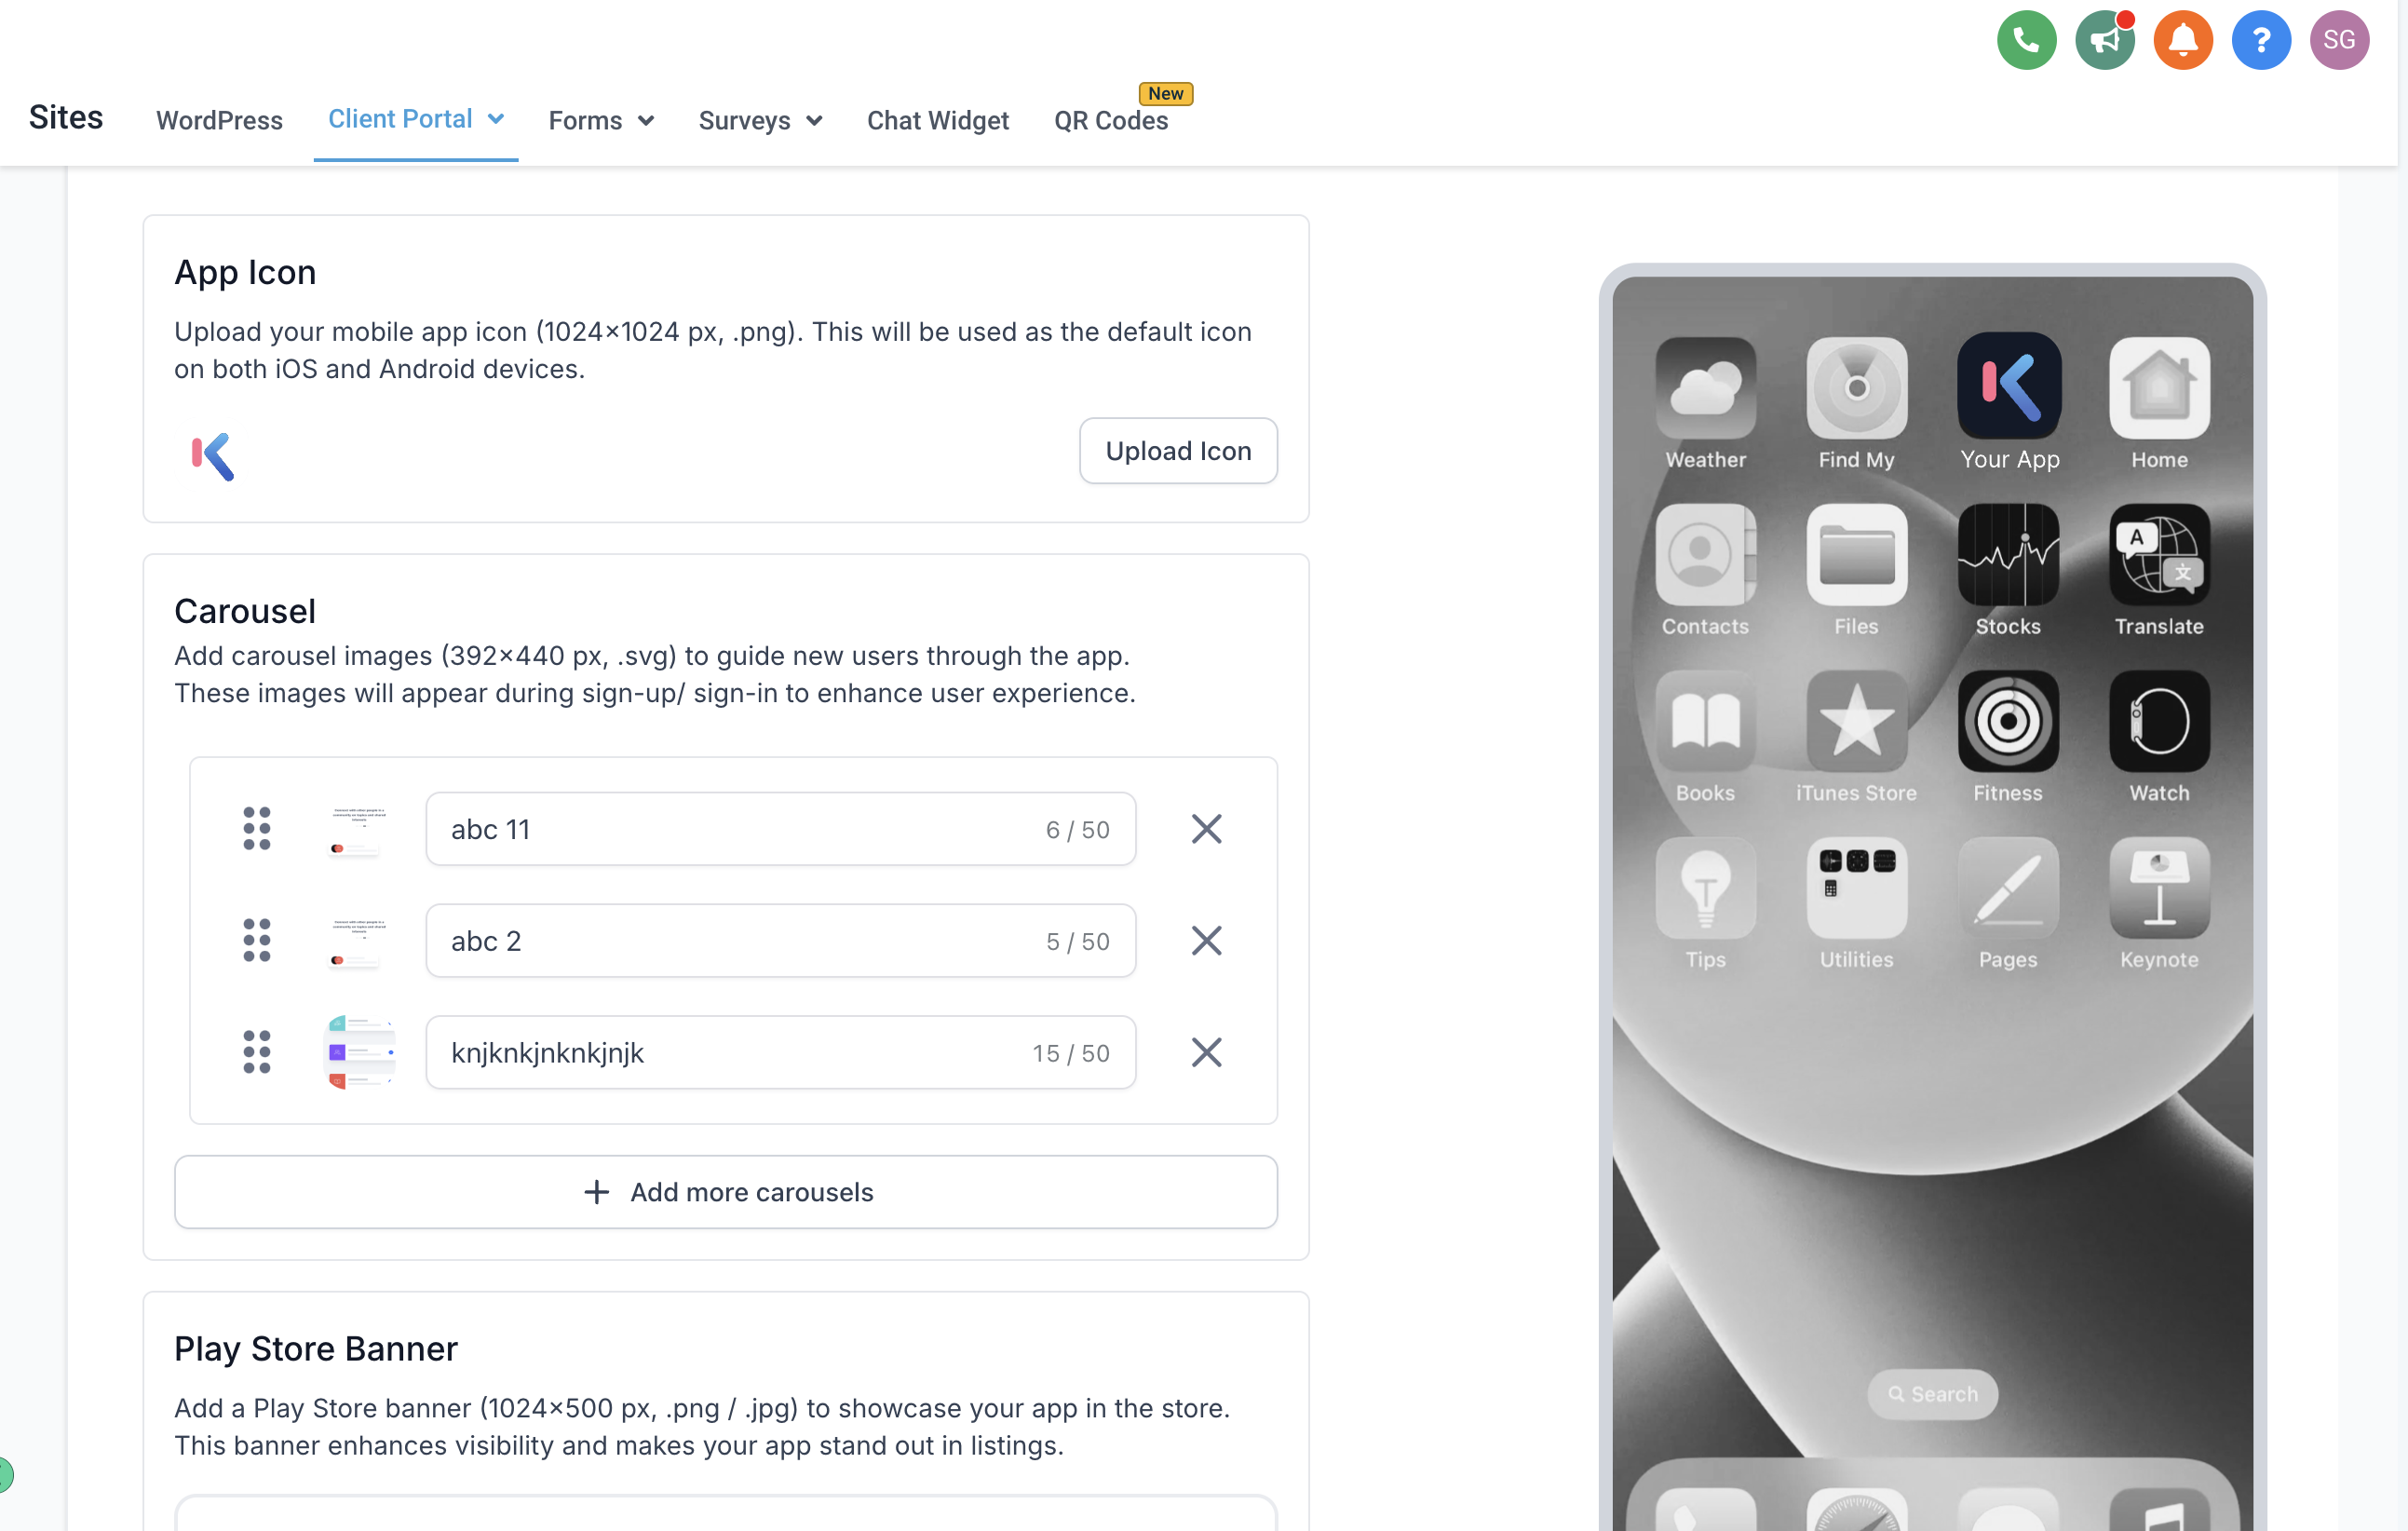
Complete your app's branding and profile information so the app aligns with your brand identity and provides a cohesive experience for your patients.
Complete all fields in the Branding and Profile sections to set up your app's basic look and feel.
After reviewing all details in the Branding section, submit your information. Once submitted, these details are used to develop your app and cannot be modified afterward.
Carefully review your branding information.
Click Submit to finalize your details.
Note: Once you submit, changes cannot be made, so double-check everything before proceeding.
After submission, our team reviews your information within 5 working days to ensure everything meets the necessary standards and your app is set up correctly.
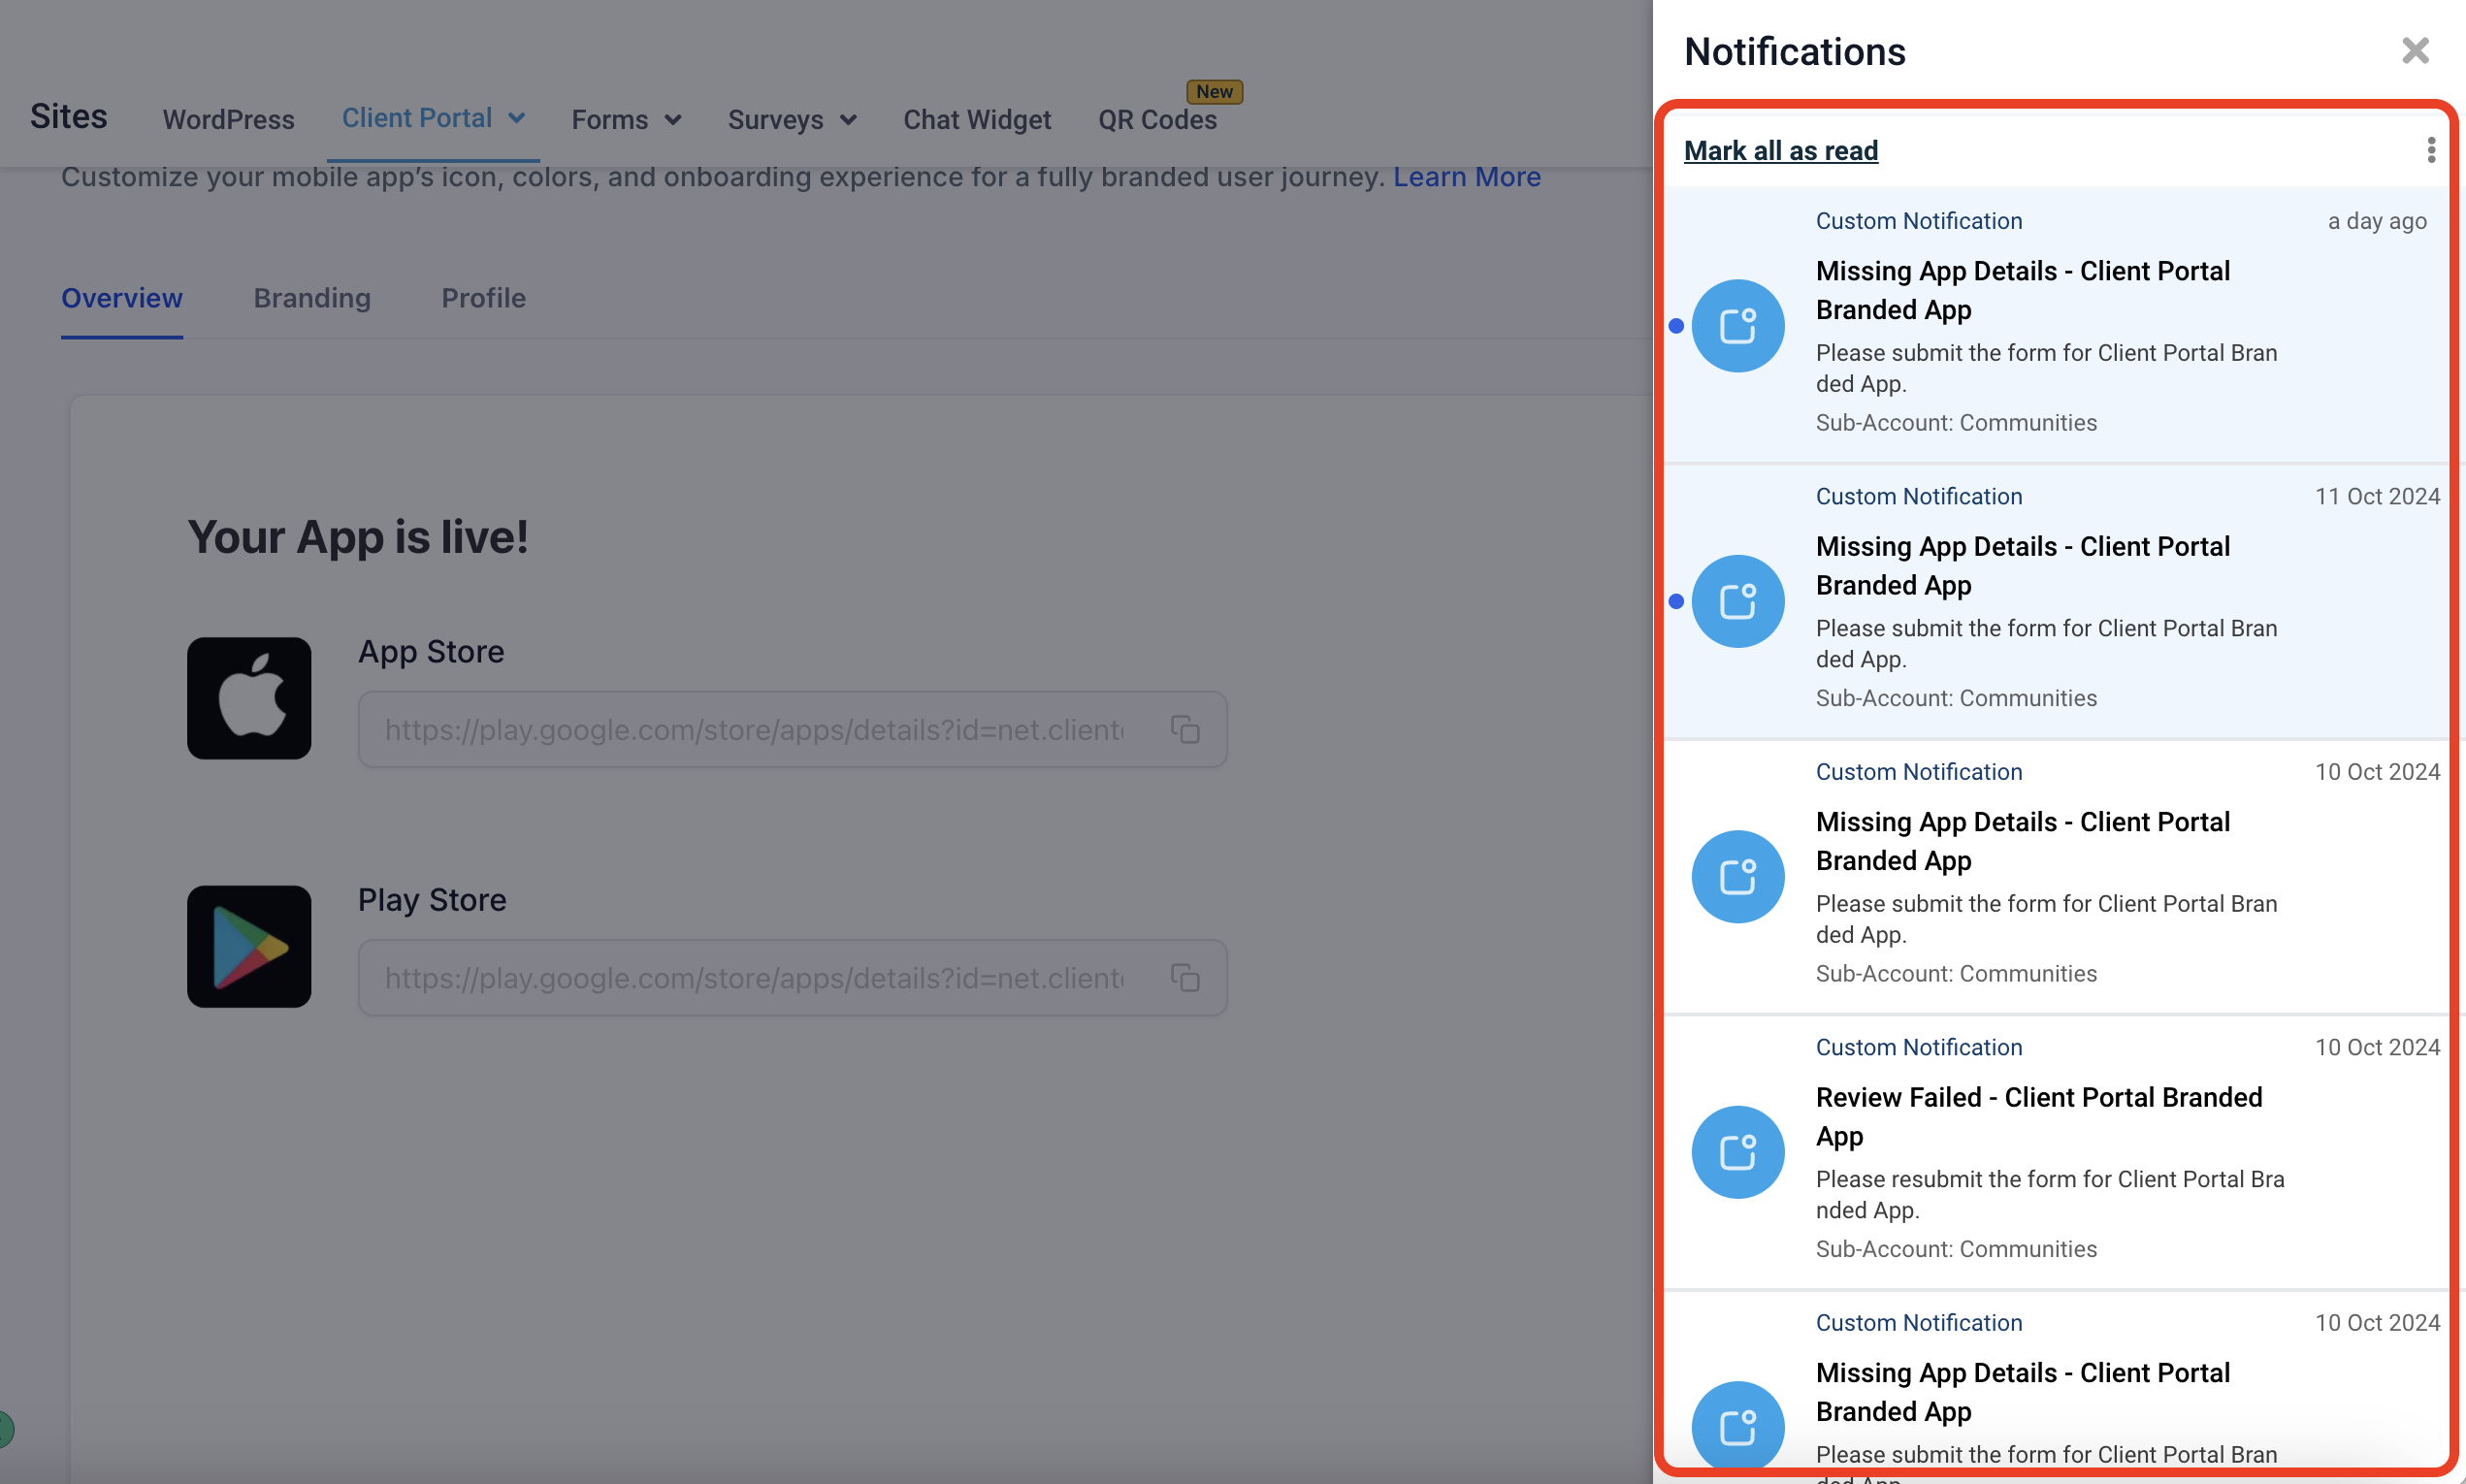
Wait for a notification regarding the review outcome. If additional information is needed, you'll be contacted to make the necessary adjustments.
You will receive in-app notifications for status updates, so keep an eye out.
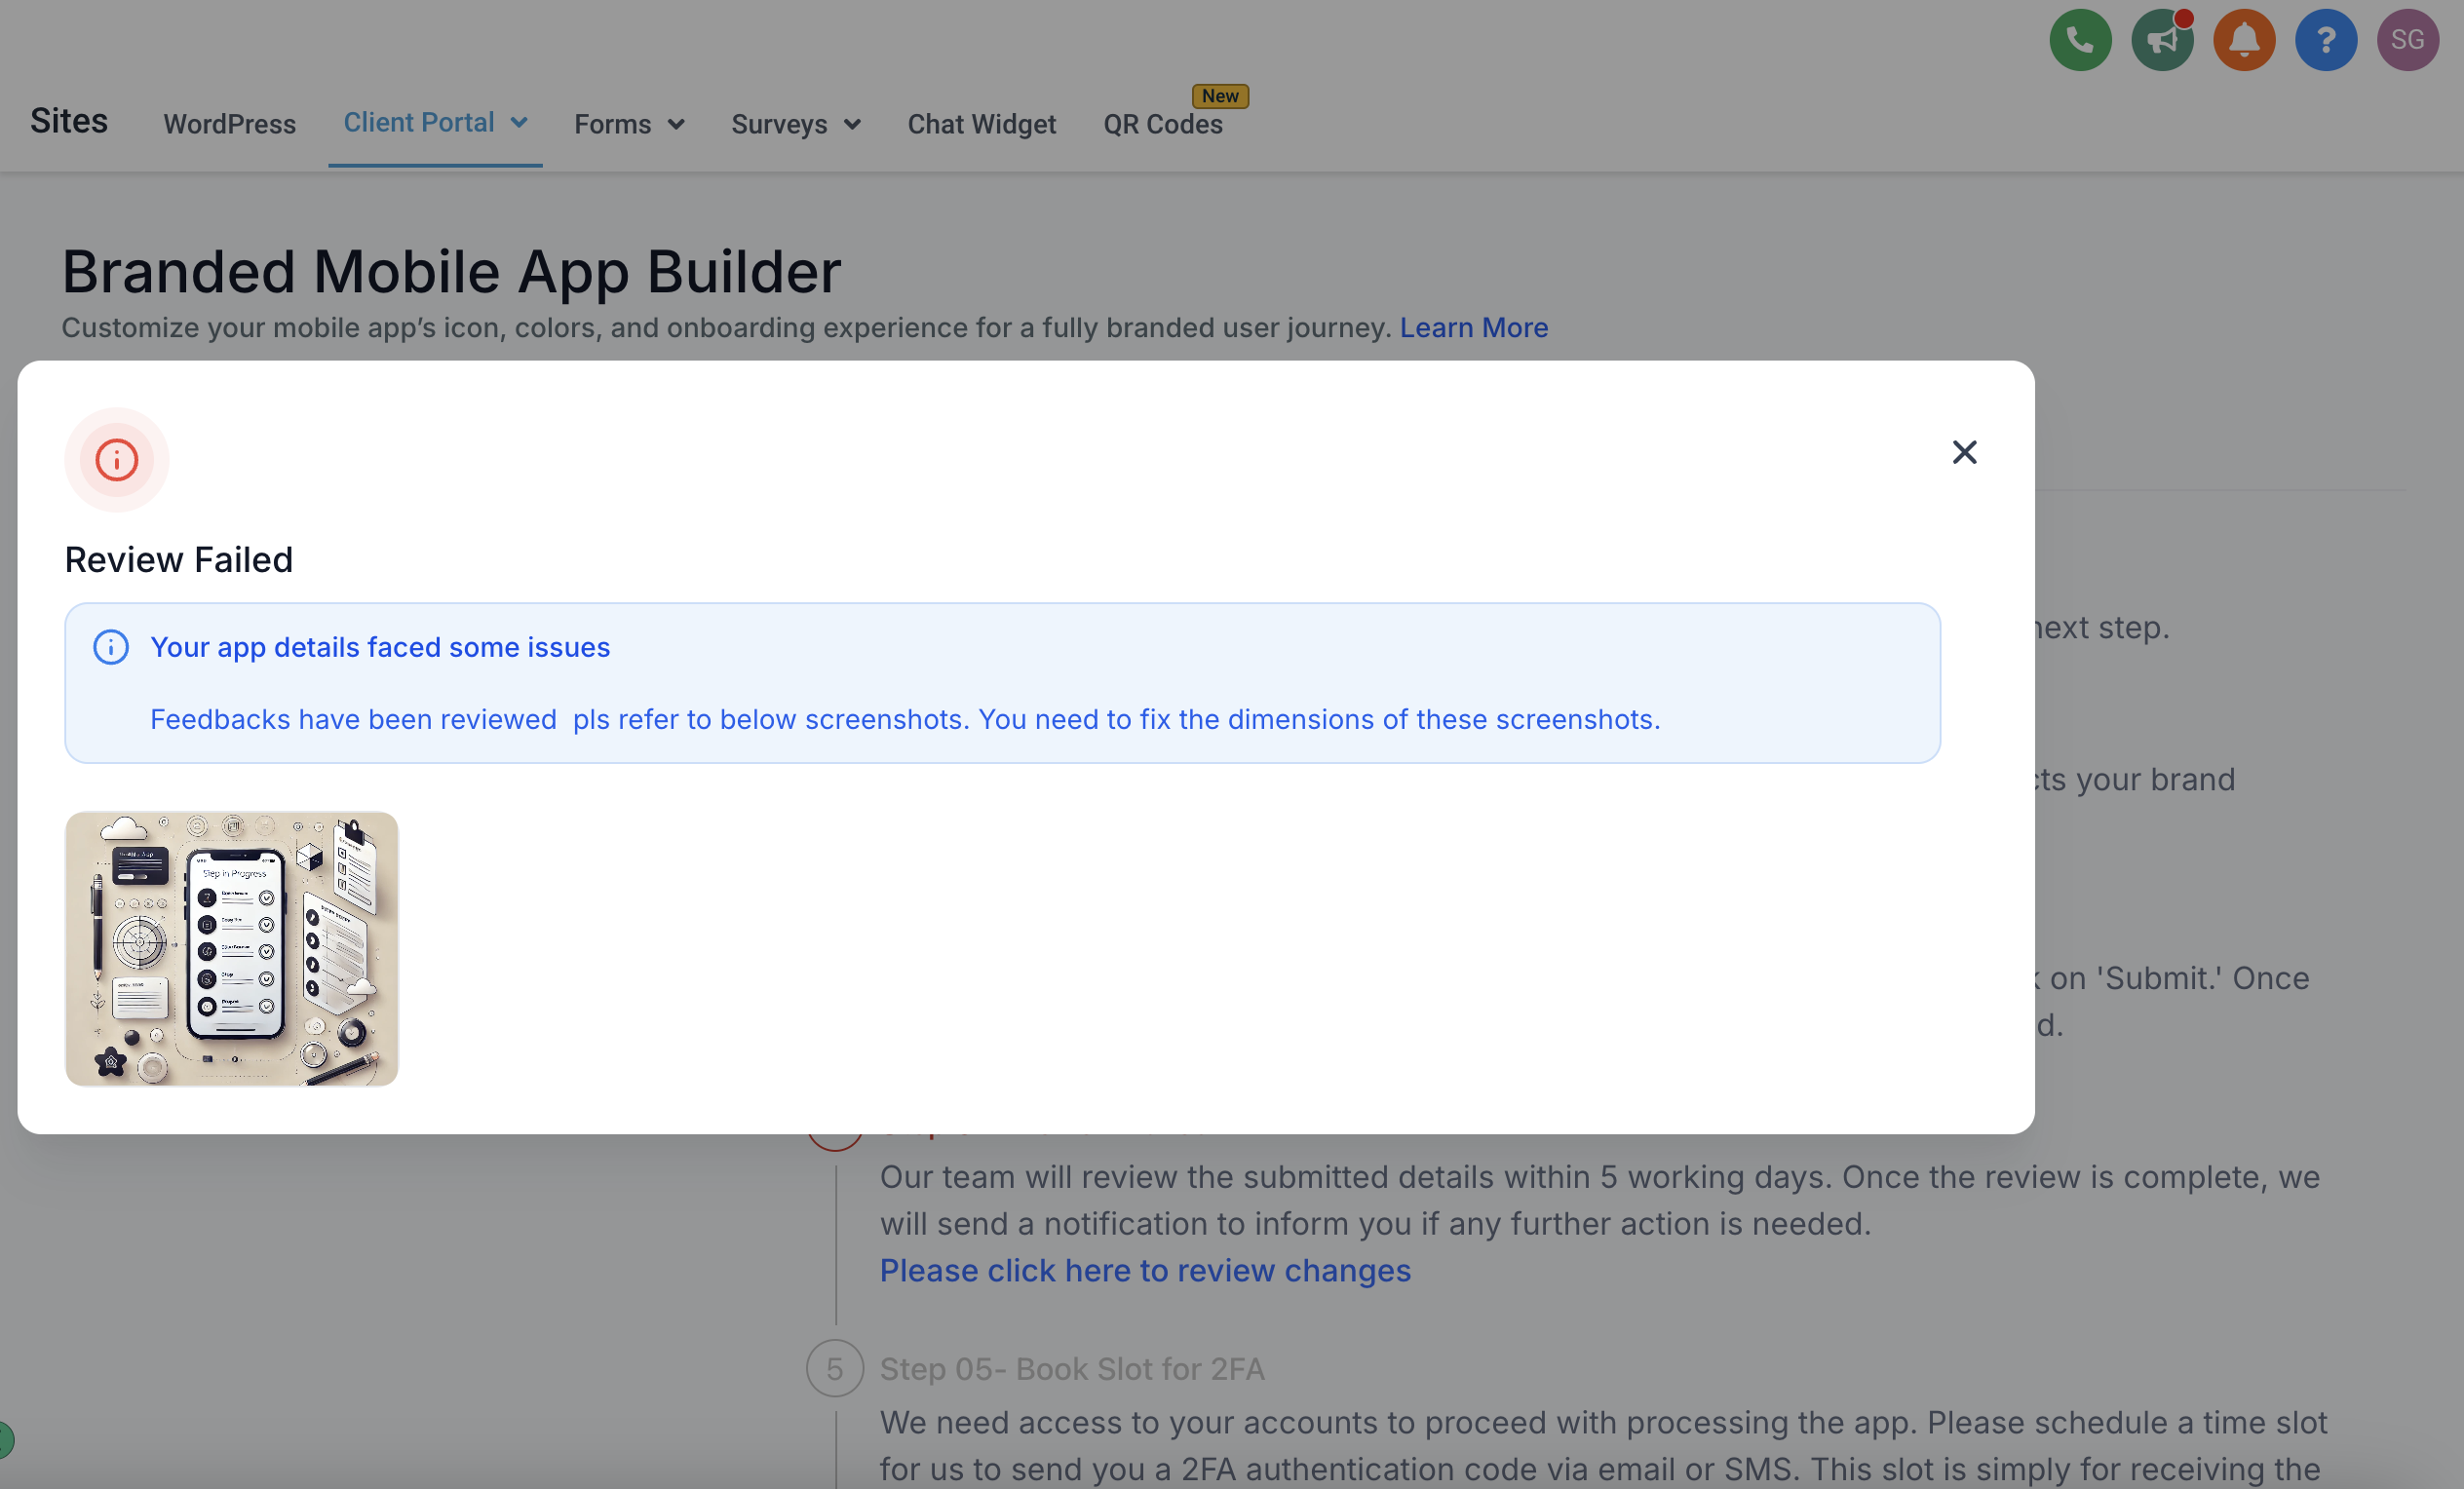
If the status is marked Review failed, we need additional or corrected information.
Click on the status to see the reasons for the failed status.
Carefully upload or fix the information as described, then review and submit again.
If the review passes, the status moves to Book slot for 2FA. For app security and verification, we set up two-factor authentication (2FA), which requires scheduling a time slot to receive a 2FA code via email or SMS.
Book a convenient time slot for the 2FA process.
Ensure you're available to receive and enter the code during your chosen slot.
Once all previous steps are complete, your app is submitted to the app stores. From here, each store's review process begins, which may take several days depending on the platform. No action is required from you at this stage. You'll receive a notification once the app is approved and live in the store.
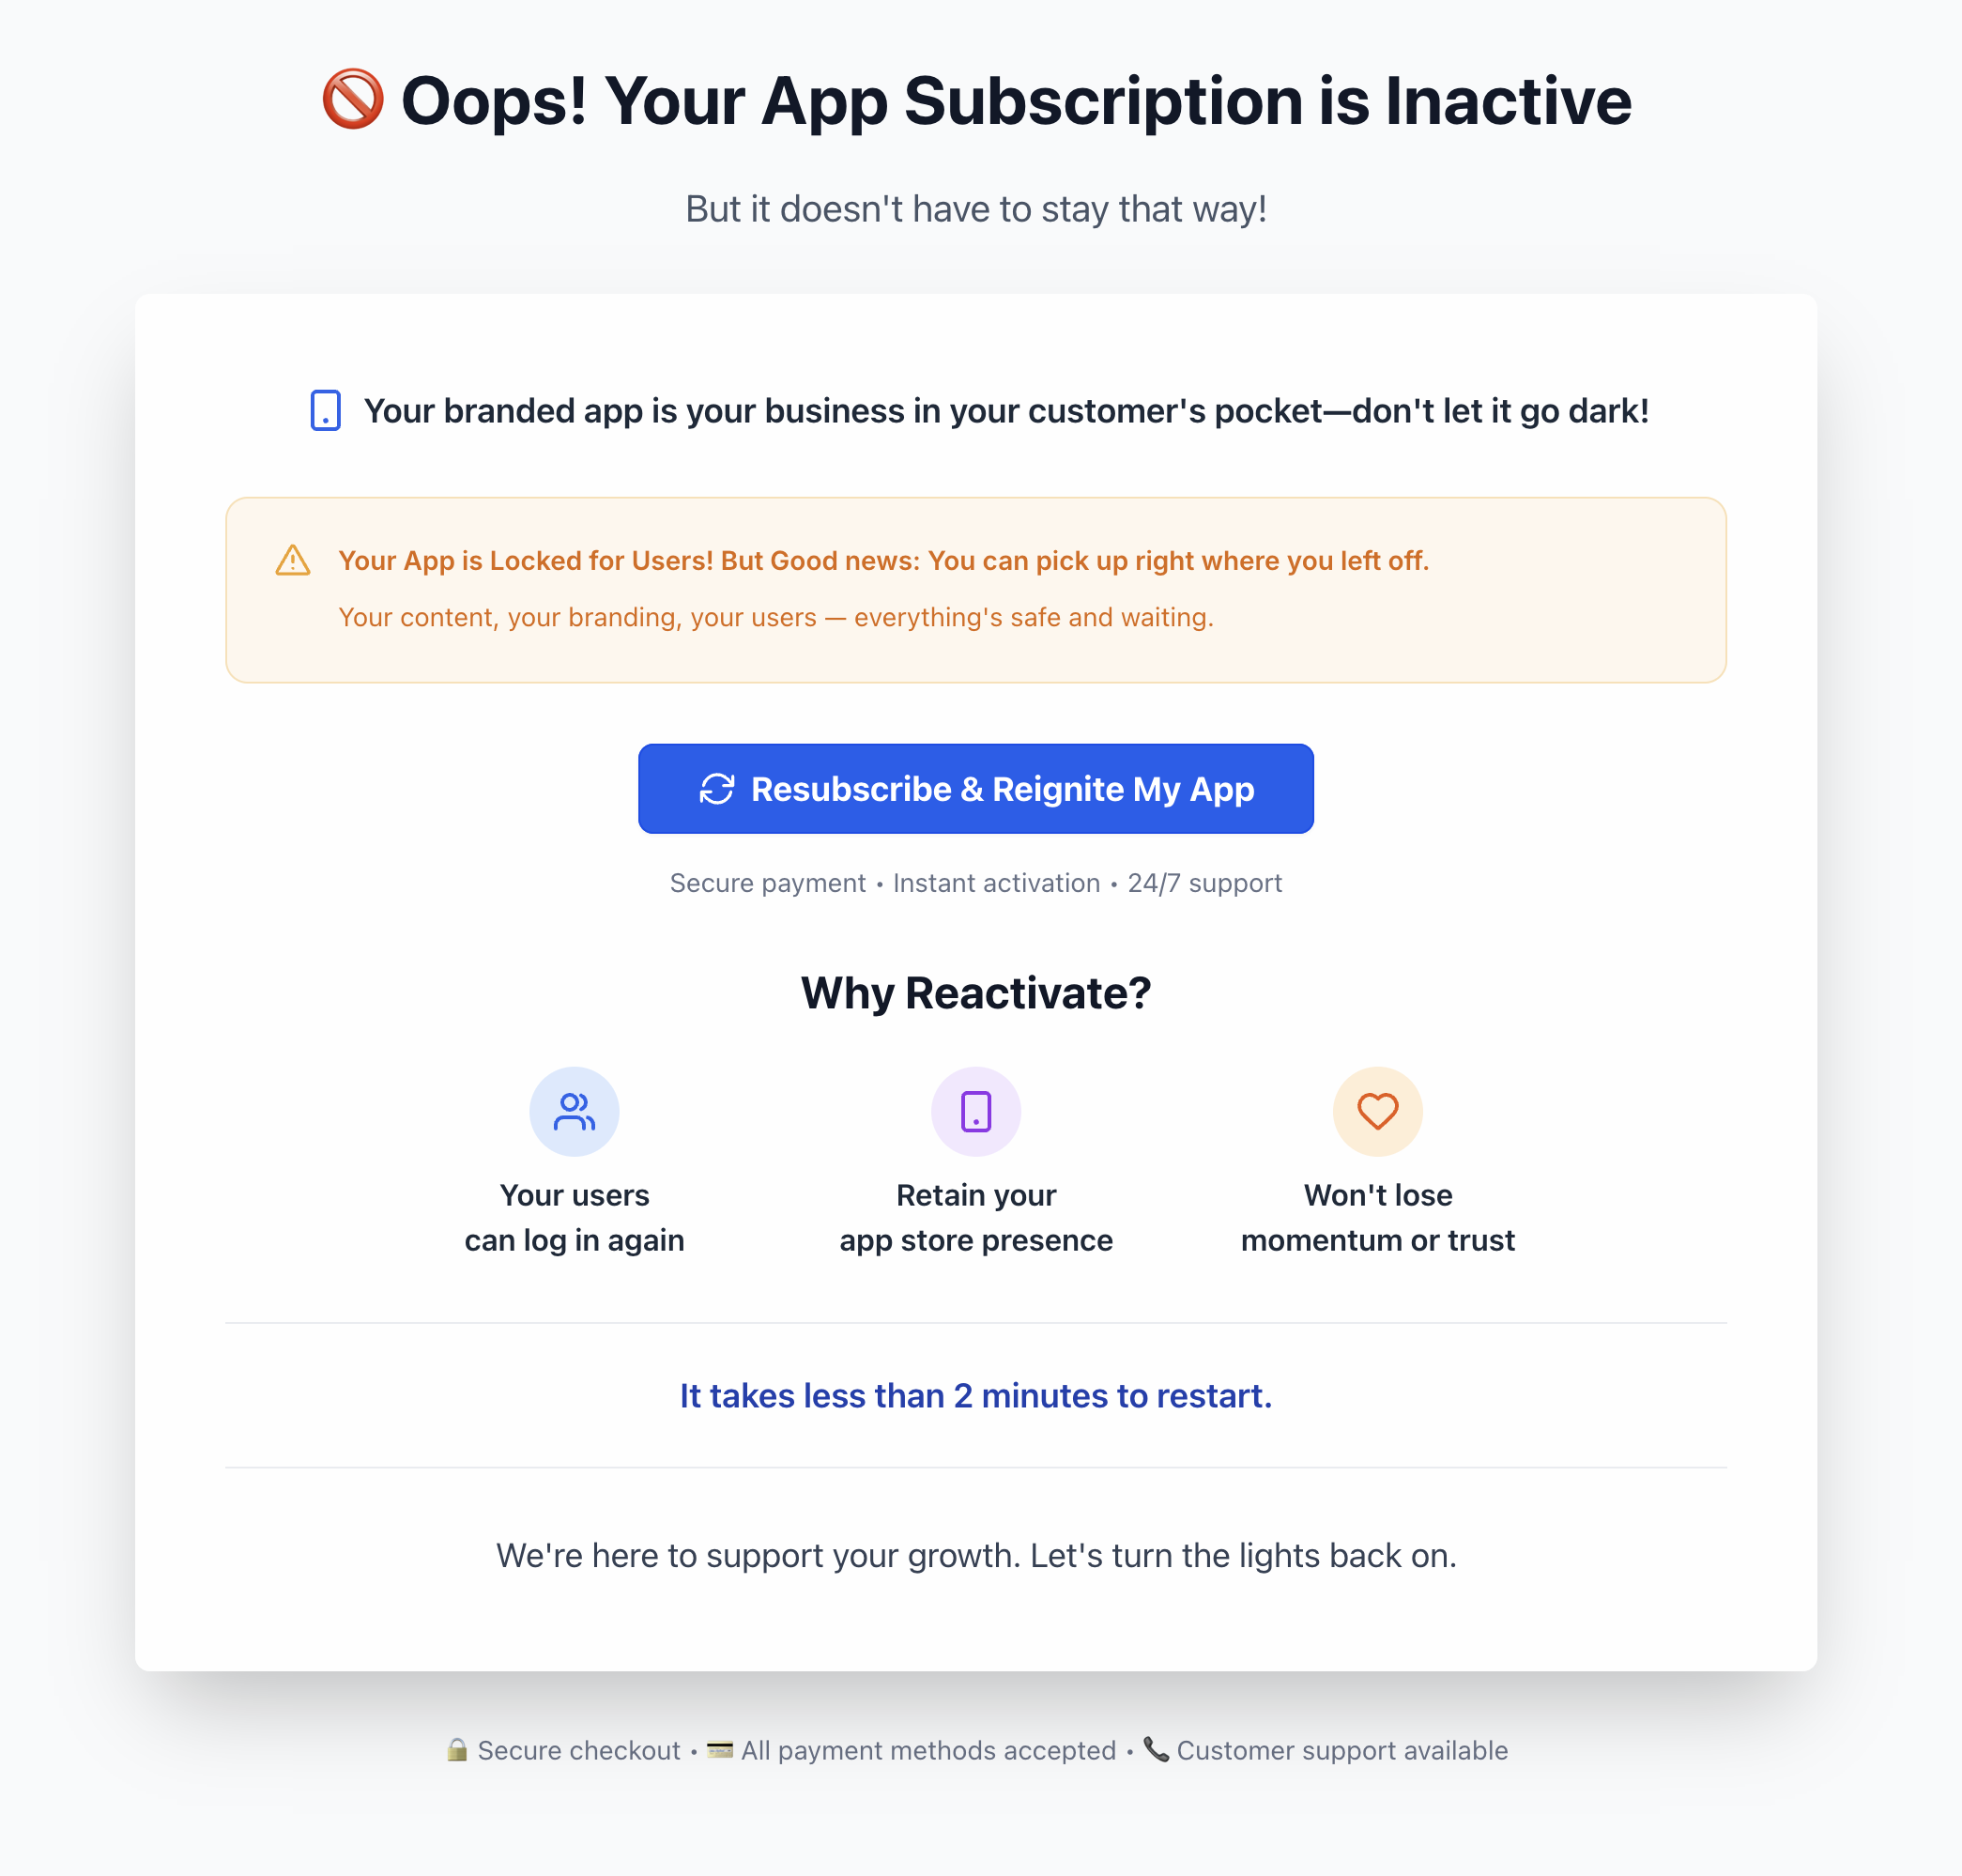
If something interferes with your branded mobile app subscription in the future (for example, it's paused or cancelled), you'll see a helpful warning screen. Use the Resubscribe & Reignite My App button to quickly reinstate the app.
By default, your Client Portal is served from a system-generated web address. Connecting a custom domain lets patients reach the portal through your own branded address, such as portal.yourpractice.com, for a more polished and trustworthy experience.
Note: A subdomain is recommended for your Client Portal (for example,
membershipsorportal). Using a root domain here can point your primary domain away from your existing website.
To connect your domain, navigate to Web Tools → Client Portal > Domain** and follow the prompts to add your custom domain.
If your domain provider is Google, Cloudflare, or GoDaddy, Aesthetix CRM can configure your DNS automatically. This removes the need to manage DNS records manually and streamlines the connection, saving time and reducing the risk of errors.
If your domain provider is not Google, Cloudflare, or GoDaddy, you'll configure DNS manually. Aesthetix CRM generates the exact record values for you to enter into your domain provider's system.
Open your DNS provider and go to your DNS manager, then click to add a record. (The process is broadly similar across providers, with minor variations.)
Select the record type provided by Aesthetix CRM (a CNAME for the Client Portal).
Enter the Hostname into the Name field and the Value/Target into the Target field.
Save the record. If you're using Cloudflare, toggle the Proxy Status off so the record can propagate.
For the Client Portal, you'll typically add a CNAME record using a subdomain such as memberships as the hostname, pointing to the target value shown in your account.
Note: Aesthetix CRM supports other domain types too, including domains for your website, email sending, and system-generated links. This guide focuses on the Client Portal domain. See the related guides for those other domain setups.
A few key terms to know when working with domains:
Root Domain (example: yourpractice.com), The primary address of your website, the part that appears after "www." in a URL. It serves as the main entry point to your site.
Subdomain (example: portal.yourpractice.com), An extension of your root domain that directs patients to a specific area, letting the Client Portal act independently from your main website.
Hostname: The name/value used in the record, typically the subdomain. This is what lets a subdomain such as portal.yourpractice.com act independently from your main site.
Data/Target/Value: The value that tells the address which destination to display.
Nameservers: The directory that organizes and controls your DNS records, telling the internet which provider (GoDaddy, Cloudflare, Google, etc.) is managing your domain.
DNS: The records that tell the internet what to load when a URL is visited.
CNAME: A record that points to another domain. CNAME records are commonly used when creating subdomains, including your Client Portal.
A Record: A record that points to an IP address hosting your website, commonly used for a root domain.
TXT: Records used to verify a domain and help protect email sending from spam.
If you've added DNS records but the portal isn't loading or you're seeing errors, work through these steps.
DNS changes typically take 24 to 48 hours to fully propagate, depending on factors like TTL, ISP, and your domain provider. Use a DNS checker tool (such as dnschecker.org) to monitor propagation status and spot incomplete updates.
Double-check every DNS record and confirm each one points to the exact value provided in your Aesthetix CRM account. For the Client Portal, this is a CNAME record on your chosen subdomain pointing to the target value shown in your account.
Look for duplicate or conflicting records, especially root-domain A records (a hostname of @), which can cause errors. Correct any conflicts so your portal resolves cleanly.
Ensure the DNS records were added to the provider where your domain's nameservers actually point. If your nameservers are managed by a different provider, add the records into that provider's DNS instead.
If the issue persists, look into other possibilities such as recent DNS changes, server downtime, or incorrect configurations.
If these steps don't resolve the issue, reach out to your domain provider's support team, or contact Aesthetix CRM support for specialized help with DNS-related issues.
What if I don't have a domain?
You can purchase one from a domain registrar such as GoDaddy, Cloudflare, Namecheap, or Google. Once purchased, you can set it up within Aesthetix CRM.
What if I already have a domain in use?
Great! If you have an existing website connected to that domain and don't want to replace it, use a subdomain (for example, portal.yourpractice.com) to connect your Client Portal so it acts independently from your main site.
My CNAME record isn't being recognized in Cloudflare.
Make sure the CNAME record added in Cloudflare has the proxy toggled off so the record can propagate.
