Aesthetix CRM brings your Facebook, Instagram, and WhatsApp conversations into a single unified Inbox, so your team can reply to every social message from one place instead of jumping between apps. This guide explains how conversations from each channel appear in the Inbox, how to reply with text, attachments, emojis, templates, and media, and the messaging-window rules that apply to each platform.
Before you can message a contact on a social channel, that channel must be connected to your account. To connect your Facebook Page and Instagram account, see the Integrations collection. To set up WhatsApp, see the WhatsApp collection.
Once your Facebook Page is connected through Settings > Integrations, incoming Facebook Messenger conversations appear alongside your other channels in the Inbox. You can reply to a Facebook message, attach documents, add emojis, insert a payment link, and use predefined templates — all without leaving Aesthetix CRM.
Step 1: Open the Inbox. Click the Inbox icon to view your conversations.
Step 2: Select the contact. Choose the specific contact you want to connect with.
Step 3: Choose Facebook Message as the channel. Select Facebook Message as your medium of communication.
Step 4: Type your message. Enter your message into the text field in the composer.
Step 5: Attach documents. Have important documents to share? Attach them to enrich your message.
Step 6: Add emojis. Add a touch of personality by including emojis in your text.
Step 7: Open predefined templates. For speed and consistency, use your predefined text templates.
Step 8: Select a template. Choose the template that best serves your communication purpose.
Step 9: Attach a Facebook payment link. If needed, attach a Facebook payment link to collect payment directly in the conversation.
Step 10: Personalize your text. Enhance engagement by personalizing the message before sending.
Step 11: Clear the message if needed. To rewrite or correct errors, click Clear to reset the composer.
Step 12: Send the message. When you're happy with your message, click Send to deliver it.
With Instagram connected, you can reply to Instagram DMs — and even send automated messages — directly from inside Aesthetix CRM. There's no more jumping between apps, which saves time, helps you follow up faster, and turns followers into leads. Without this, your team has to check Instagram and reply manually, which means missed leads. Instagram messaging in Aesthetix CRM keeps you connected 24/7, so you can reply instantly to DMs and comments, start conversations from keywords like "demo" or "info," send follow-ups if people don't reply, and alert your team when action is needed.
Before Instagram DMs can appear in your Inbox, connect your account:
Step 1: Use a Business Account. Make sure your Instagram is set up as a Business Account.
Step 2: Link to a Facebook Business Page. Your Instagram Business Account must be linked to a Facebook Business Page.
Step 3: Open Integrations. In Aesthetix CRM, go to Settings > Integrations.
Step 4: Connect Facebook. Click Connect Facebook and follow the prompts.
Step 5: Allow Instagram Messaging permissions. Grant the Instagram Messaging permissions when prompted.
Once connected, your Instagram DMs will appear in the Inbox alongside your other channels. For full setup details, see the Integrations collection.
Open the Inbox, select the Instagram conversation, and reply directly from the composer just as you would for any other channel.
To comply with Instagram's API policies, keep these messaging-window rules in mind:
You can only message people who DMed or commented in the last 24 hours.
You can't message cold leads who haven't interacted with your Instagram page.
Automation is allowed only after the user engages first.
Keep messages clear, helpful, and avoid sounding spammy.
Even before you set up automation, connecting Instagram and replying quickly can help you close more leads.
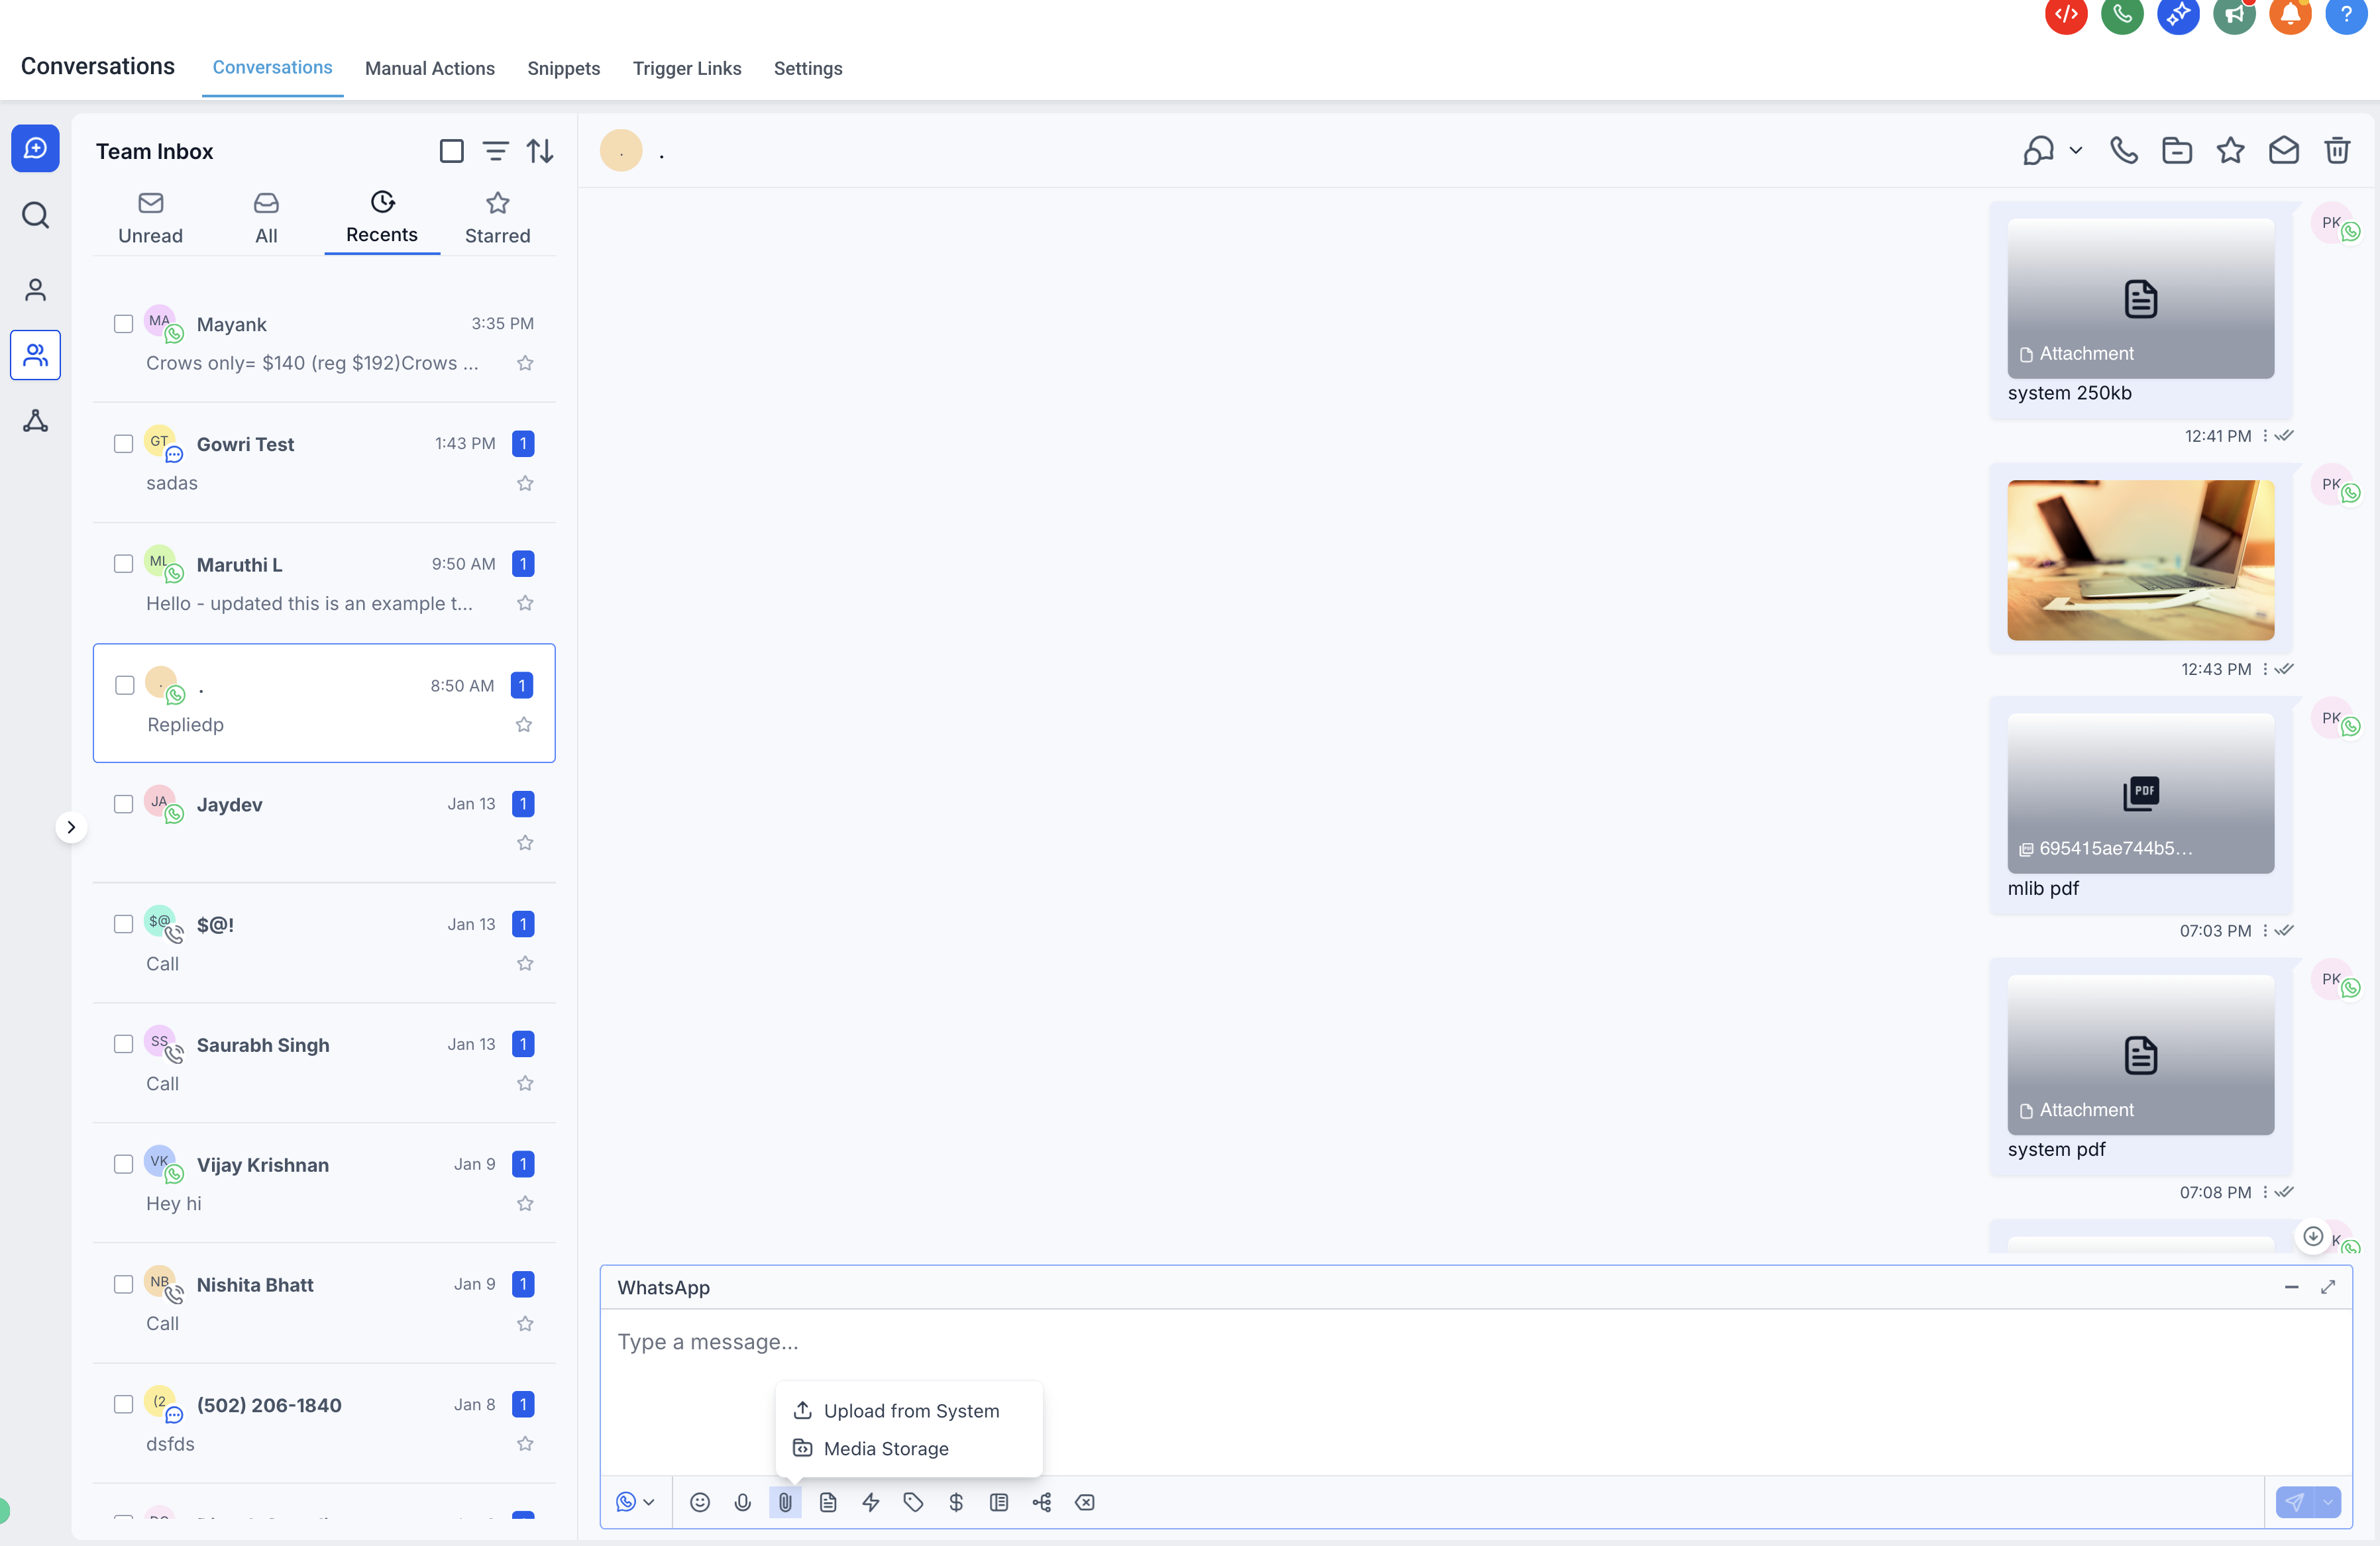
WhatsApp media messaging lets you send supported images, videos, audio files, and documents directly from the Inbox. You can add captions to WhatsApp media, upload files from the message composer, and reuse files from Media Storage. This helps your team provide clearer context, reduce repeated uploads, and keep customer communication moving in one place. For WhatsApp setup, see the WhatsApp collection.
Rich WhatsApp media messaging lets you send supported media files through WhatsApp conversations. Media can be uploaded directly from the composer or selected from Media Storage, giving you more flexibility when sharing files. Captions can also be included with supported media so recipients understand why a file is being sent.
Faster media sharing: Reuse pre-uploaded files from Media Storage without uploading the same file each time.
Clearer communication: Add captions so recipients understand the purpose of each image, video, document, or file.
Broader file compatibility: Send WhatsApp-supported media types, including common document formats such as TXT, PDF, DOCX, XLSX, and PPTX.
Reduced upload friction: Attach files from the composer or Media Storage based on where the file is already available.
Improved retention: Save important WhatsApp media to Documents so business-critical files remain accessible after WhatsApp media assets expire.
WhatsApp must be connected in your account before you can send WhatsApp messages from the Inbox.
Make sure WhatsApp is selected as the active conversation channel before sending media.
WhatsApp template rules may still apply when messaging outside an active WhatsApp conversation window.
WhatsApp media may be limited to sending within the 24-hour customer service window, depending on WhatsApp rules and your messaging scenario.
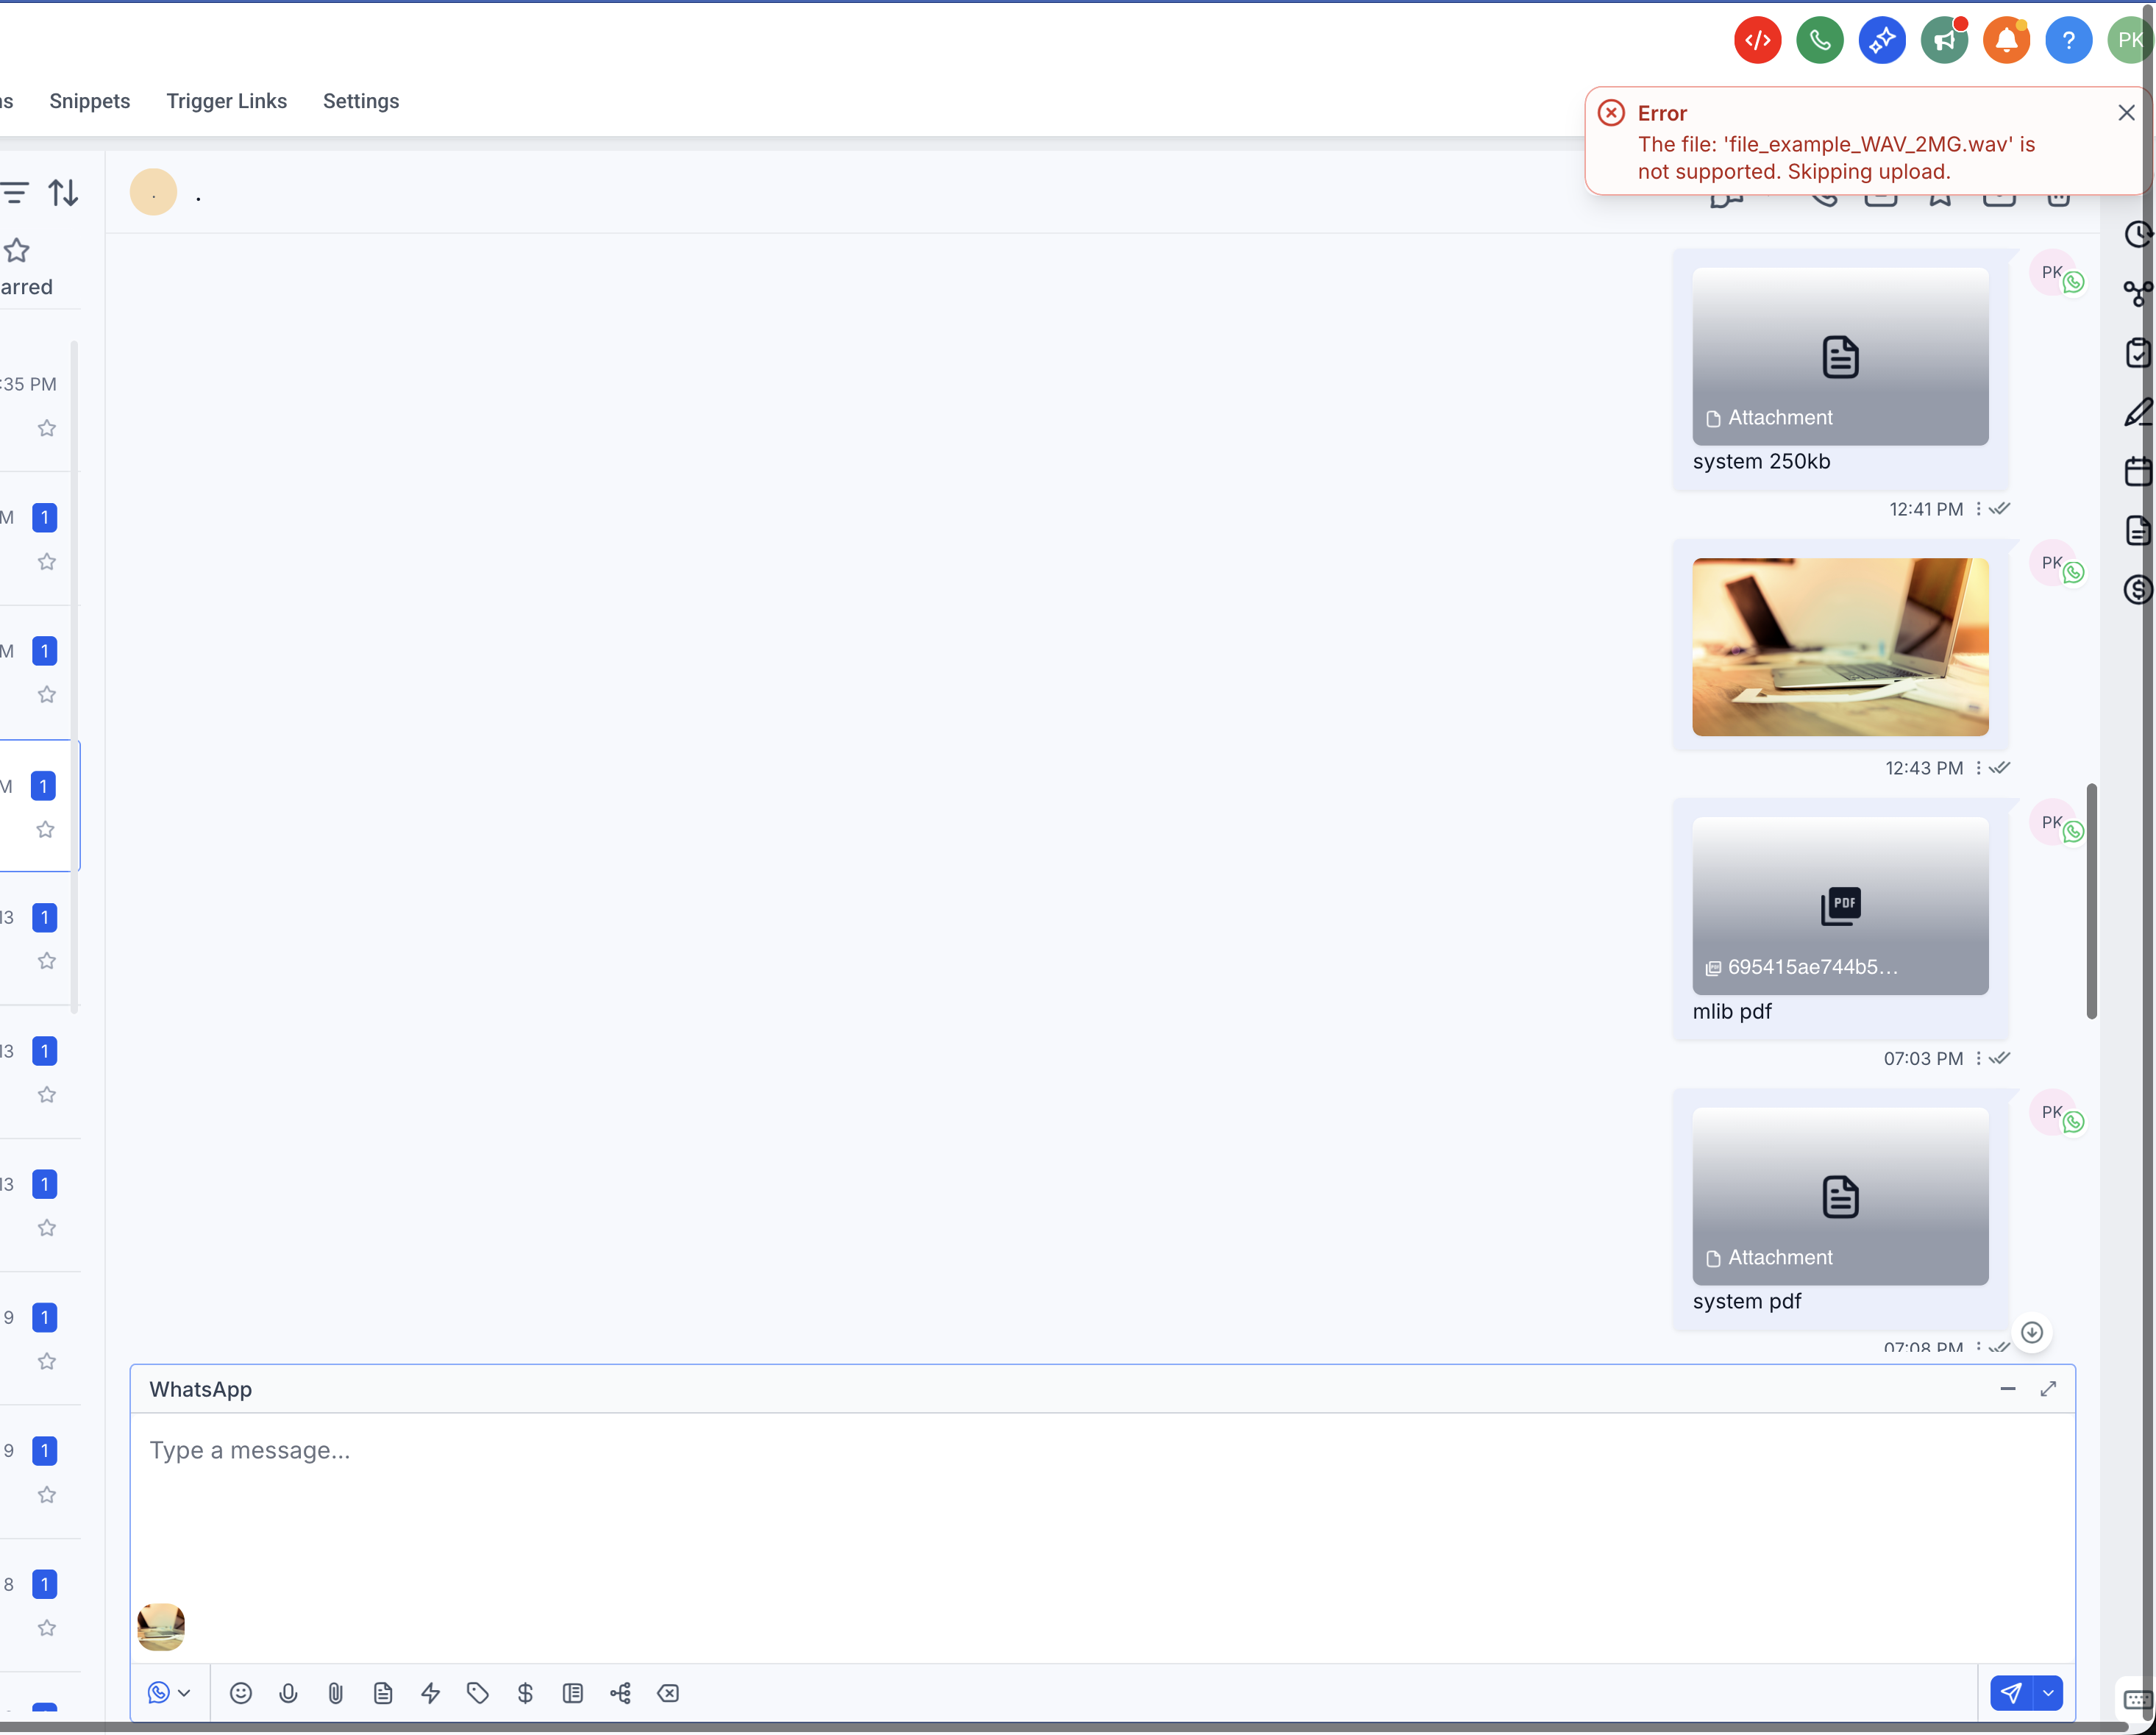
WhatsApp media files must match supported formats and size limits before they can be sent successfully. These limits apply to media sent from both composer uploads and Media Storage attachments.
Media Type | Supported Formats | Maximum File Size |
|---|---|---|
Images | PNG, JPG, JPEG | 5 MB |
Videos | MP4, 3GP | 16 MB |
Audio | AAC, AMR, MP3, M4A | 16 MB |
Documents | TXT, PDF, DOC, DOCX, XLS, XLSX, PPT, PPTX | 100 MB |
Composer uploads let you send files from your device while replying to a WhatsApp conversation. This is helpful when the file is local, newly created, or not already stored in Media Storage.
Step 1: Open the Inbox. Open the Inbox to view your conversations.
Step 2: Open the WhatsApp conversation. Open the contact's WhatsApp conversation.
Step 3: Confirm the WhatsApp channel. Confirm that WhatsApp is selected as the message channel.
Step 4: Click the attachment option. Click the attachment option in the composer.
Step 5: Upload a supported file. Upload a supported file from your device.
Step 6: Add a caption. Enter message text if you want to include a caption.

Step 7: Send the message. Click Send to deliver the media.
When media and text are sent together, the composer text is used as the caption for the media instead of sending the text and file as separate messages.
Media Storage attachments let you reuse files that are already uploaded. This is useful for frequently shared assets such as brochures, onboarding documents, product images, service menus, or videos. Media Storage provides a centralized place to upload, organize, preview, and manage files.
Step 1: Open the Inbox. Open the Inbox to view your conversations.
Step 2: Open the WhatsApp conversation. Open the contact's WhatsApp conversation.
Step 3: Confirm the WhatsApp channel. Confirm that WhatsApp is selected as the message channel.
Step 4: Open Media Storage. Open the attachment or Media Storage option in the composer.
Step 5: Find the file. Browse or search for the file you want to send.
Step 6: Select the file(s). Select one or more supported files.
Step 7: Add a caption. Add text in the composer if you want to include a caption.
Step 8: Send the message. Click Send to deliver the media.
Captions give recipients helpful context about the media they receive. Instead of sending an attachment without explanation, you can include text that explains what the file is, why it was sent, or what the recipient should do next.
WhatsApp media assets can expire, which may prevent you from accessing important files later. Saving important media to Documents helps preserve customer-submitted files, signed assets, proof documents, or business-critical attachments for long-term reference. The Add to Documents flow lets you save message attachments to the contact's Documents area using the three-dot menu next to a message attachment.
Step 1: Open the conversation. Open the WhatsApp conversation that contains the media attachment.
Step 2: Locate the attachment. Find the message with the attachment.
Step 3: Open the three-dot menu. Click the three-dot menu next to the message or attachment.
Step 4: Select Add to Documents. Choose Add to Documents.
Step 5: Confirm the save. Confirm that the file is available in the contact's Documents area.
What type of account is required for social messages to sync? Messaging accounts must support external connections and allow messaging permissions. For Instagram, use a Business Account linked to a Facebook Business Page. Personal-only accounts may not support message syncing.
Will messages sent before connecting appear in the Inbox? Messages sent after the connection are guaranteed to sync. Some recent message history may appear depending on permissions and platform limitations.
Can more than one messaging account be connected to the same Inbox? Each inbox supports one messaging connection and its linked account. Additional accounts require separate inbox connections.
What should I do if messages stop appearing? Review messaging permissions, confirm the account is still linked, and reconnect the messaging connection if access settings have changed. Reconnecting the messaging account resolves most syncing issues caused by permission changes.
Why can't I message an Instagram or Facebook contact who hasn't replied? Social platforms limit outbound messaging to a window after the contact last interacted. On Instagram, you can only message people who DMed or commented in the last 24 hours, and automation is allowed only after the user engages first.
Can I send captions with WhatsApp media? Yes. Captions are supported when sending WhatsApp media from composer uploads or Media Storage attachments.
Can I attach files from Media Storage to WhatsApp? Yes. You can browse and attach supported files from Media Storage directly inside WhatsApp conversations.
What WhatsApp file types are supported? Supported file types include PNG, JPG, JPEG, MP4, 3GP, AAC, AMR, MP3, M4A, TXT, PDF, DOC, DOCX, XLS, XLSX, PPT, and PPTX.
What happens if I send multiple attachments with text in the composer? The composer text is automatically used as the caption across the sent attachment messages.
Why does the Inbox show a generic attachment icon after sending media? Successfully sent attachment messages may display a generic attachment icon. This is currently expected behavior.
Why should I use Add to Documents for WhatsApp media? WhatsApp media assets can expire. Add important media to Documents when you need long-term access to customer files or business-critical attachments.
