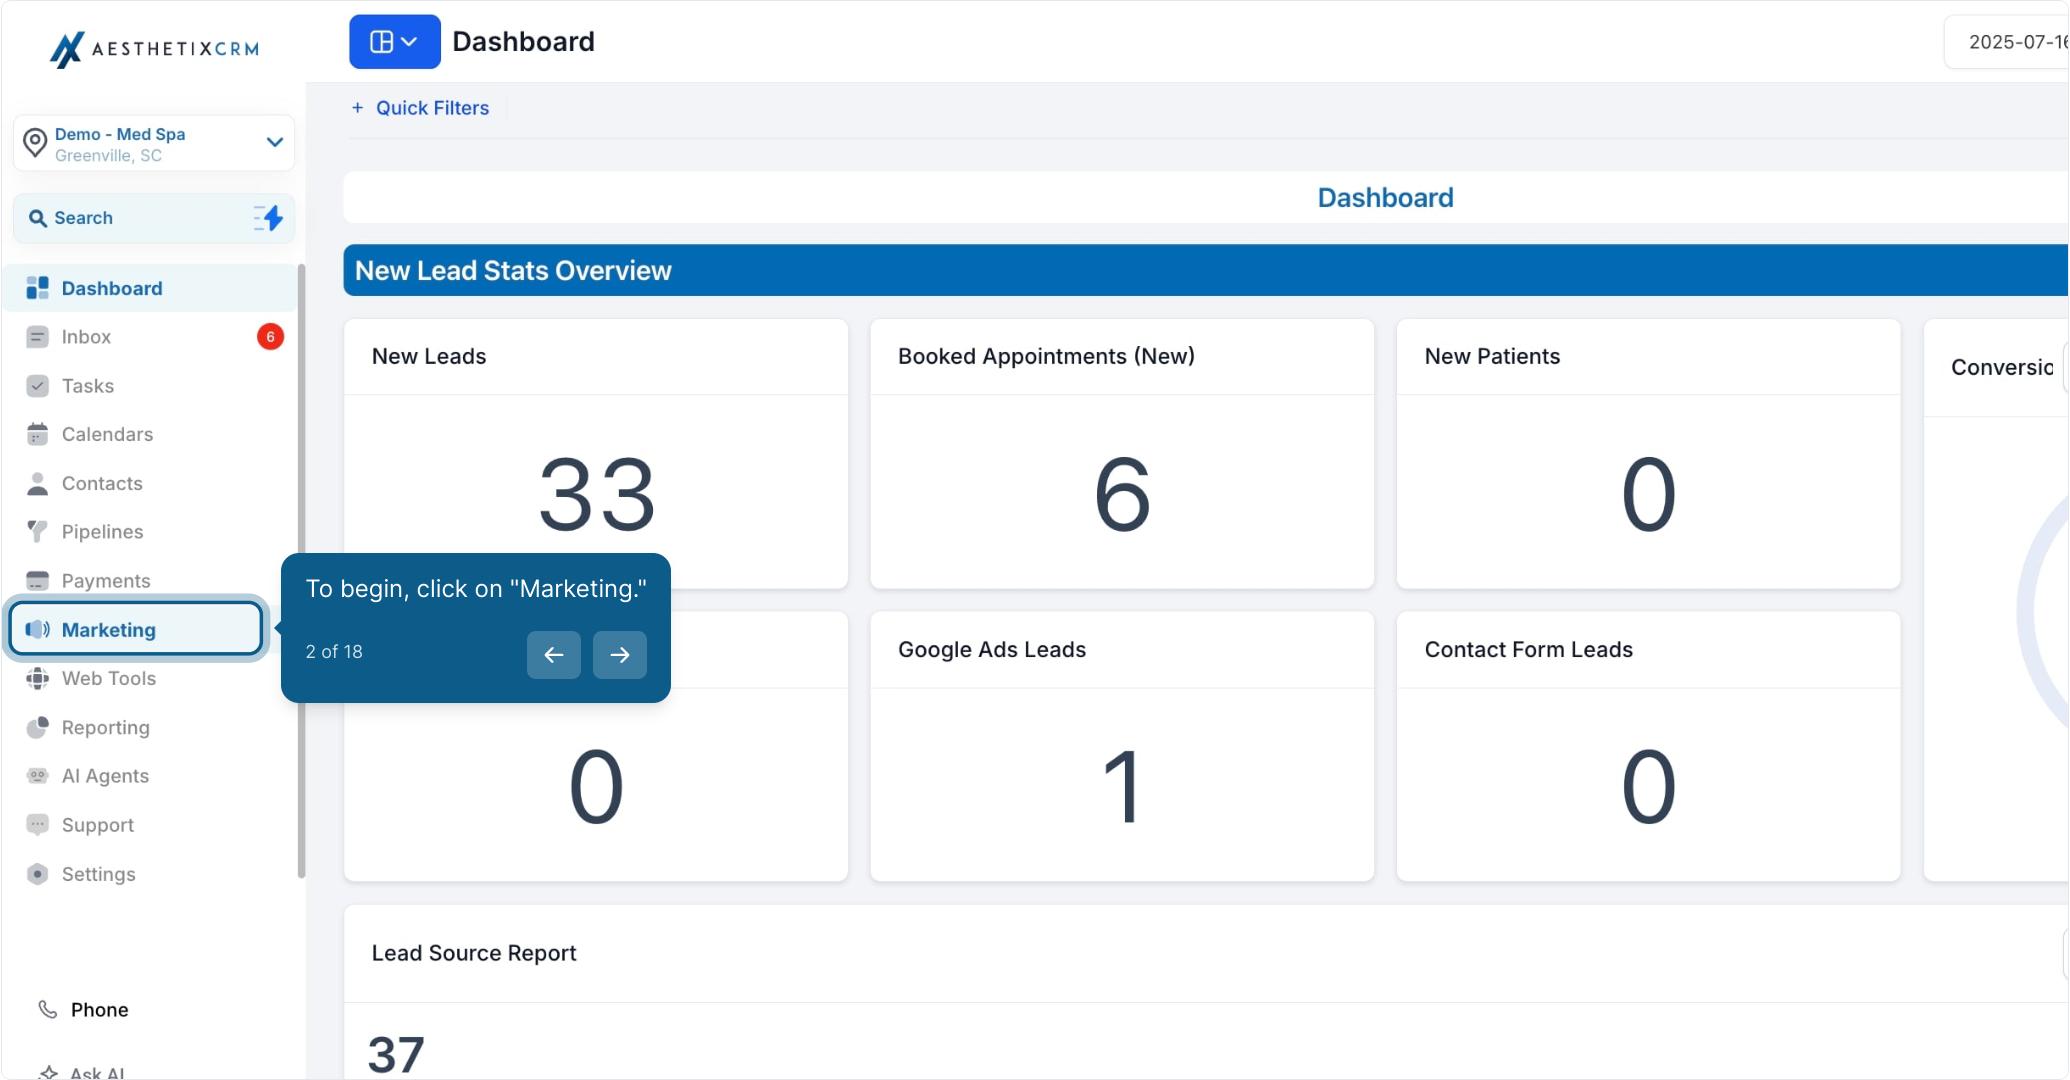
2. To begin, click on "Marketing."
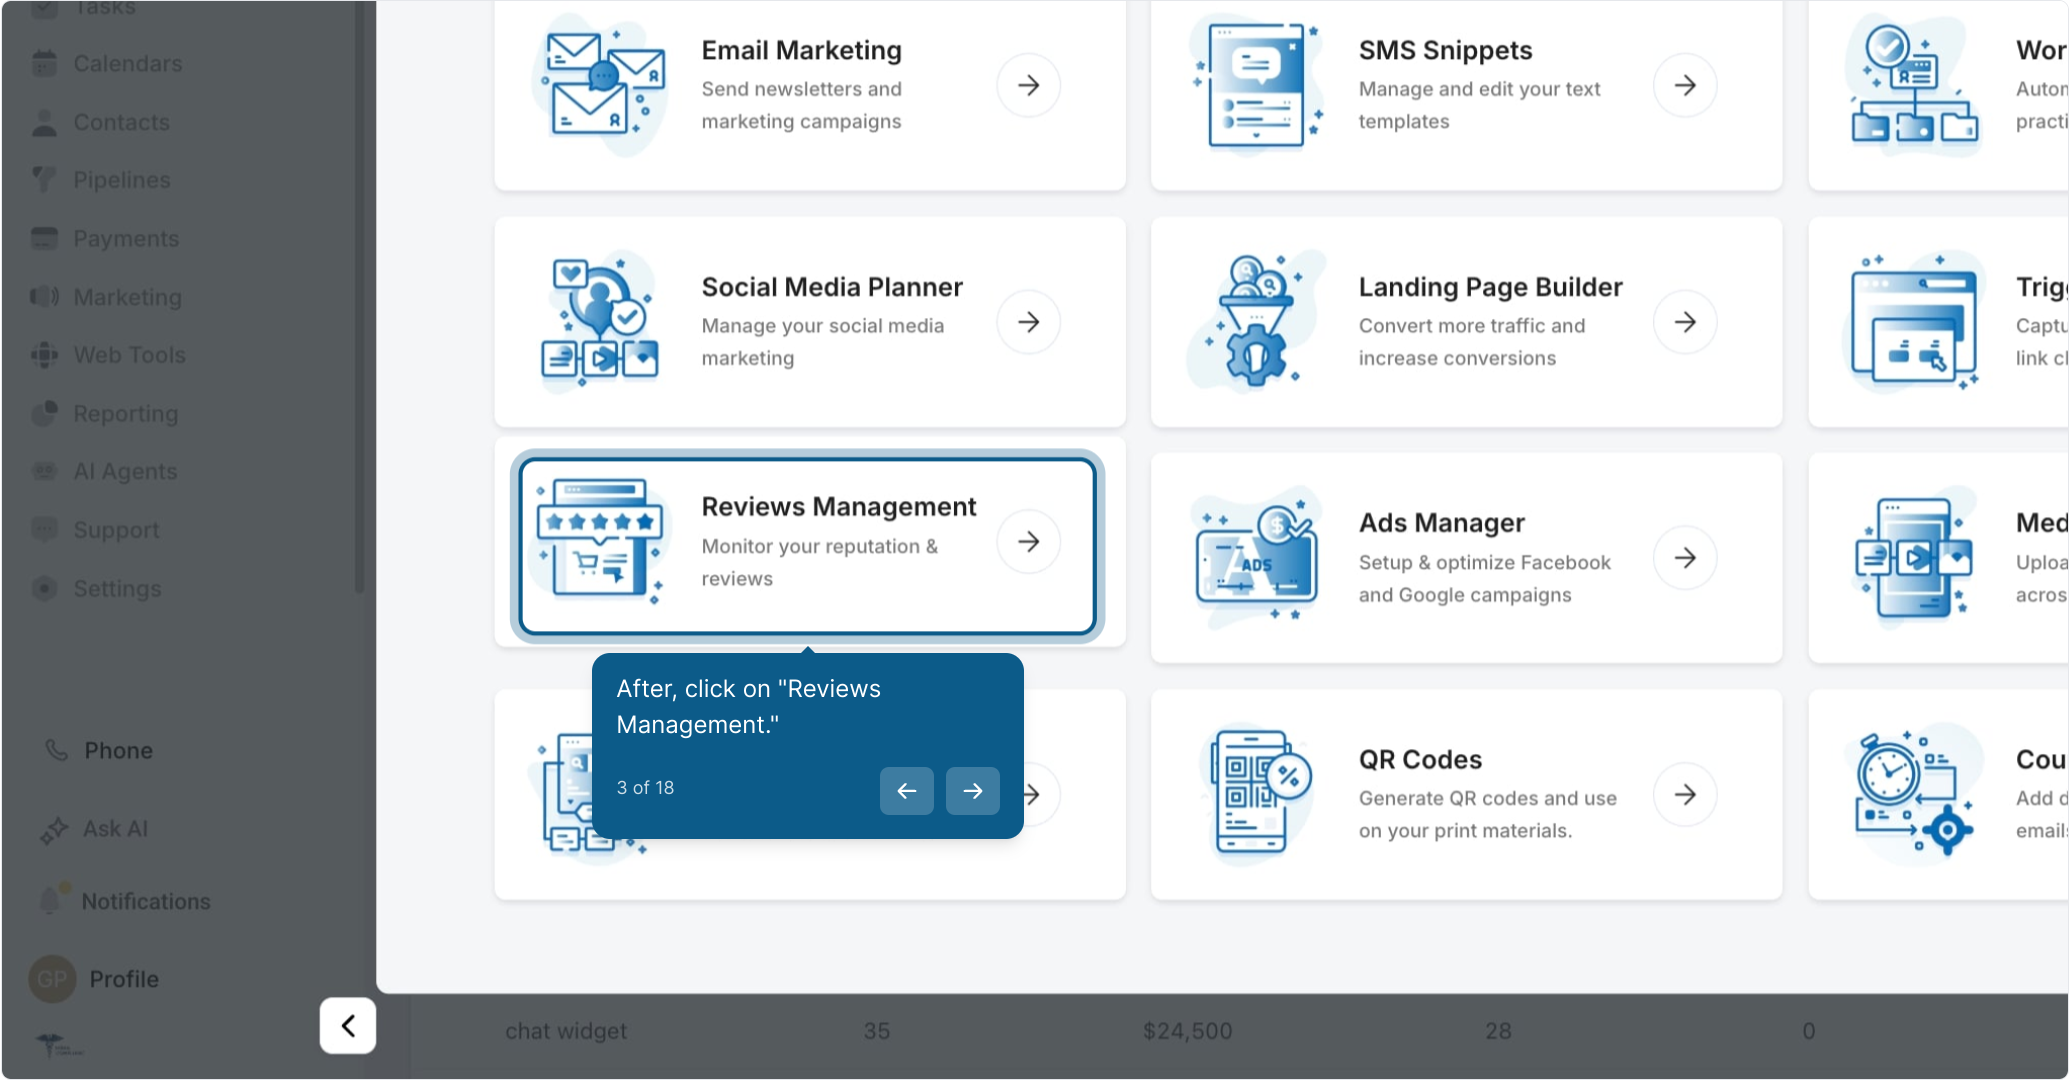
3. After, click on "Reviews Management."
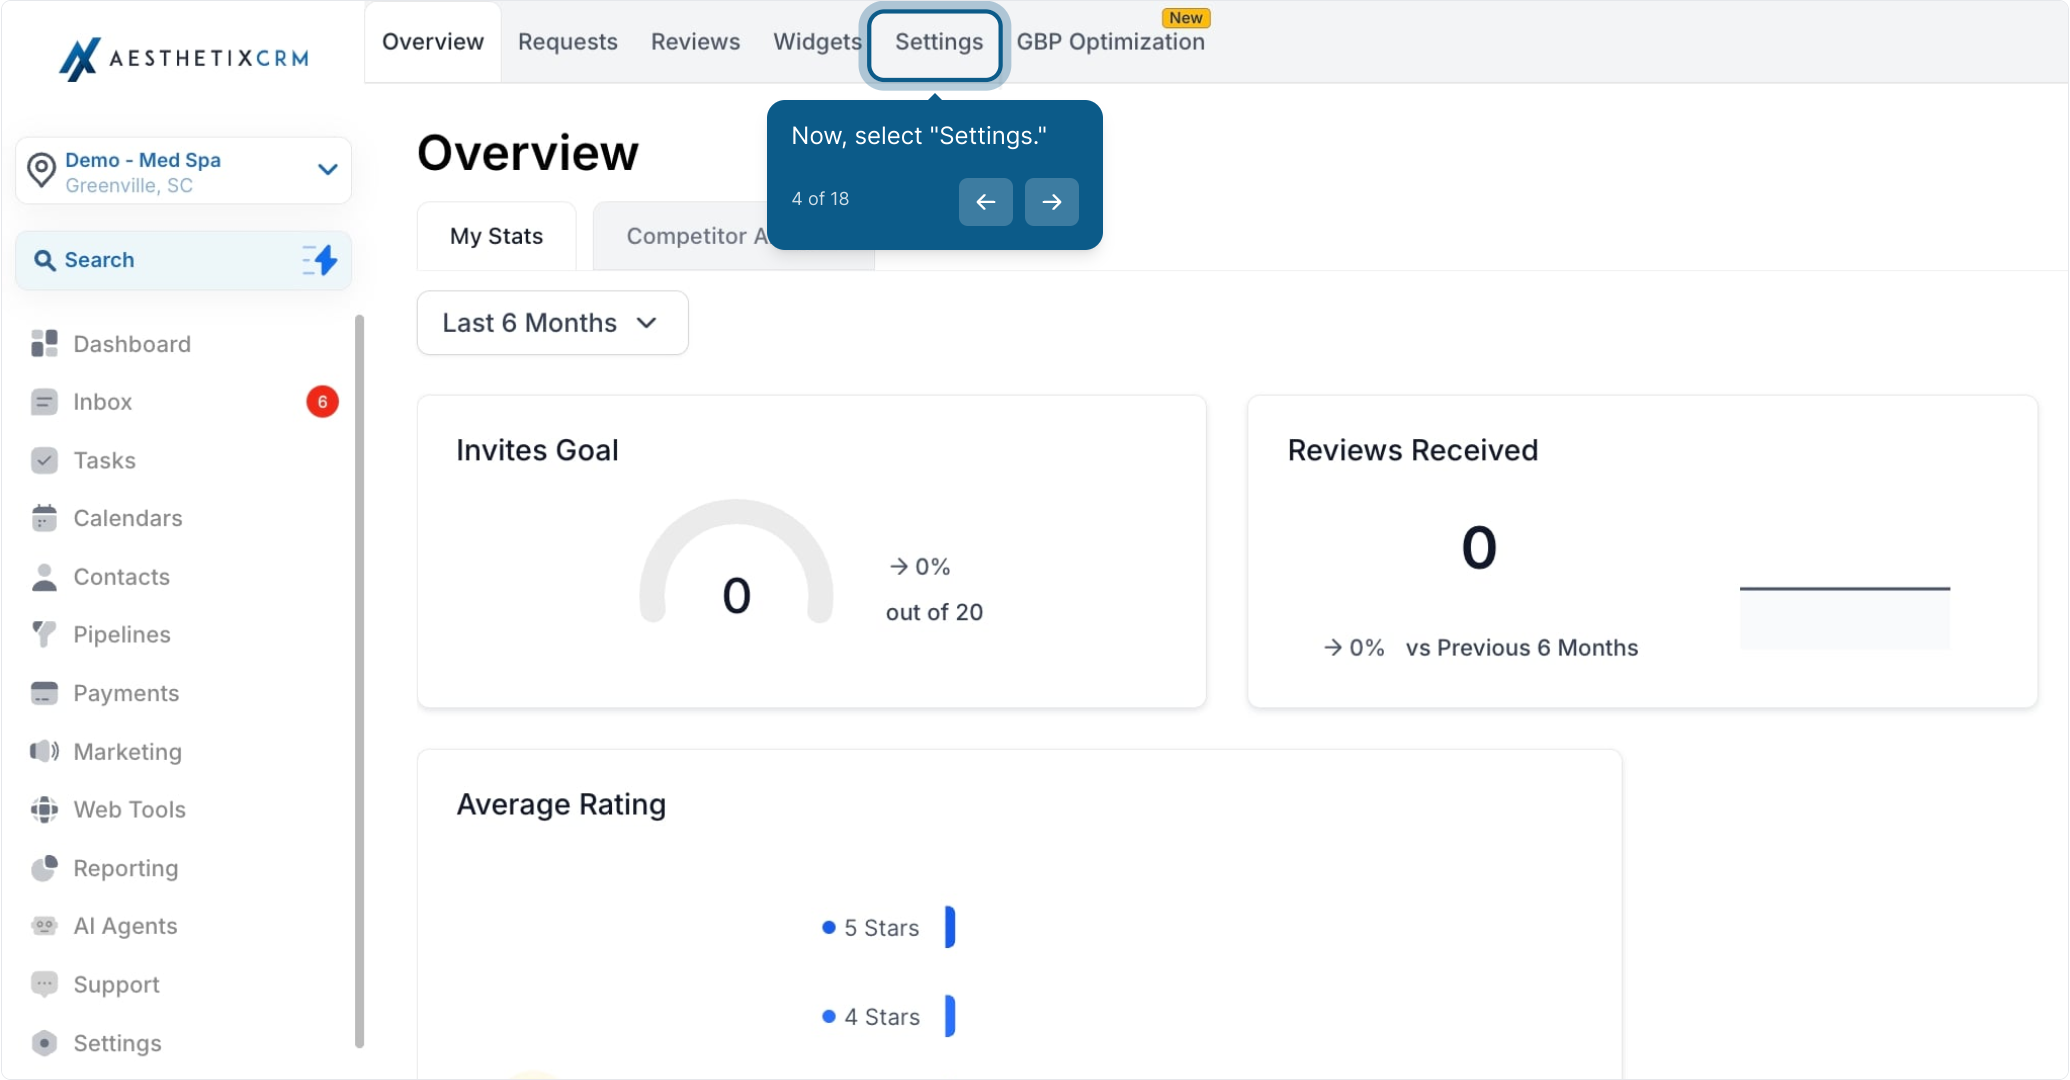
4. Now, select "Settings."
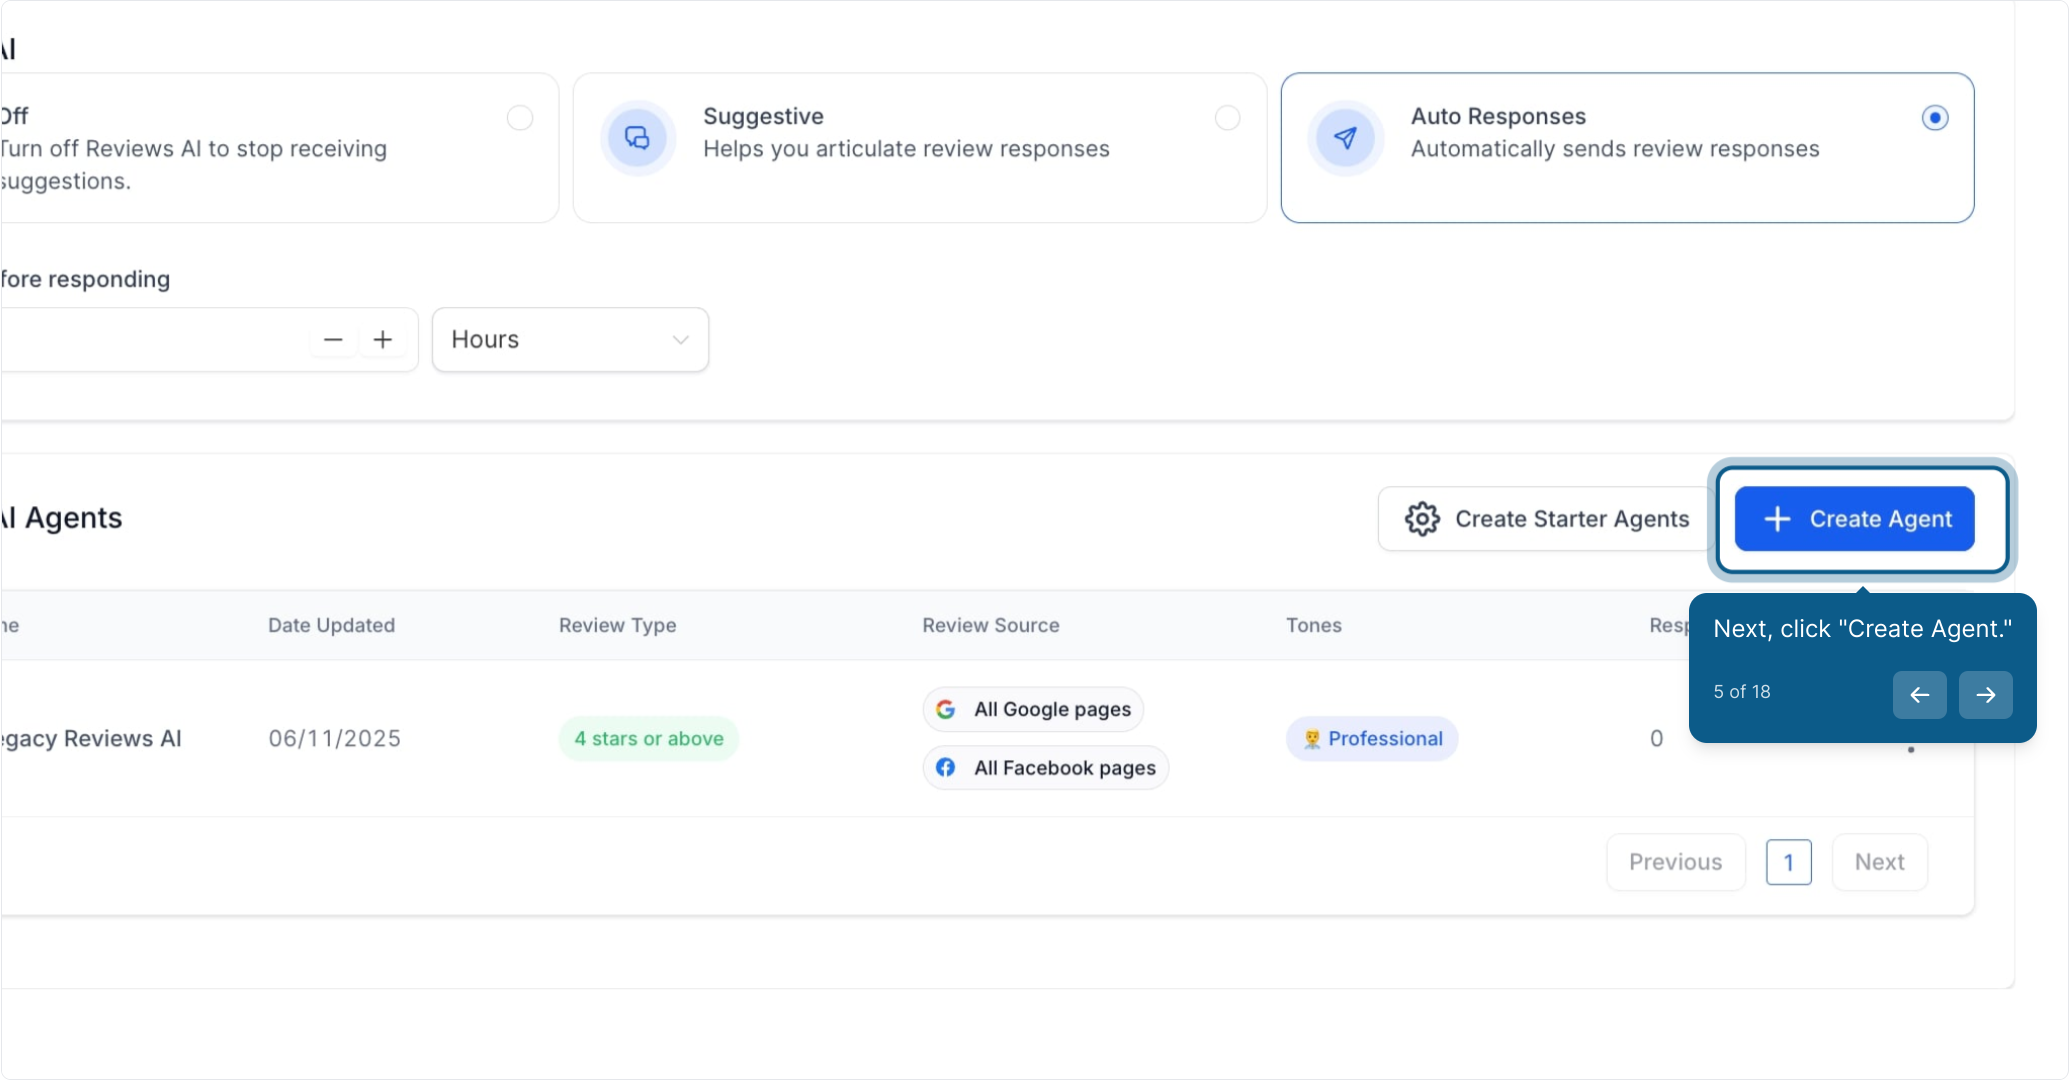
5. Next, click "Create Agent."
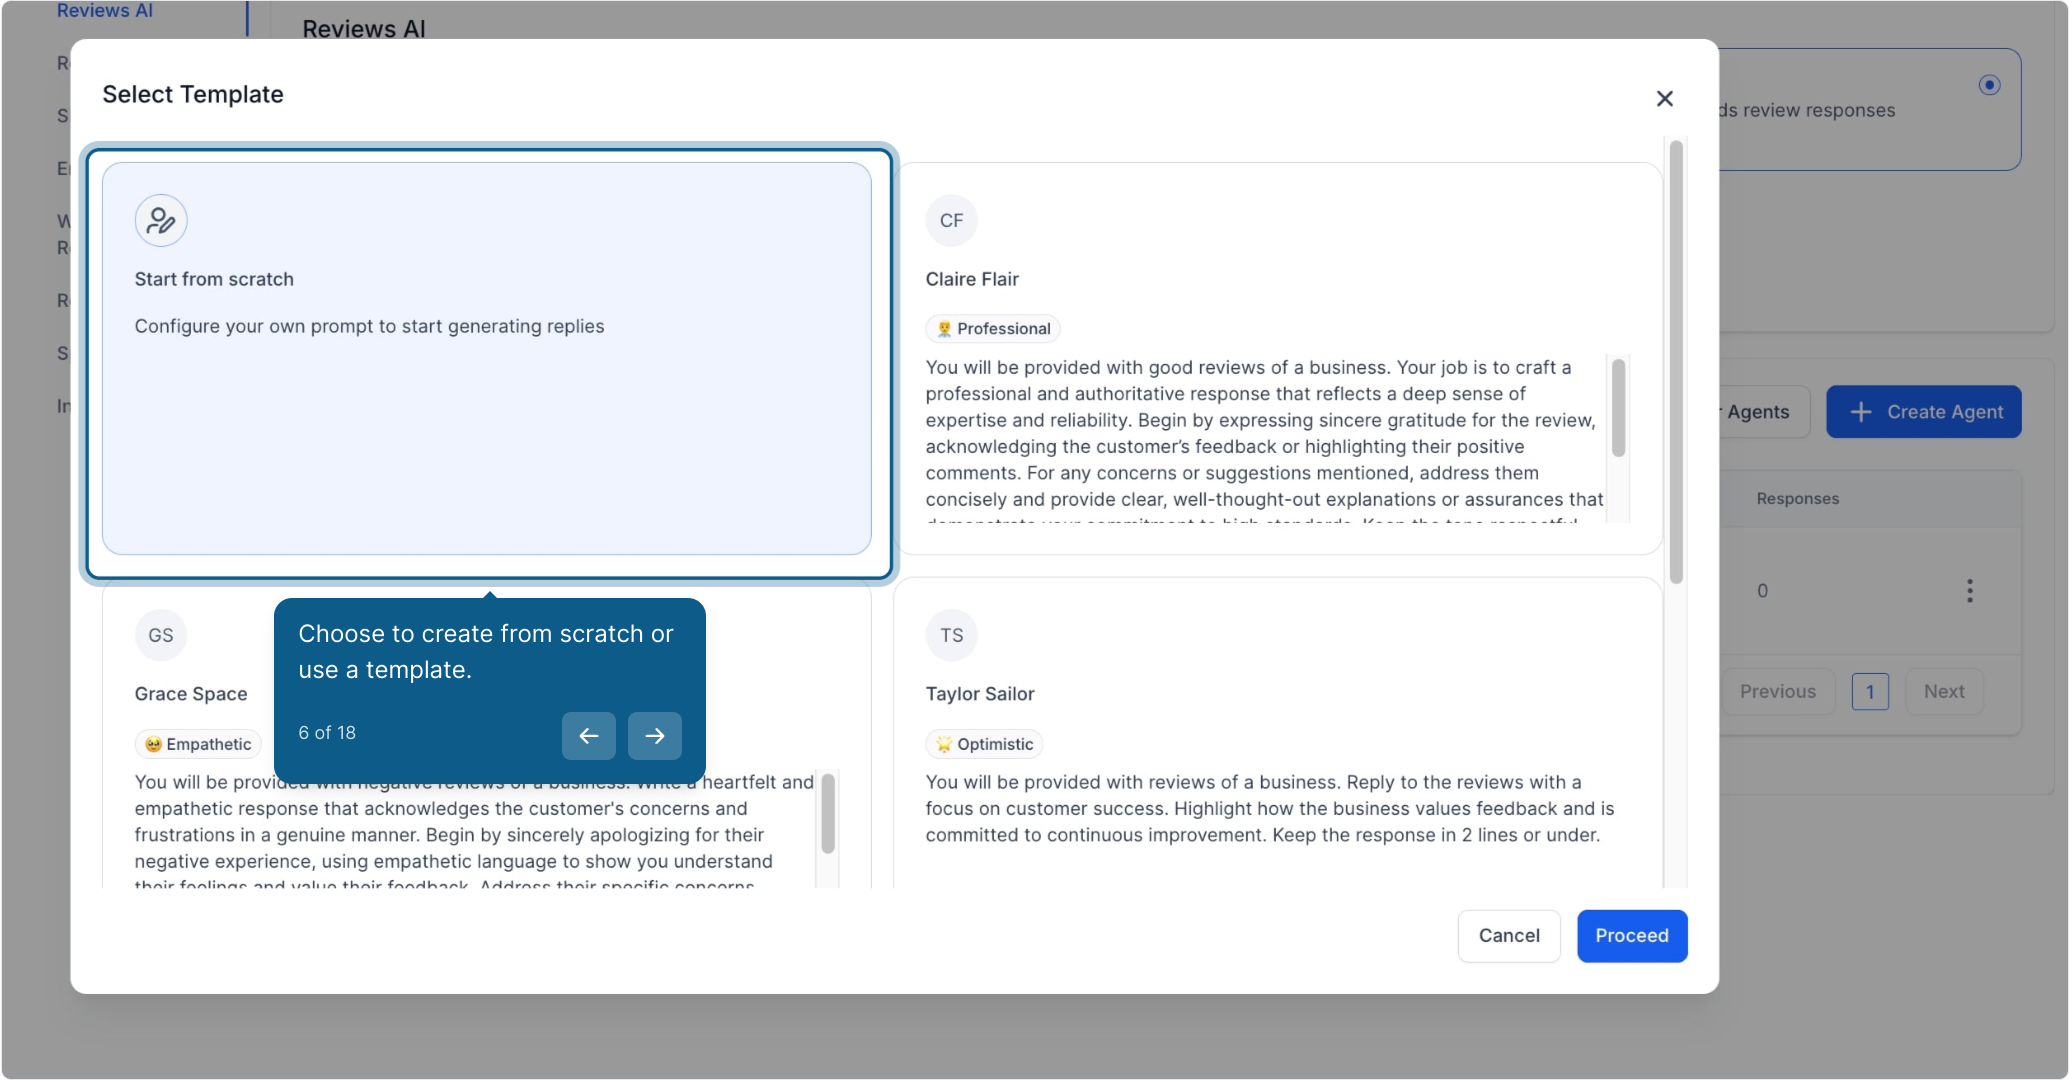
6. Choose to create from scratch or use a template.
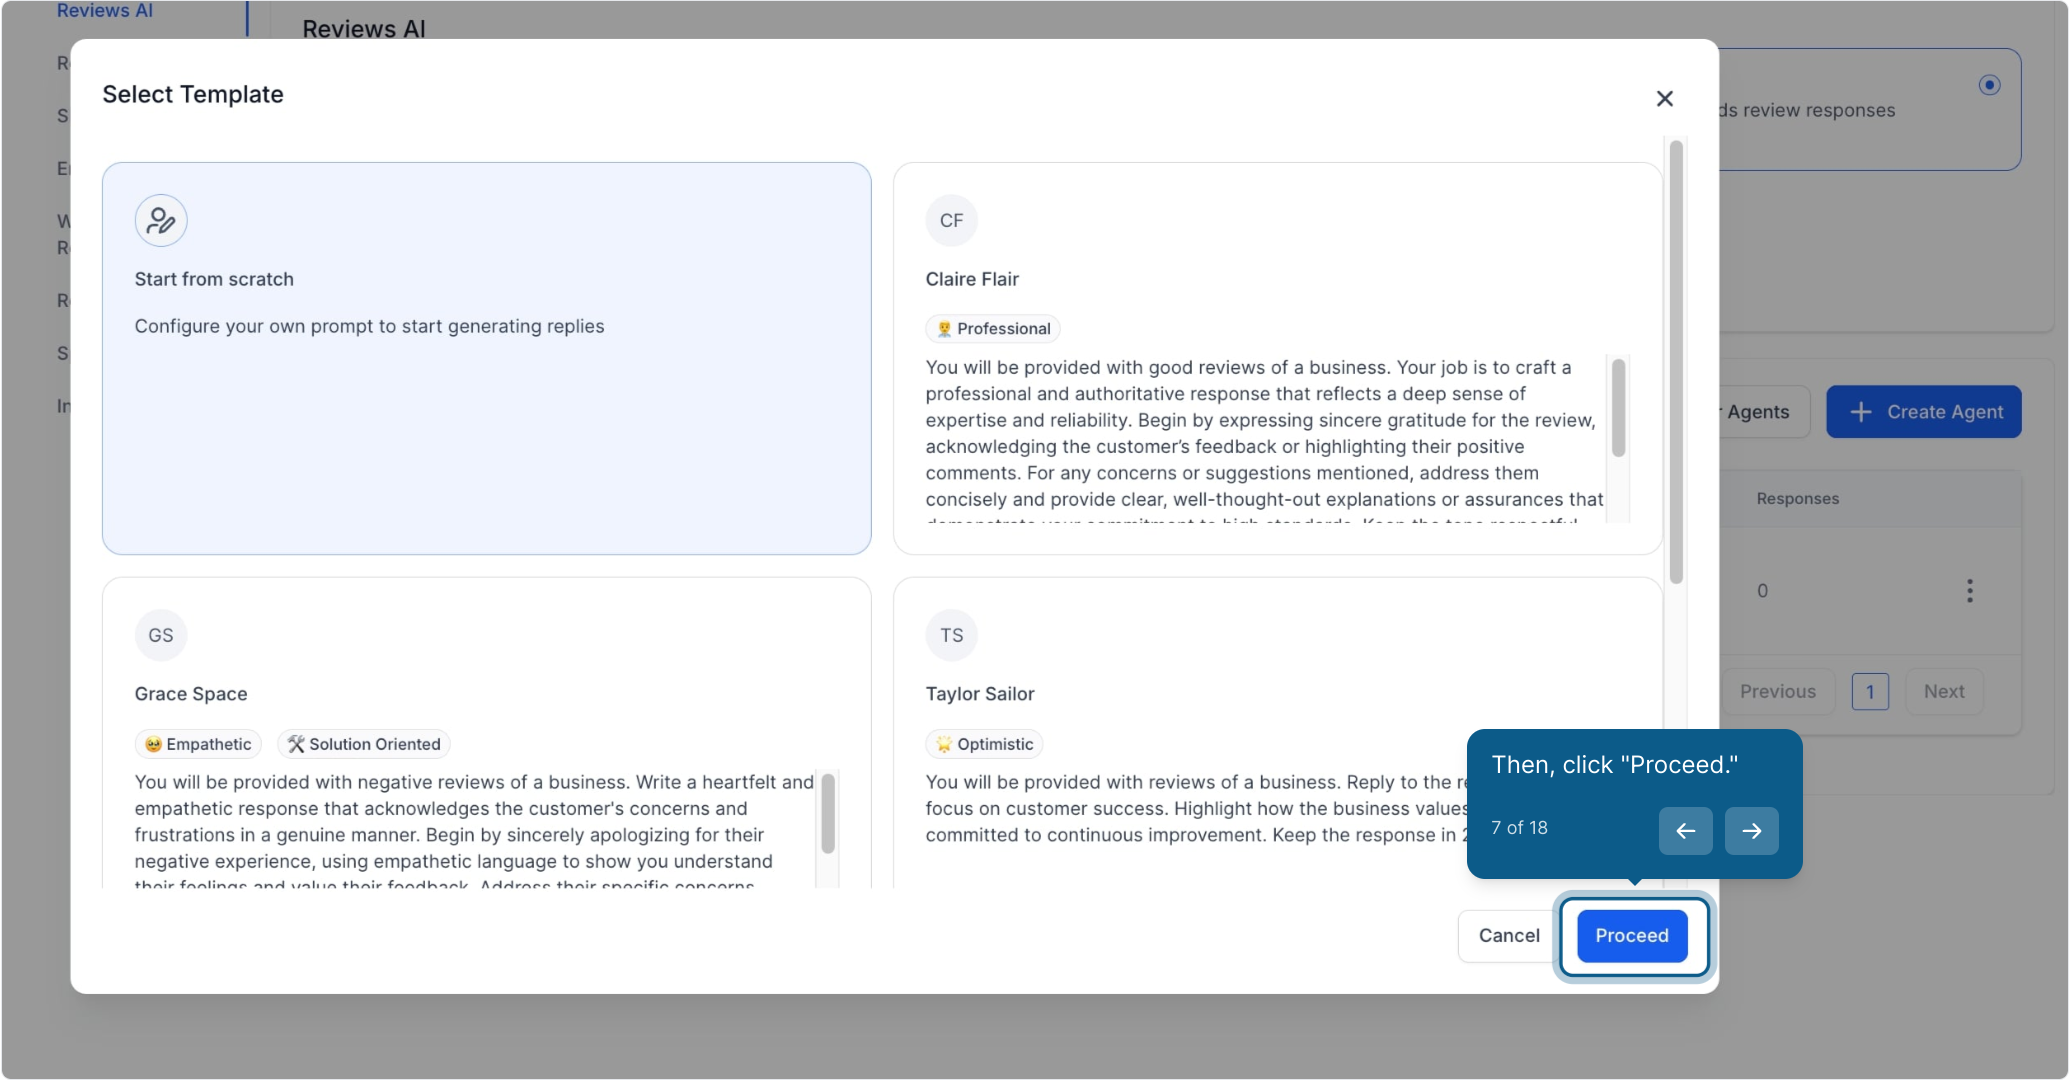
7. Then, click "Proceed."
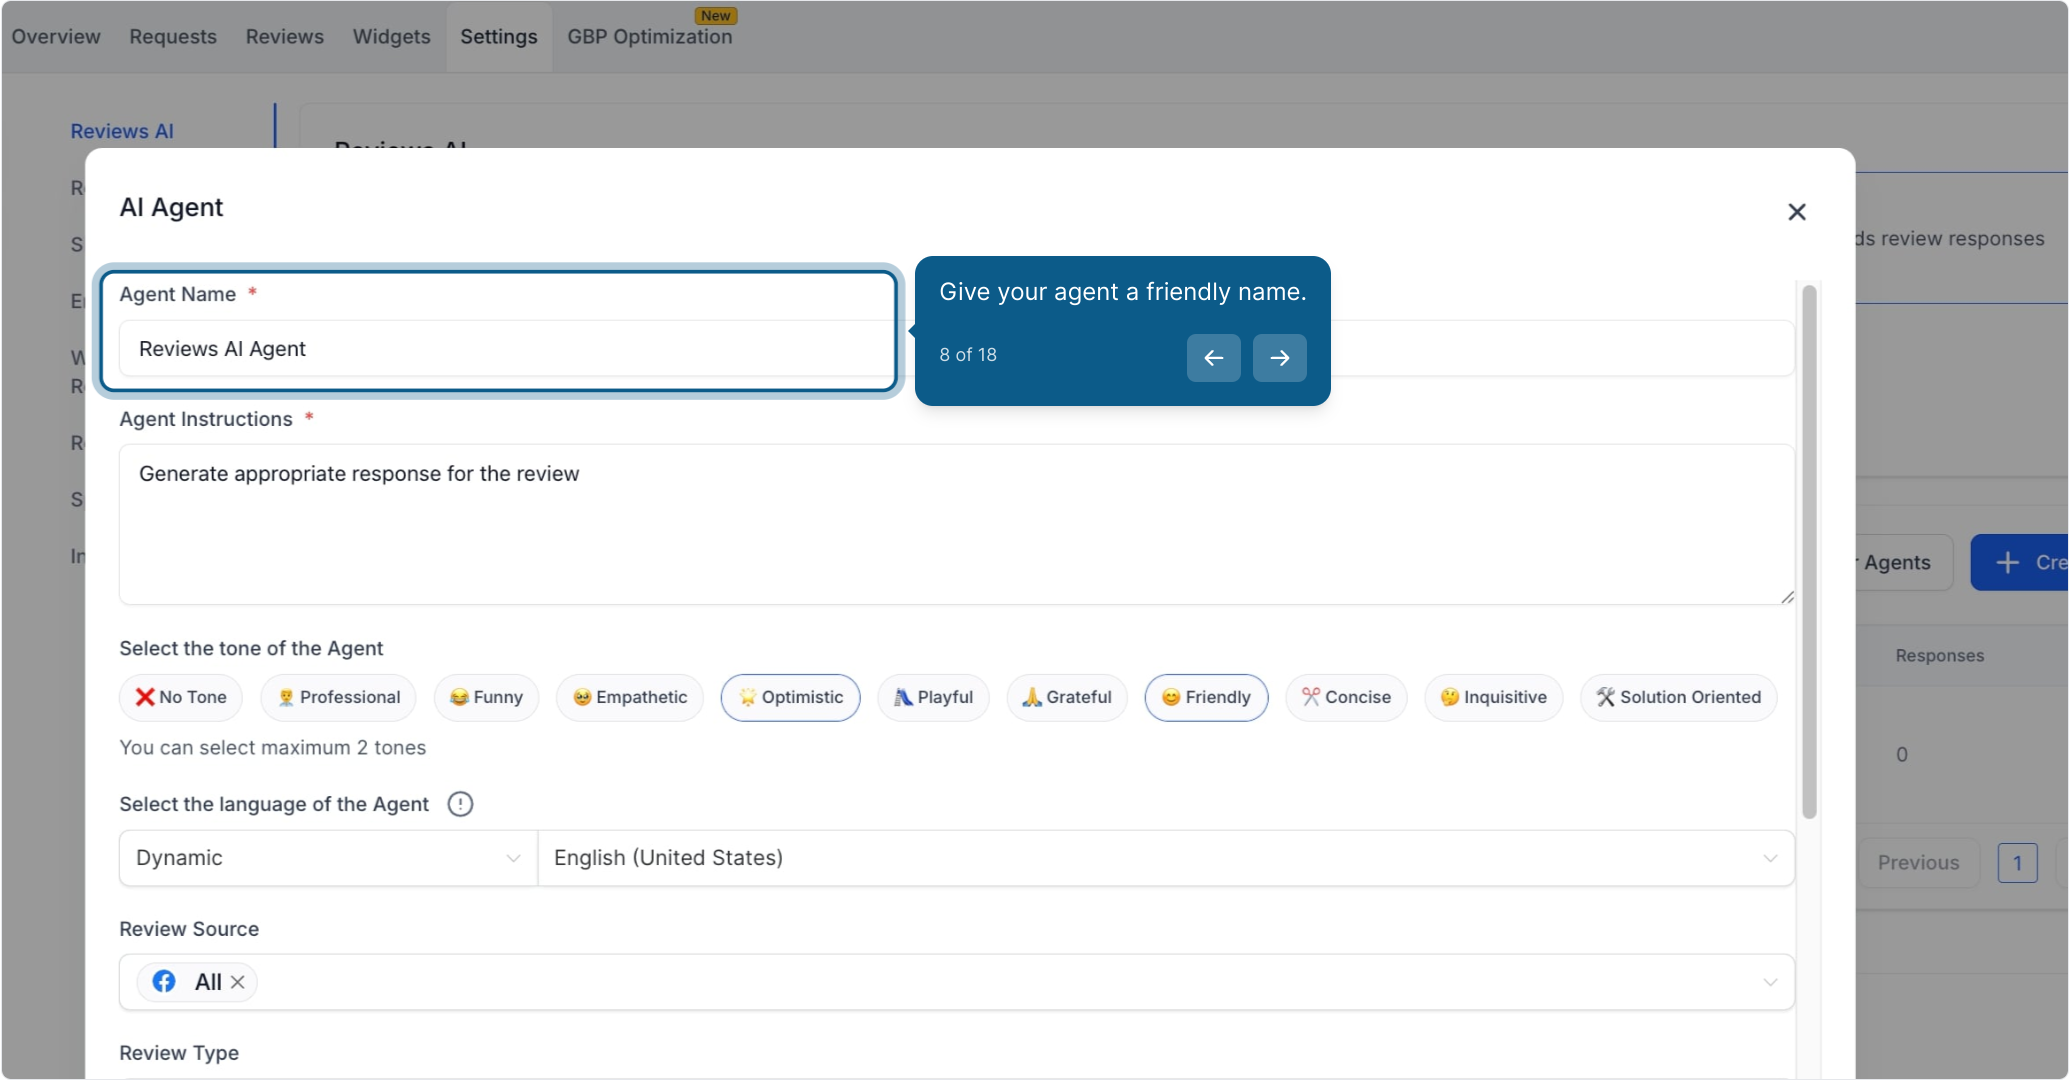
8. Give your agent a friendly name.
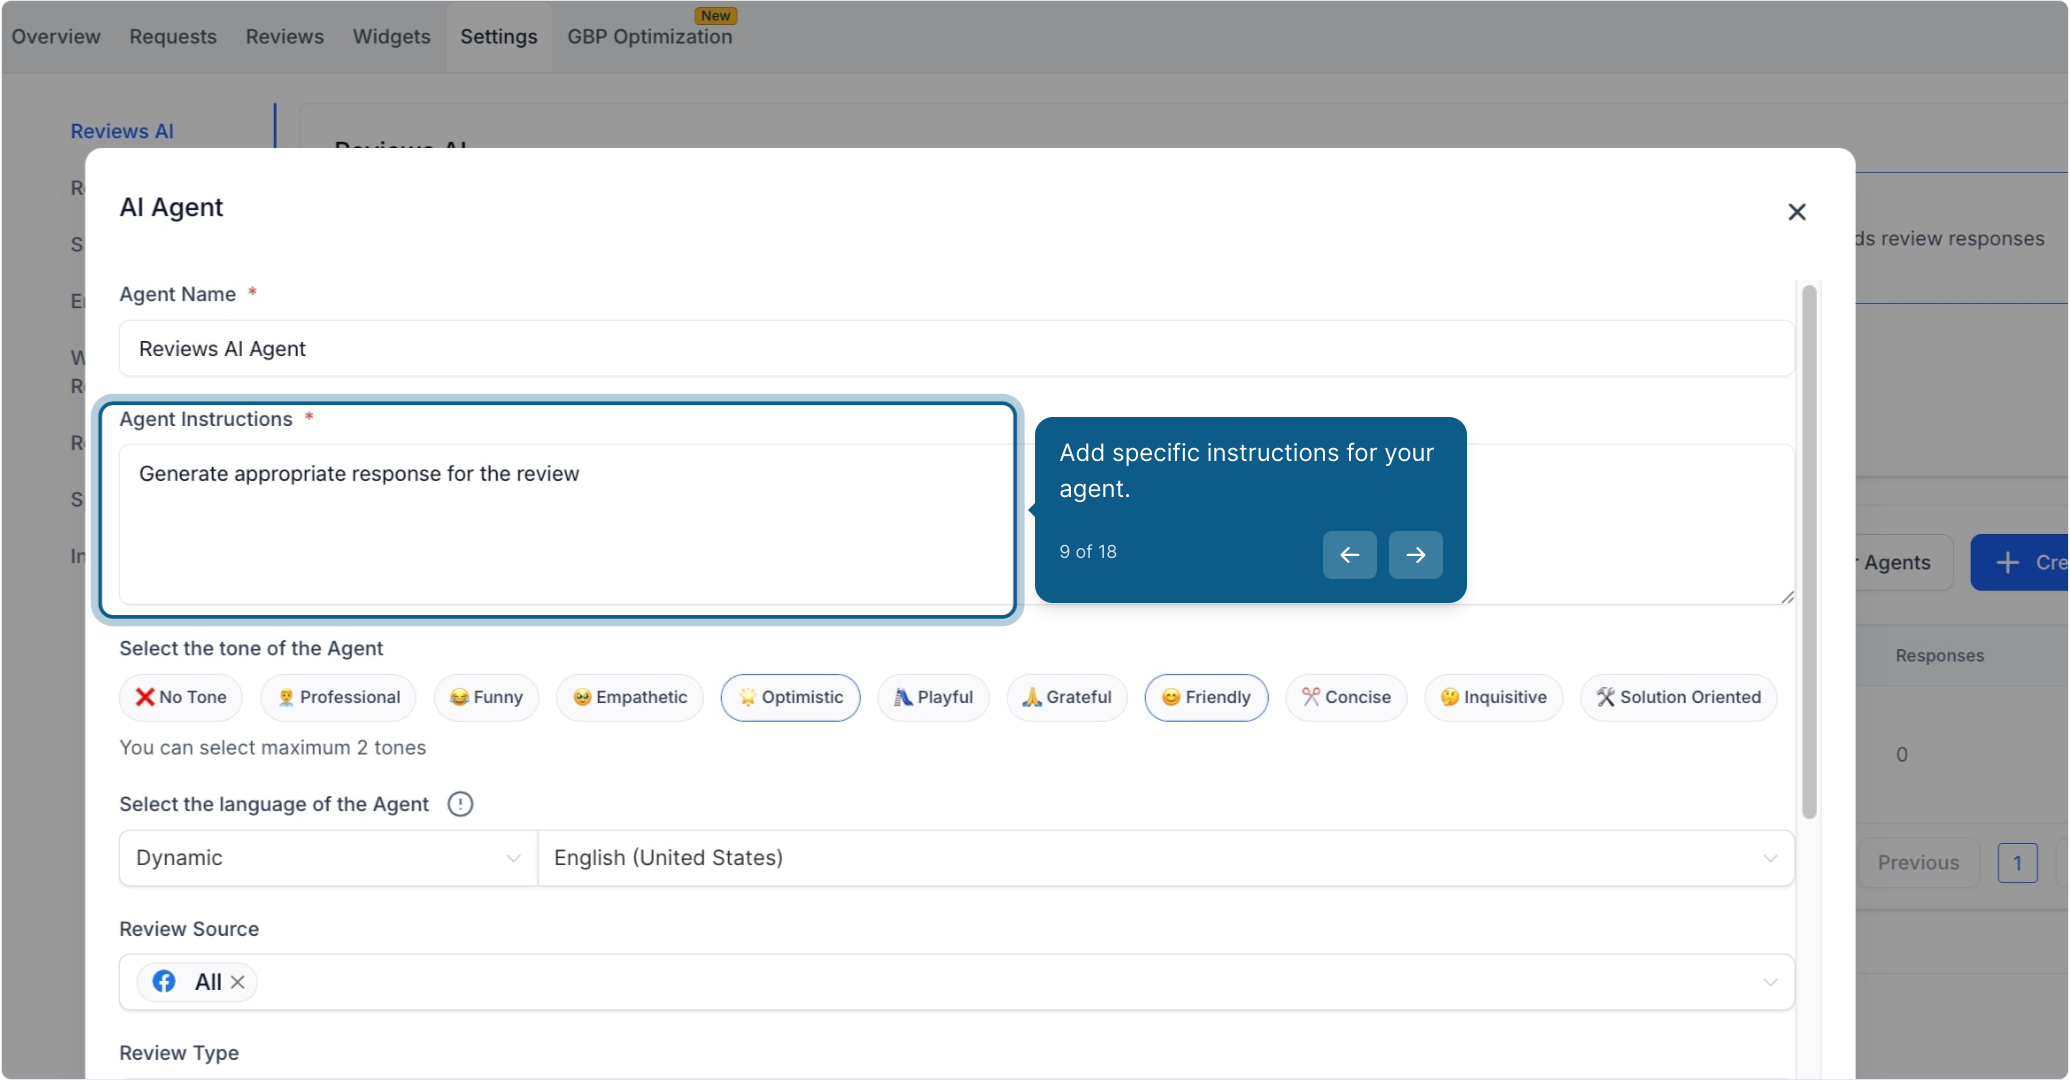
9. Add specific instructions for your agent.
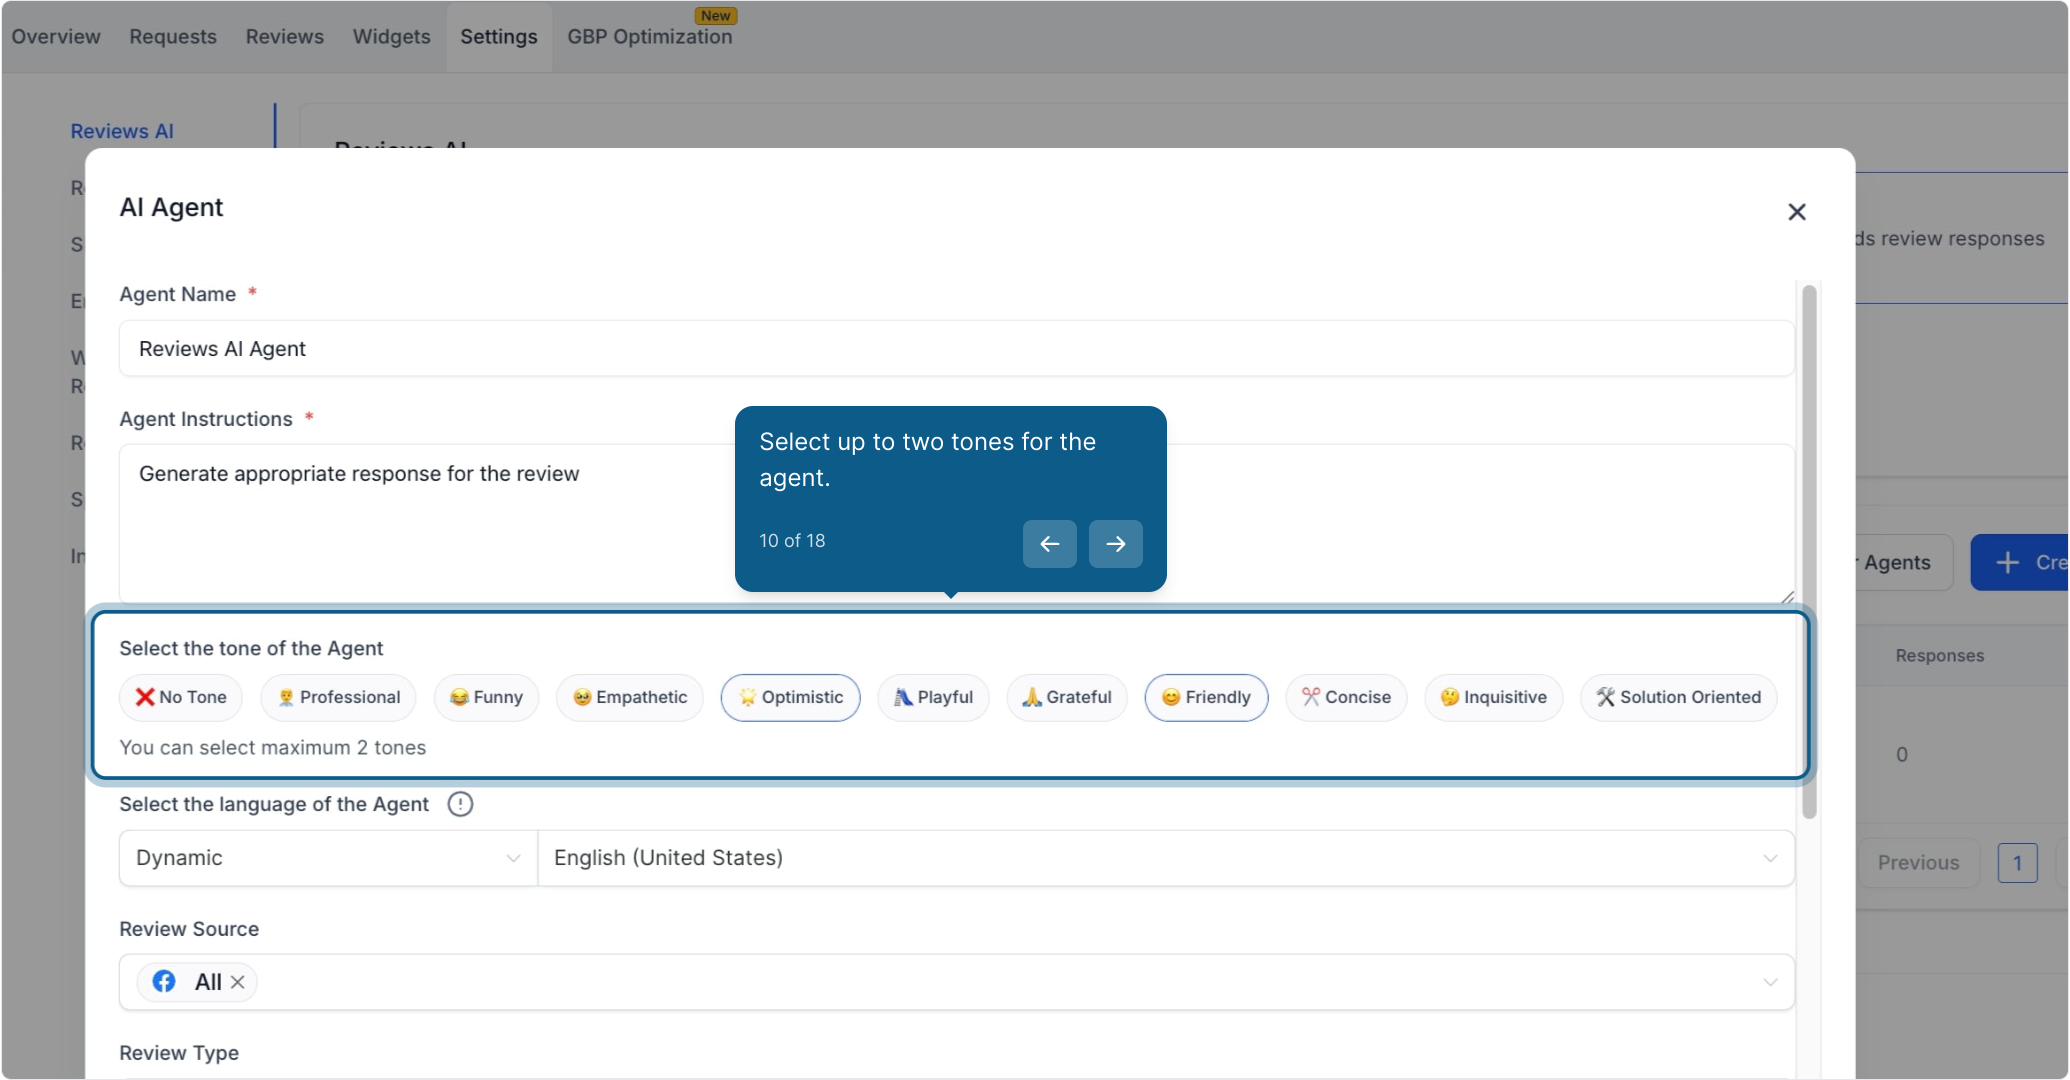
10. Select up to two tones for the agent.
11. Choose the dynamic language for the agent.

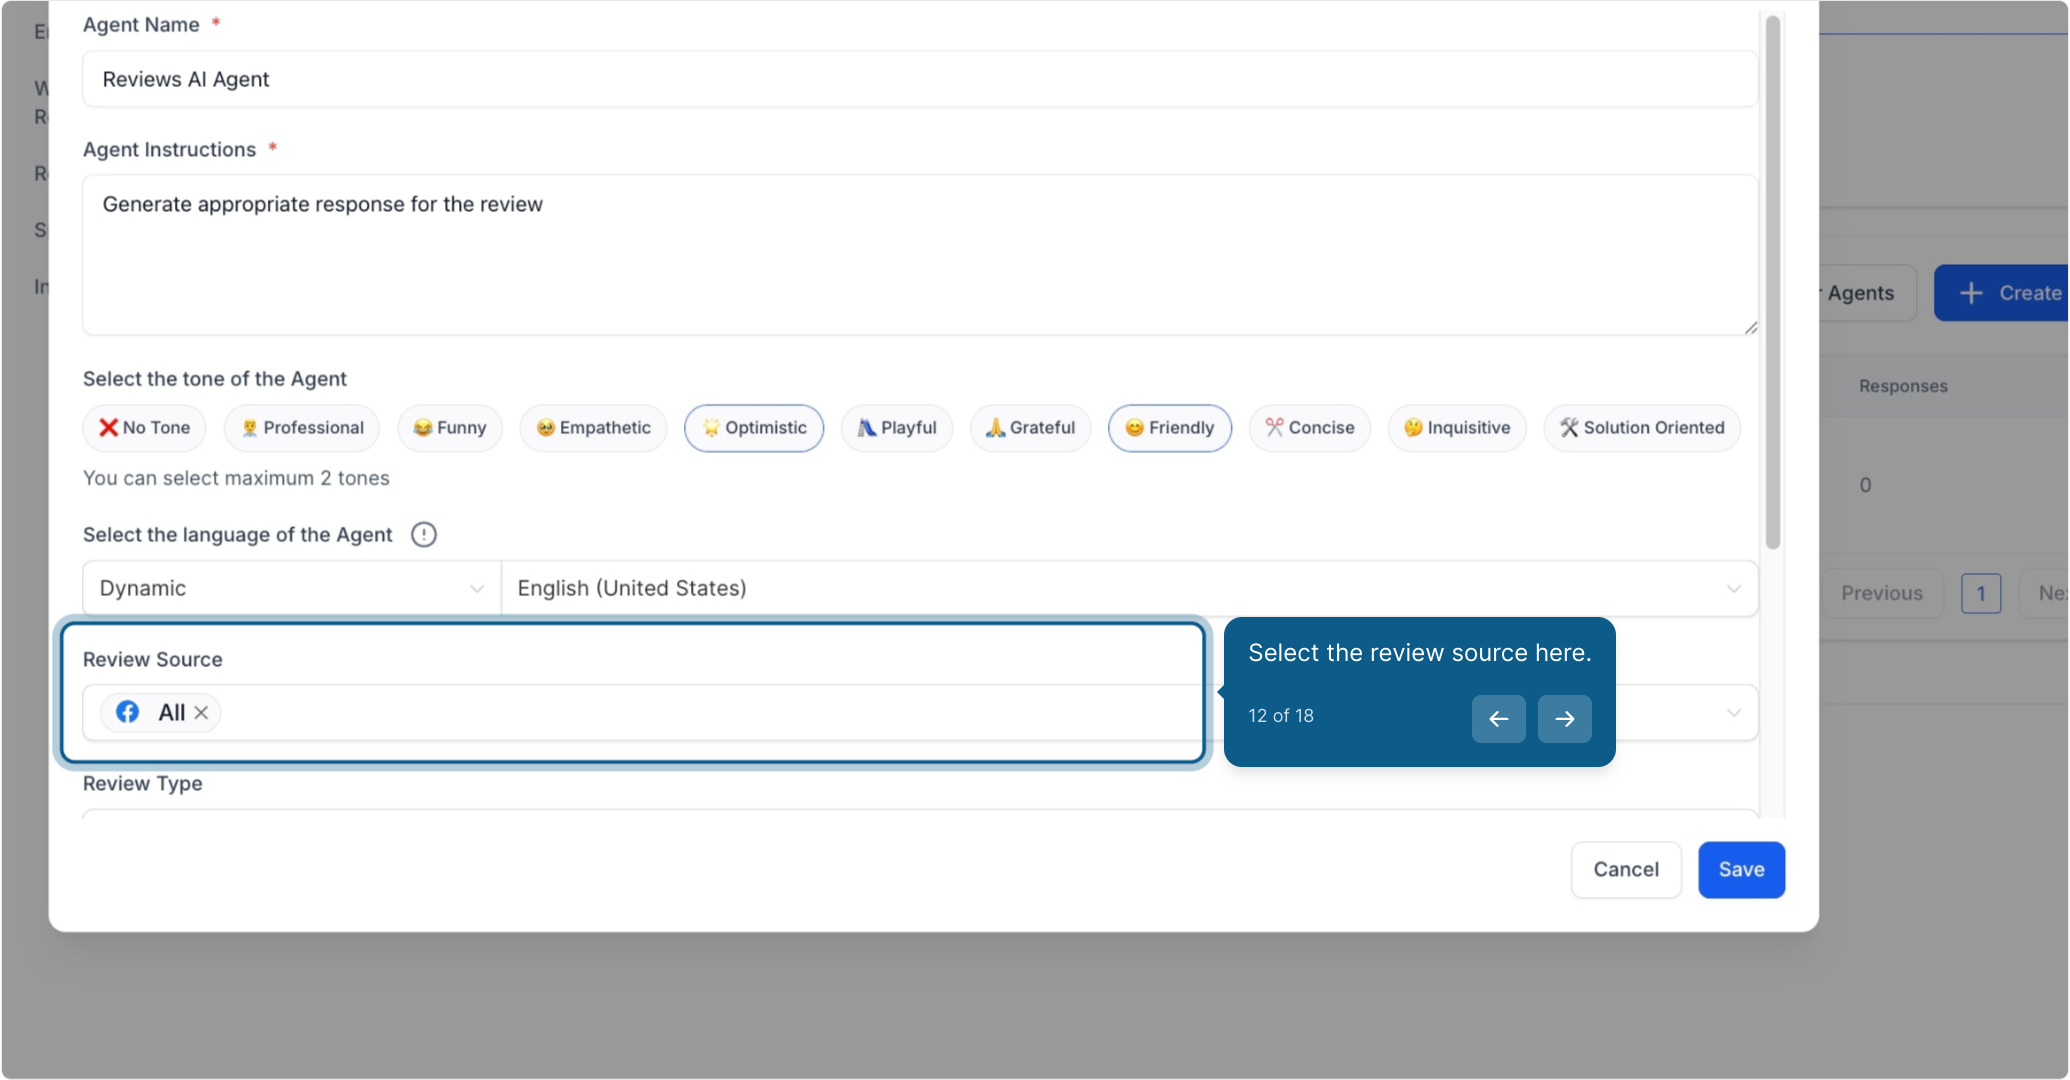
12. Select the review source here.
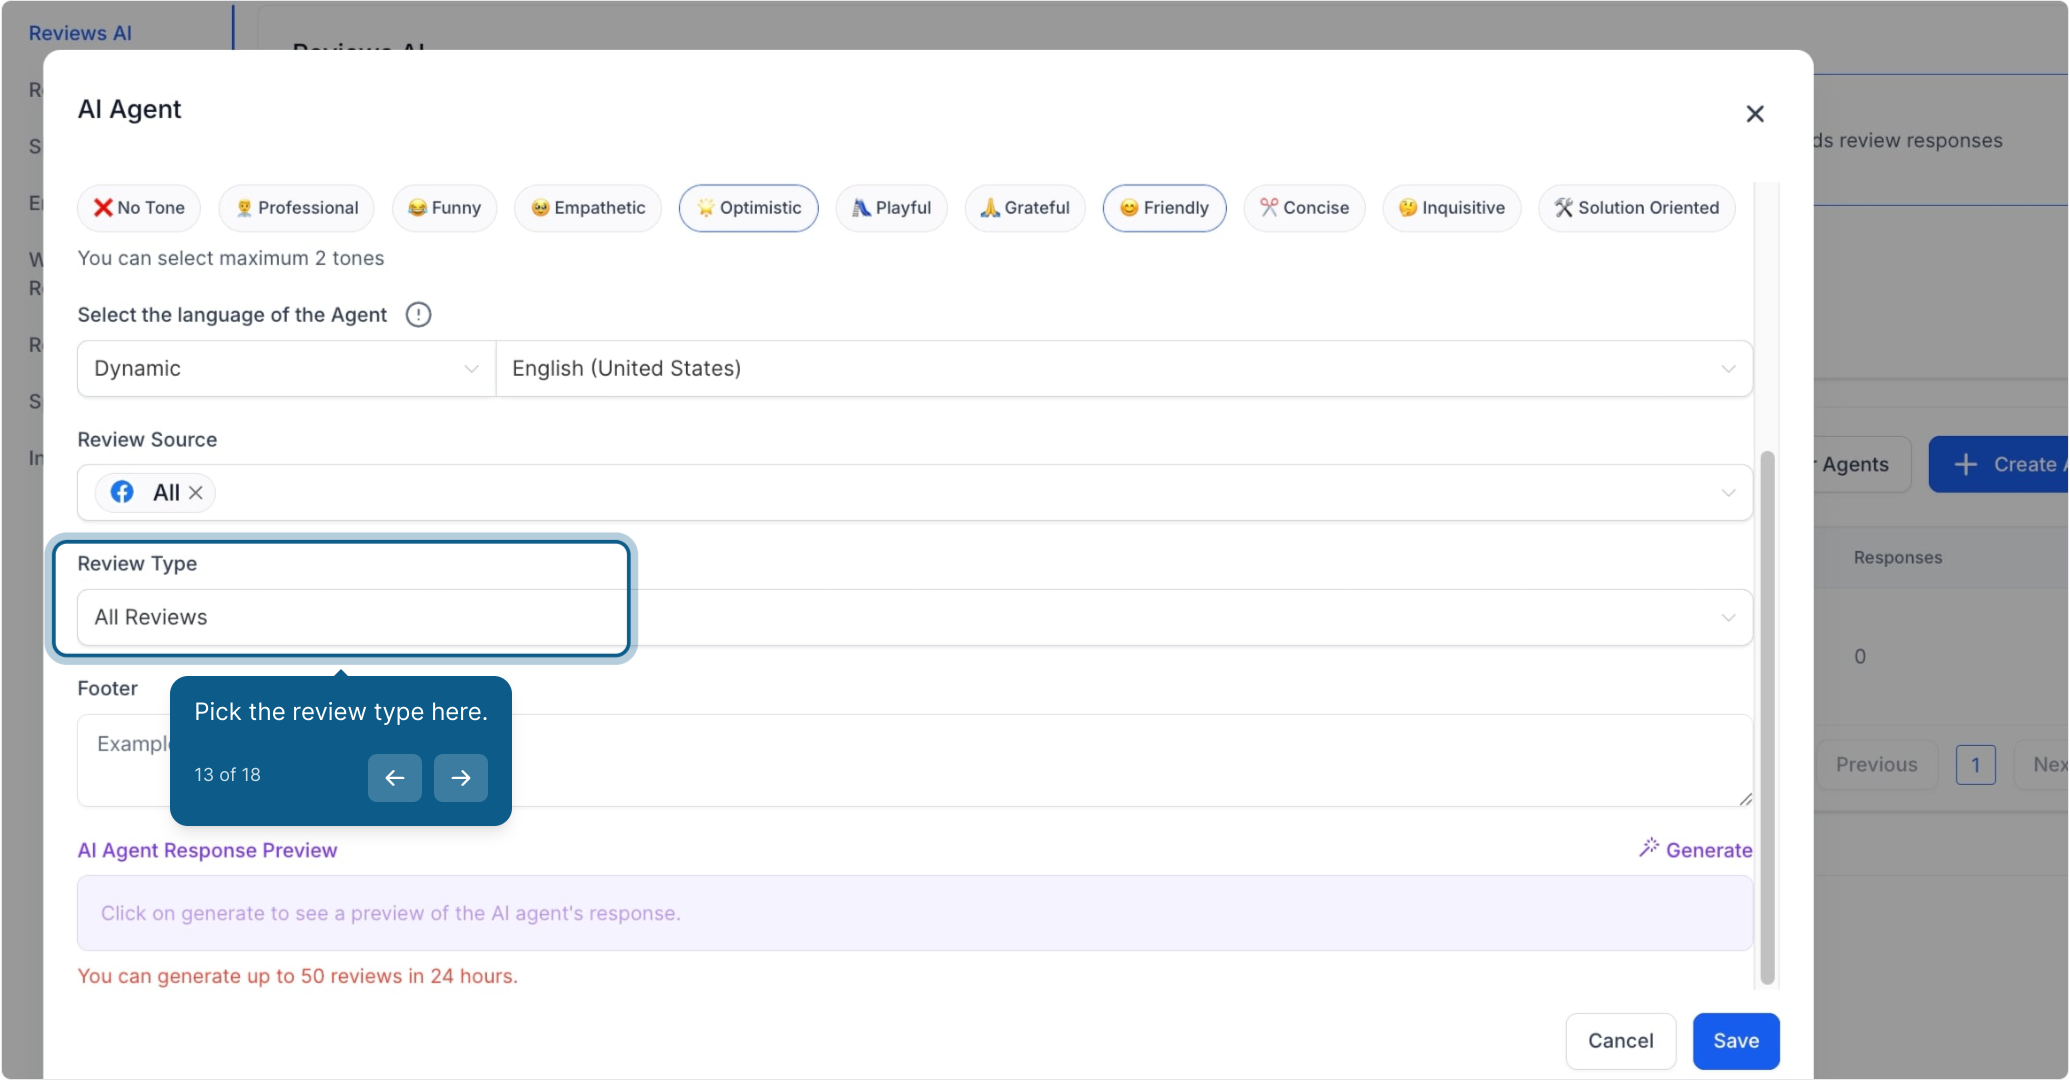
13. Pick the review type here.
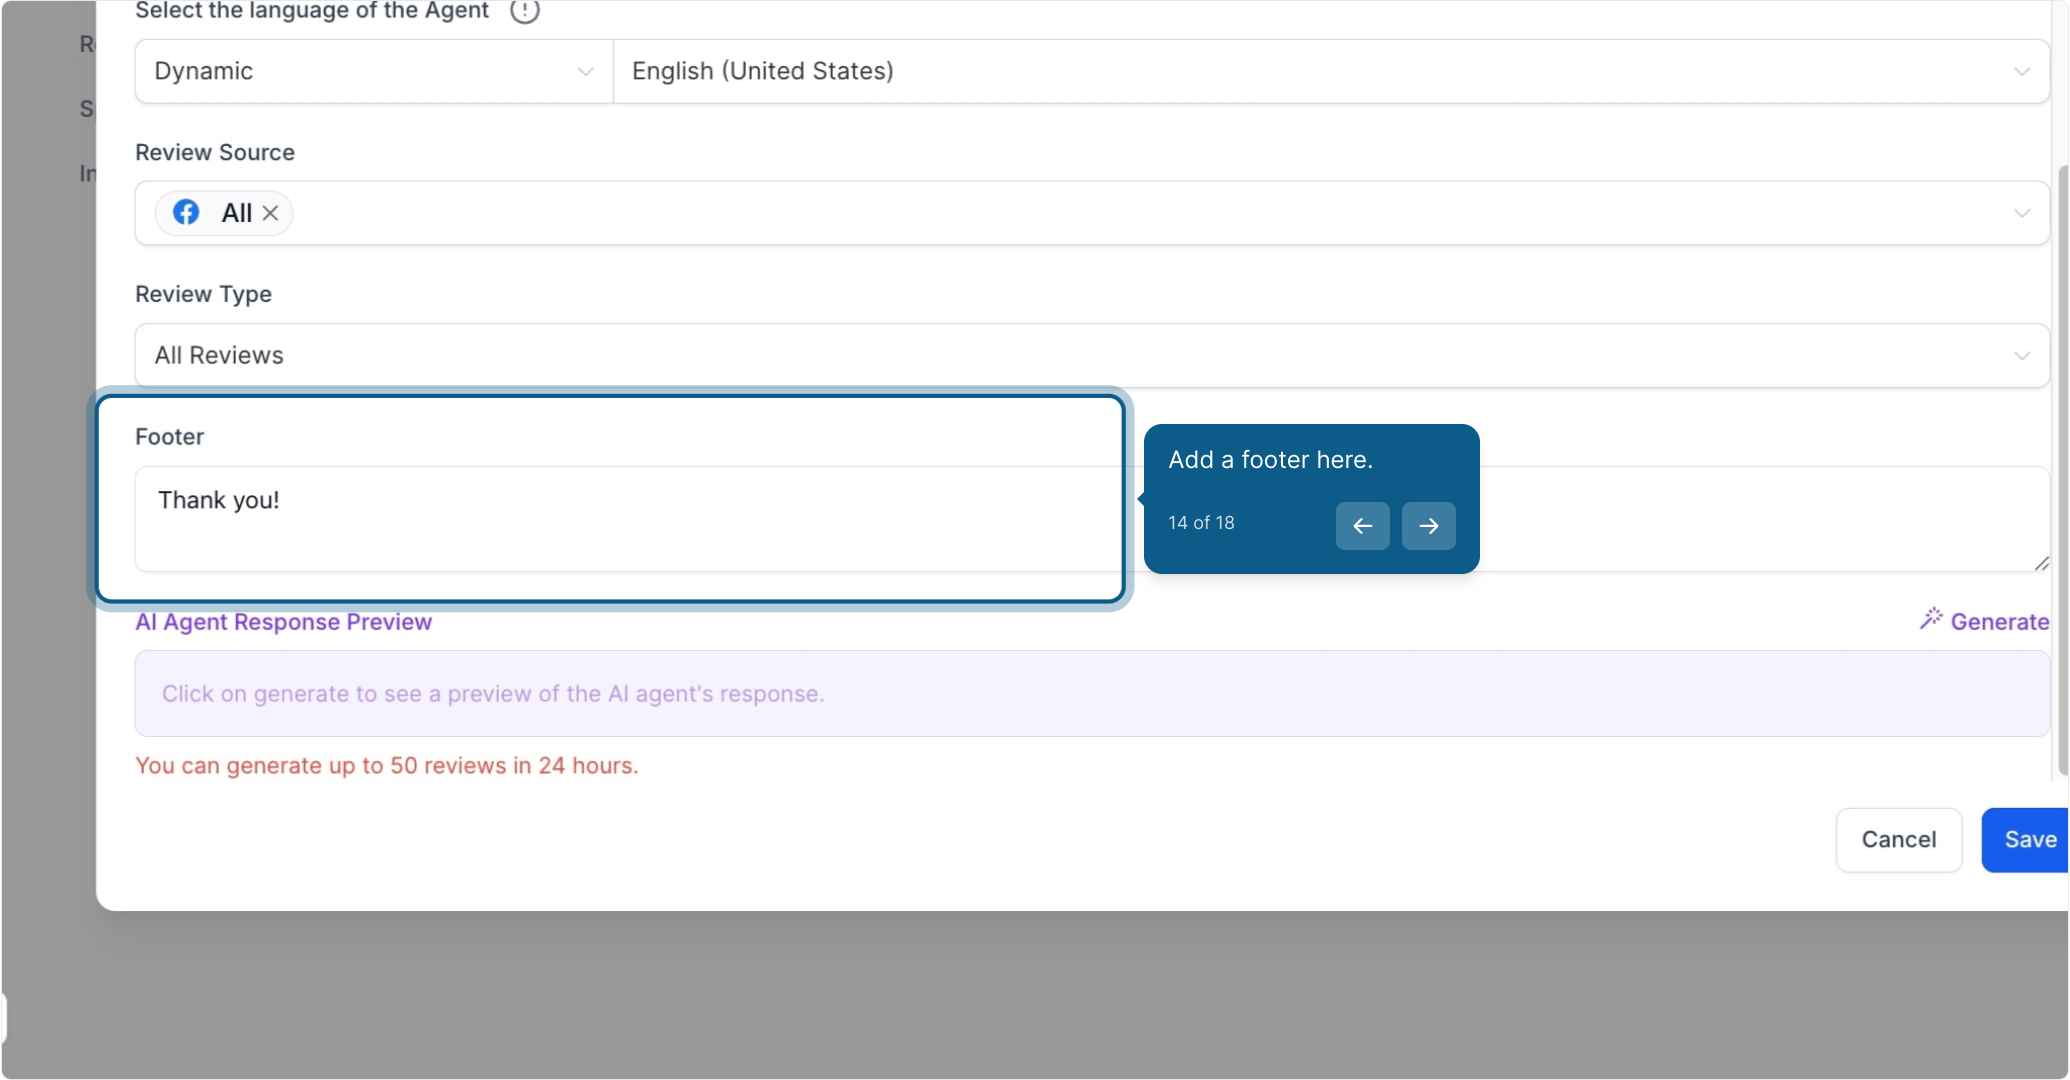
14. Add a footer here.
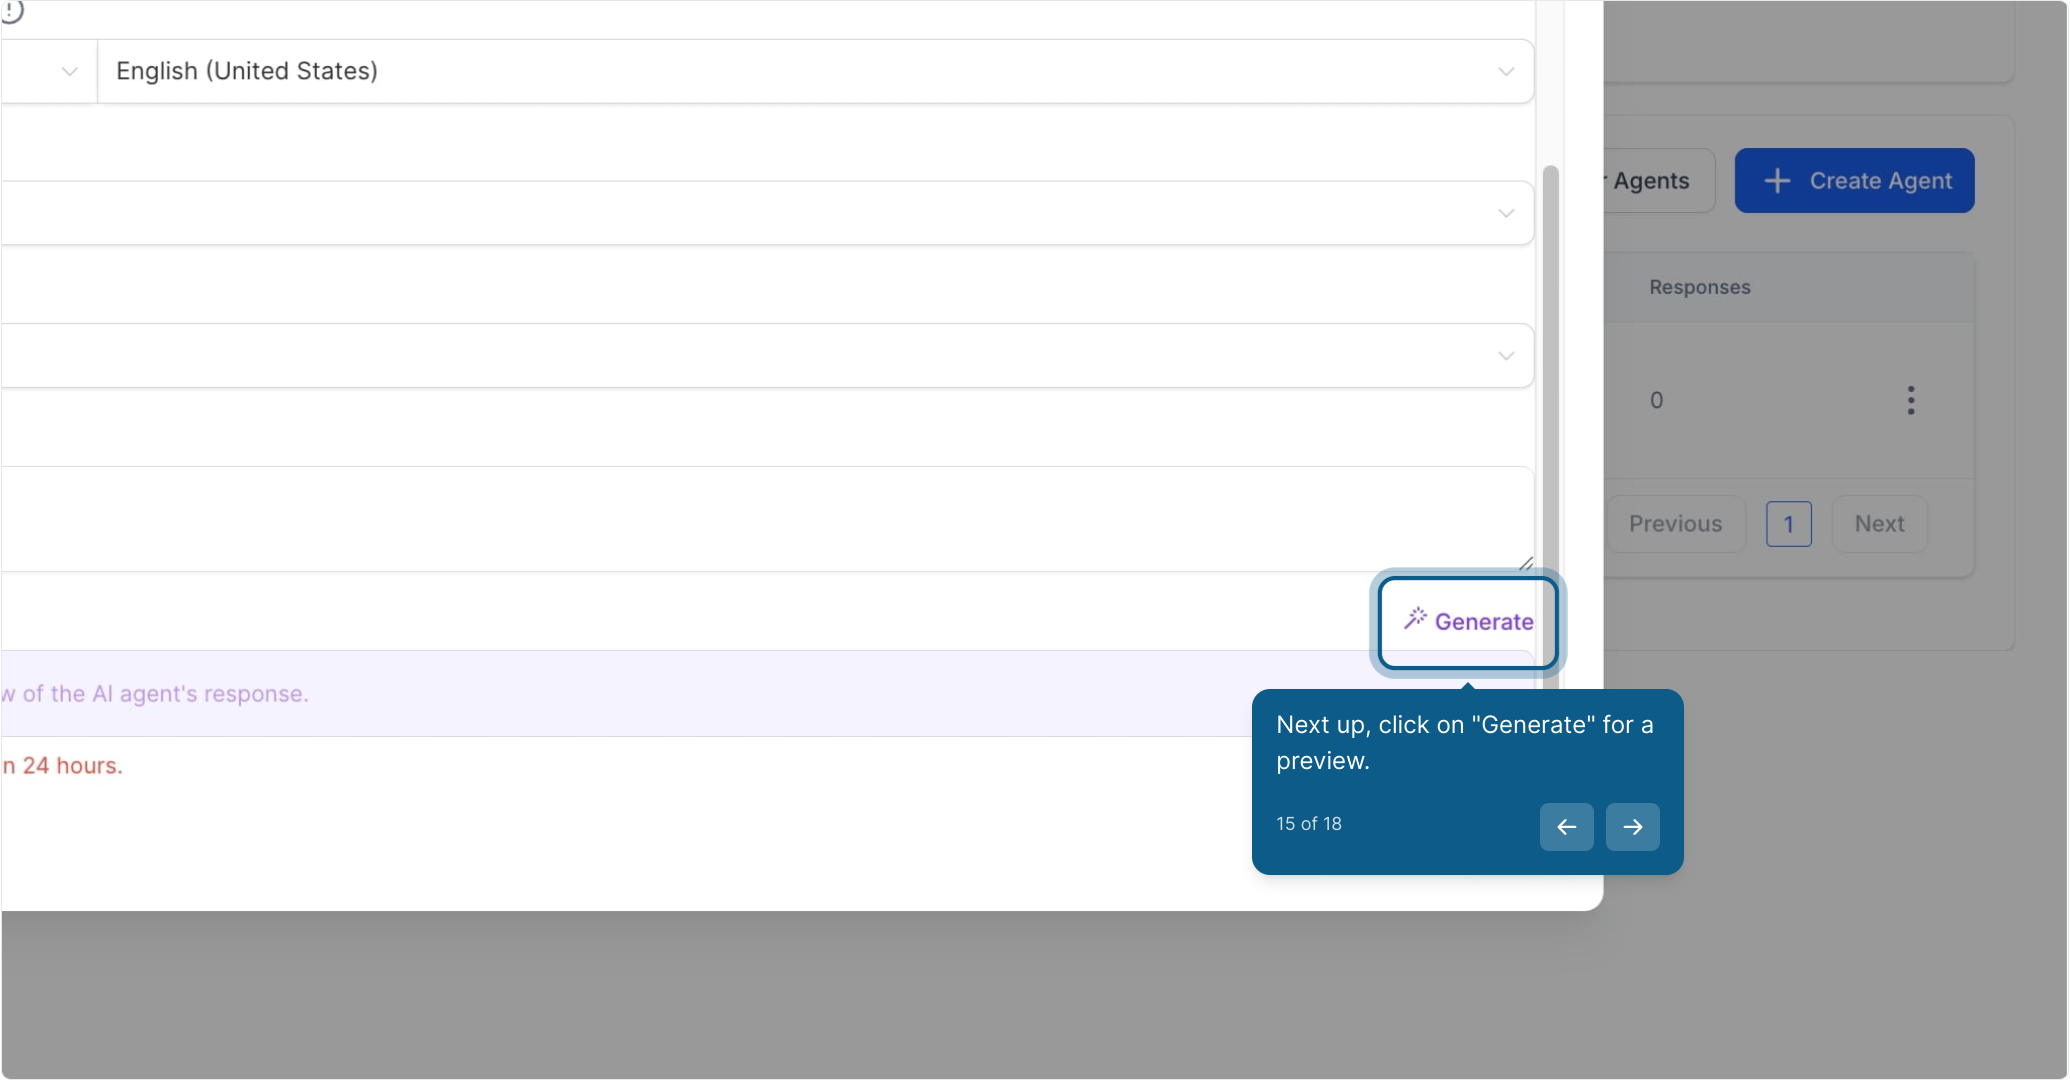
15. Next up, click on "Generate" for a preview.
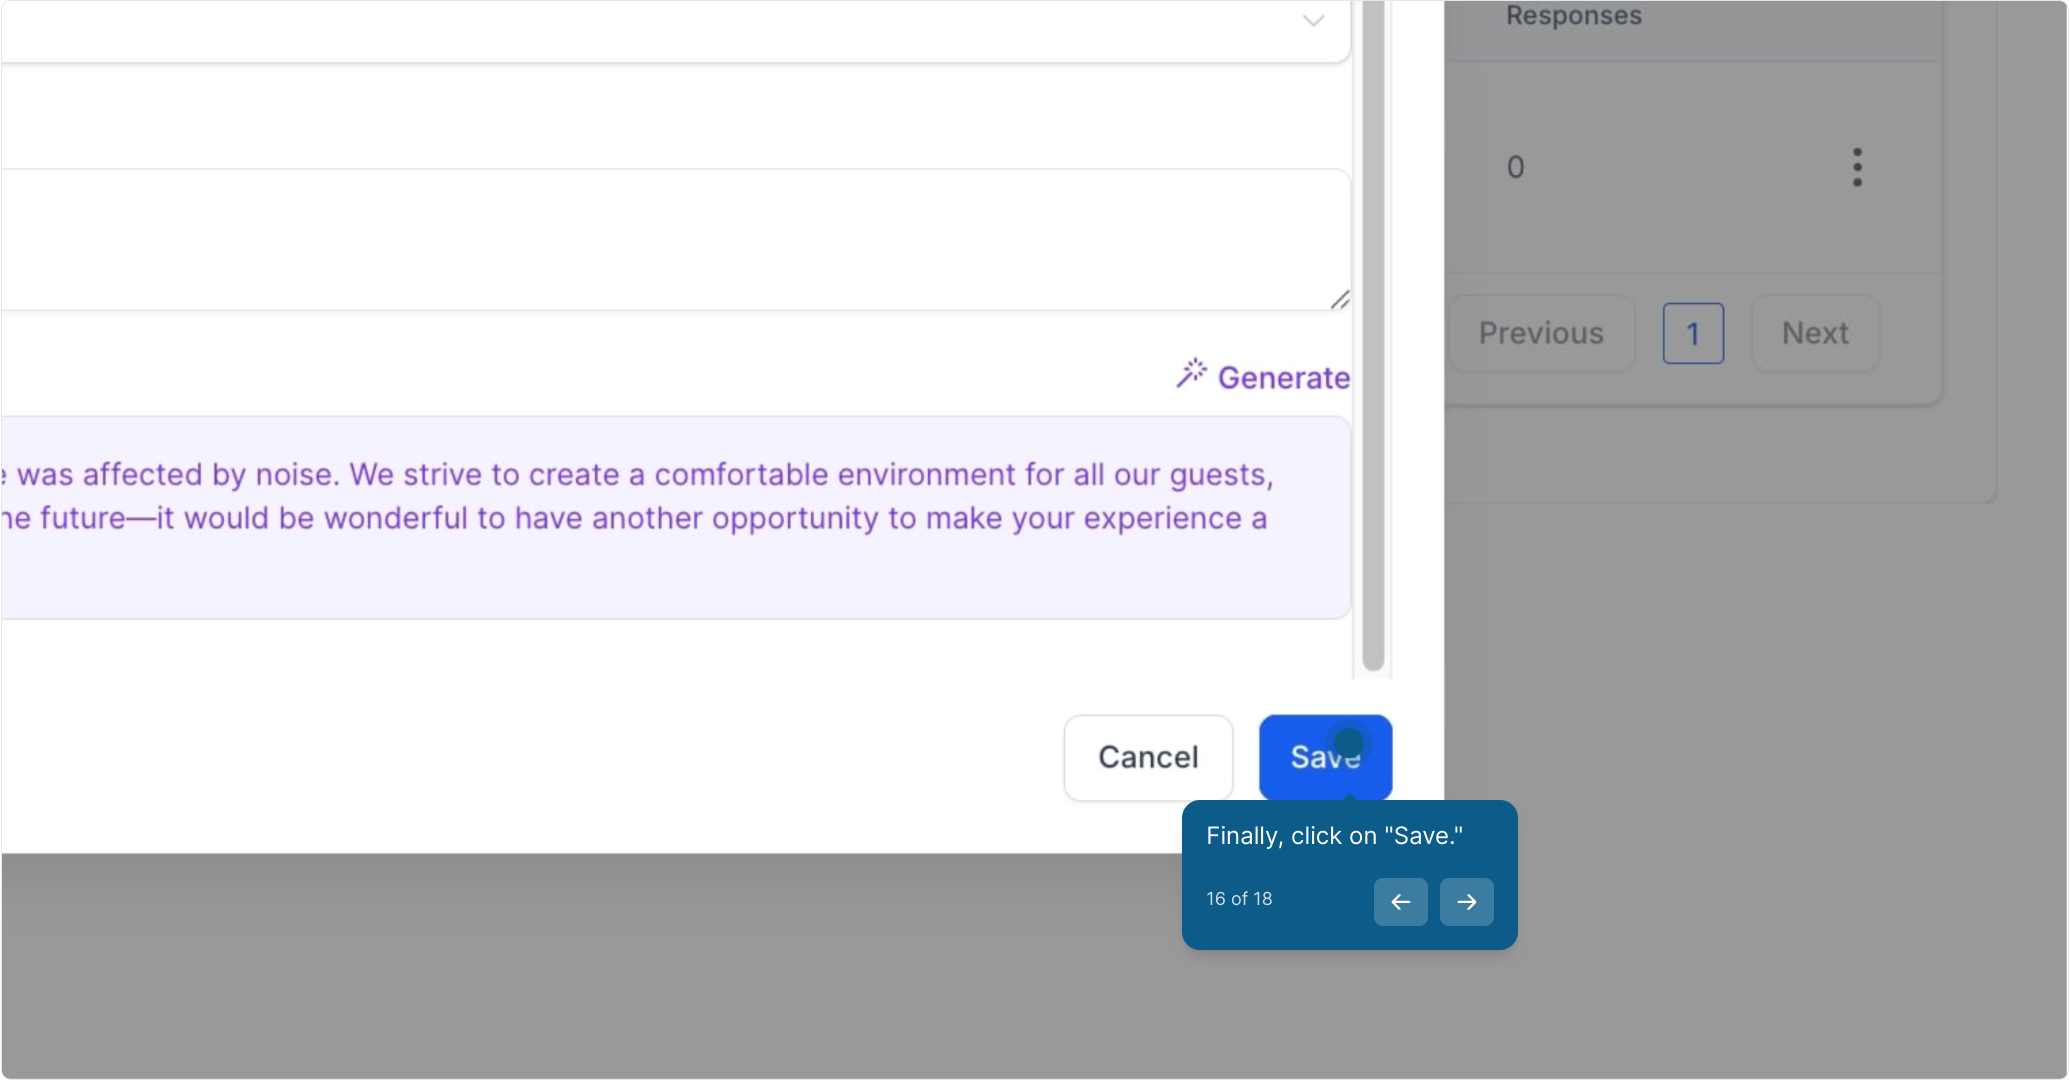
16. Finally, click on "Save."
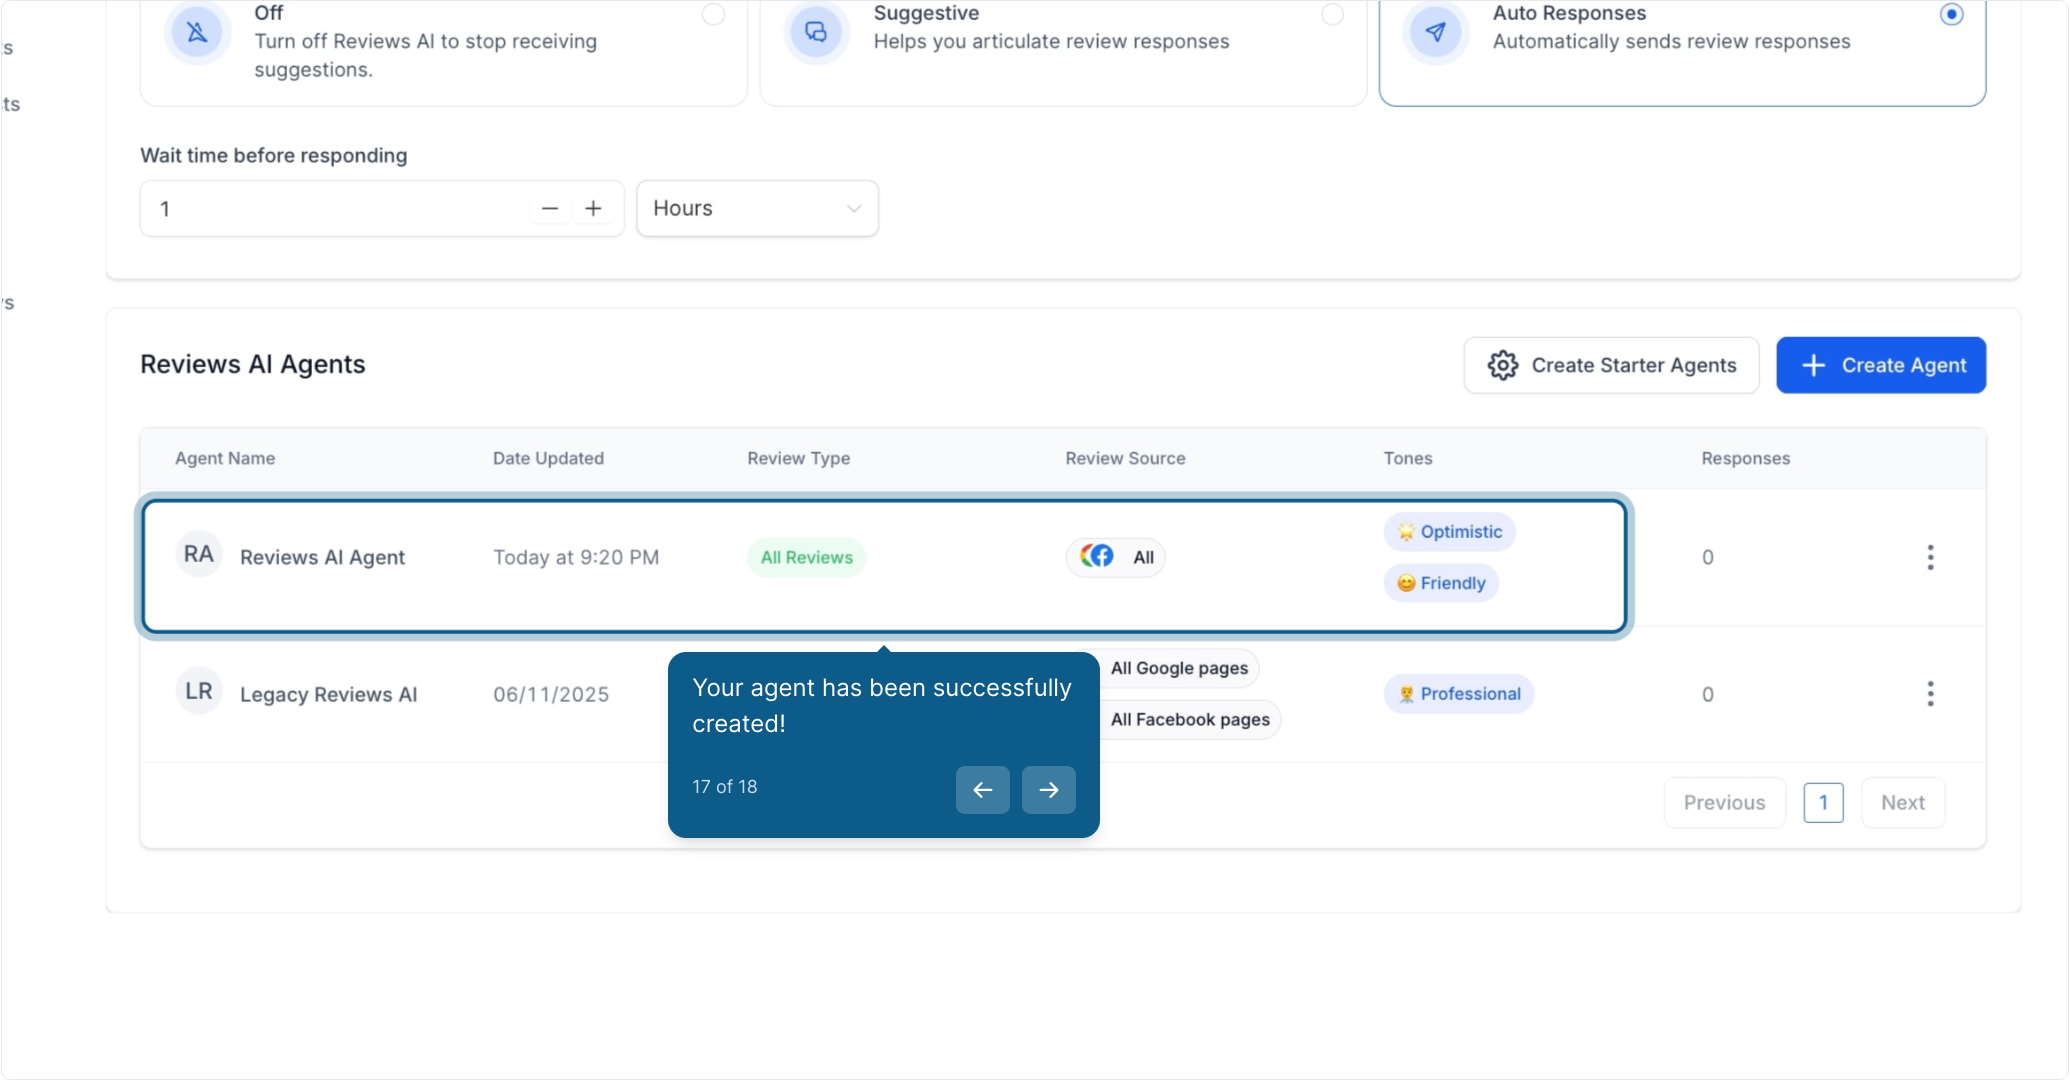
17. Your agent has been successfully created!
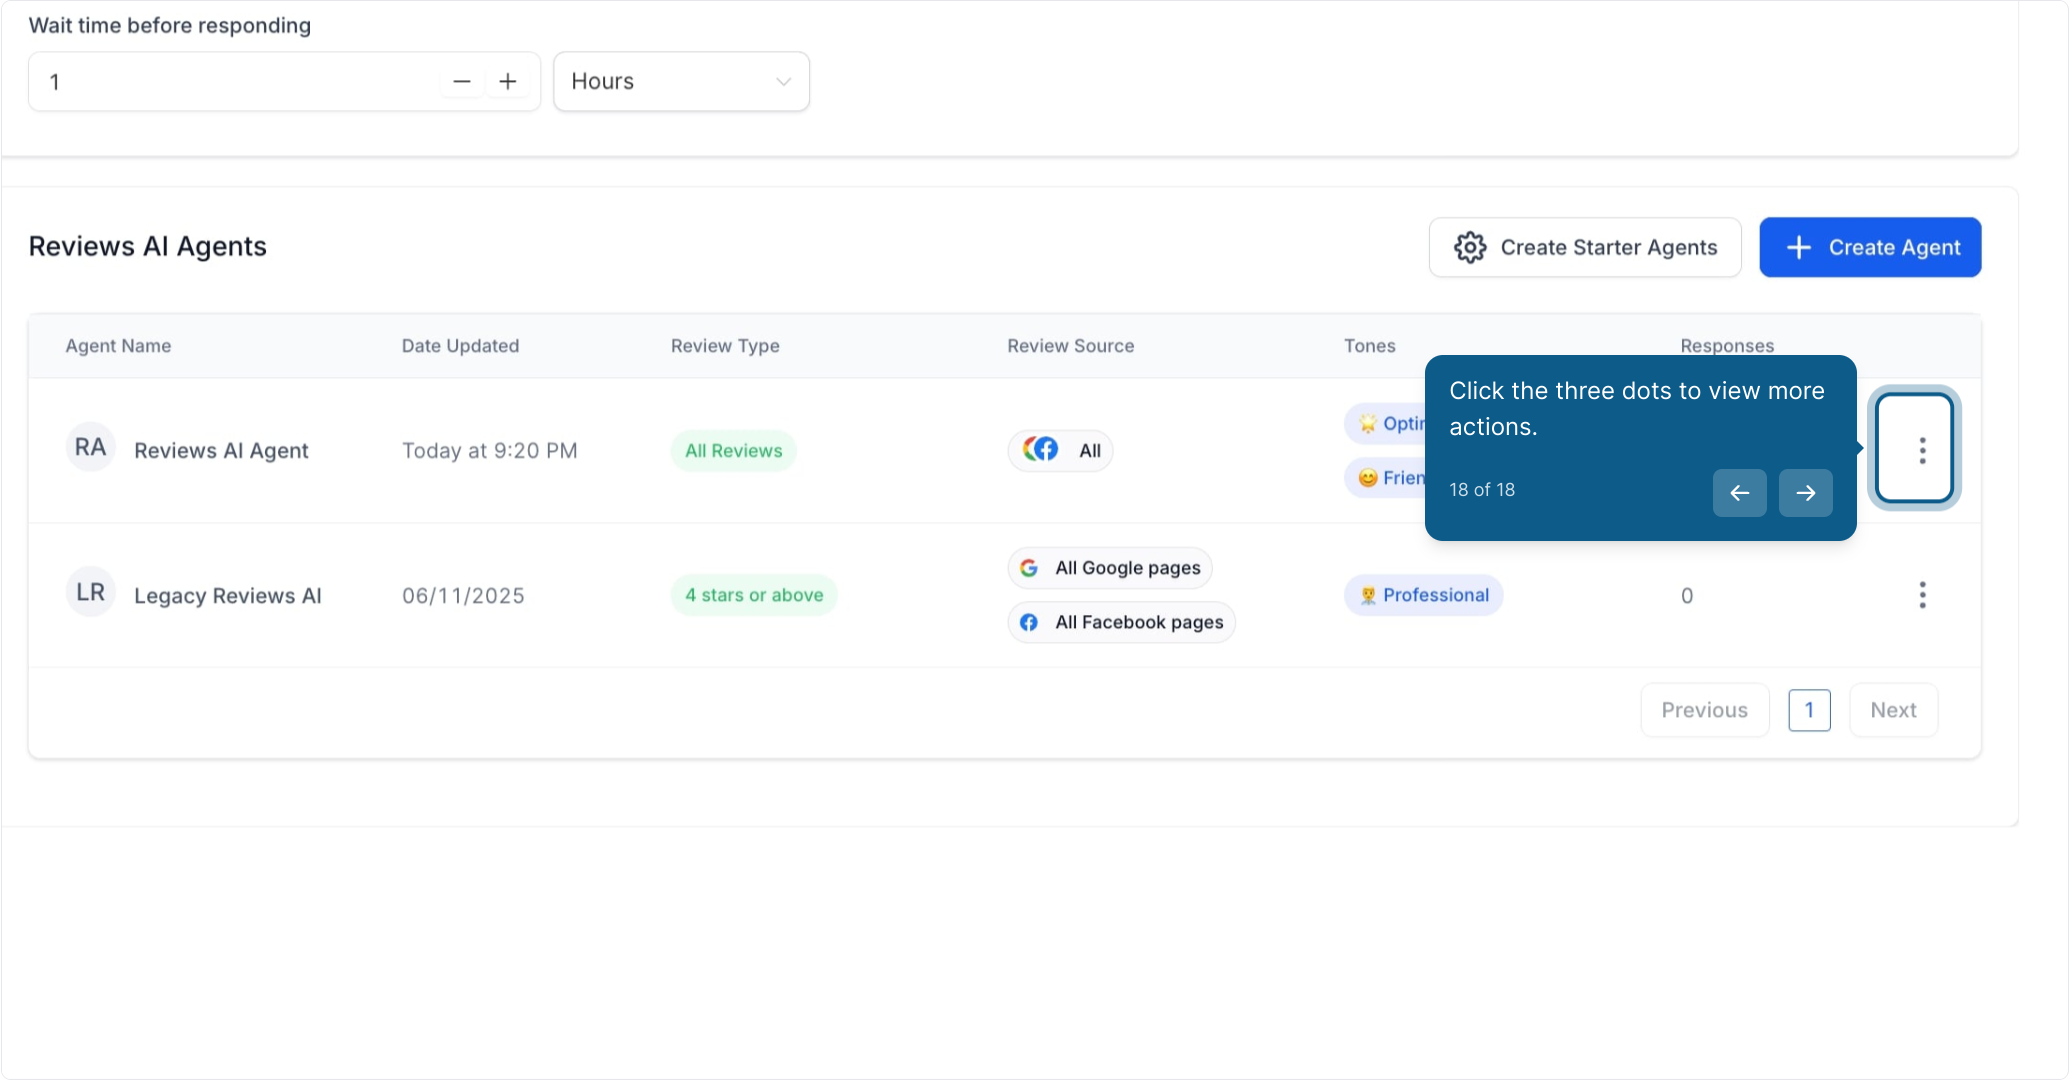
18. Click the three dots to view more actions.
Best Practices for Using Reviews AI Agents
Set clear tone and style to match your brand voice.
Differentiate sentiment handling for positive, neutral, and negative reviews.
Keep response instructions simple and specific.
Personalize responses with business names or locations if applicable.
Preview responses regularly to ensure tone and content match expectations.
You’re now ready to create and manage your Reviews AI Agents for more personalized, consistent, and automated review responses.
Note: Reviews AI Agents are currently available to Agency Users only.
