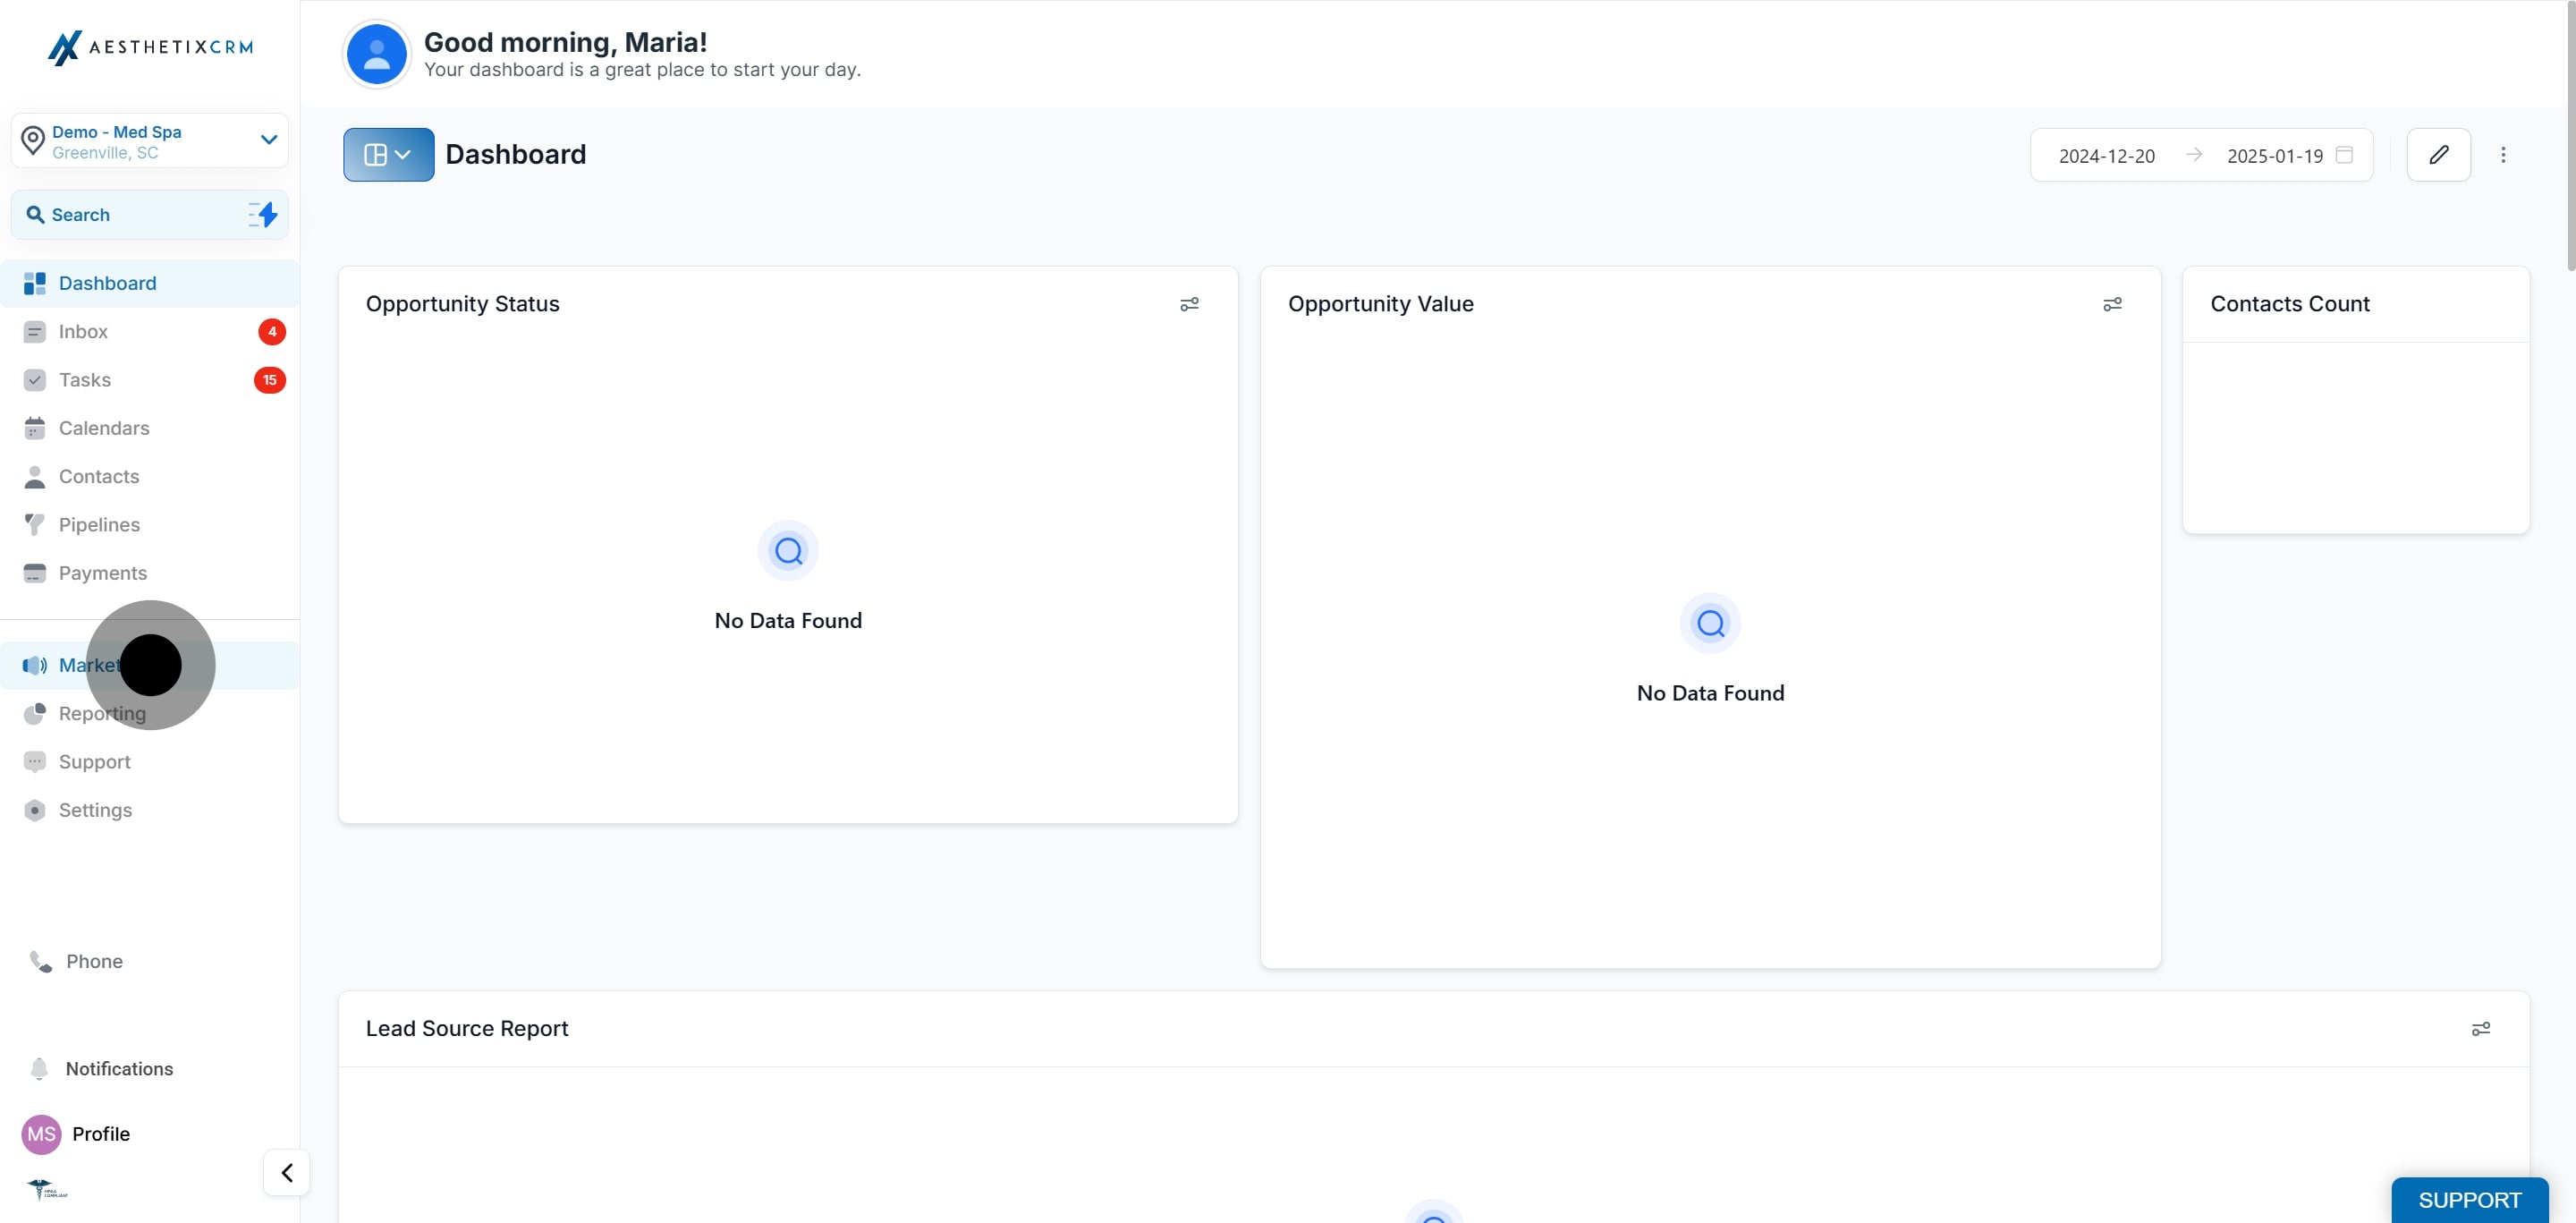
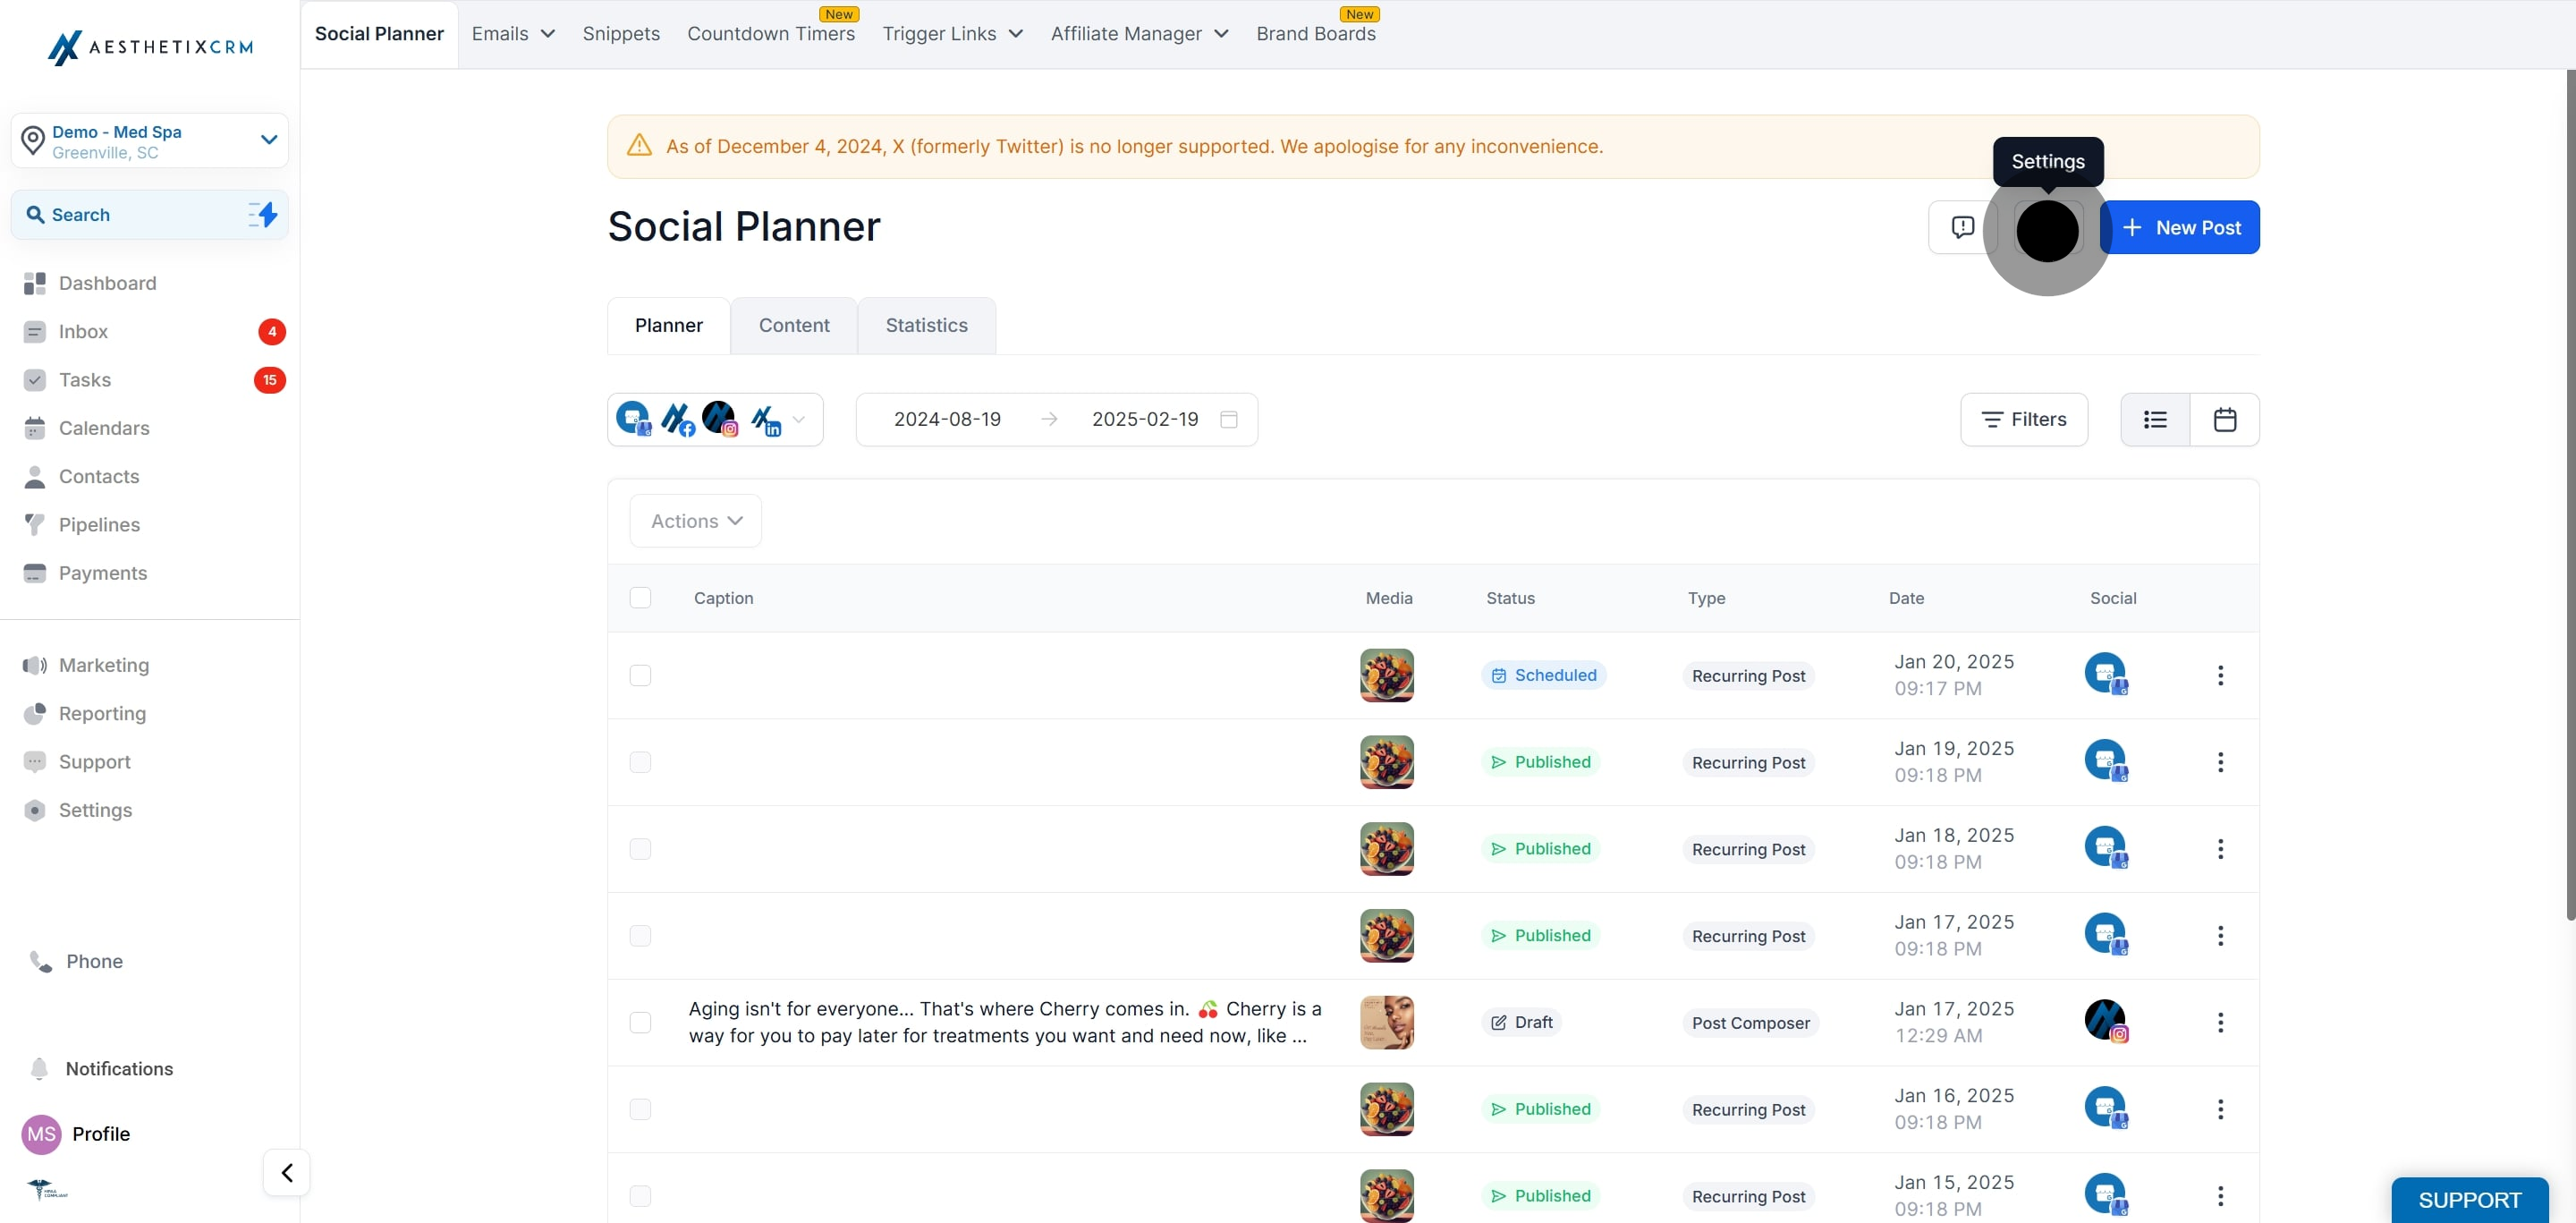
1. Go to "Marketing"
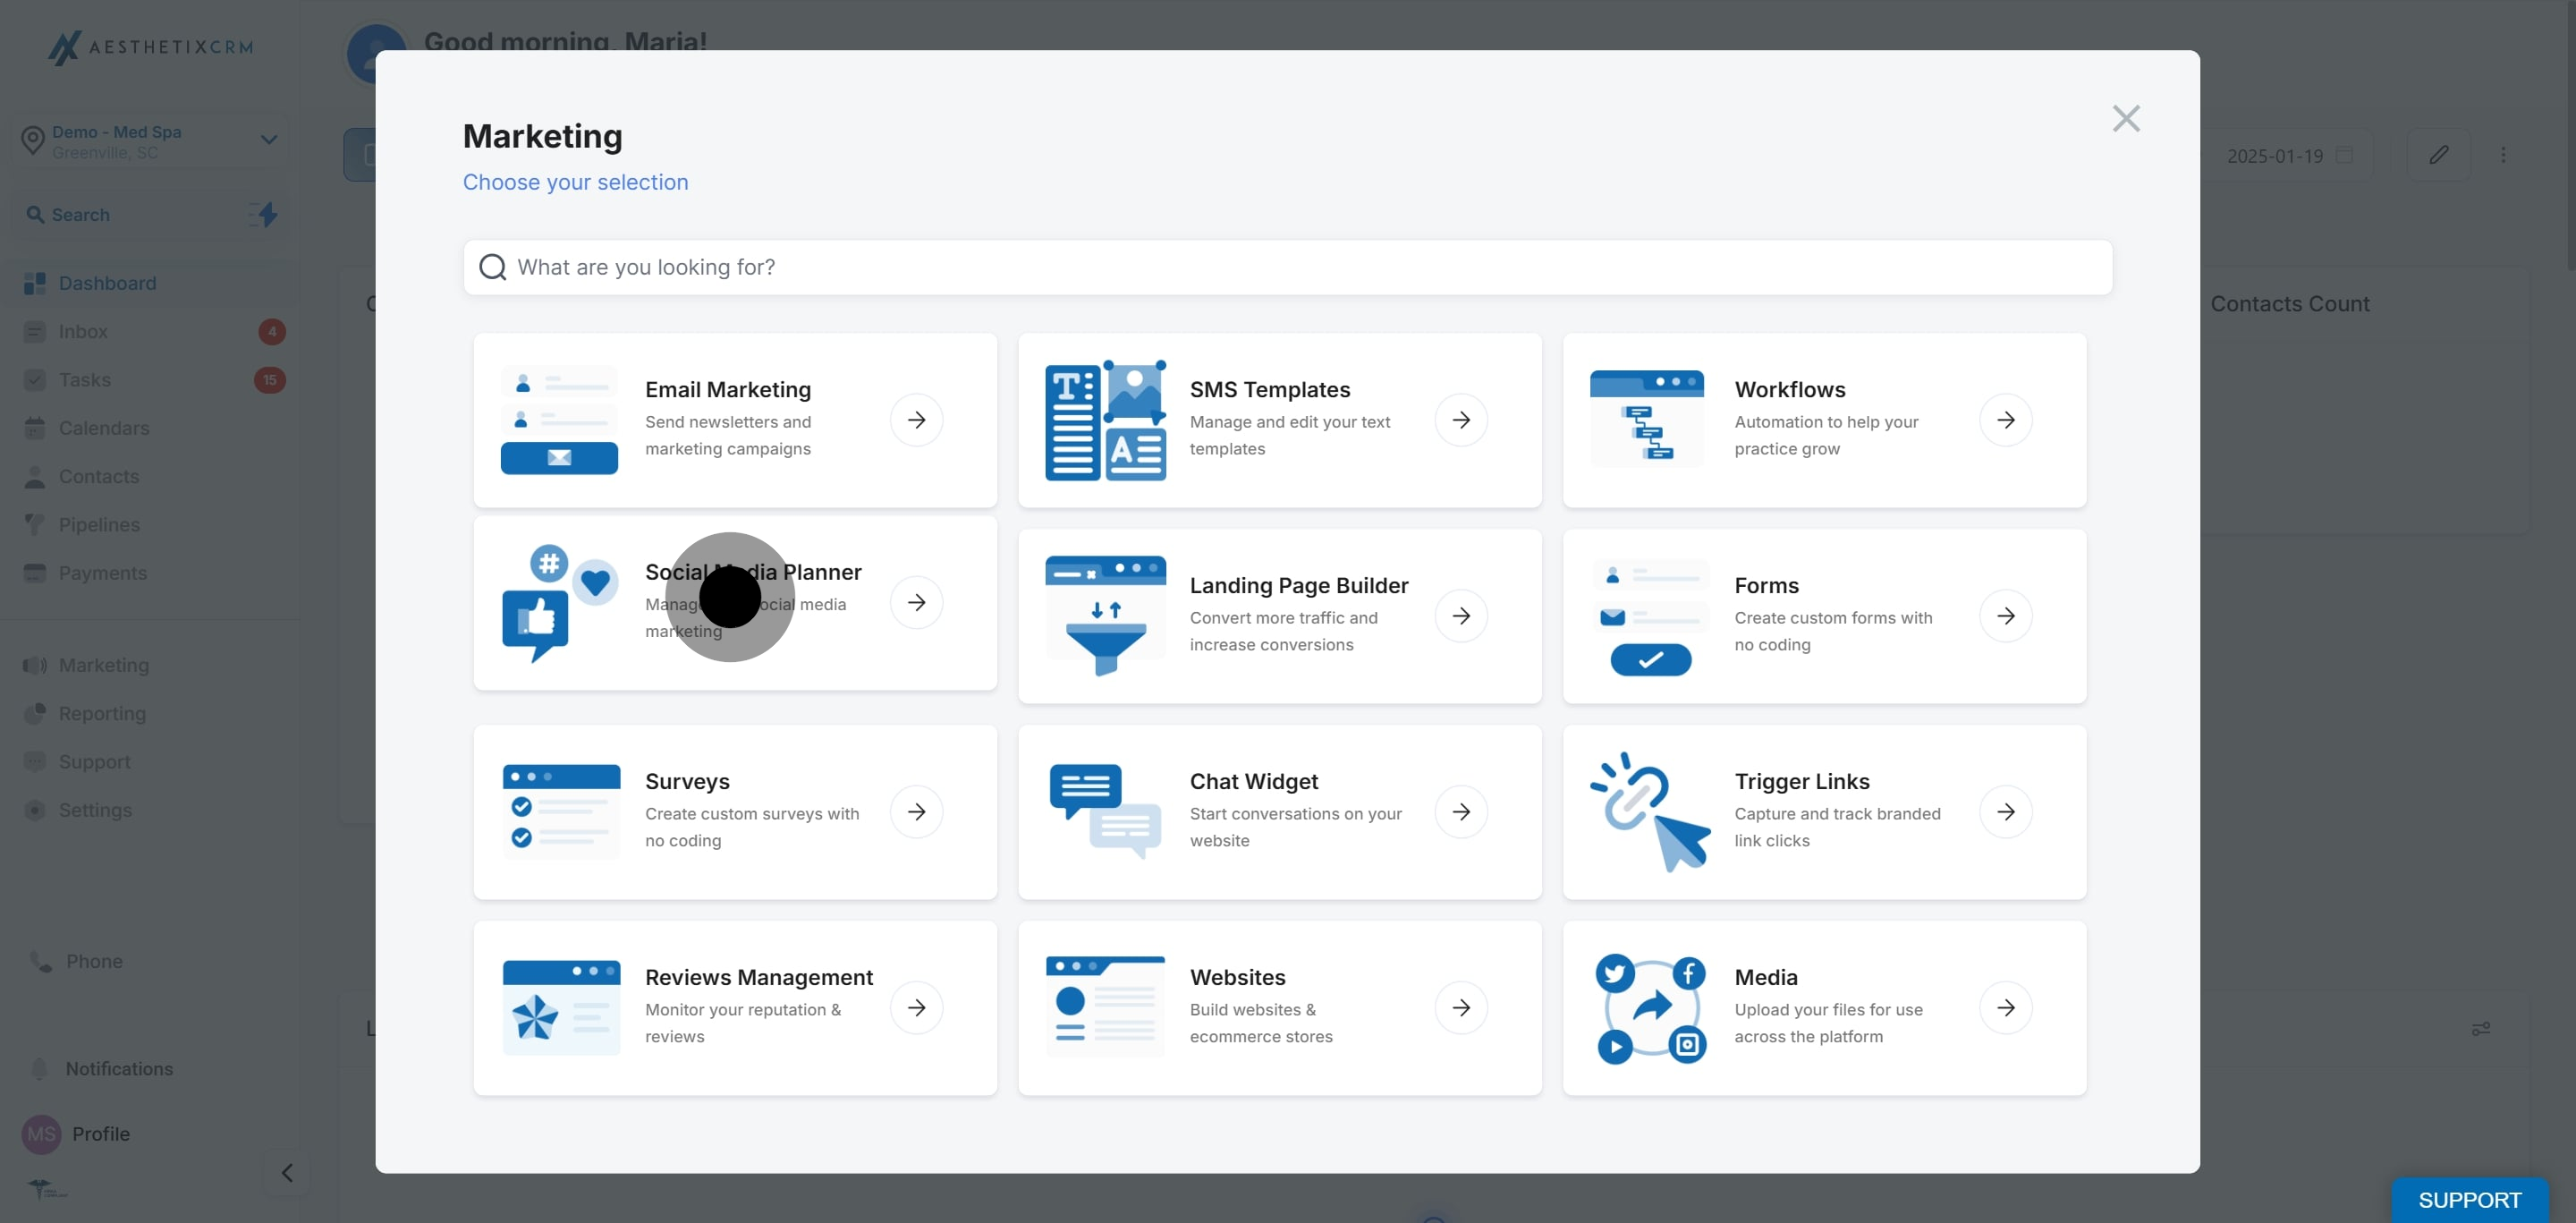
2. Afterwards, click on "Social Media Planner".
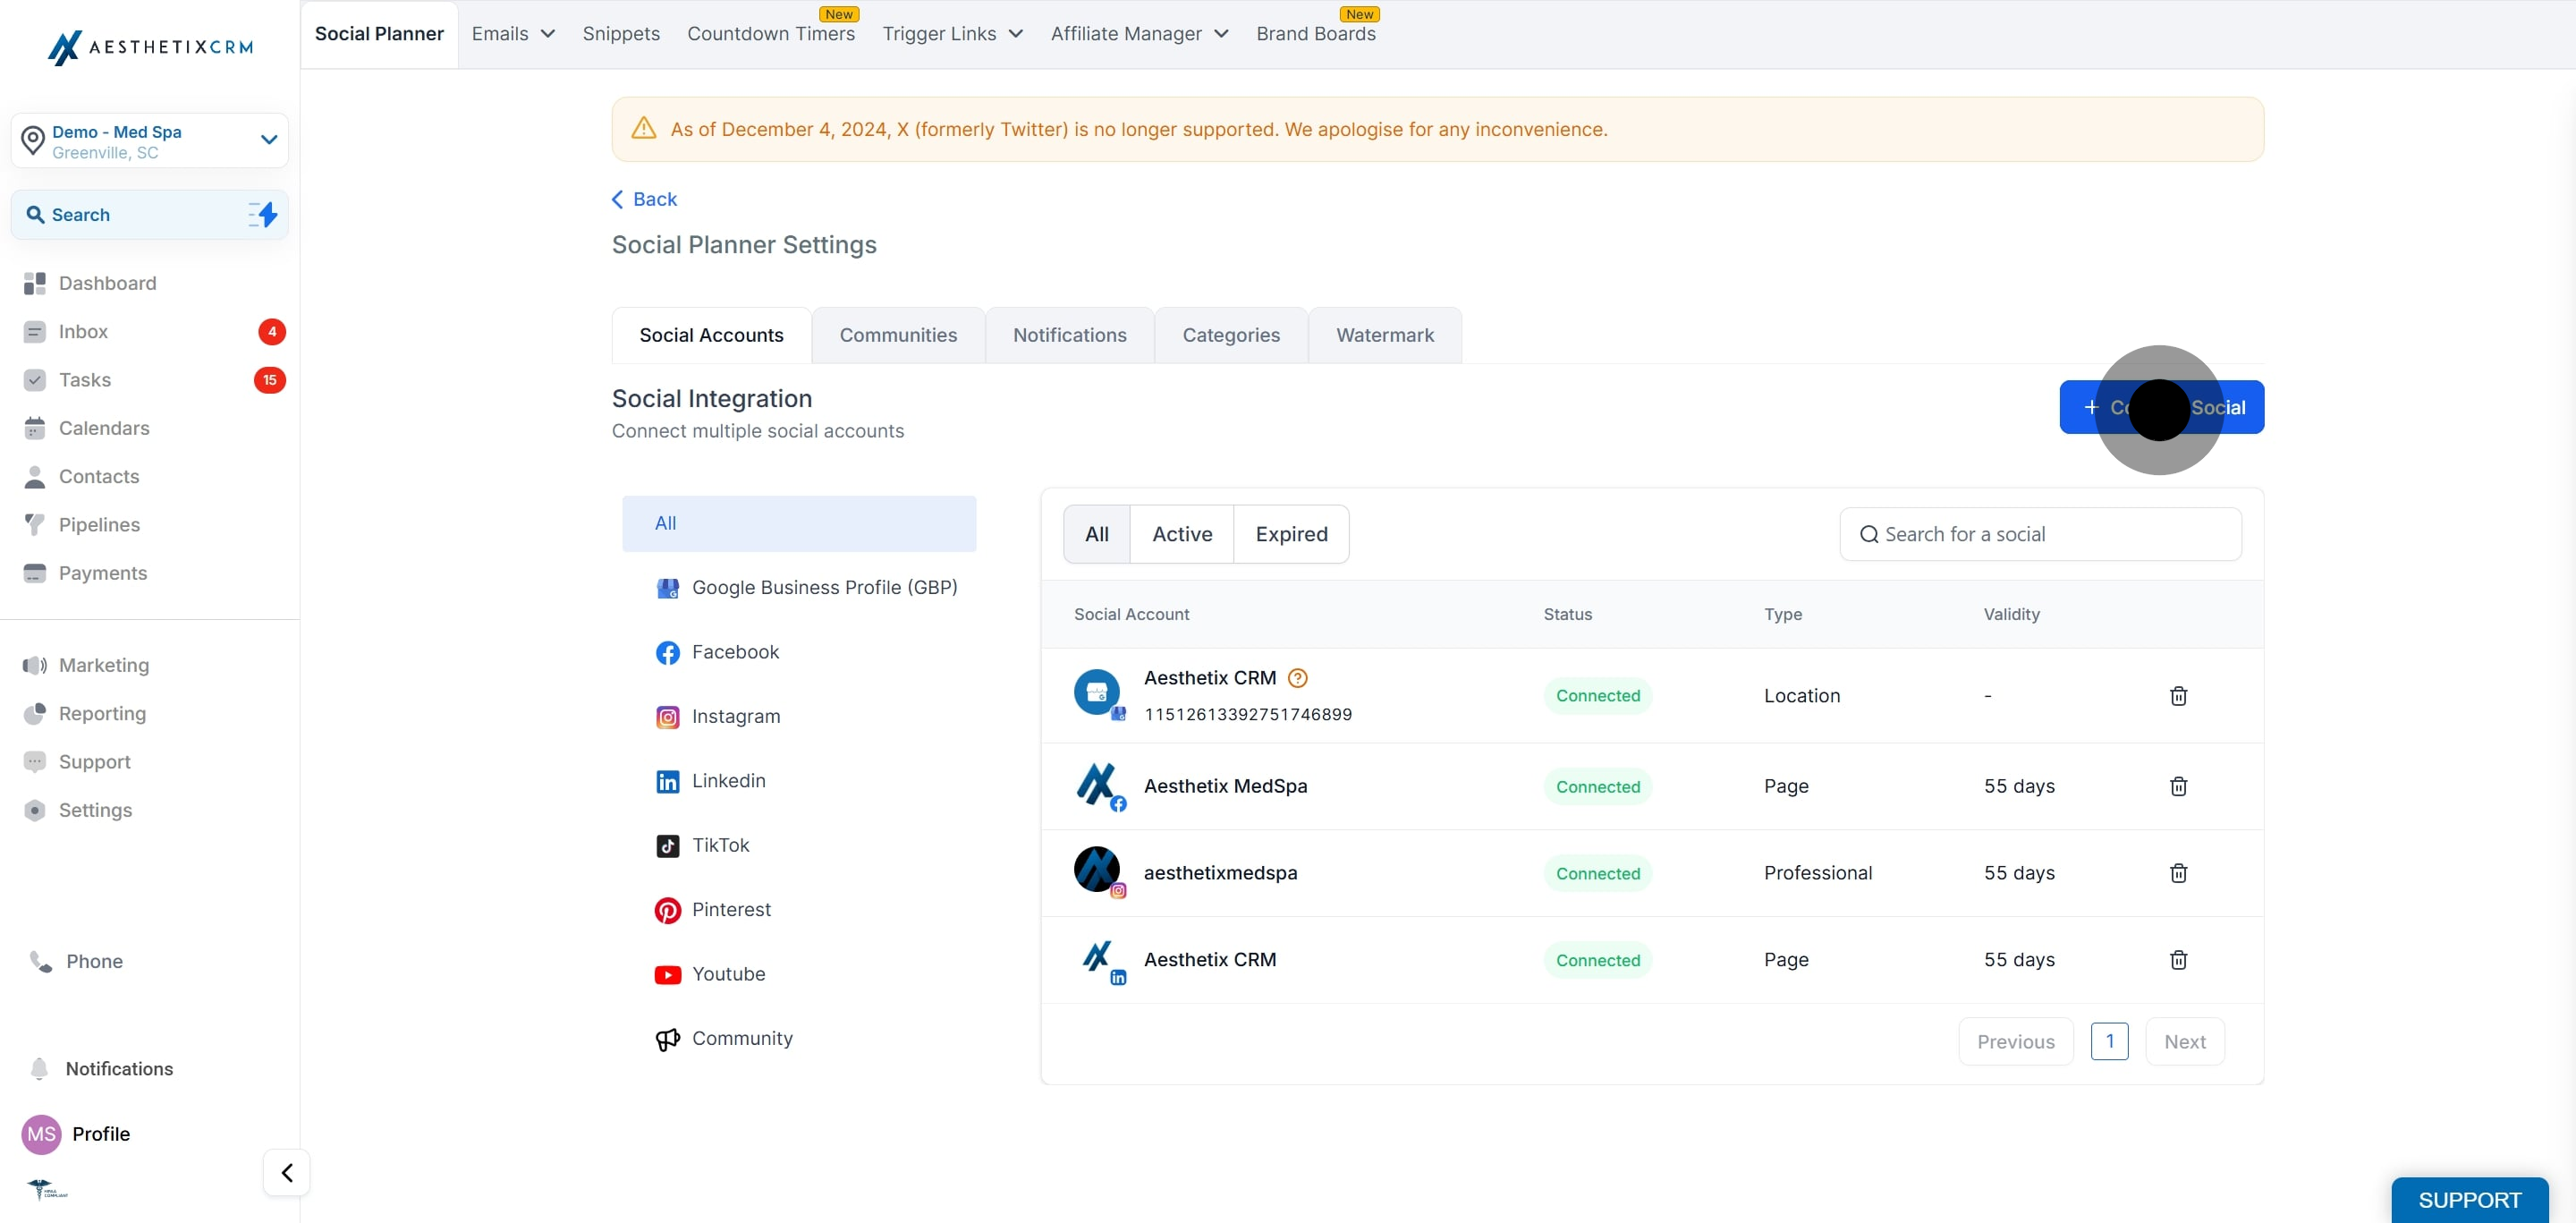
3. Navigate to Settings.
4. Click on "Connect Social".
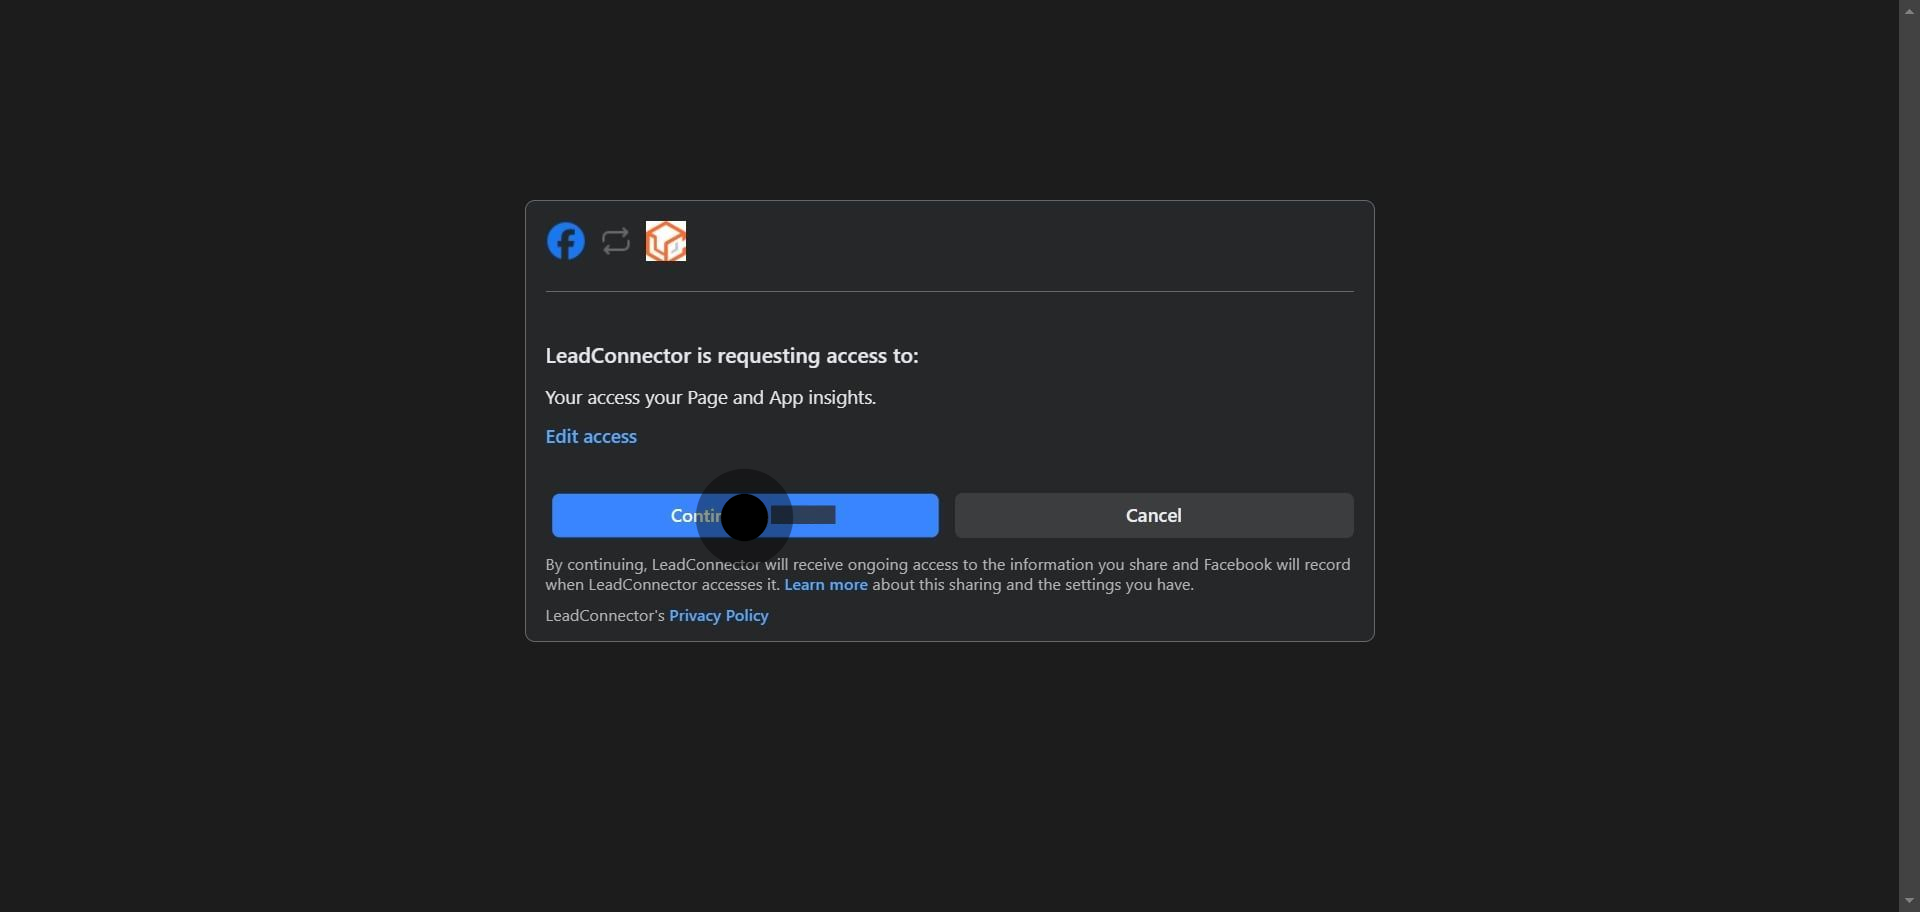
5. Click Continue to complete the authorization process for fetching the Facebook page(s).
6. Select Facebook Page(s) to connect.

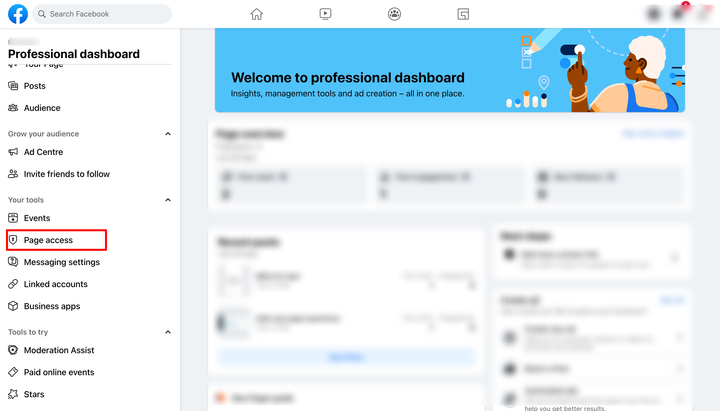
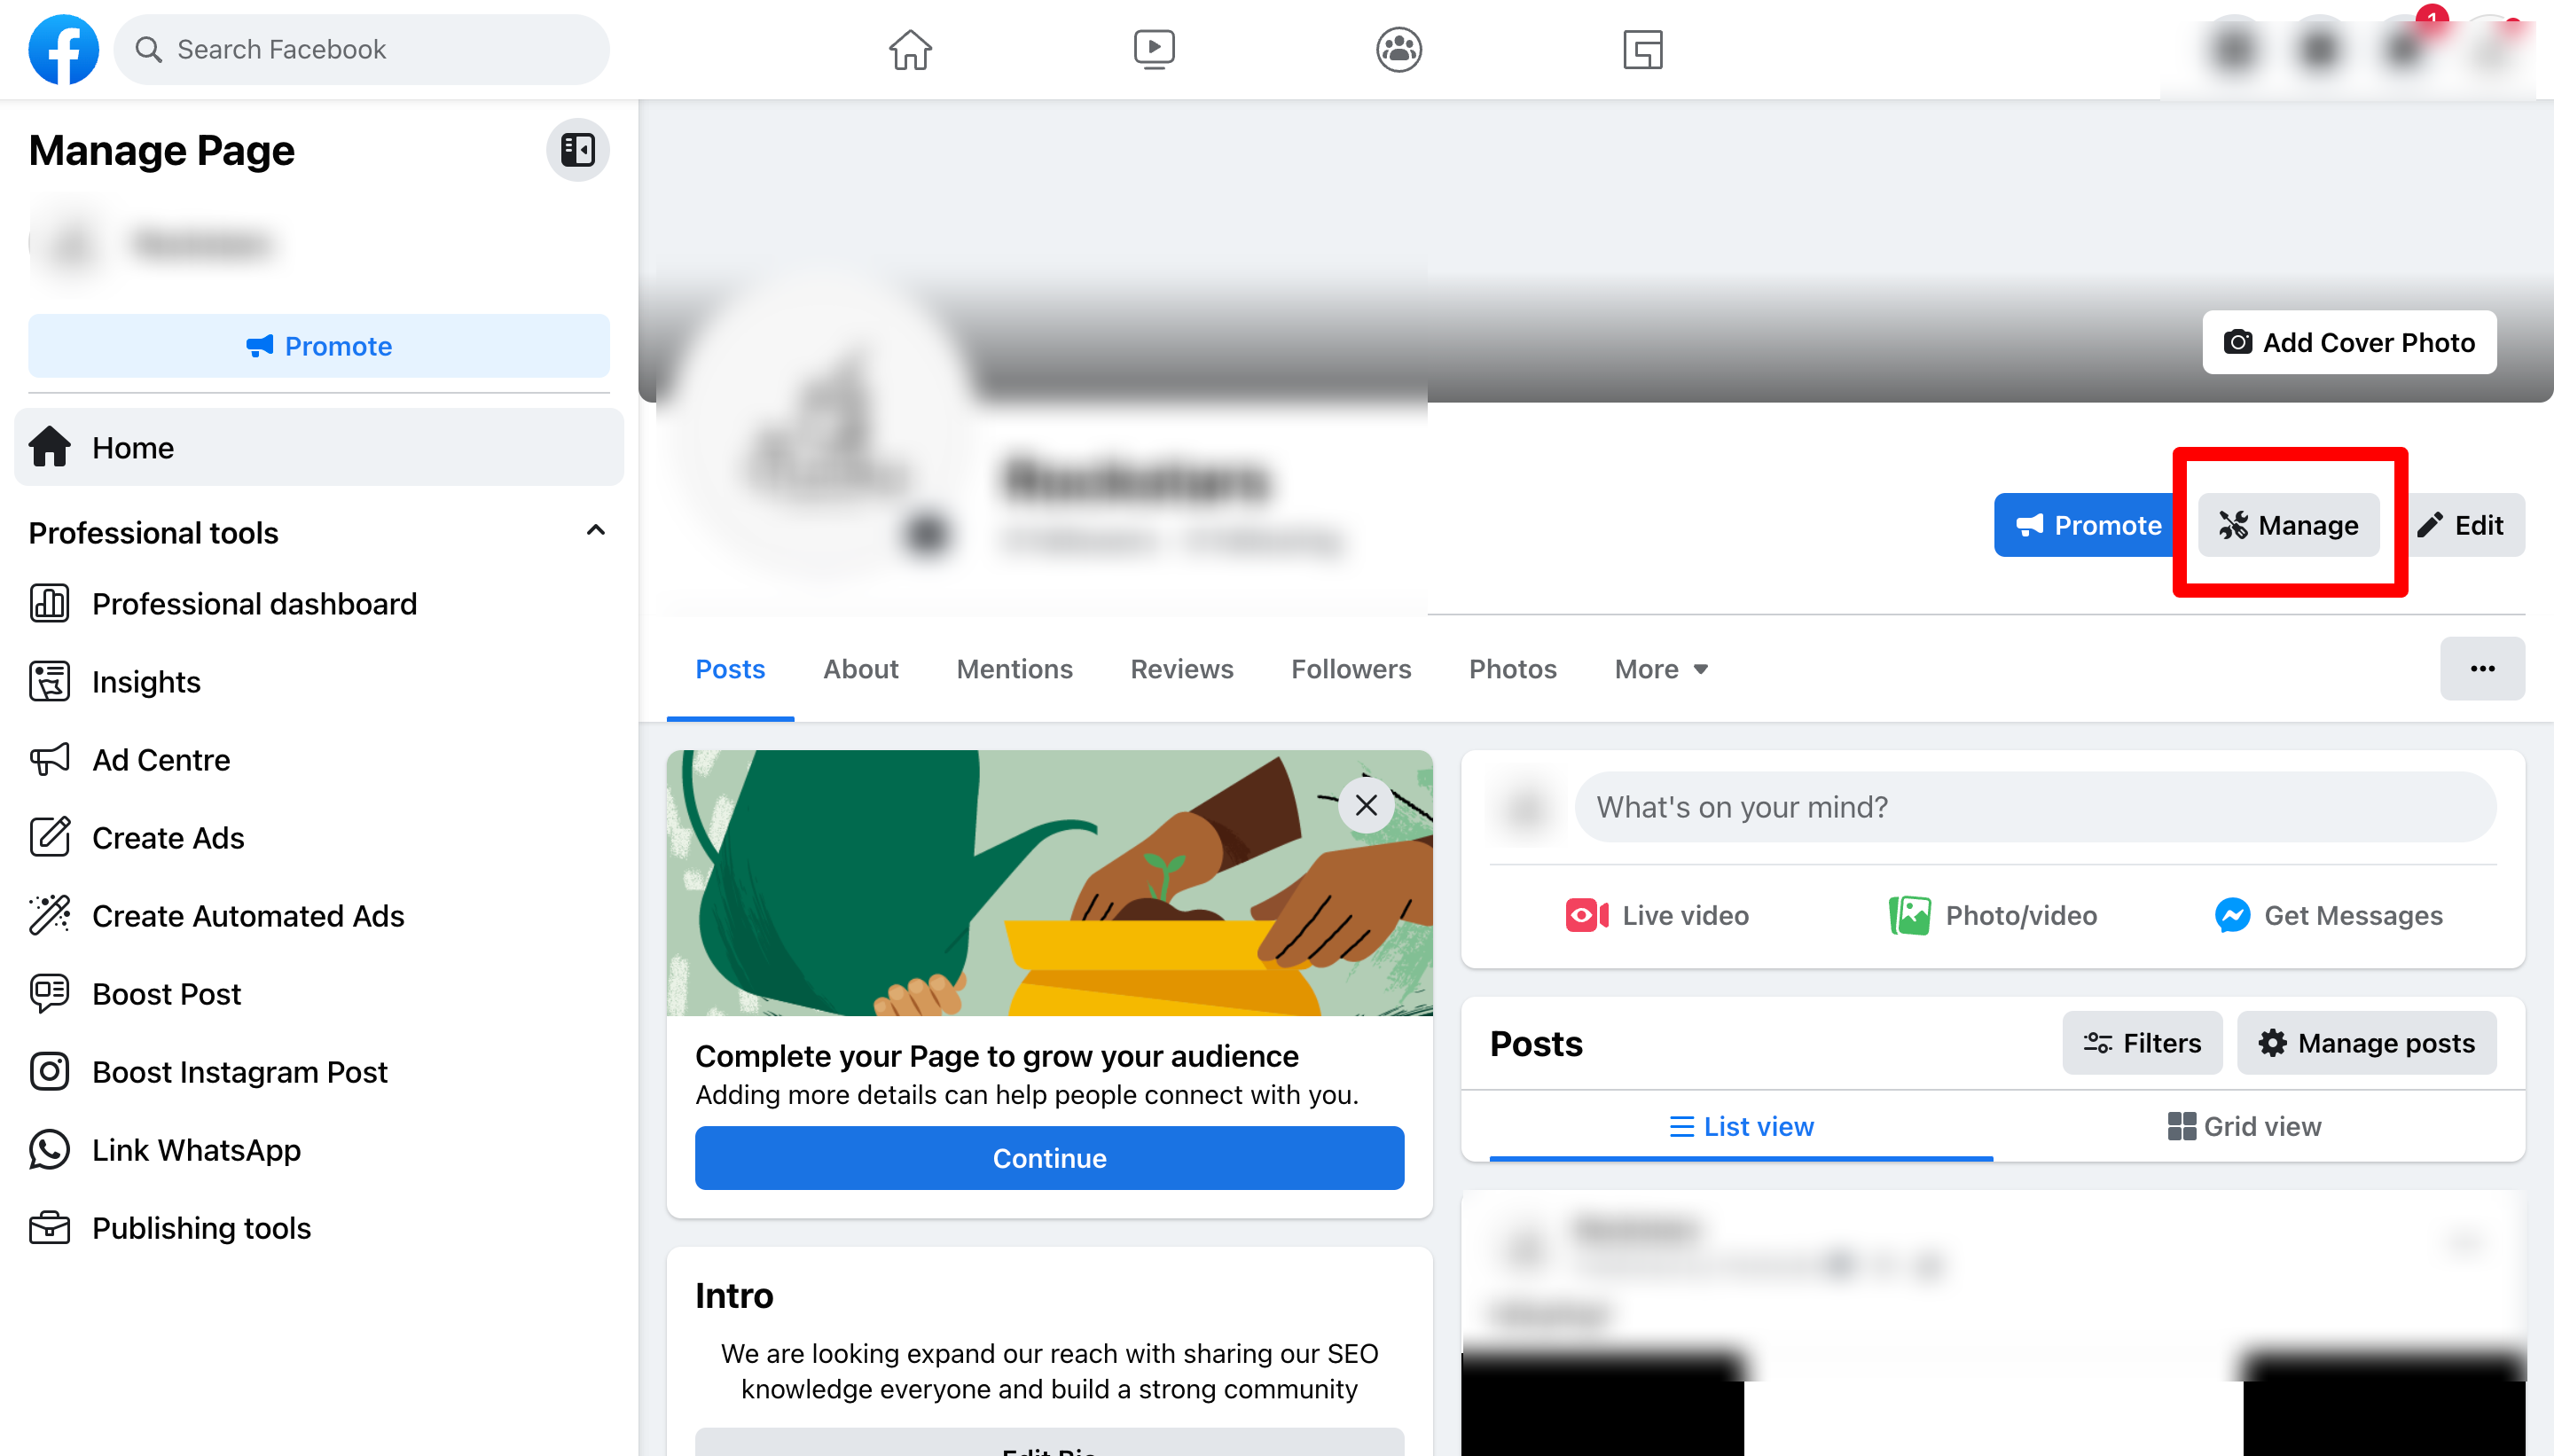
If you are using New Page Experience, they will be required to add access to the following role: