Scheduling Facebook Stories with Social Planner

Unleash the power of storytelling on social media with our step-by-step guide on scheduling Facebook Stories using Social Planner! This article walks you through the process of creating and automating your Facebook Stories, ensuring your content reaches your audience at the right moment. Discover tips for crafting engaging visuals and messaging that resonate with viewers, as well as strategies for utilizing analytics to refine your approach. Perfect for marketers, brands, and influencers, this guide will help you streamline your storytelling efforts and enhance your brand's presence on Facebook!


1. First click on "Marketing"

1 Click here.

2. Click on "Social Media Planner".

2 Click on "Manage your social media marketing".

3. Afterwards, click on "New Post".

3 Afterwards, click on "New Post".

4. Following that, click on "Create New Post".

4 Following that, click on "Create New Post".

5. Select the socials (add Facebook pages) from dropdown.

5 Then, click on "Aesthetix MedSpa".

6. Click on "Story".

6 Click on the element.

7. Add the content with image or video.

7 Next up, click here.

8. To end, Schedule the Facebook Story from Social Planner.

8 Following that, click here.

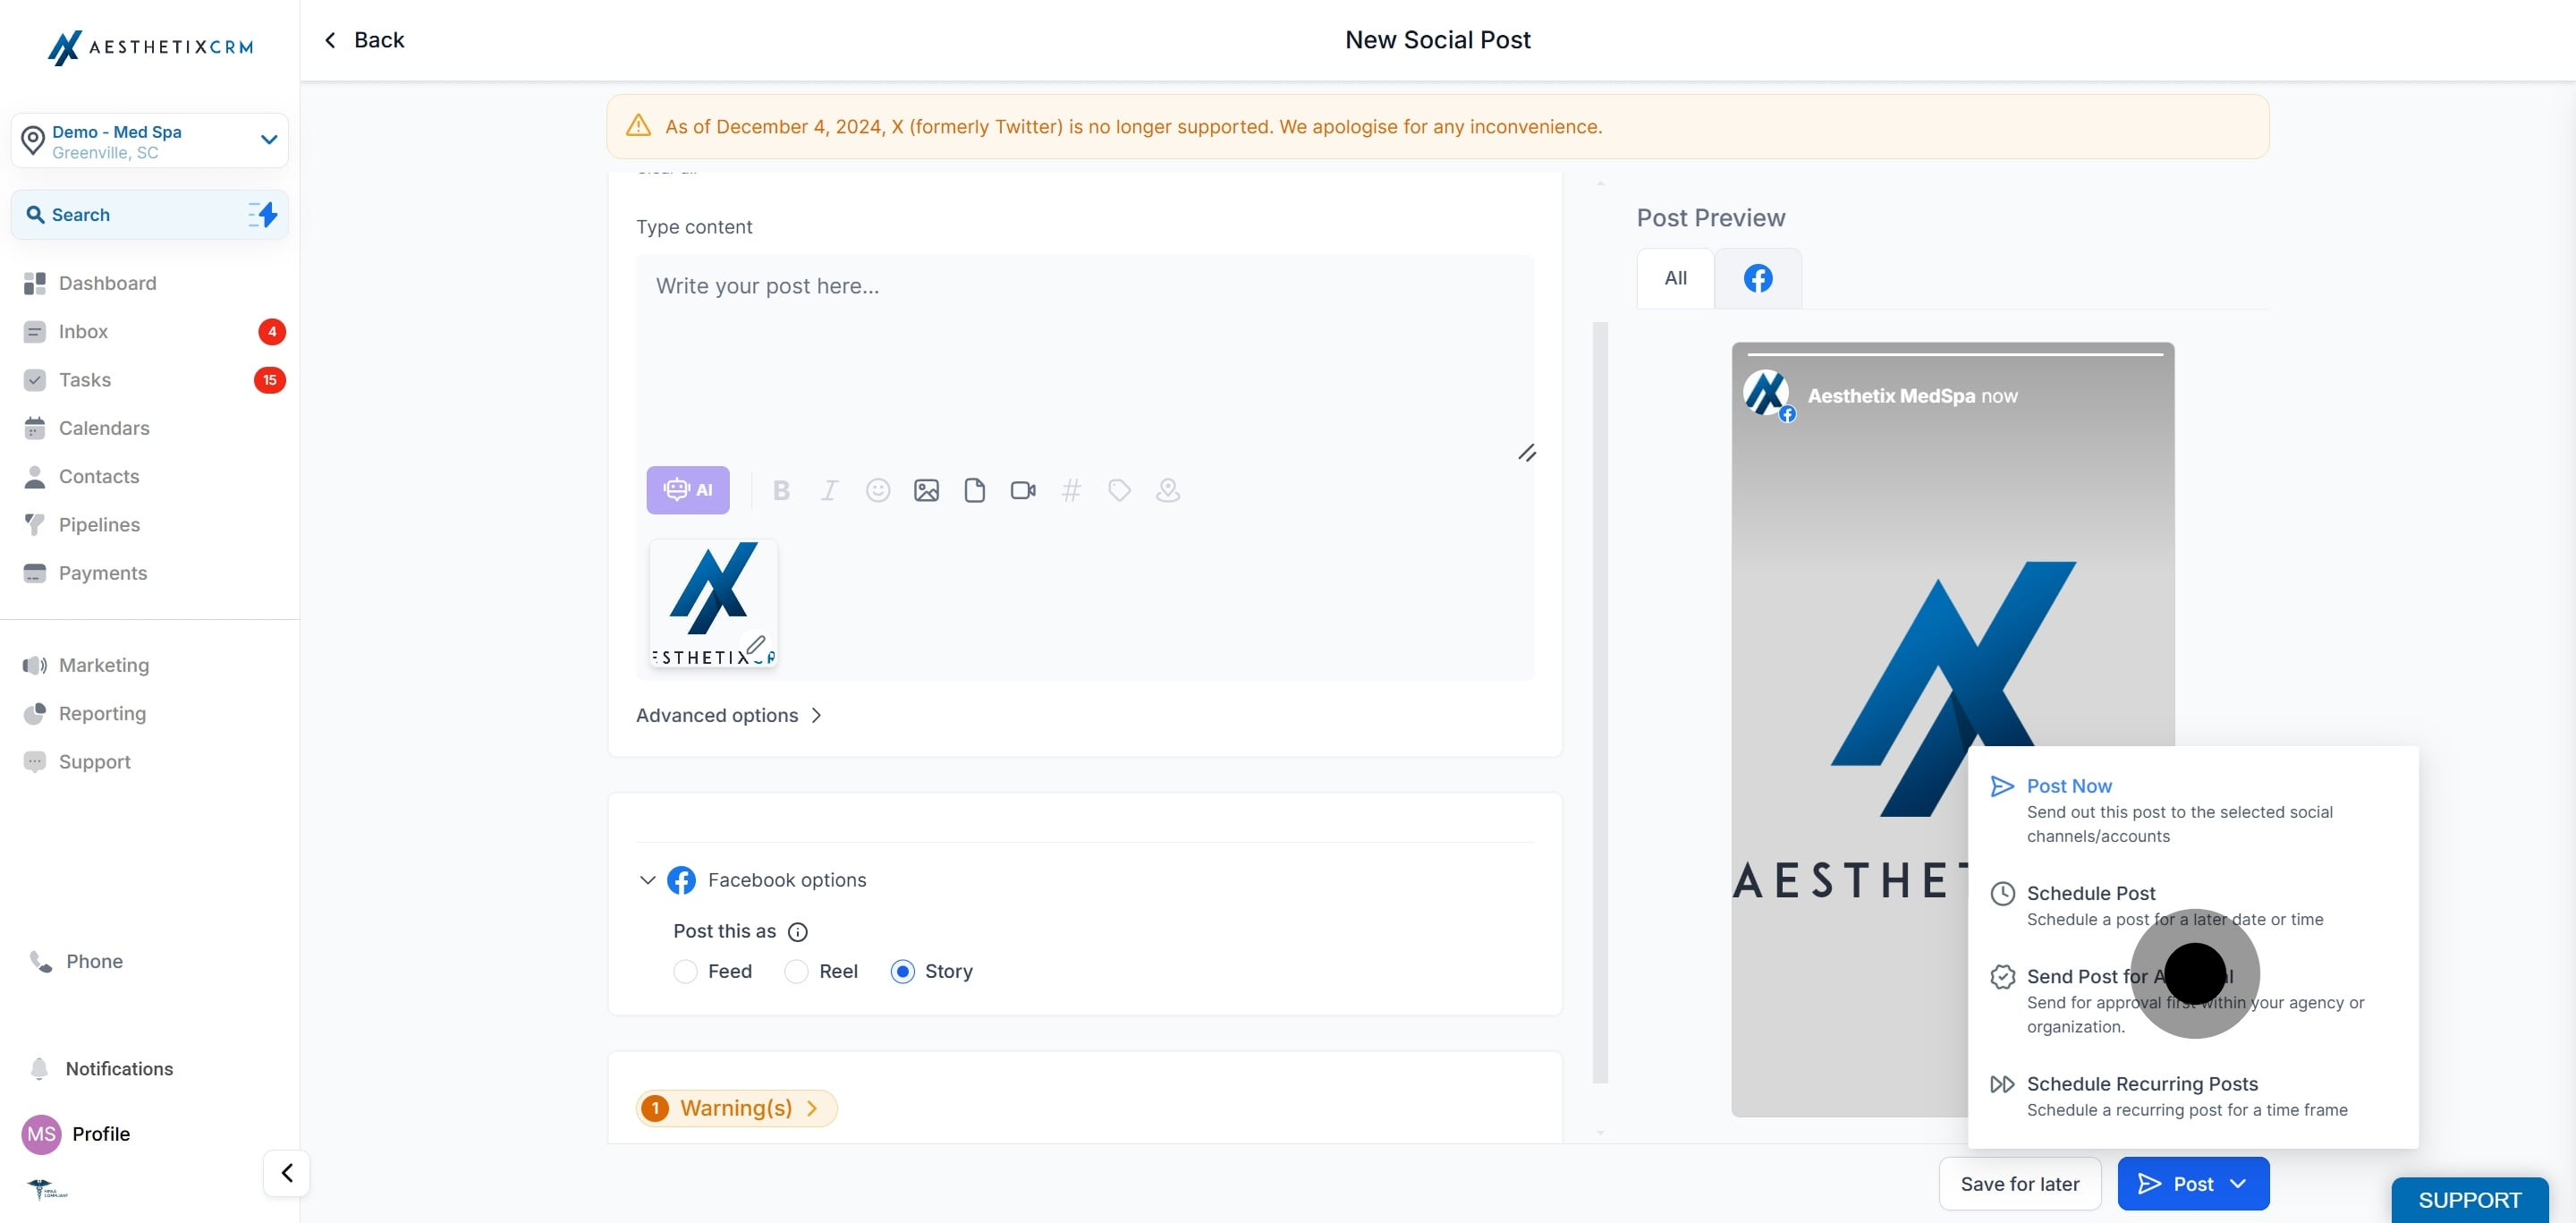
Specification of Facebook Story -

  1. For Facebook story, user can add one image or video.

  2. Image is required in JPEG, PNG or GIF, max file size is 4MB.

  3. Video is allowed in all format with 1GB or minimum 3 seconds and maximum 90 seconds length and minimum dimension of 540*960 px.

  4. Facebook story doesn't support thumbnail or OG Meta Tag.

Did this answer your question?
😞
😐
😁