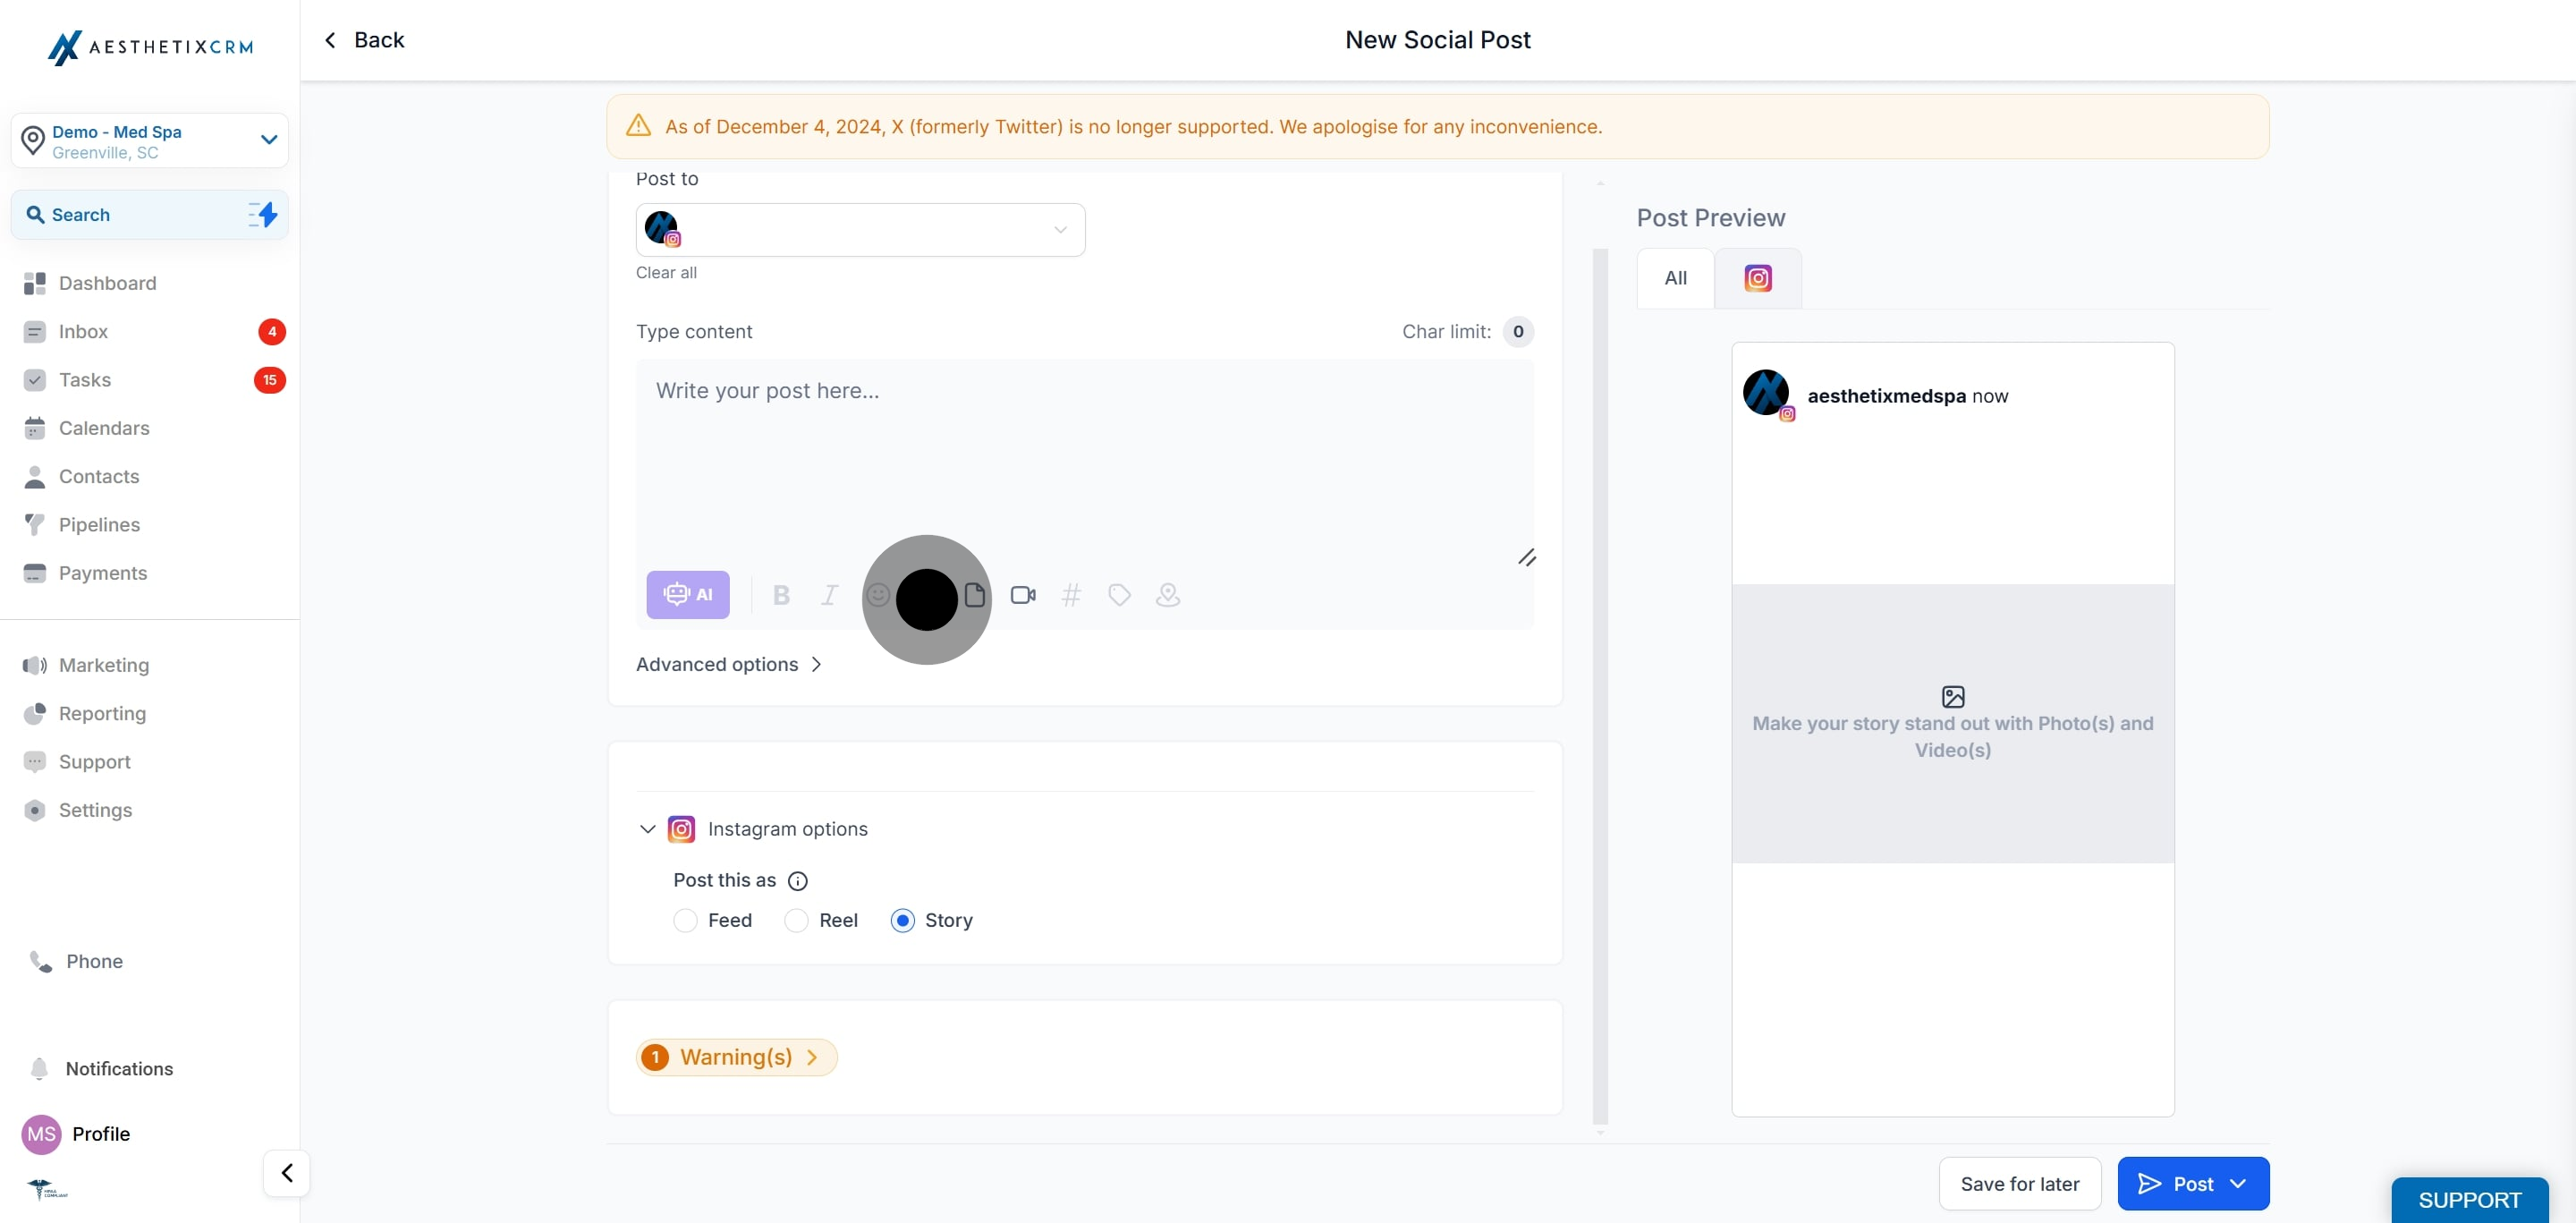
The Instagram Story Post Composer is a robust feature embedded in the Social Planner. Its main function is to allow users to manage their Instagram stories in a way that efficiently fits into their overall digital marketing strategy.
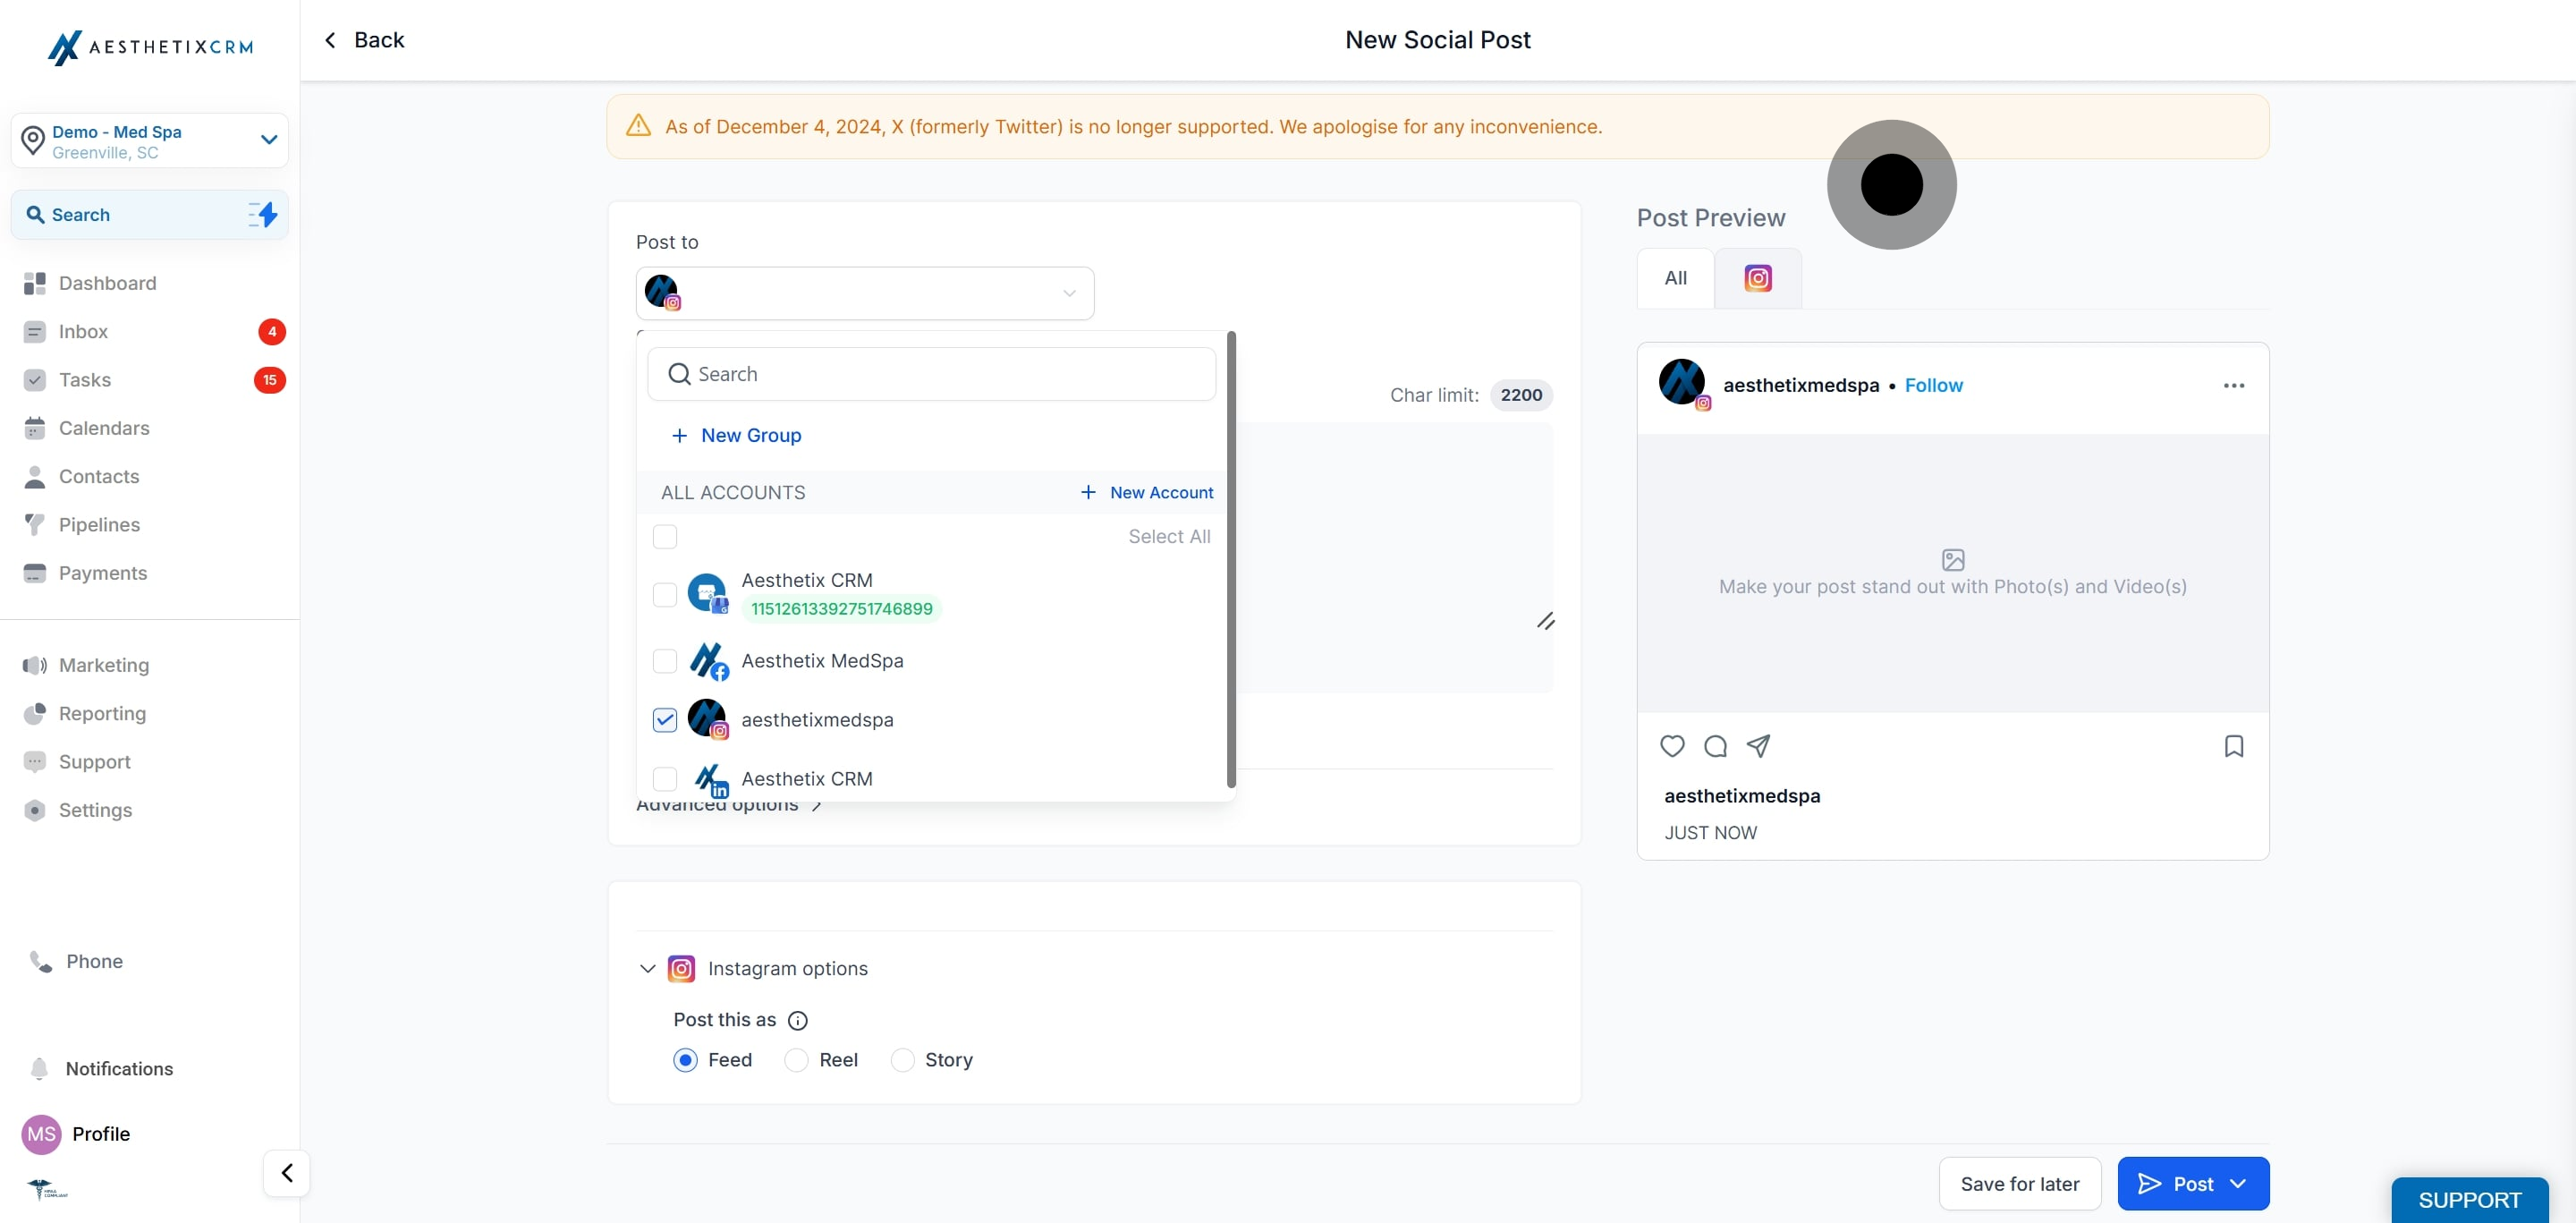
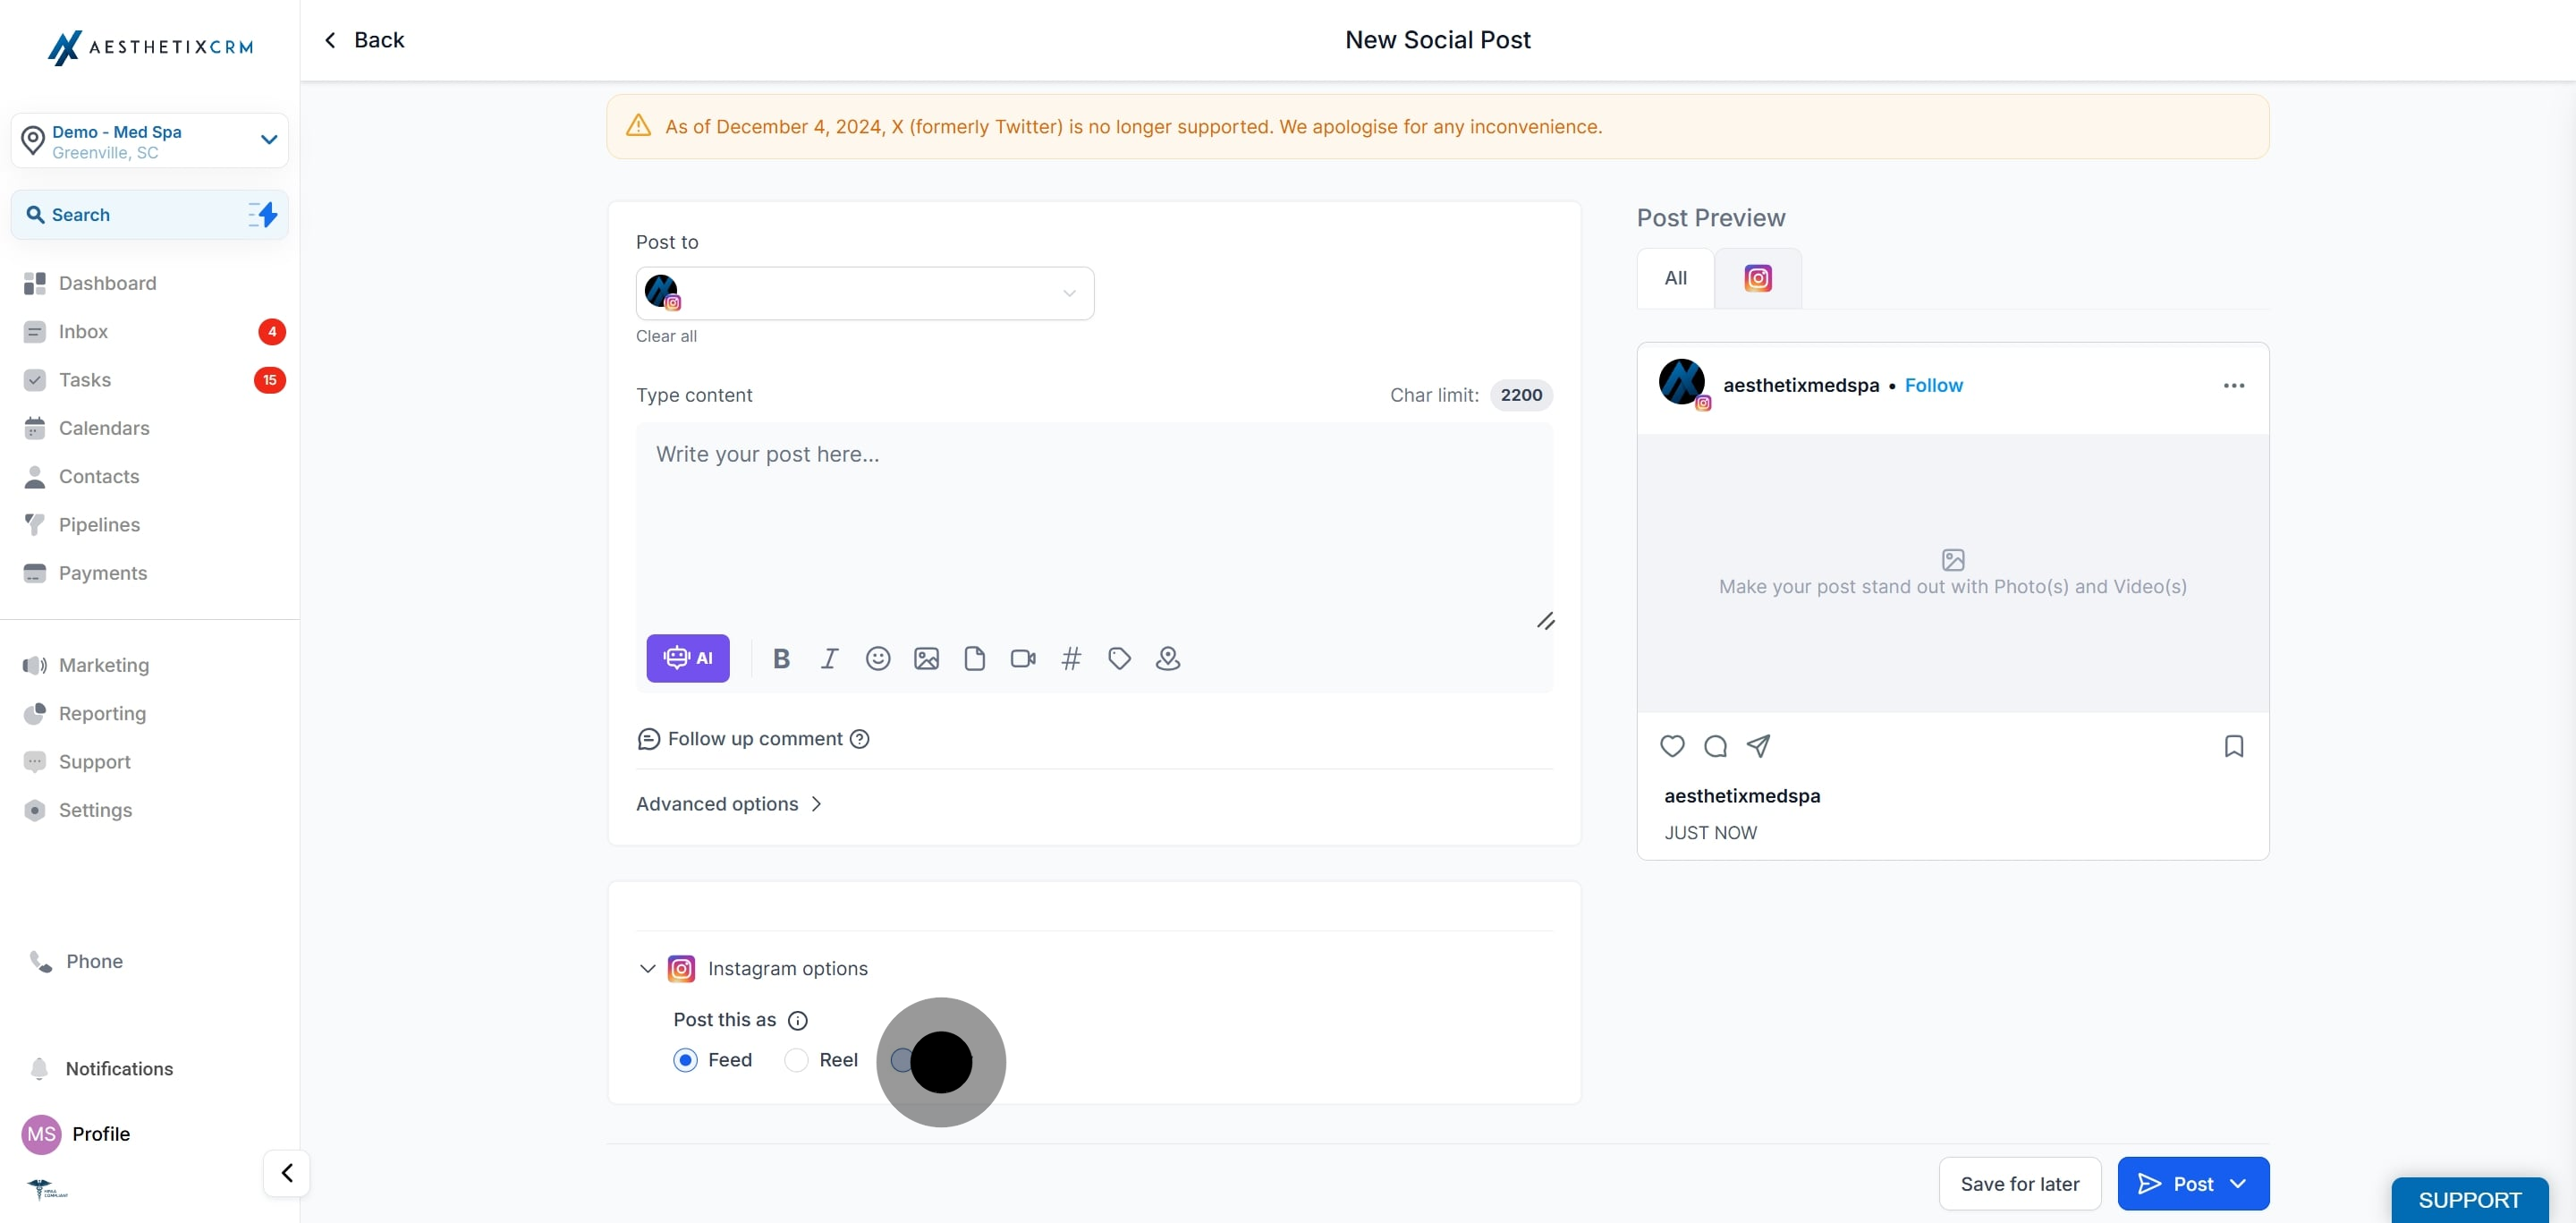
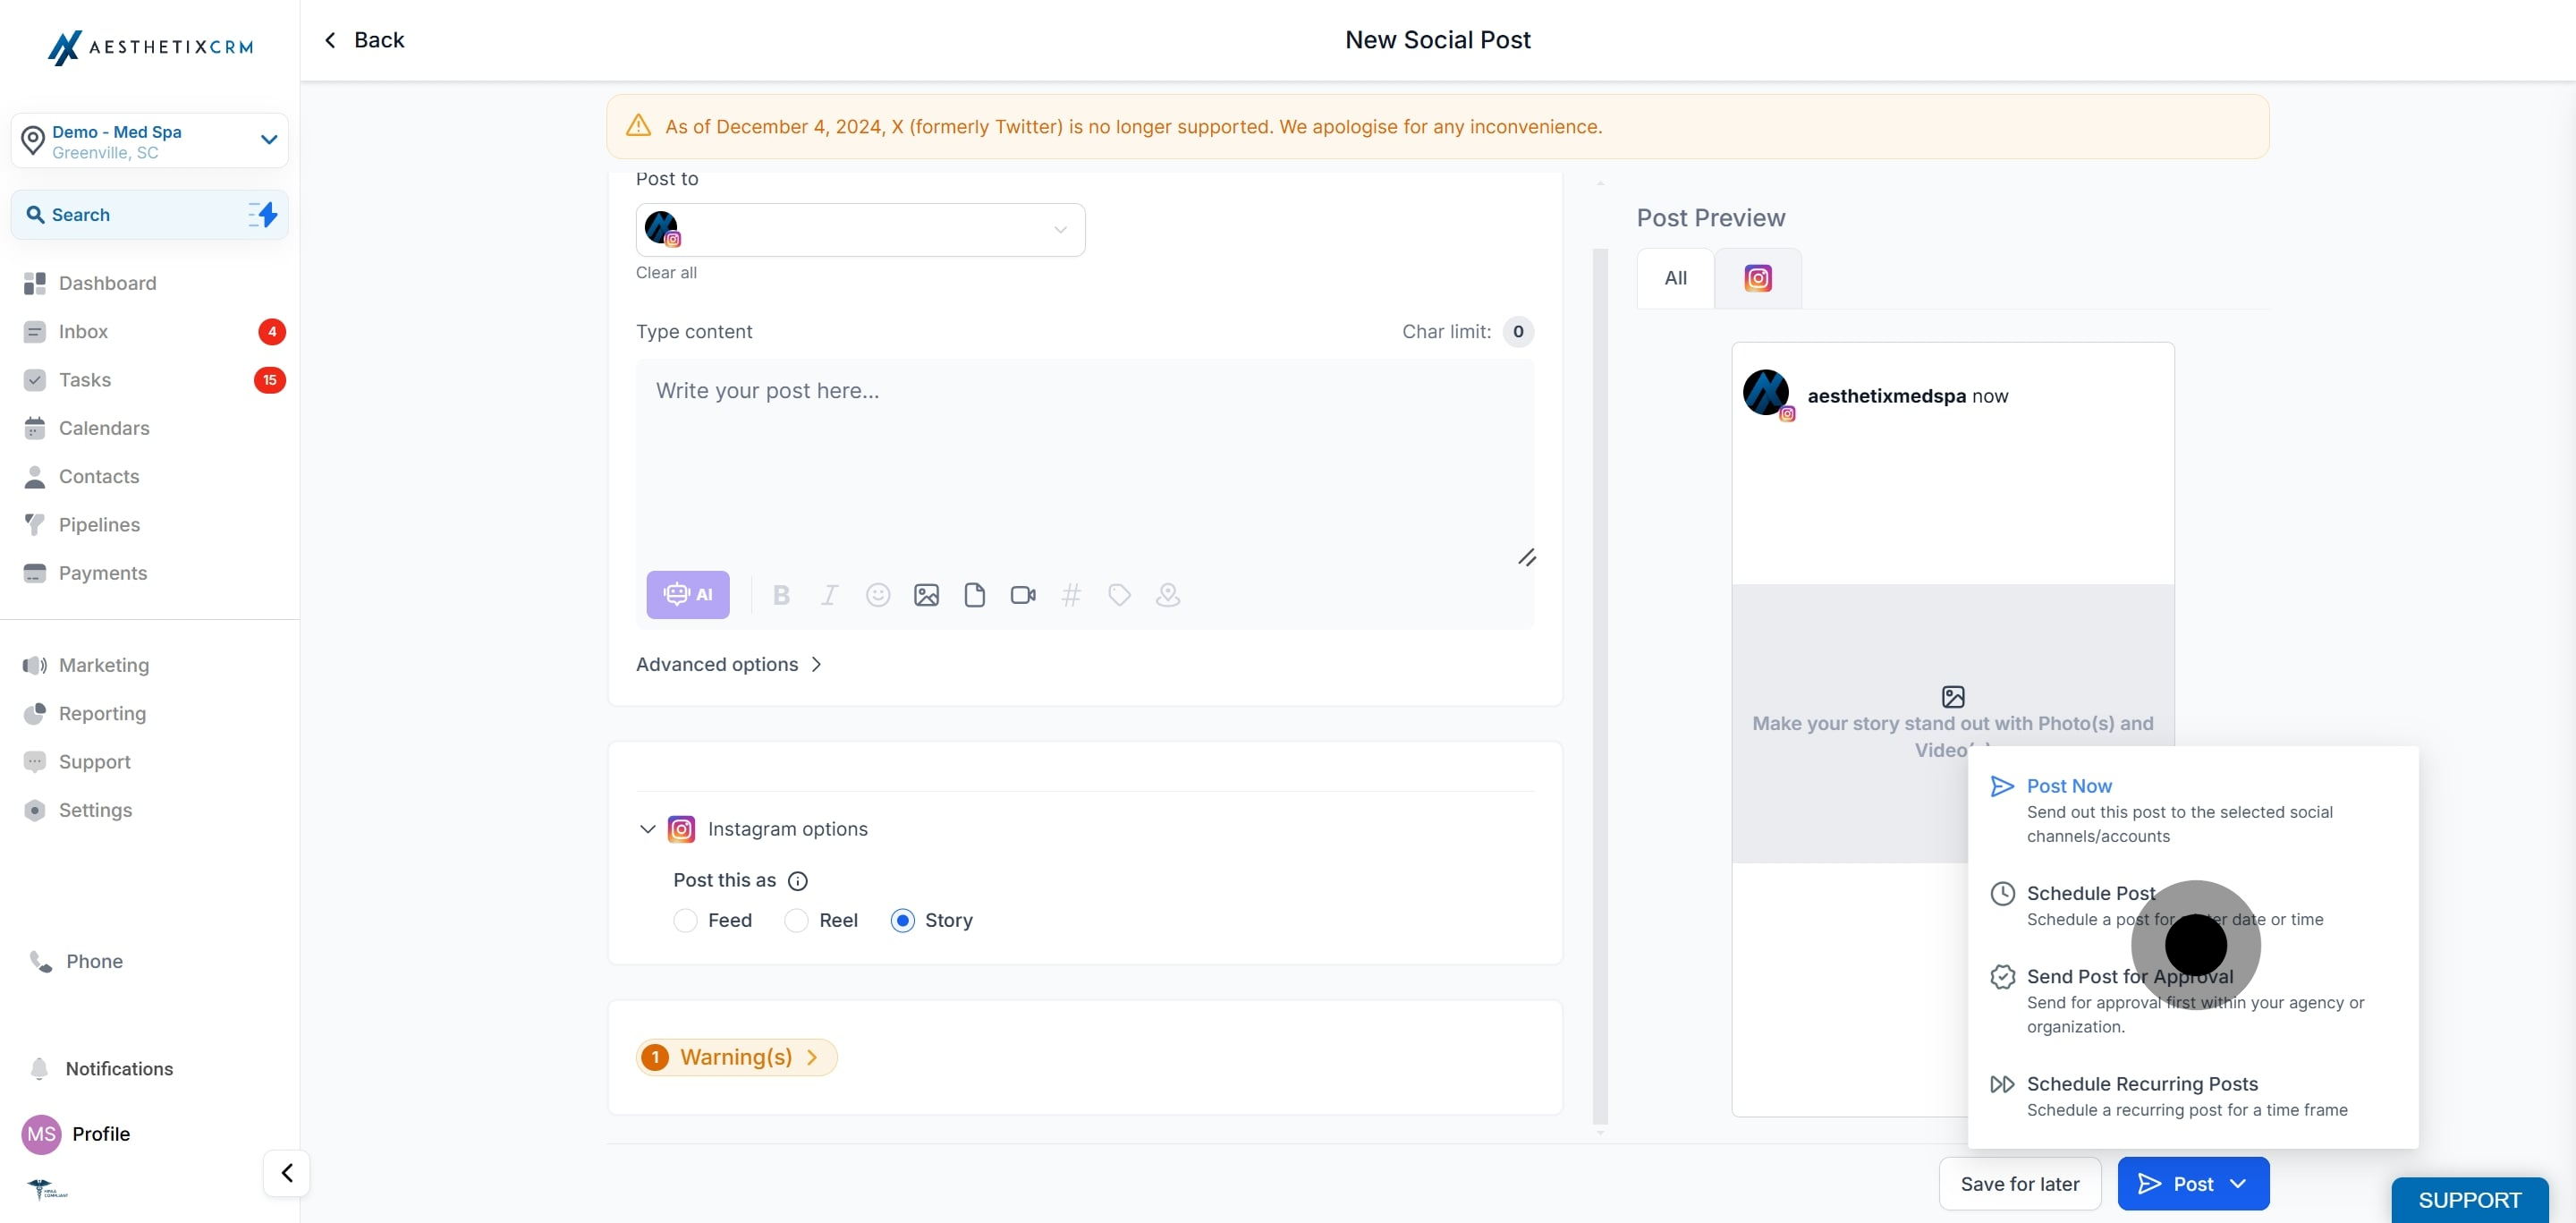
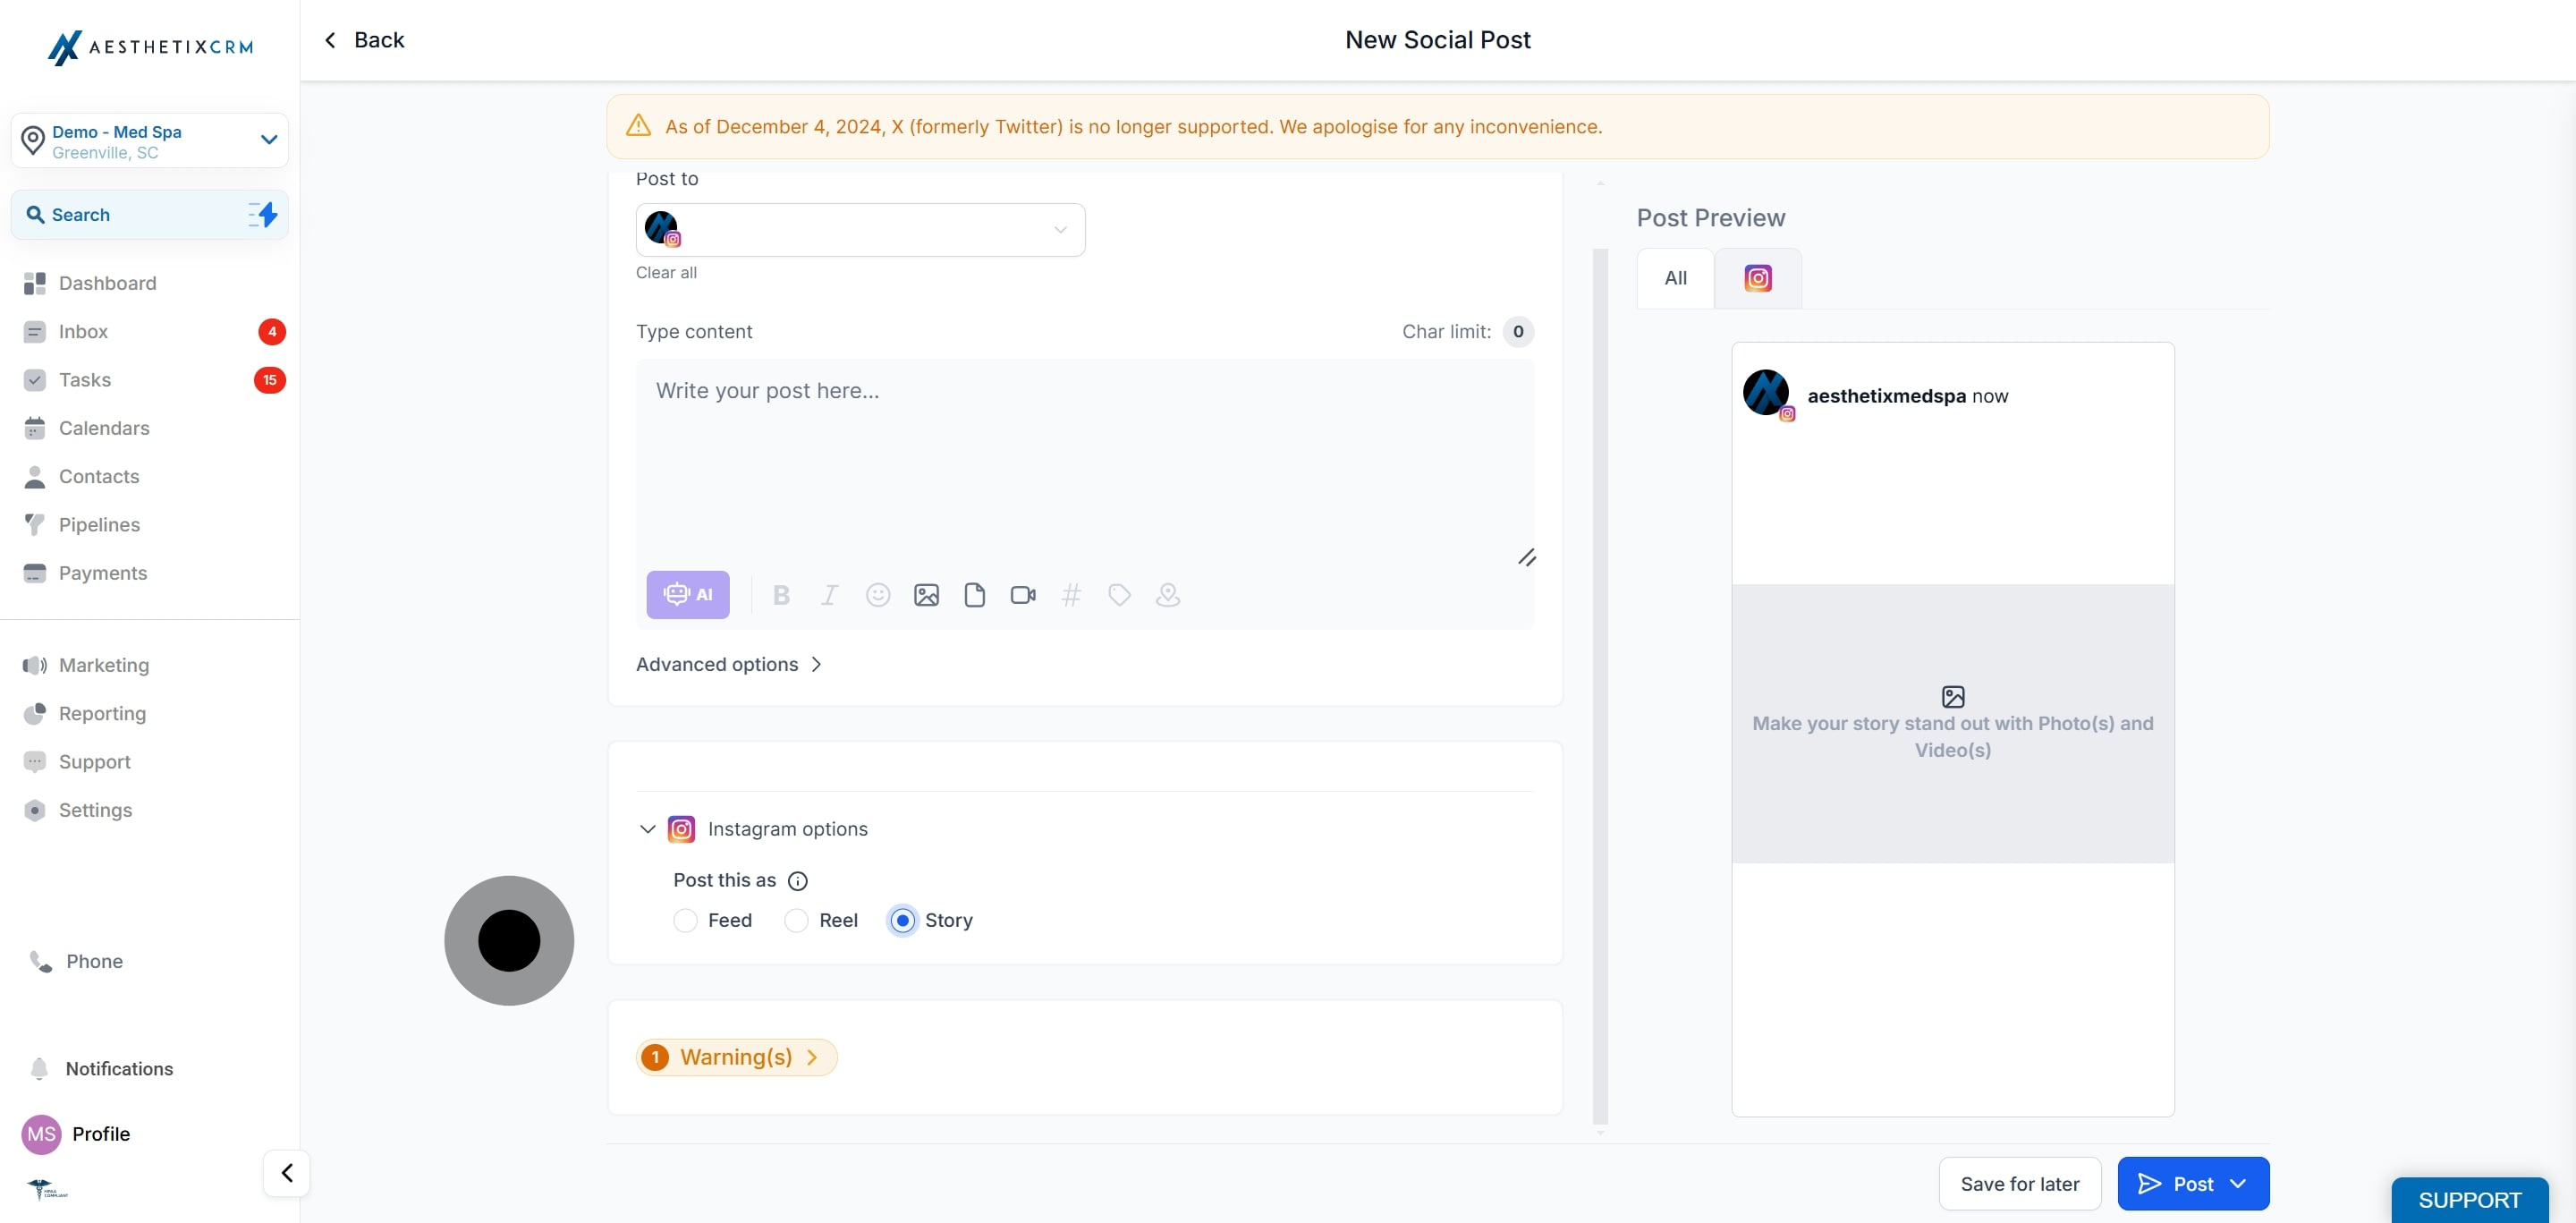
This feature caters specifically to Instagram Professional accounts, providing the ability to create and schedule content directly through Social Planner. Whether you're looking to post immediately or pre-plan your story posts, this tool offers the flexibility you need.
The Post Composer supports media uploads, allowing you to incorporate up to 10 images or videos per story. This means you can add depth to your narratives and engage your audience with diverse and dynamic content. Be mindful of the technical specifications: the maximum file size for images is 8 MB, and videos must be under 60 seconds.
Moreover, the Instagram Story Post Composer provides a useful 'draft' function. If you're creating a story but need to pause your work, you can easily save it as a draft and return to it later. This is especially useful for businesses managing their content pipeline and seeking to maintain a consistent posting schedule.
Here are a few practical usage cases for the Instagram Story Post Composer in Social Planner:
Product Launch: Suppose you're a clothing brand releasing a new line. You can create a series of Instagram stories unveiling the designs, schedule them in the Post Composer, and ensure they are published in sync with your launch date.
Event Promotion: If you're hosting an event, you can design and schedule a series of stories counting down to the event, providing information about it, and creating excitement among your followers. This keeps your audience engaged and informed leading up to the event.
Content Consistency: Regular posting is key to audience engagement. If you have a busy week coming up and won't have time to create content daily, you can use the Post Composer to plan and schedule your stories in advance, maintaining your usual posting frequency.
Time Zone Management: If your audience is spread across different time zones, you can schedule your stories to be posted when your followers are most likely to be active, even in the middle of your night.
Flash Sales: If you're running a time-sensitive promotion or flash sale, you can schedule stories announcing the start and end of the sale, ensuring your followers are aware of the limited time frame.
Saving Drafts: If you have an idea for a story but it's not fully formed, or it's not the right time to post it, you can save it as a draft in the Post Composer. This way, you won't forget your idea and can return to finish it when ready.