How to Add Watermarks to Every Image You Post on Social Media
Safeguard your creative work with our practical guide on adding watermarks to images before sharing them on social media! This article walks you through the importance of watermarking for brand protection and recognition, as well as the steps to effectively create and apply watermarks to your photos. Learn about various tools and software options available for watermarking, along with tips on placement and design to ensure your watermark enhances rather than detracts from your images. Perfect for photographers, marketers, and businesses, this guide will help you maintain control over your visual content while promoting your brand identity across platforms!
1. To begin, go to "Marketing"
2. Next, click on "Social Media Planner".
3. Click on settings of Social Planner.
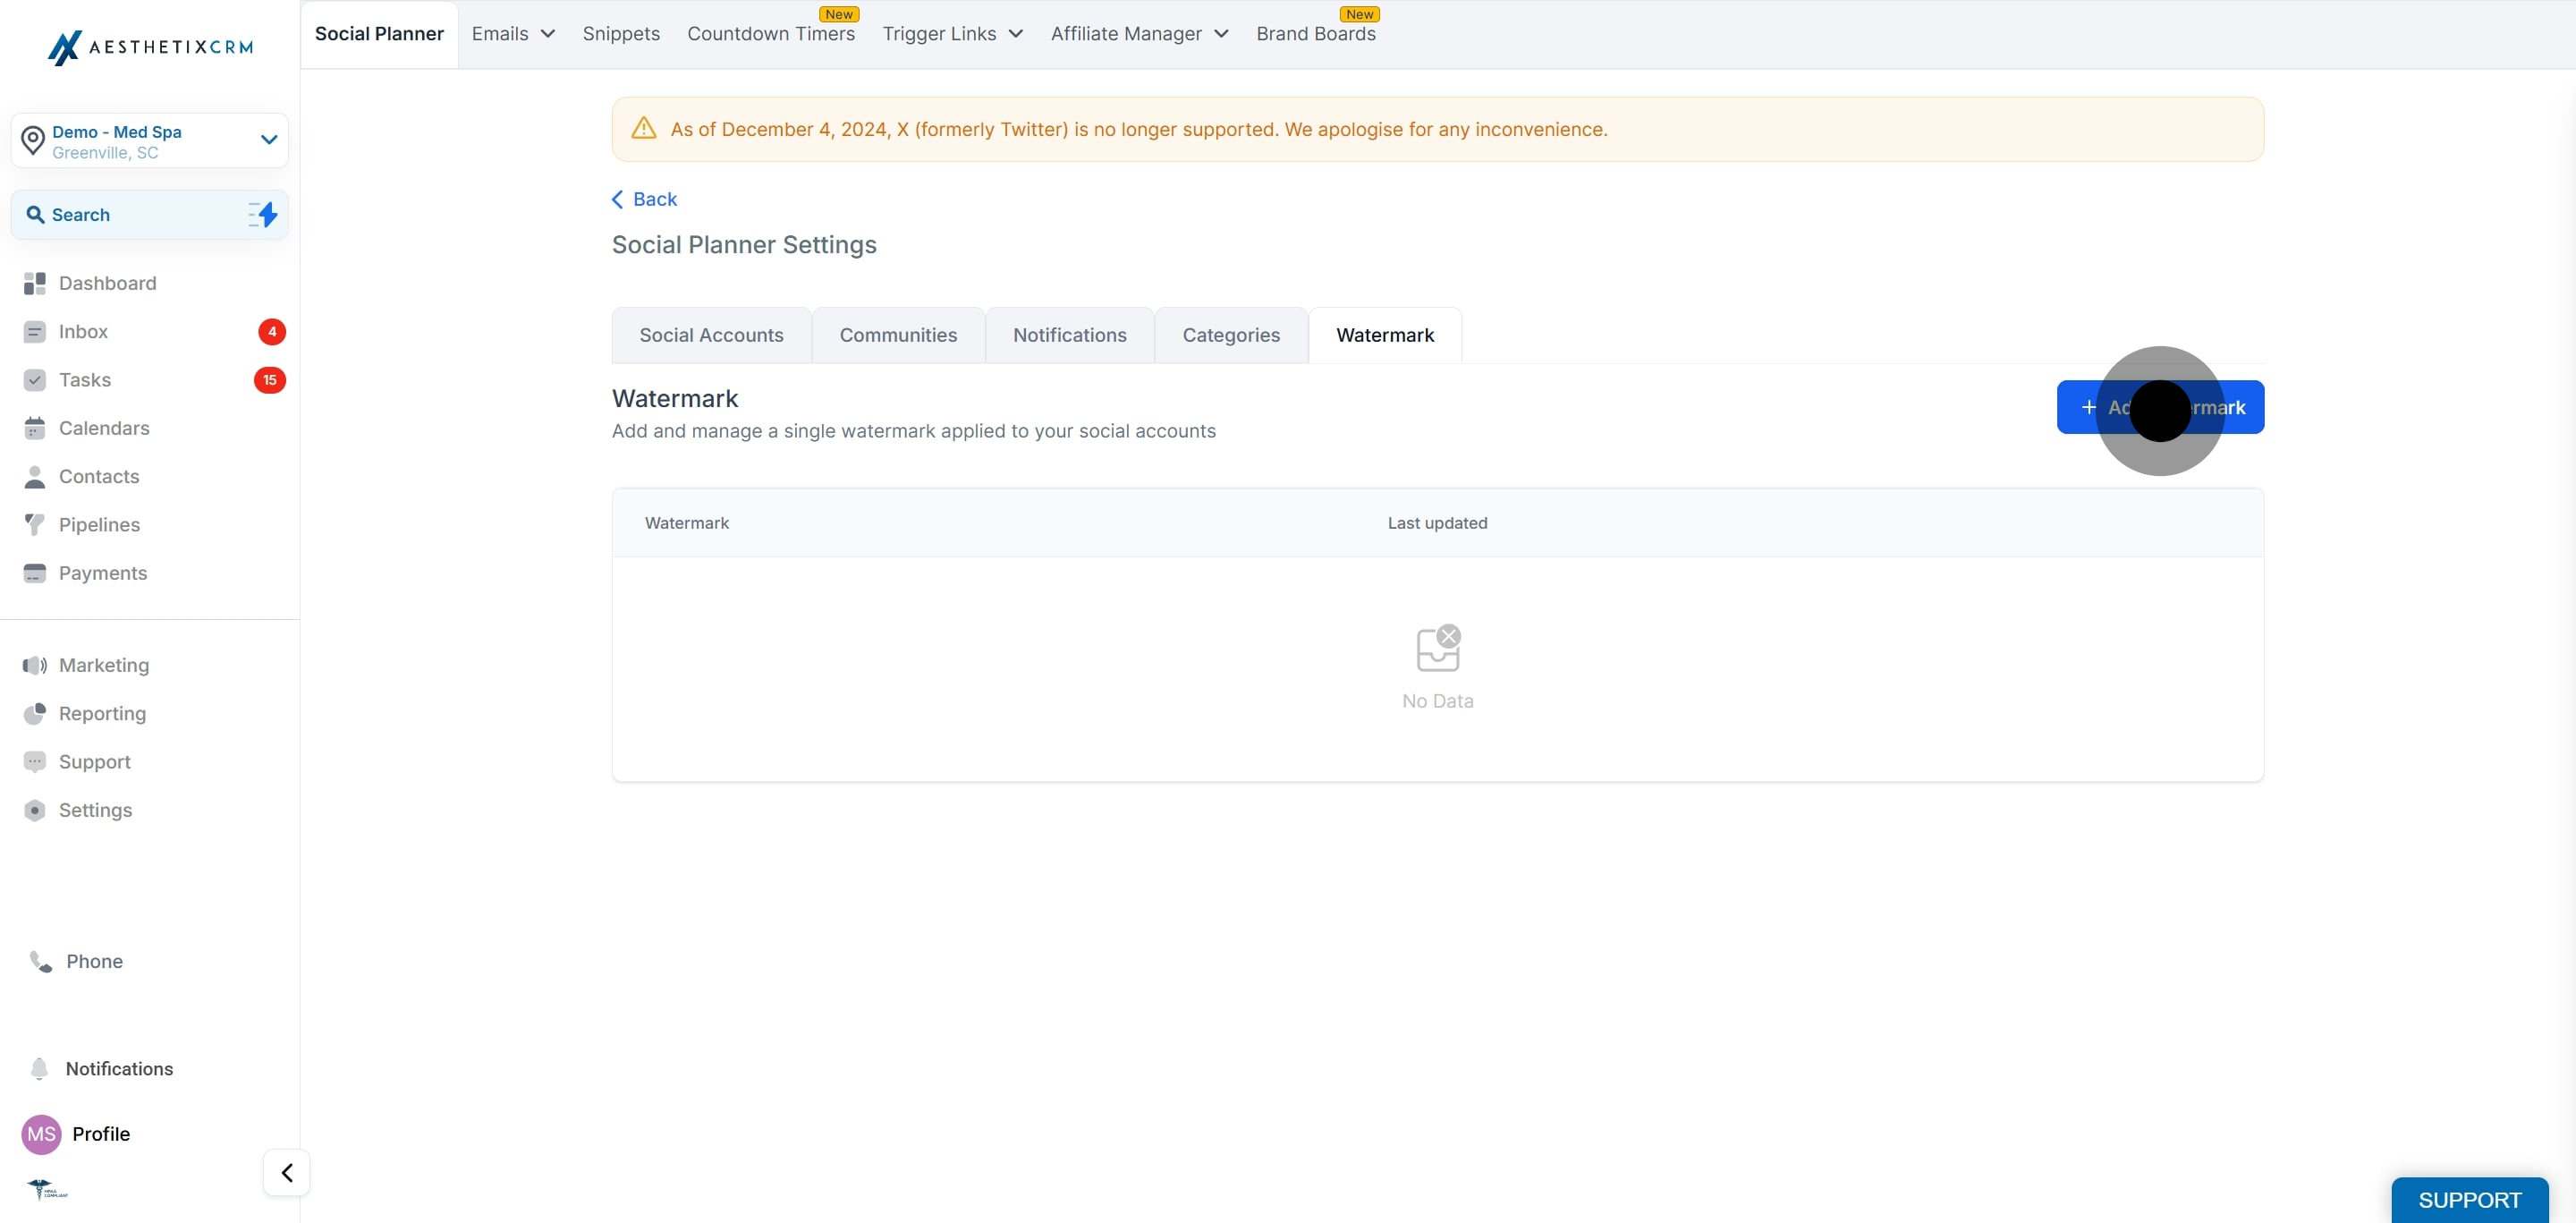
4. In different tabs, go to the tab of Watermark.
5. Click on "Add watermark".
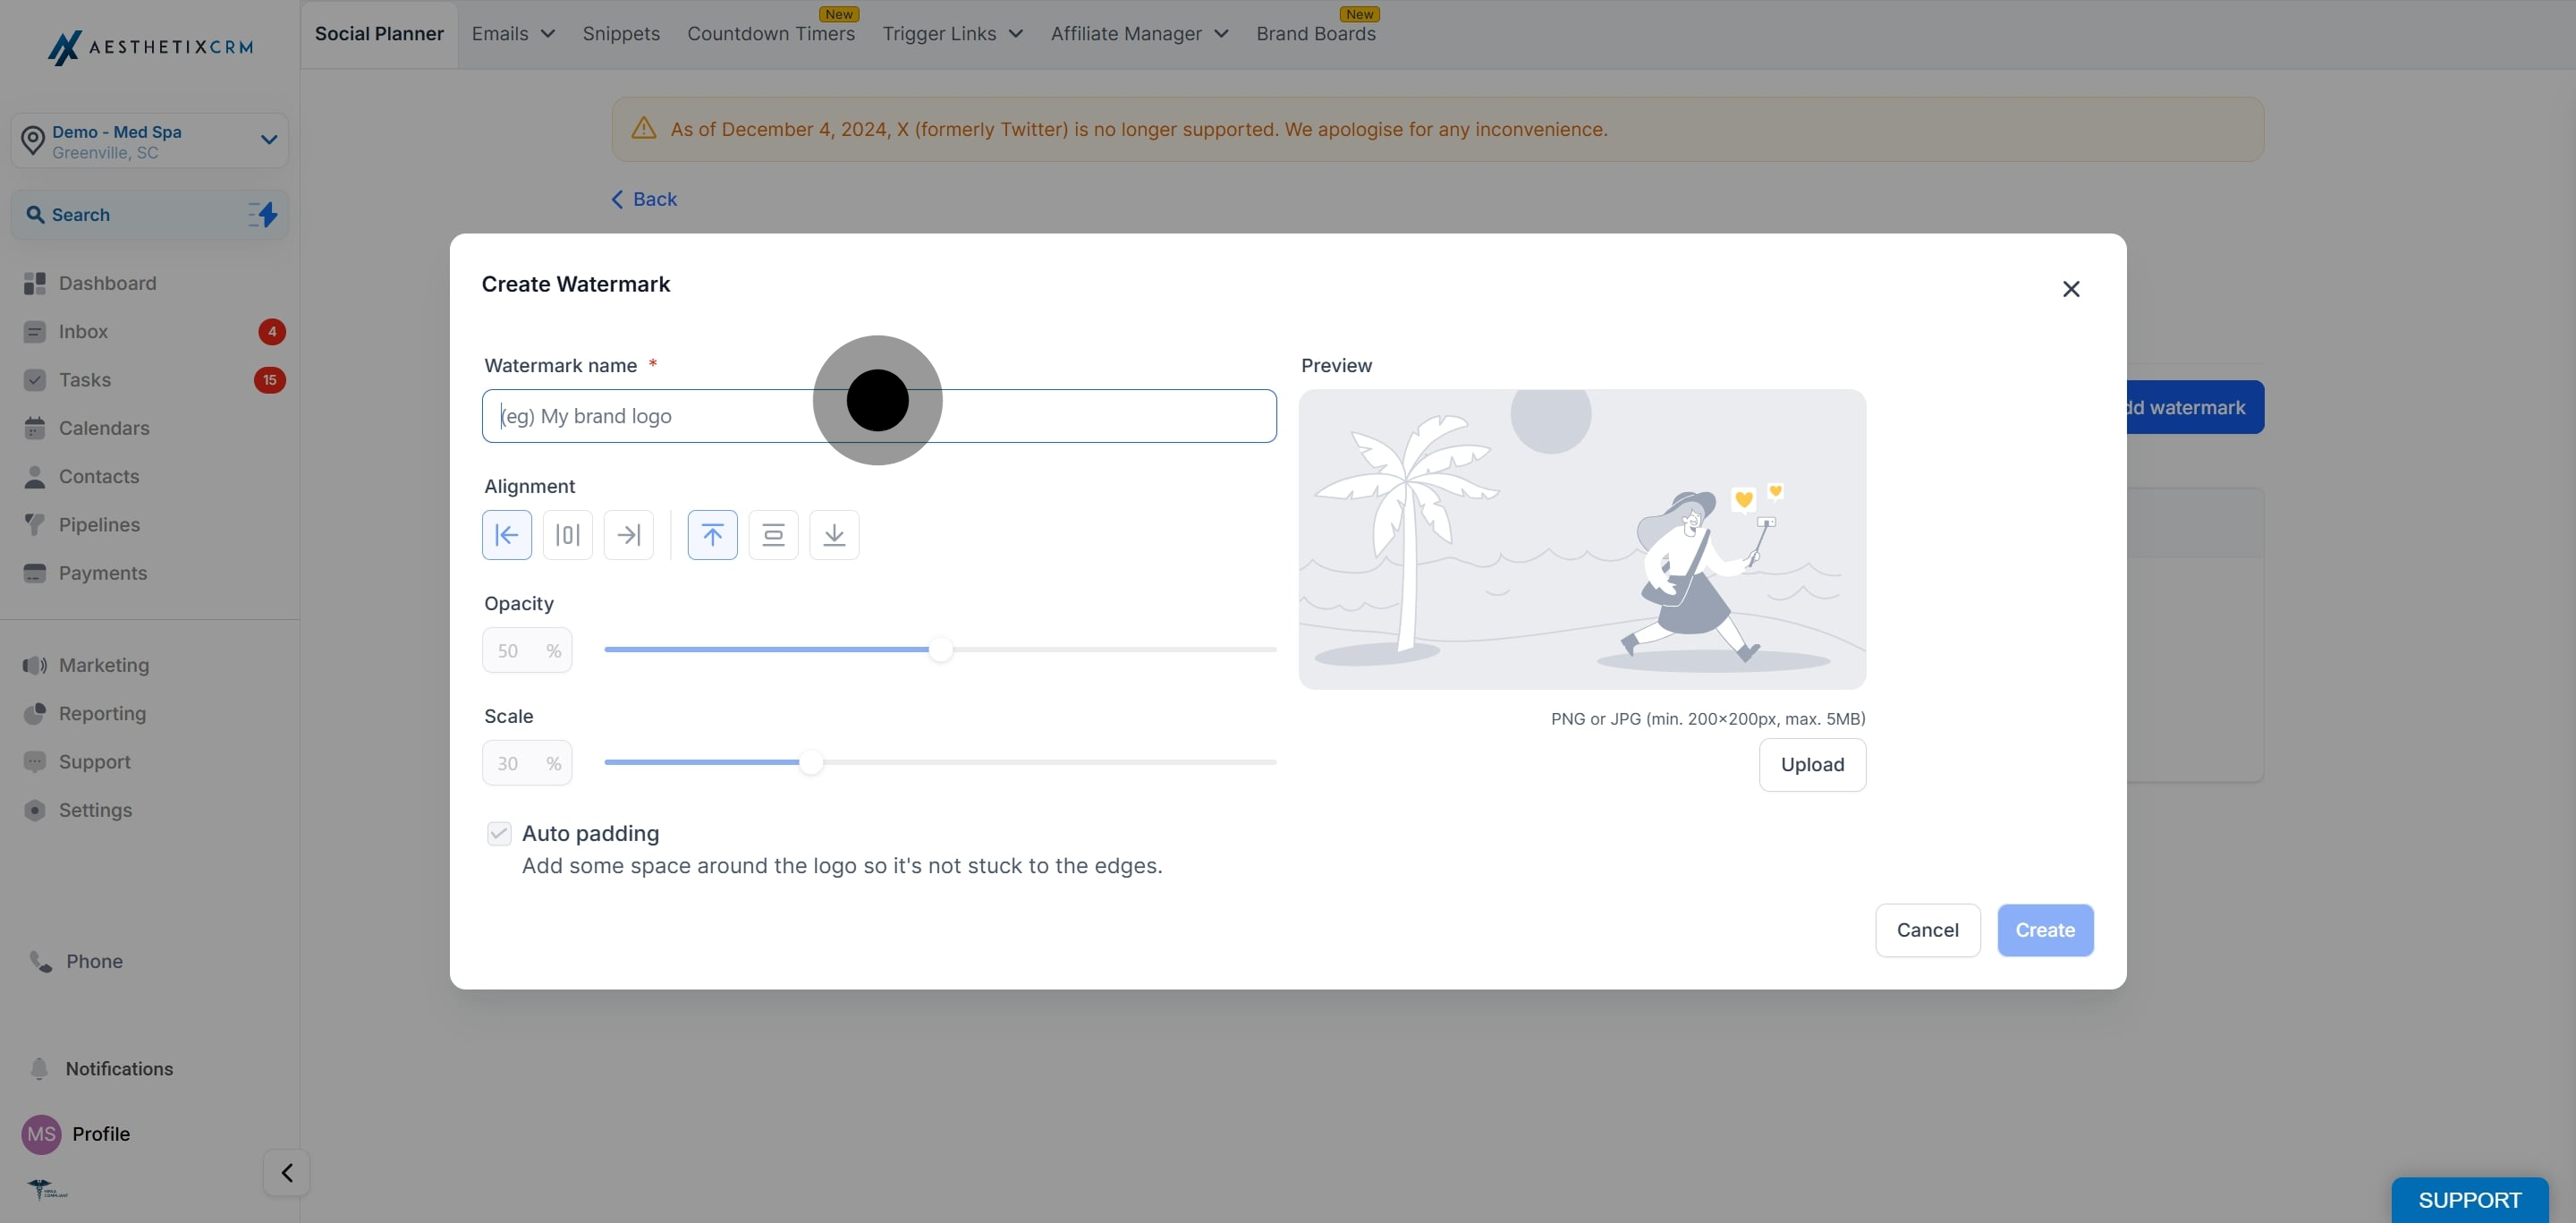
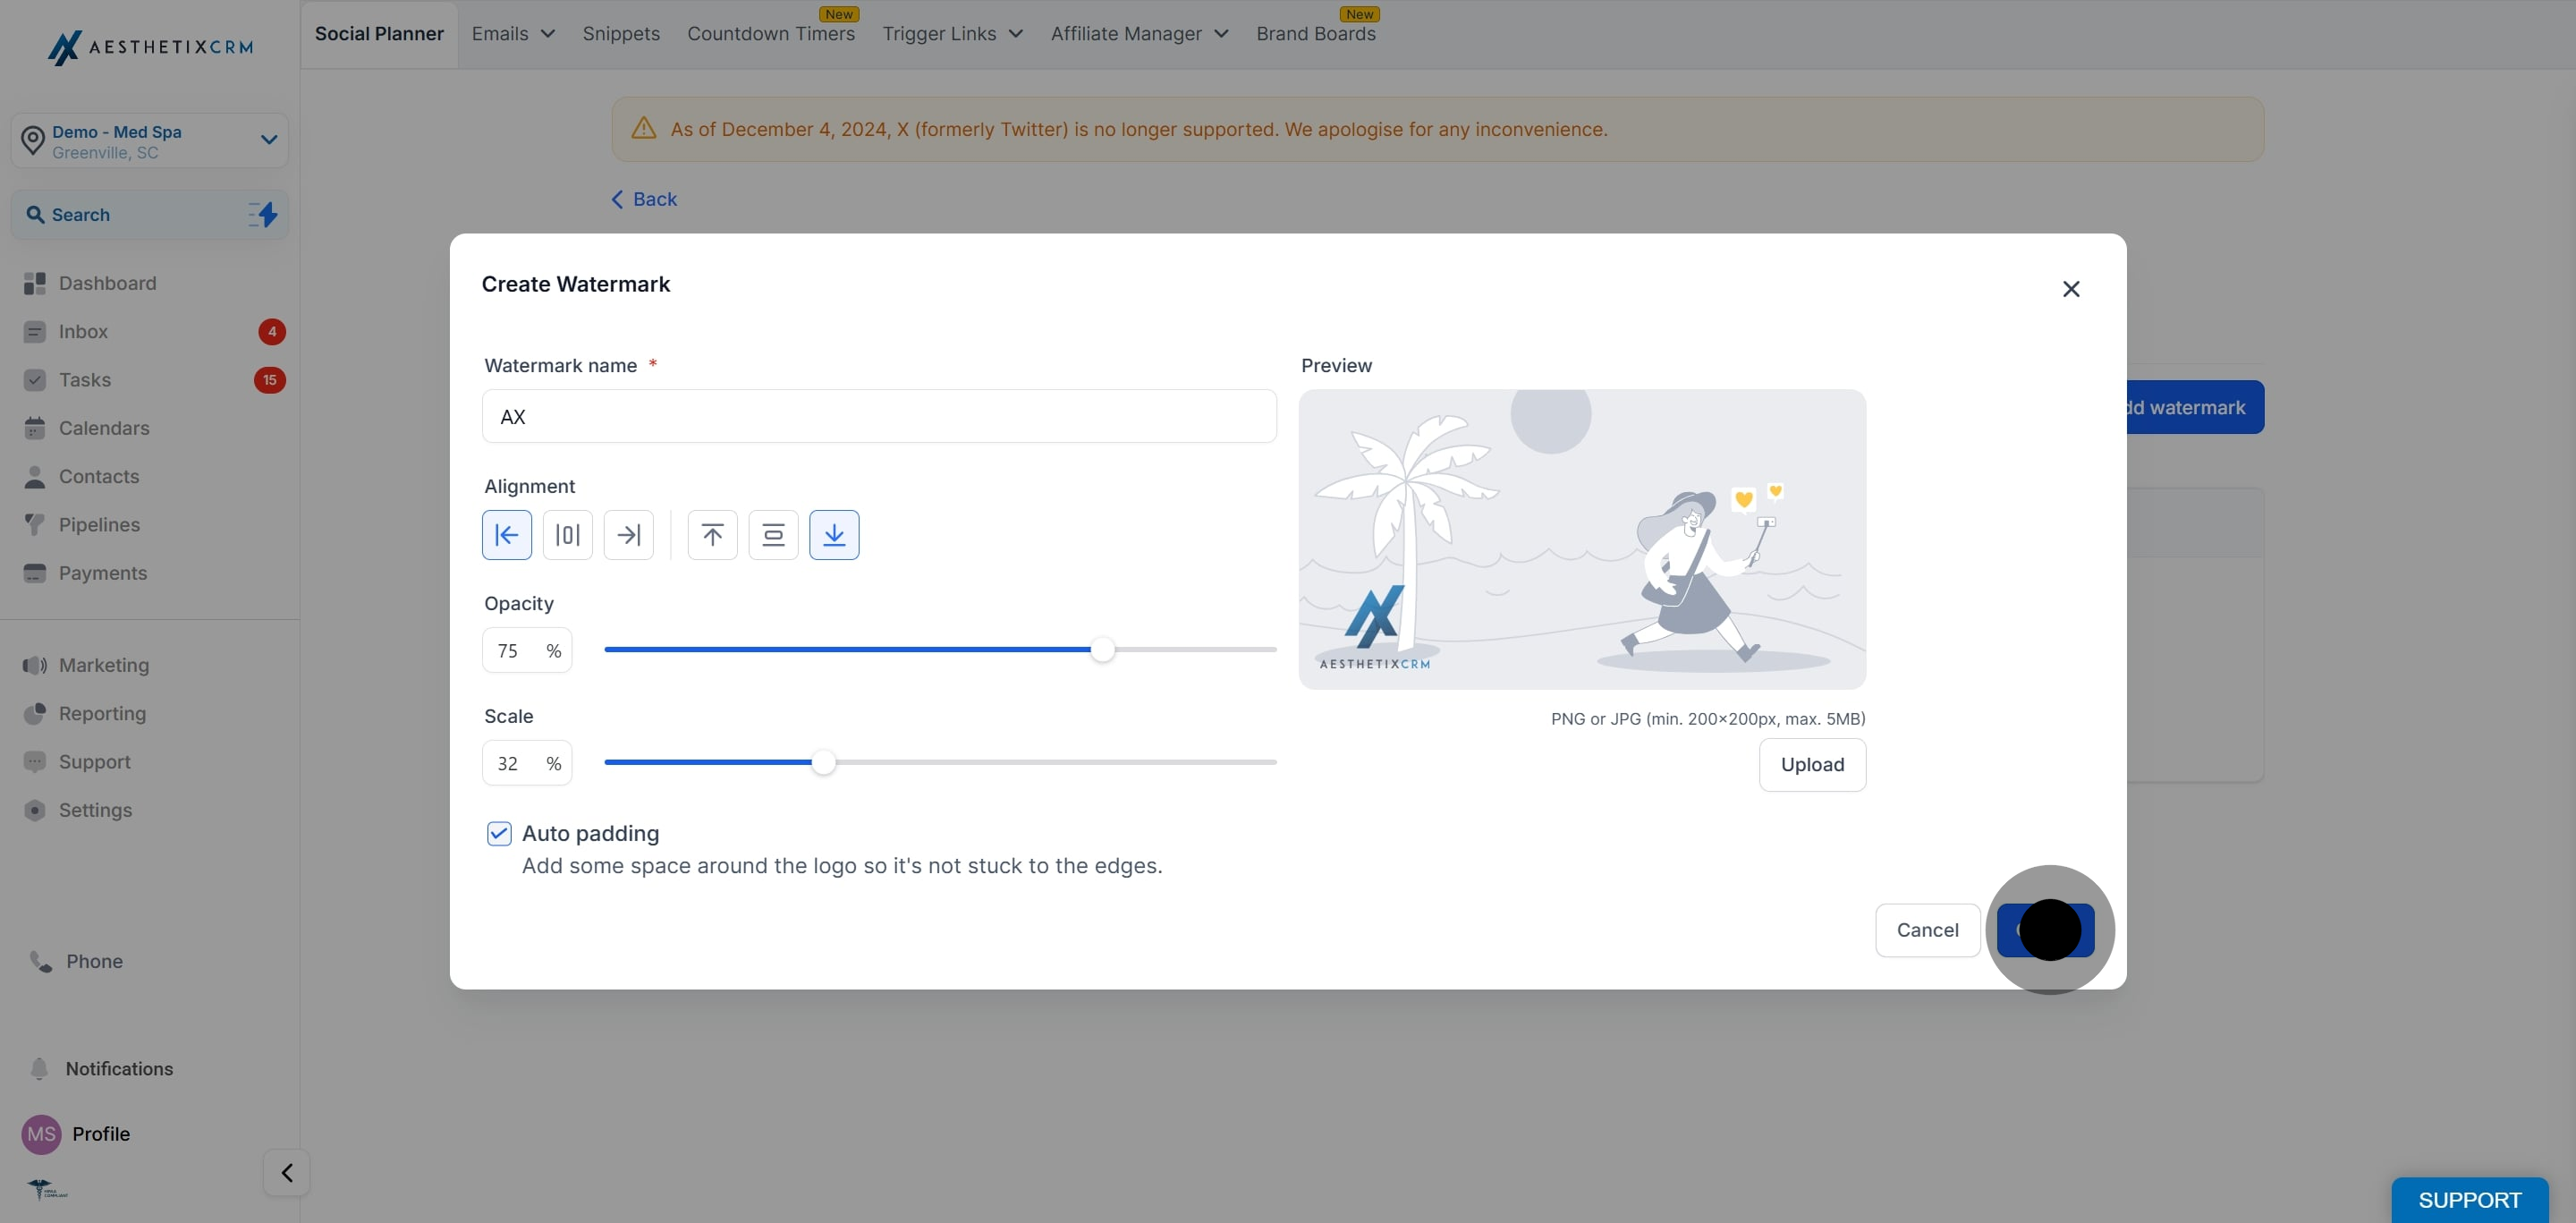
6. Add the name of watermark.
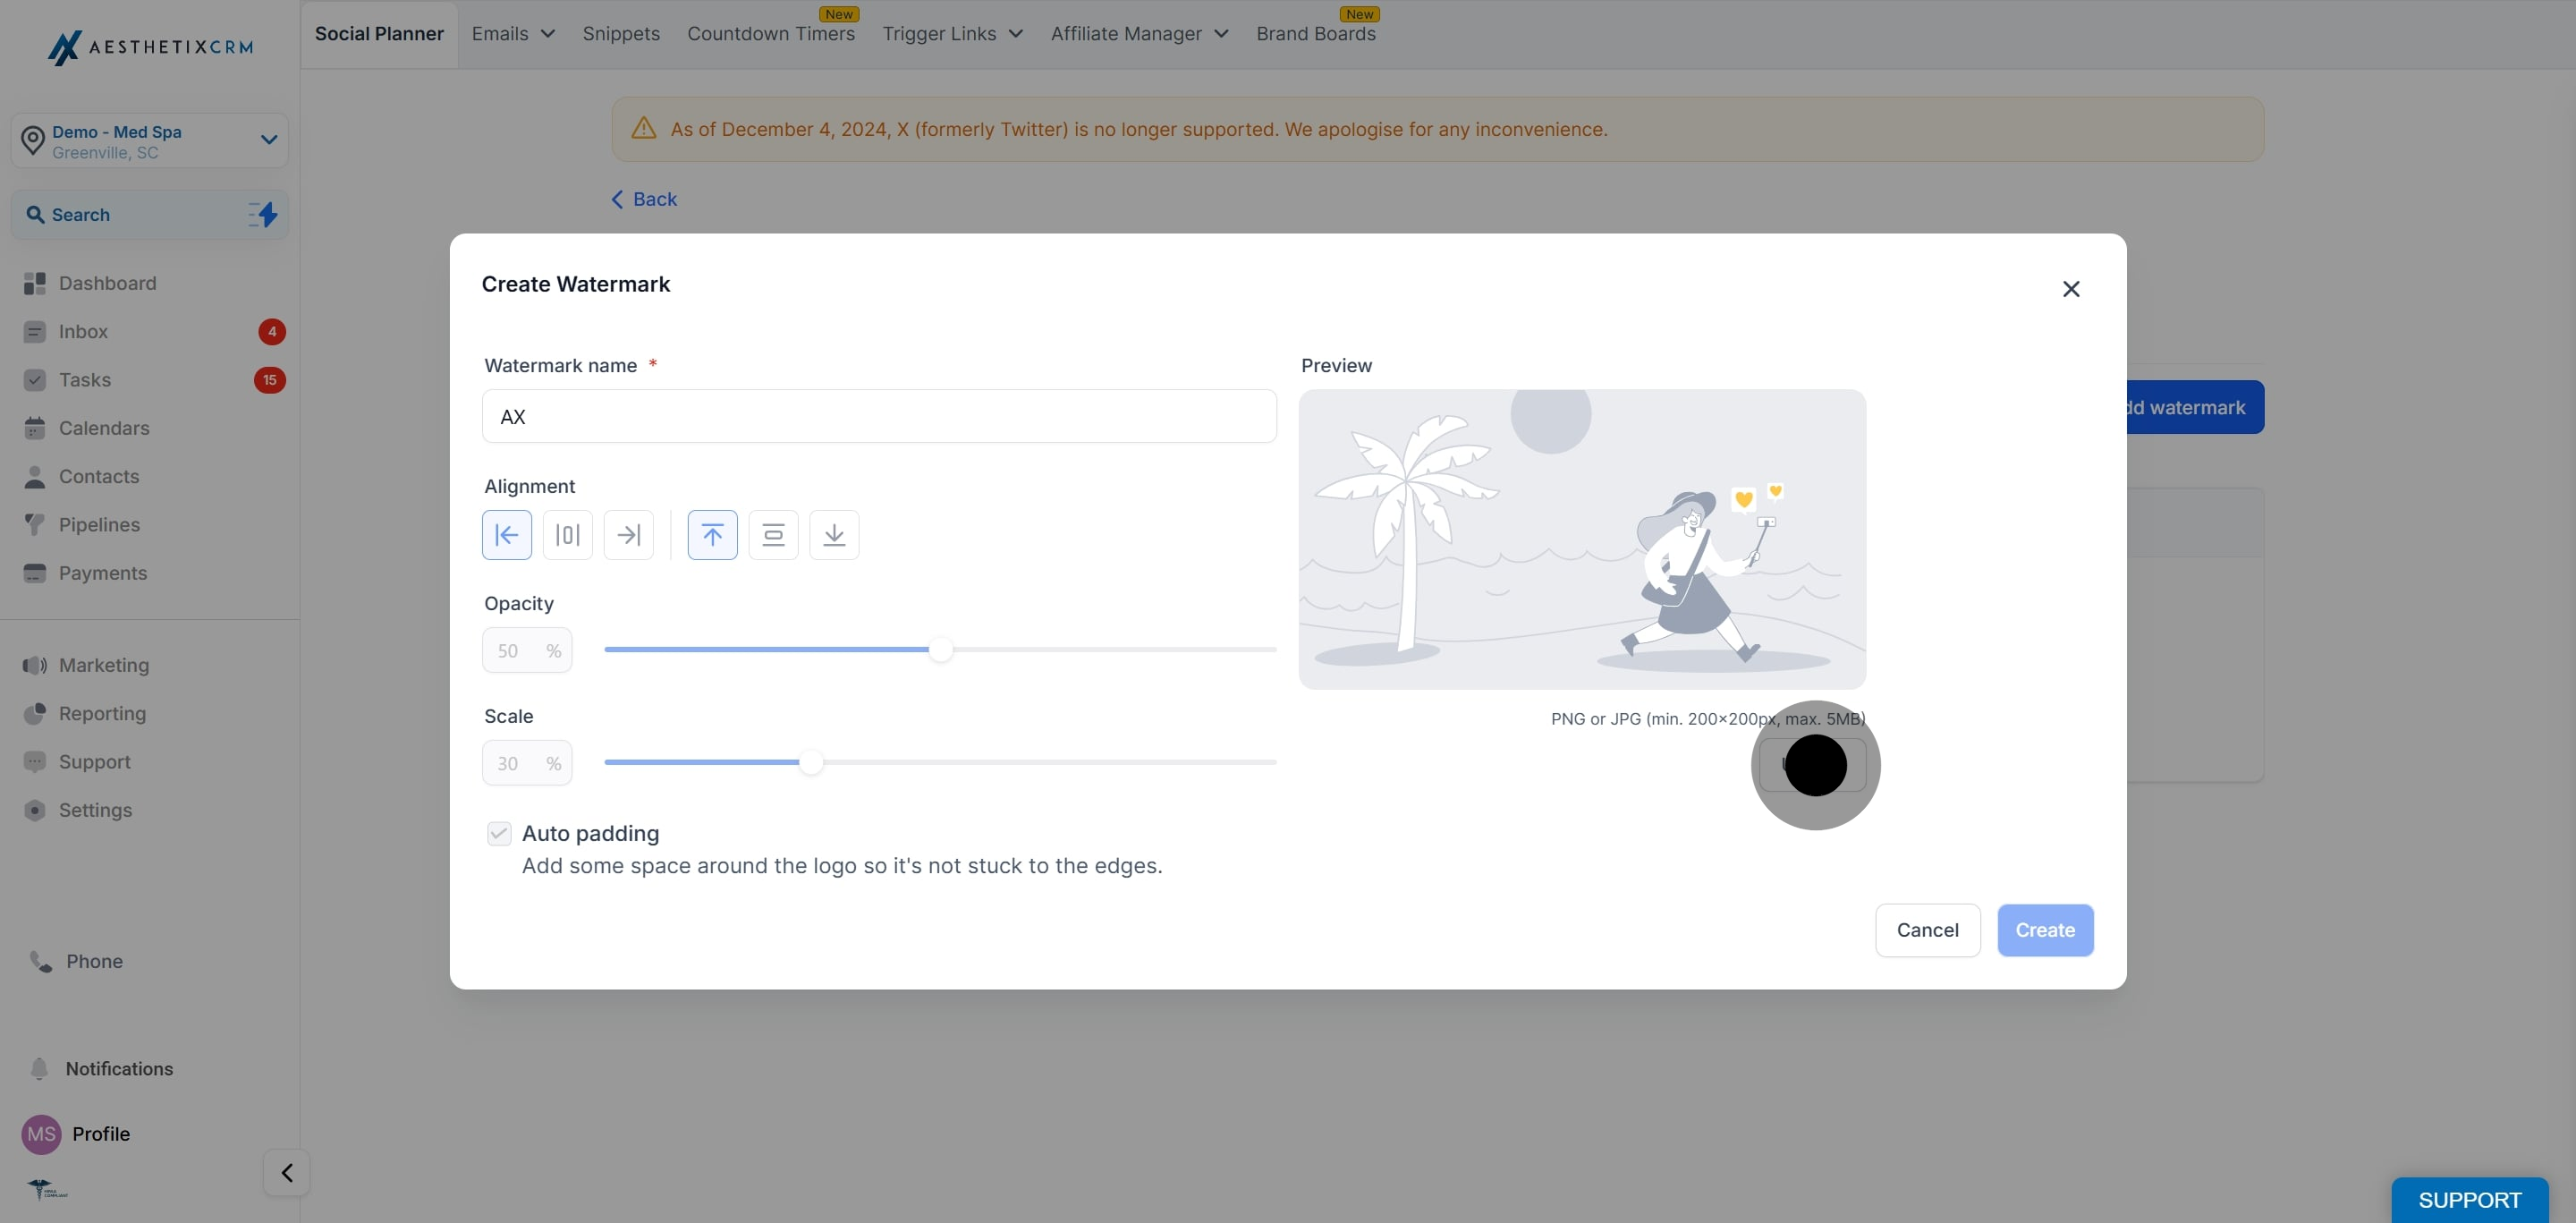
7. Click on "Upload".
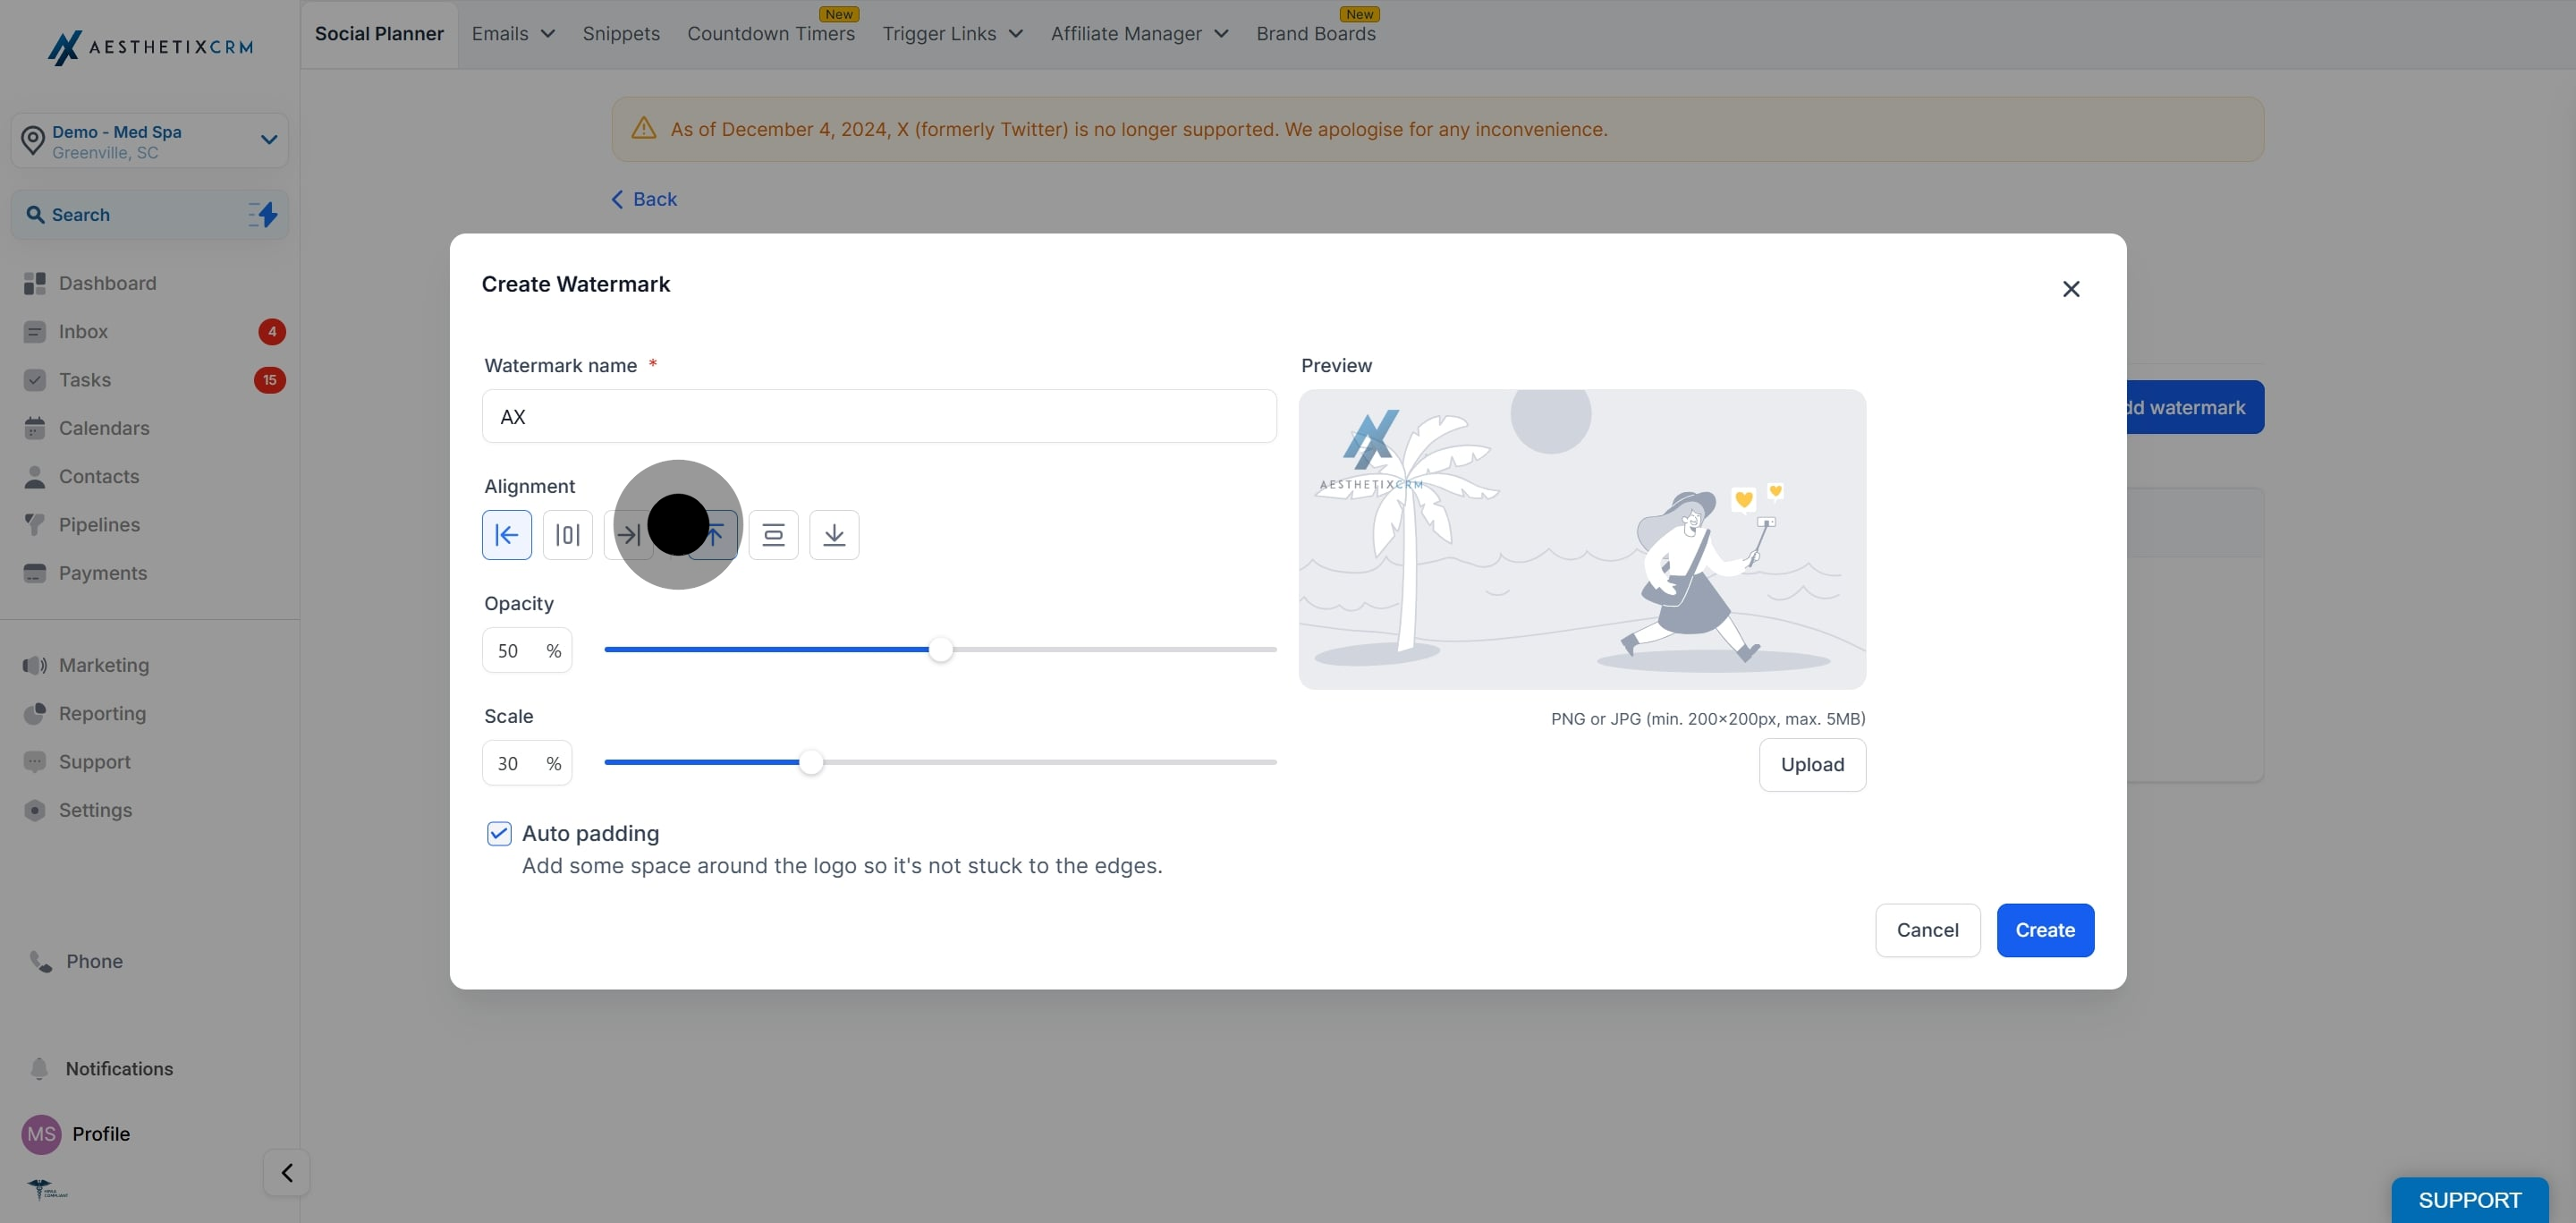
8. Add the alignment of watermark - Top, bottom, right, left, centre.
9. To end off, click on "Create".
Did this answer your question?
😞
😐
😁
How to Add Watermarks to Every Image You Post on Social Media | Aesthetix CRM