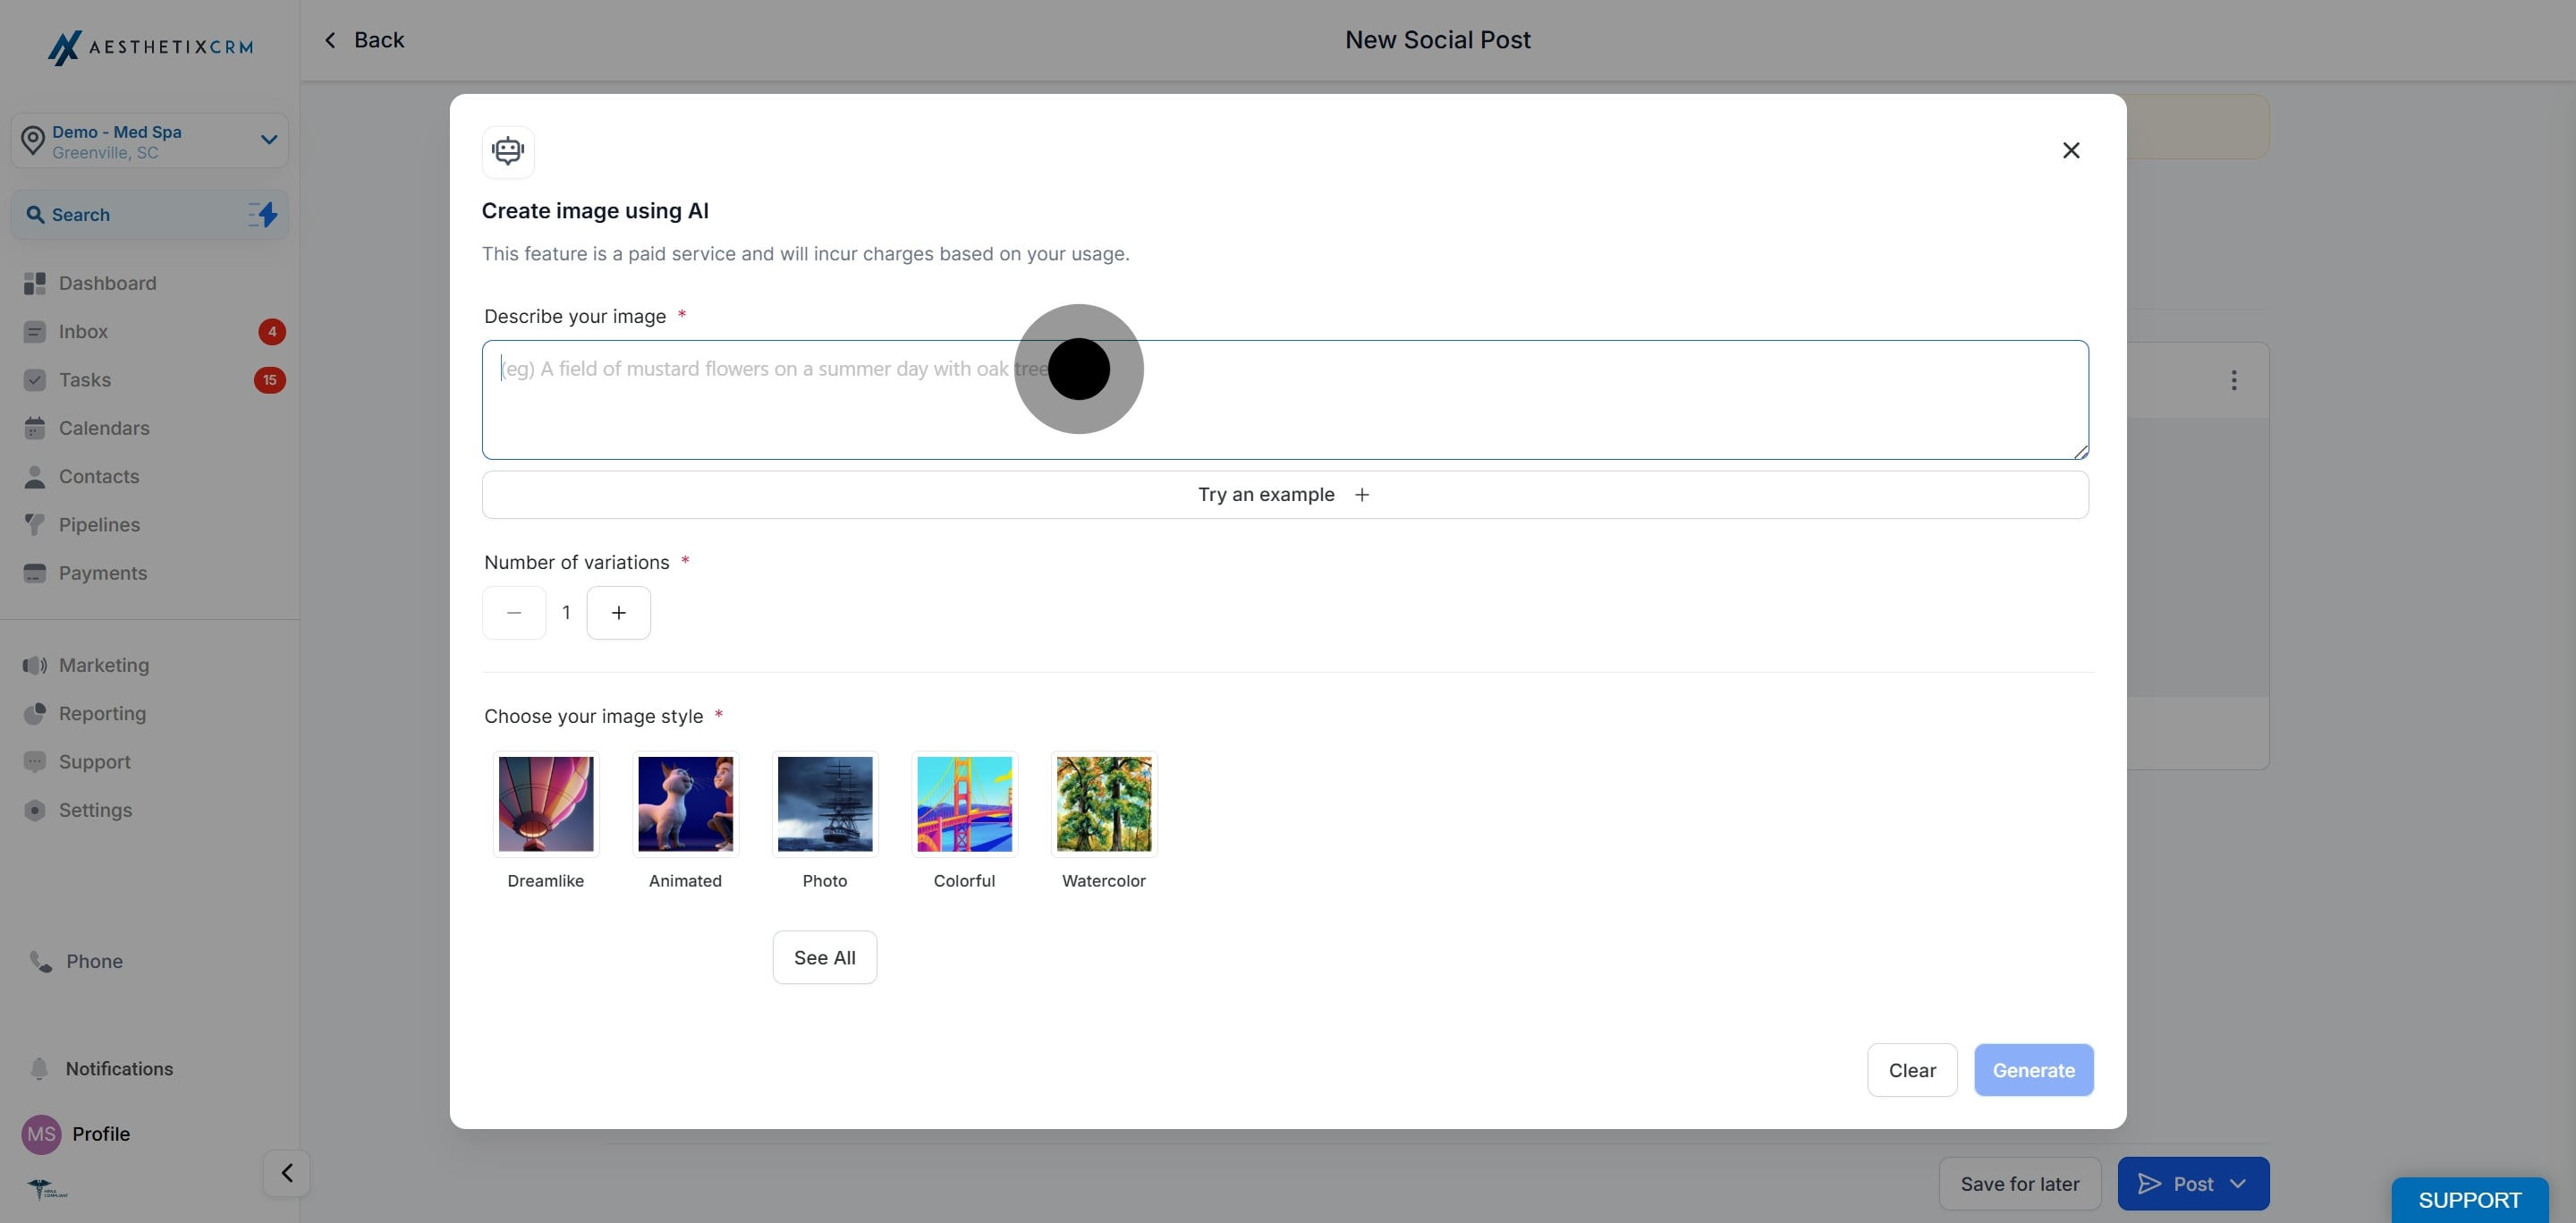
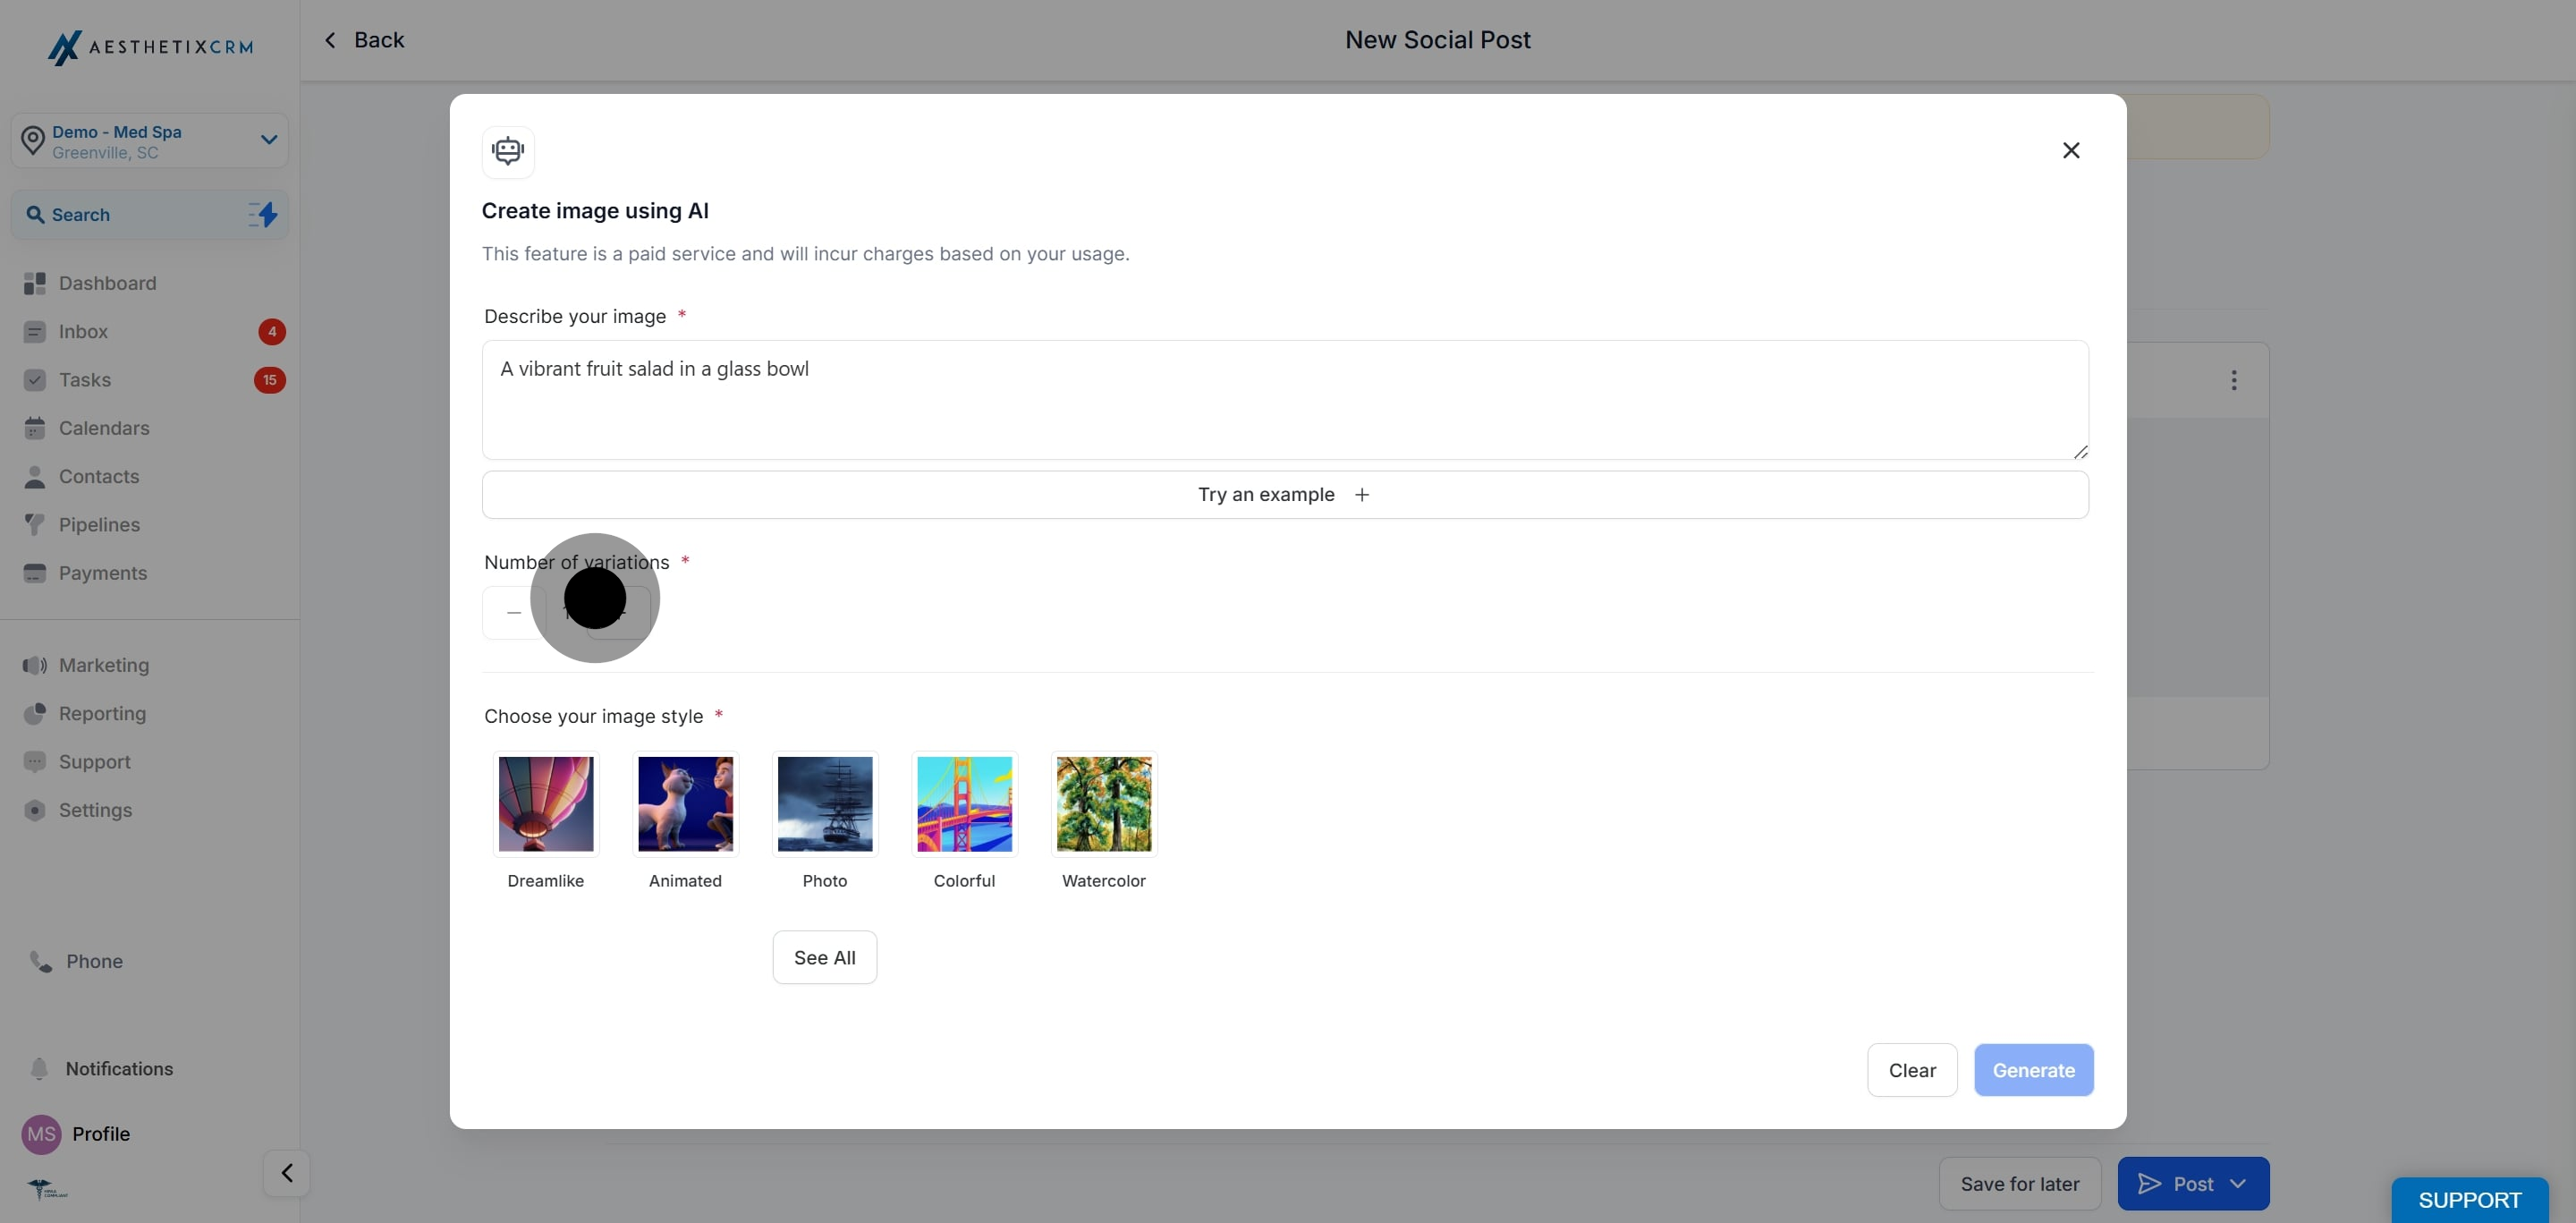
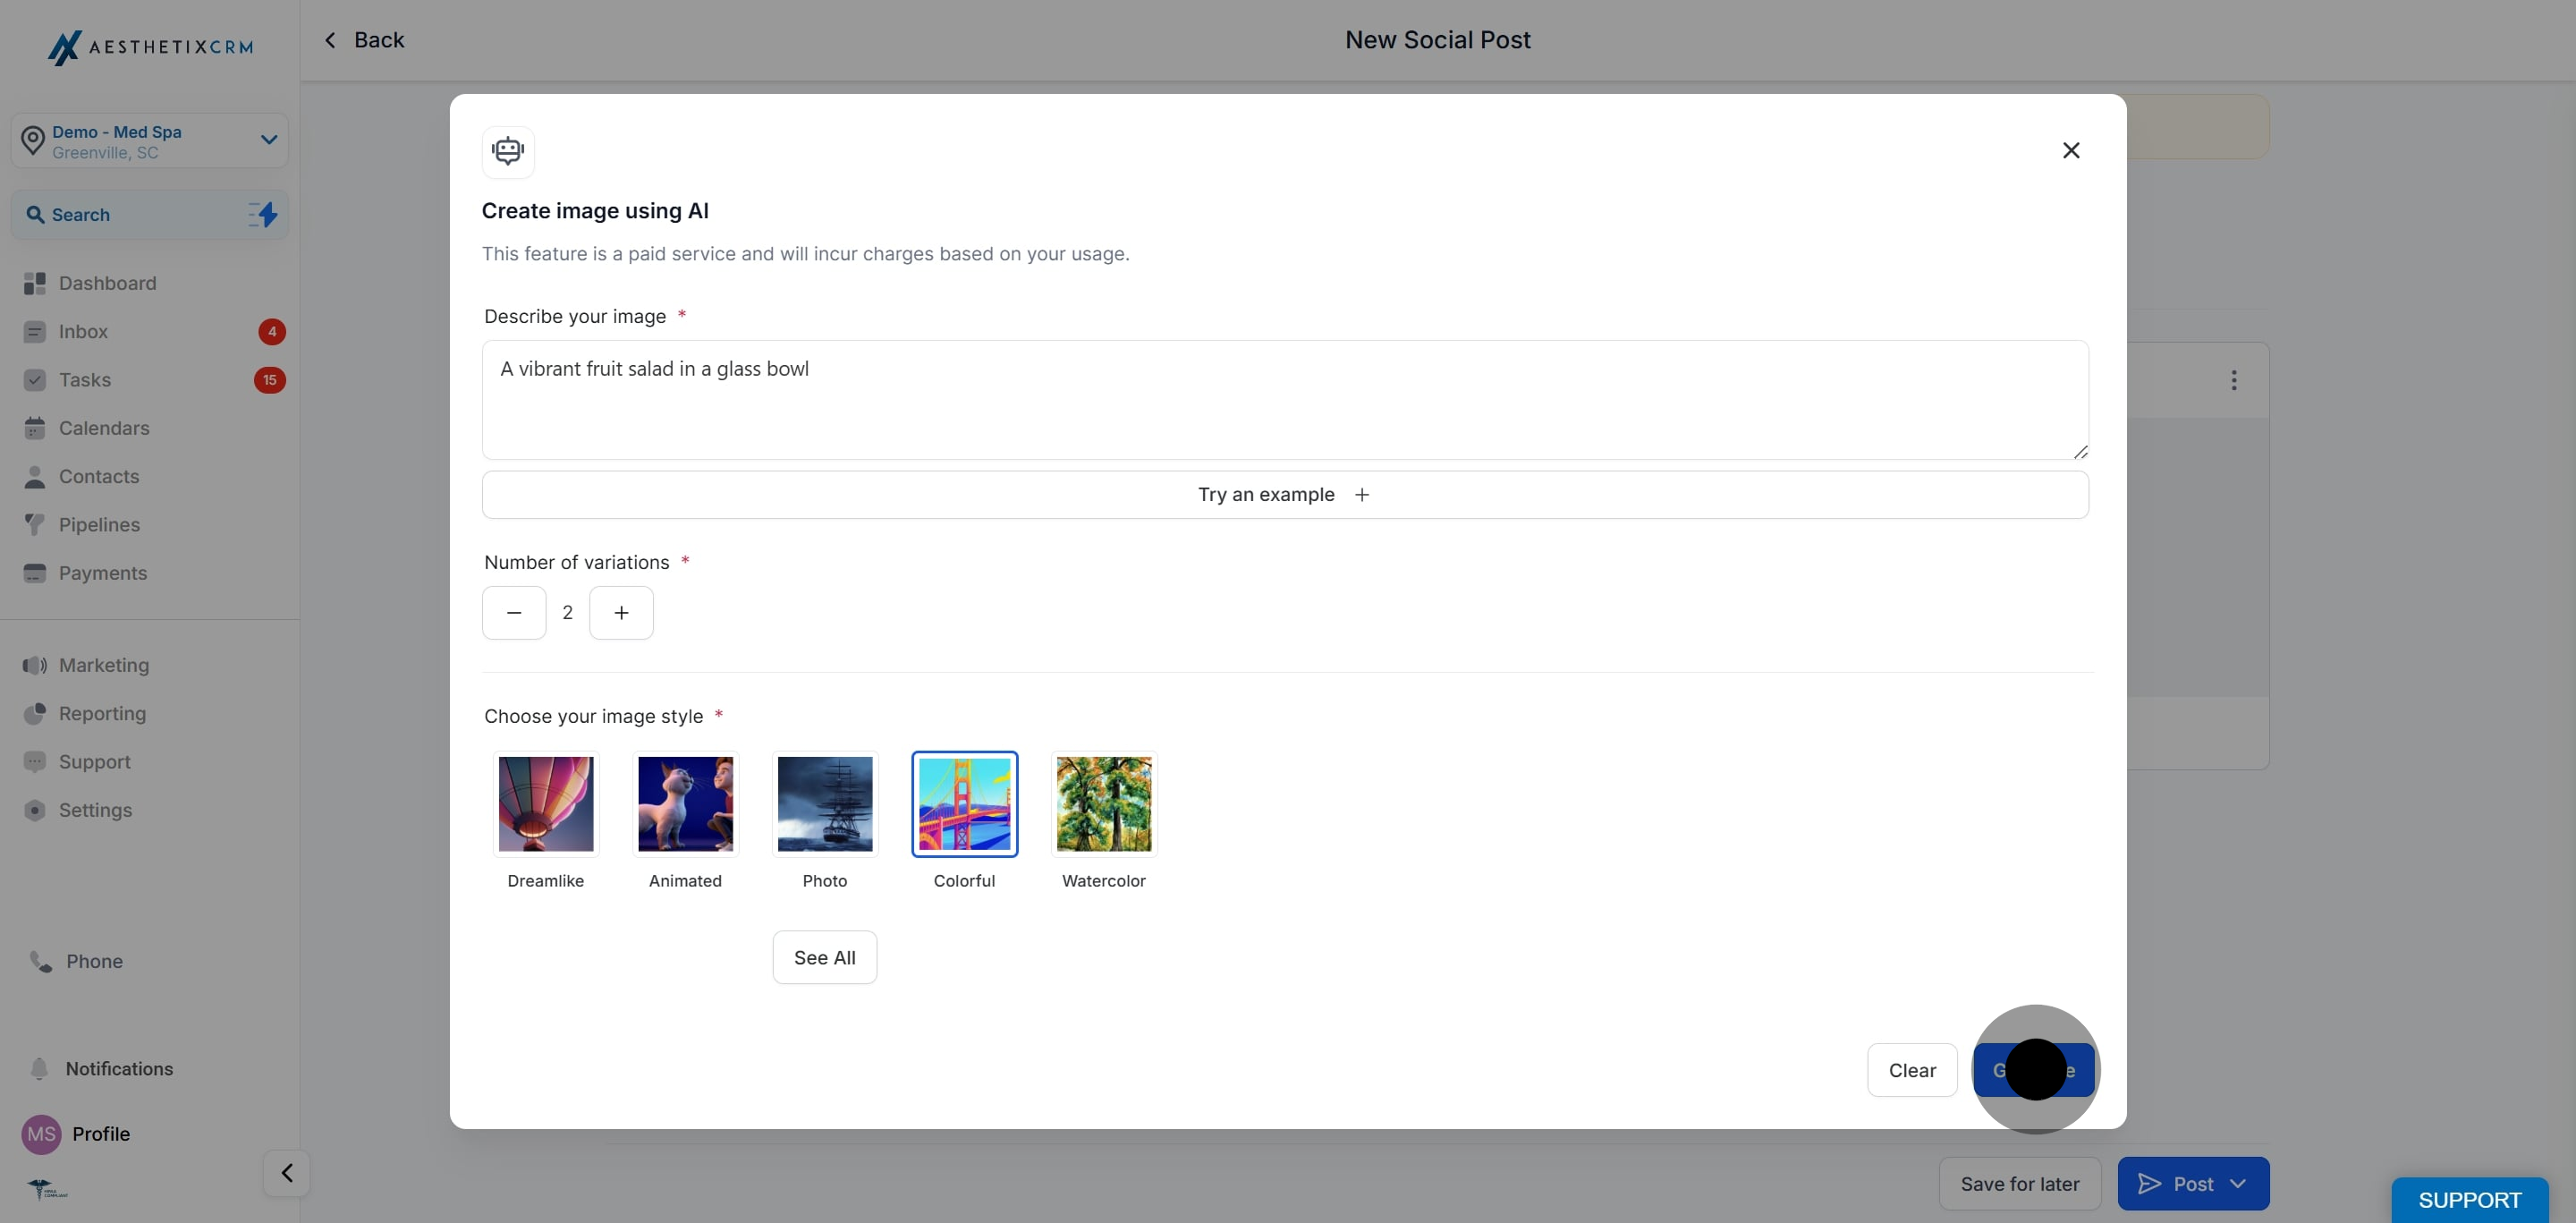
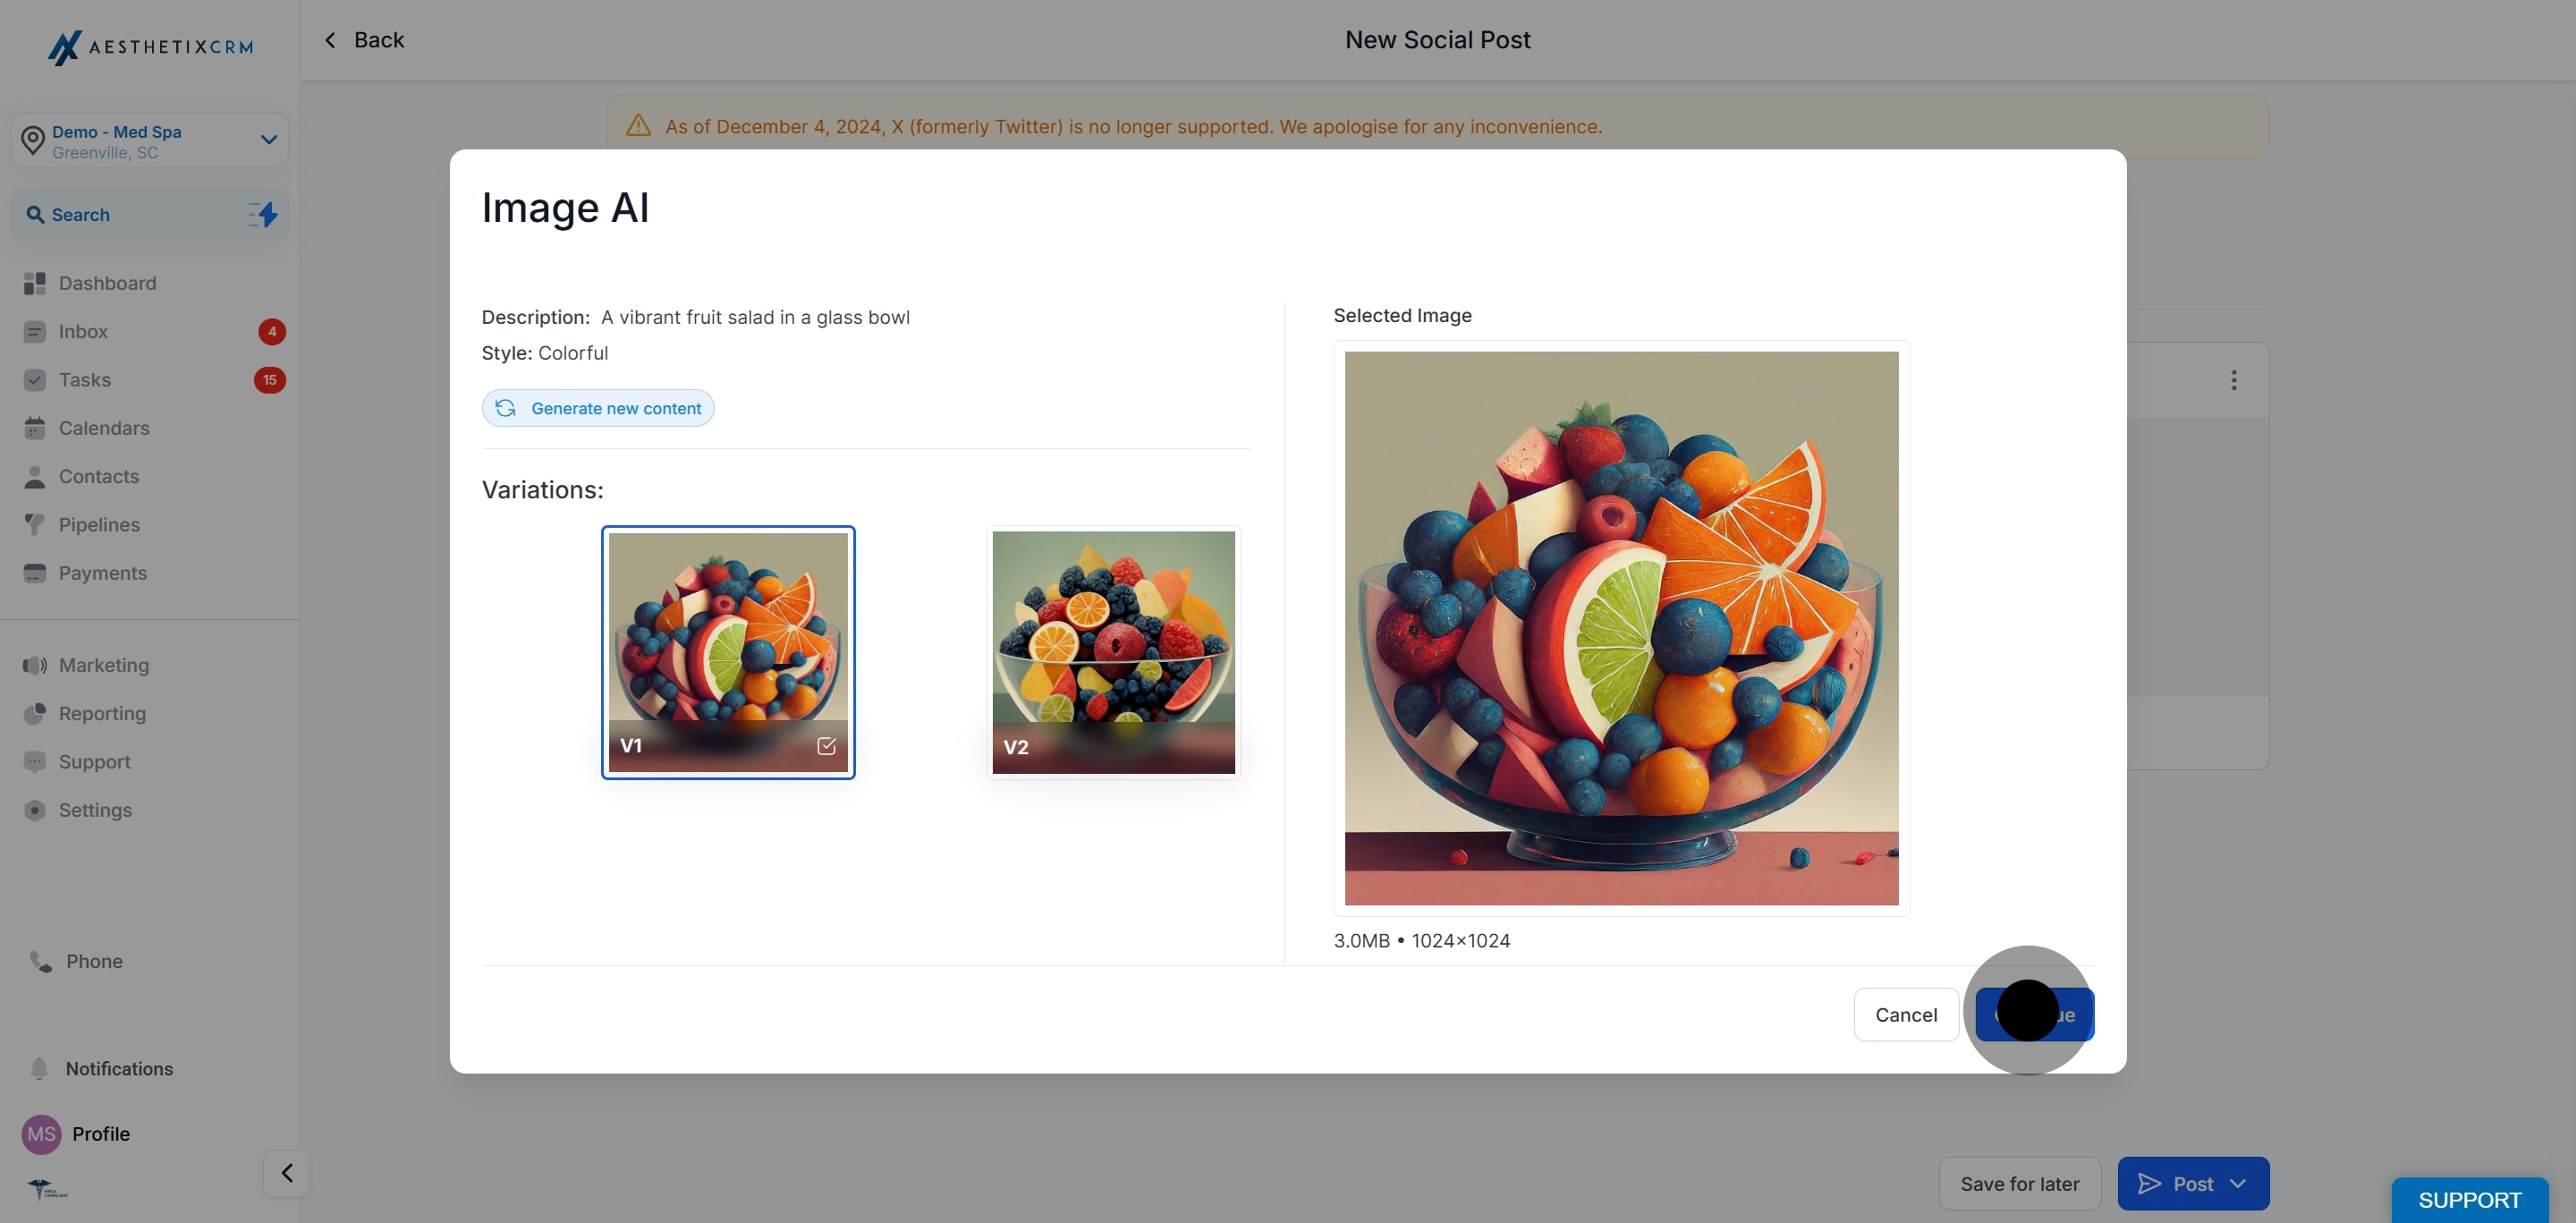
Image Generation using Content AI is an innovative feature that creates unique images based on user-provided descriptions. It's a crucial part of the Social Planner platform, where it assists users in making their social media posts more engaging and visually appealing.
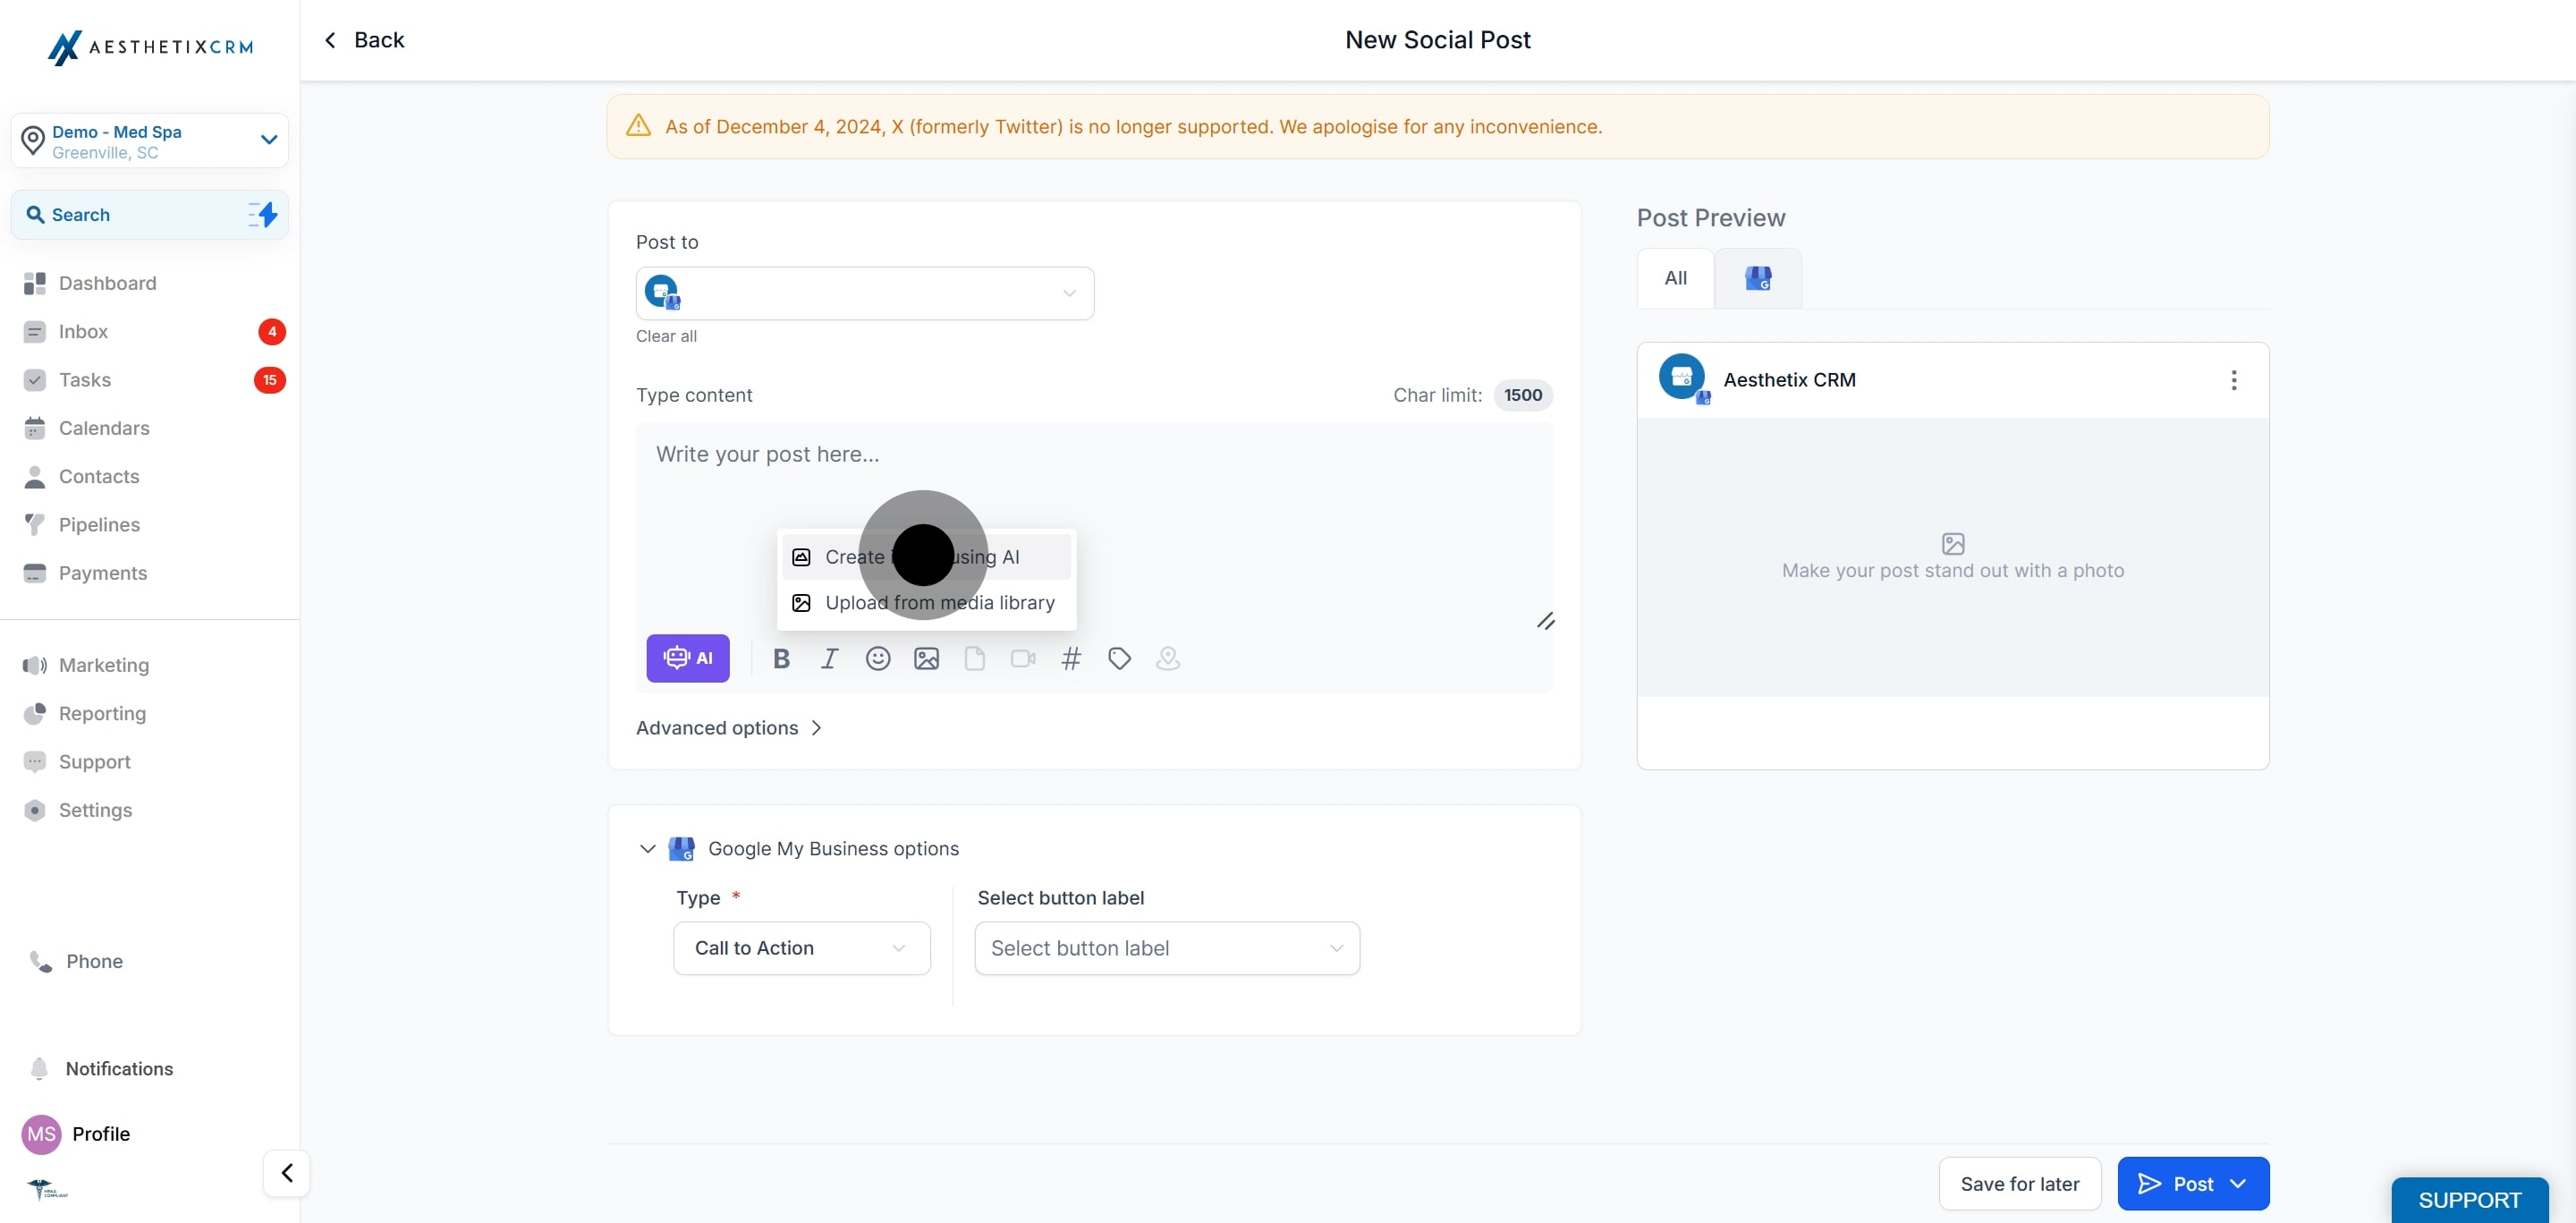
With Social Planner, users can plan their social media content, while Image Generation using Content AI handles the creative aspect. Users input a description of the image they want to create in natural language, choose the number of variations they wish to see, and select the Style for the image.
Content AI then processes this information and generates a unique image that aligns with the description and style preferences. This feature is particularly useful for content creators, marketers, and social media managers, as it allows them to create custom images for their posts without needing advanced graphic design skills.
Social Media Campaigns: An agency preparing a campaign for a client's new organic skincare line can generate various images with "A minimalist organic skincare product set against a backdrop of natural greenery."
Promotional Events: When promoting an upcoming webinar, you can create engaging visuals with the description, "A digital webinar invite with a sleek laptop, a hot cup of coffee, and a notepad on a desk."
Brand Awareness Posts: Boost brand visibility with posts like "An inspirational workspace showcasing a logo-branded mug and stationary."
Client Testimonials: Turn textual client testimonials into engaging visuals. For instance, an image of a "happy client holding a sign with a positive testimonial" can be created.
Holiday Greetings: You can schedule a series of holiday-related posts using images from descriptions like "A warm, cozy winter scene with a cup of hot chocolate and a message of Happy Holidays."
Educational Content: You can create informational posts related to industry insights. For example, "An engaging infographic on latest social media trends."
Product Launches: For a client releasing a new line of sneakers, generate images with "A trendy pair of sneakers on a graffiti background."
Content Series: You're running a 'Tip of the Week' series on productivity hacks. Generate images using descriptions like "A serene home office with a tip on time management overlay."
Employee Features: Spotlight team members by generating images with descriptions such as "A professional portrait of [employee name] with a brief bio."
Themed Posts: For something like a 'Throwback Thursday,' generate images that fit the theme, for example, "A vintage-style photo of an old-style typewriter with a caption about how marketing has evolved."
Please Note:
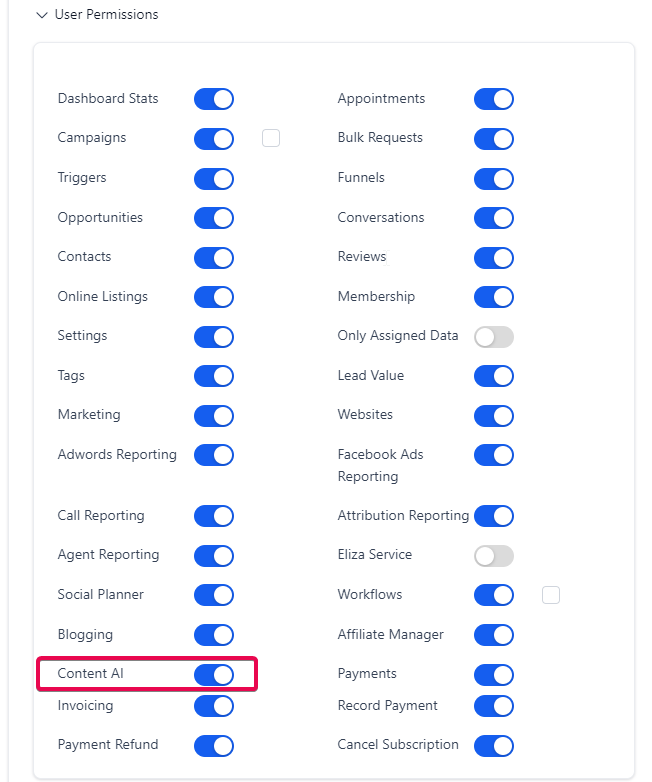
Enable the permissions for users to use Content AI in sub accounts by heading to Settings> My Staff> Edit a user> User Permissions.

Please Note:
Please avoid words like discount, sale or any symbols in the description. Please describe in realistic manner as given in example.