Enhance your social media management with our insightful guide on grouping social media profiles! This article explains the benefits of organizing your profiles into cohesive groups based on themes, campaigns, or target audiences. Learn how to effectively categorize your accounts, streamline your posting strategy, and improve engagement across platforms. Whether you're a marketer, business owner, or social media enthusiast, this guide will provide you with practical tips and tools to optimize your social media presence, making it easier to manage your content and connect with your audience more effectively!
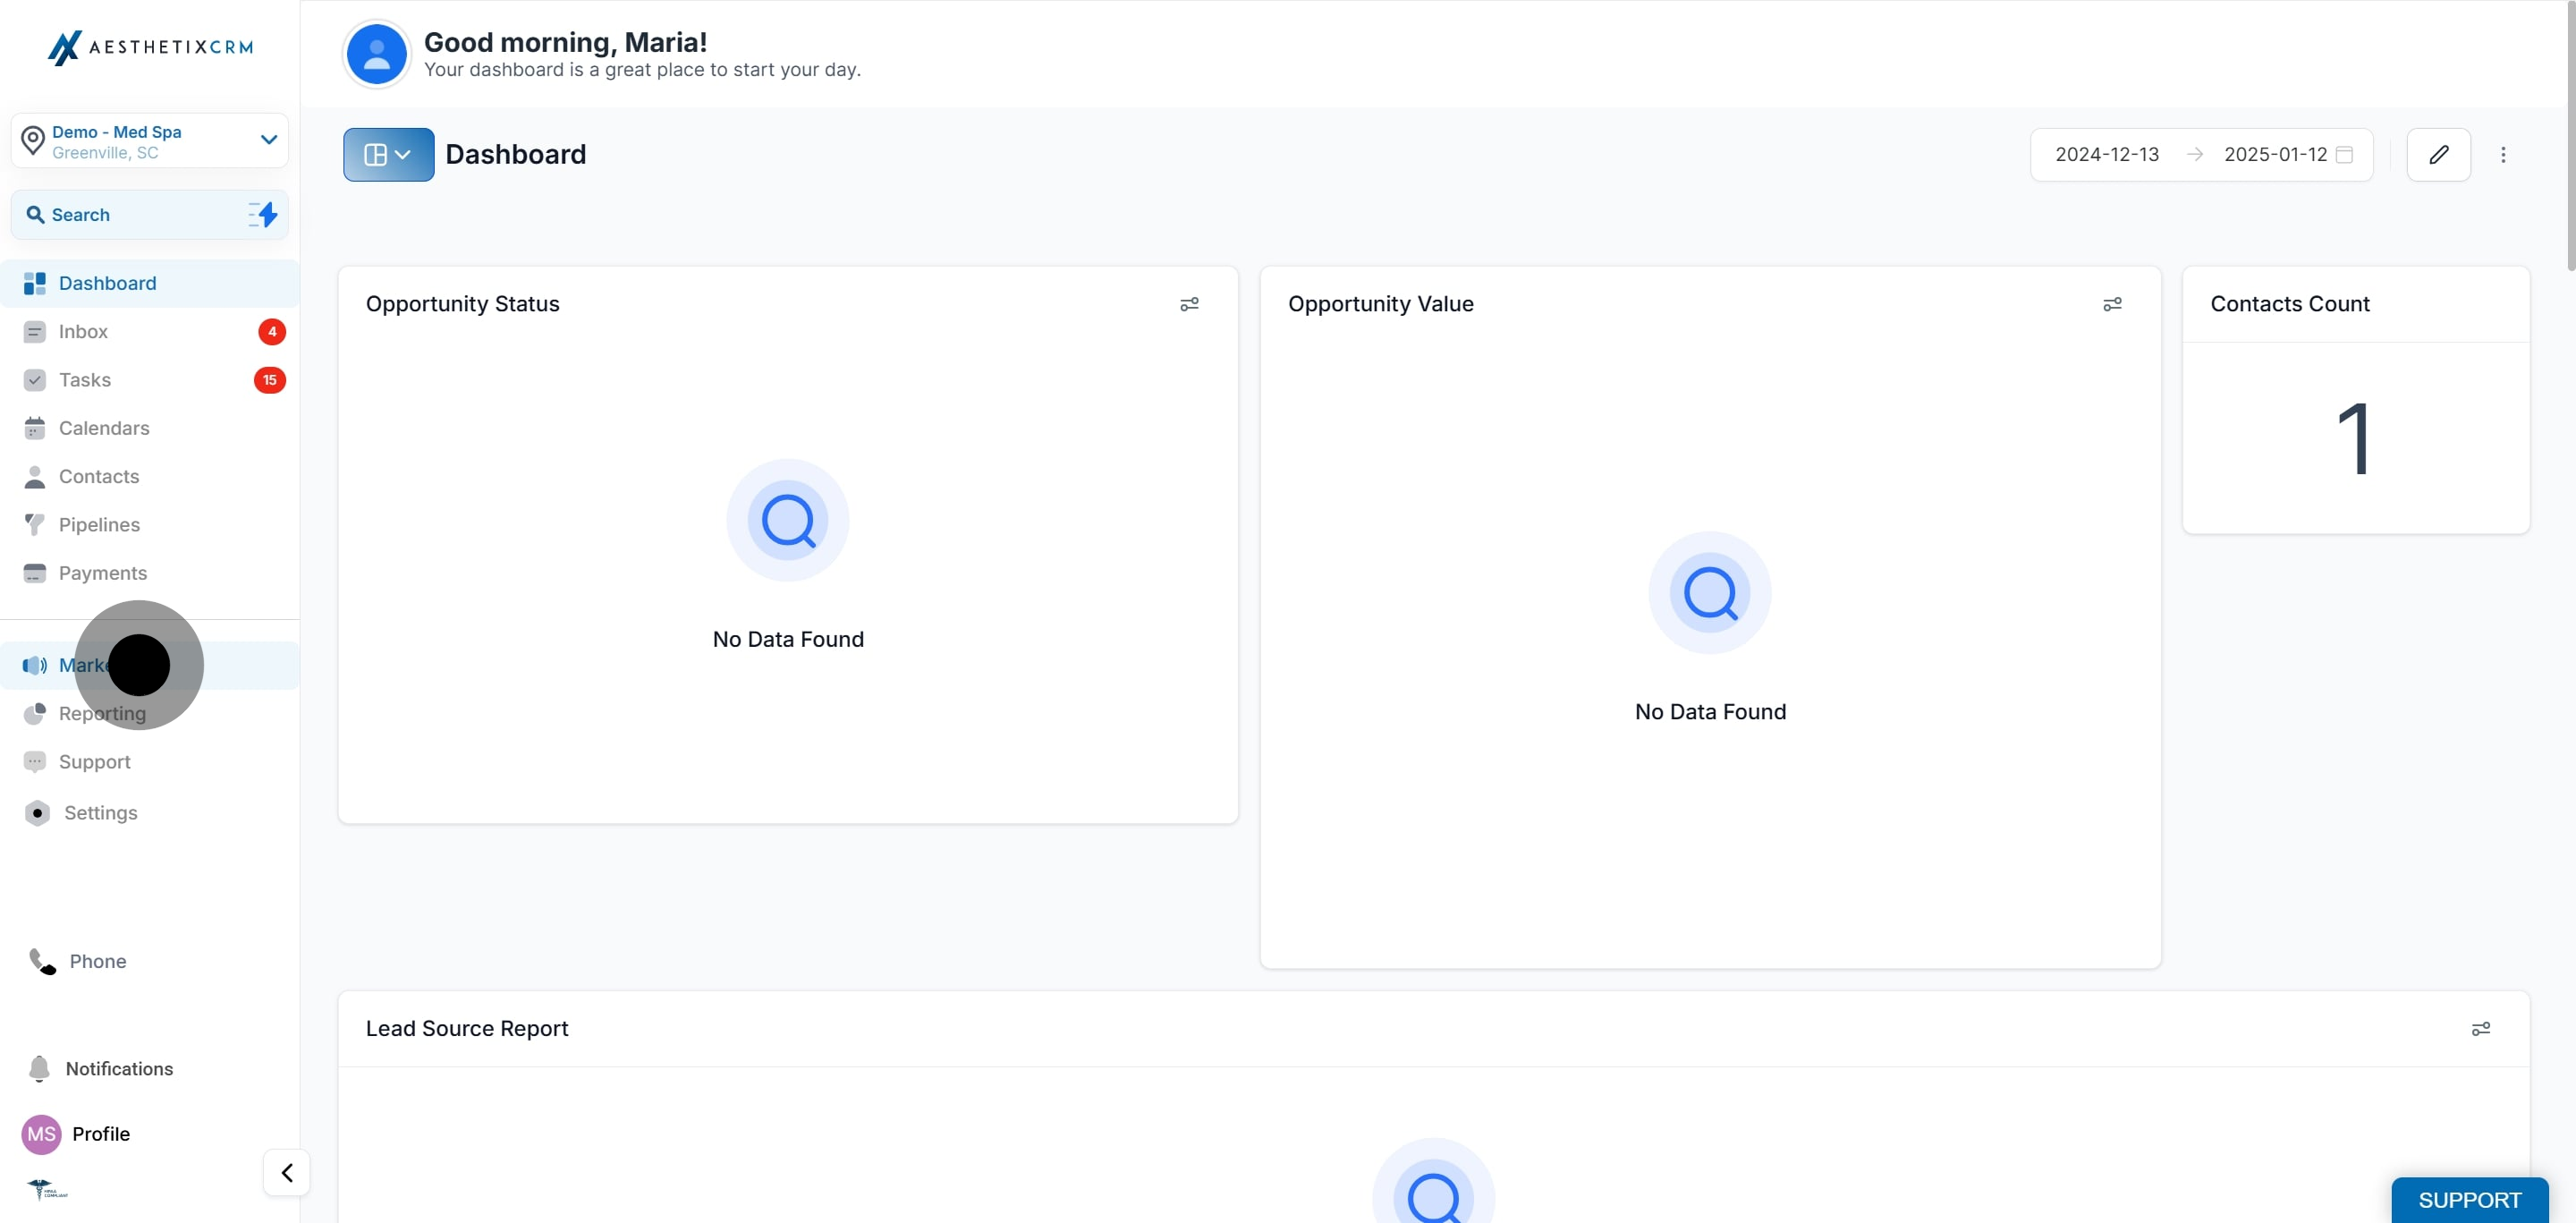
1. To begin, go to Marketing.
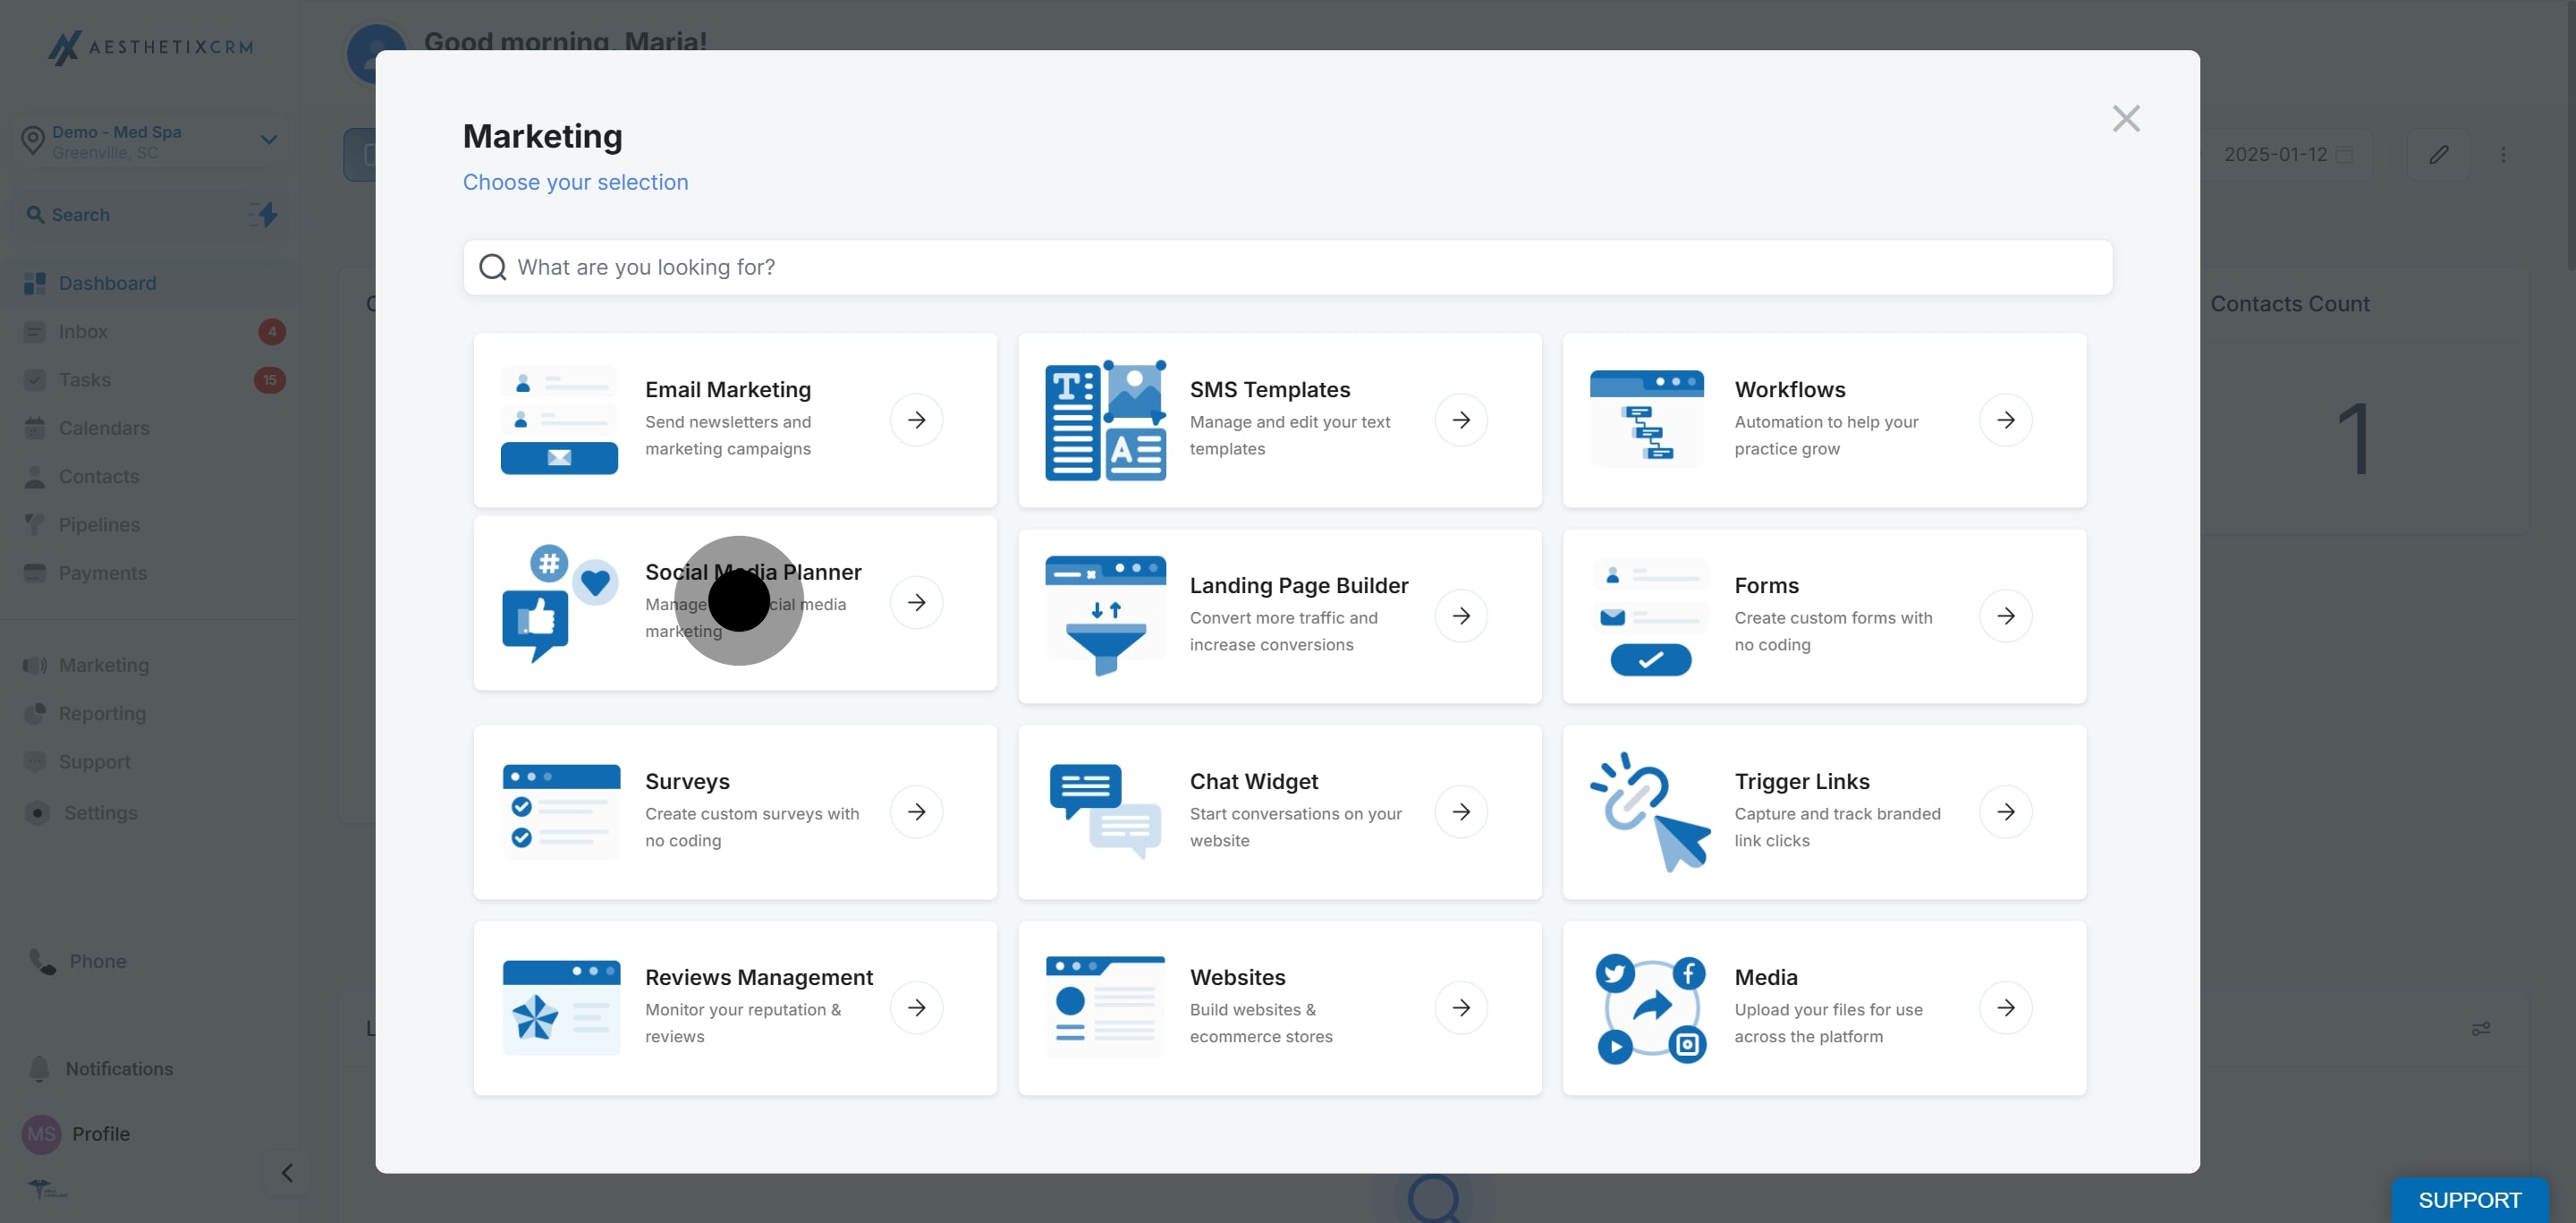
2. Click on "Social Media Planner".
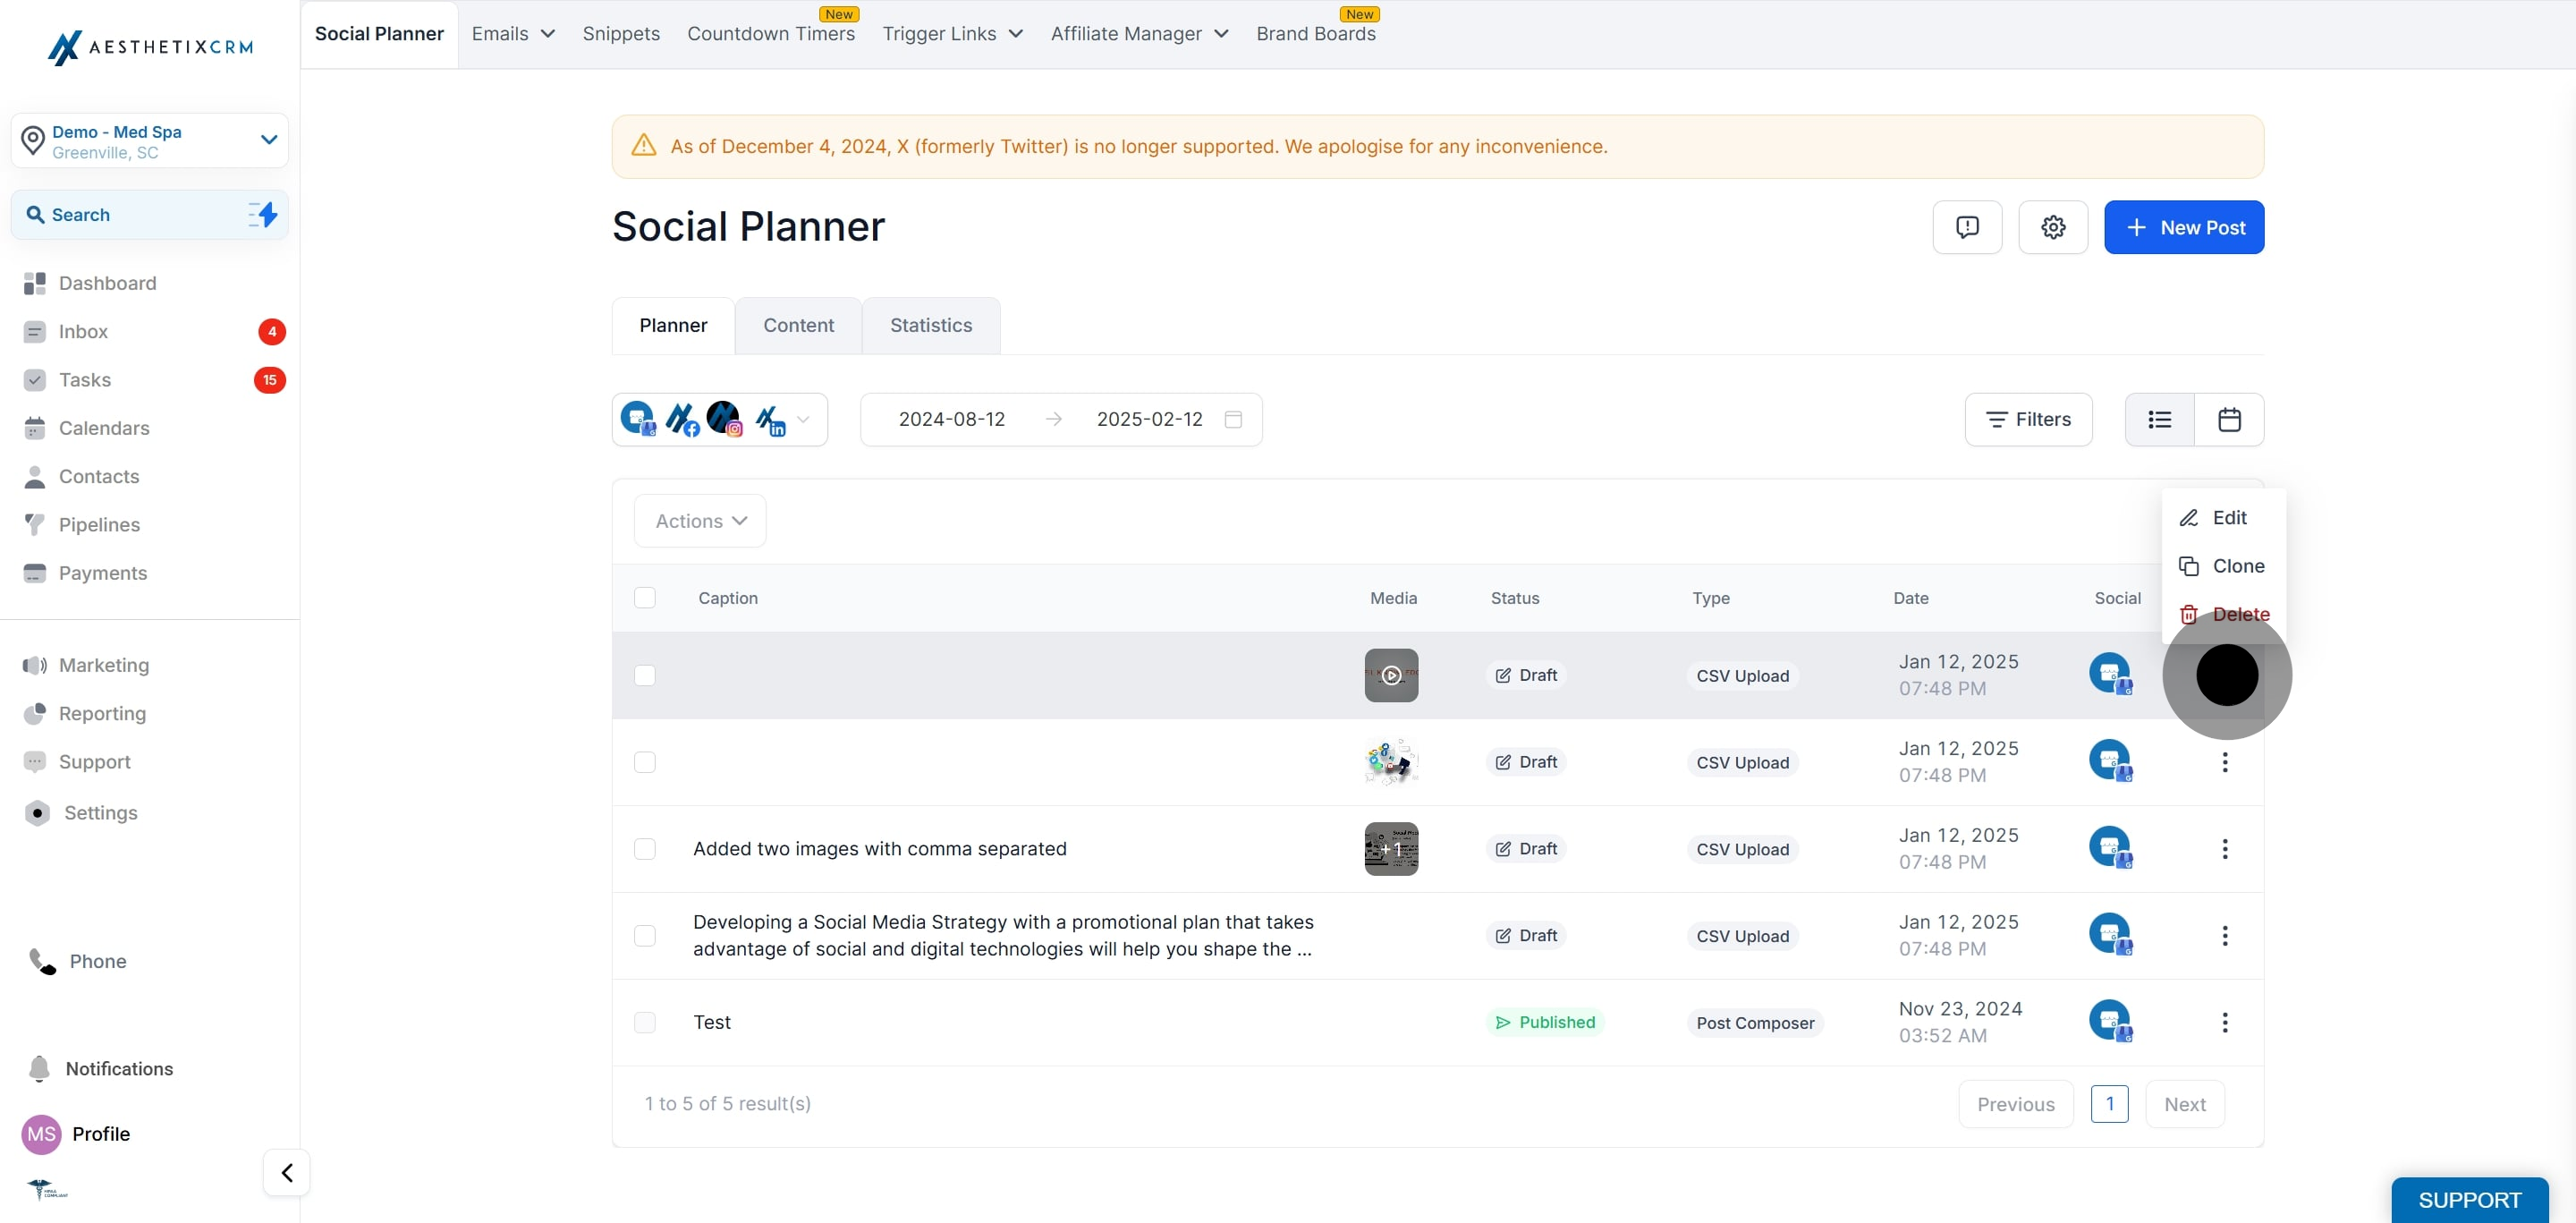
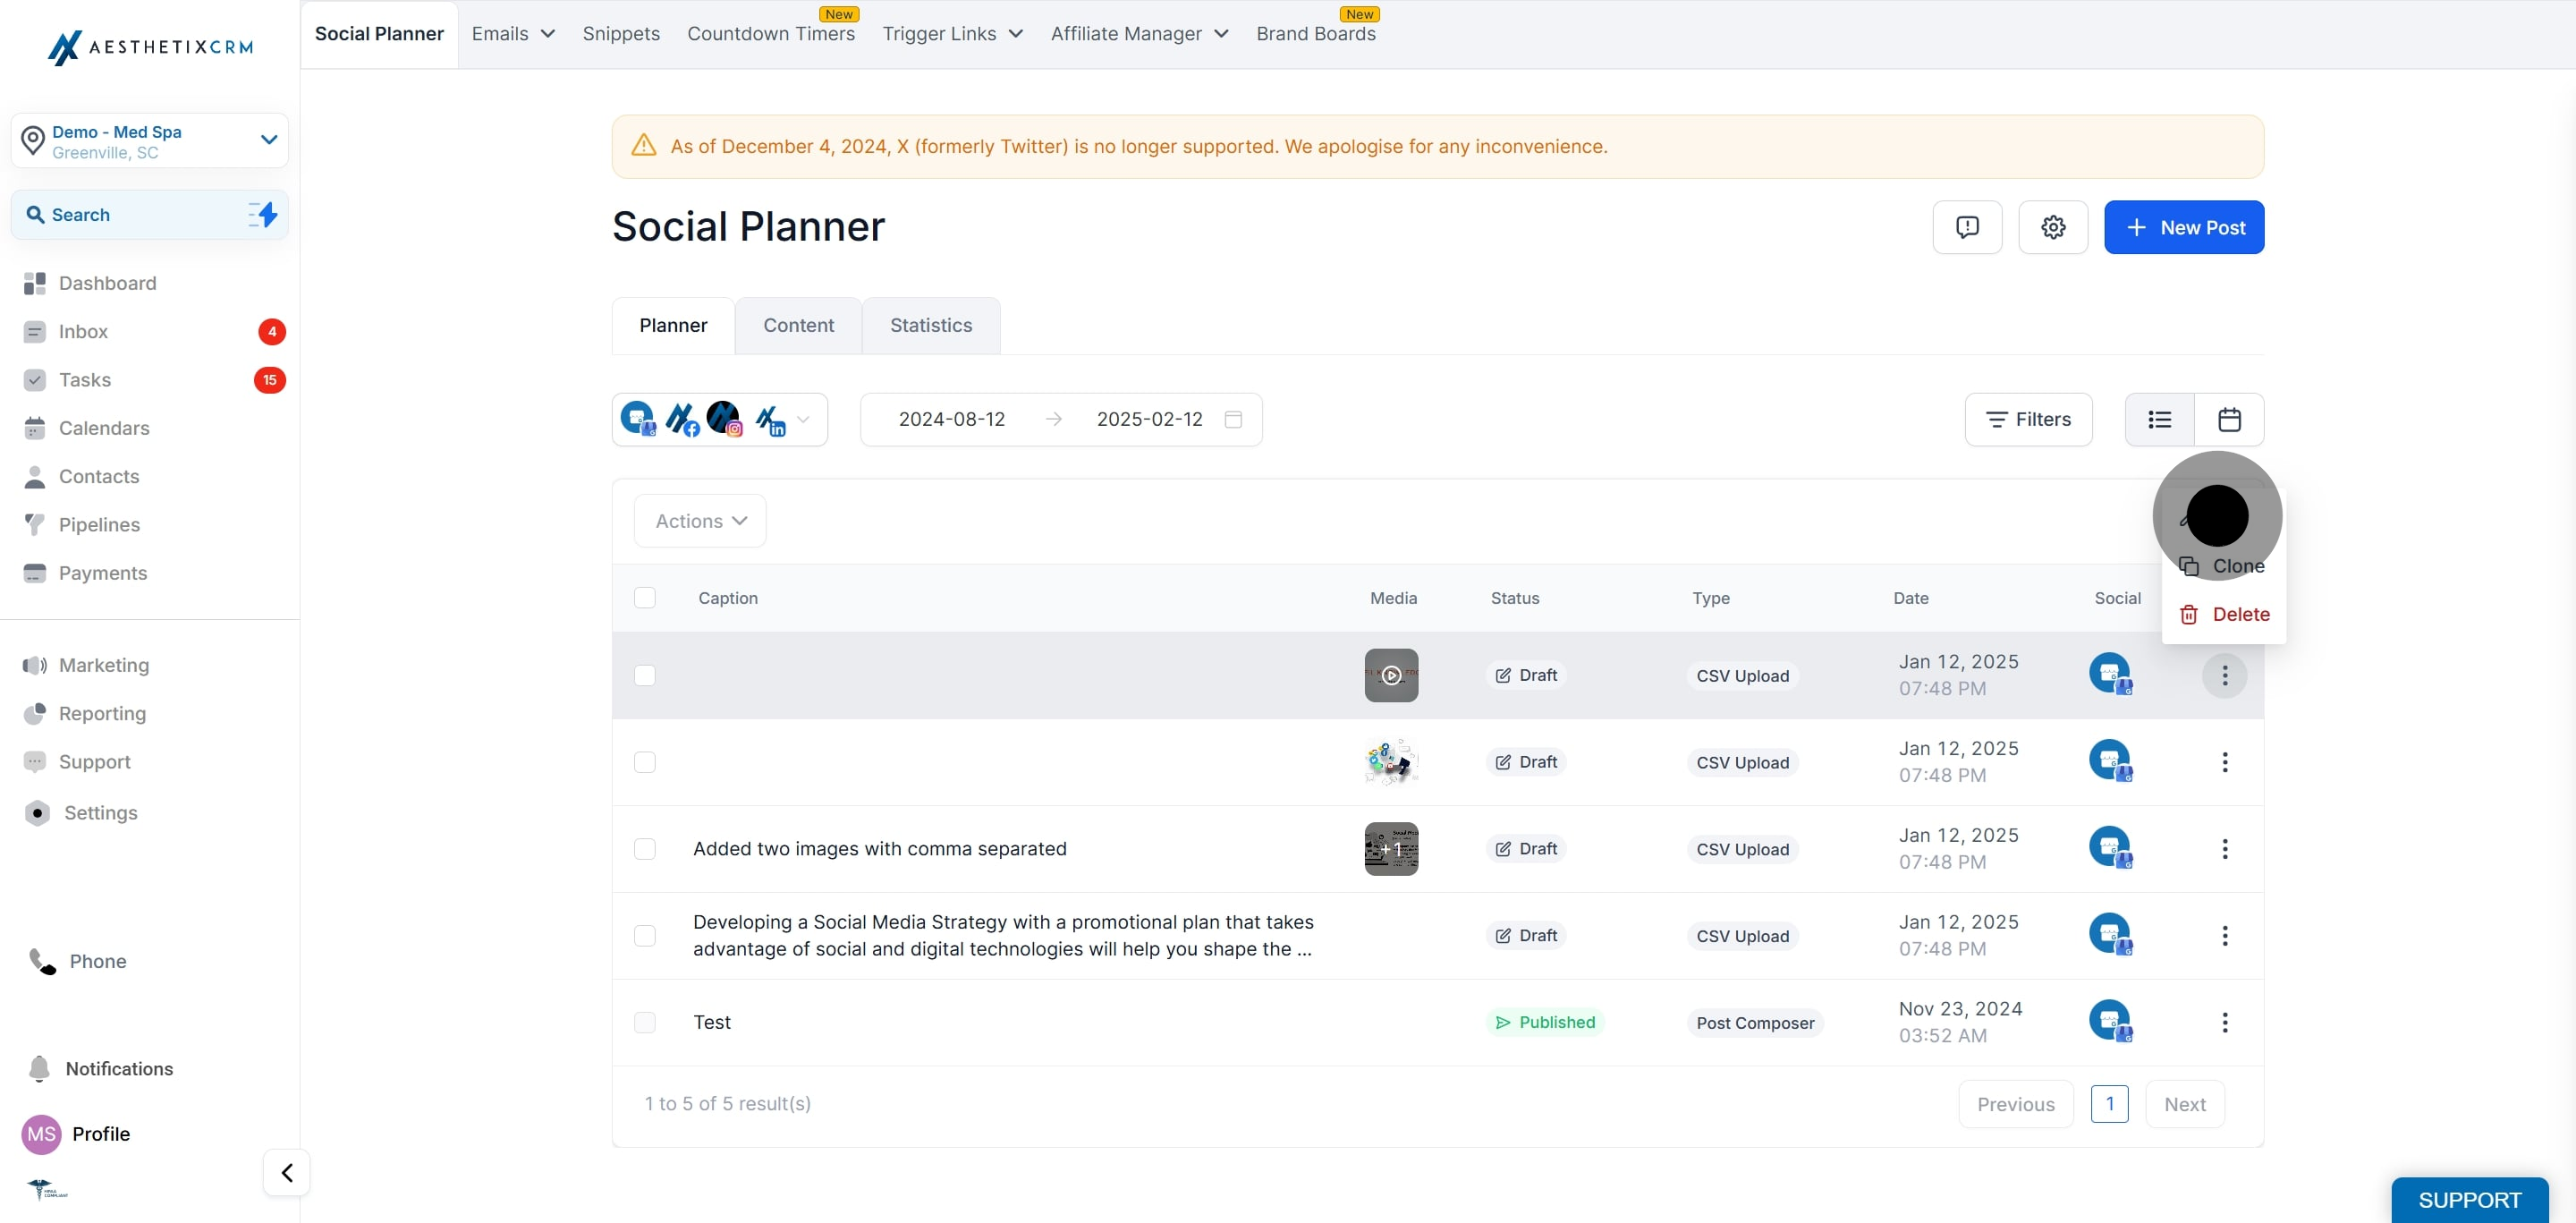
3. Choose the desired planner and click the three dots next to it.
4. Click Edit to open the planner settings.
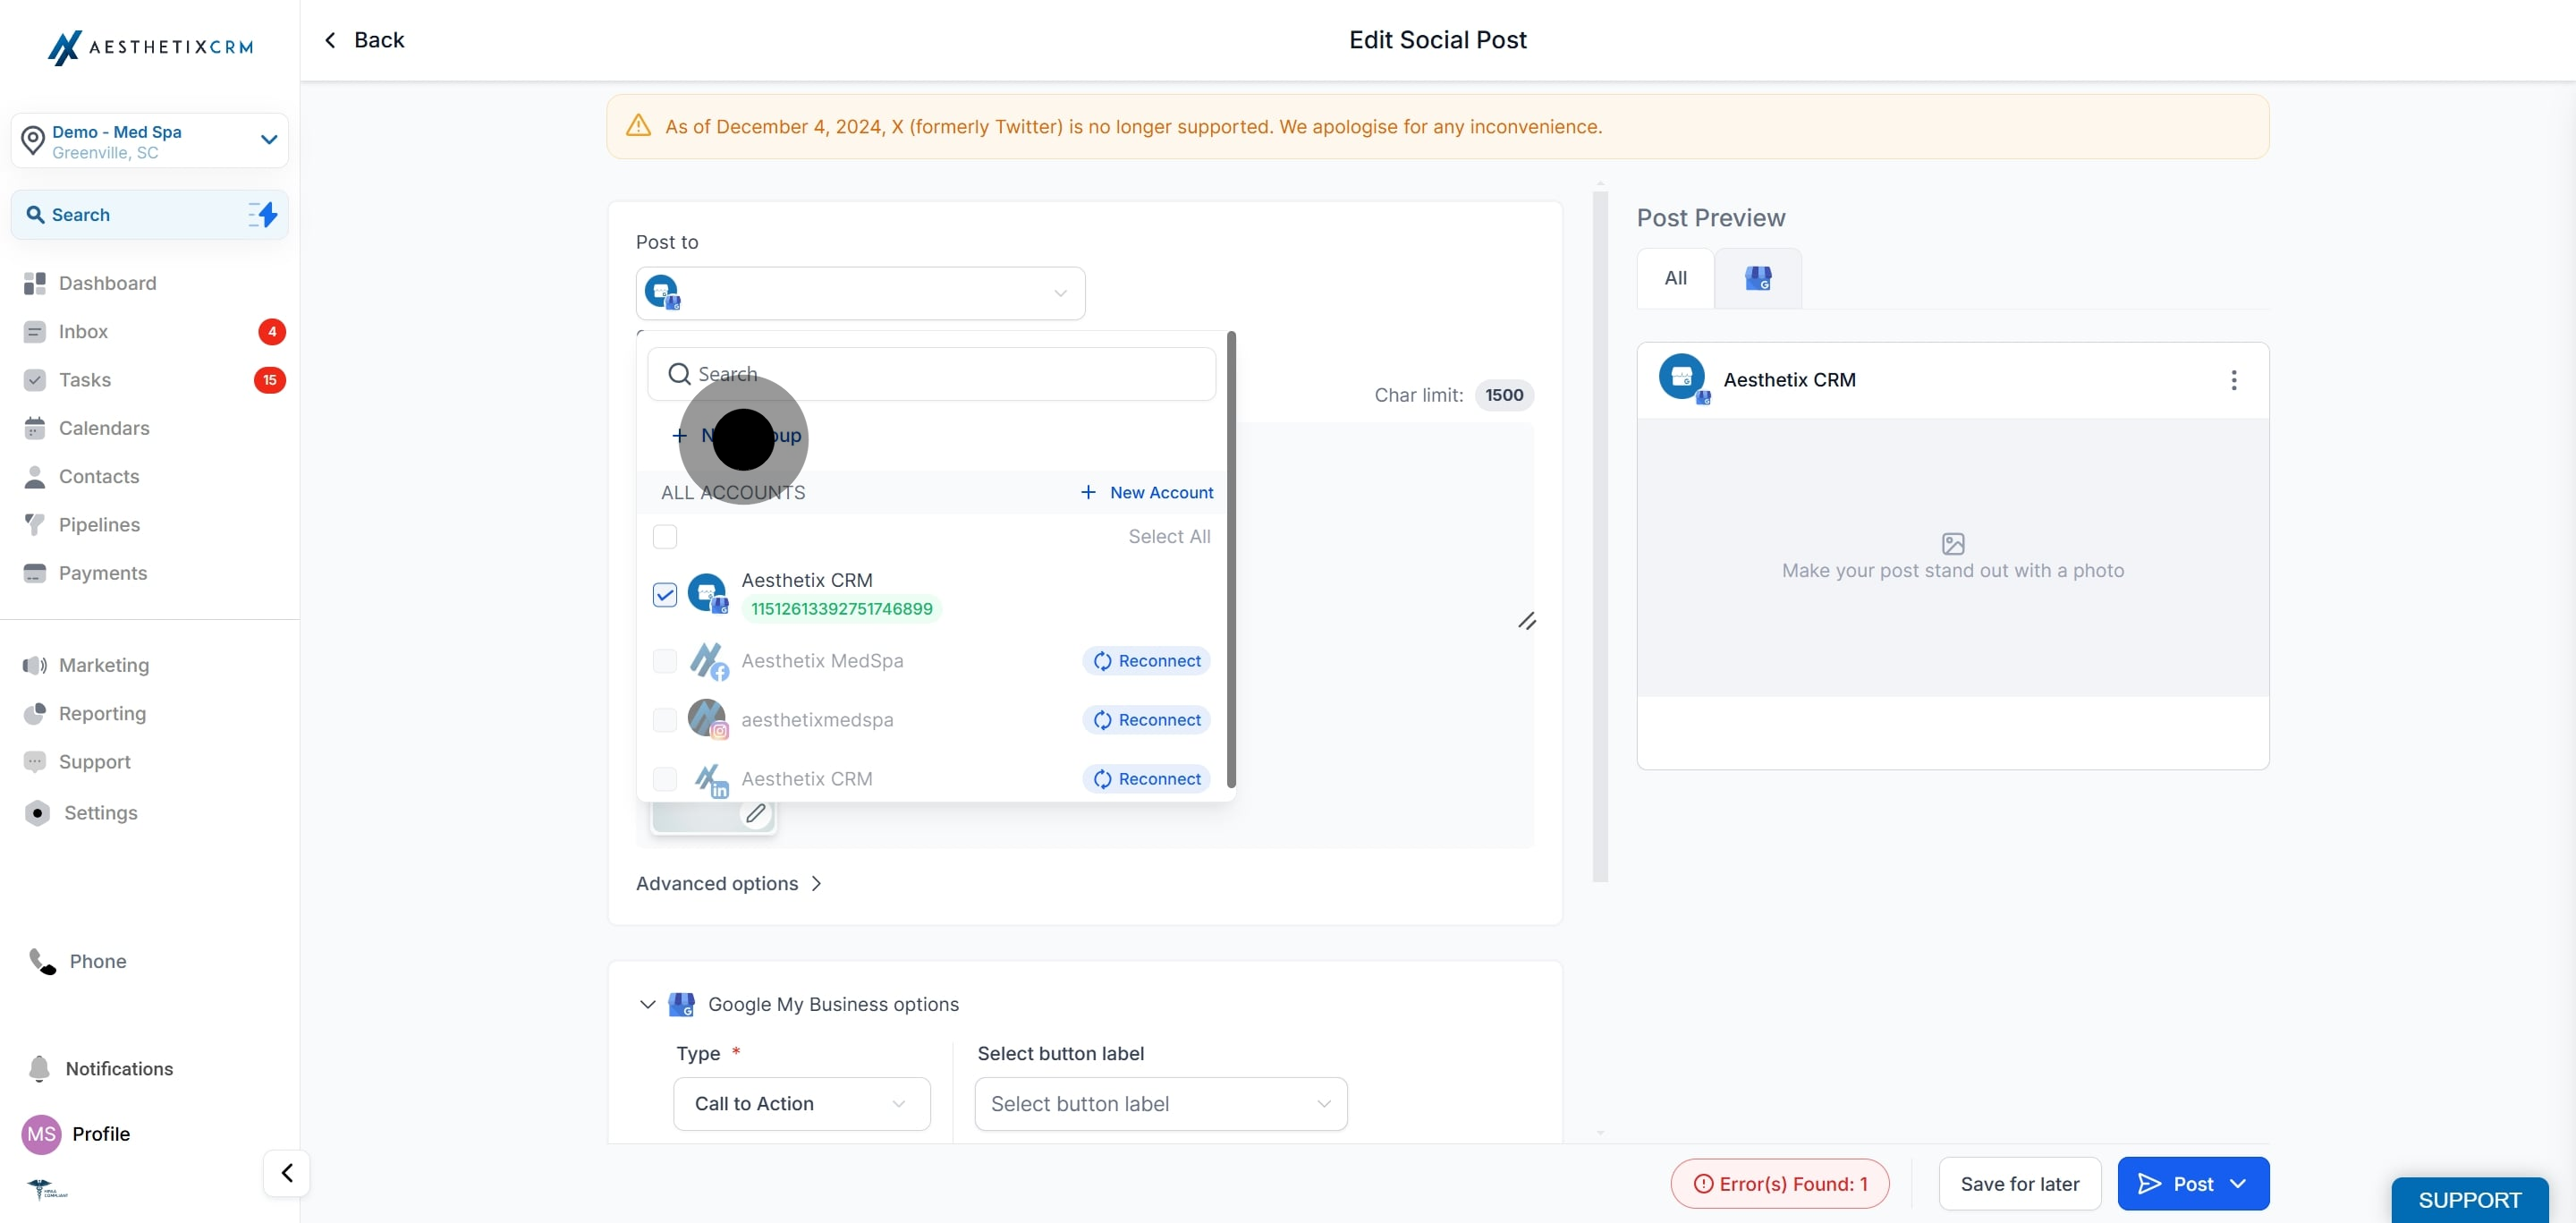
5. Now, Click + New Group..
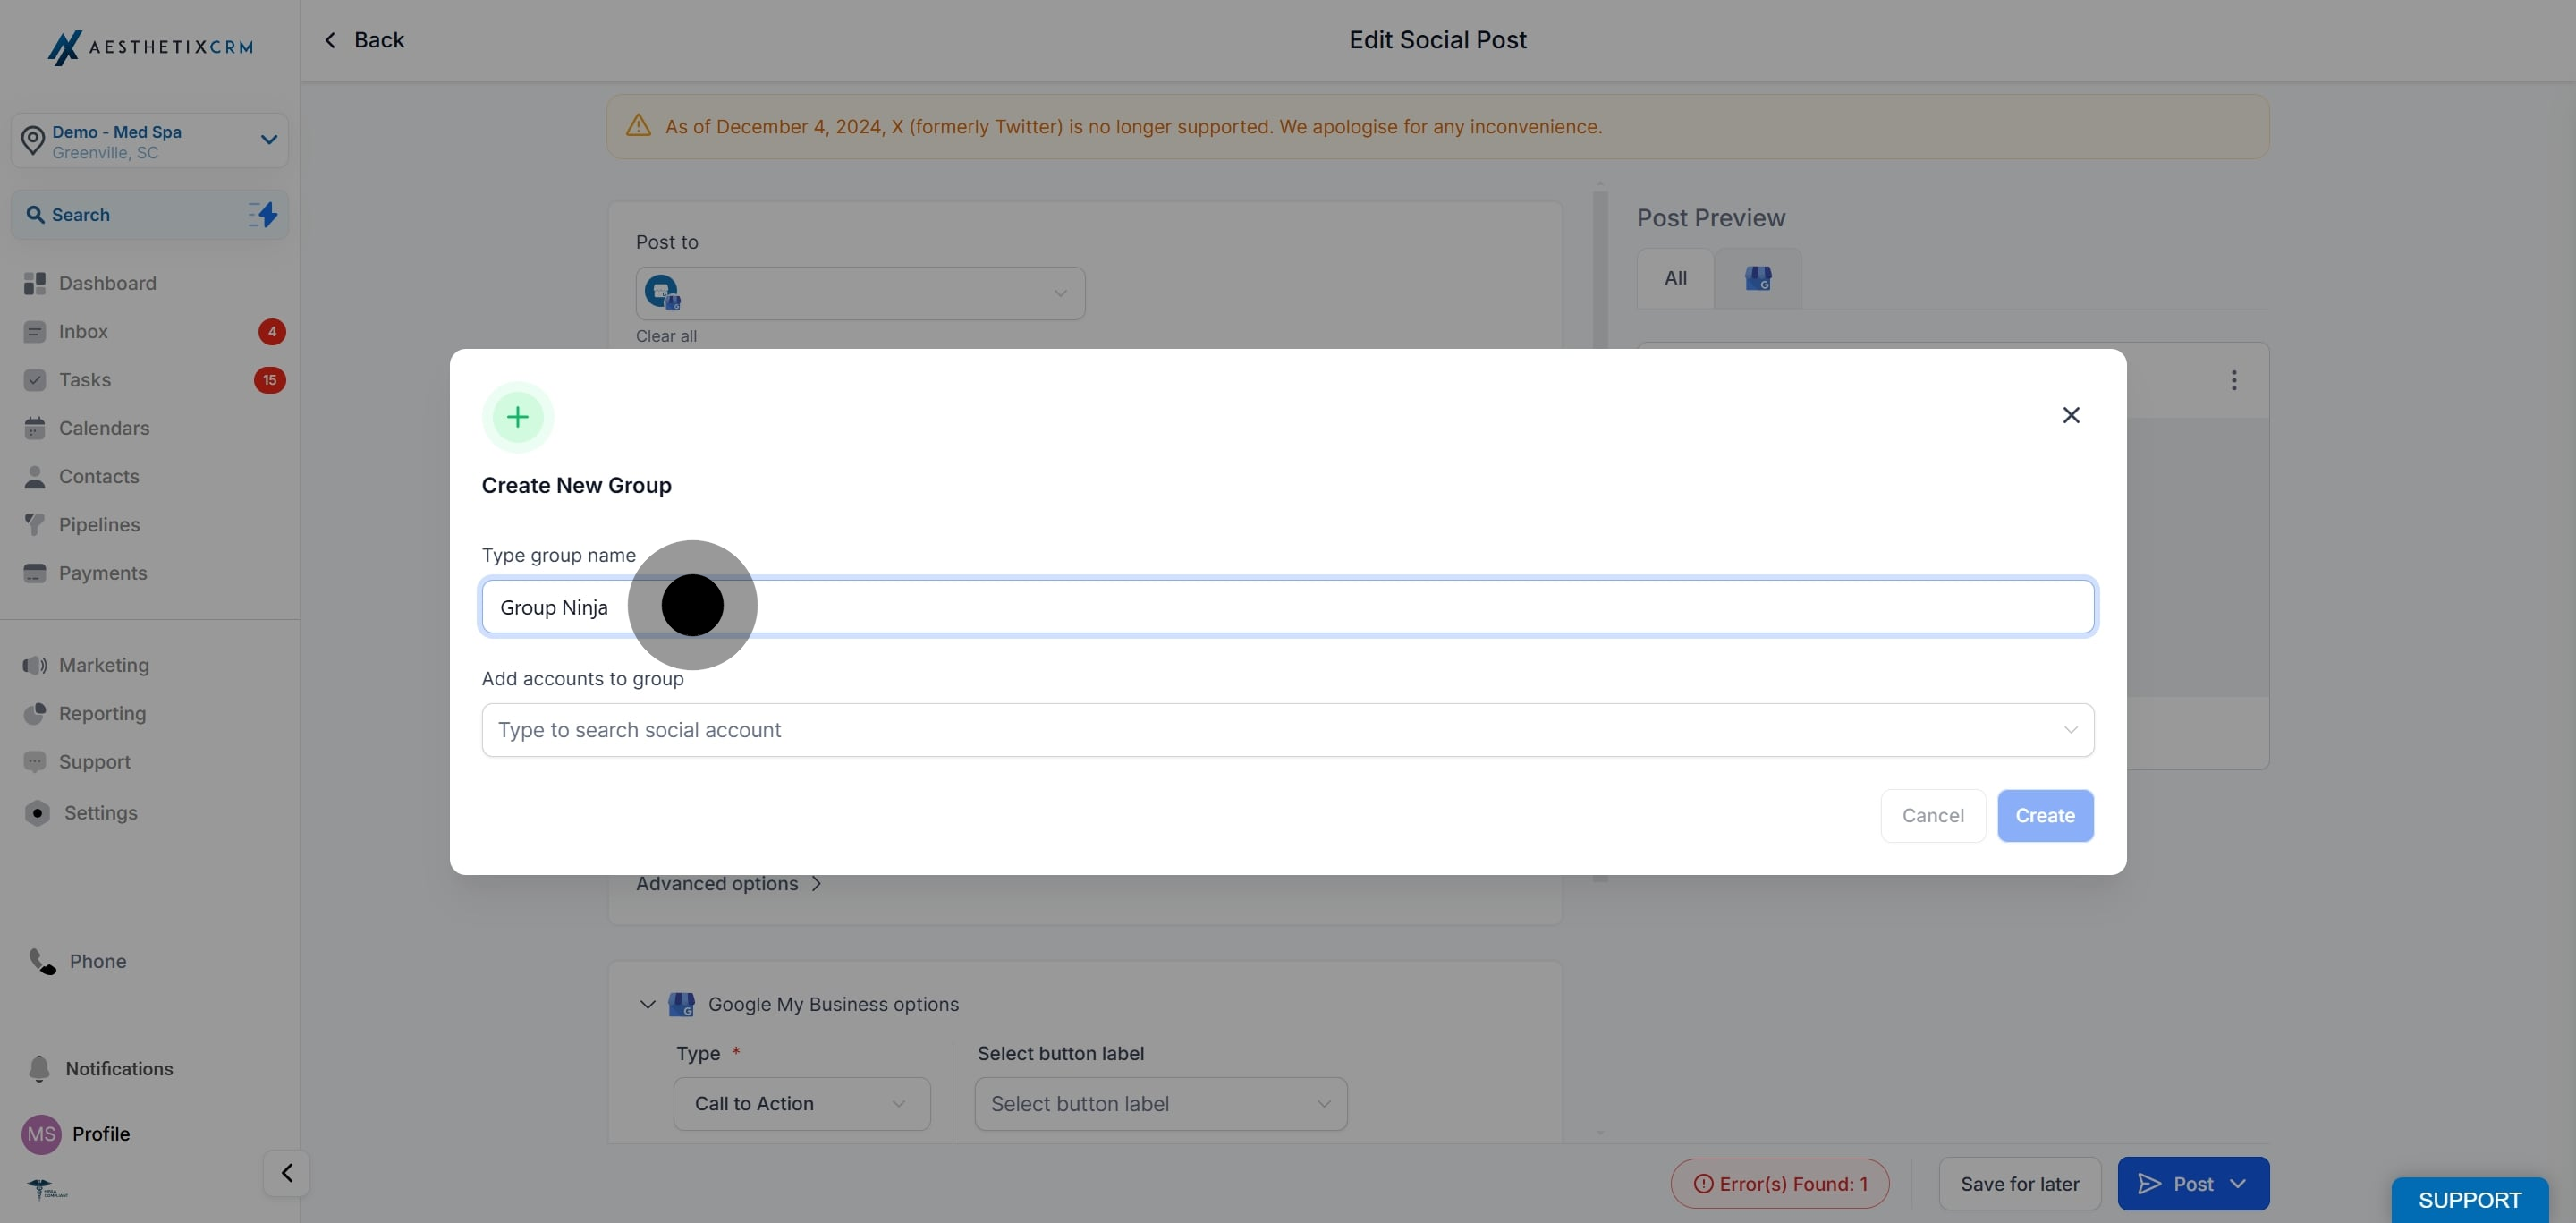
6. Enter a unique and descriptive Group Name.
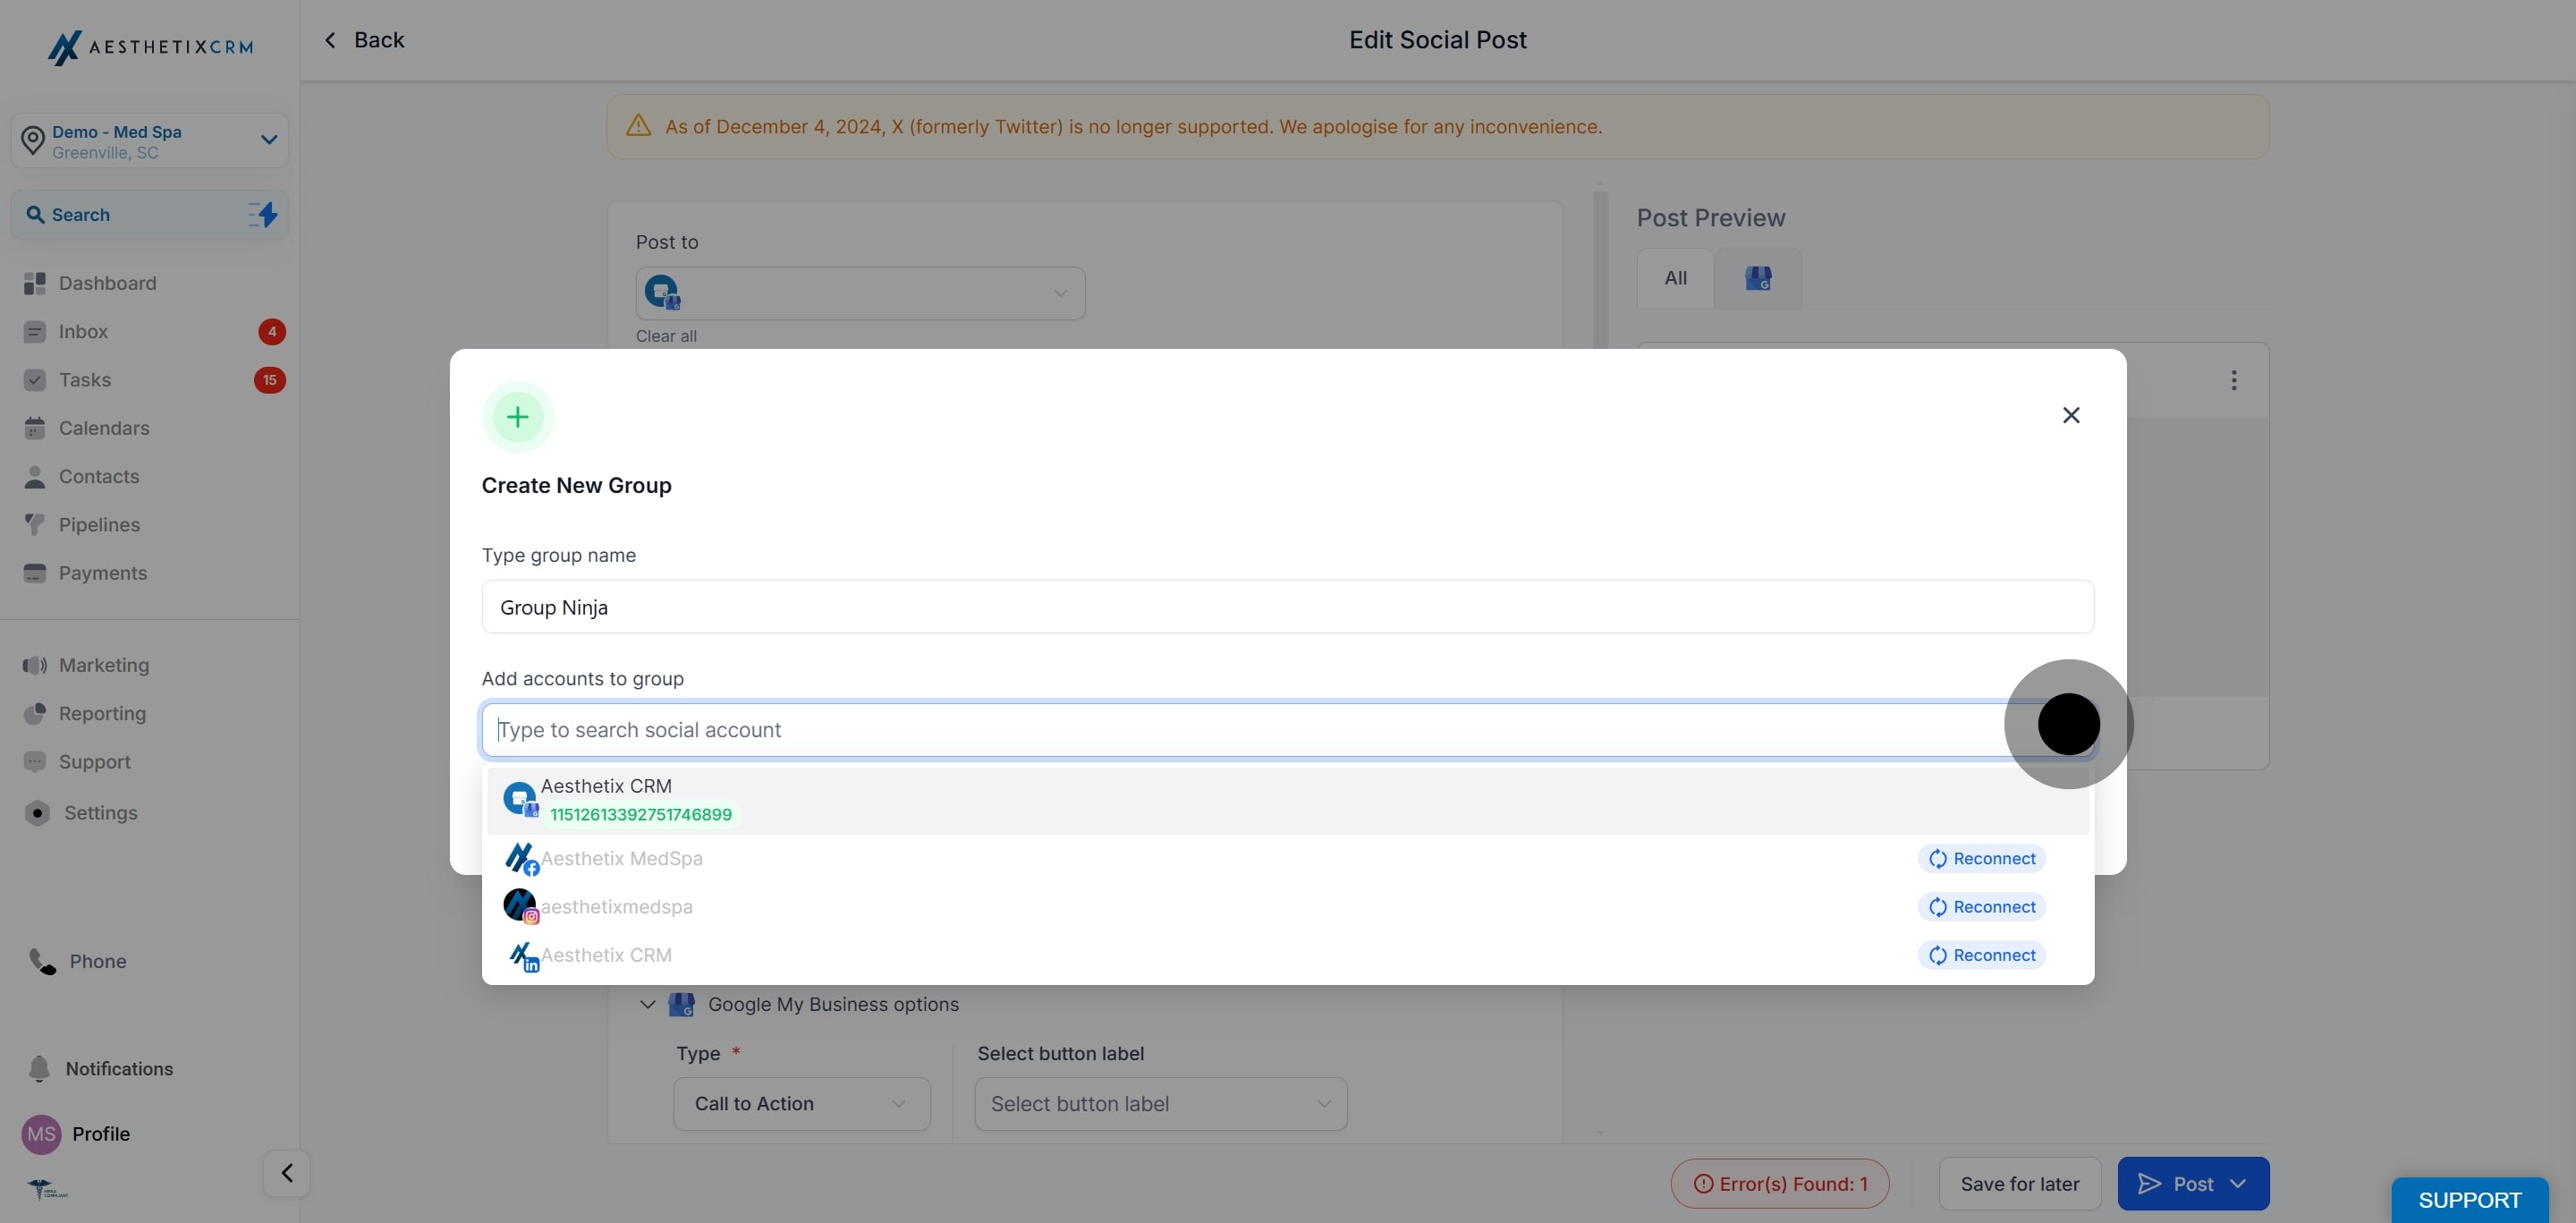
7. Select the social media accounts you want to include in this group.
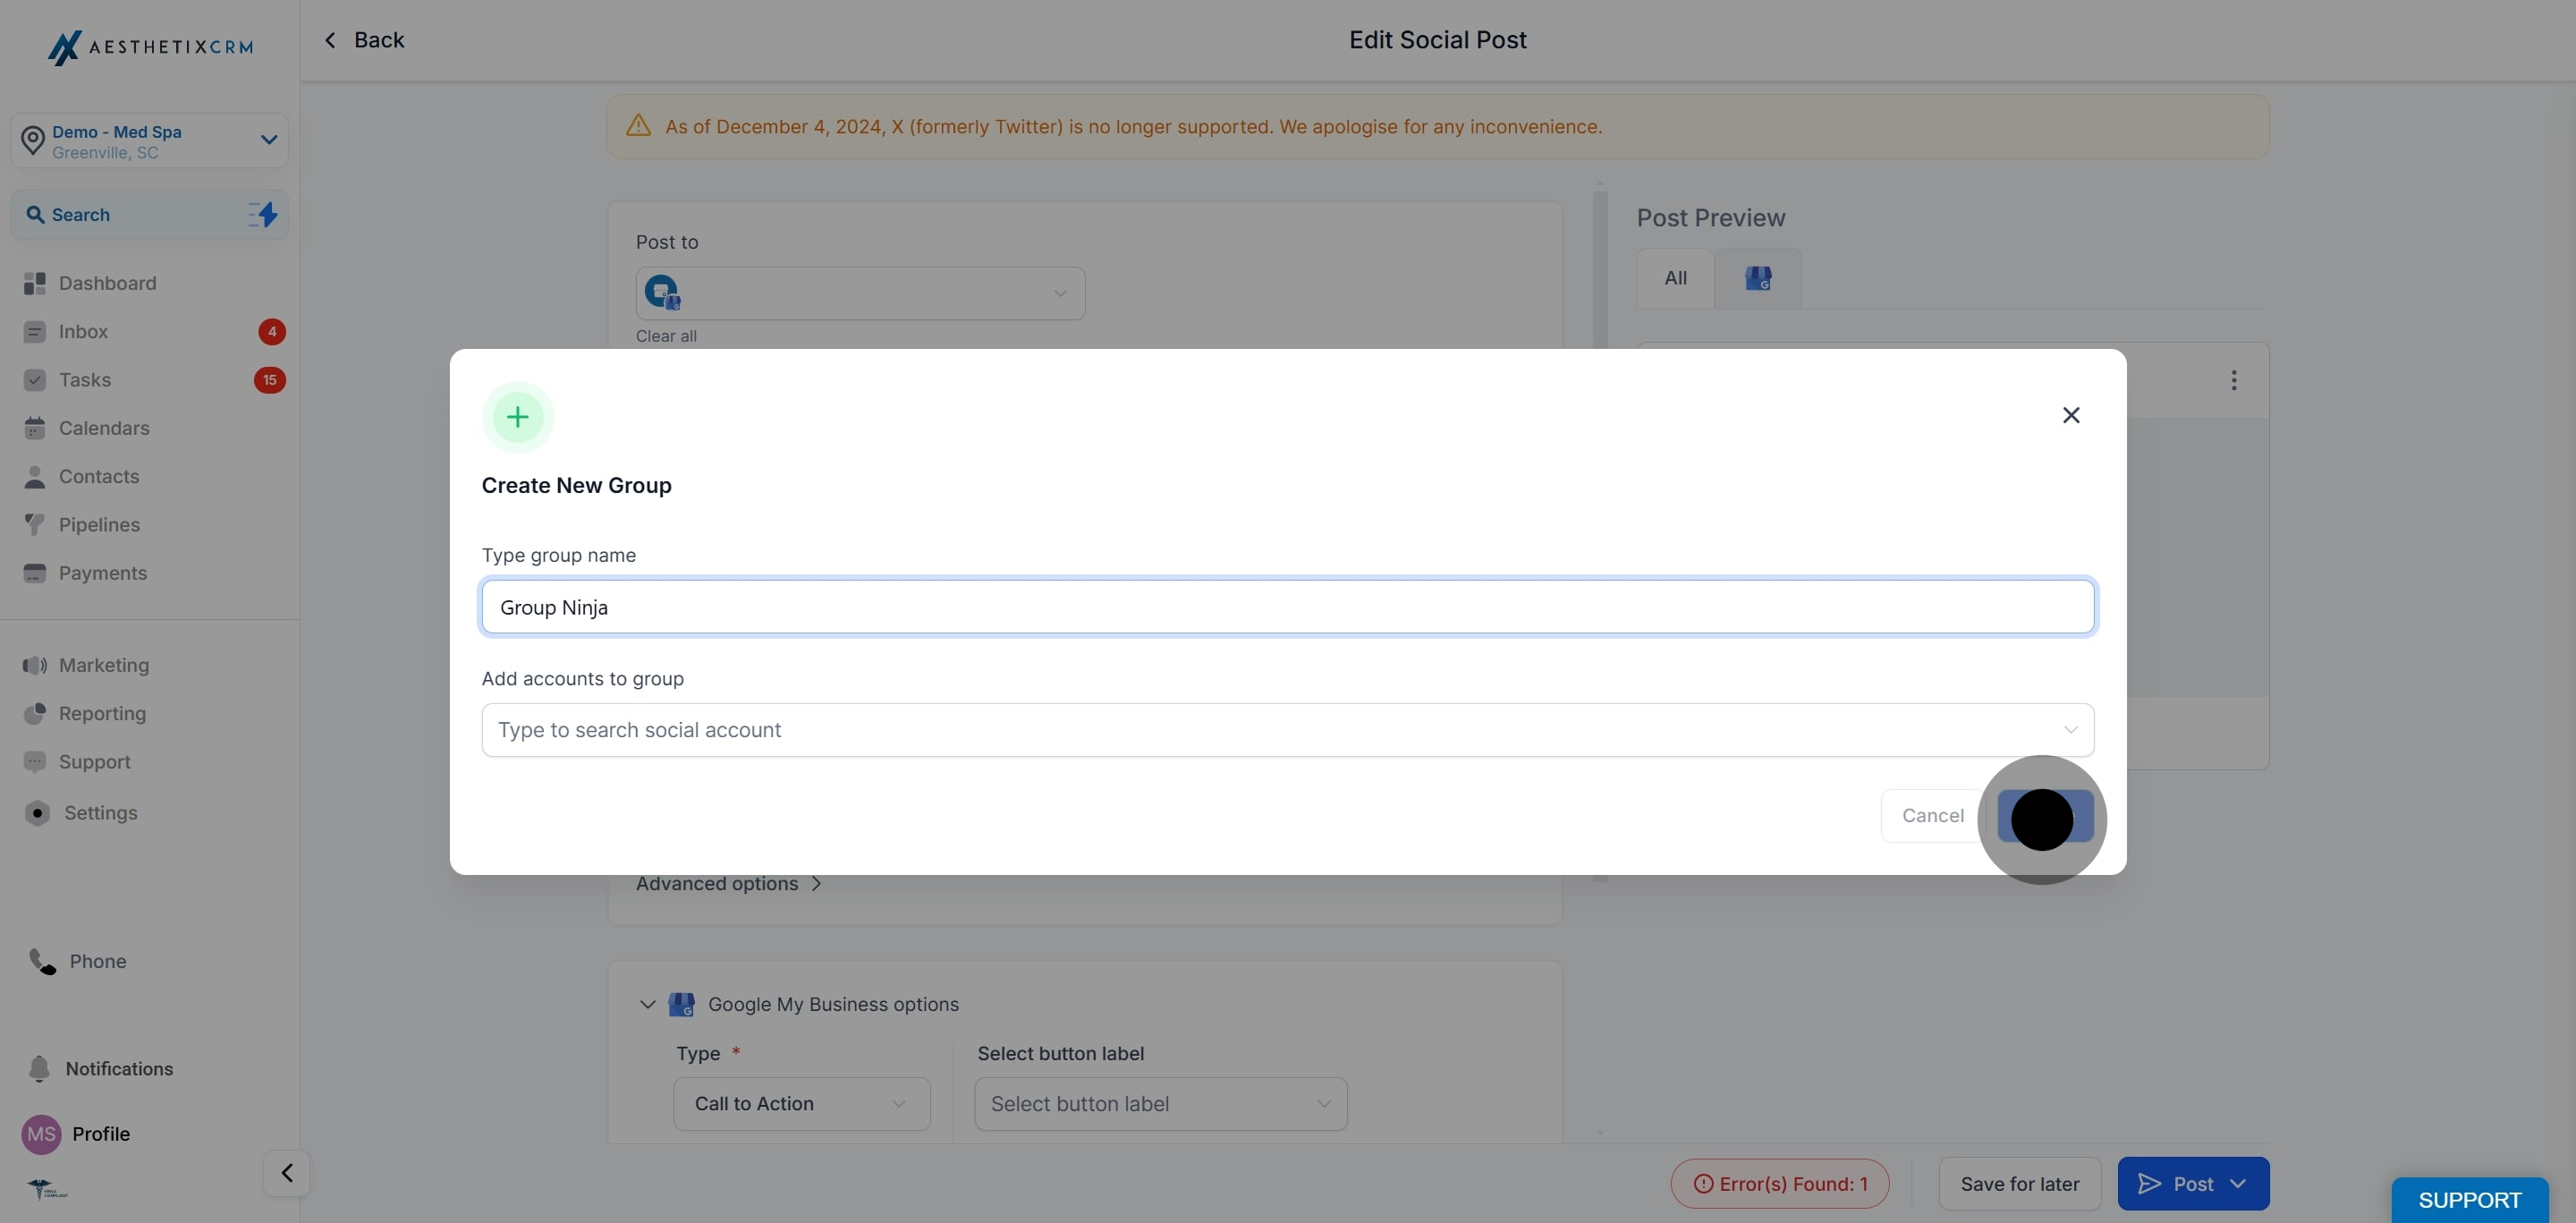
8. Click Create to save your new group.
Did this answer your question?
😞
😐
😁
A Guide to Grouping Social Media Profiles | Aesthetix CRM