Master the art of content management with our detailed guide on scheduling CSV files for approving bulk posts! This article walks you through the essential steps to set up a streamlined approval process using CSV, ensuring that your team can efficiently review and publish content. Learn how to format your CSV file for approvals, manage timelines, and integrate the process with your existing workflow tools. Ideal for content managers and teams looking to enhance collaboration and maintain quality control, this guide will empower you to effectively manage bulk post approvals while saving time and reducing bottlenecks in your publishing process!
1. Navigate to Marketing.
2. Select Social Media Planner.
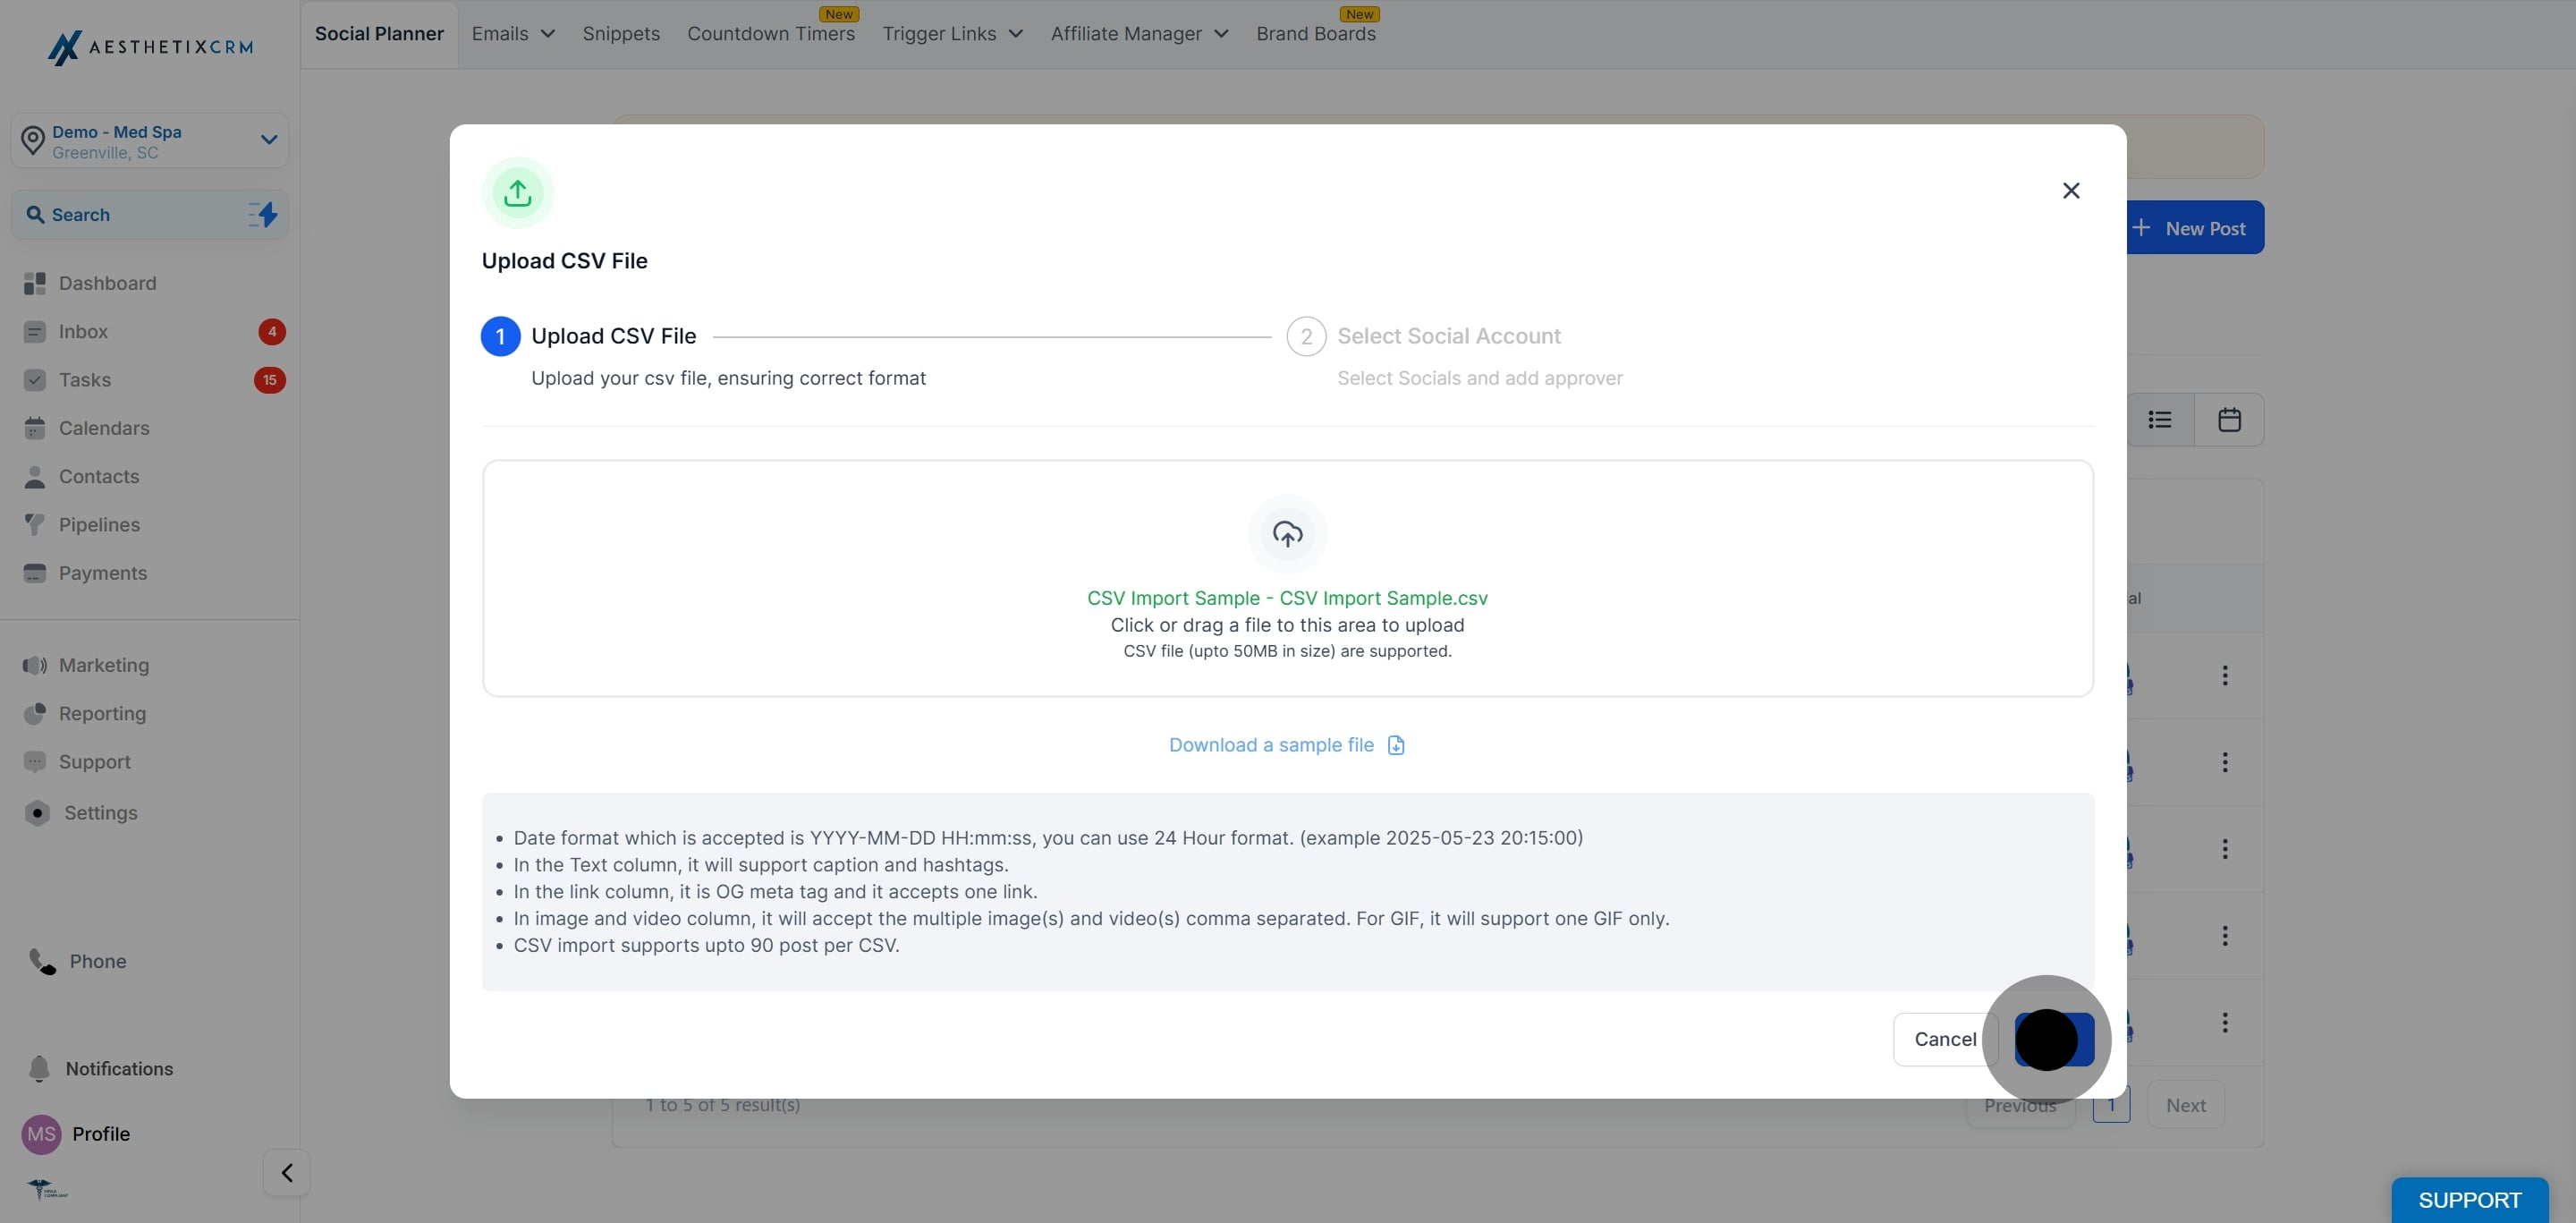
3. After, Click on New Post to start the process. Use the Import CSV option to upload your post details.
4. Click on "Next".
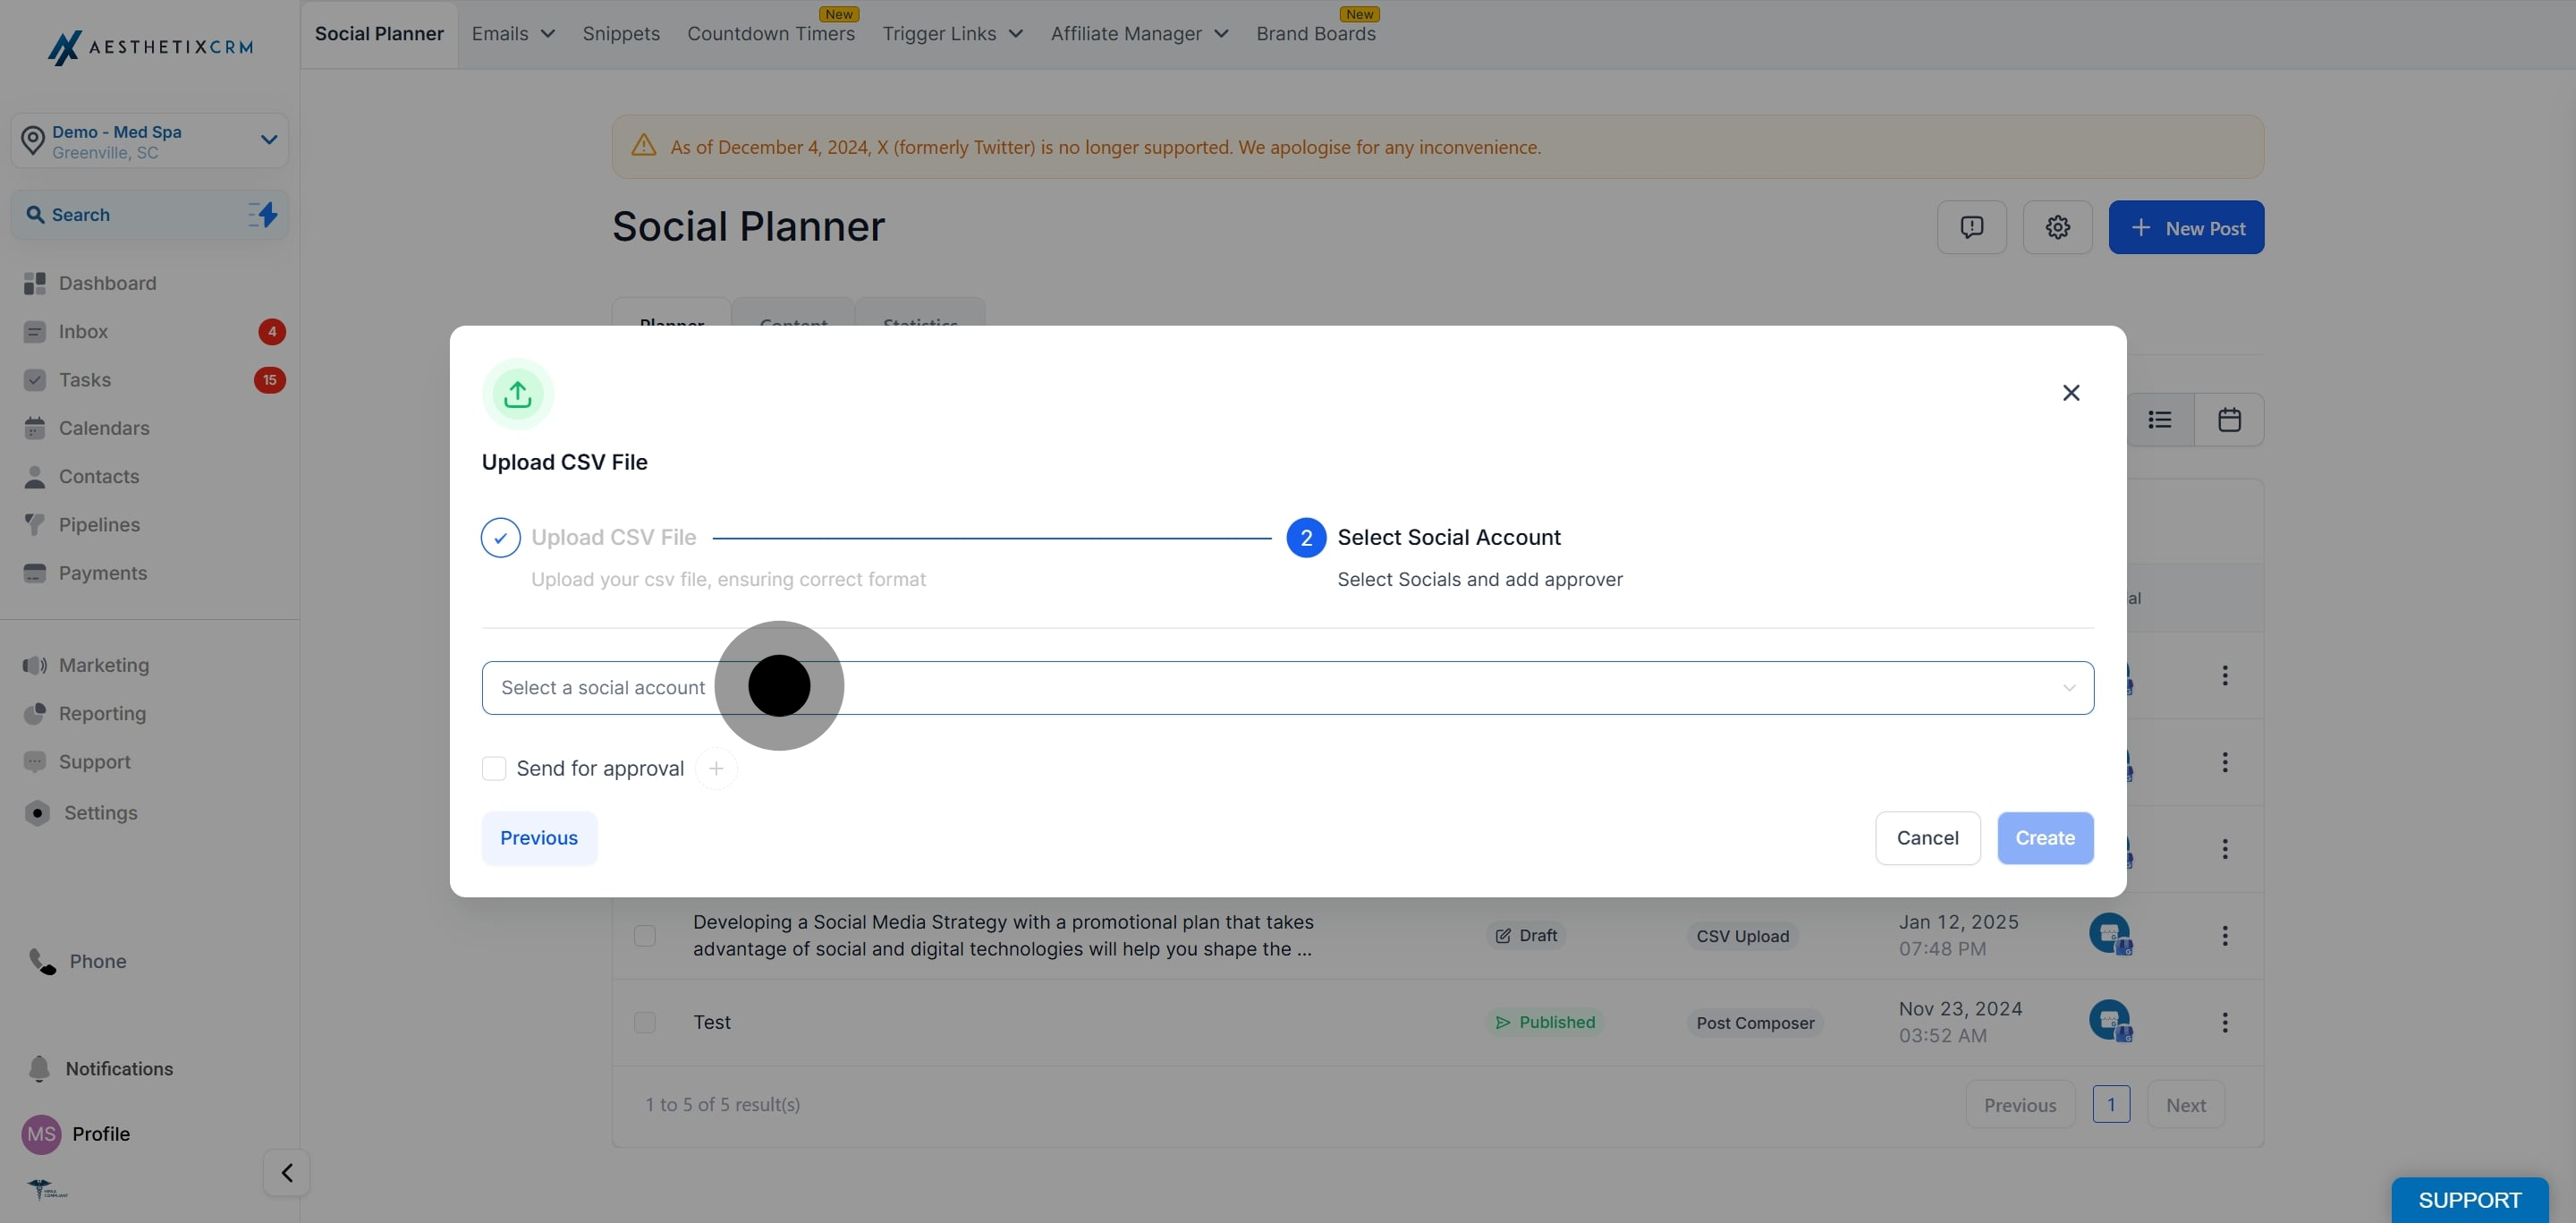
5. Select the Socials (platforms) where the post will be published.
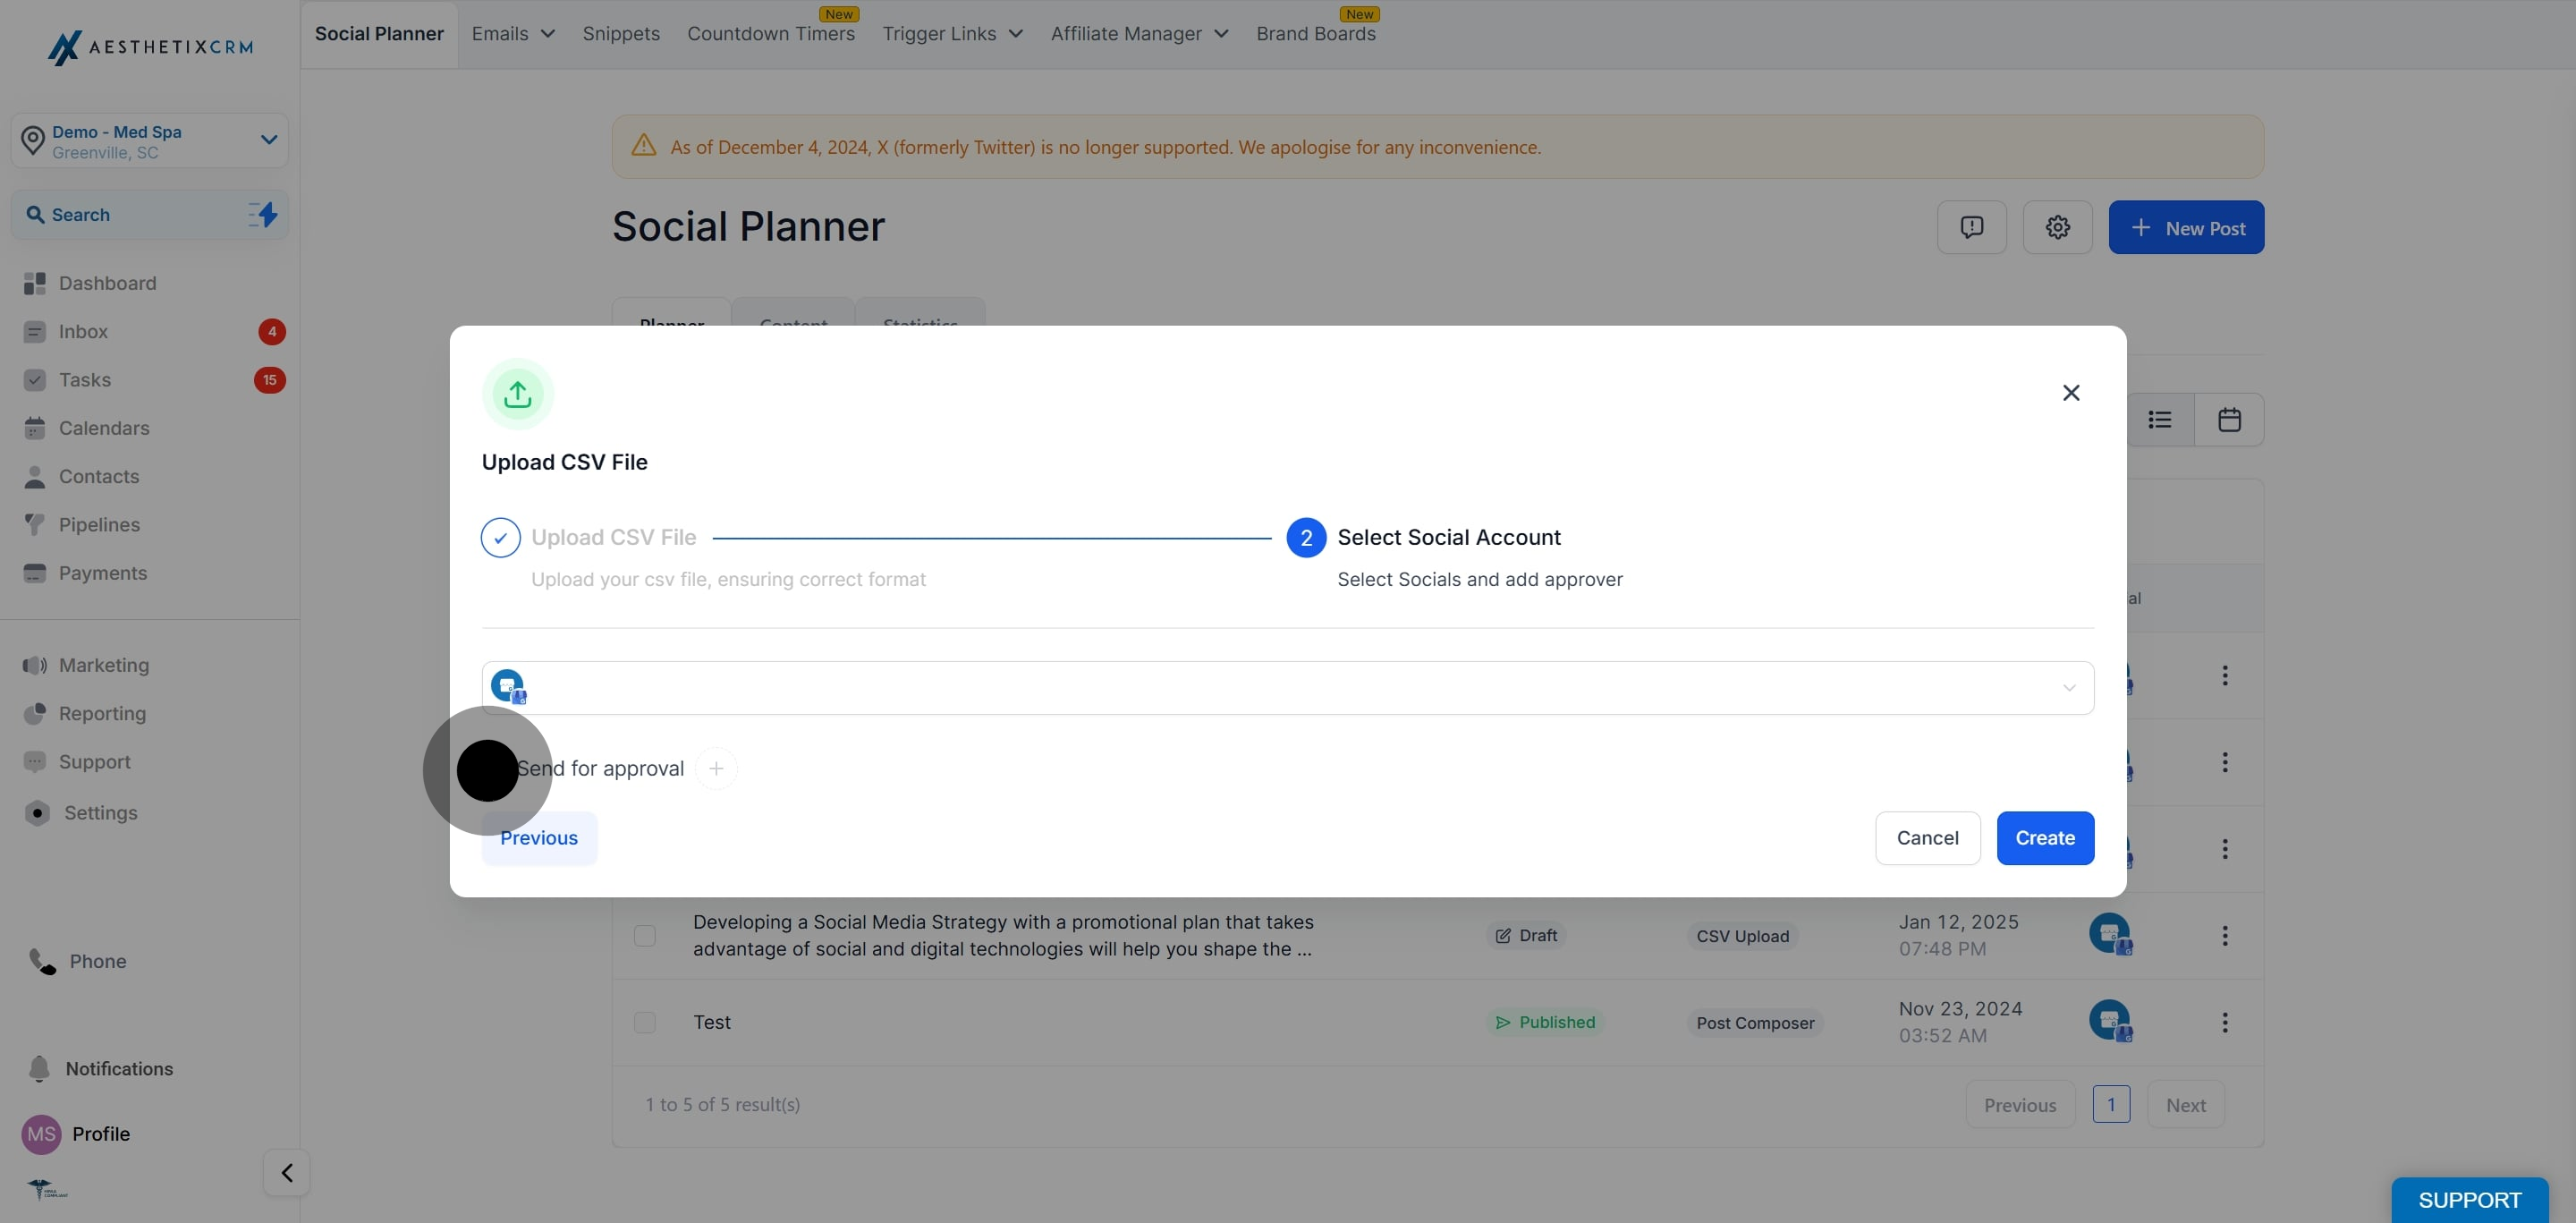
6. Click on the element.
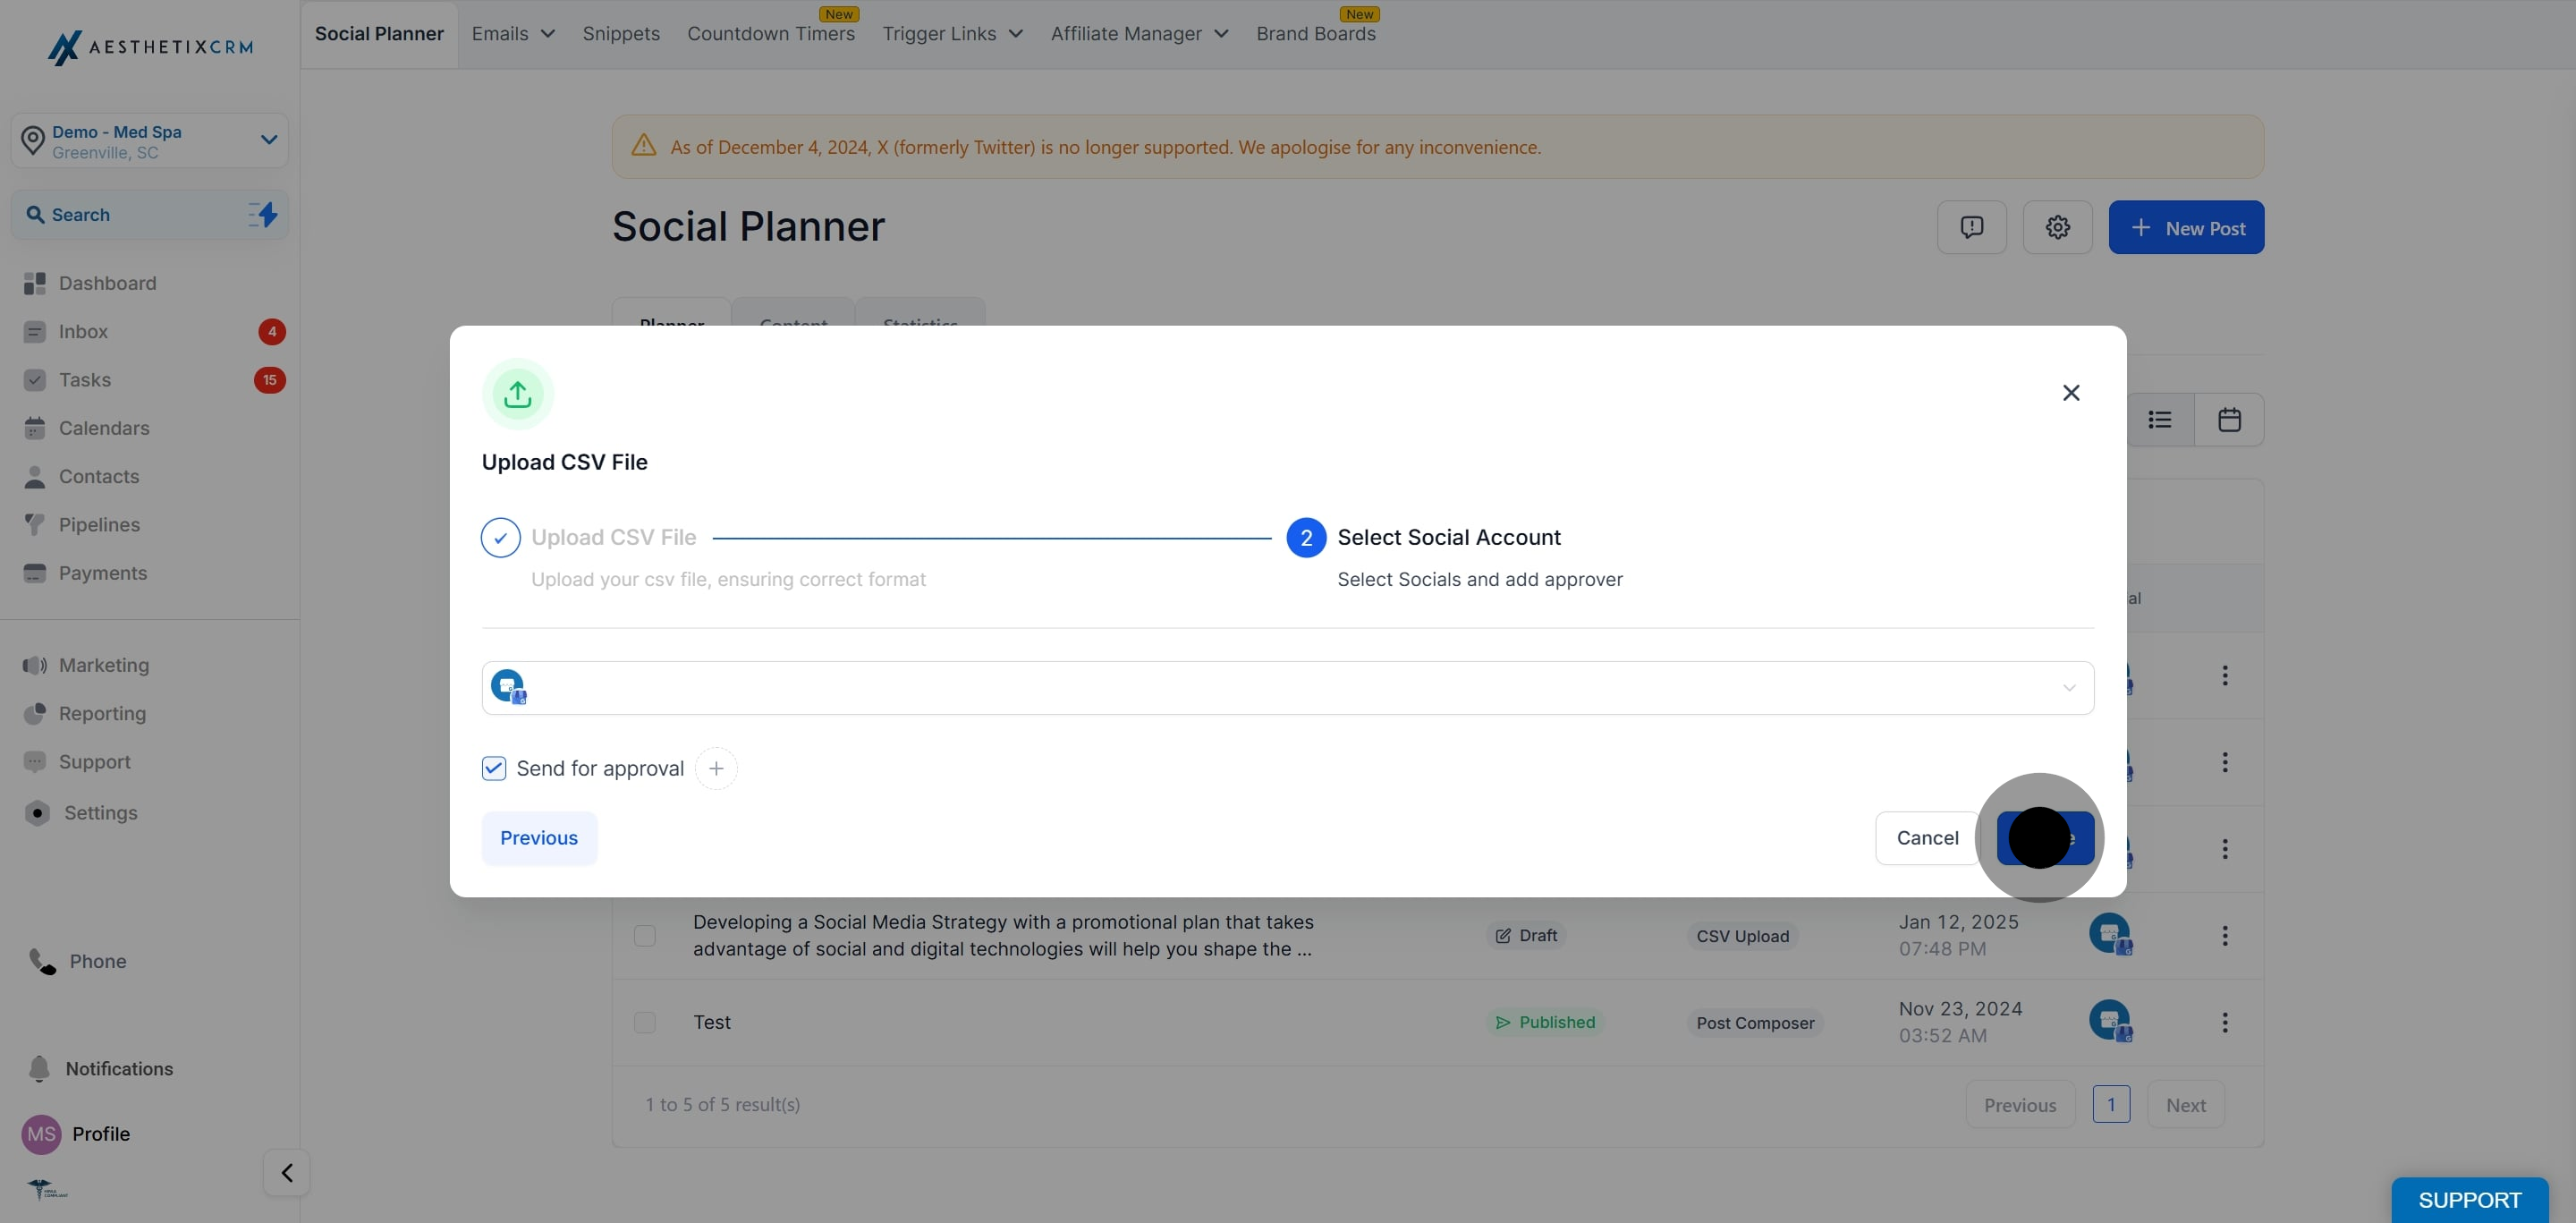
7. Choose the Approver who will review and approve the post.
8. Lastly, click Create to complete the process.
Did this answer your question?
😞
😐
😁
How to Schedule CSV for Bulk Post Approval | Aesthetix CRM