A Complete Guide to Implementing Manual Payment Methods in E-commerce Stores
Explore the essentials of integrating manual payment methods into your e-commerce store with this comprehensive guide. This article outlines the various types of manual payment options, such as cash on delivery, bank transfers, and checks, and discusses their benefits and challenges. You'll learn step-by-step instructions on how to set up these payment methods within your online platform, along with best practices for ensuring a smooth transaction process for your customers. Perfect for e-commerce entrepreneurs looking to expand payment flexibility and enhance customer trust, this guide will empower you to effectively incorporate manual payment solutions into your business strategy. Streamline your transactions and cater to a wider audience with manual payment methods!
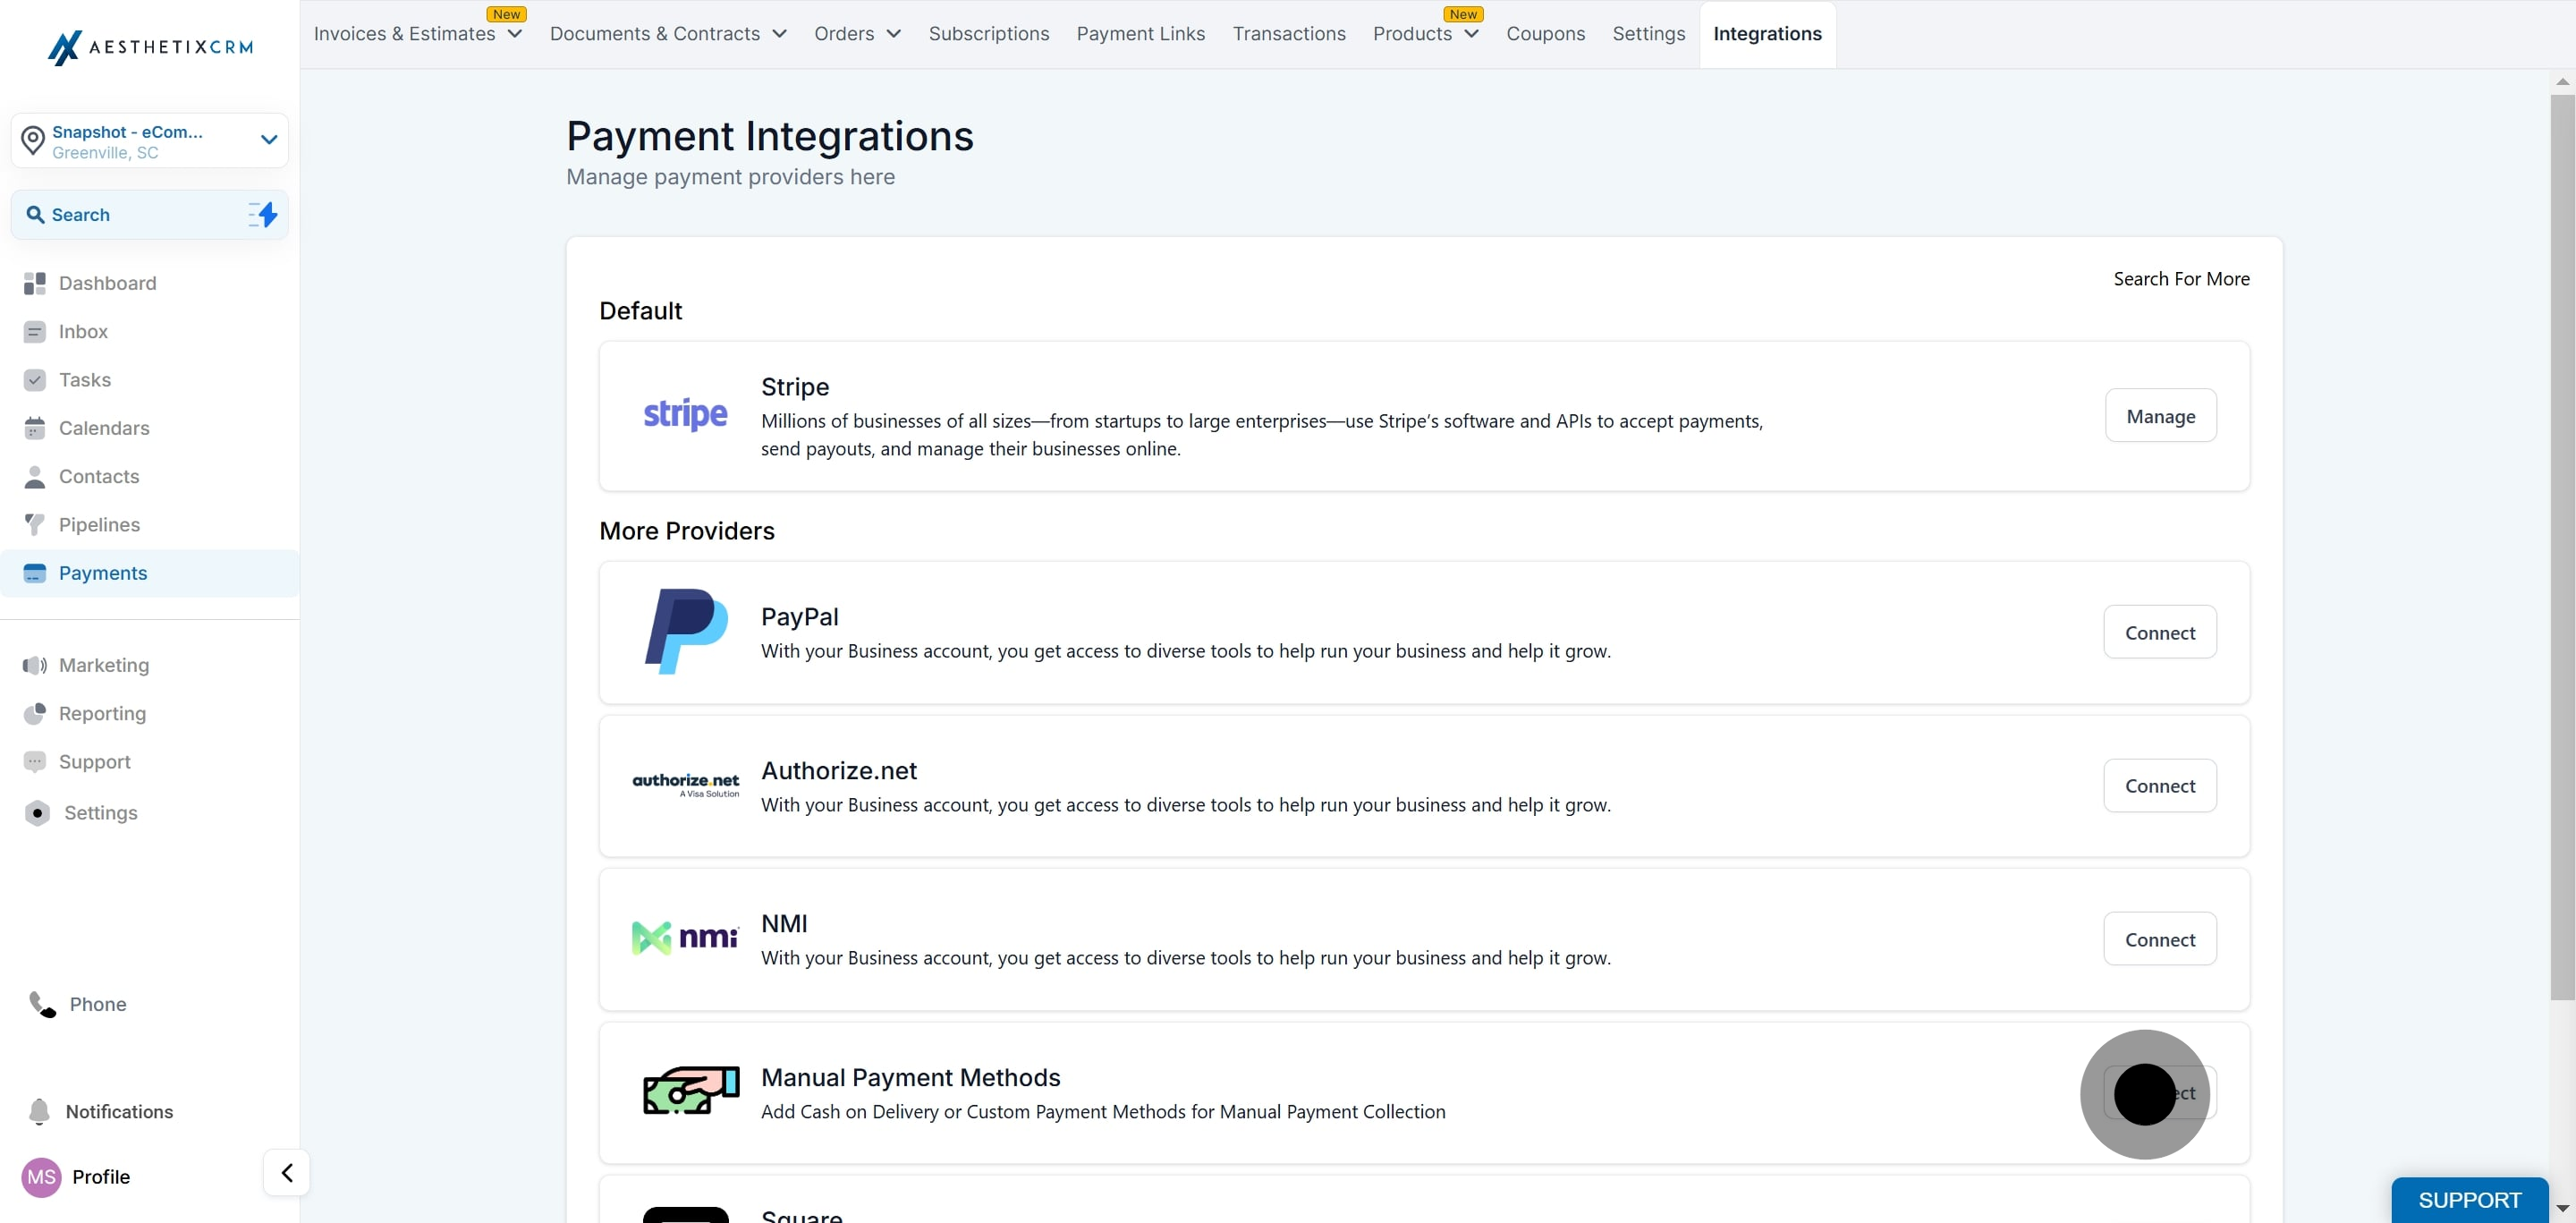
2. Click on the "Integrations" tab.
3. Select the option to "Manage Payment Methods."
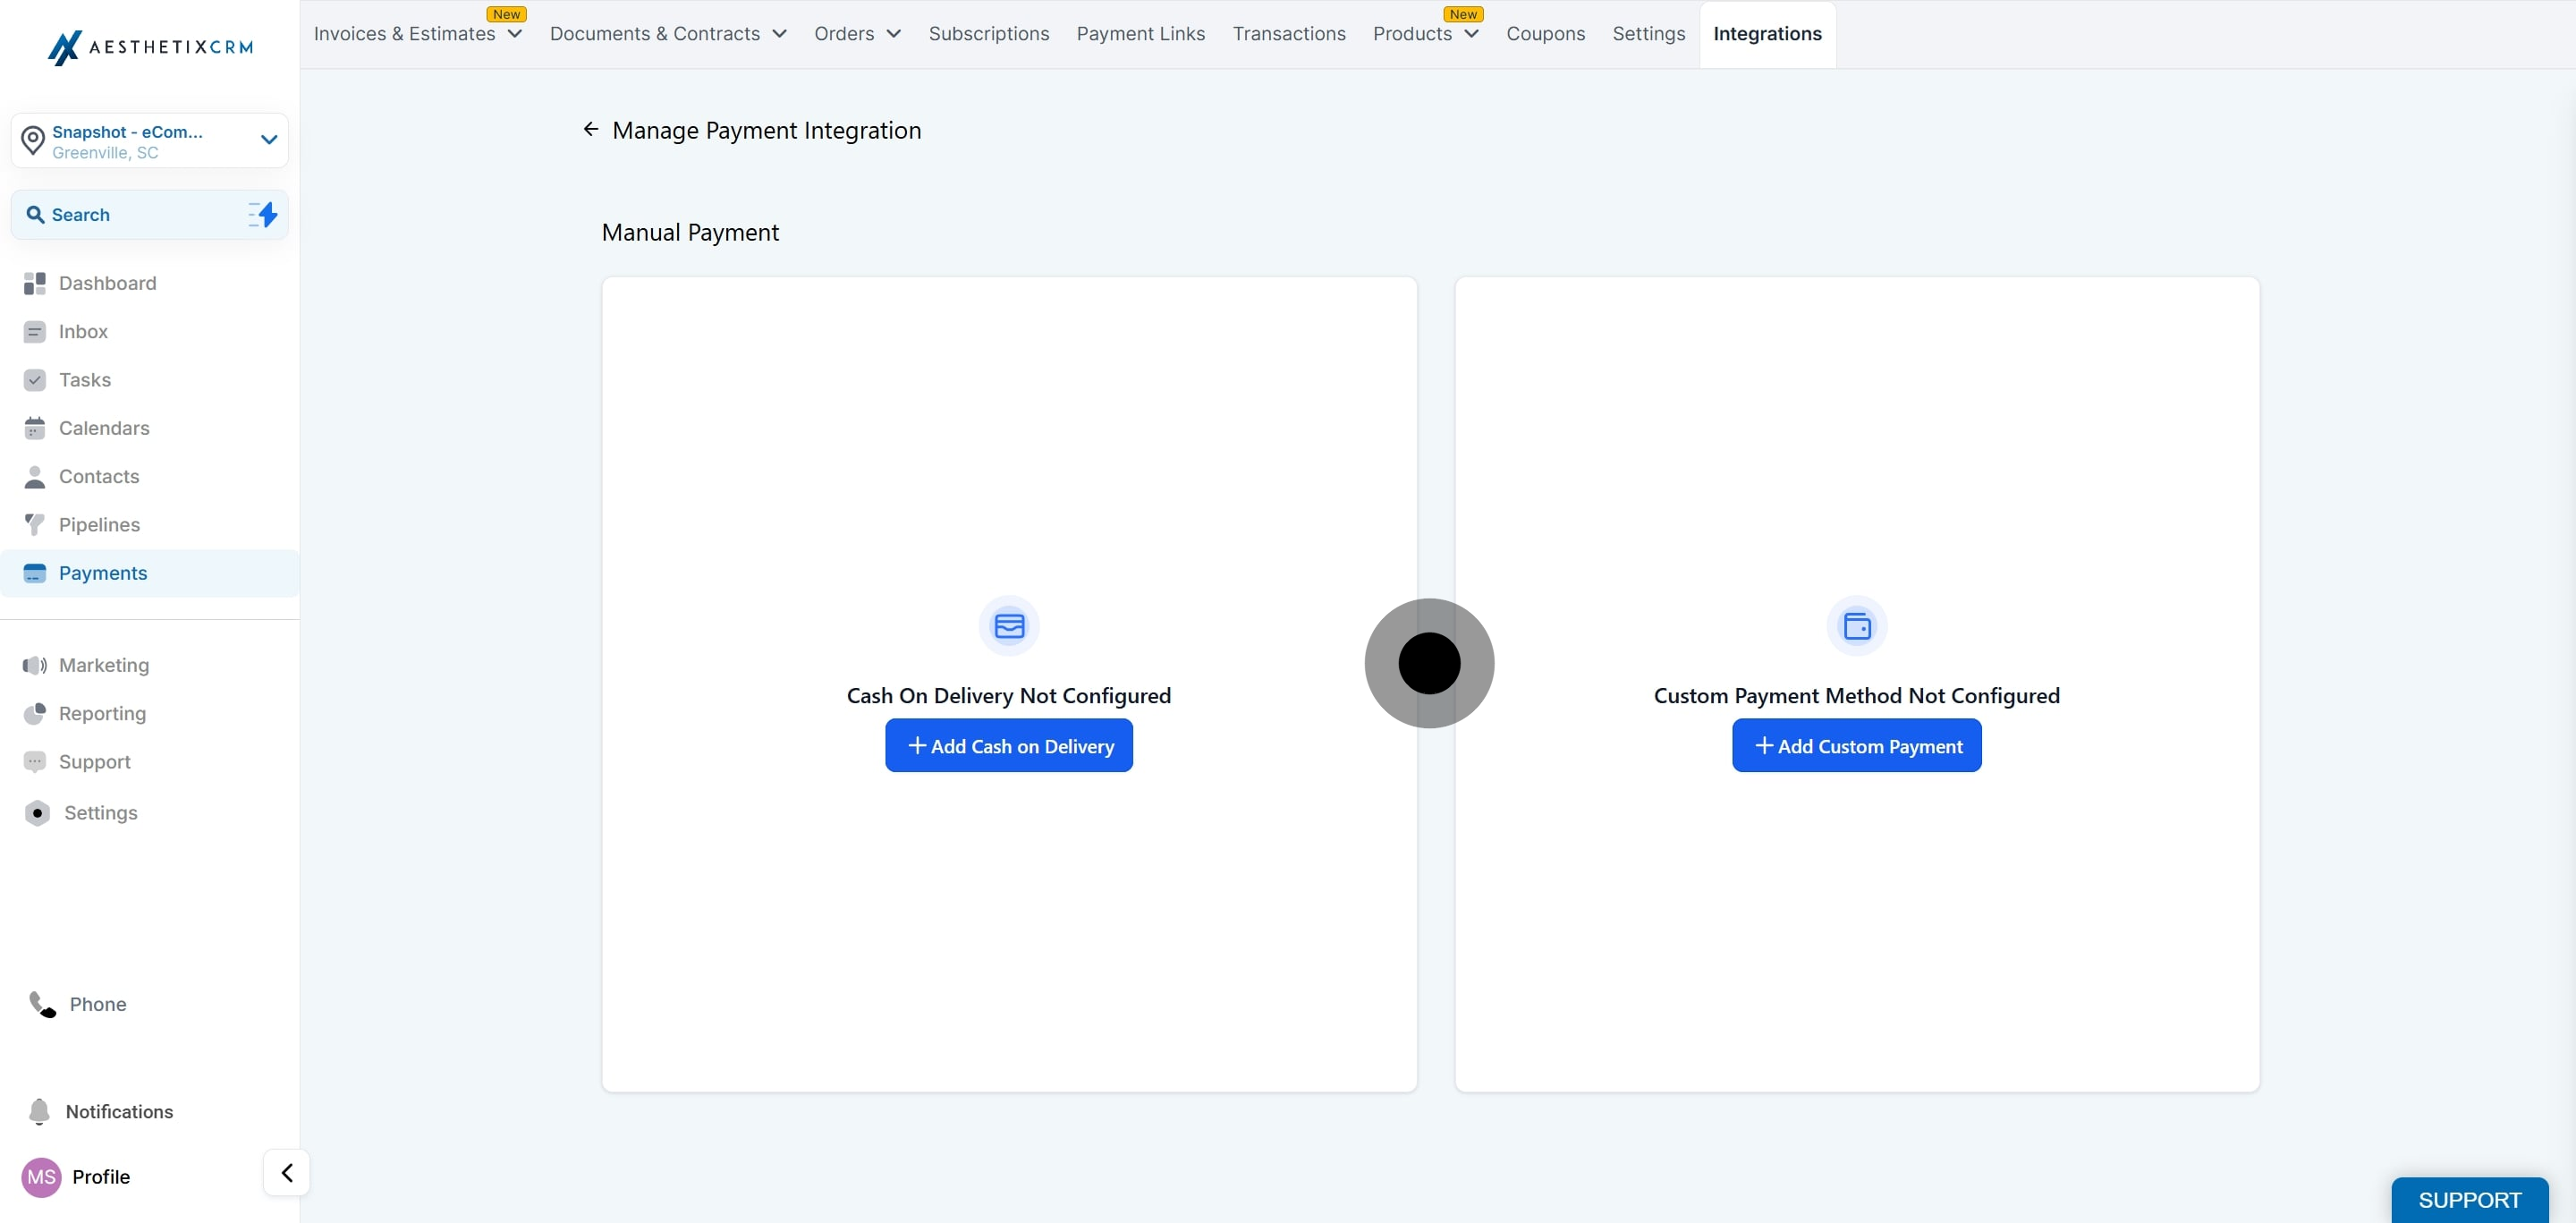
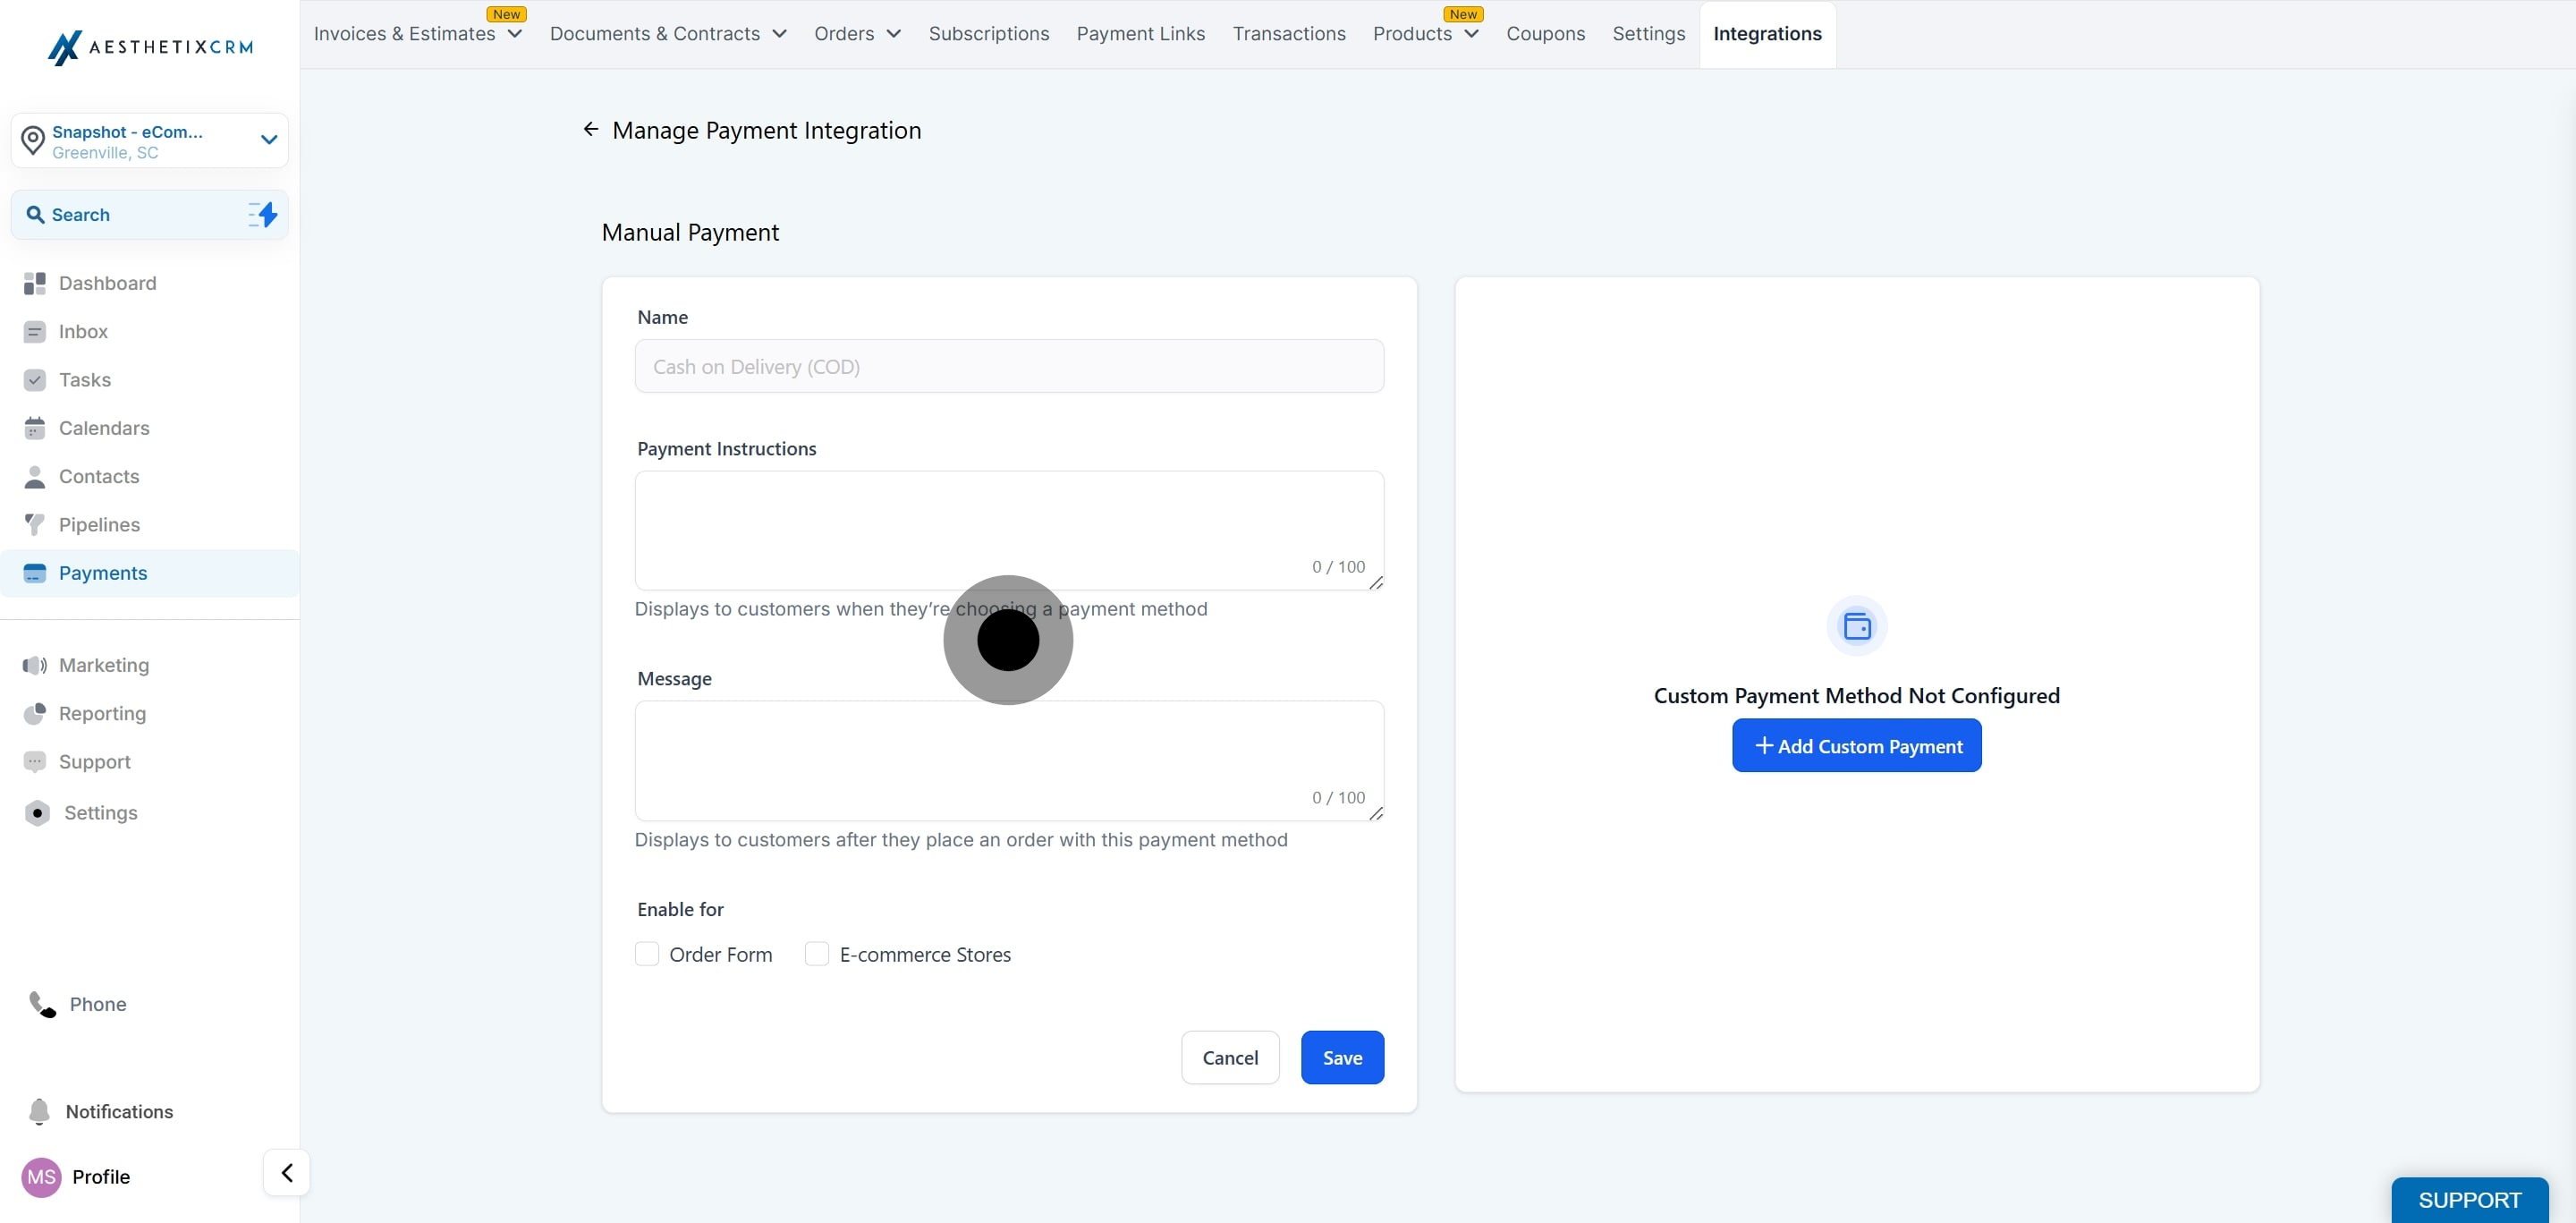
4. Choose between "Cash on Delivery" or creating a Custom Payment Method to suit your needs.
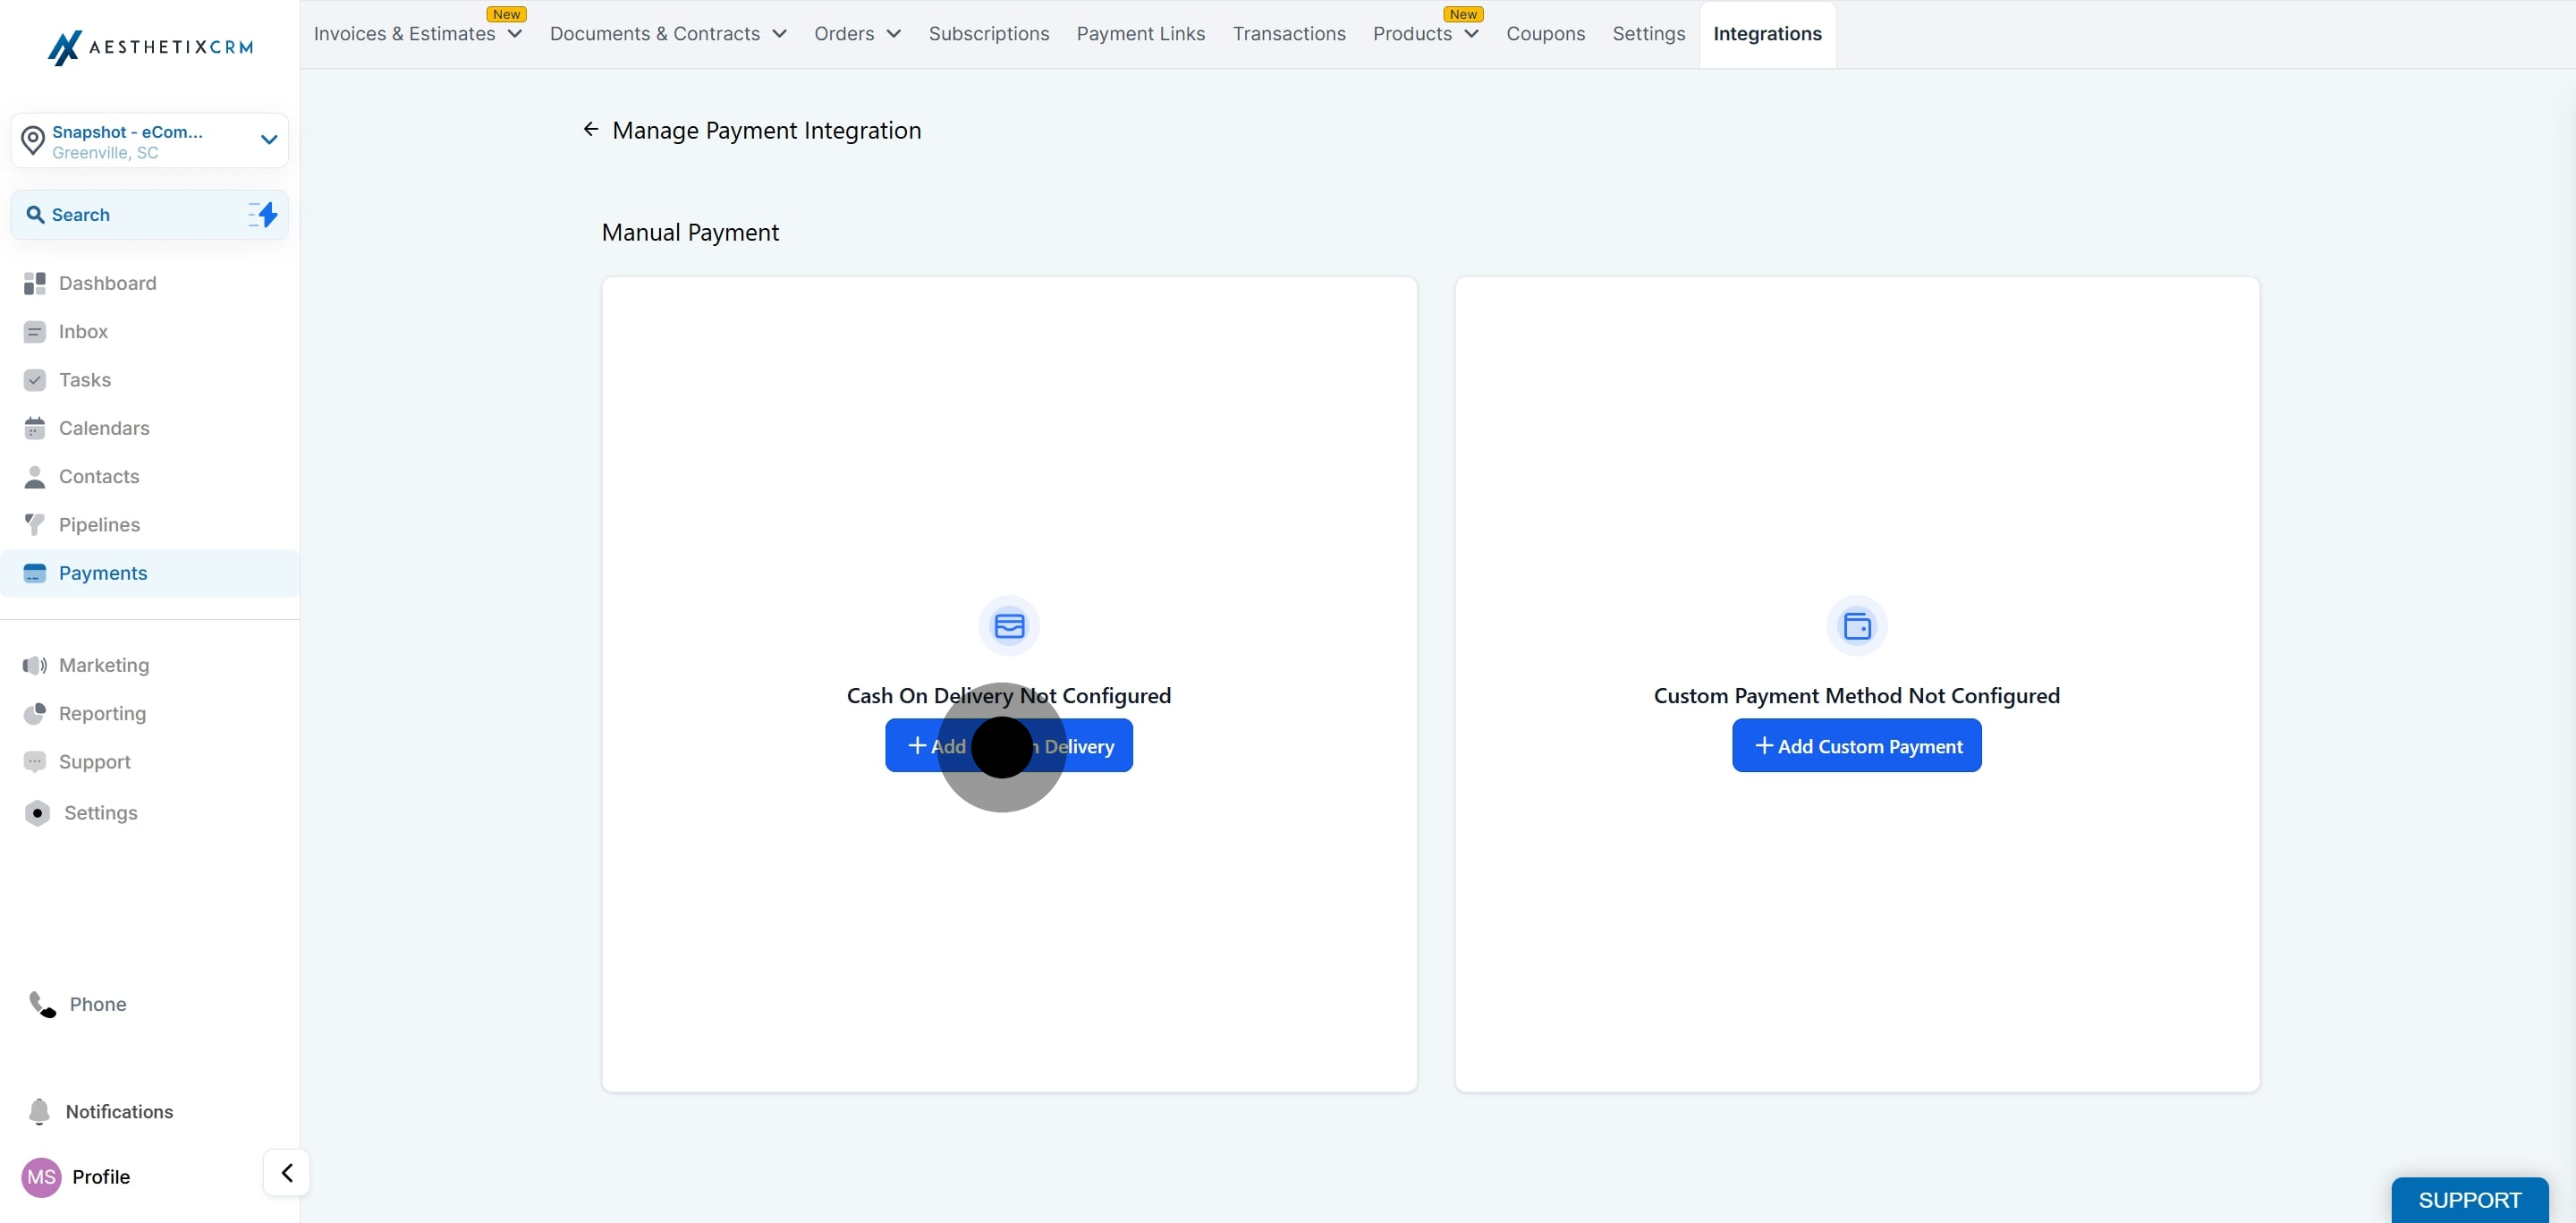
5. Add the payment method of your choice.
6. Configure optional fields, including Payment Instructions and Messages, to provide clarity for users.
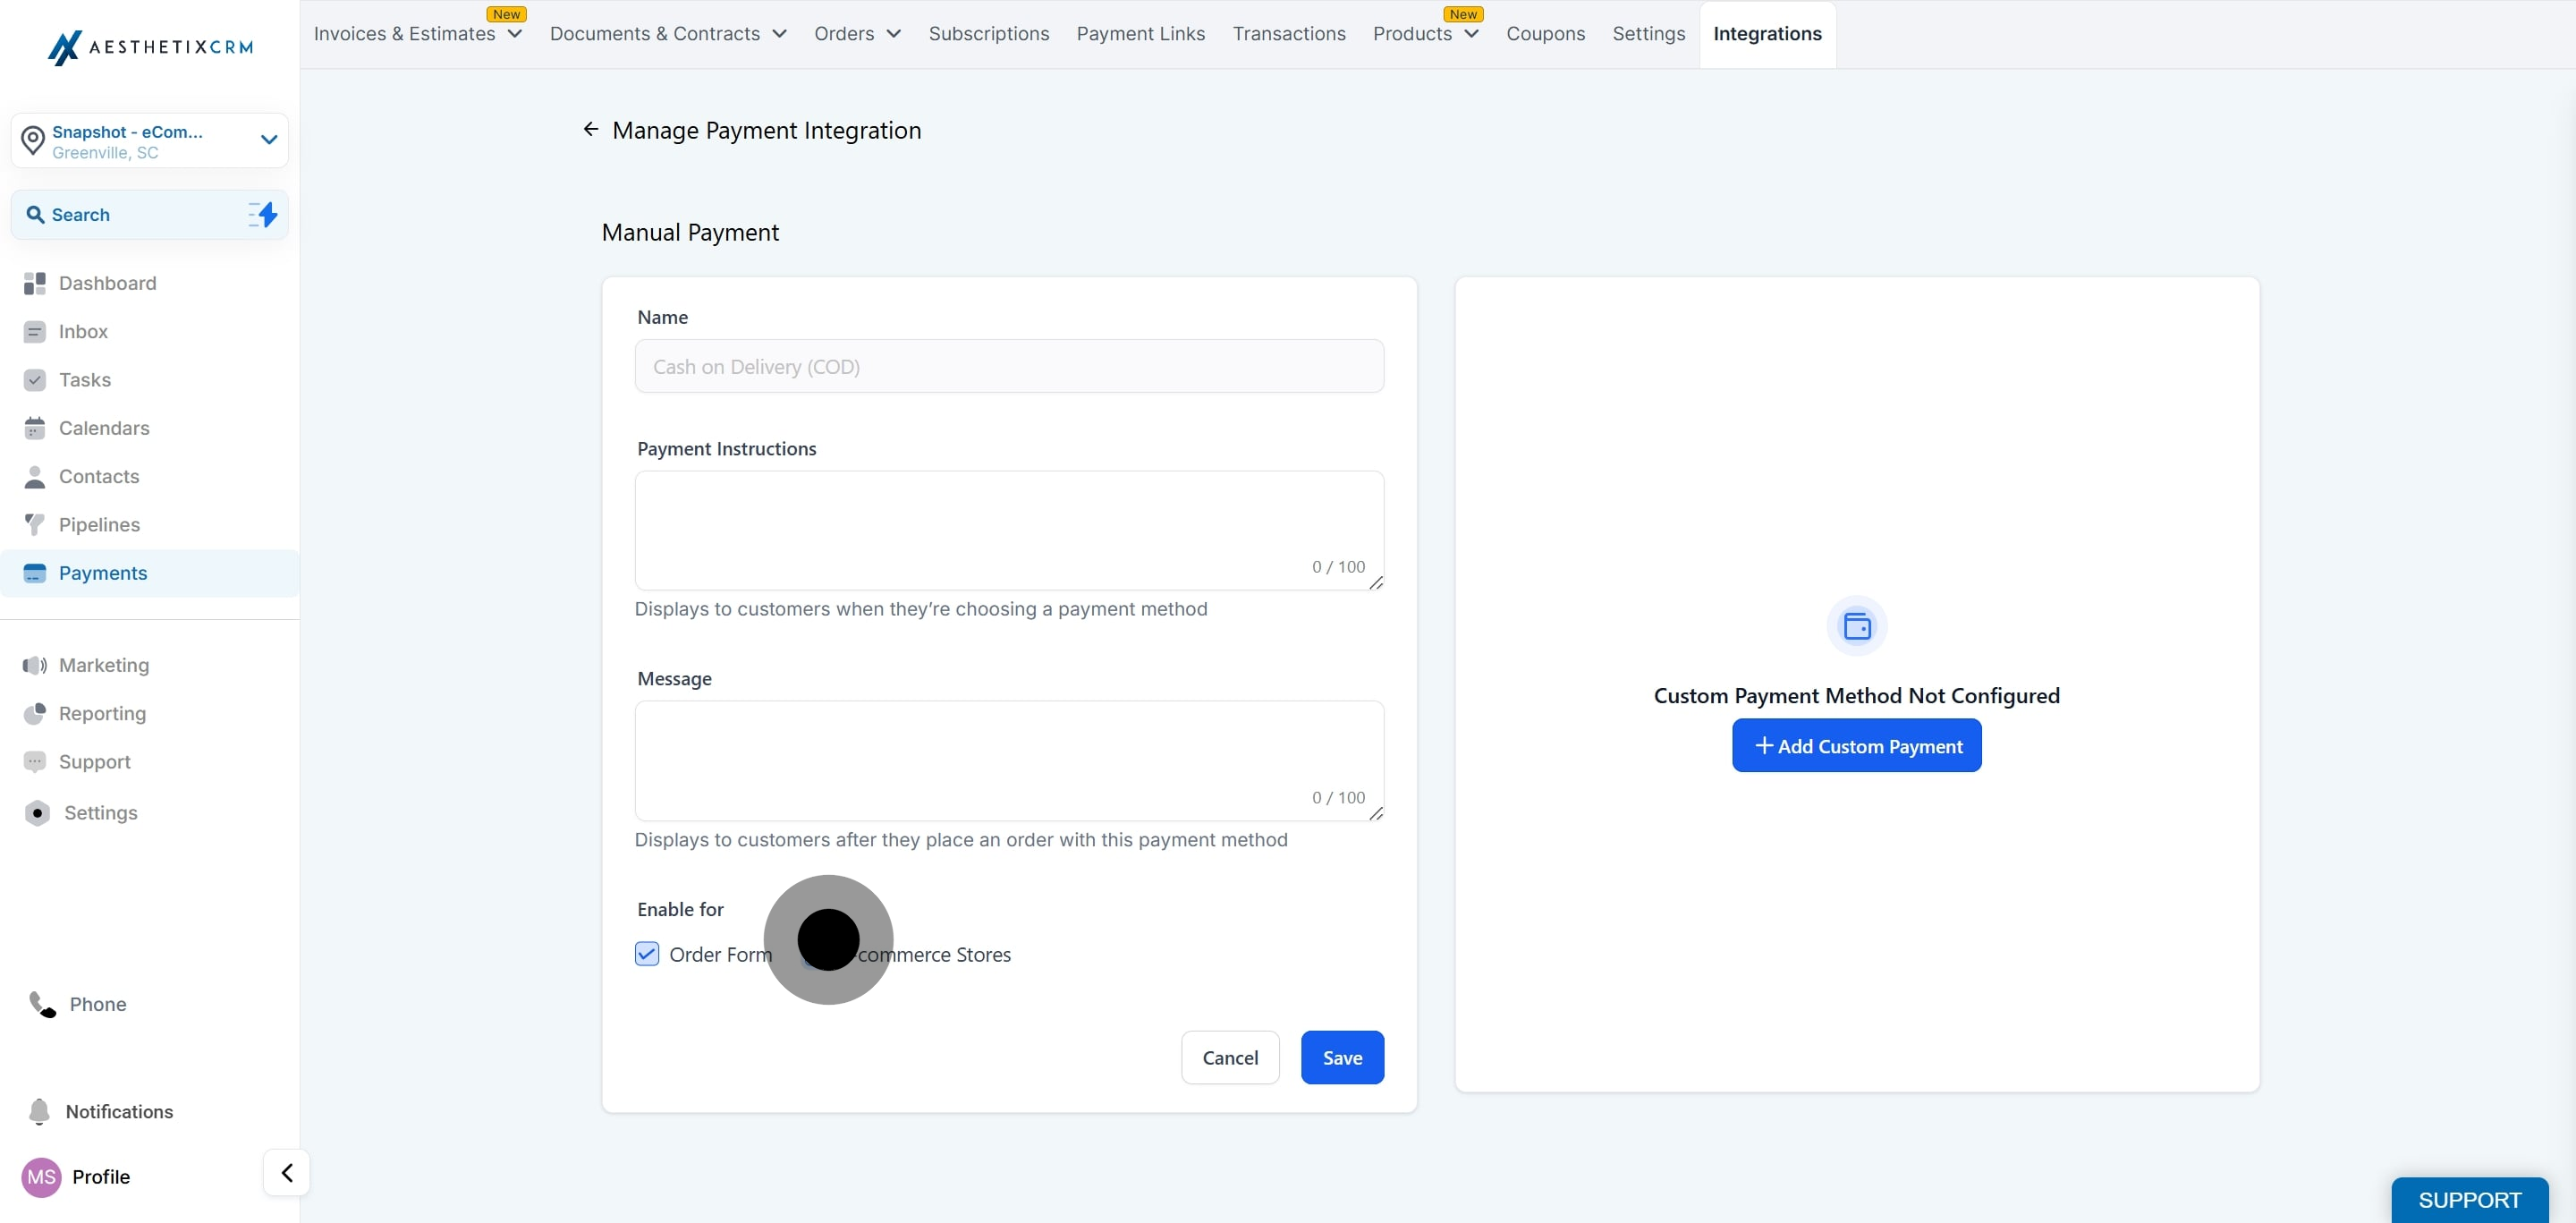
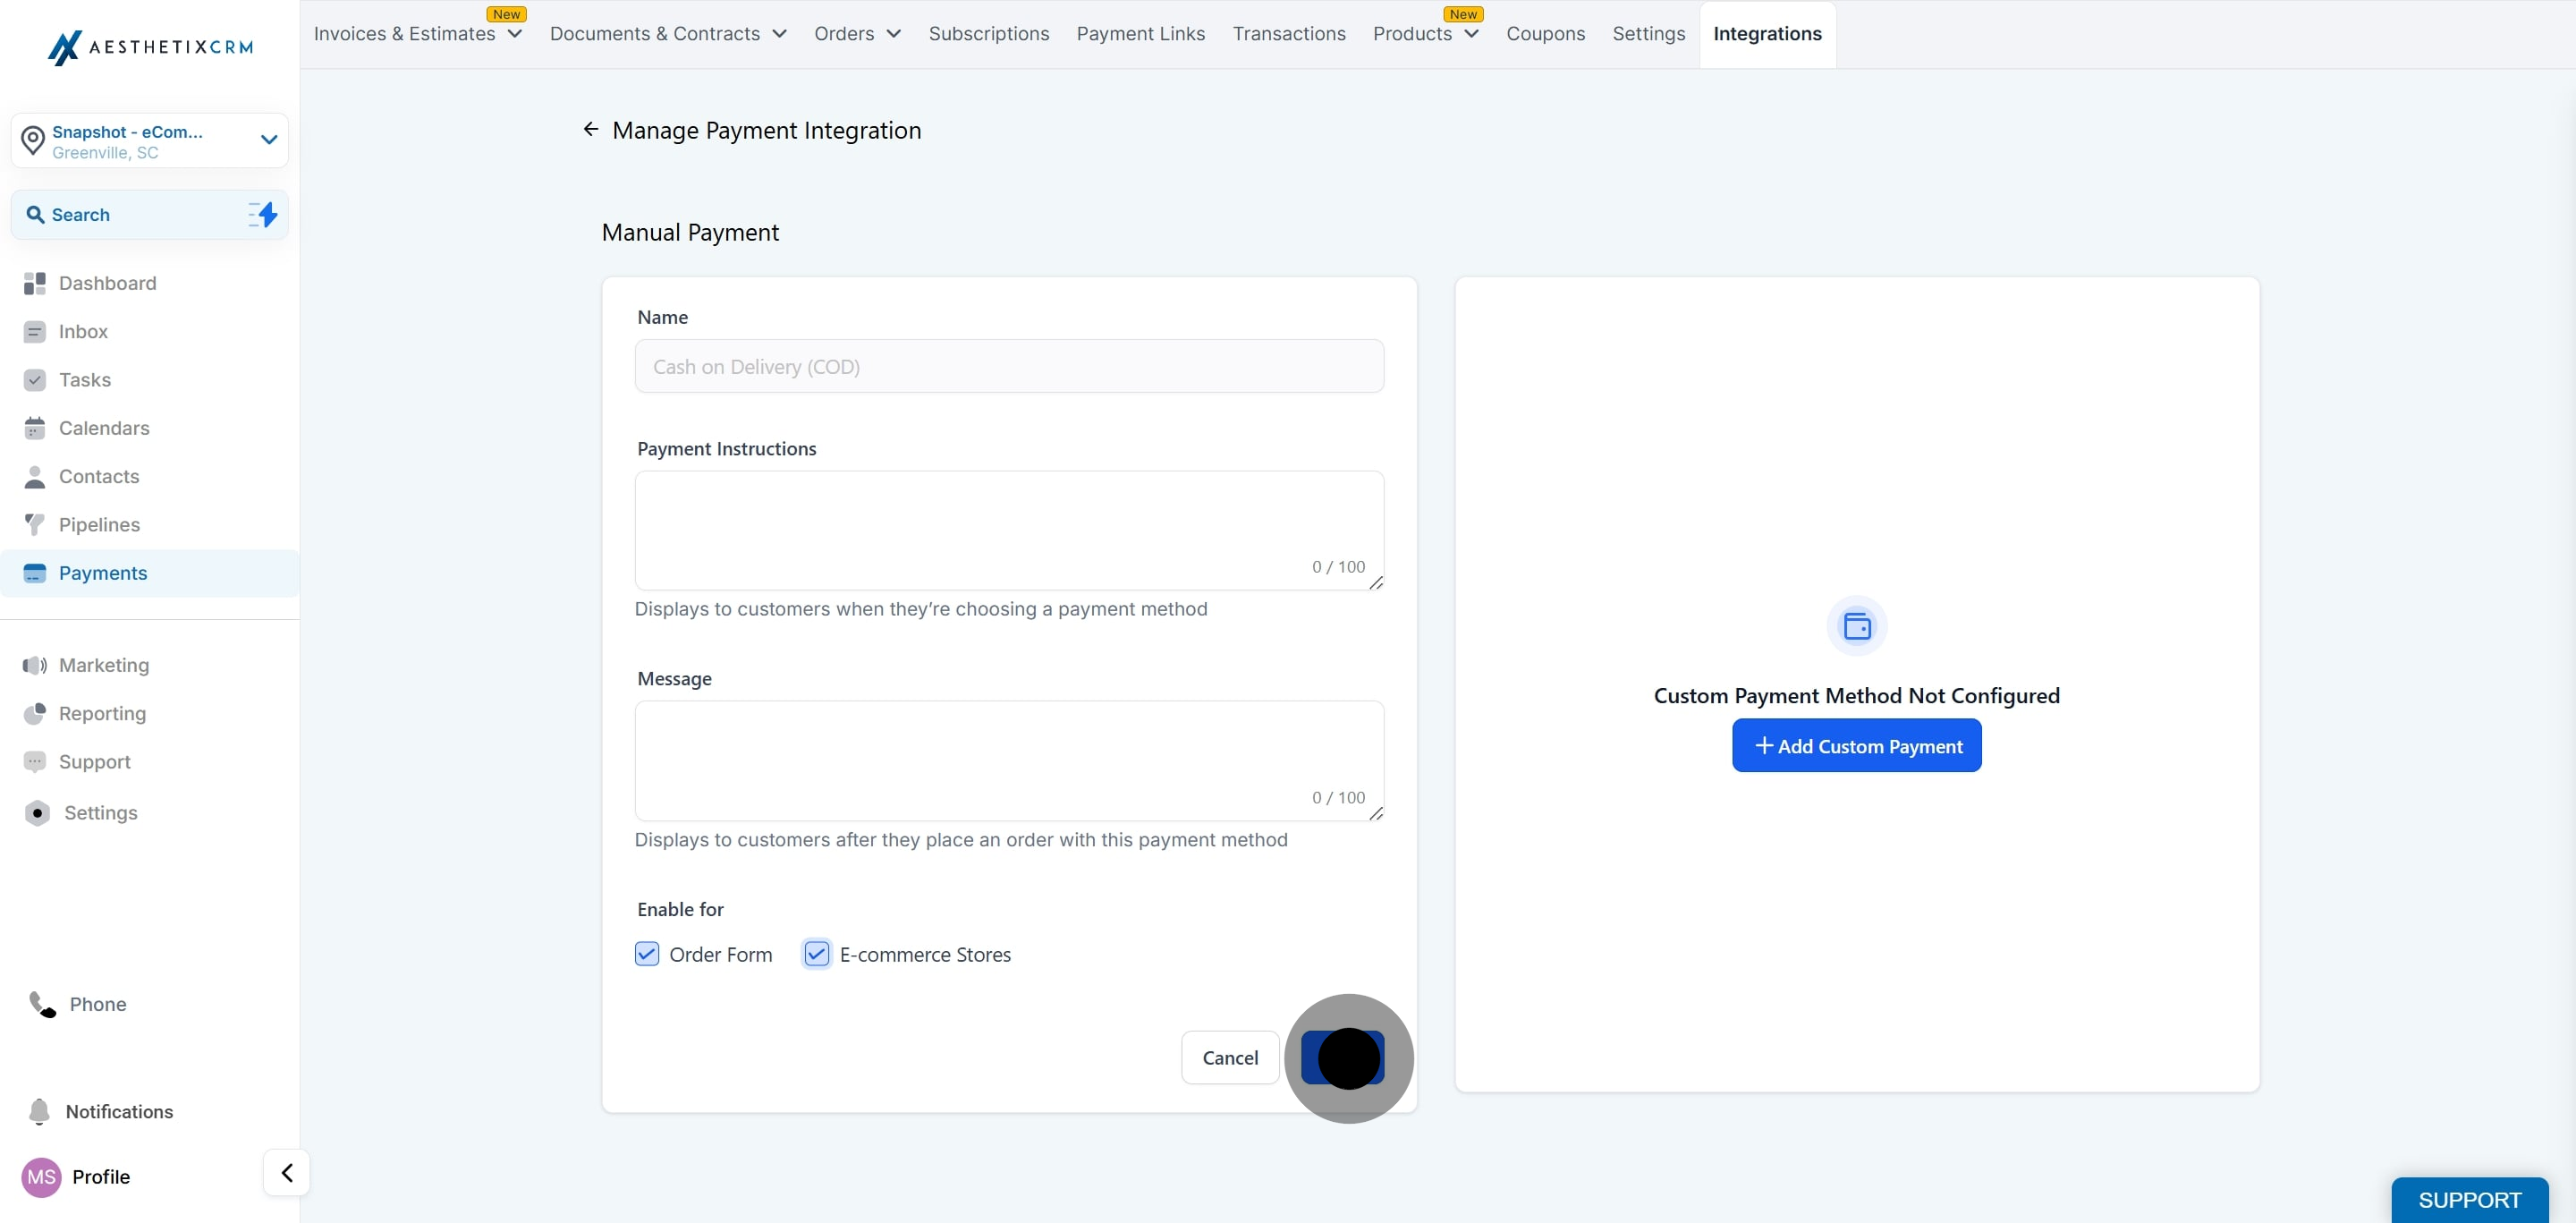
7. Decide whether to enable the manual payment method for Order Forms or E-commerce Stores, ensuring it appears at checkout only when activated.
8. Save your configurations by clicking the "Save" button
Did this answer your question?
😞
😐
😁
A Complete Guide to Implementing Manual Payment Methods in E-commerce Stores | Aesthetix CRM