How to Set Up Automatic Abandoned Cart Checkout Emails
Reclaim lost sales and enhance customer engagement with this essential guide on setting up automatic abandoned cart checkout emails in Aesthetix. This article covers the step-by-step process for configuring automated email reminders that target customers who leave items in their carts without completing the purchase. You'll learn how to customize your email templates, optimize timing for maximum impact, and incorporate persuasive elements to encourage conversions. With actionable tips and best practices, this guide is ideal for online retailers looking to reduce cart abandonment rates and drive revenue growth. Transform your cart recovery strategy and boost your online store's success with Aesthetix!
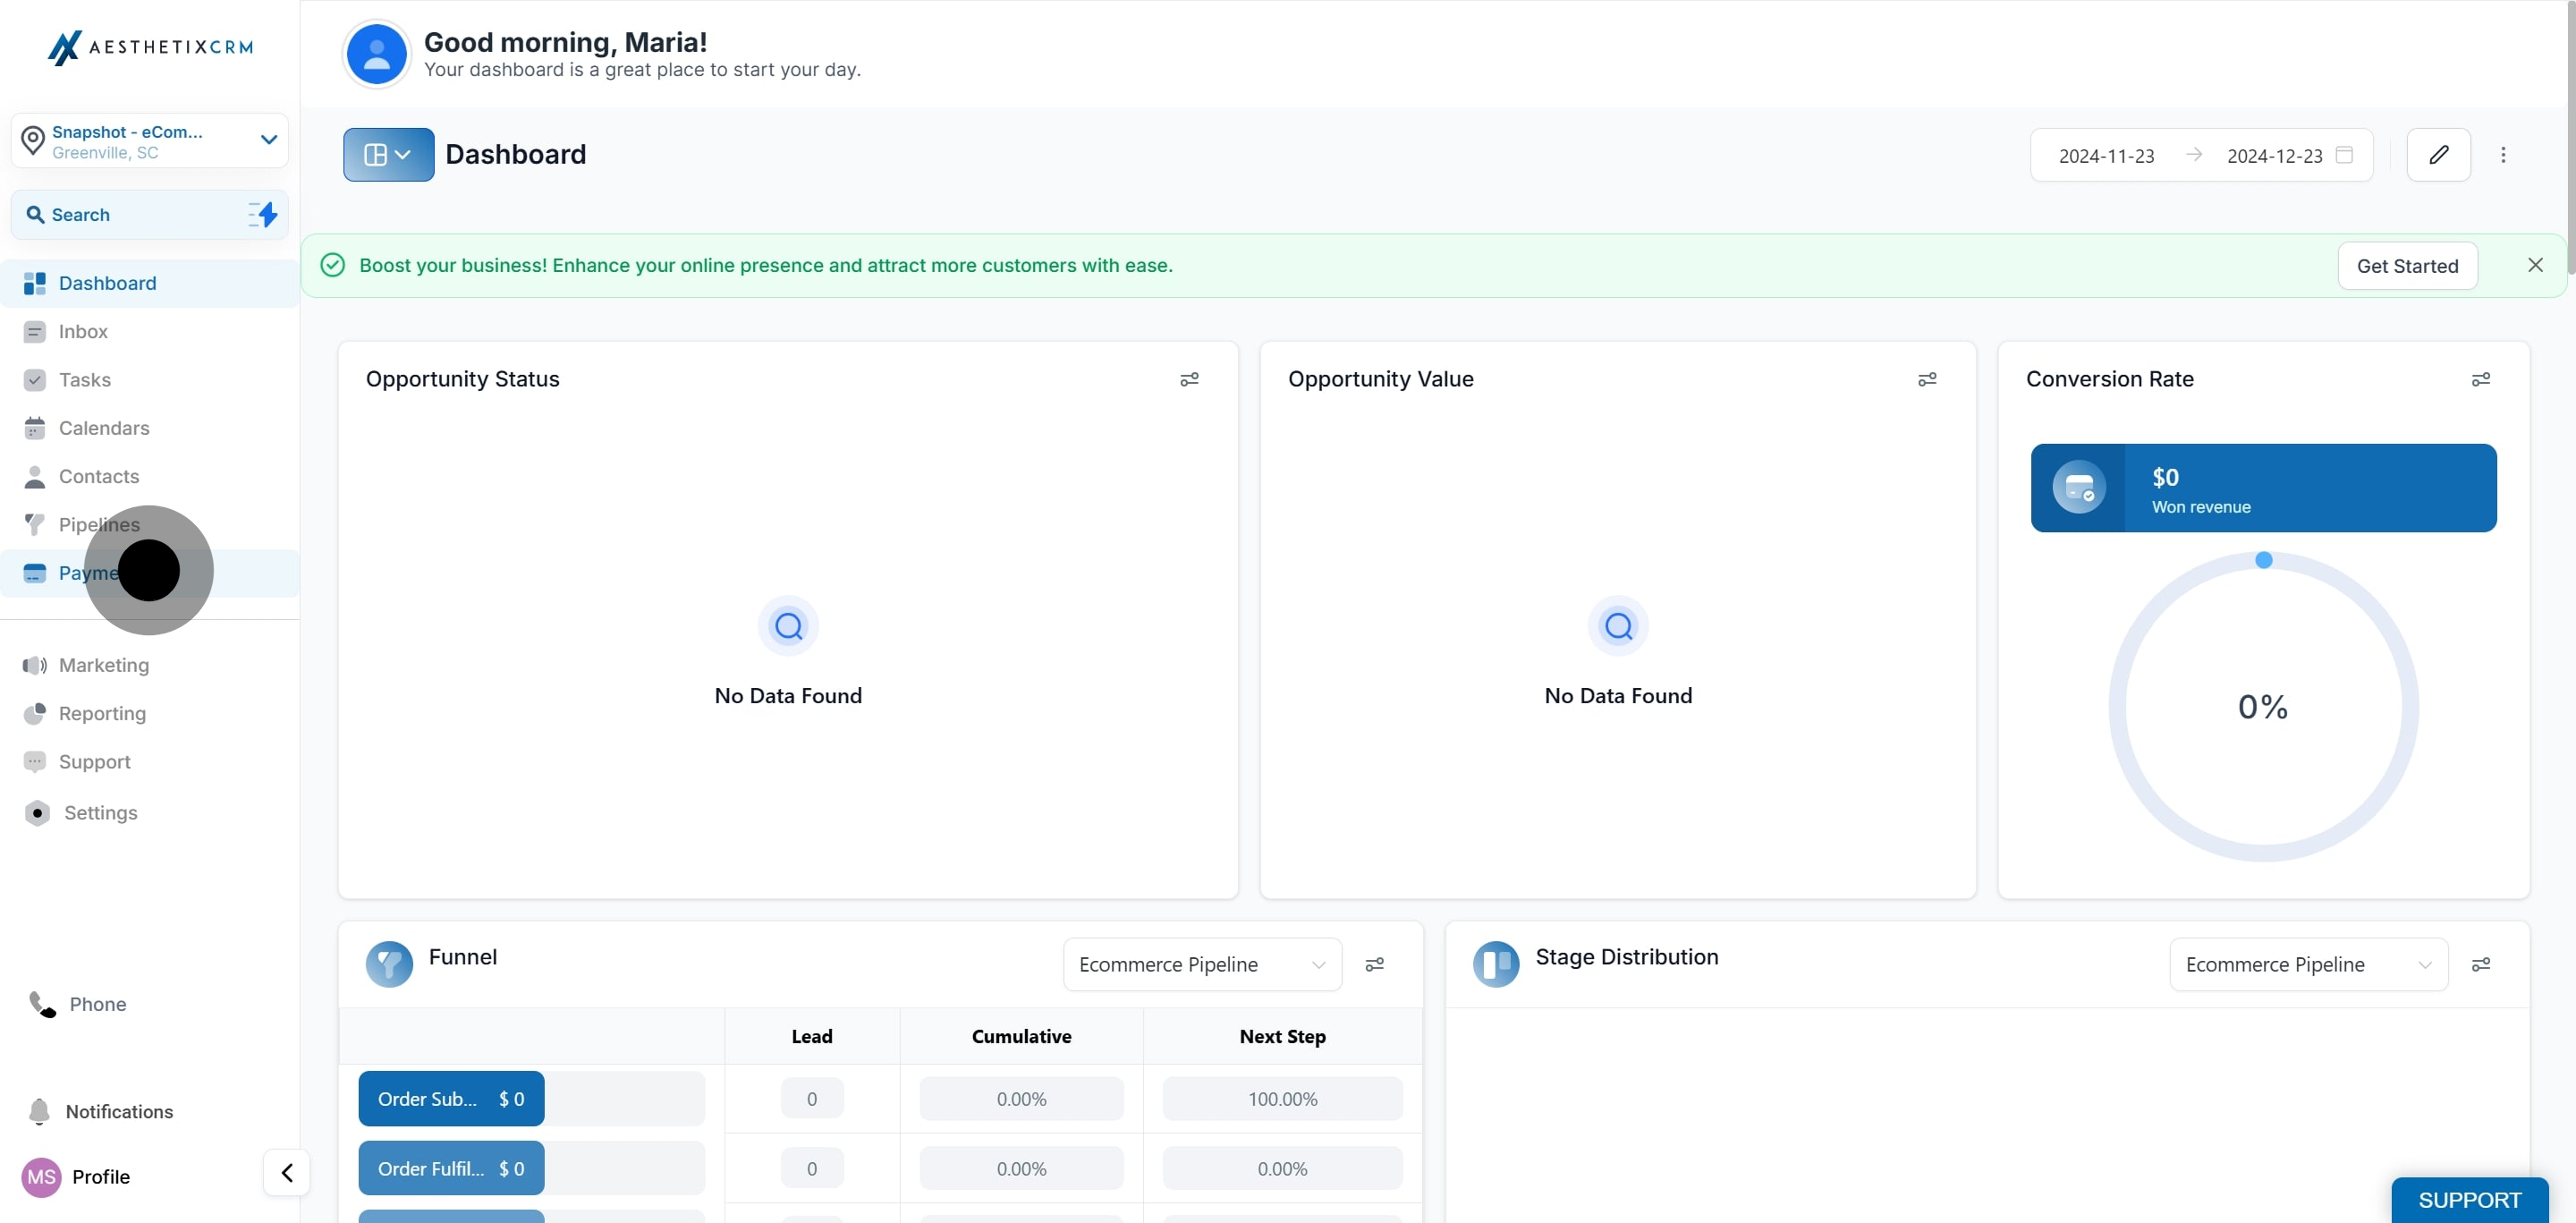
1. Navigate to the "Payments" section.
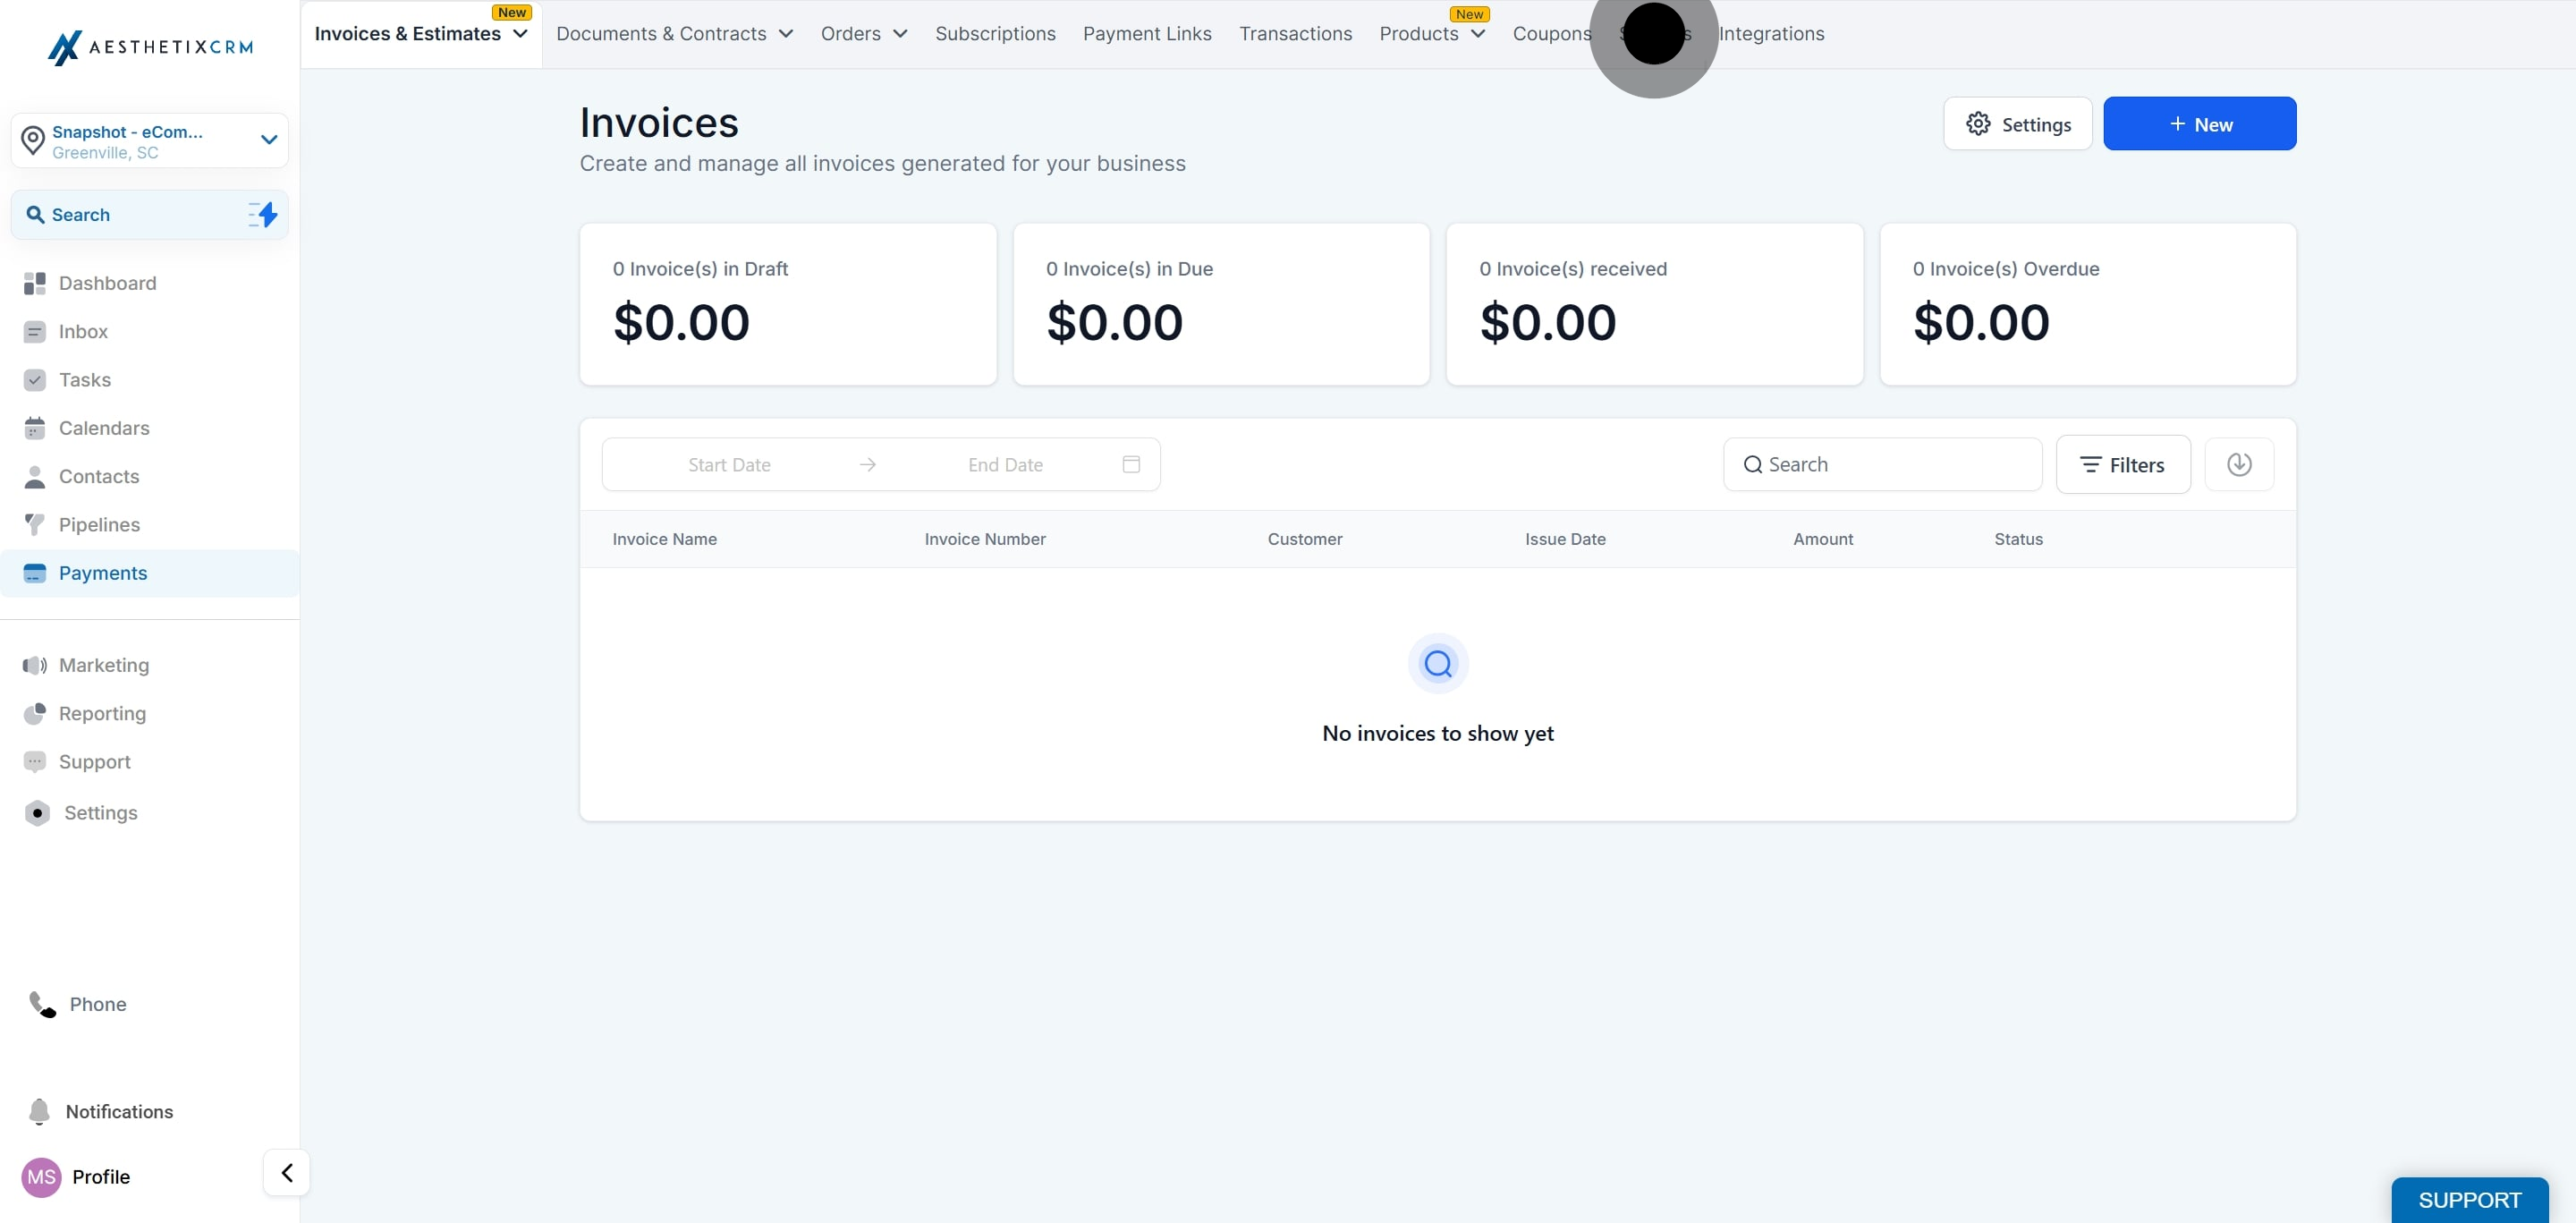
2. Next up, click on "Settings" in the menu.
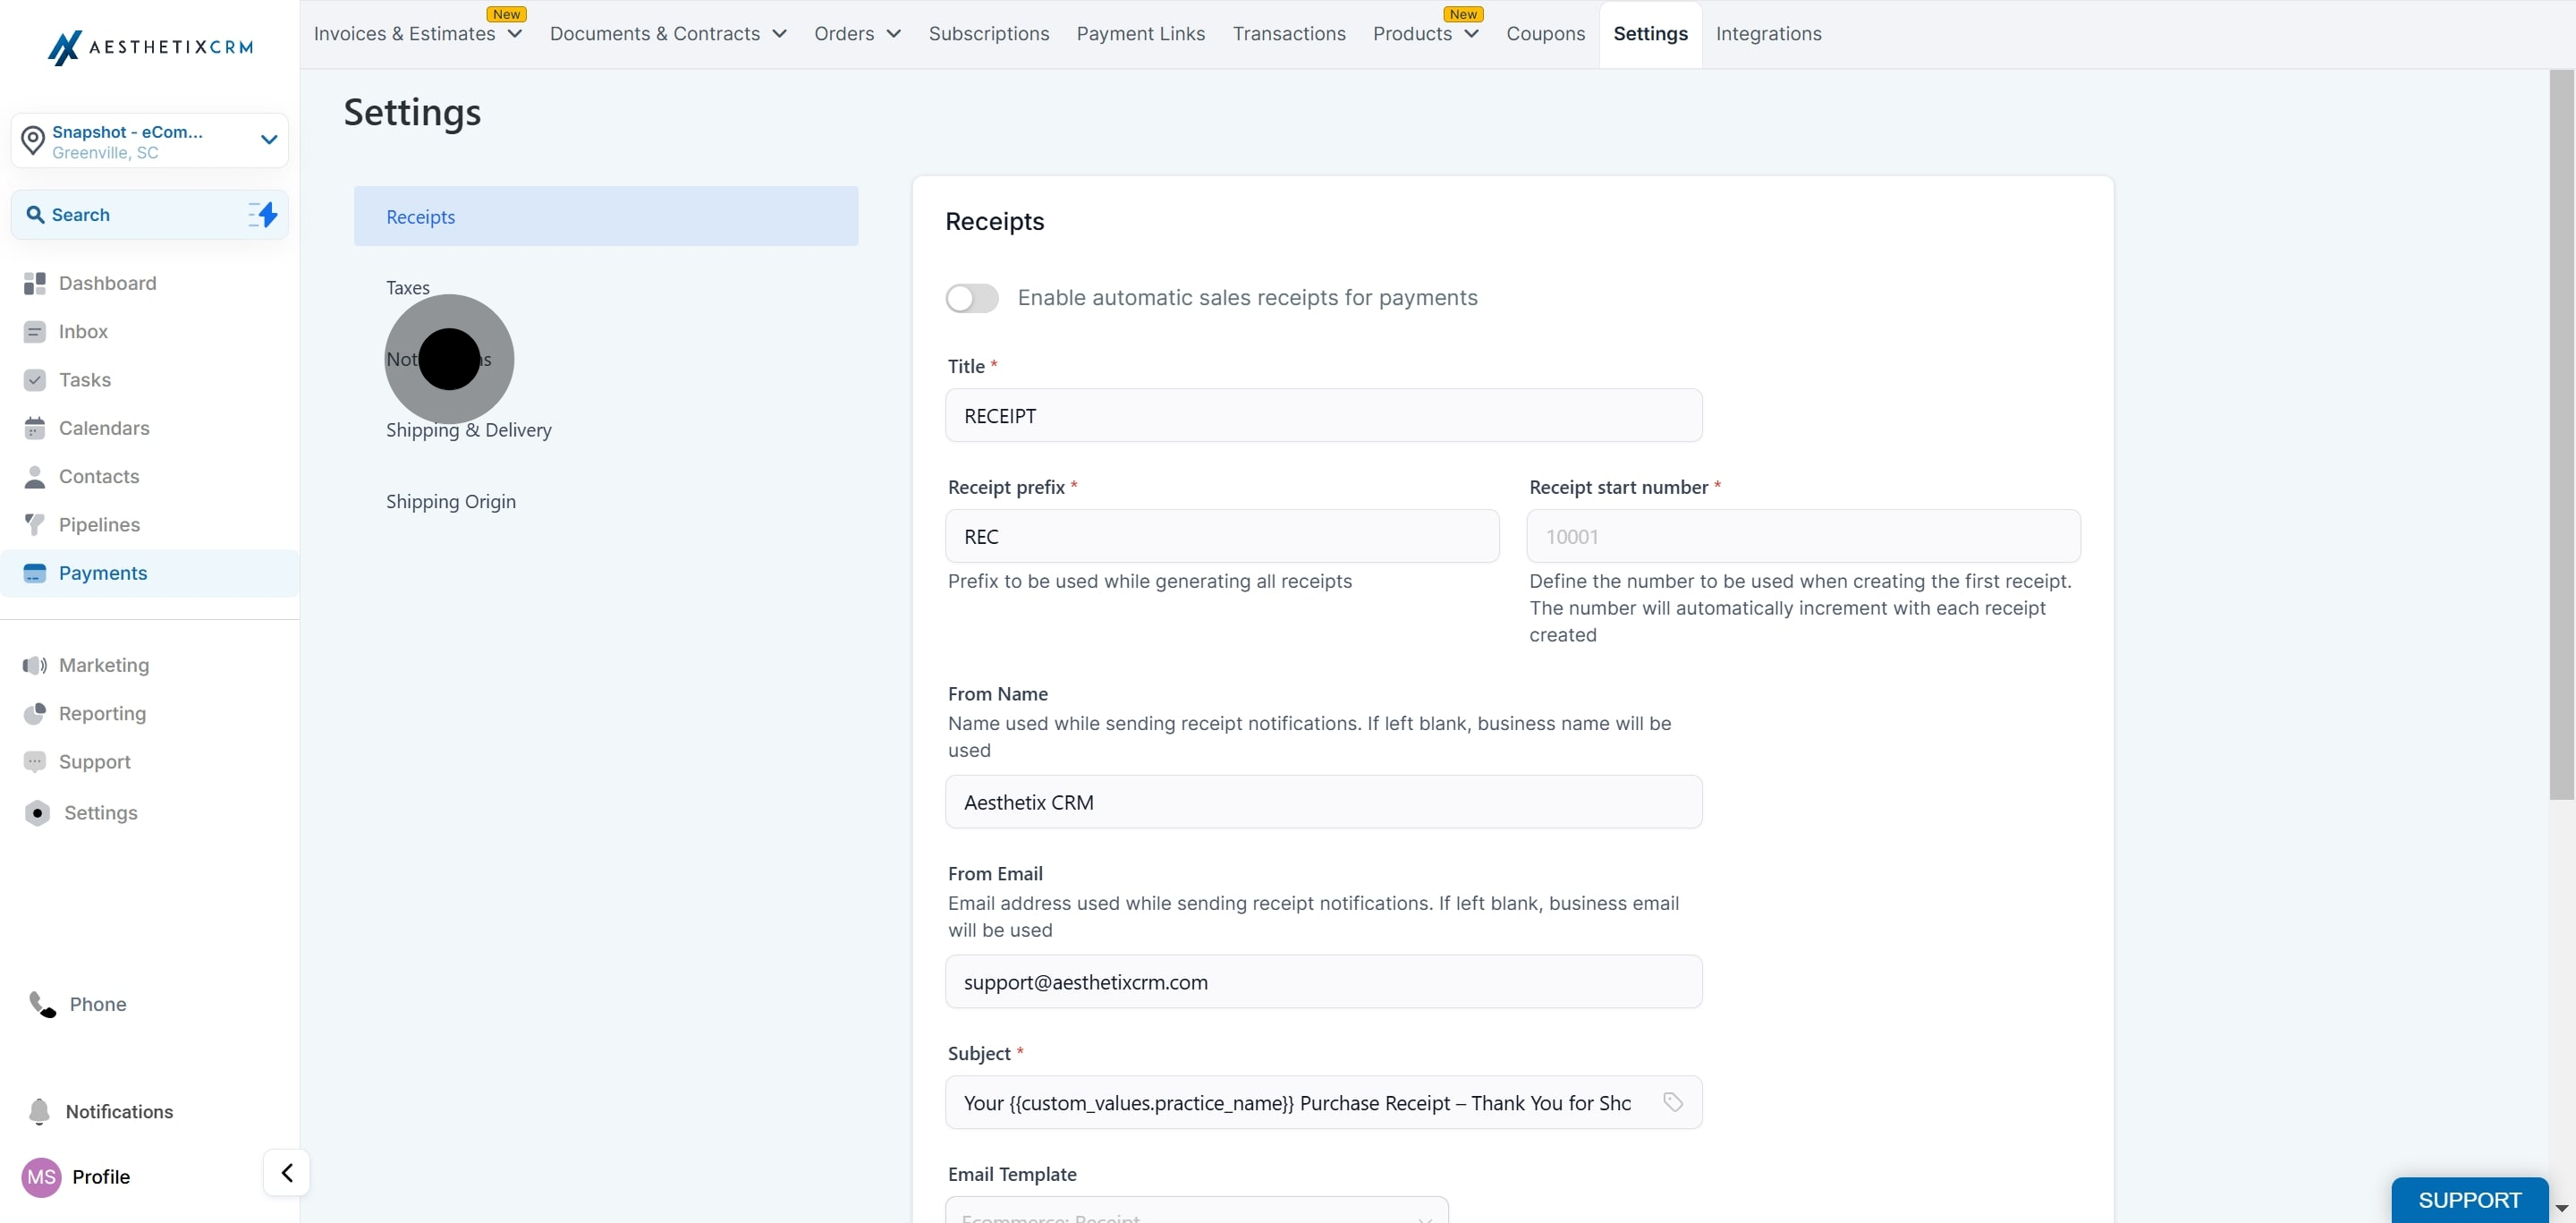
3. Afterwards, click on "Notifications".
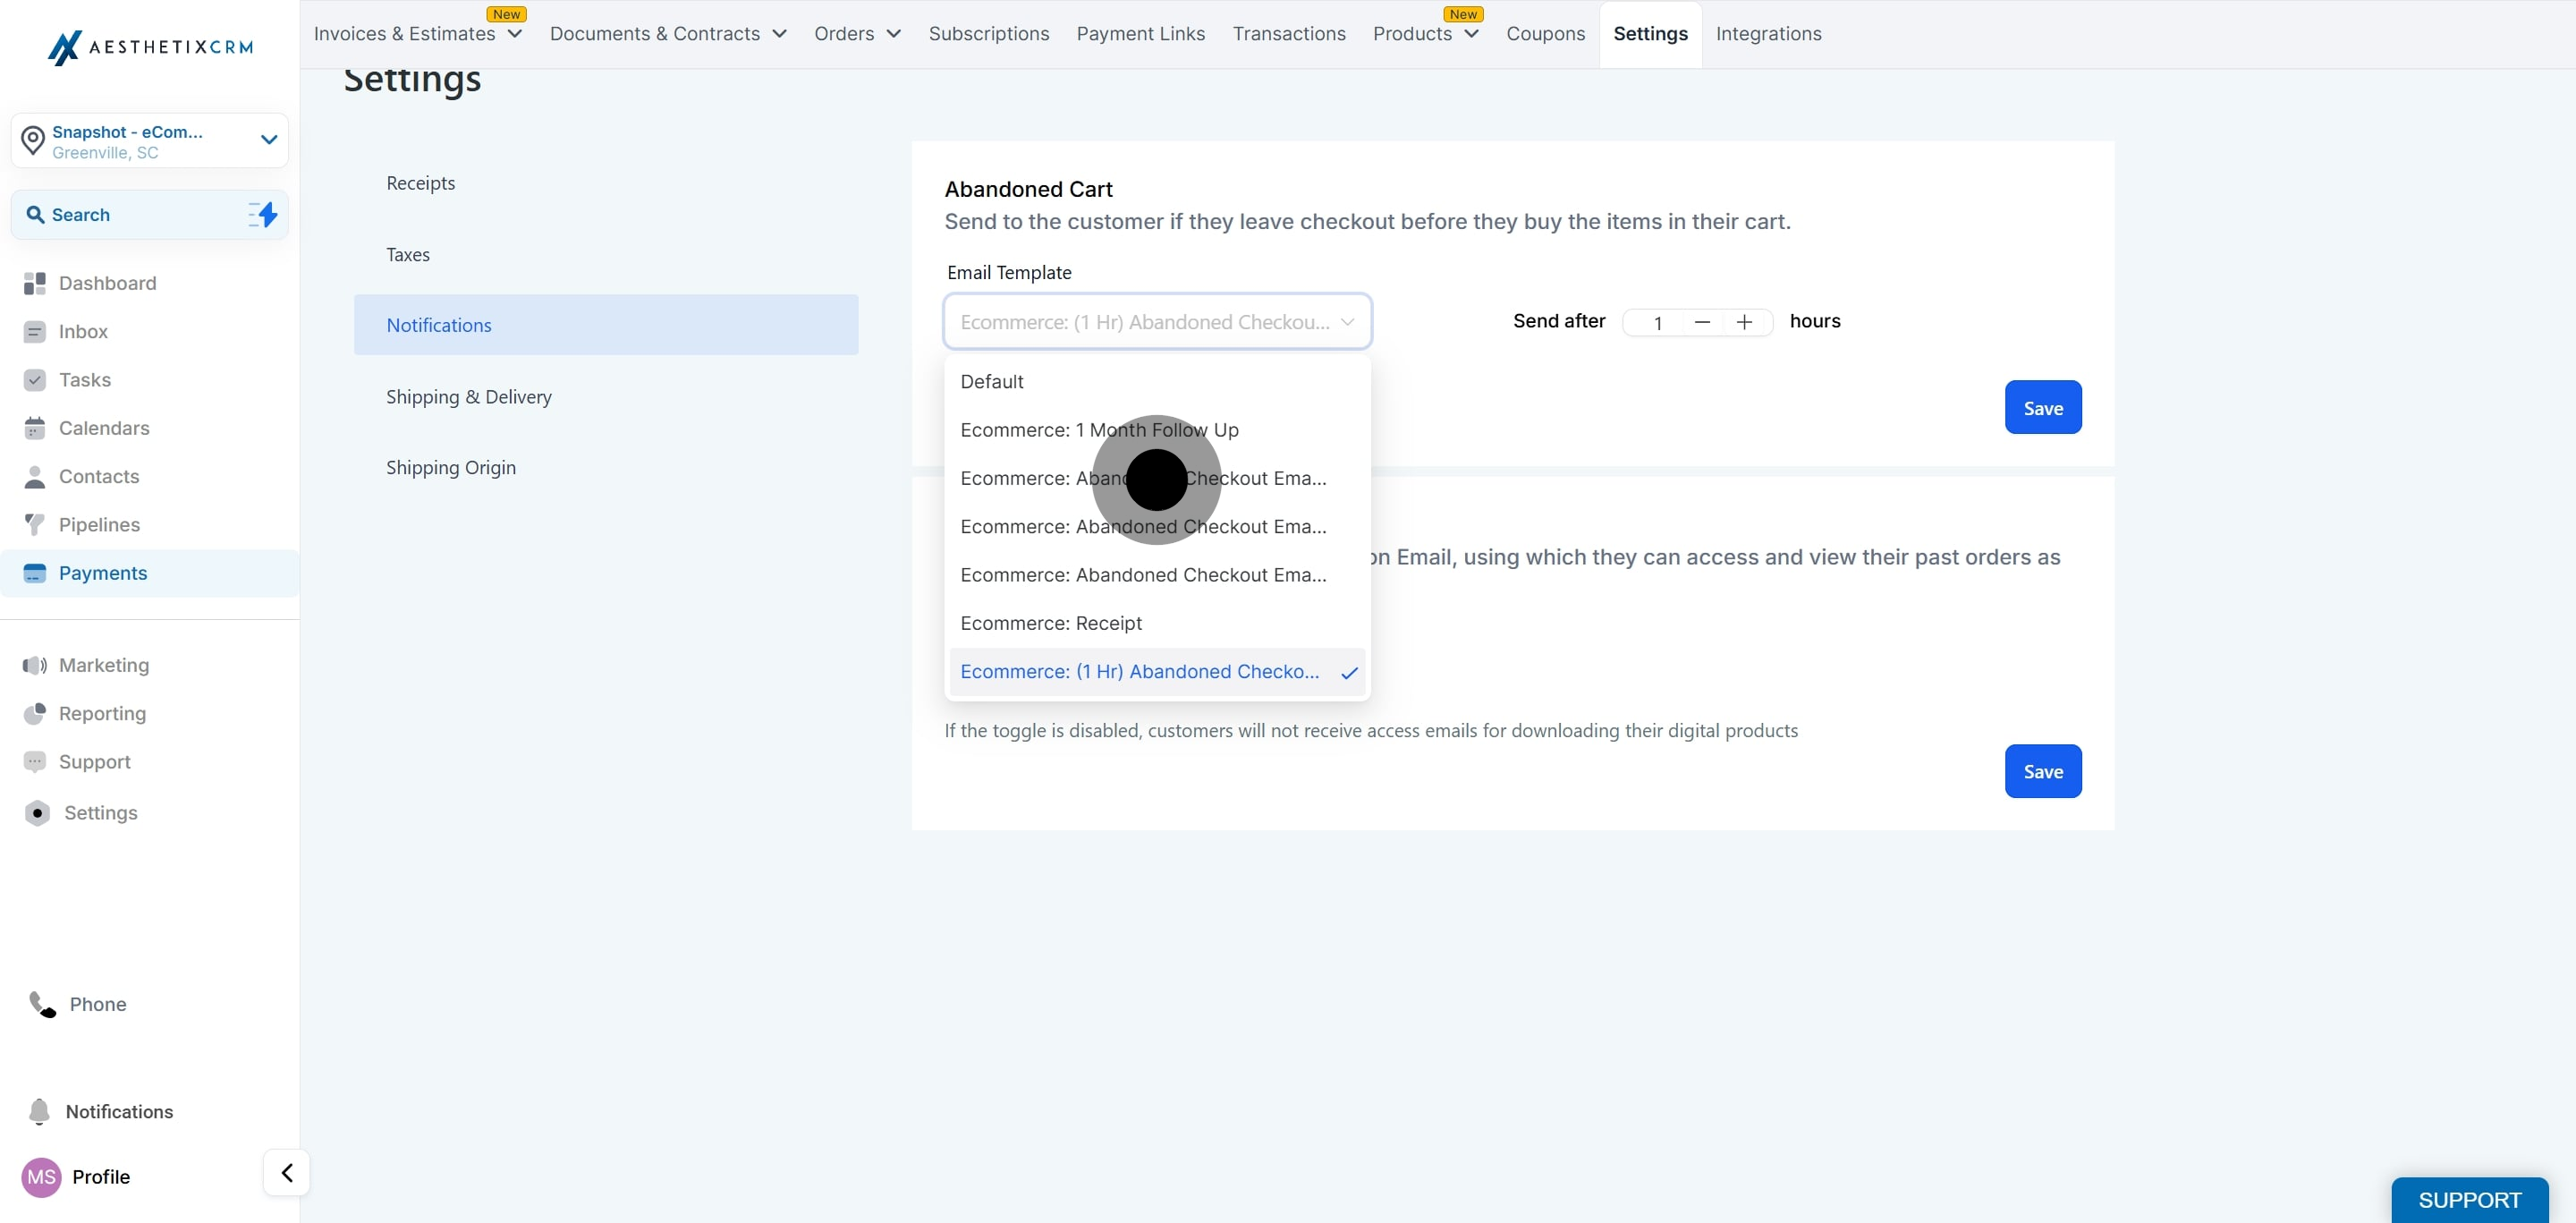
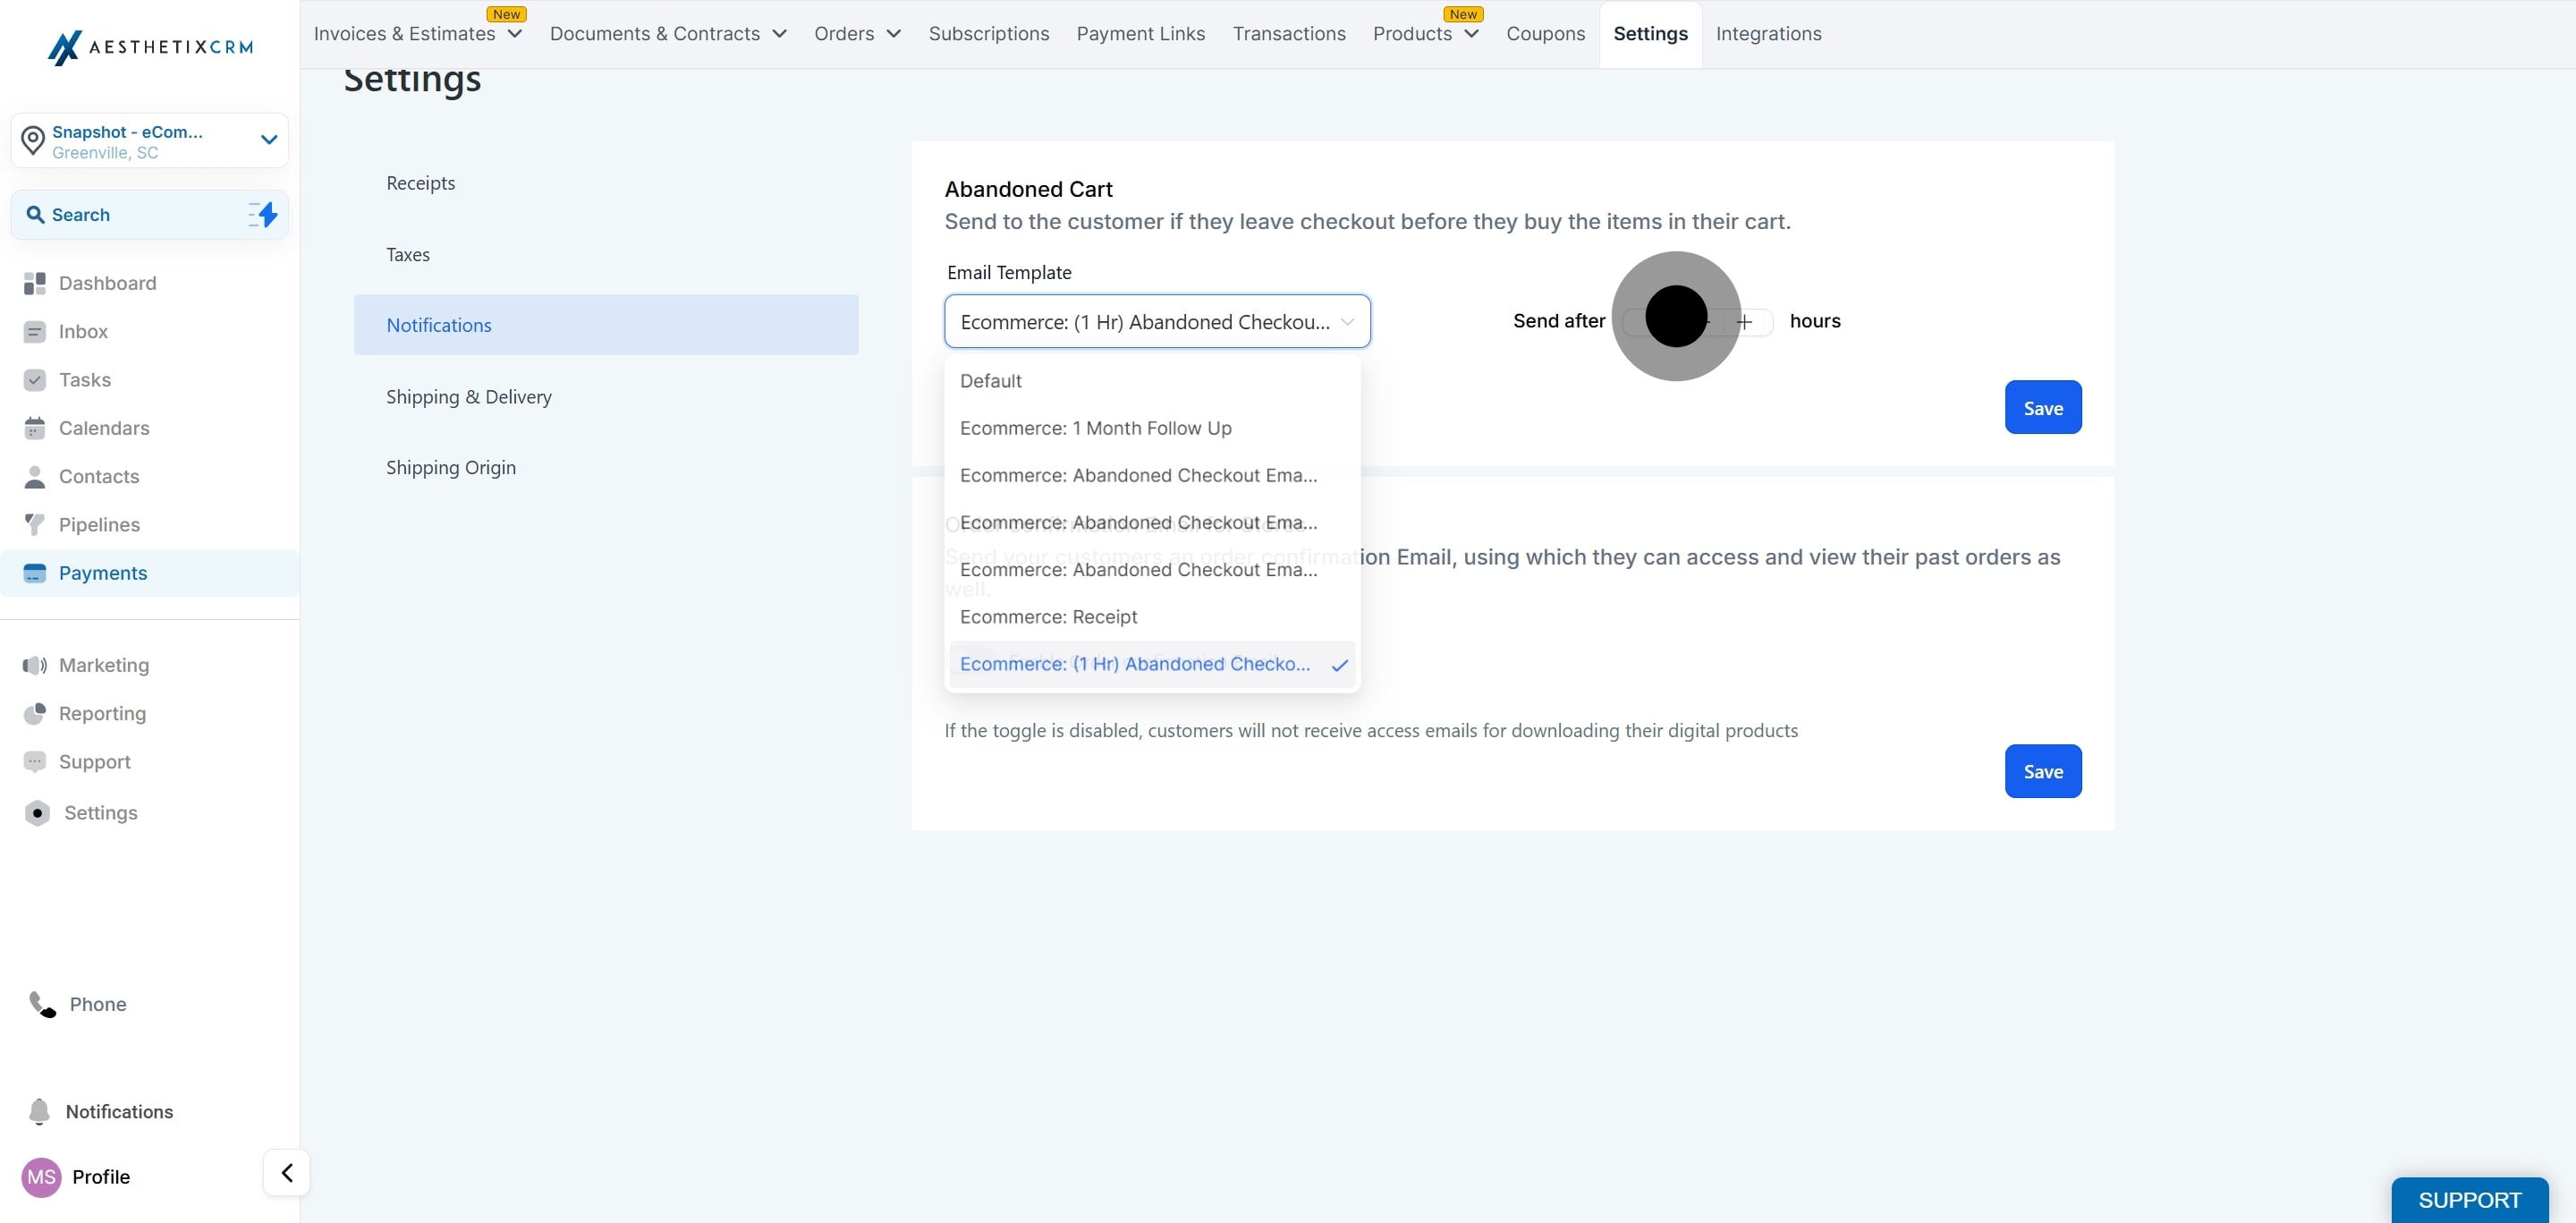
4. Choose the desired email template to customize.
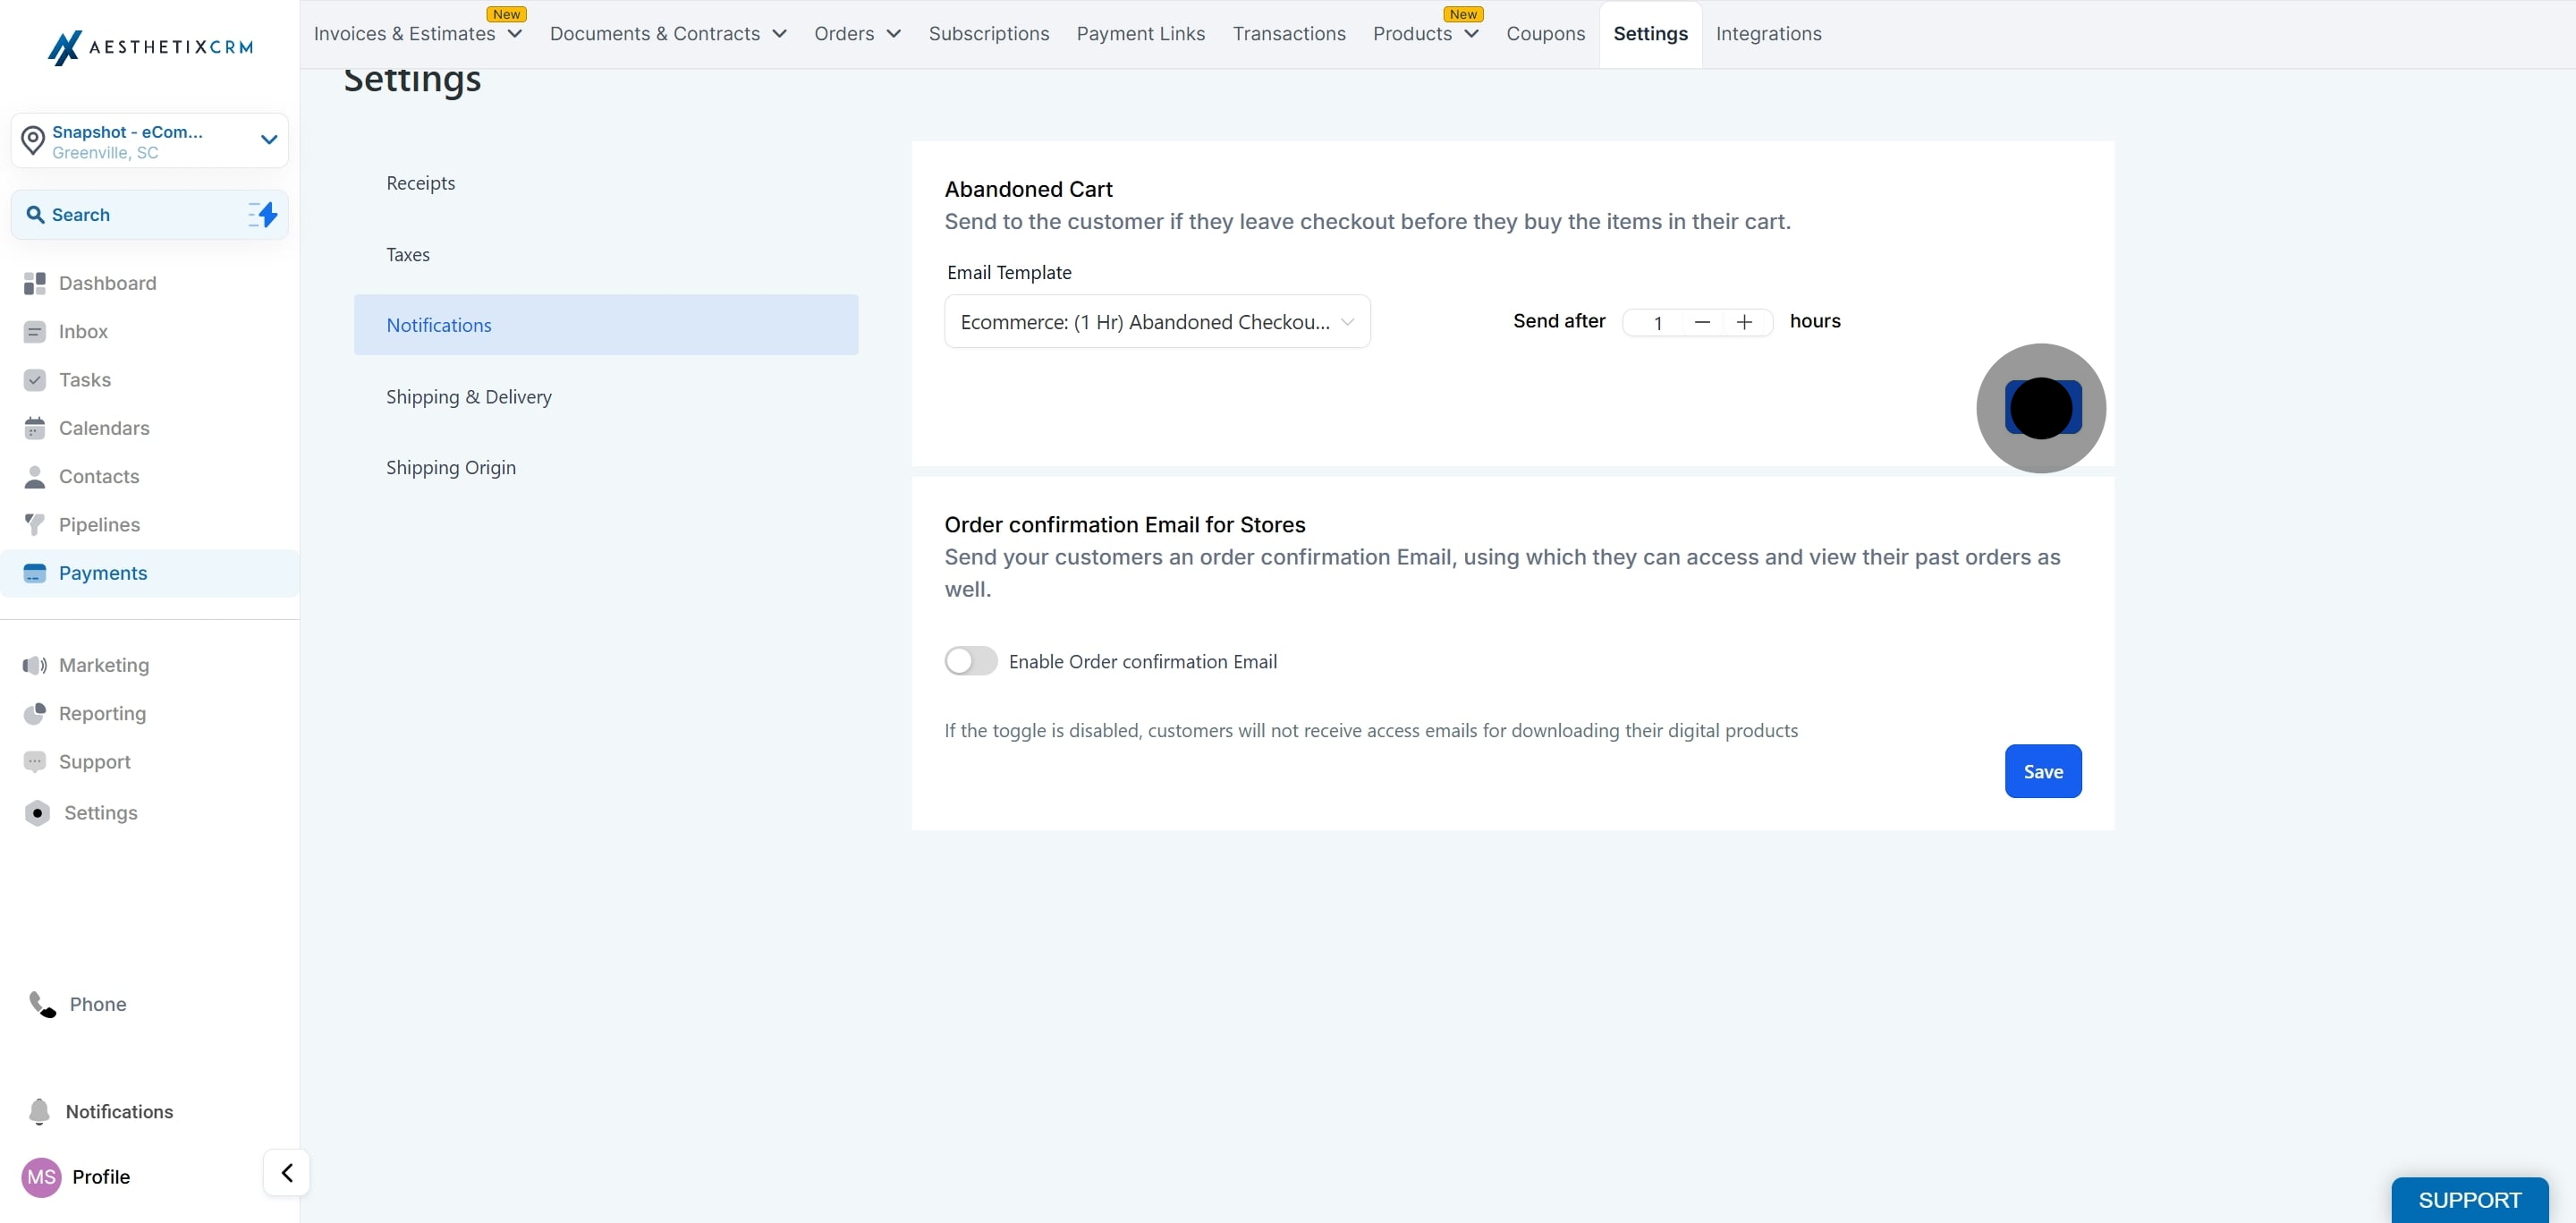
5. Adjust the timing and content of the email template to align with your business strategy.
6. Finalize your changes by clicking "Save."
Did this answer your question?
😞
😐
😁
How to Set Up Automatic Abandoned Cart Checkout Emails | Aesthetix CRM