Simplify your e-commerce logistics with this comprehensive guide on setting up shipping zones in Aesthetix. This article provides clear, actionable instructions for defining geographical areas for shipping, allowing you to tailor your shipping strategy to meet customer needs effectively. You’ll learn how to create and manage different zones, set shipping rates, and integrate any special conditions, ensuring a smooth delivery process for your products. With practical tips and best practices, this guide is perfect for online retailers looking to optimize their shipping operations and enhance customer satisfaction. Get ready to streamline your shipping process and expand your reach with Aesthetix!
Shipping zones allow store owners to create specific regions with customized delivery charges. Store owners can define the delivery charges for selected states/provinces within a country.
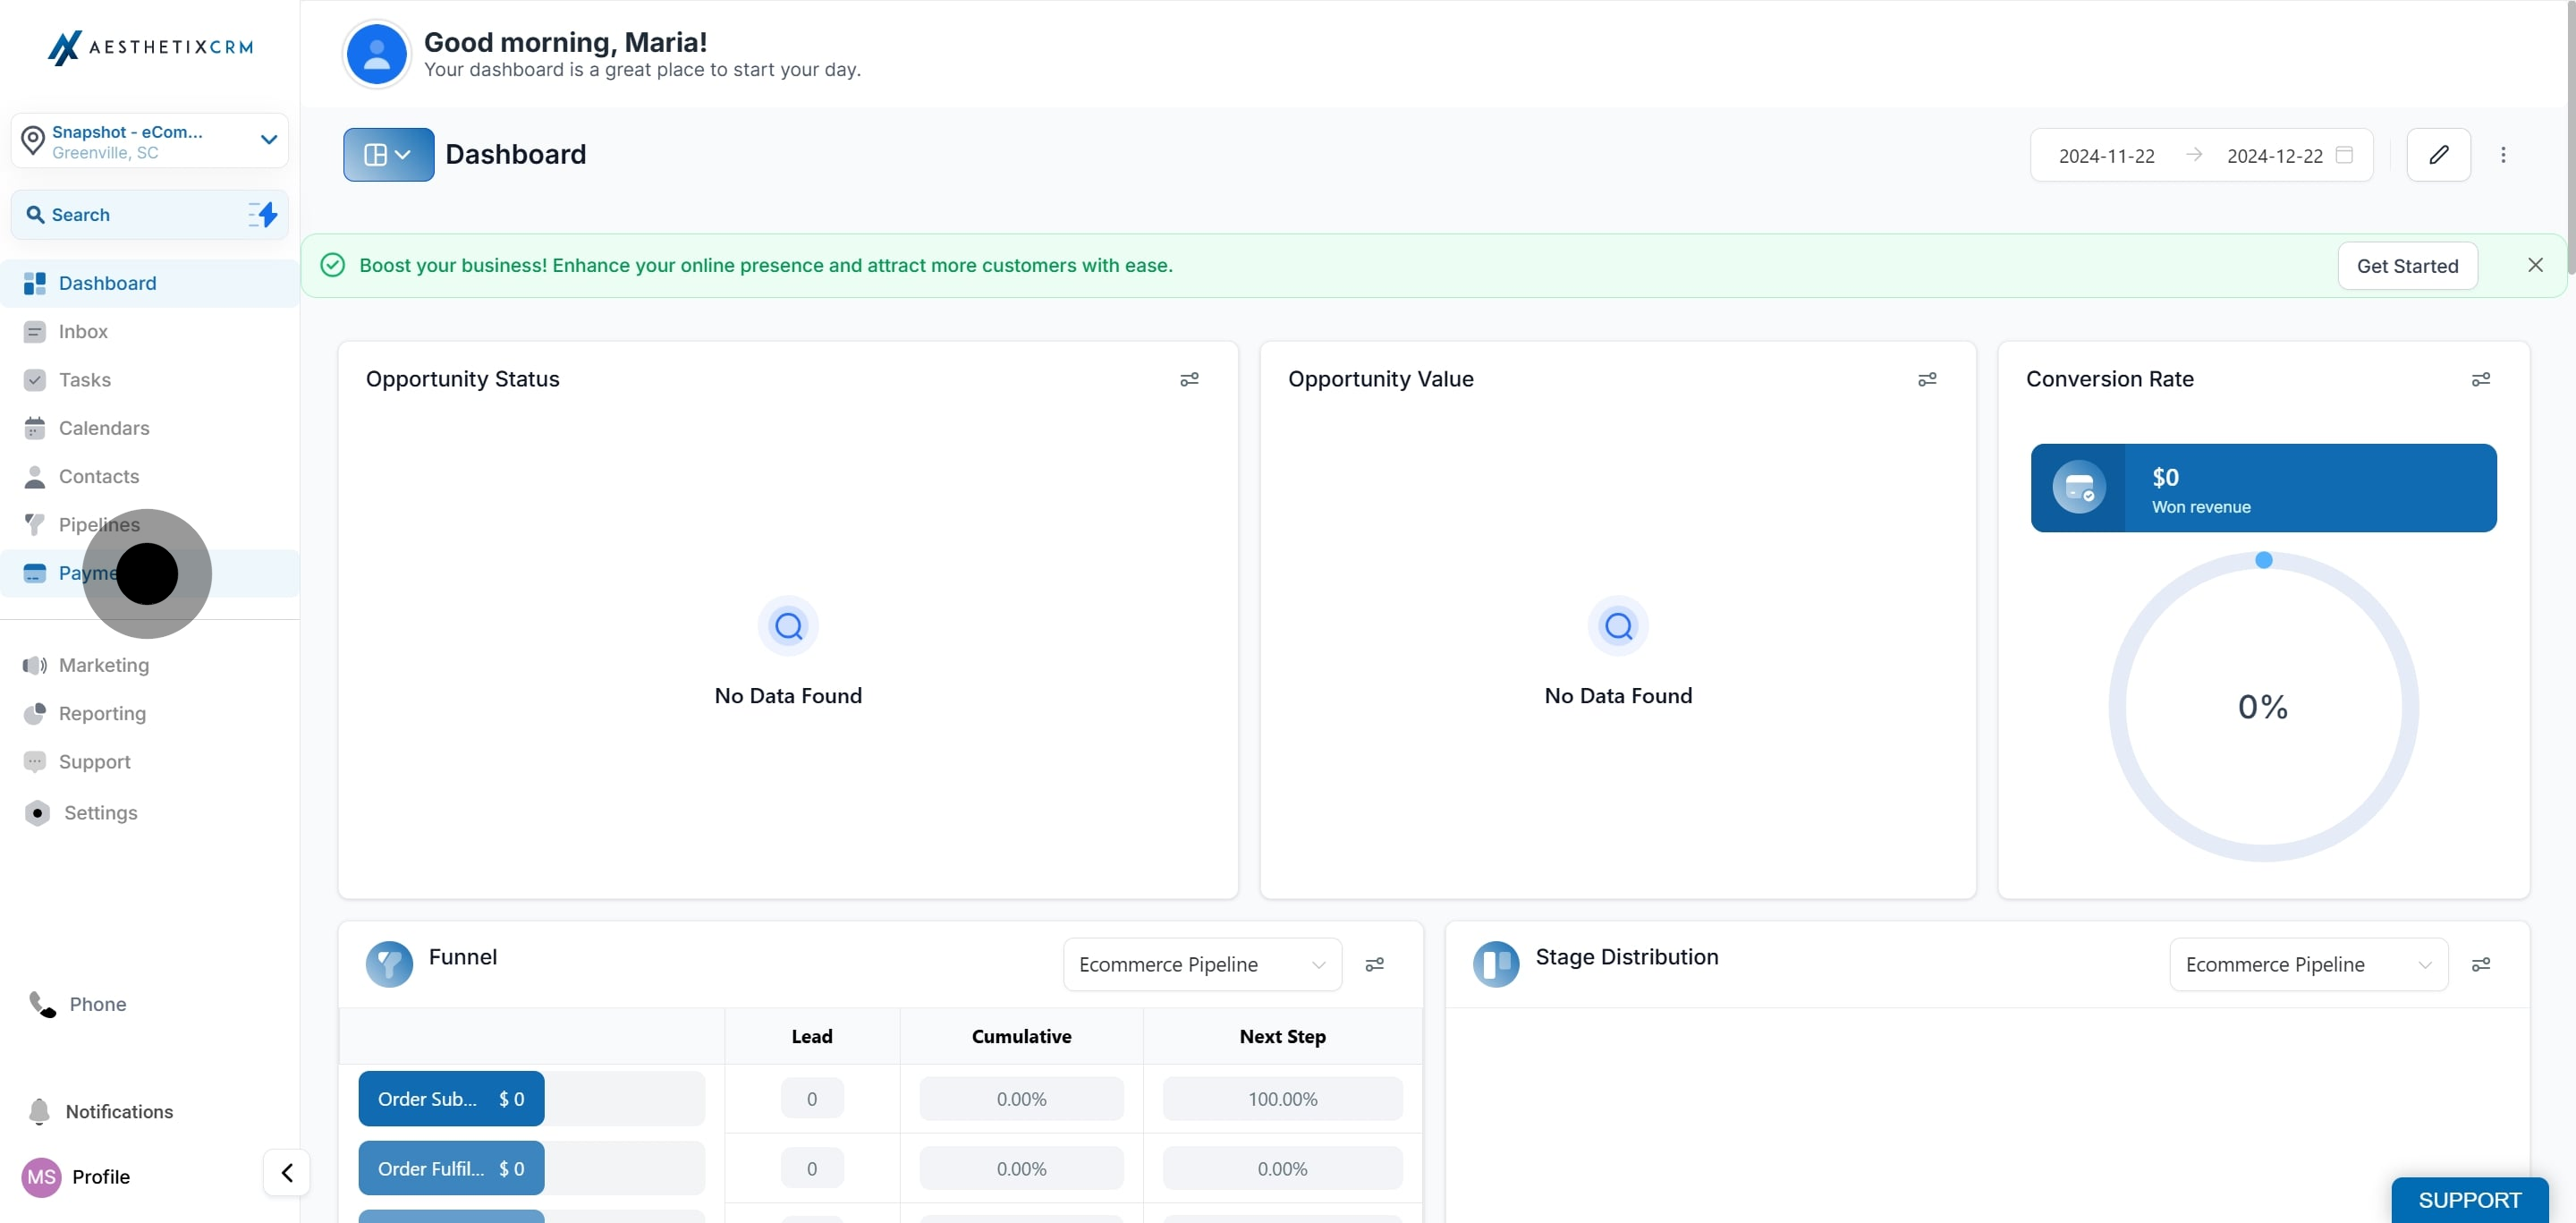
1. To start, click on "Payments"
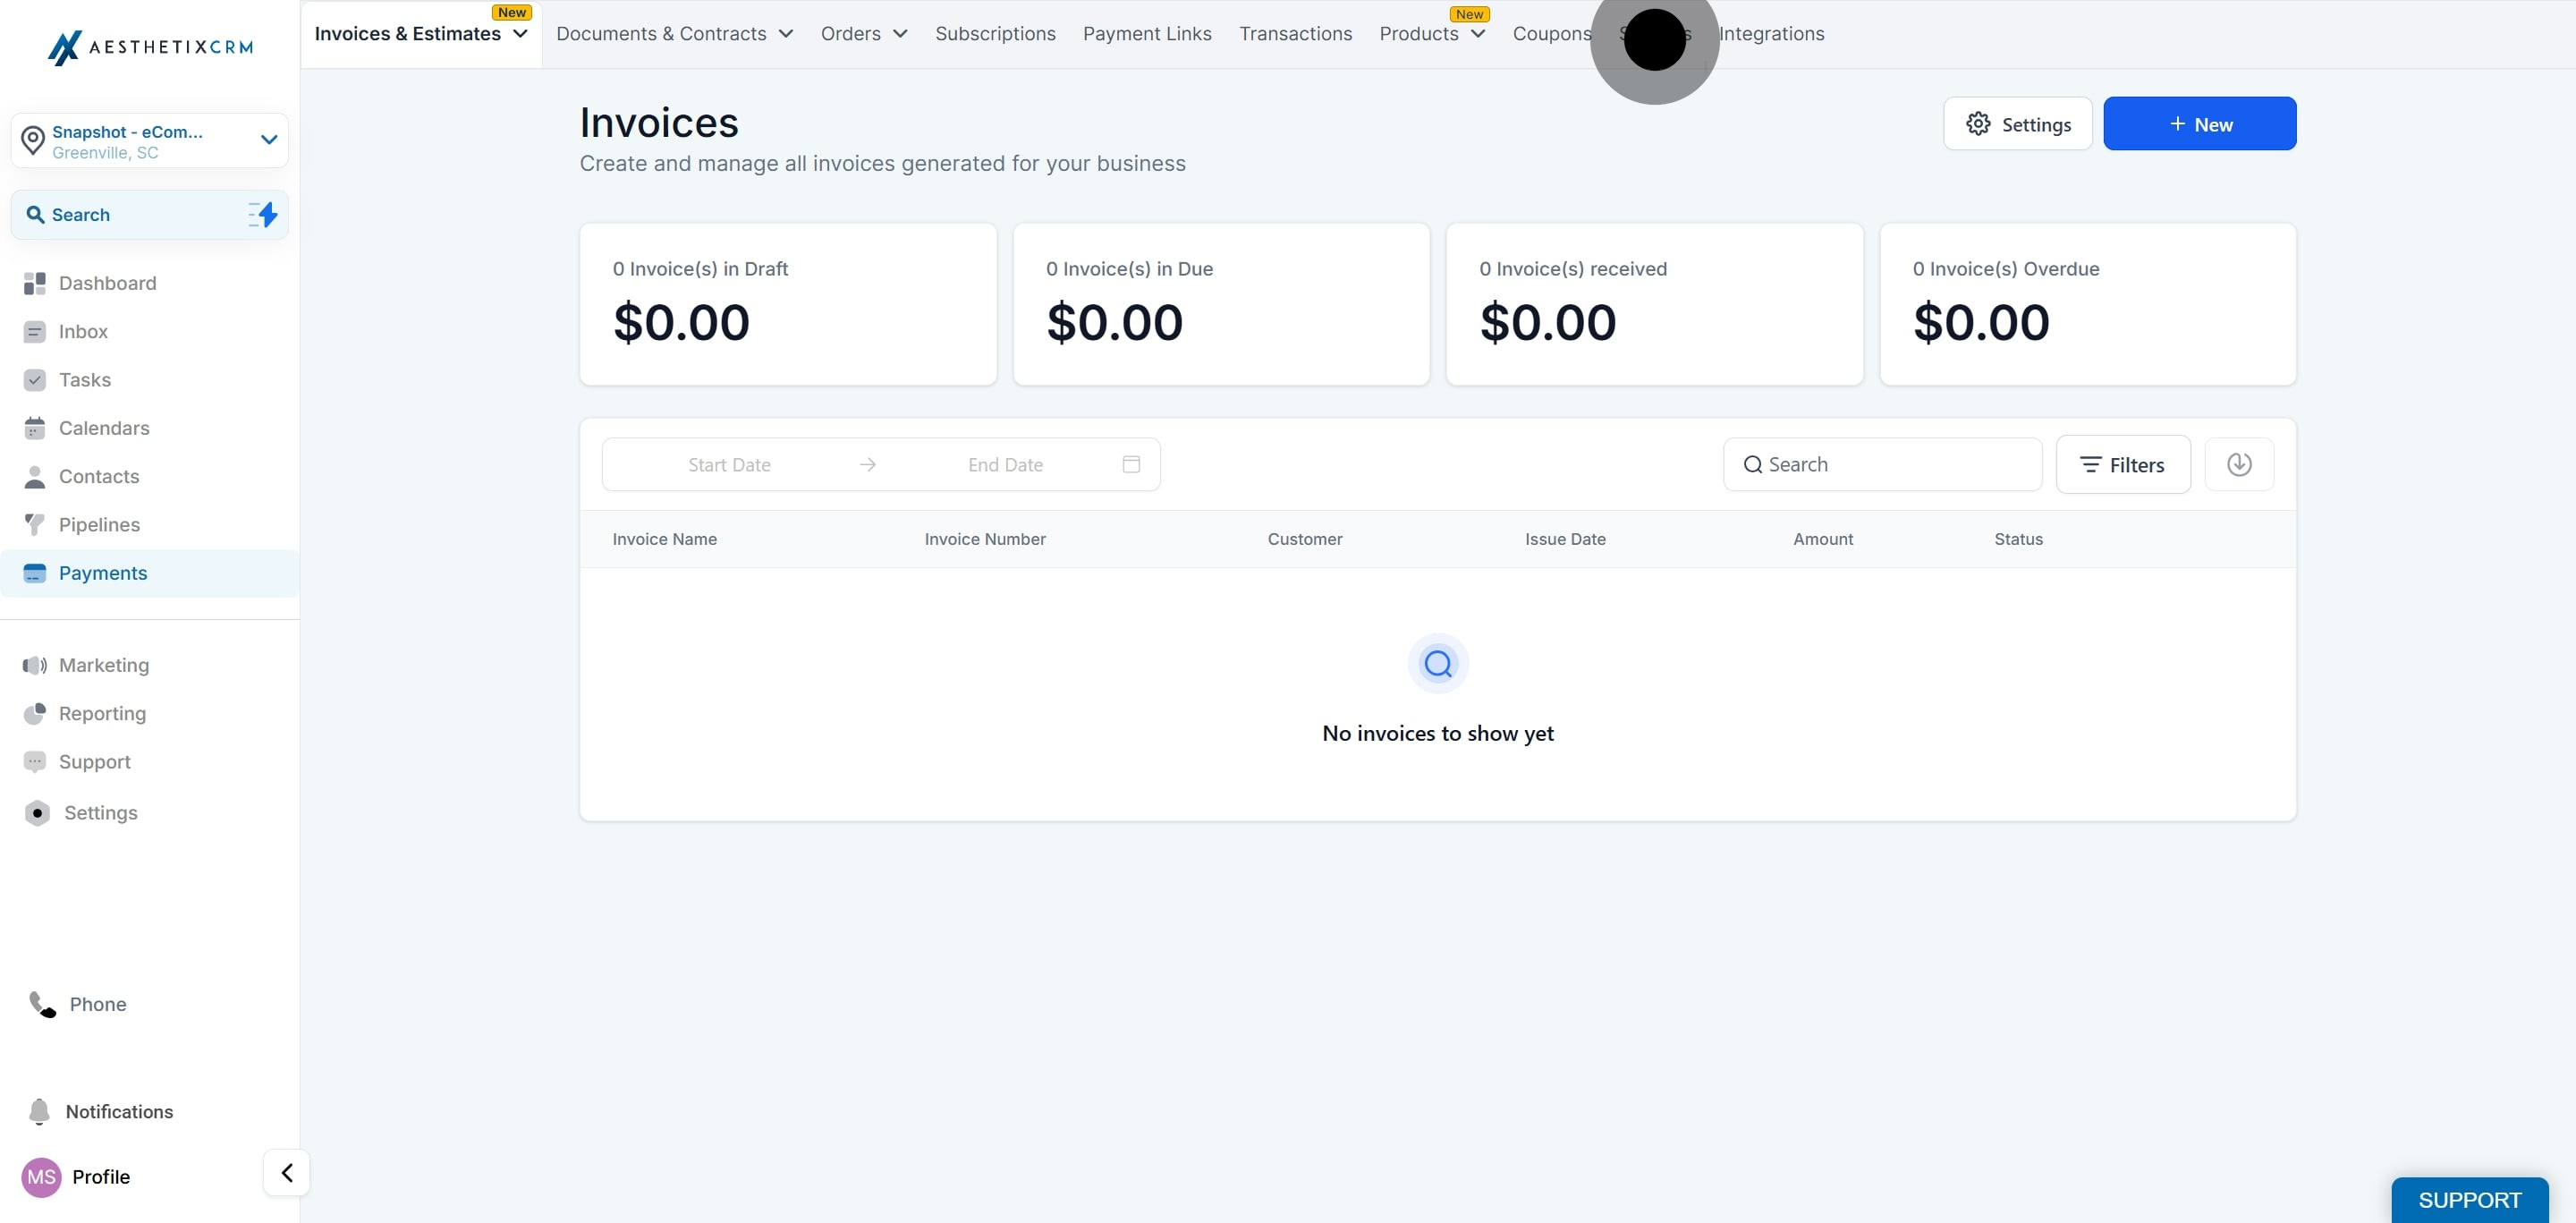
2. Click on "Settings".
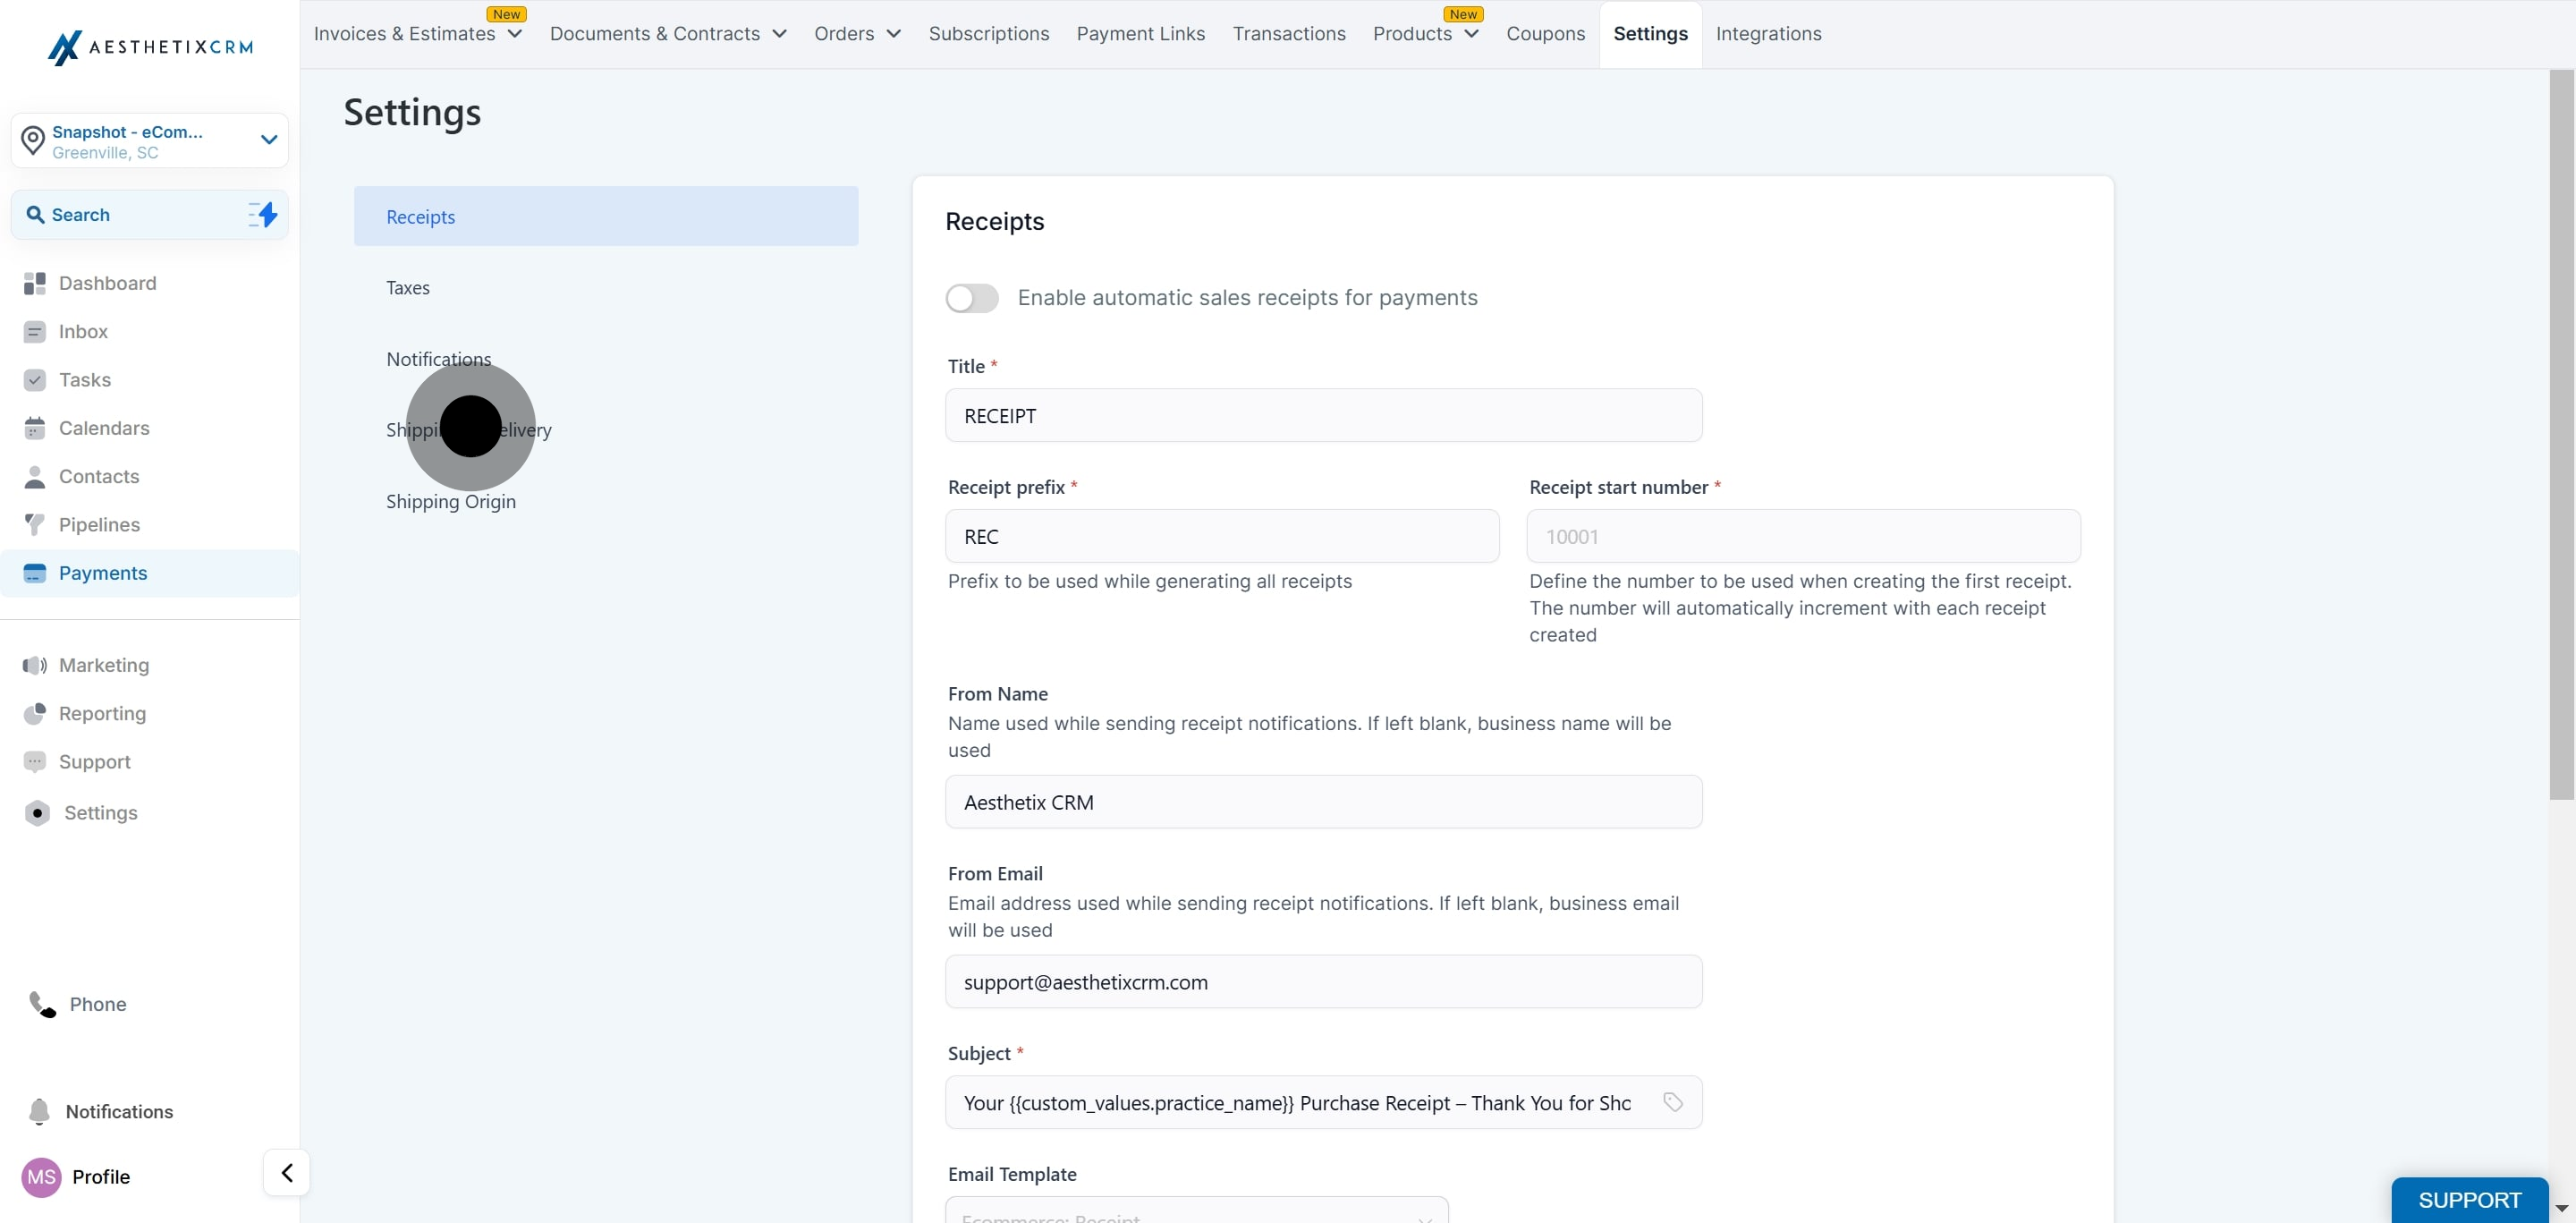
3. Next, click on "Shipping & Delivery".
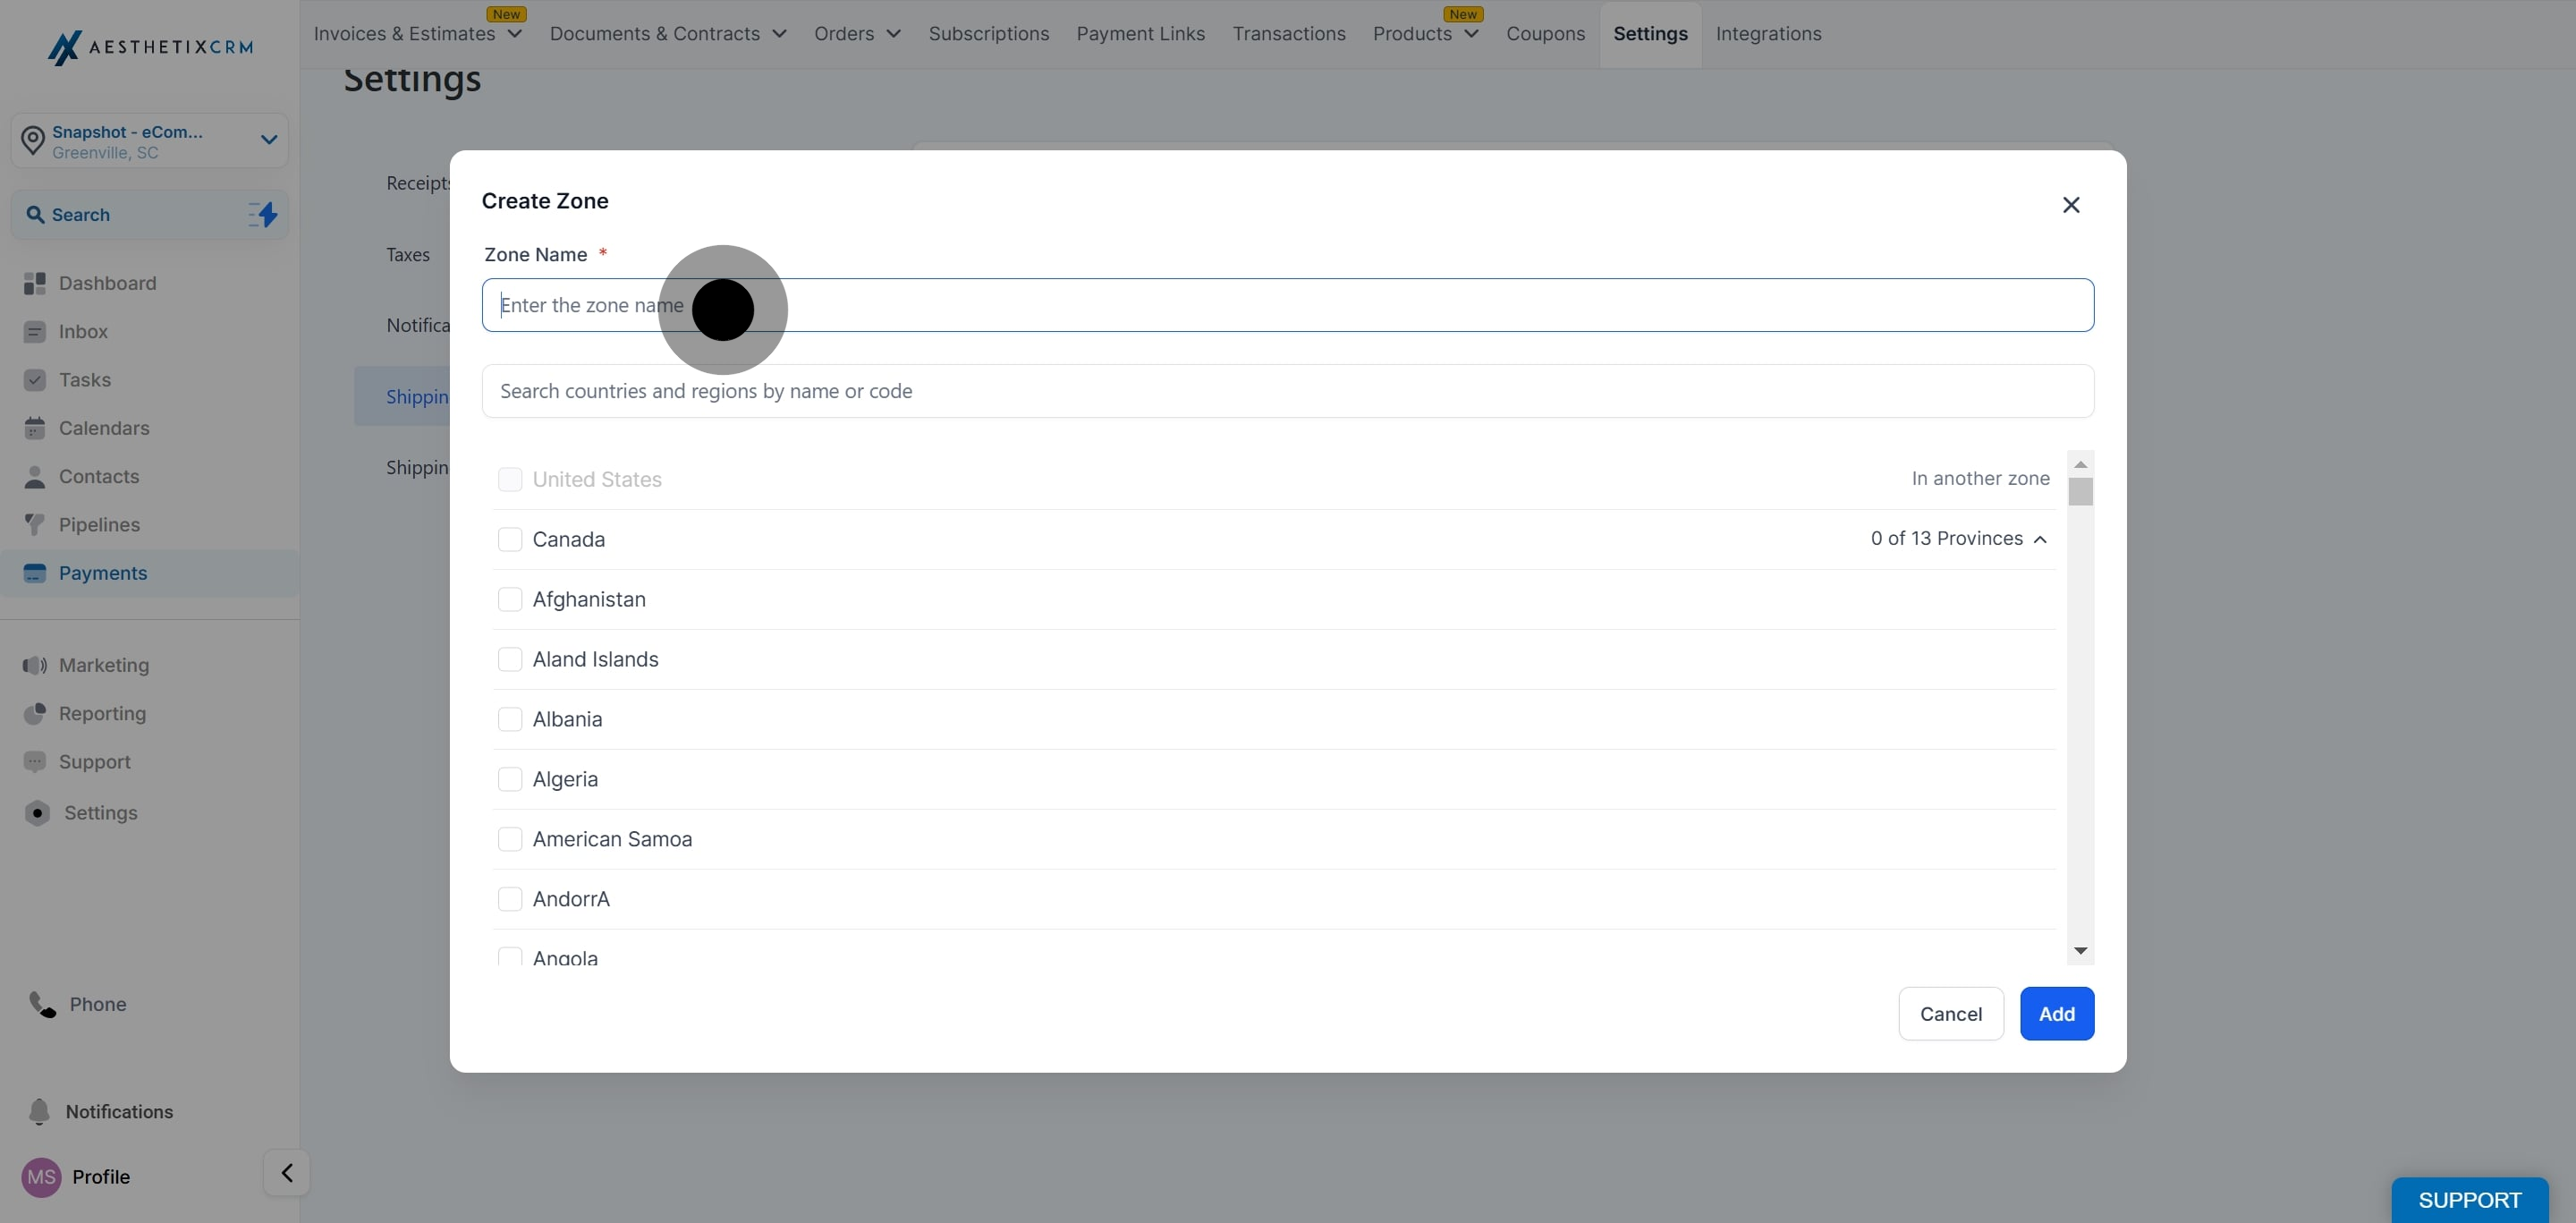
4. Then, click on "Add Zone".
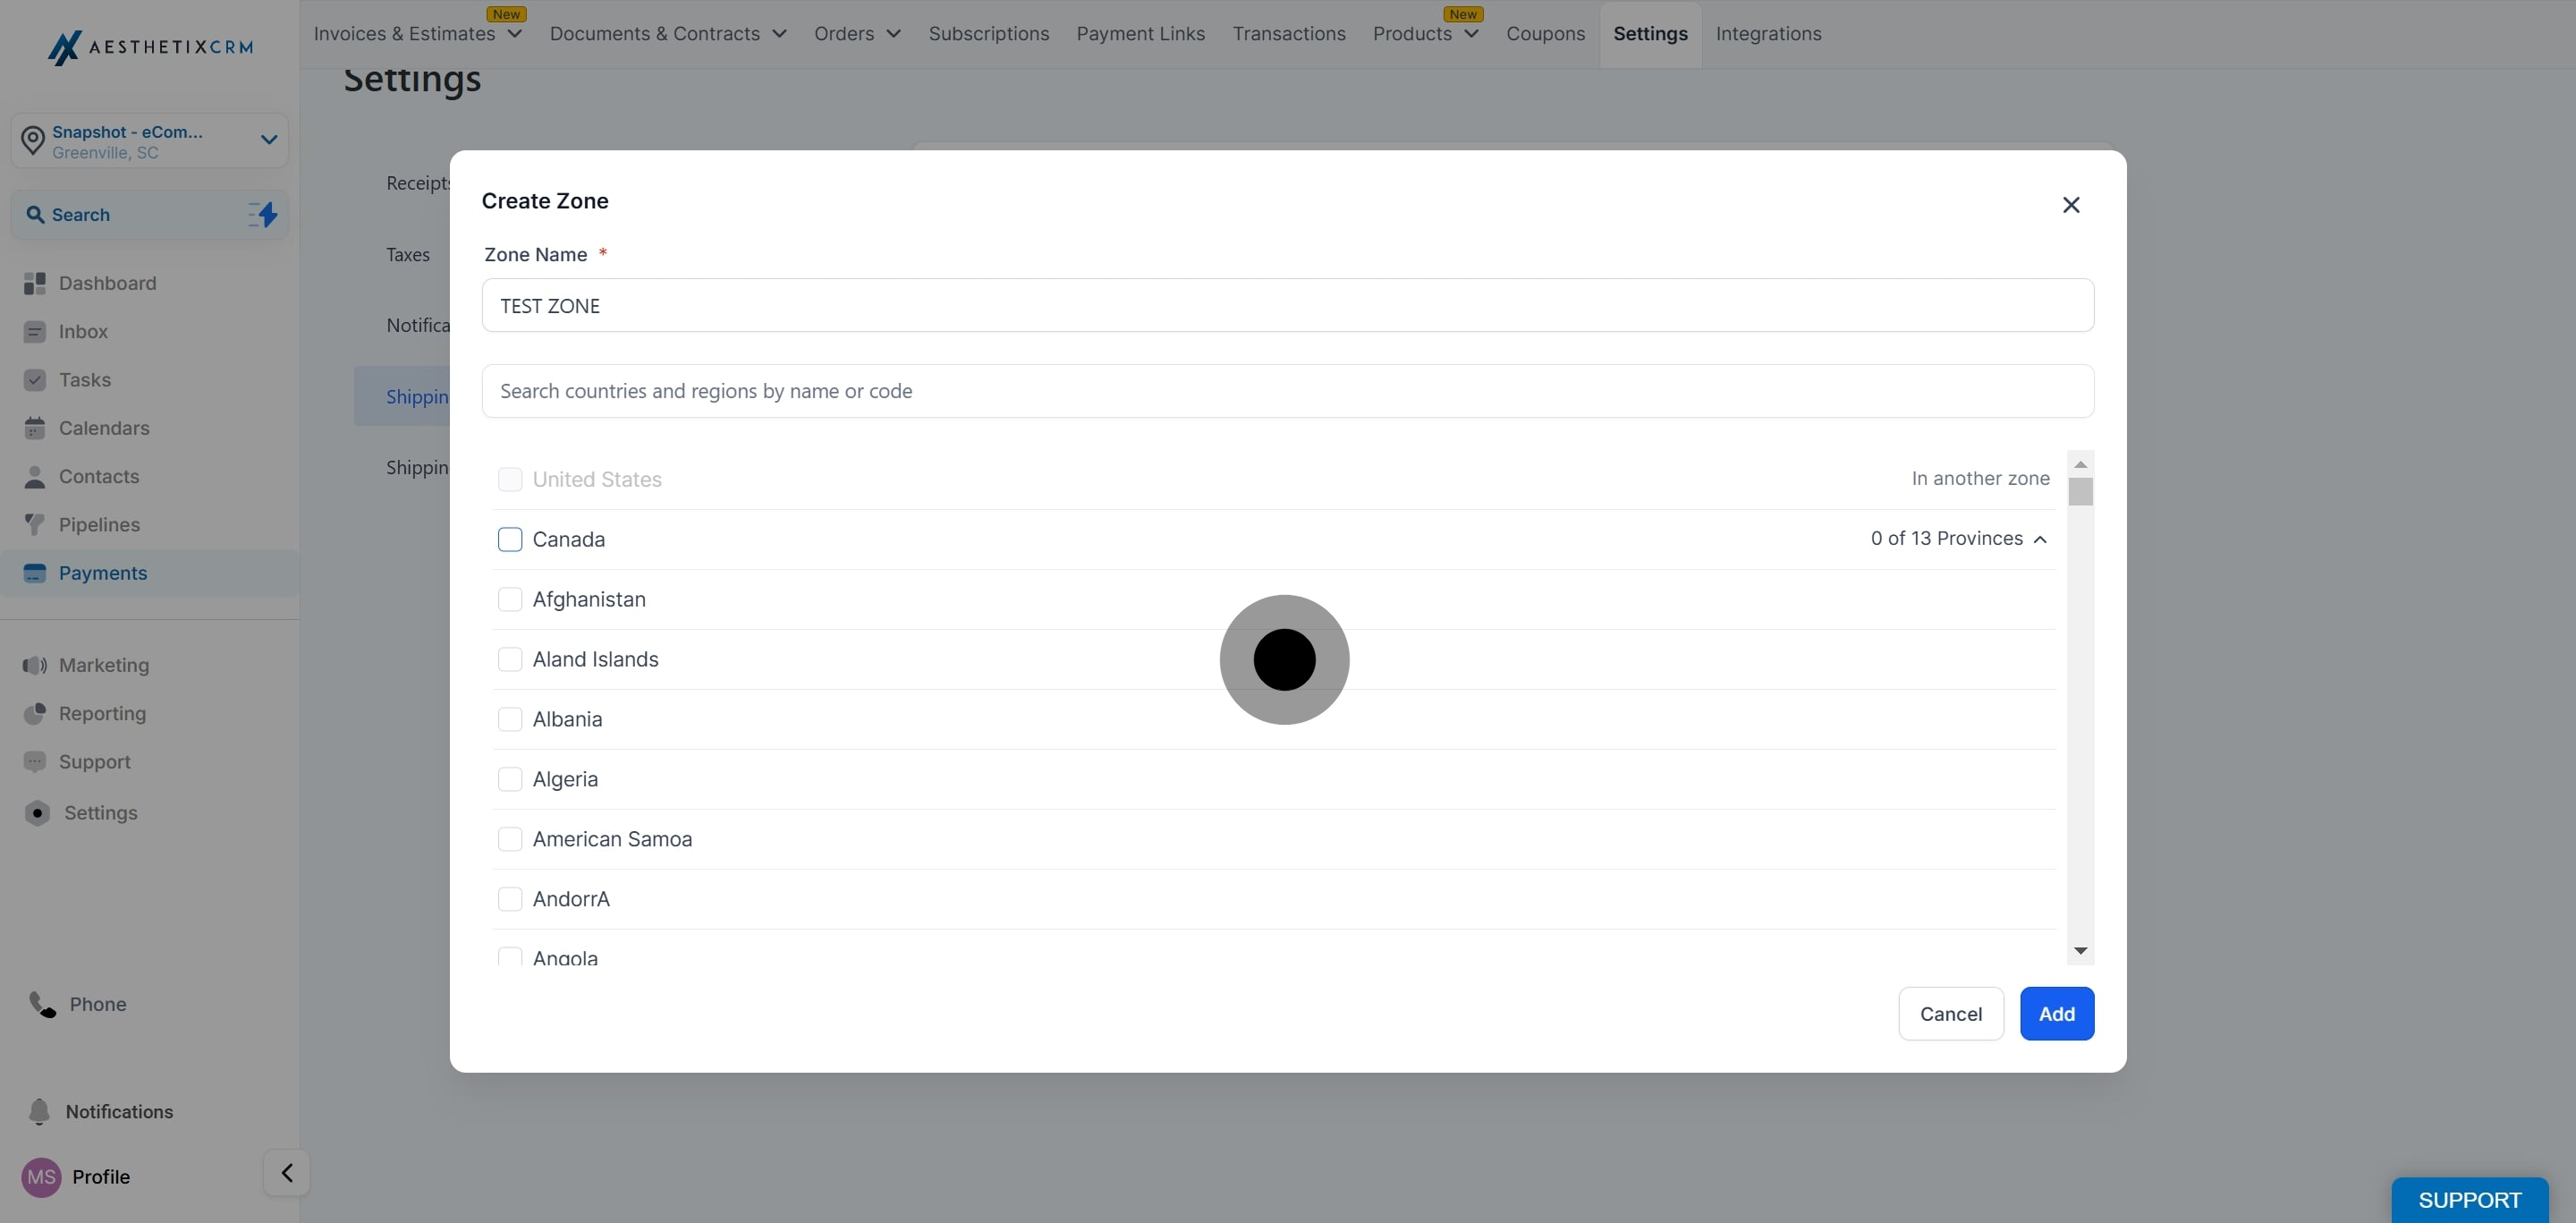
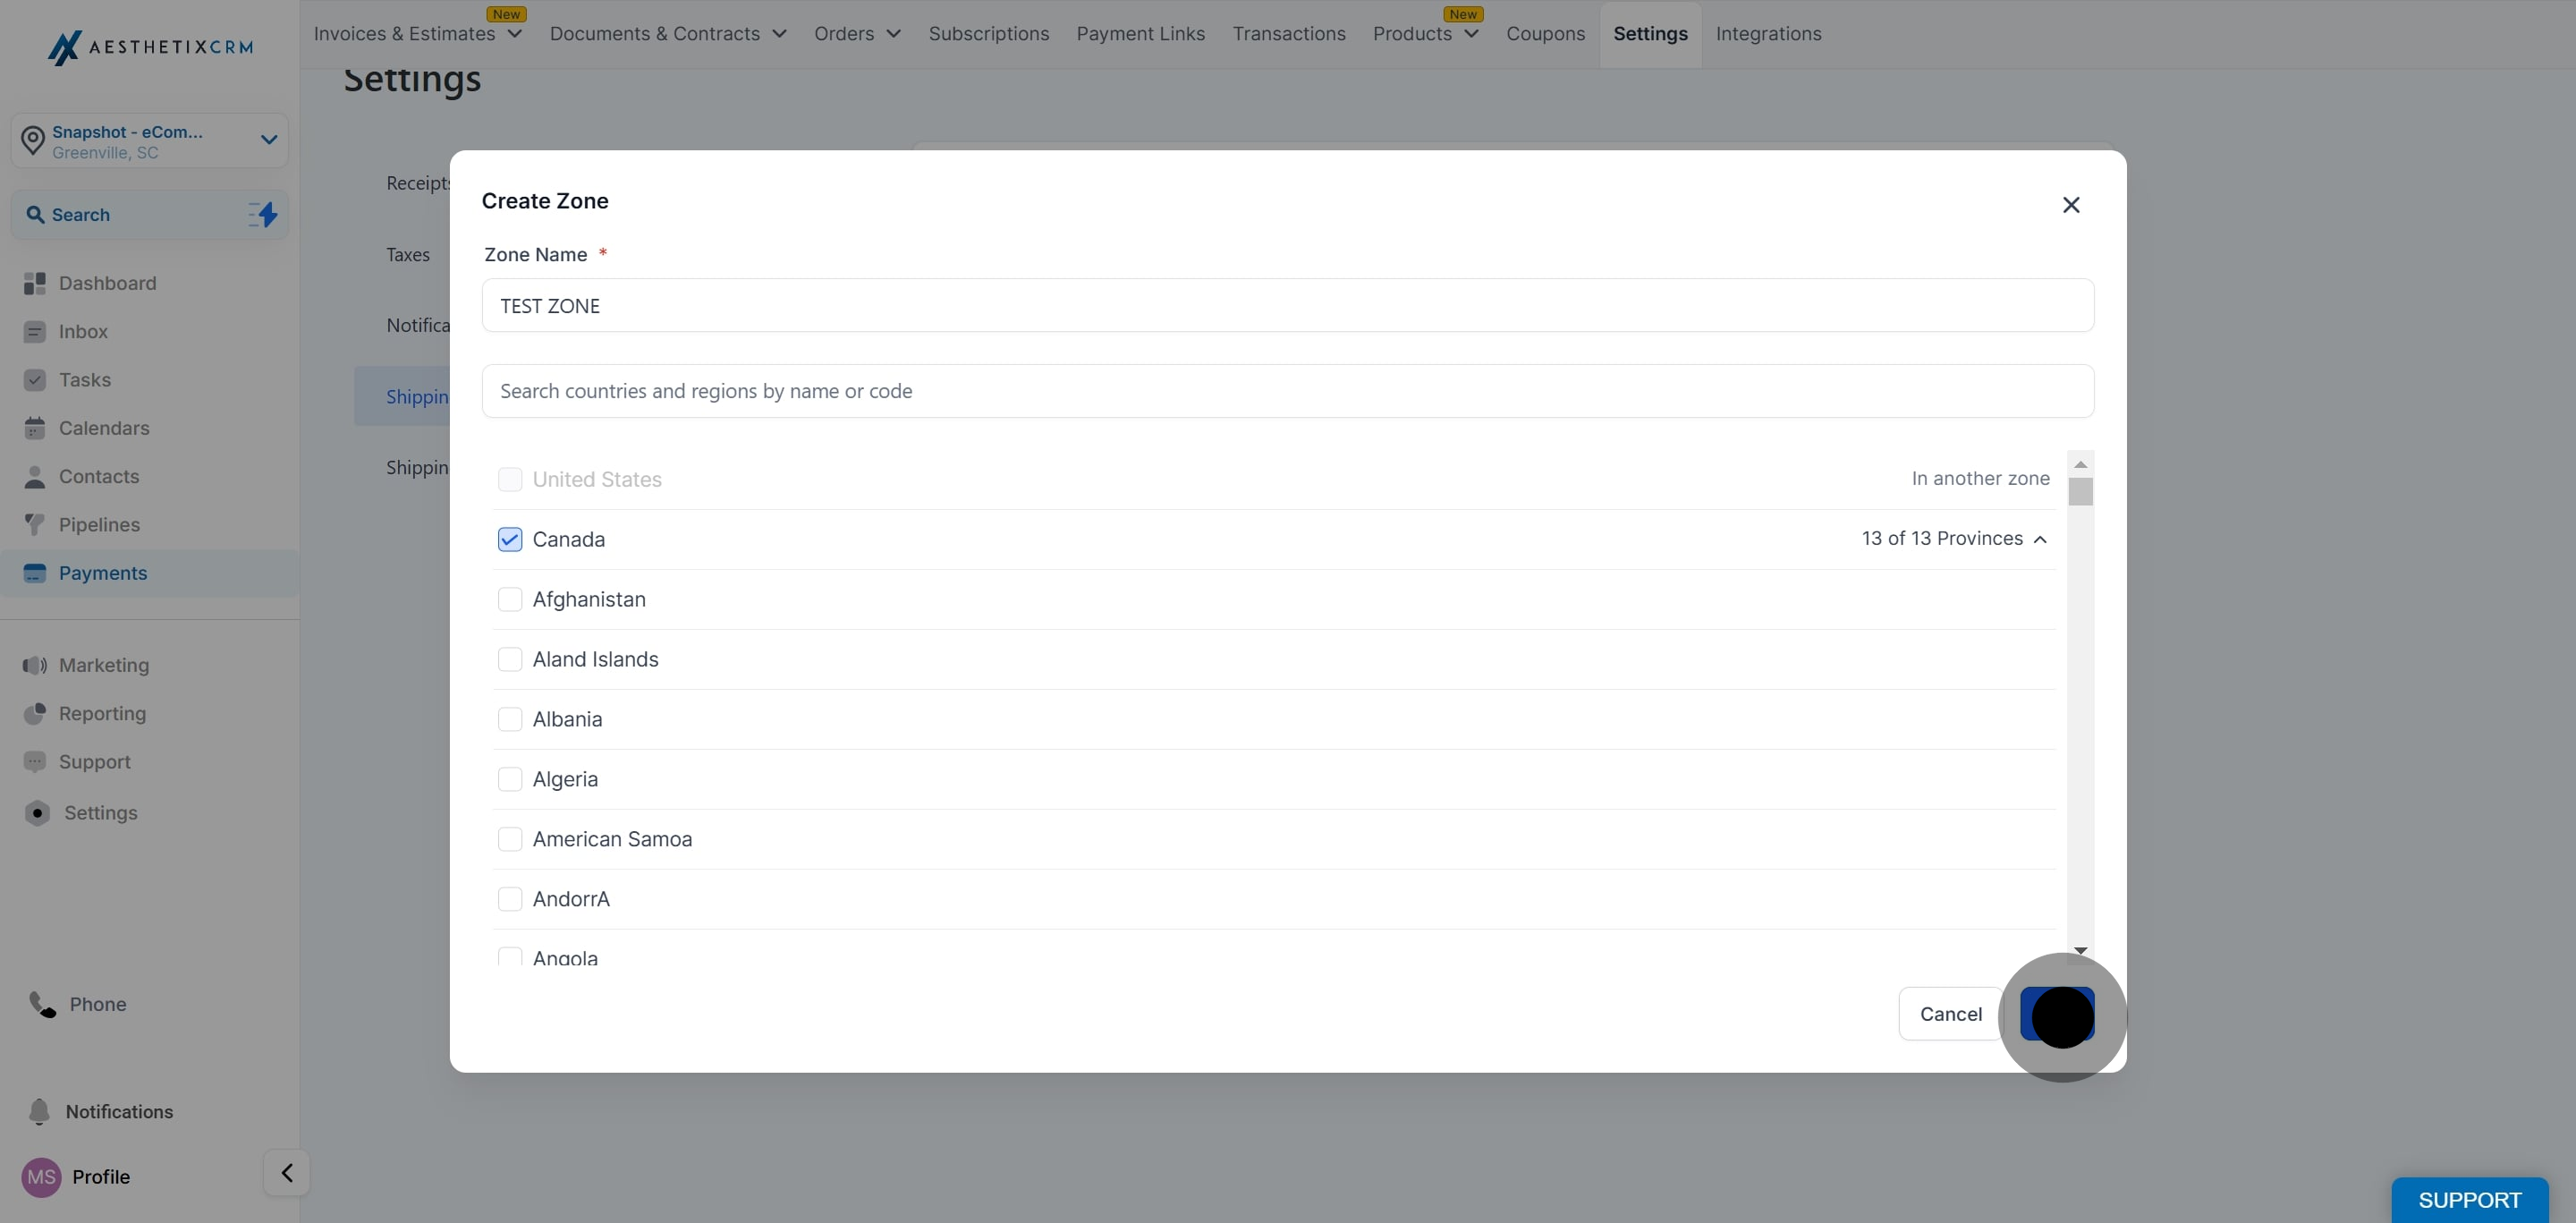
5. Enter the zone name.
6. Select specific states/provinces within a country that are required in the created zone.