Transform your communication strategy with this comprehensive guide on setting up workflow automation using WhatsApp in Aesthetix. This article walks you through the essential steps to create automated workflows that enhance customer interactions, improve response times, and increase operational efficiency. Discover how to integrate WhatsApp into your workflows, configure triggers, and utilize pre-defined messages to engage your audience effectively. Perfect for businesses aiming to optimize their customer service and engagement strategies, this guide will empower you to implement seamless automation that drives results and elevates your messaging capabilities in Aesthetix.
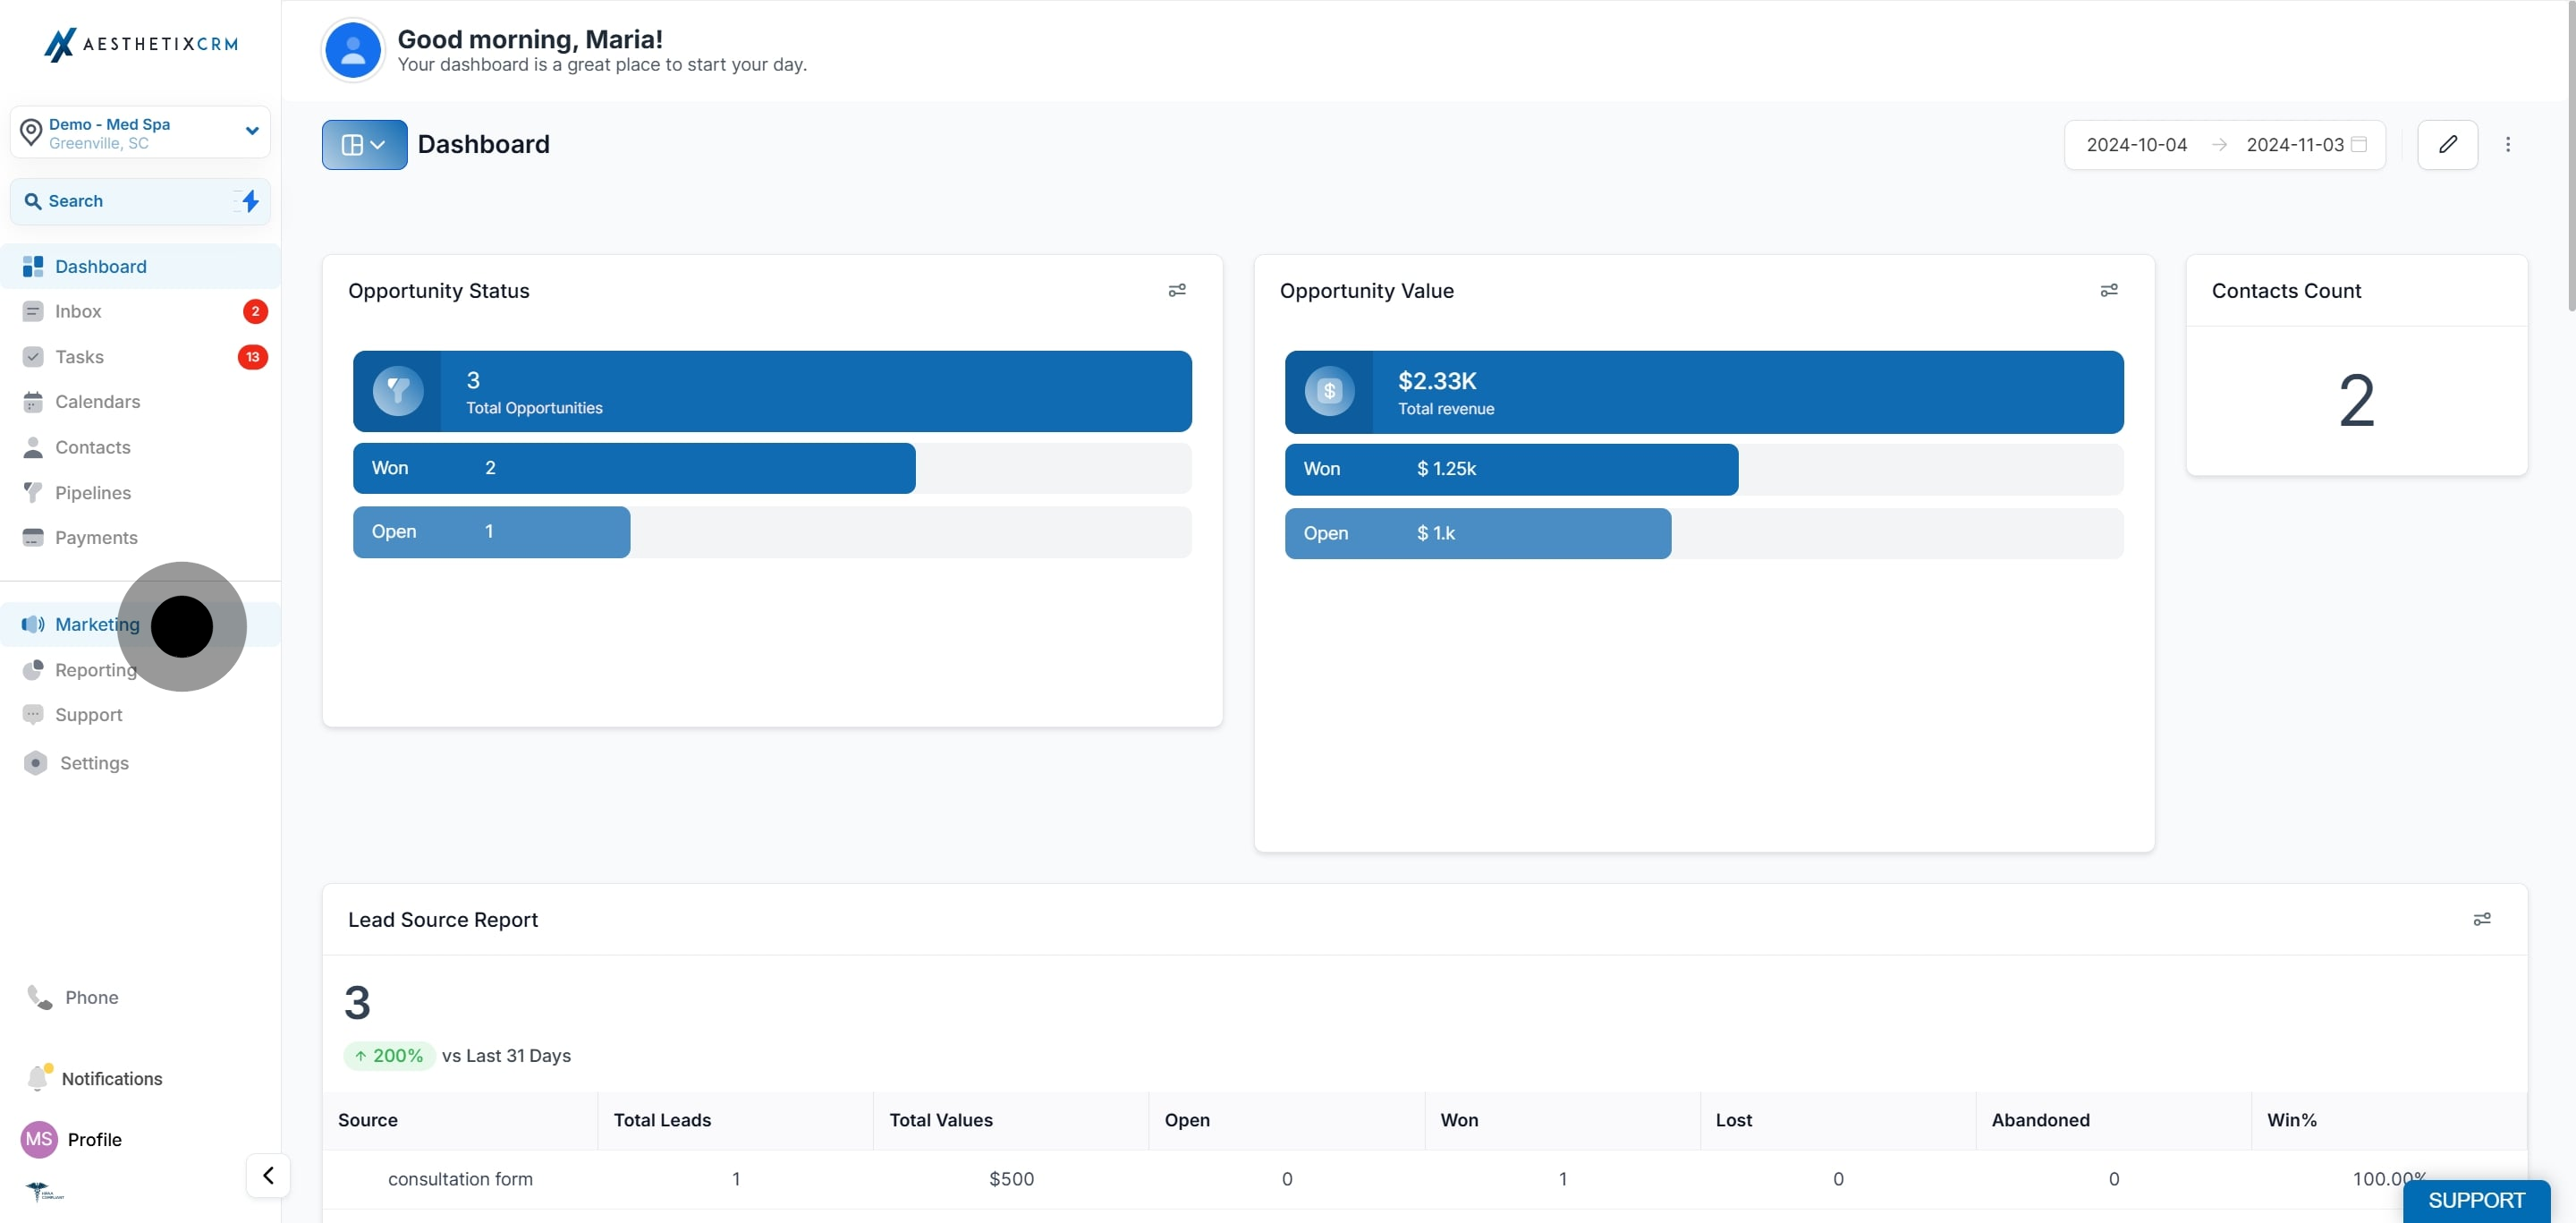
1. To begin, click on "Marketing".
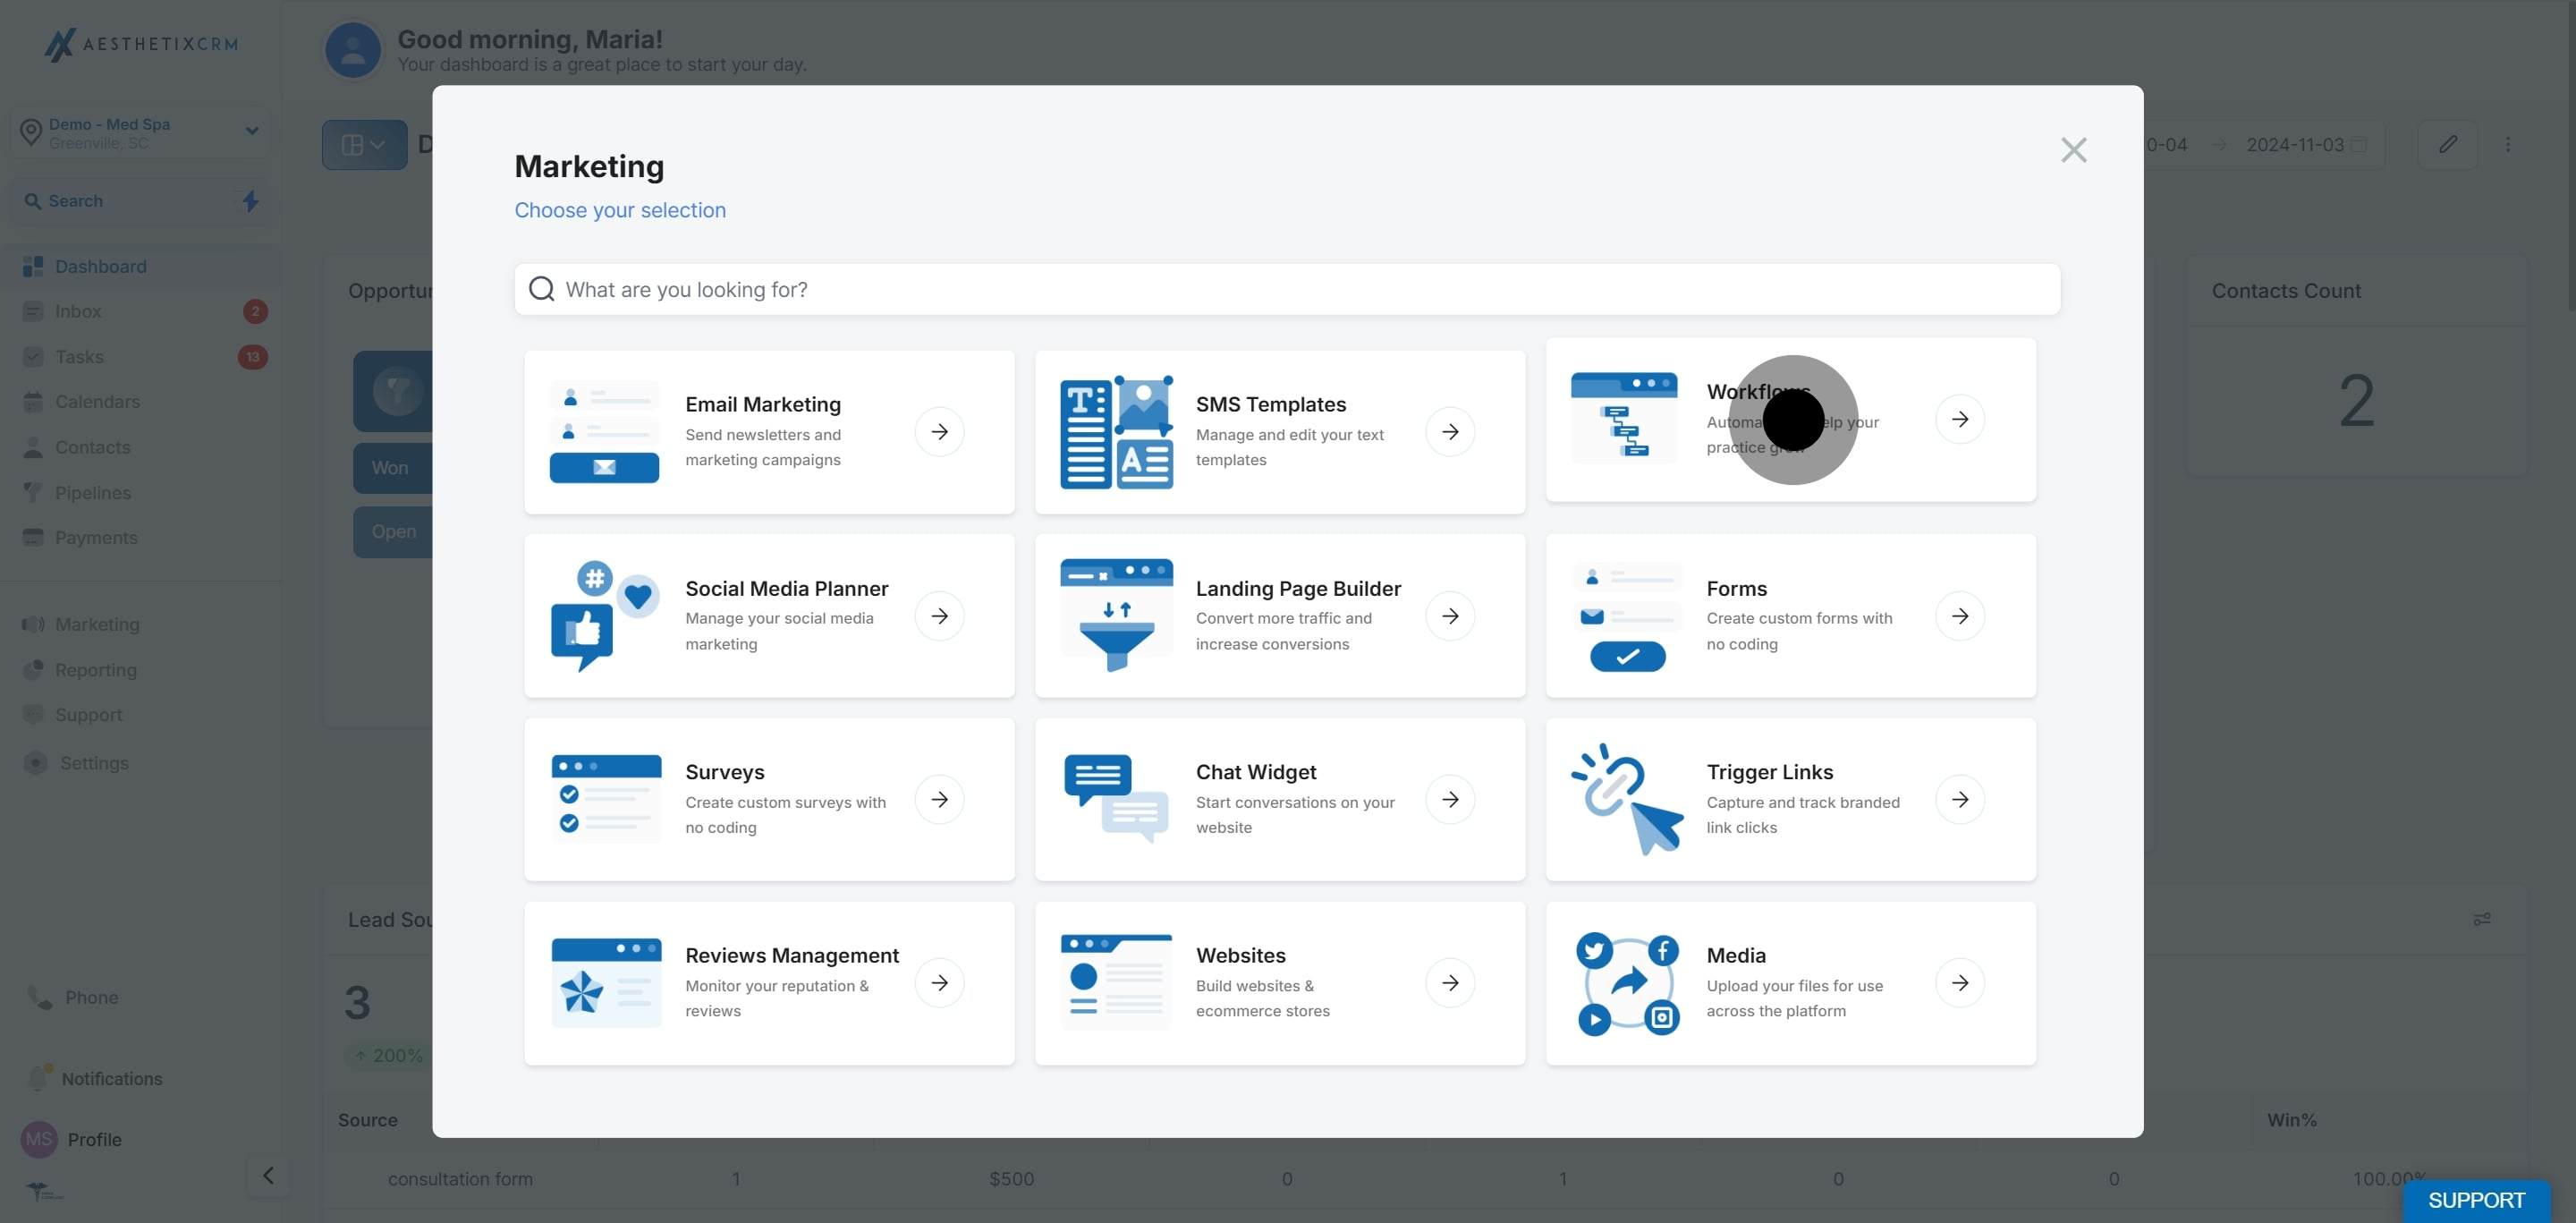
2. Next, click on "Workflows".
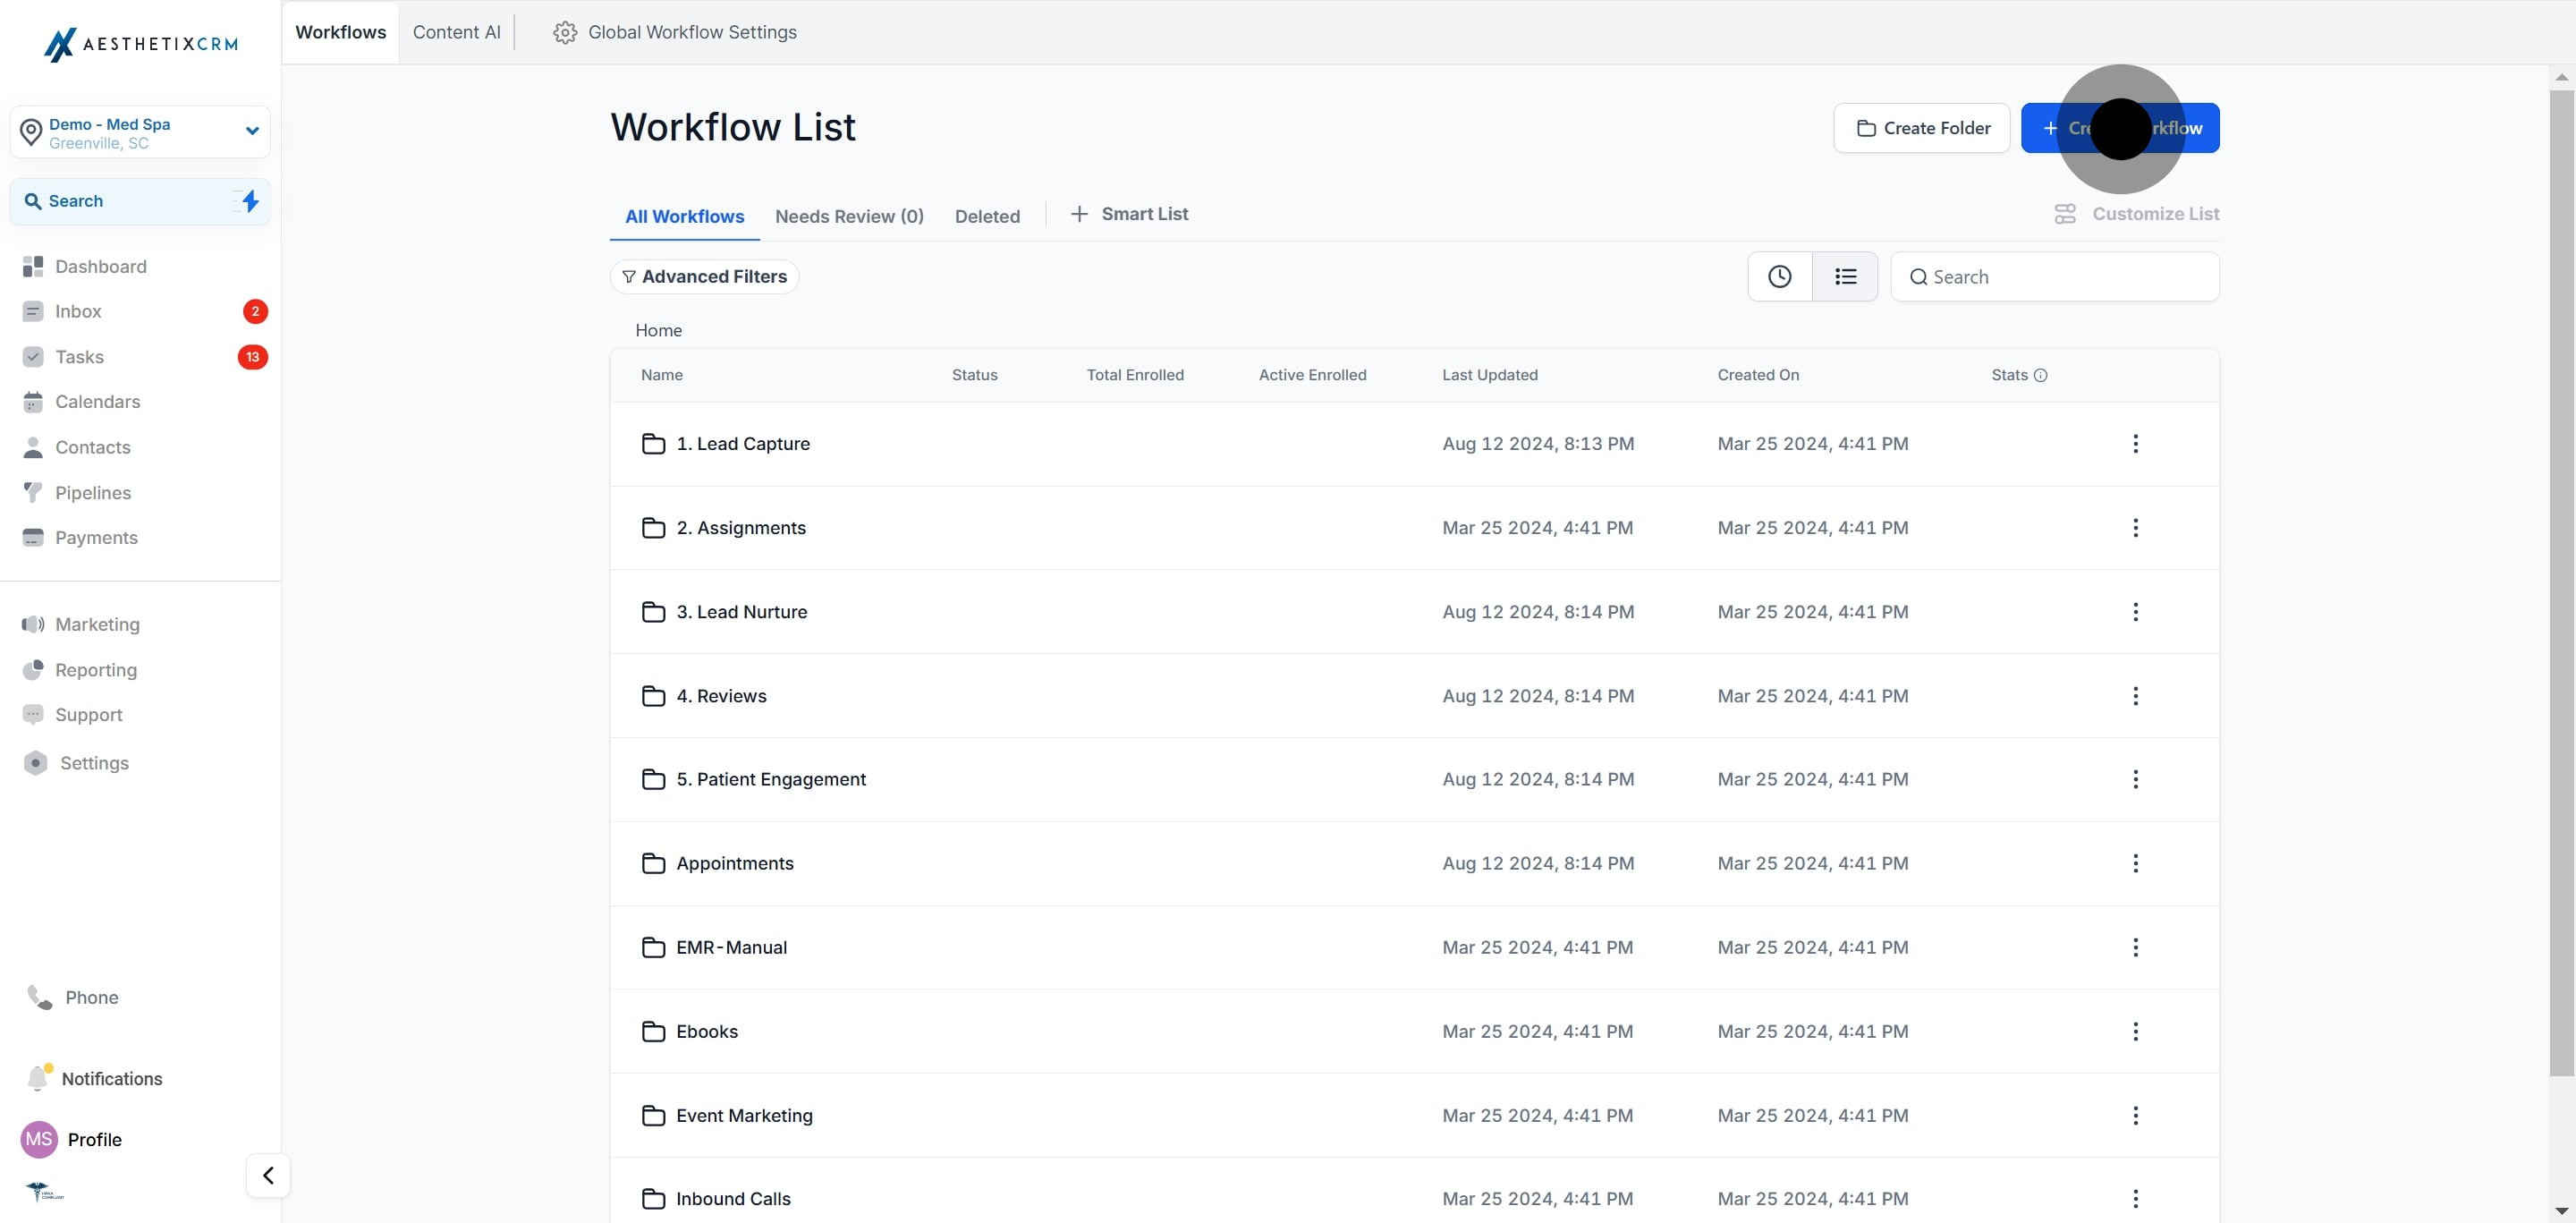
3. Click on "Create Workflow".
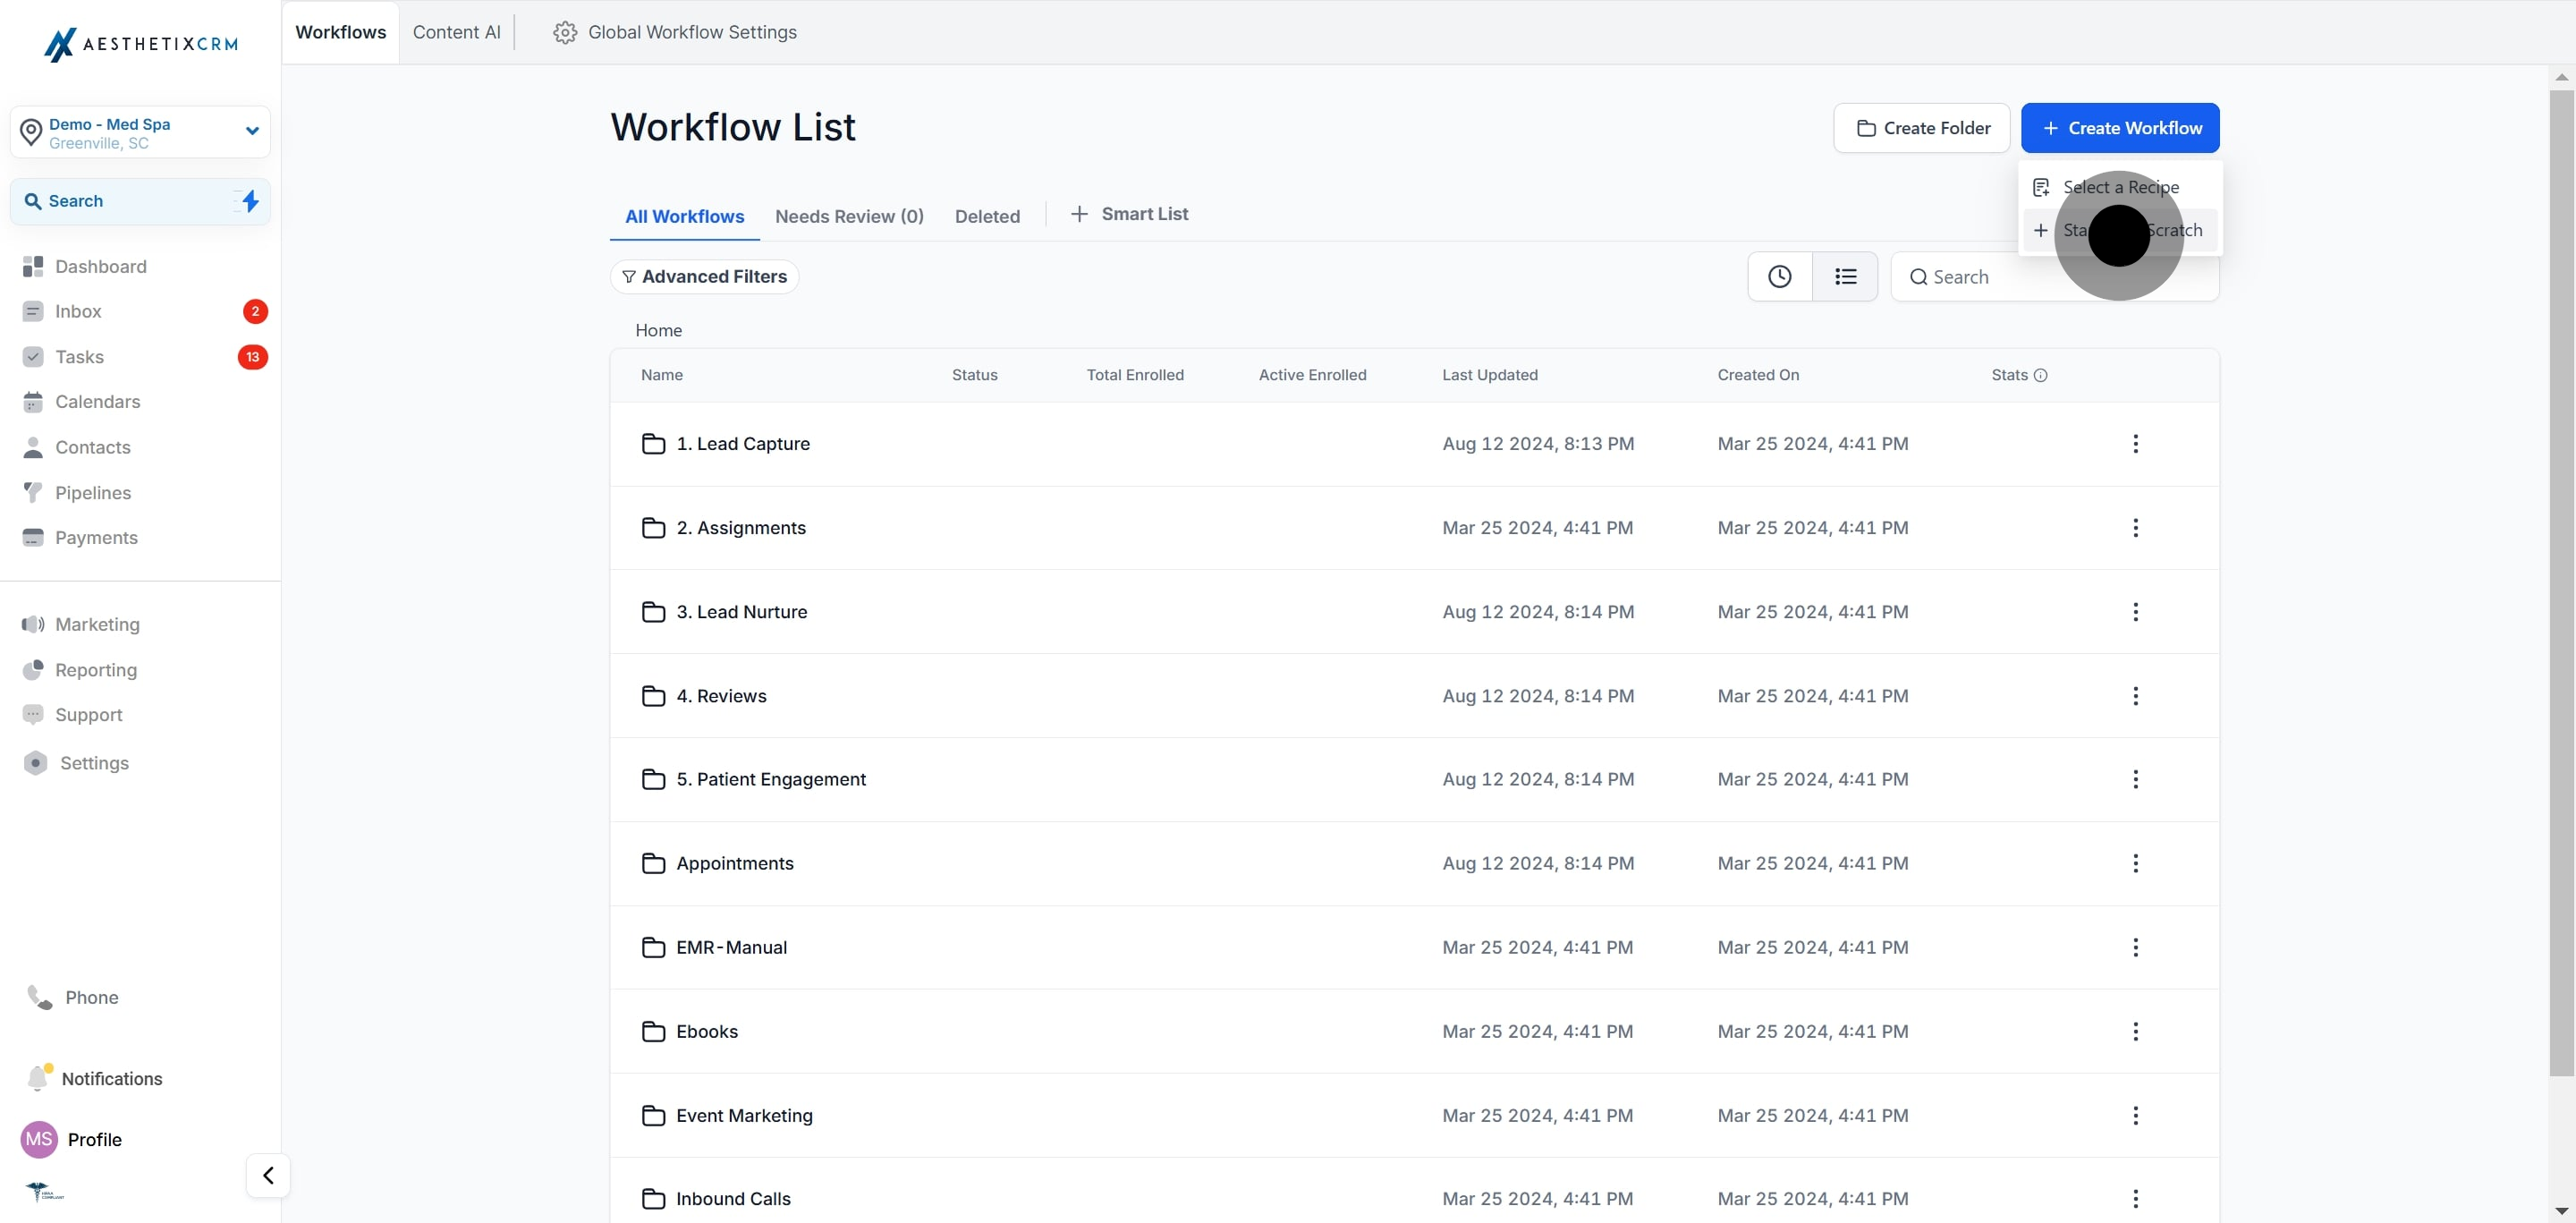
4. Click on "Start from Scratch".
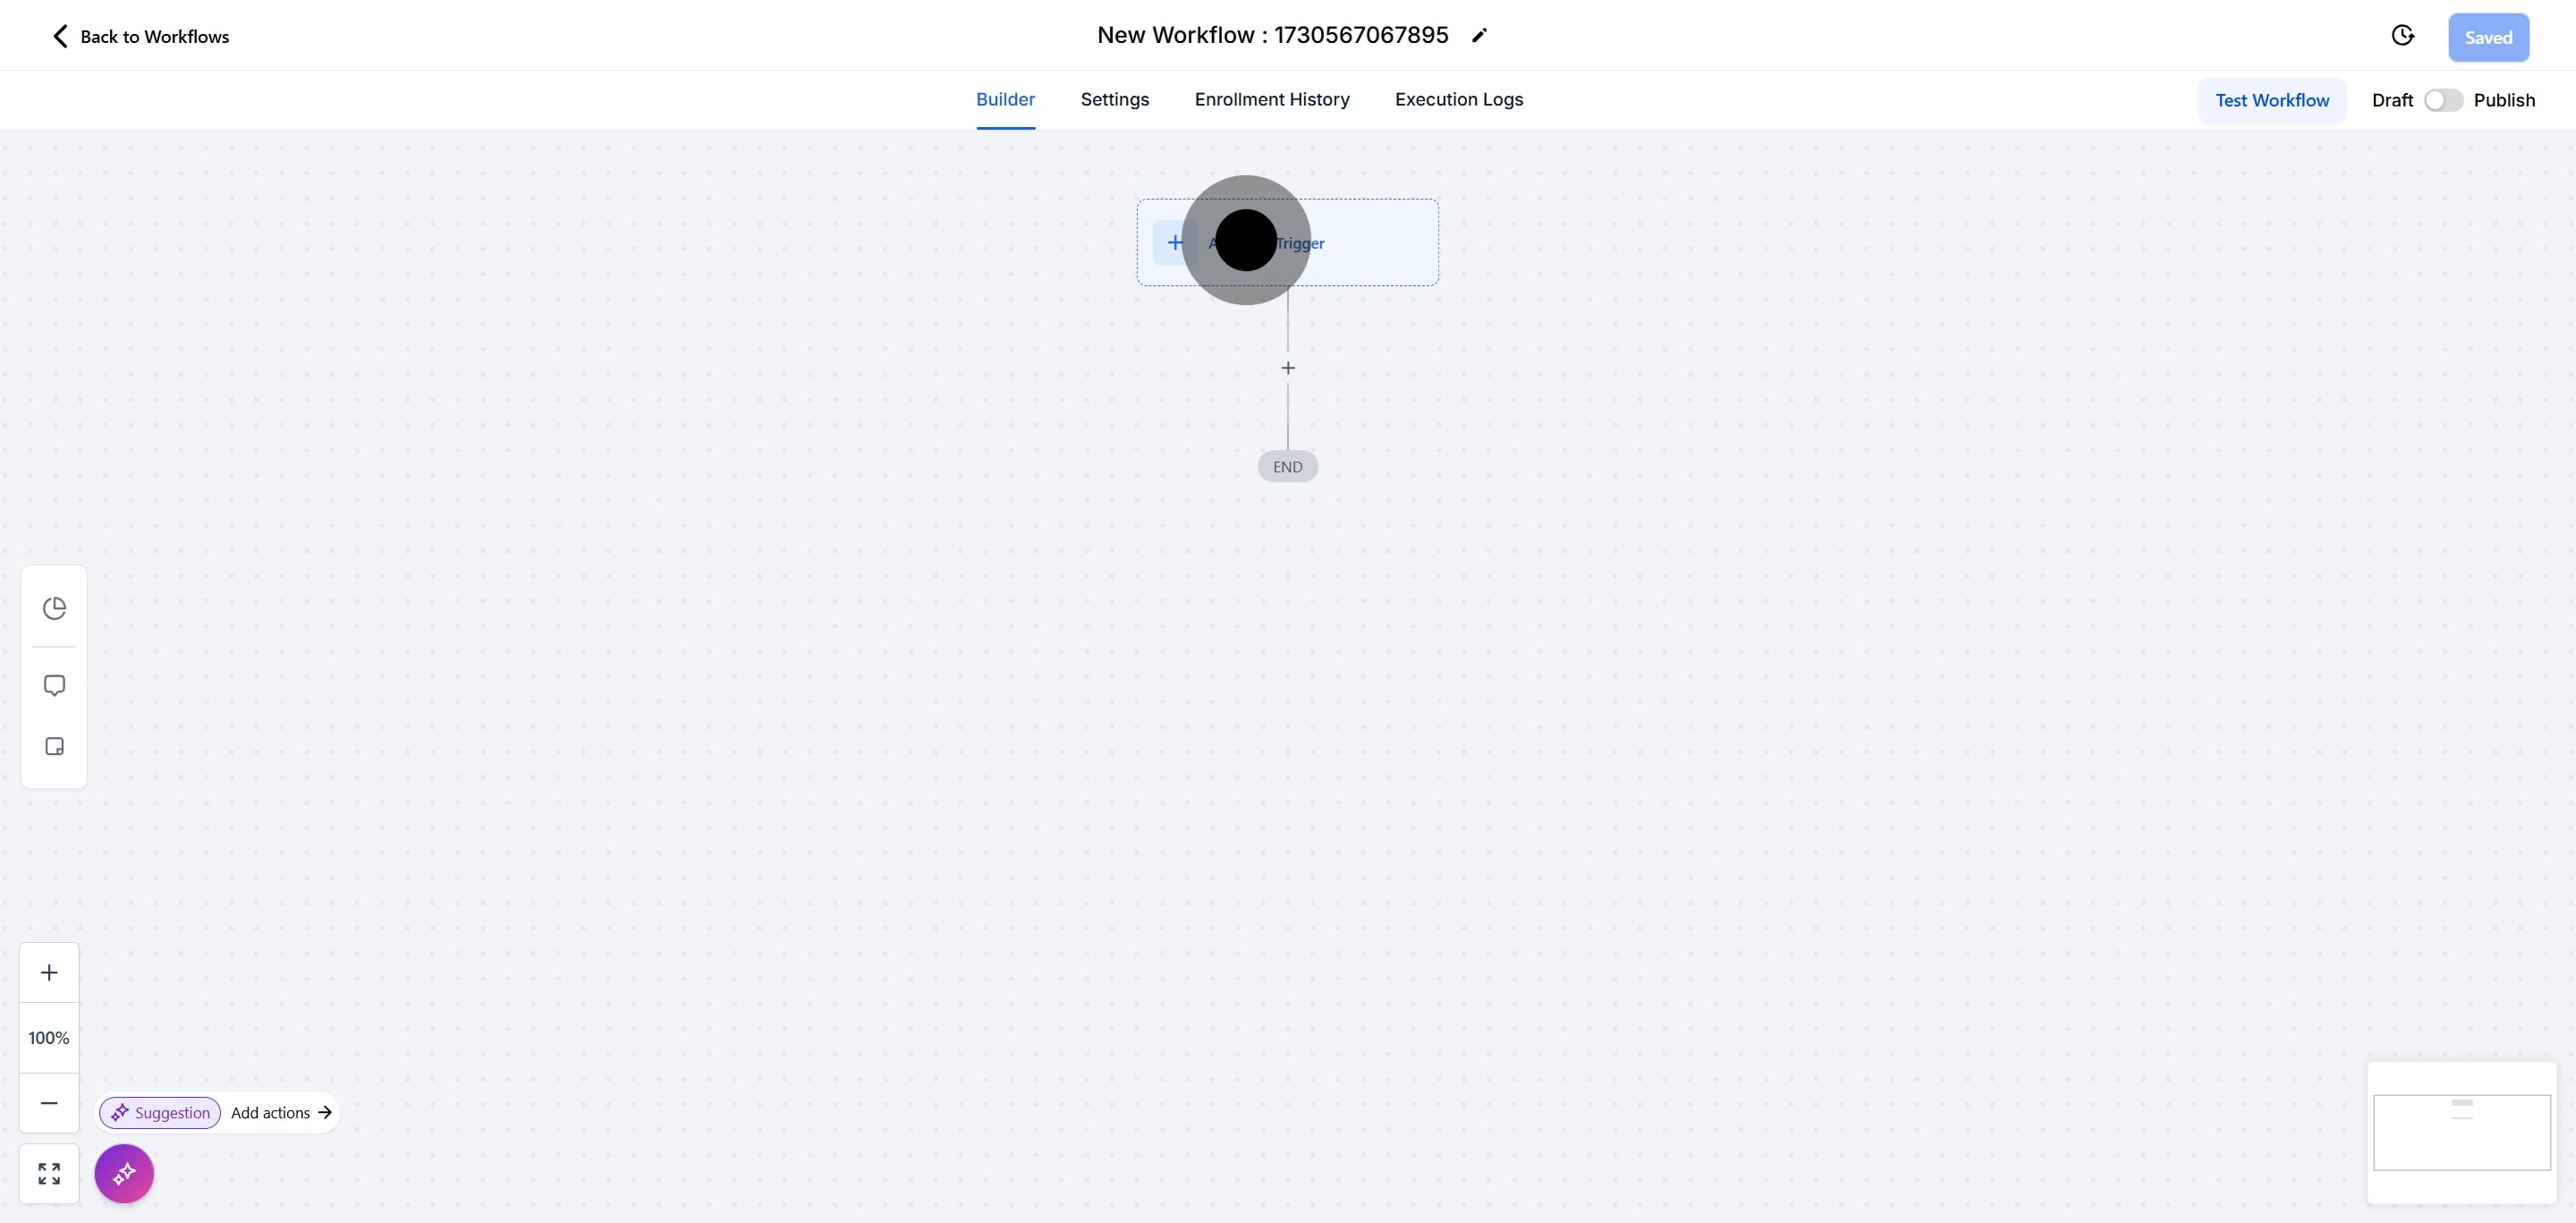
5. Click on "Add New Trigger".
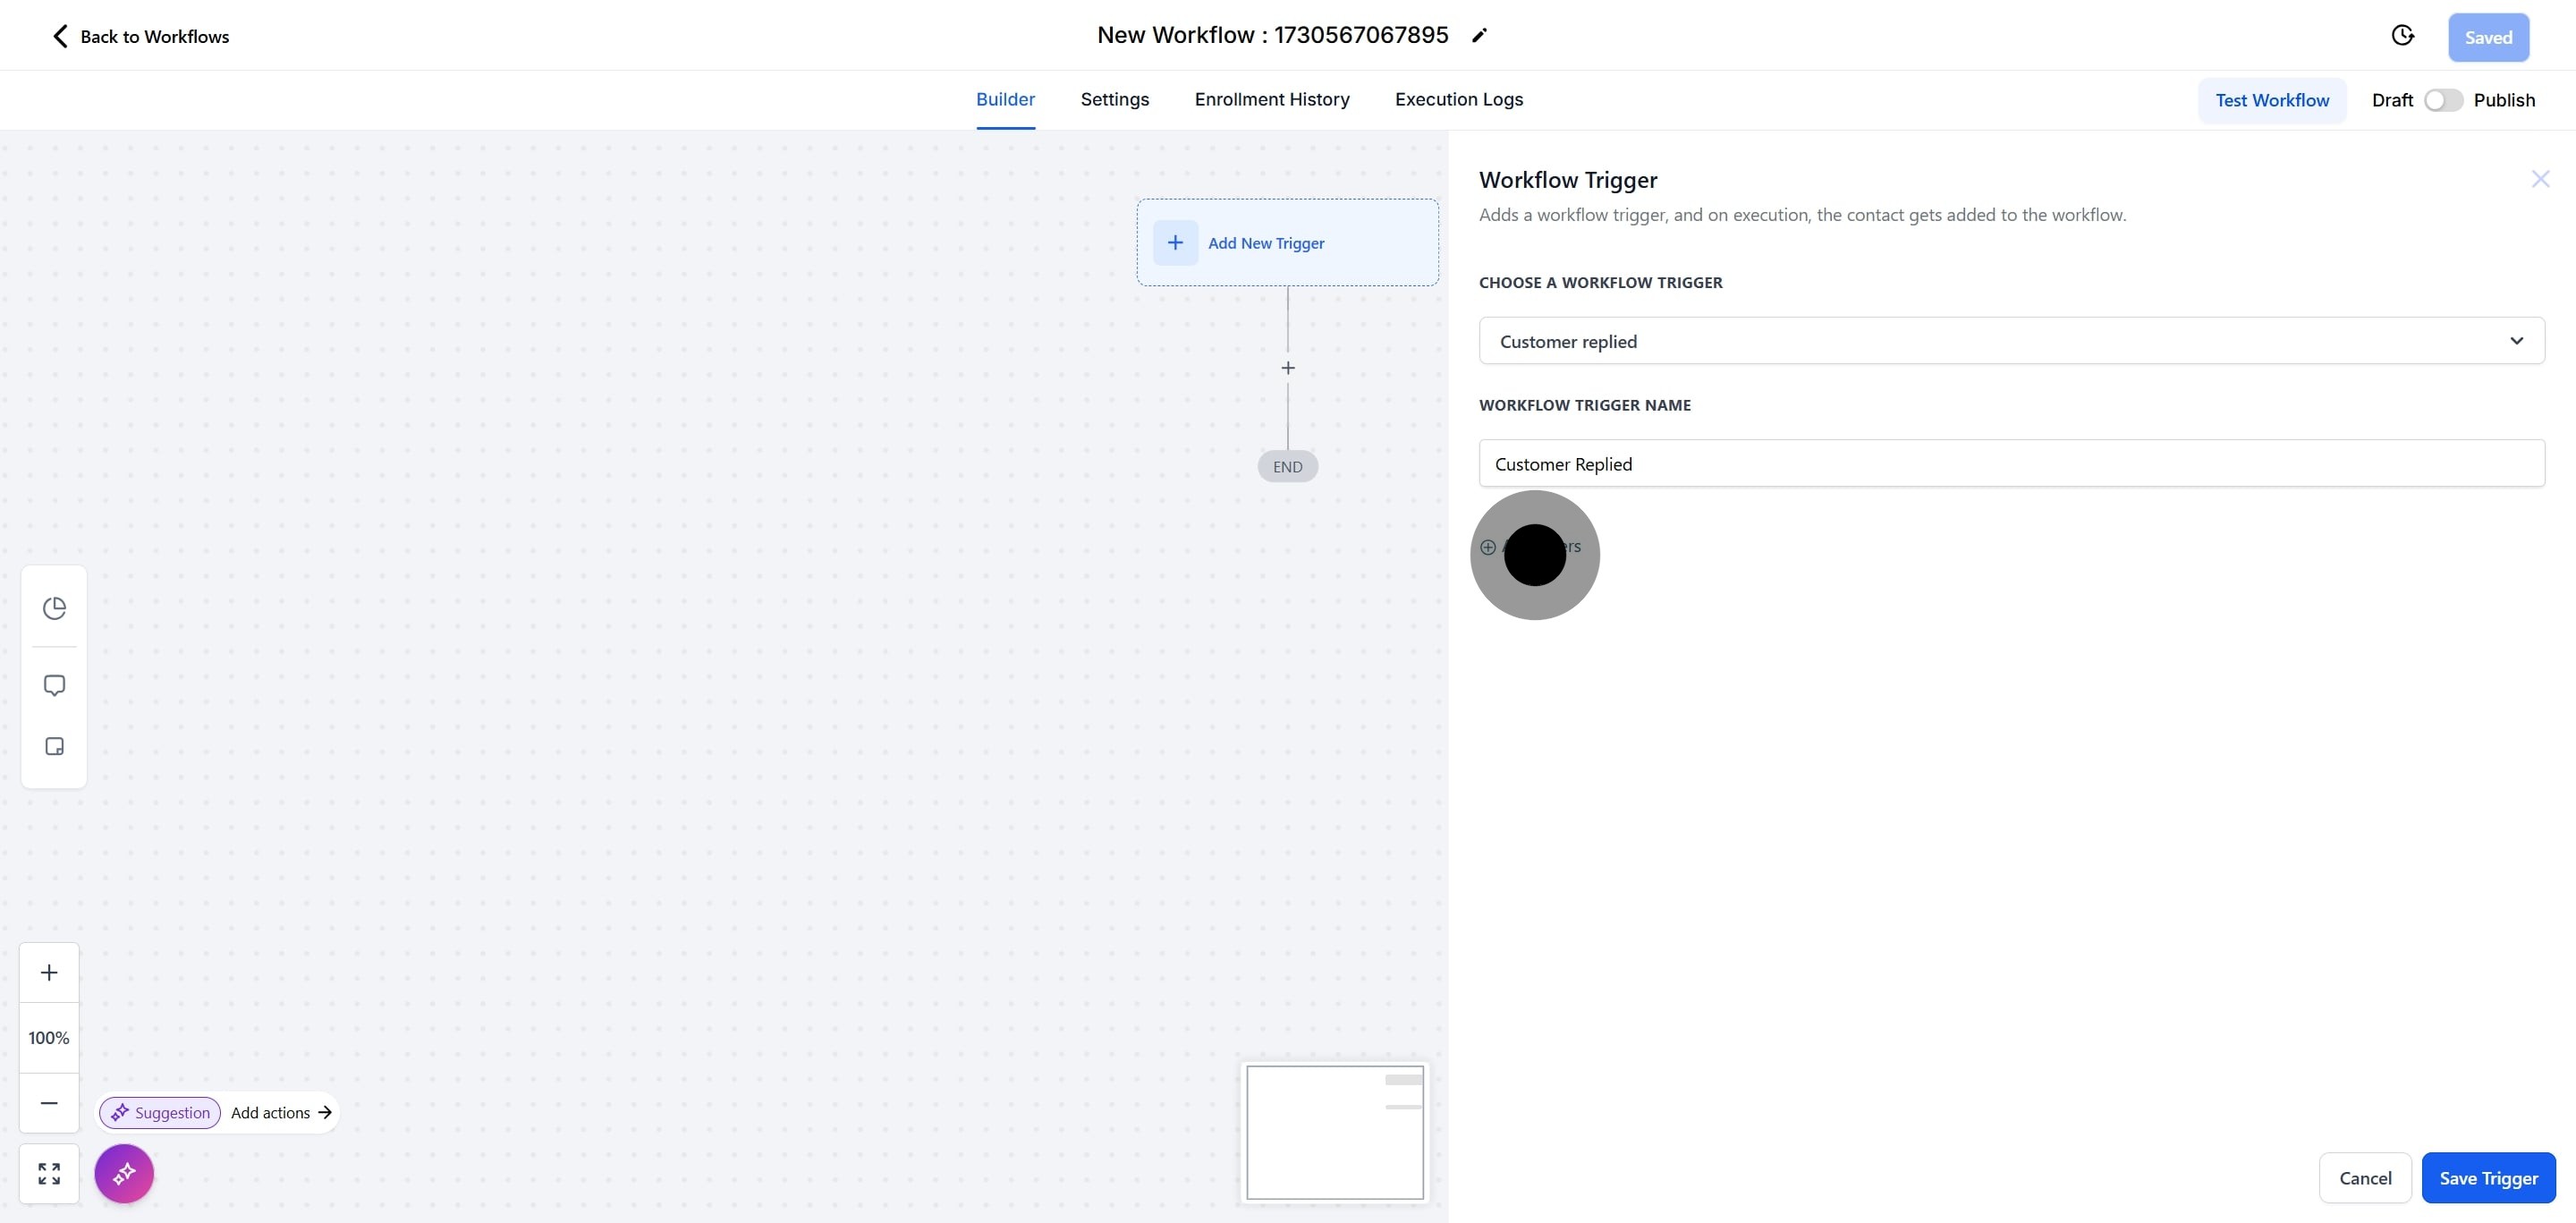
6. Next up, click on "Customer replied".
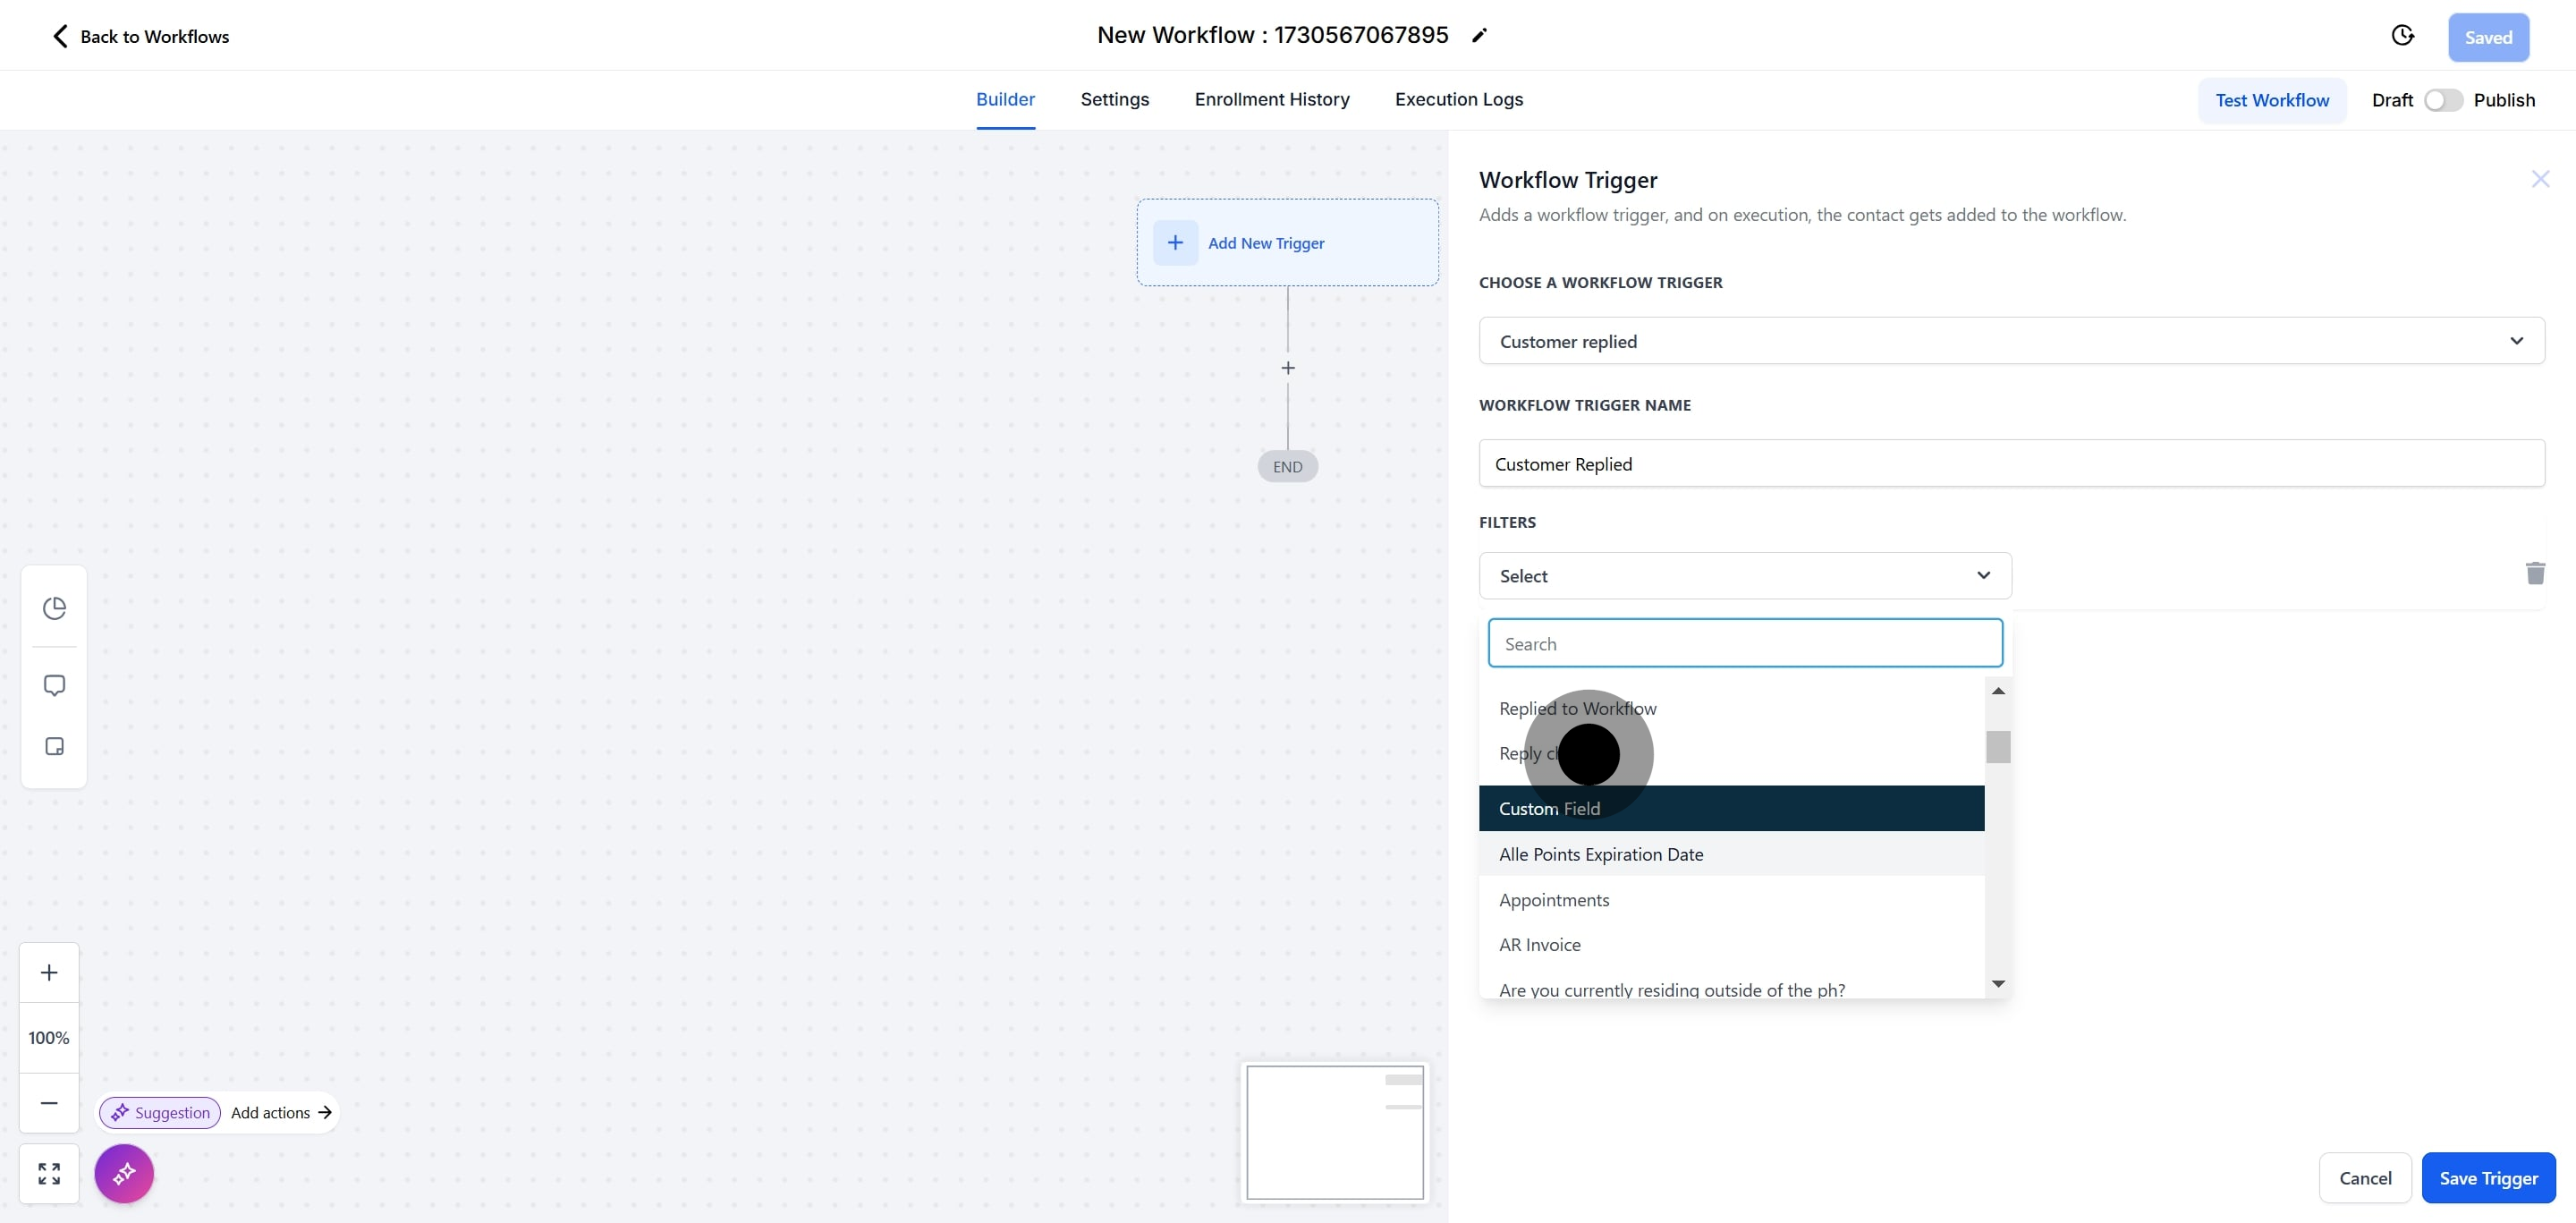
7. Click on "Add filters".
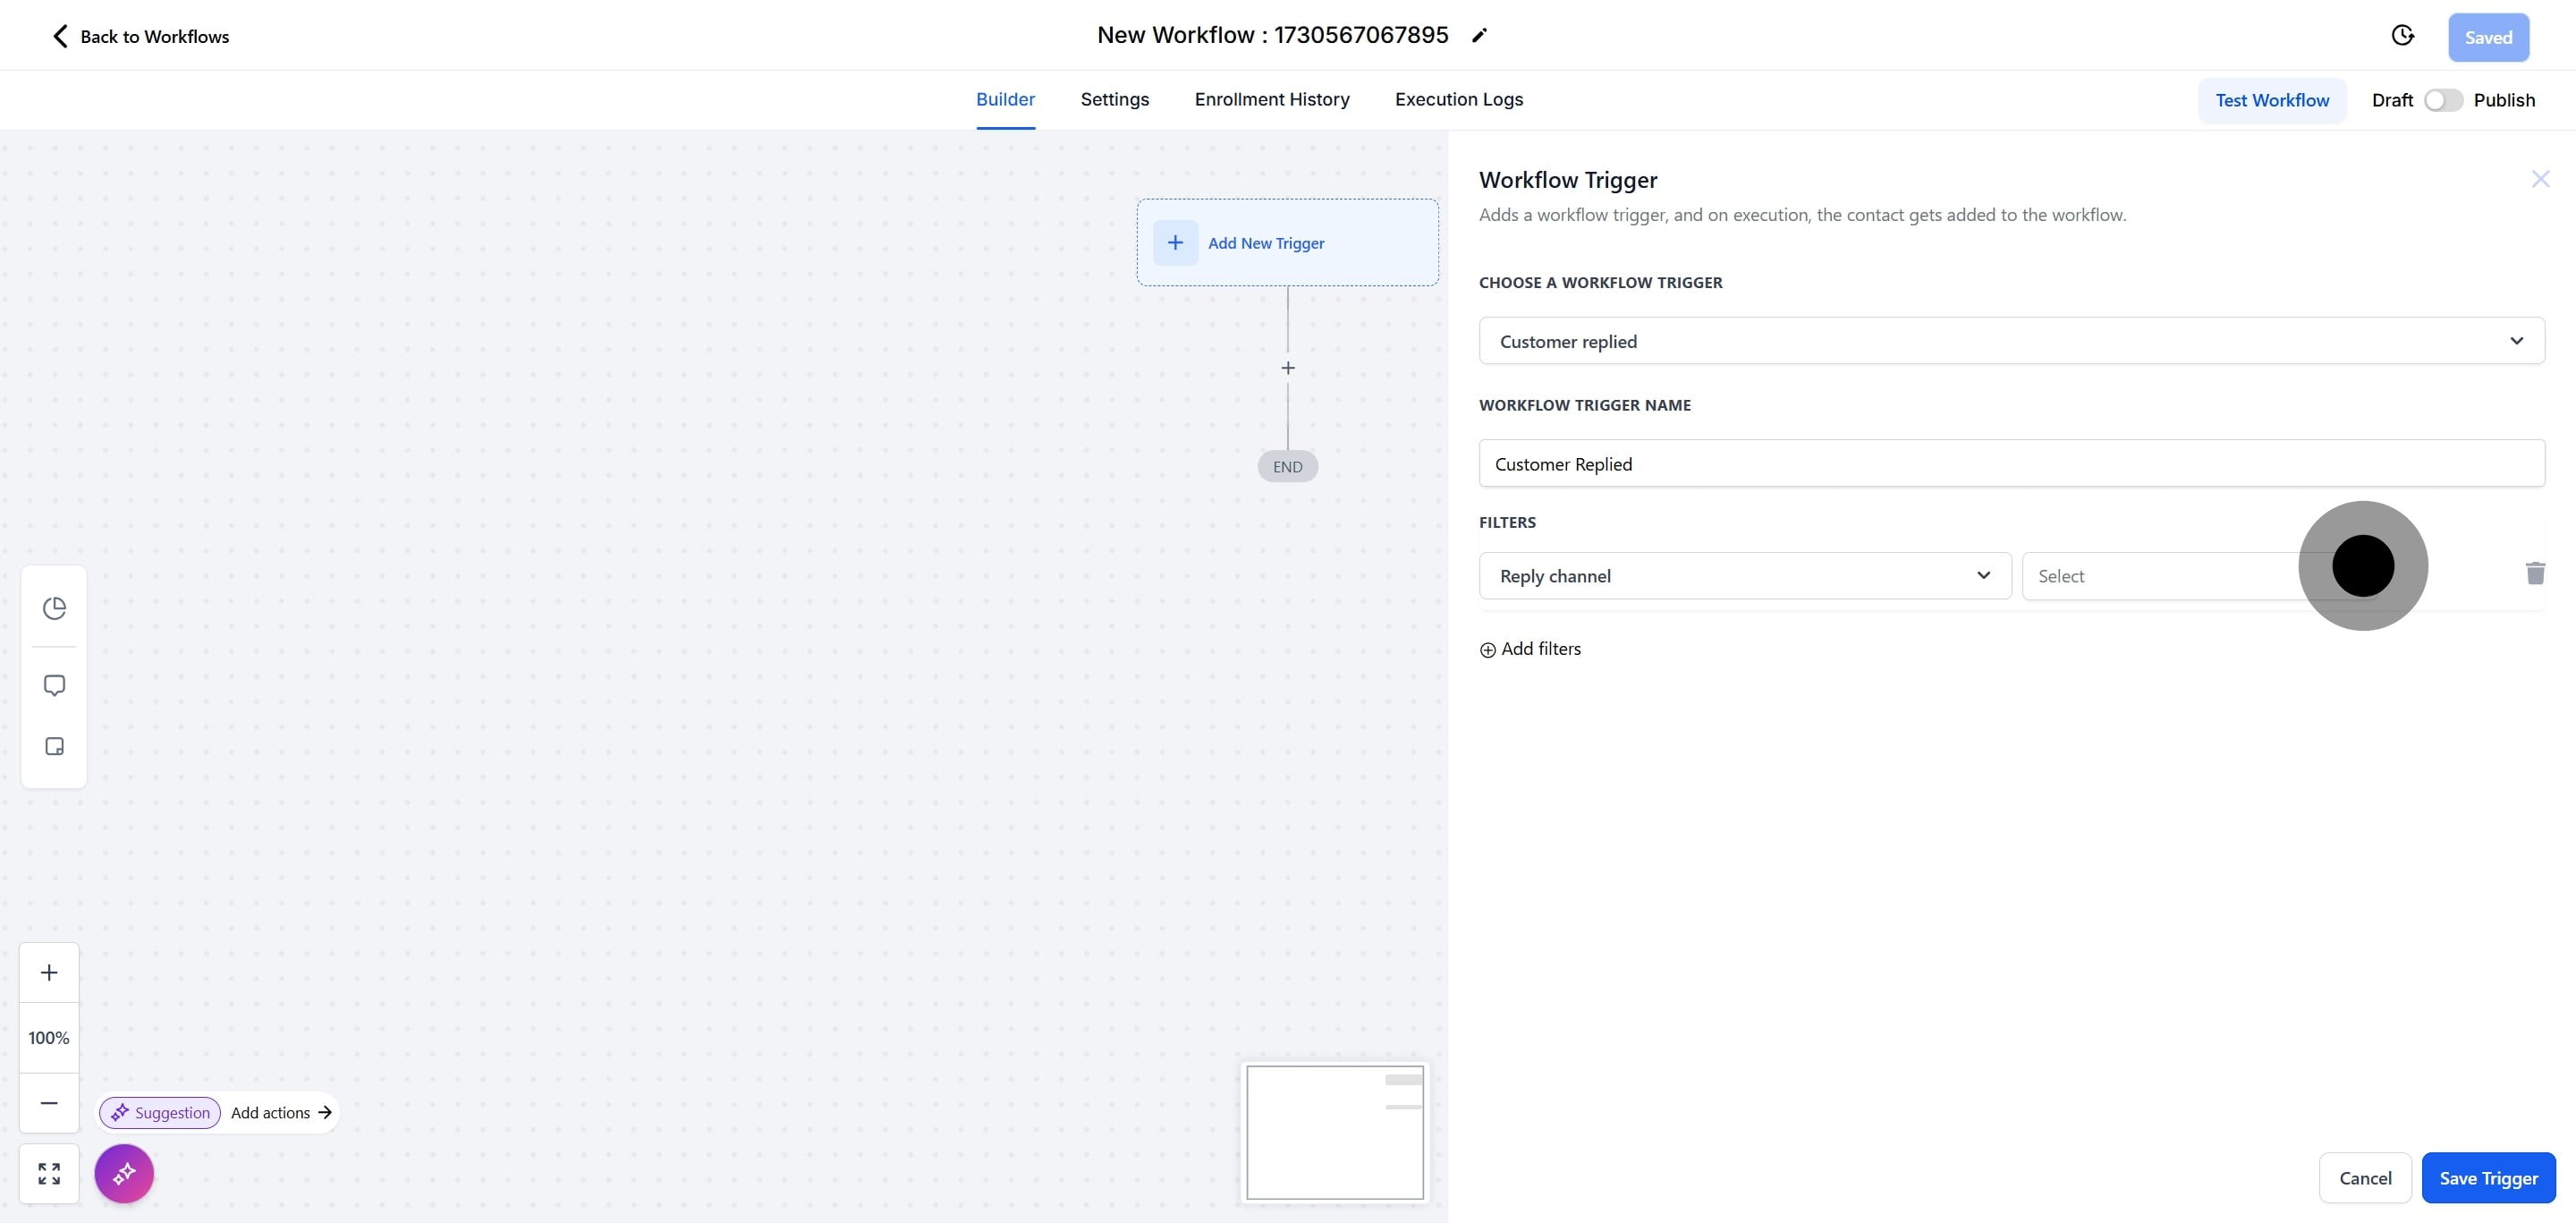
8. Click on "Reply Channel".
9. Click on "Select".
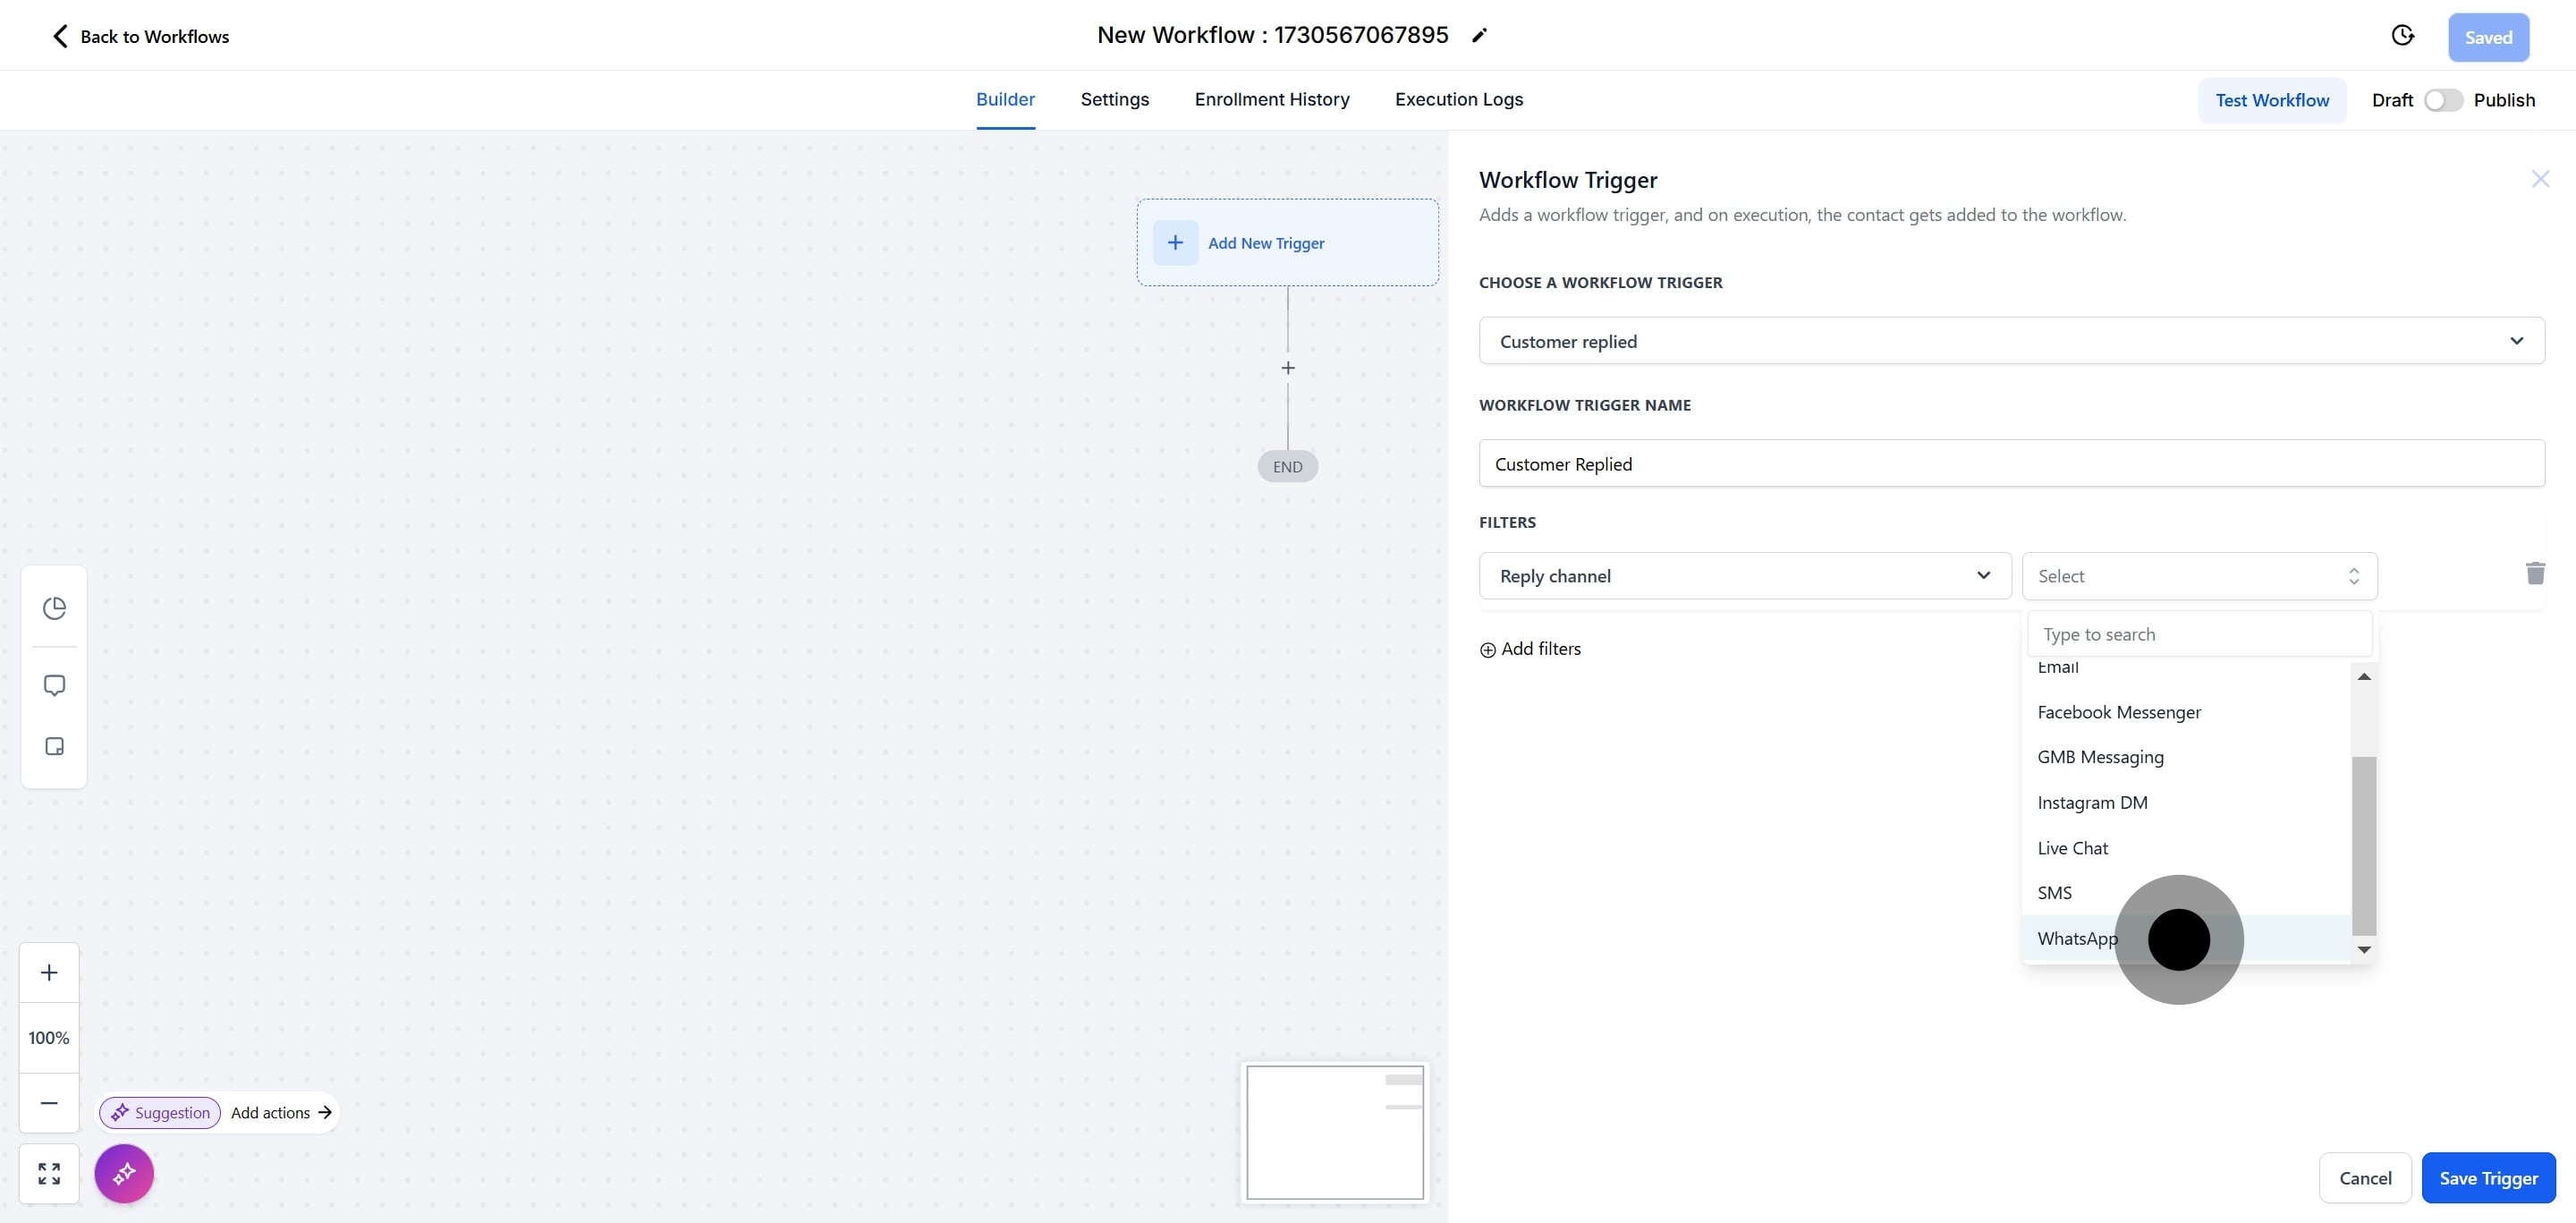
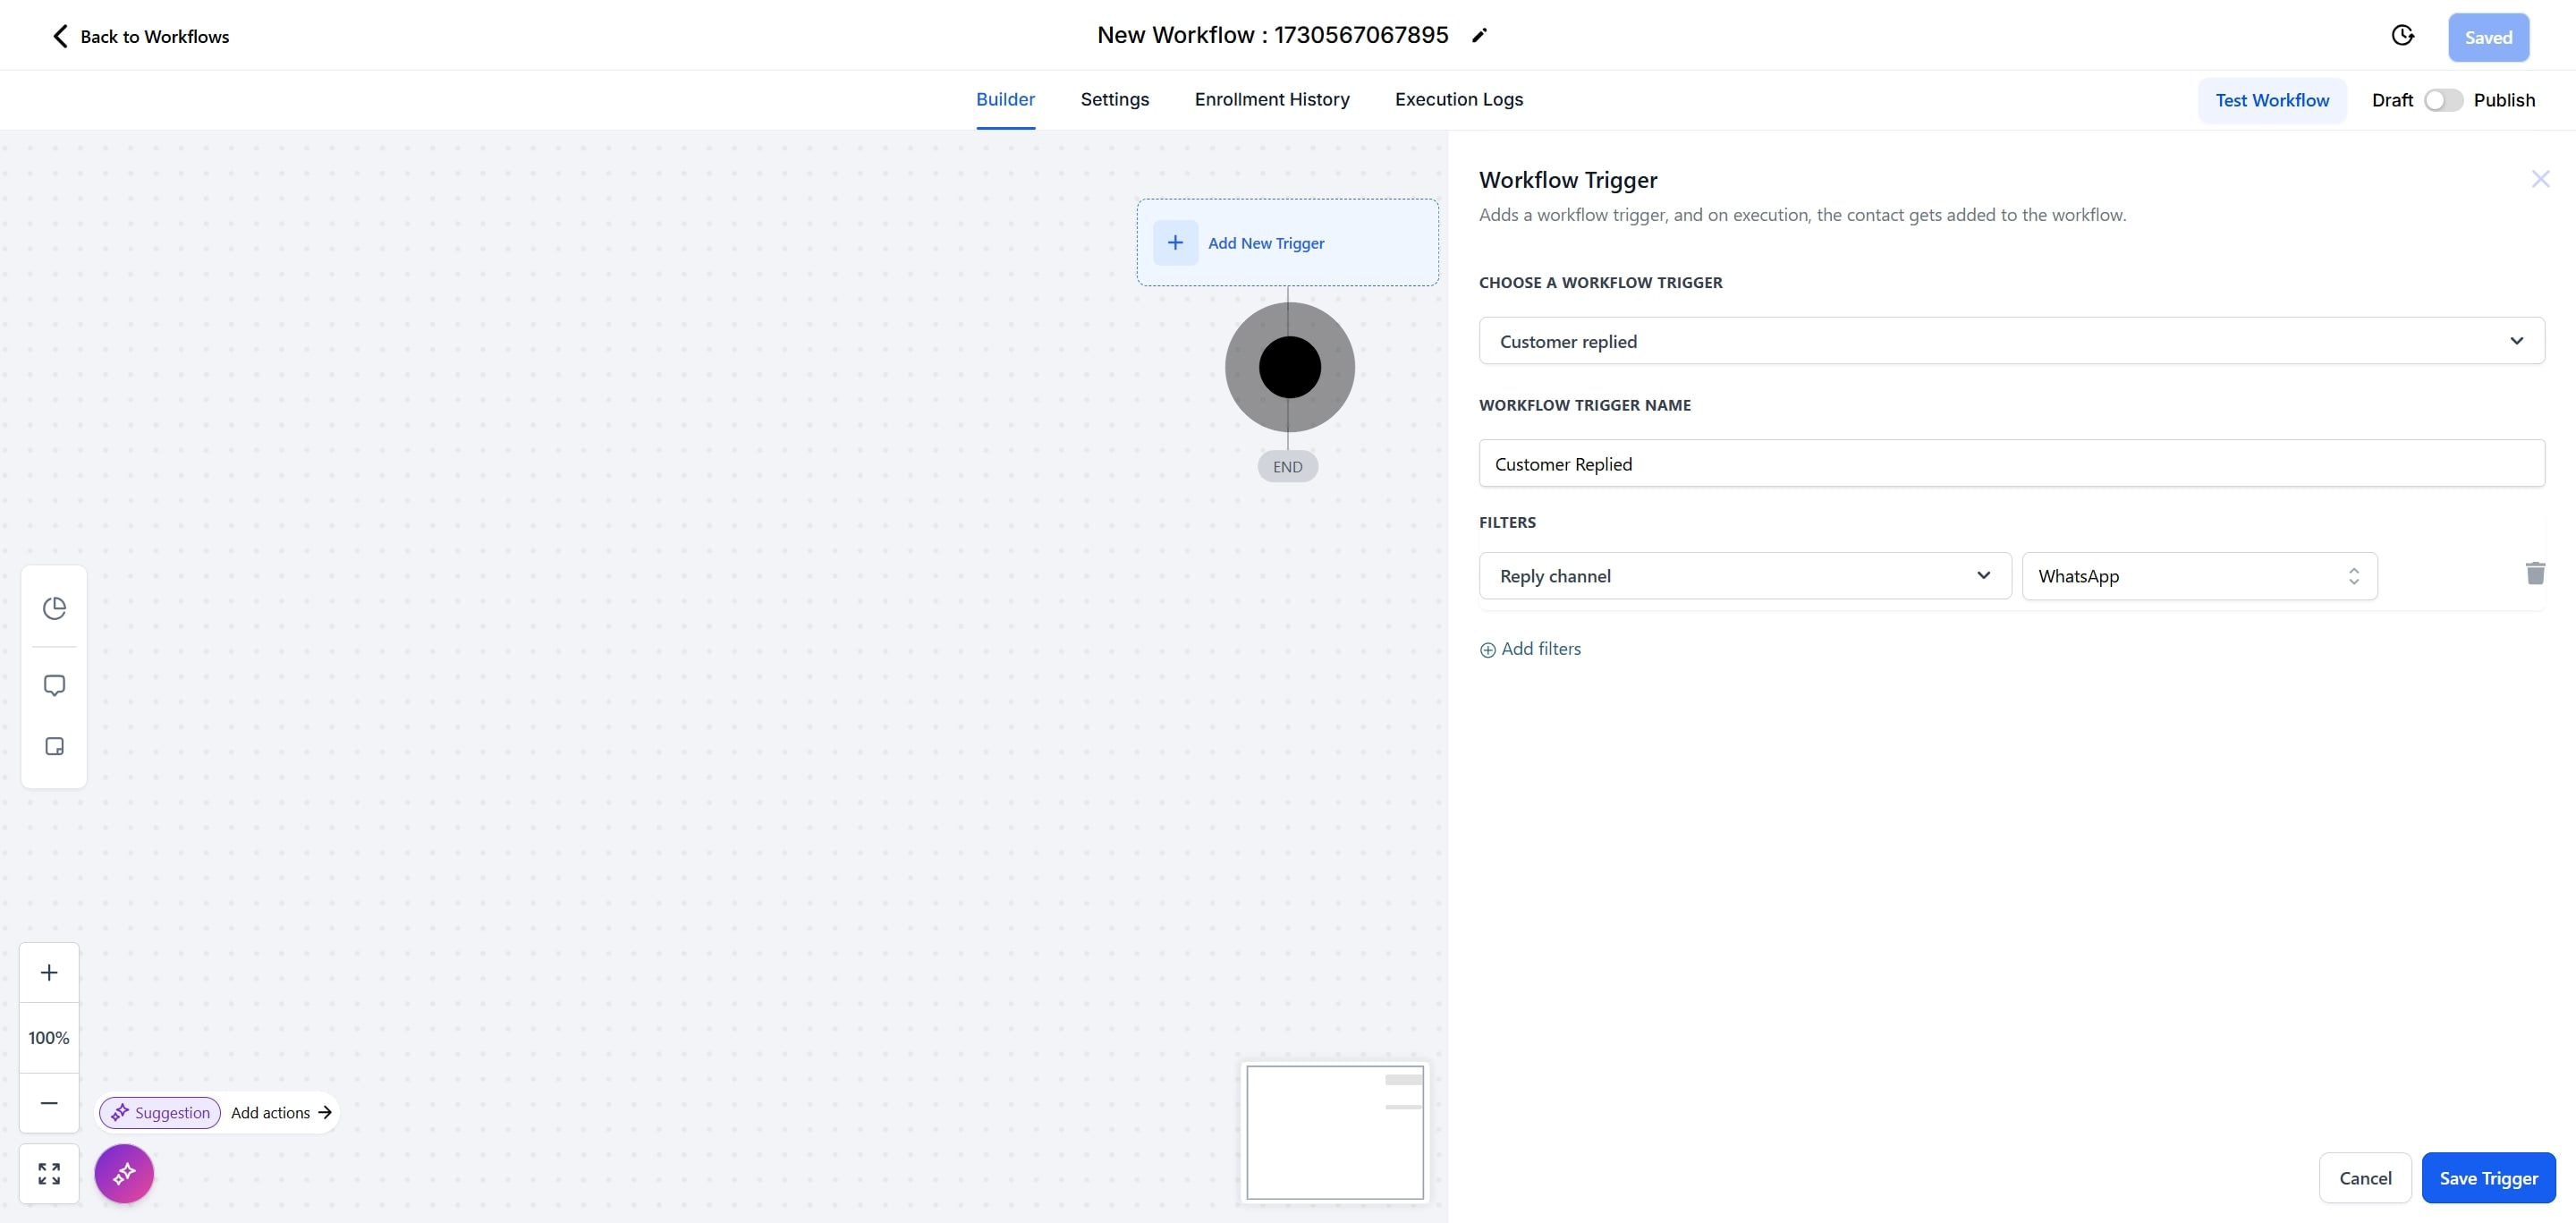
10. Next up, click on "WhatsApp".
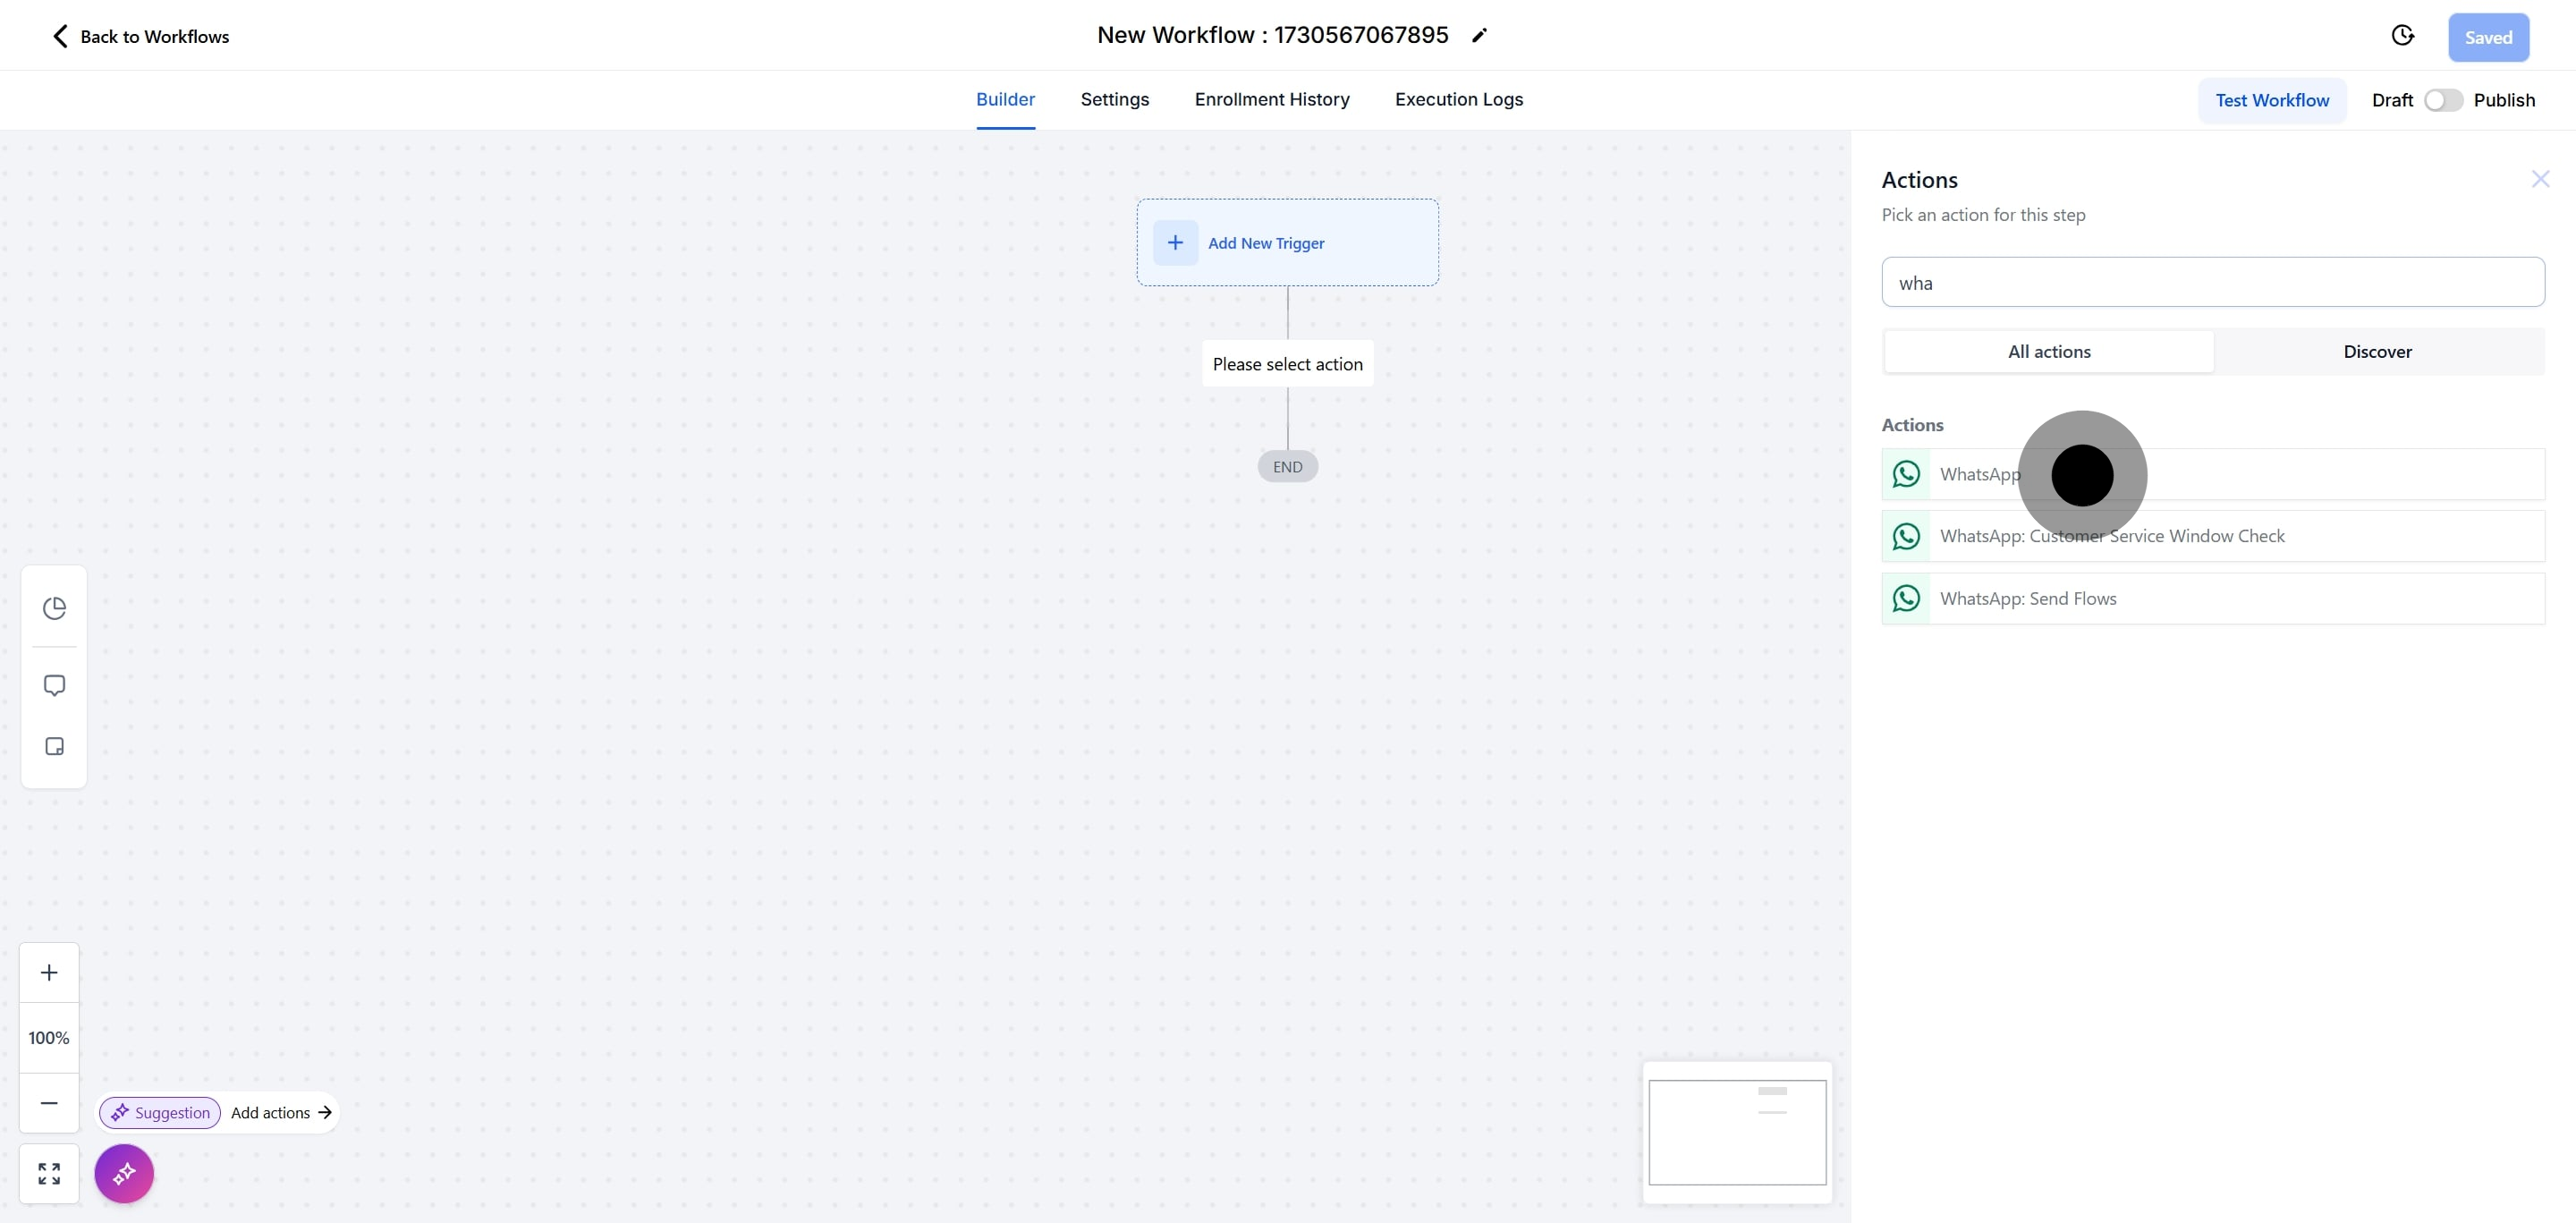
11. Click on the plus button to add an action.
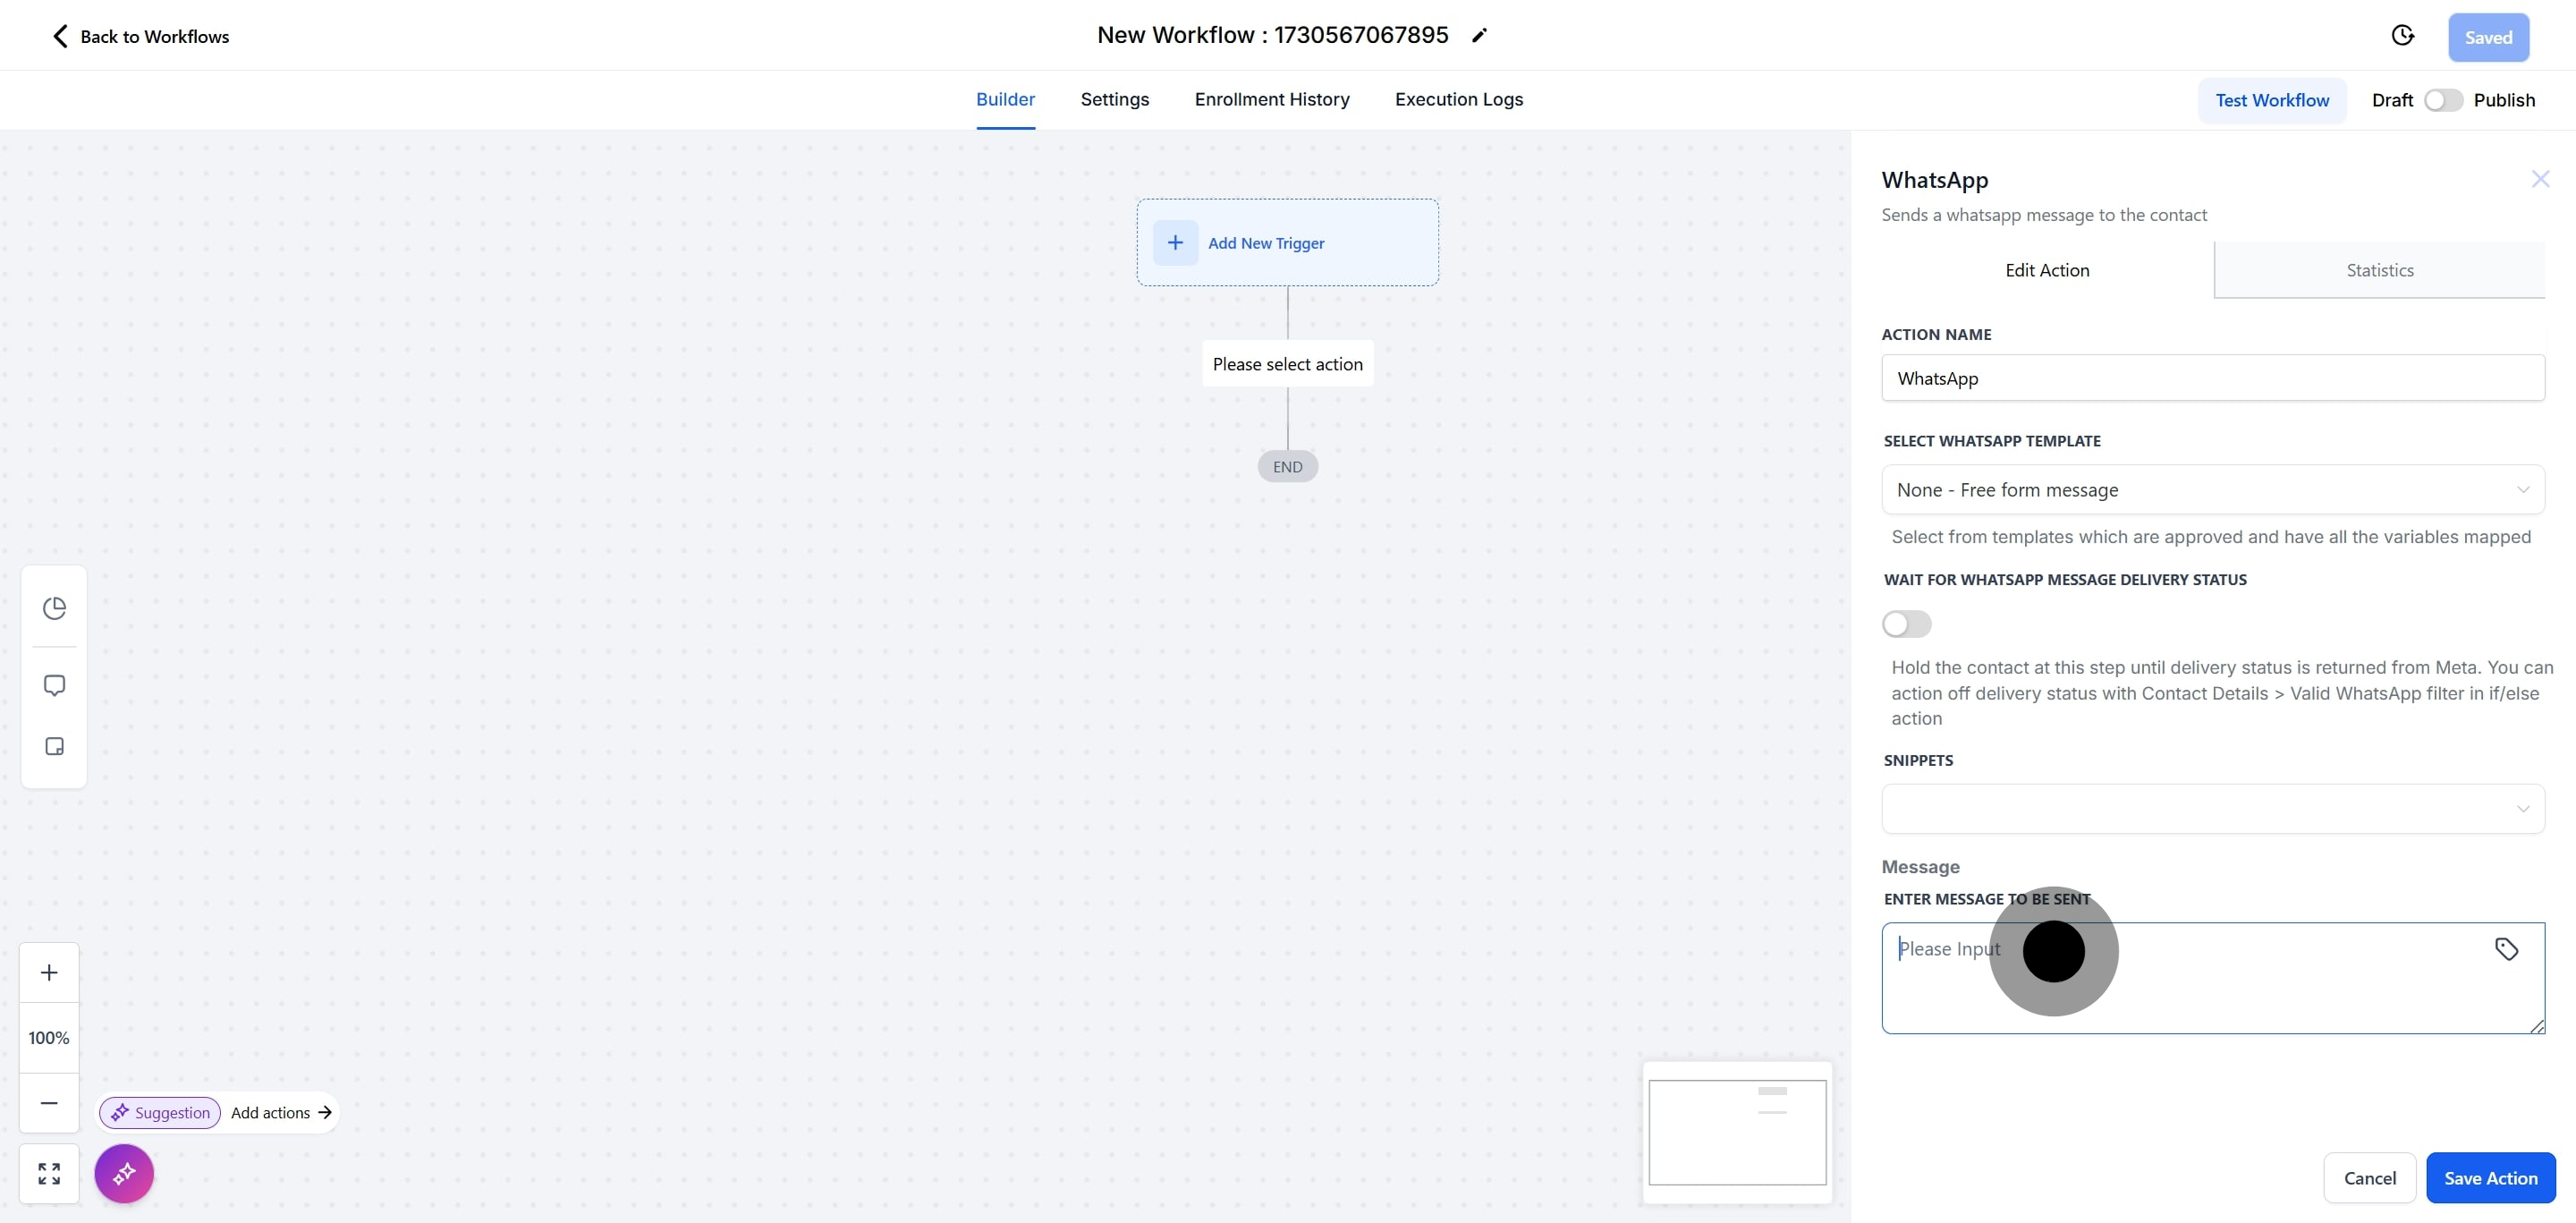
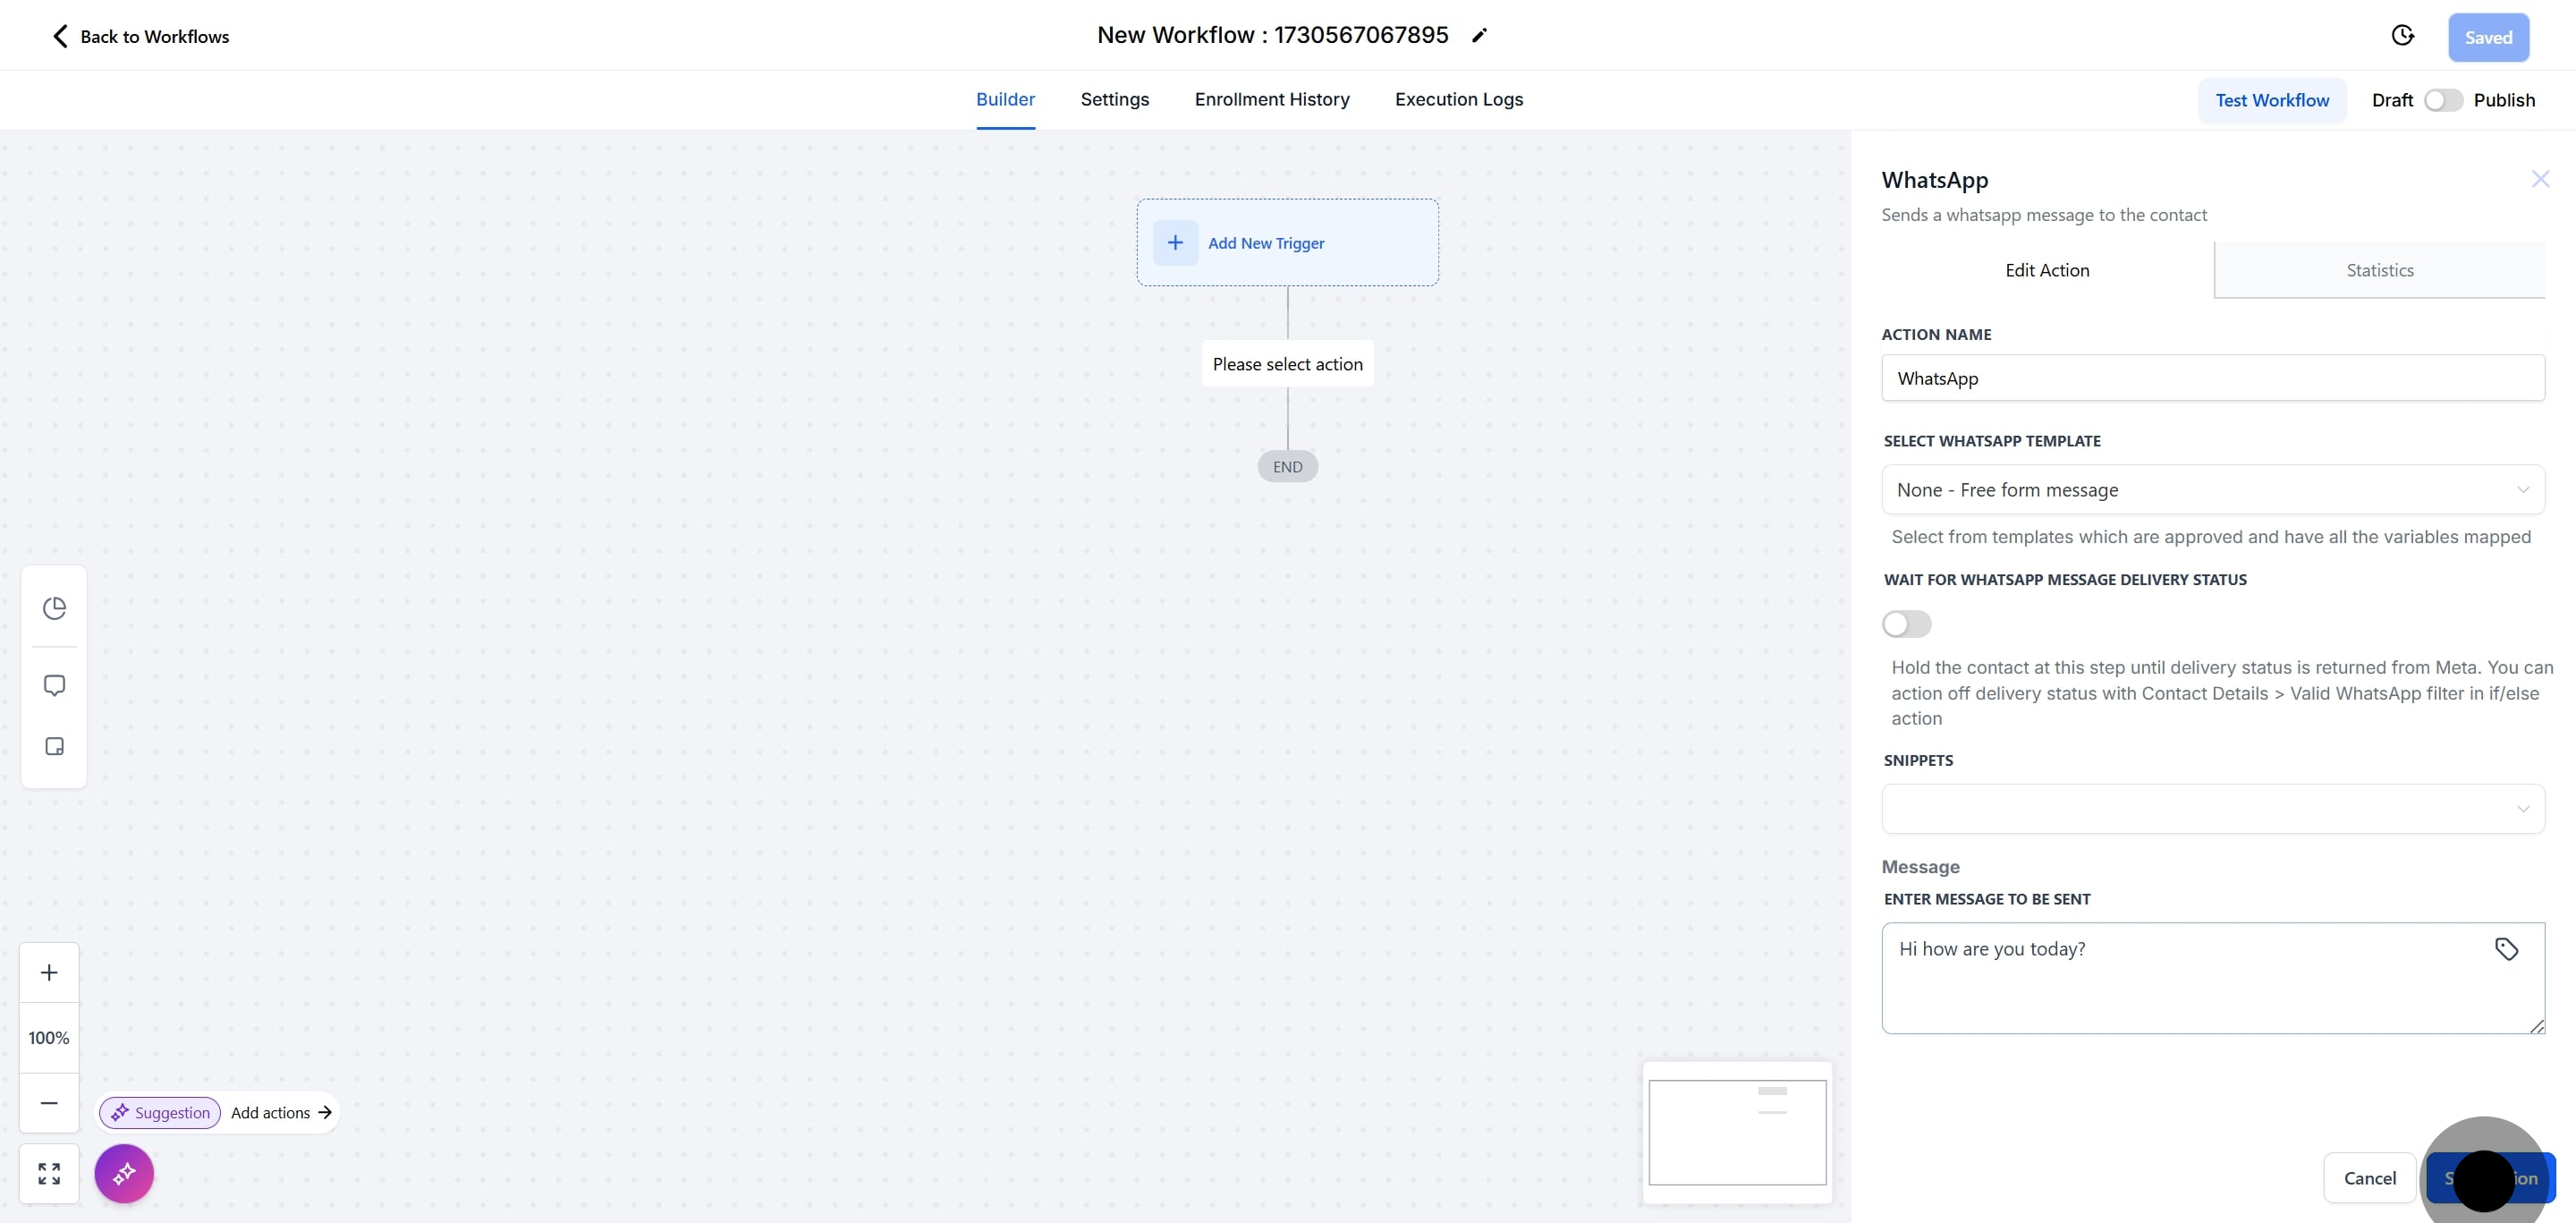
12. Click on "WhatsApp".
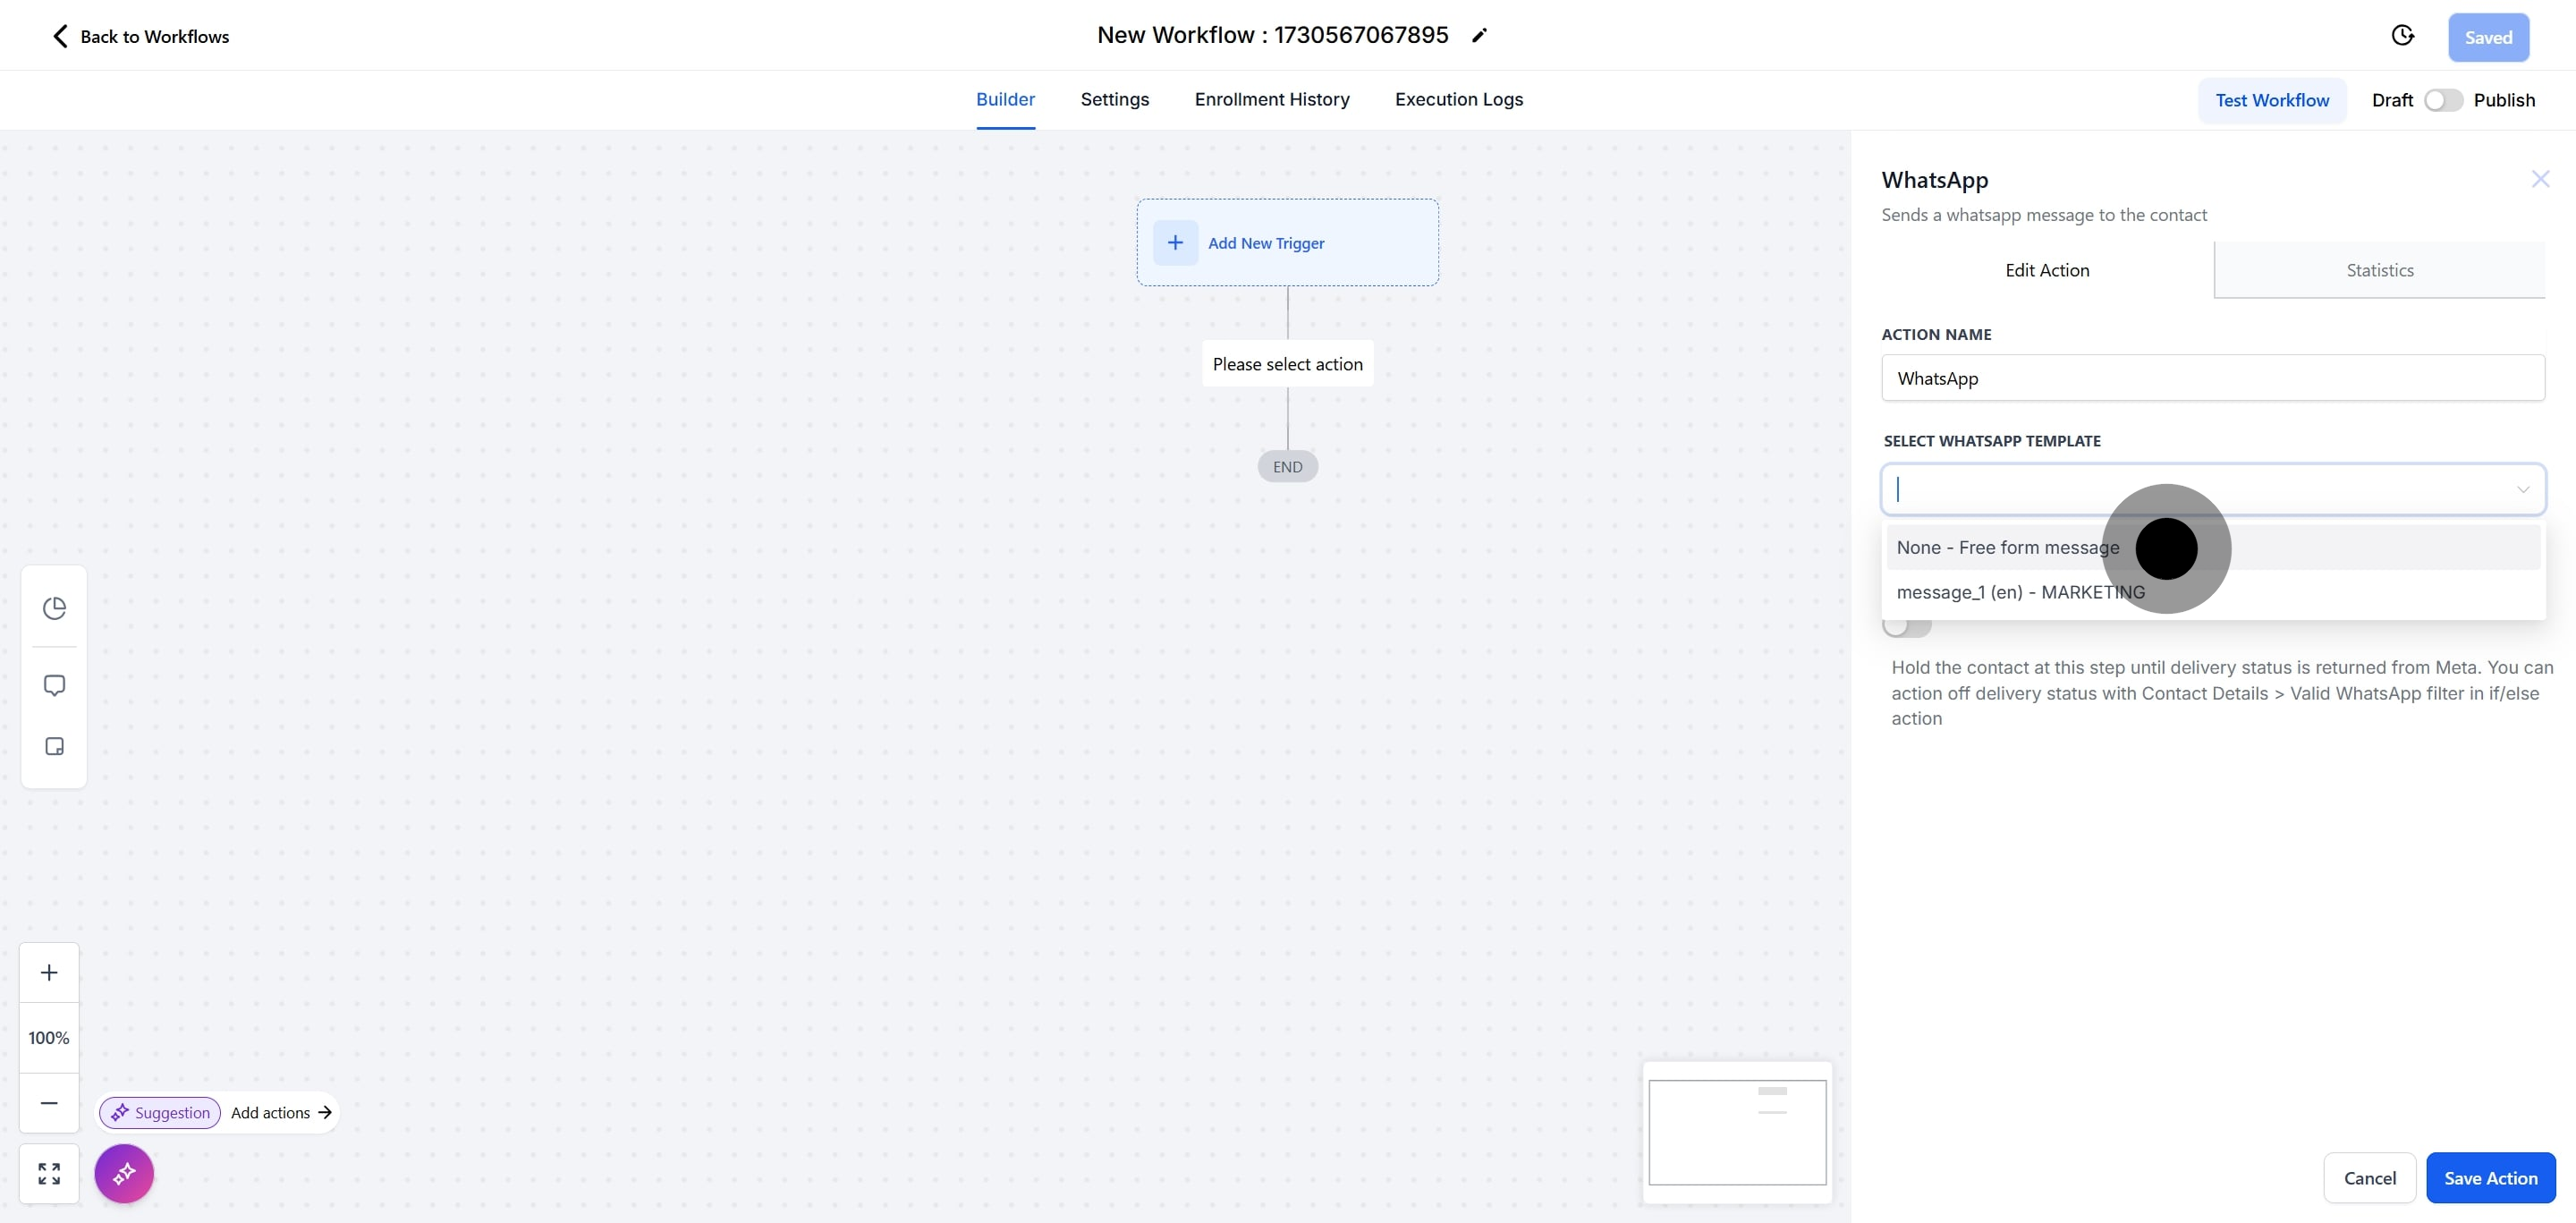
13. Next, select None - Manual Text Write the message you would like to send your customers when they message you on WhatsApp.