How to Configure Wait for WhatsApp Contact Reply

Elevate your communication strategy with this detailed guide on configuring the "Wait for WhatsApp Contact Reply" feature in Aesthetix. This article provides a step-by-step walkthrough on setting up automated workflows that pause until a recipient responds, allowing for a more interactive and personalized messaging experience. Learn how to implement this feature effectively to manage follow-ups, improve customer engagement, and ensure timely responses. Ideal for businesses seeking to enhance their customer support and communication efficiency, this guide will empower you to create meaningful interactions with your audience while optimizing your WhatsApp messaging in Aesthetix.

You can send an initial WhatsApp message and then wait for the contact's reply before triggering the next step in your workflow. This enables more natural and responsive interactions within your automated workflows.


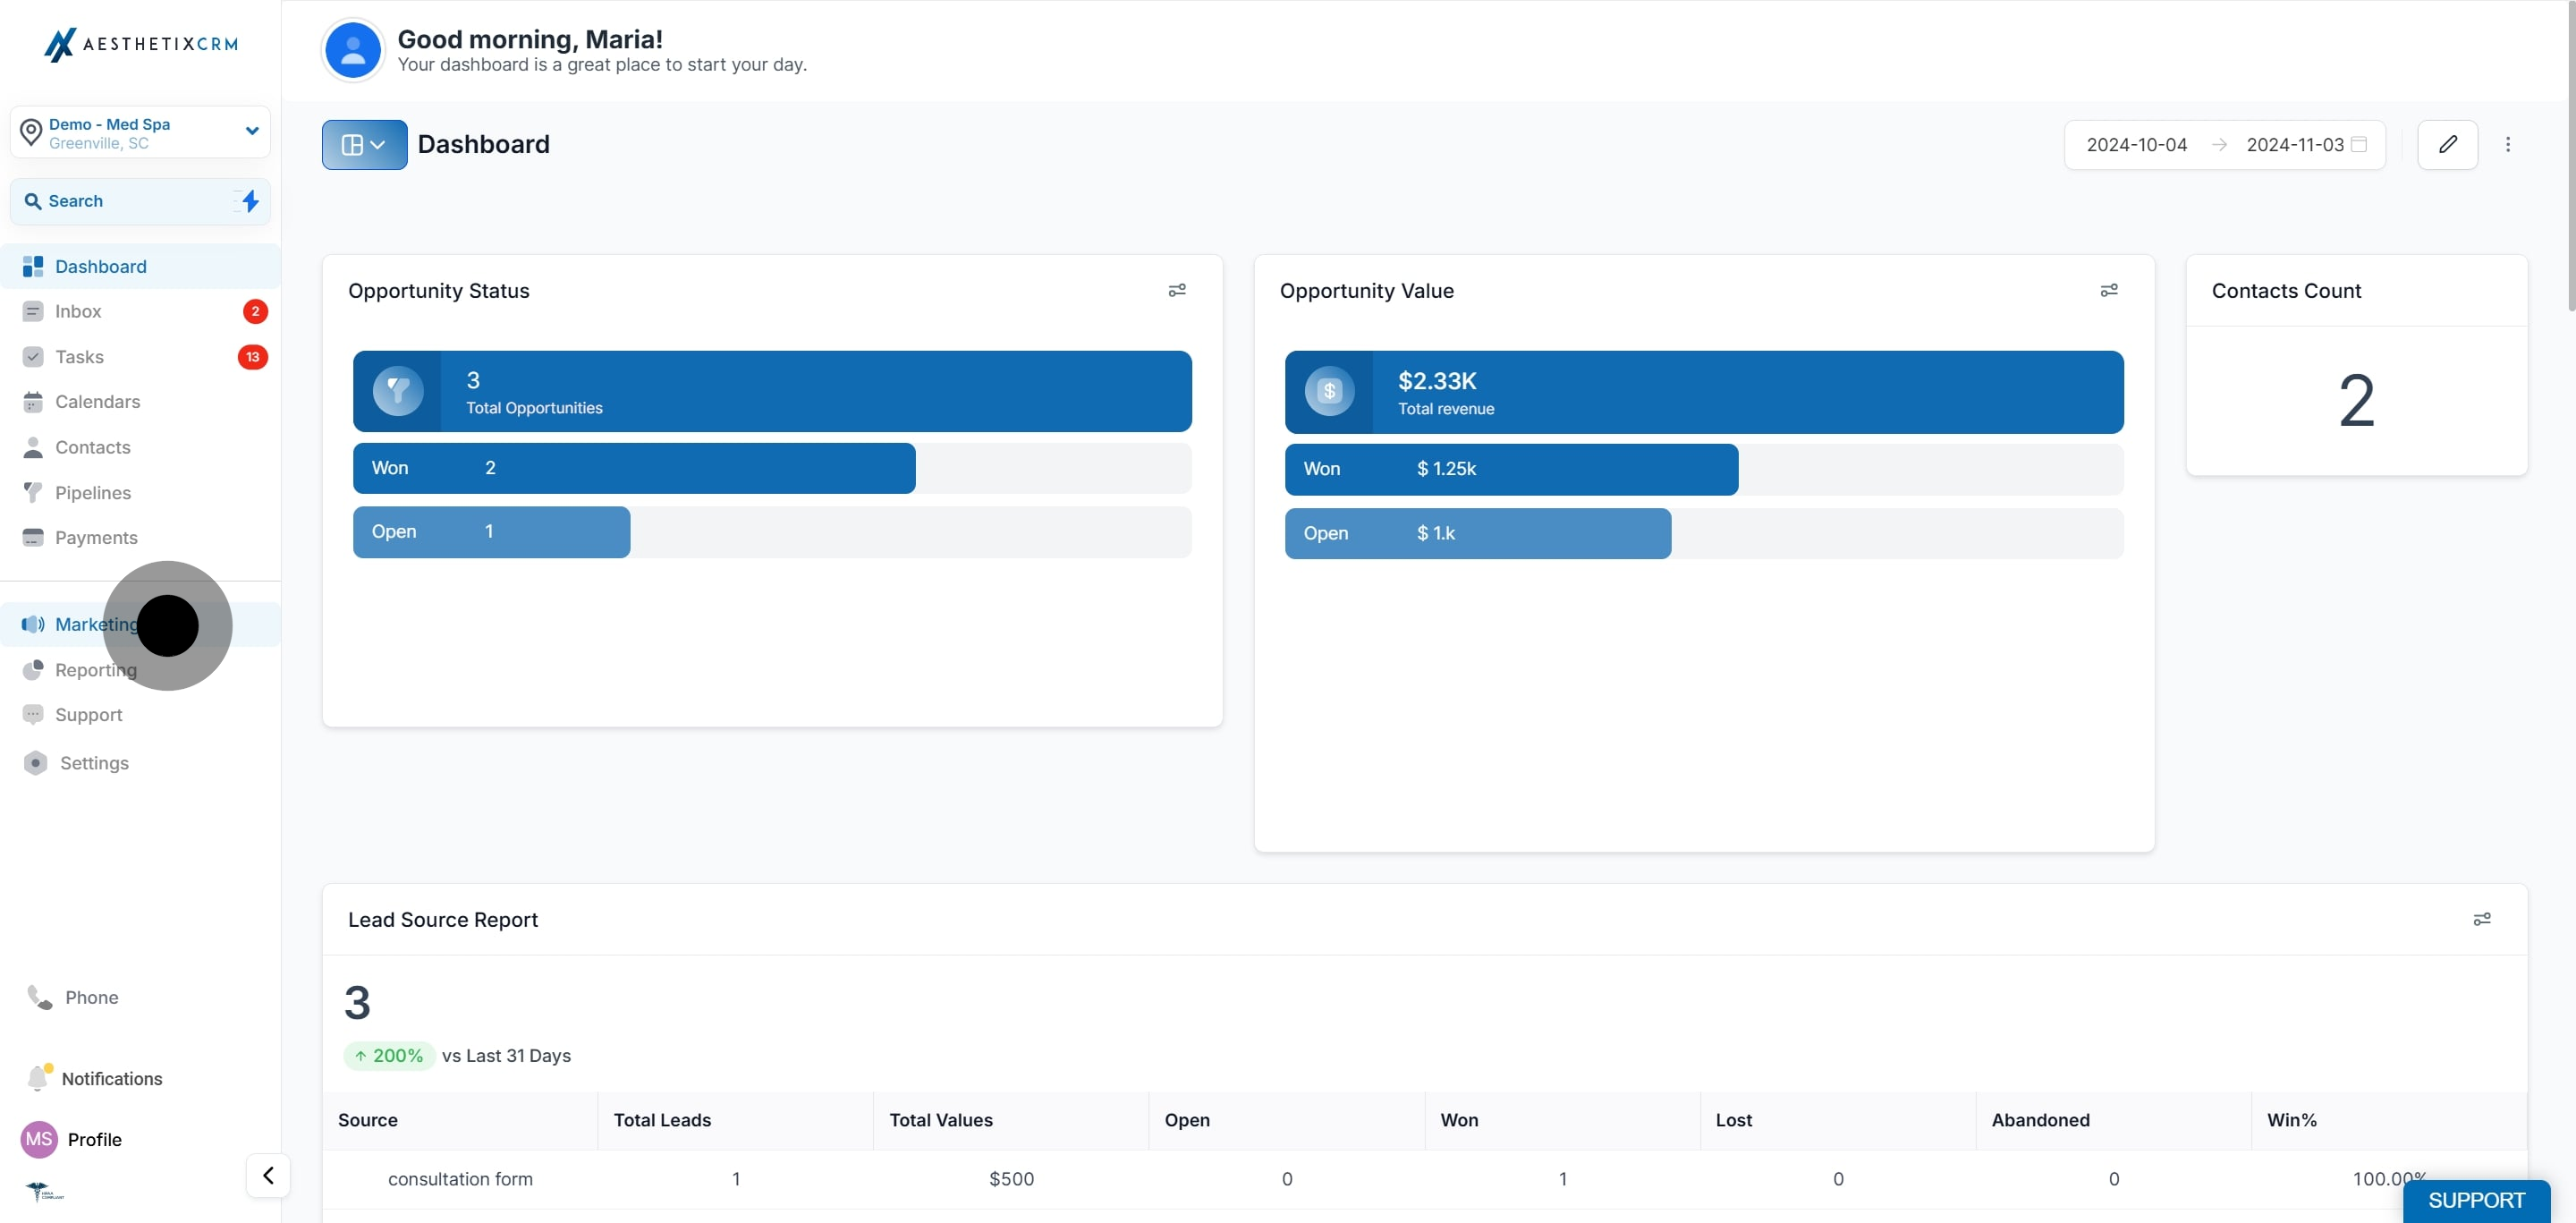
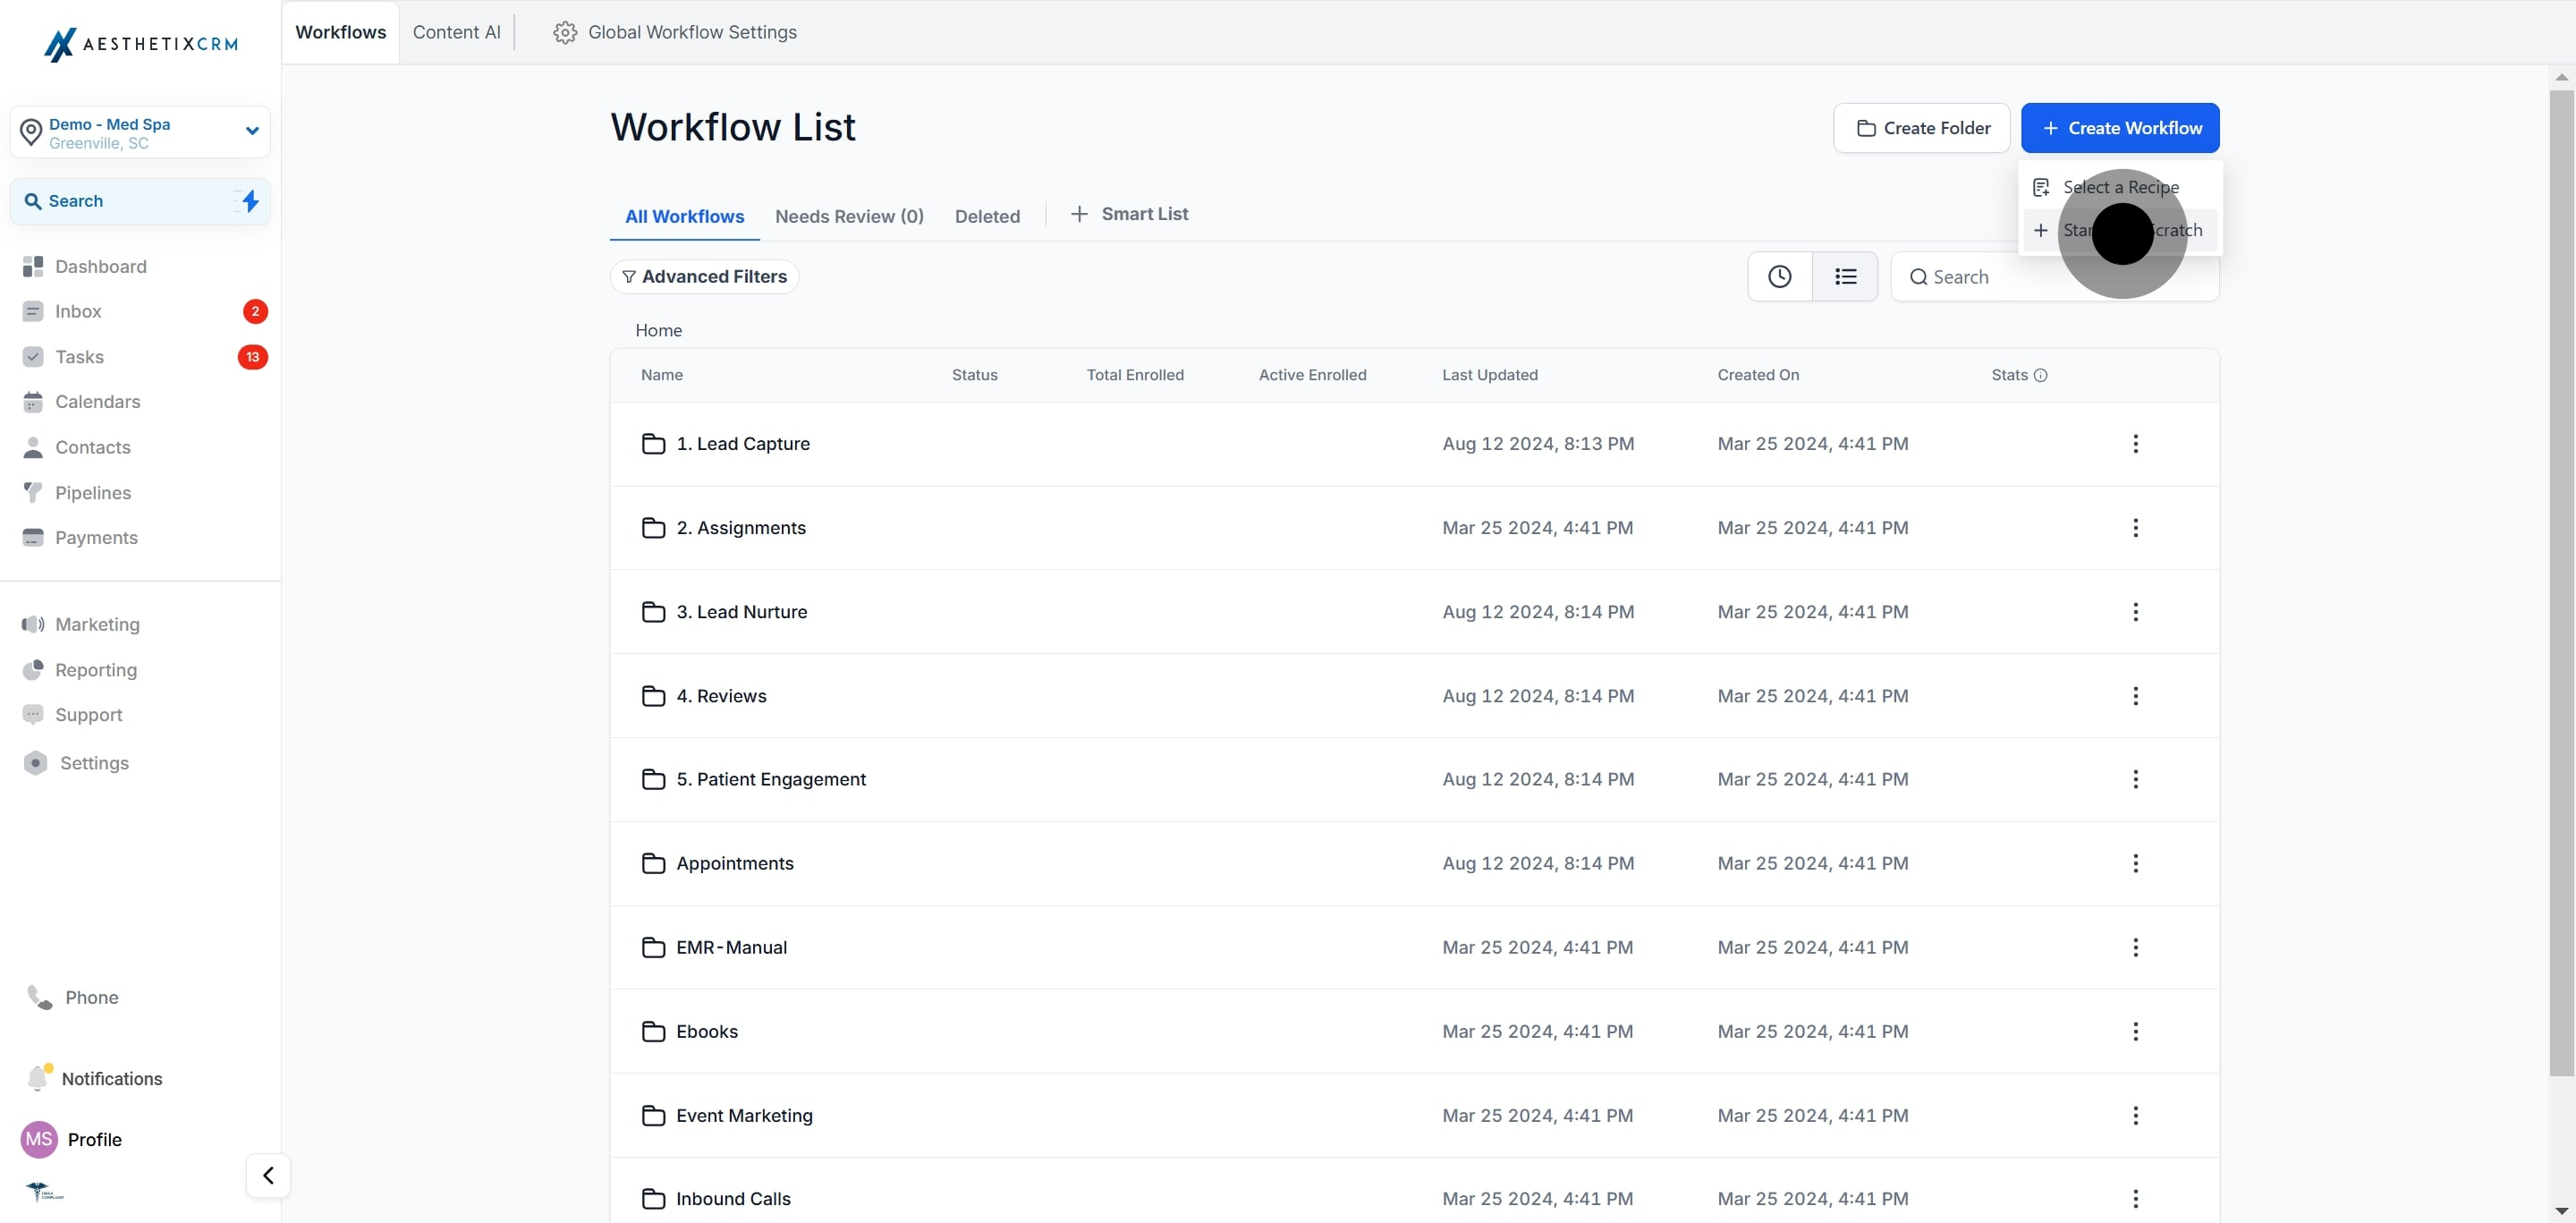
1. To start, click on "Marketing".

1 To start off, click on the element.

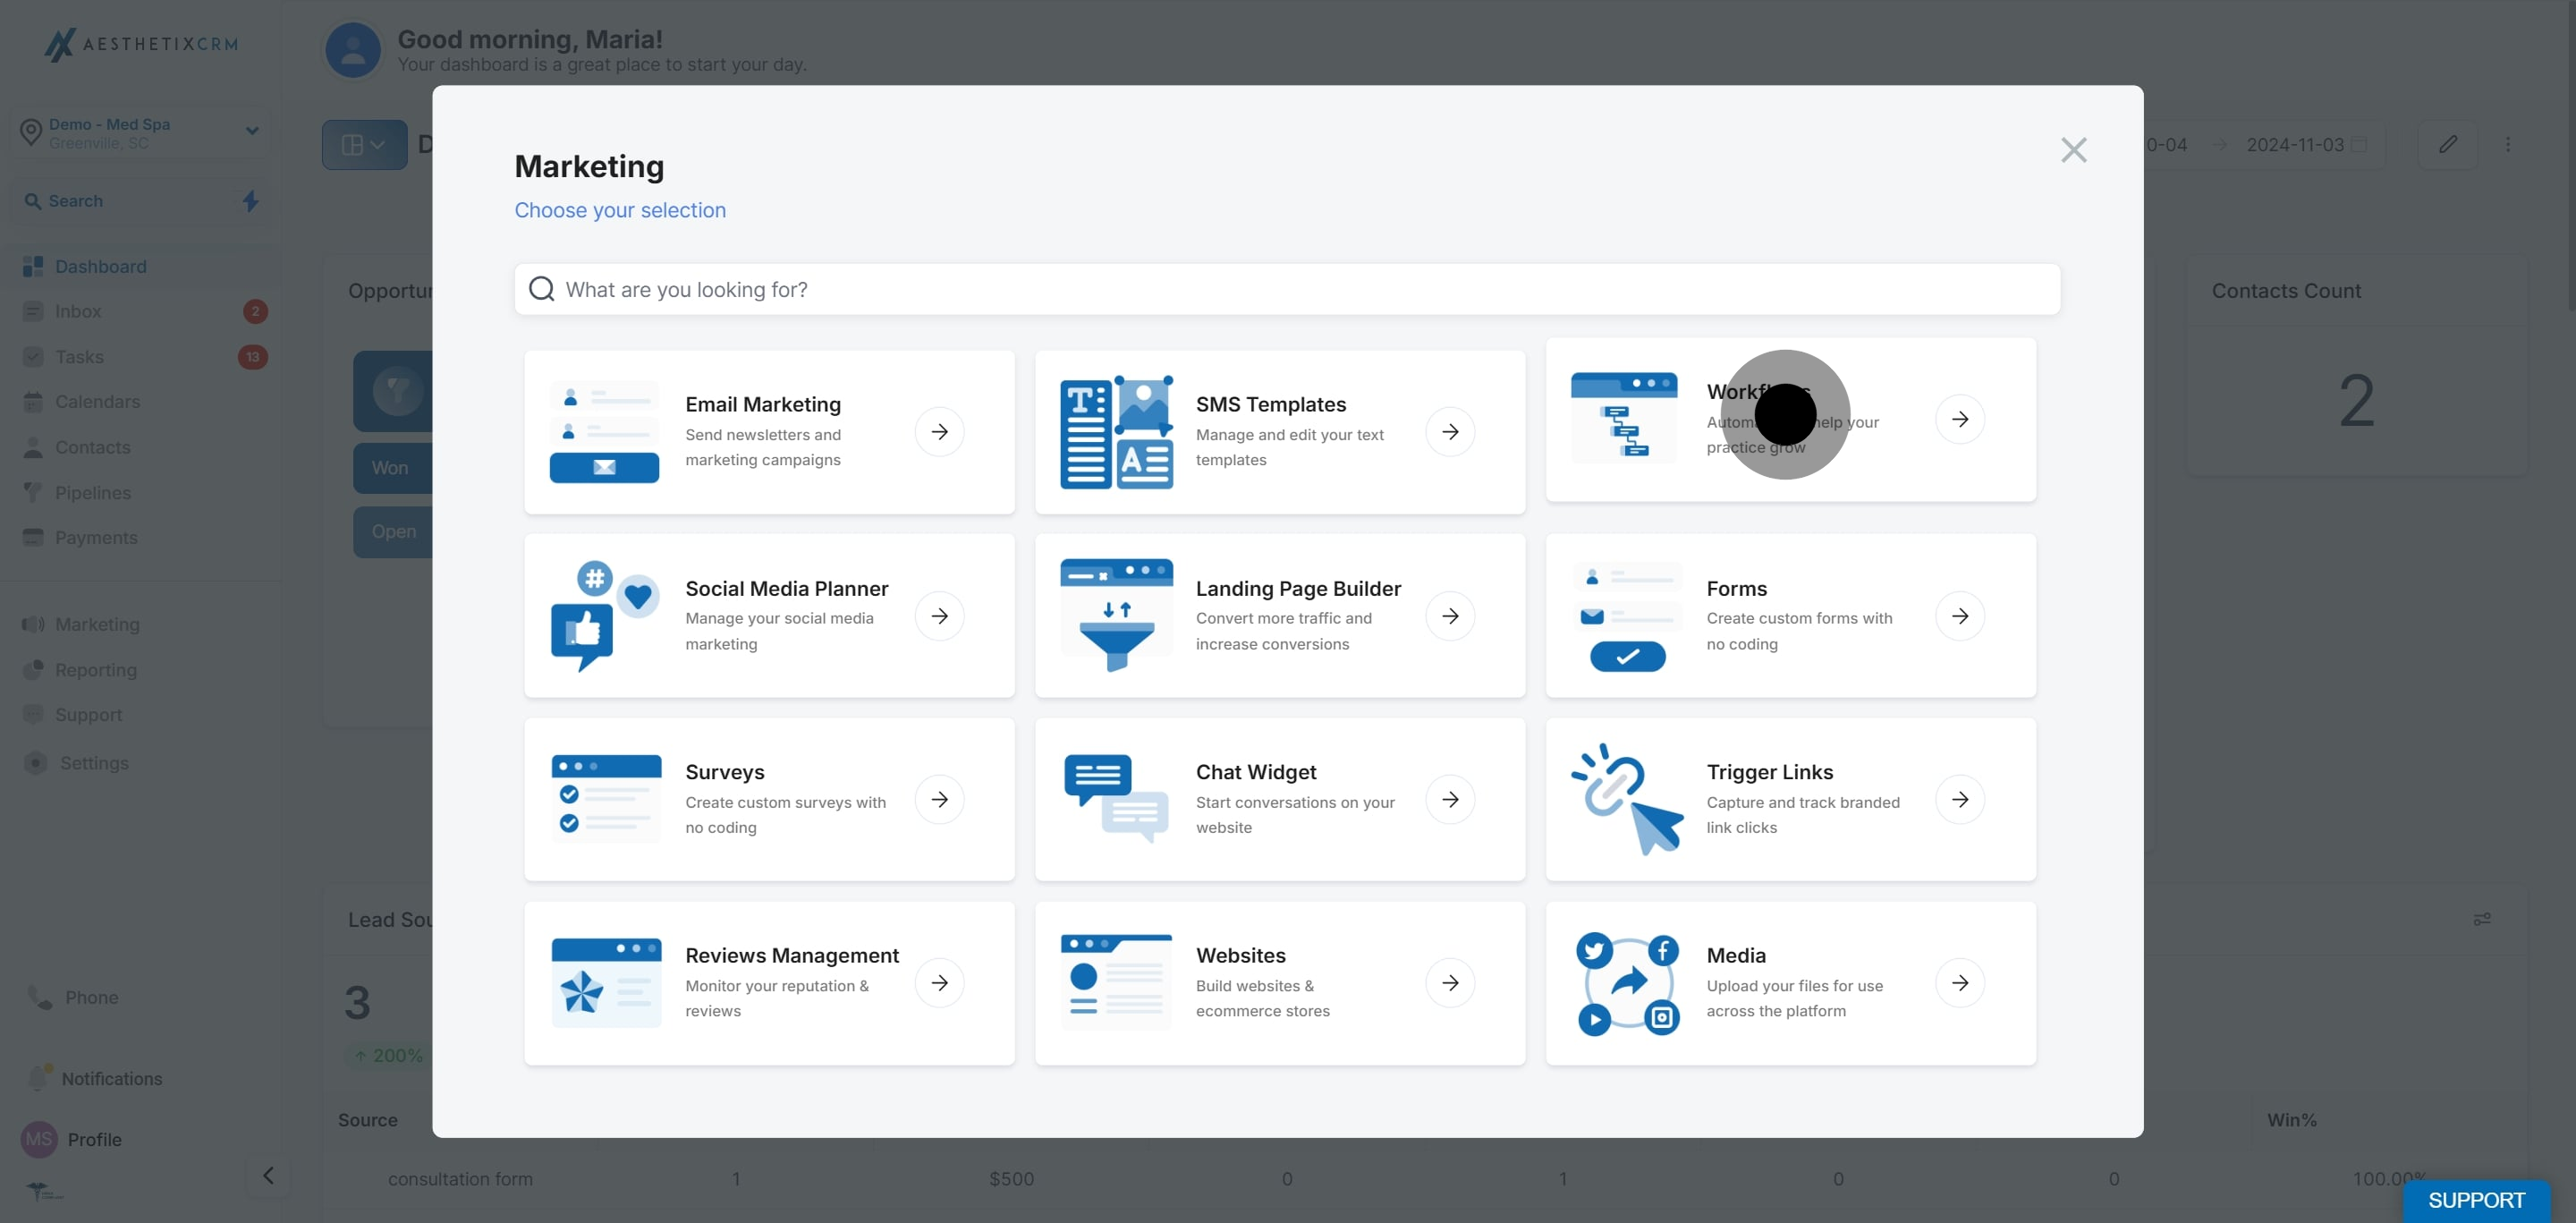
2. Click on "Workflows".

2 Click on "Automation to help your practice grow".

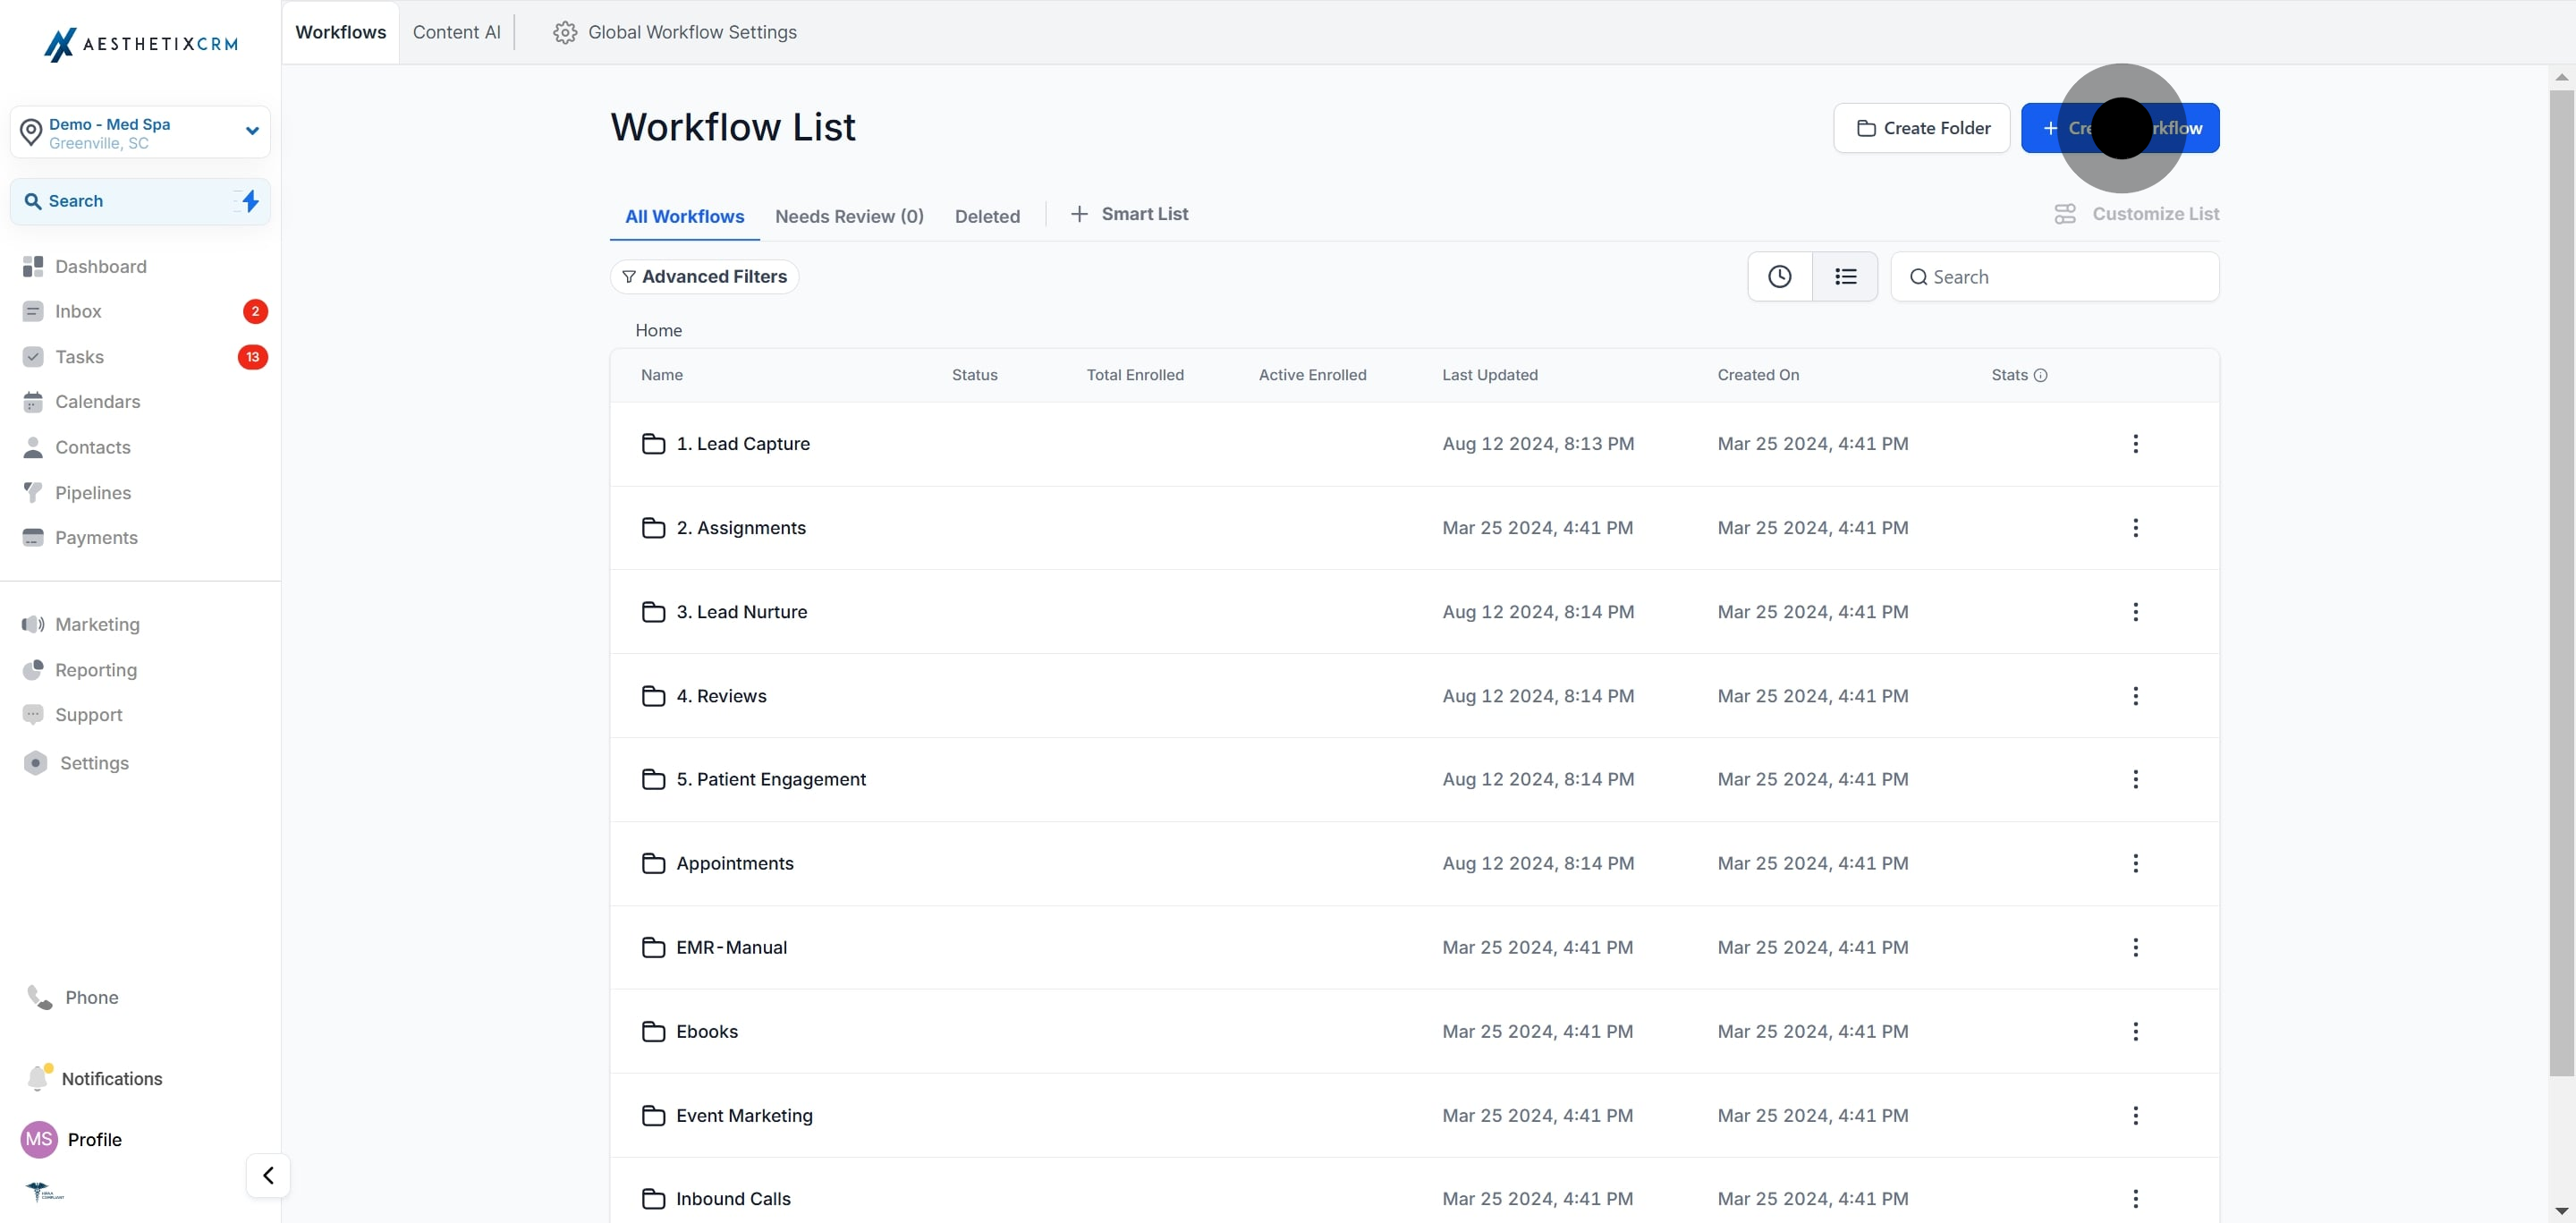
3. Now, click on "Create Workflow".

3 Now, click on "Create Workflow".

4. Click on "Start from Scratch".

4 Click on "Start from Scratch".

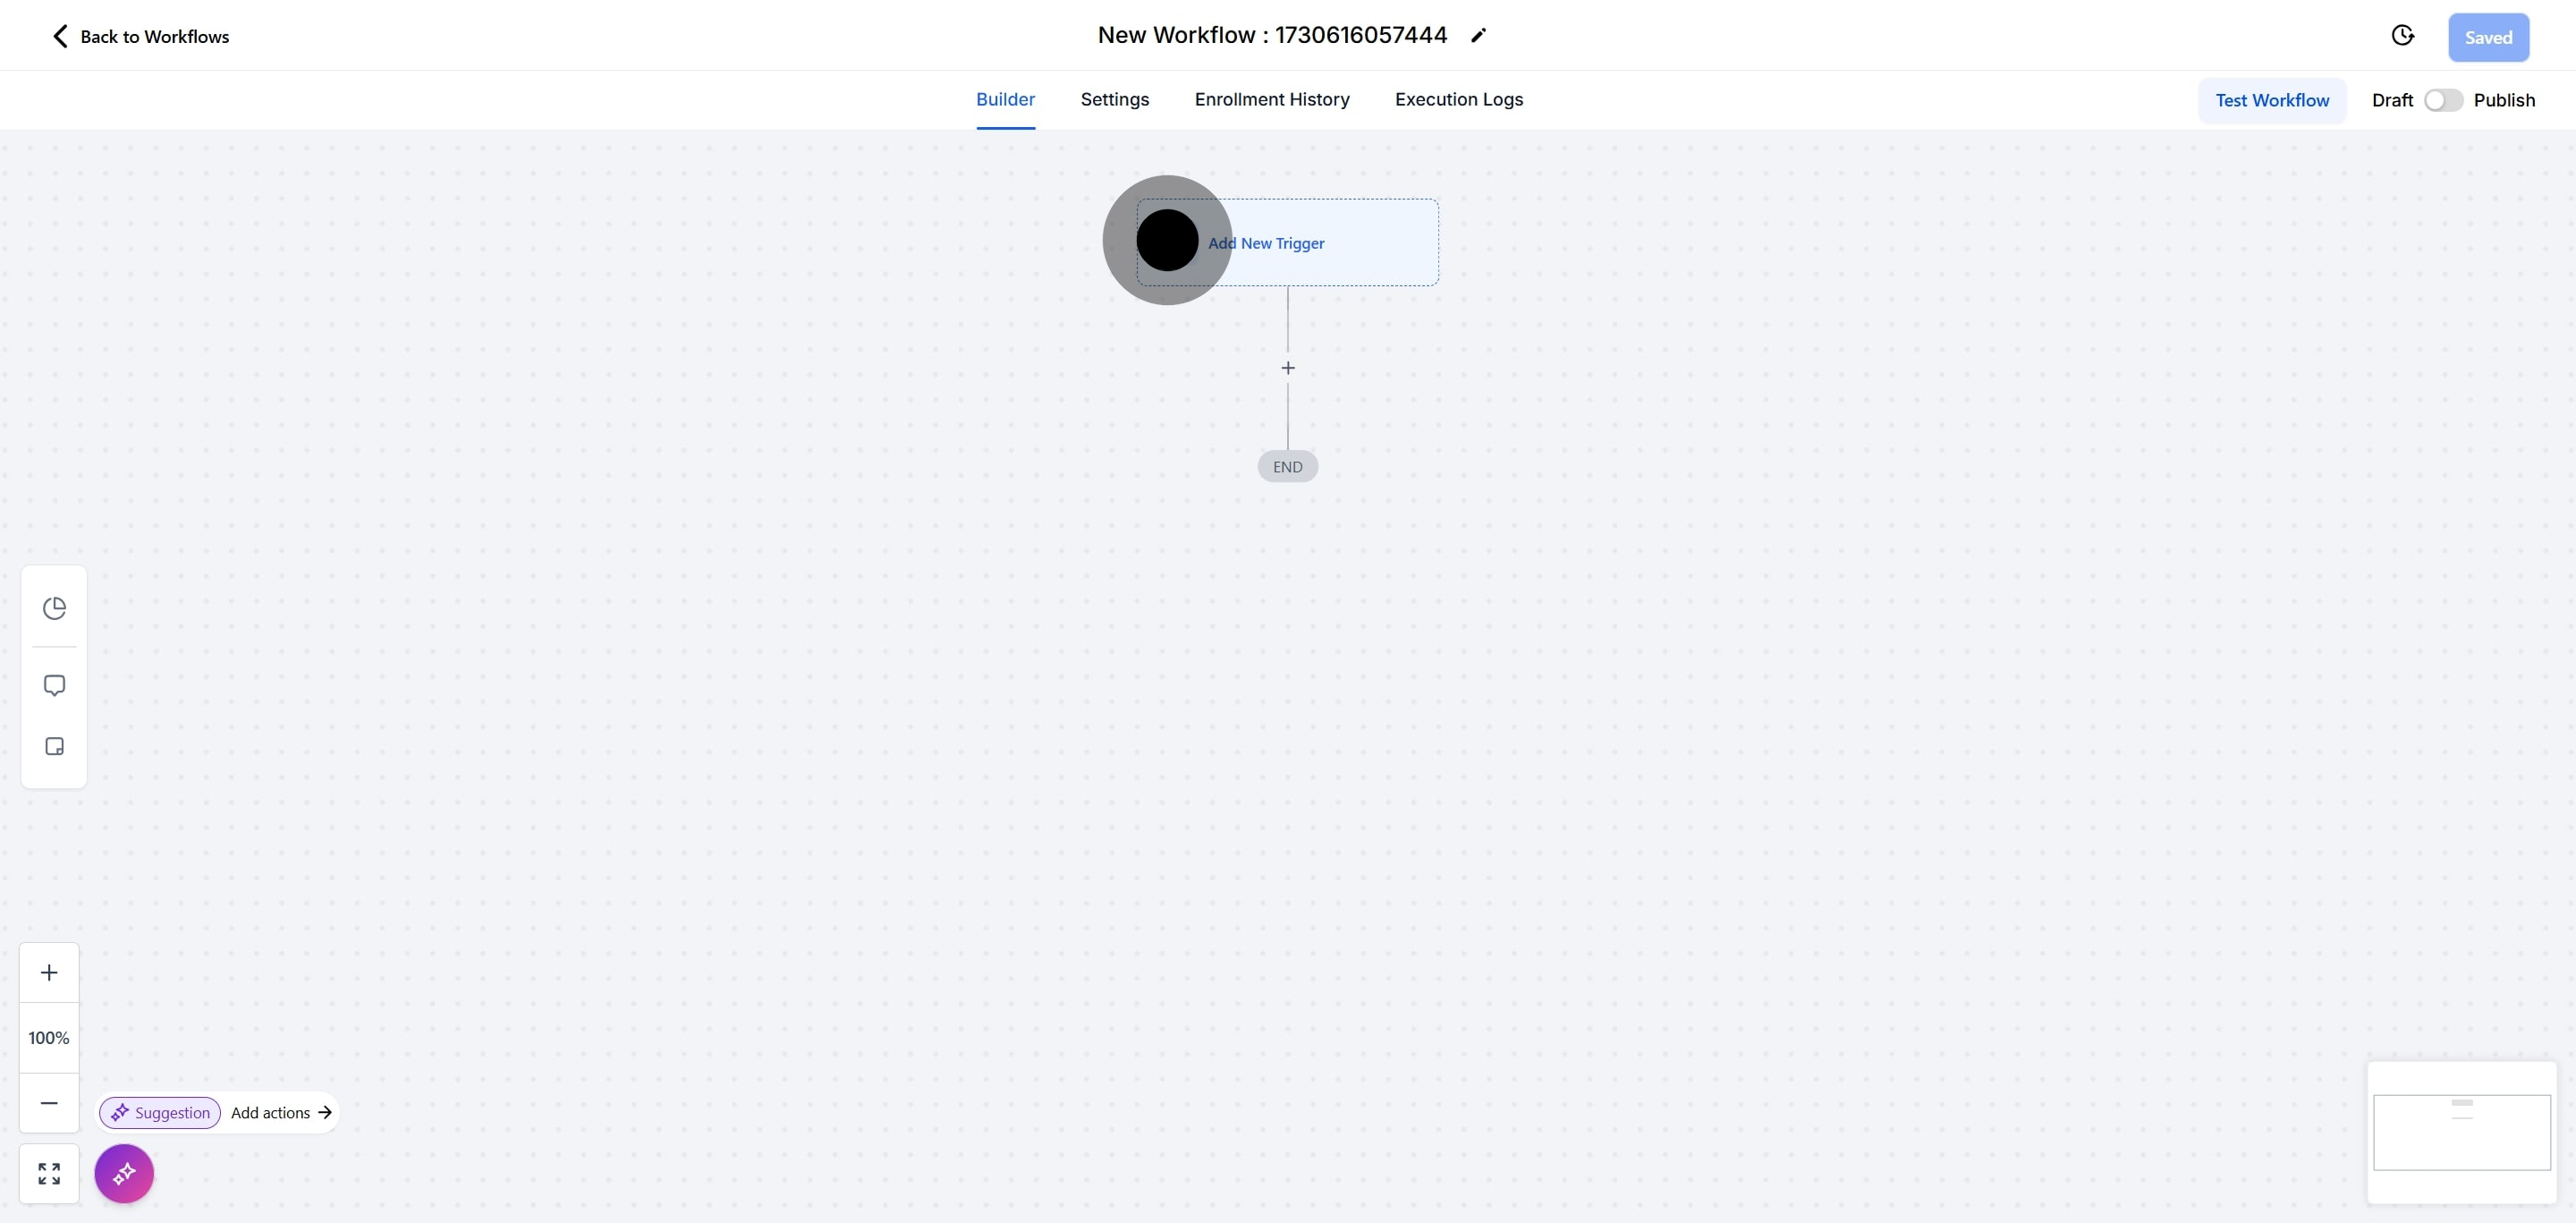
5. Following that, click on "Add New Trigger".

5 Following that, click on "Add New Trigger".

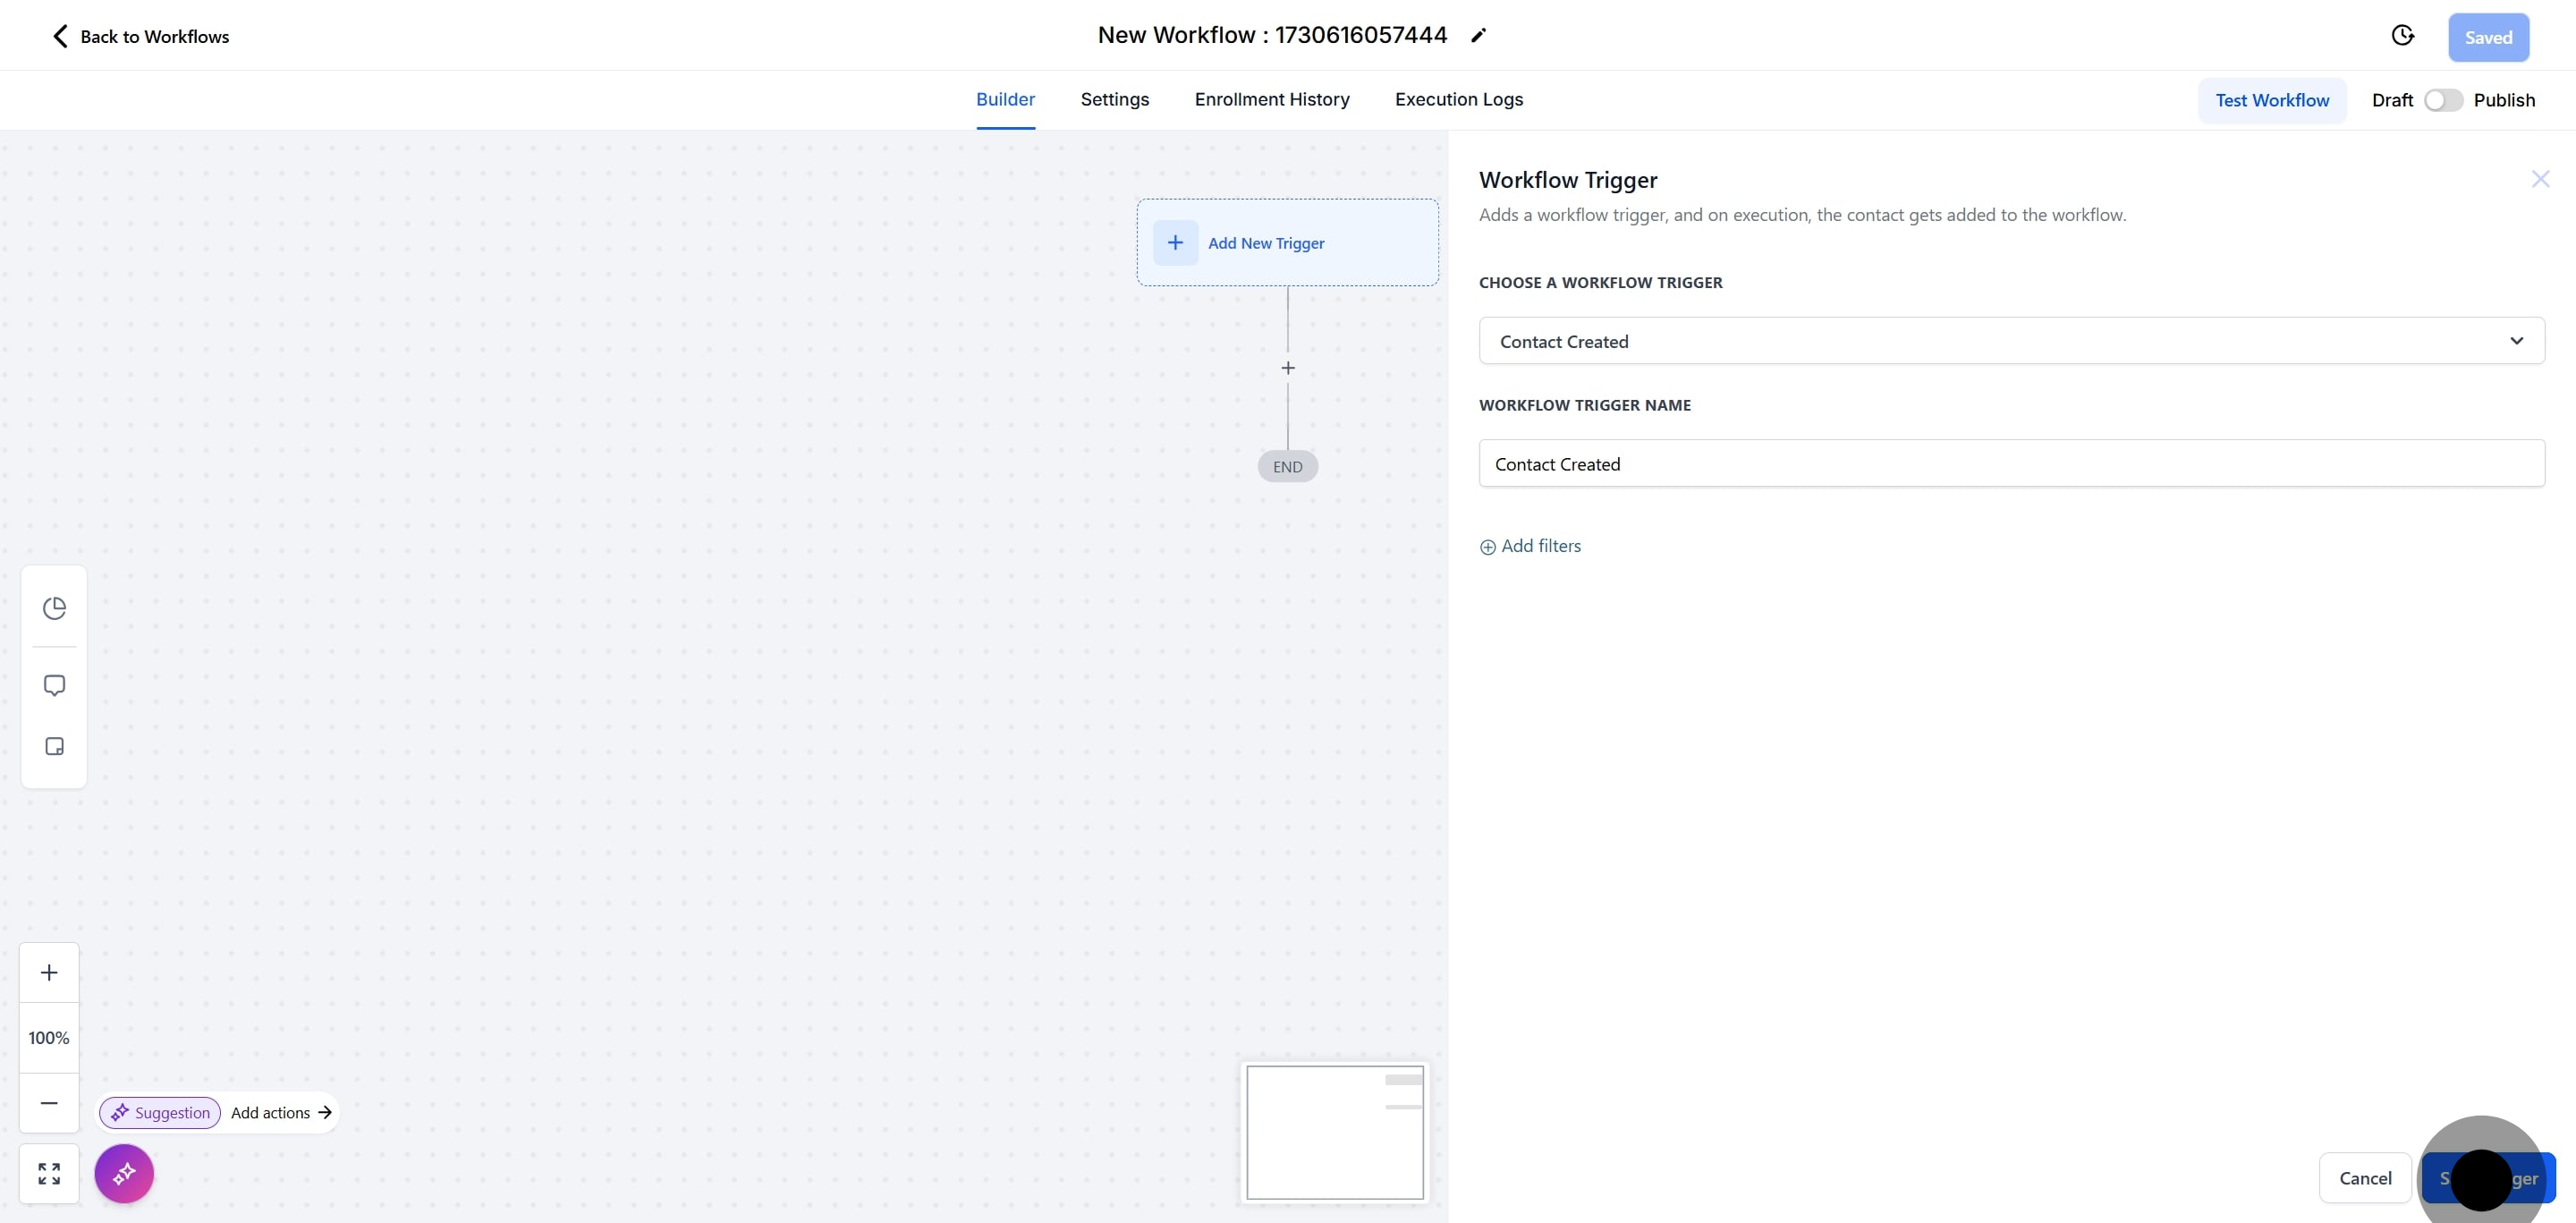
6. Select "Contact Created".

6 Click on "Save Trigger".

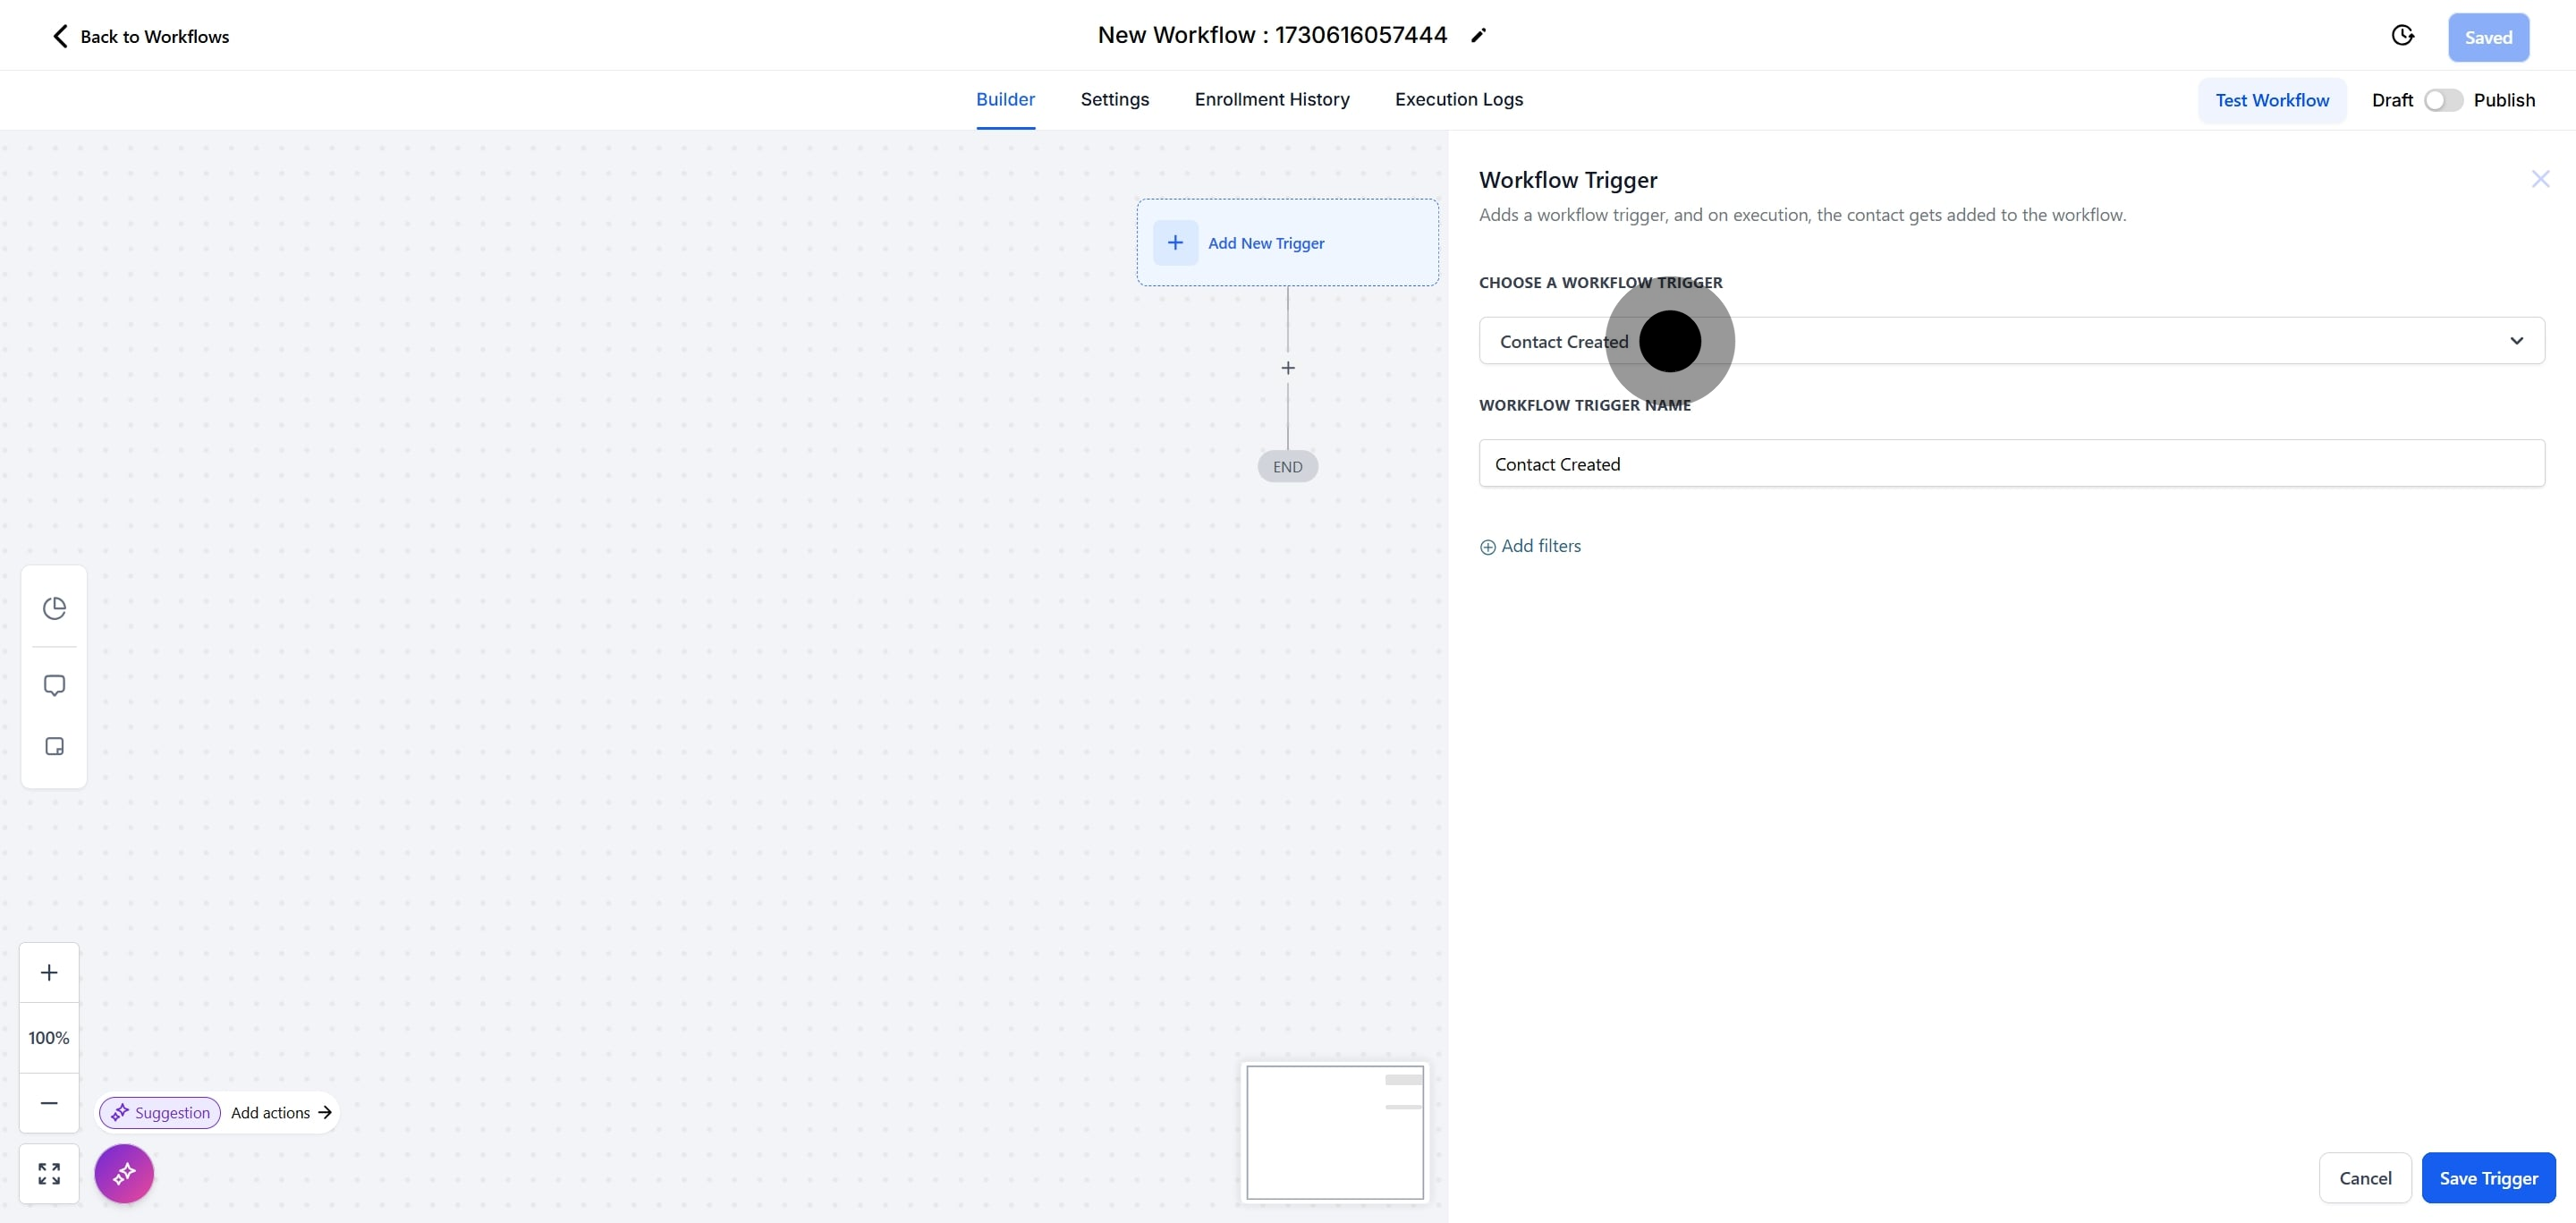
7. Click on "Save Trigger".

7 Upload

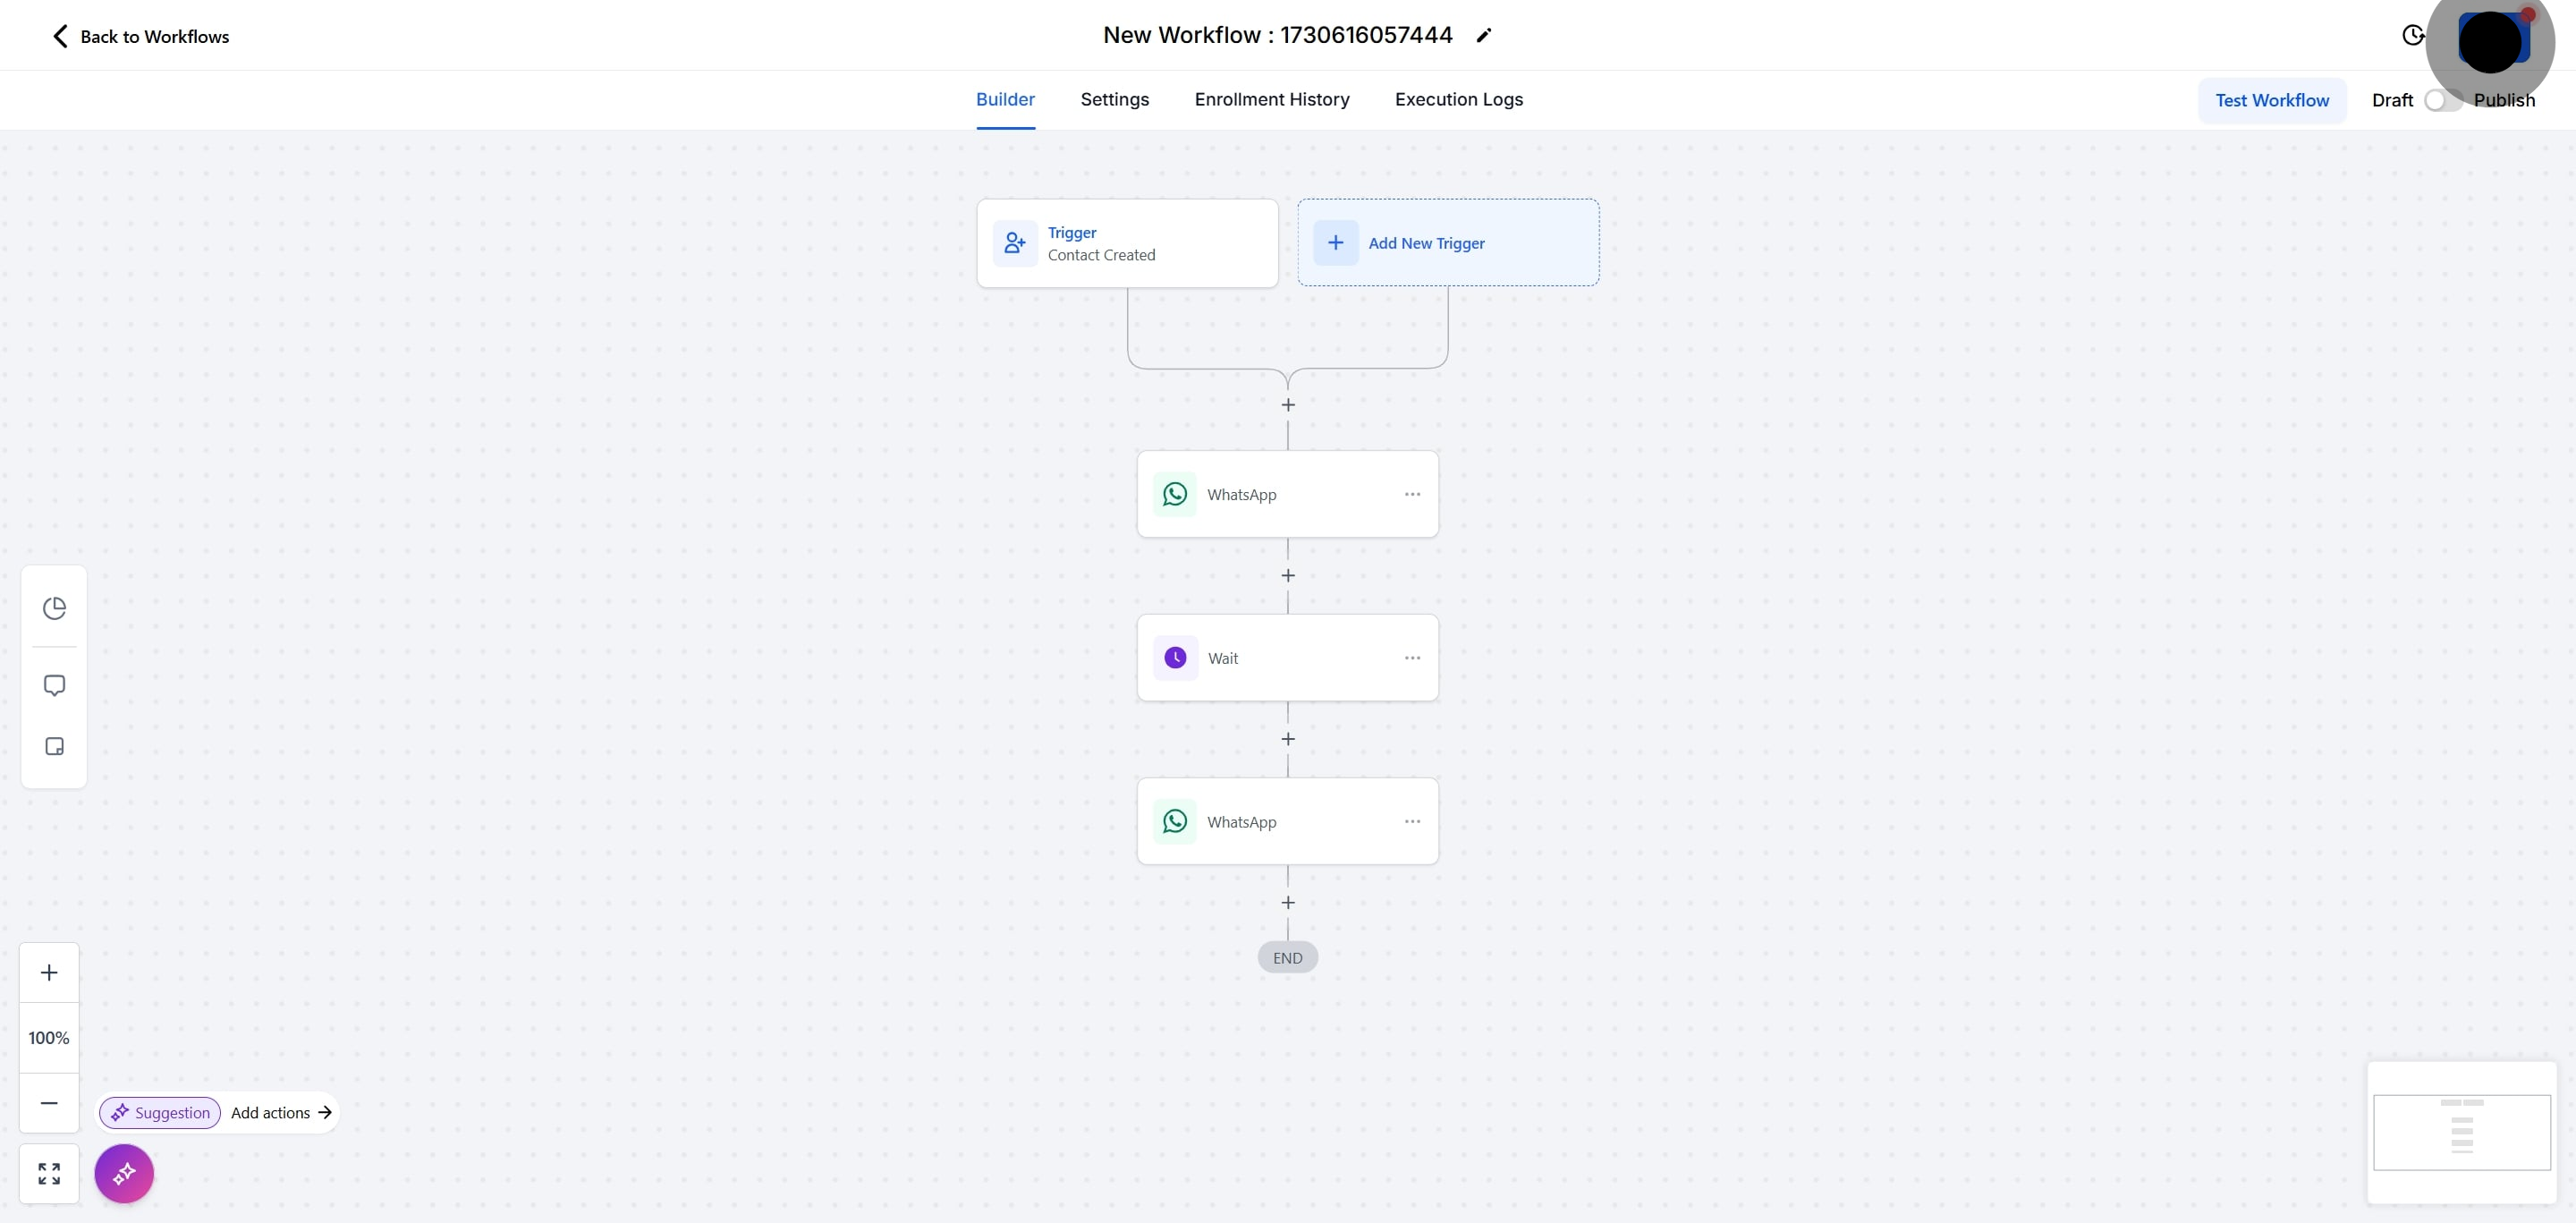
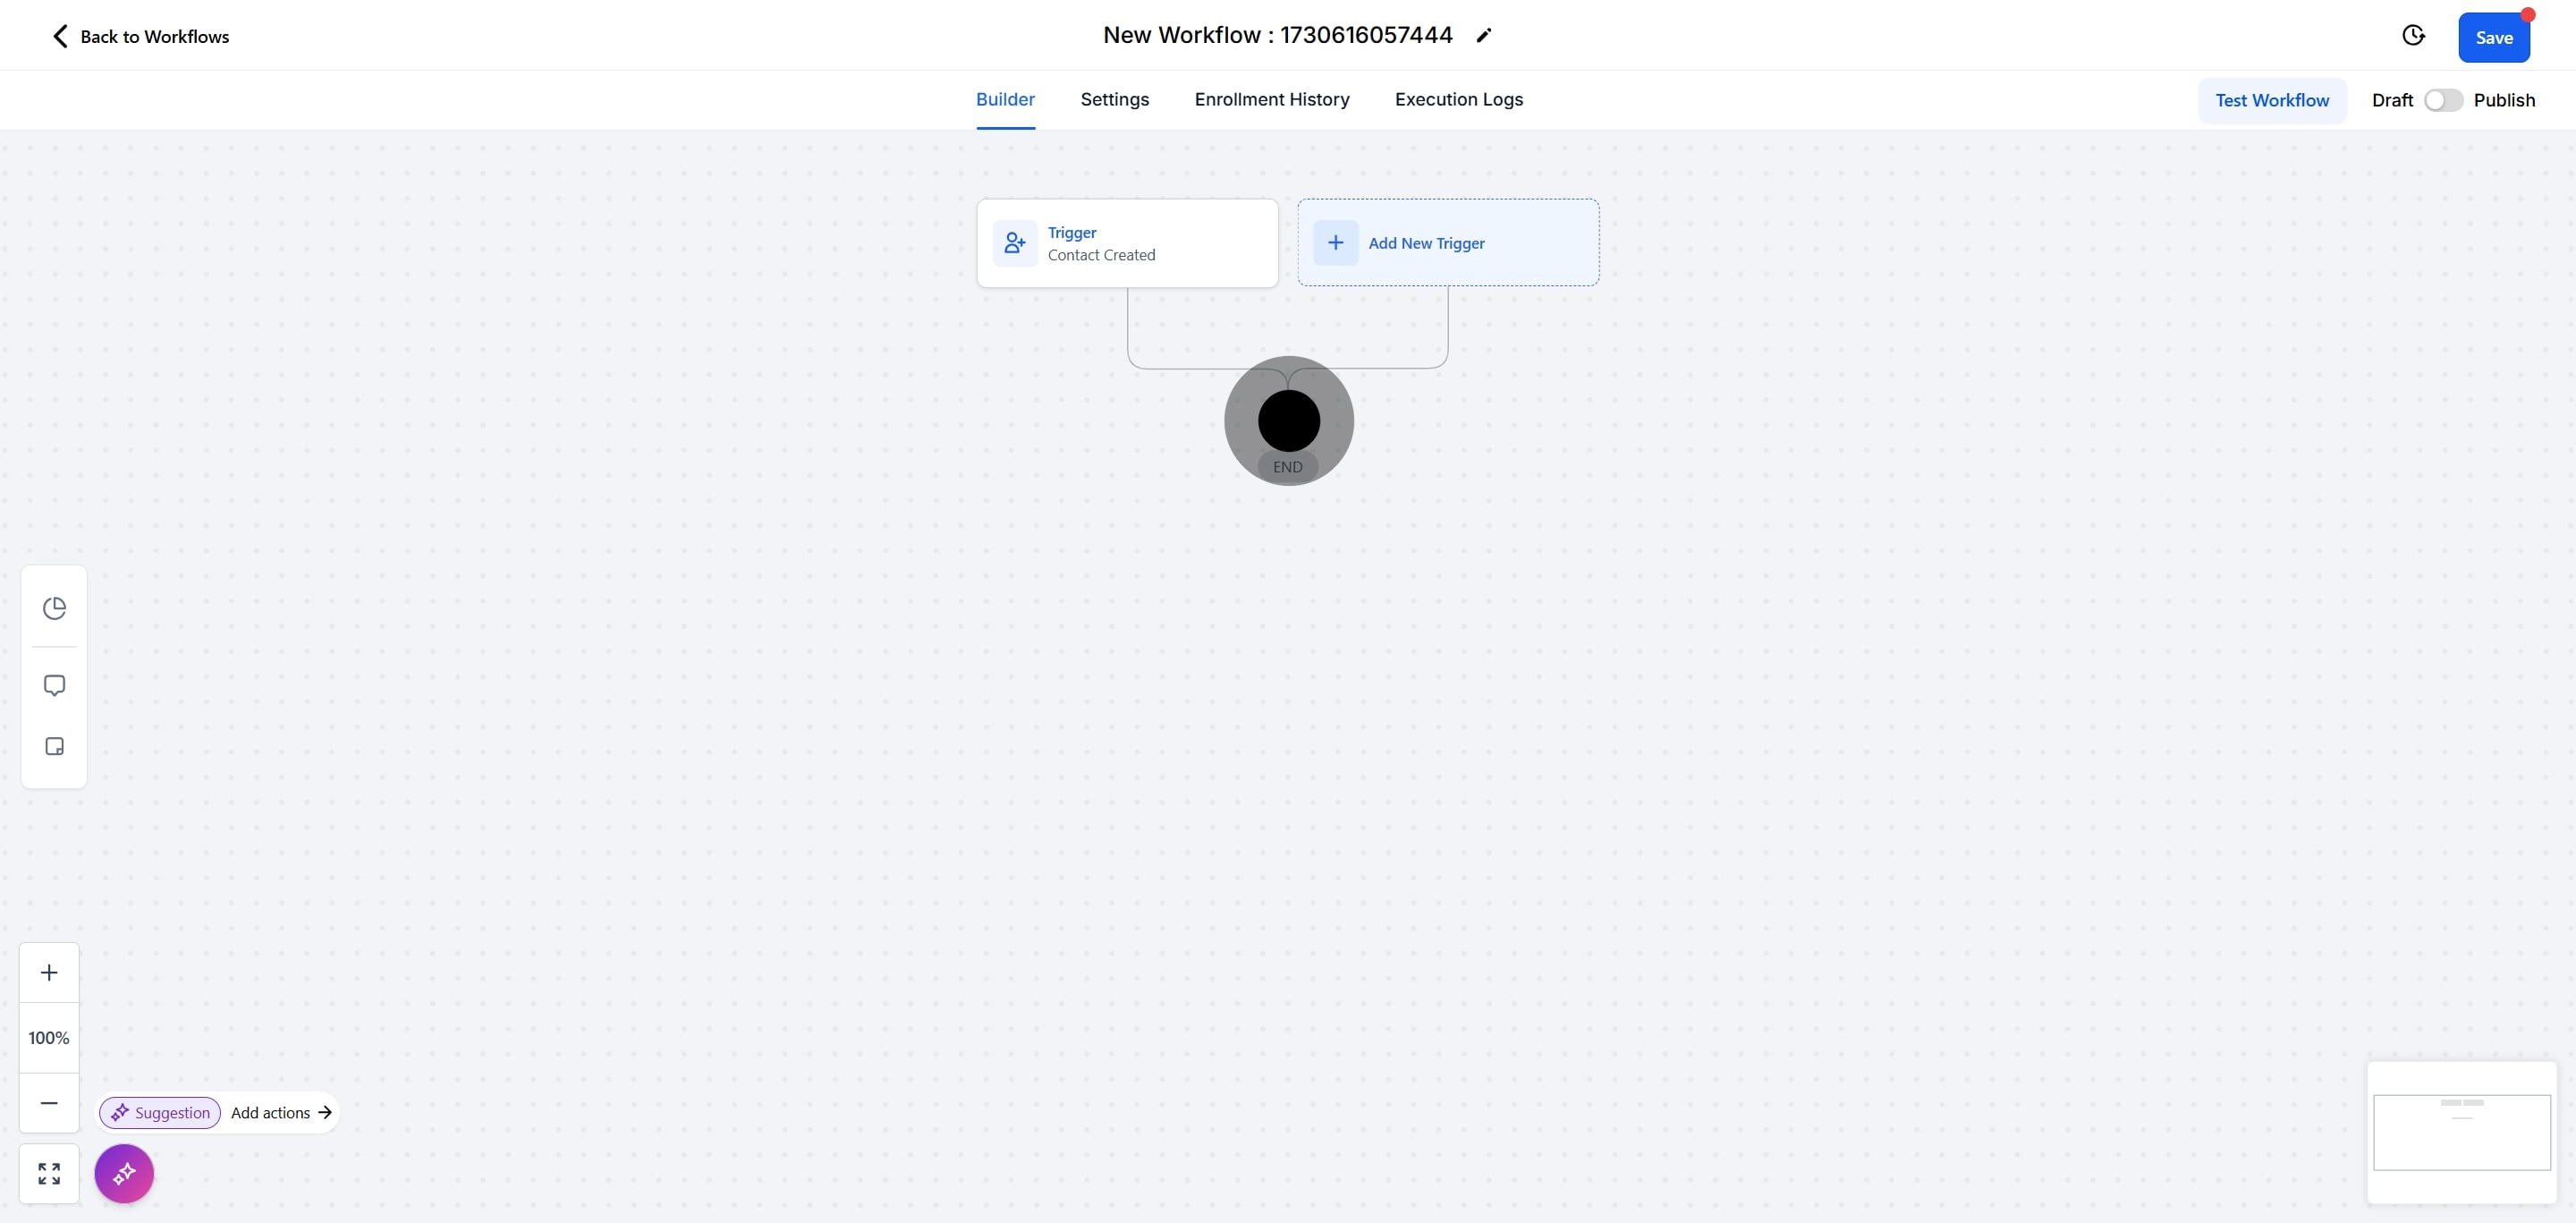
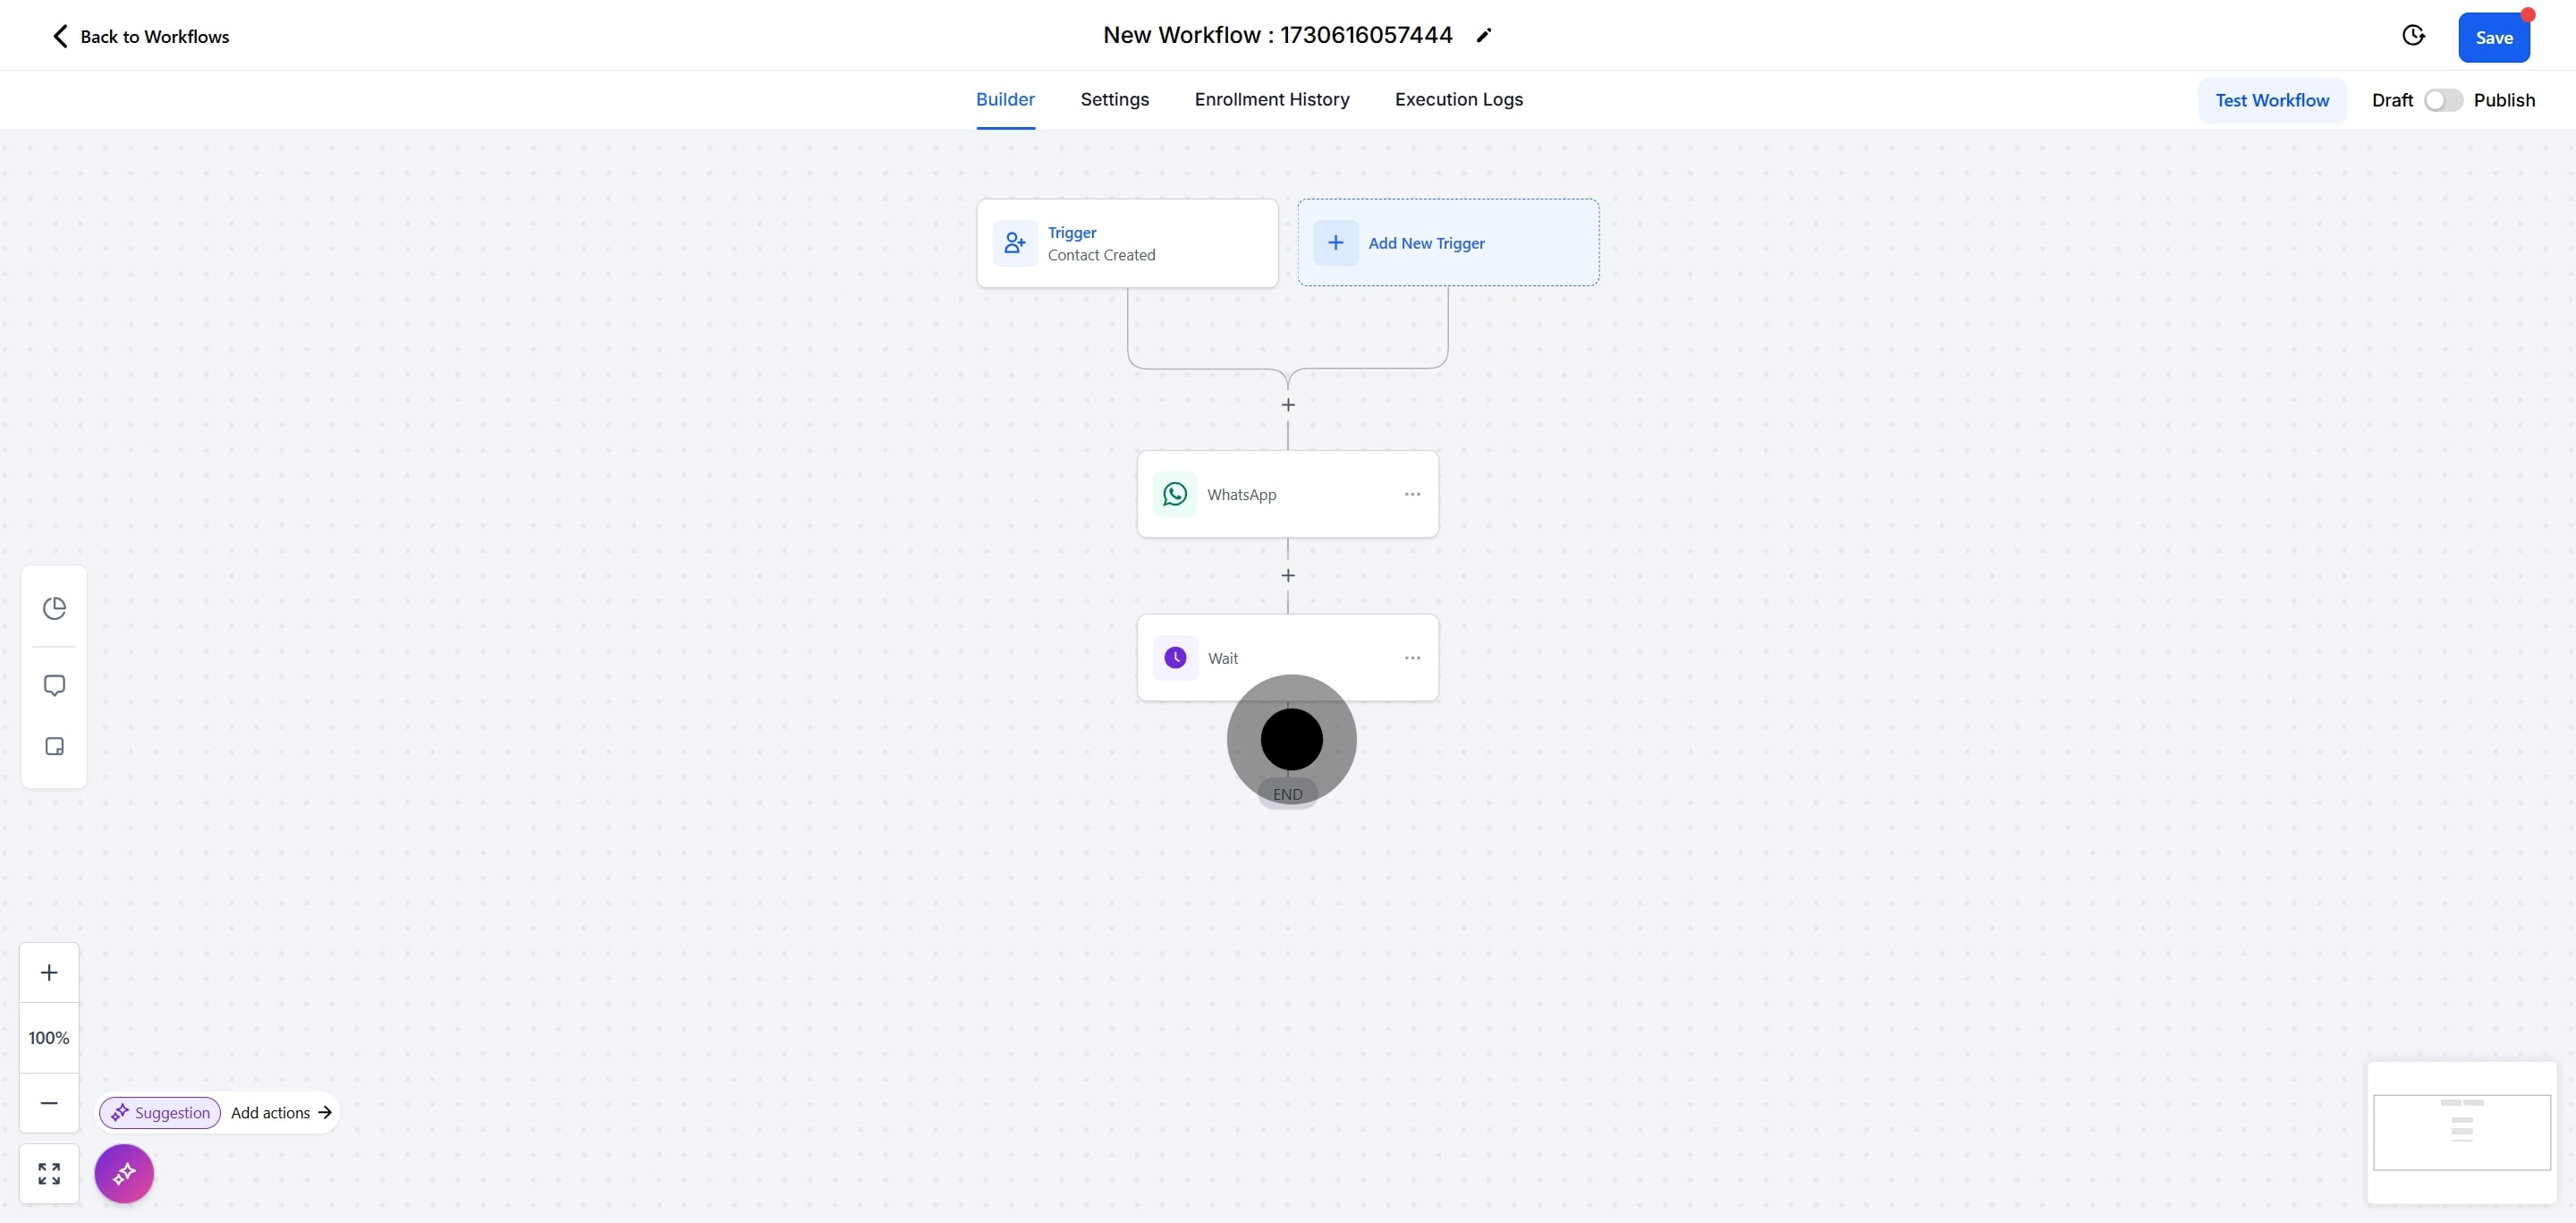
8. Then, click on the plus button to add an action.
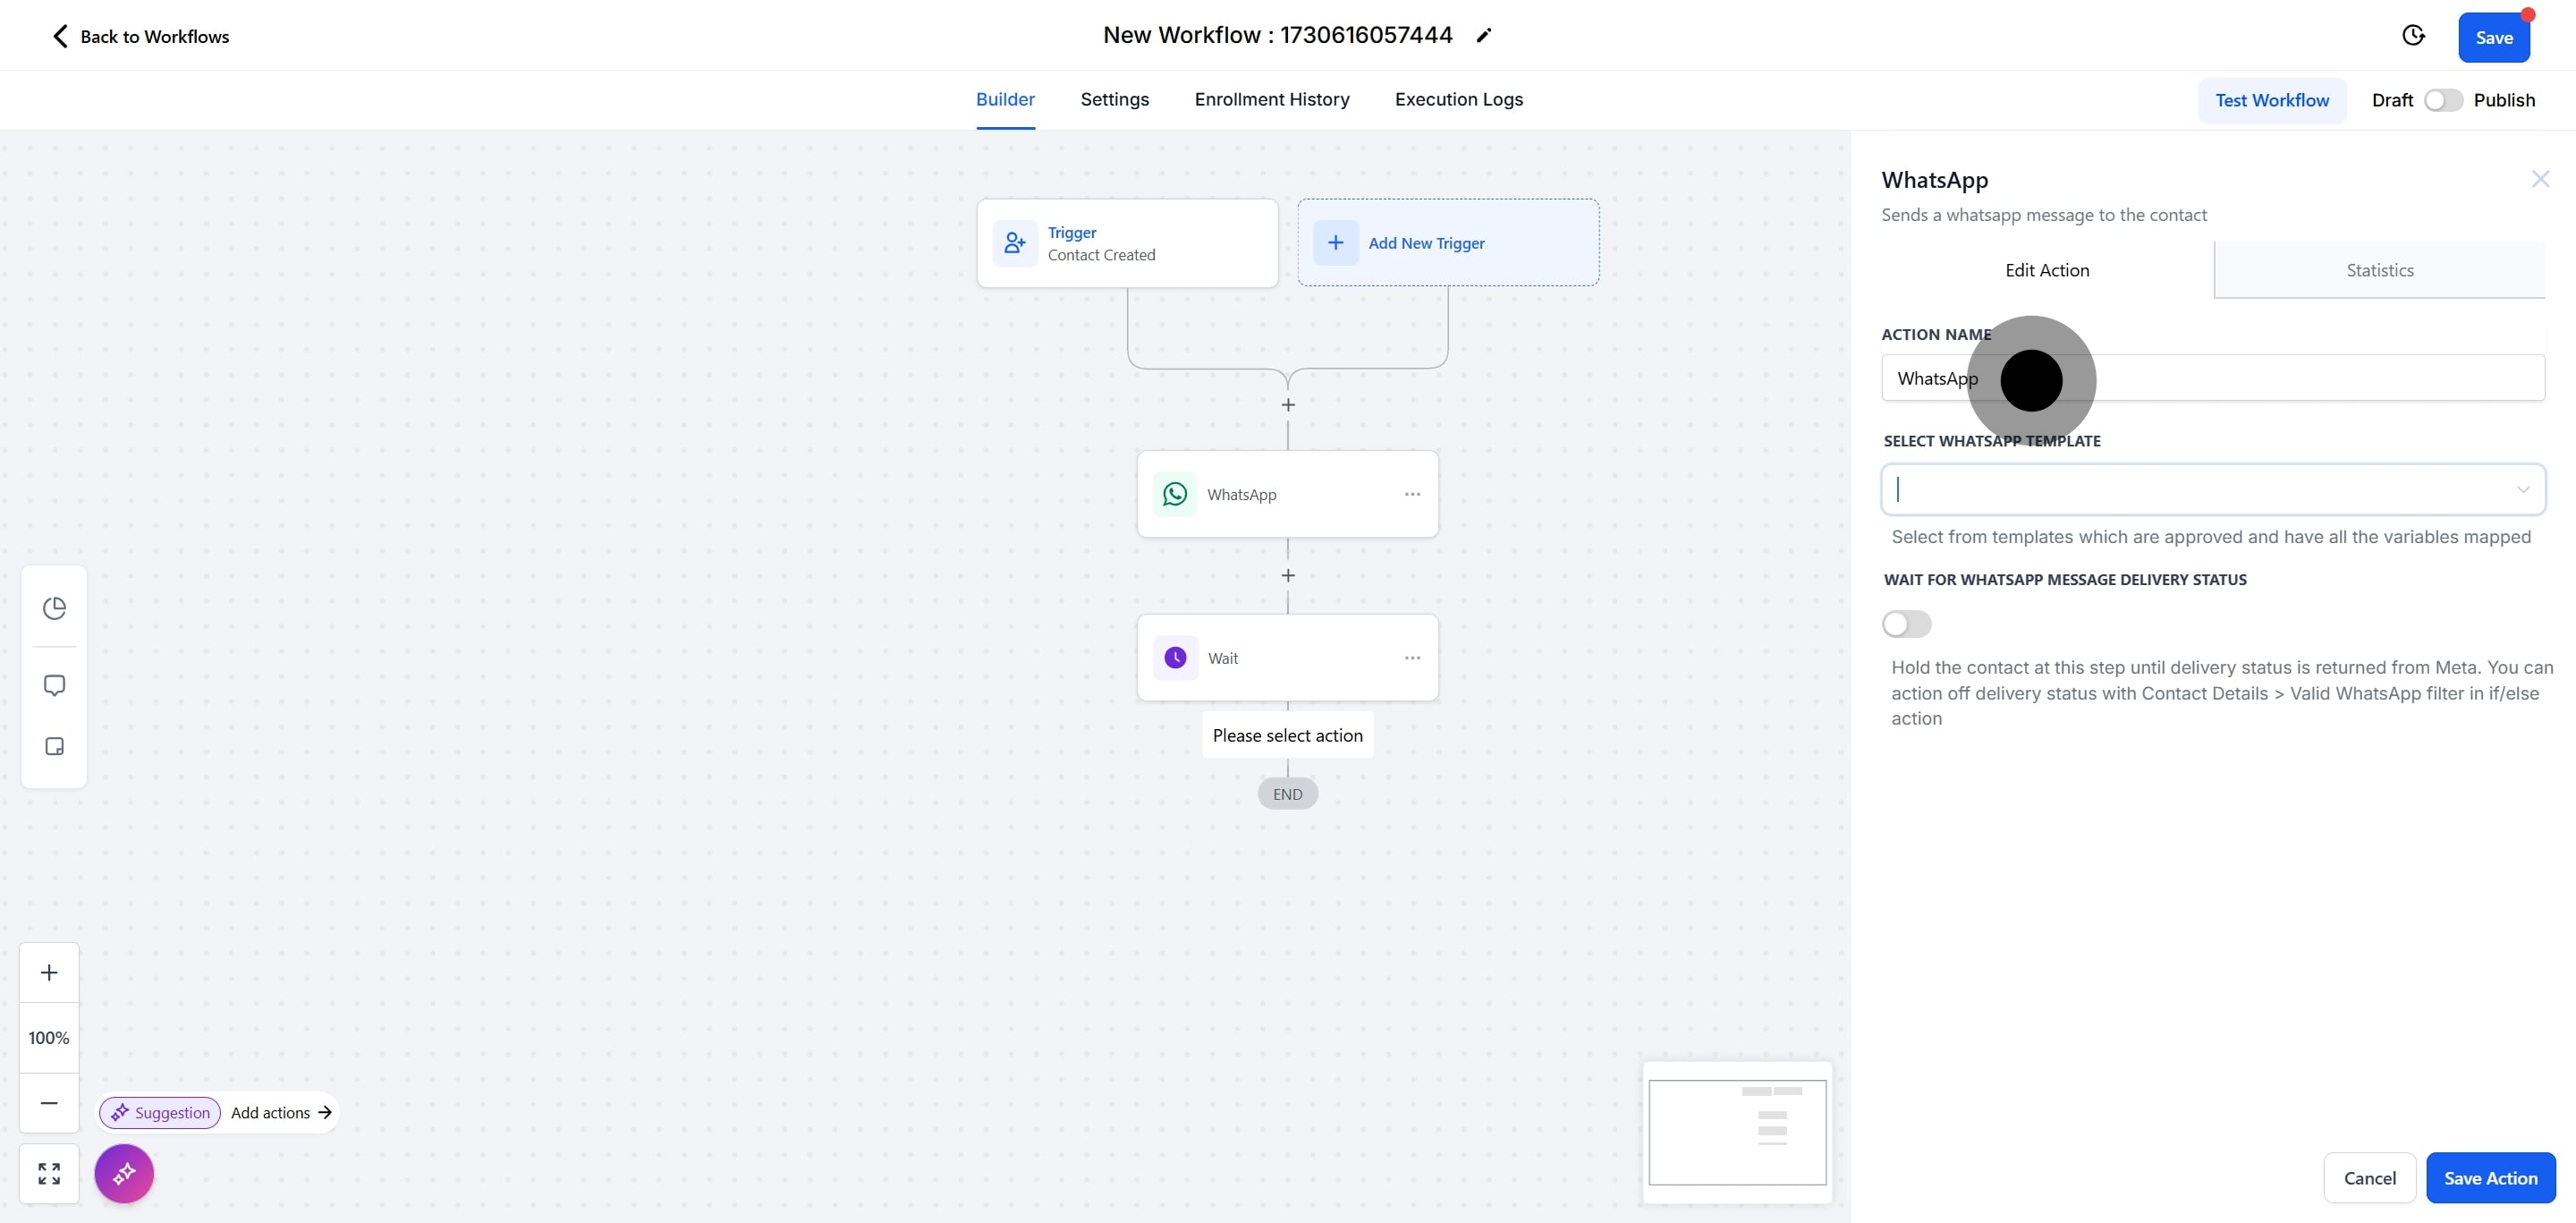
8 Then, click here.

9. Select WhatsApp.

9 Click here.

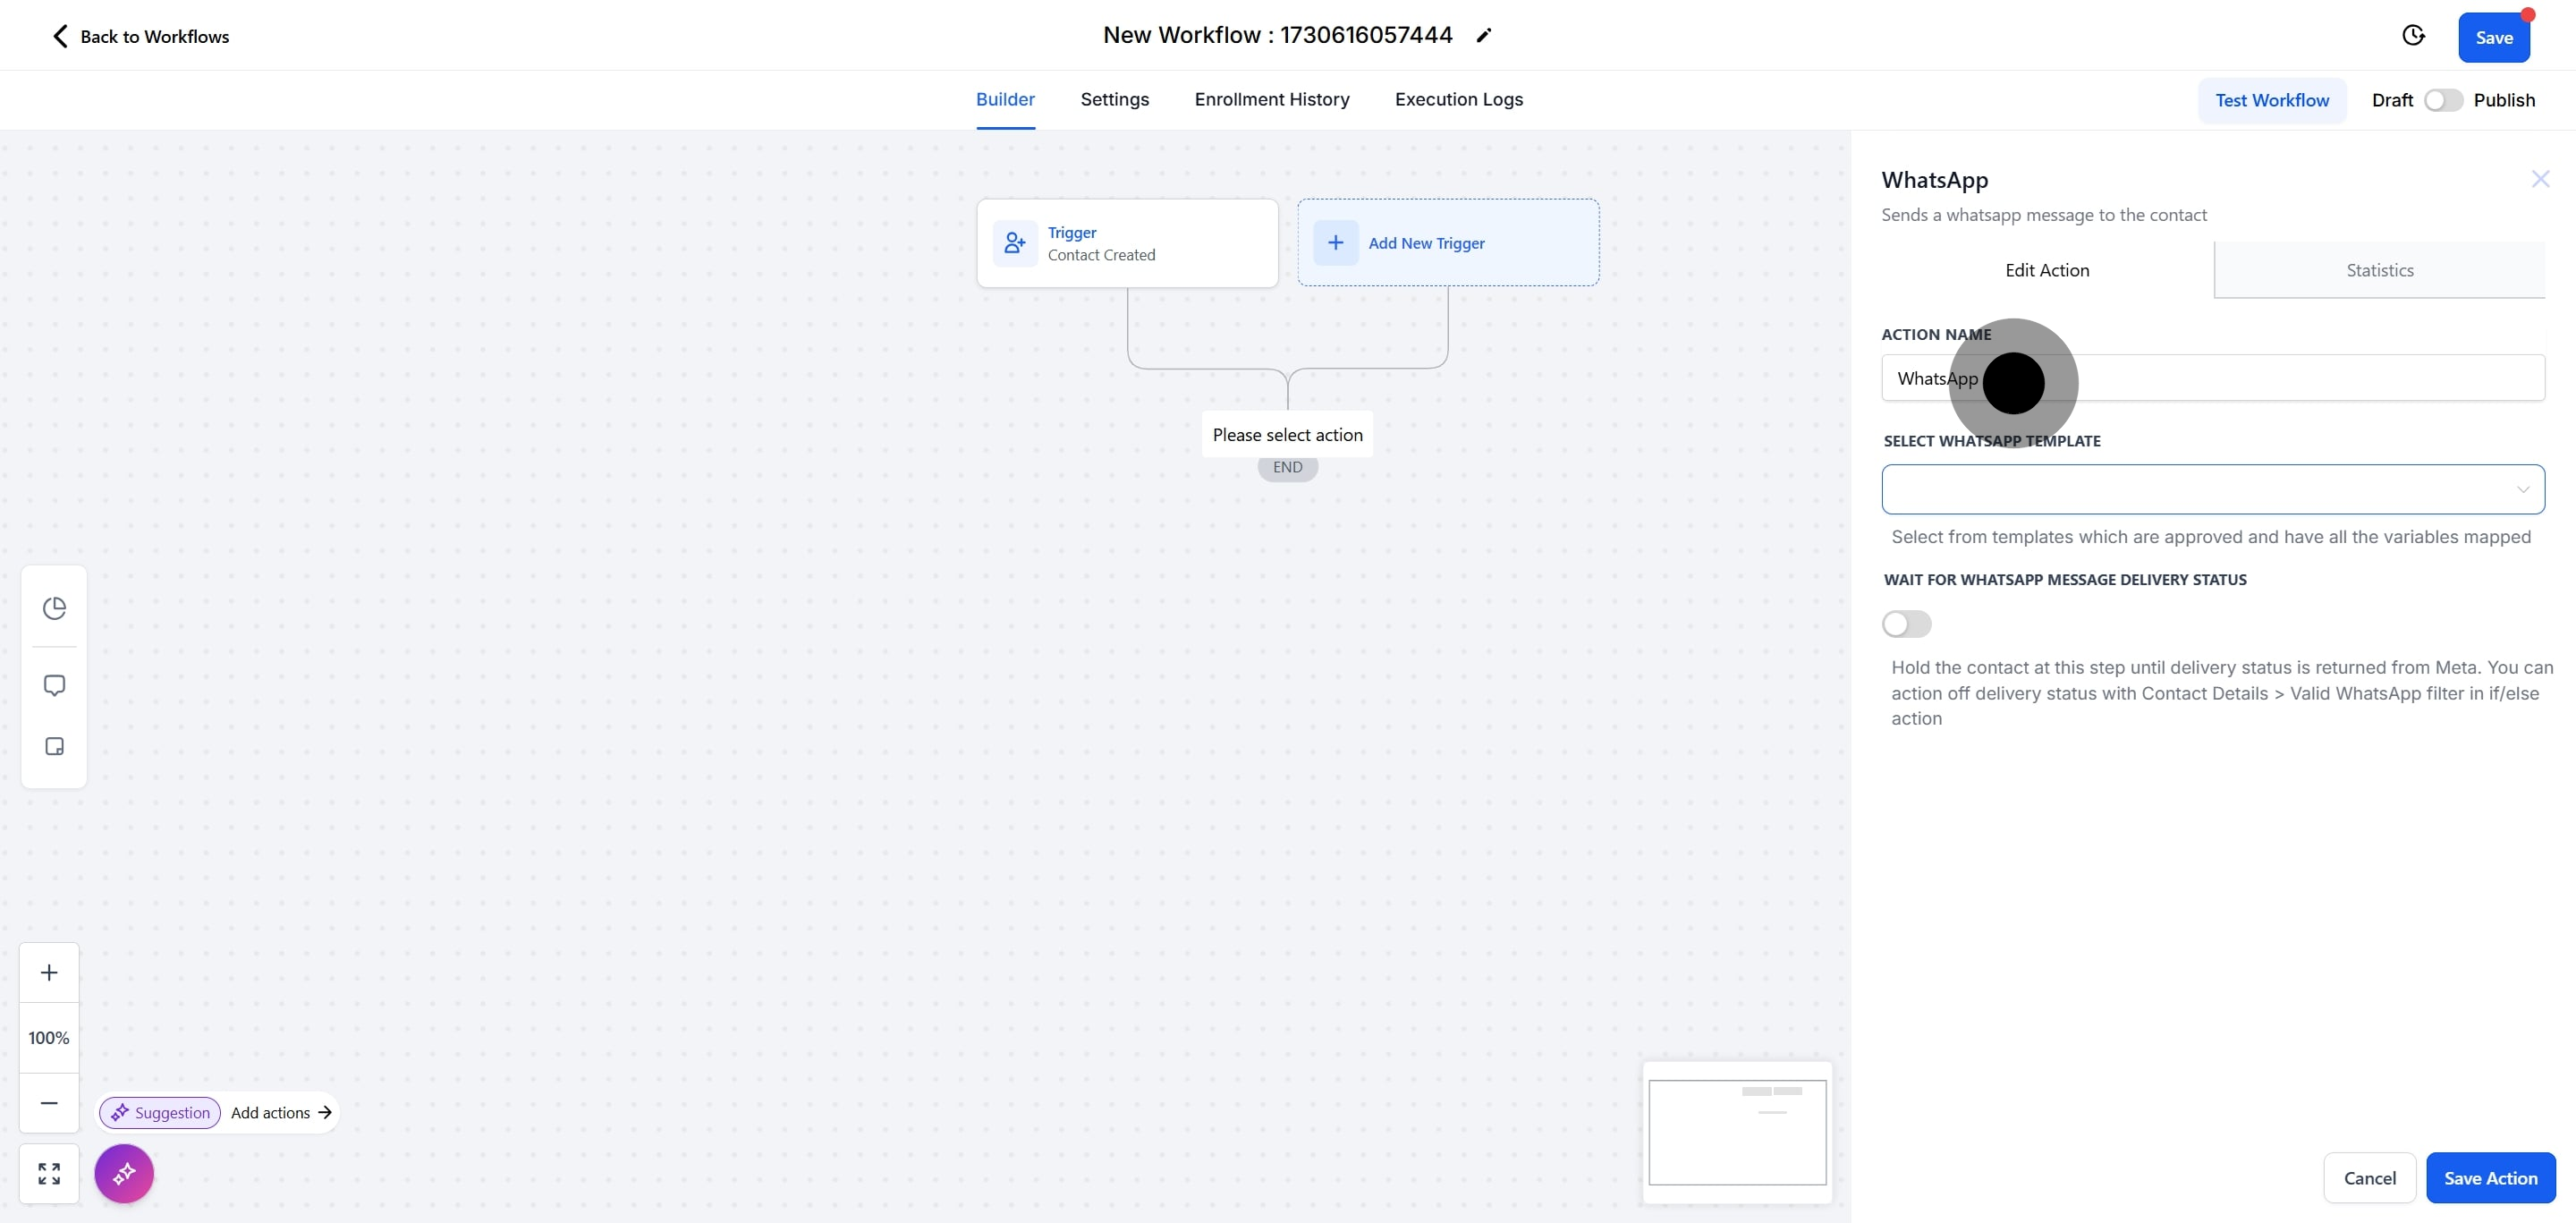
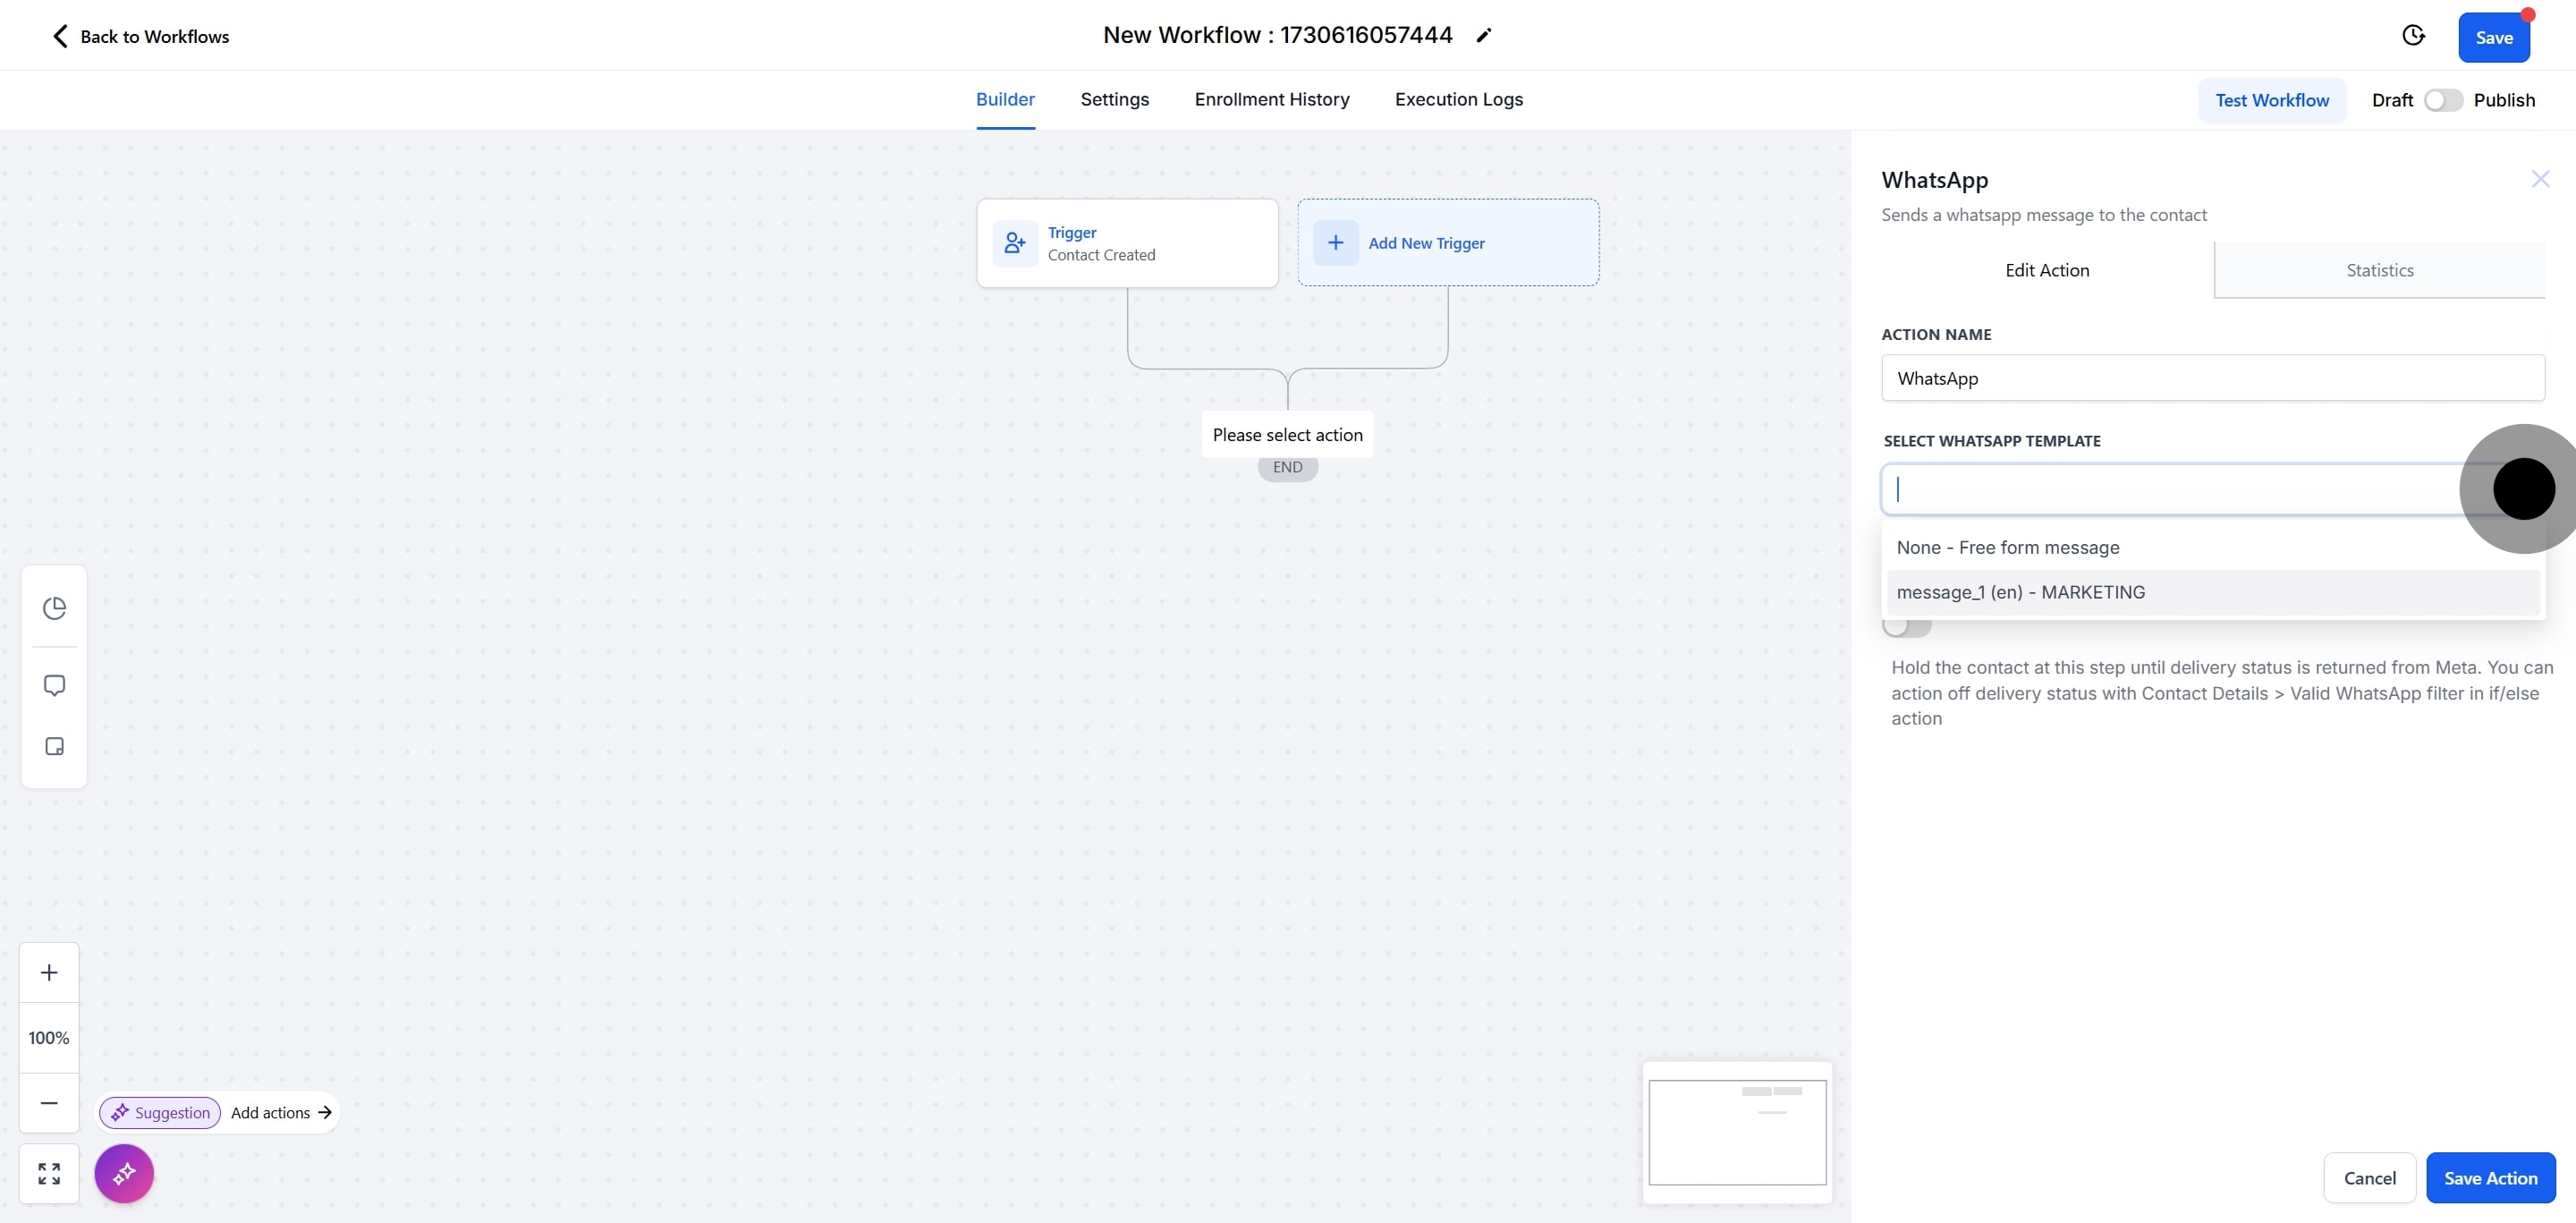
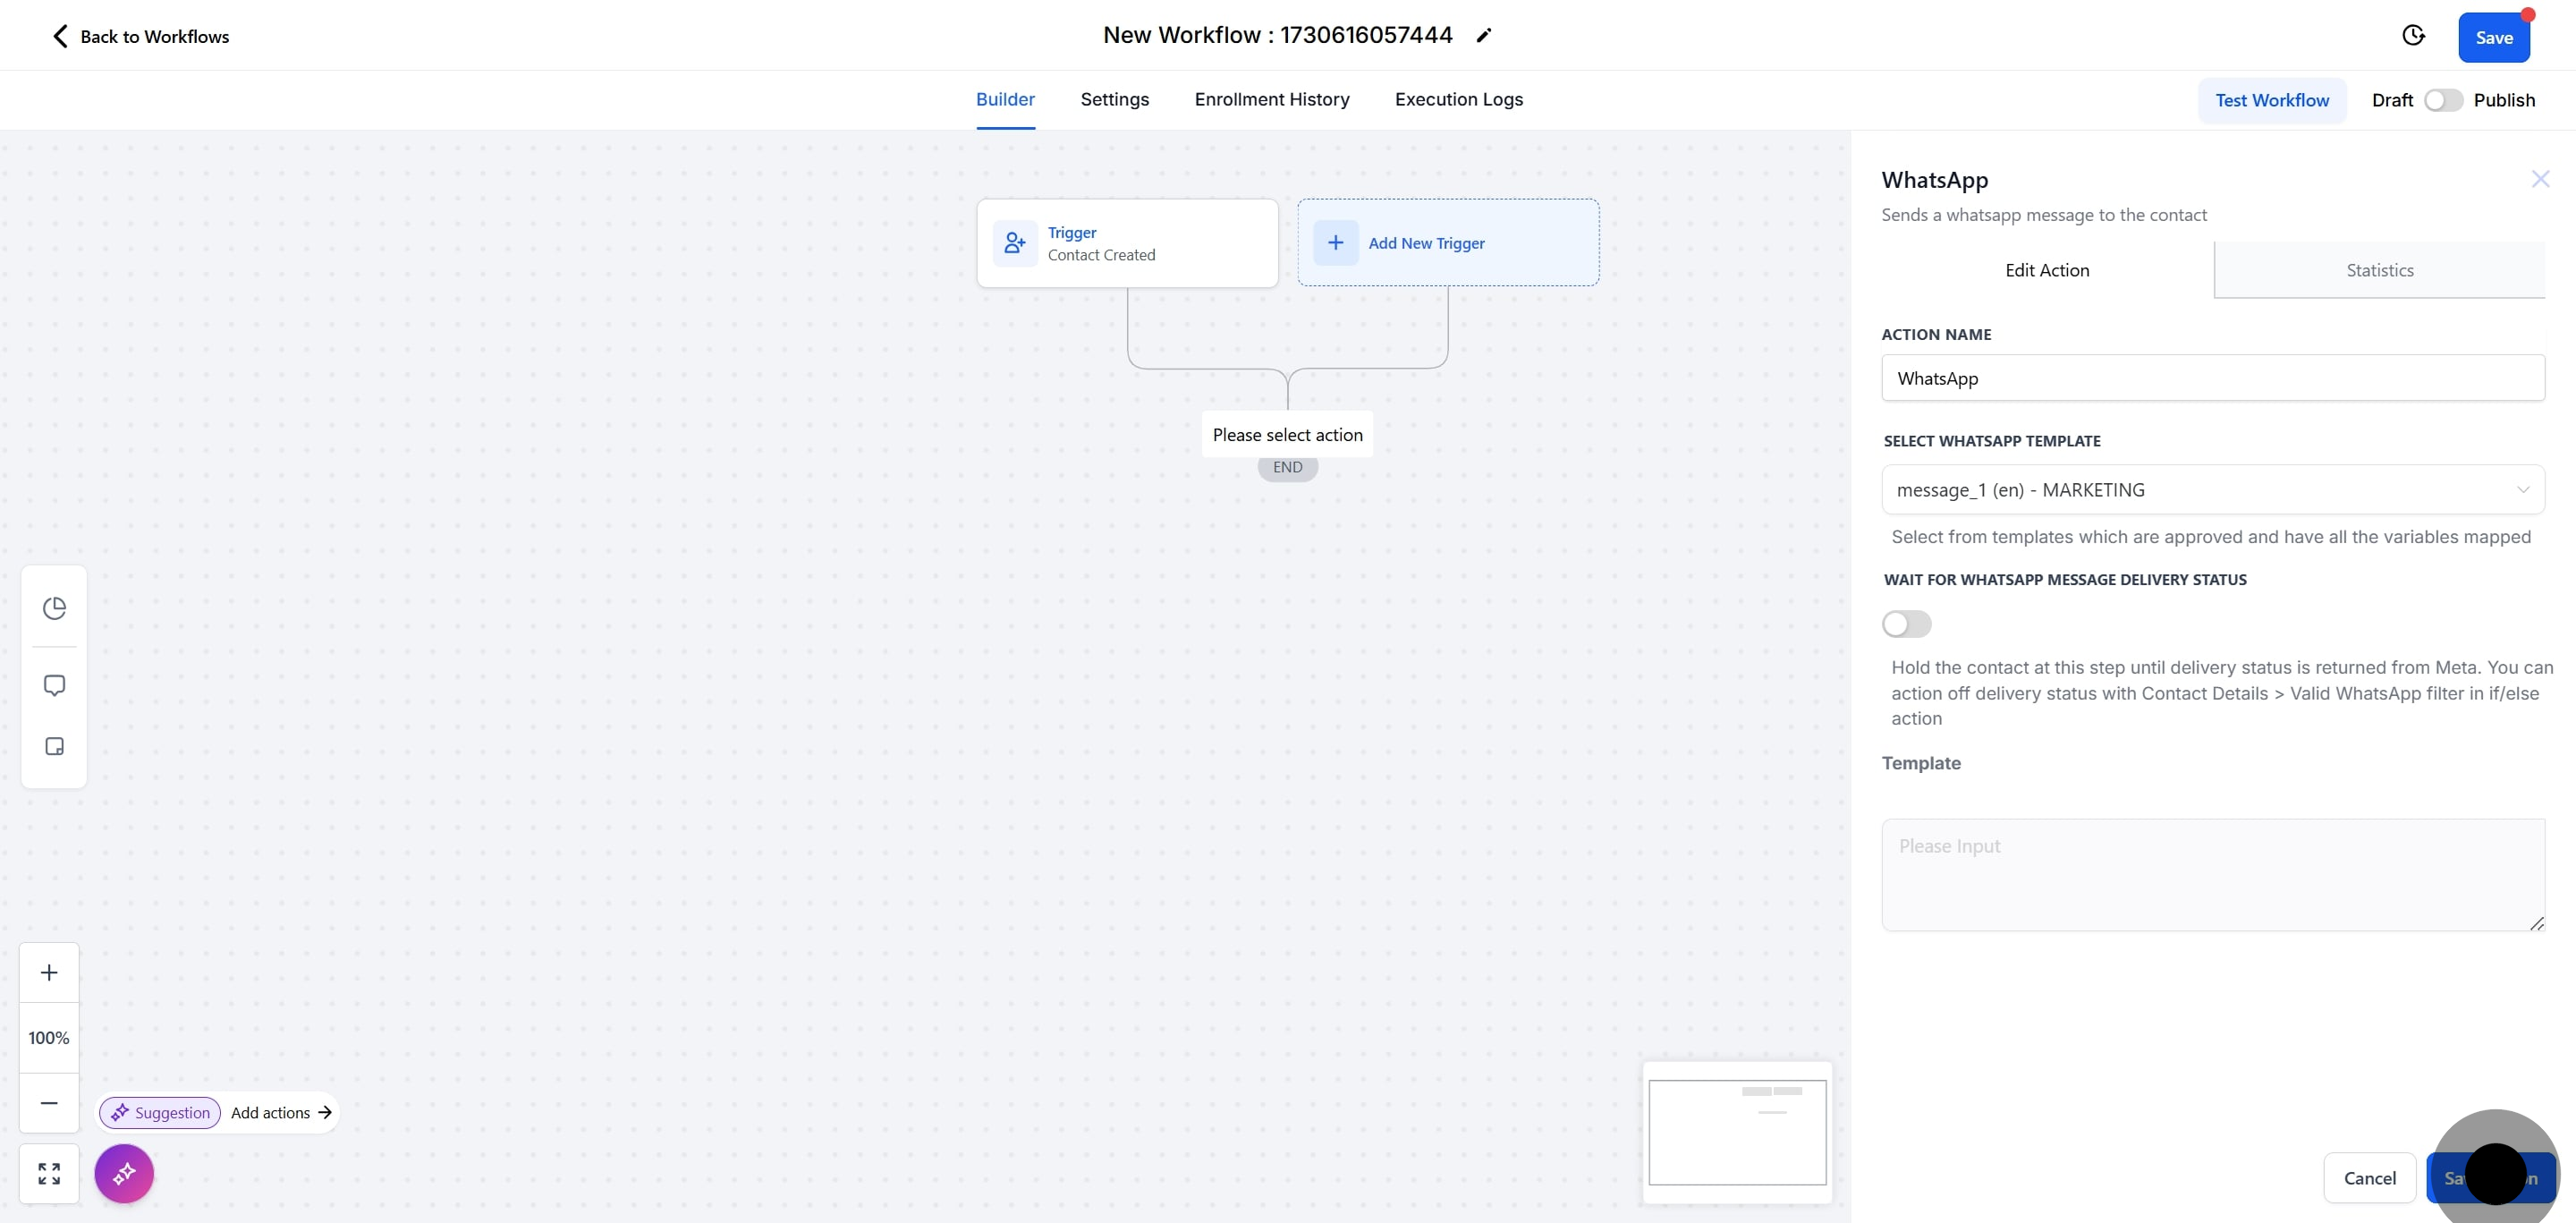
10. Select the template that you wish to send.

10 Then, click on "message_1 (en) - MARKETING".

11. After, click on "Save Action".

11 After, click on "Save Action".

12. Next, Click on + button.

12 Next, click on the element.

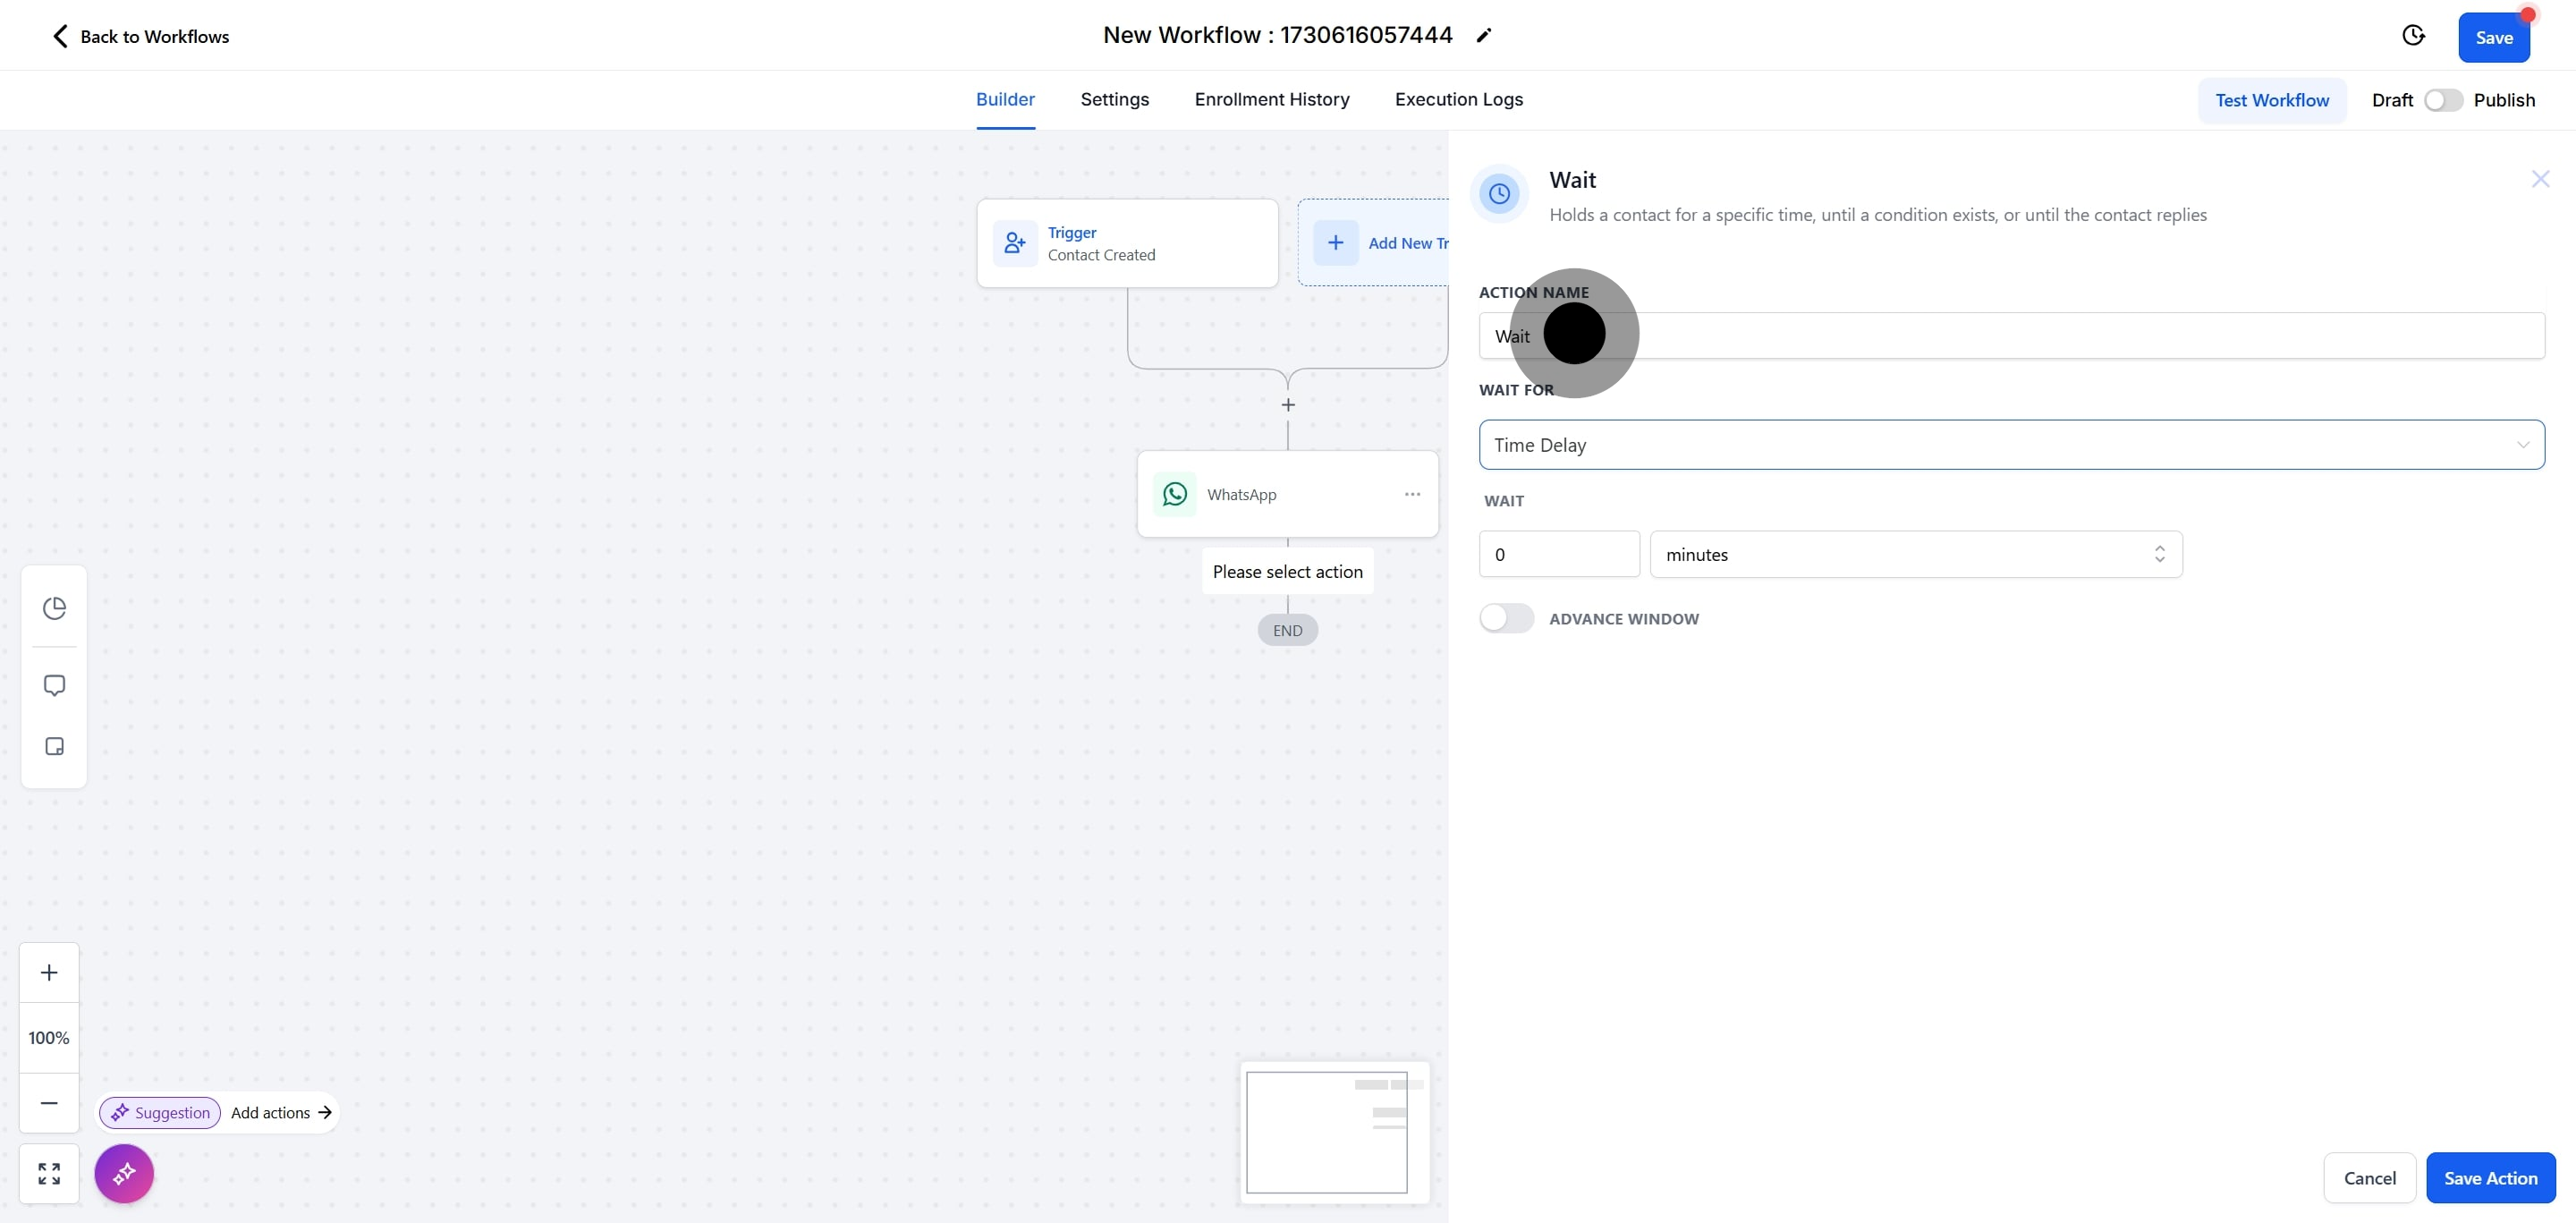
13. Next up, select Wait.

13 Next up, click here.

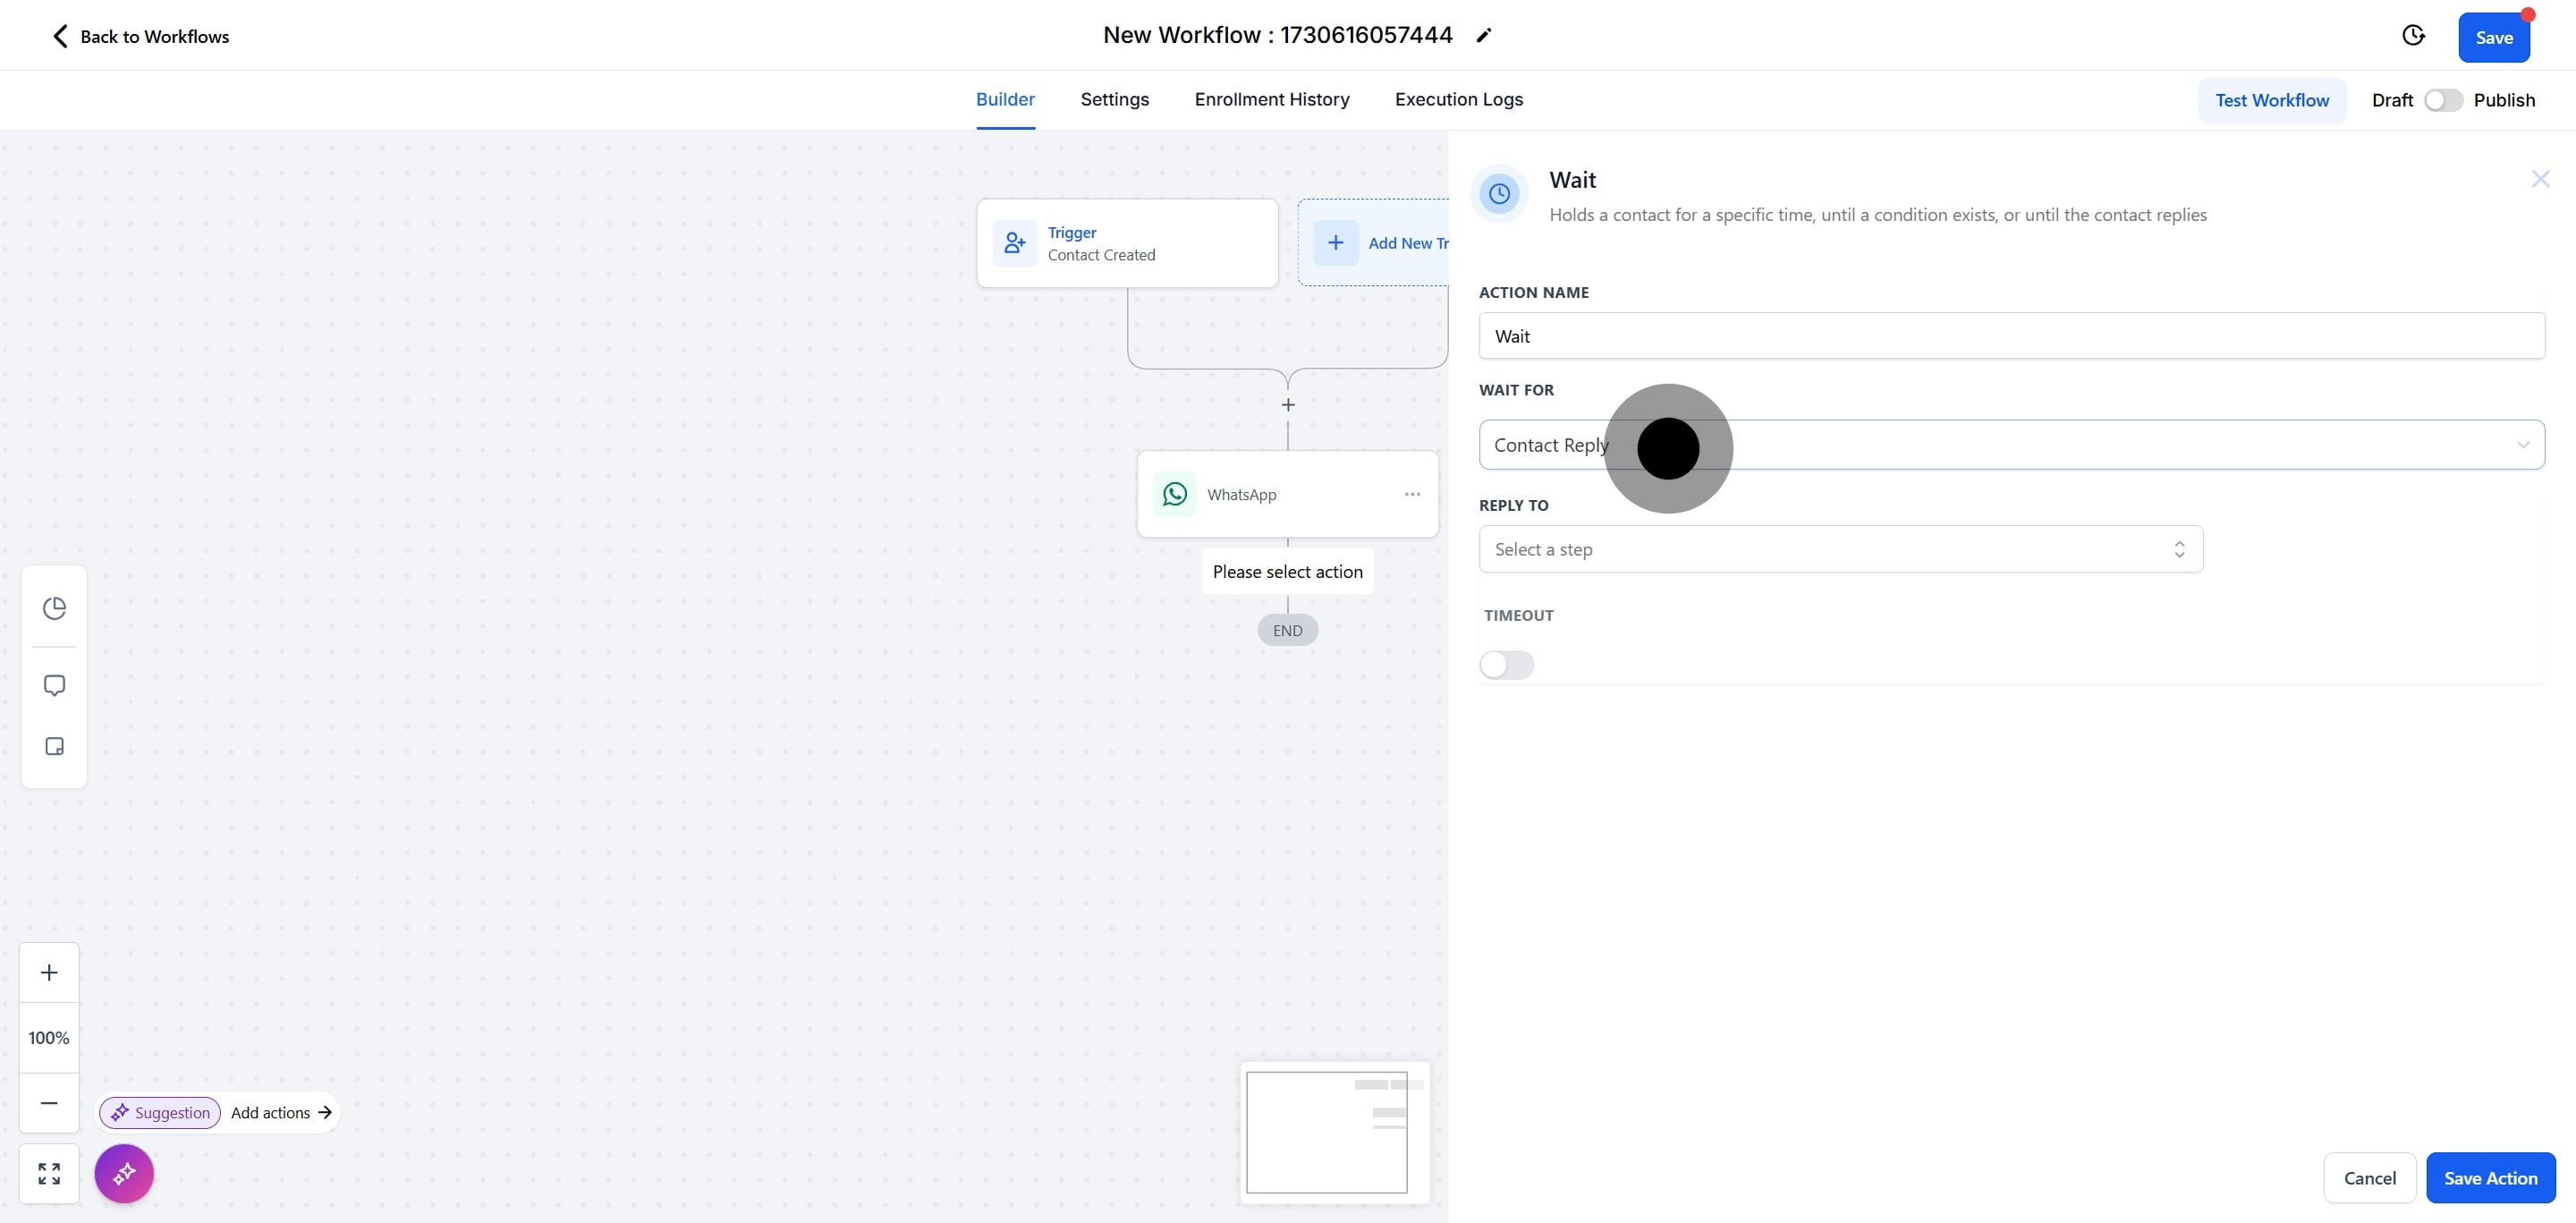
14. Then, click on "Contact Reply ".

14 Then, click on "Select a step".

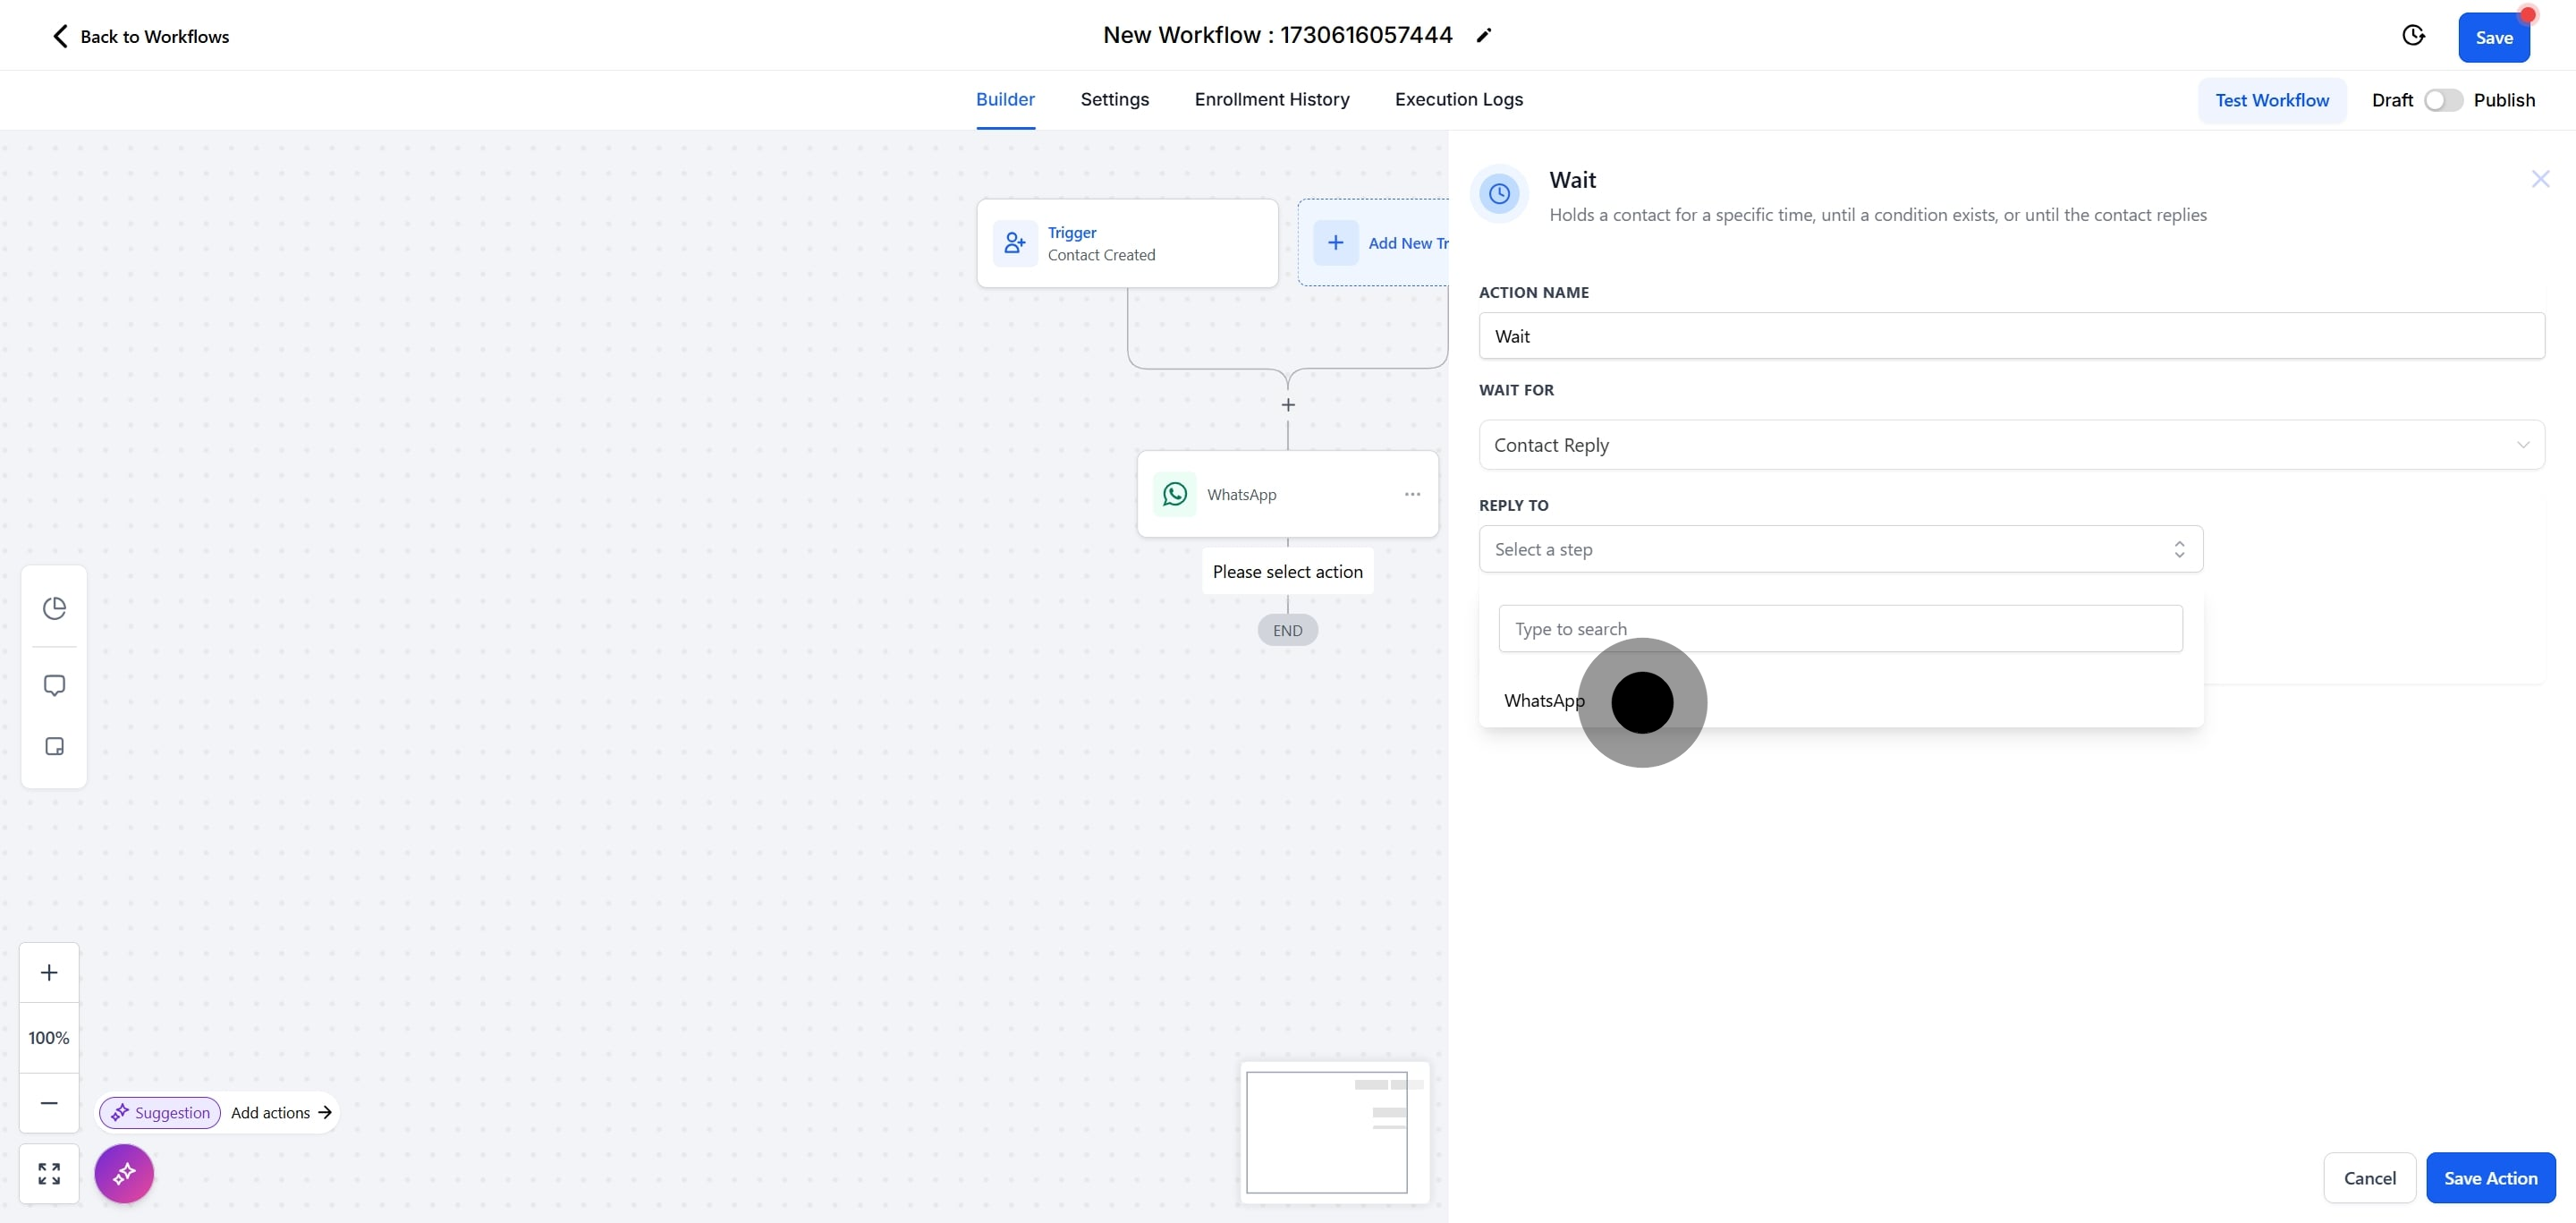
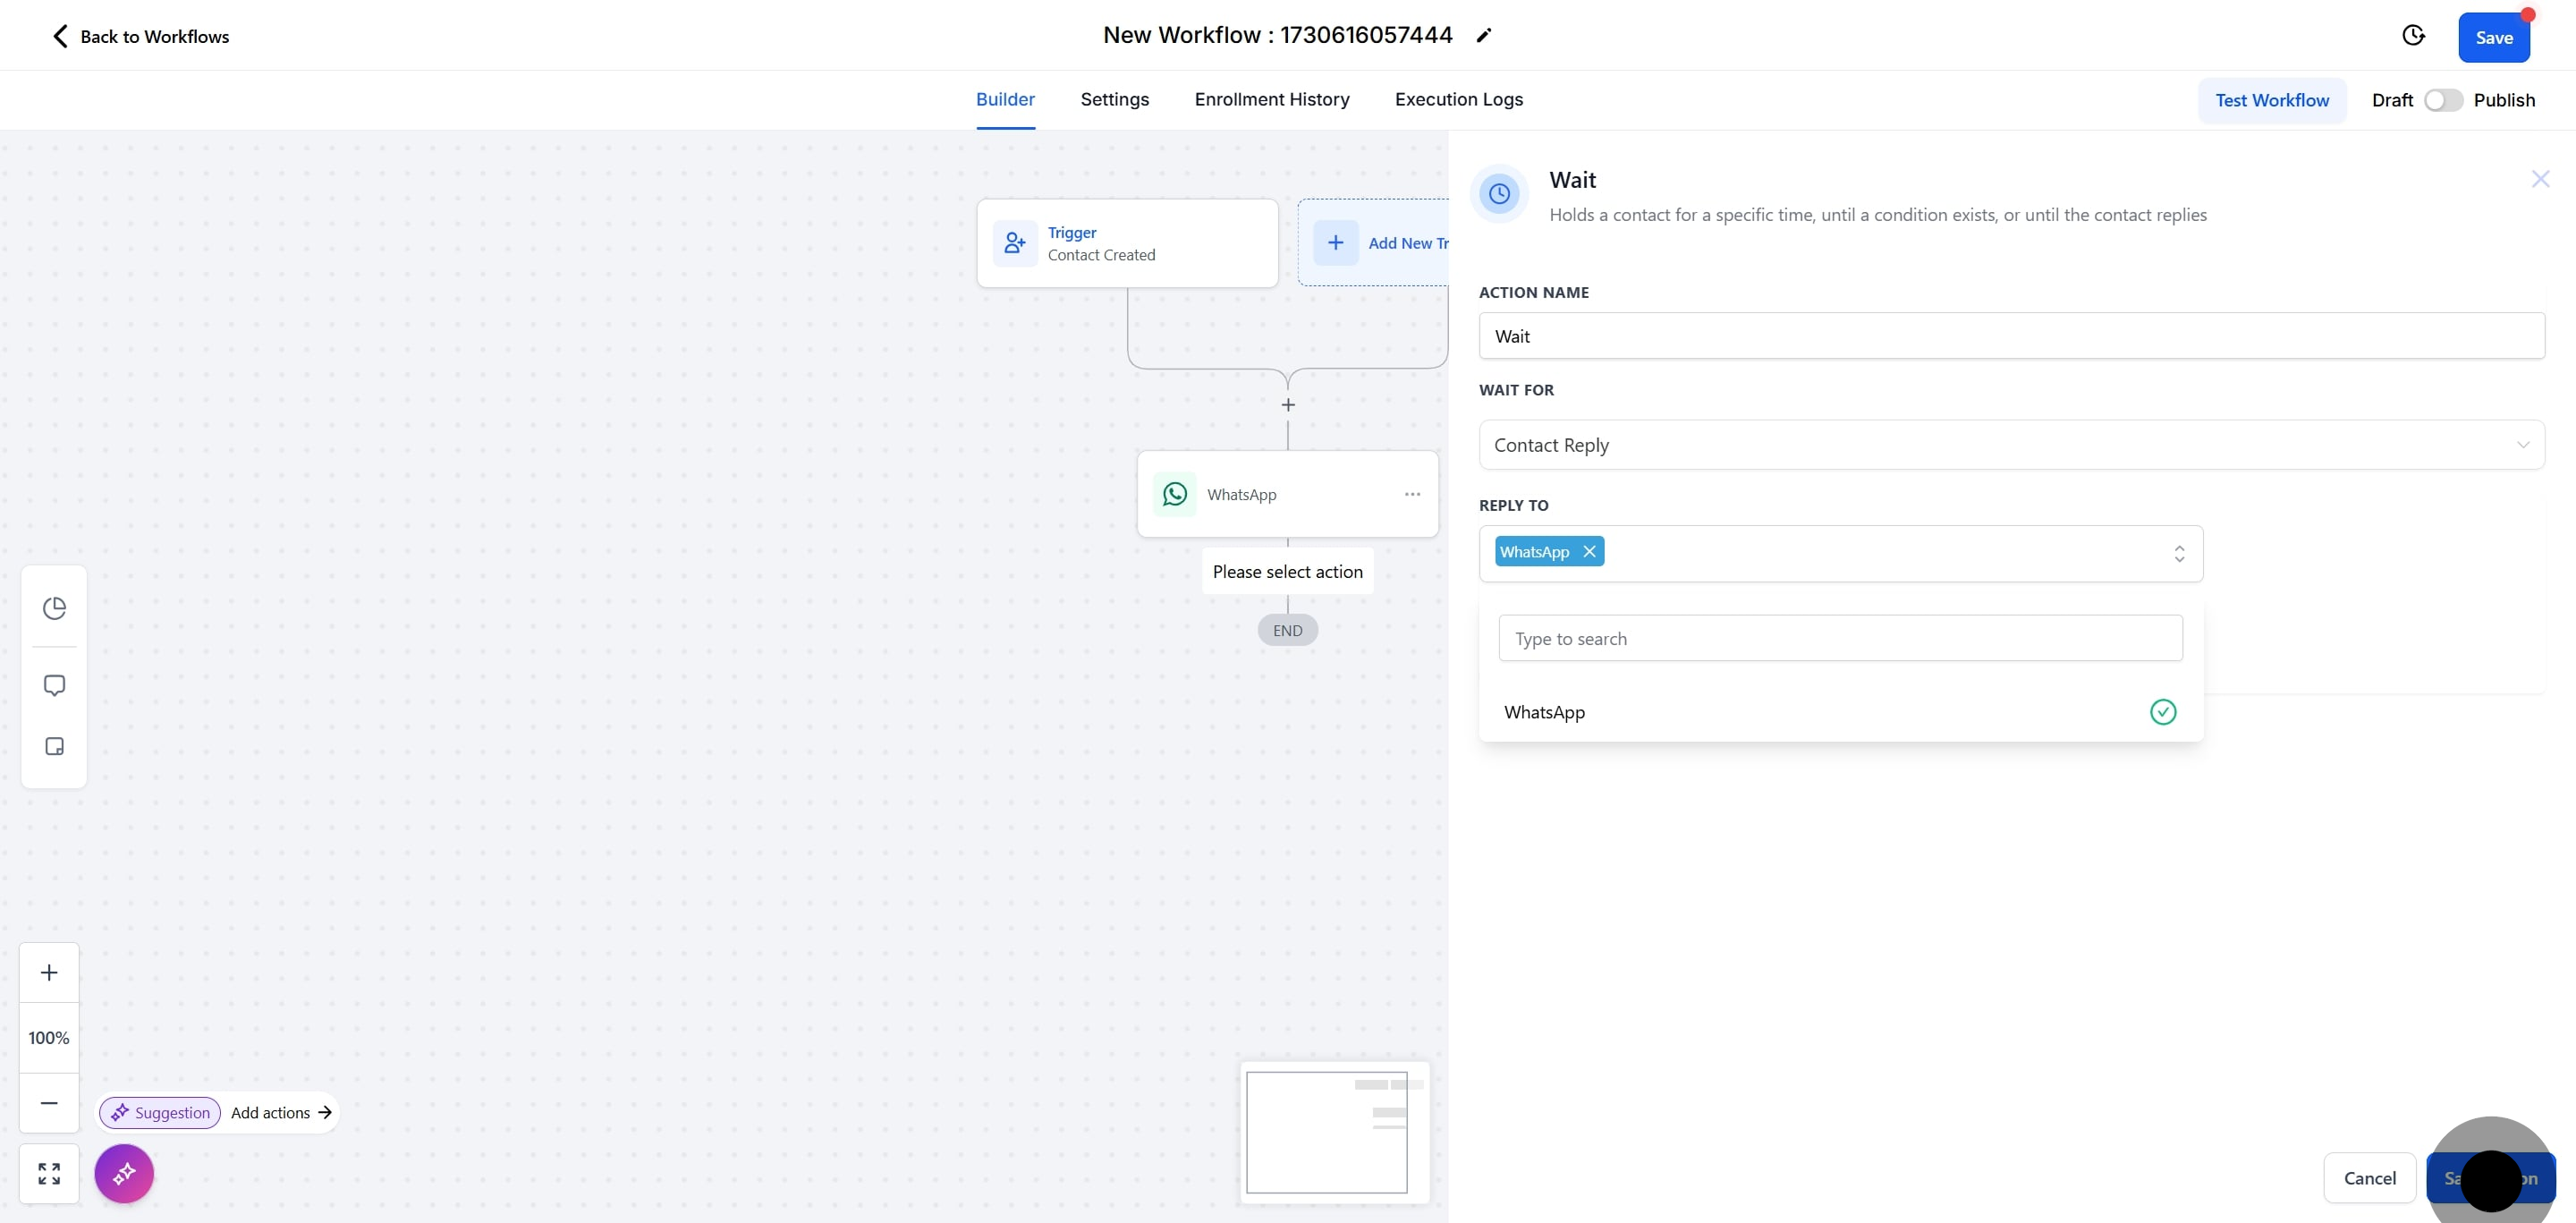
15. Following that, click on "WhatsApp".

15 Following that, click on "WhatsApp".

16. Next, click on "Save Action".

16 Next, click on "Save Action".

17. Select the + button.

17 Click on the element.

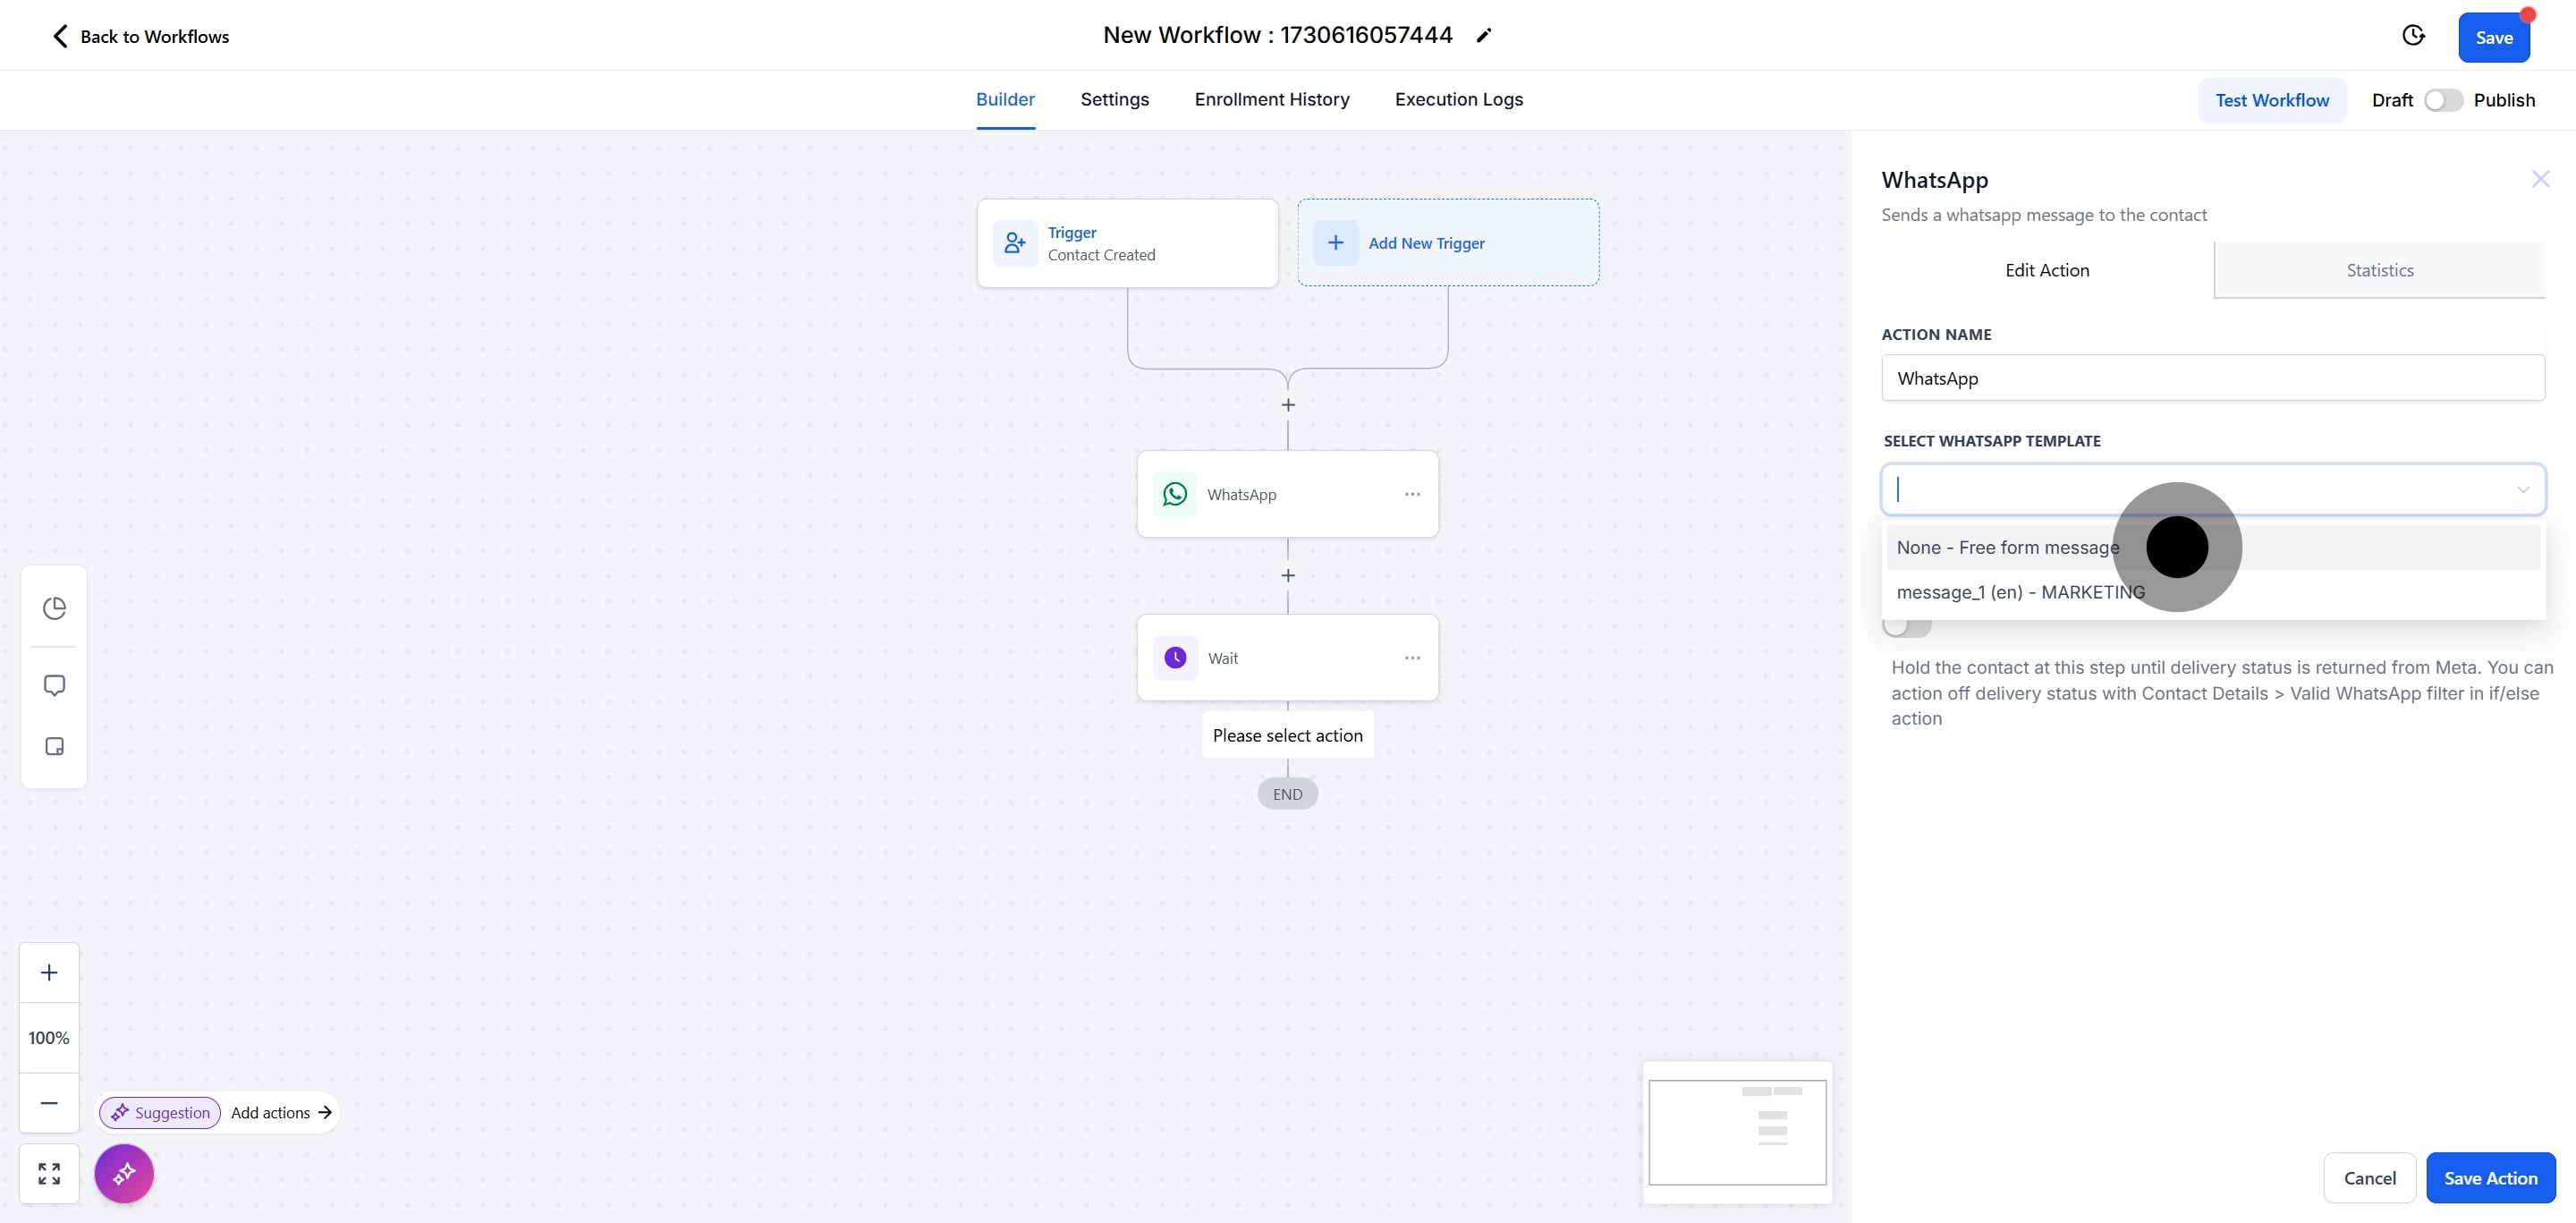
18. Select WhatsApp.

18 Click here.

19. After, click on "None - Free form message".

Note: You can send free text messages at NO ADDITIONAL COST since the Free Entry Point Conversations is opened since the customer replied to you.

19 After, click on "None - Free form message".

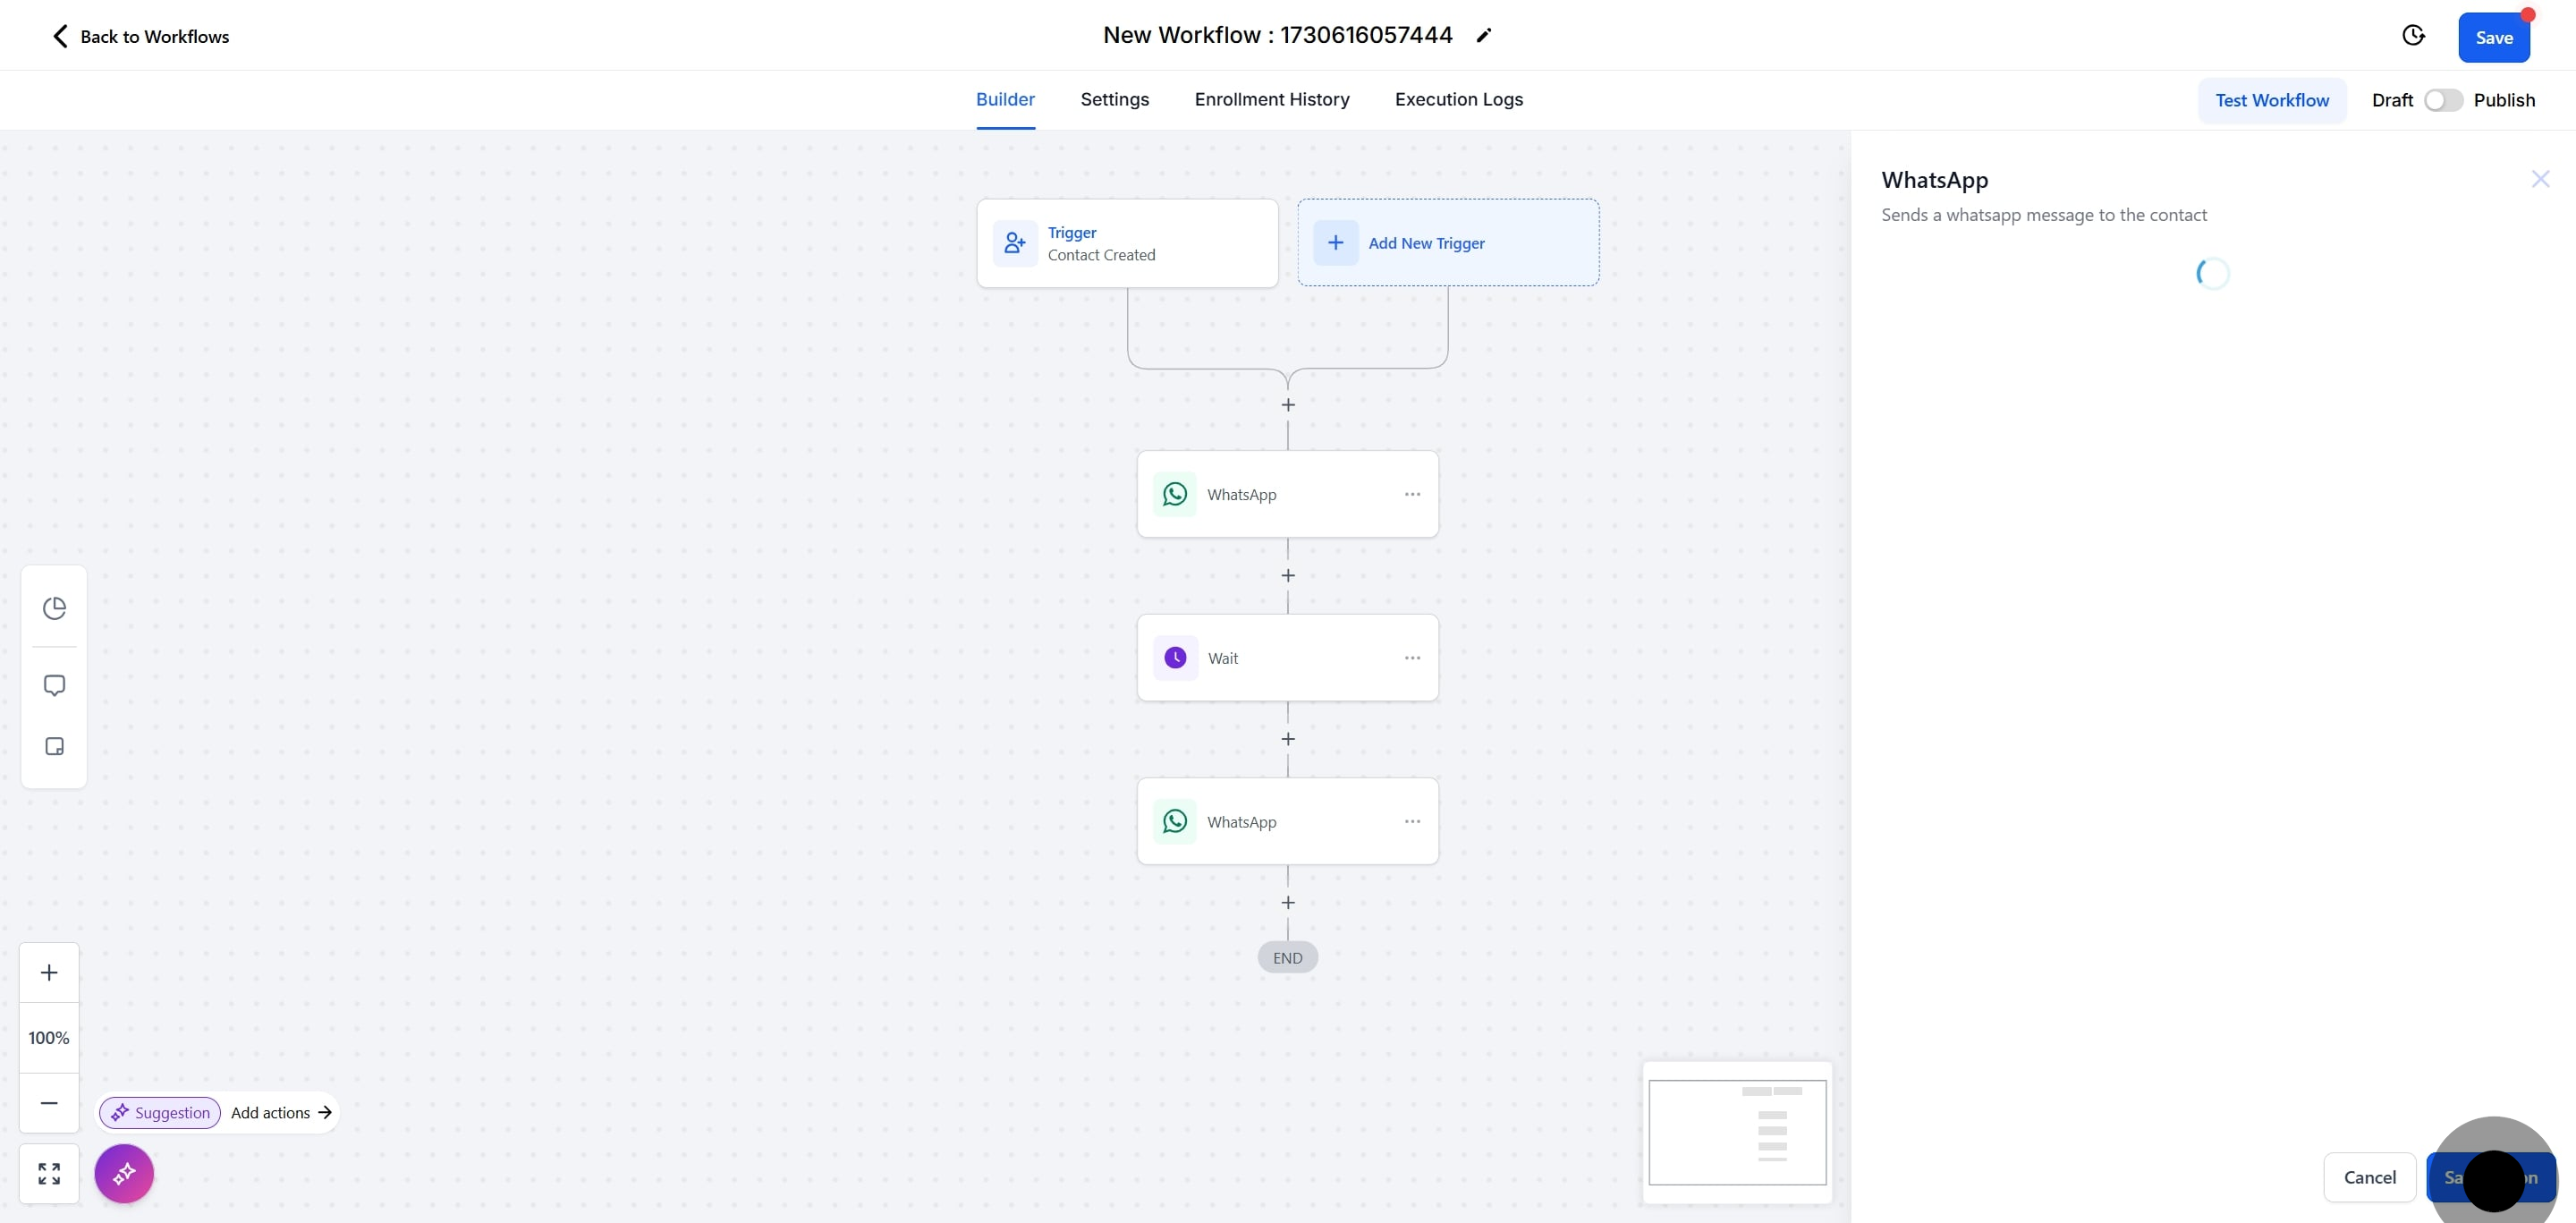
20. Enter the message to be sent.

20 Click here.

21. Next, click on "Save Action".

21 Next, click on "Save Action".

22. Click on "Save".

22 Click on "Save".

Did this answer your question?
😞
😐
😁