Unlock the power of organized data collection in Aesthetix by learning how to create text box list custom fields. This article provides a detailed, step-by-step tutorial on setting up text box lists, enabling users to input multiple entries in a structured format. Discover best practices for configuring field properties, such as adding and removing boxes, setting character limits, and enhancing user experience for streamlined input. With practical examples and tips for customization, this guide is perfect for Aesthetix users looking to improve their forms and effectively manage lists of information through intuitive text box list custom fields.
1. First, click on "Settings."
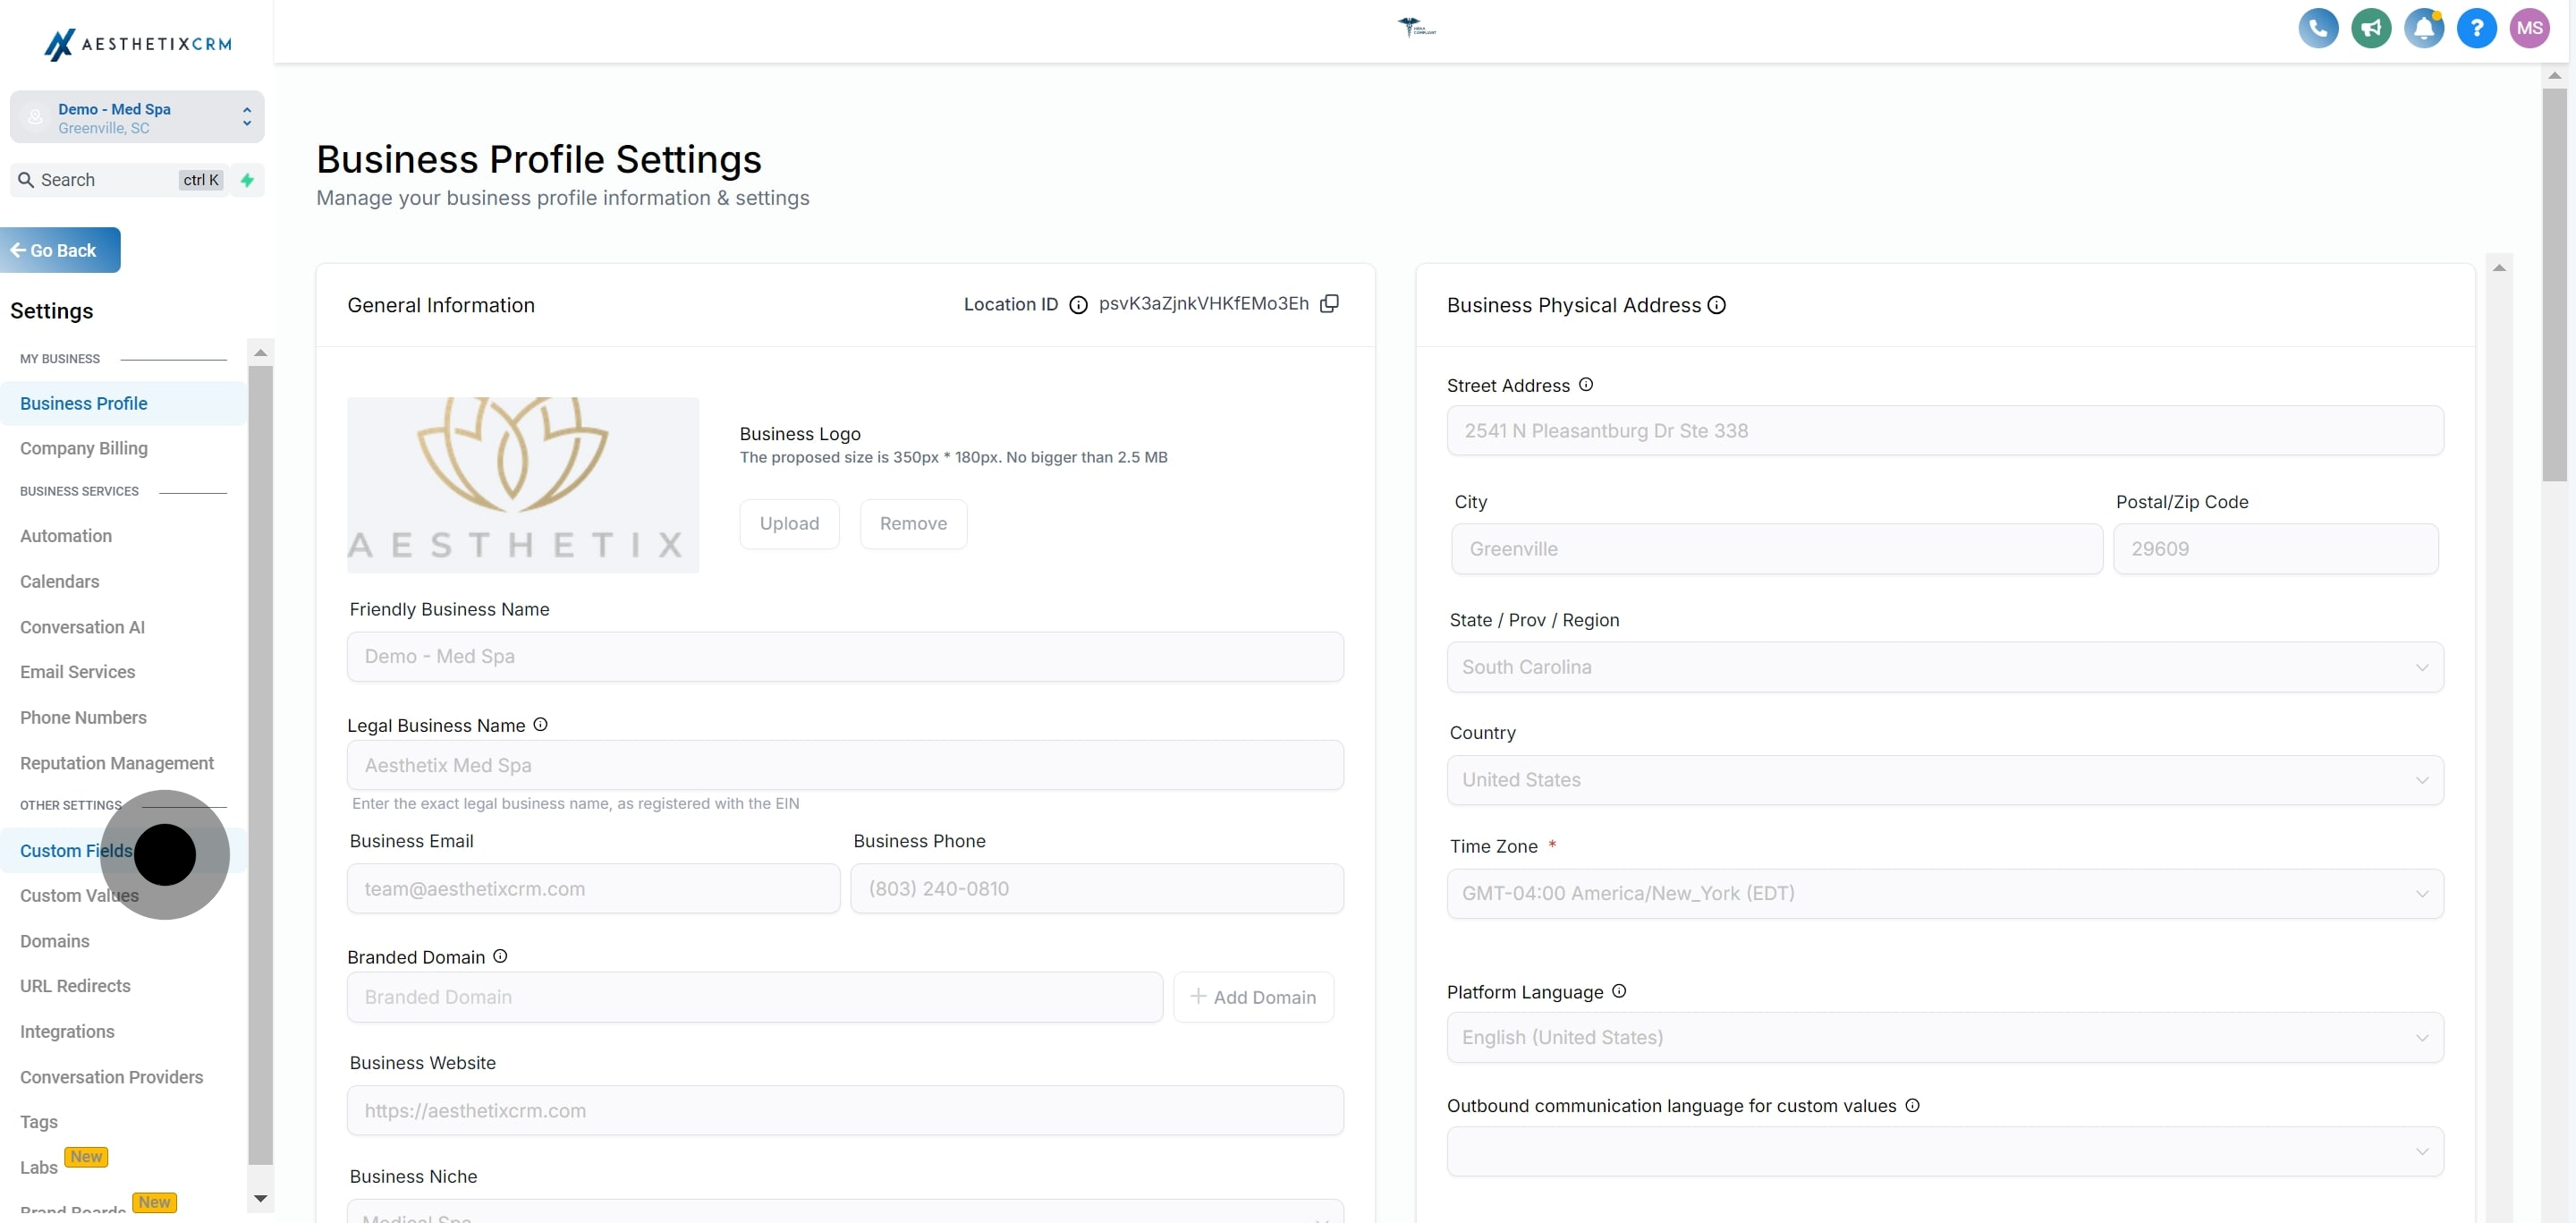
2. After, click on "Custom Fields".
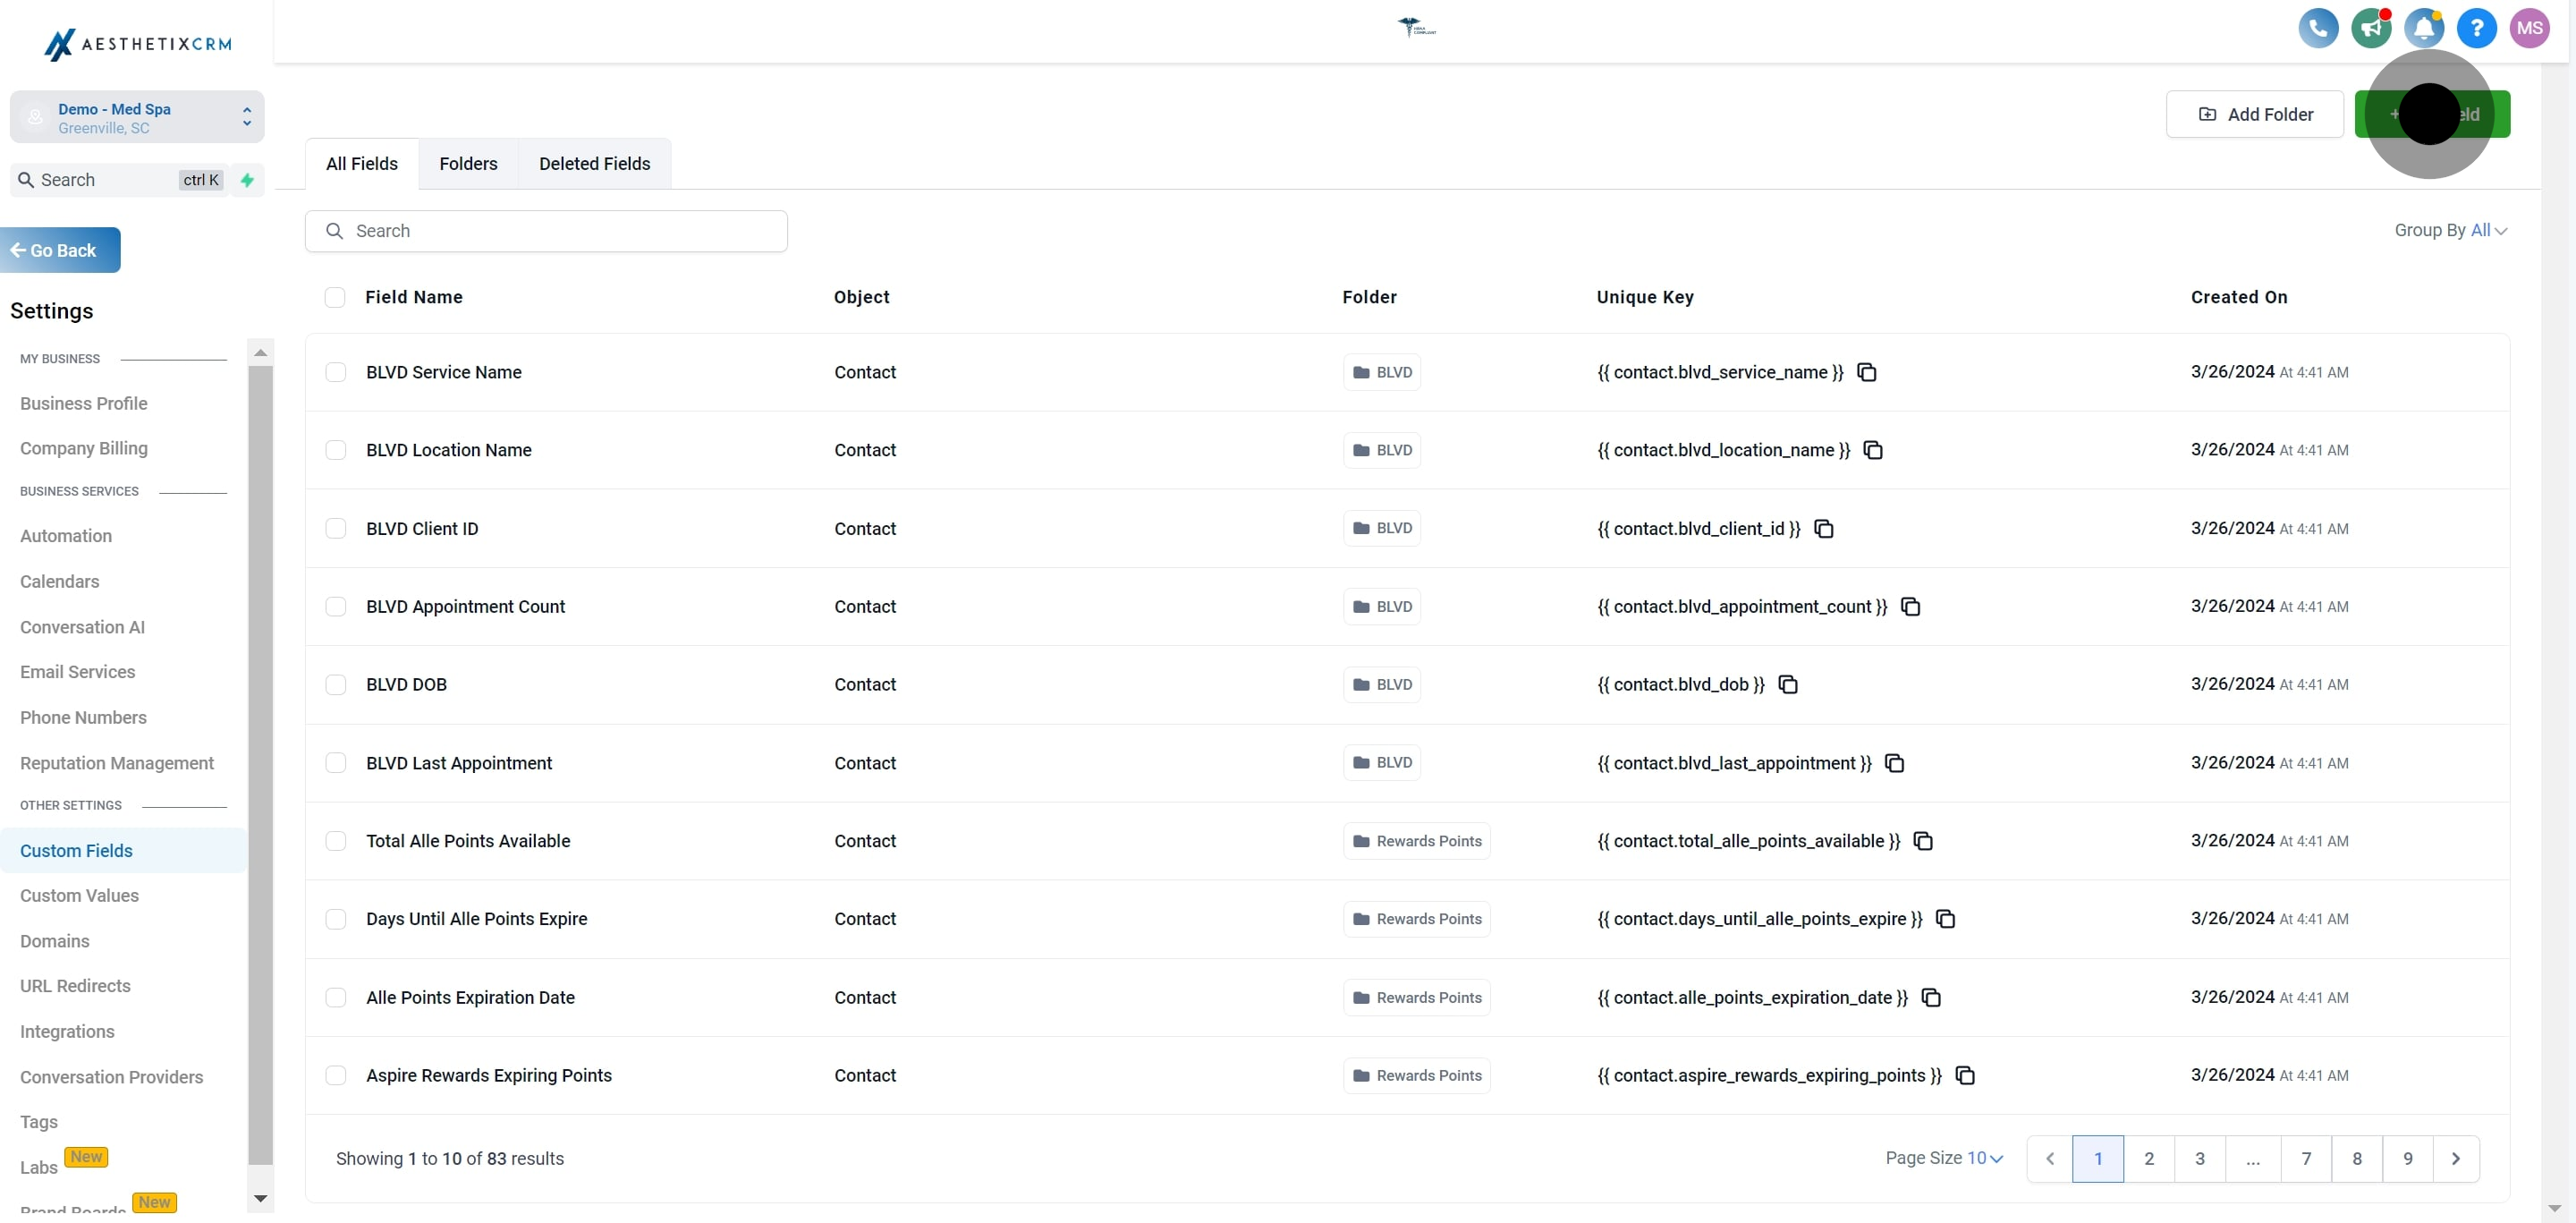
3. After, click on "Add Field".
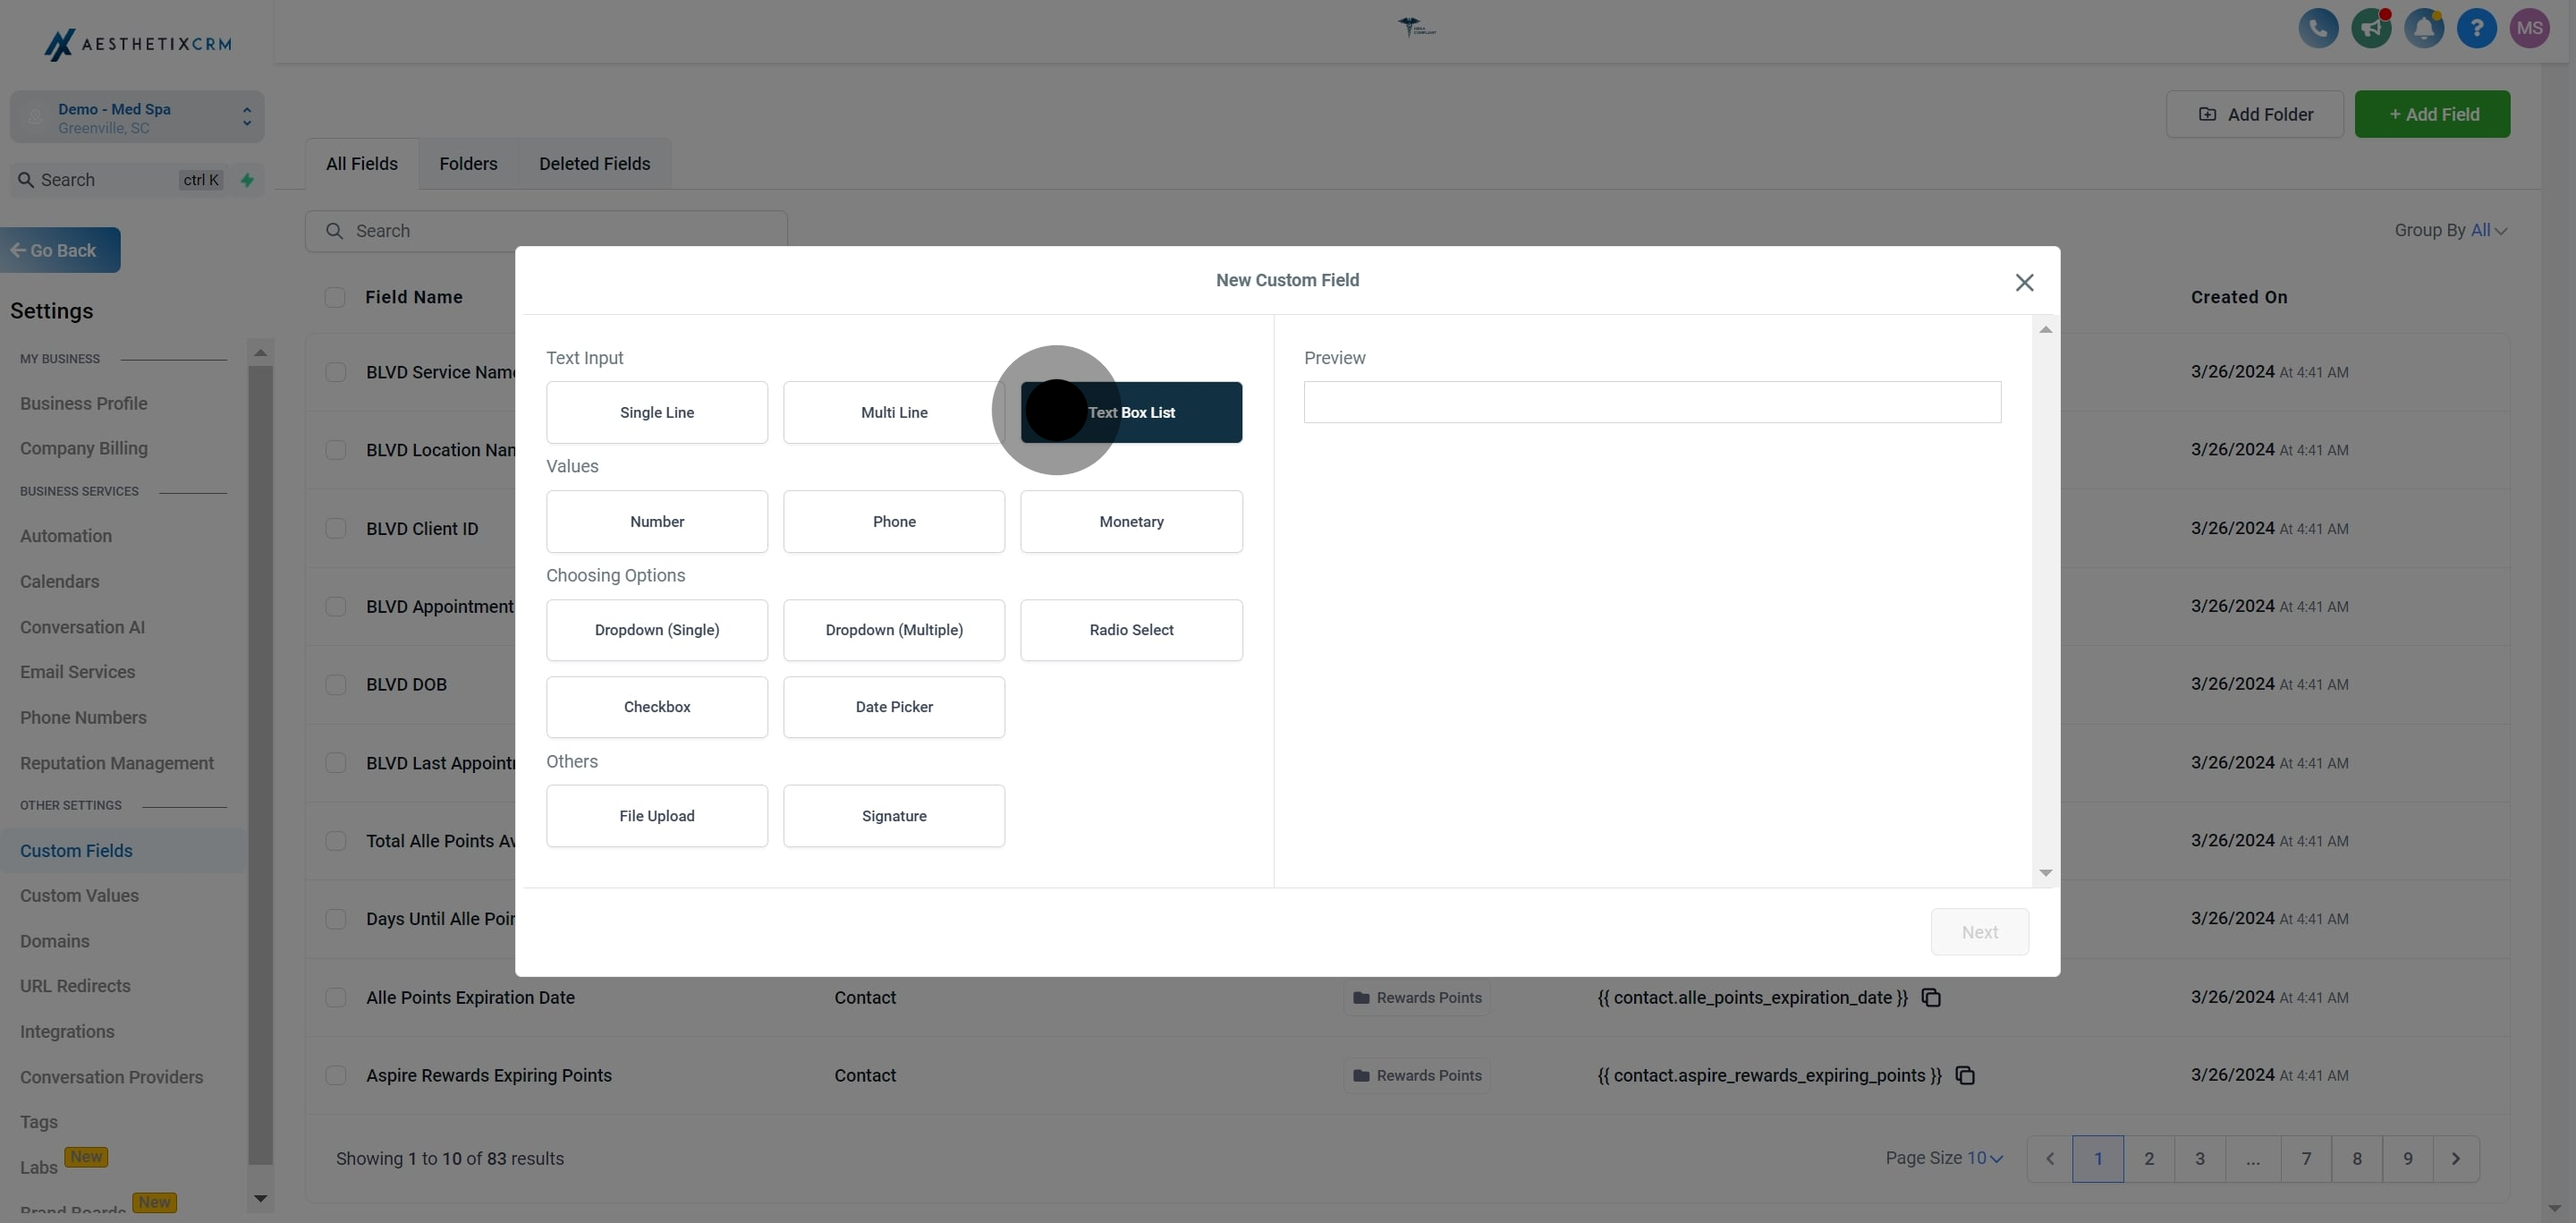
4. After that, click on "Text Box List".
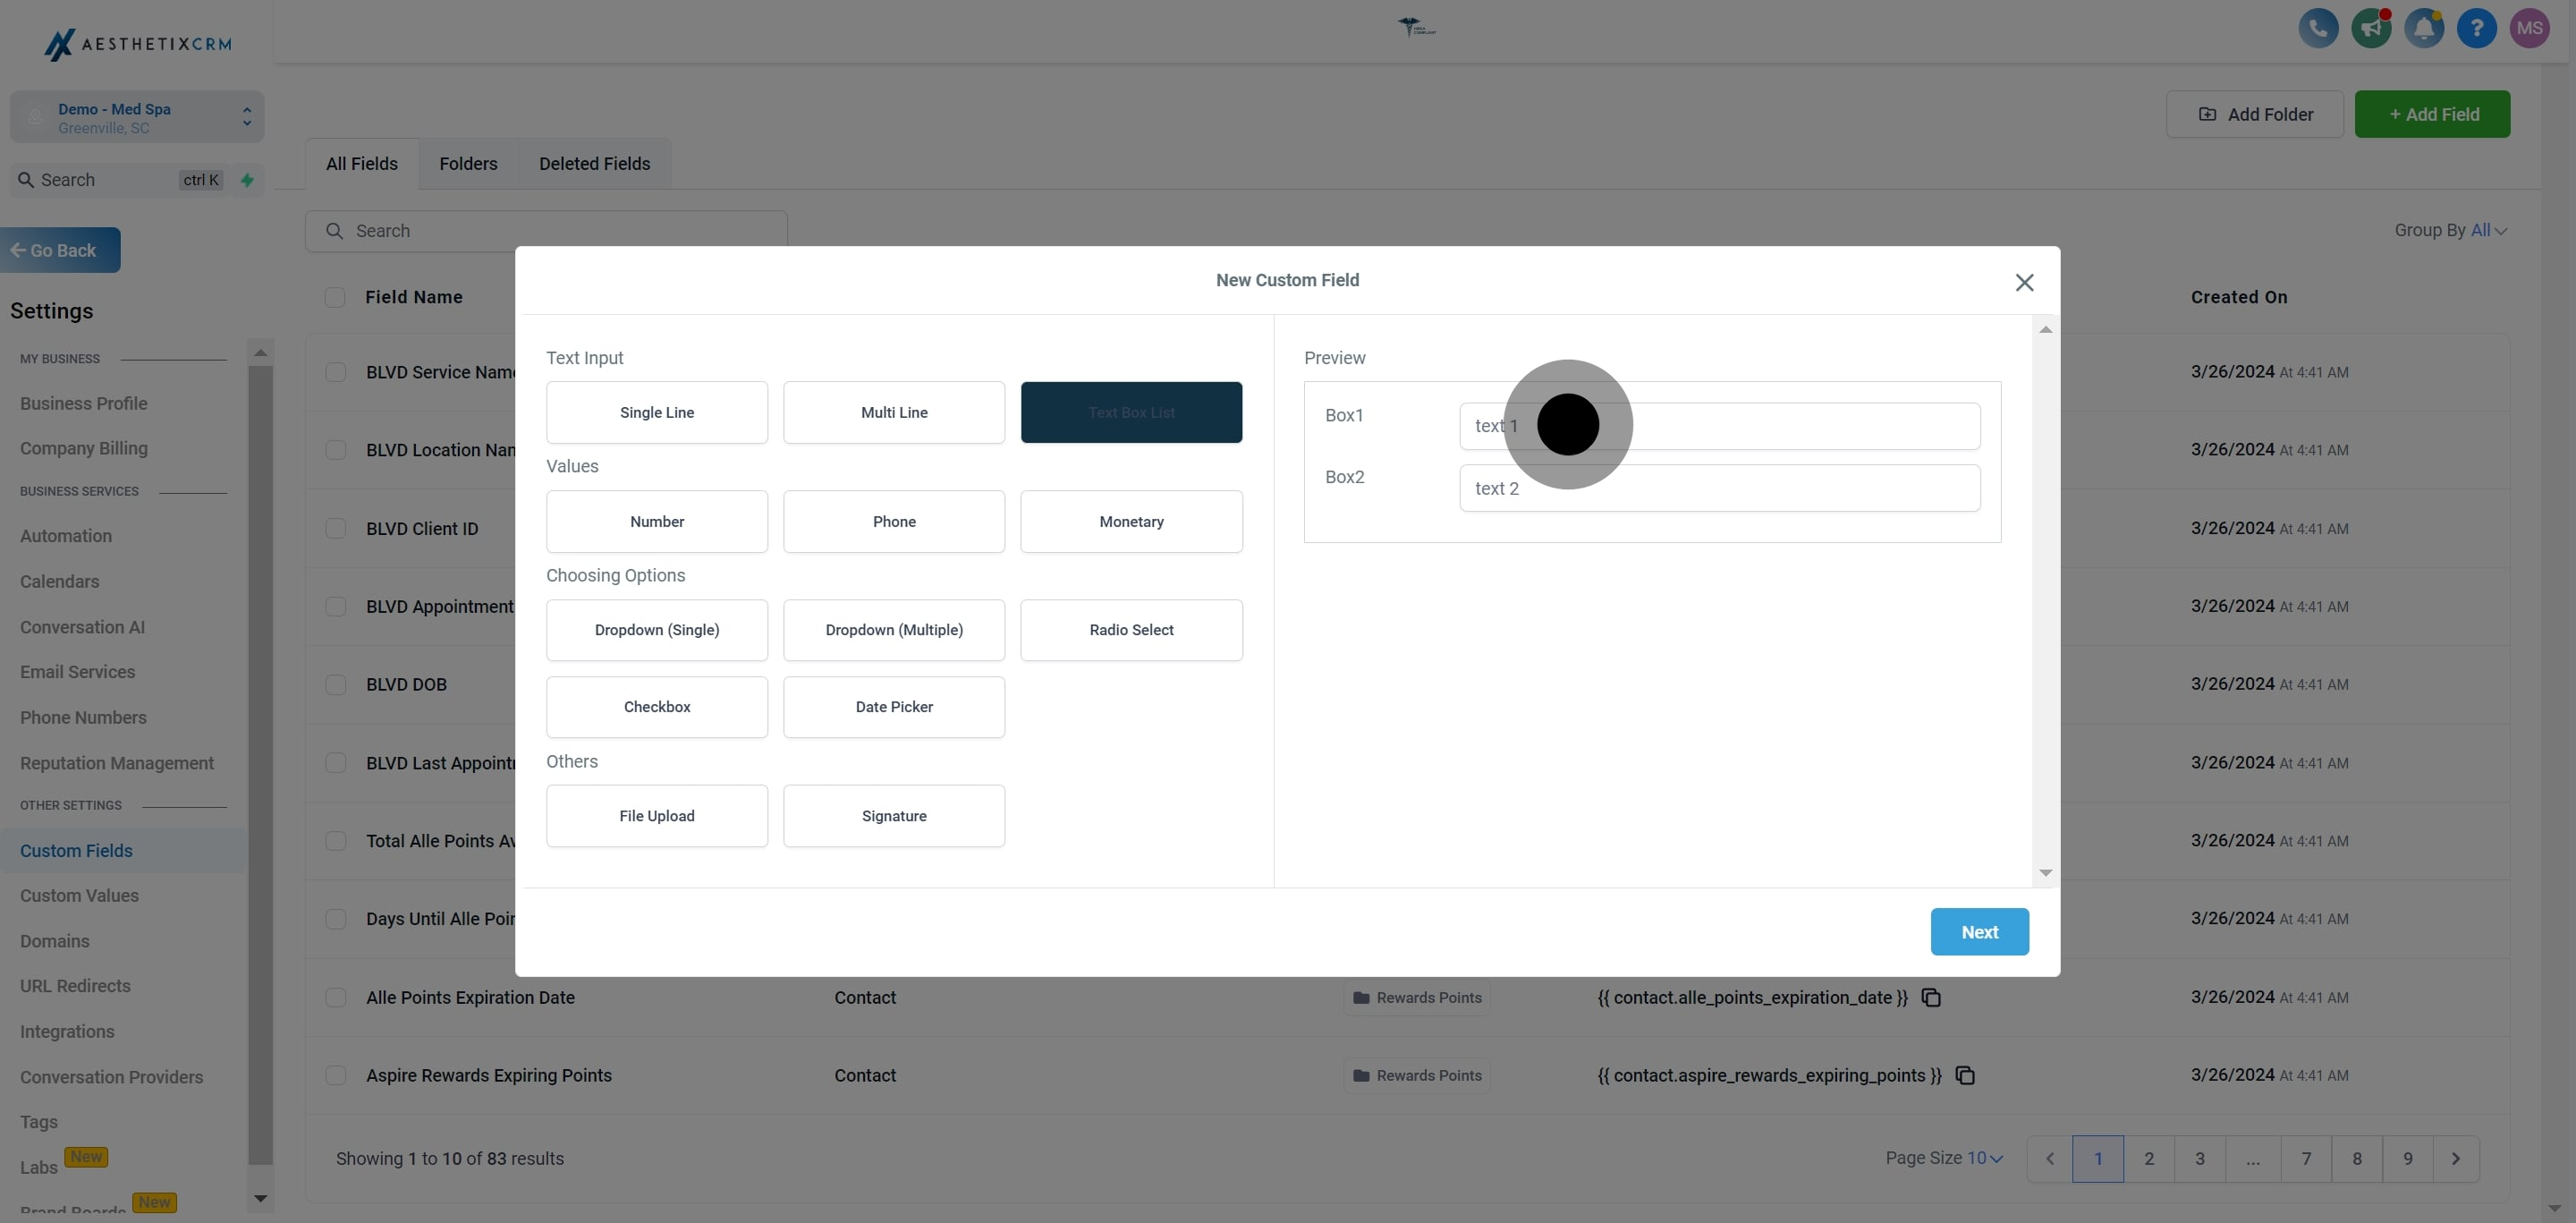
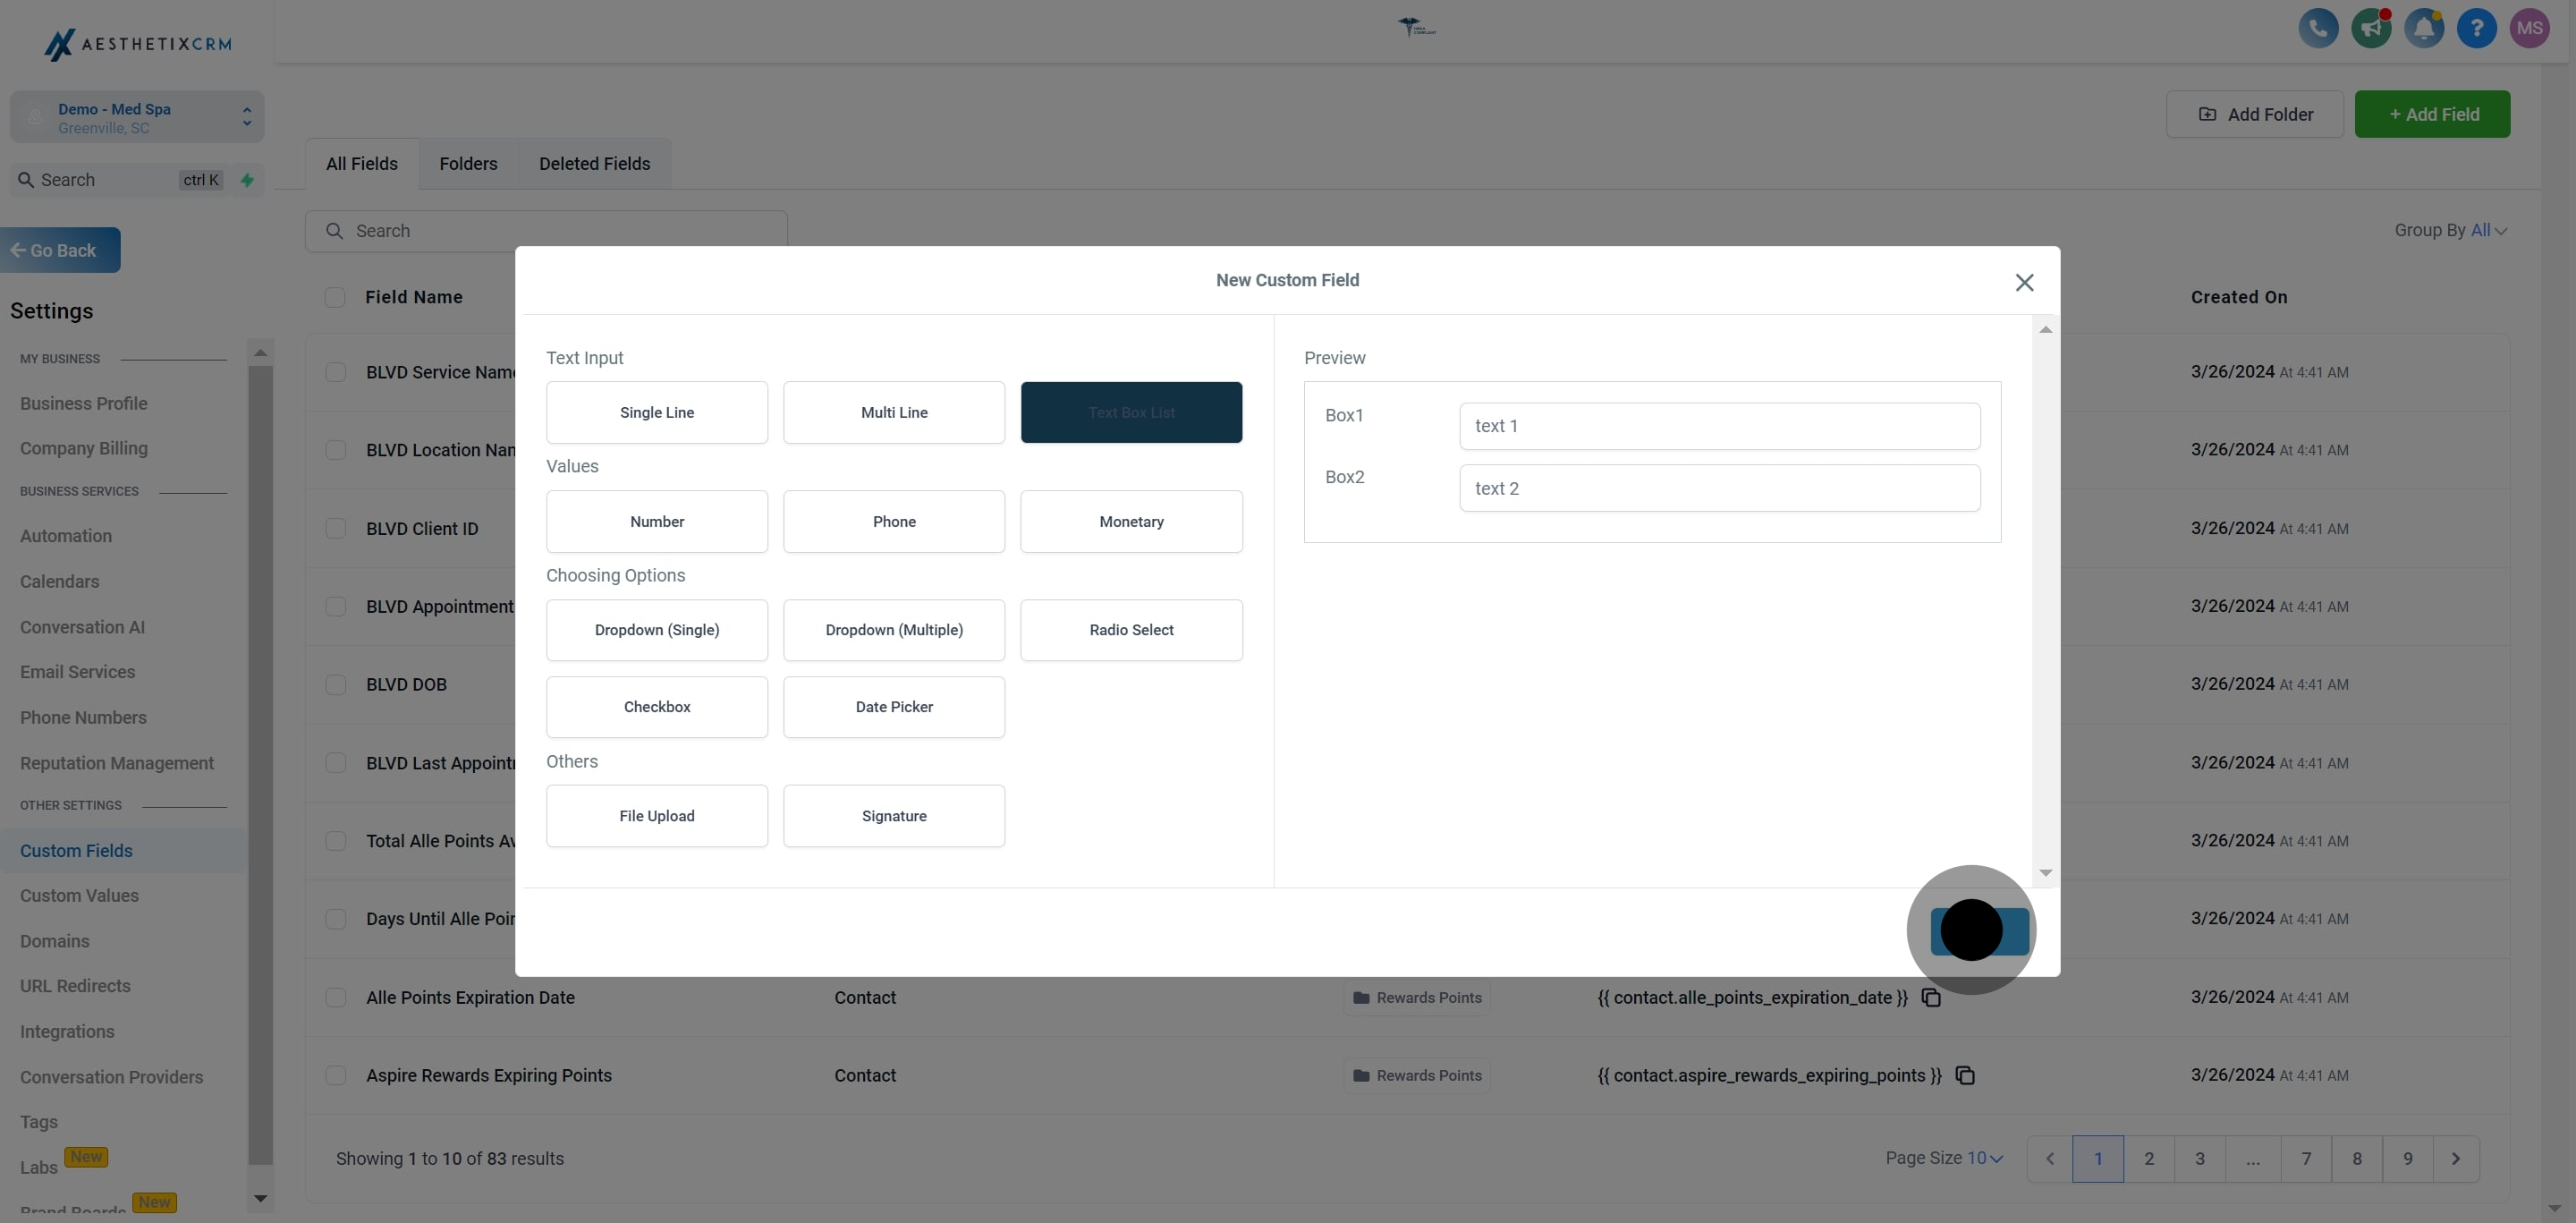
5. Review the preview section.
6. Click "Next" to proceed.
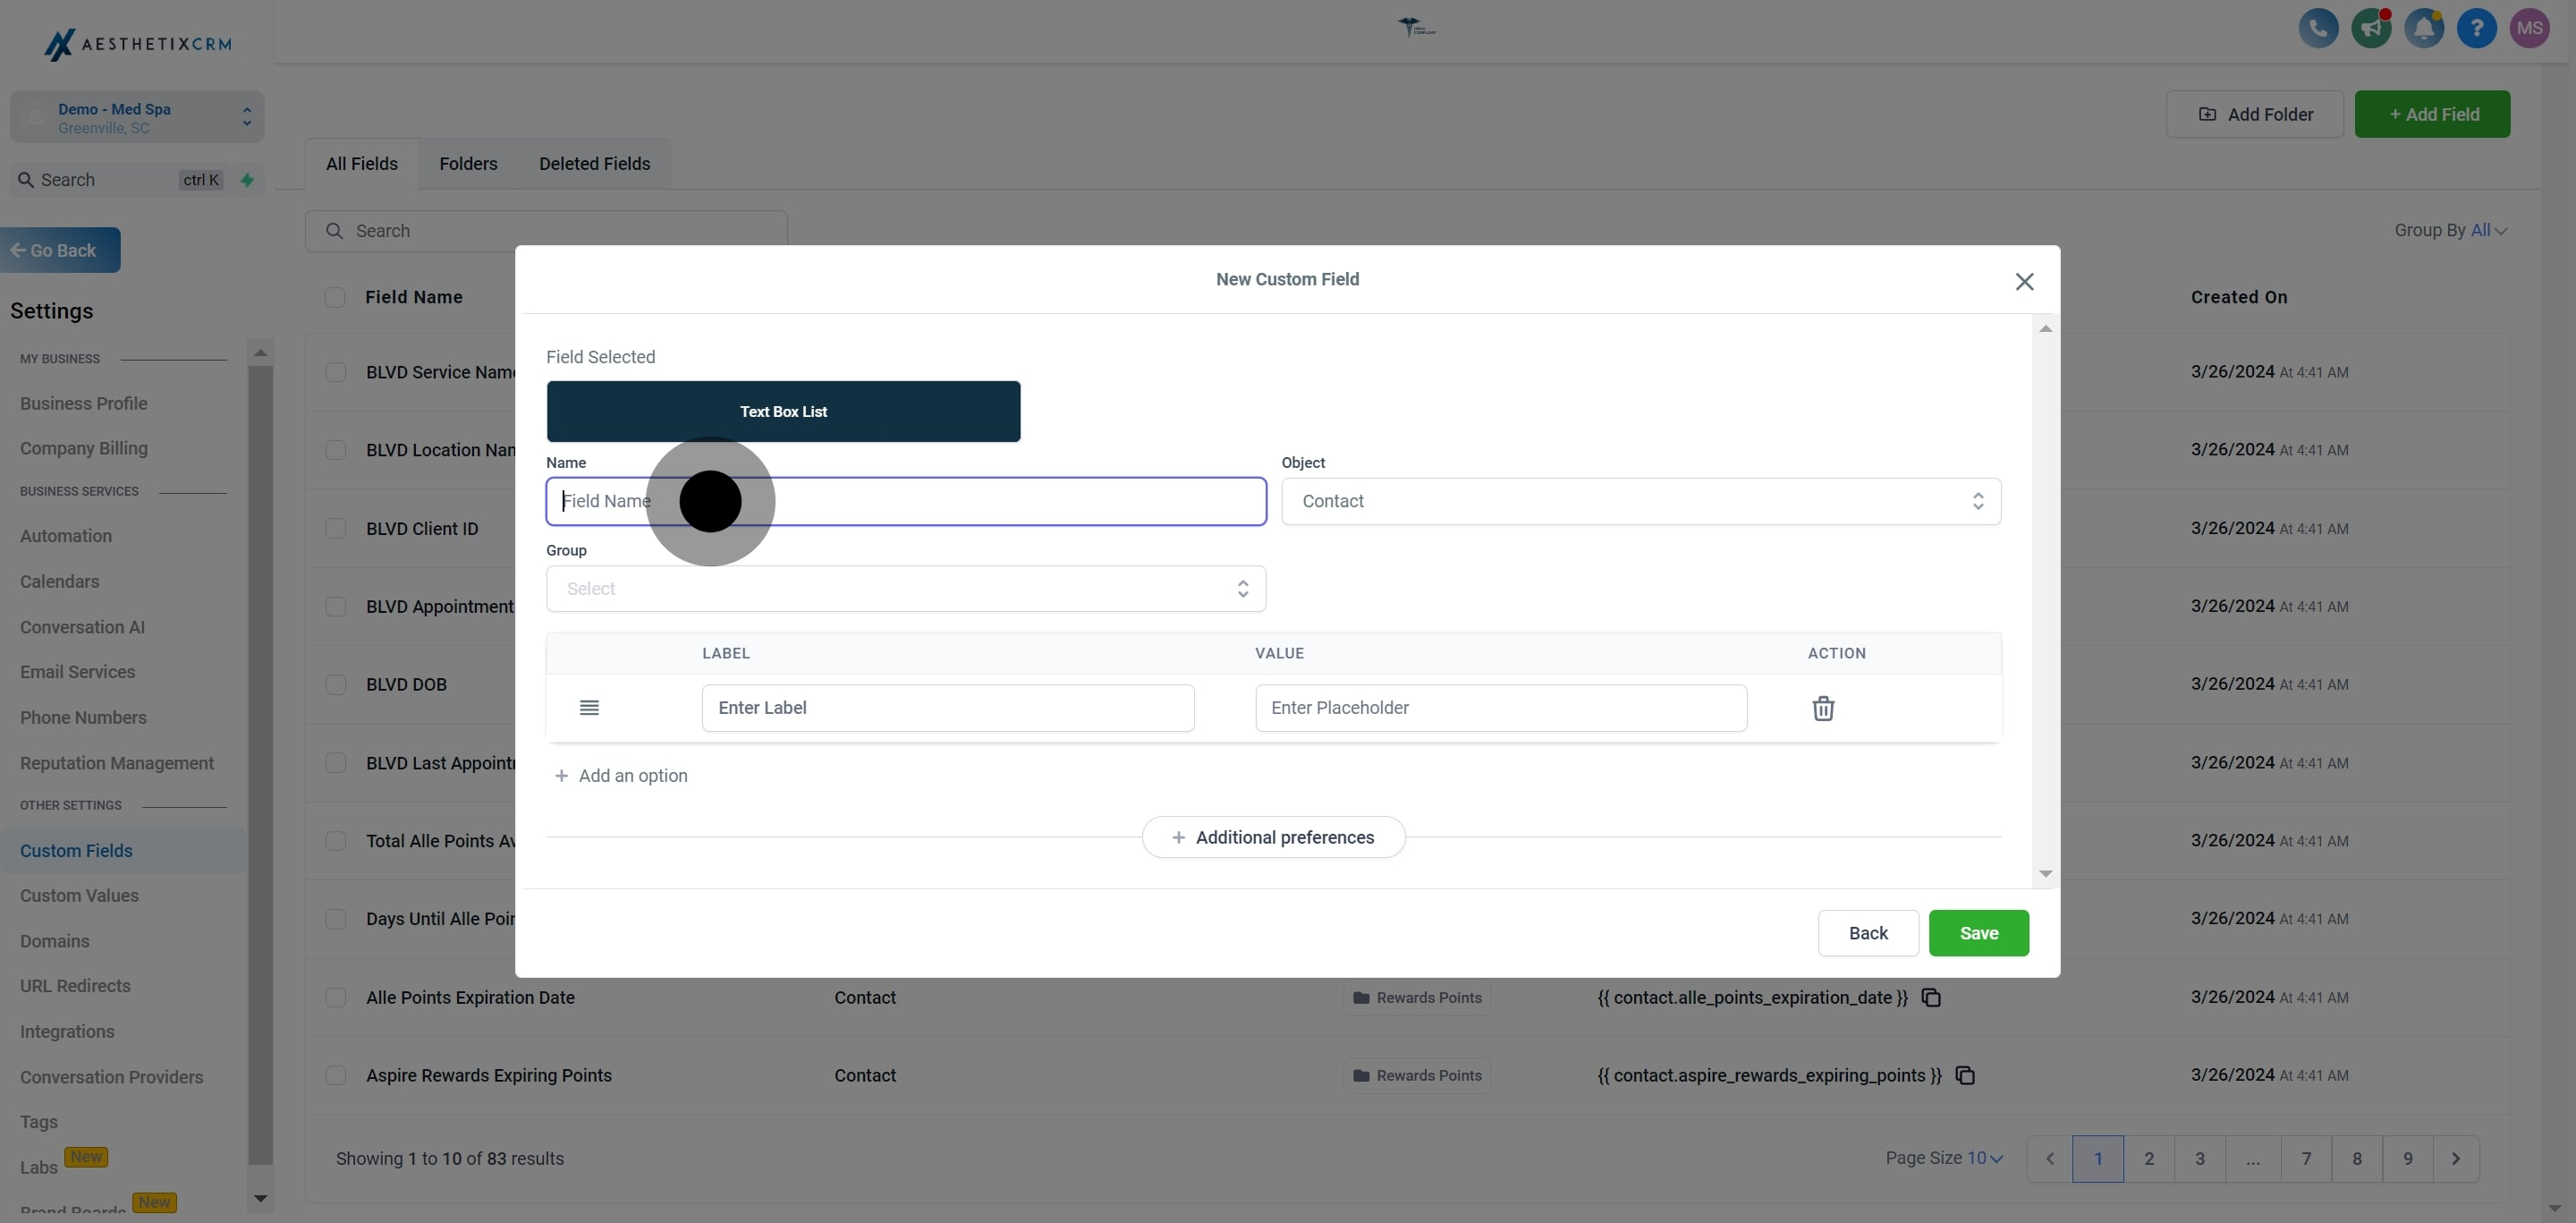
7. Enter a name in the "Field Name" section.
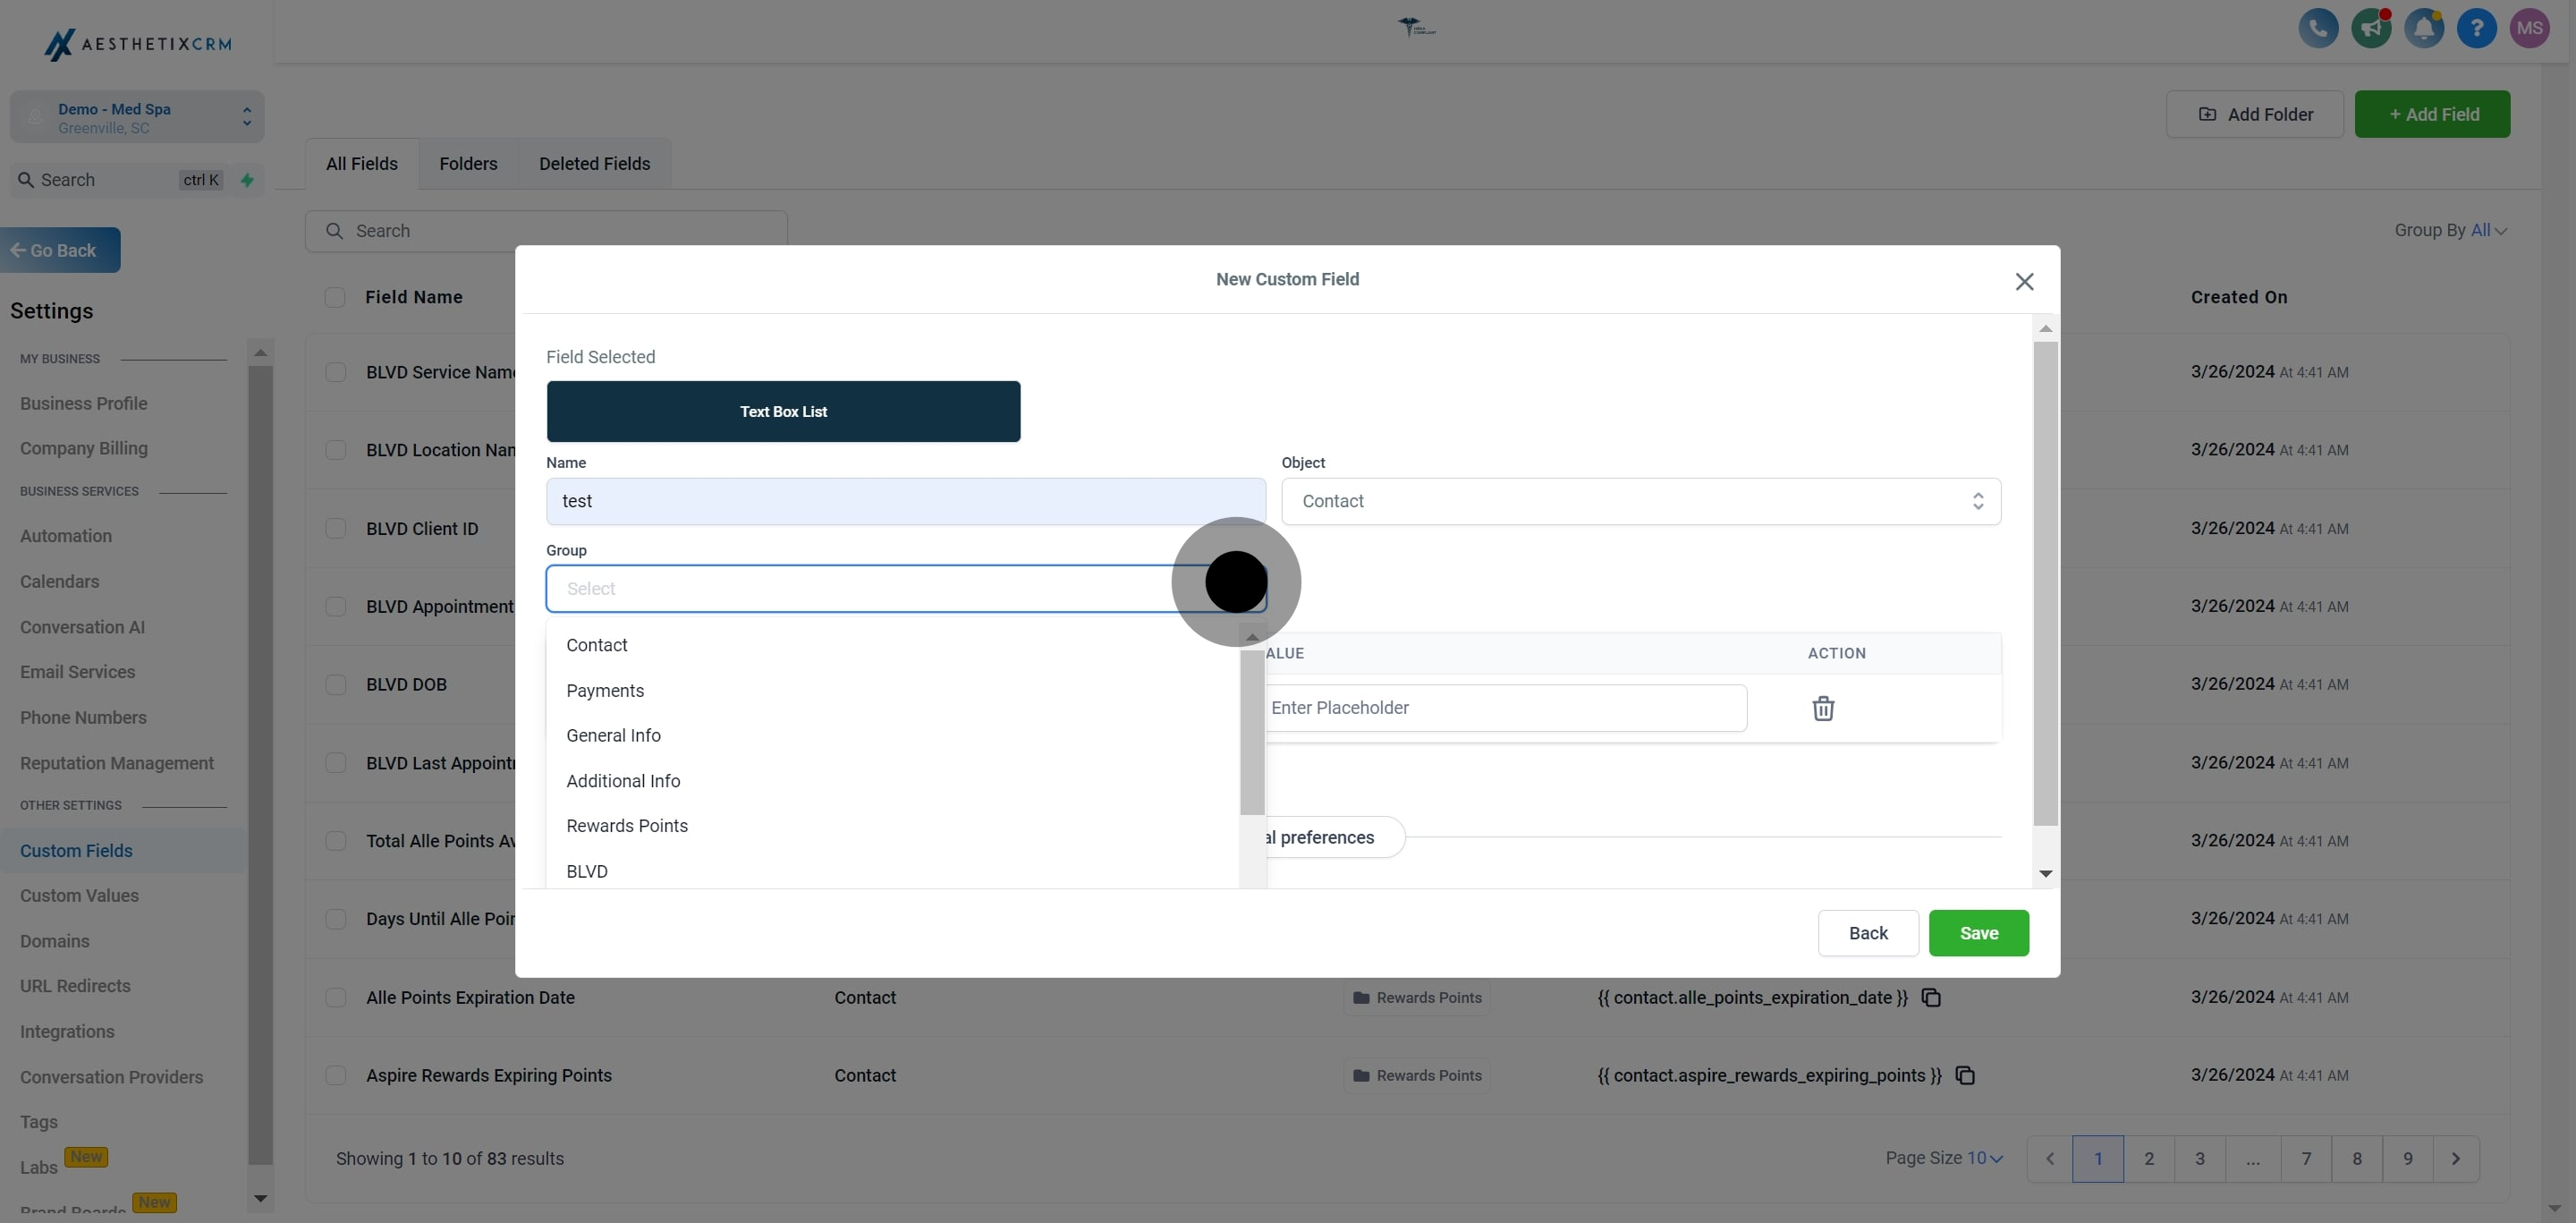
8. Use the drop-down menu to select a "Group."
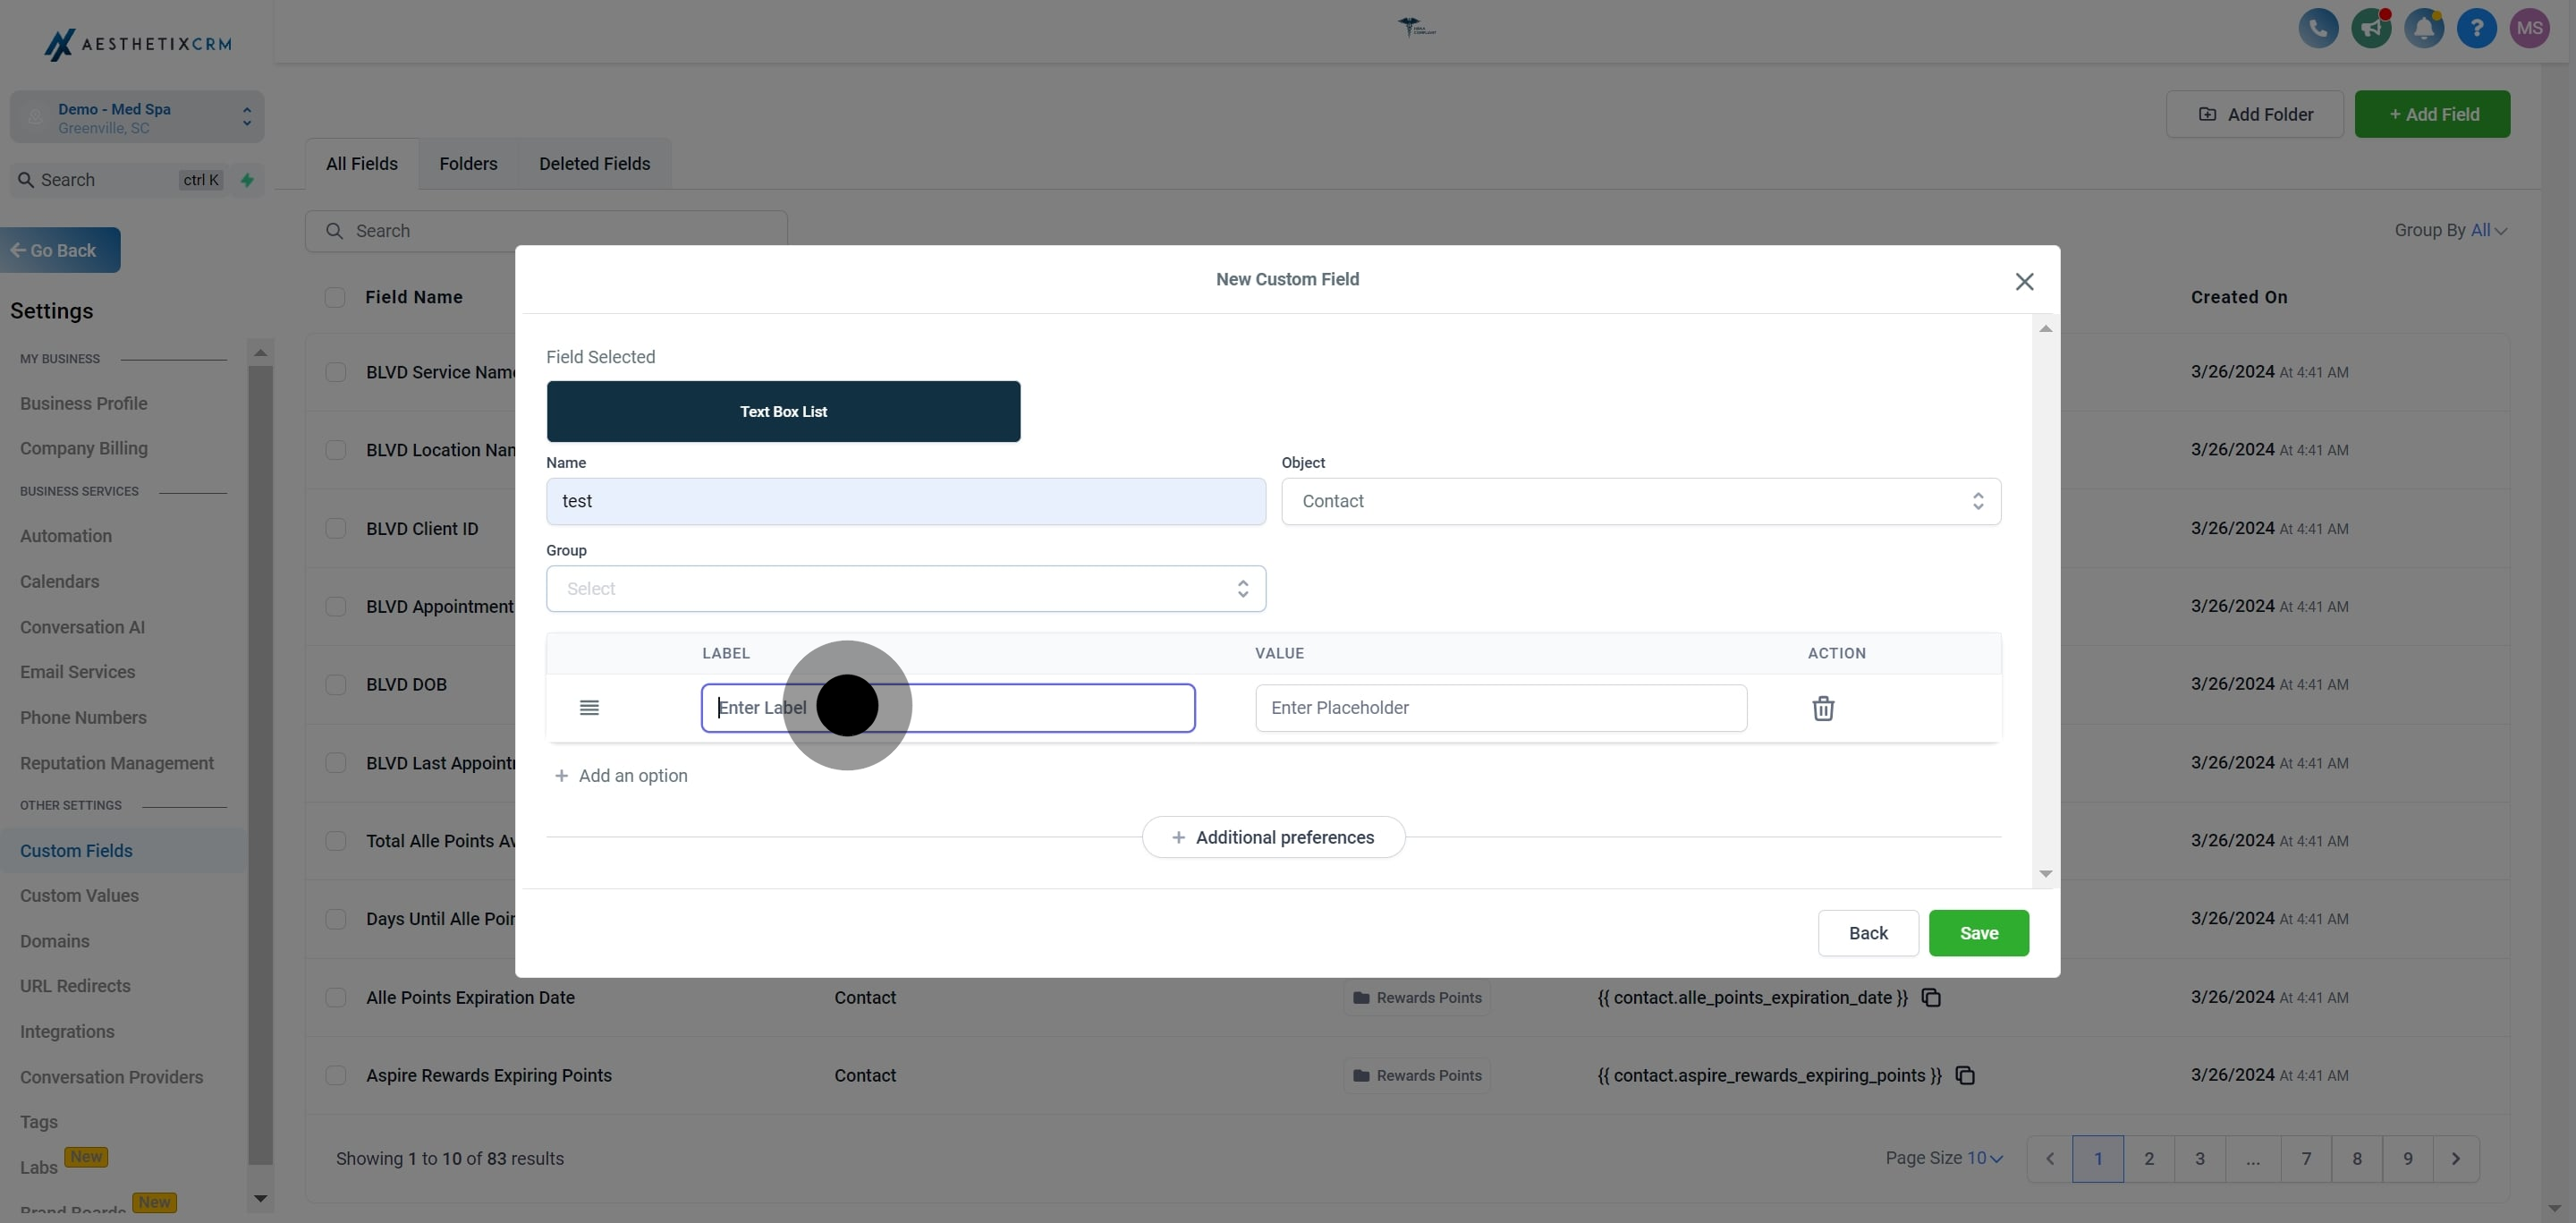
9. Enter label name.
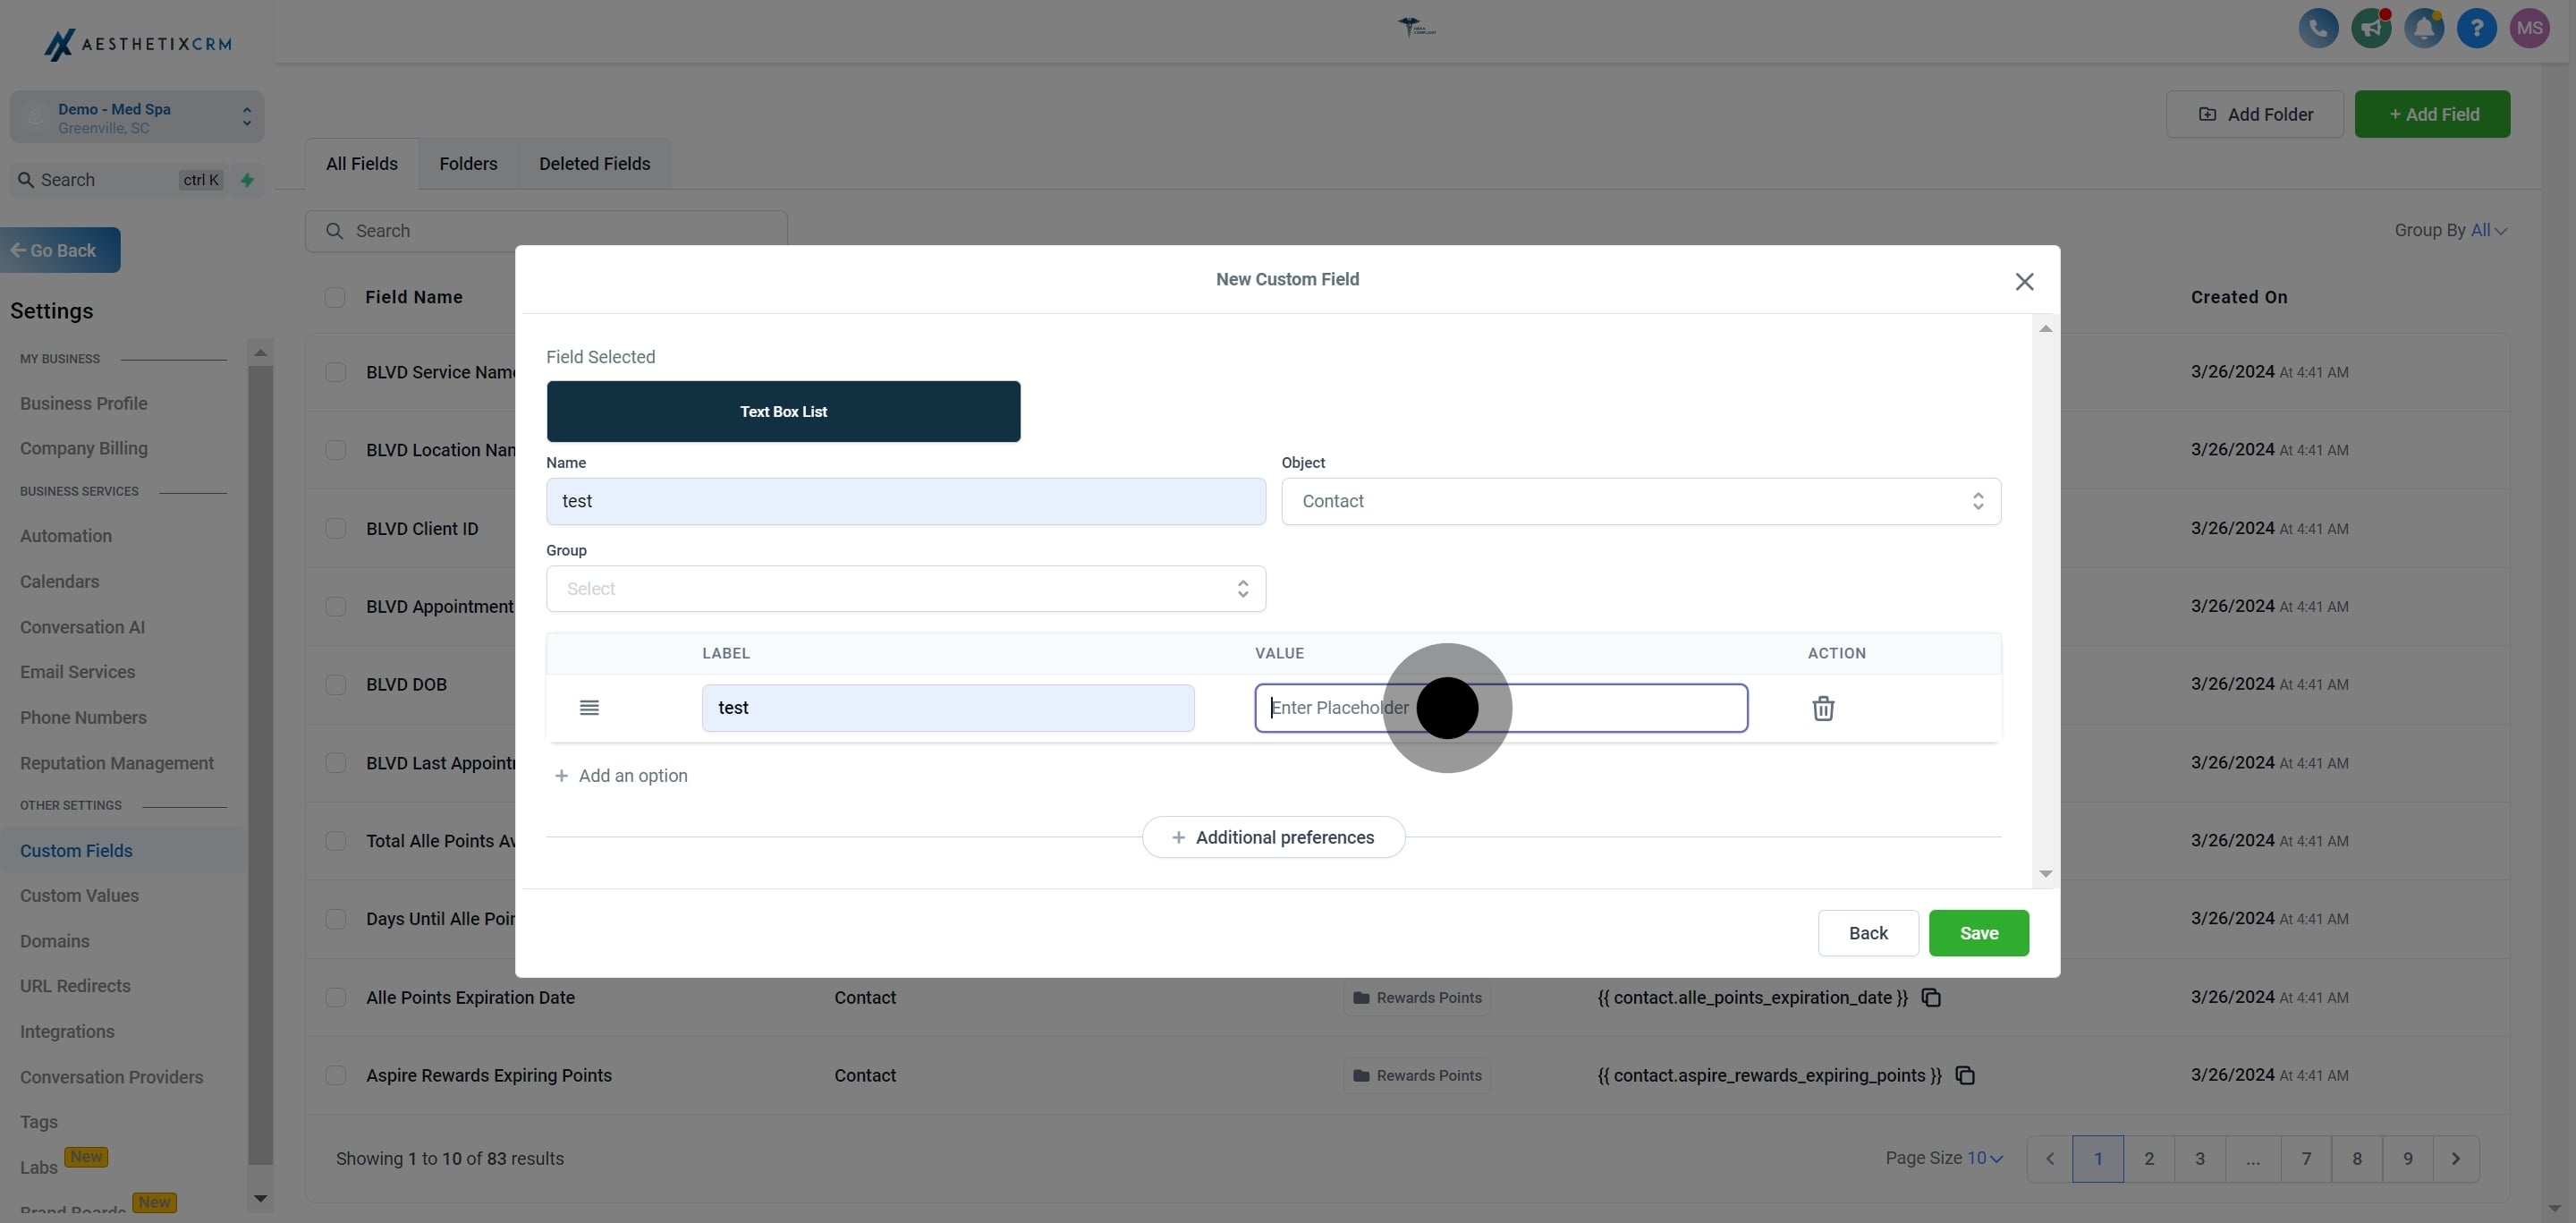
10. Then, enter placeholder.
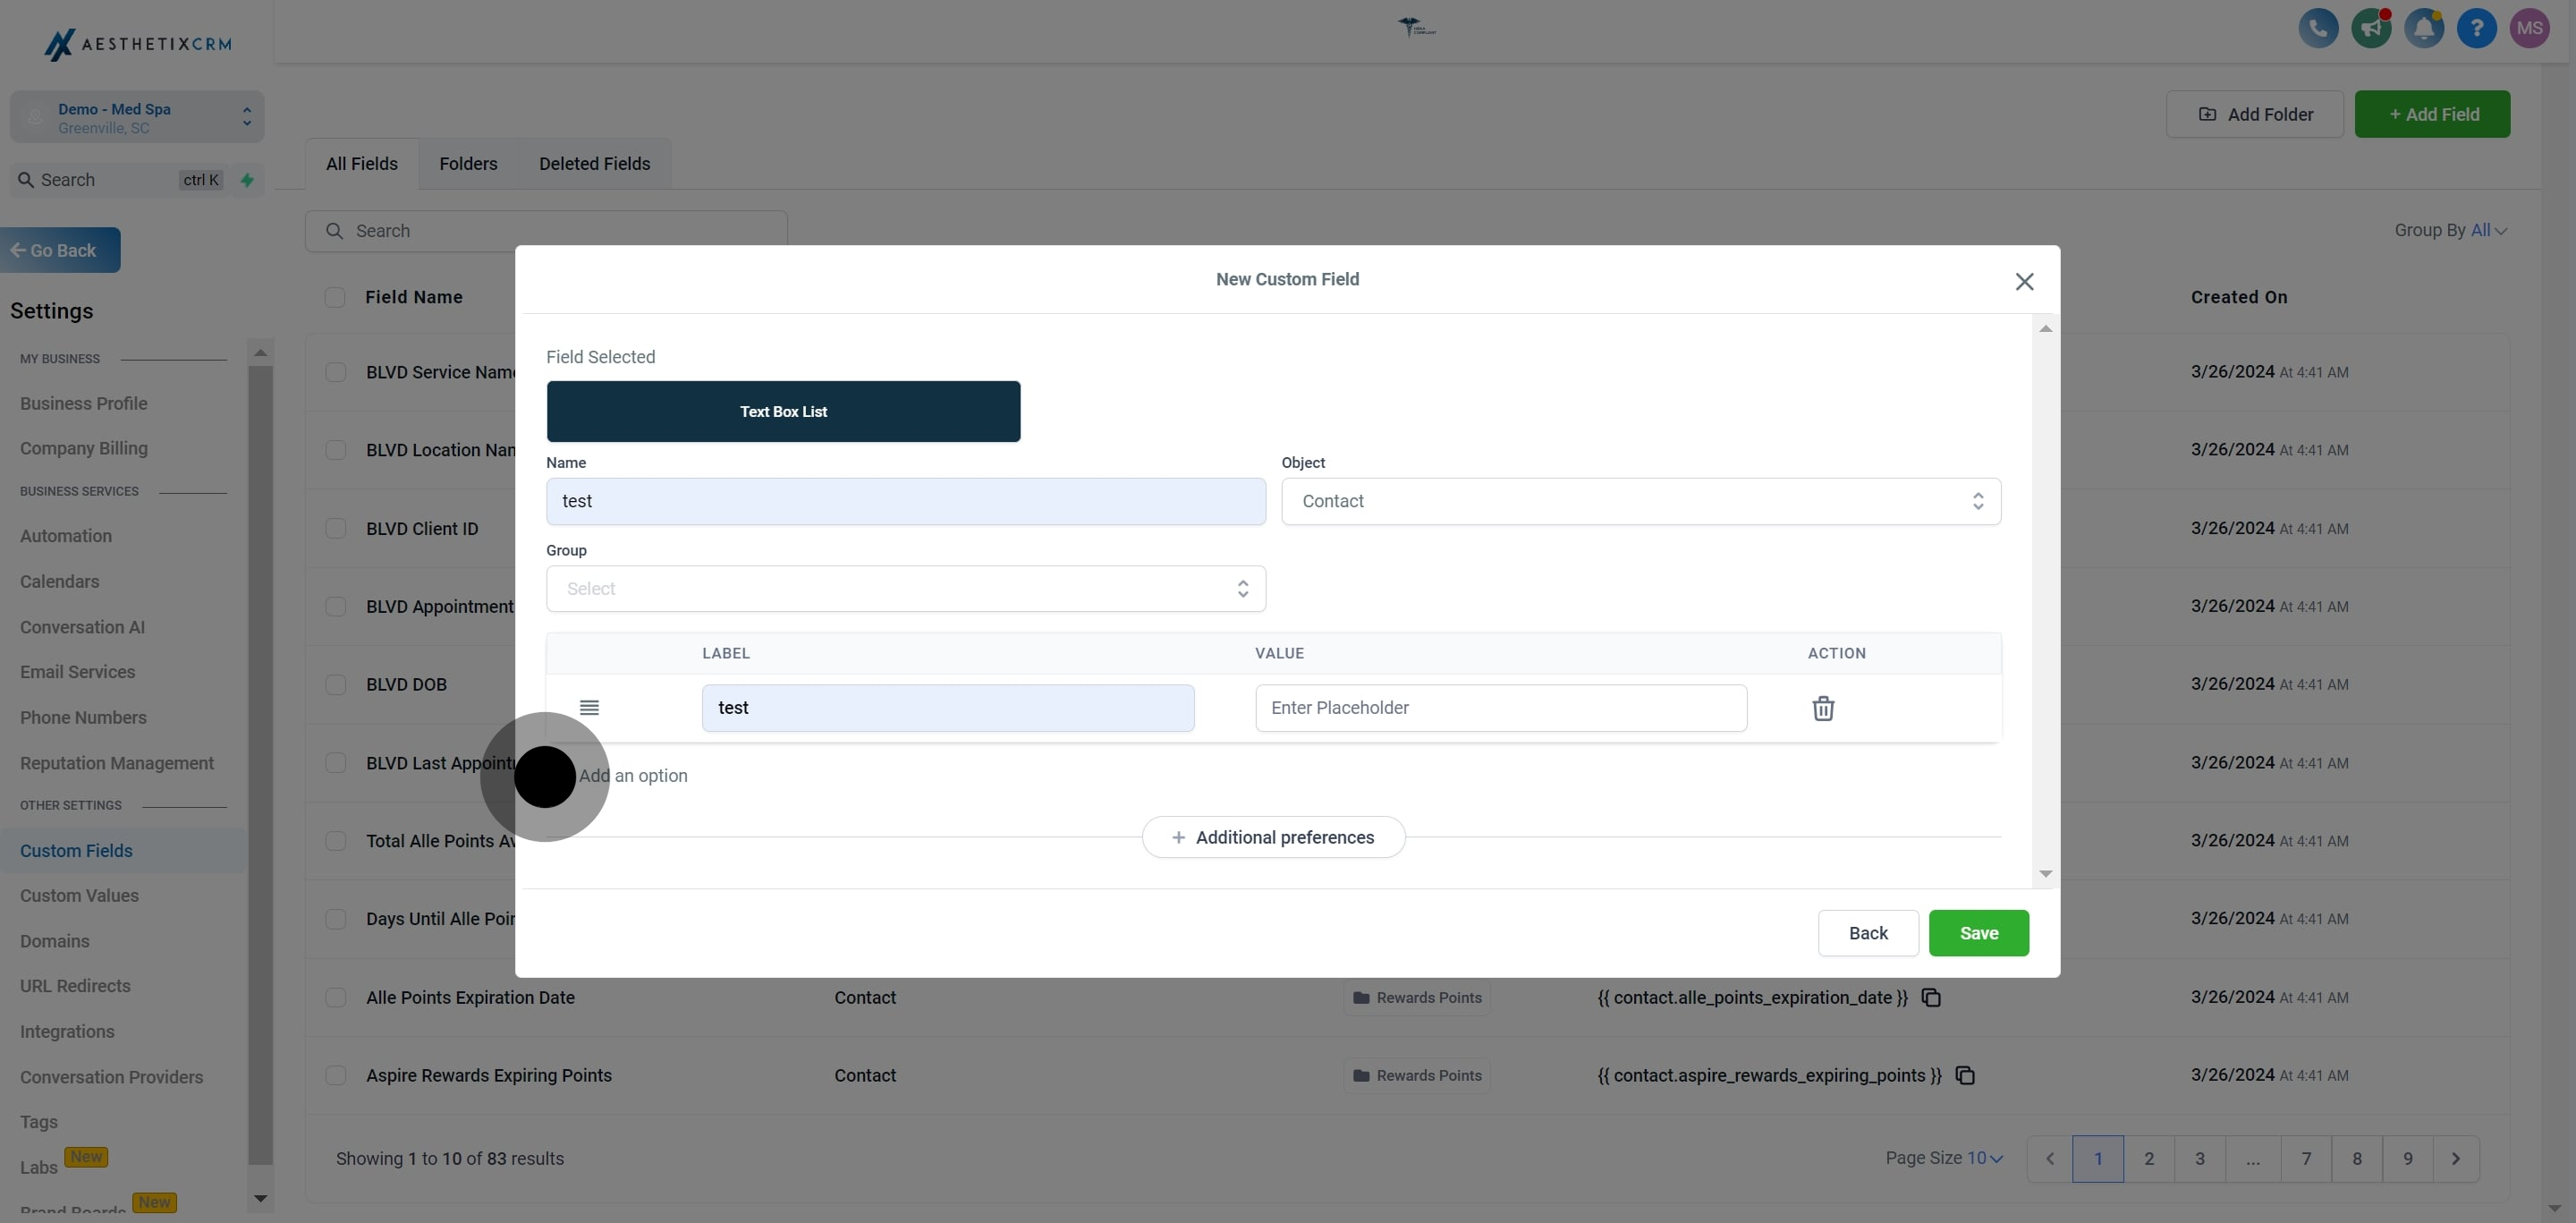
11. Next up, click on "Add an option".
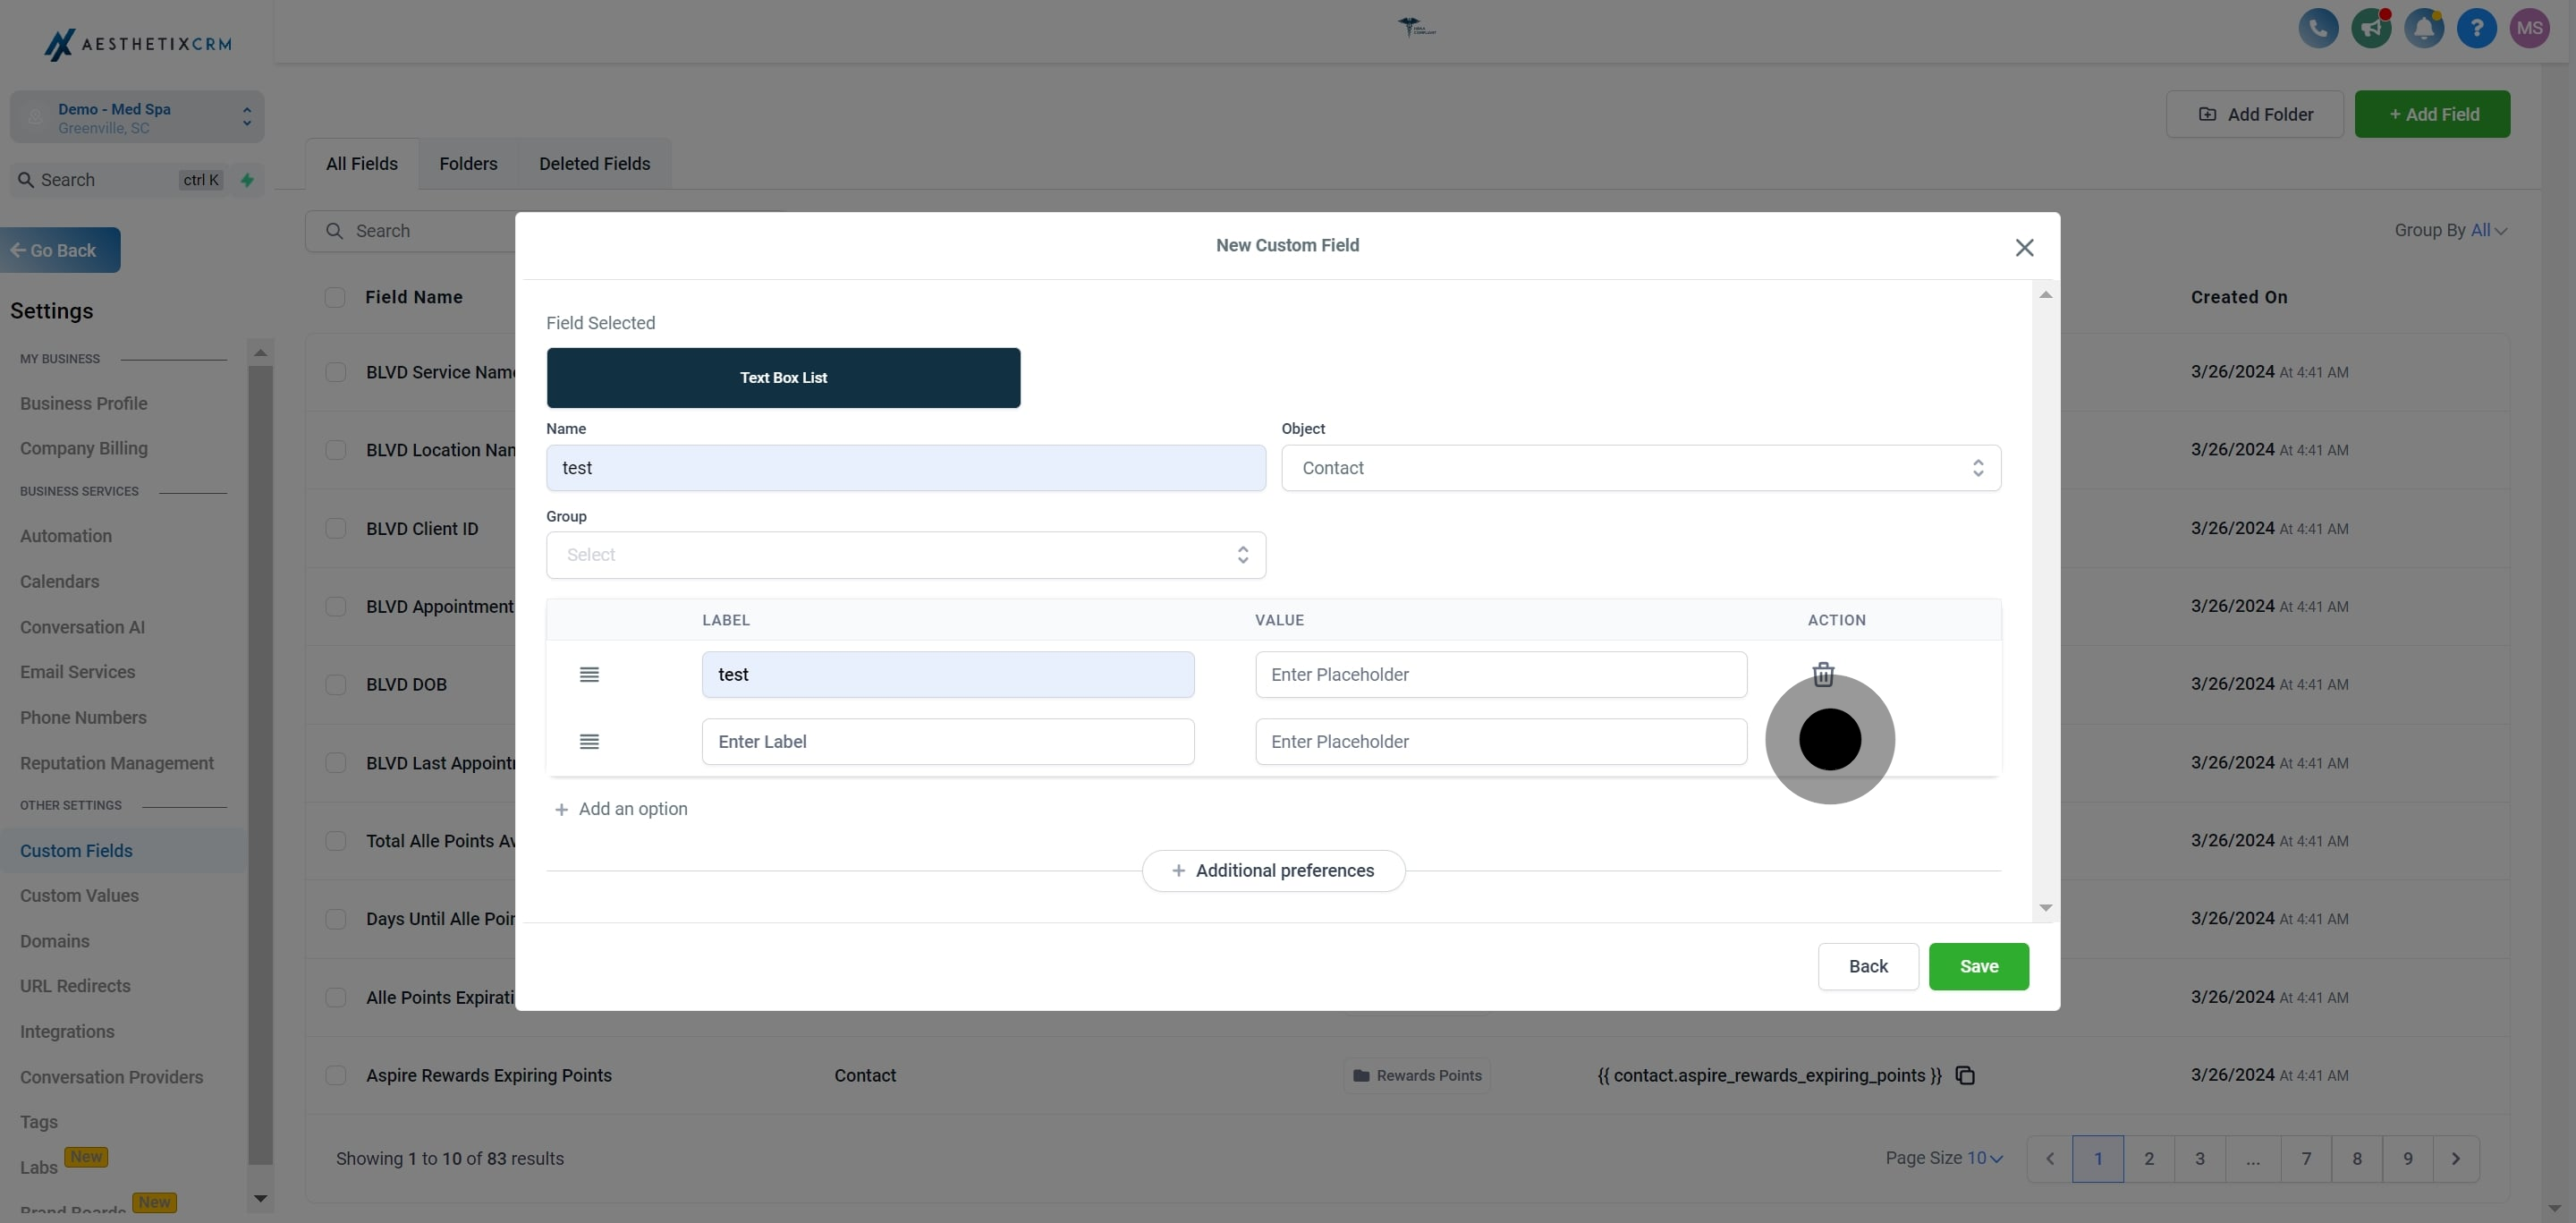
12. Next, you can remove the label just clicking the delete icon next to it.
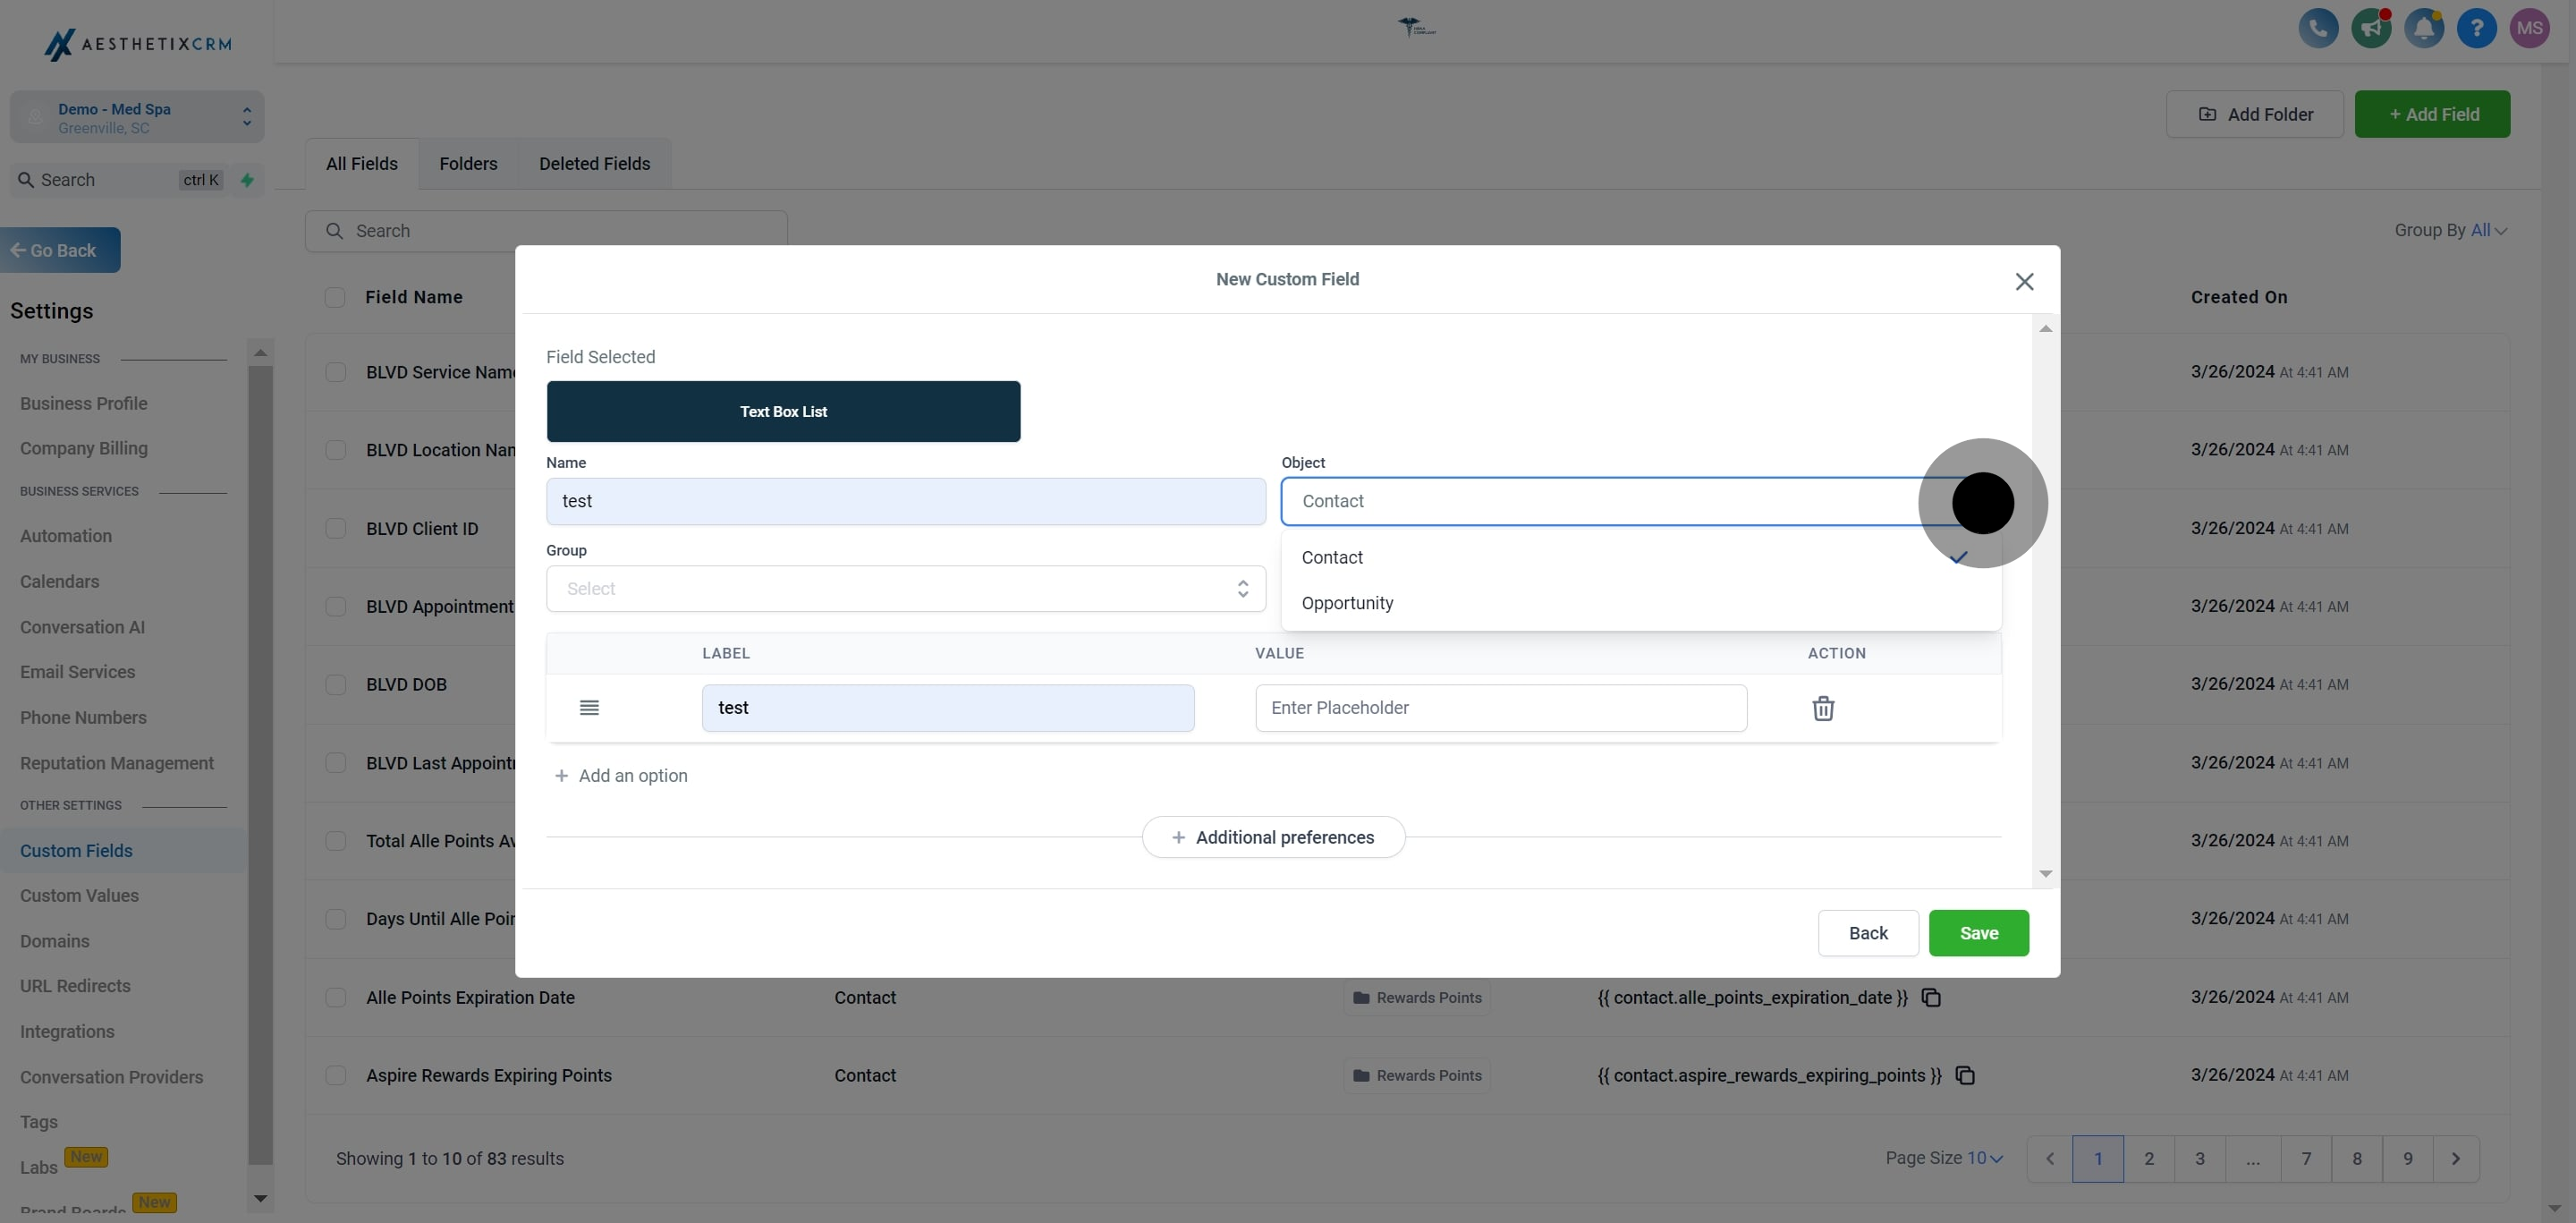
13. Another drop-down menu will appear for object selection.
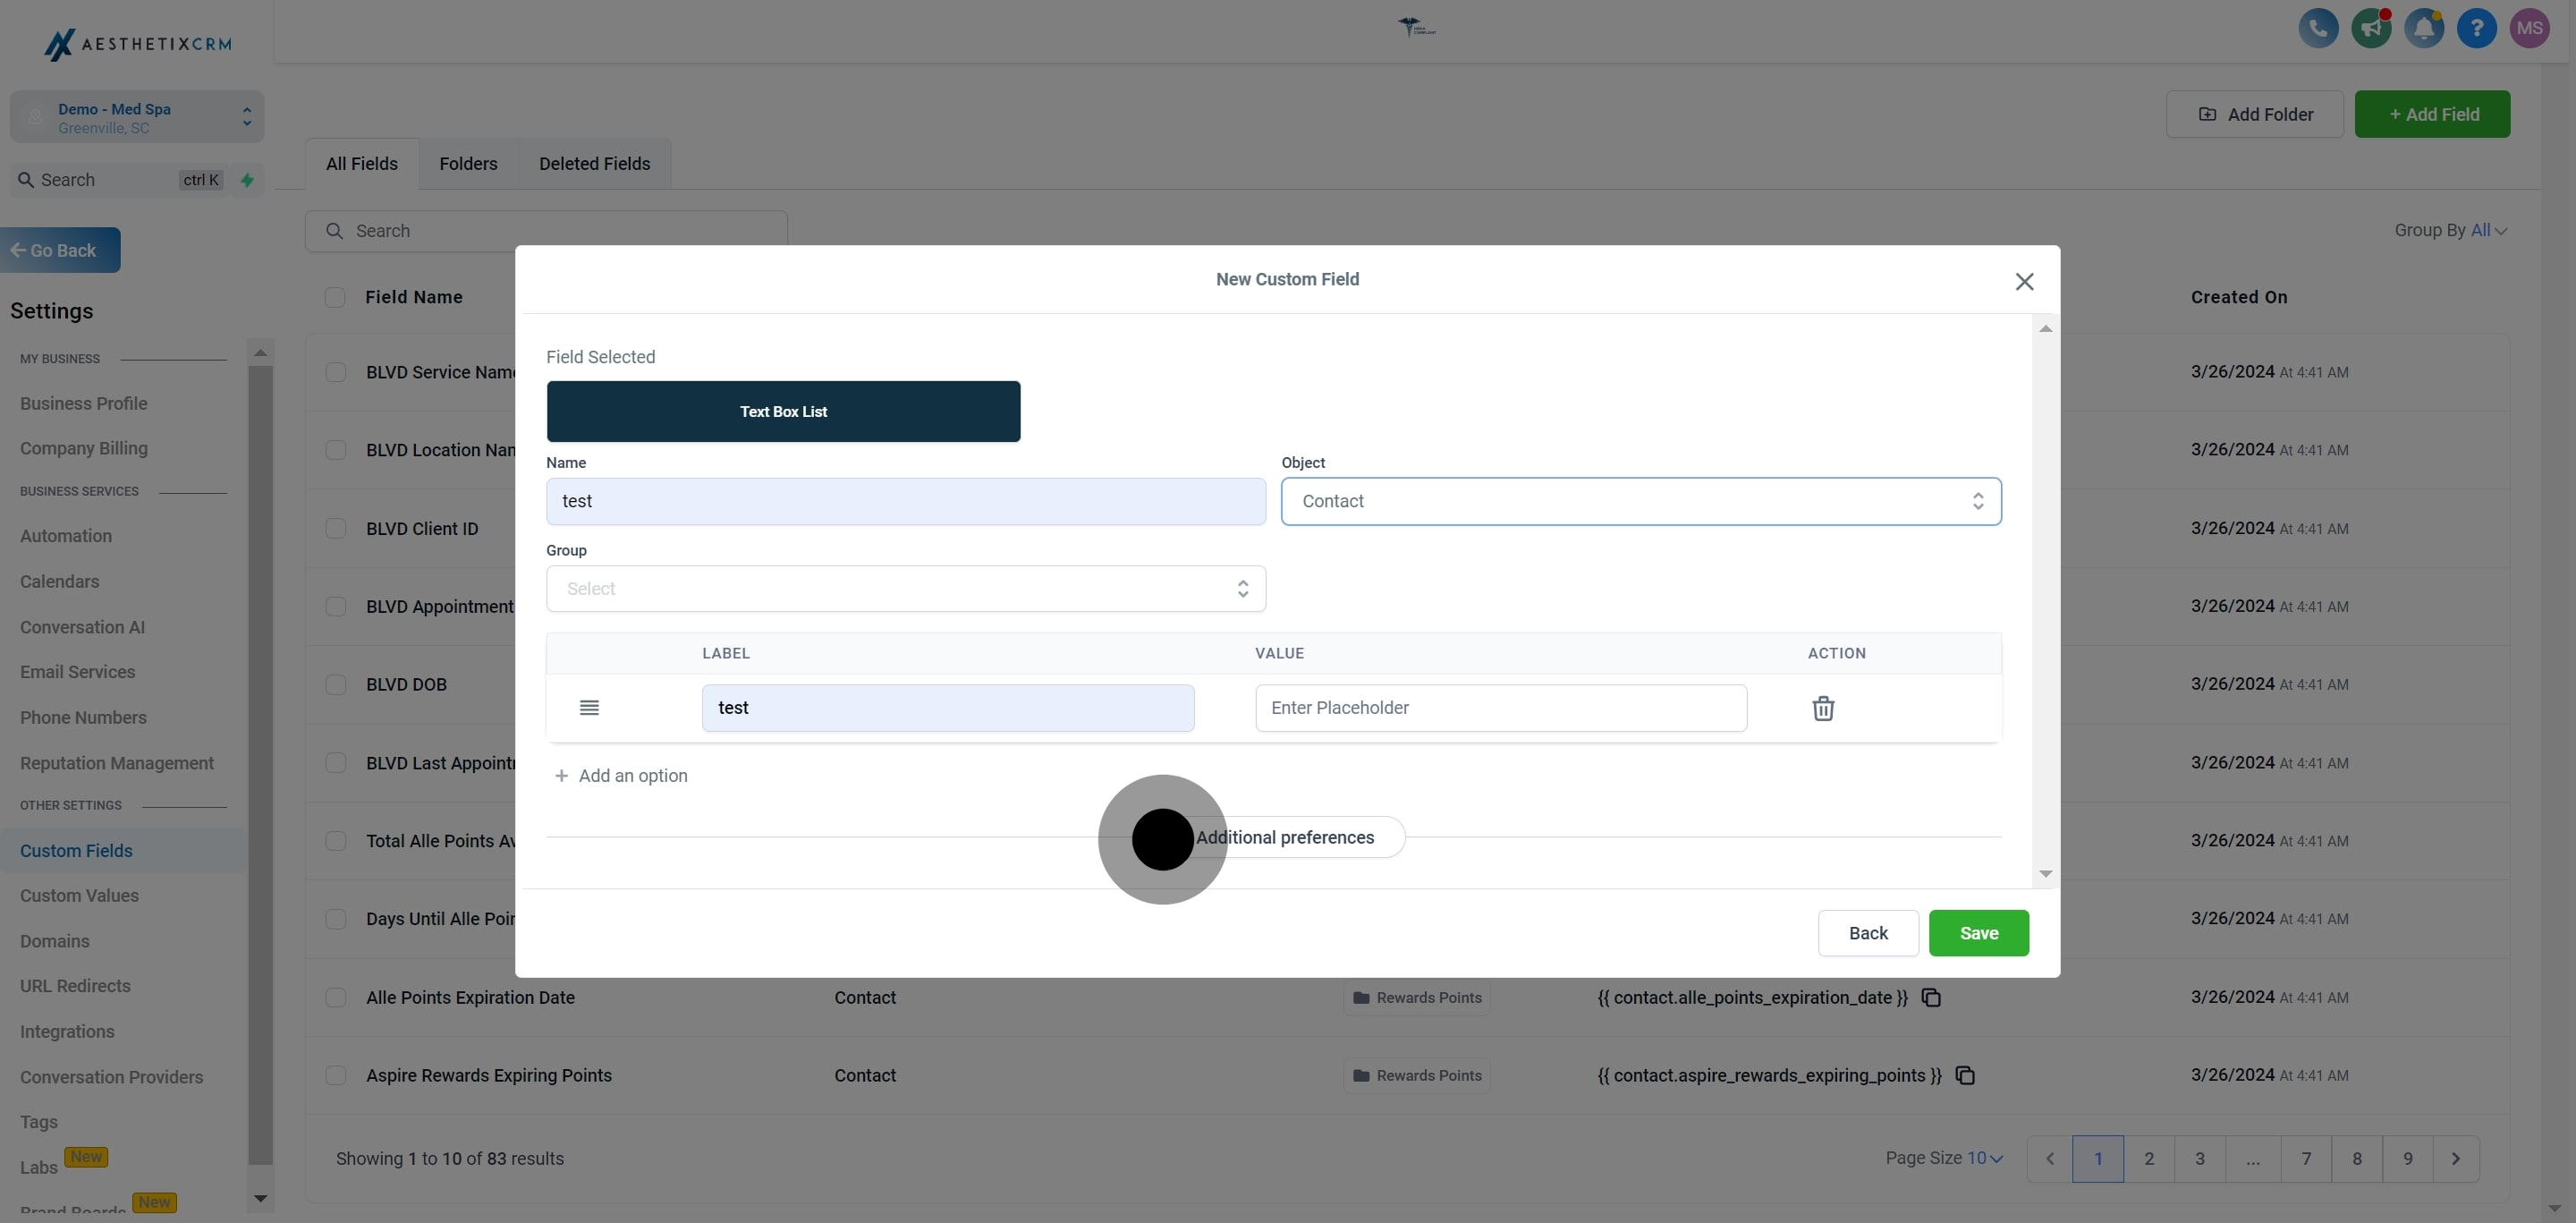
14. Click on "Additional Preferences" for further customization.
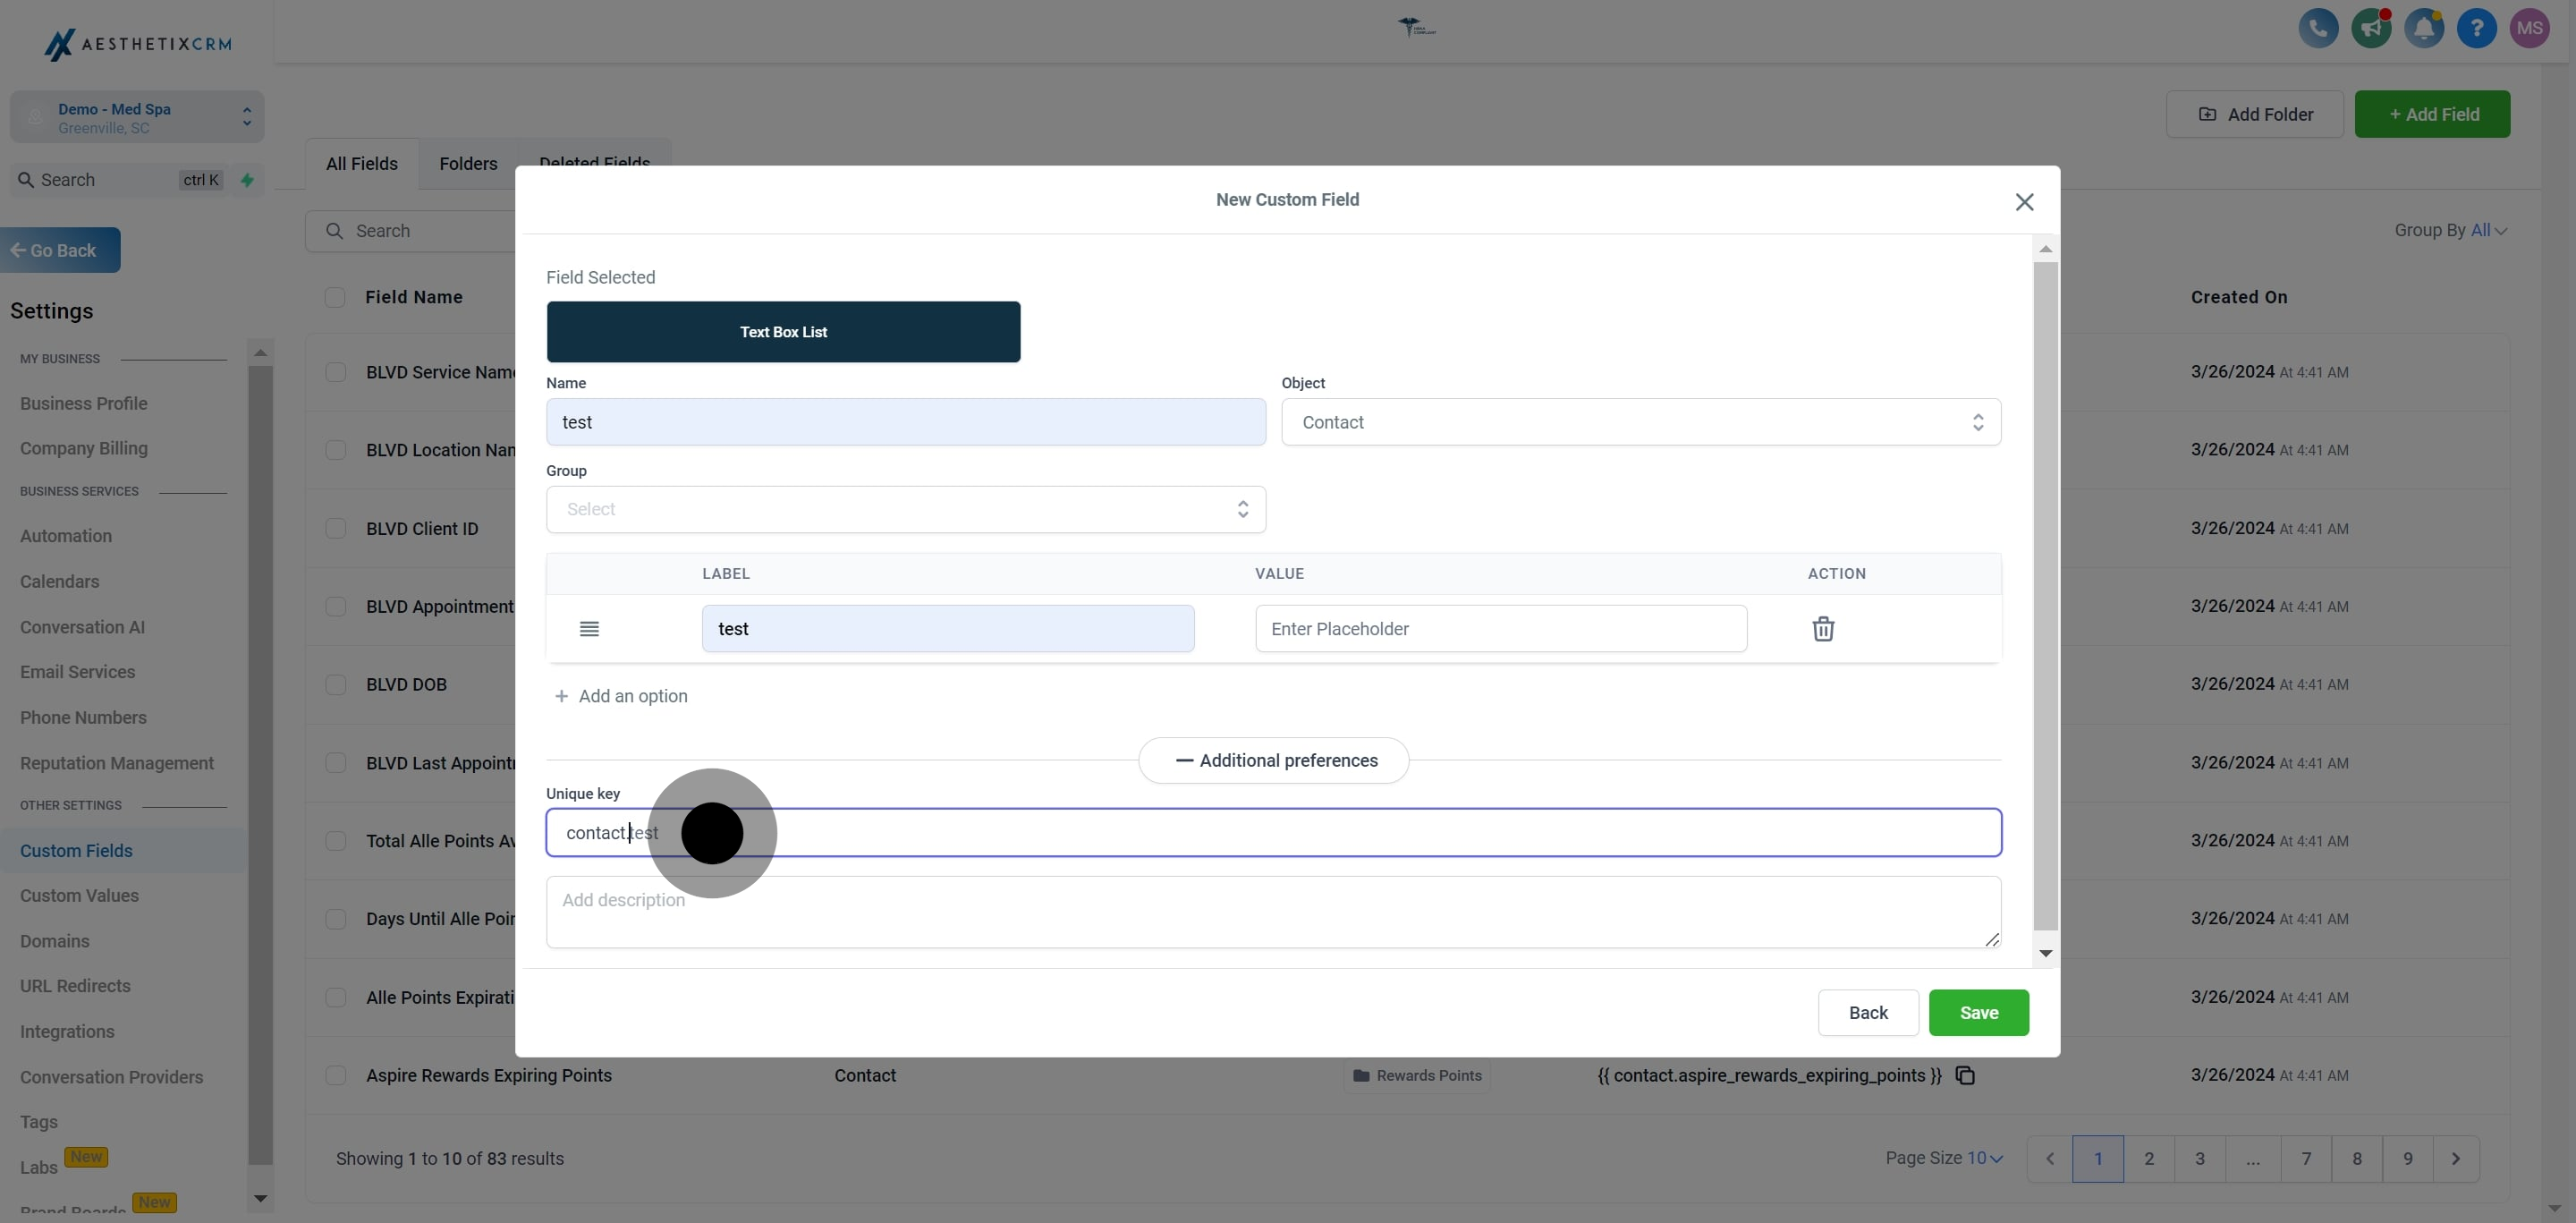
15. If you require a unique key, click to customize it.
16. Add description of the field.
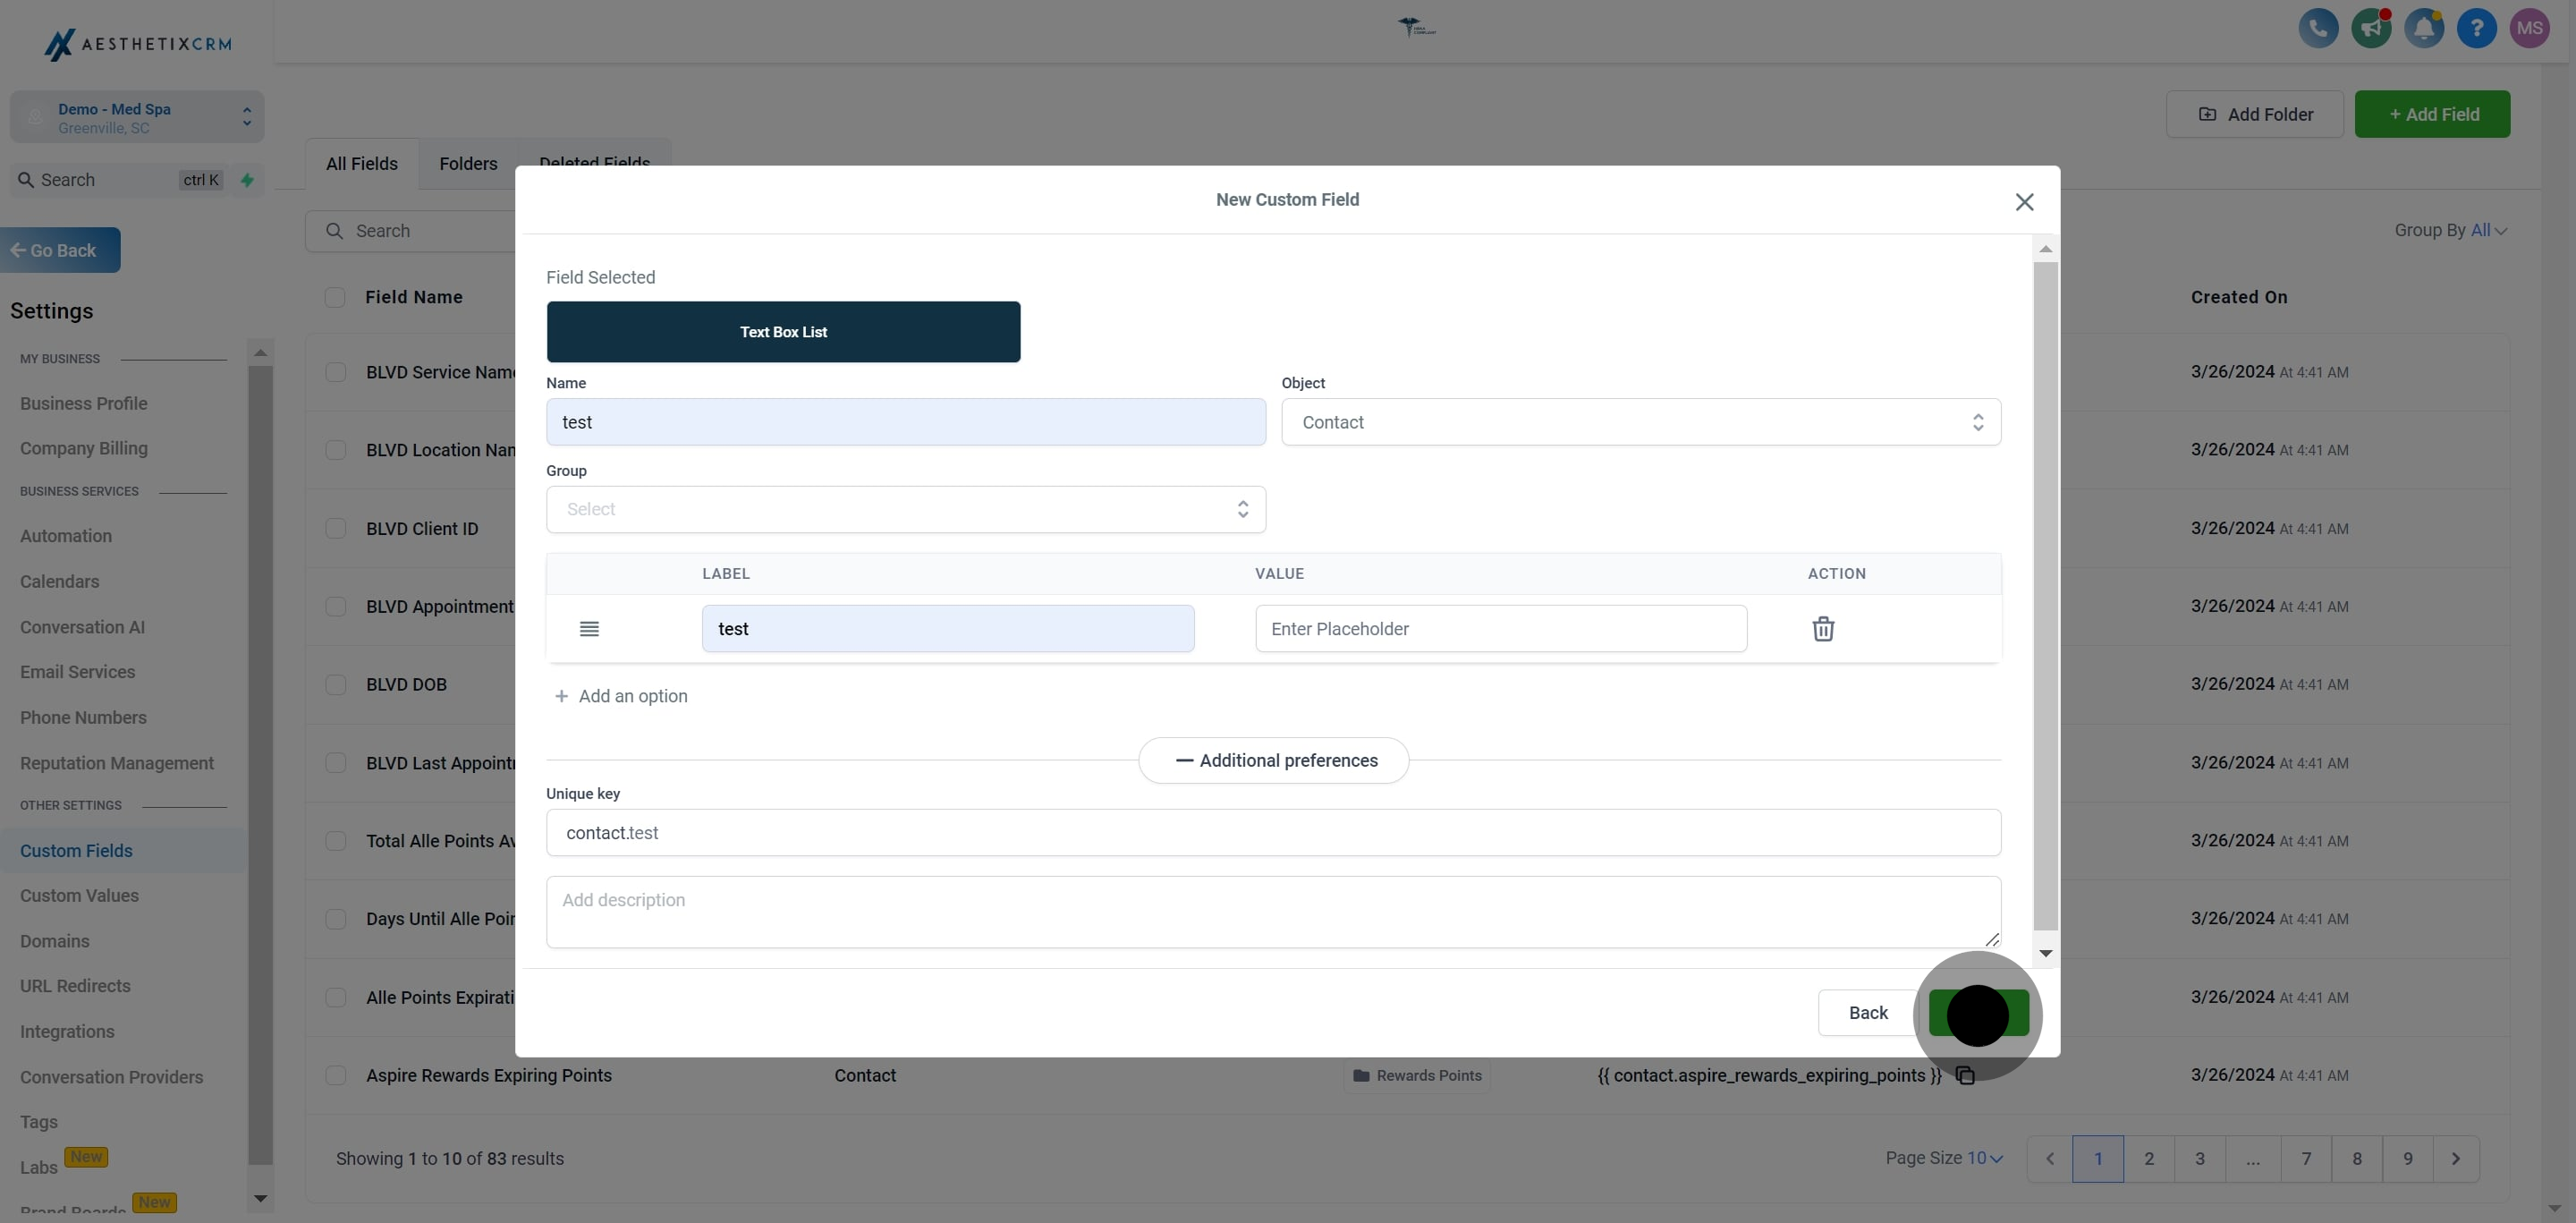
17. Finally, click on "Save".
Did this answer your question?
😞
😐
😁
Creating Text Box List Custom Fields | Aesthetix CRM