Enhance your data management capabilities in Aesthetix by mastering the creation of number custom fields. This article provides a comprehensive, step-by-step tutorial on setting up custom fields for numeric values, whether for tracking quantities, numerical ratings, or any other data type that requires precision. Learn how to ensure correct formatting, apply validation rules, and integrate these fields seamlessly into your existing workflows. With practical examples and expert tips, this guide is ideal for users looking to optimize their Aesthetix platform and ensure accurate data collection and analysis using number custom fields.
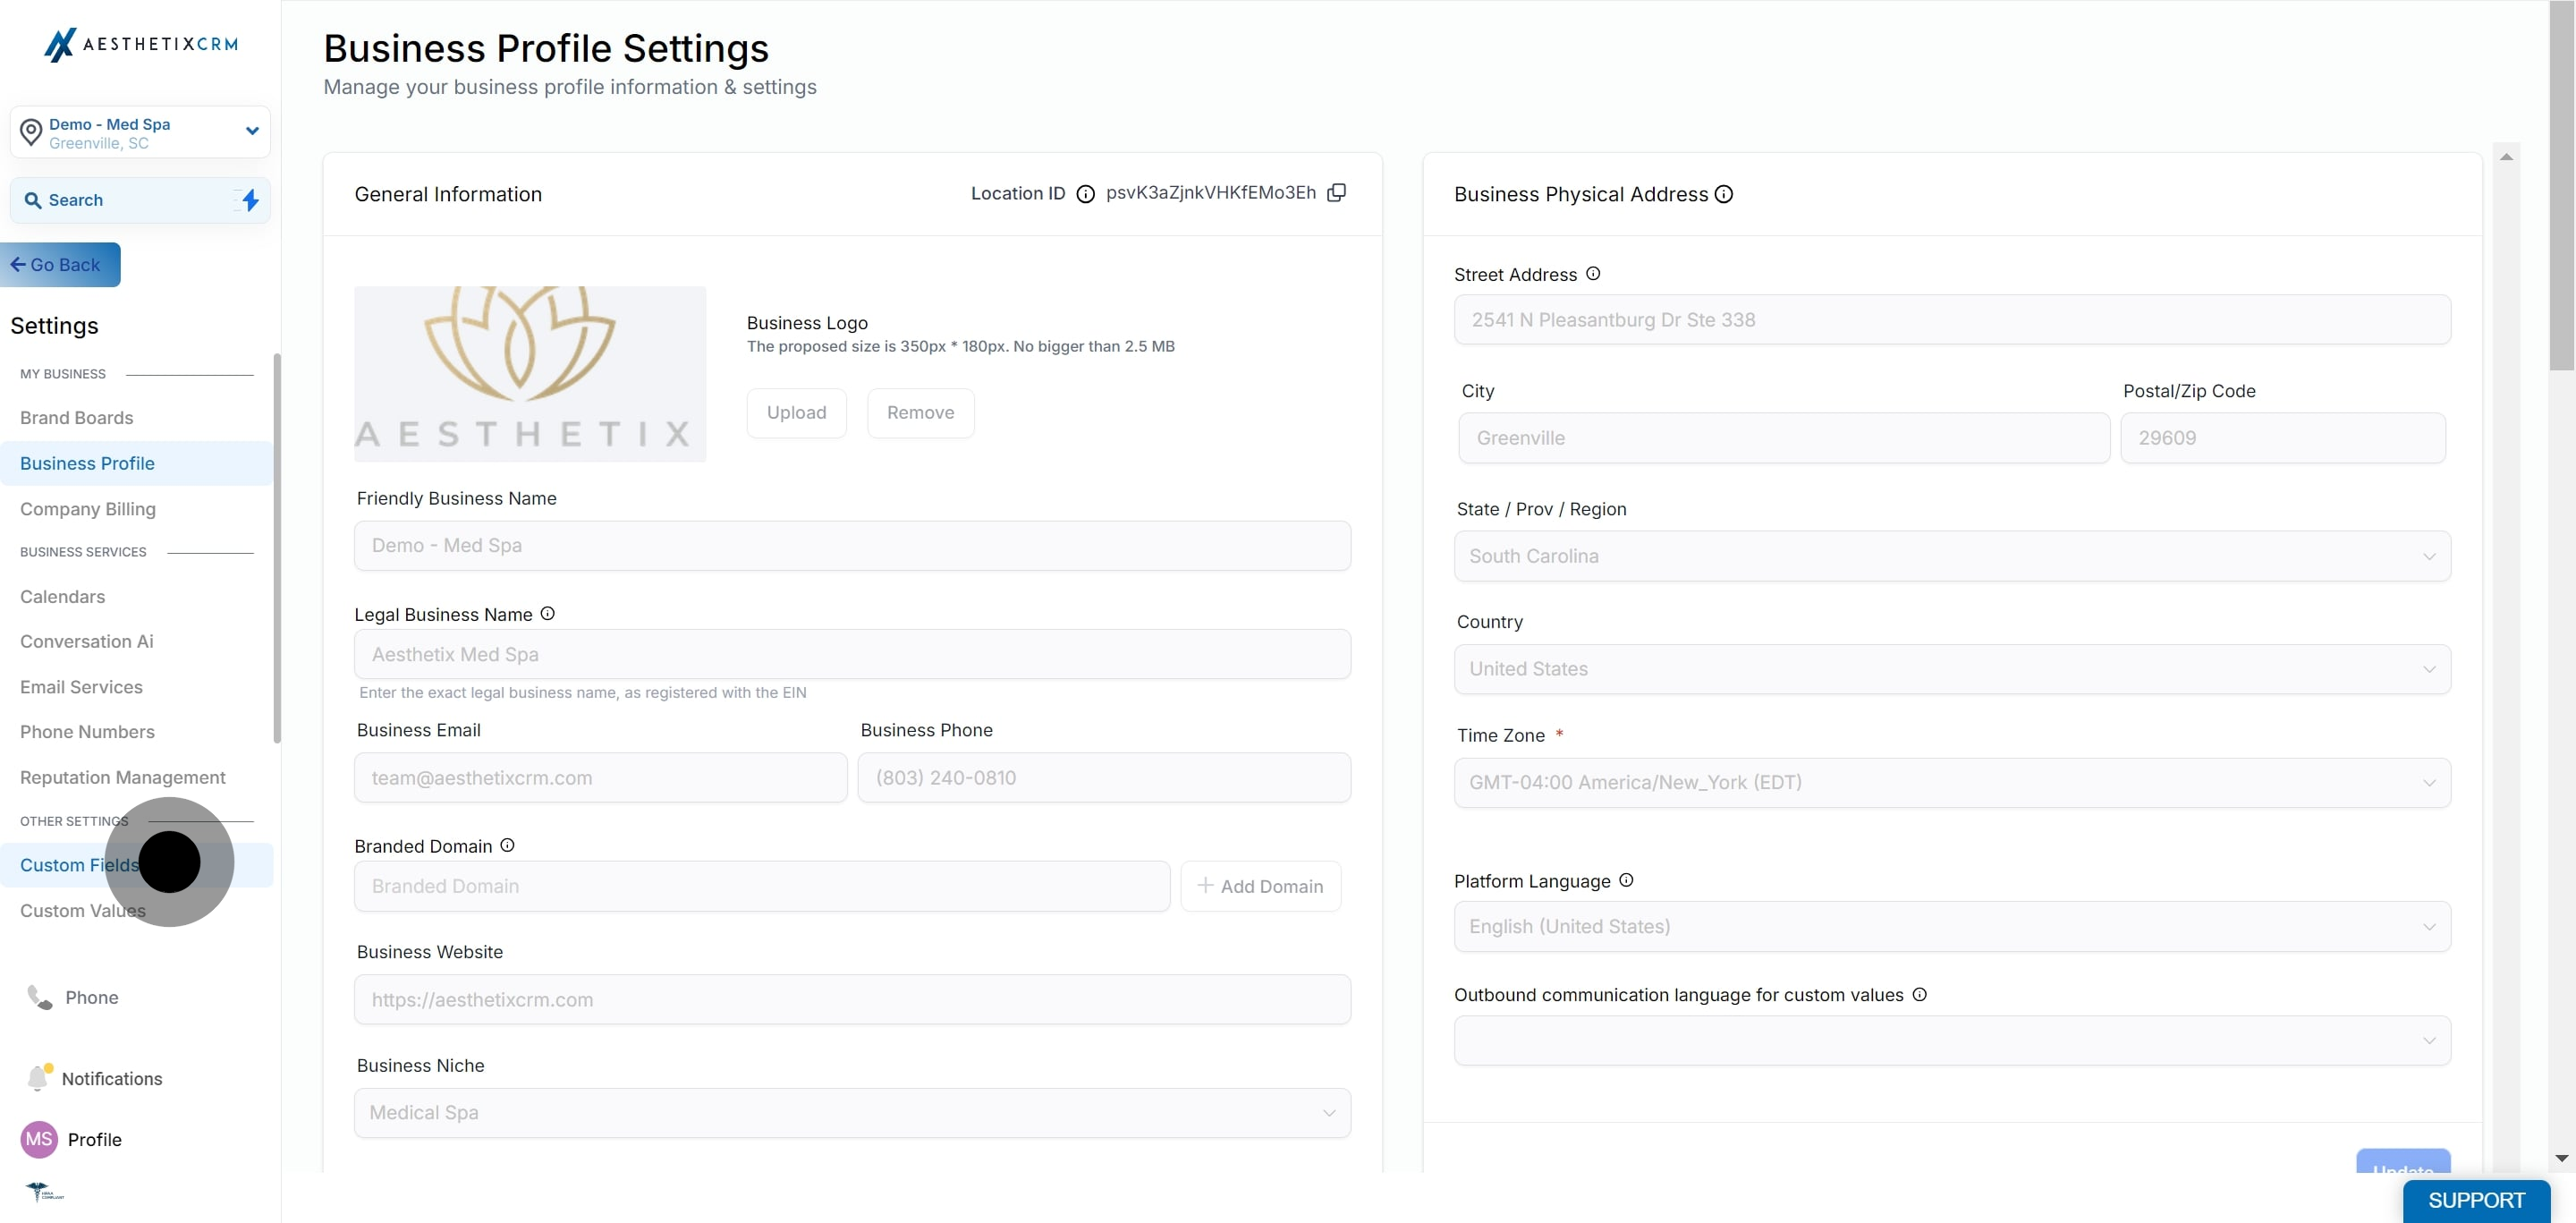
1. Click on "Settings."
2. Next, click on "Custom Fields".
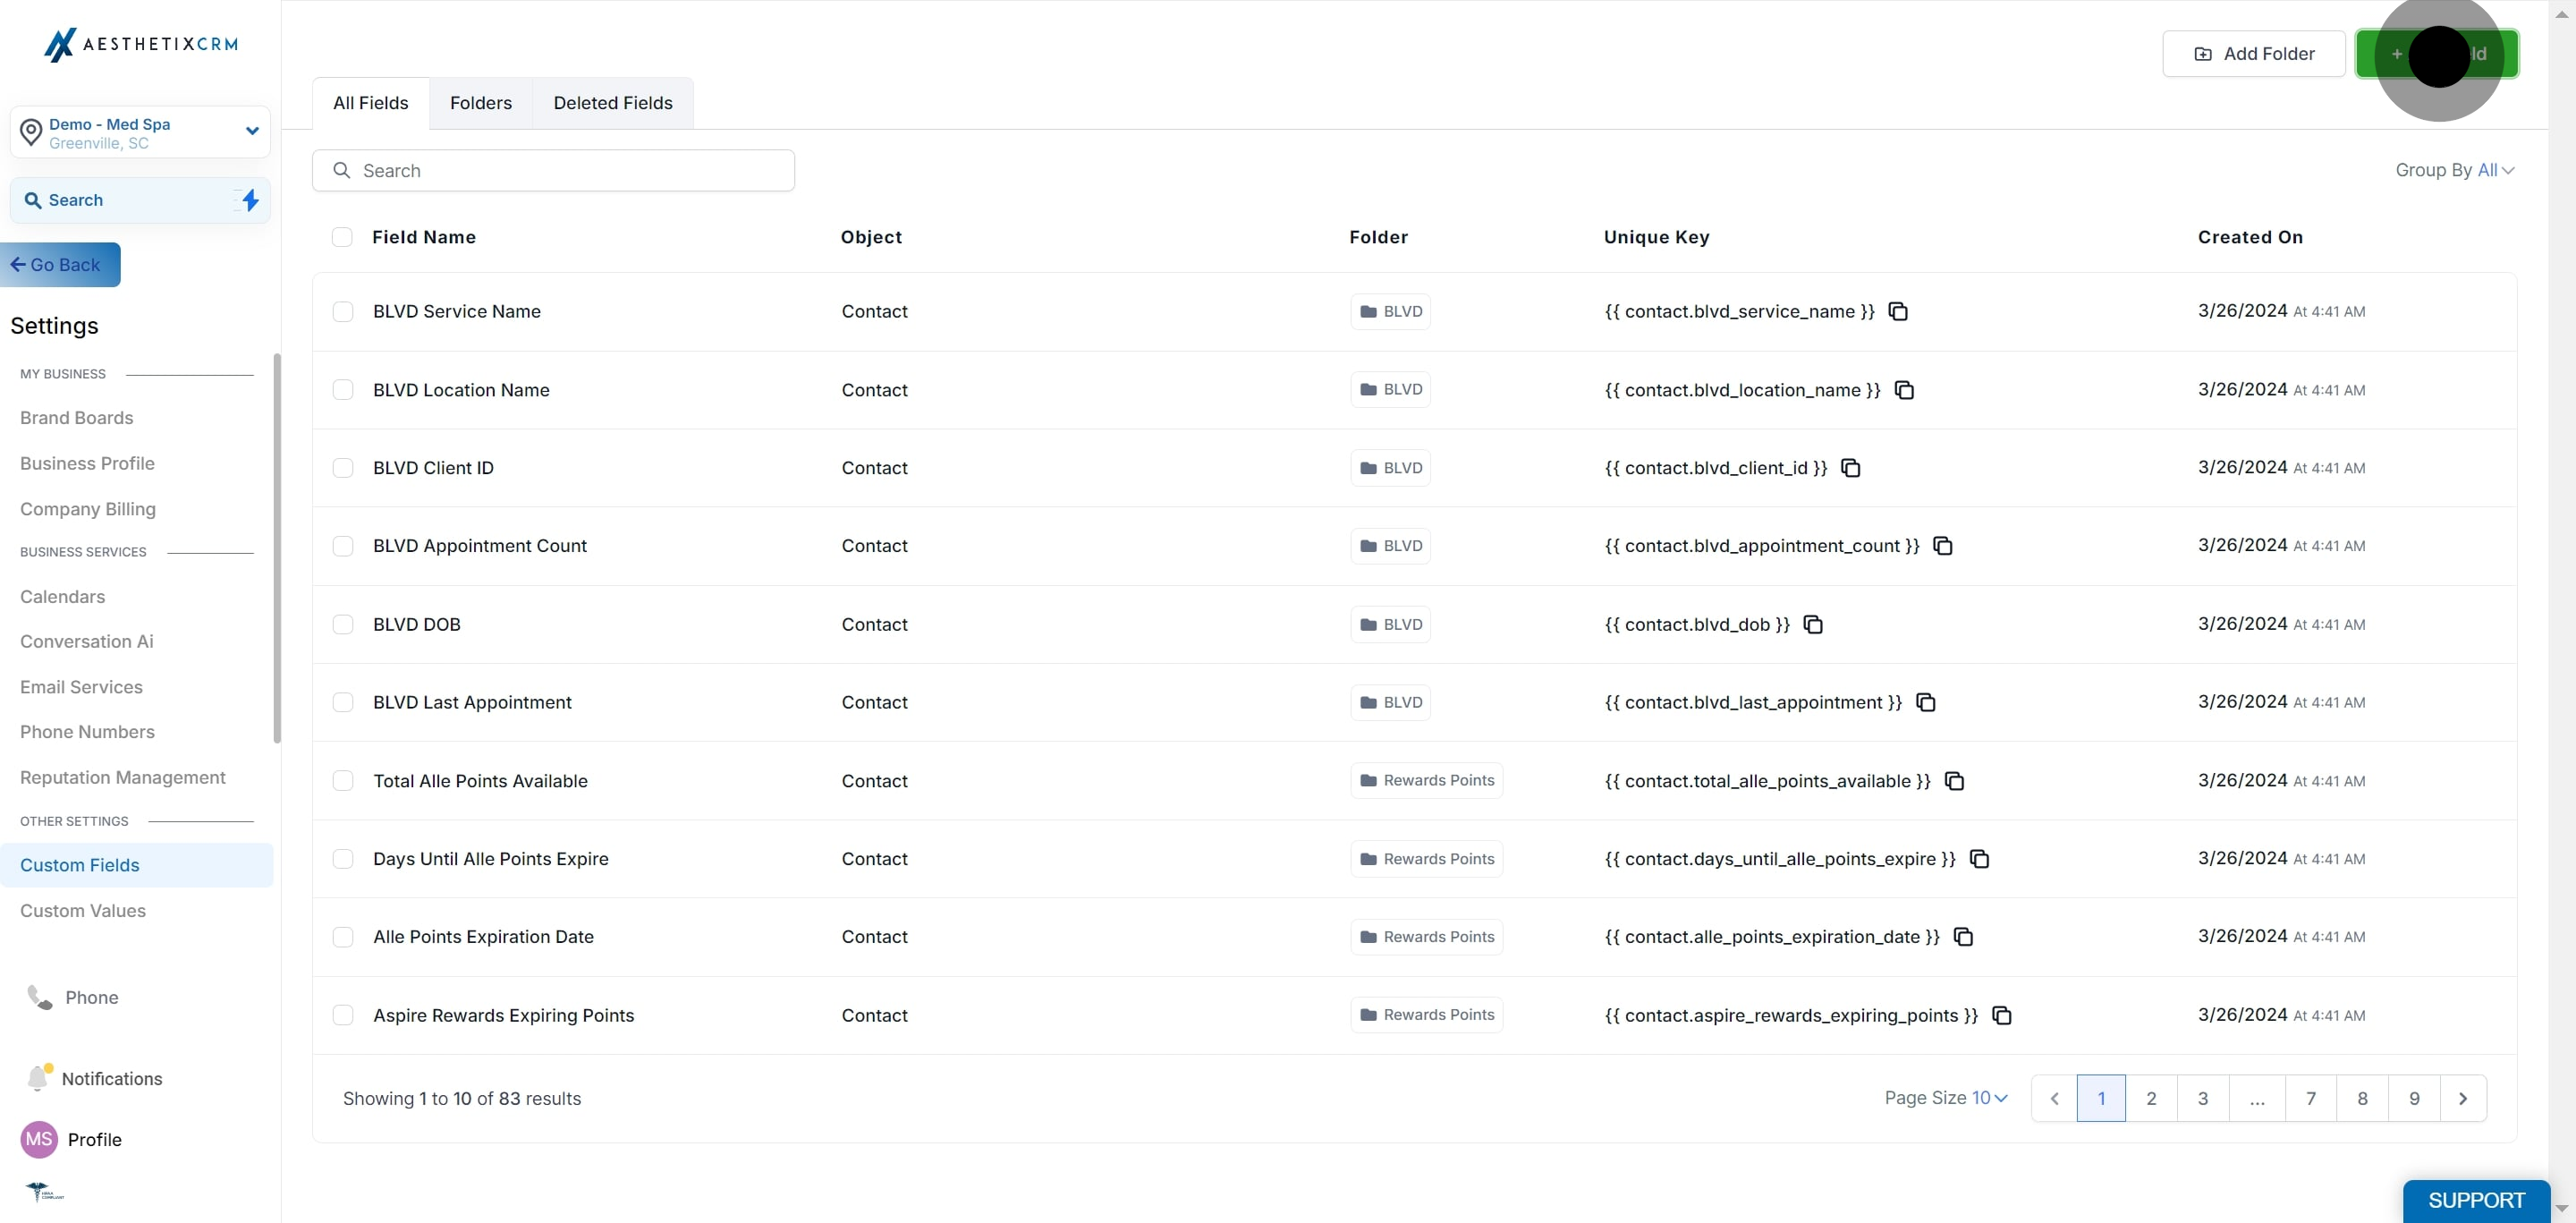
3. Afterwards, click on "Add Field".
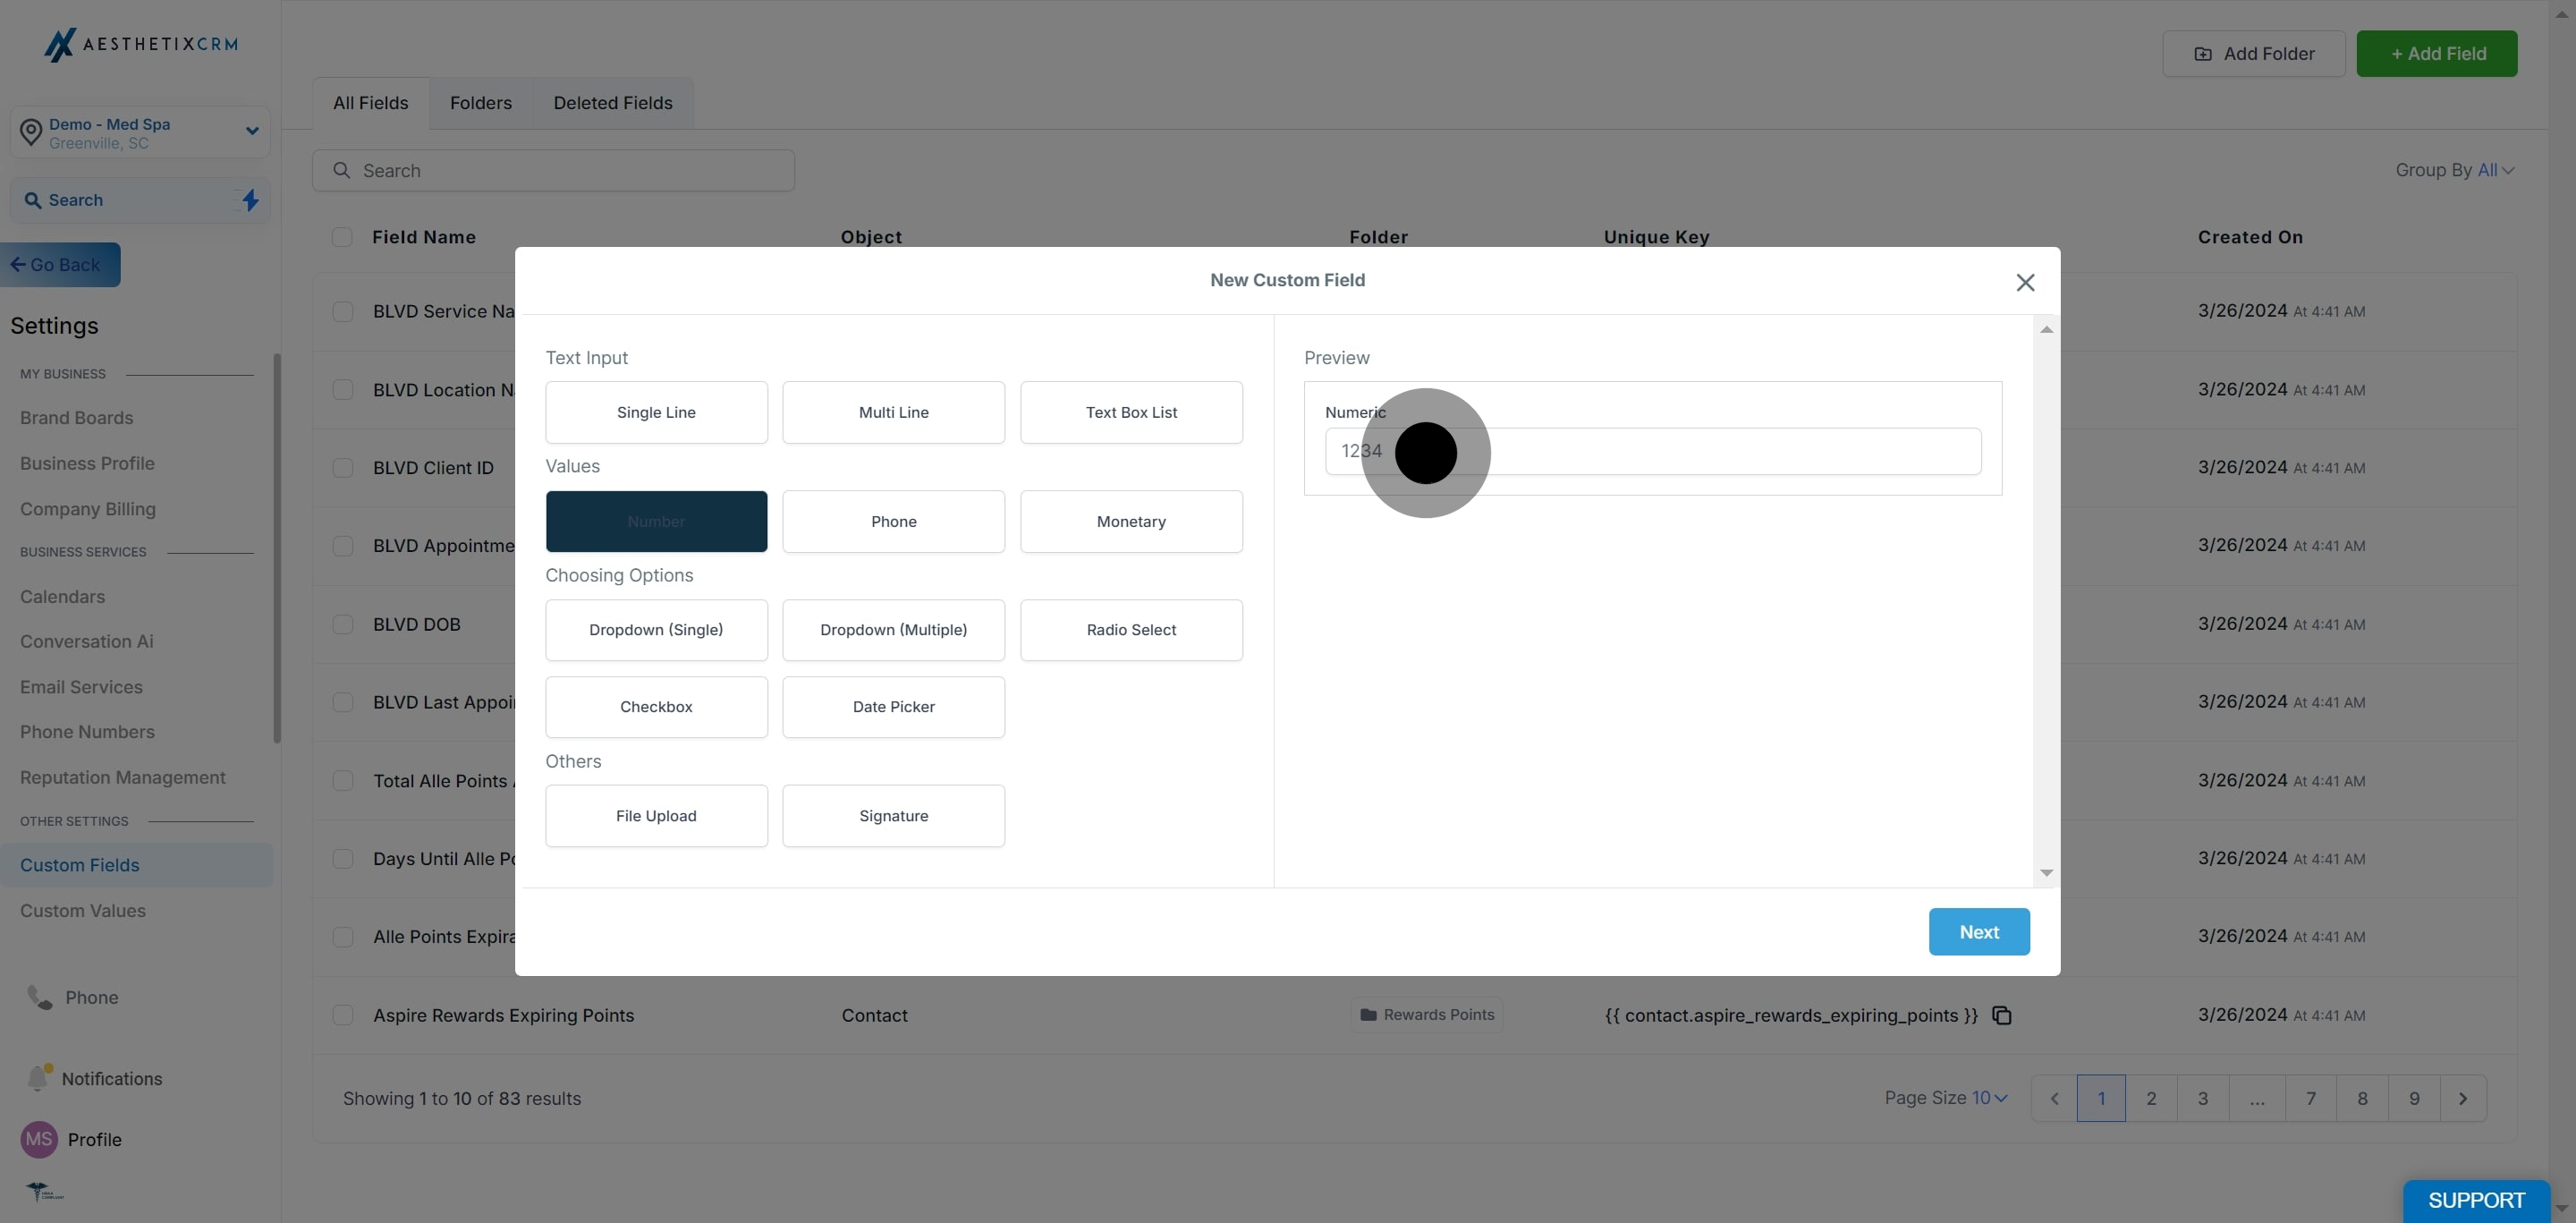
4. Afterwards, click on "Number".
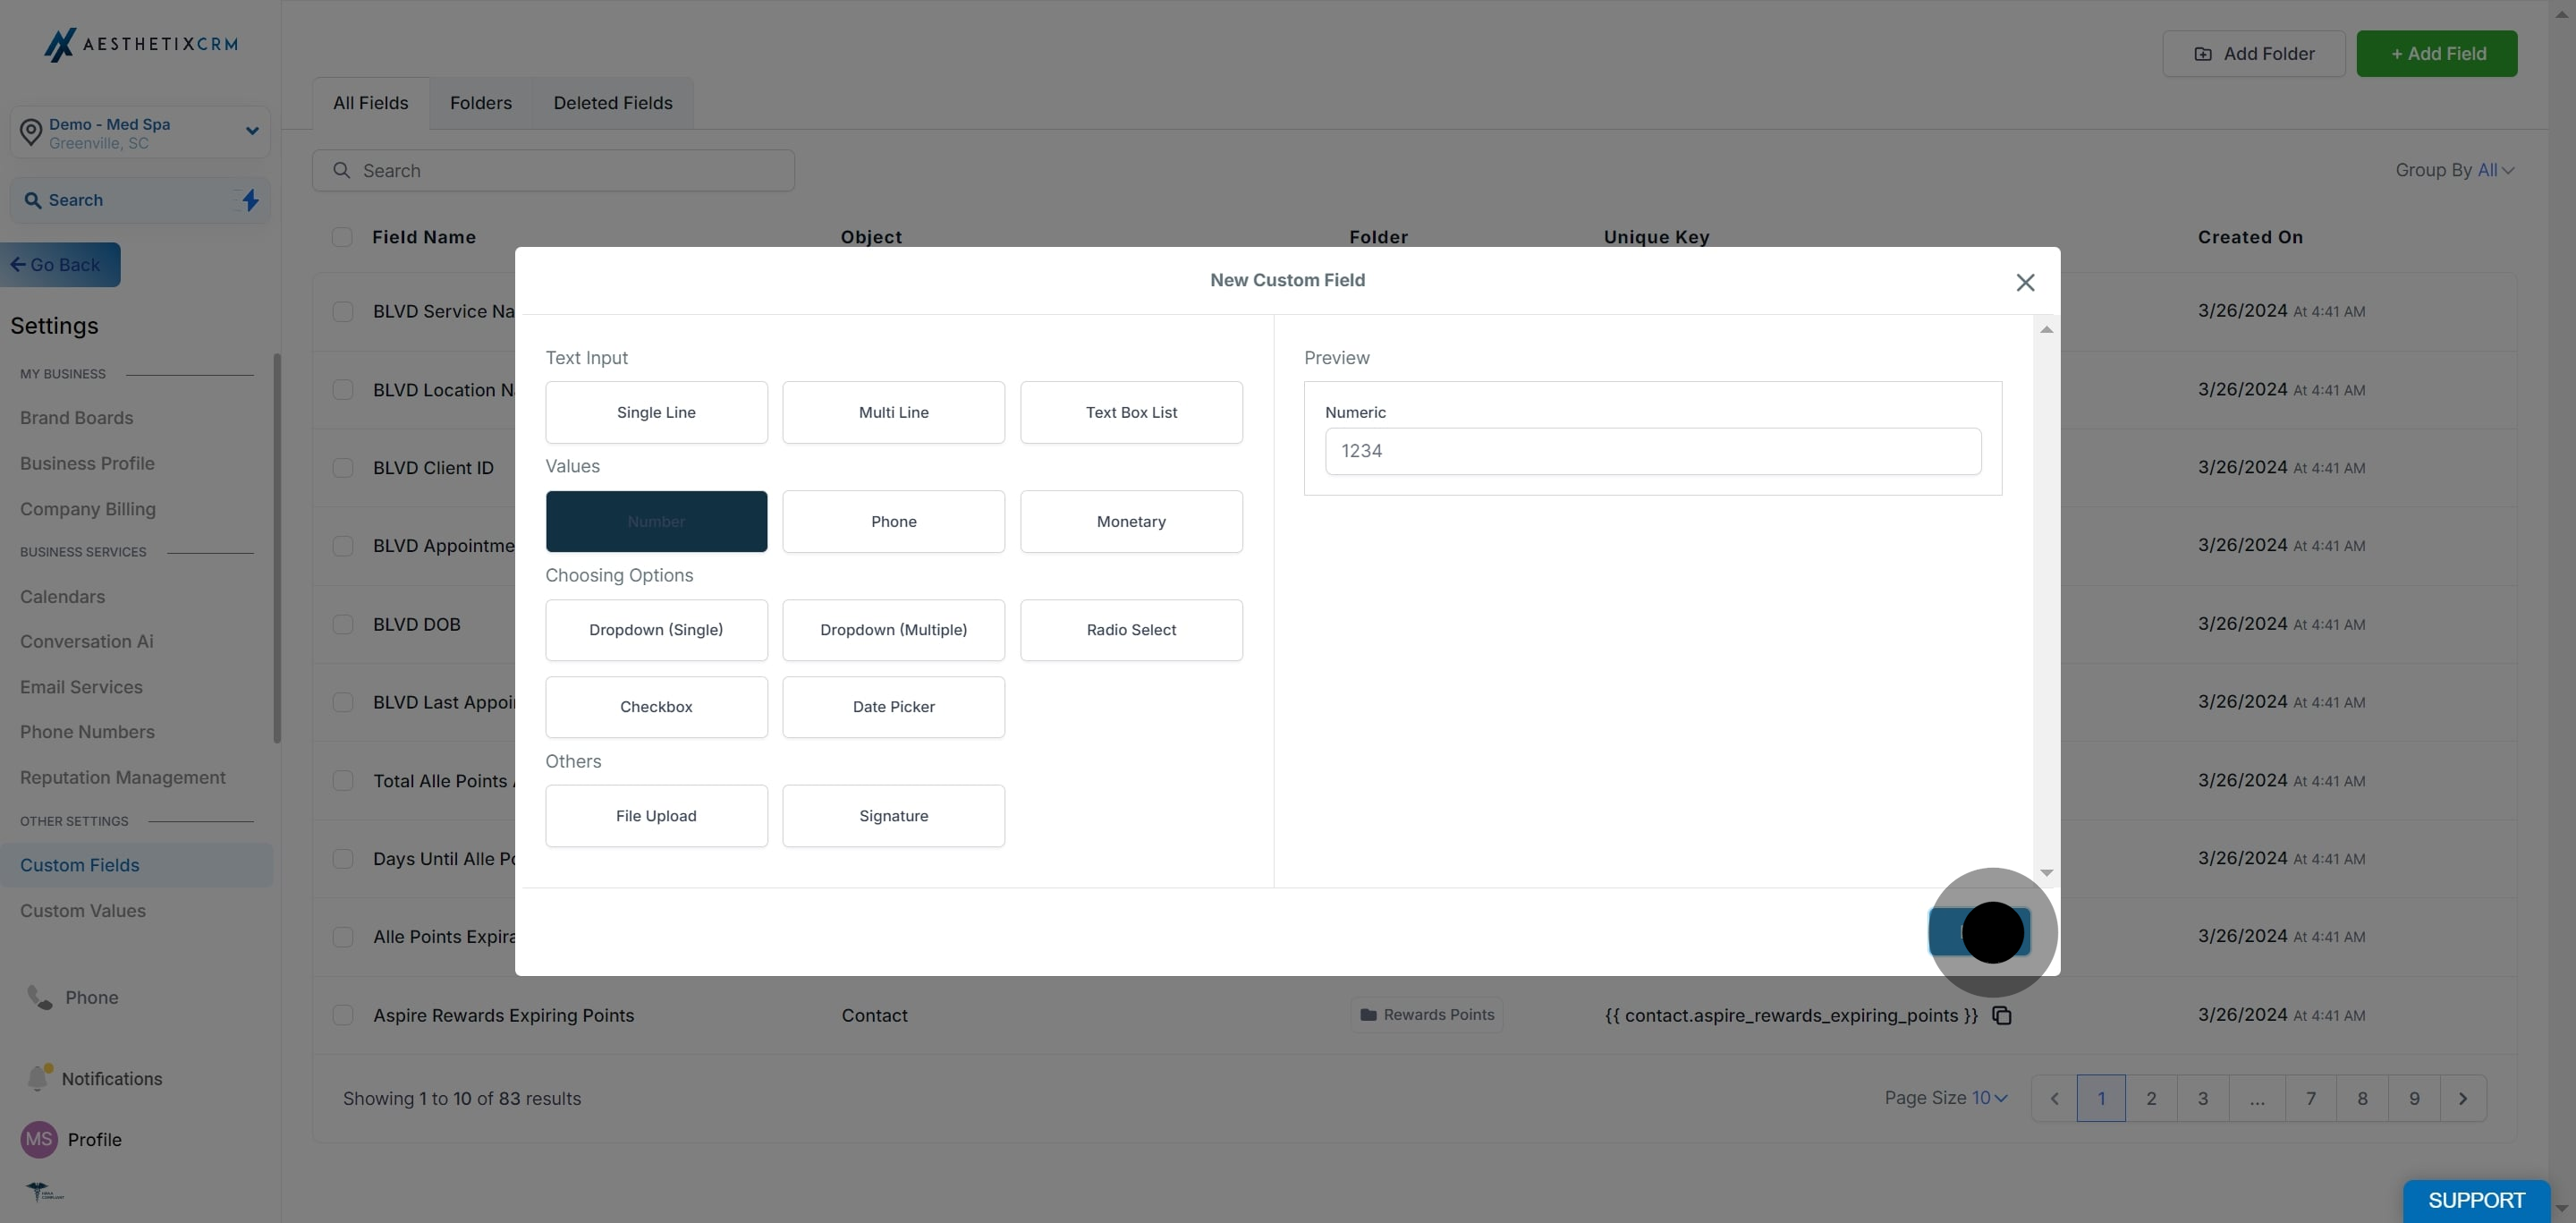
5. Review the preview section to ensure the field meets your needs.
6. If satisfied, click "Next" to proceed.
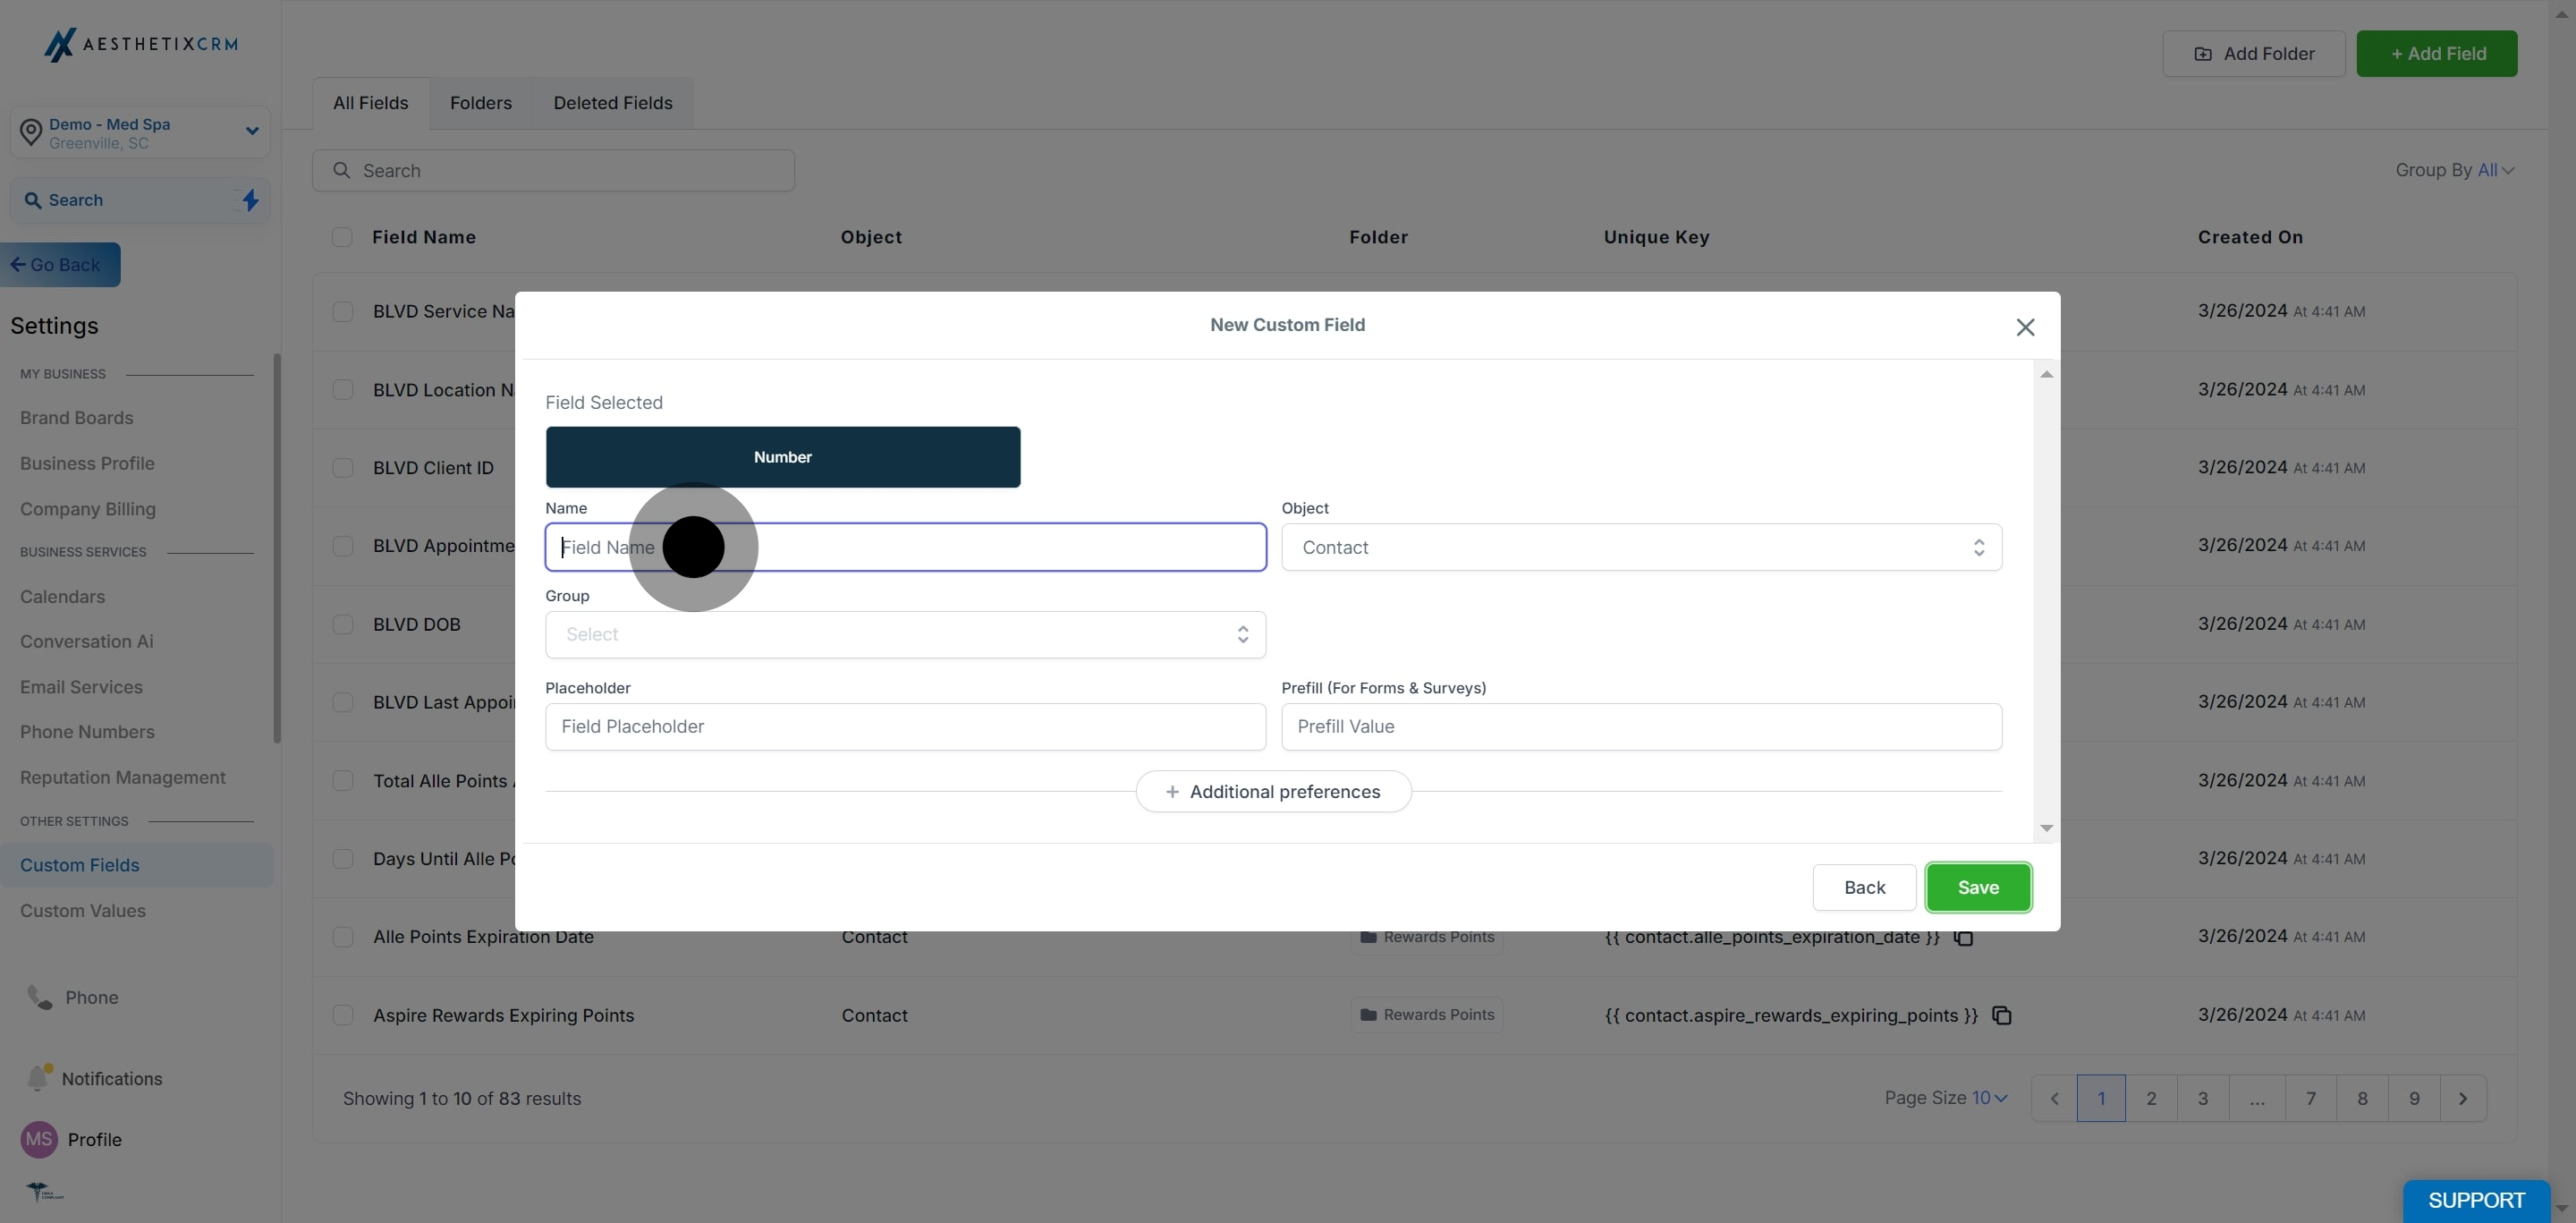
7. Enter a name in the "Field Name" section.
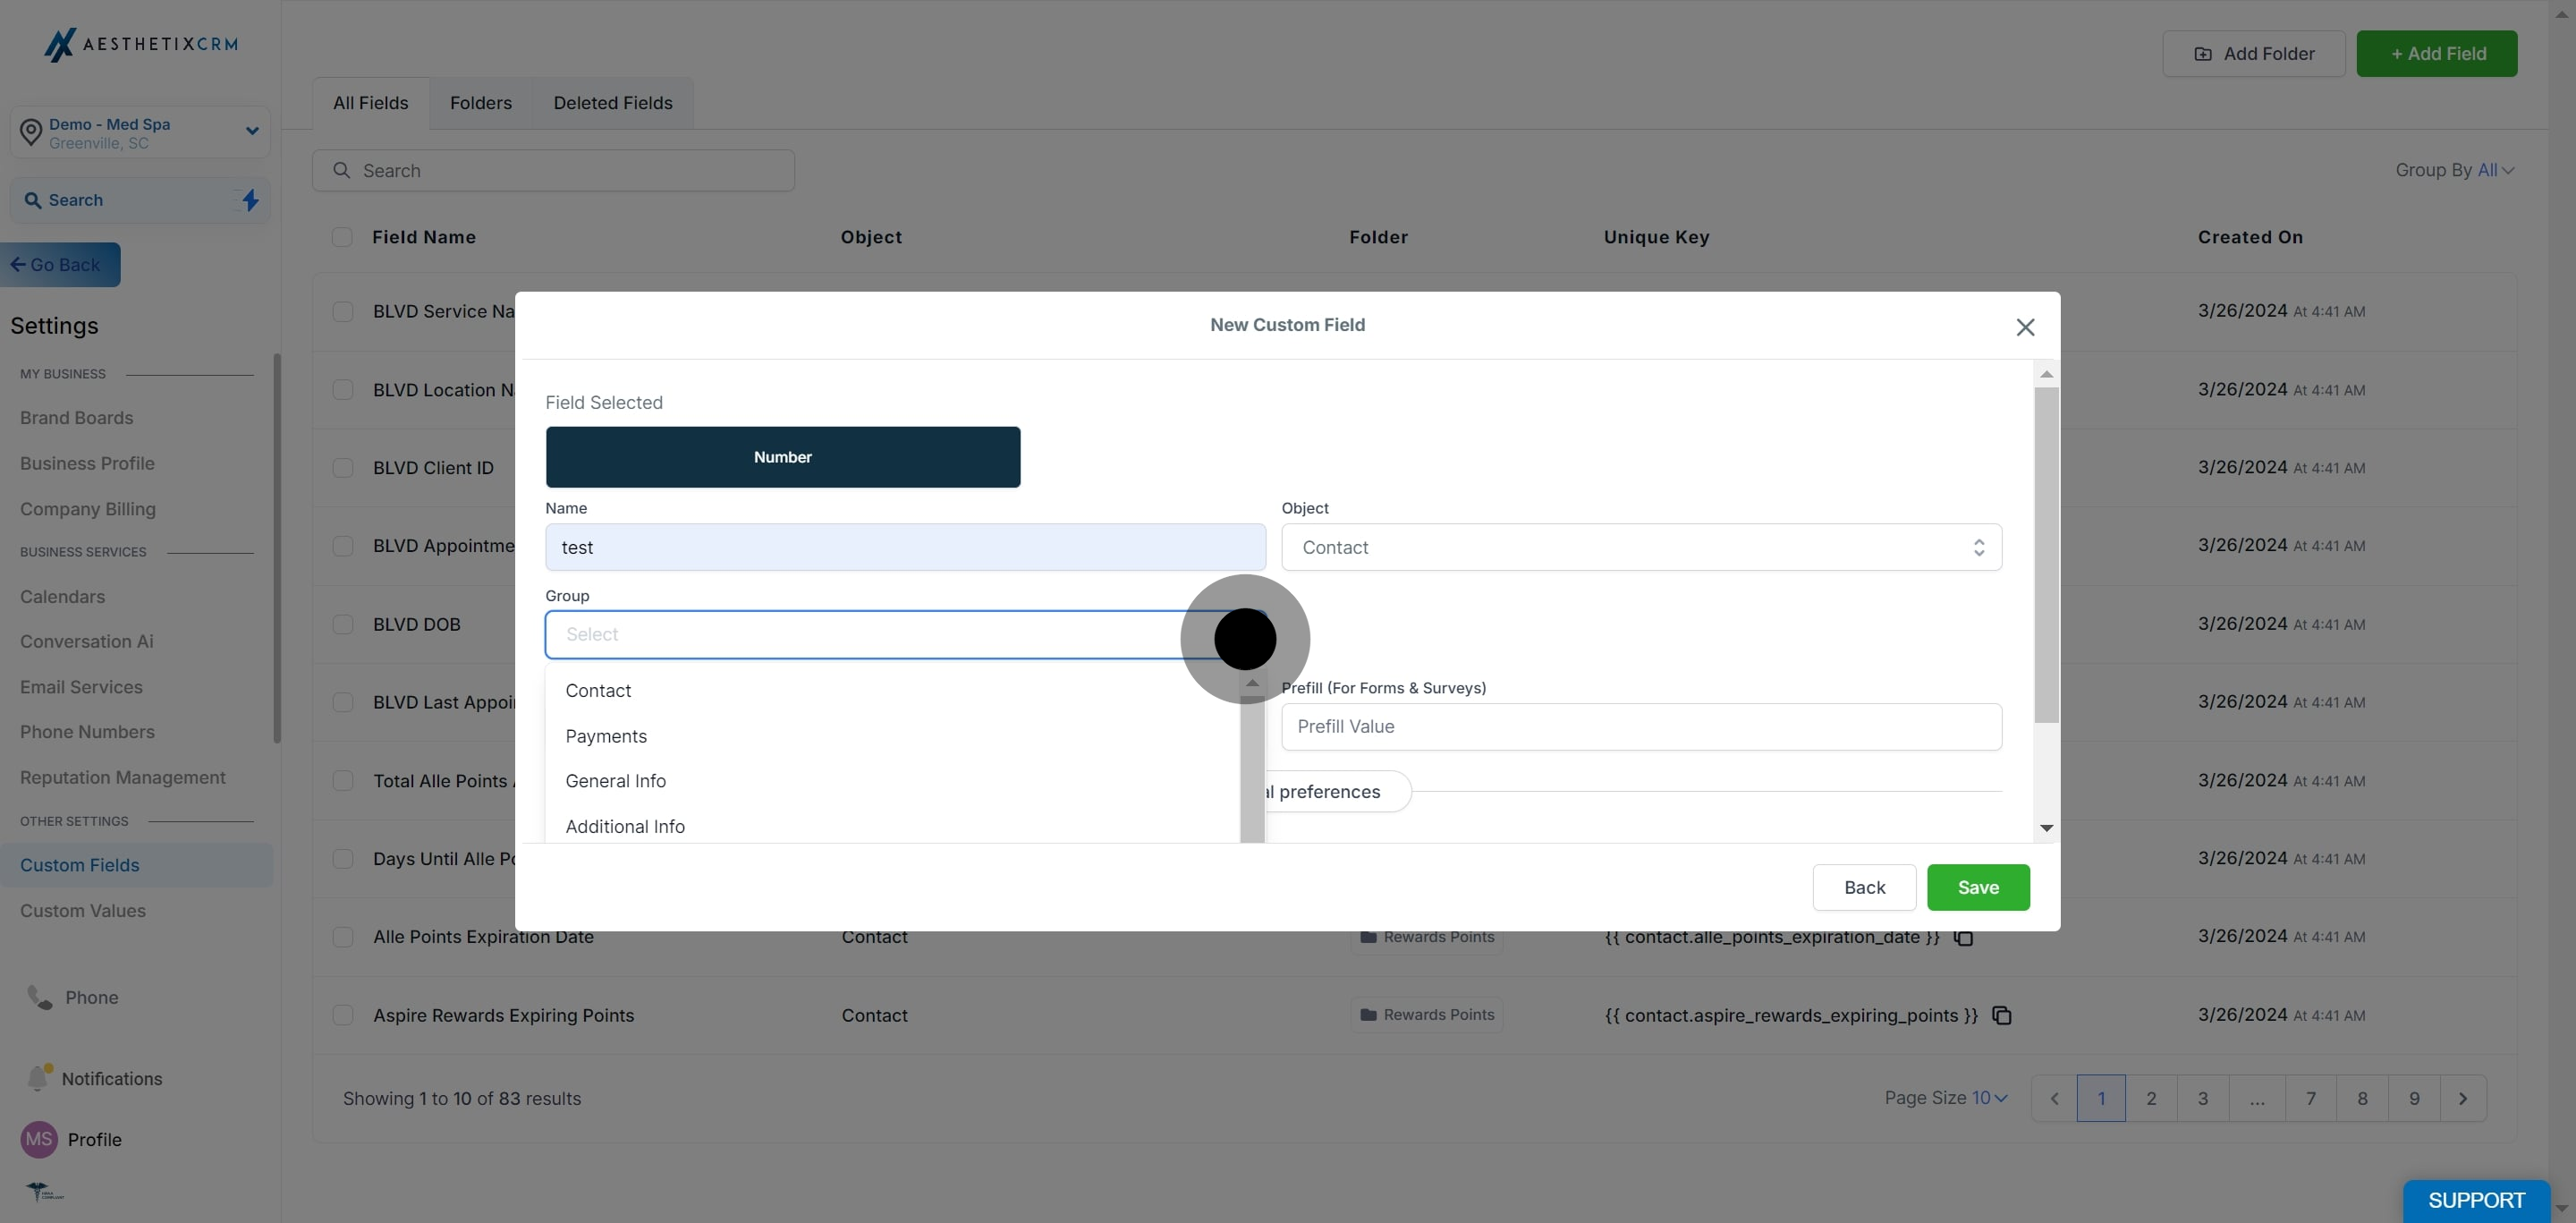
8. Use the drop-down menu to select a "Group."
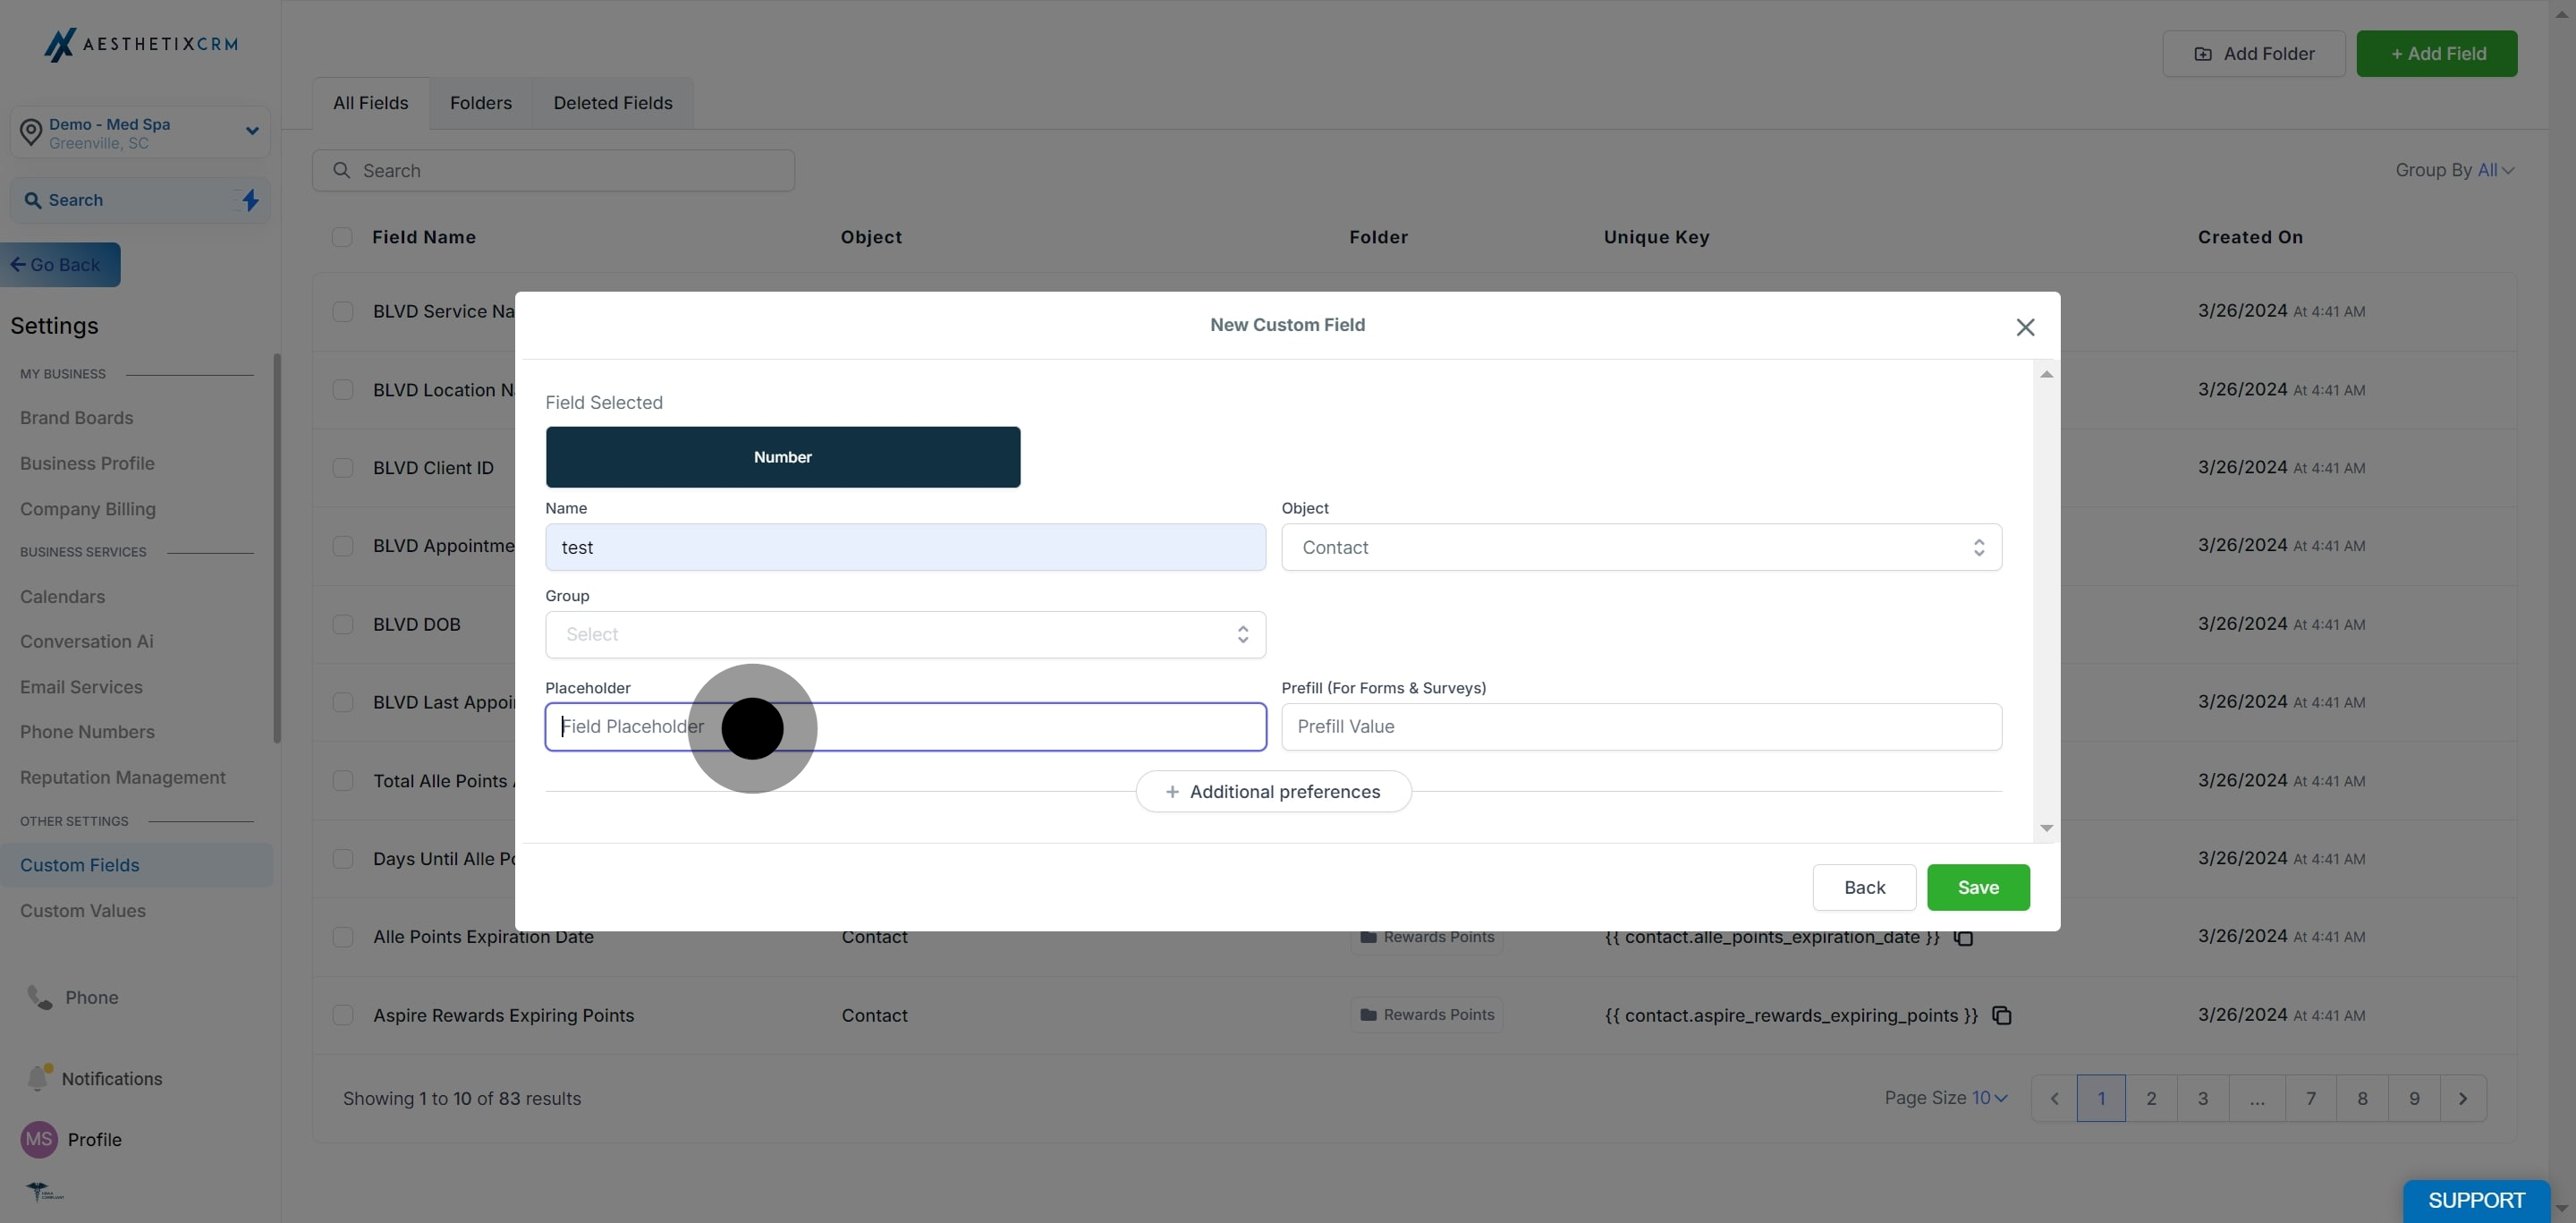
9. If needed, add a placeholder by clicking the appropriate option.
10. Another drop-down menu will appear for object selection.
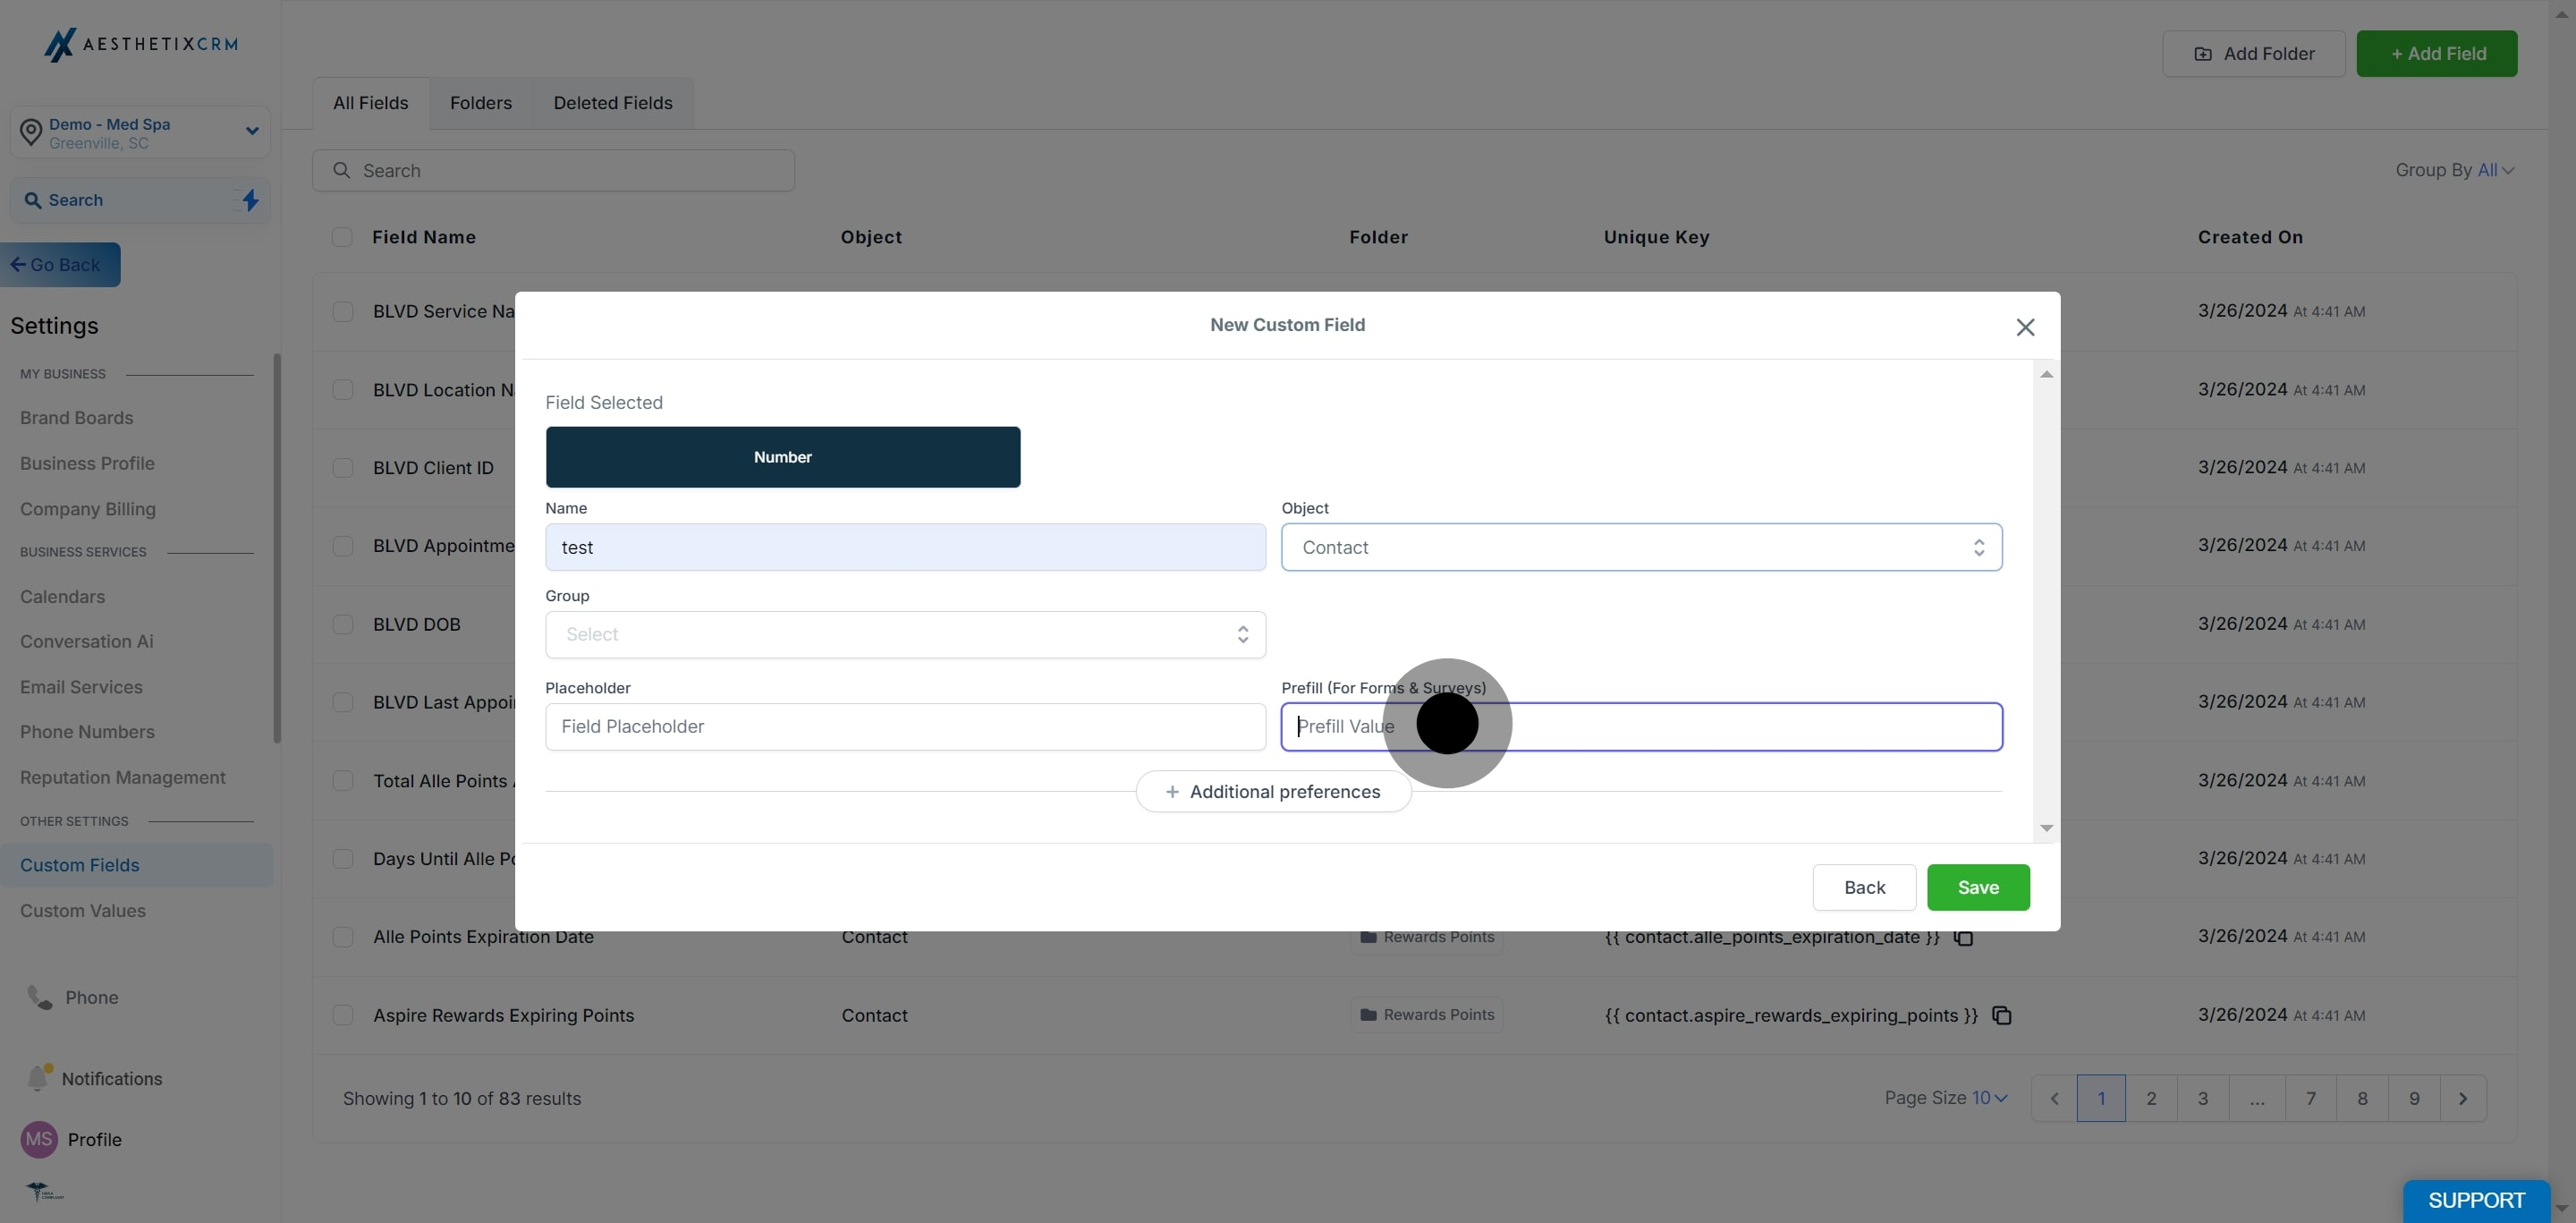
11. If creating a form or survey, add a prefill value.
12. Click on "Additional Preferences" for further customization.
13. If you require a unique key, click to customize it.
14. Give your new custom field a description in the provided space.