Learn how to customize and update your calendars in Aesthetix CRM with our comprehensive guide. Follow step-by-step instructions to edit calendar details, events, and settings, ensuring your scheduling stays accurate and relevant. Ideal for users looking to manage their time effectively and adapt to changing plans seamlessly.
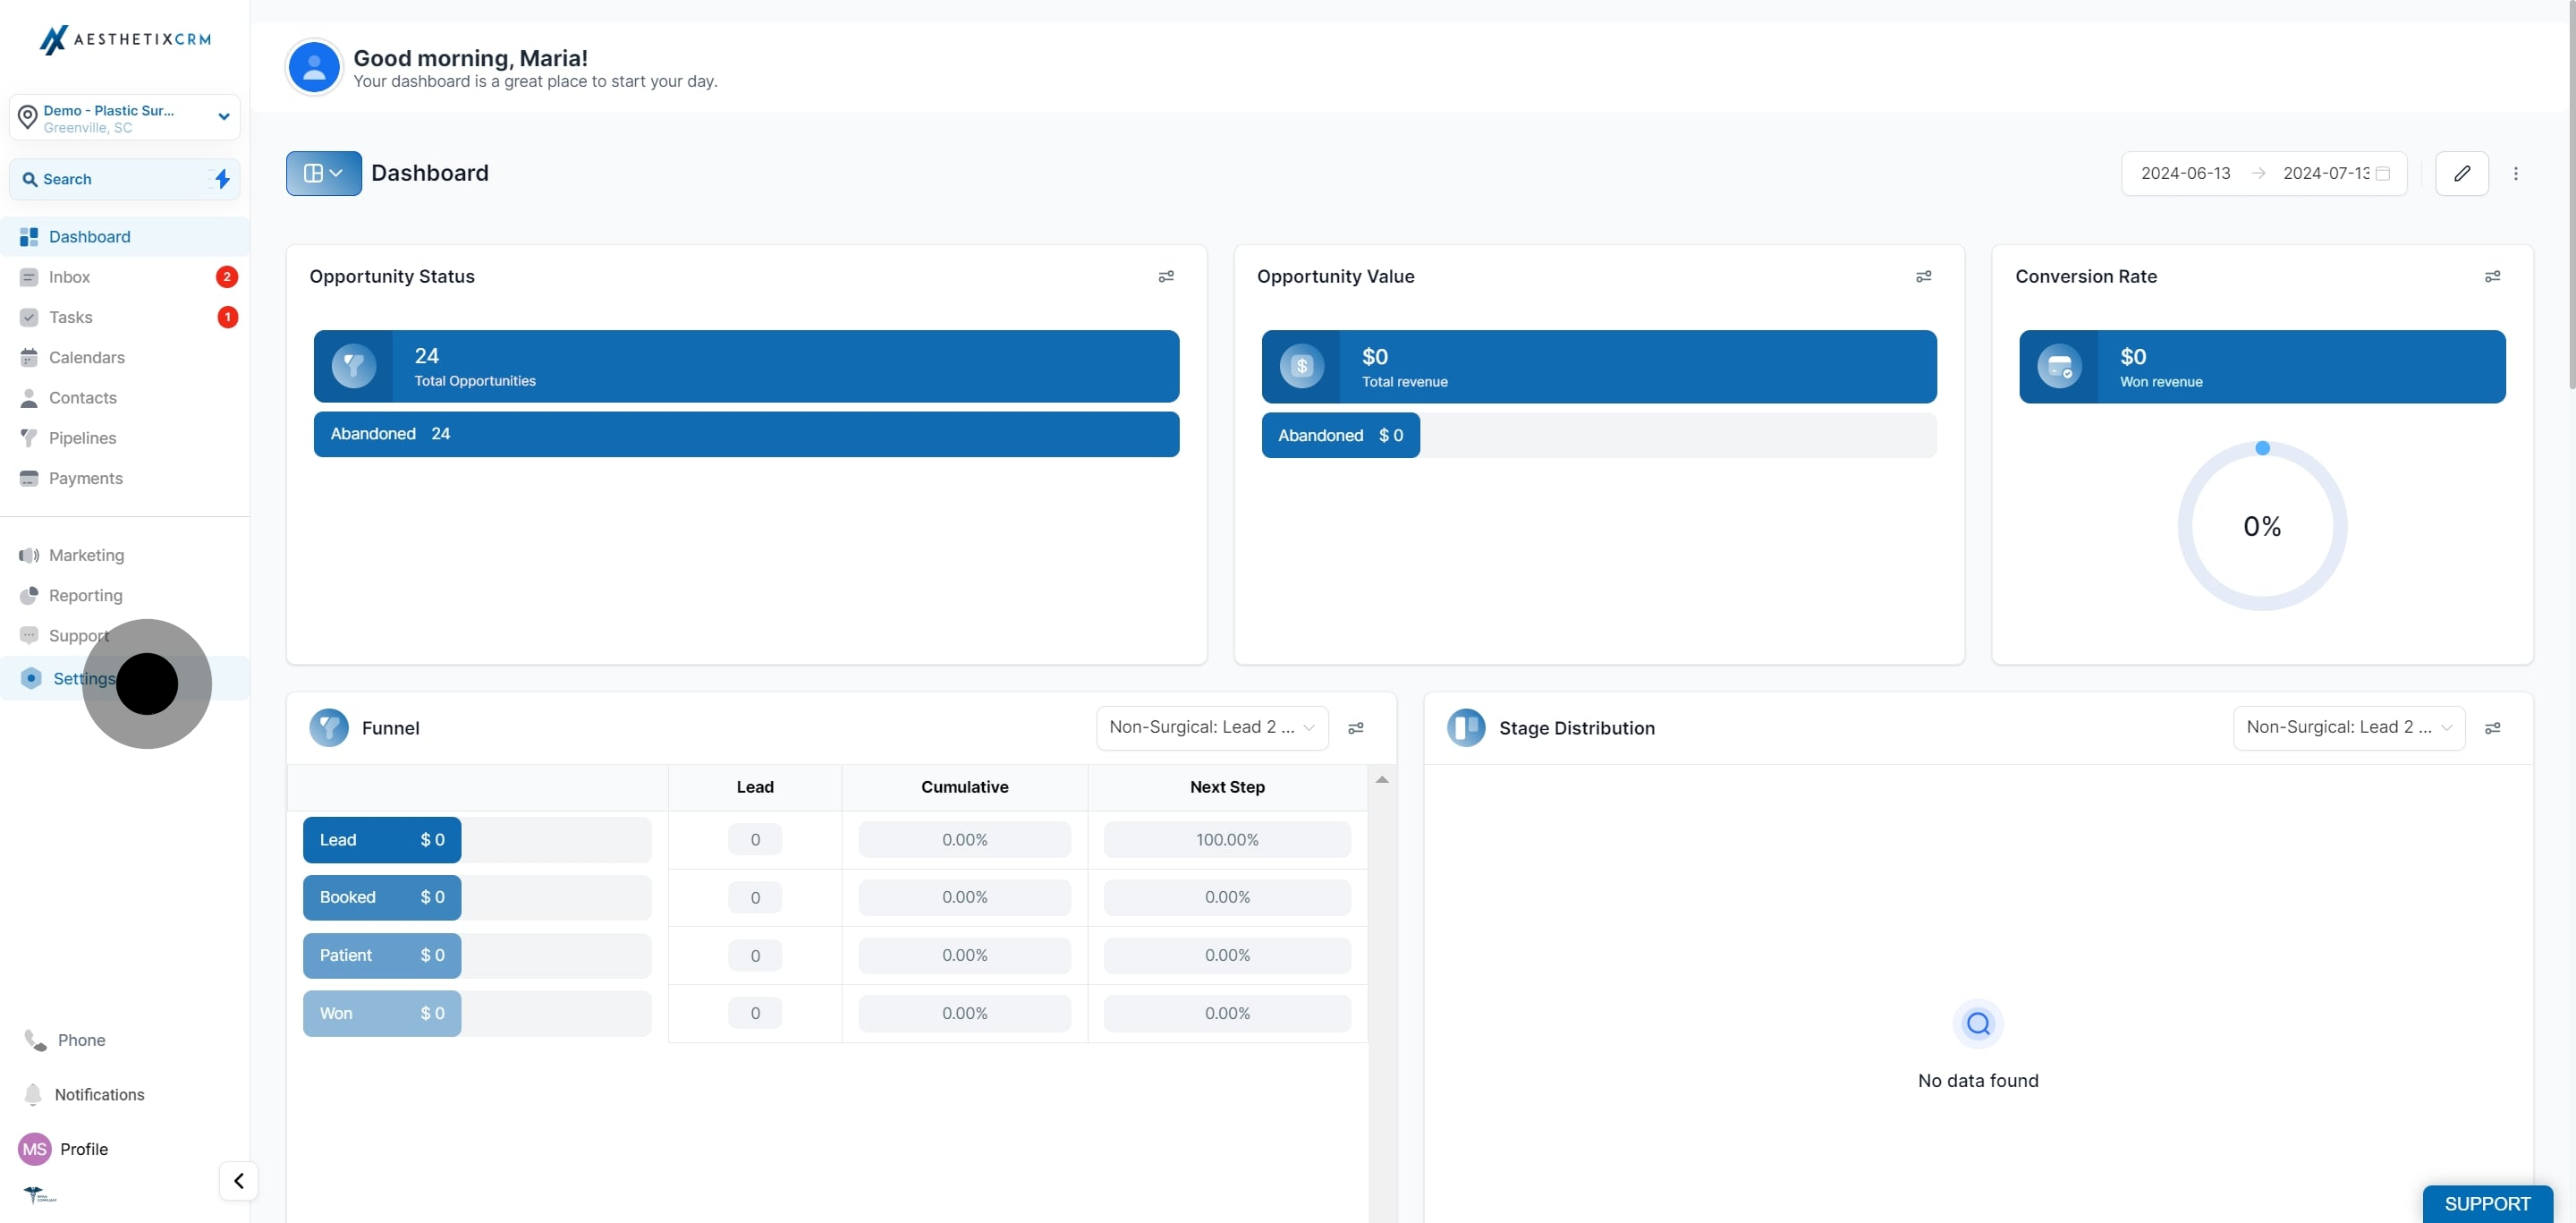
1. Click on "Settings".
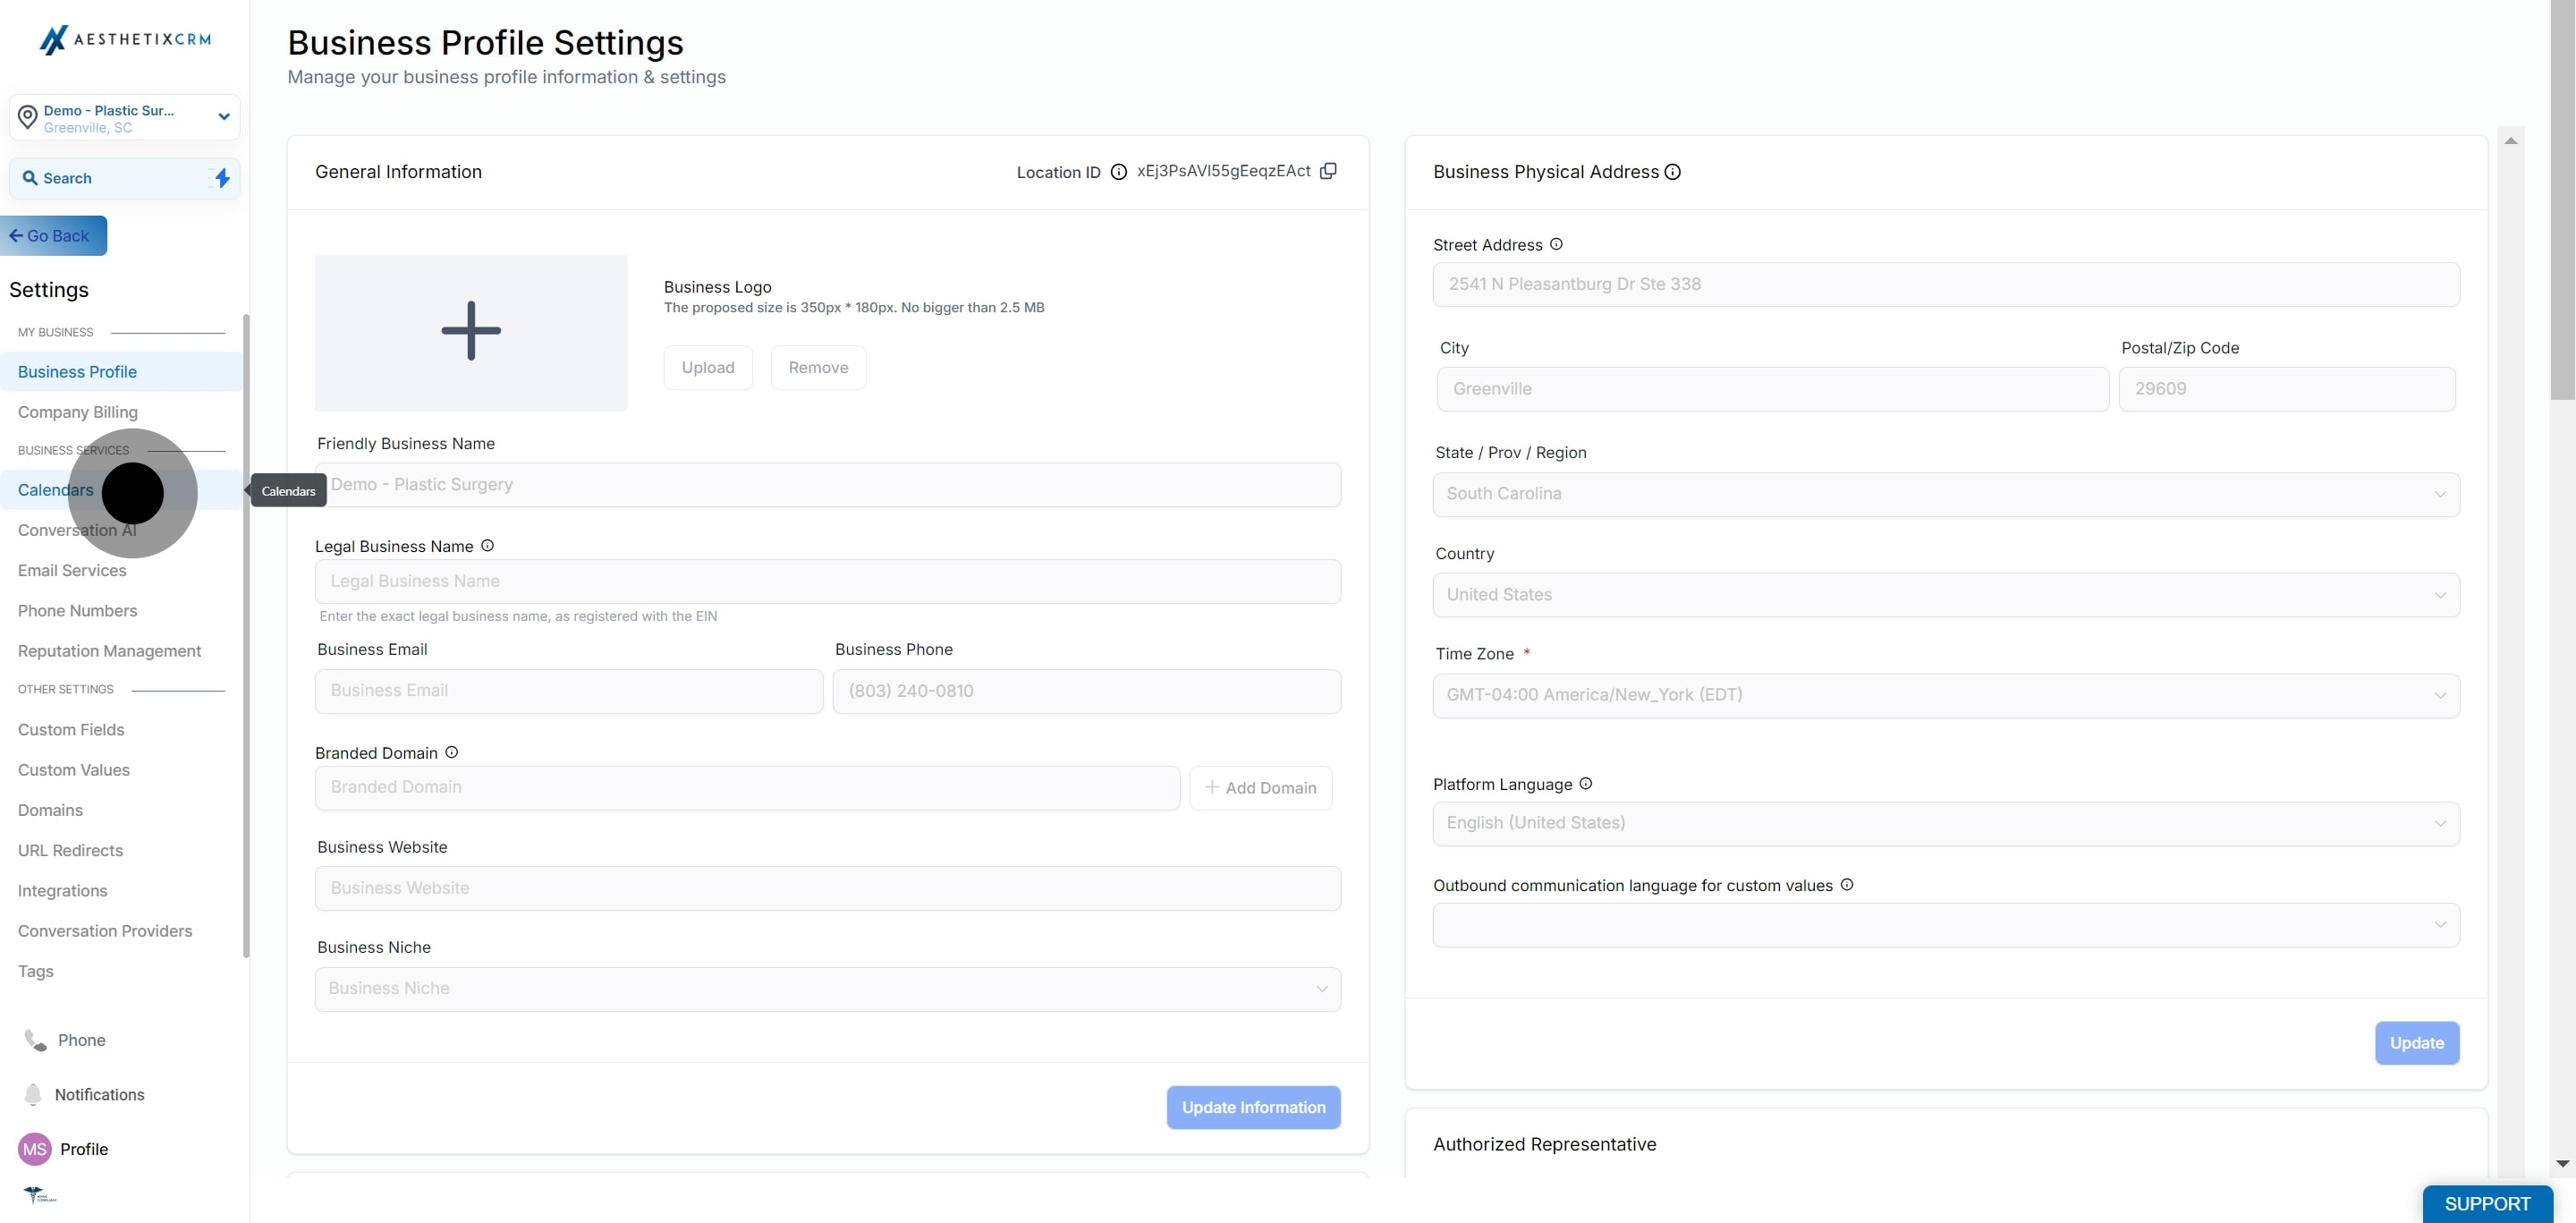
2. Select "Calendars" from the menu.
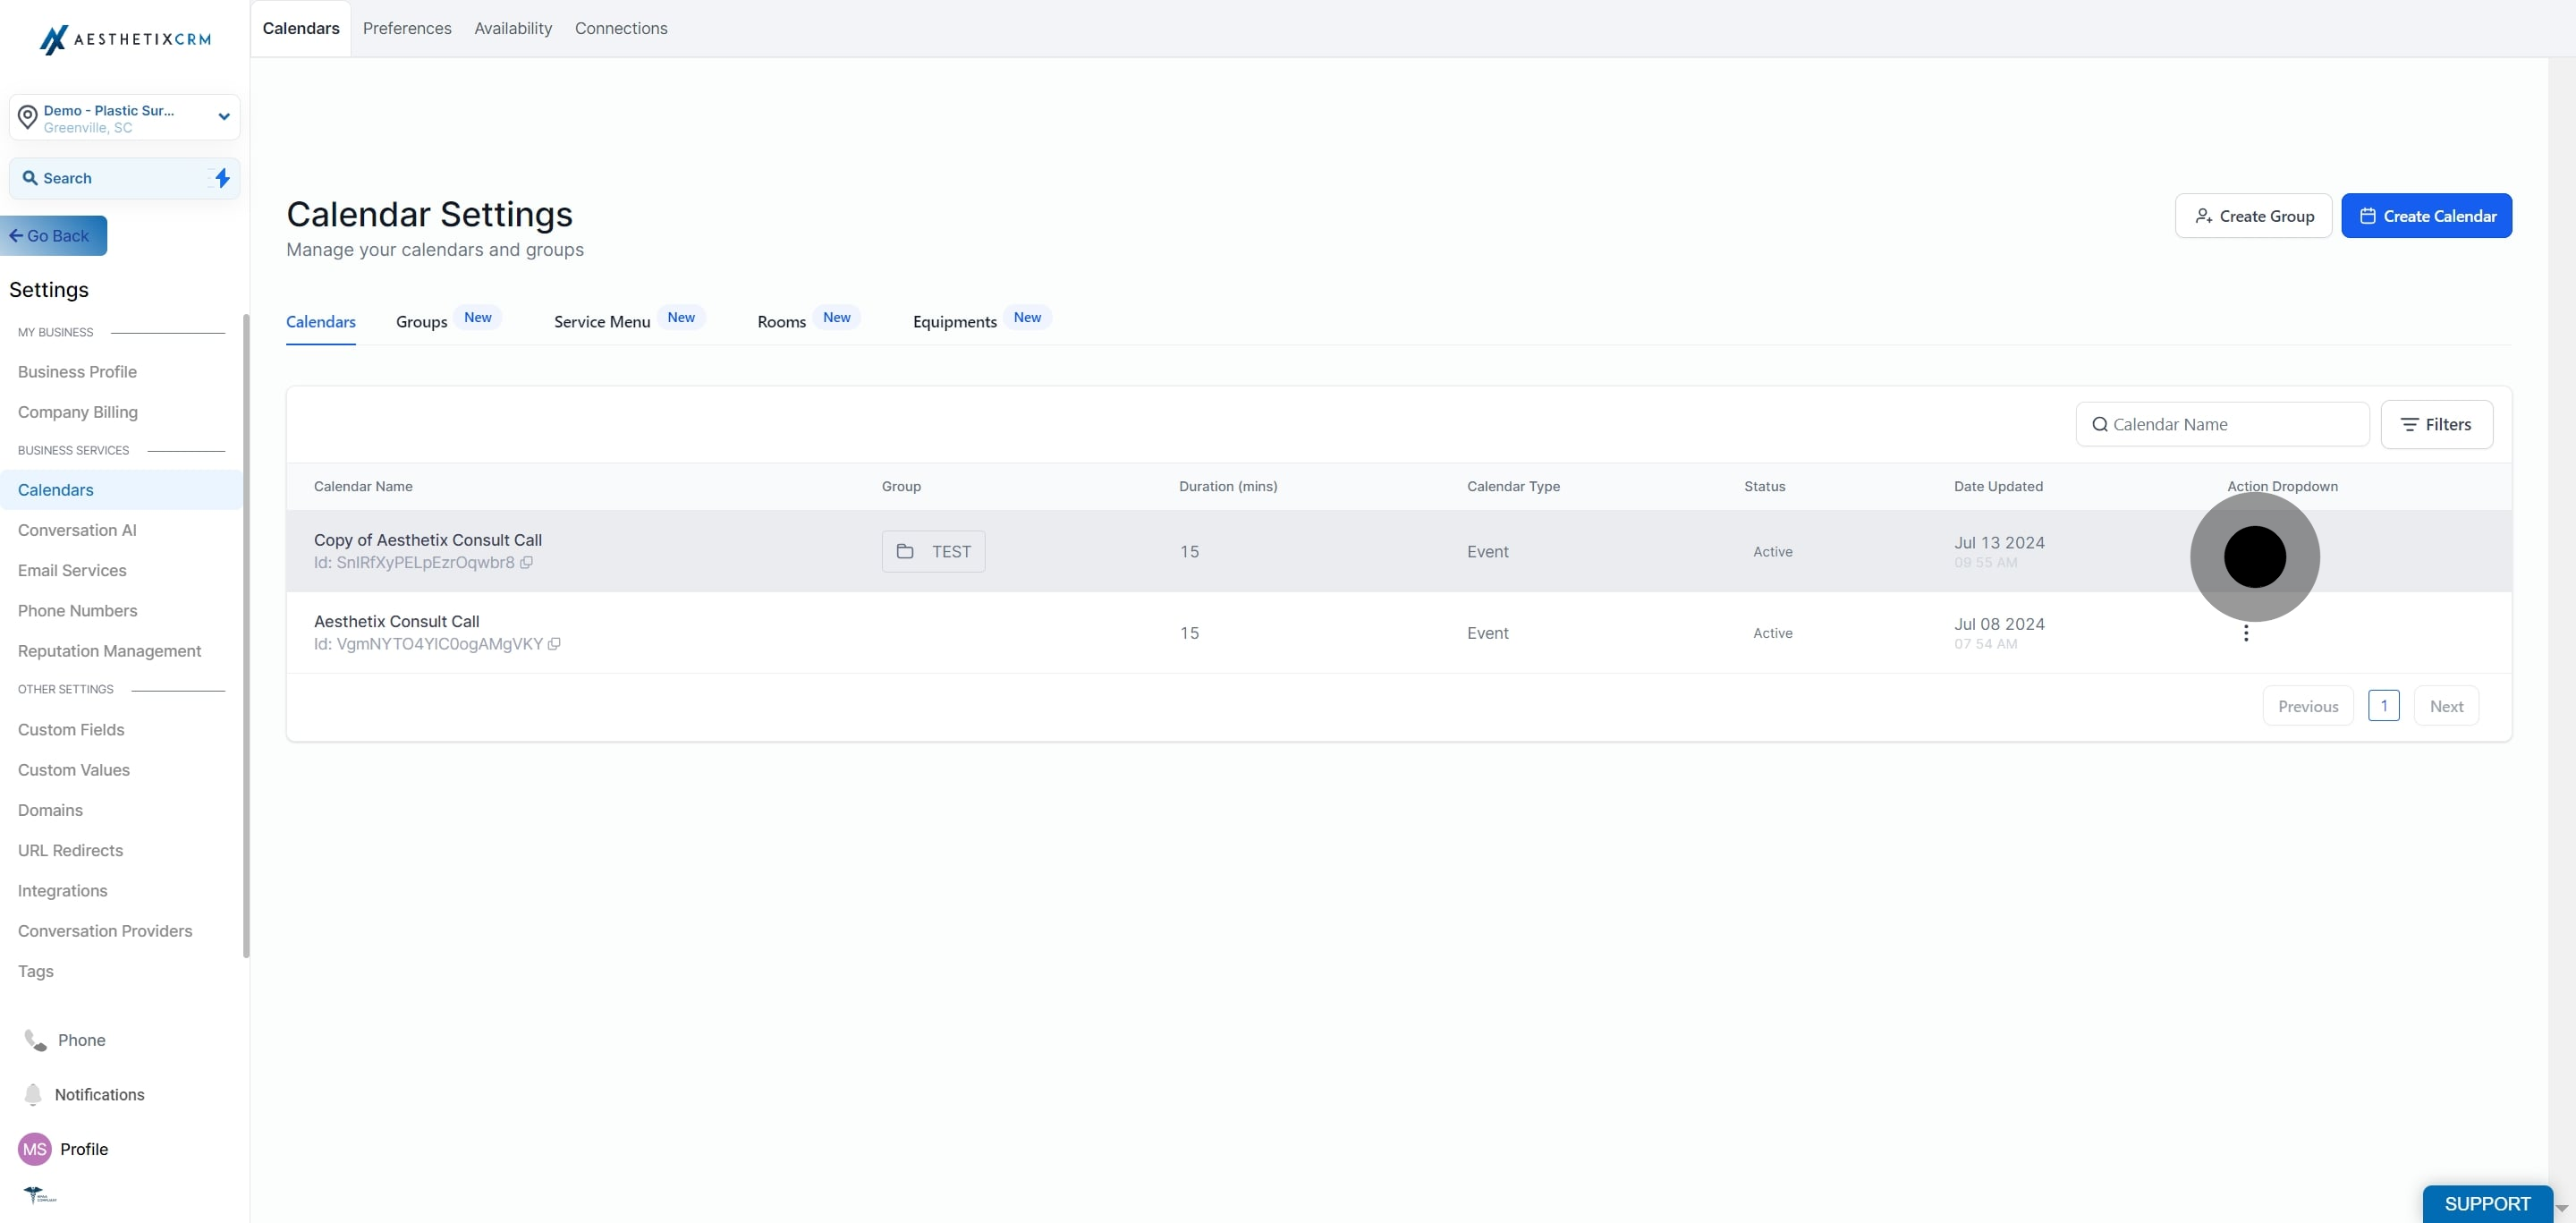
3. Choose the calendar you want to edit and click the three dots next to it.
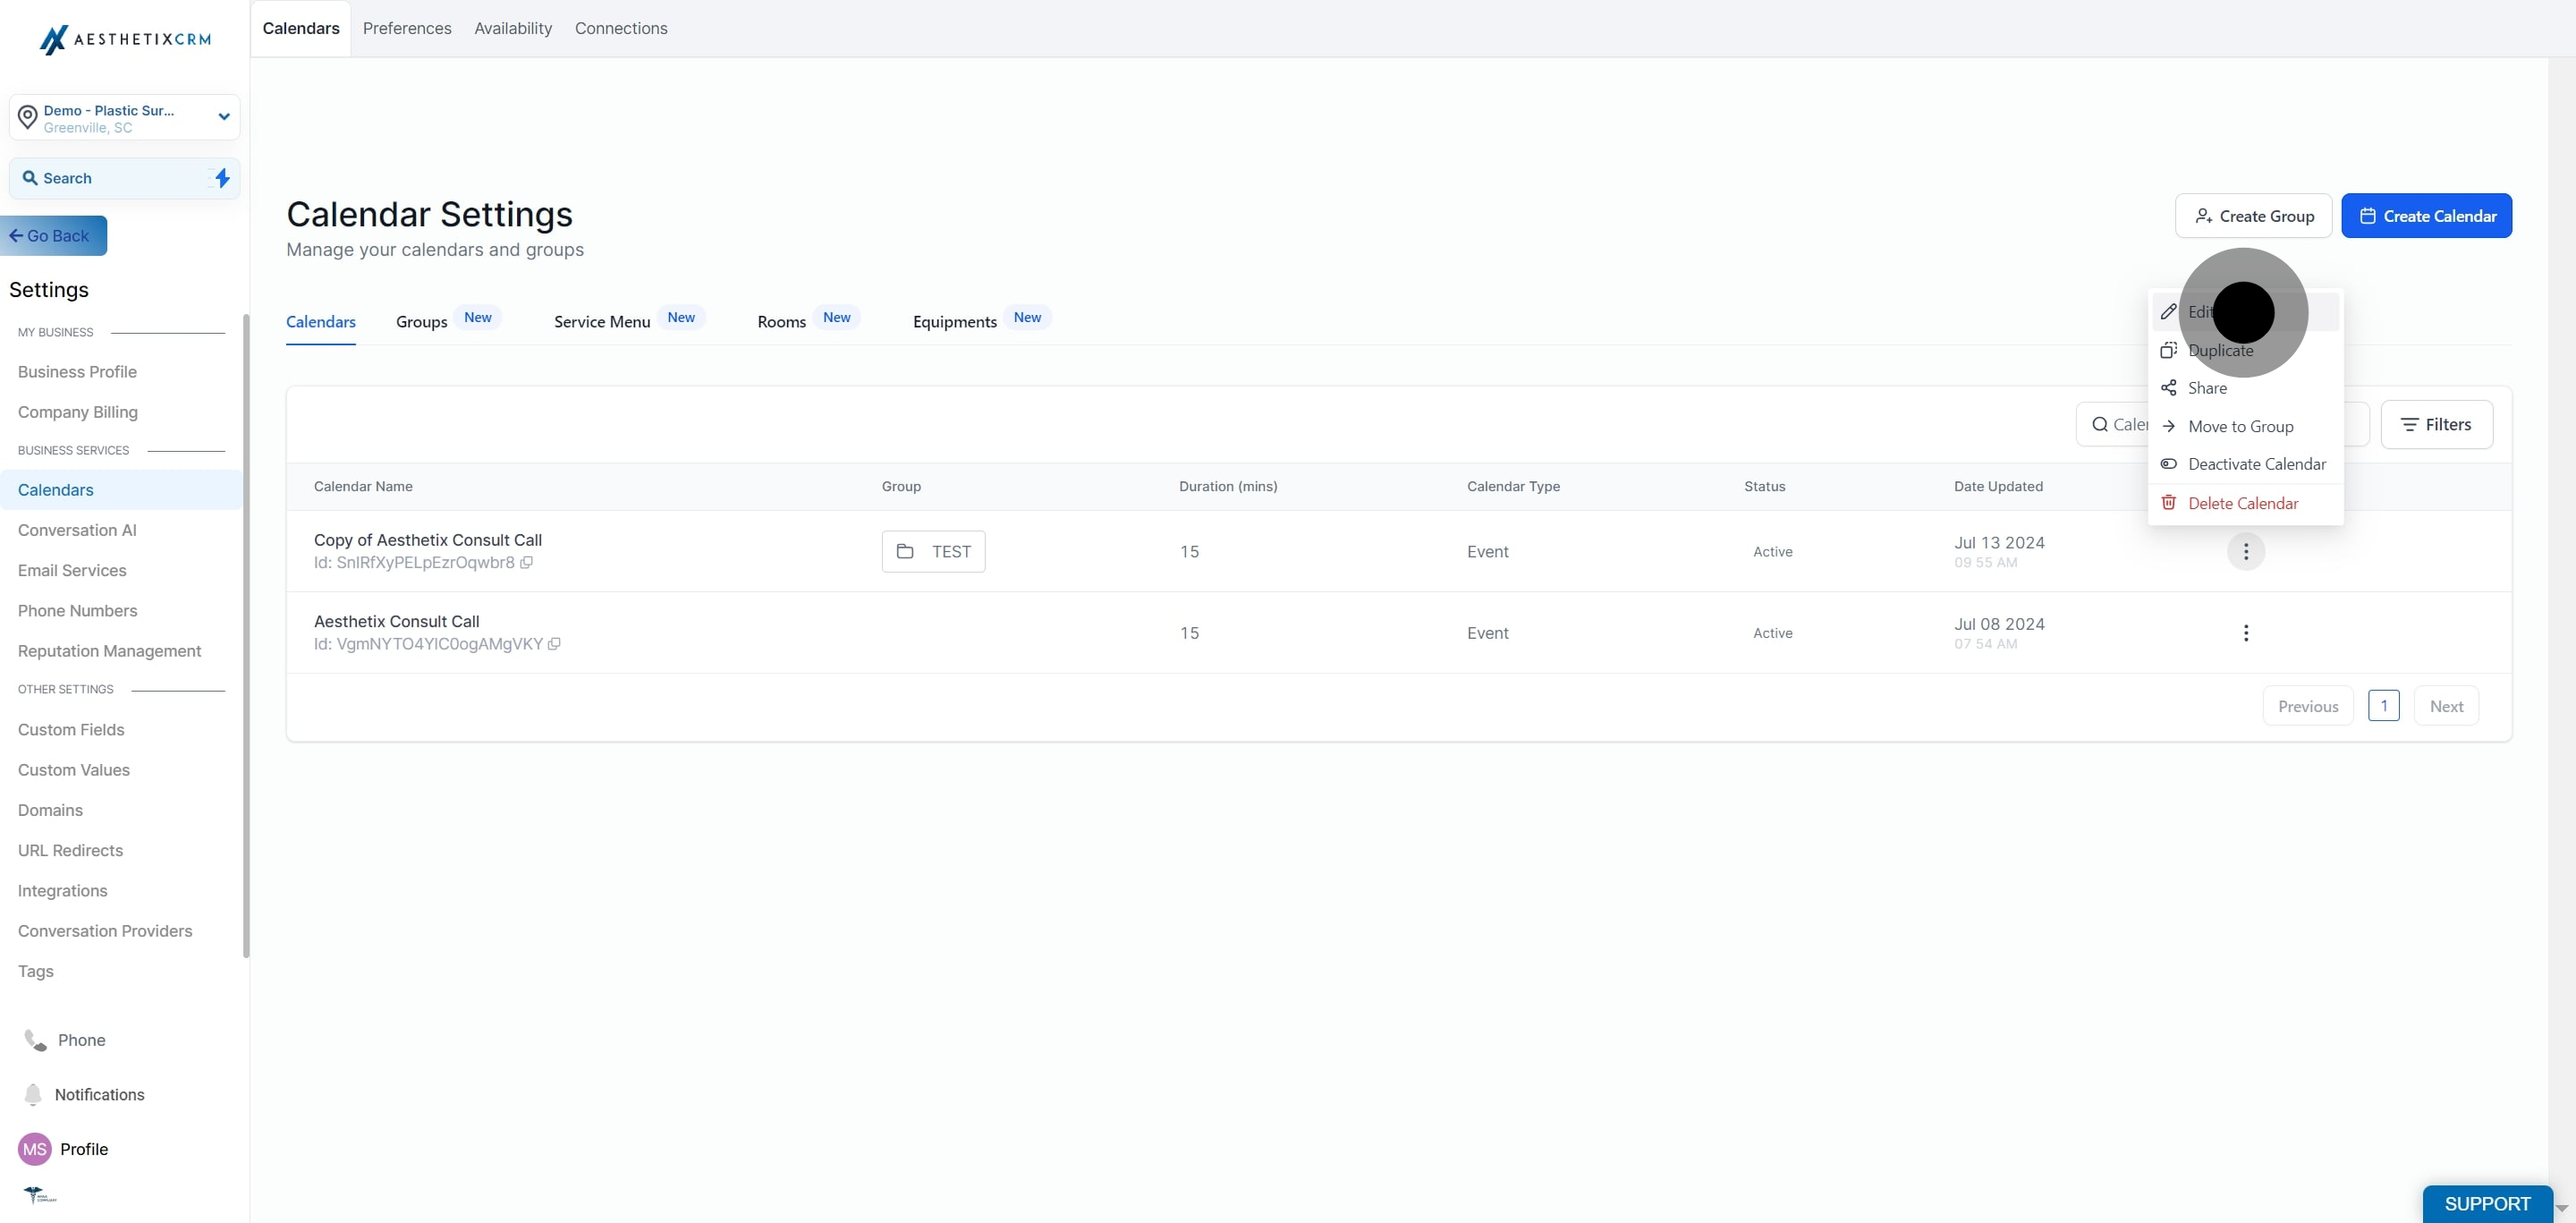
4. Click on "Edit".
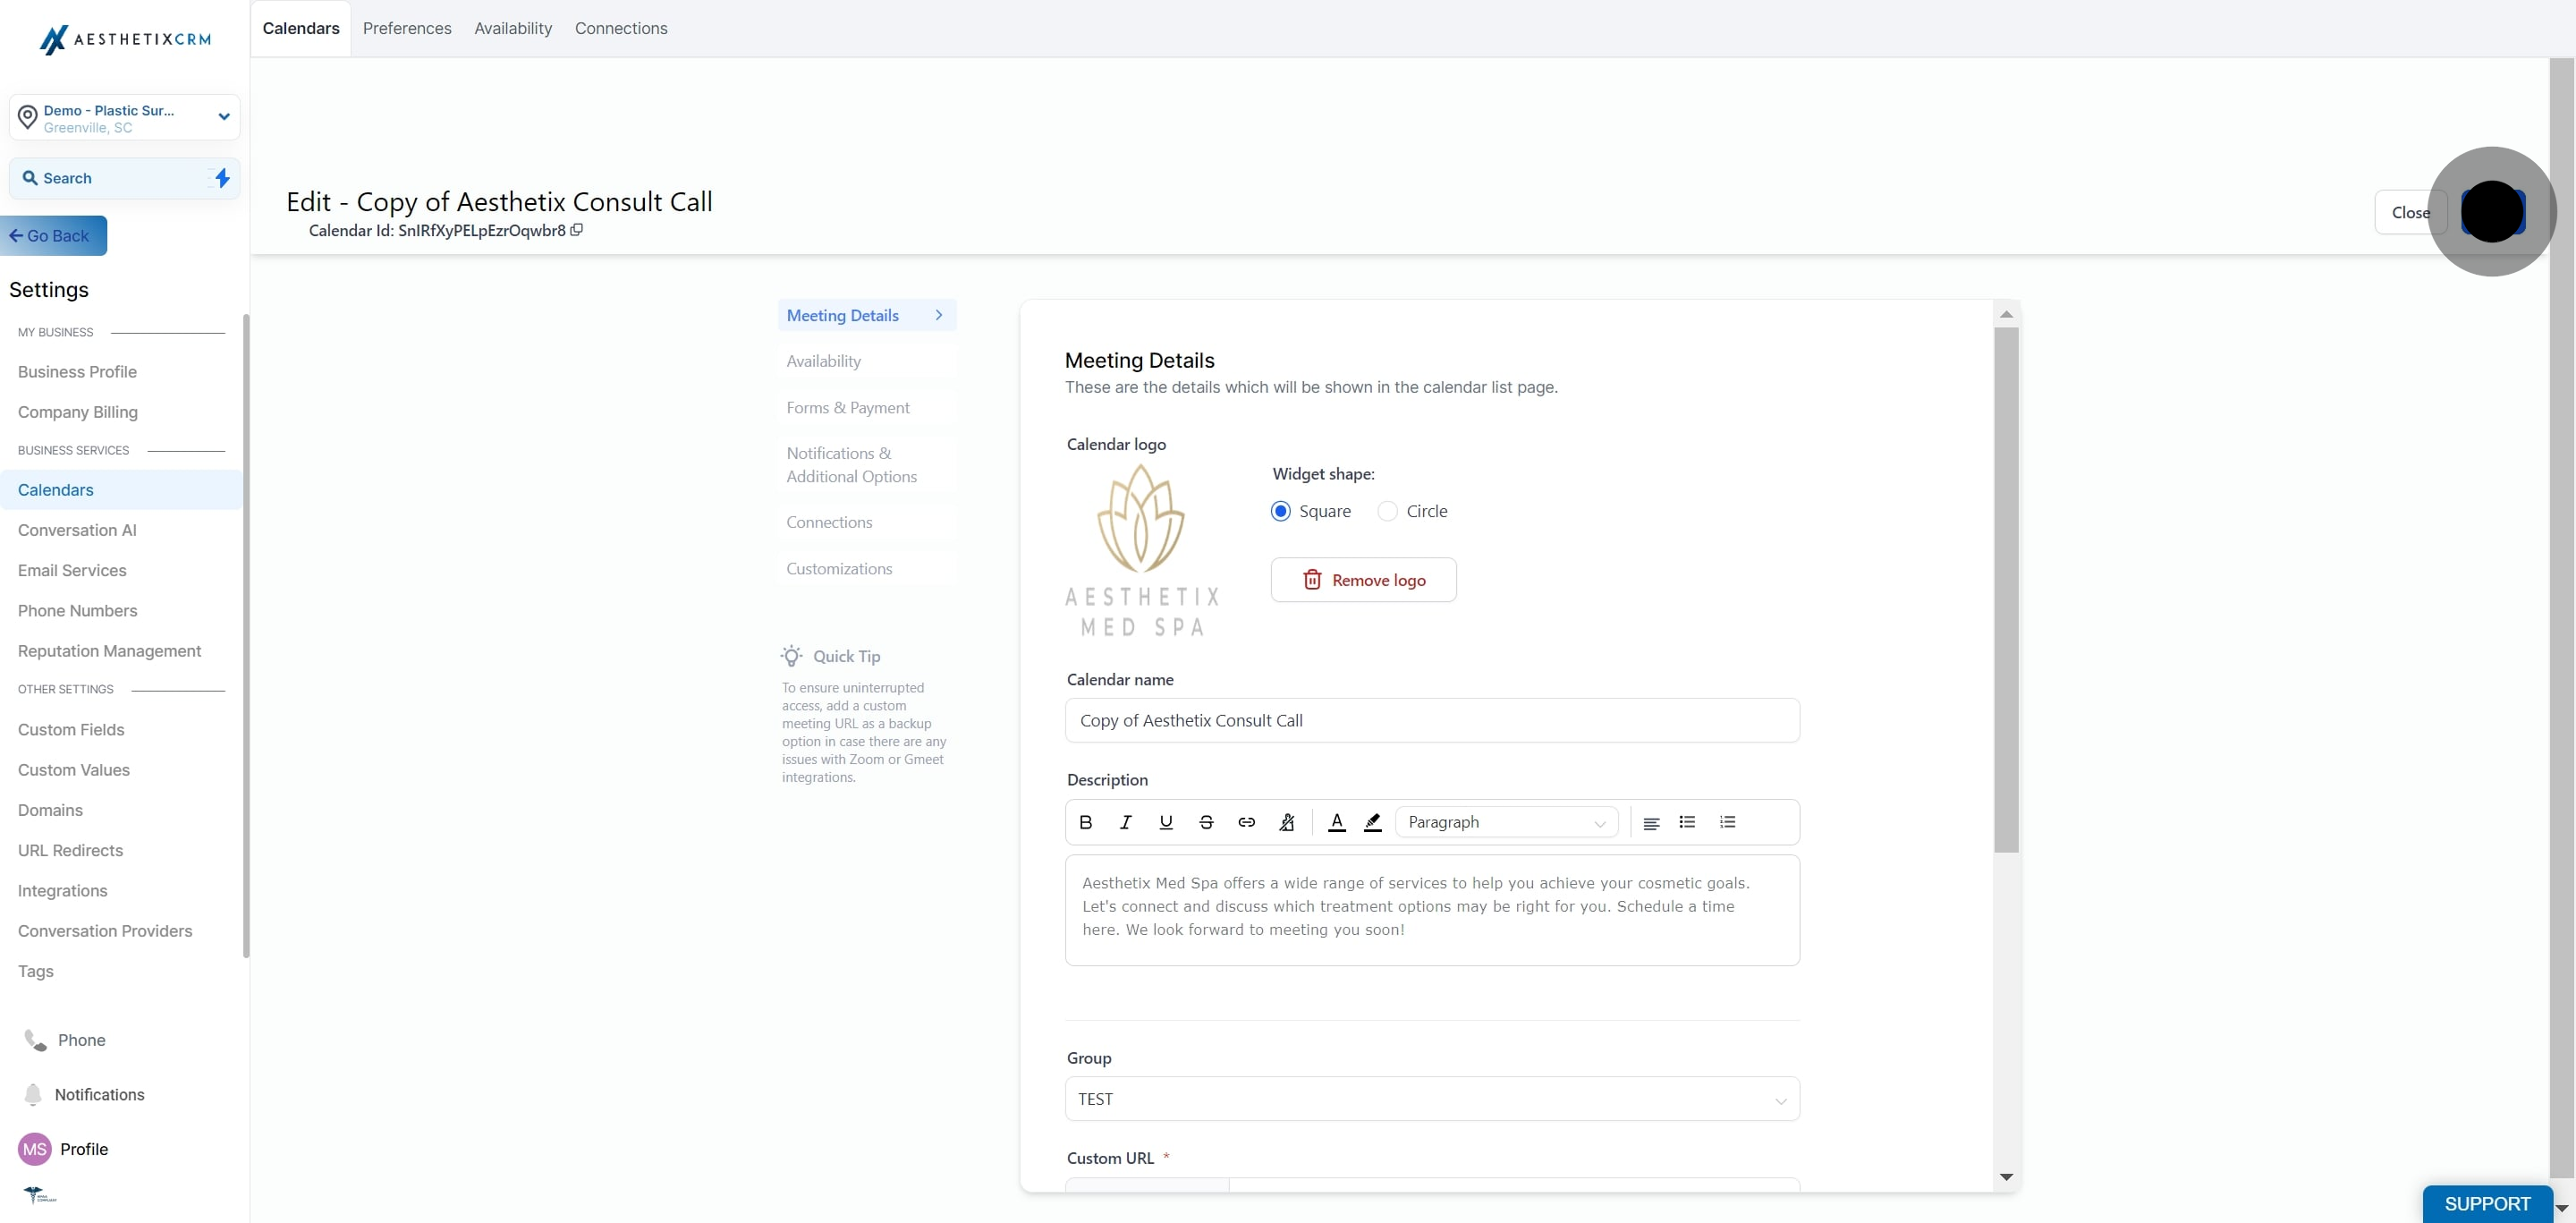
5. Edit the meeting details as needed and click "Save".
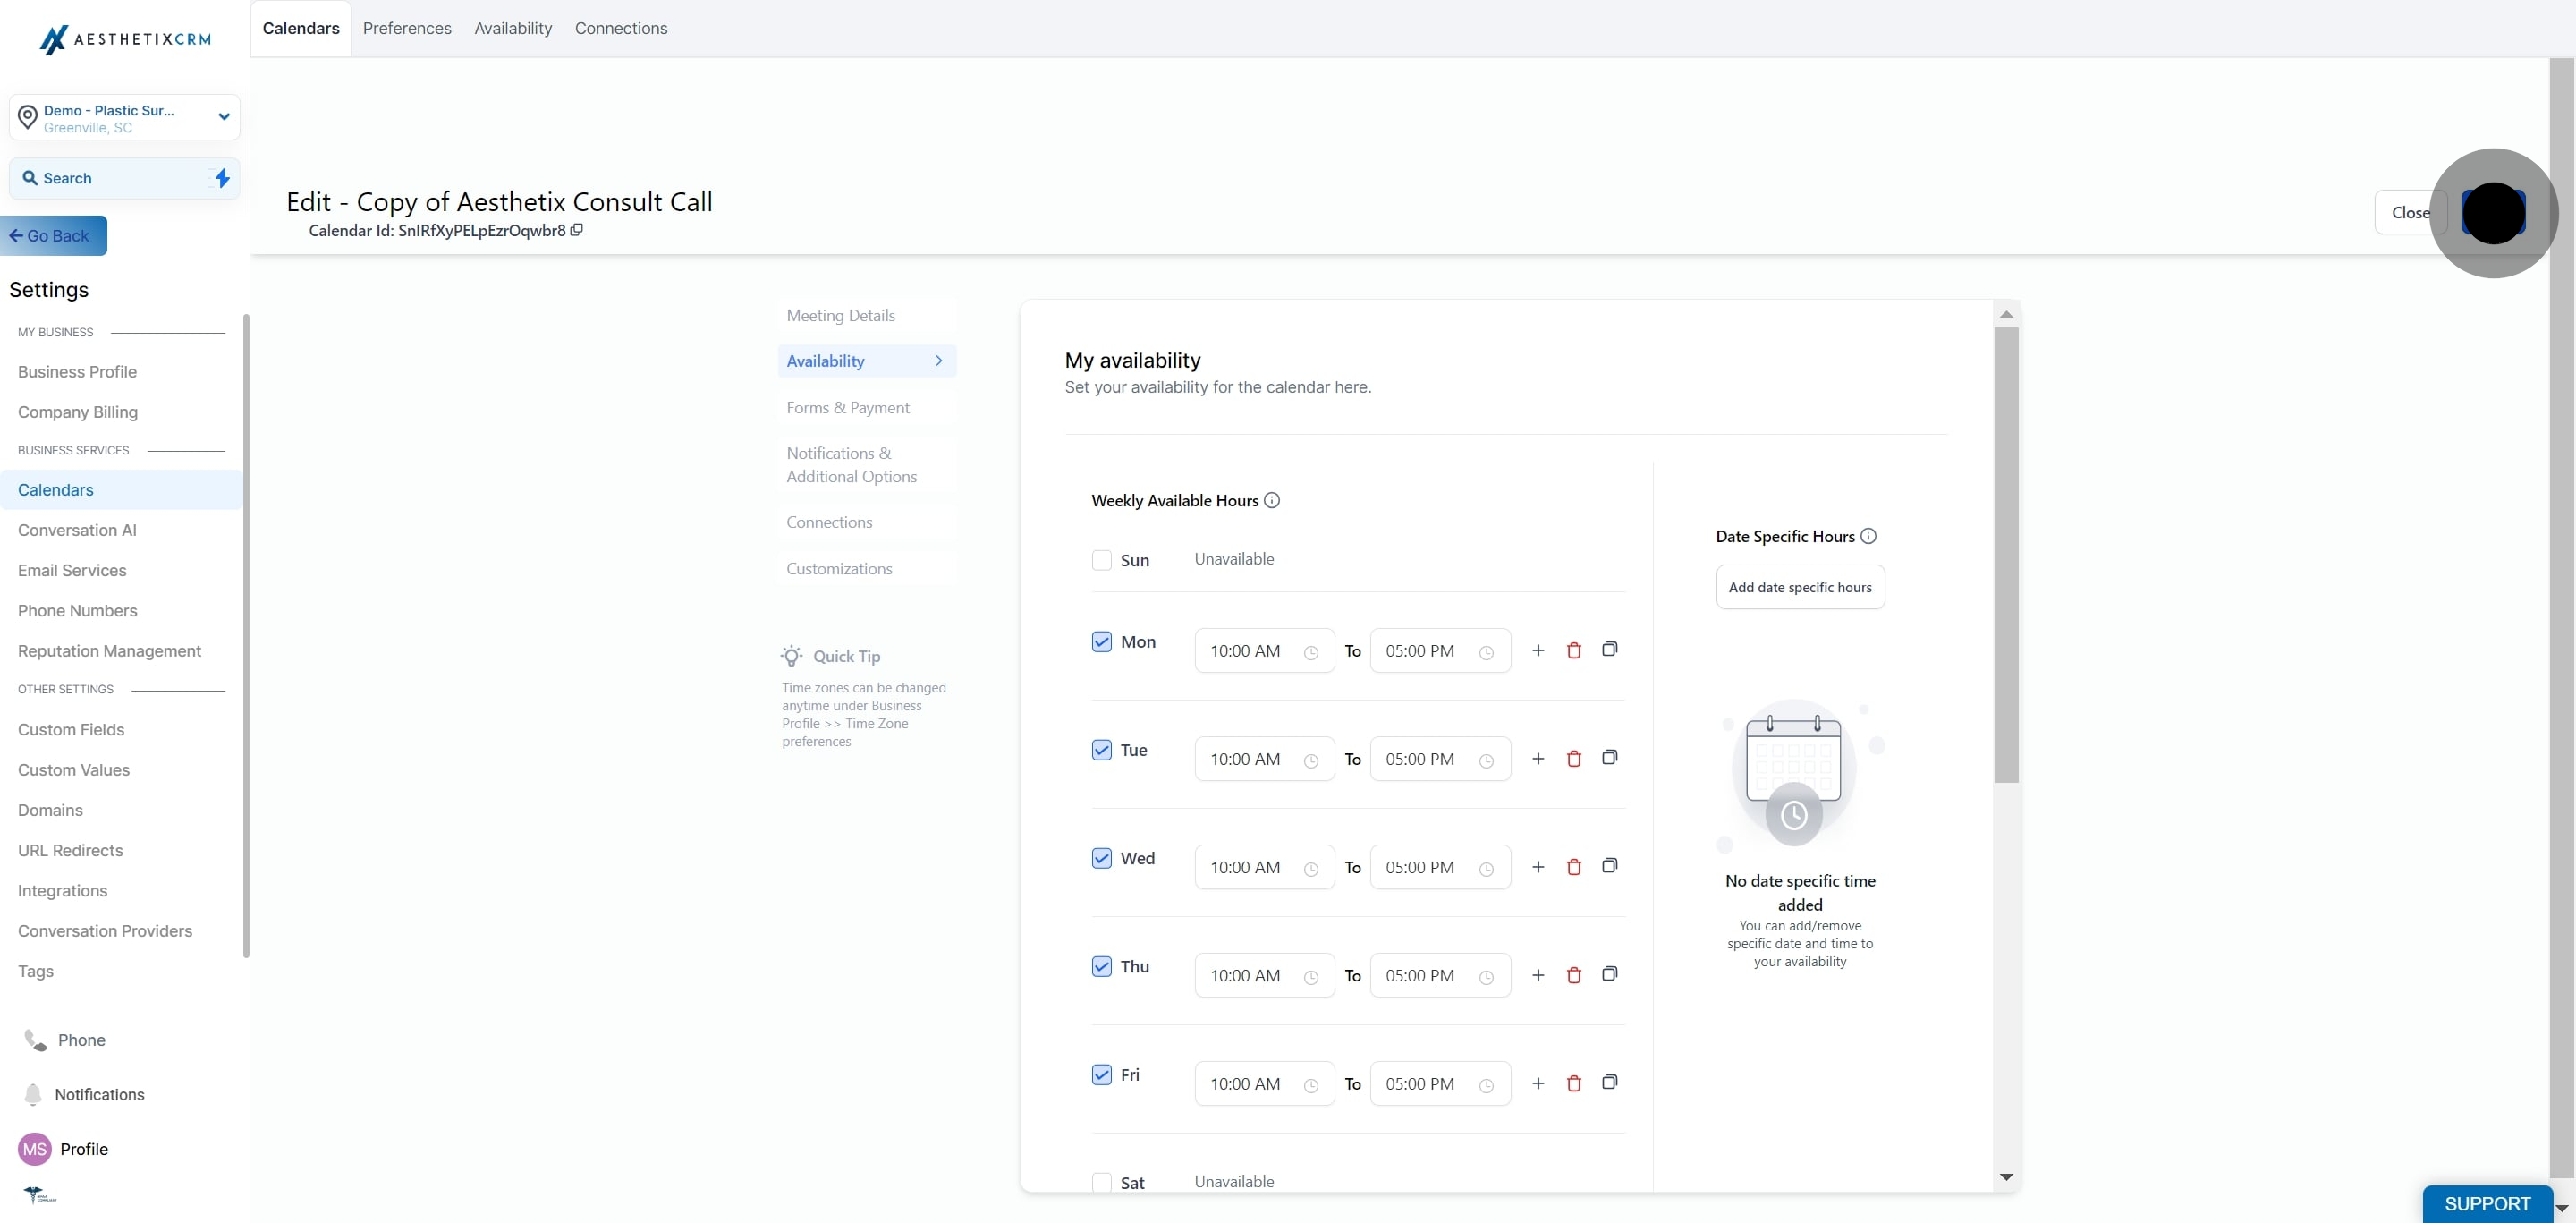
6. Edit the availability settings and click "Save".
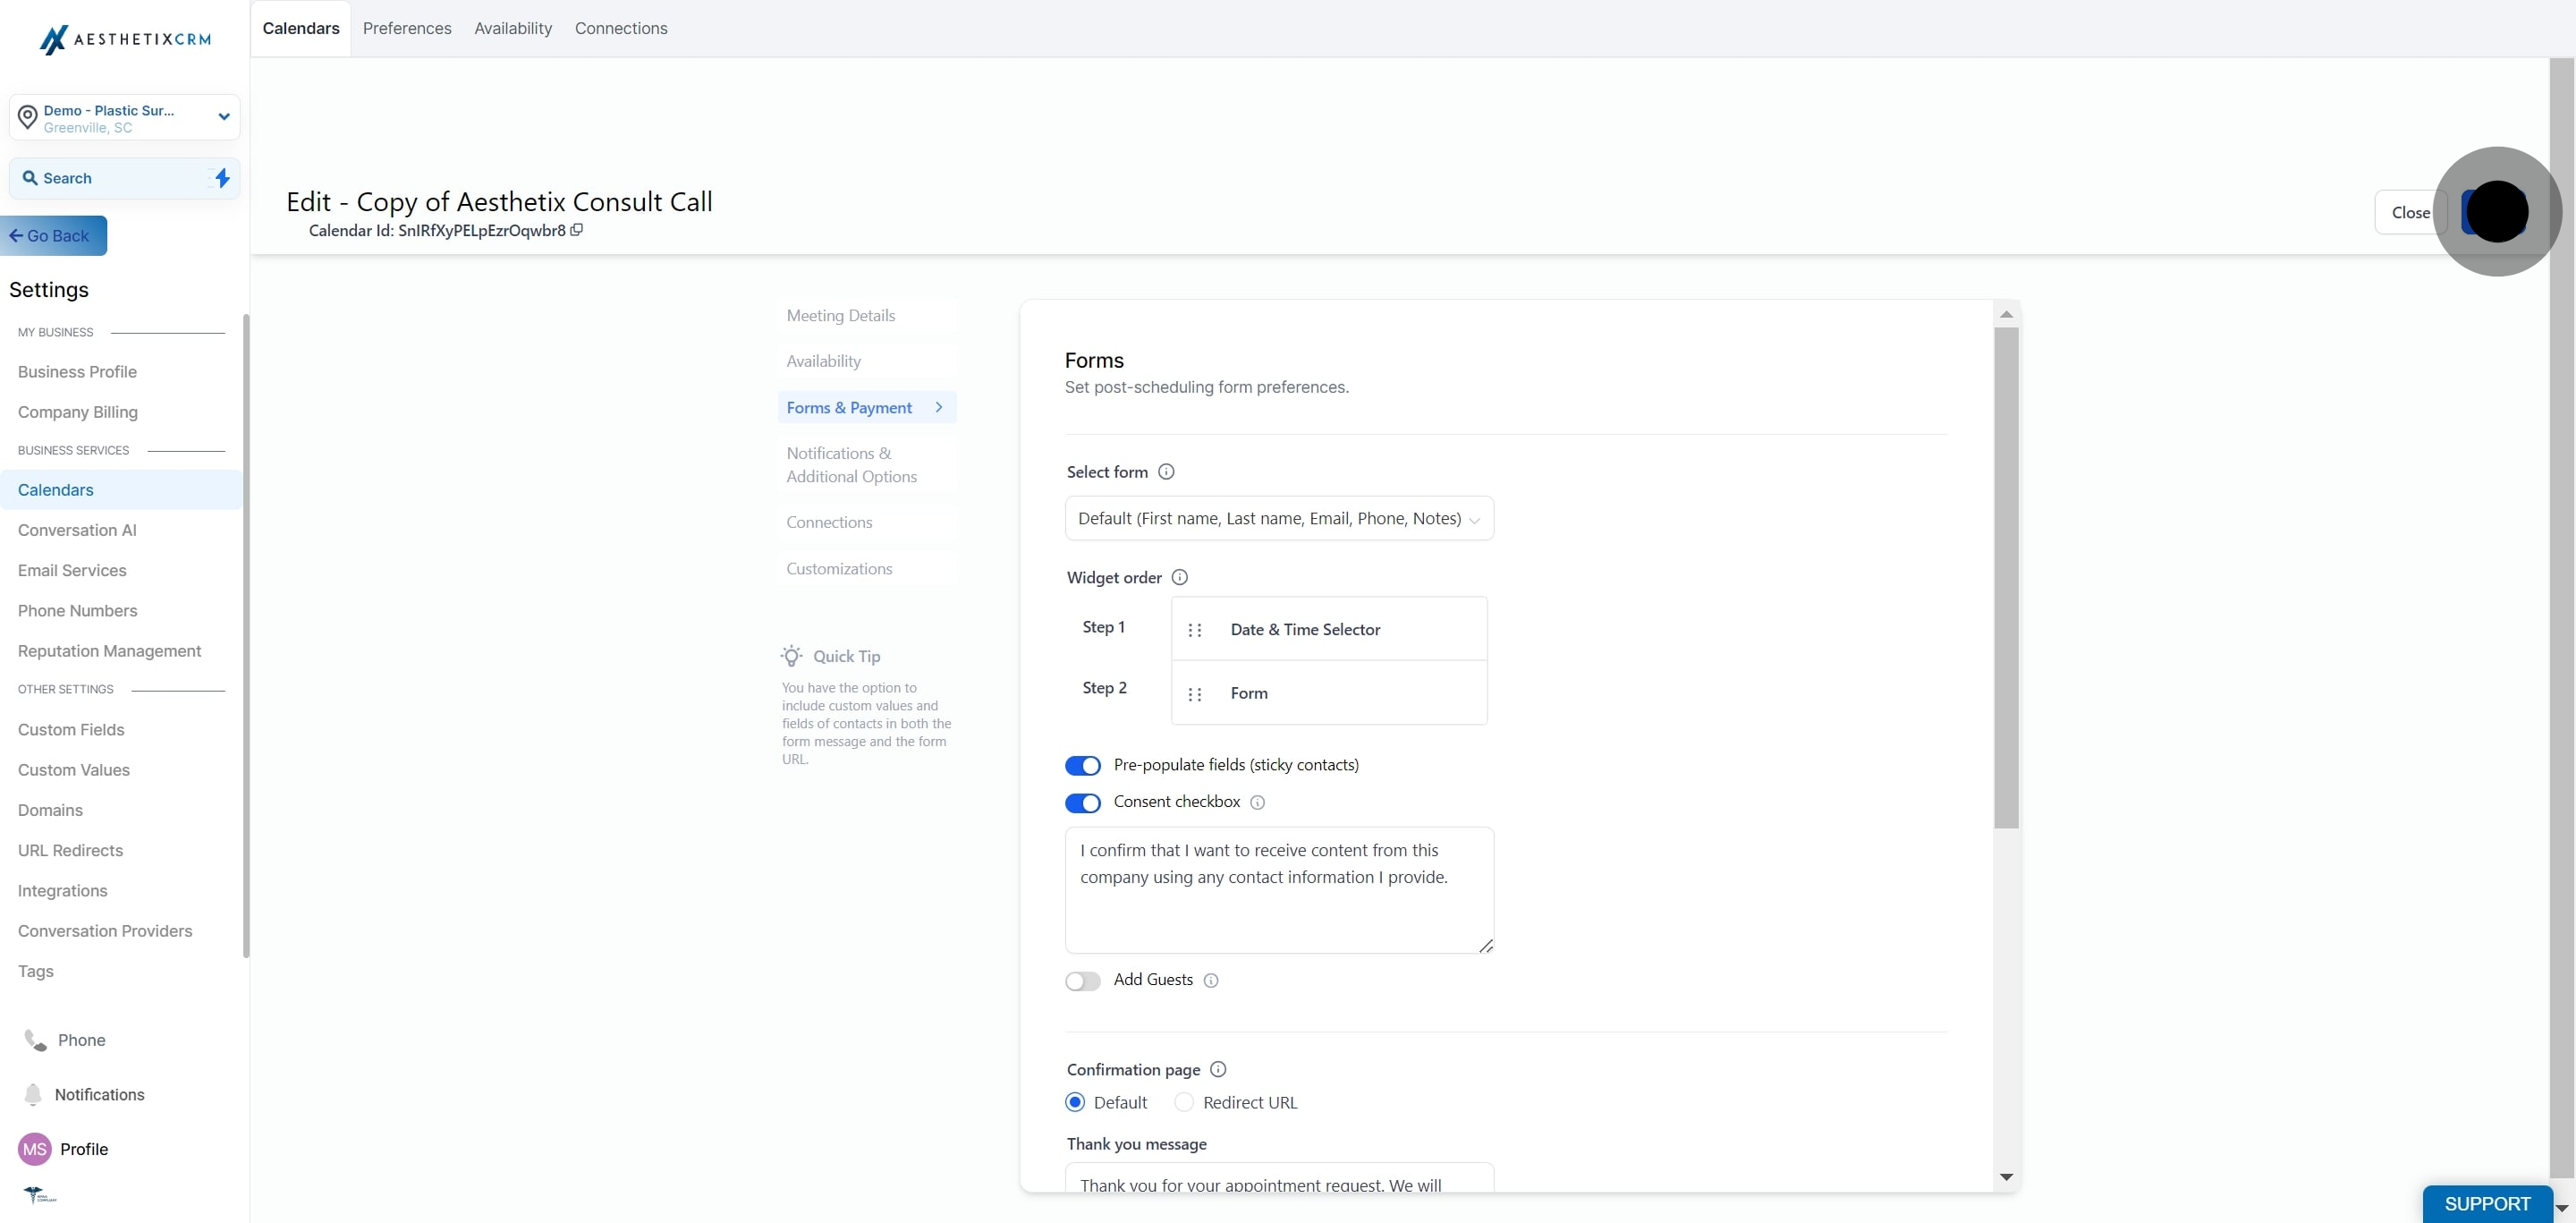
7. Edit the forms and payment options, then click "Save".
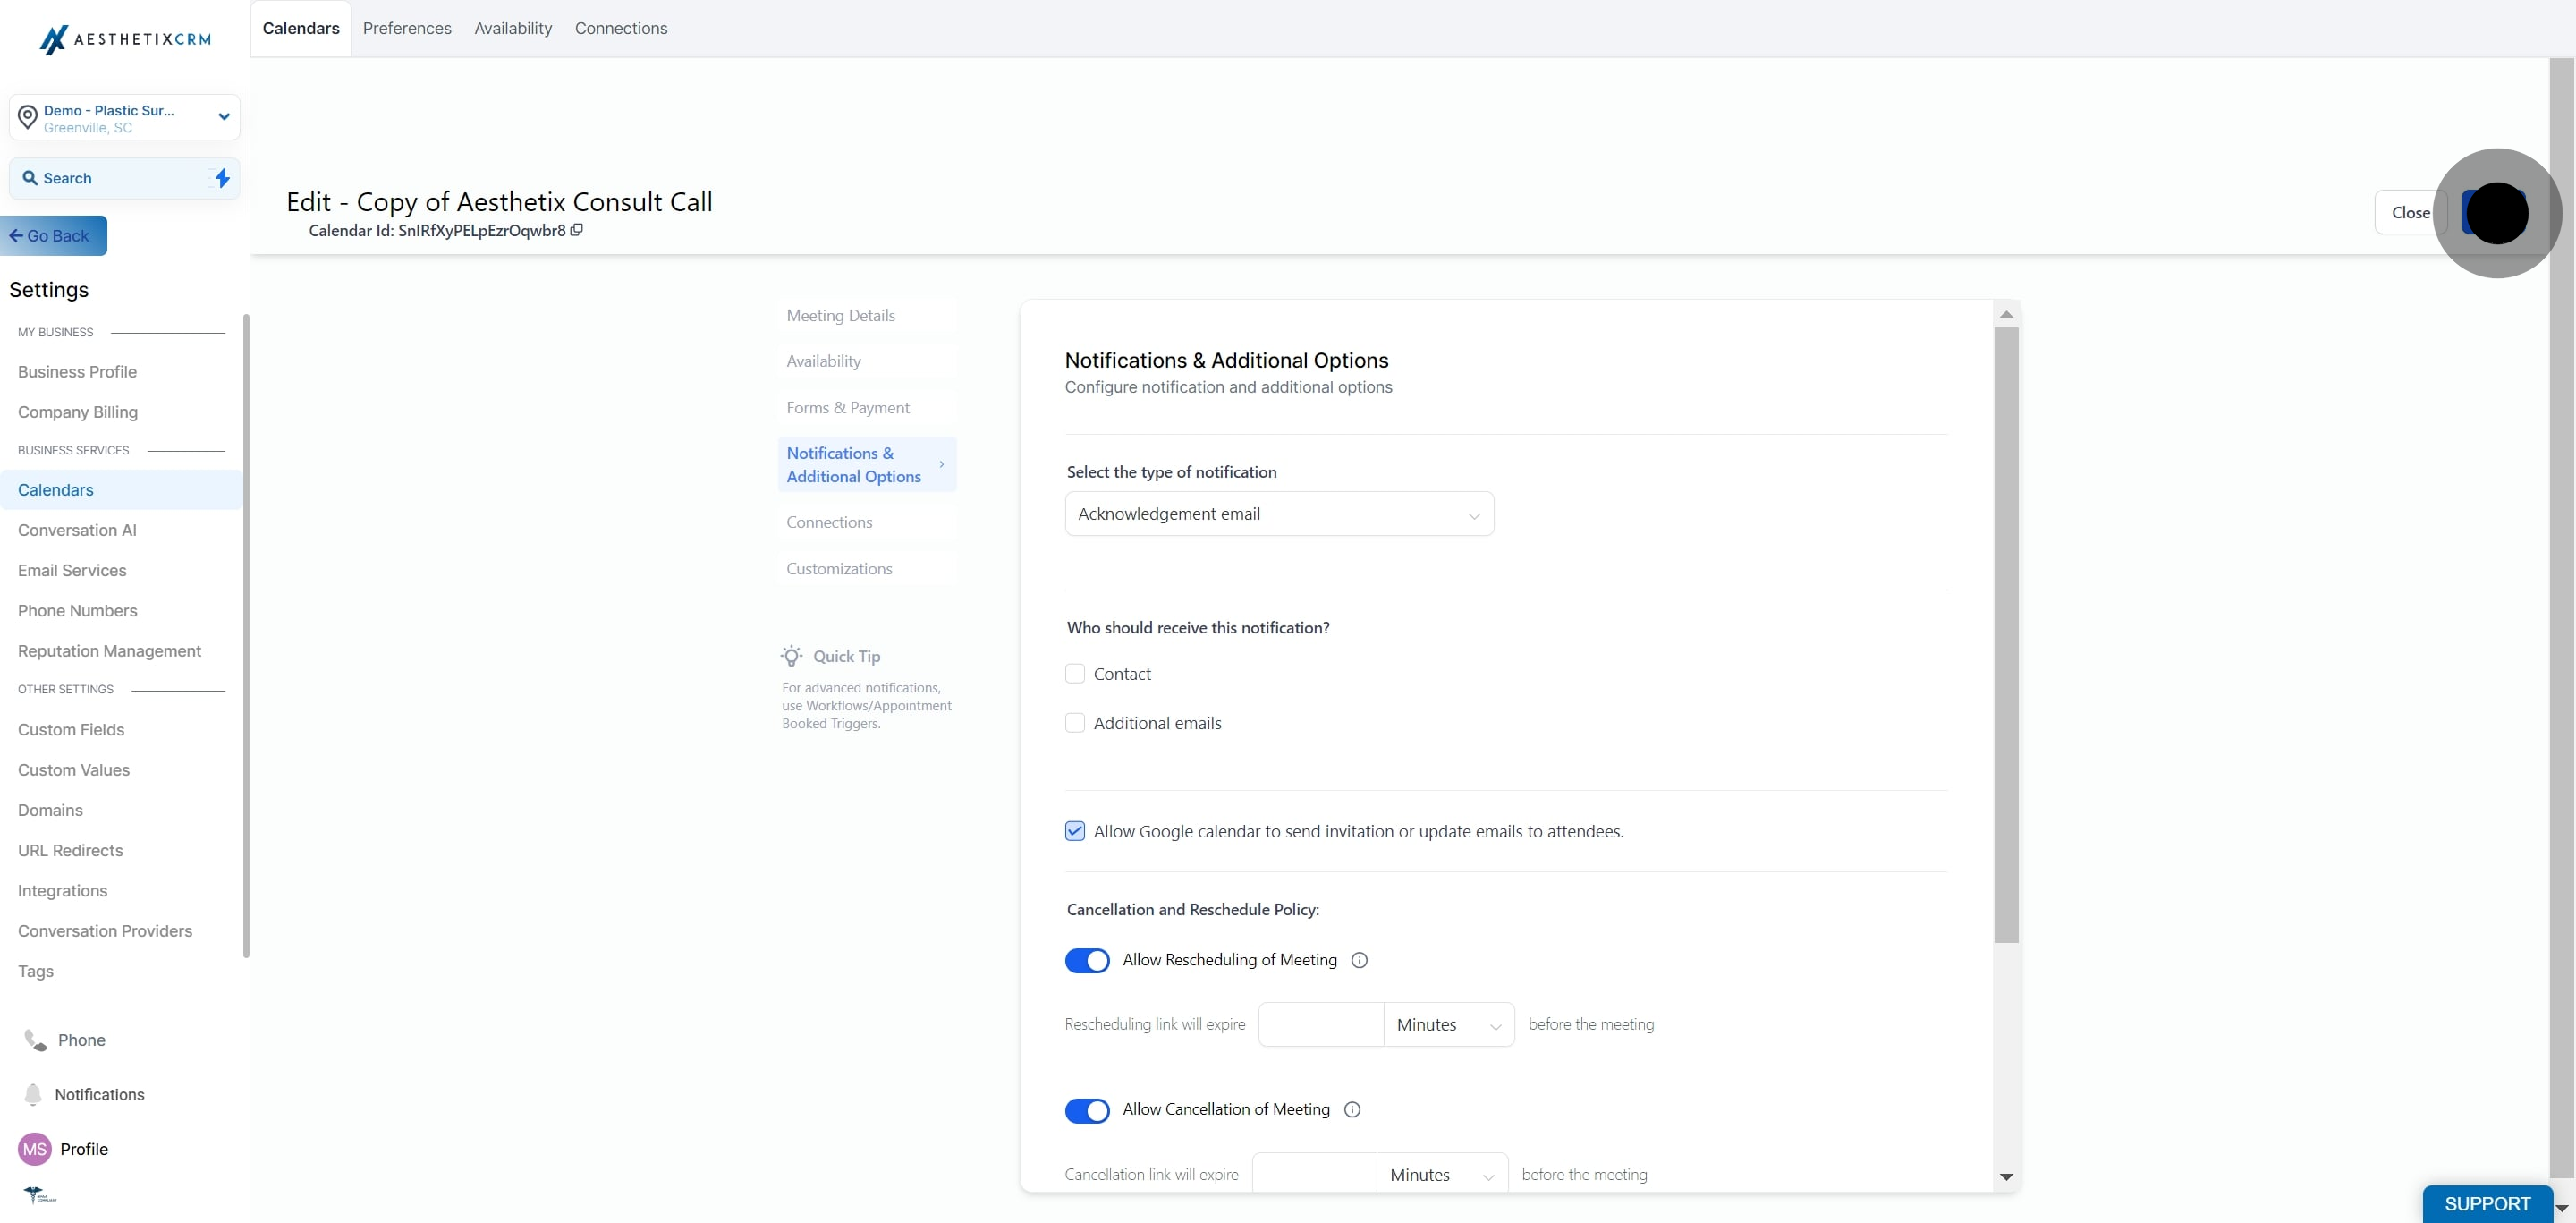
8. Edit the notifications and additional options, then click "Save".
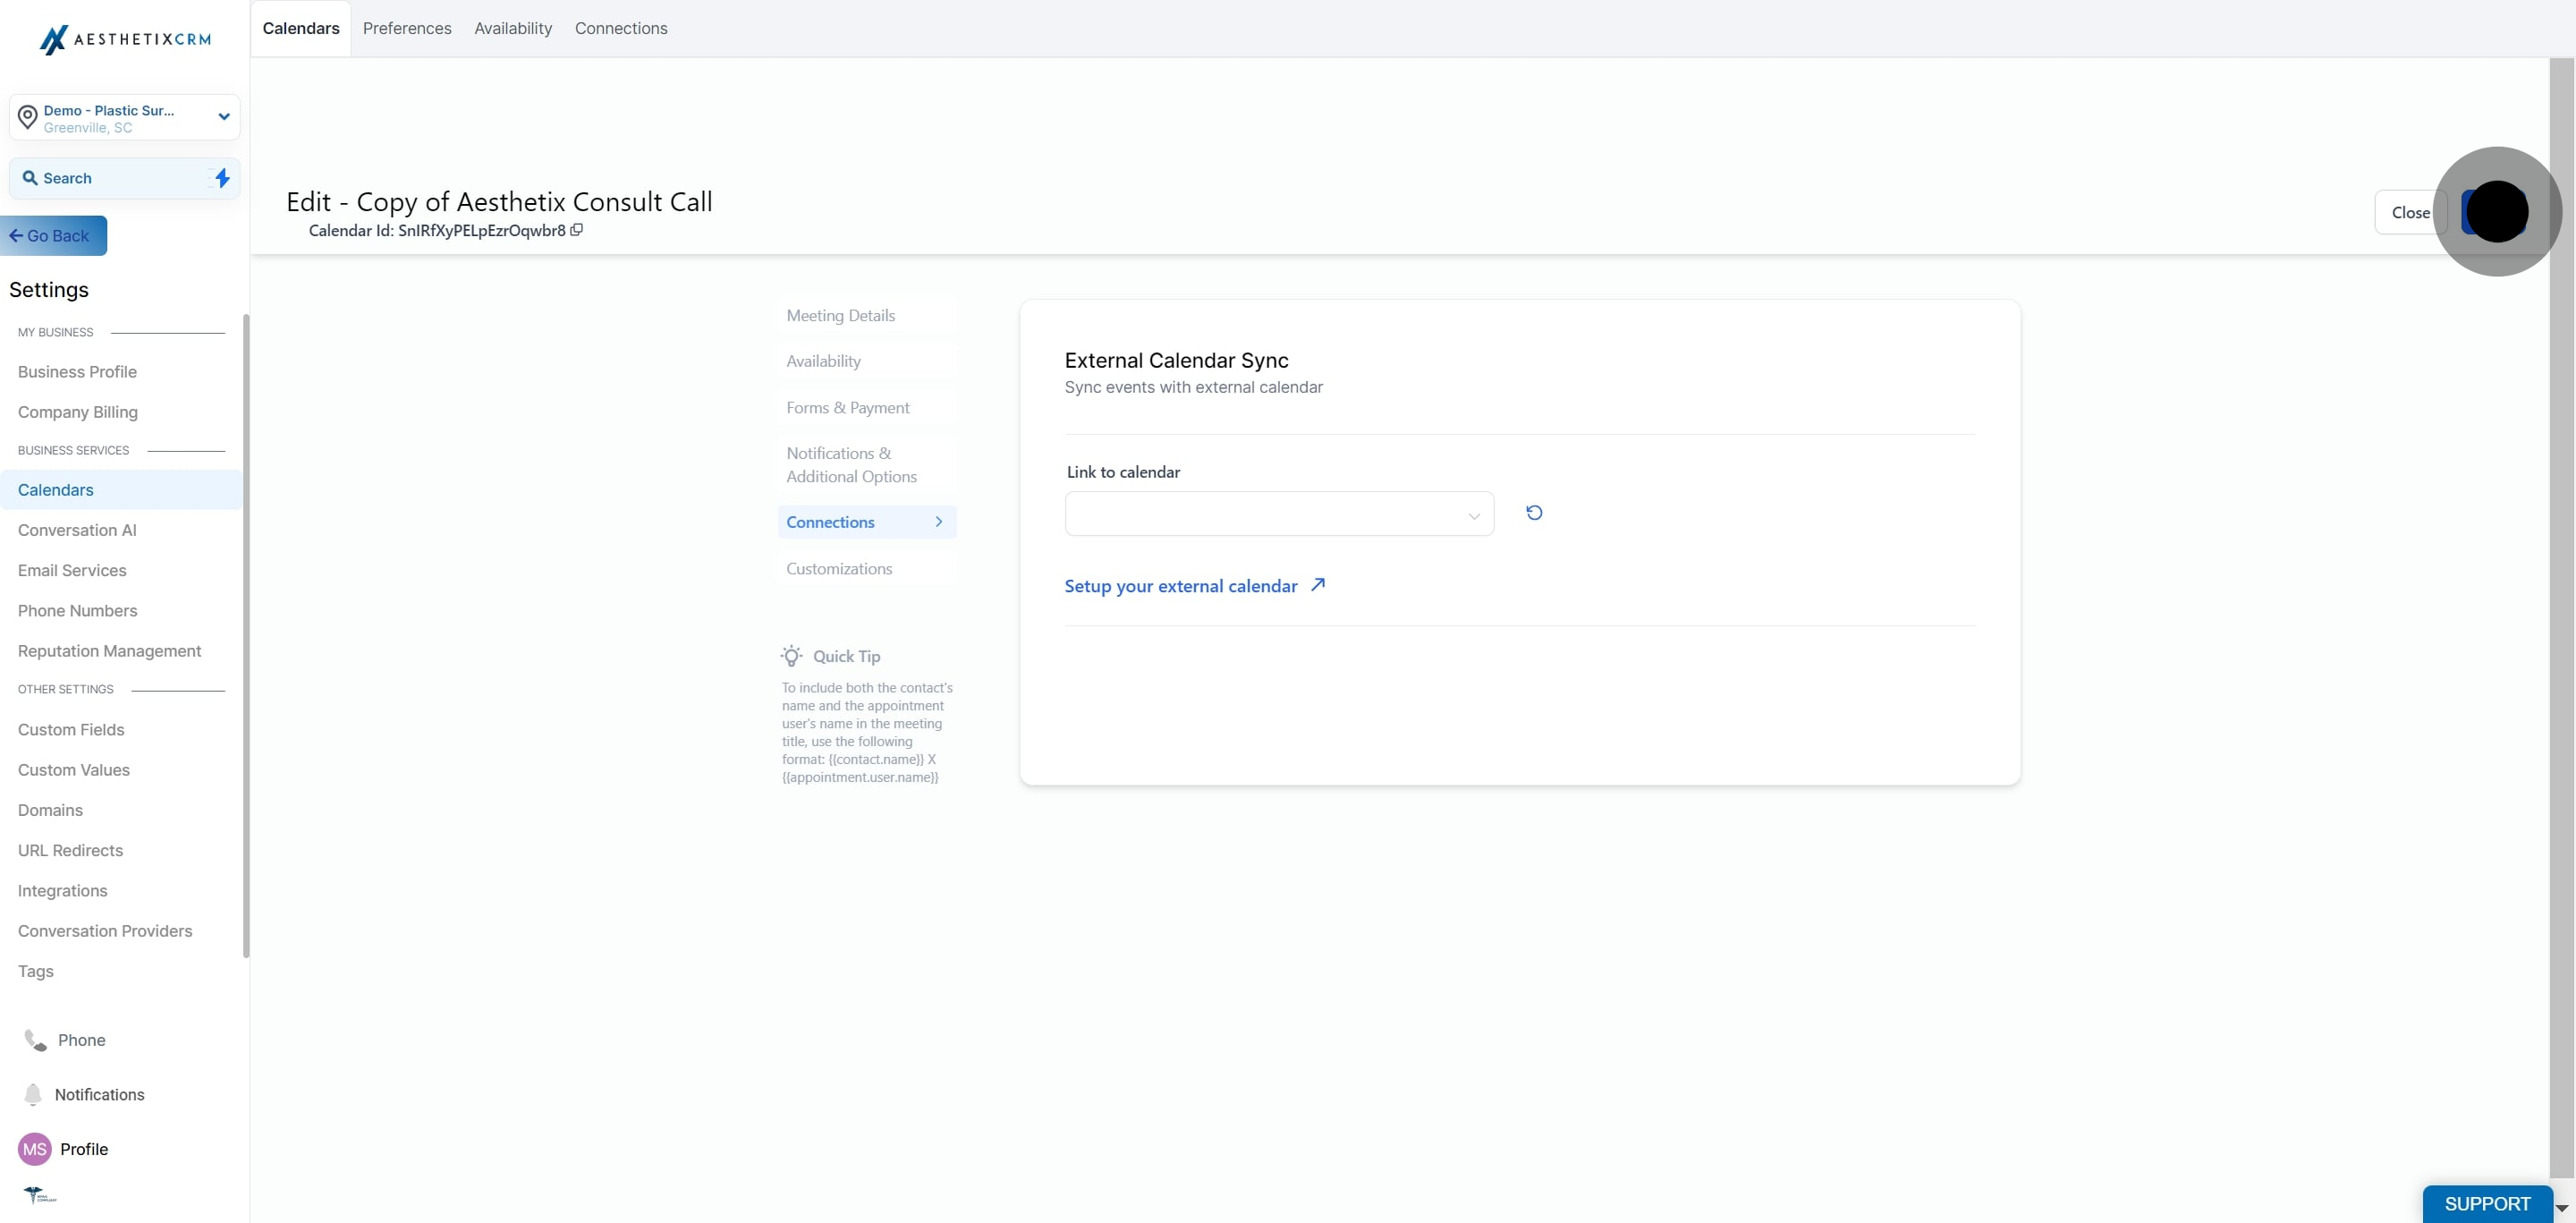
9. Edit the connections settings and click "Save".
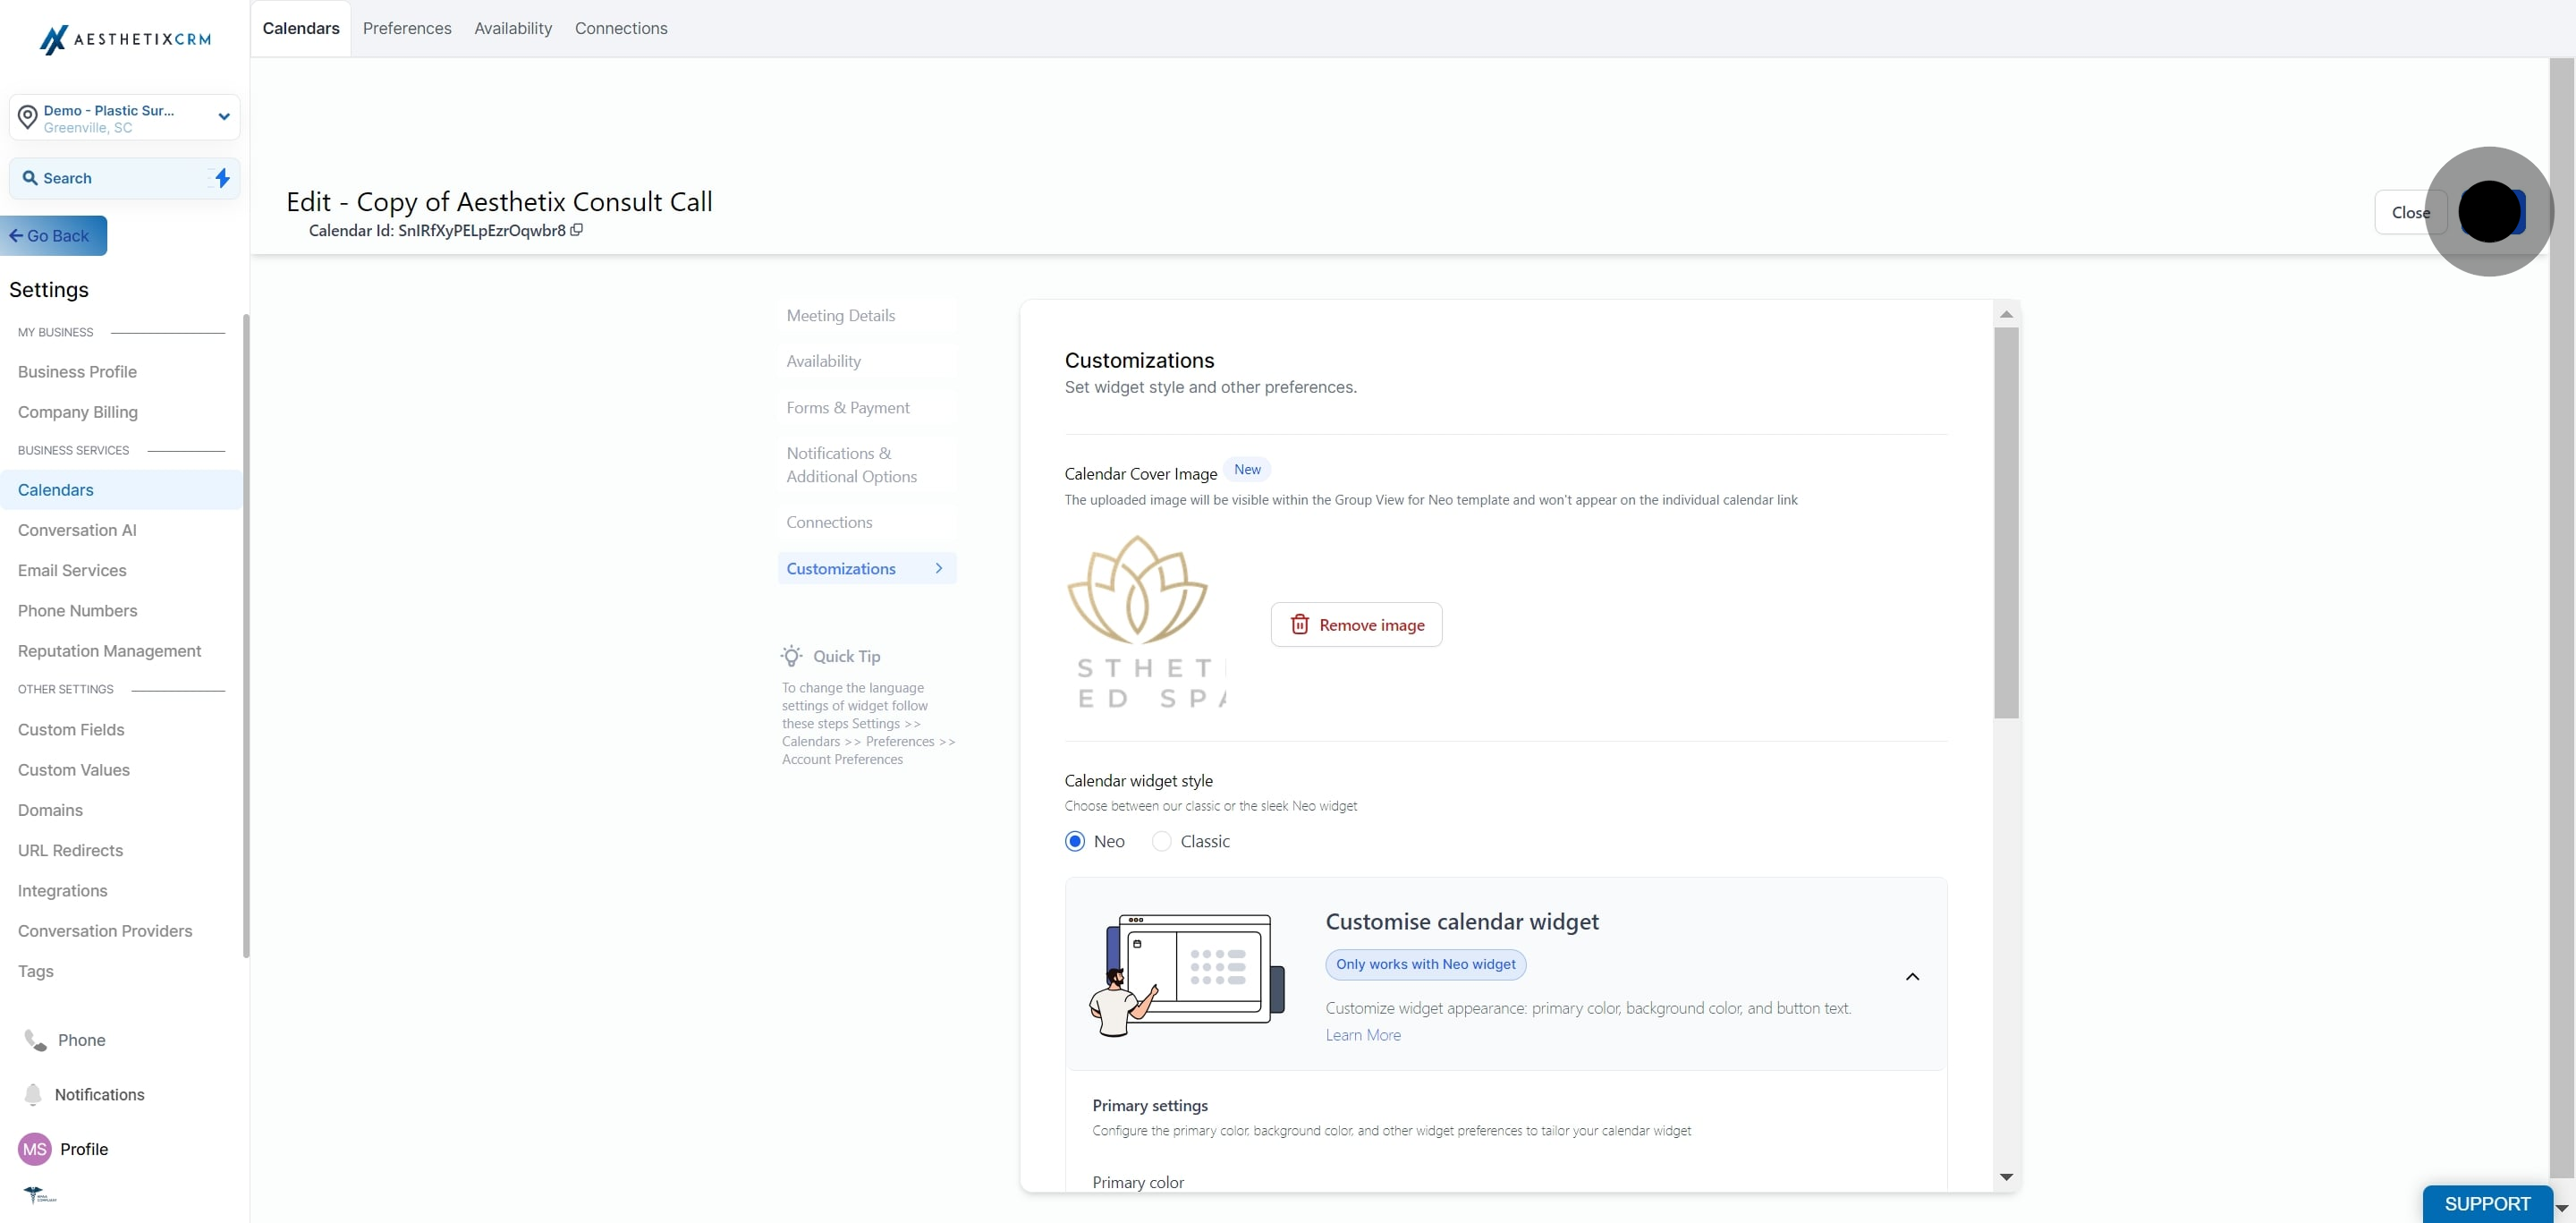
10. Edit the customizations as required and click "Save".