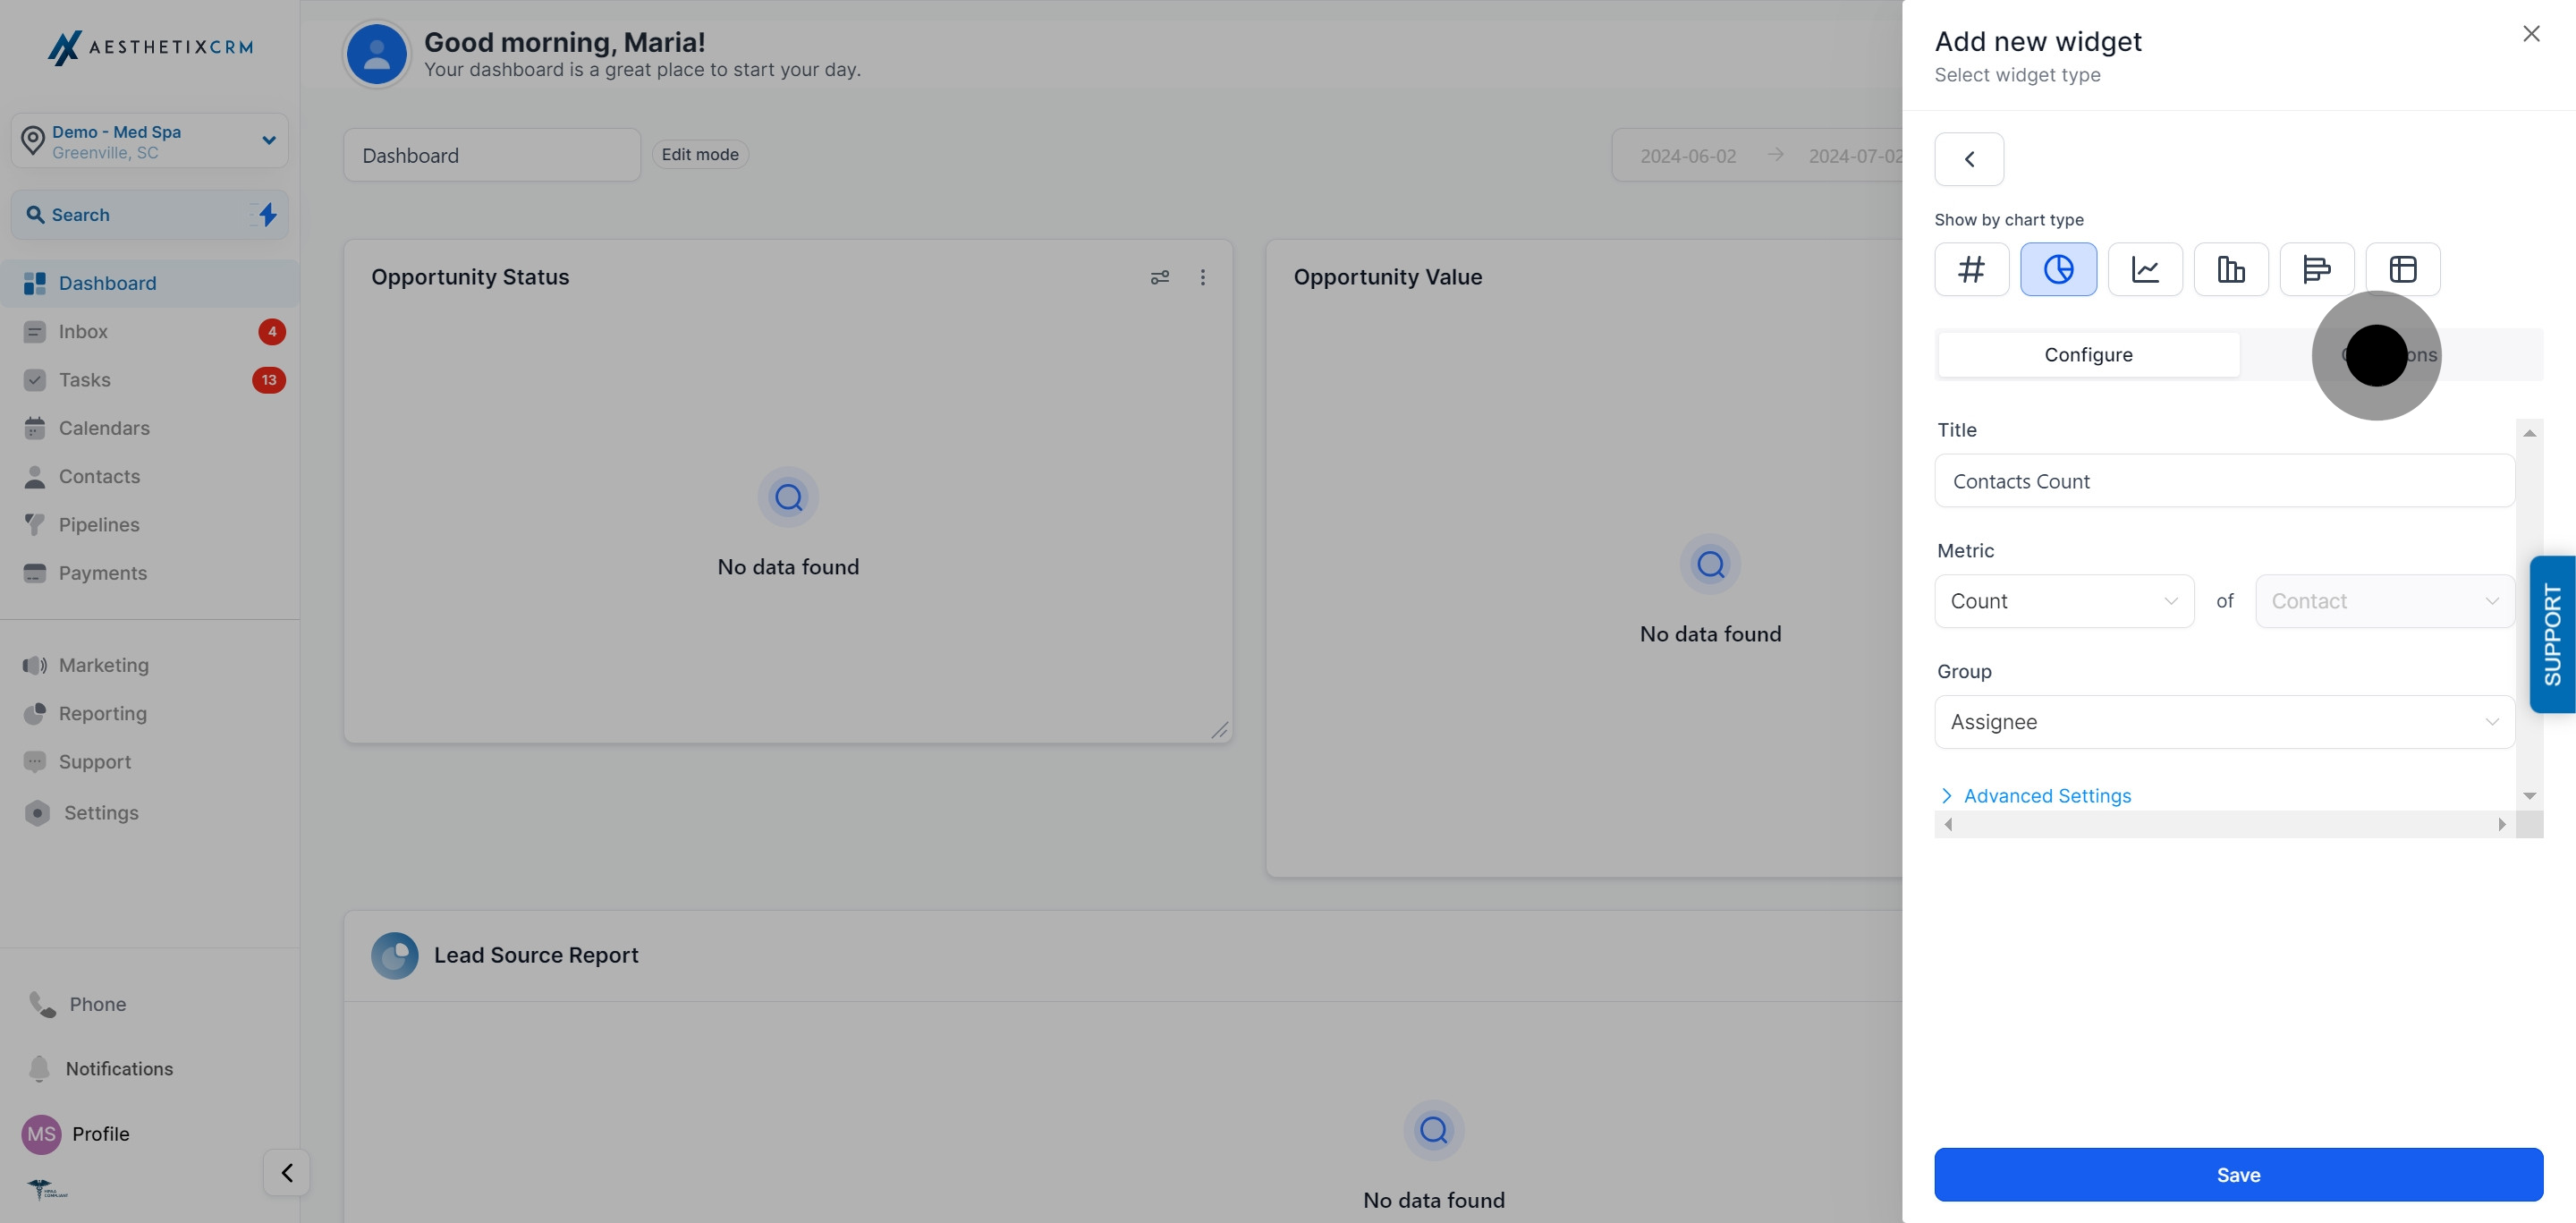
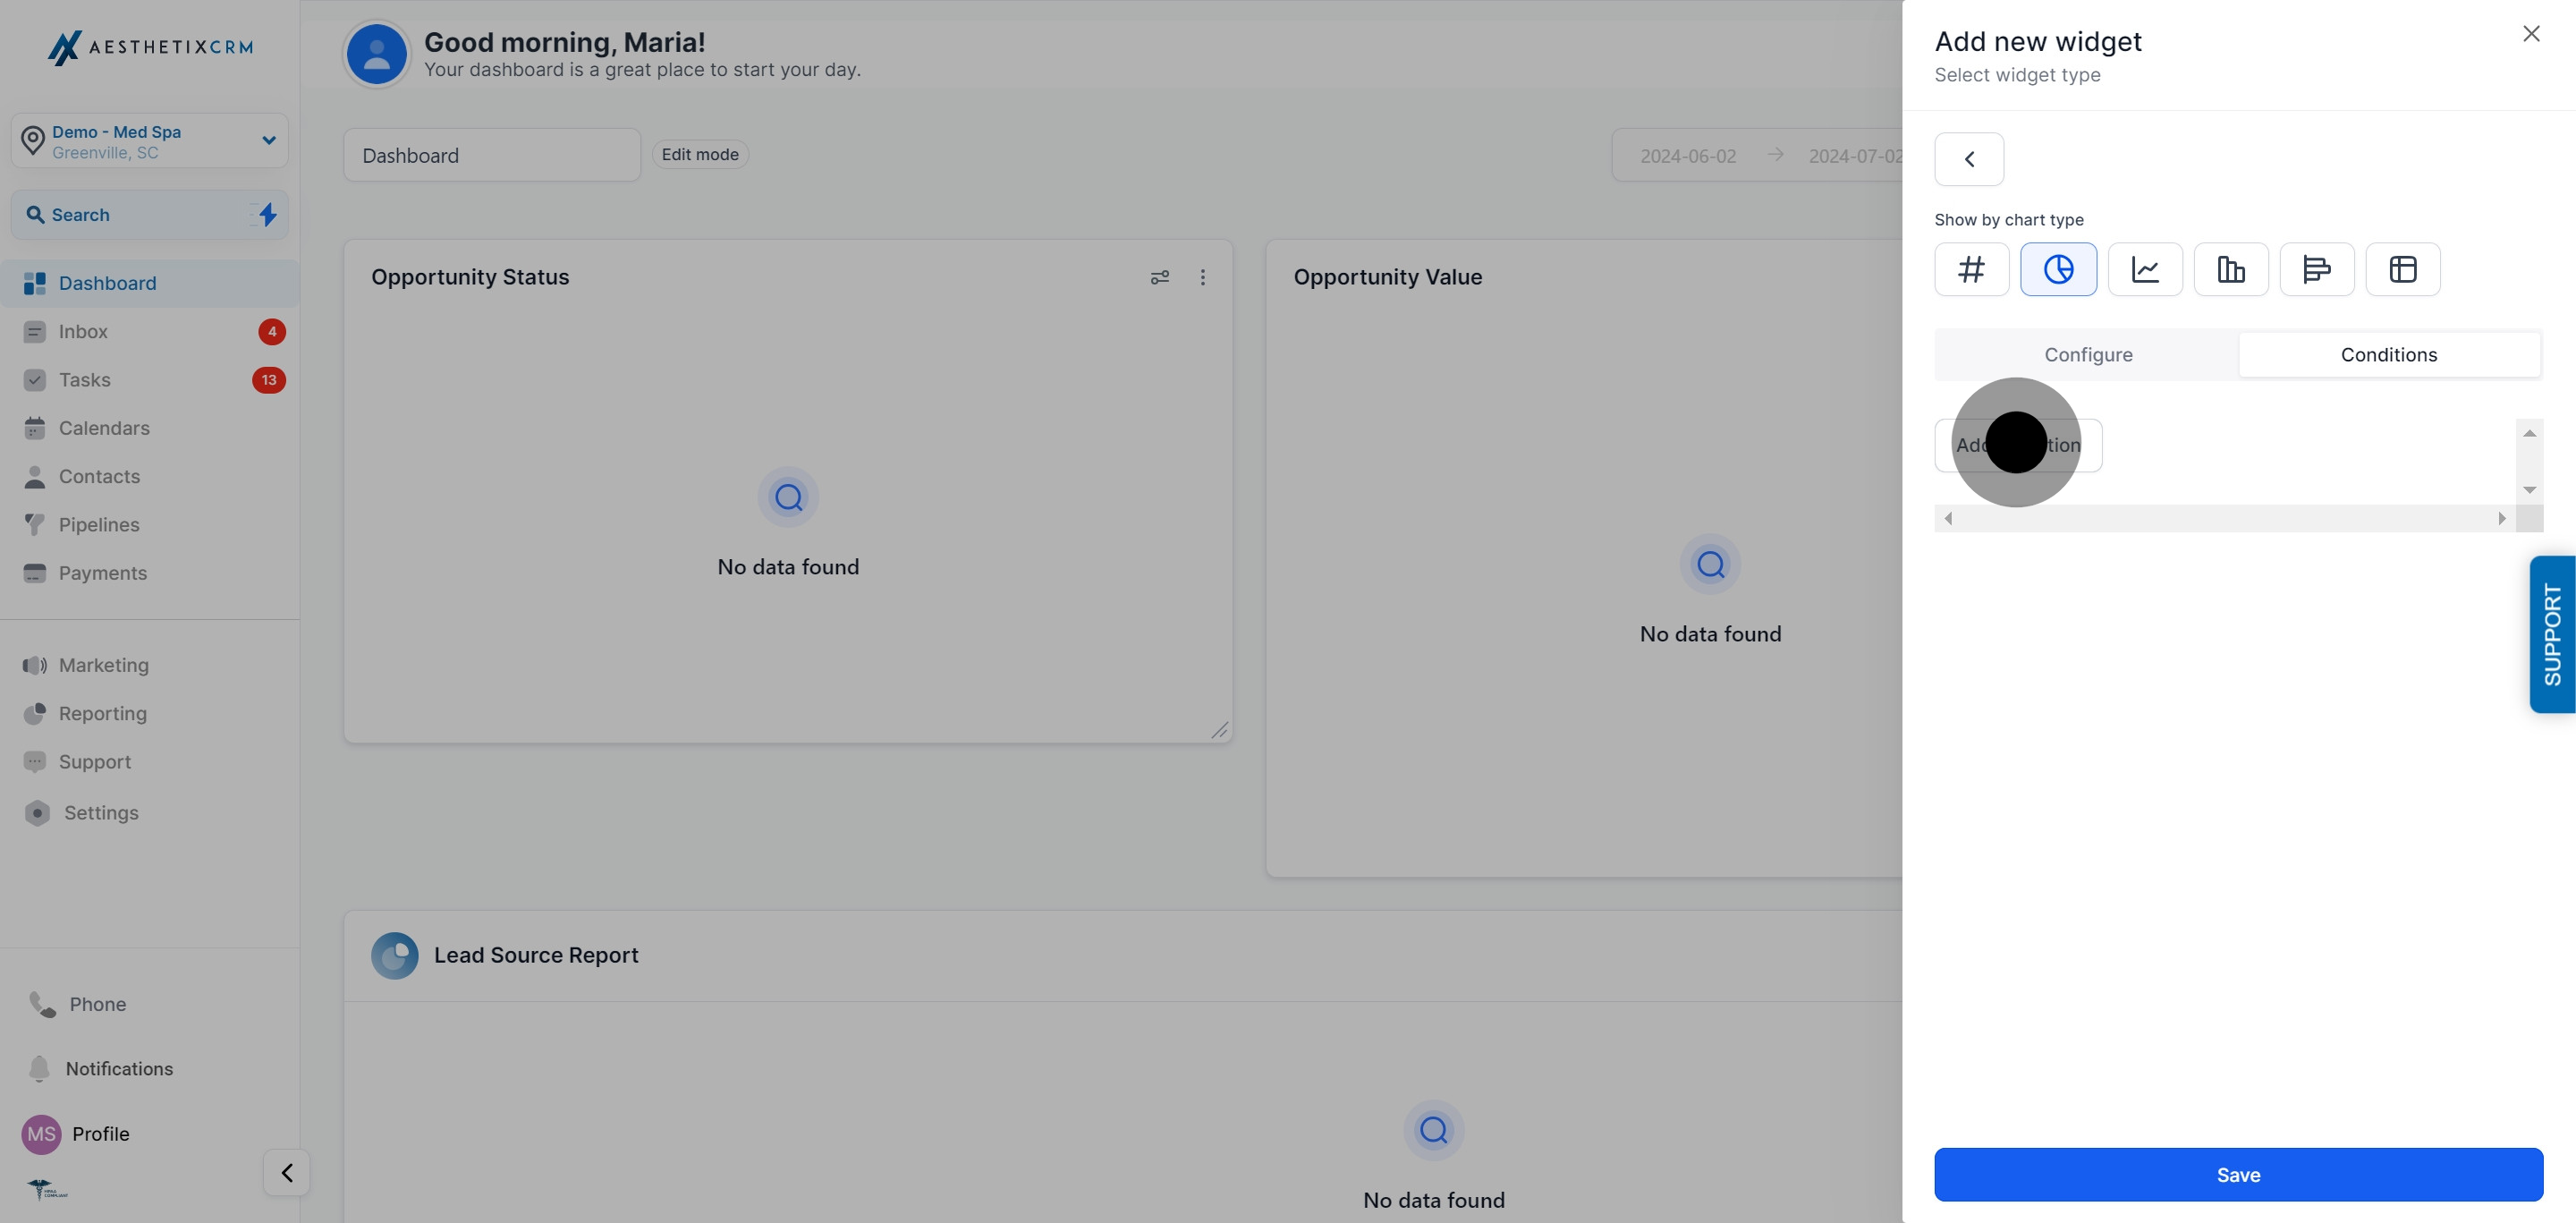
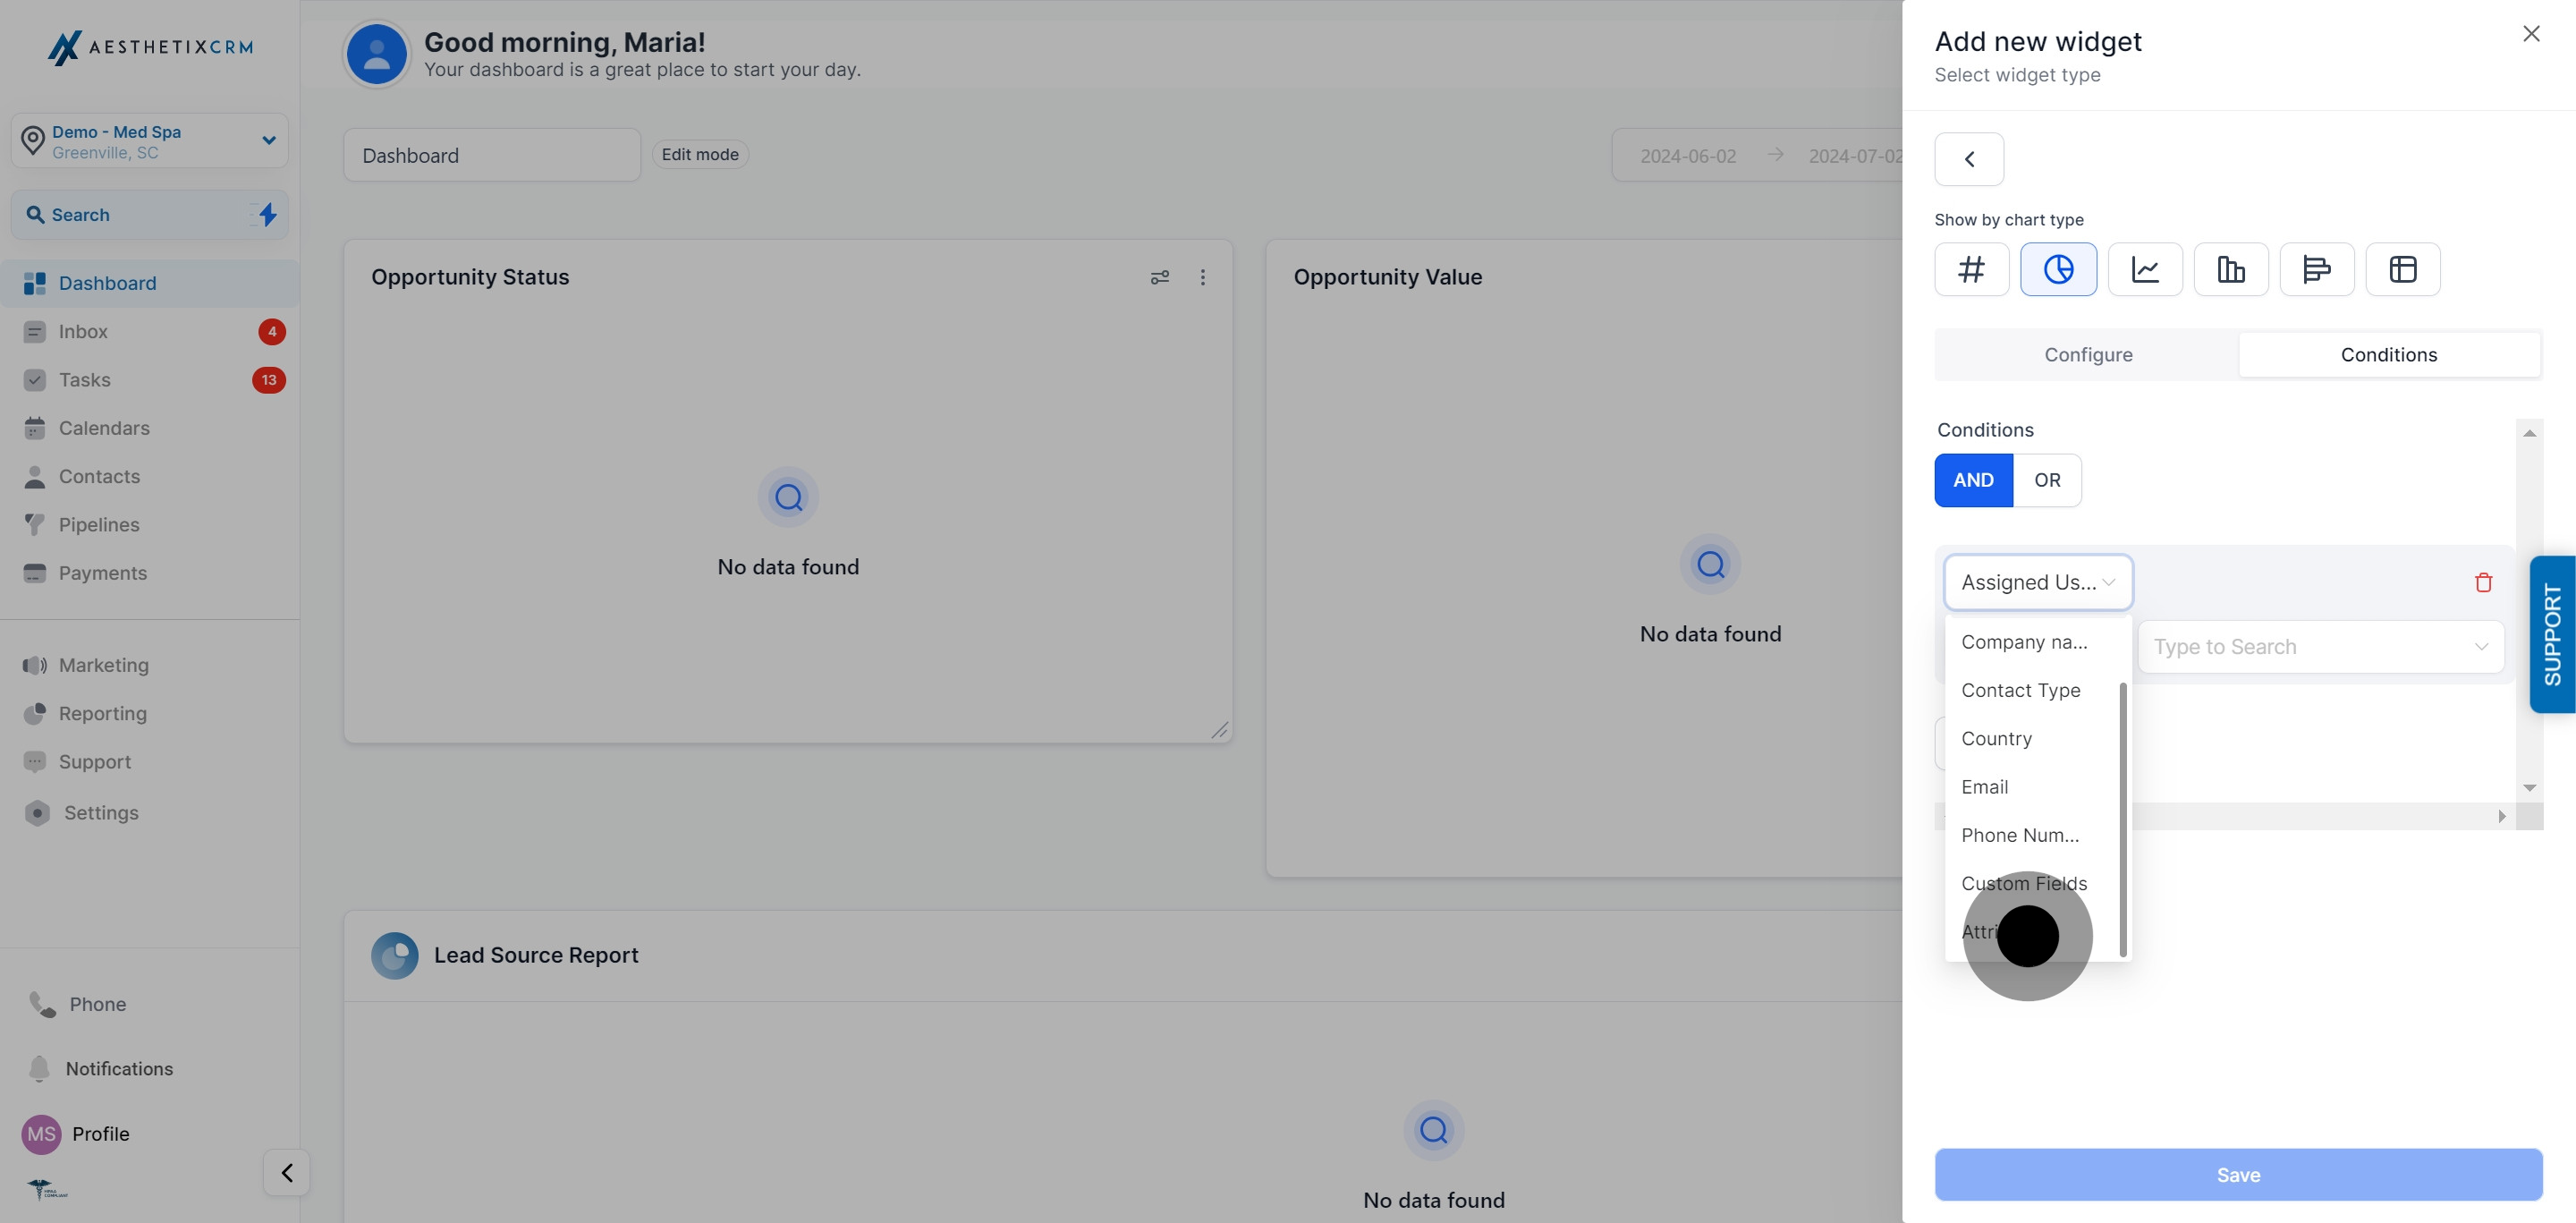
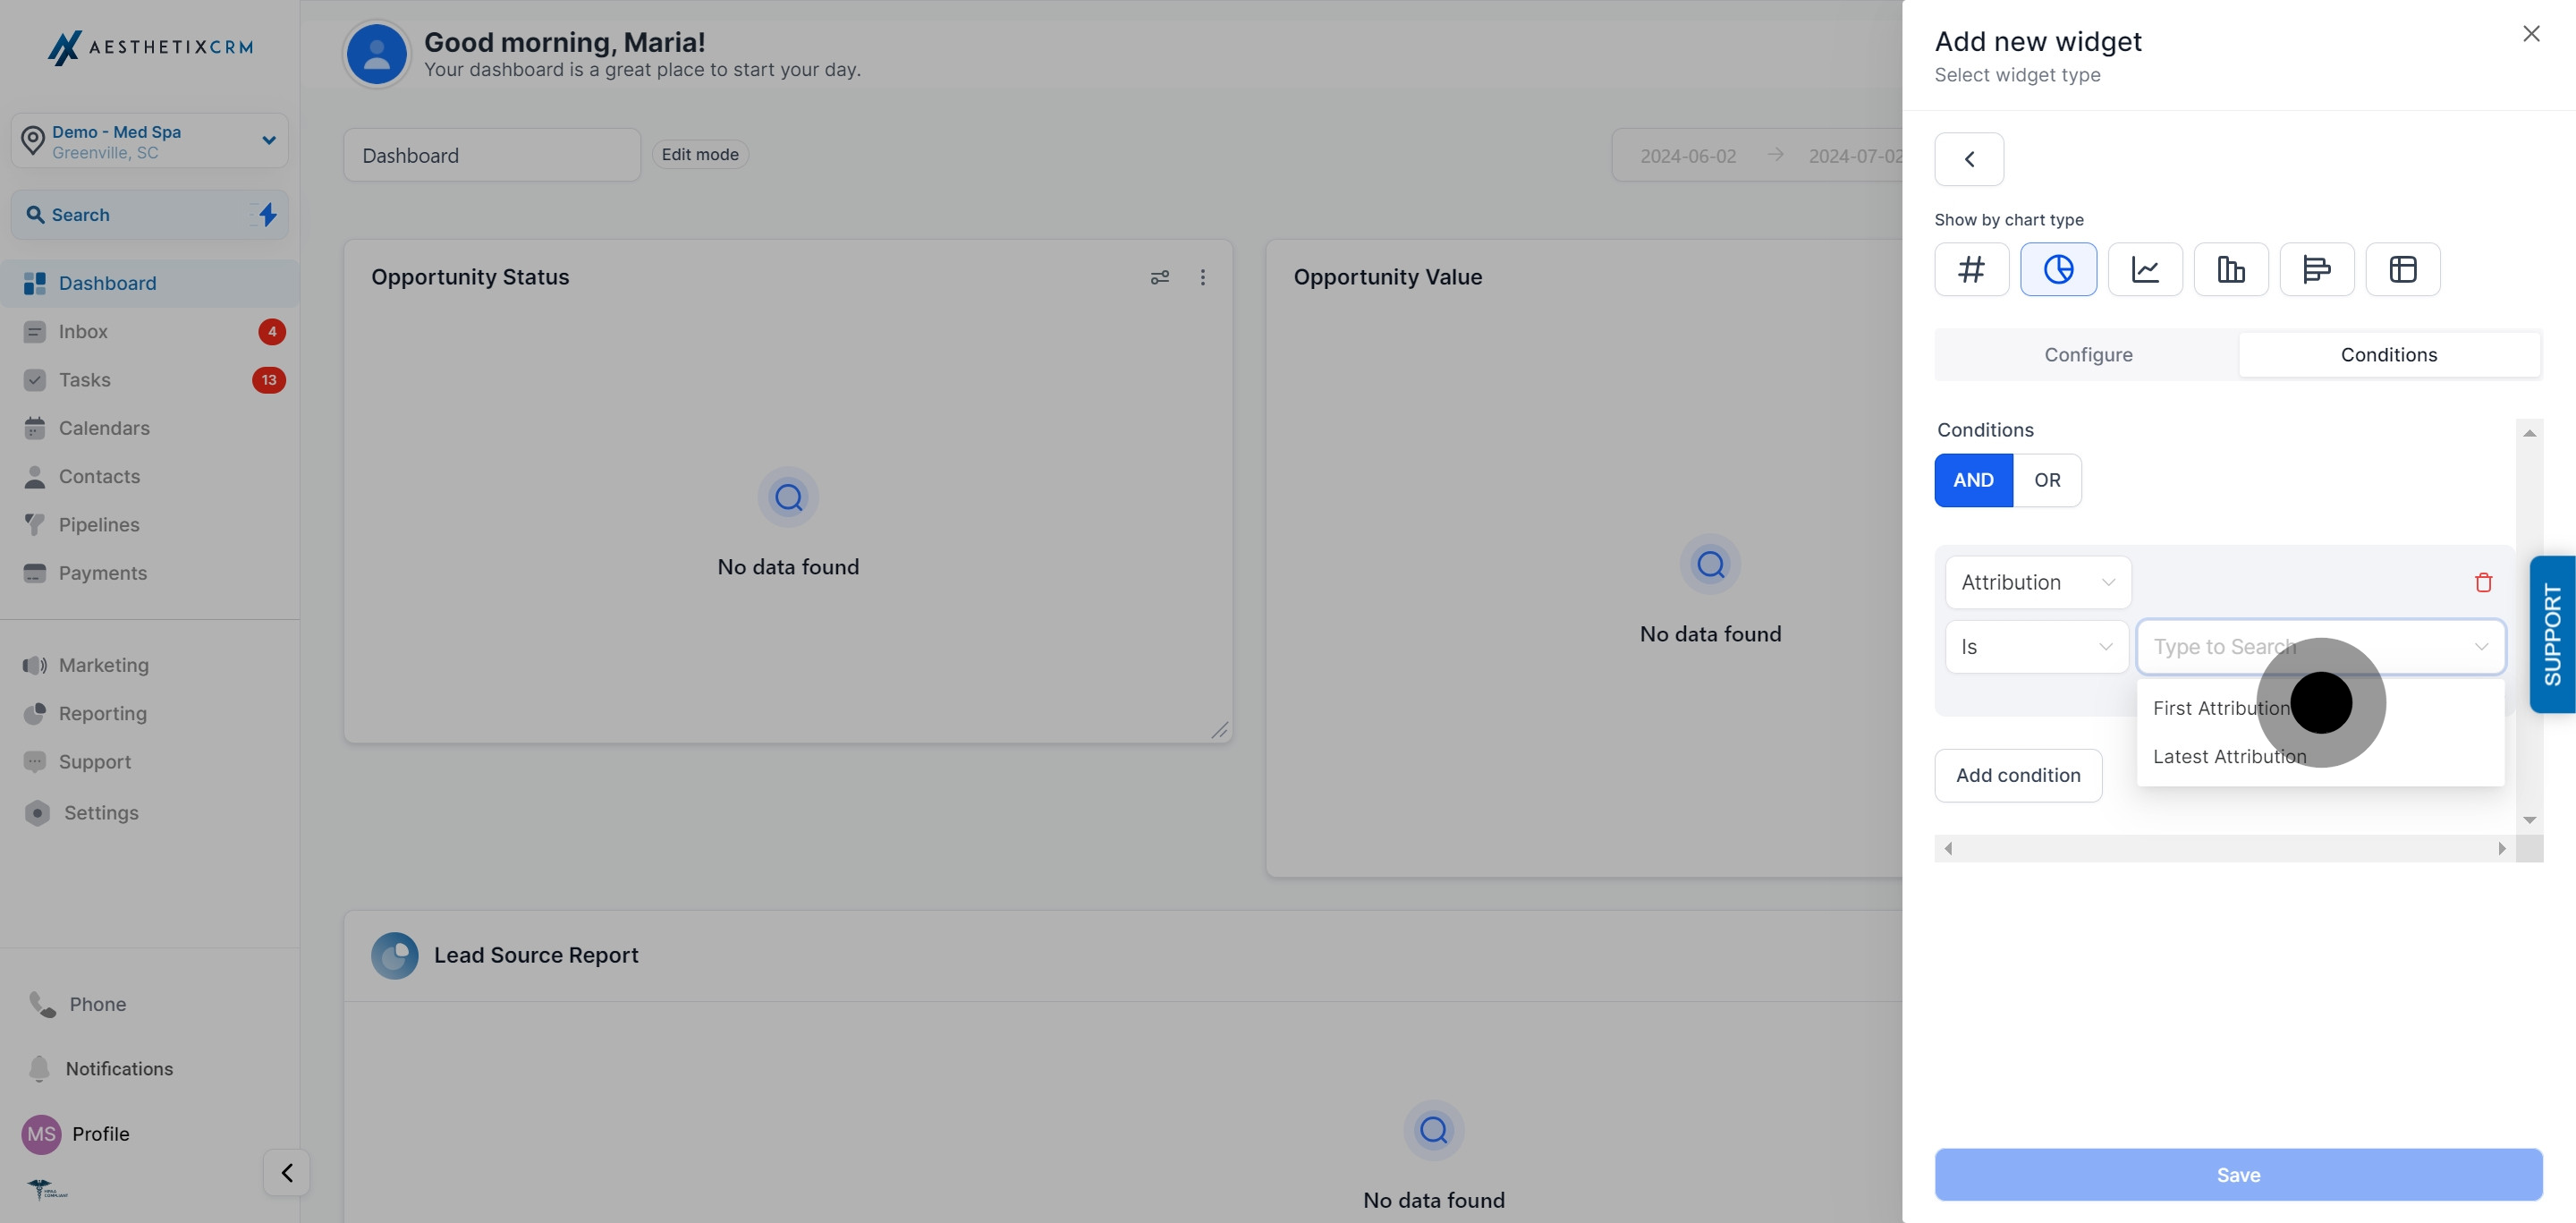
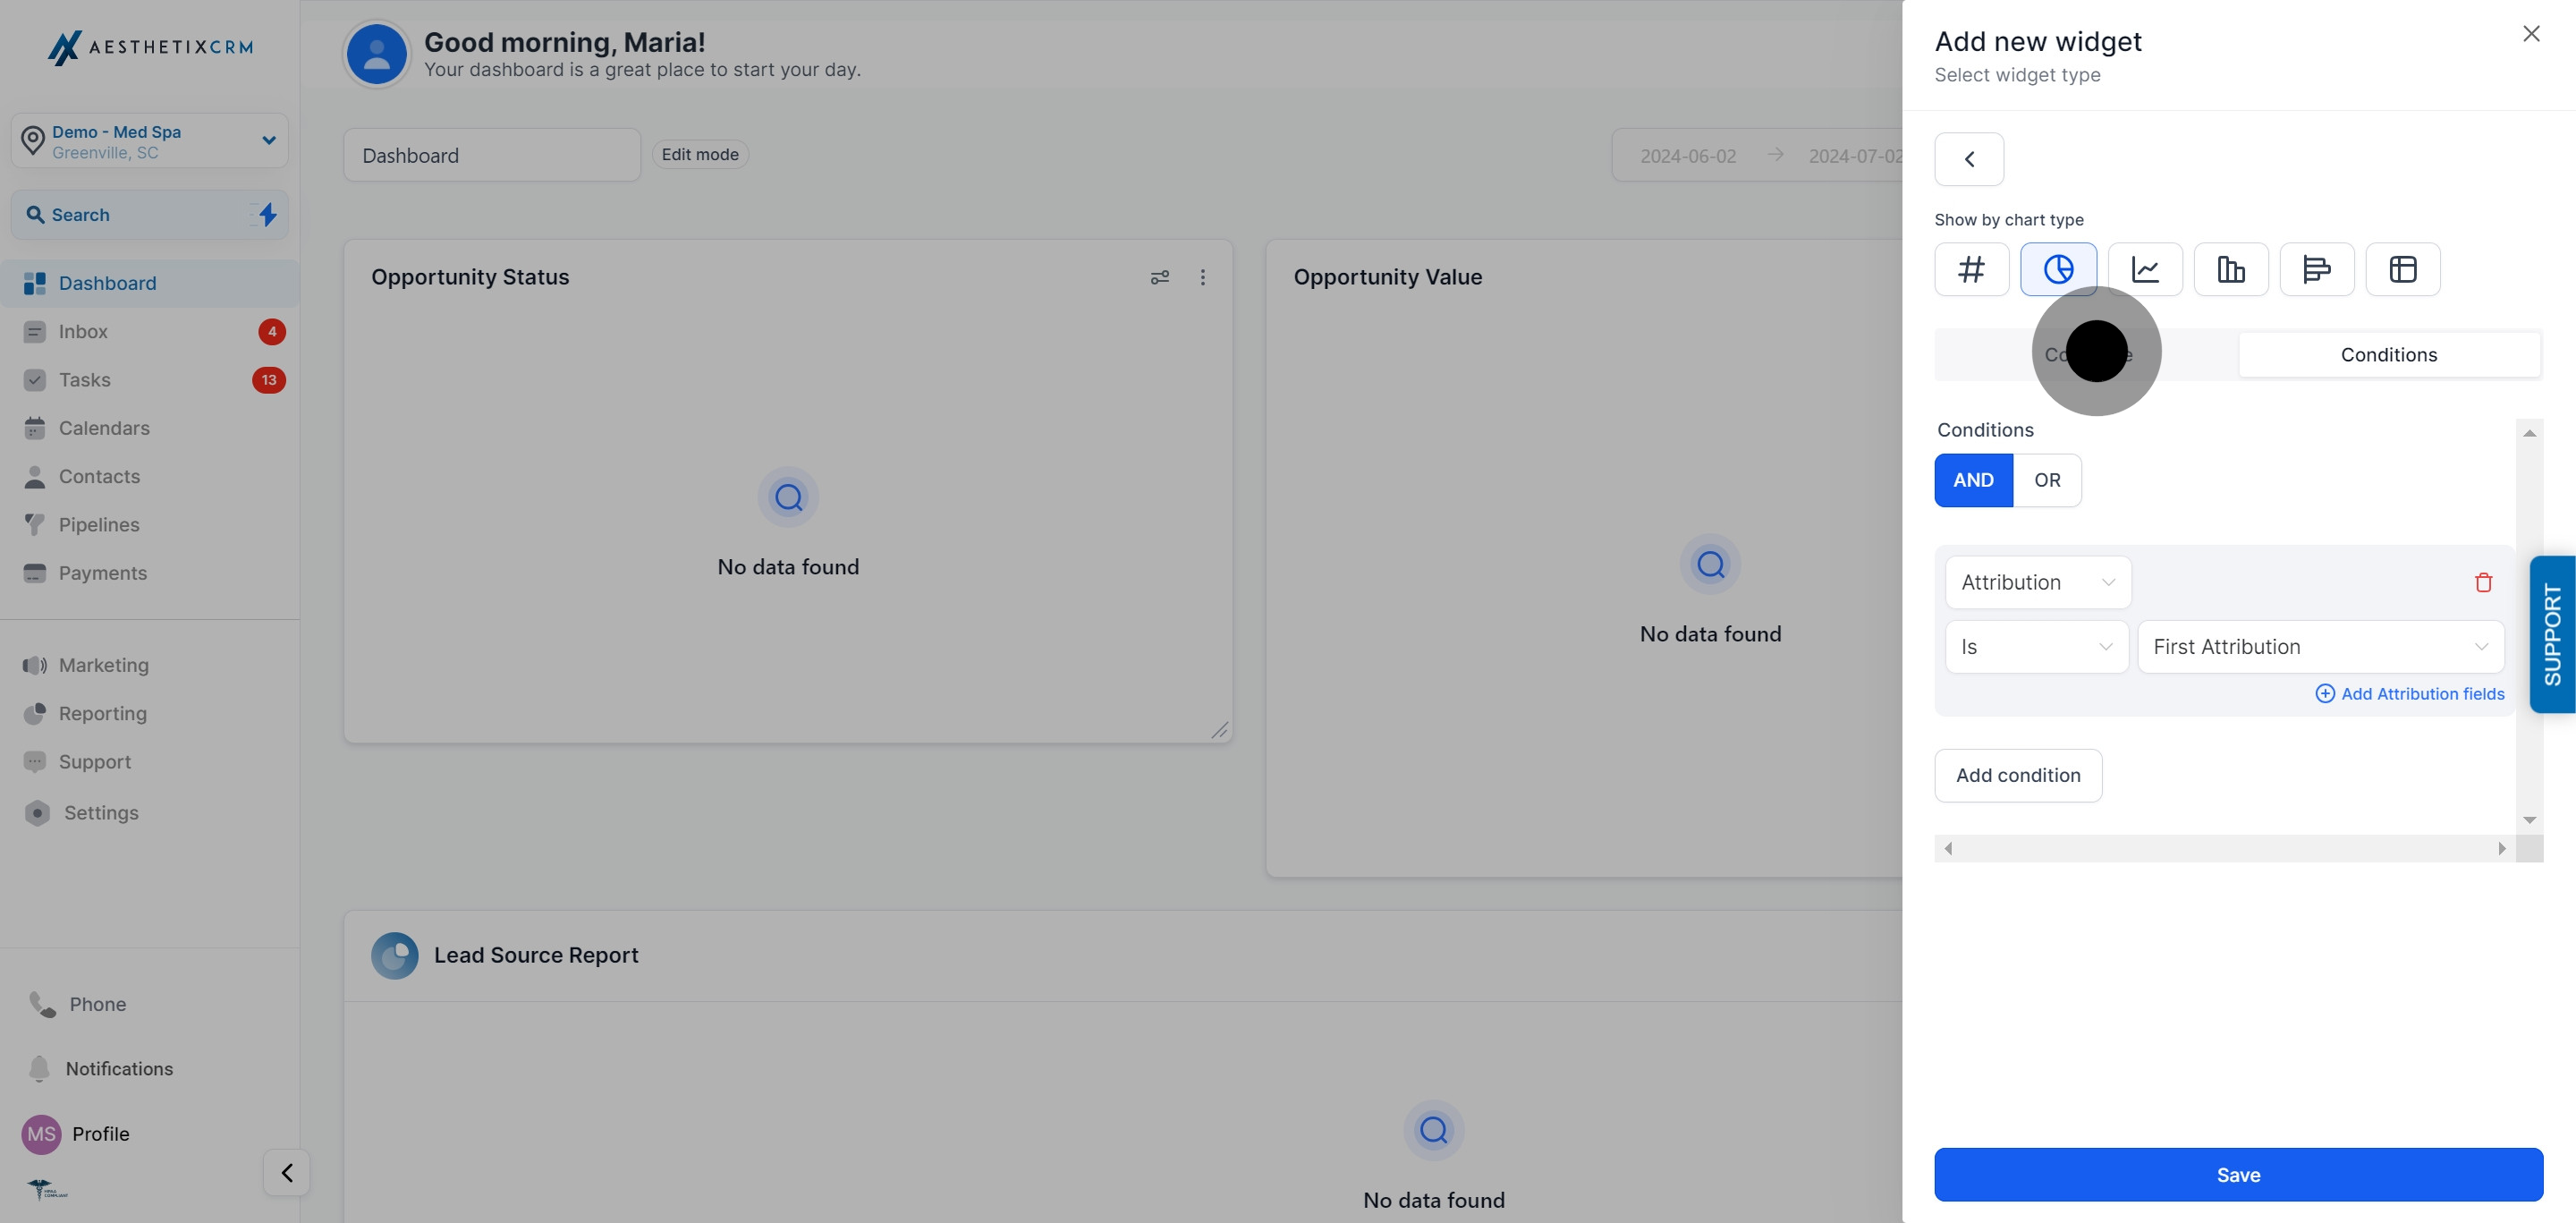
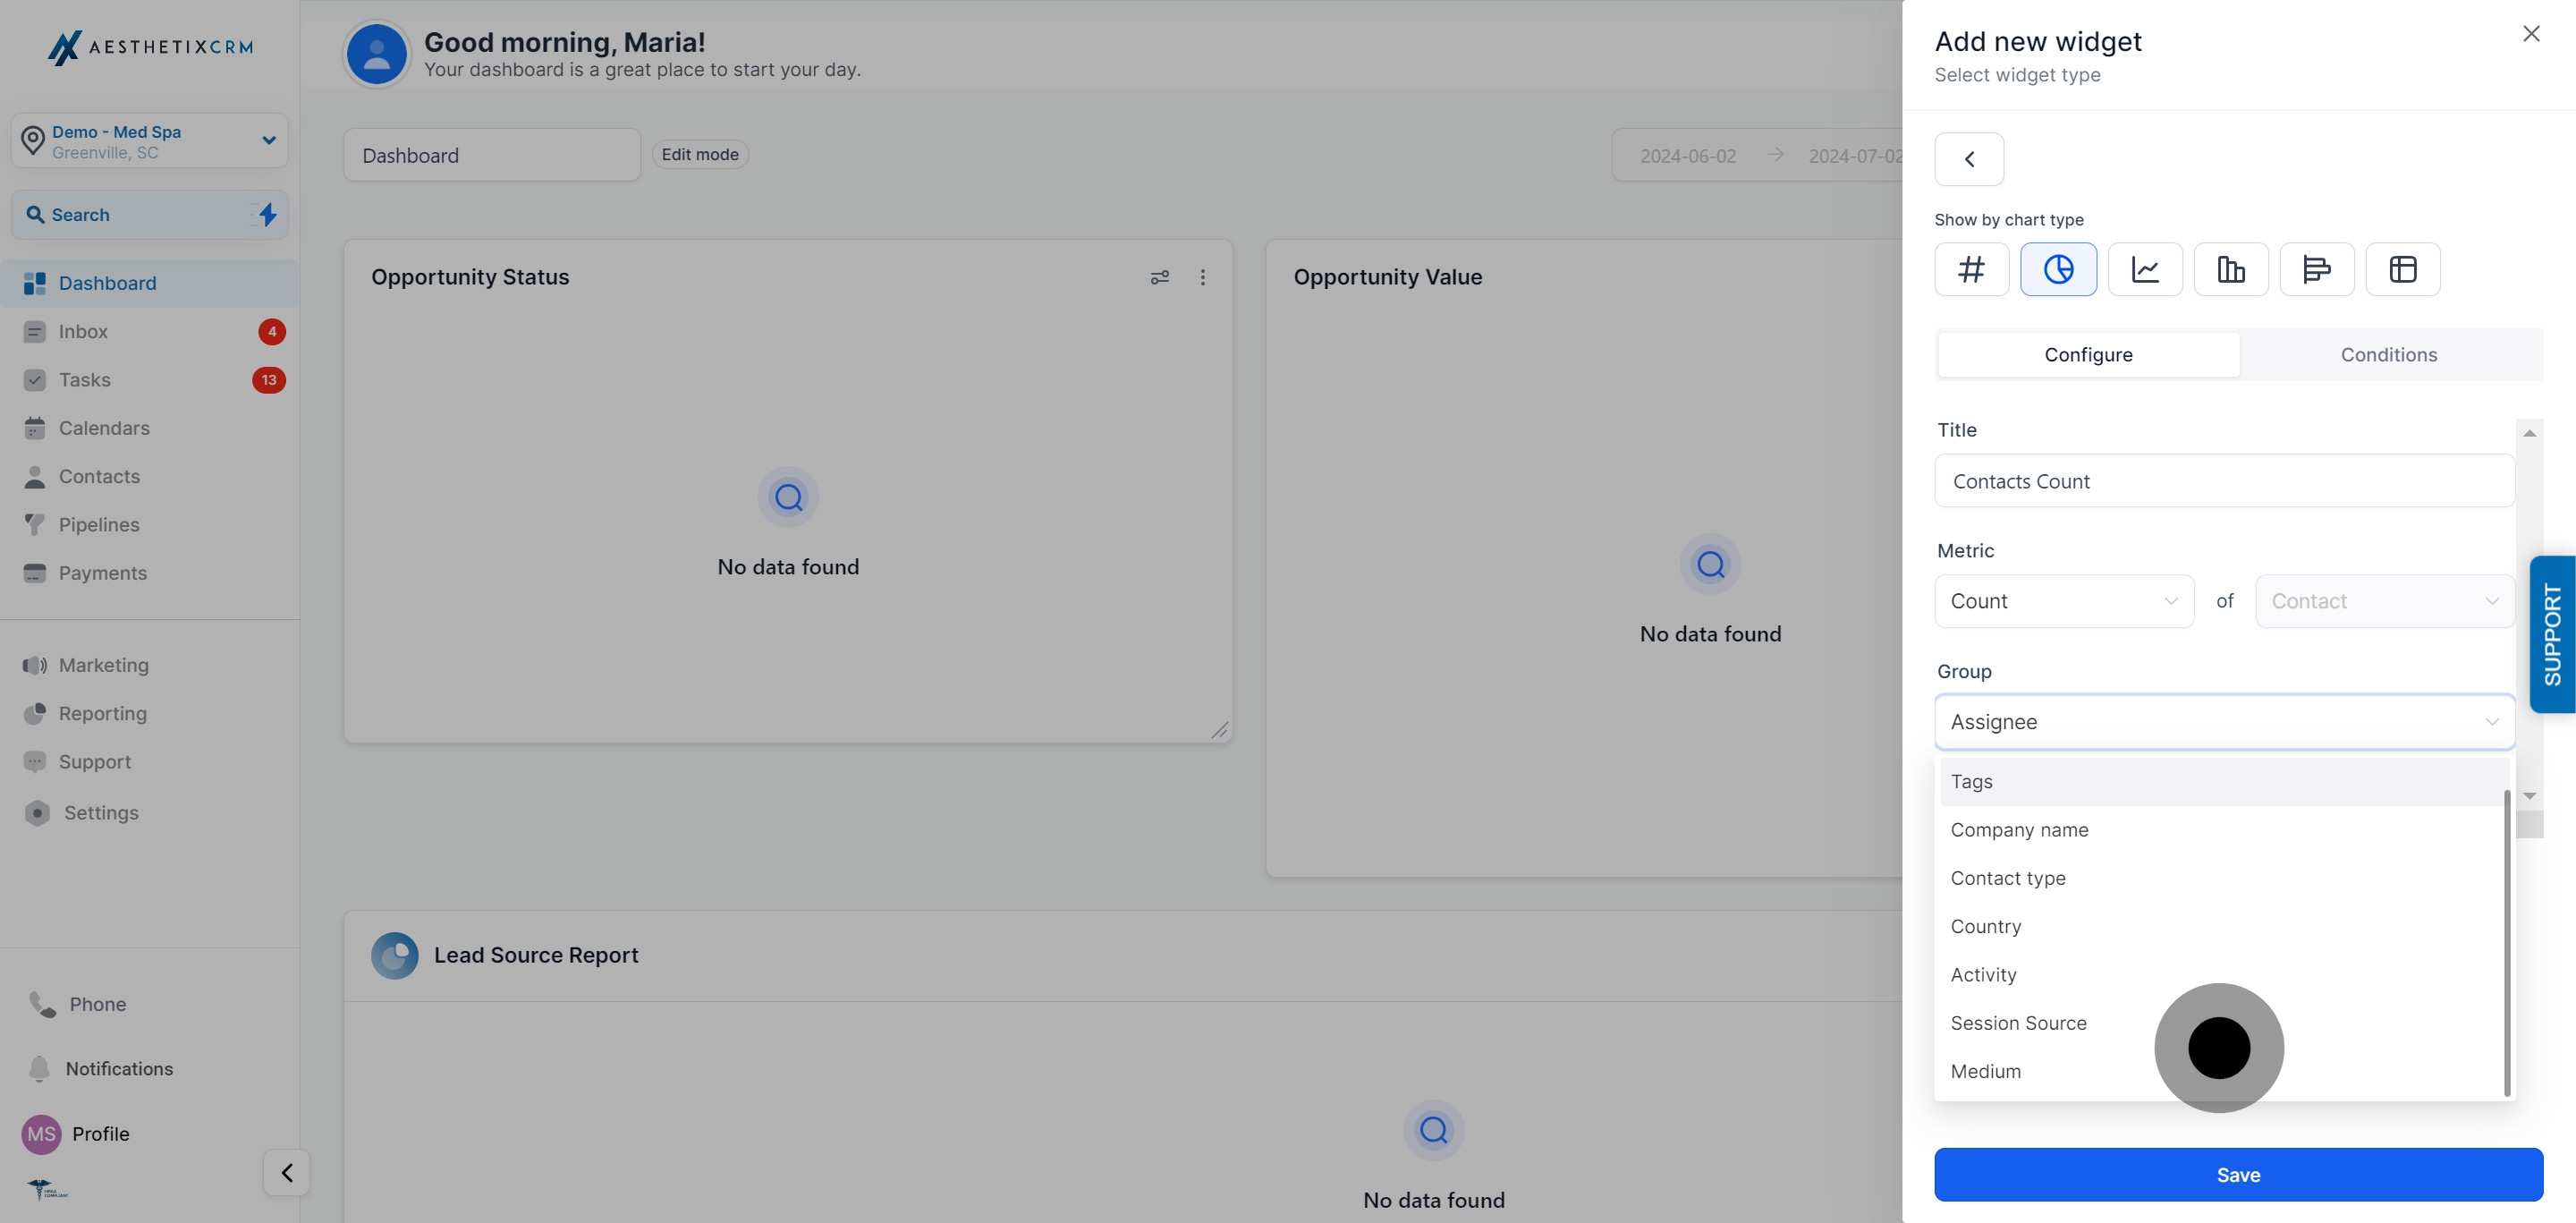
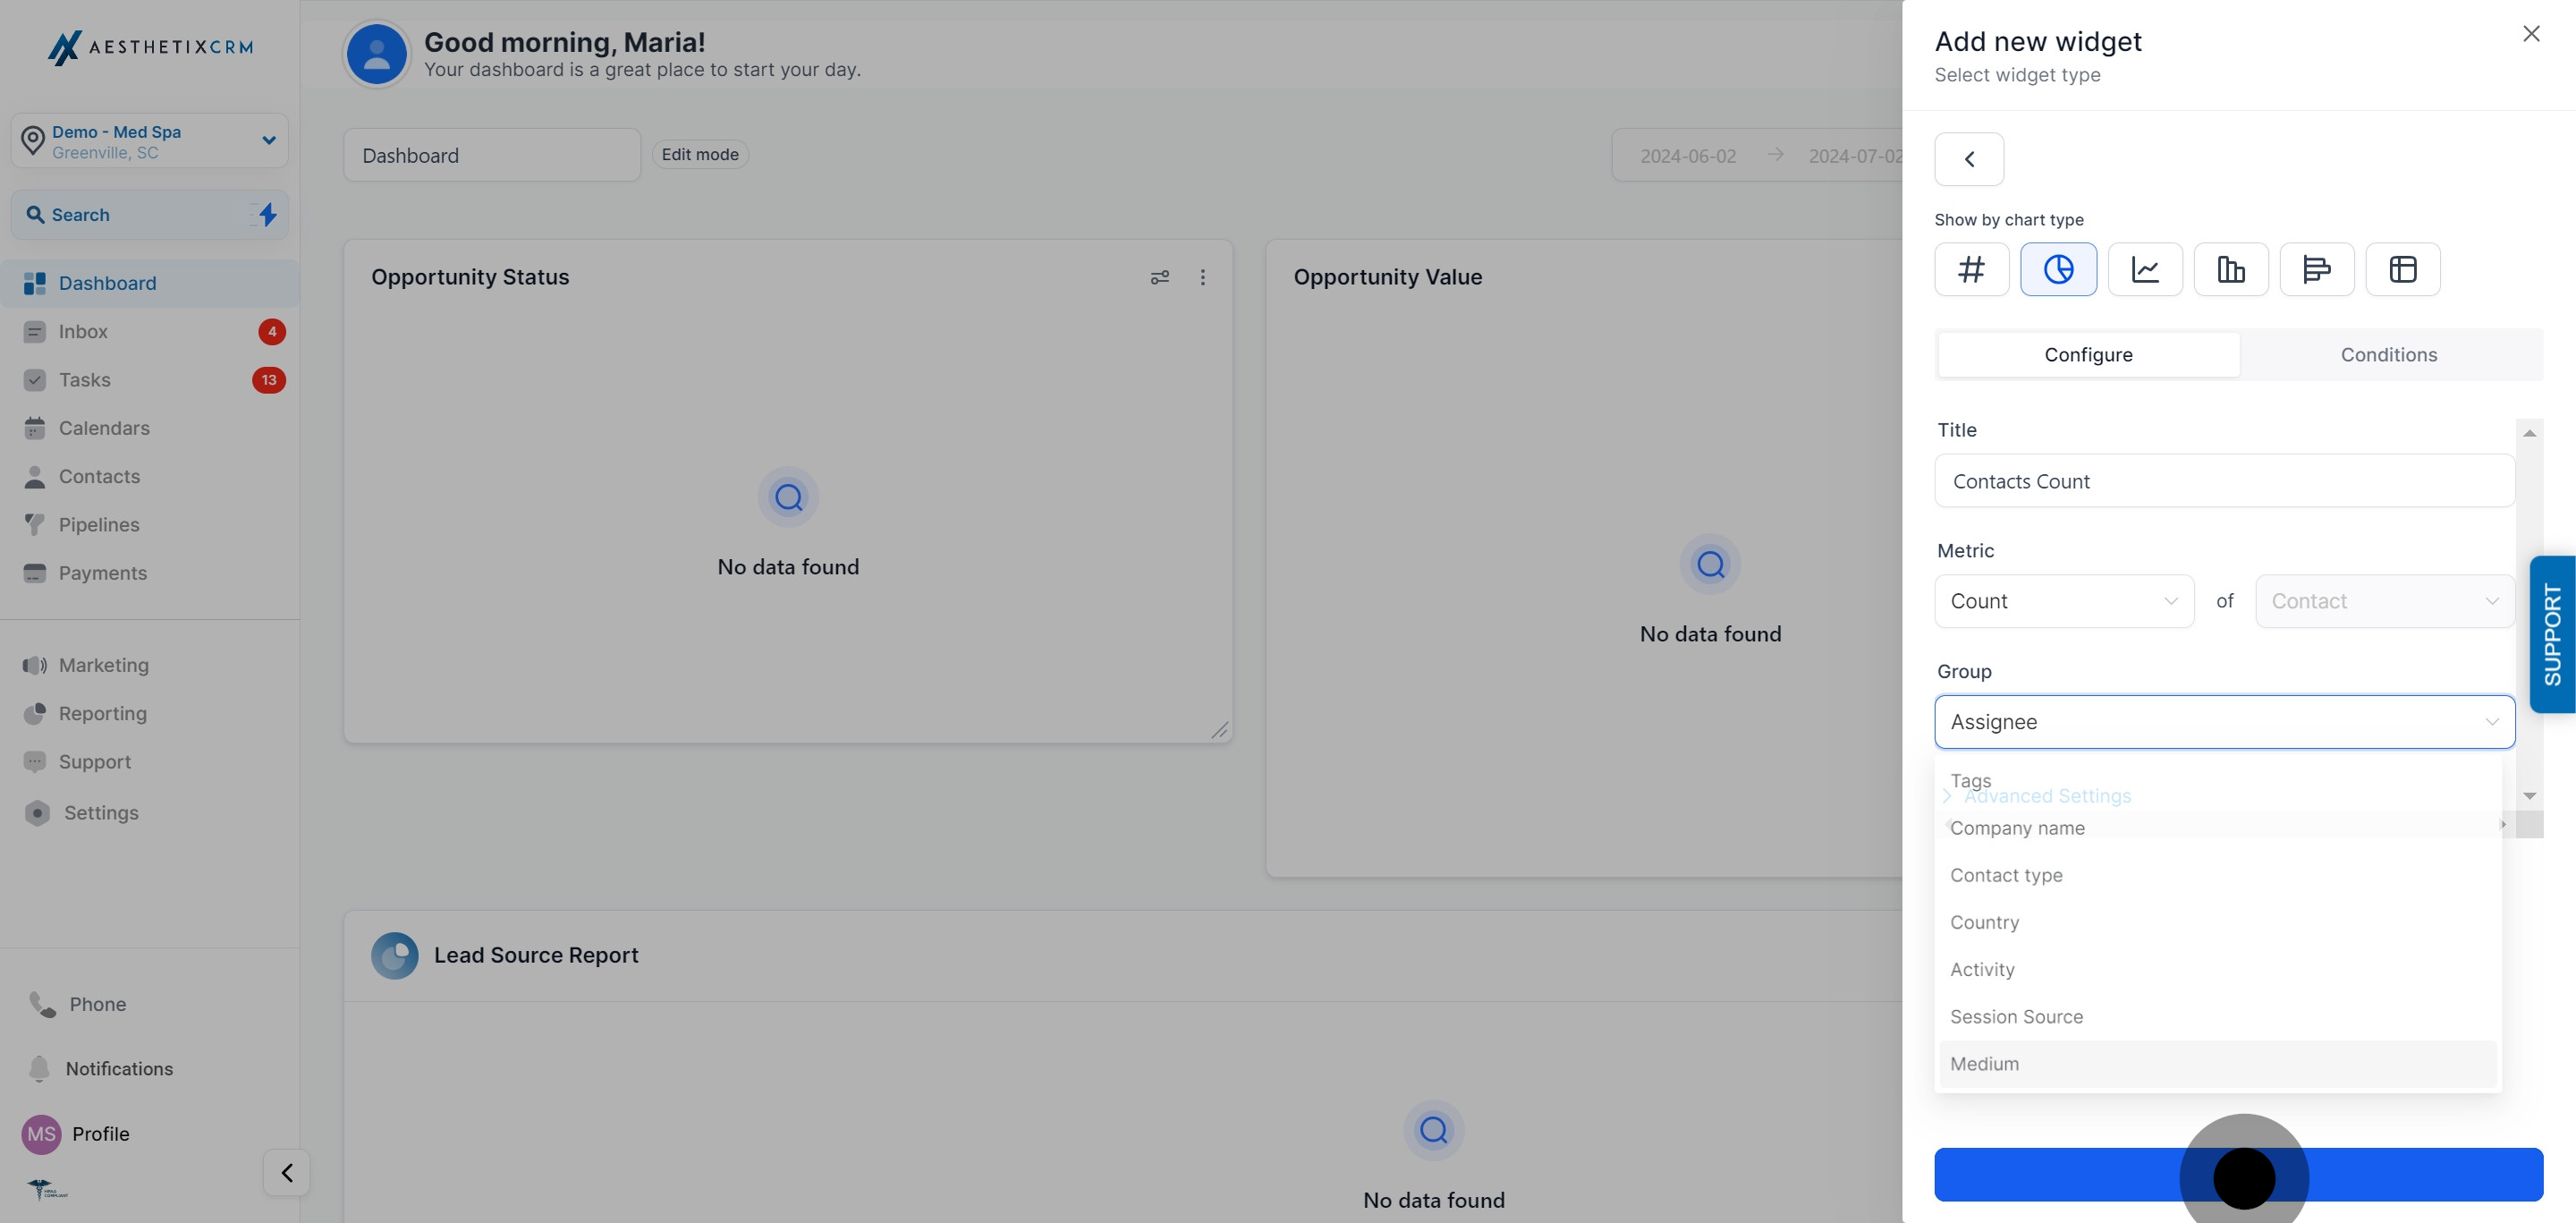
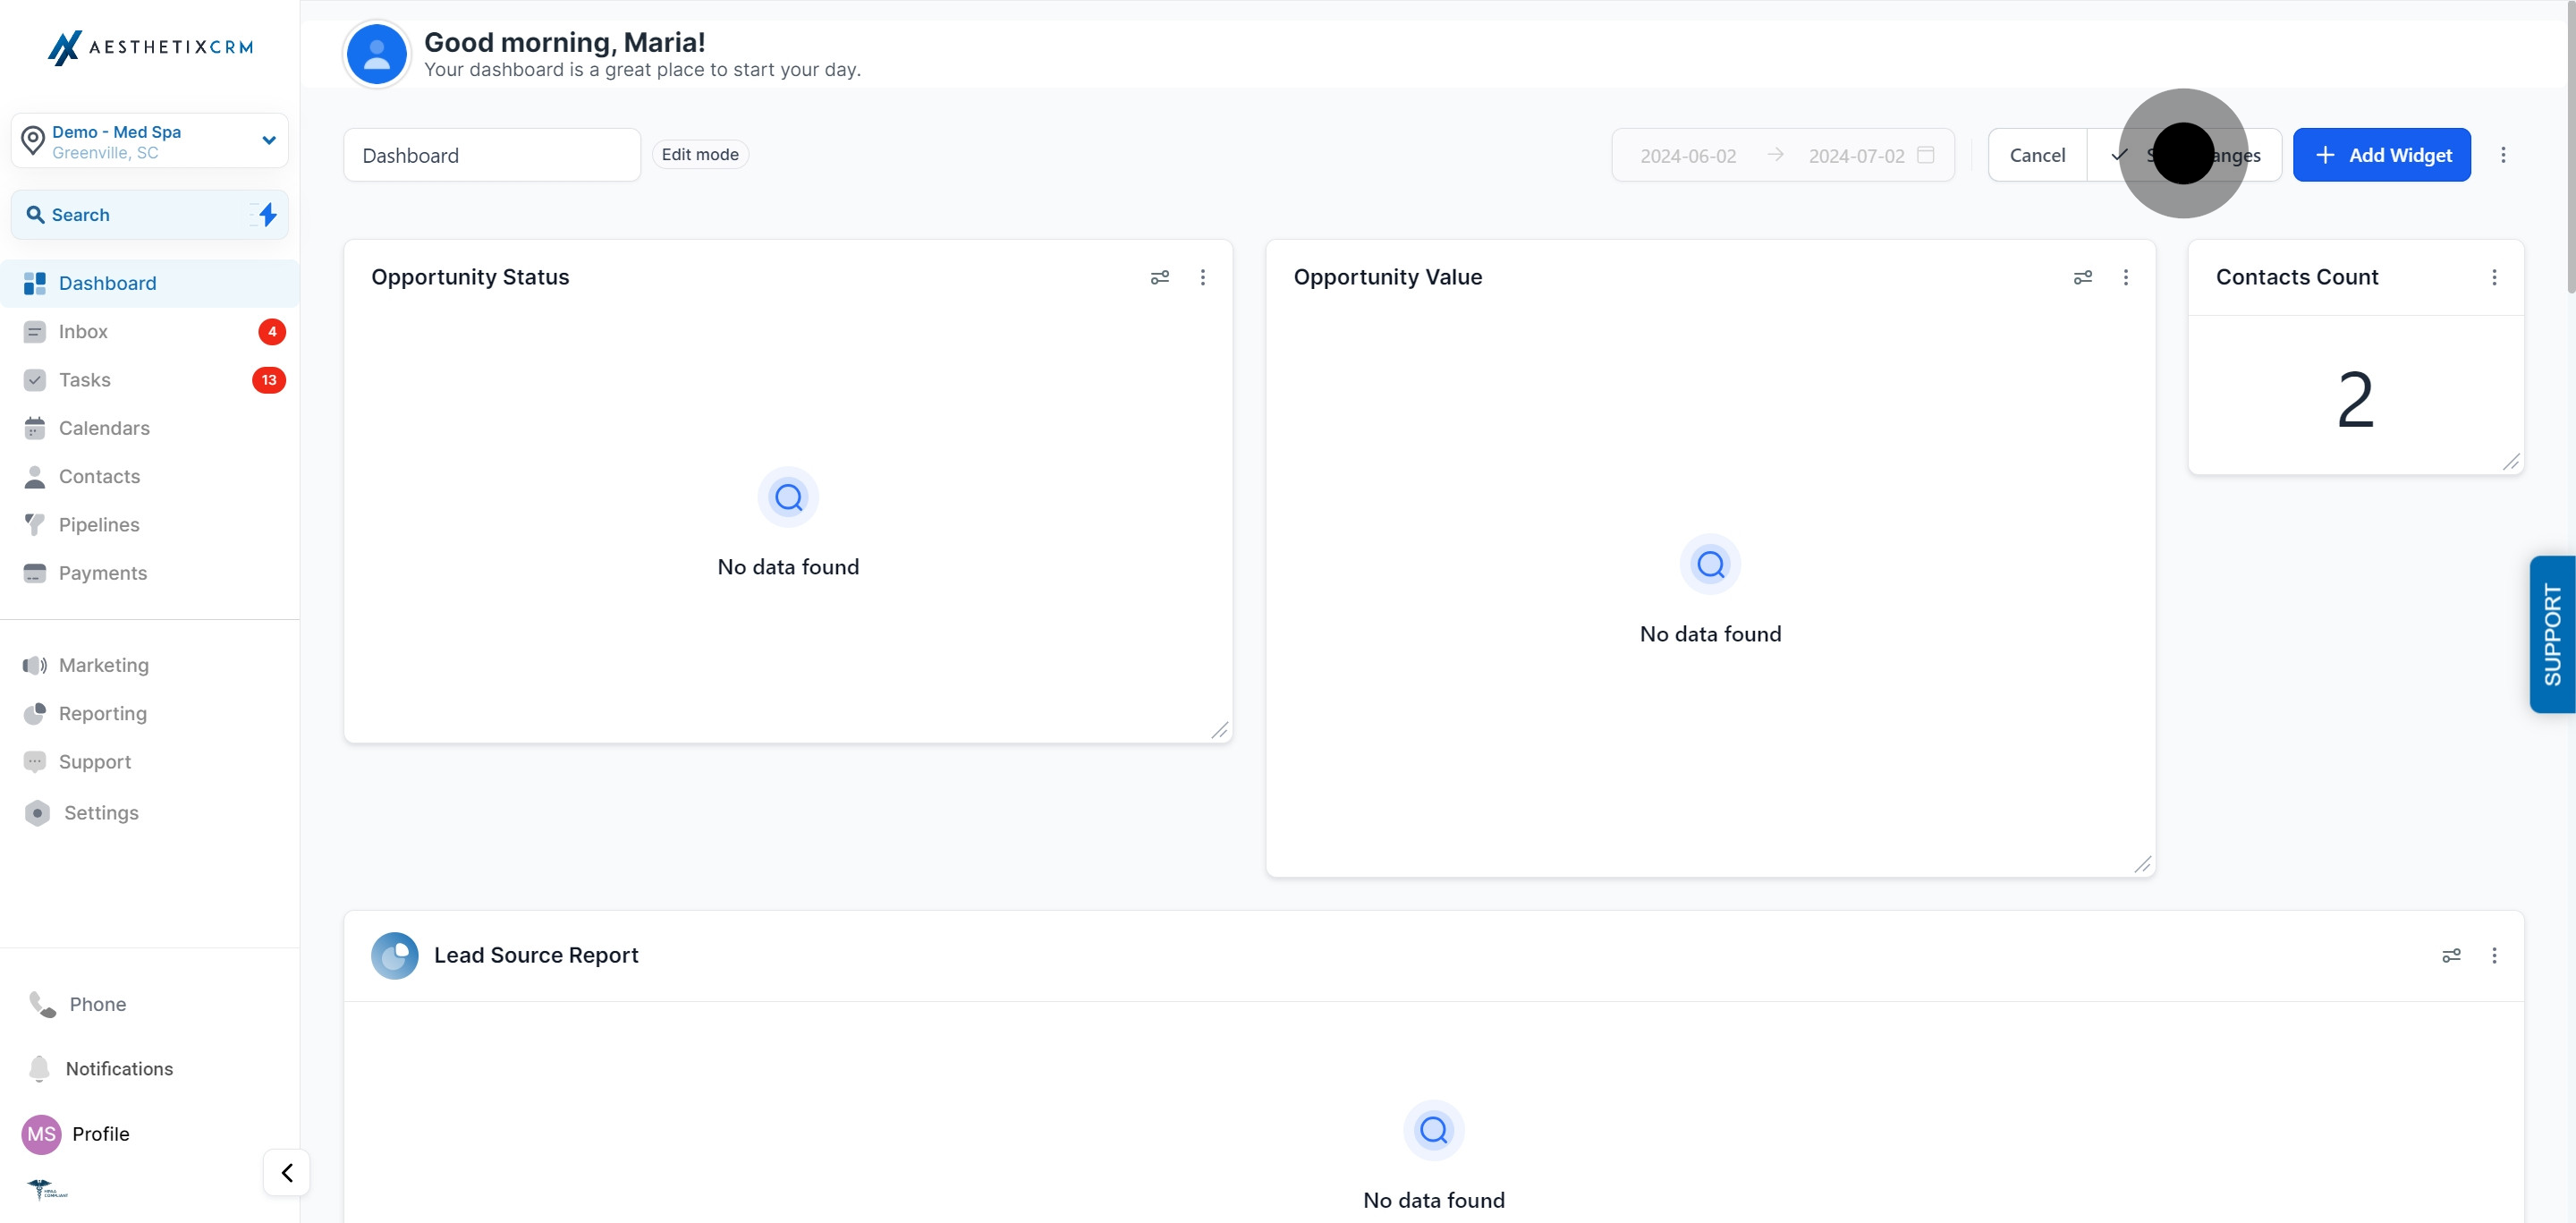
Enhance your data visualization in Aesthetix CRM by learning how to group donut charts by session source or medium. This guide provides step-by-step instructions to help you create insightful and visually appealing charts that categorize traffic sources and mediums, offering a clearer understanding of your audience and campaign effectiveness. Ideal for users focused on refining their marketing analytics and improving data interpretation.