Mastering Dashboard Management in AesthetixCRM: A Step-by-Step Guide
Unlock the full potential of your AesthetixCRM dashboard with our detailed guide on managing and customizing its features. Learn how to add, arrange, and configure widgets to create an efficient and personalized workspace tailored to your business needs.
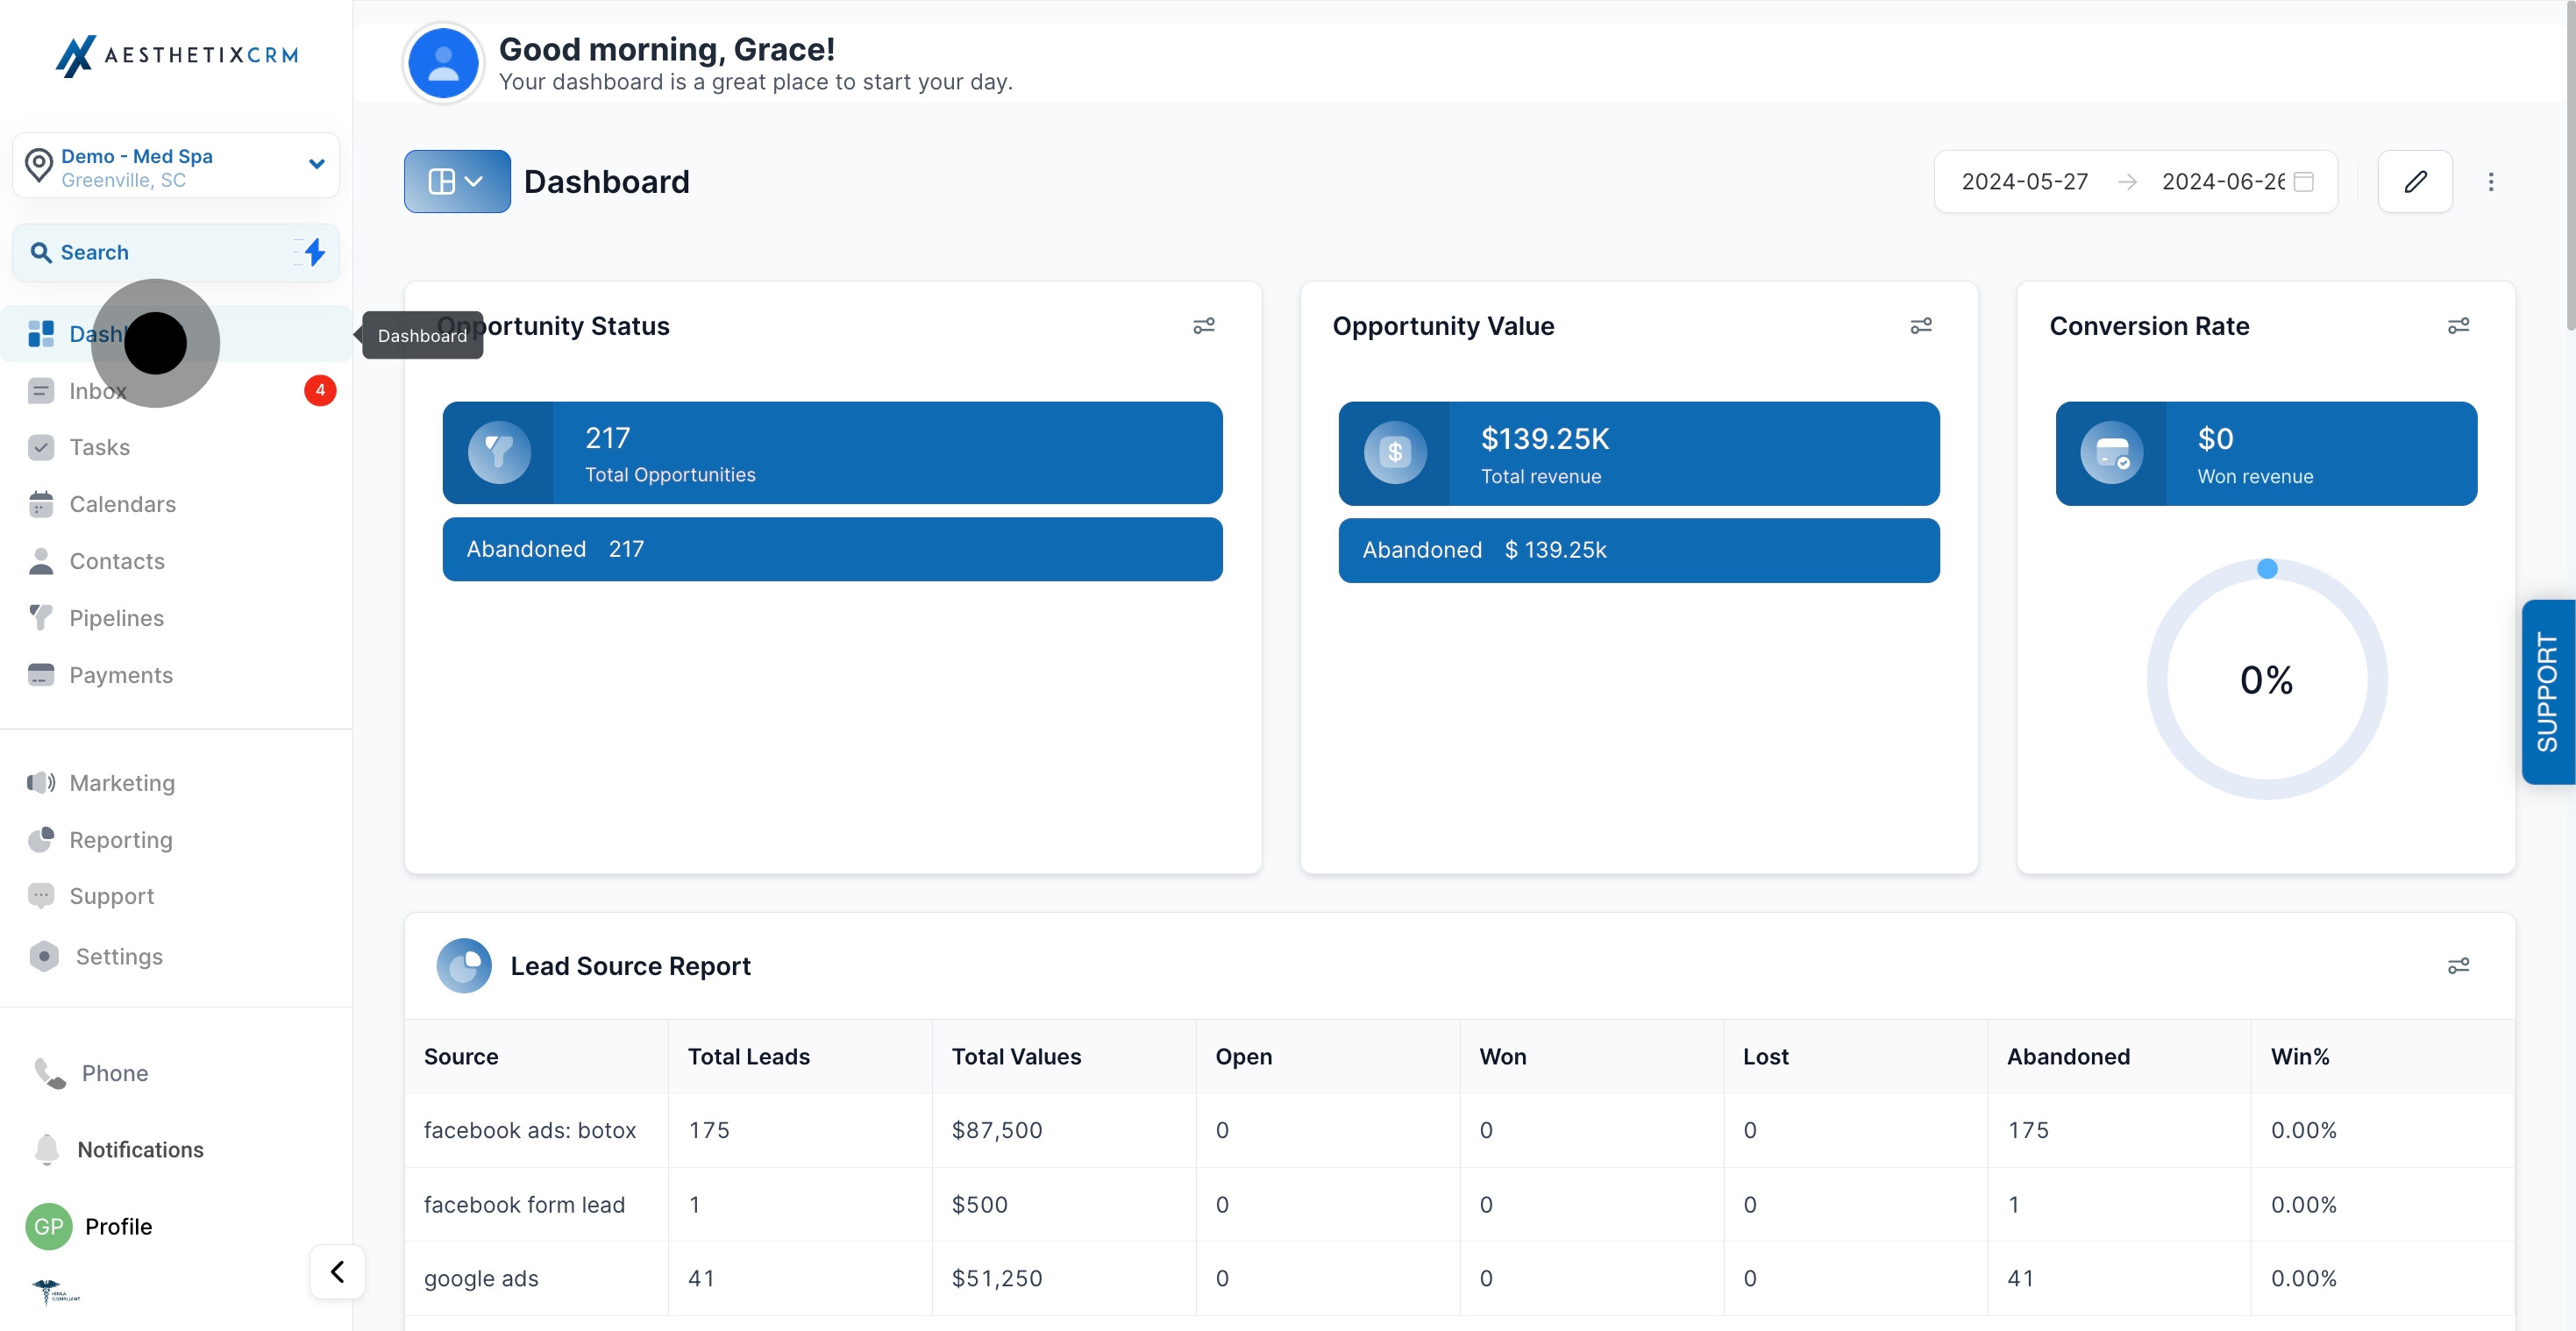
1. Begin by accessing the 'Dashboard' from the main menu.
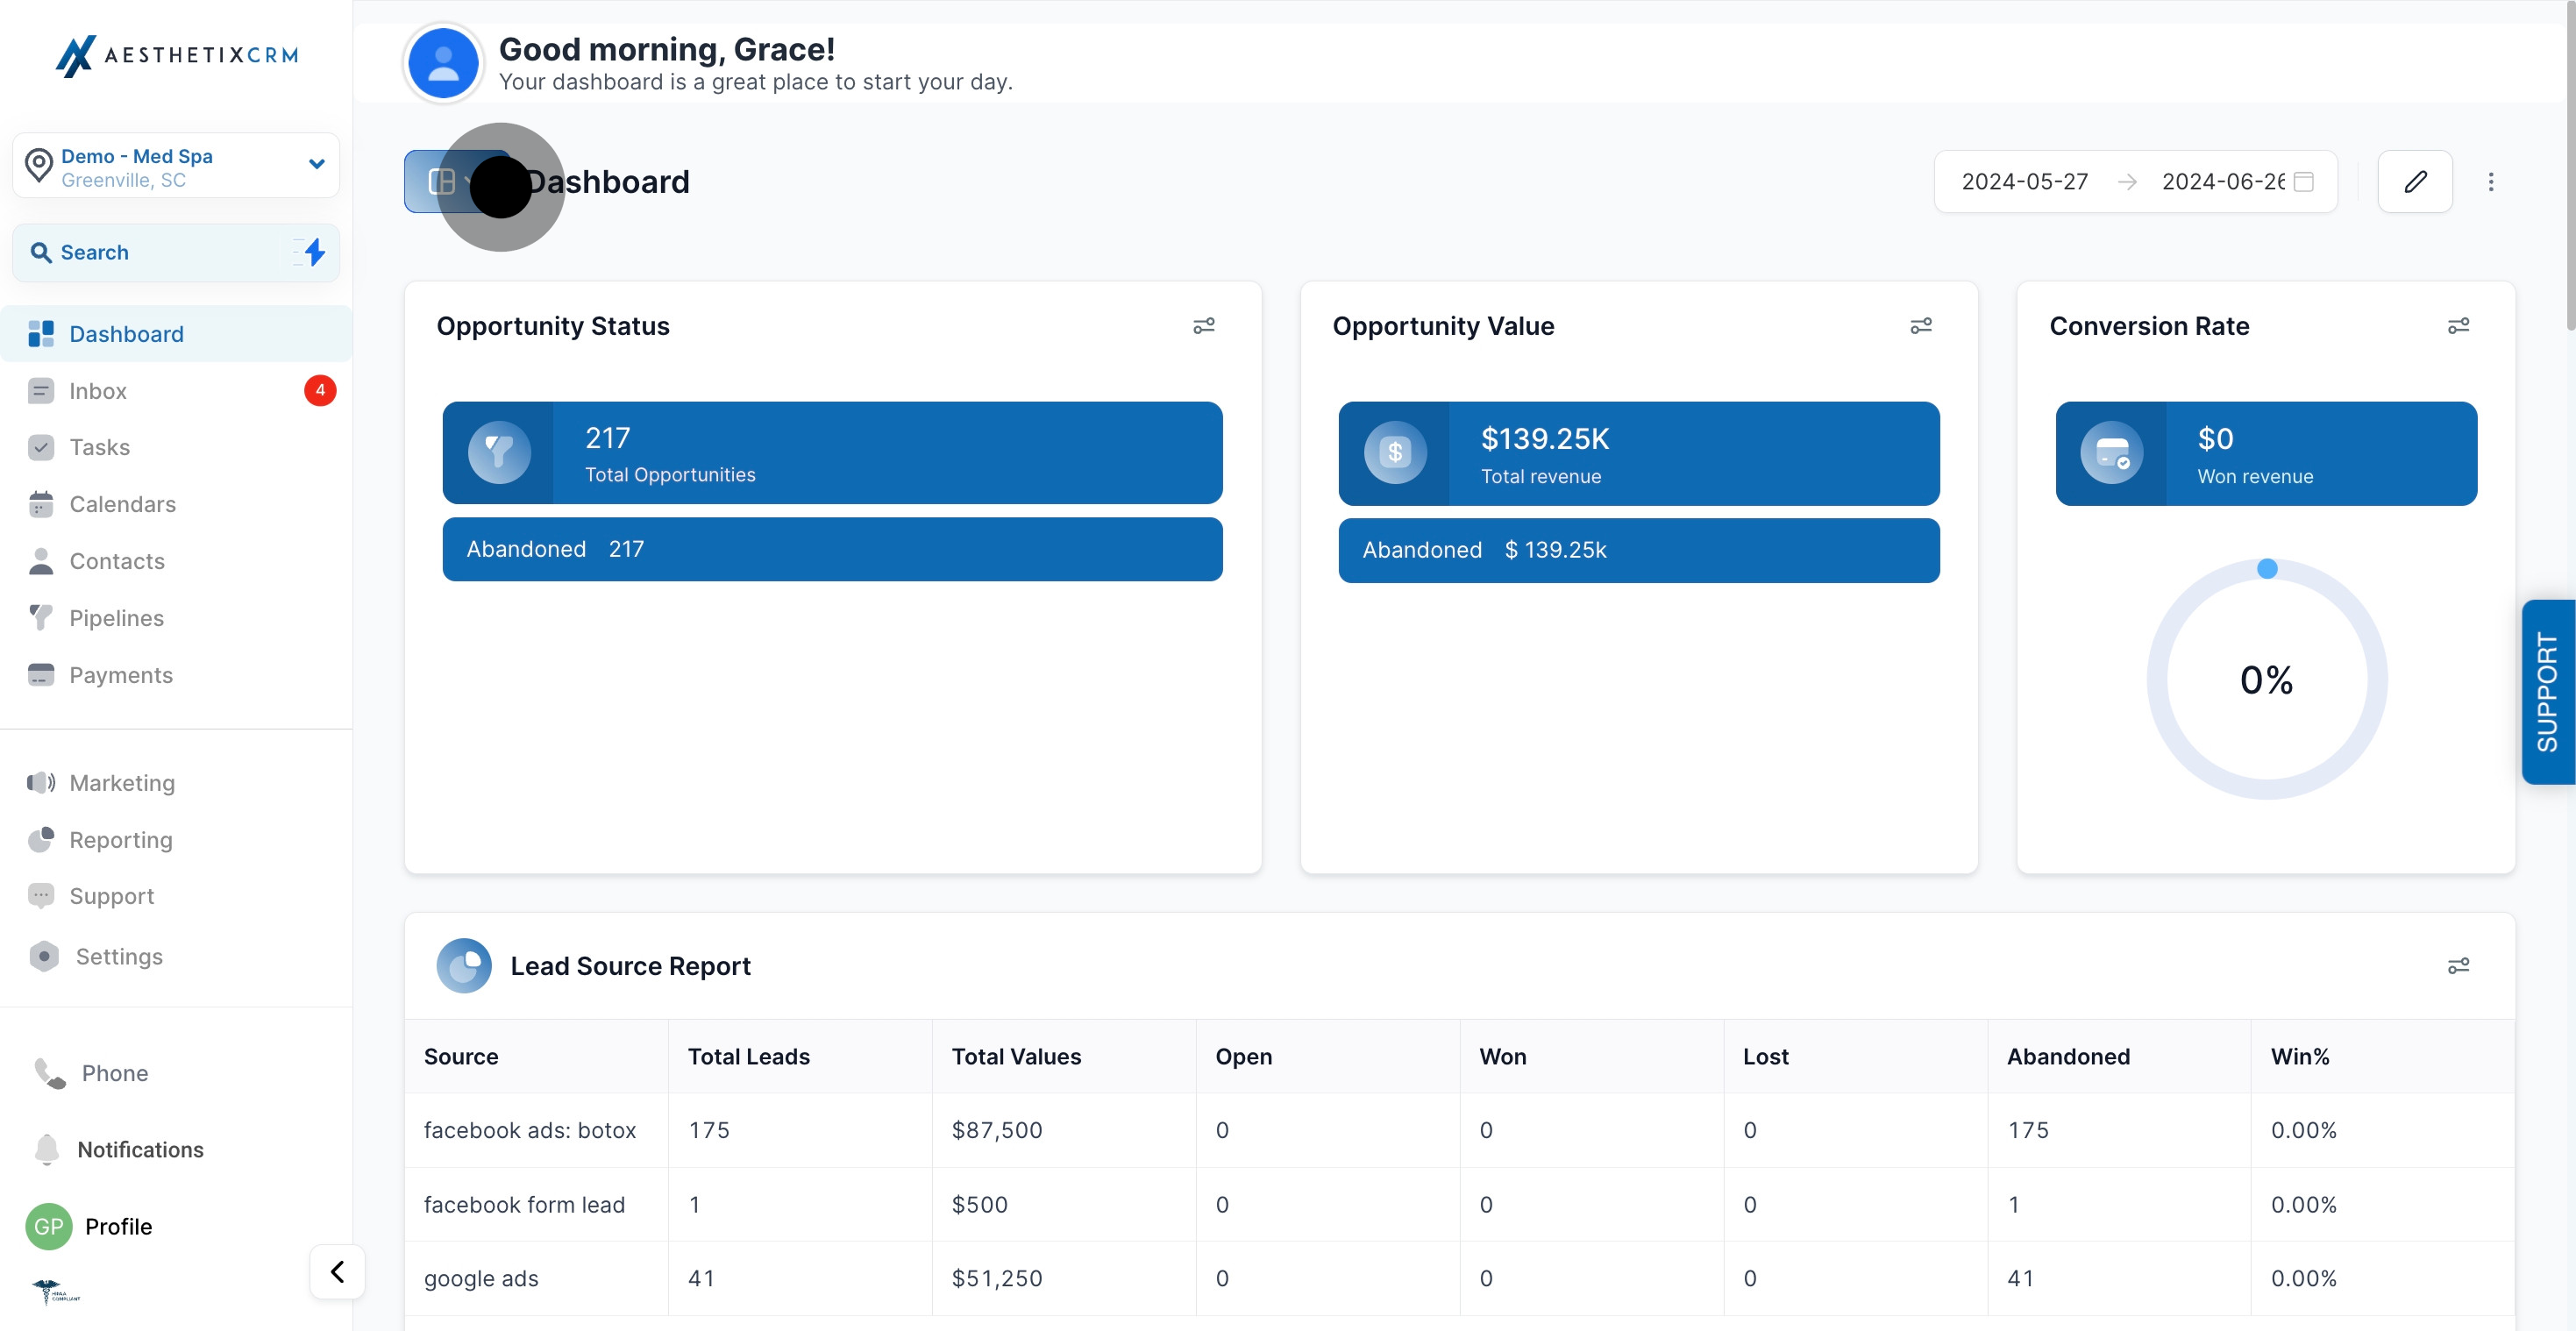
2. Next, proceed by clicking the navigation button to expand.
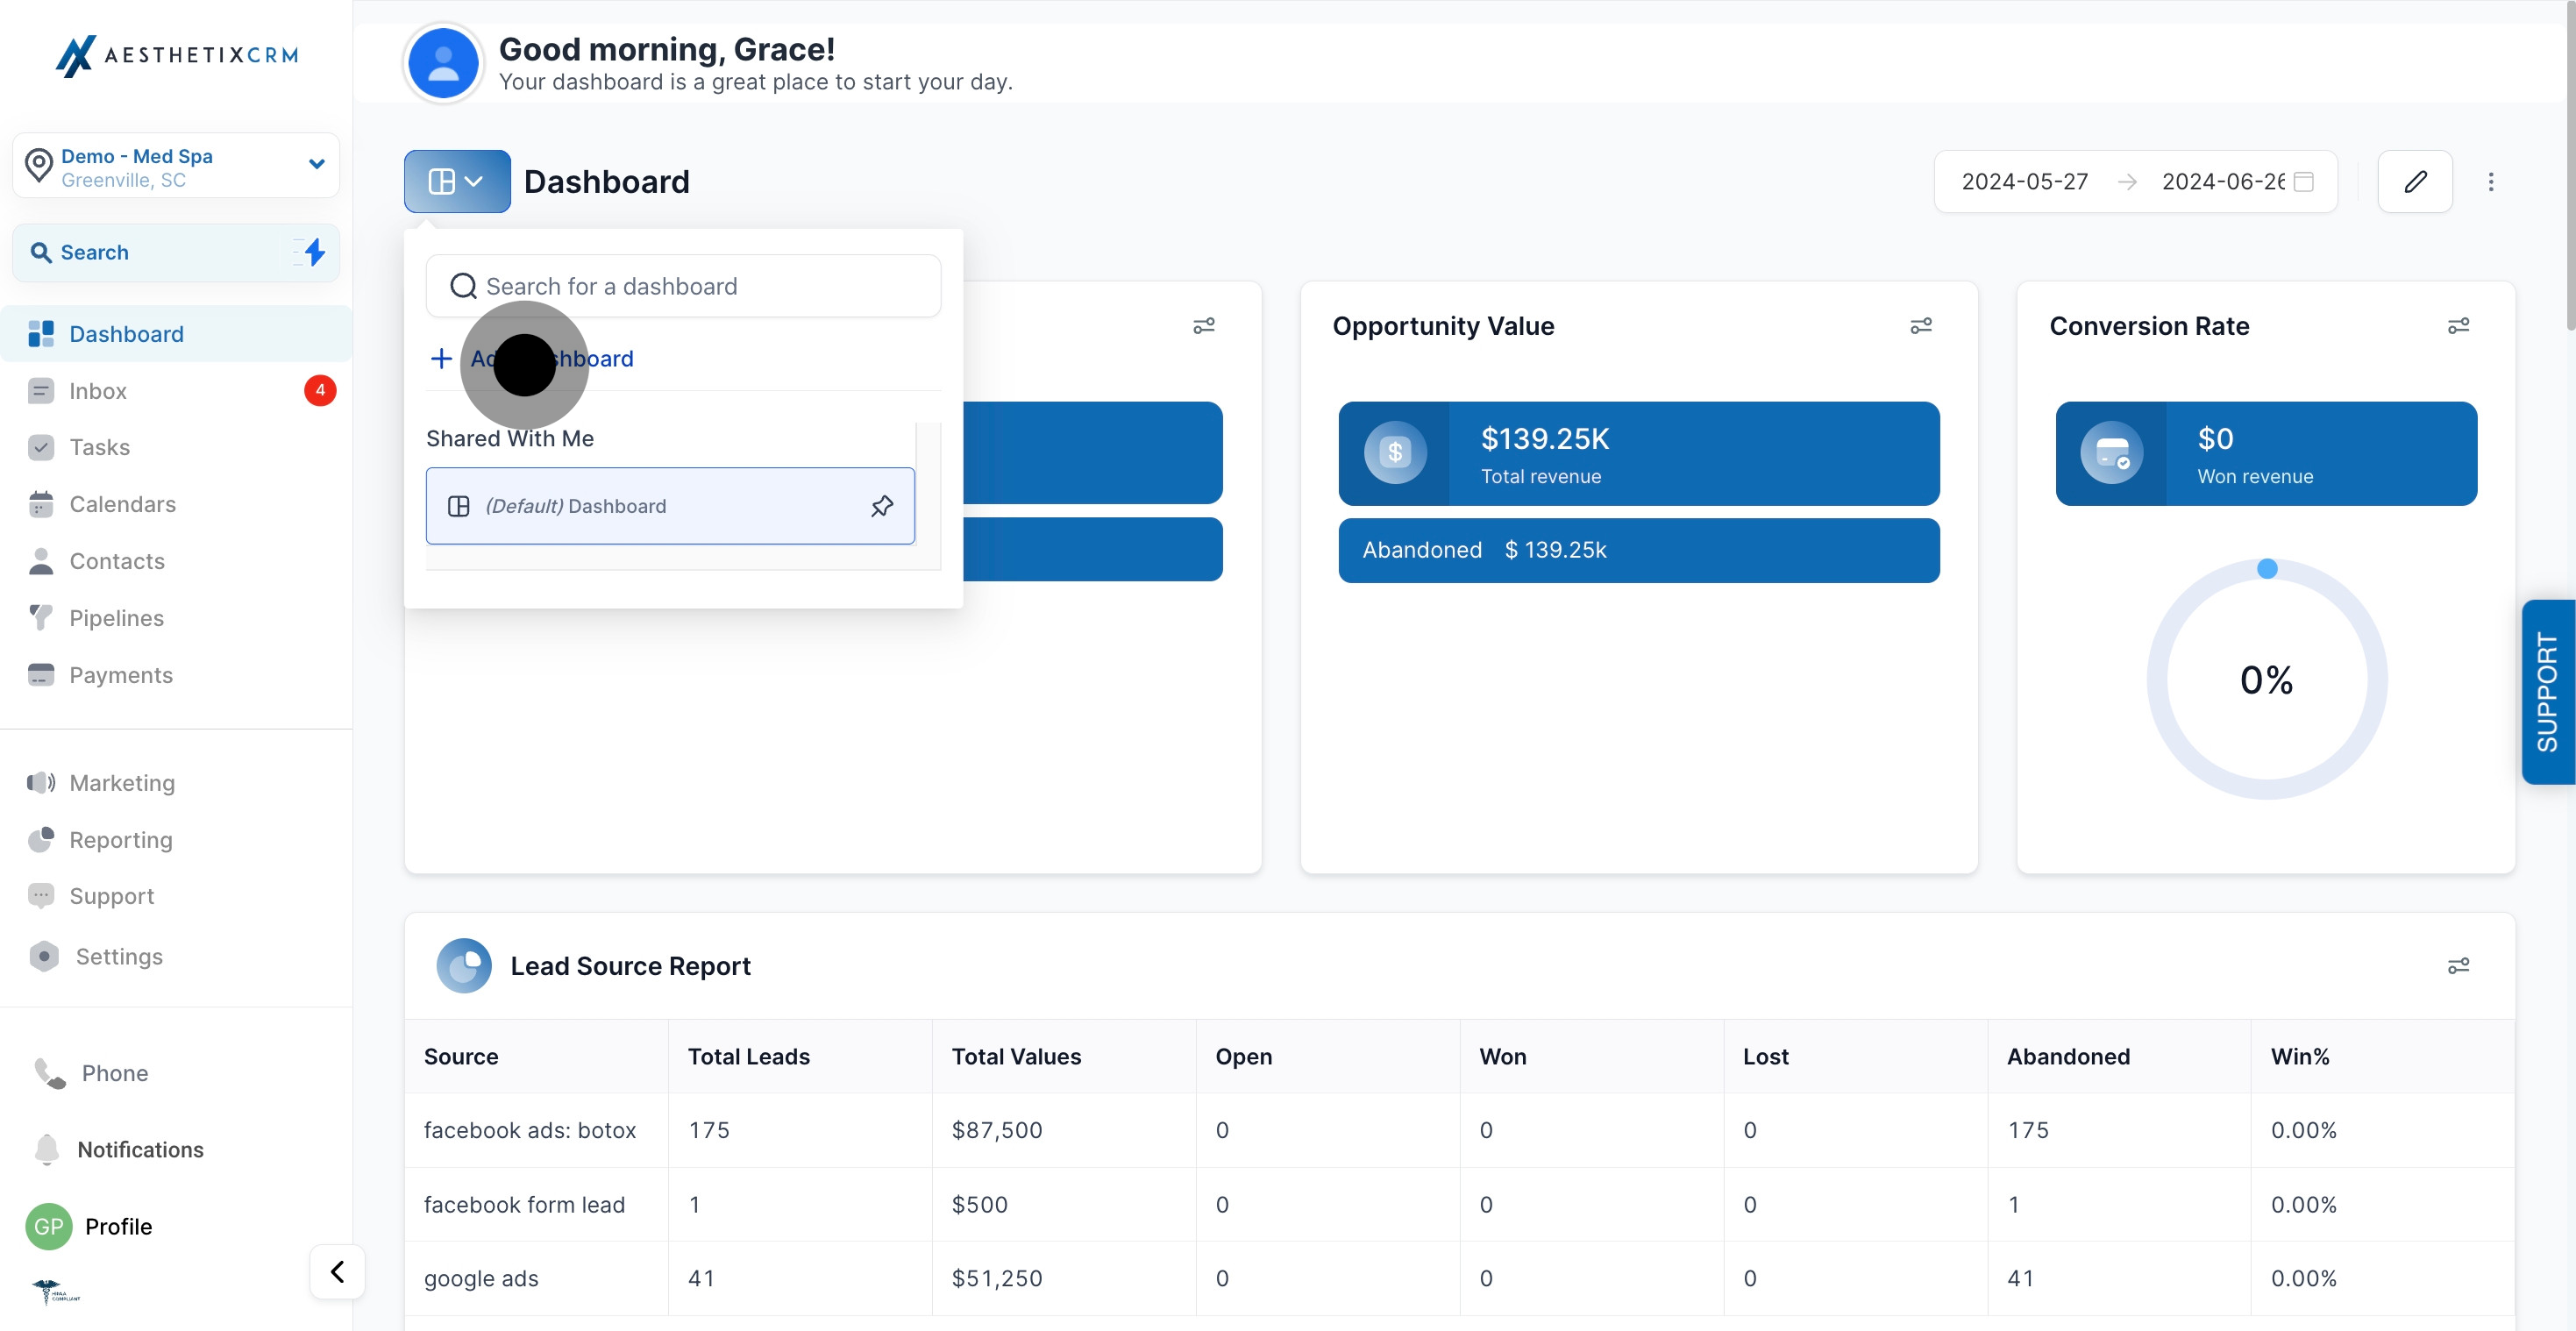
3. Now, add a new dashboard by selecting 'Add Dashboard'.
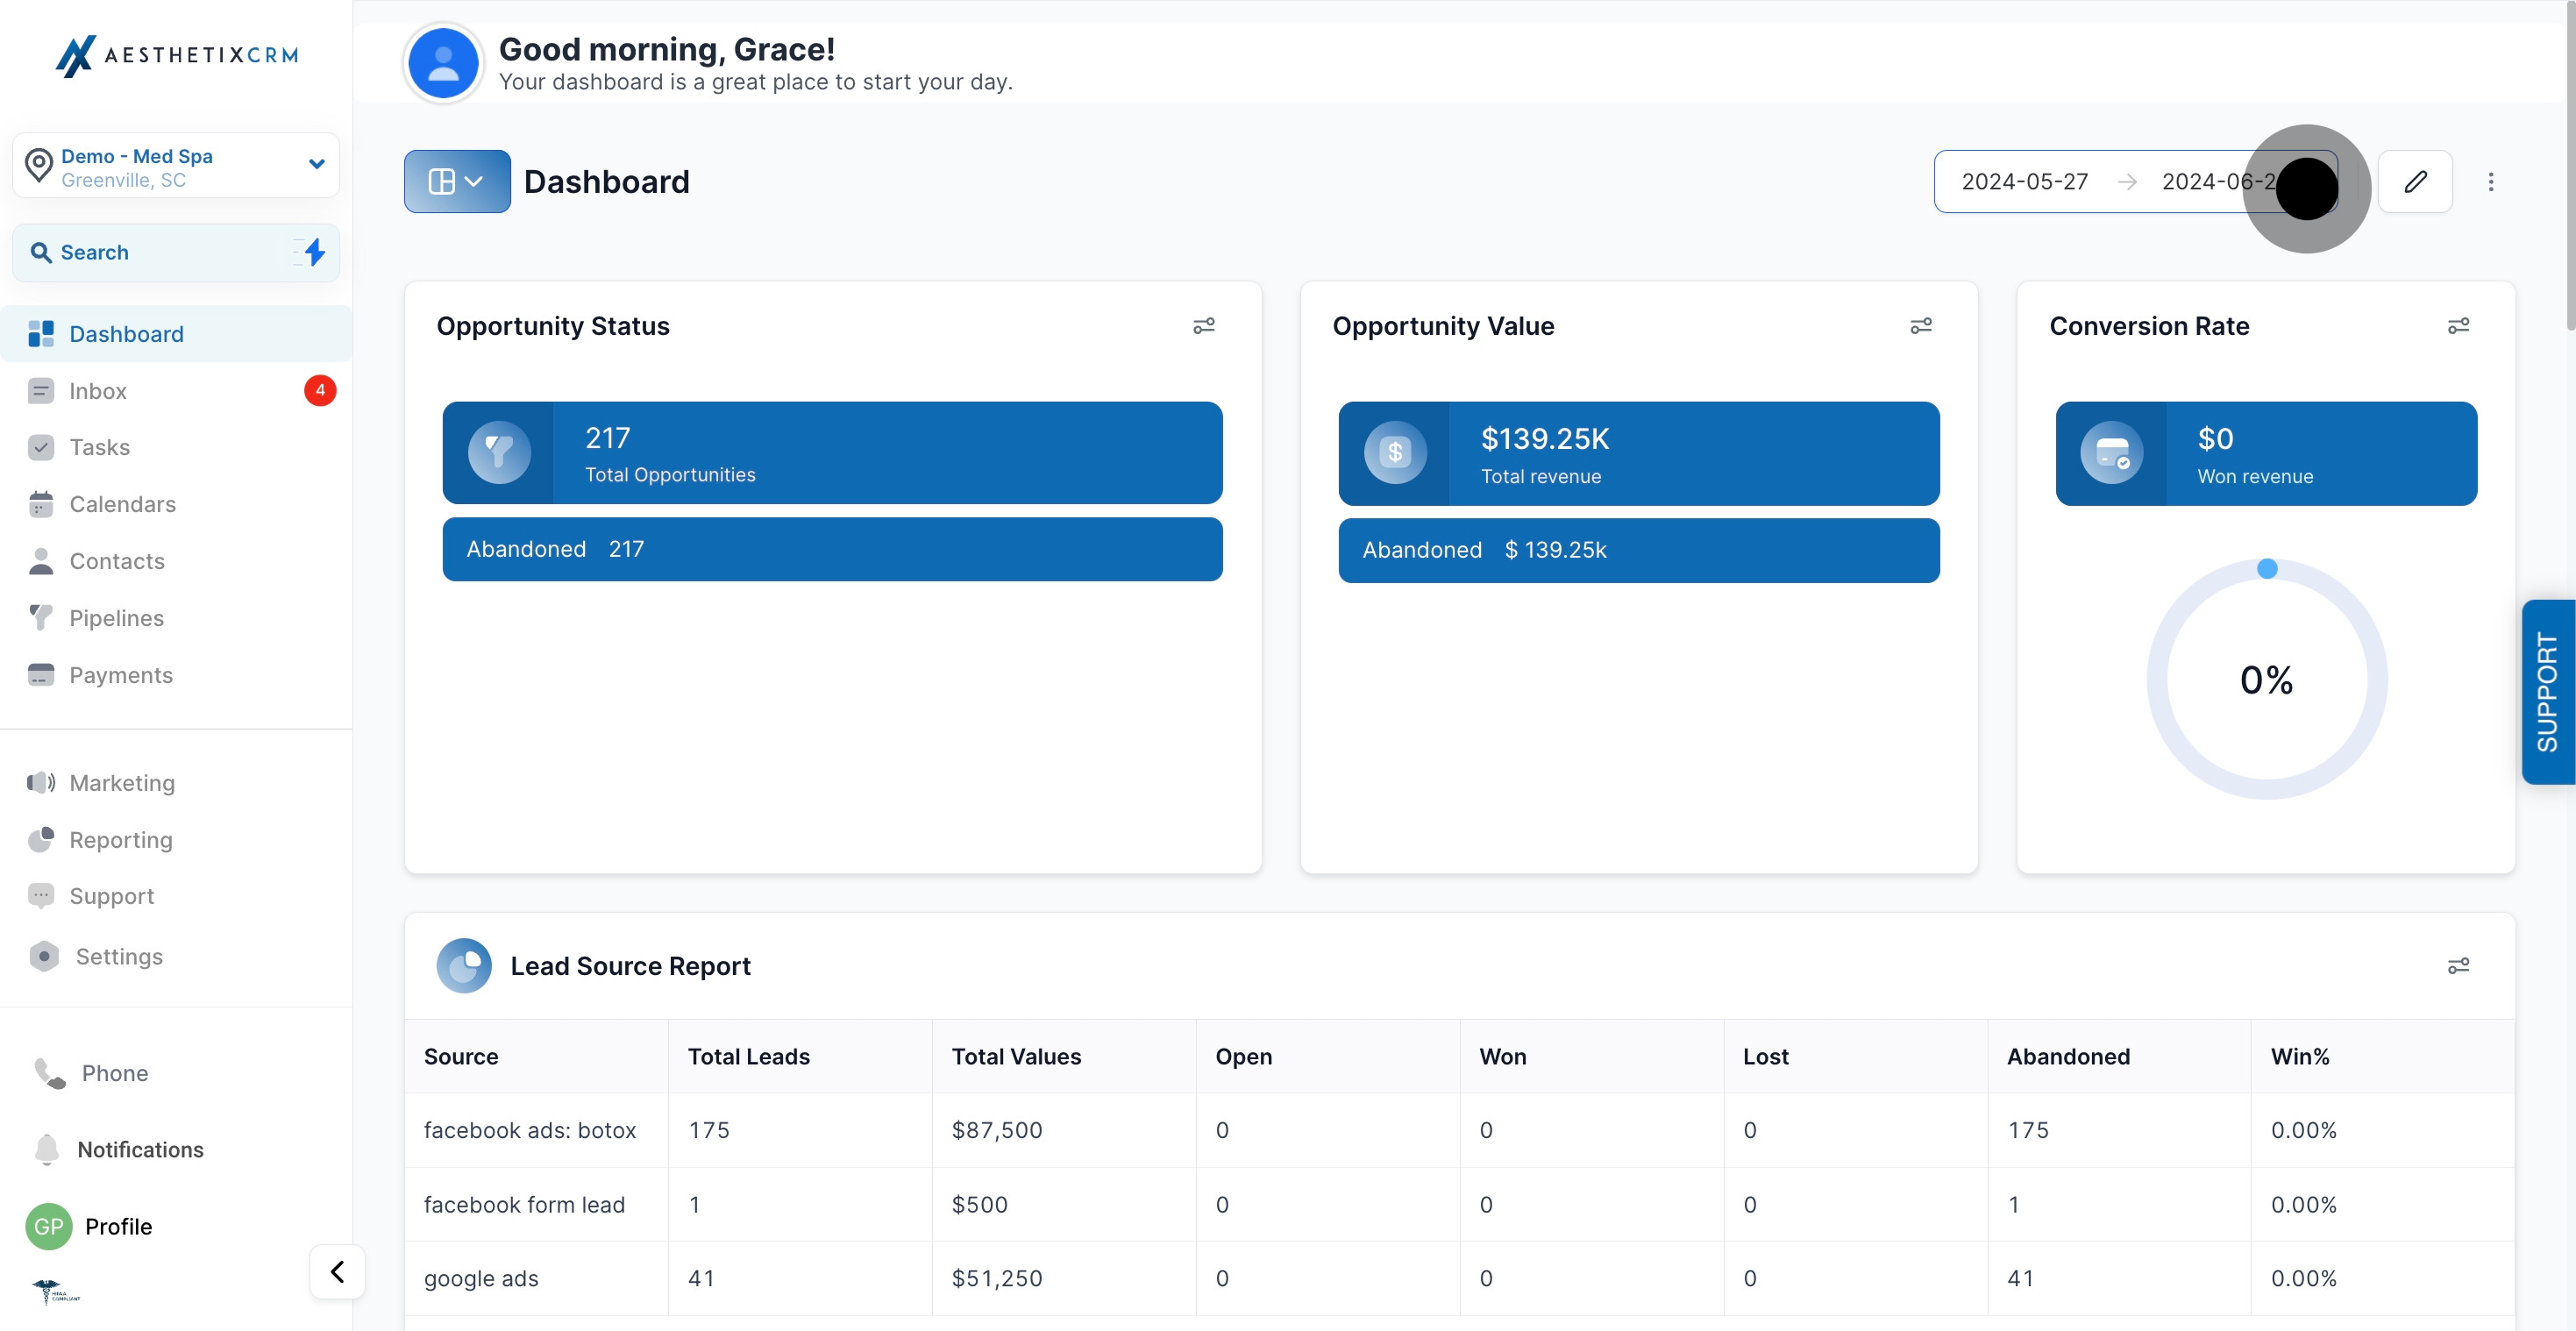
4. Adjust the date range for your dashboard data display effectively.
5. Opt to edit your dashboard details here.
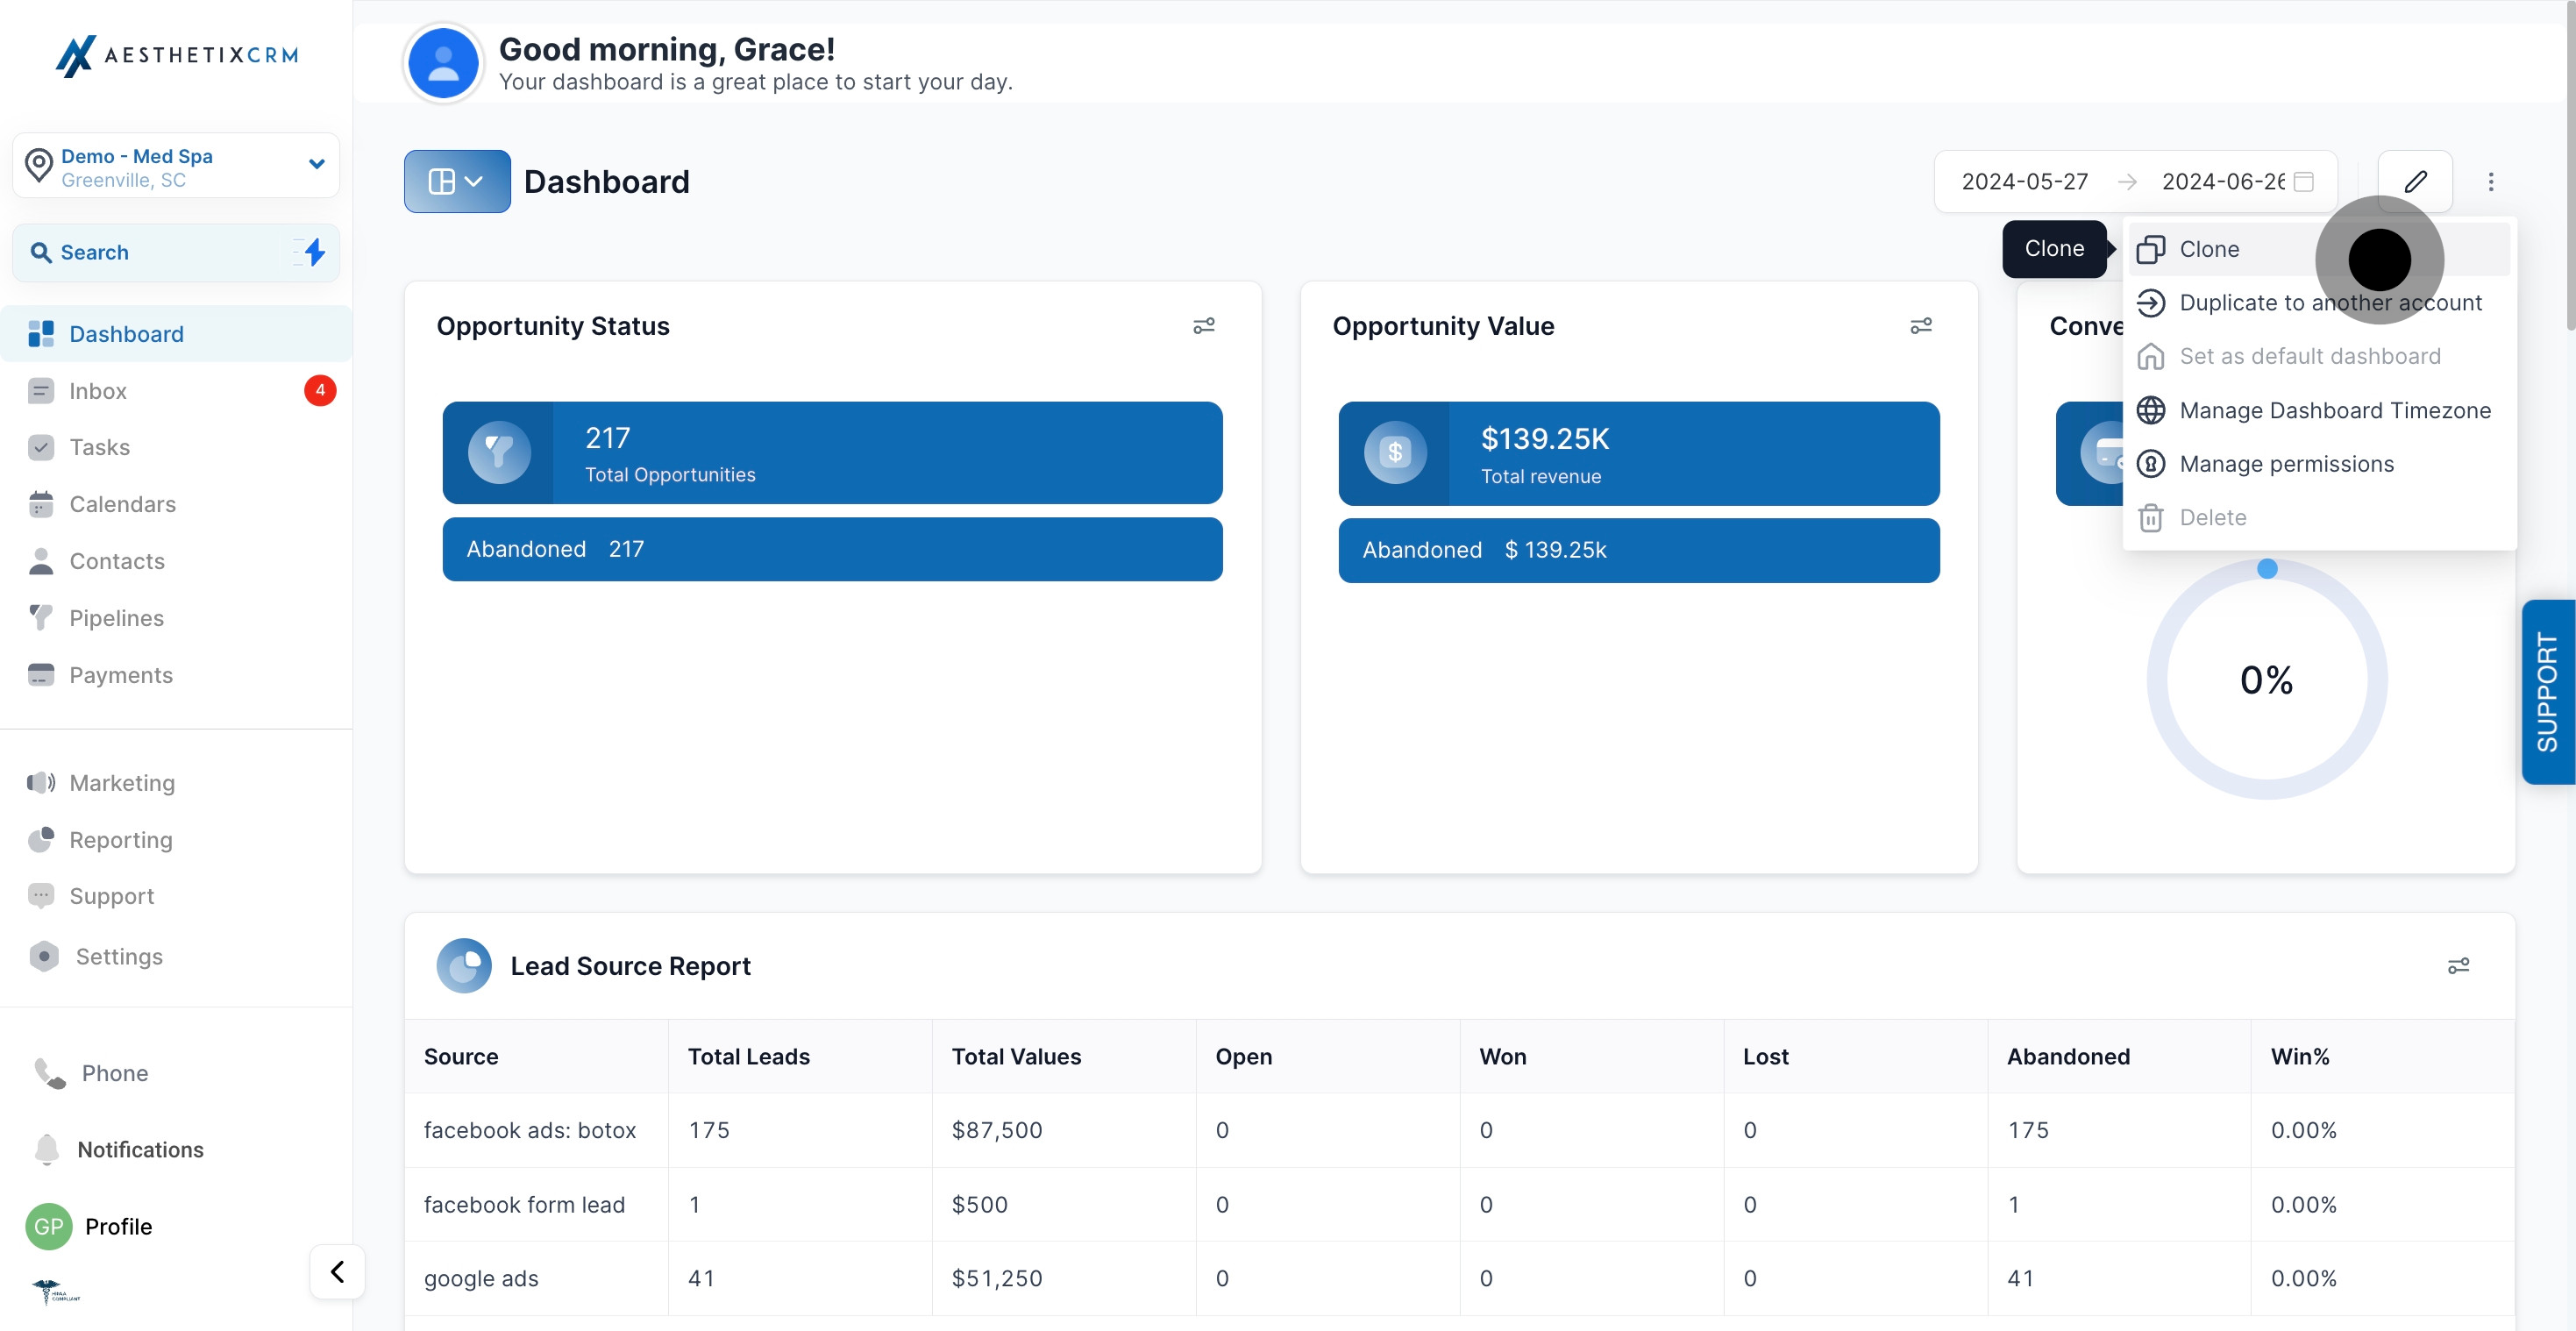
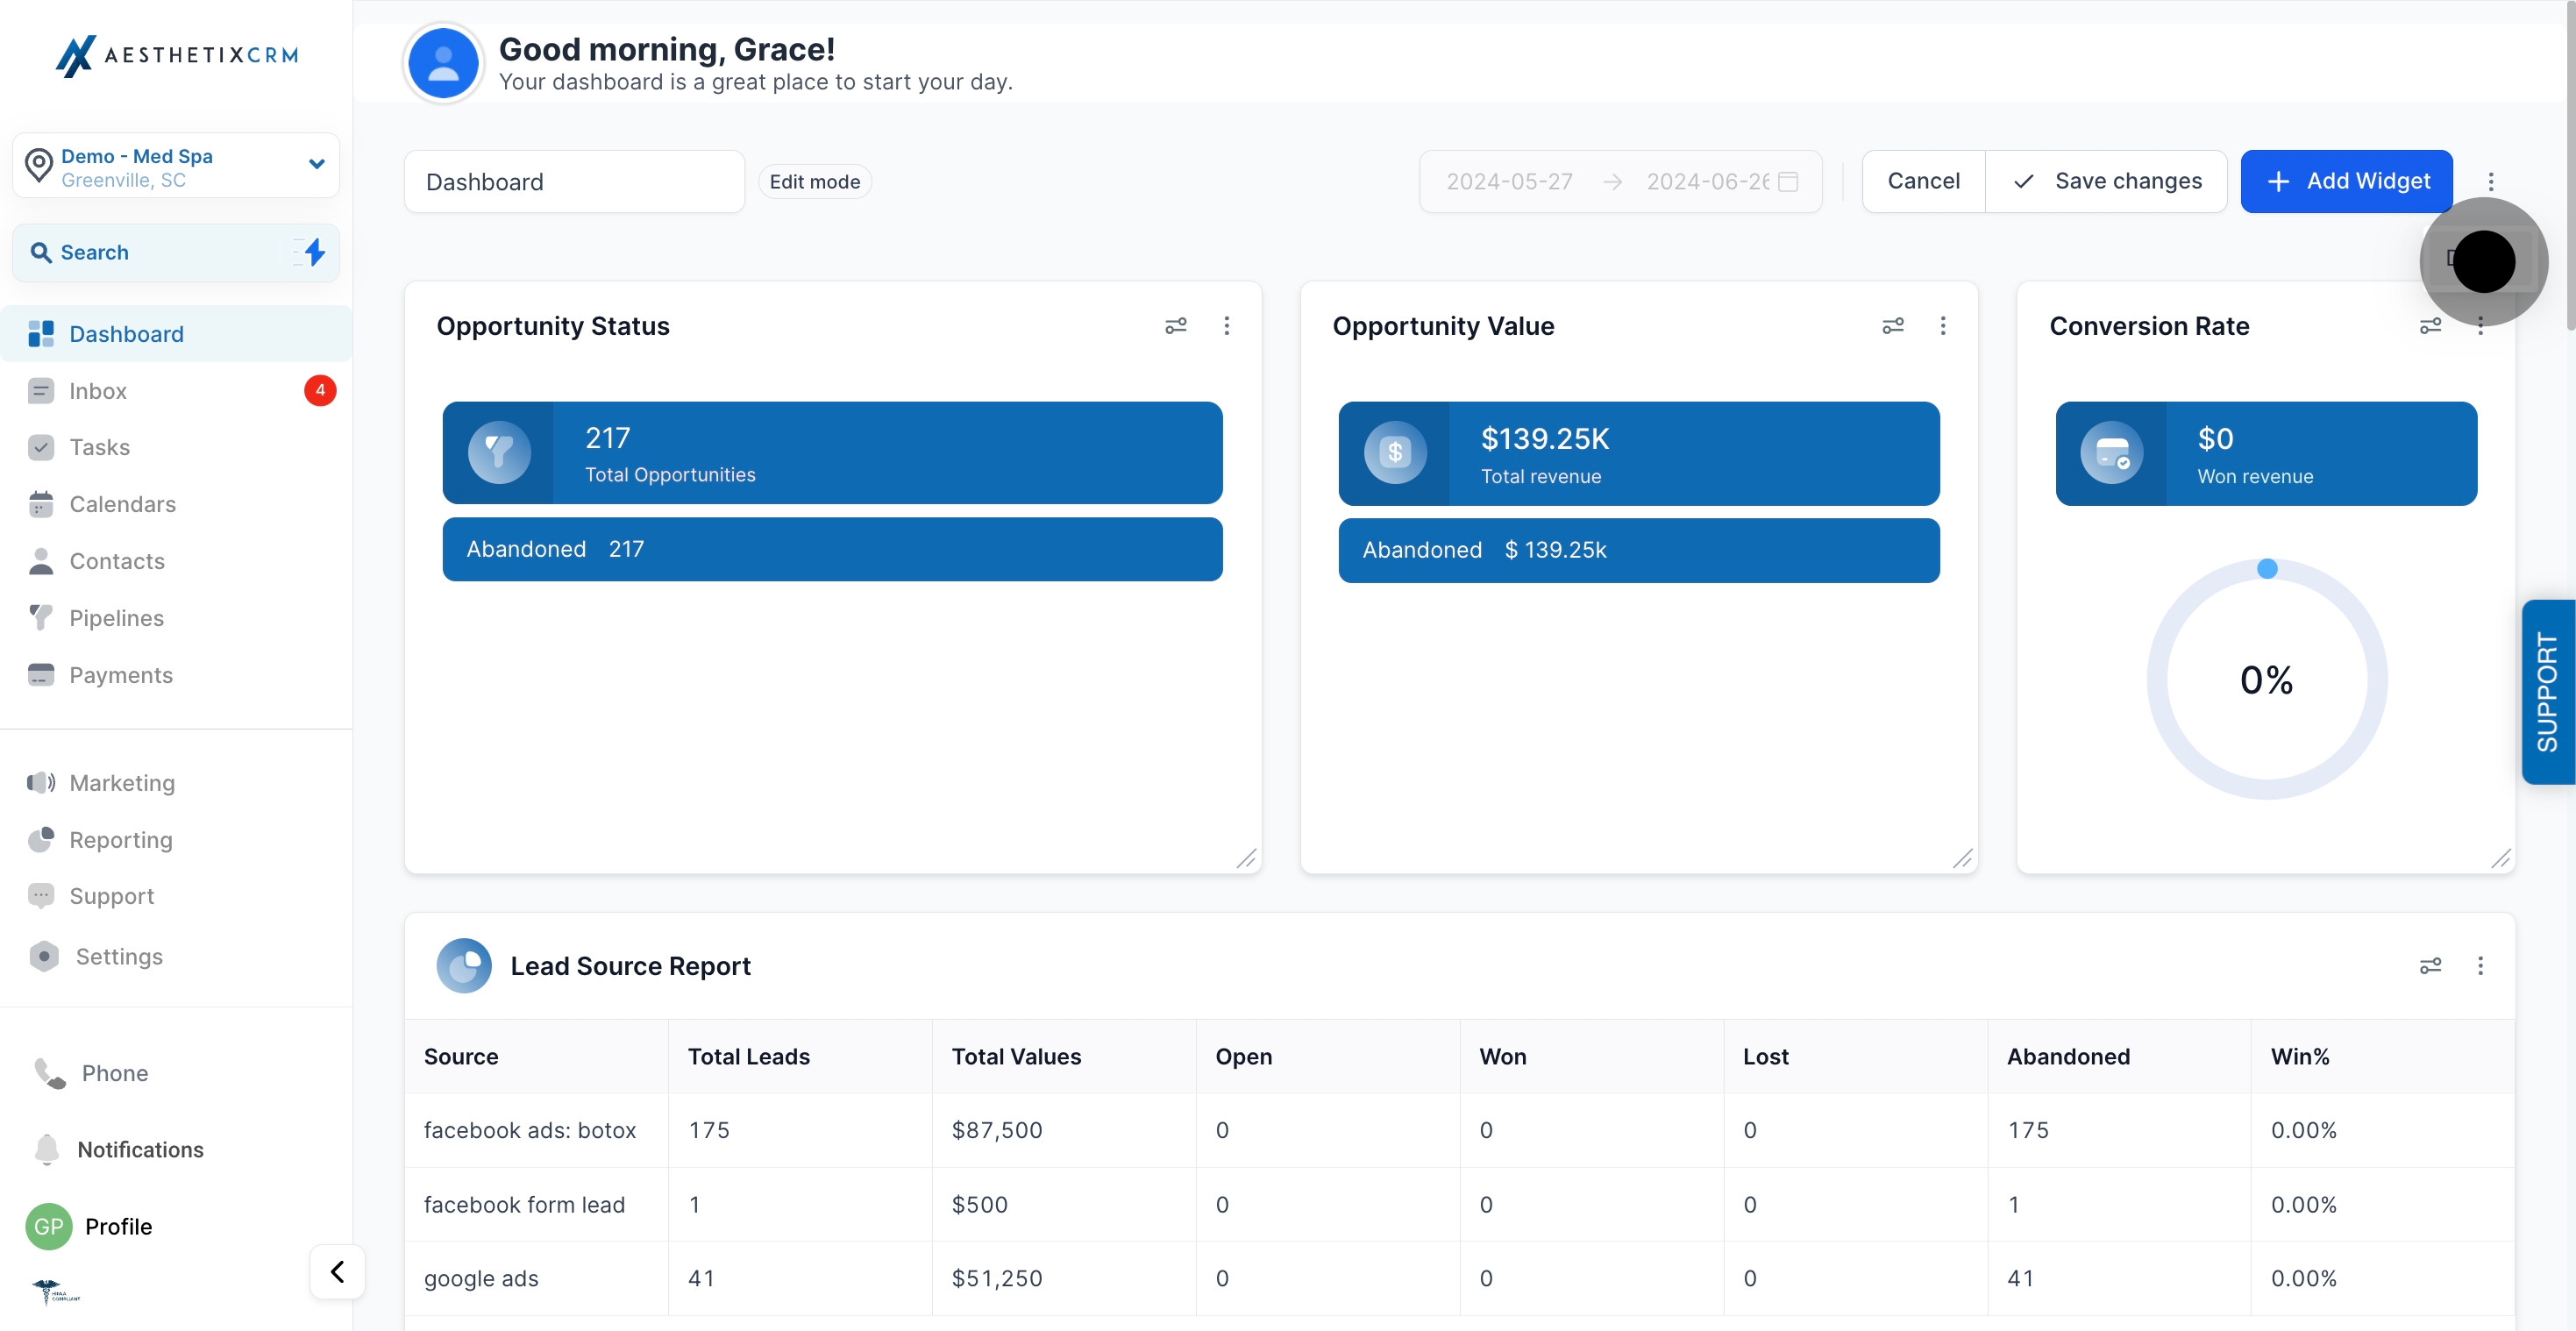
6. Explore additional options by clicking this icon.
7. Select 'Clone' to create a copy of the current dashboard.
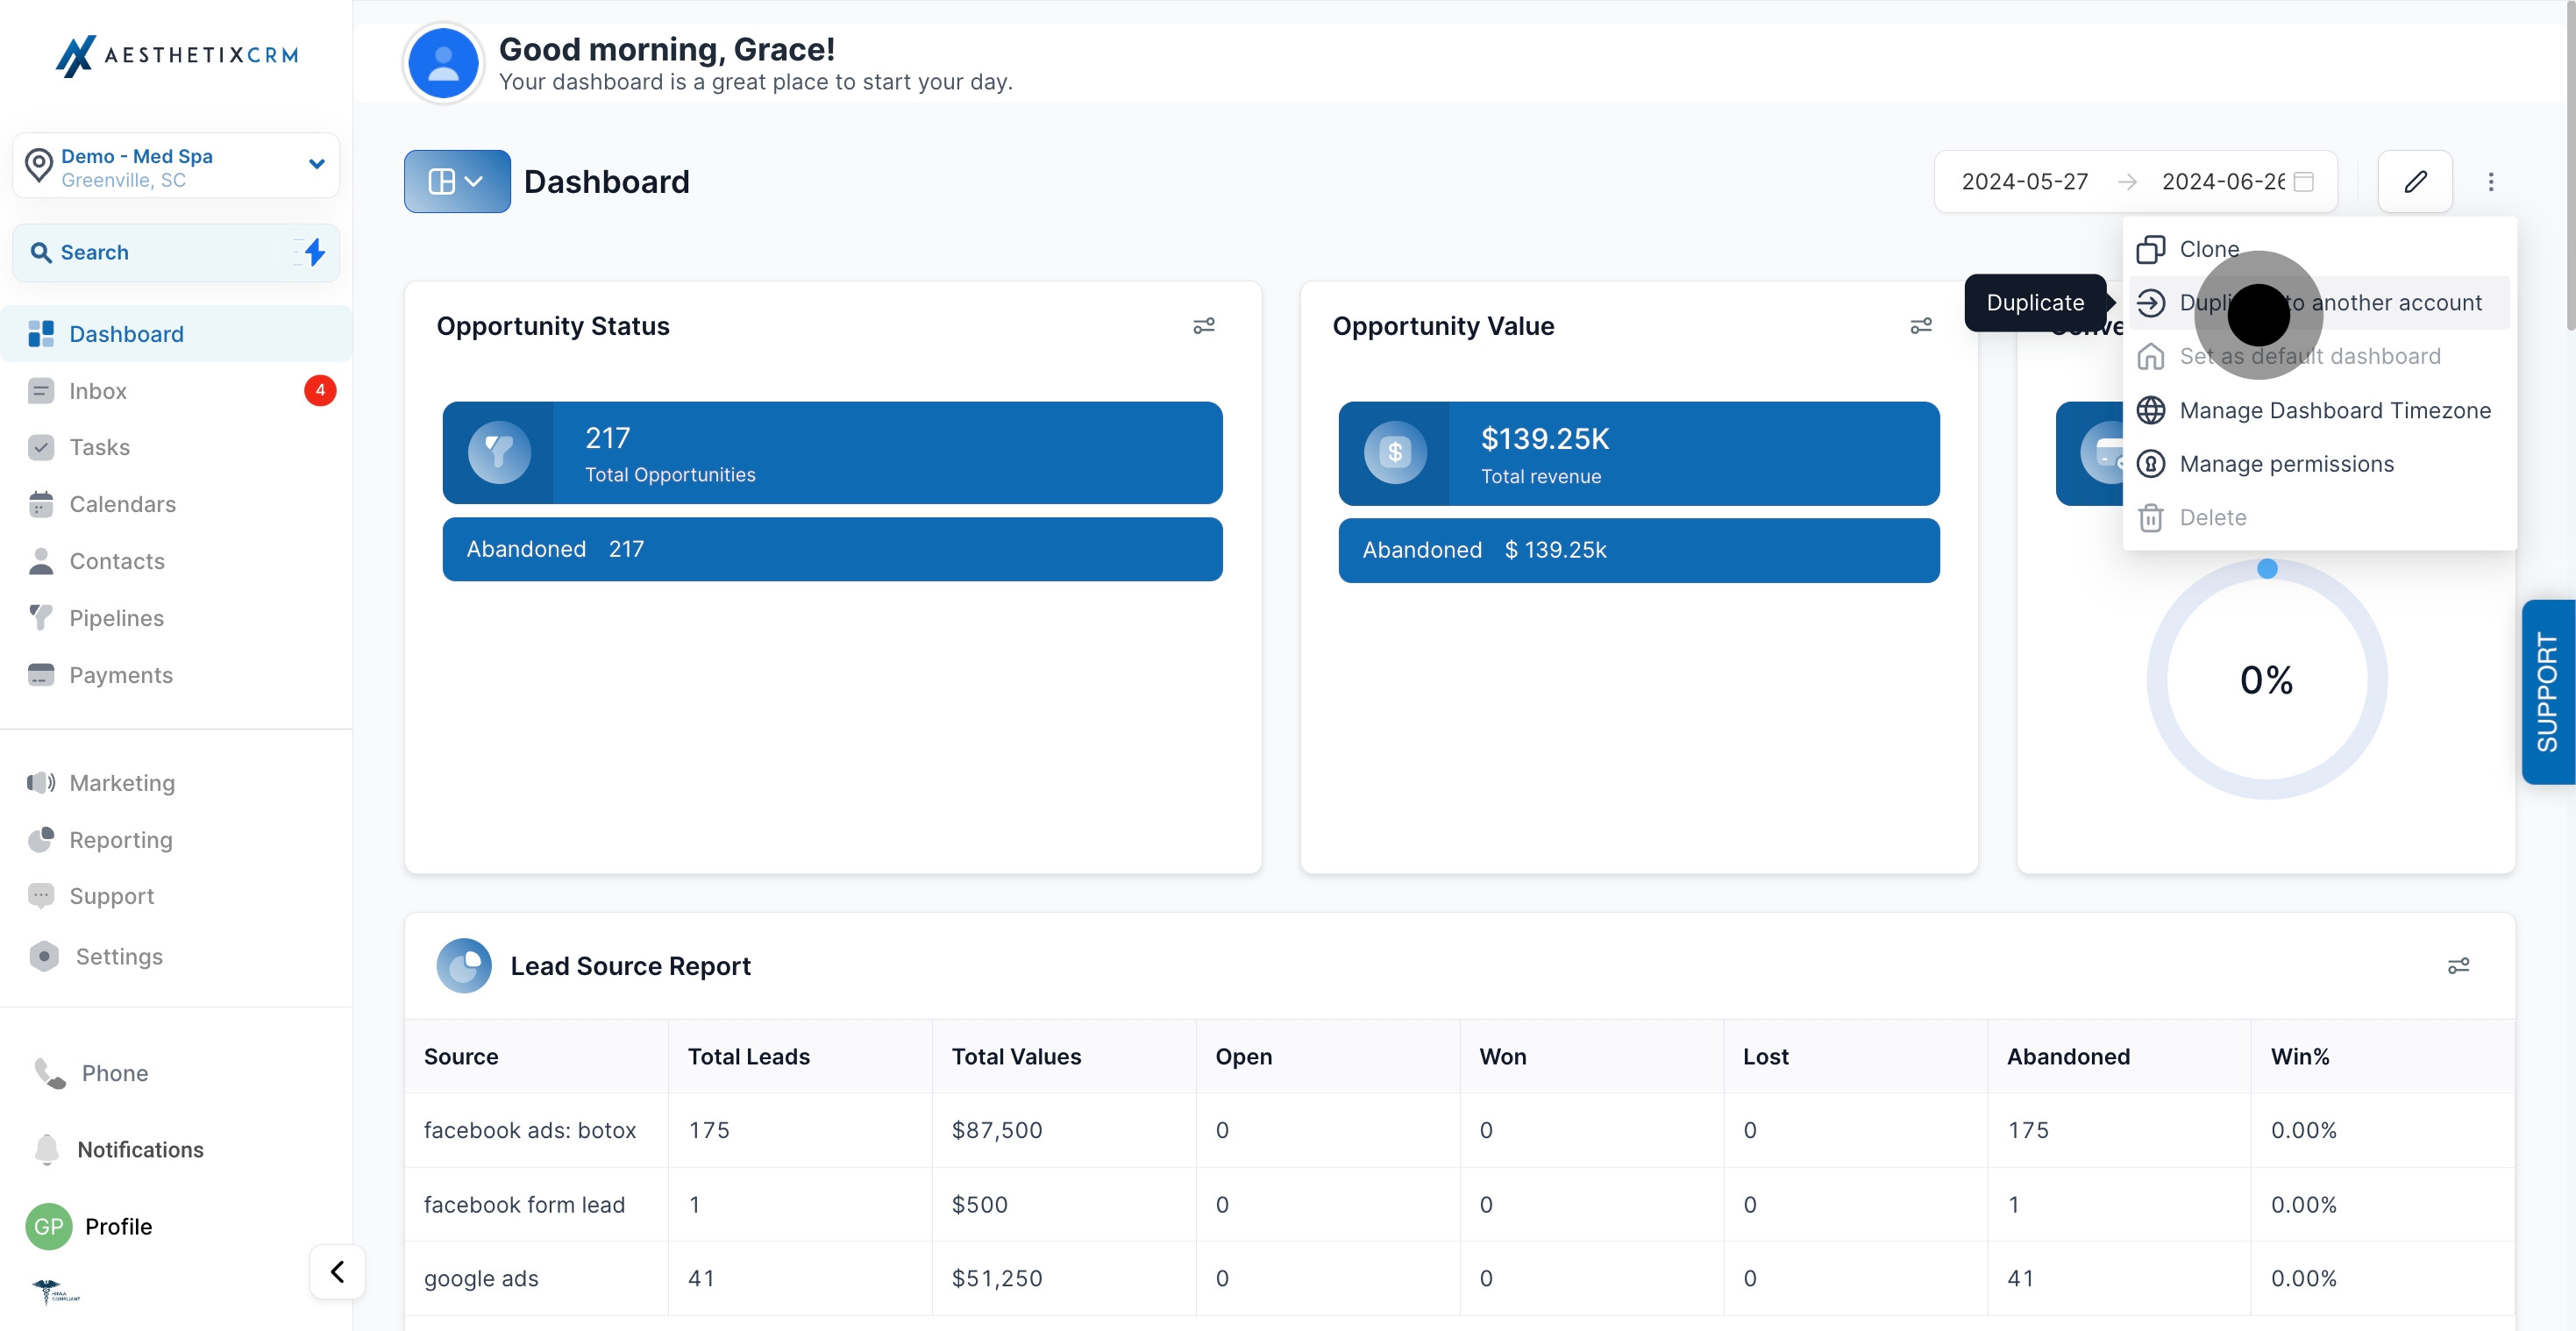
8. Choose 'Duplicate to another account' for sharing dashboard configurations.
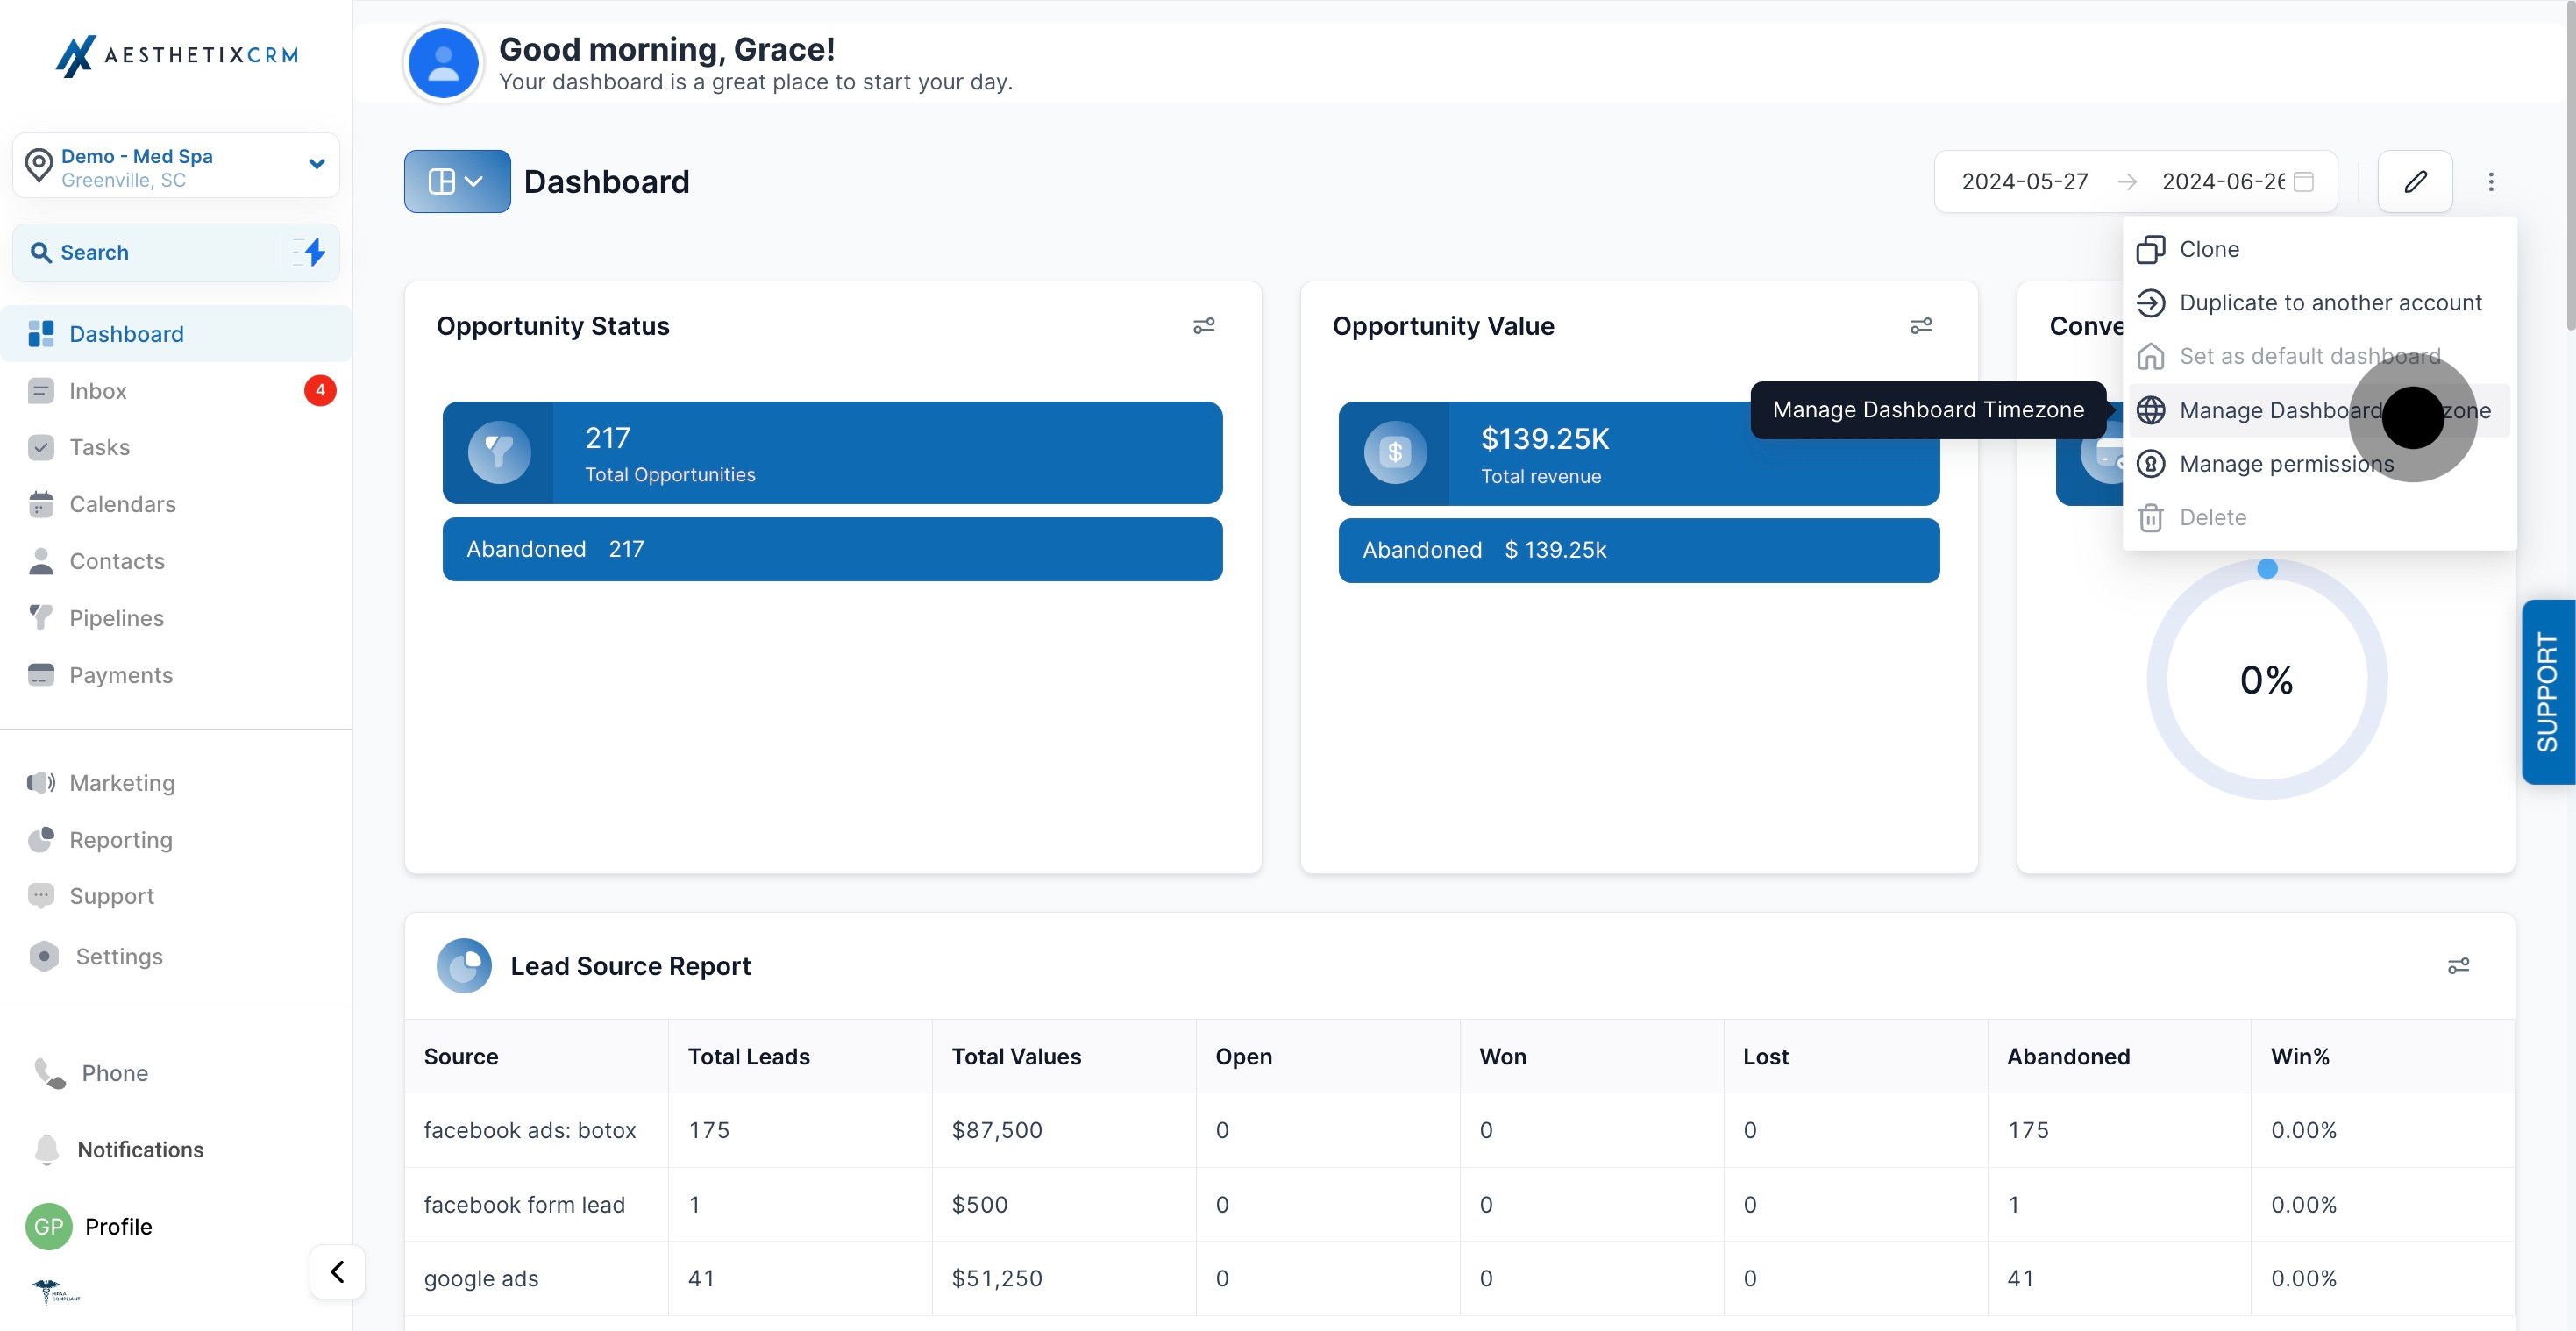
9. Manage dashboard timezone settings by selecting this option.
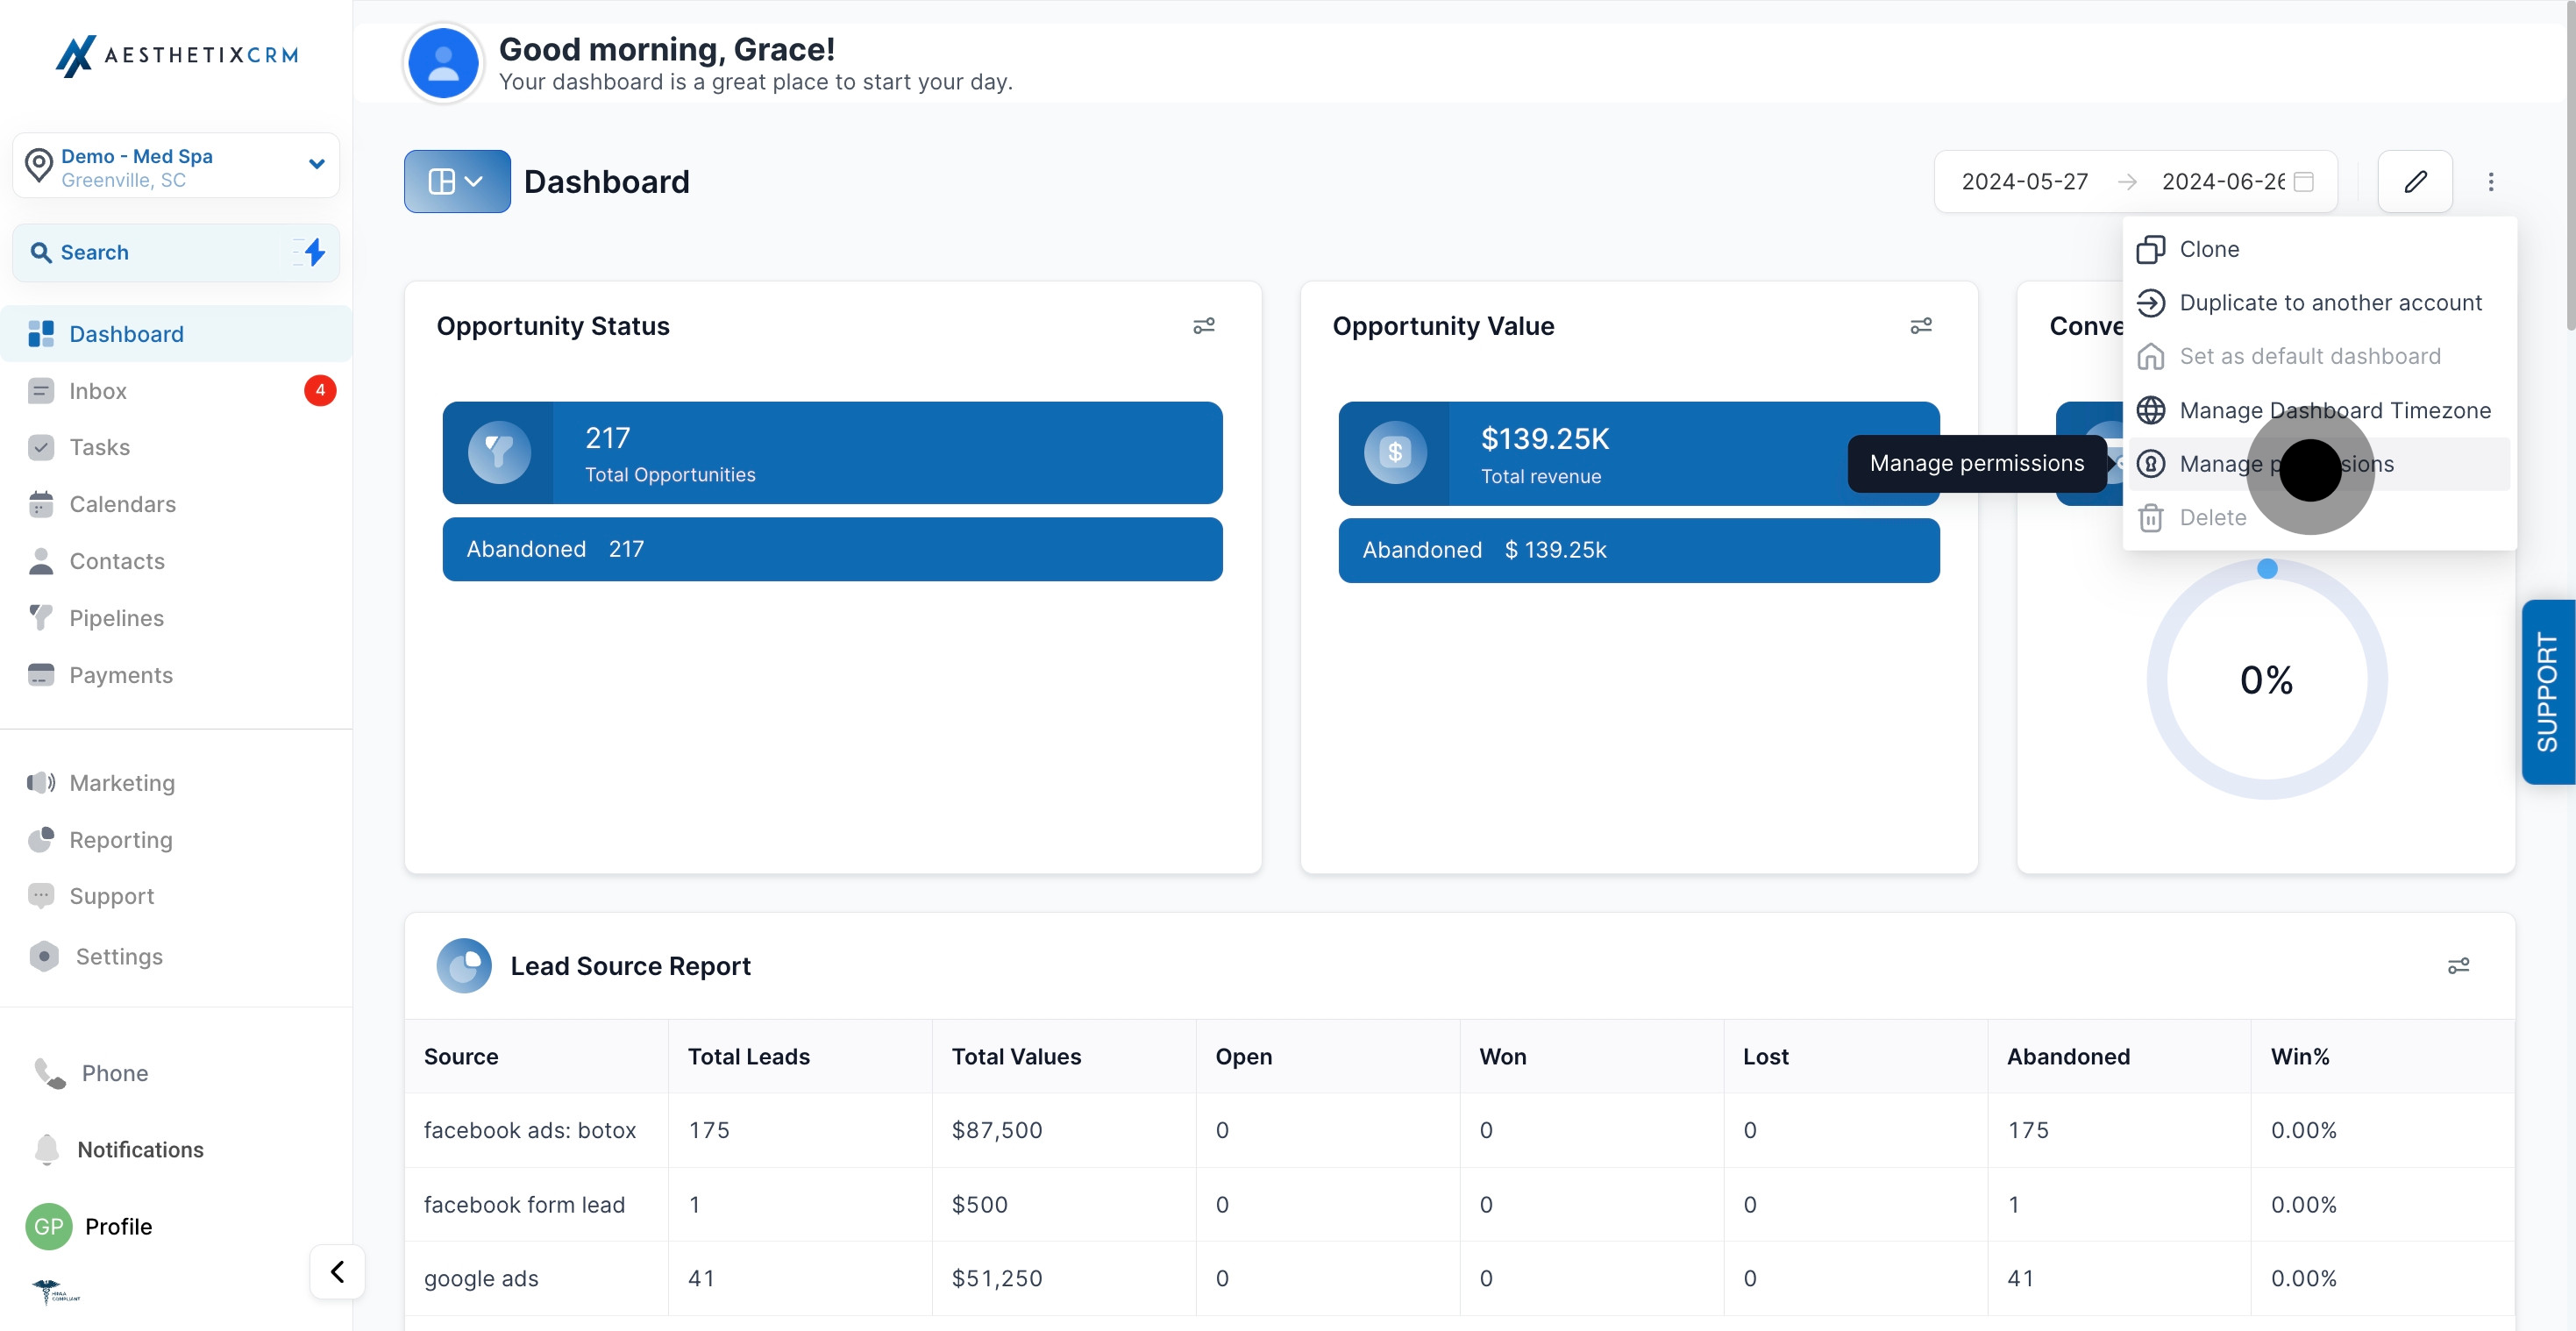
10. Click here to configure dashboard permissions.
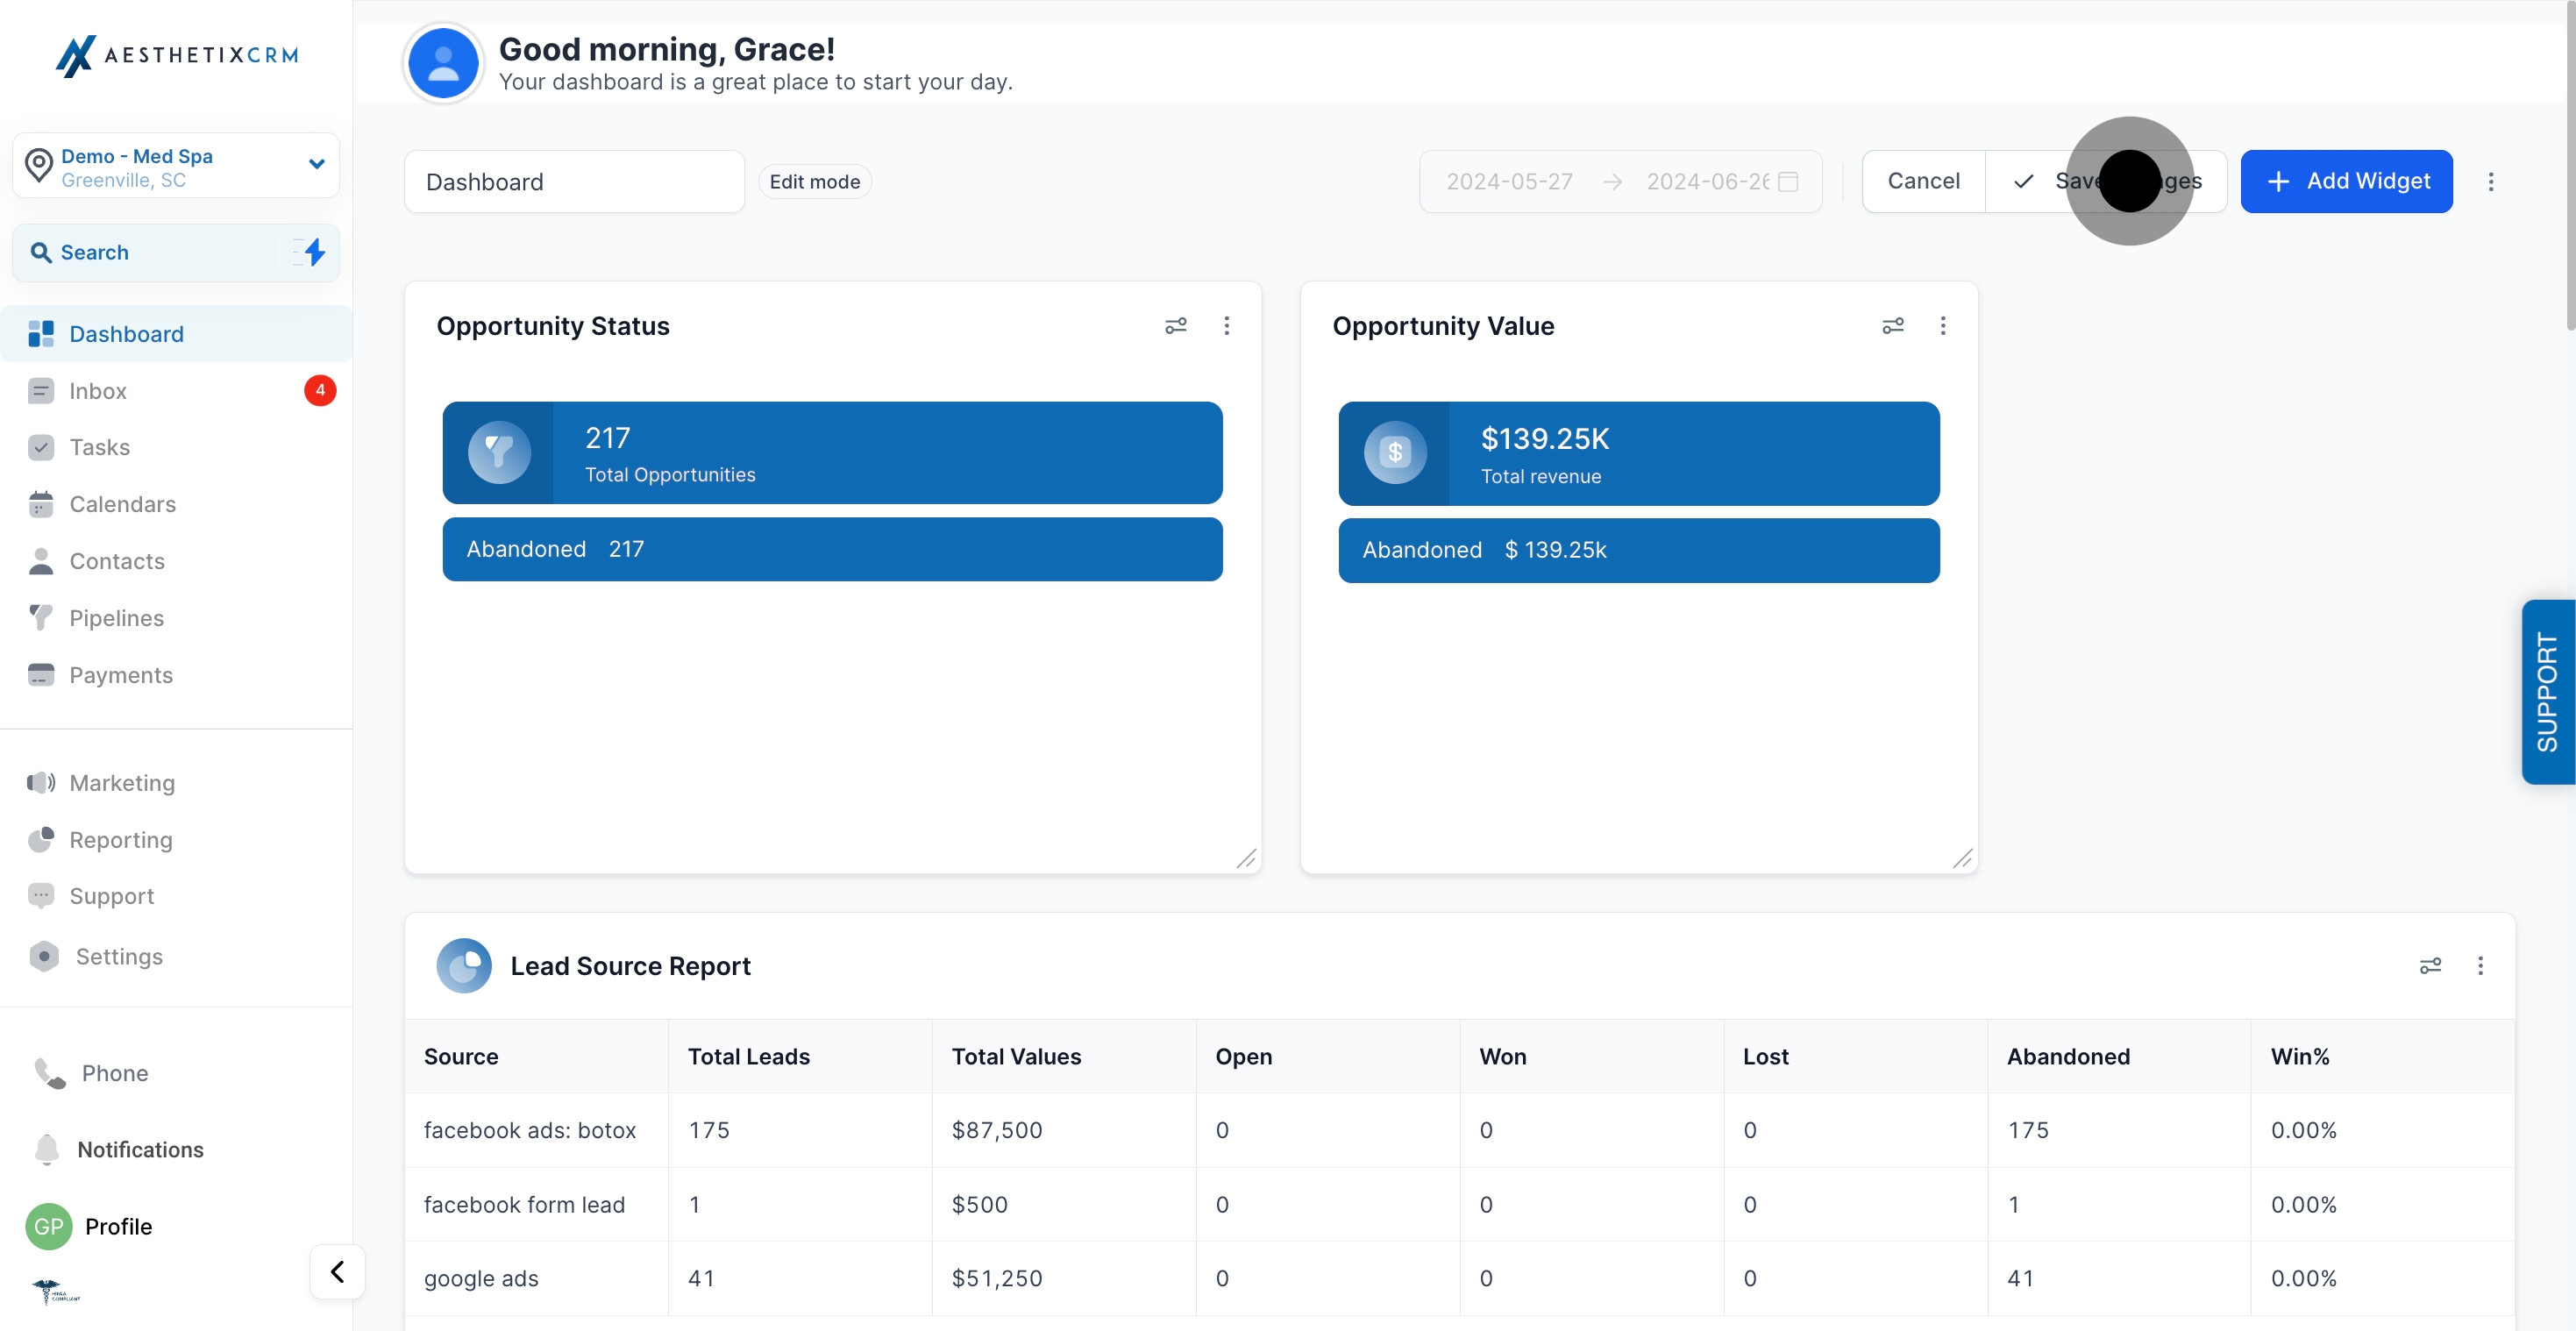
11. Delete widgets by accessing the three-dot menu option.
12. Finally, remember to cancel or confirm changes to your dashboard.