Discover how to create and manage class booking calendars in Aesthetix CRM to streamline your scheduling process. This detailed article guides you through setting up a calendar specifically for class bookings, allowing students to easily register for sessions while you maintain an organized schedule. Ideal for users aiming to enhance the efficiency and accessibility of their class management.
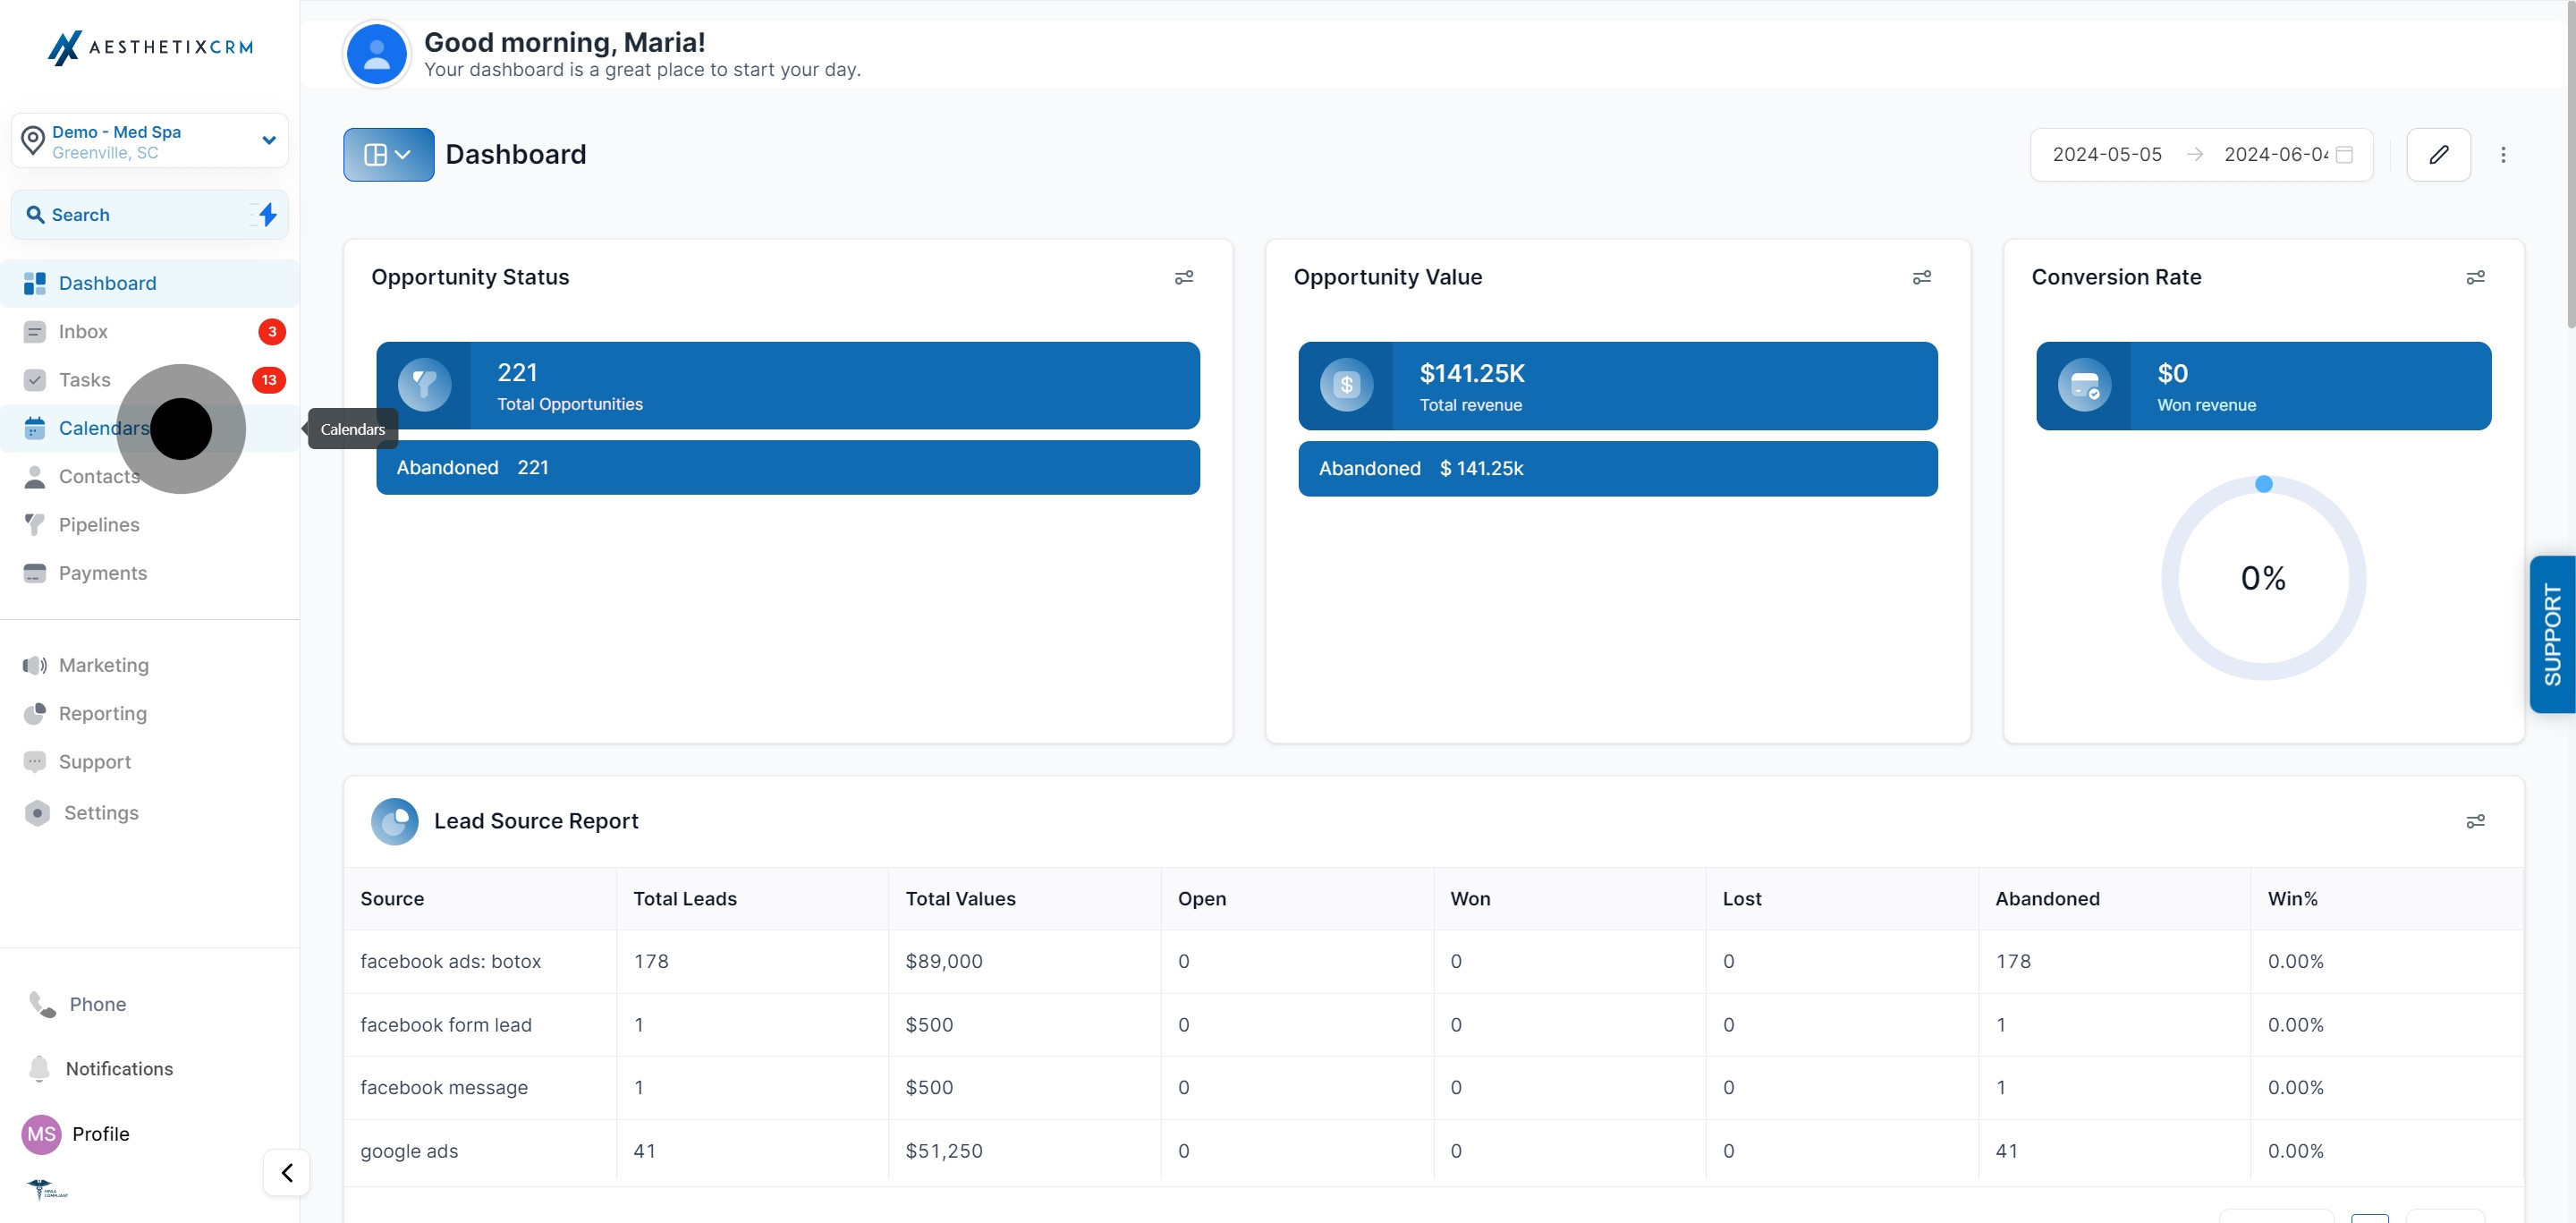
1. Click on "Calendar".
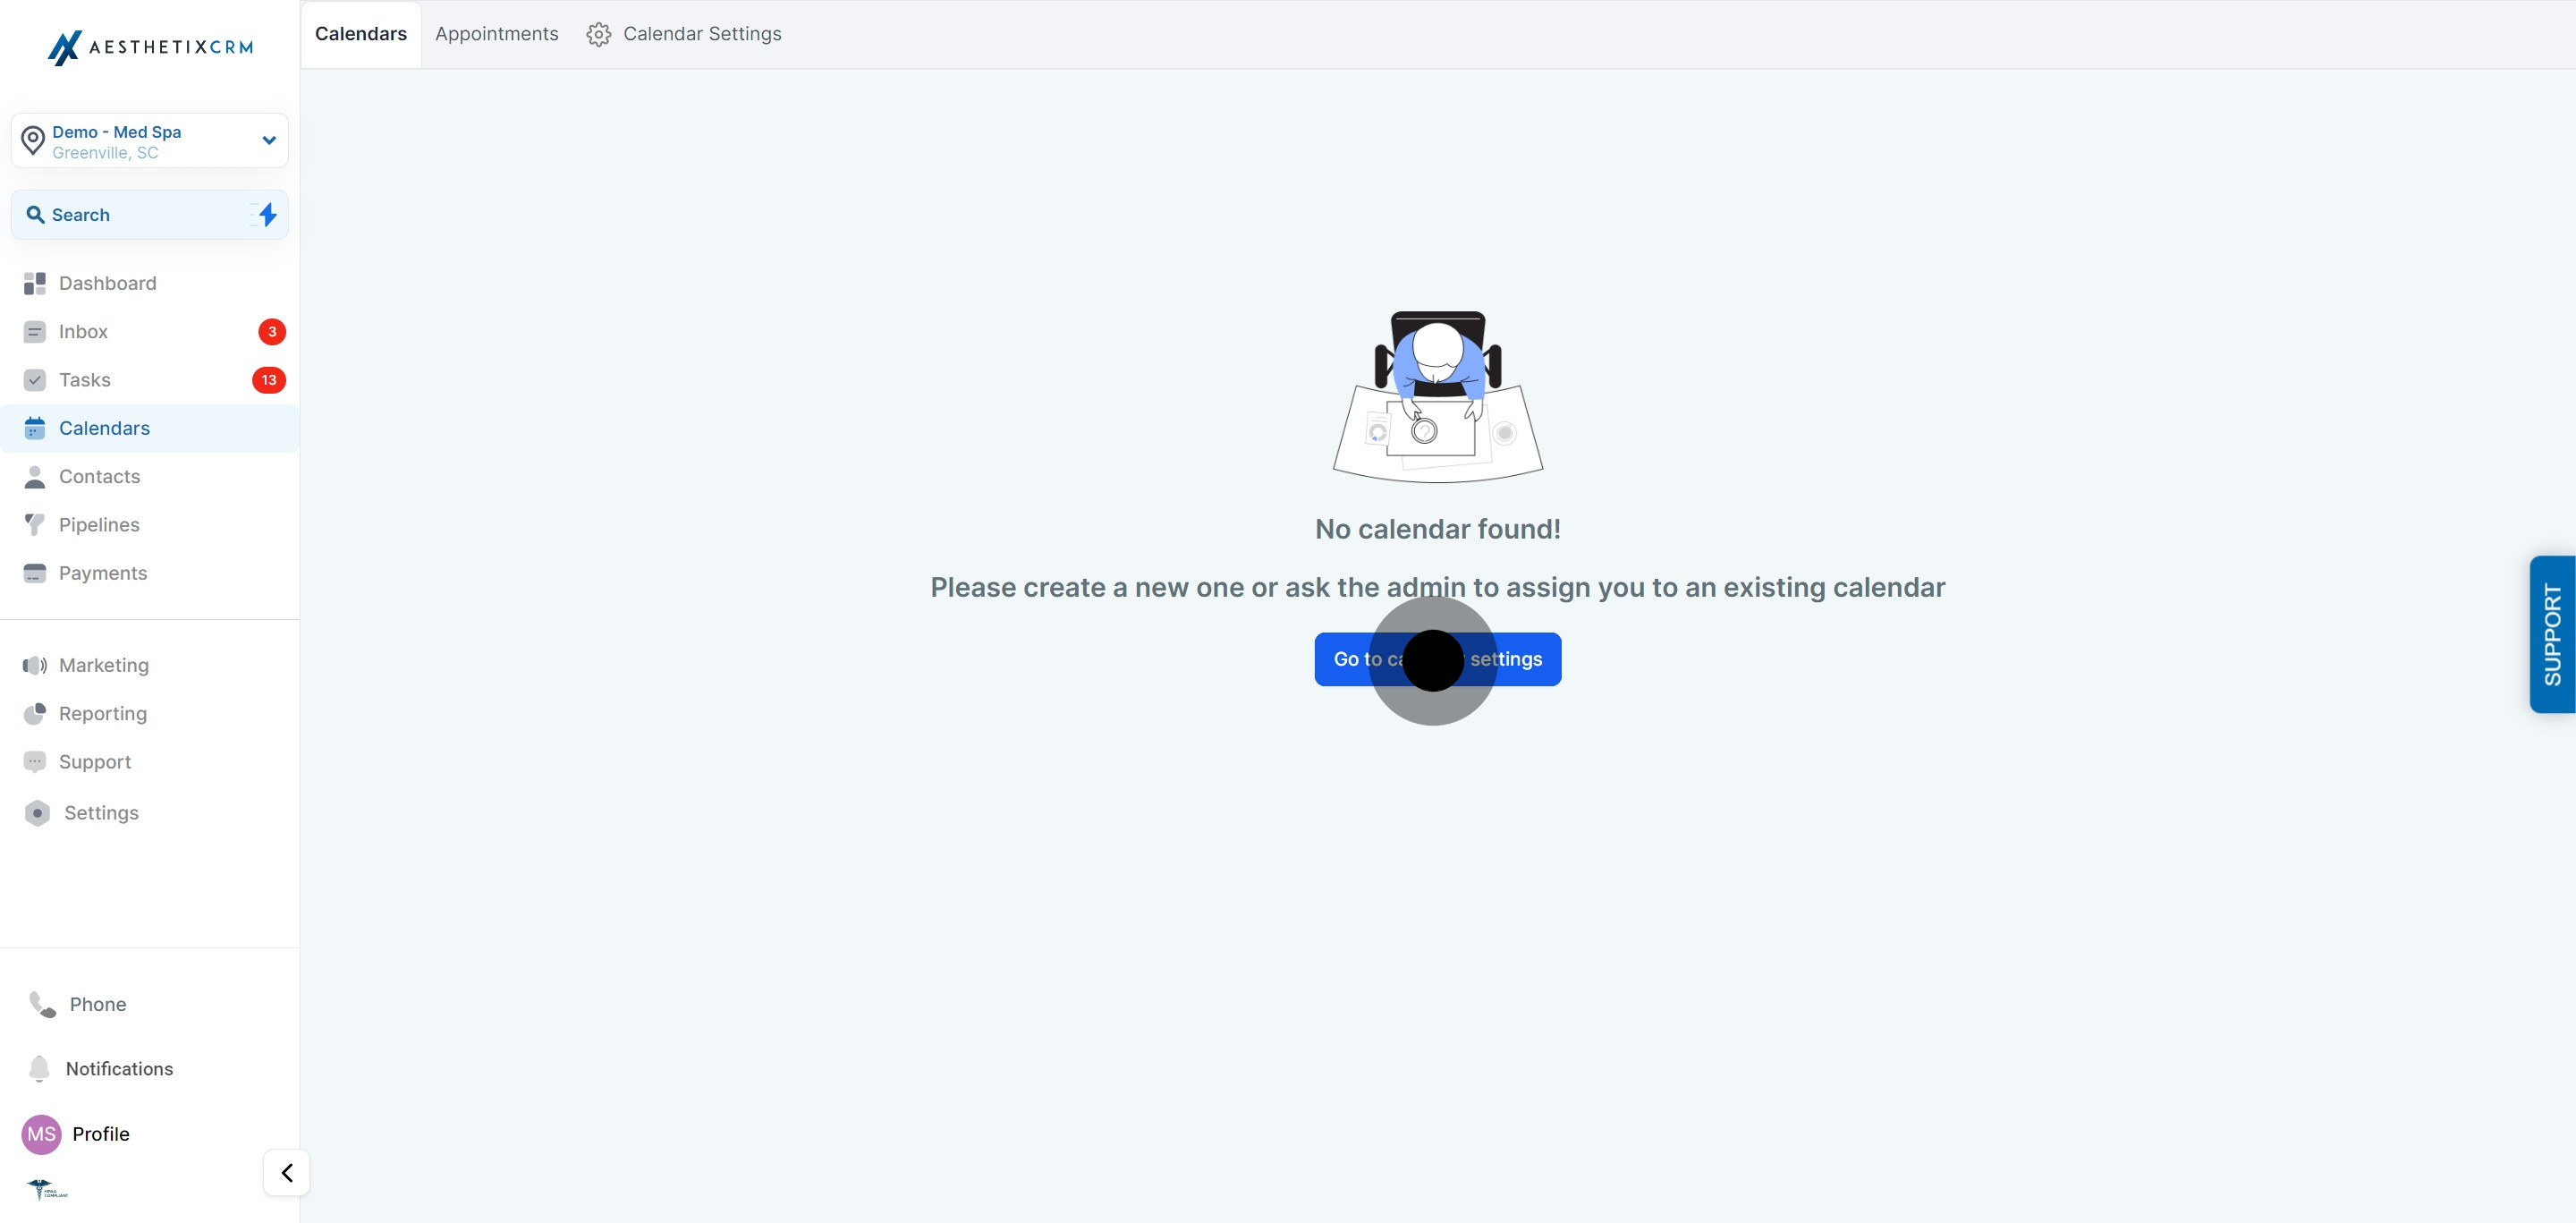
2. Navigate to "Calendar Settings" by selecting "Go to Calendar Settings".
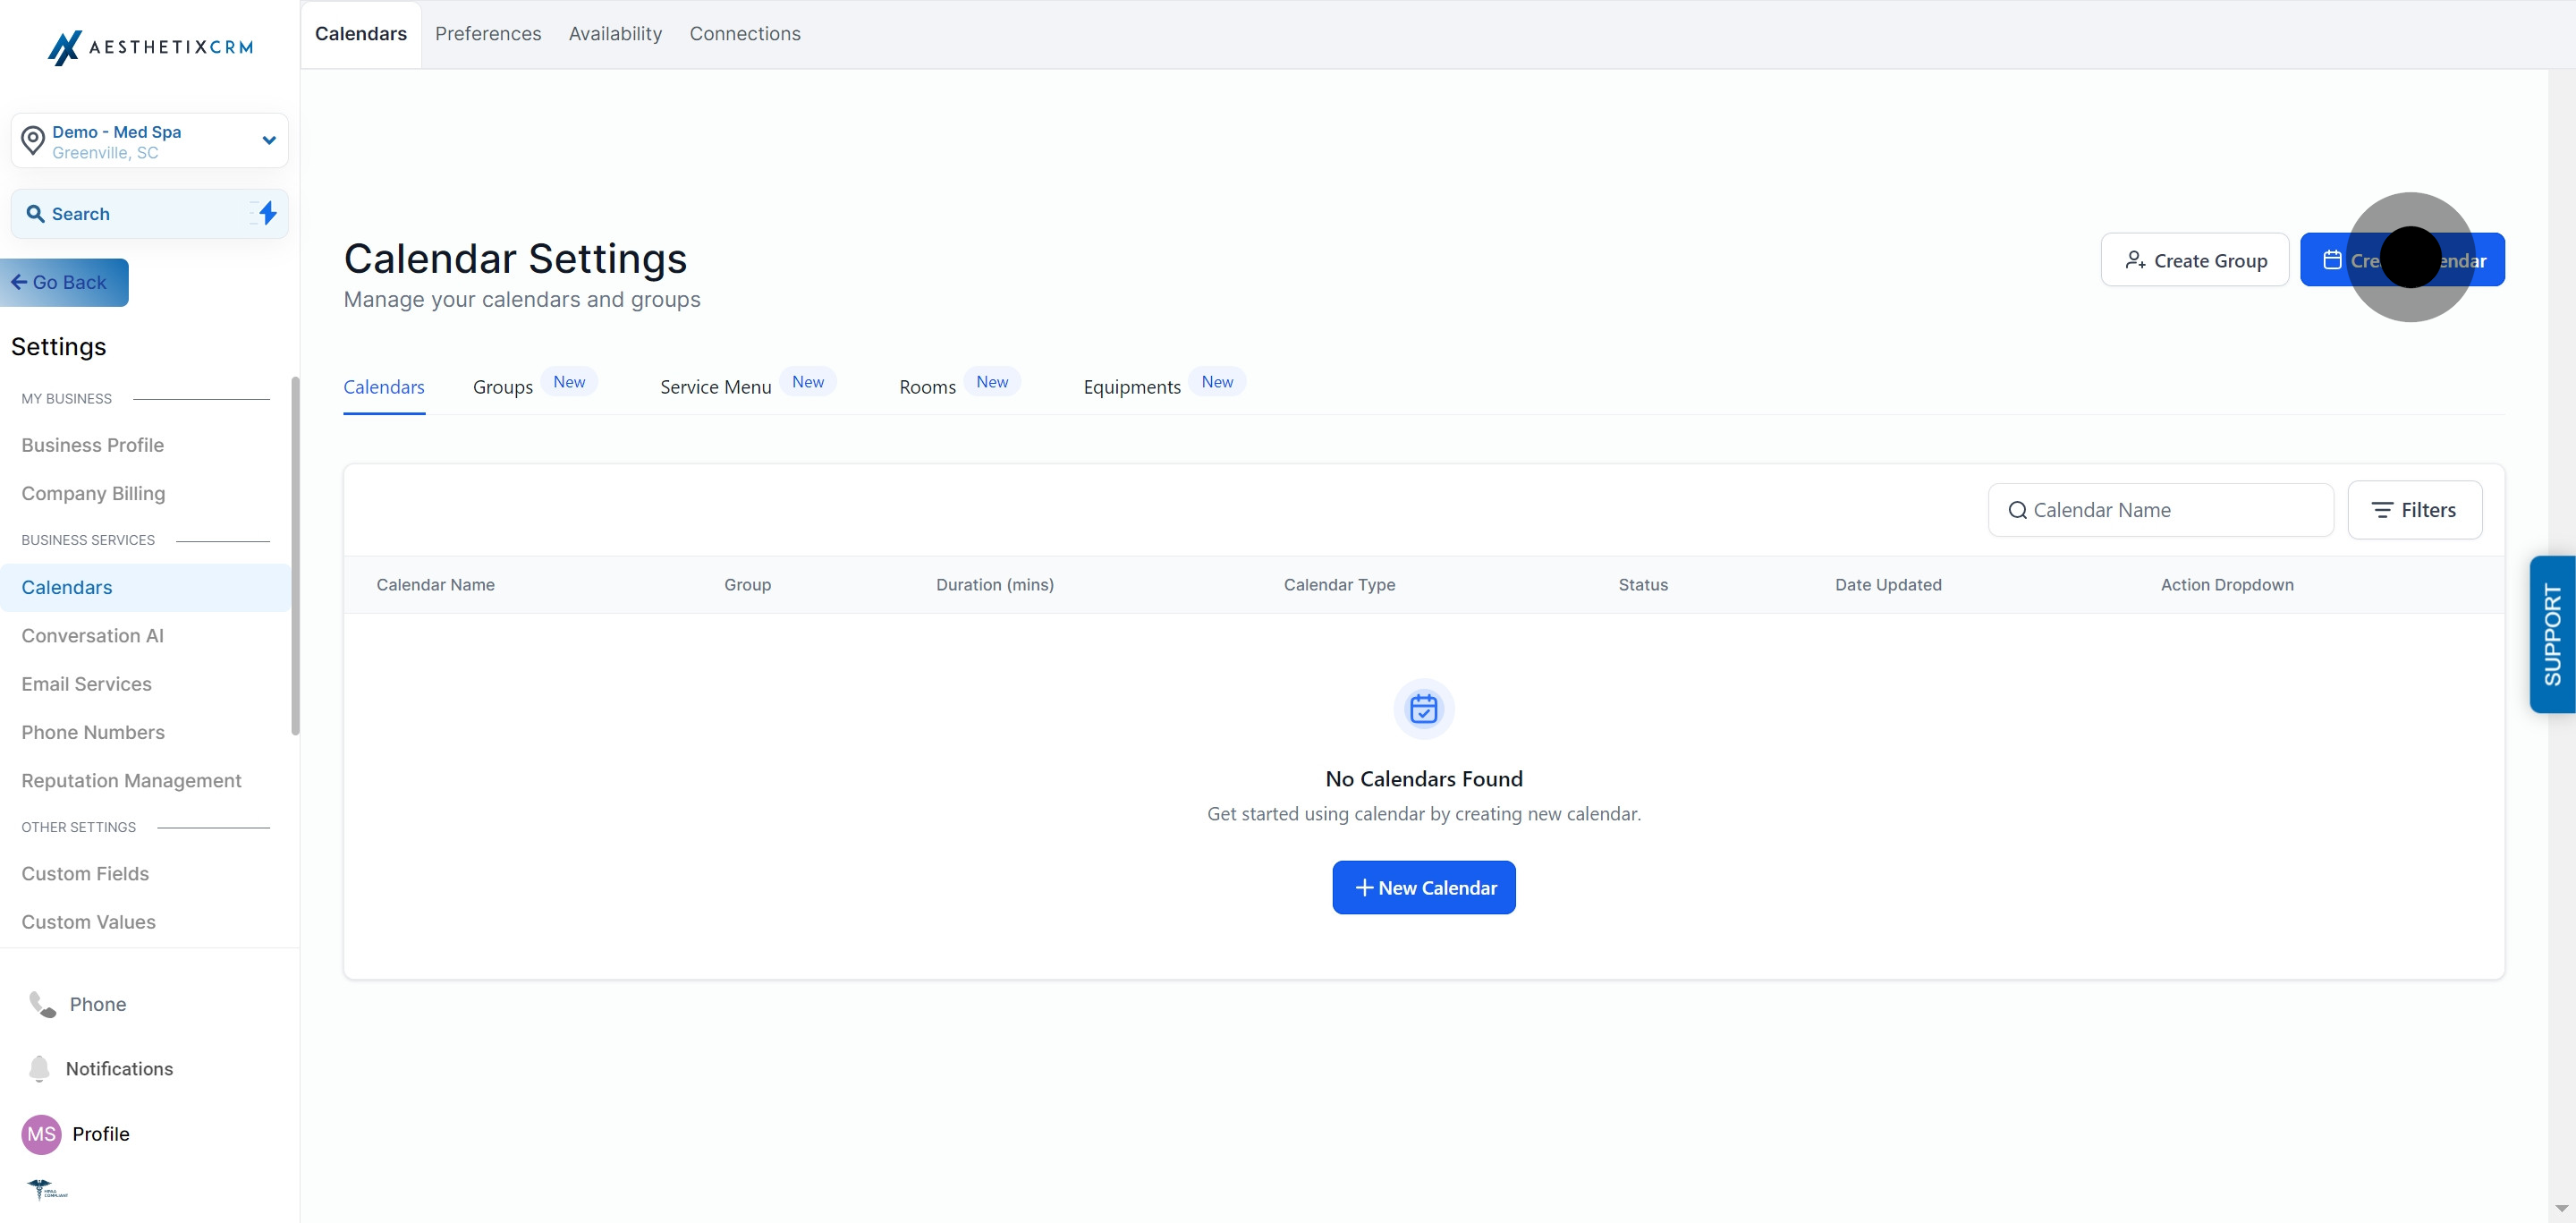
3. Click on "Create Calendar".
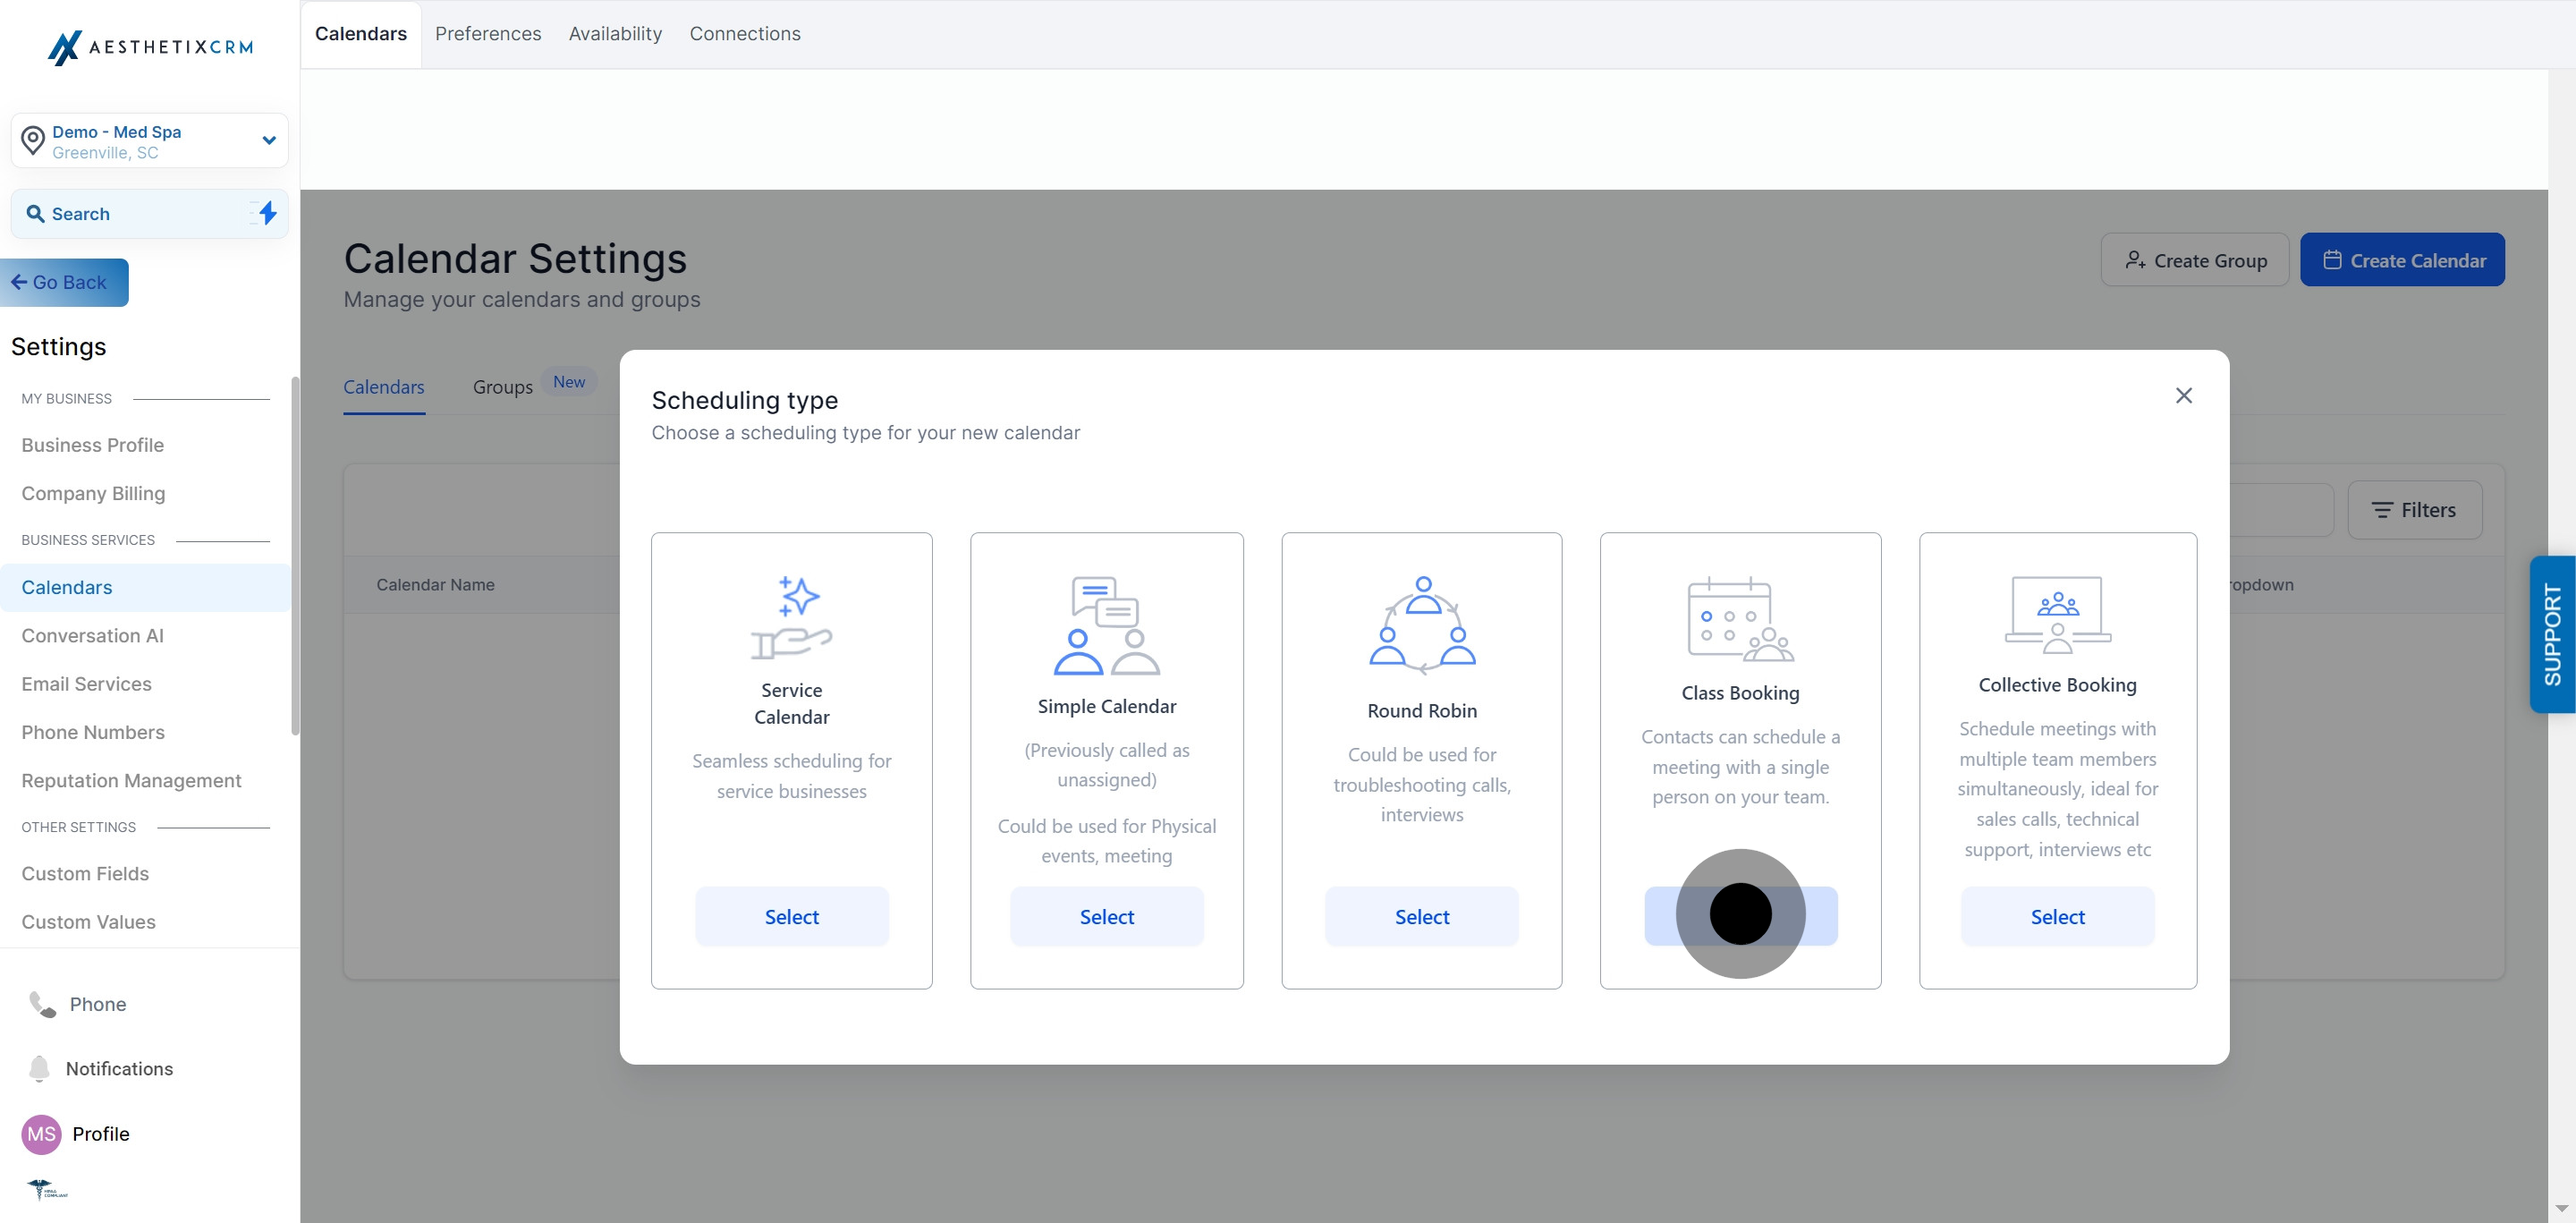
4. Choose "Class Booking" from the options.
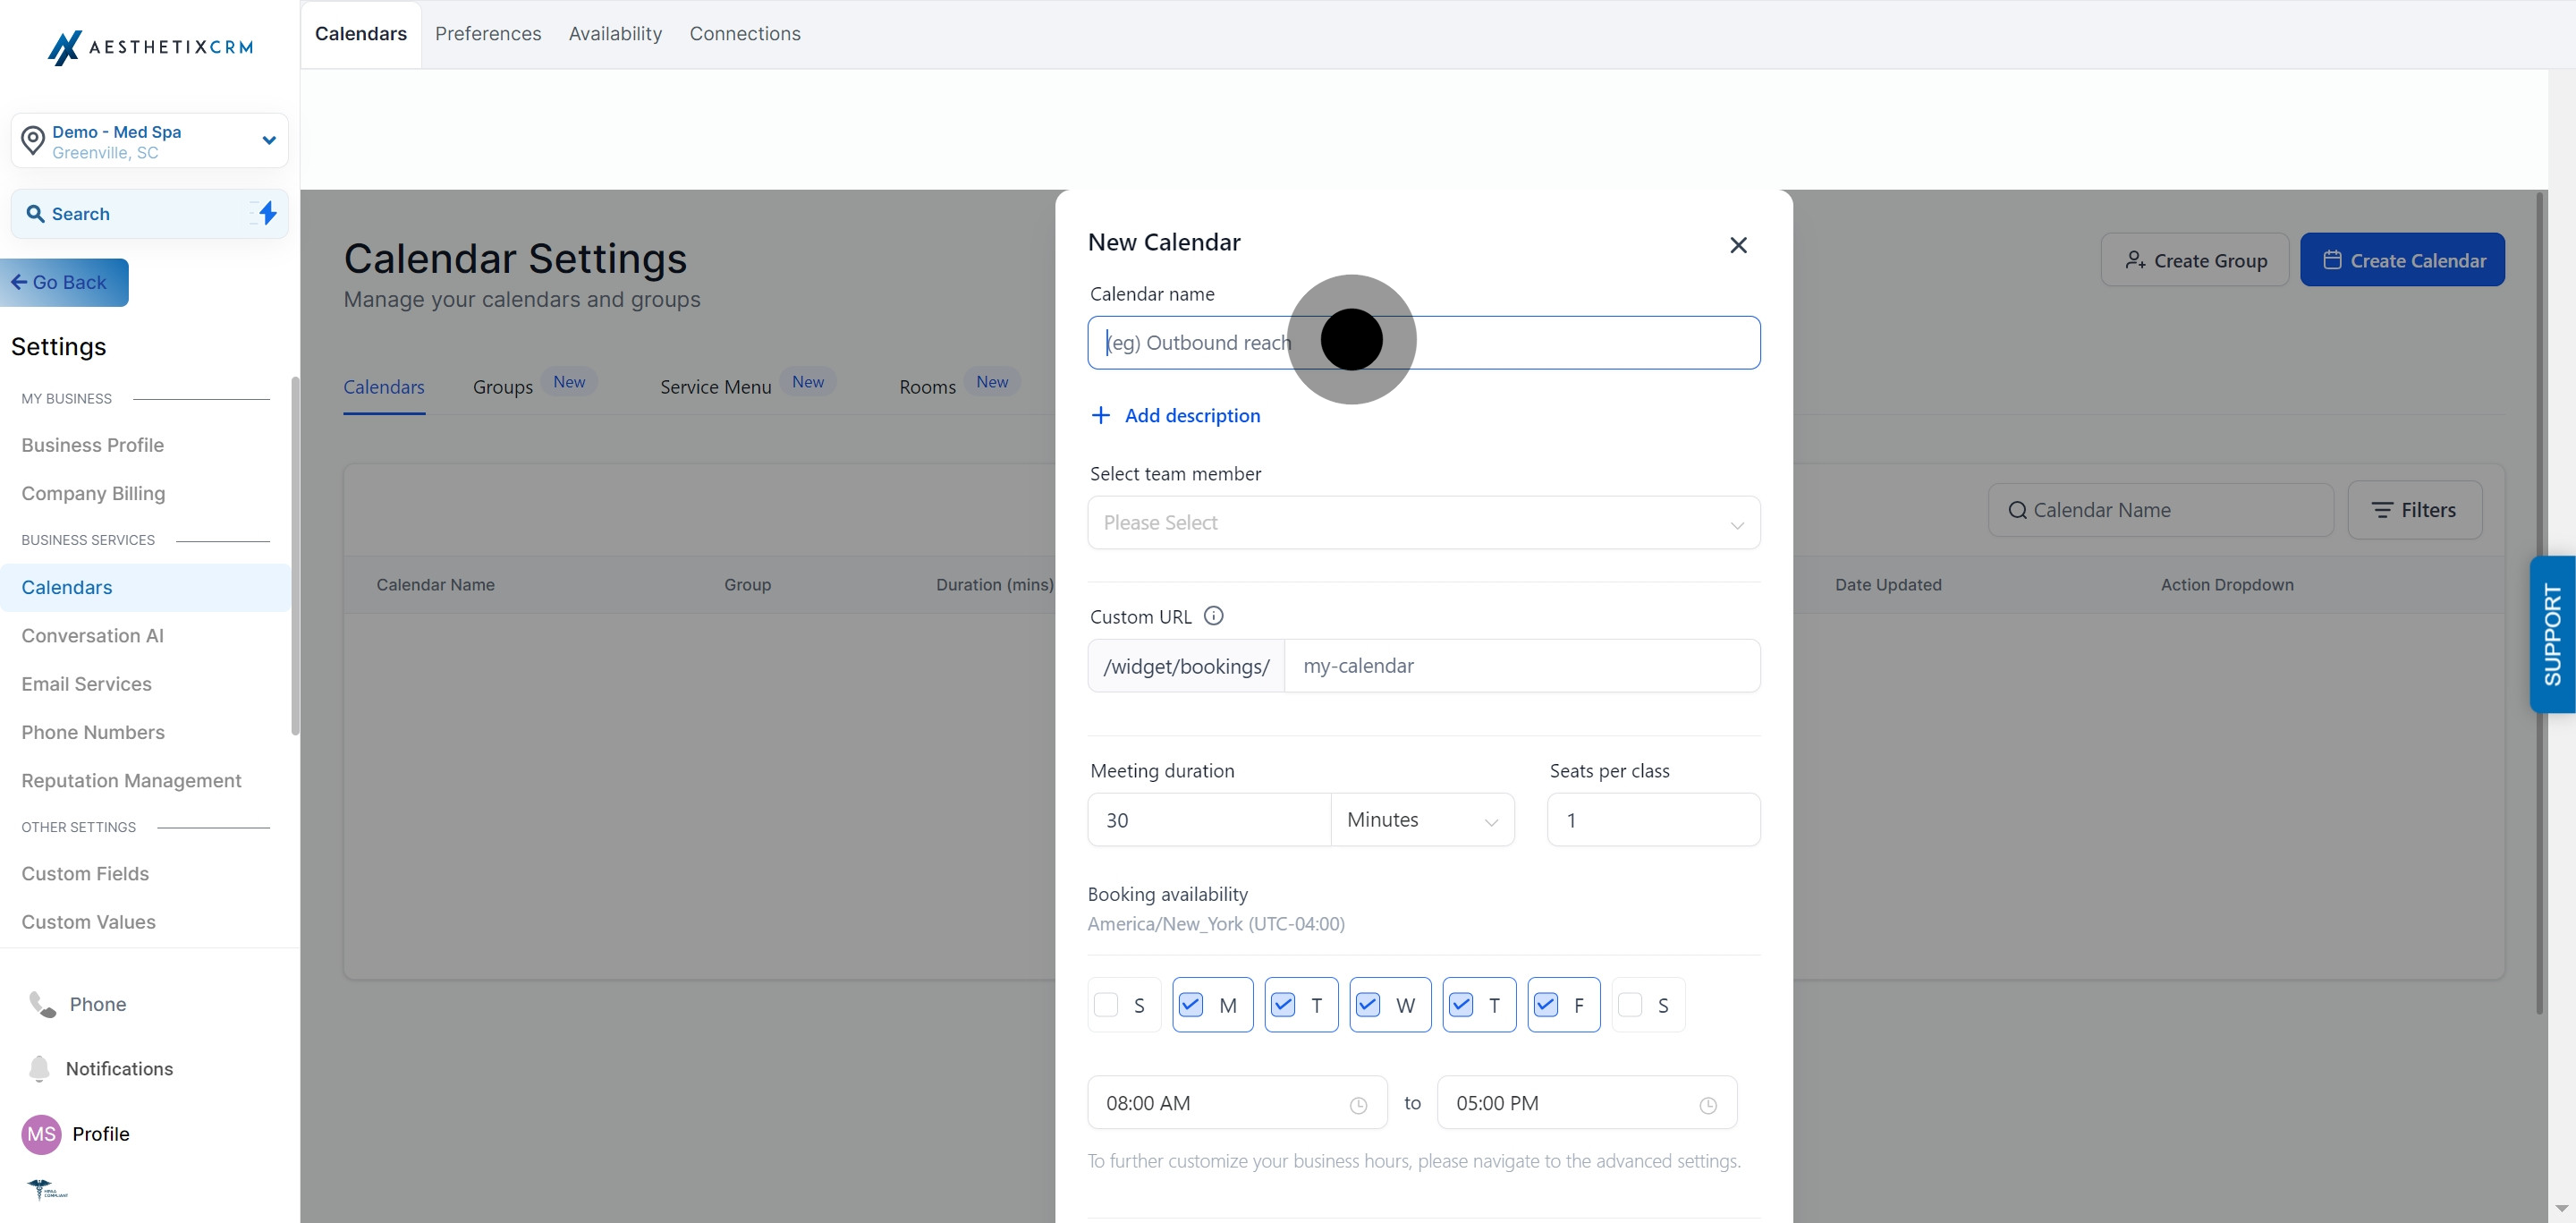
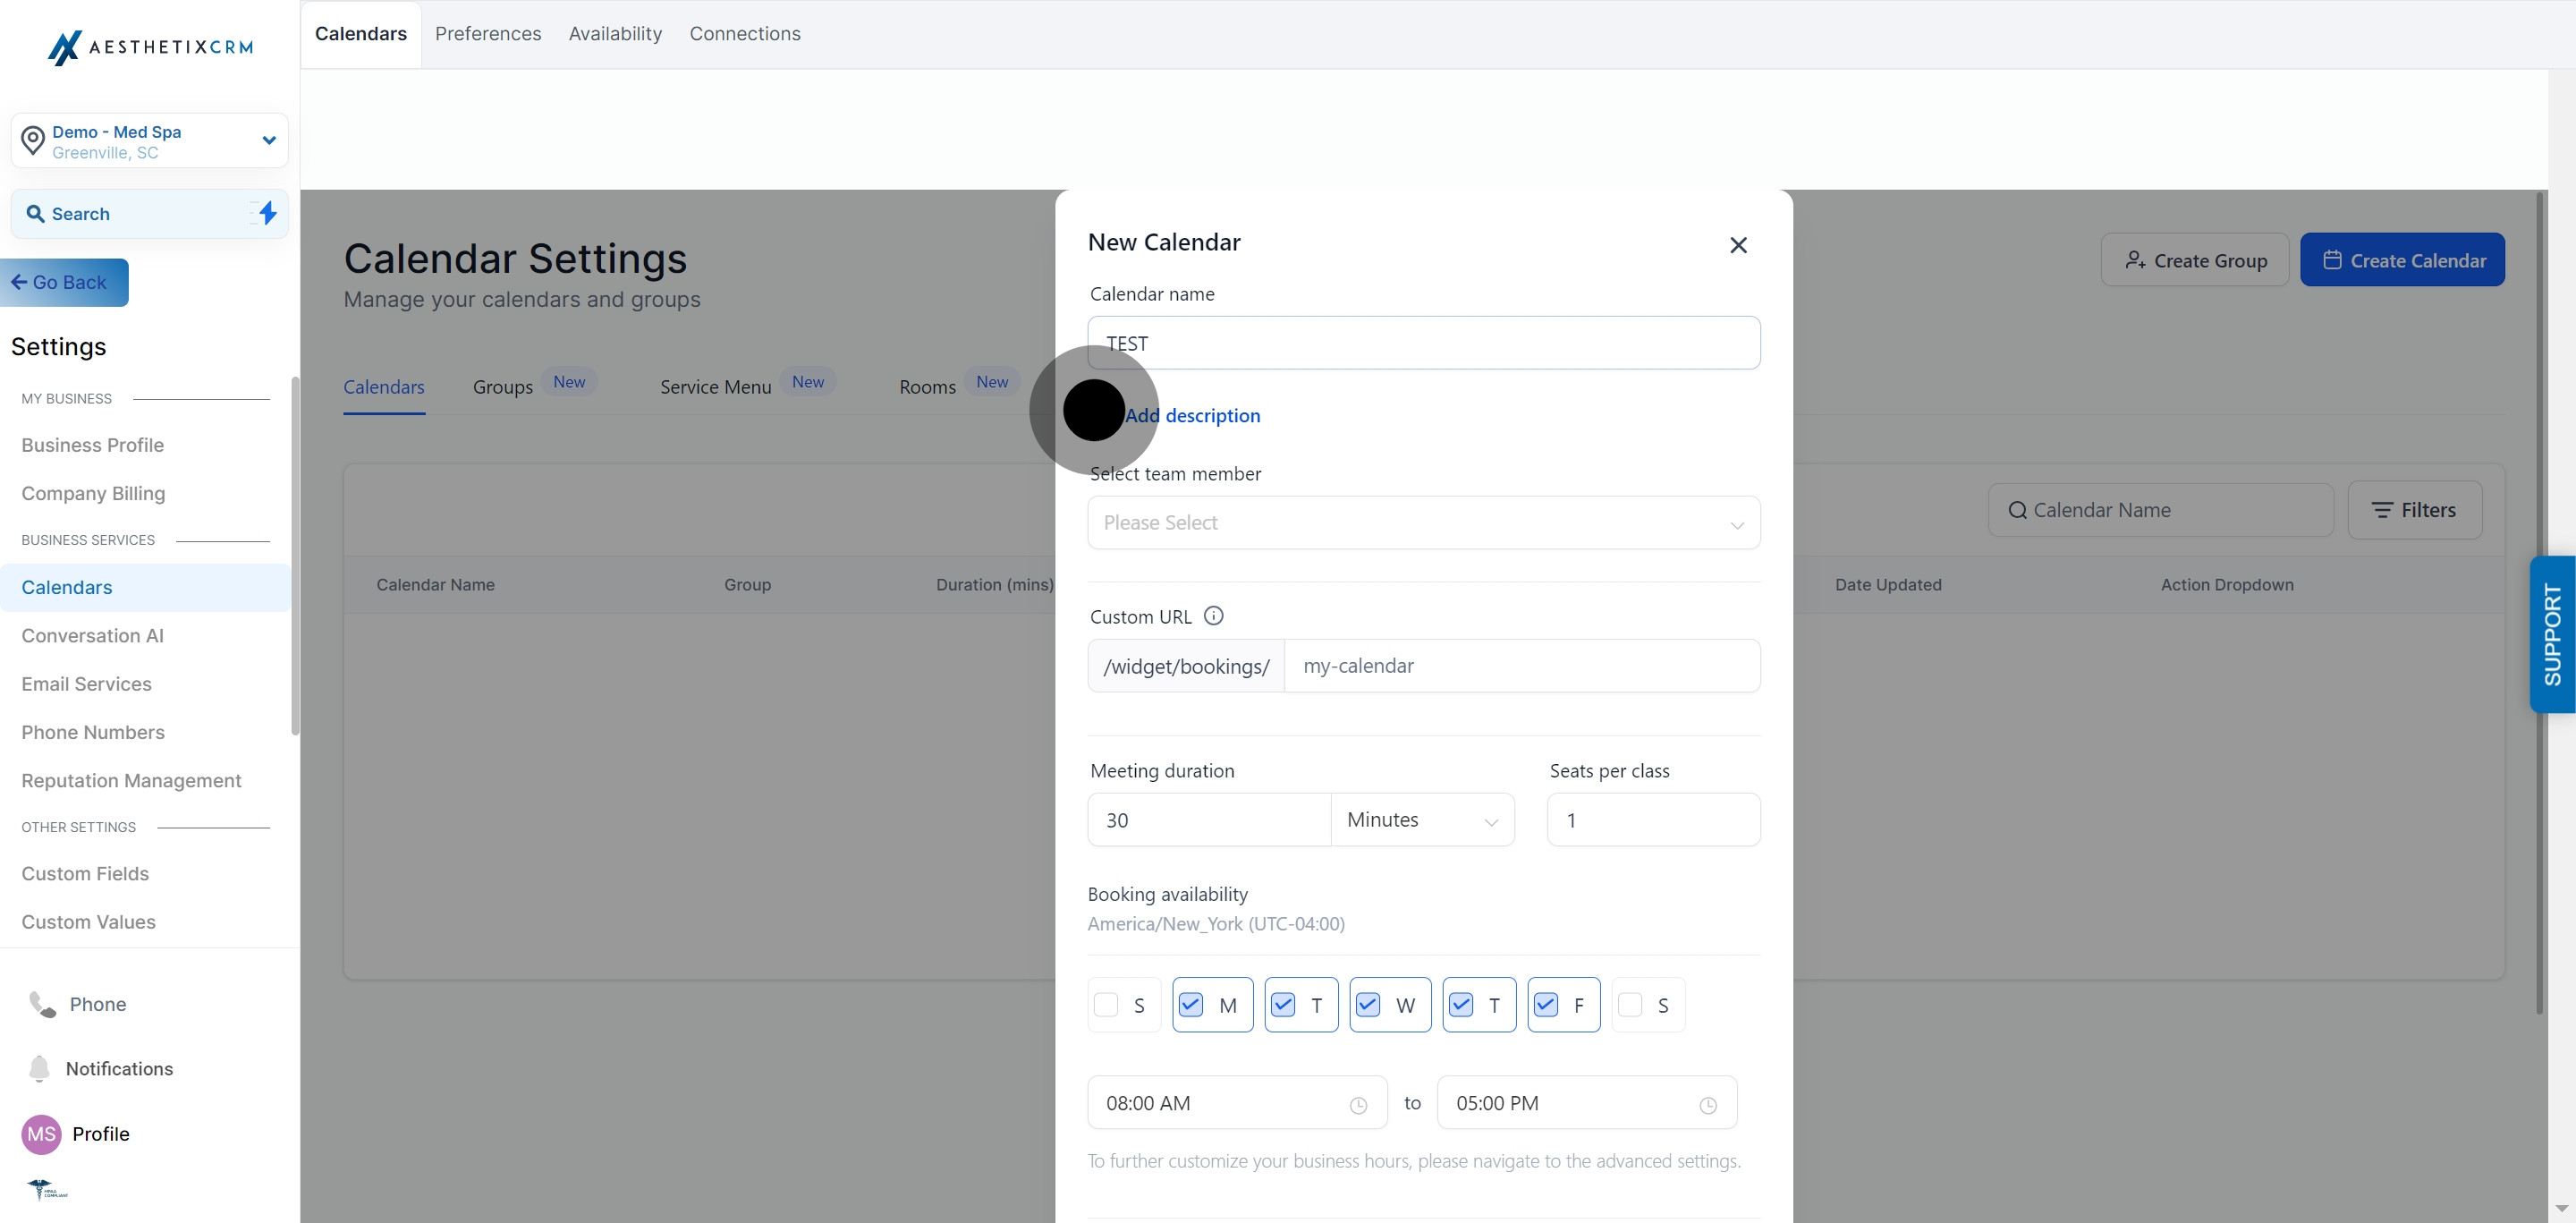
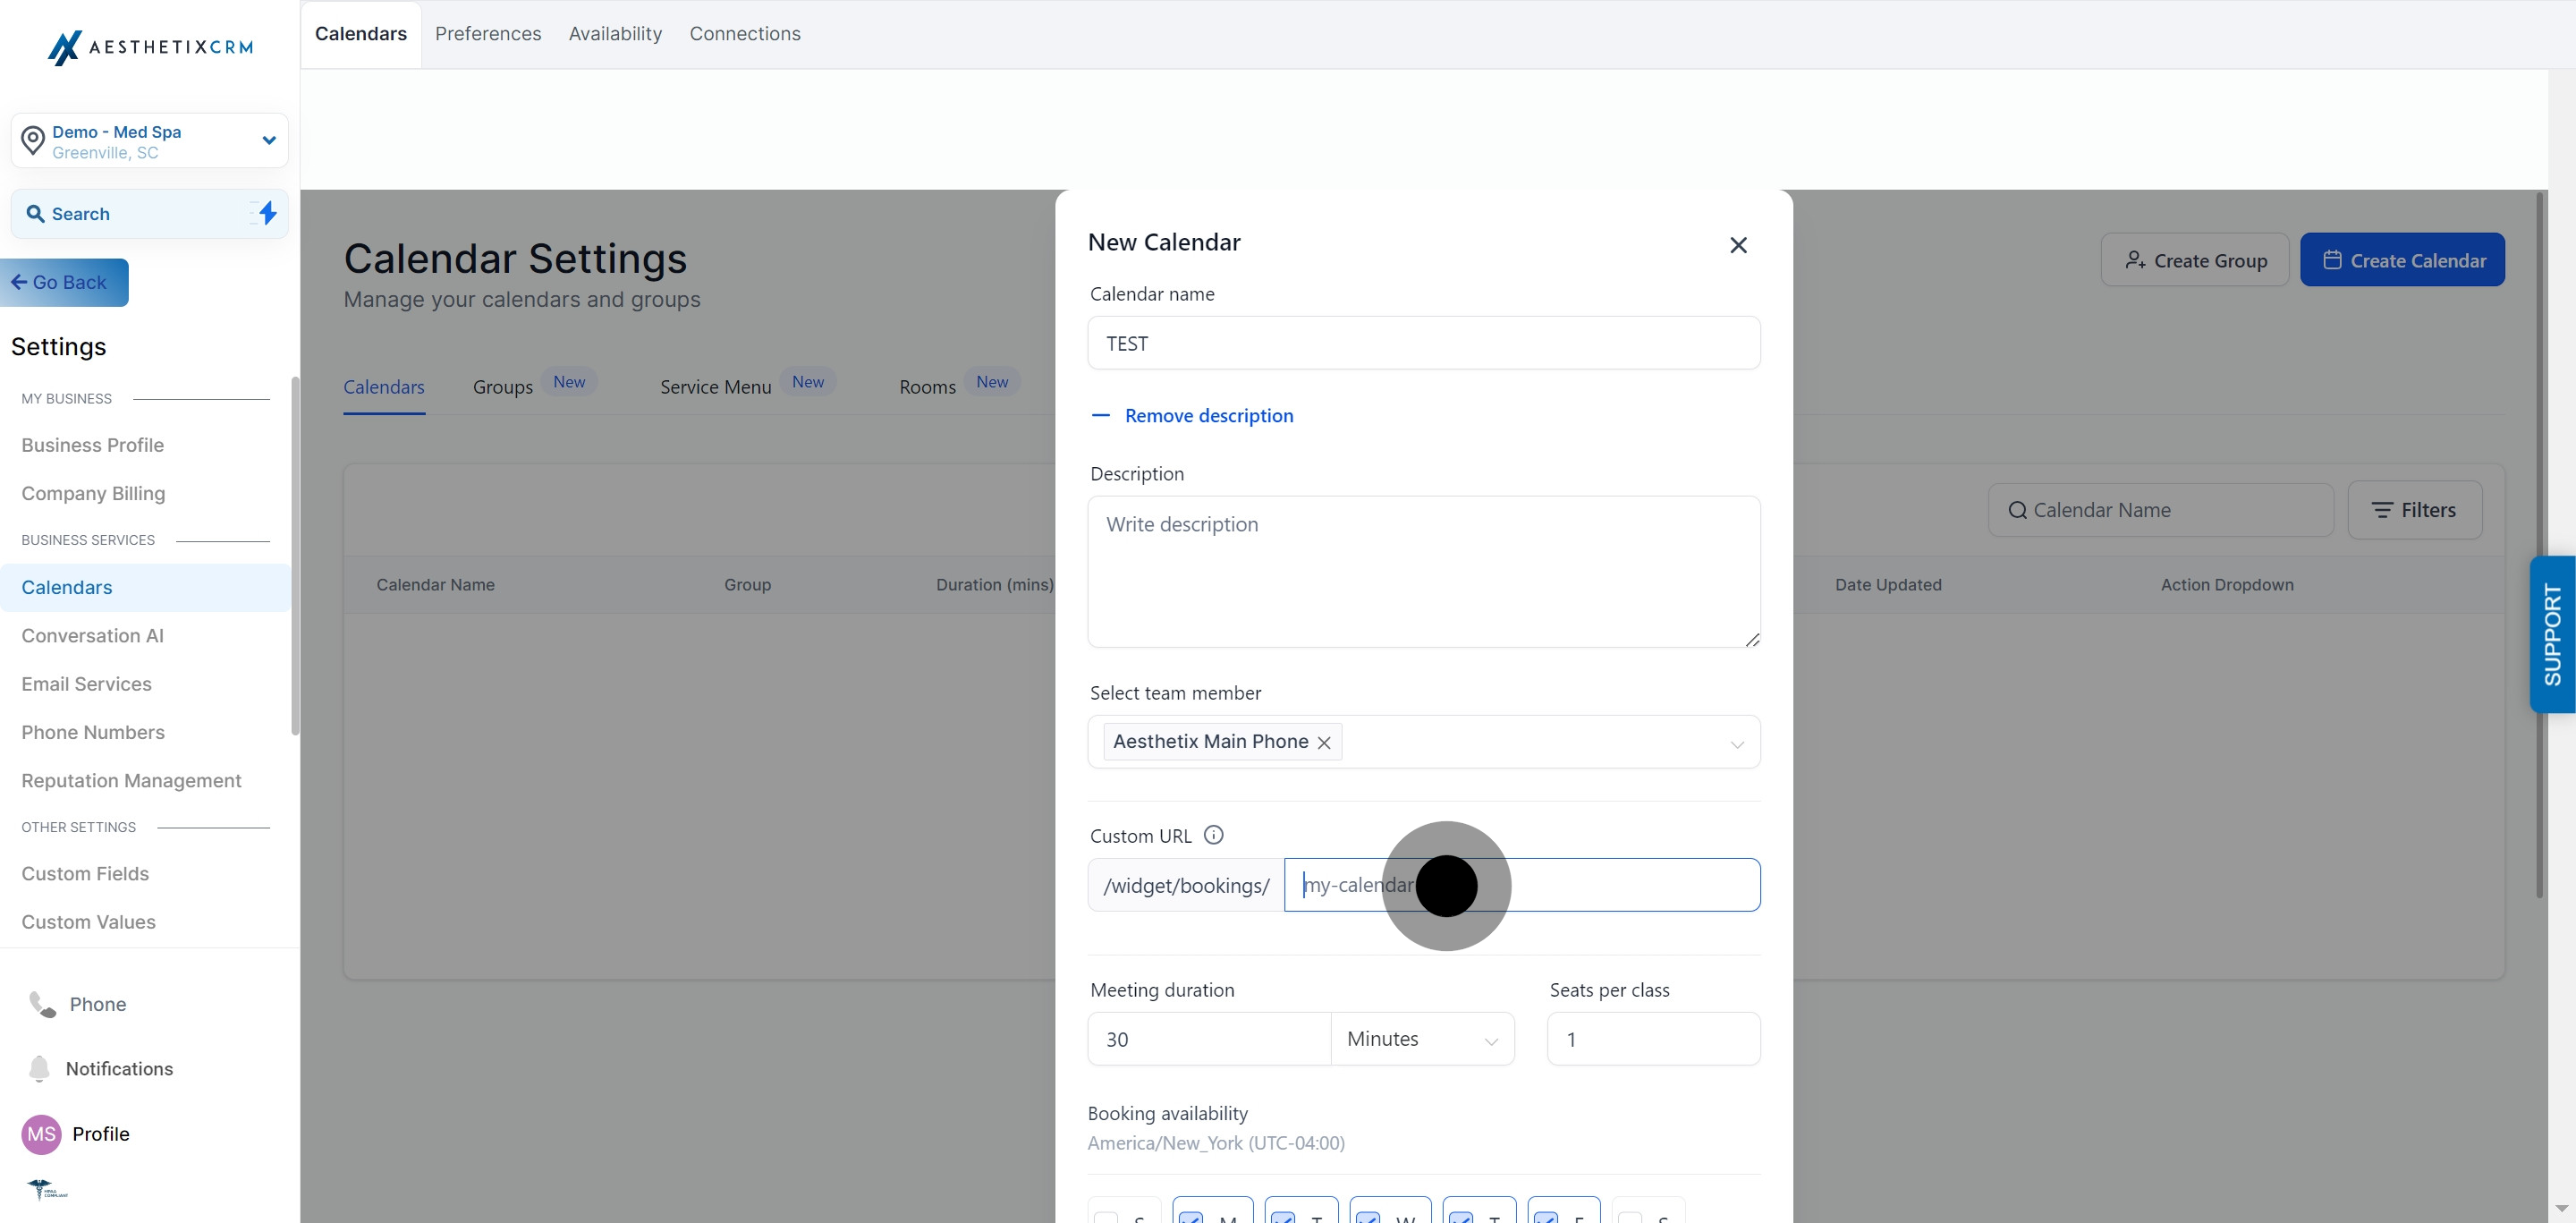
5. Enter your Calendar Name in the designated field.
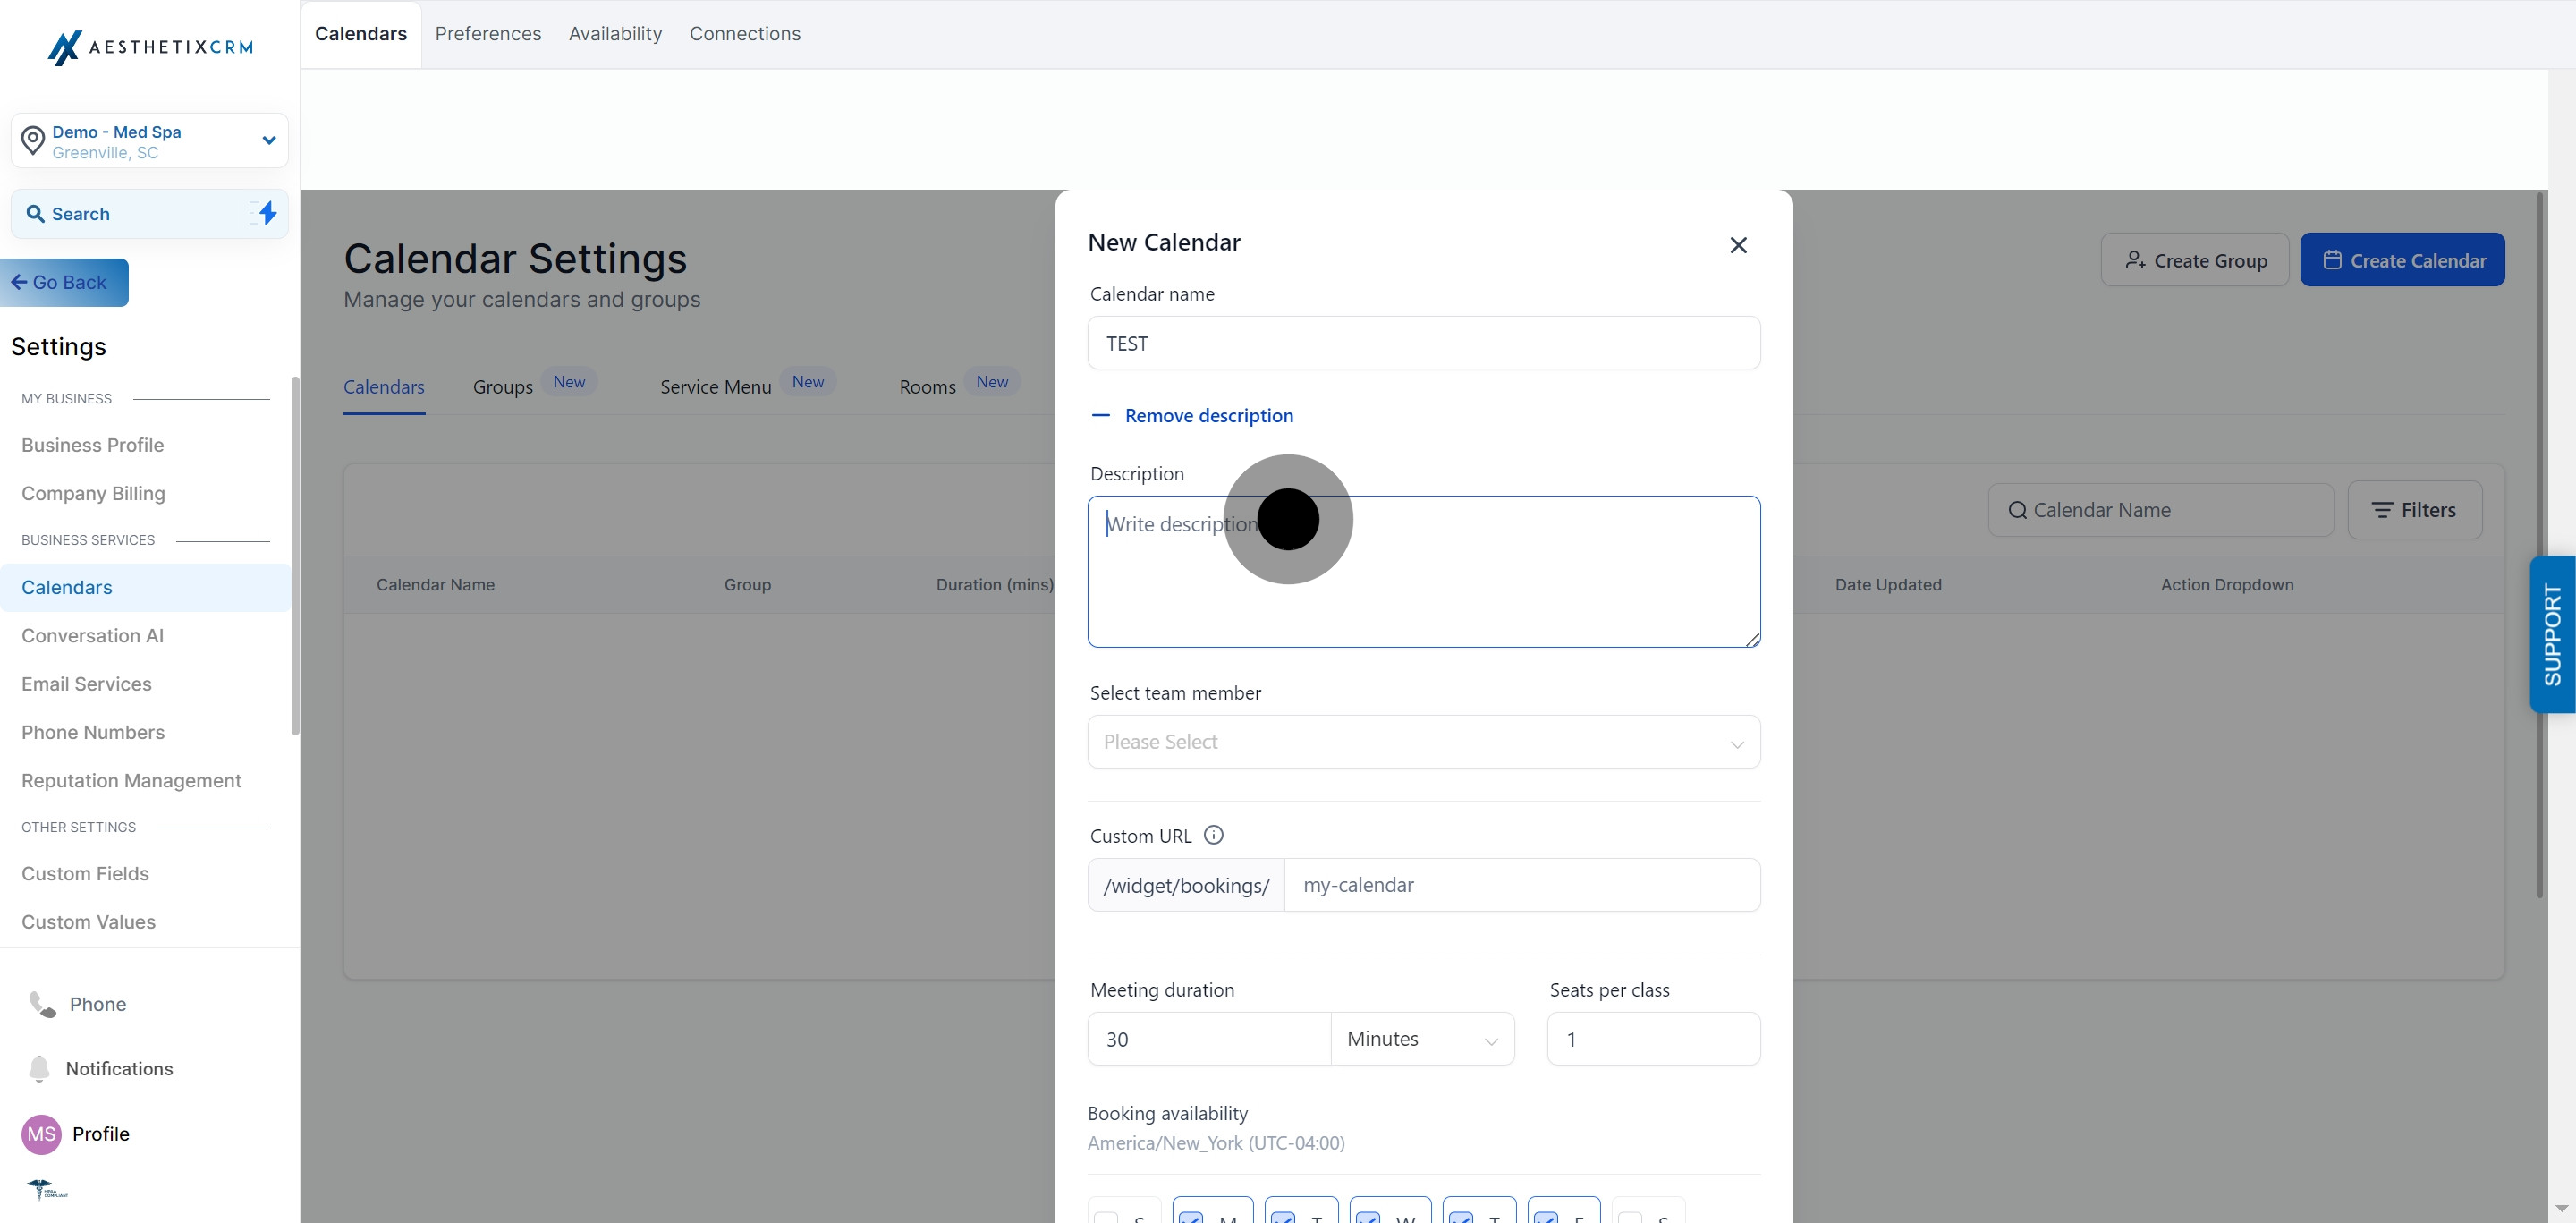
6. Click on "Add Description".
7. Write the description for your calendar.
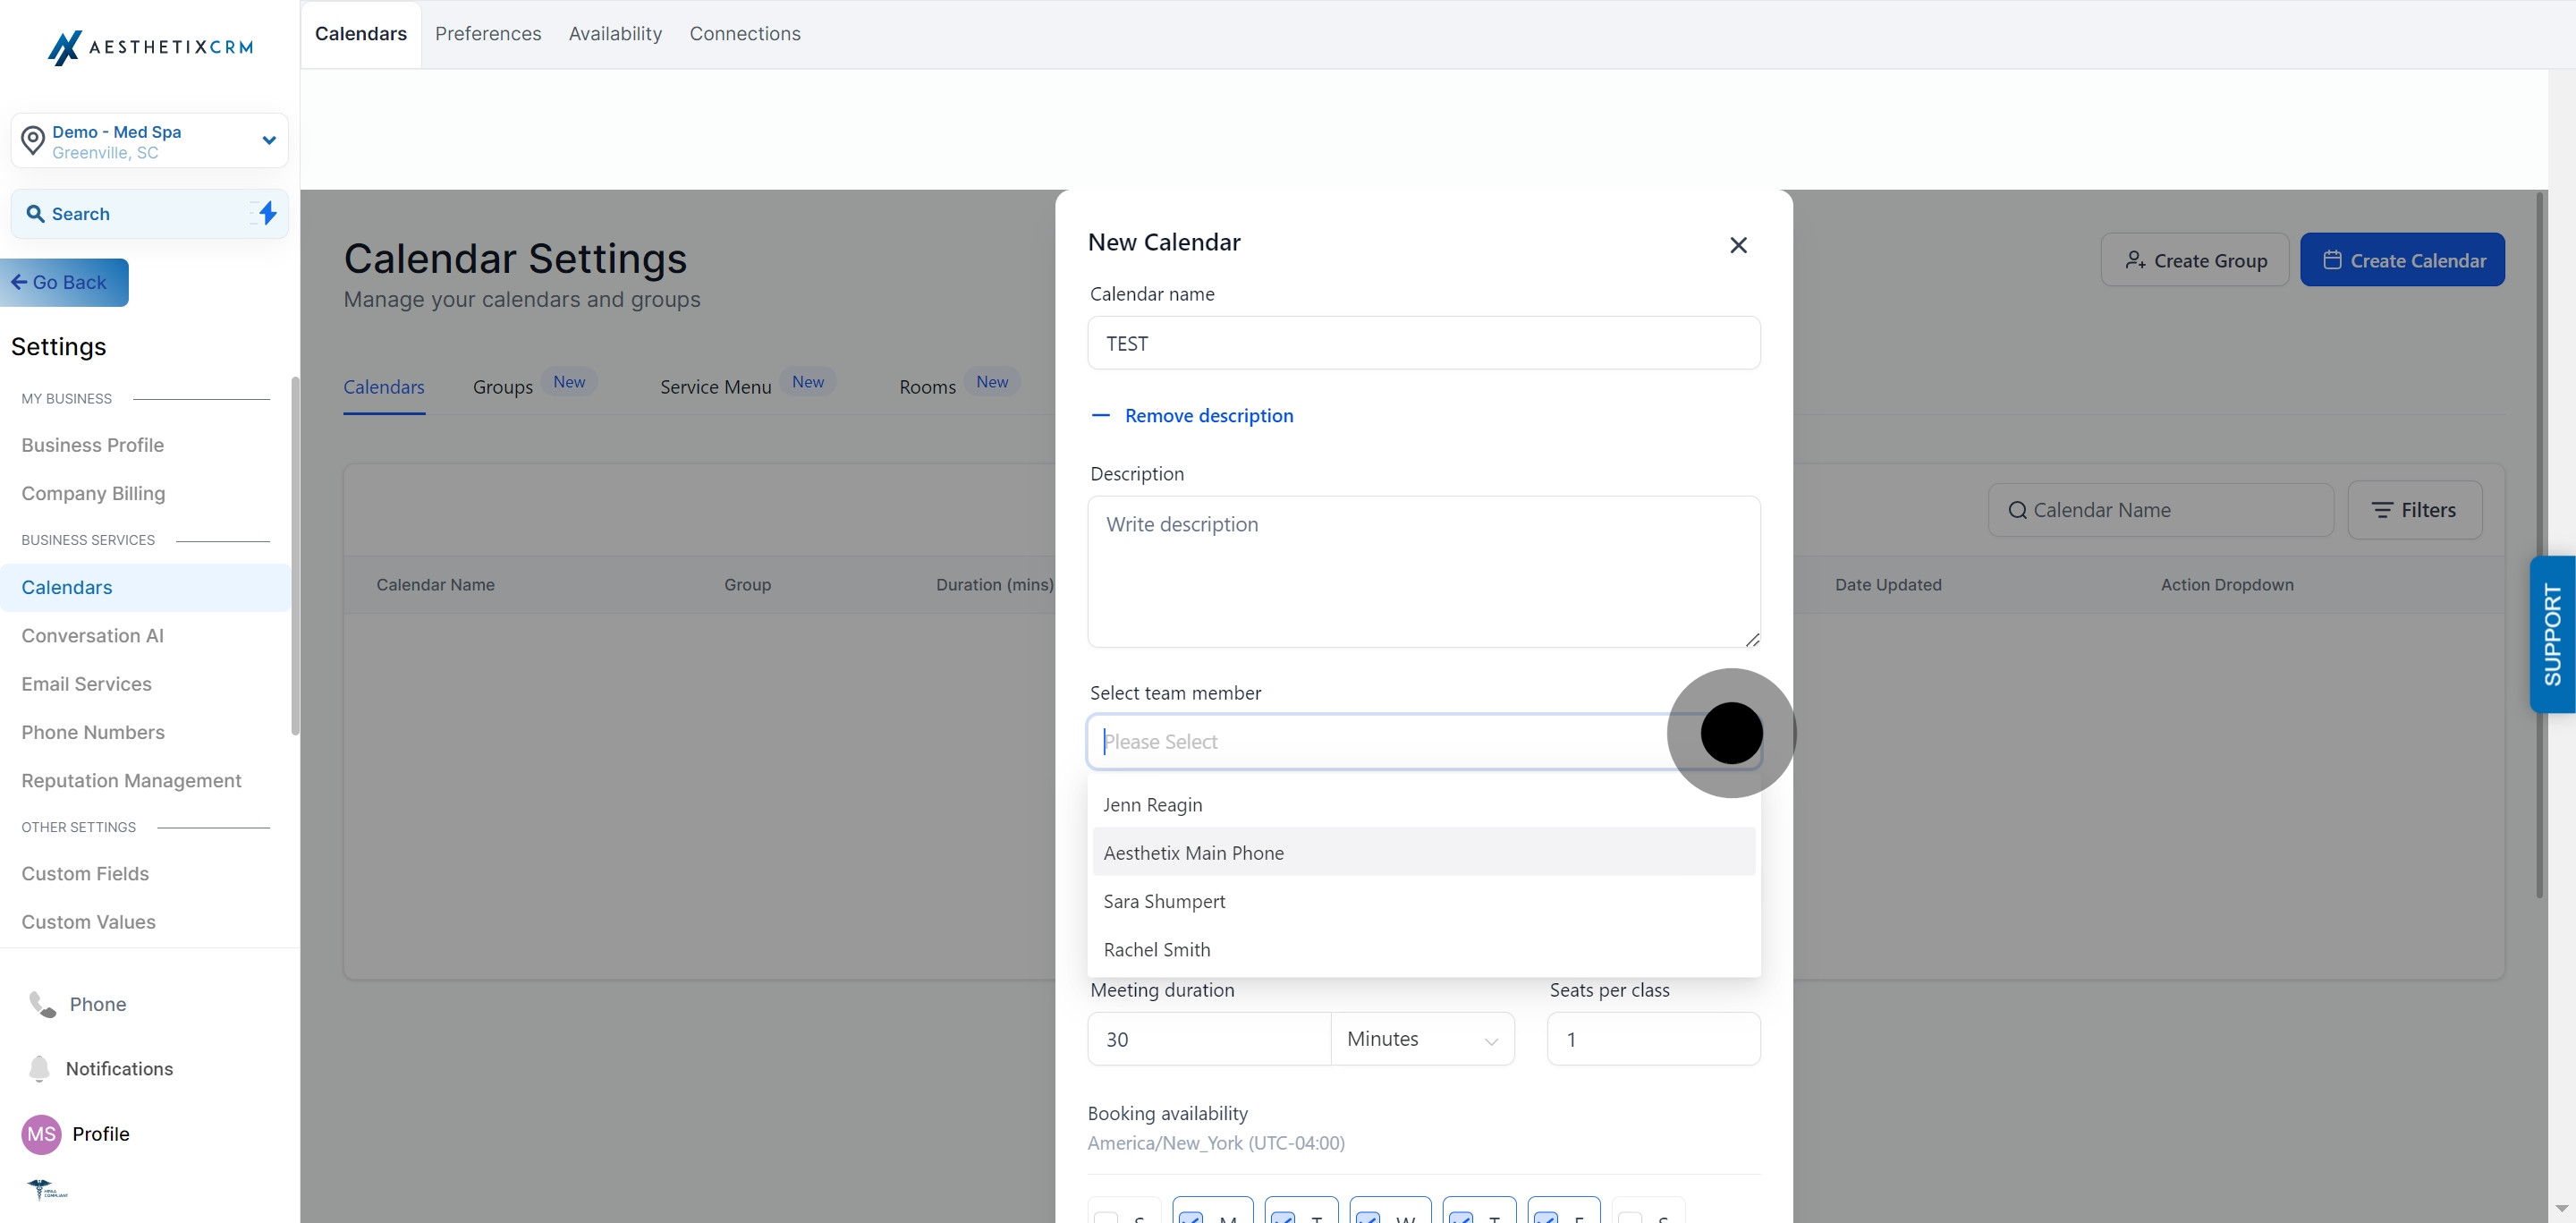
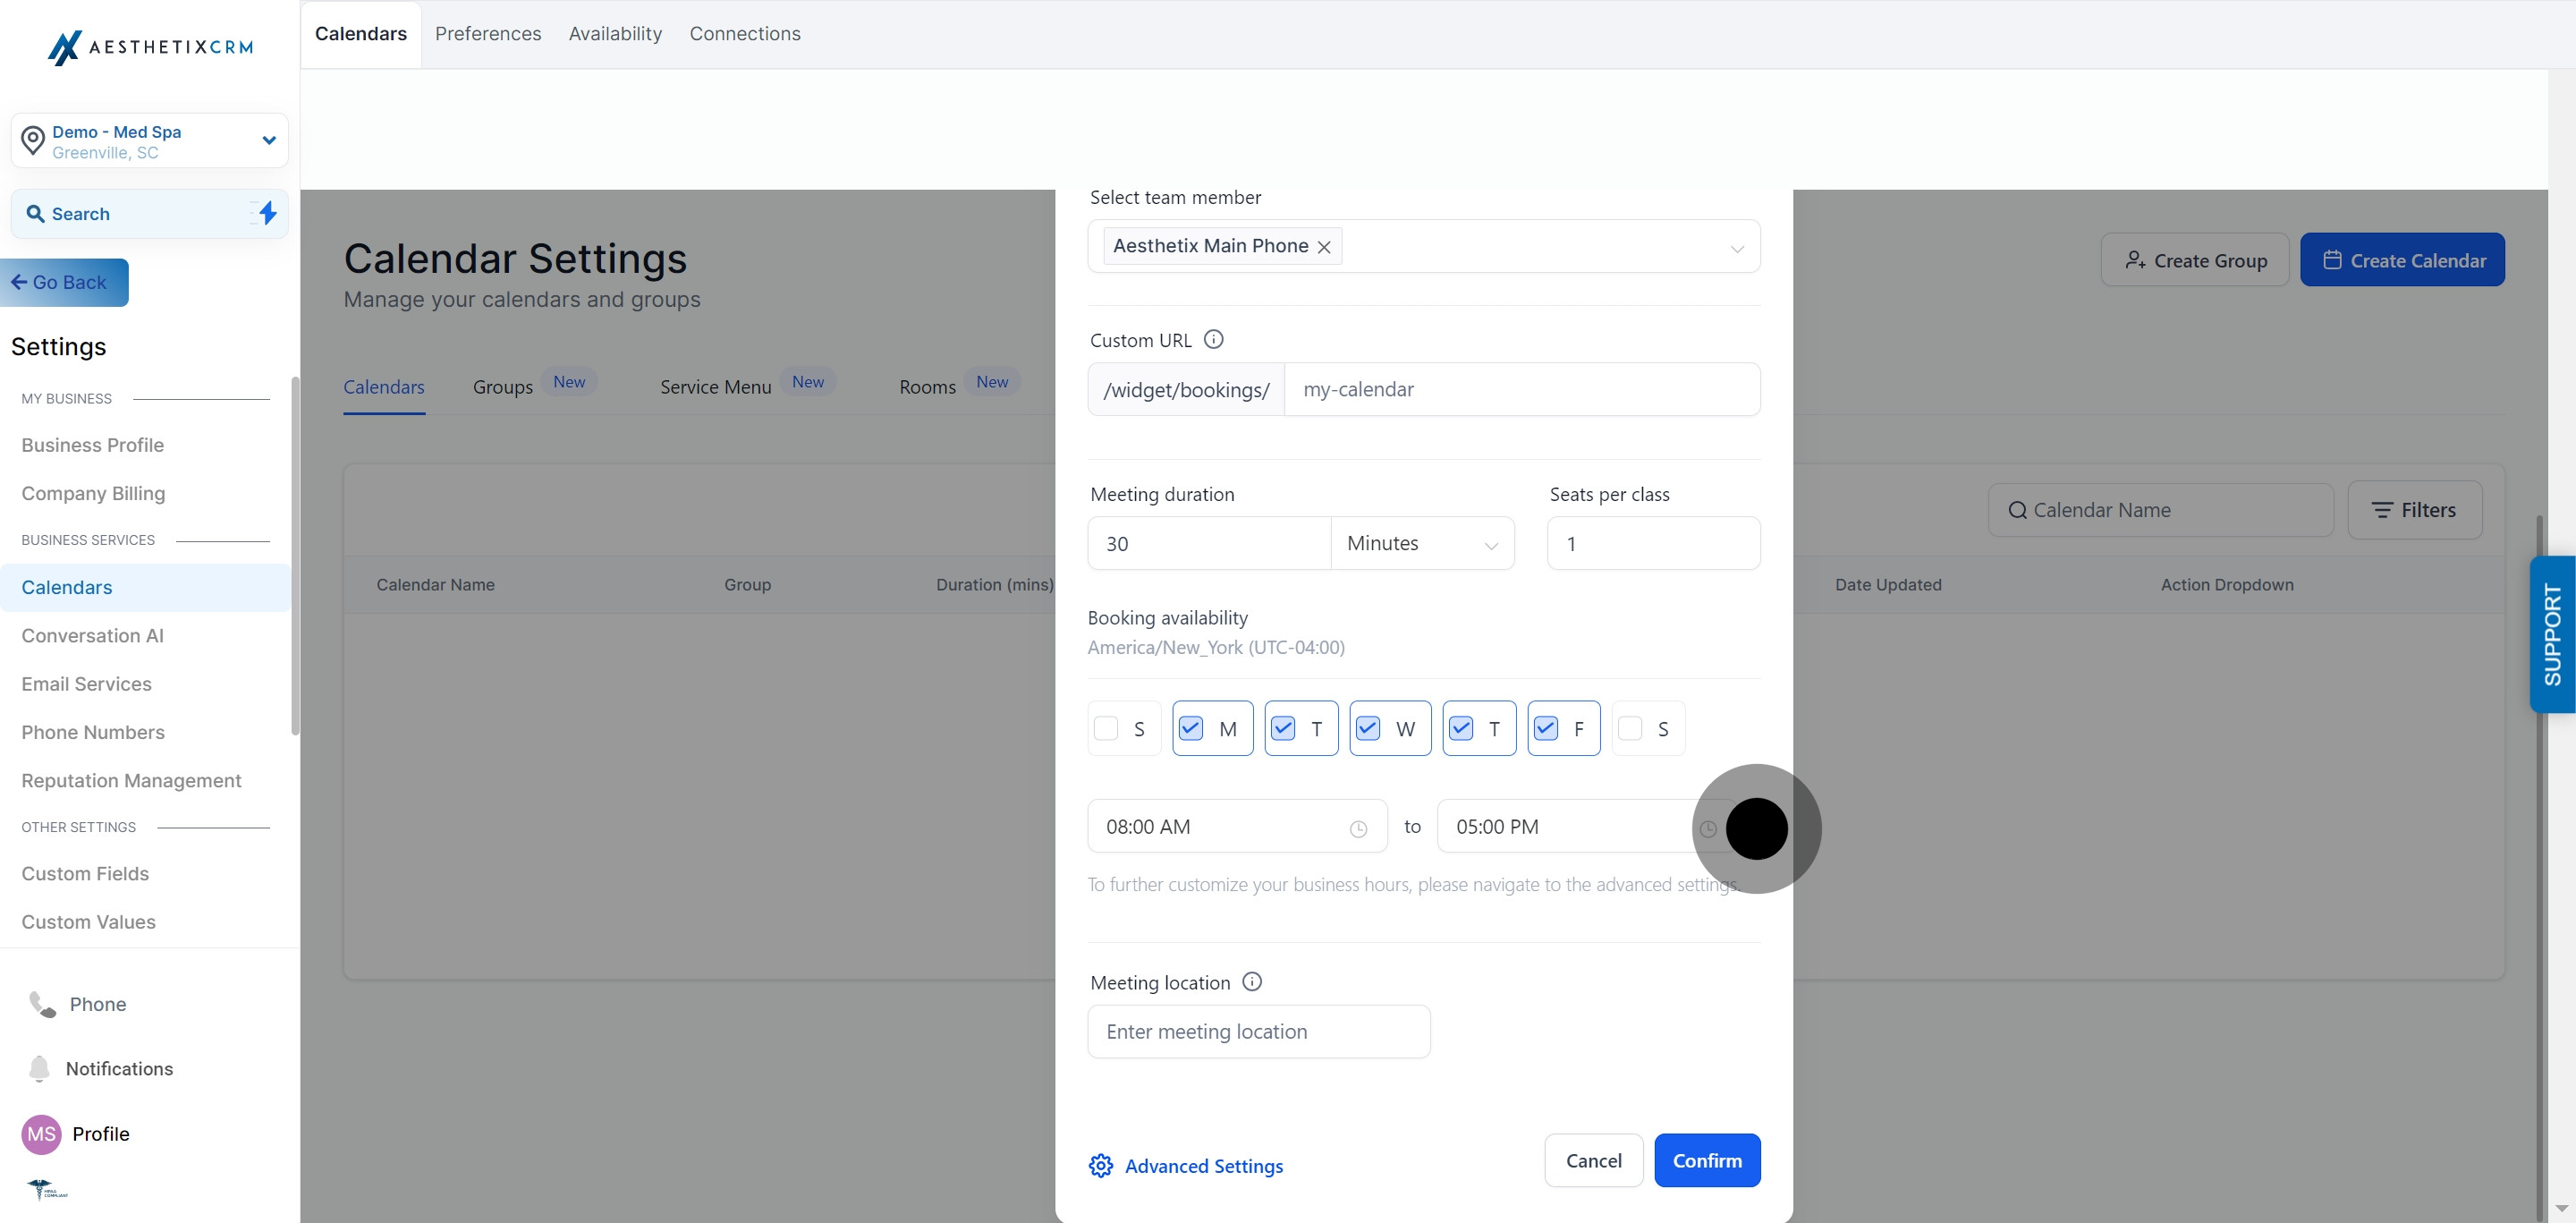
8. Select a team member.
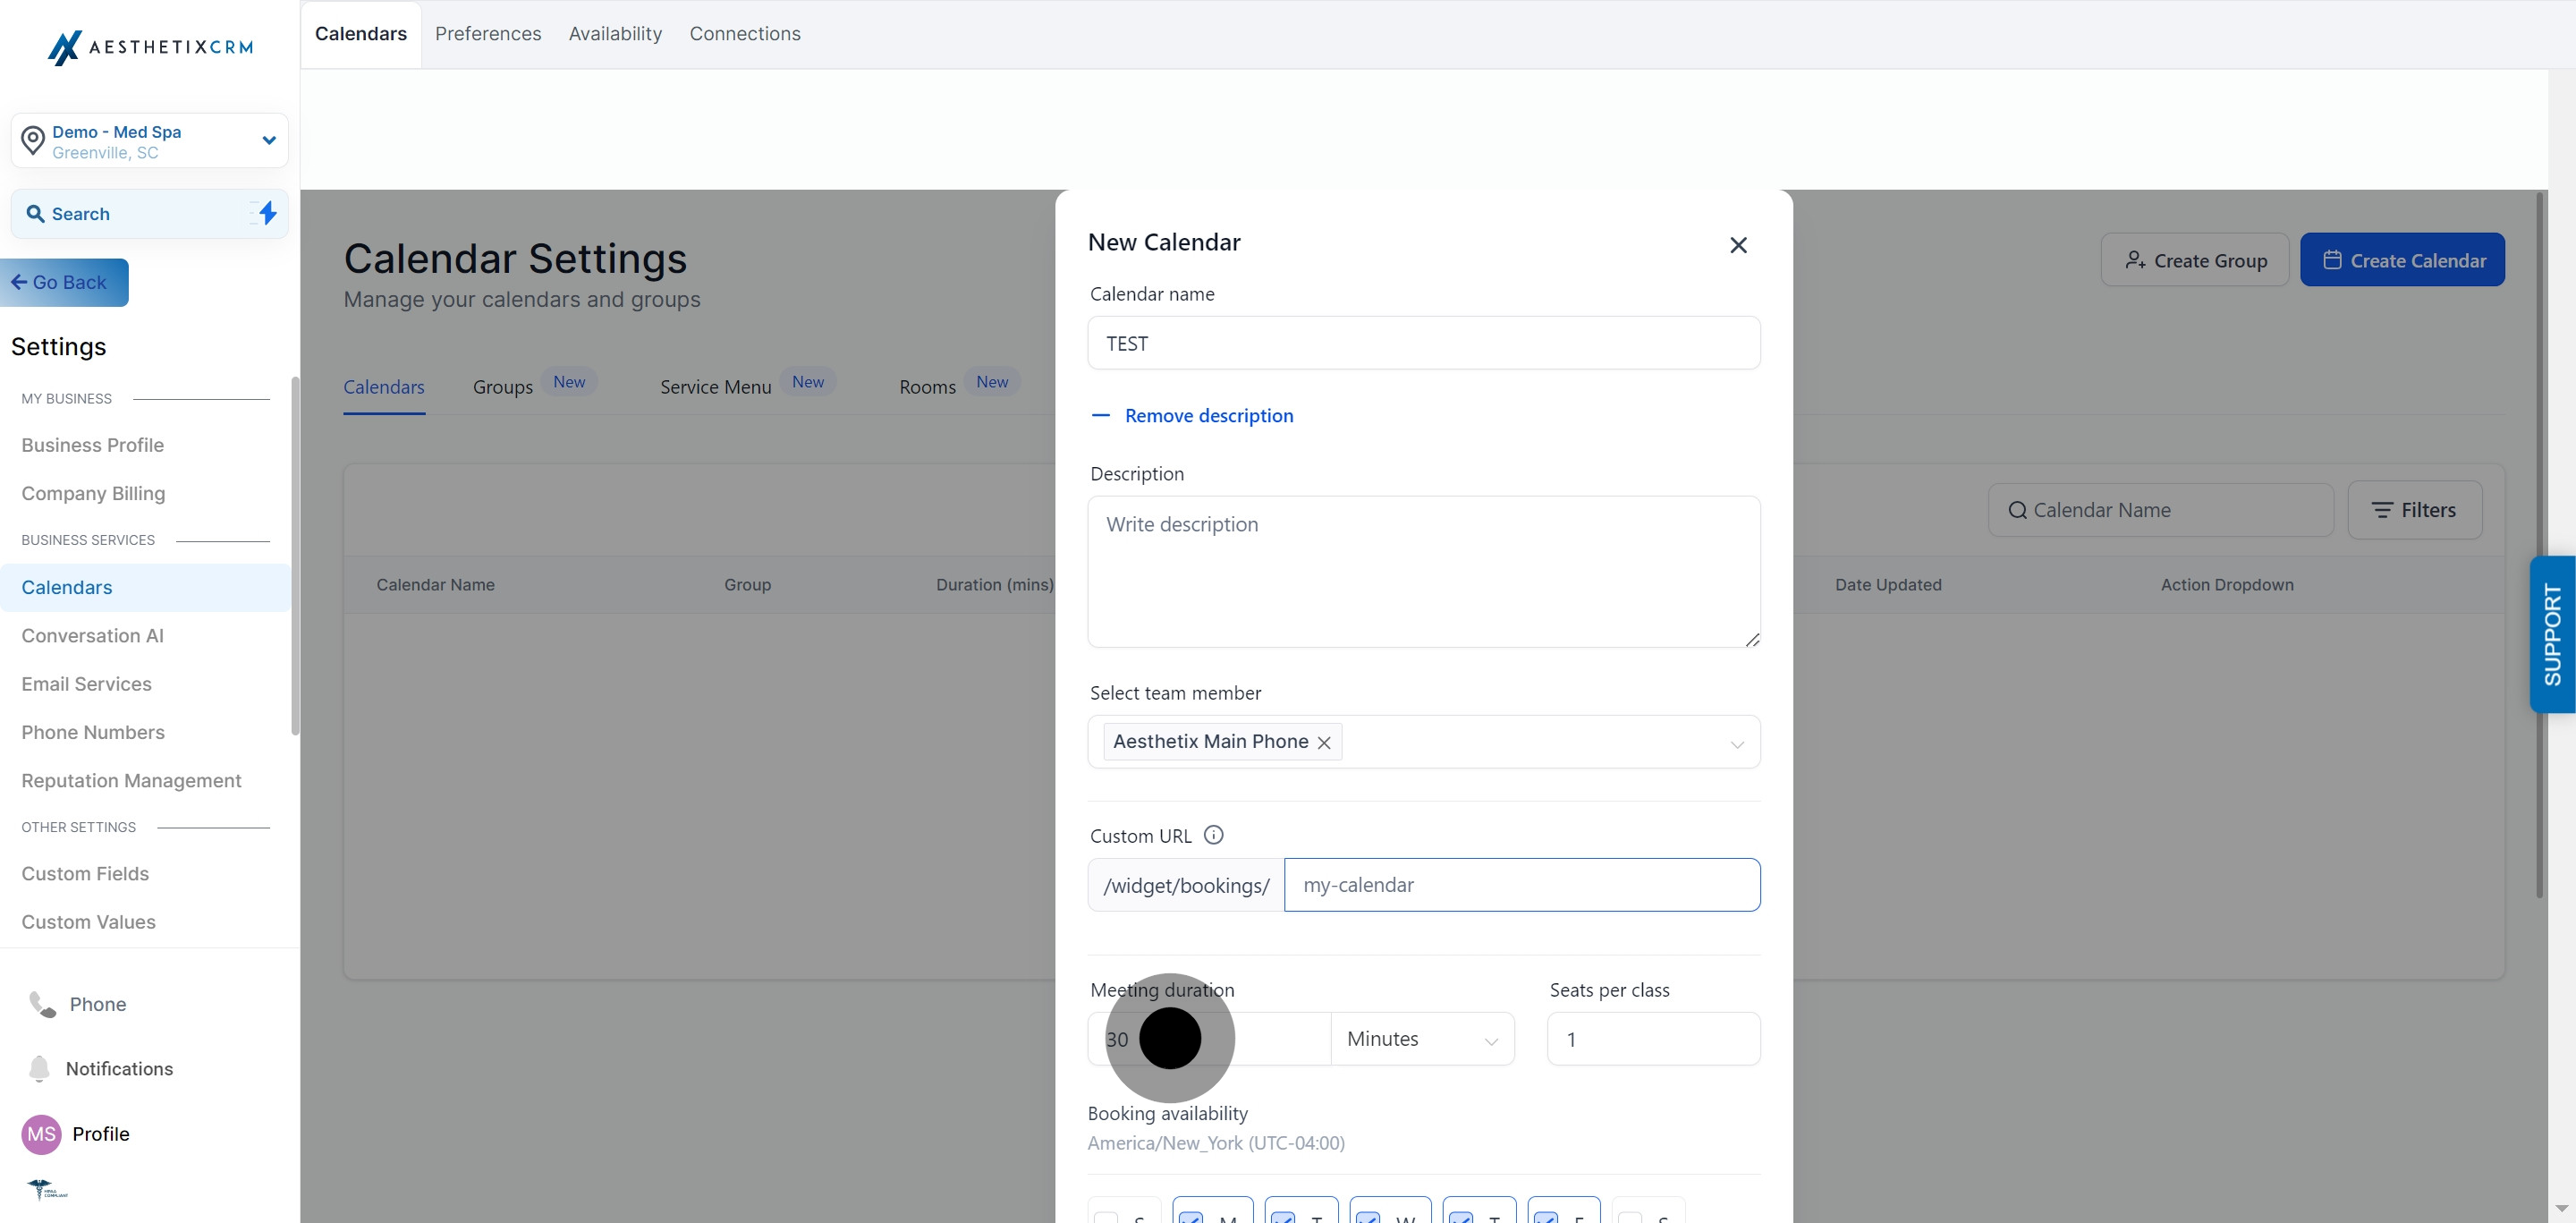
9. Input your custom URL.
10. Specify the meeting duration.
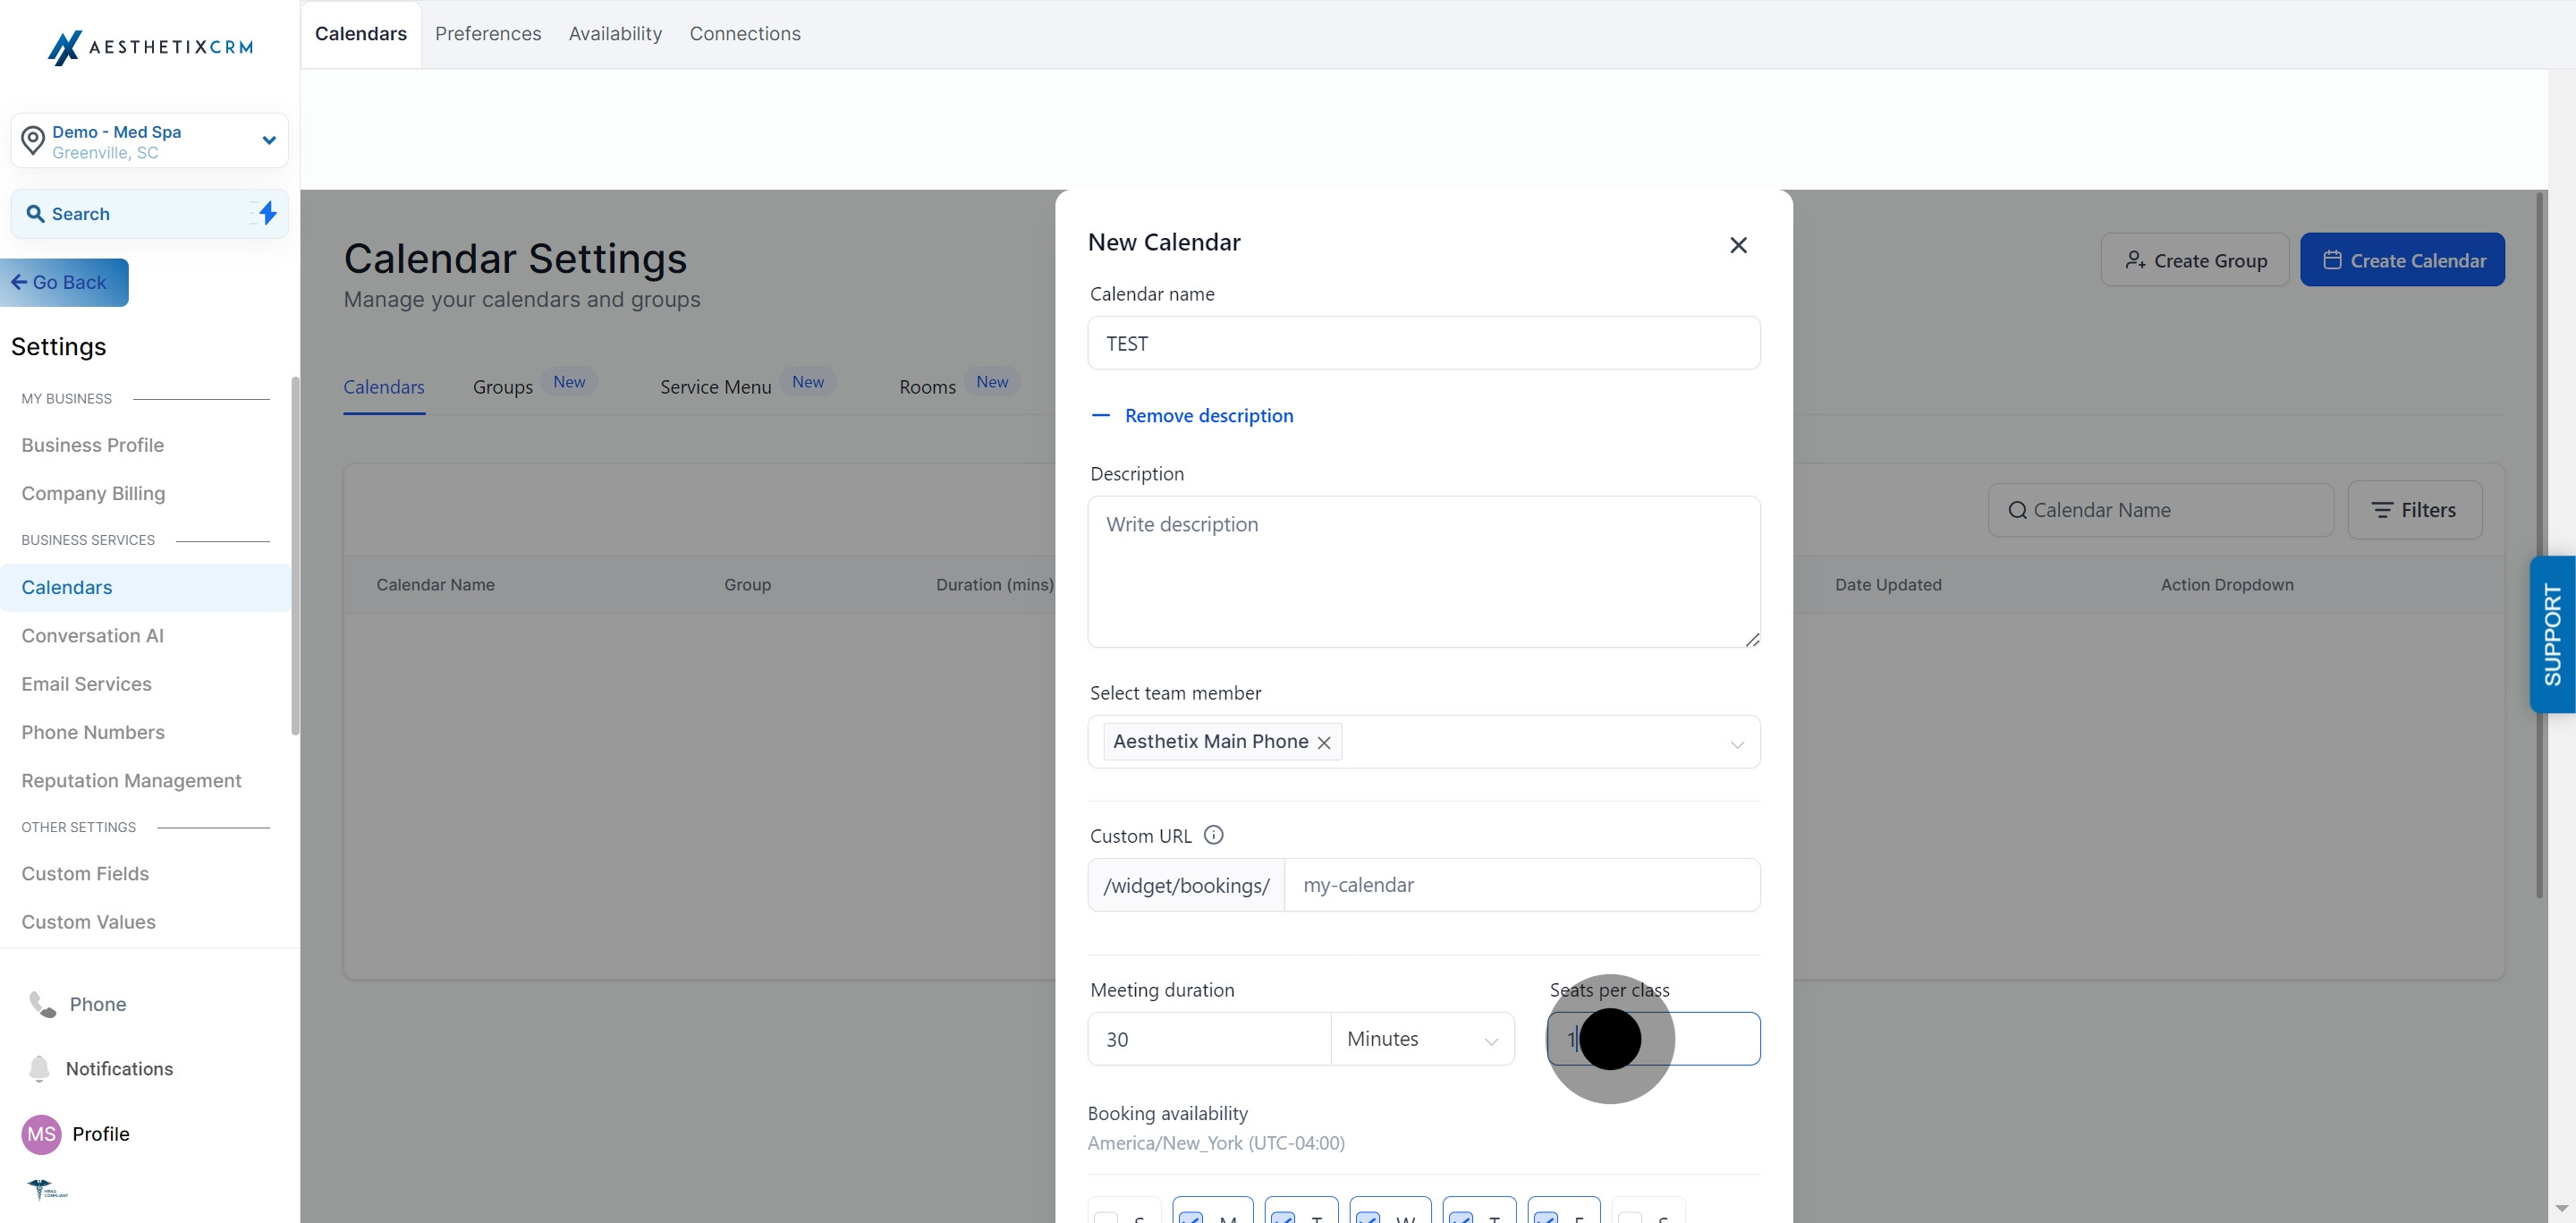
11. Enter the number of seats per class.
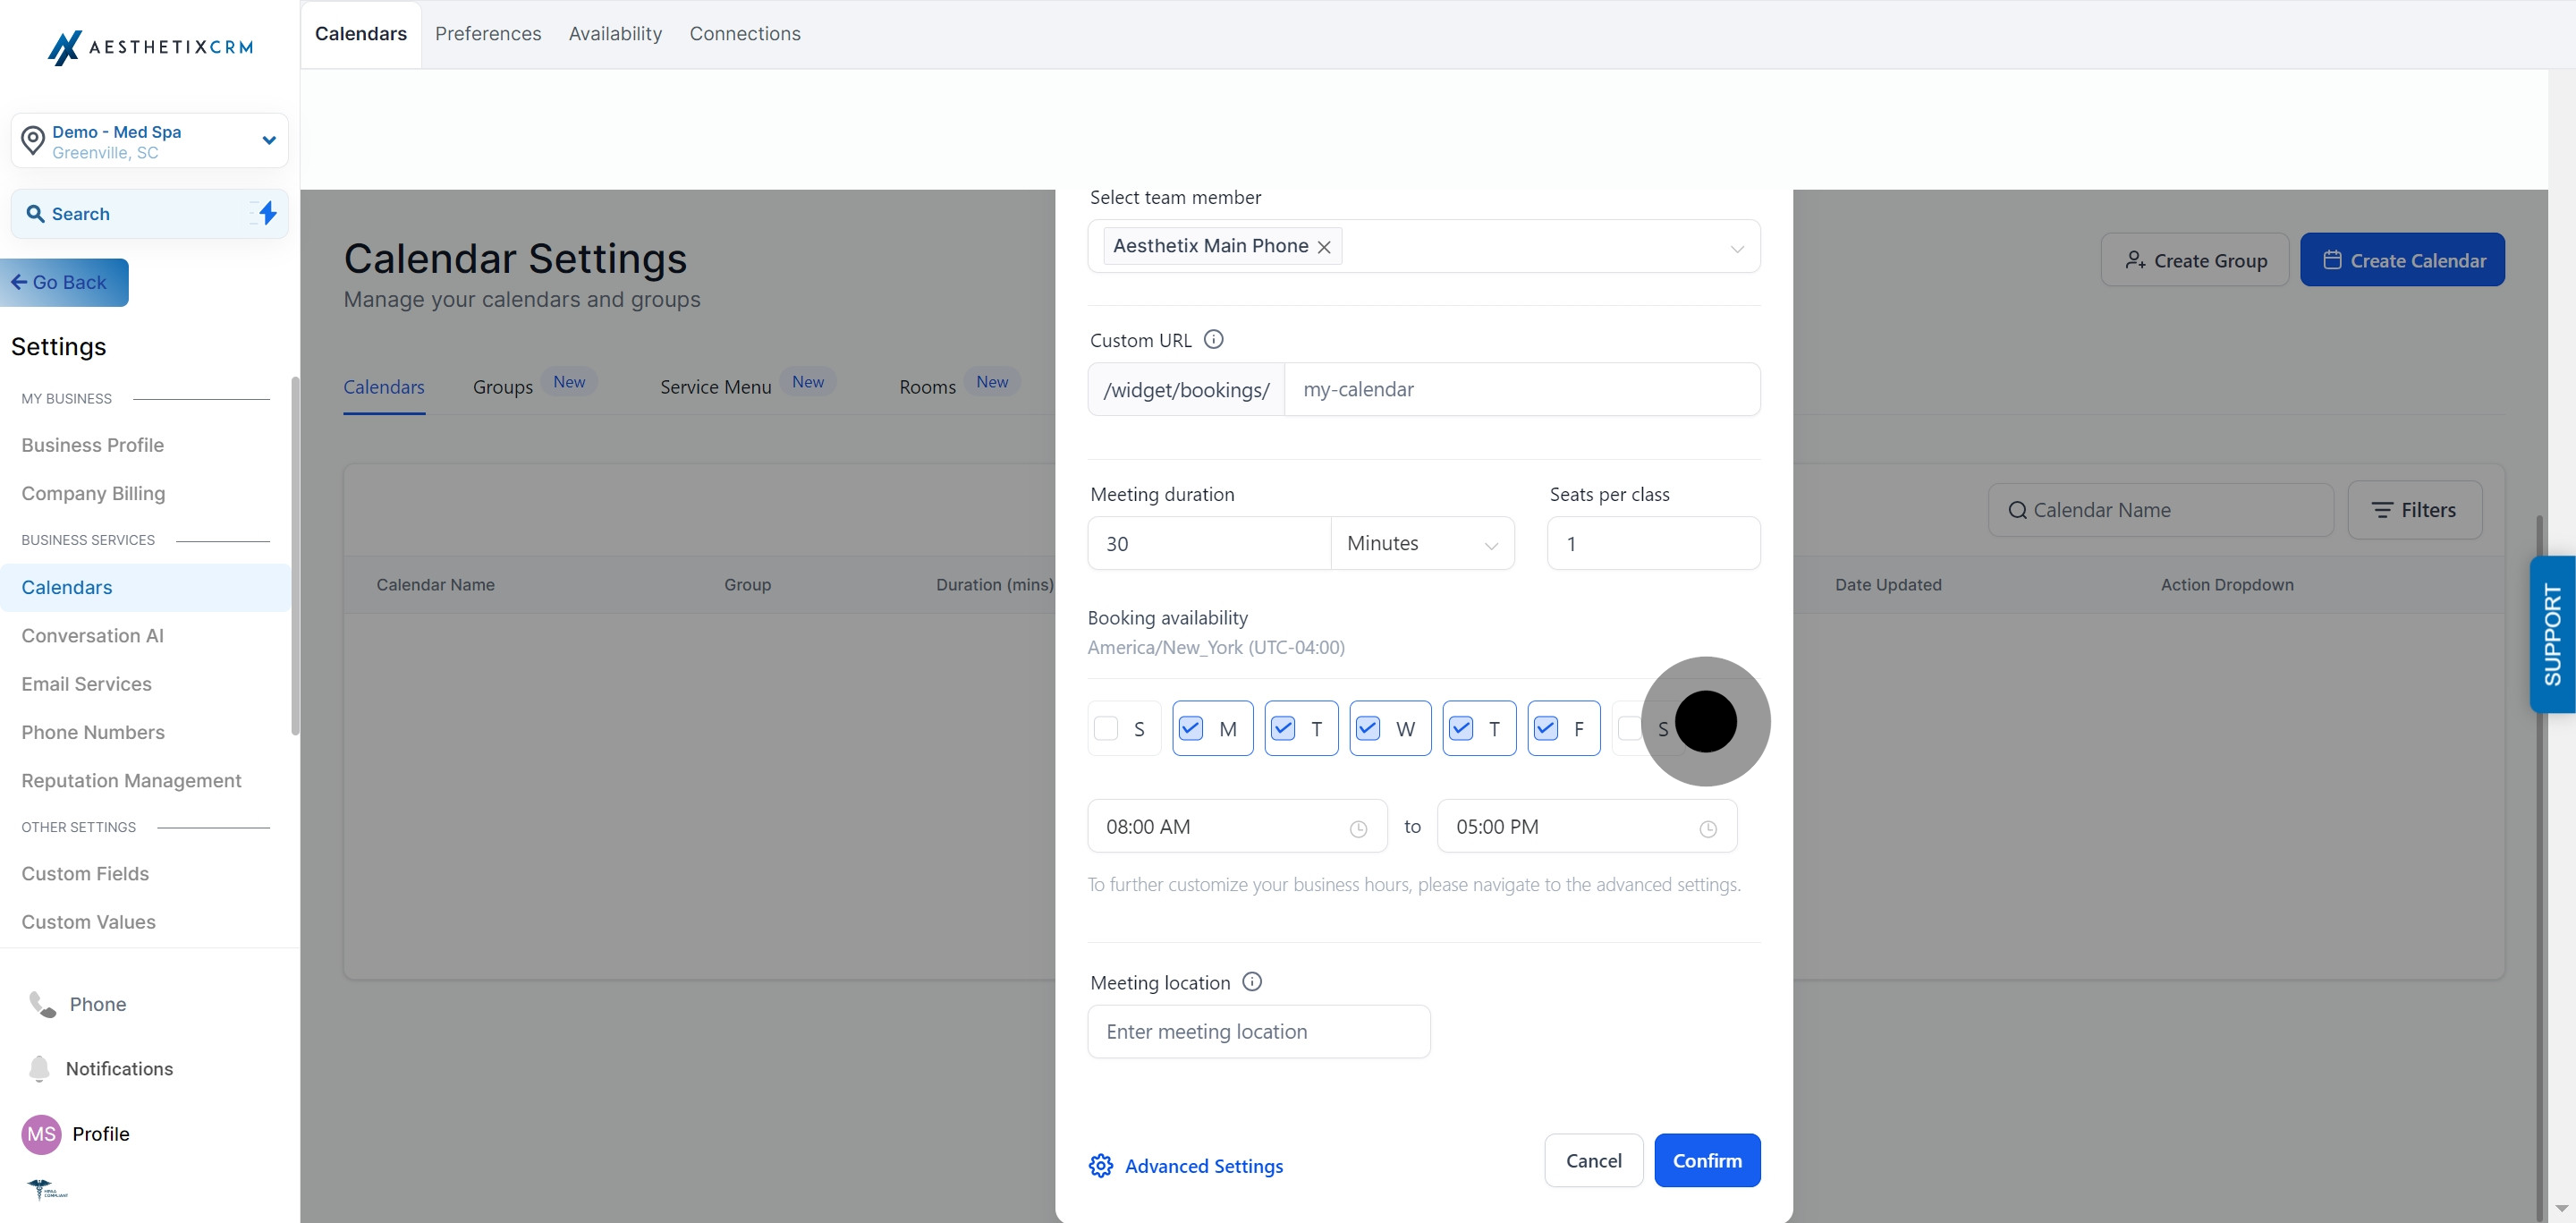
12. Set the Booking Availability.
13. Input the start time and end time.
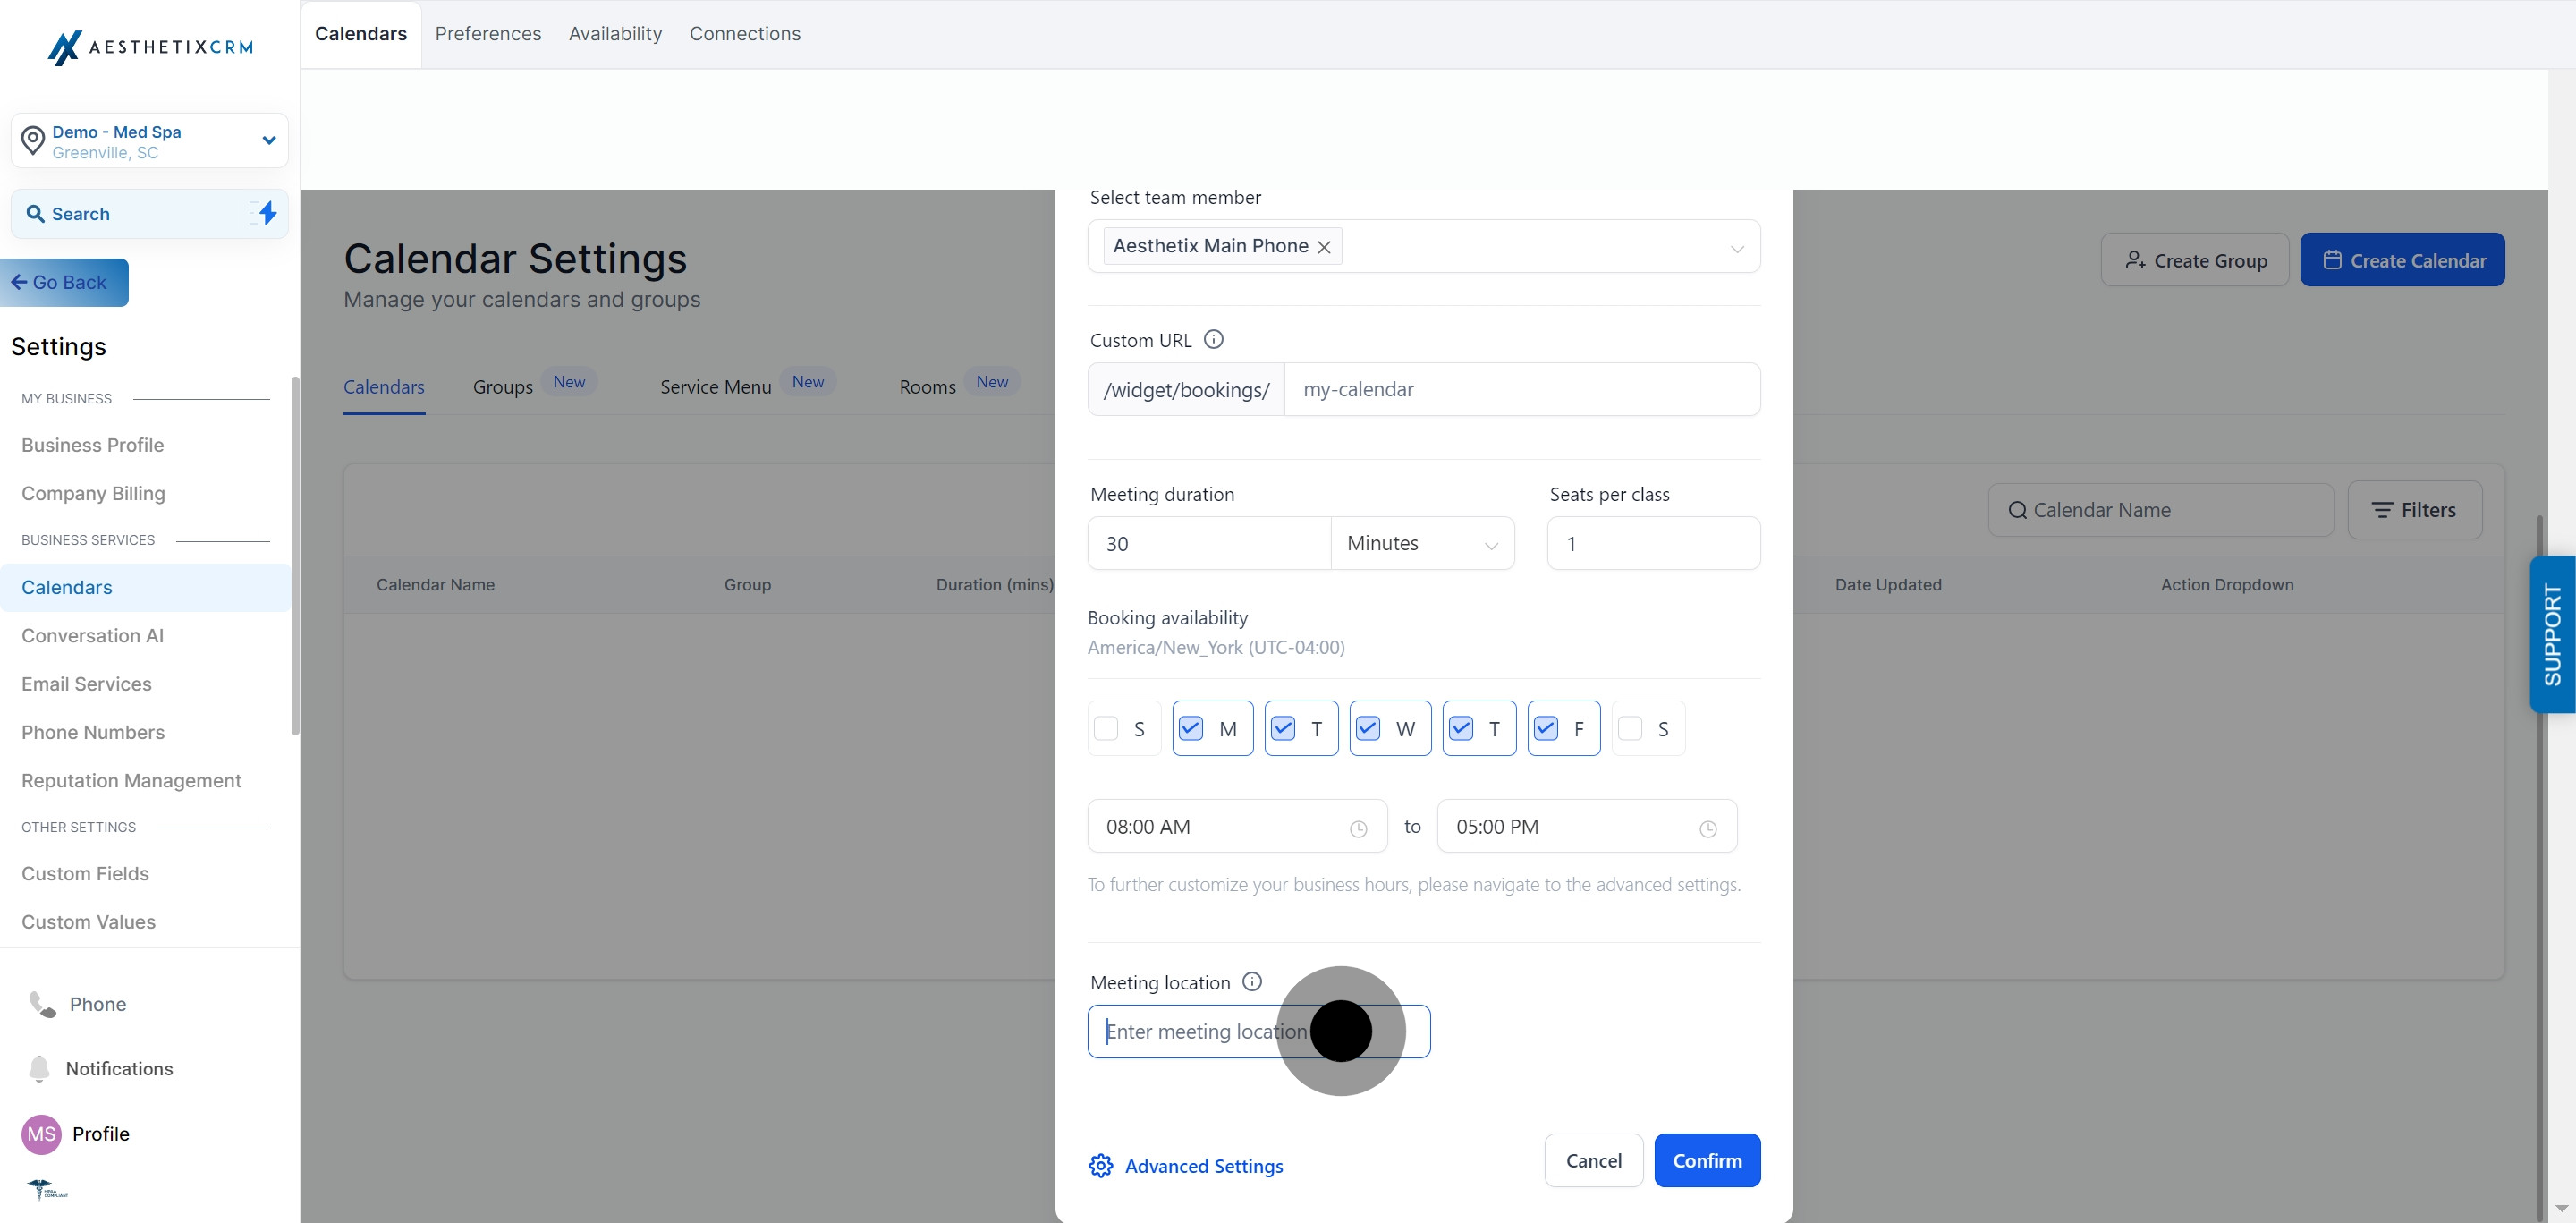
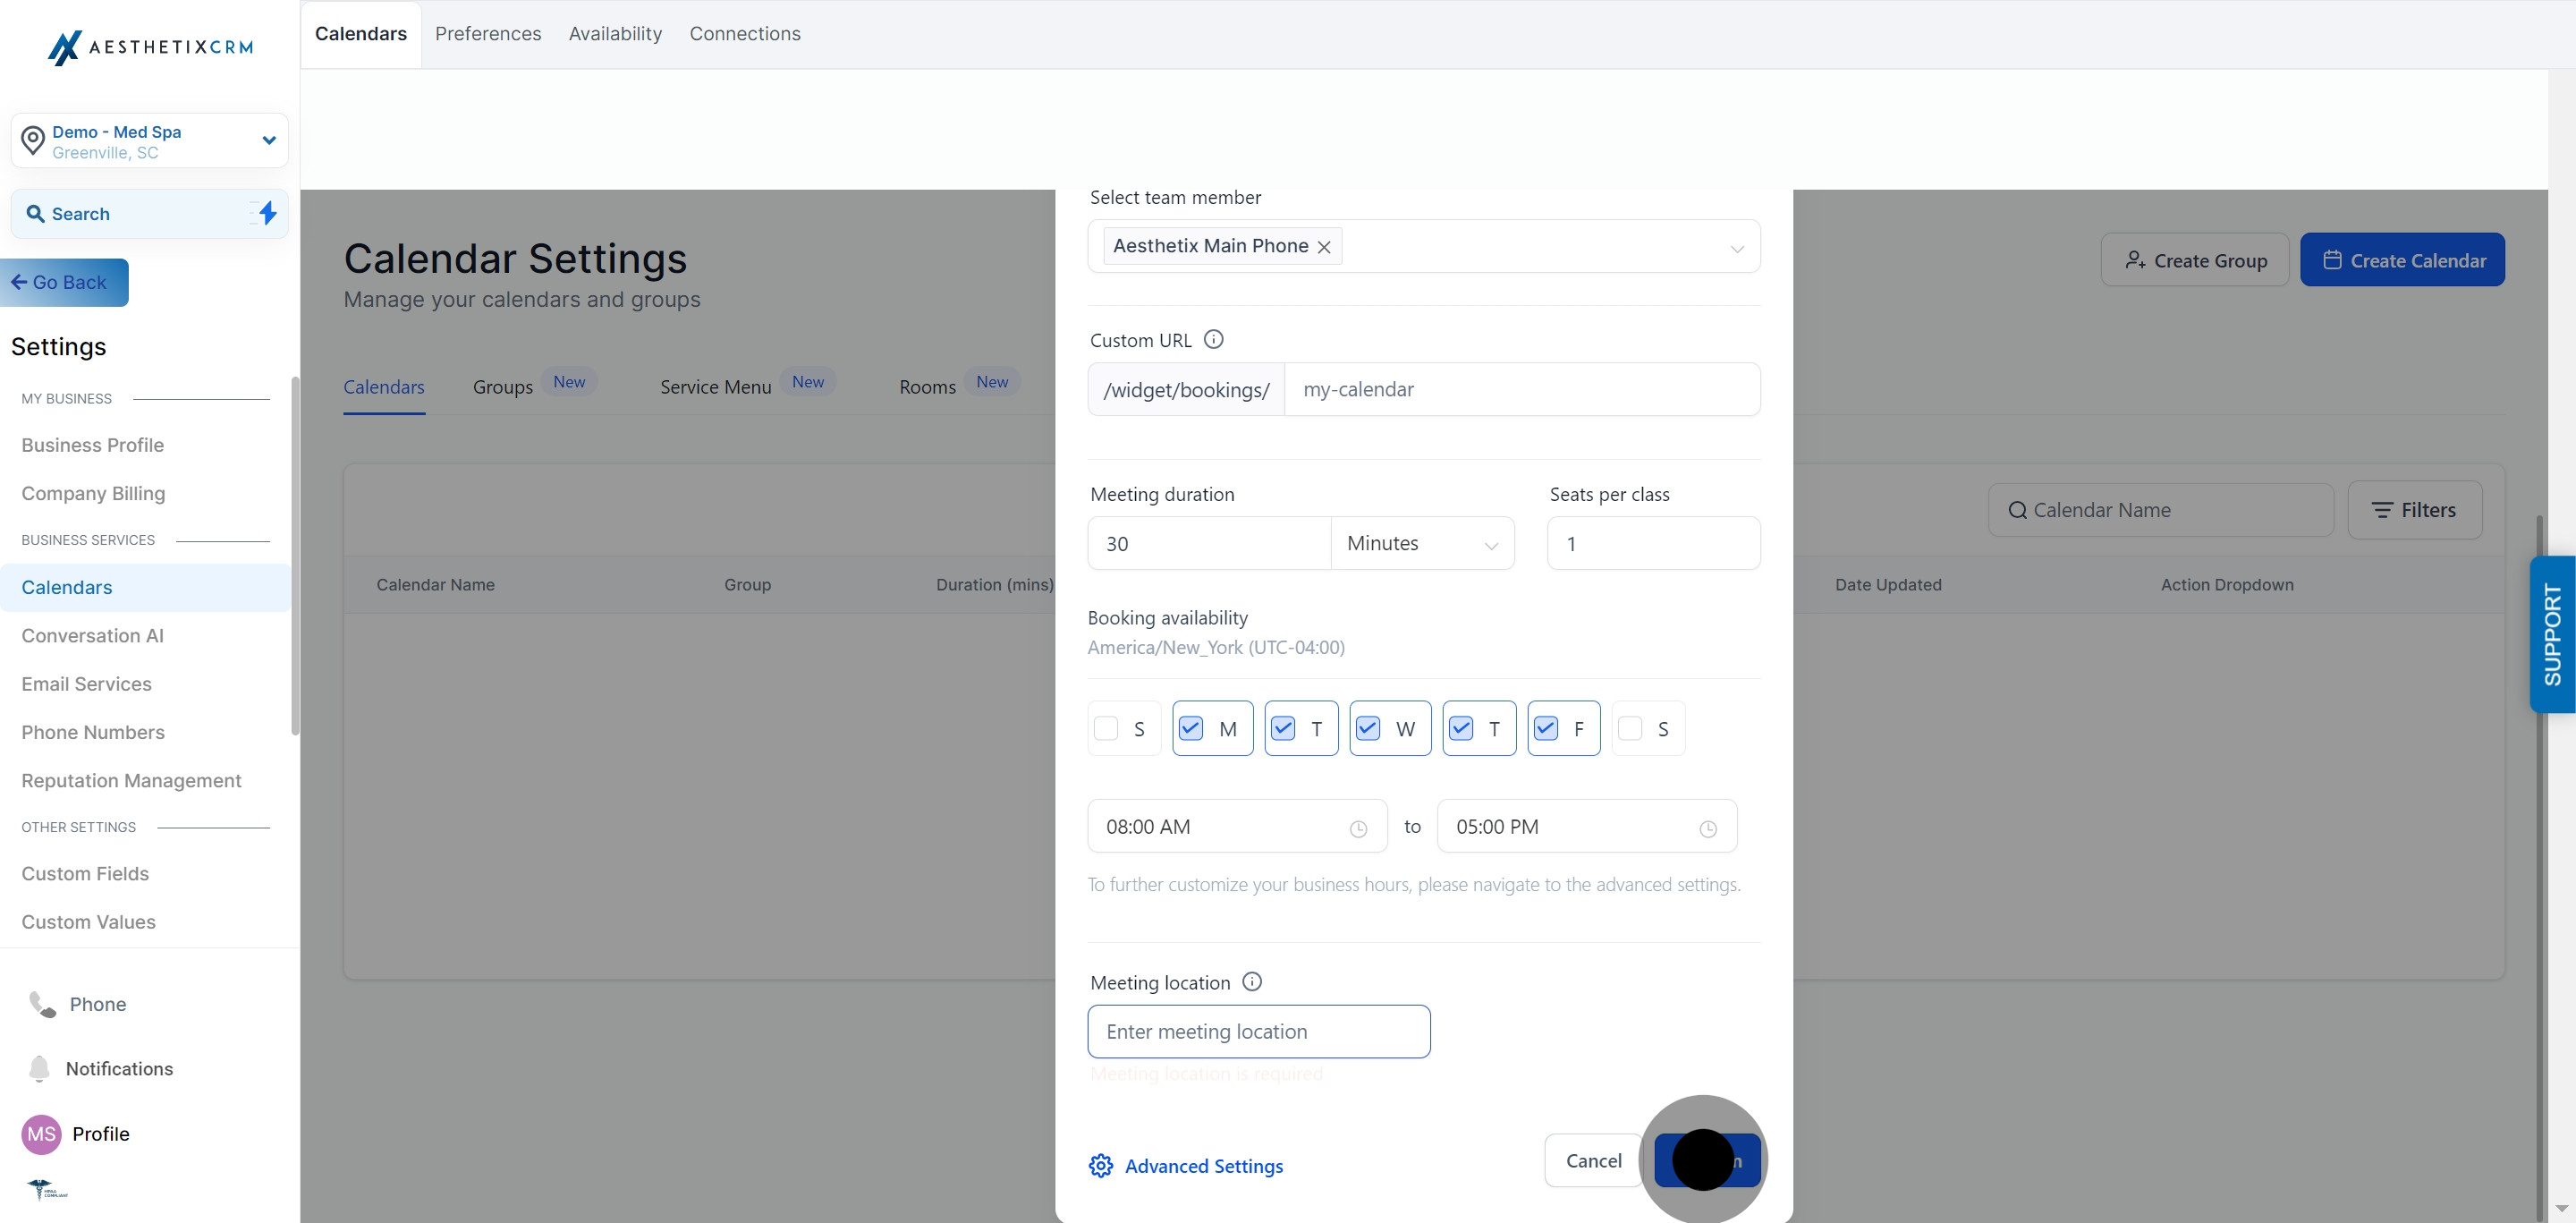
14. Input the meeting location.
15. Finally, click on "Confirm" to complete the setup.