Unlock the power of file management within Aesthetix CRM with this comprehensive guide. Learn how to seamlessly attach files to your contacts, streamlining document organization and enhancing communication efficiency. This tutorial provides step-by-step instructions on uploading, accessing, and managing files associated with your contacts, ensuring all pertinent information is readily available in one centralized location. From contracts to presentations, master the art of file integration to streamline your workflow and elevate your CRM experience.
1. Select the Settings option on the main menu.
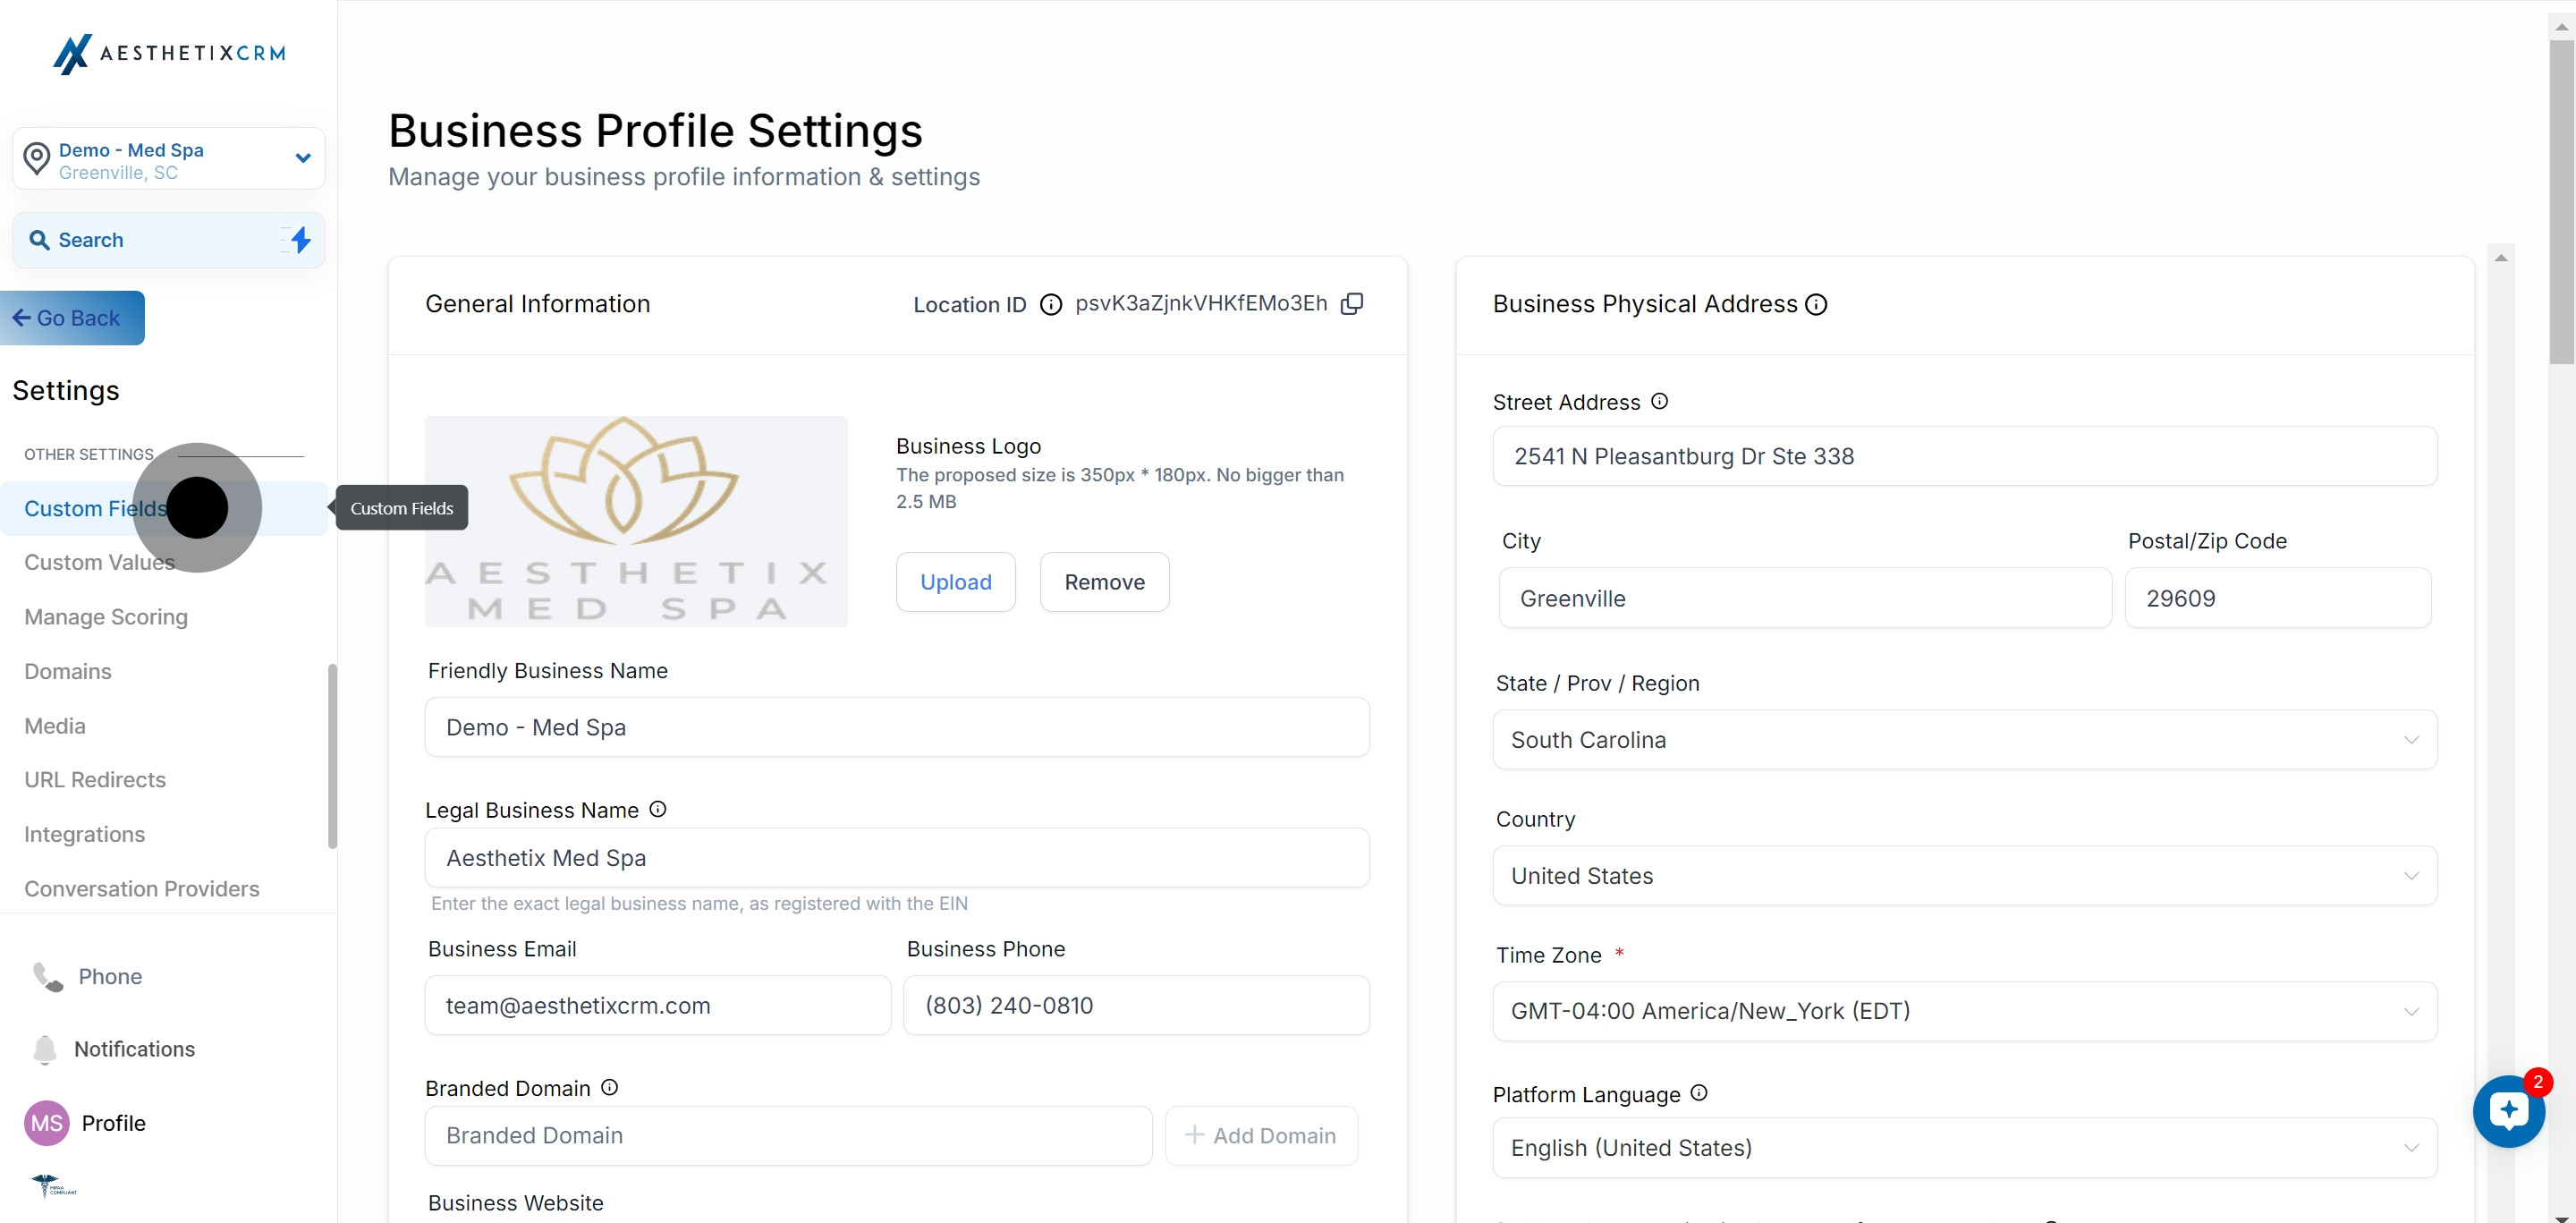
2. Scroll down to navigate through the settings options.
3. Find and select the Custom Fields option.
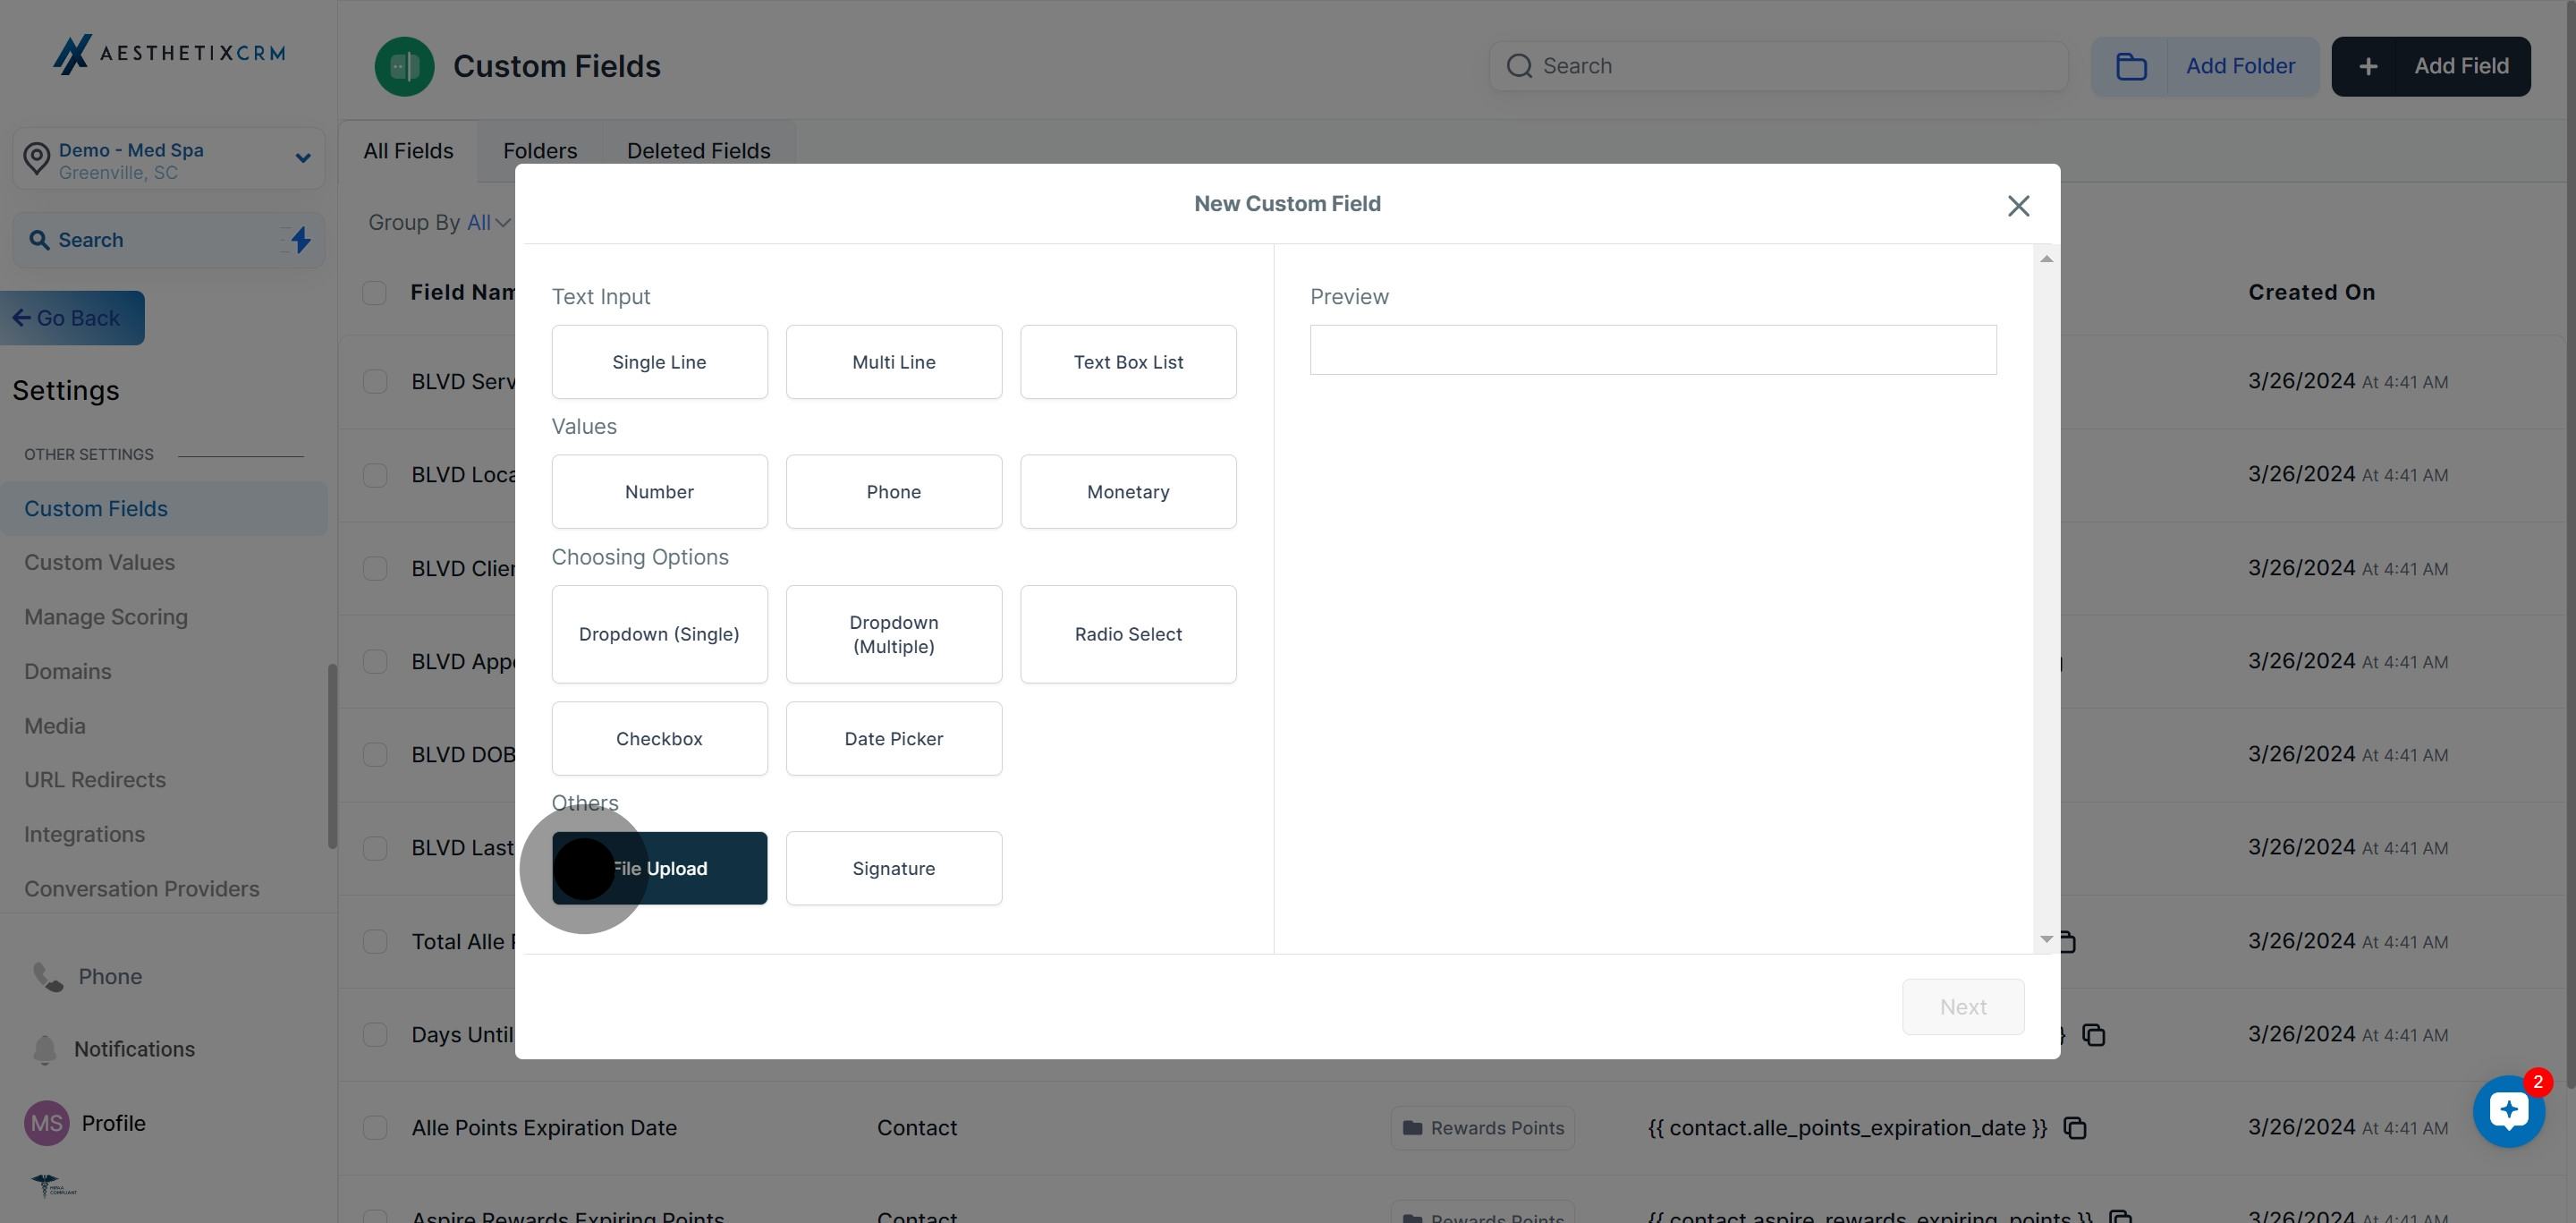
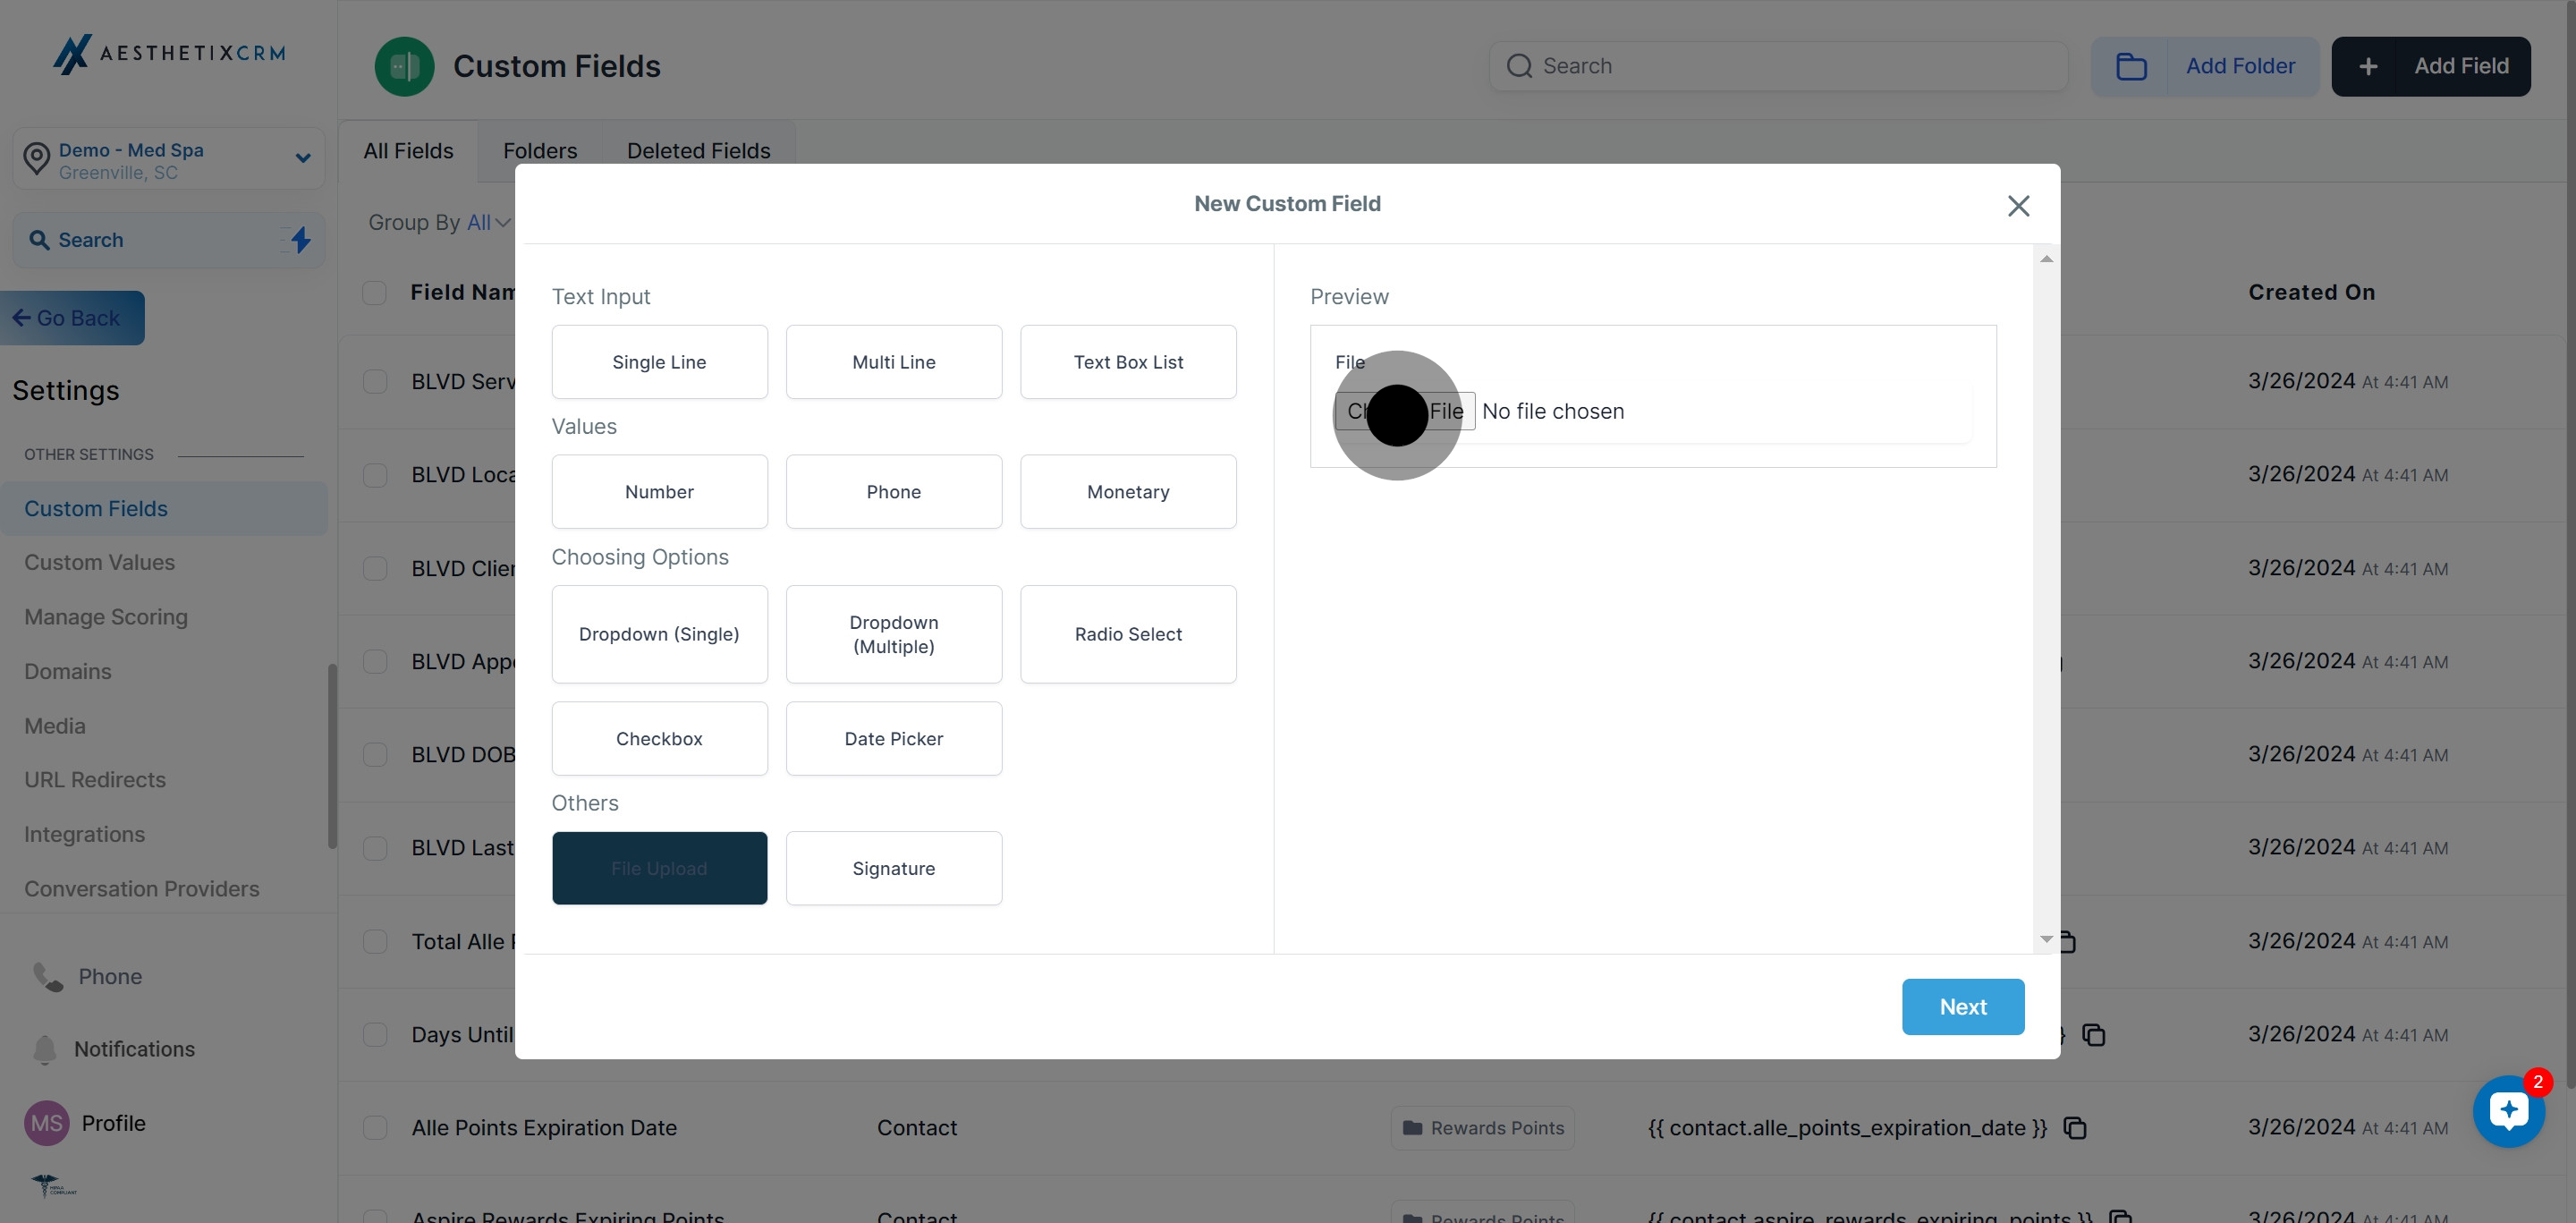
4. In the Custom Fields section, click on the Add Field button.
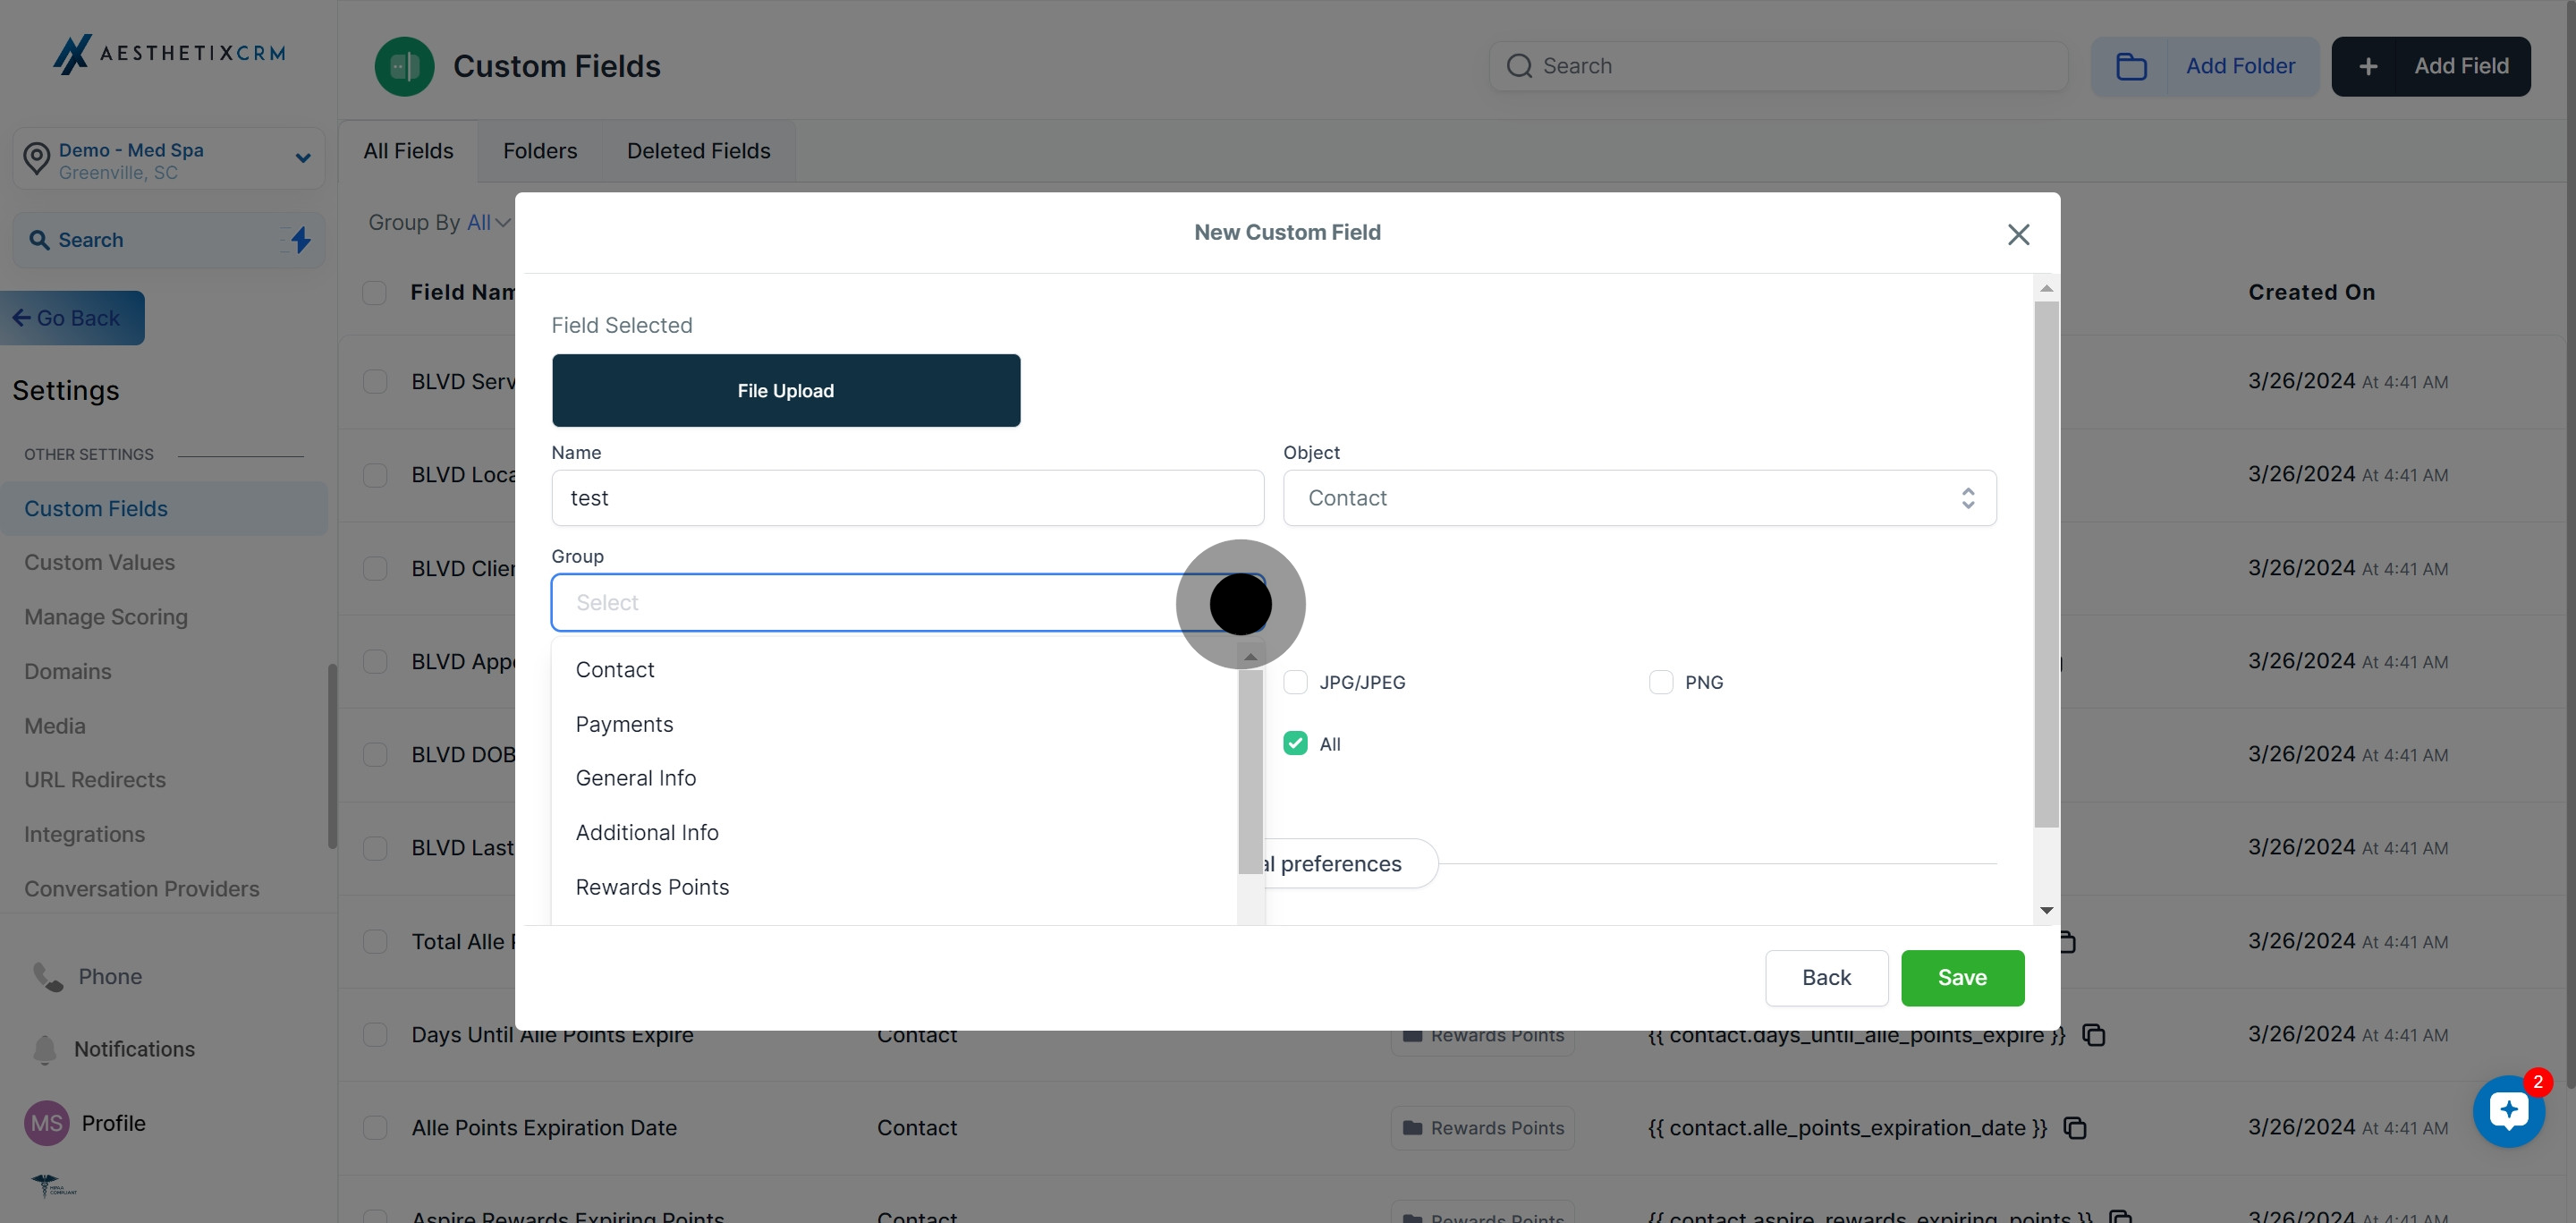
5. From the field options, click on File Upload button.
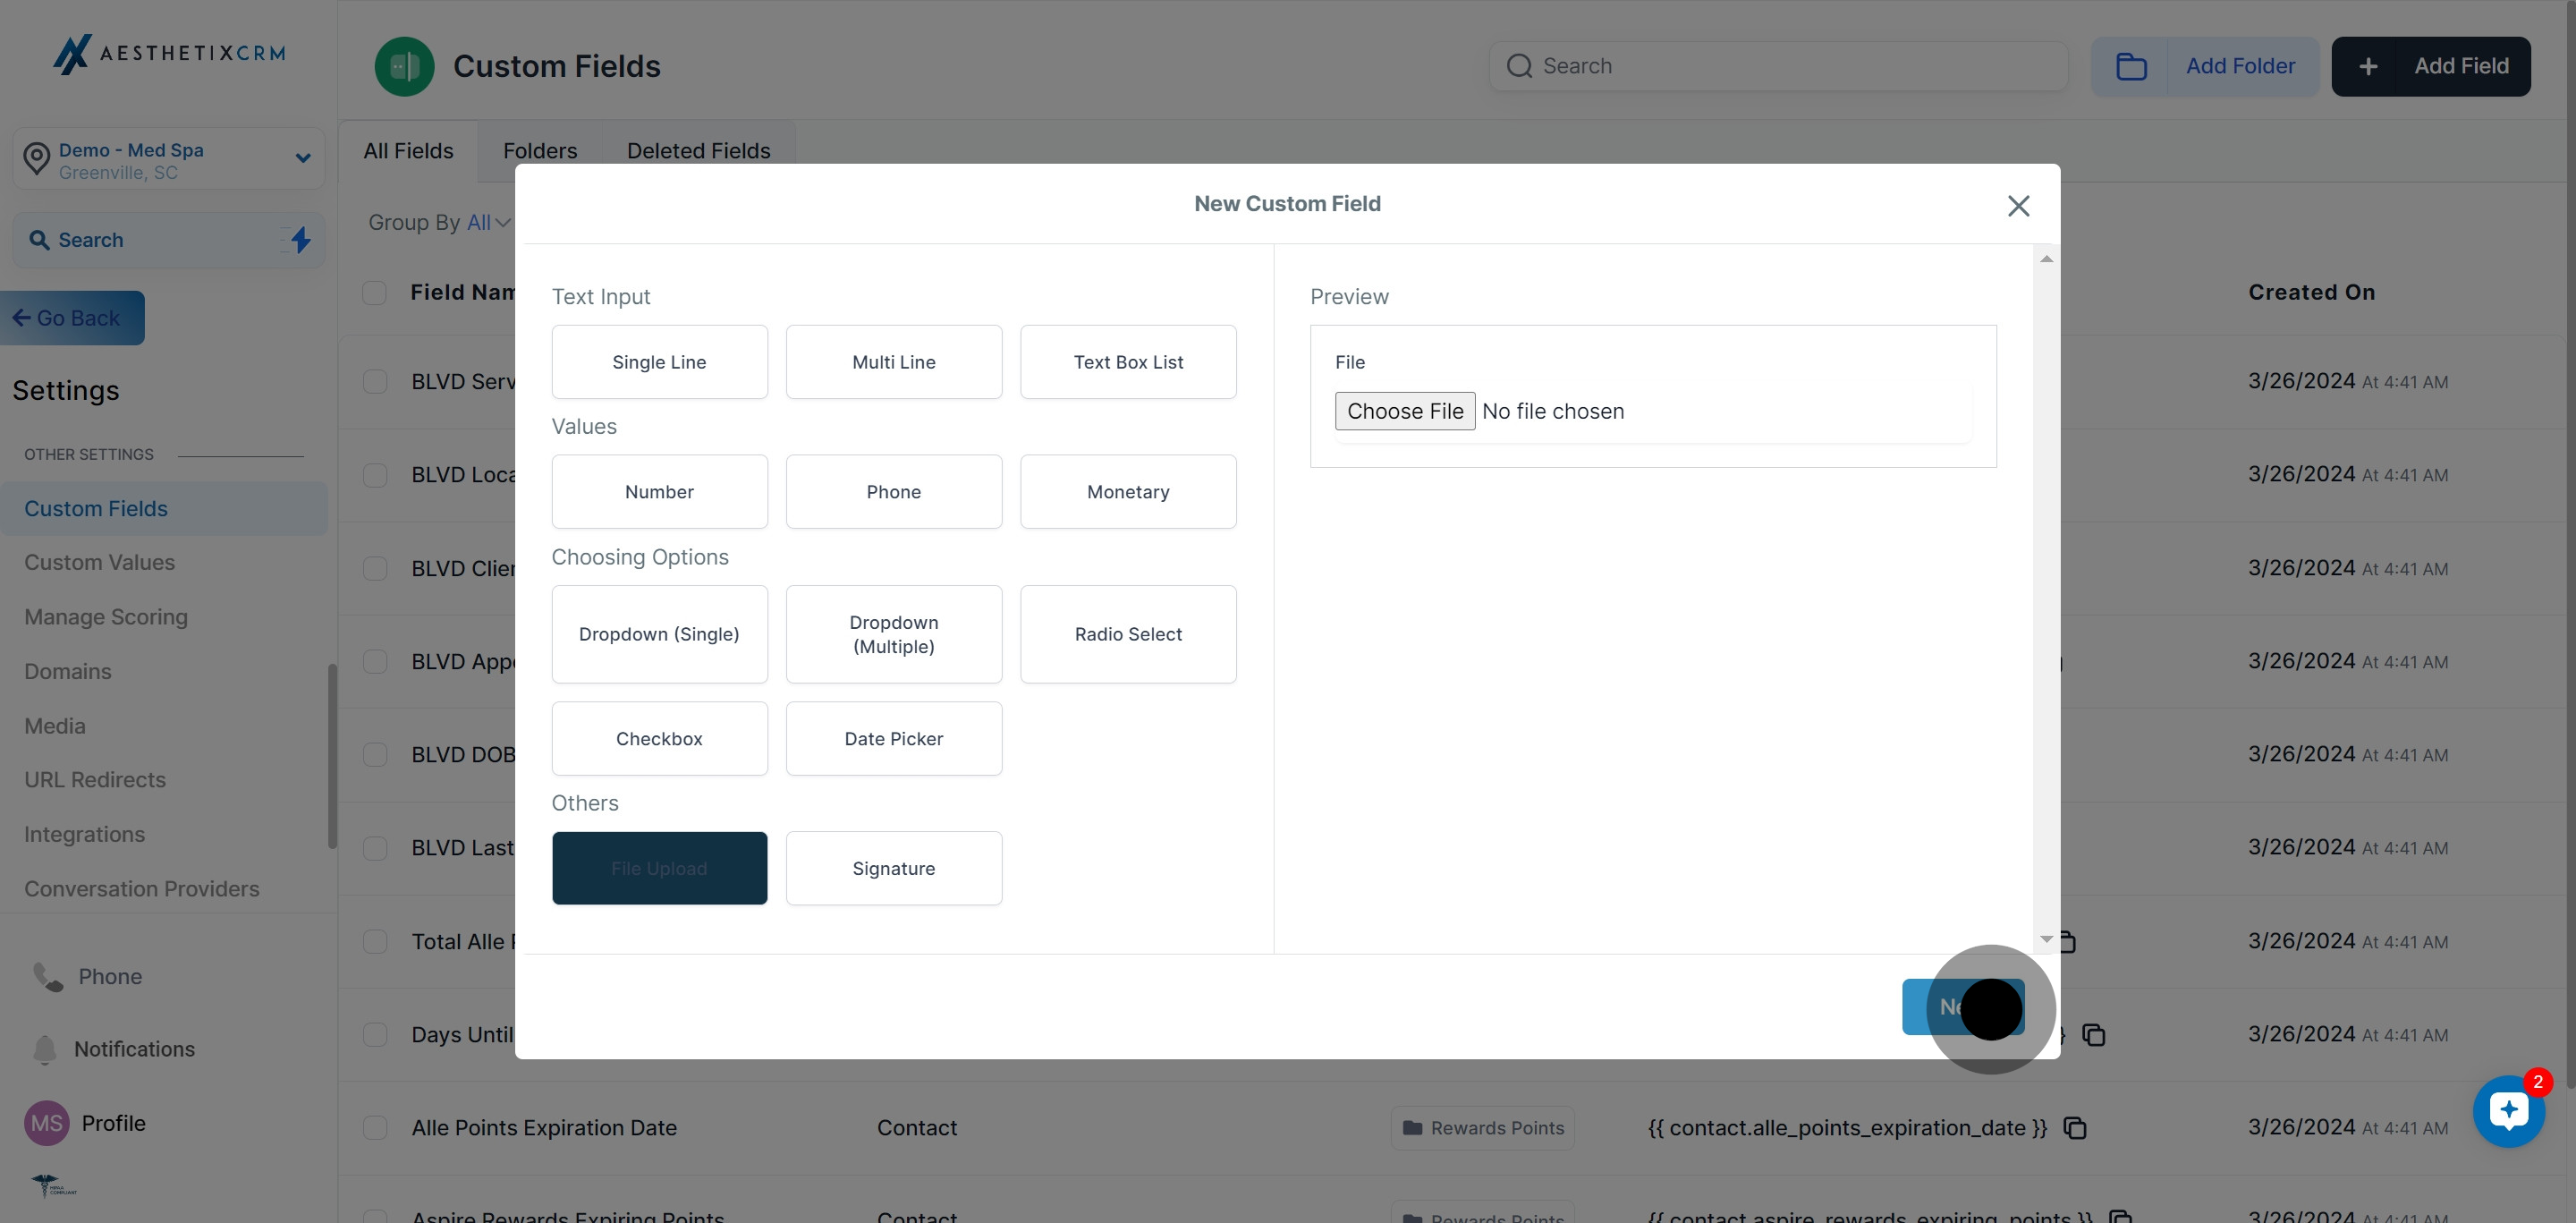
6. Select the option to Choose File for upload
7. Once the file is selected, click on the Next button.
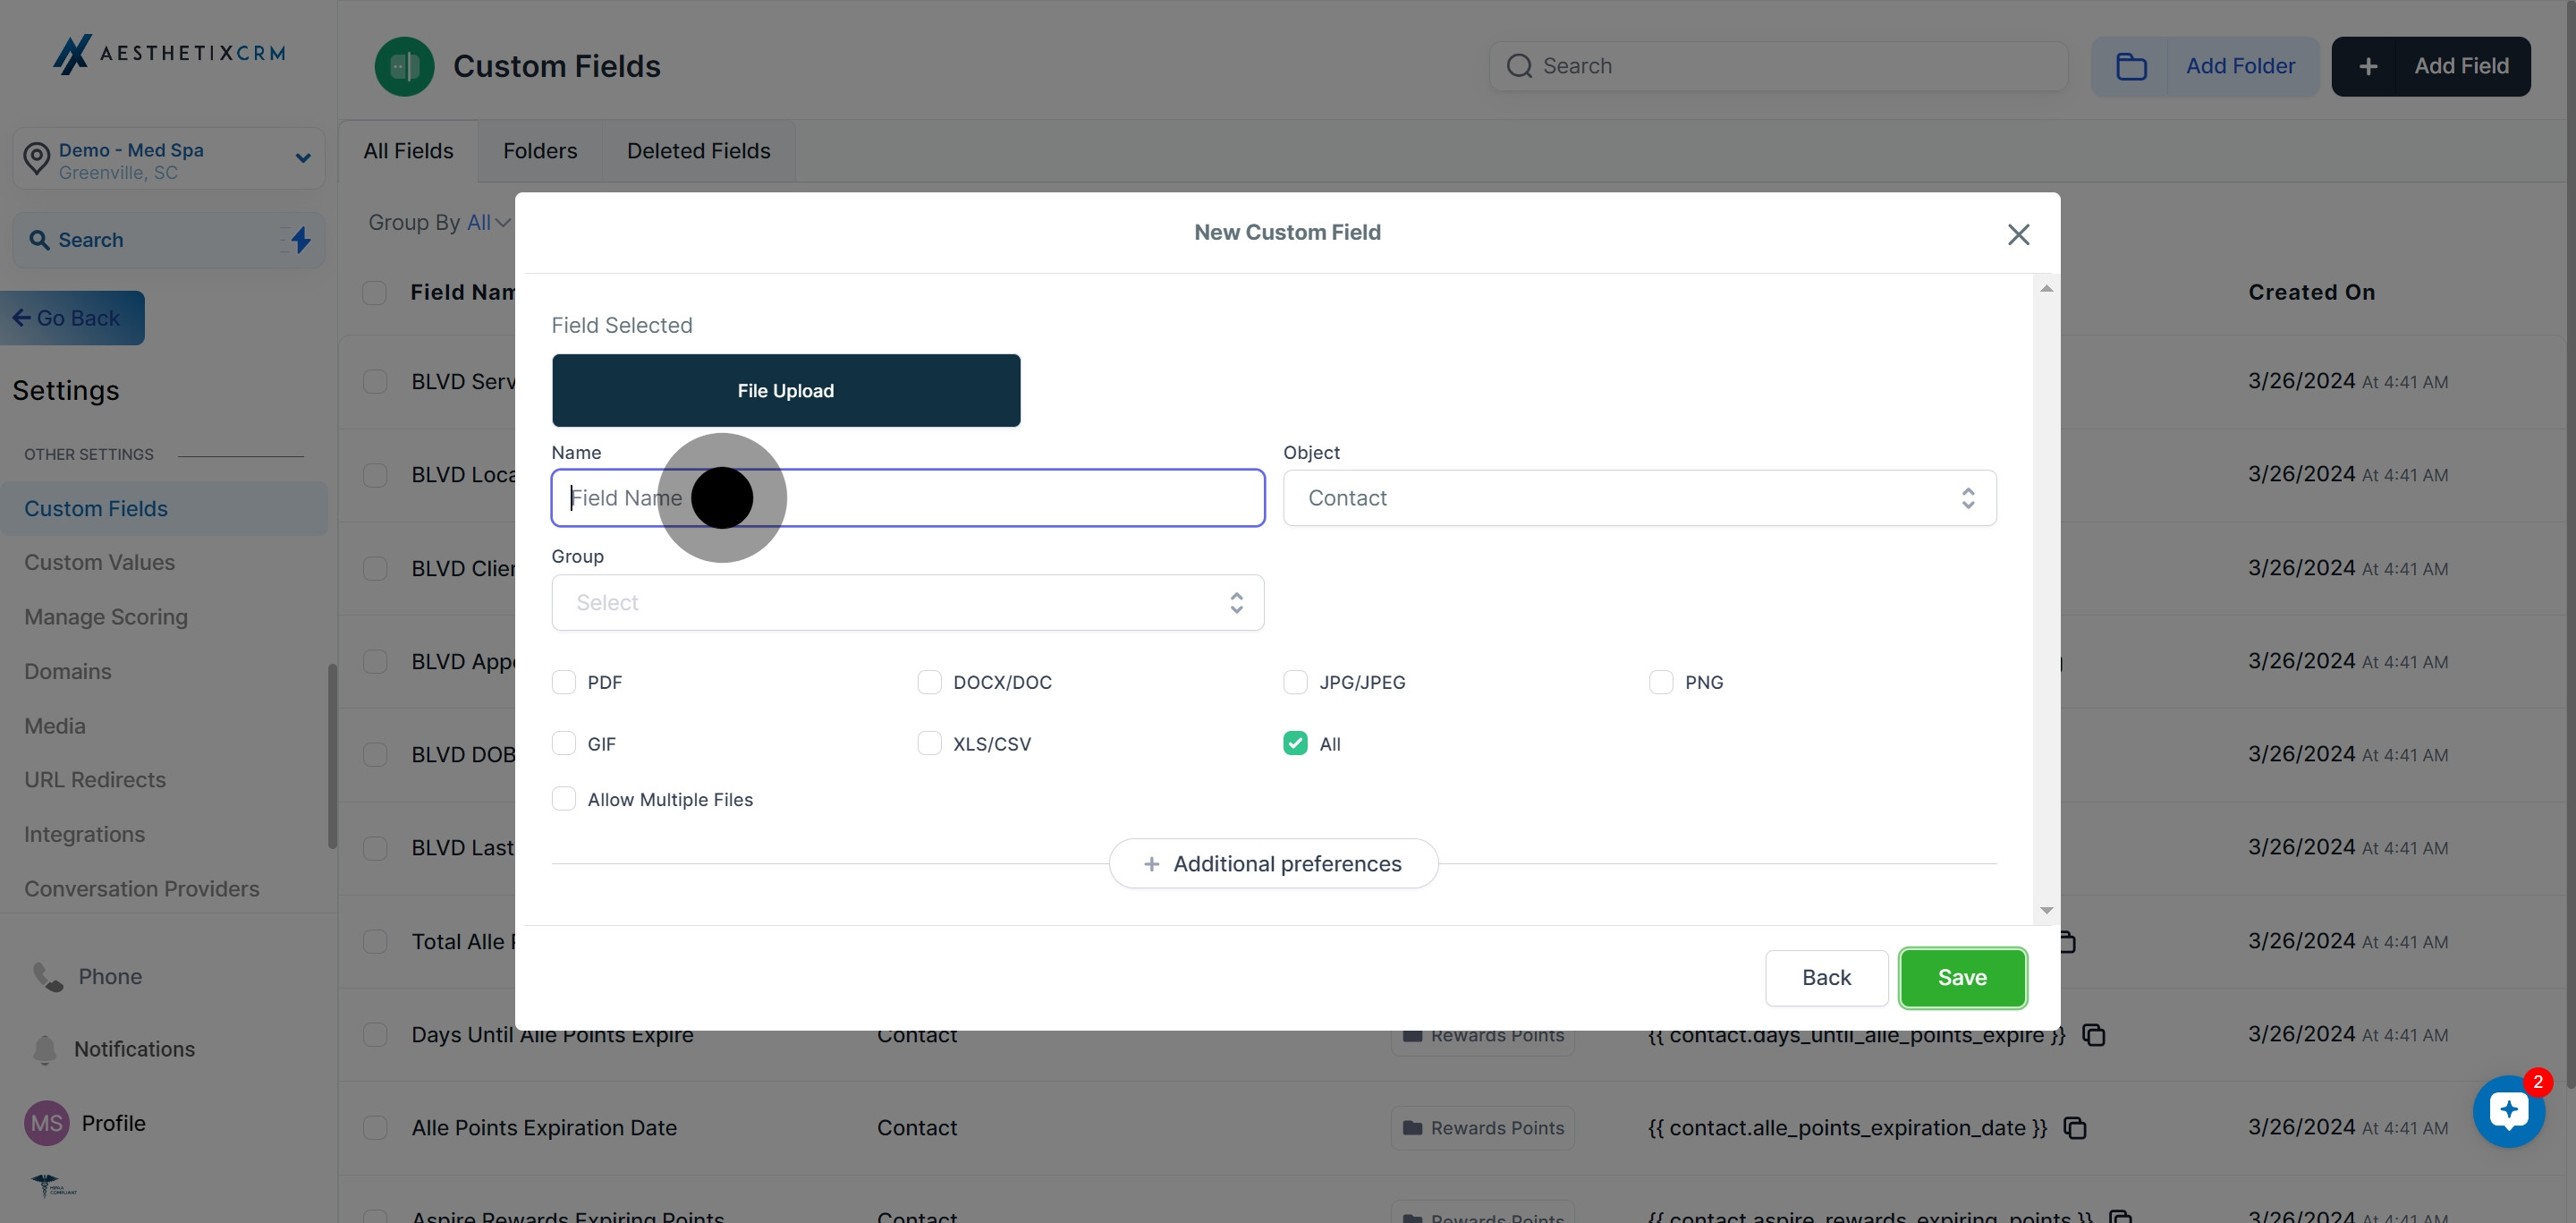
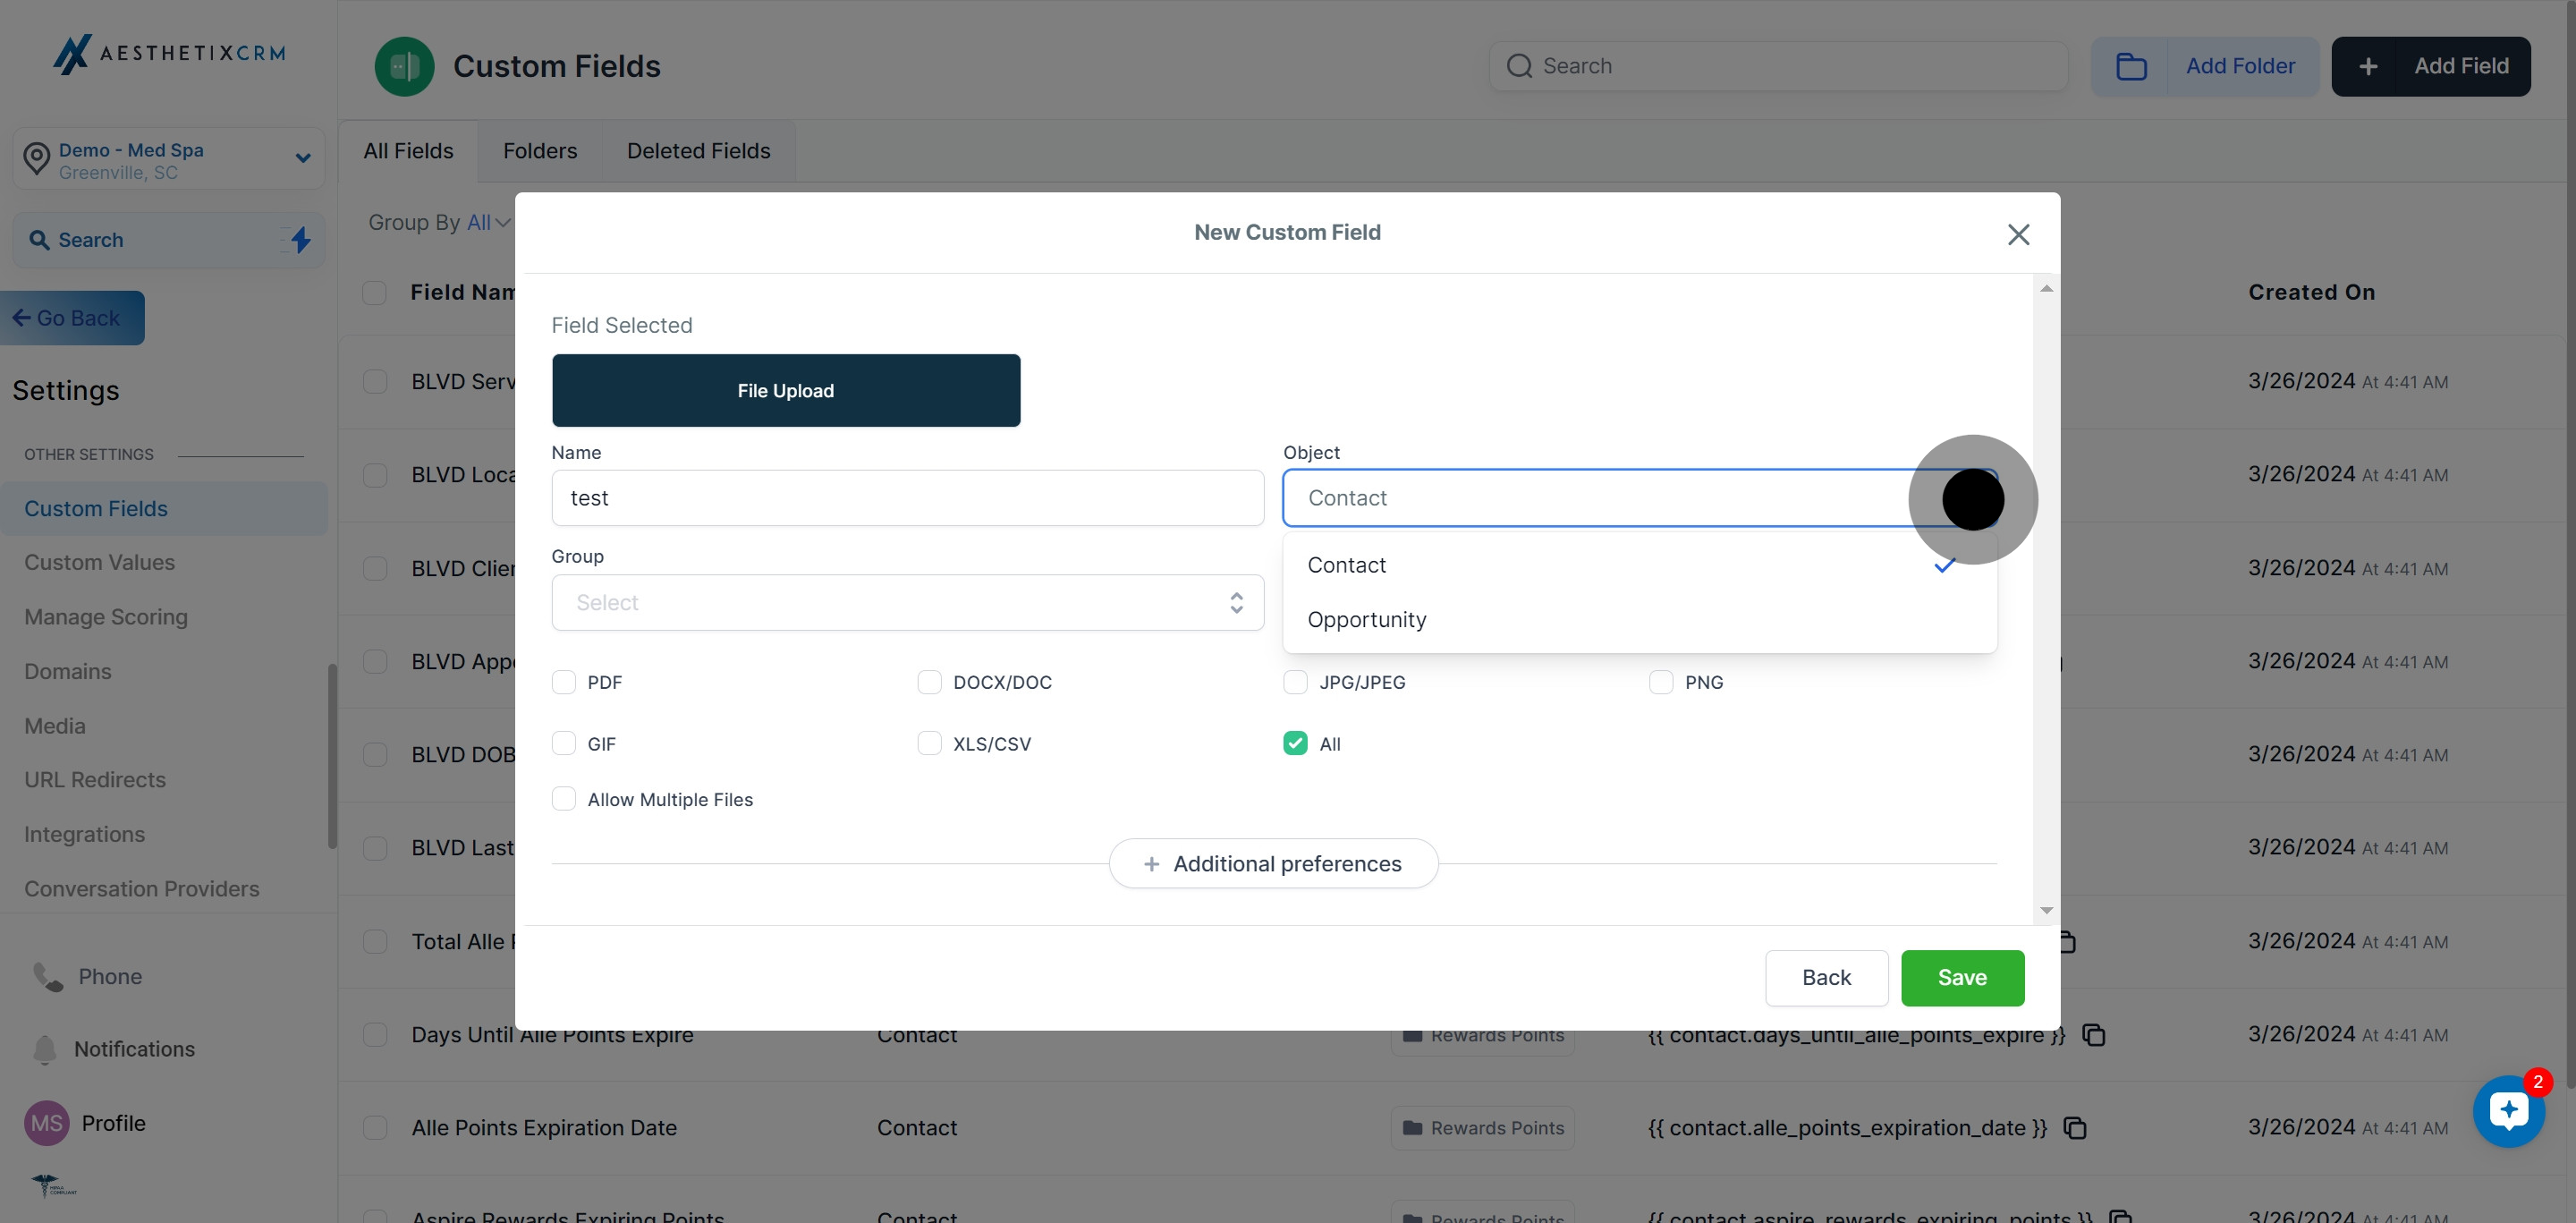
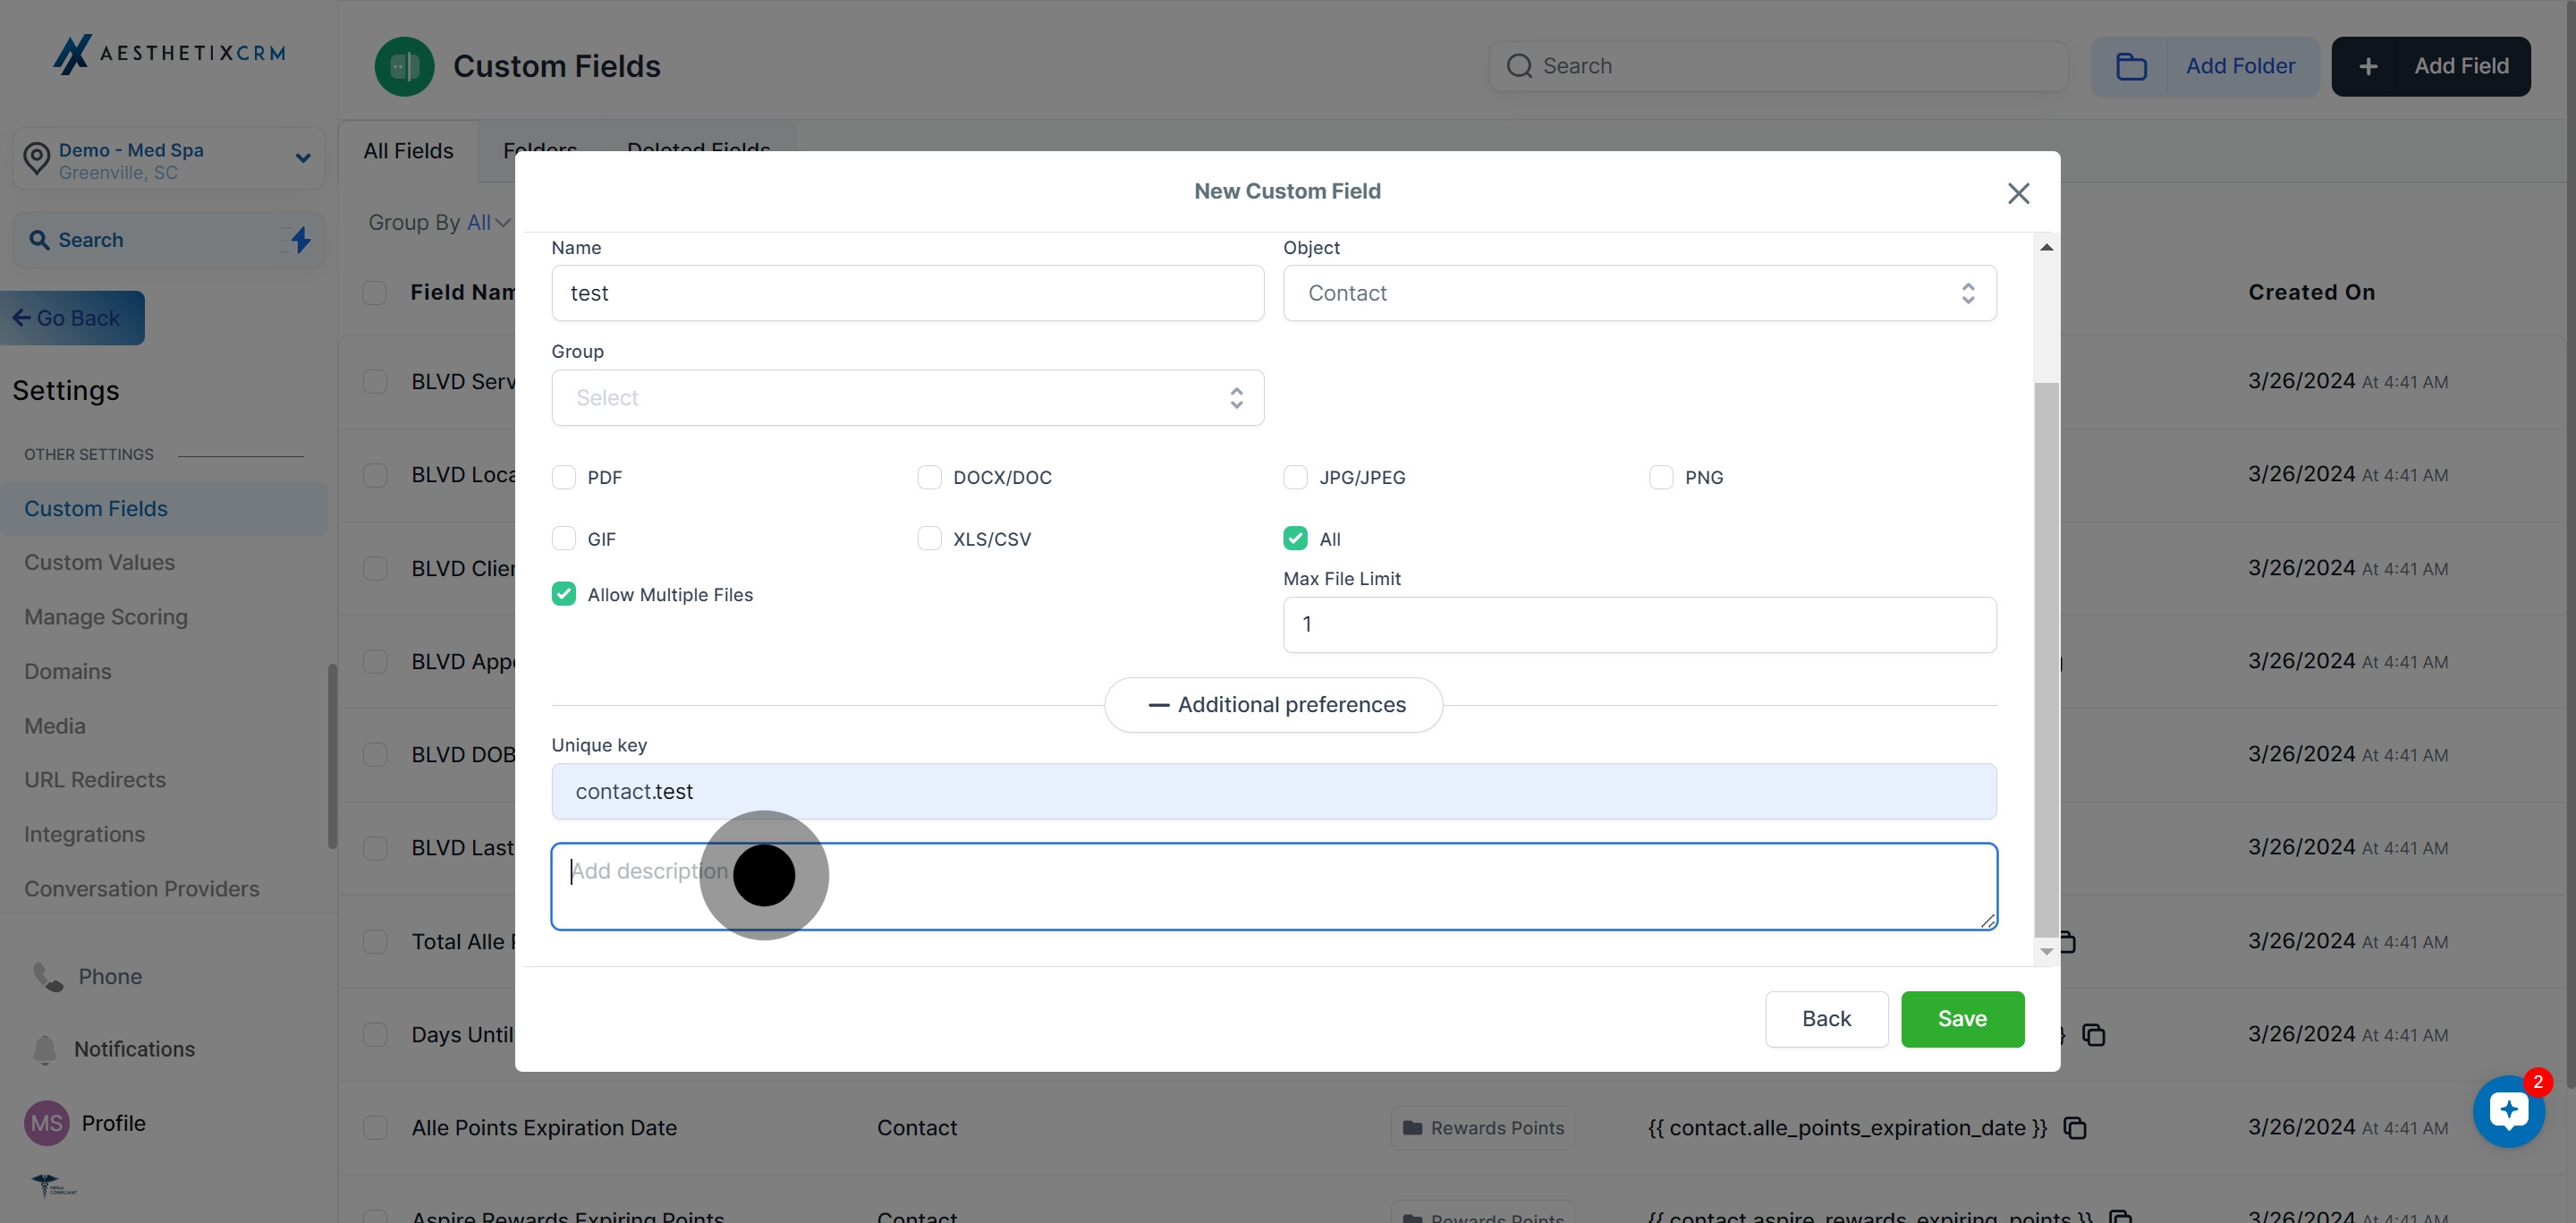
8. Now, provide a name for the field in the Field Name section.
9. From the drop-down list, choose Contact.
10. Next, pick a relevant group from the drop-down list.
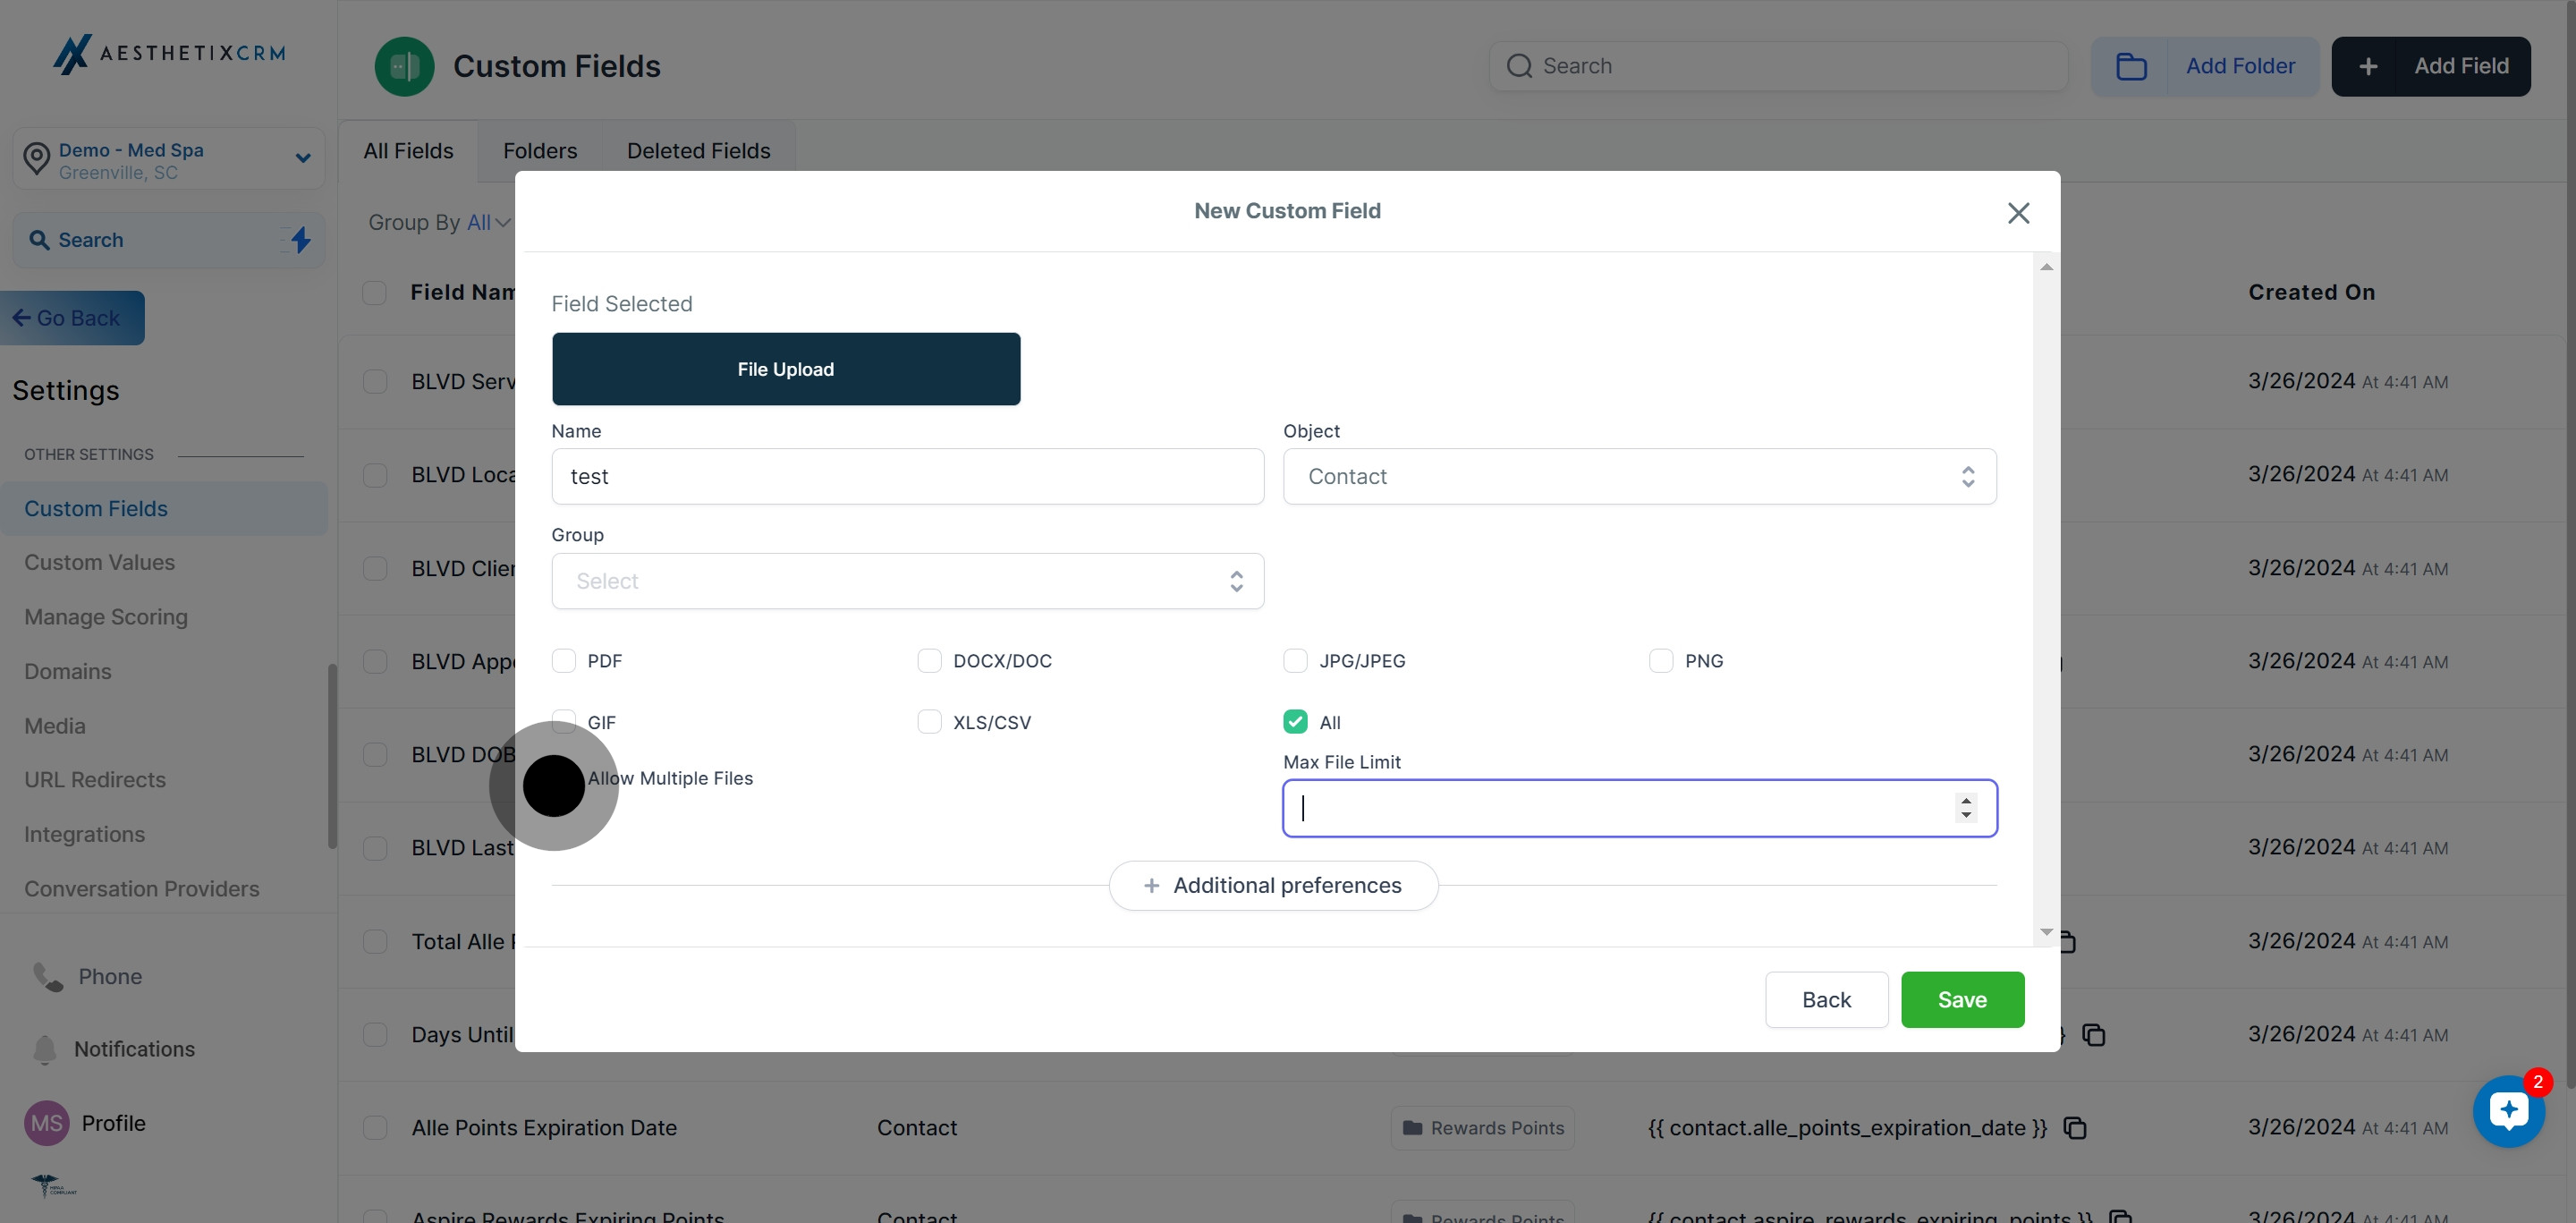
11. Choose your desired file formats by ticking the respective boxes.
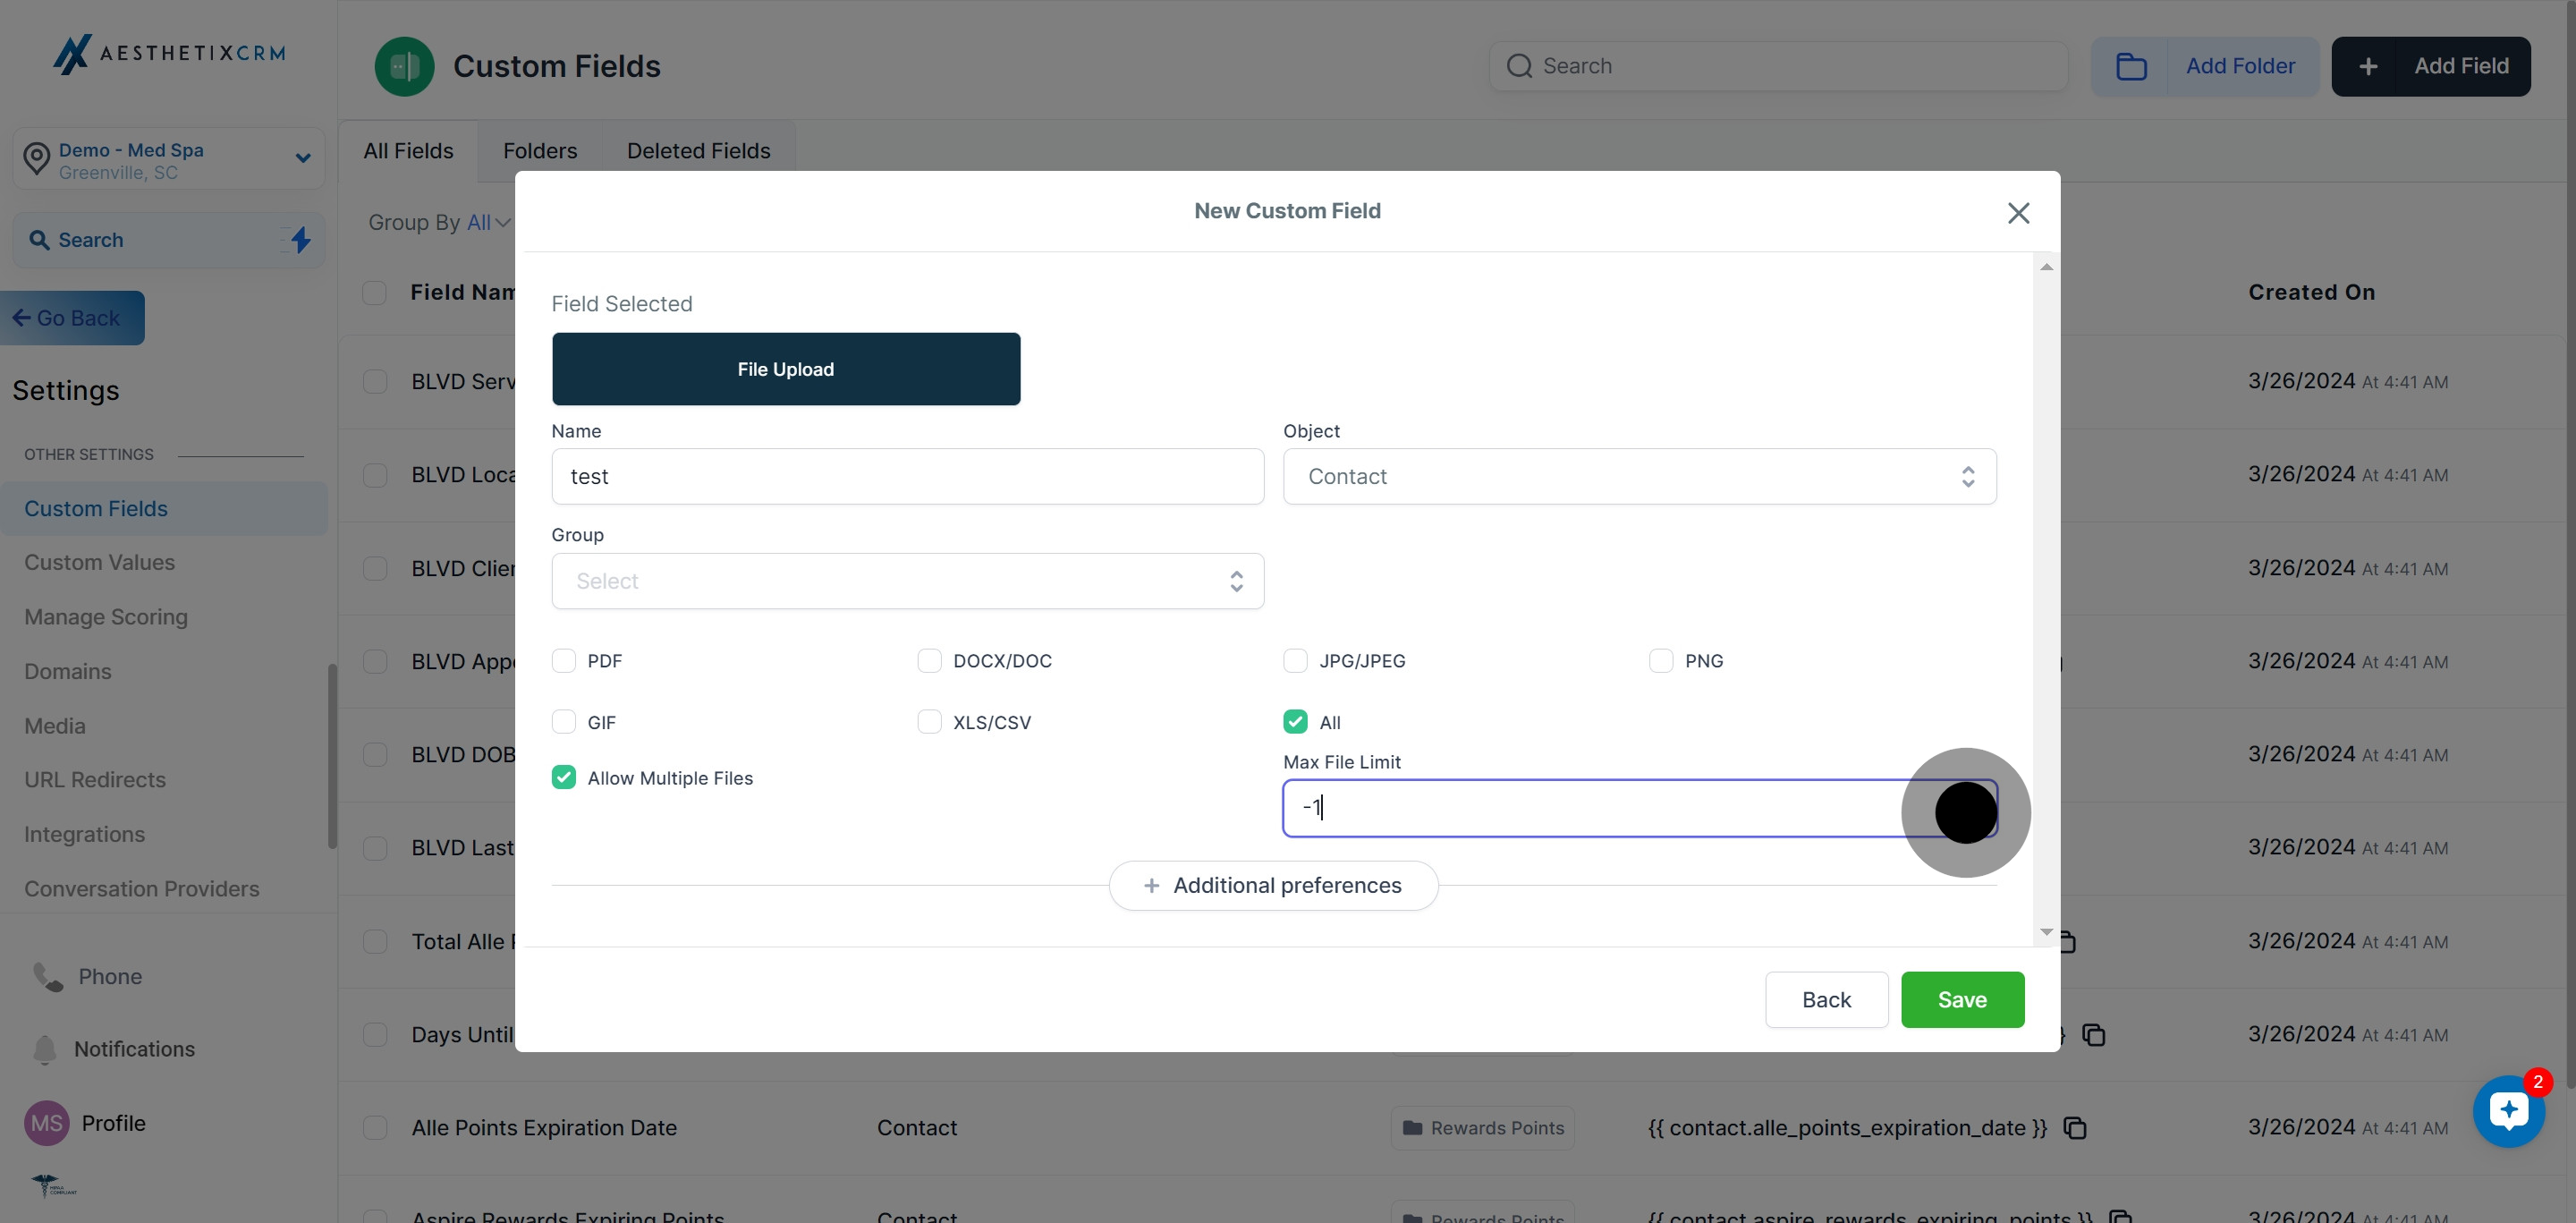
12. If the preference is to allow multiple files, ensure the Allow Multiple Files option is checked
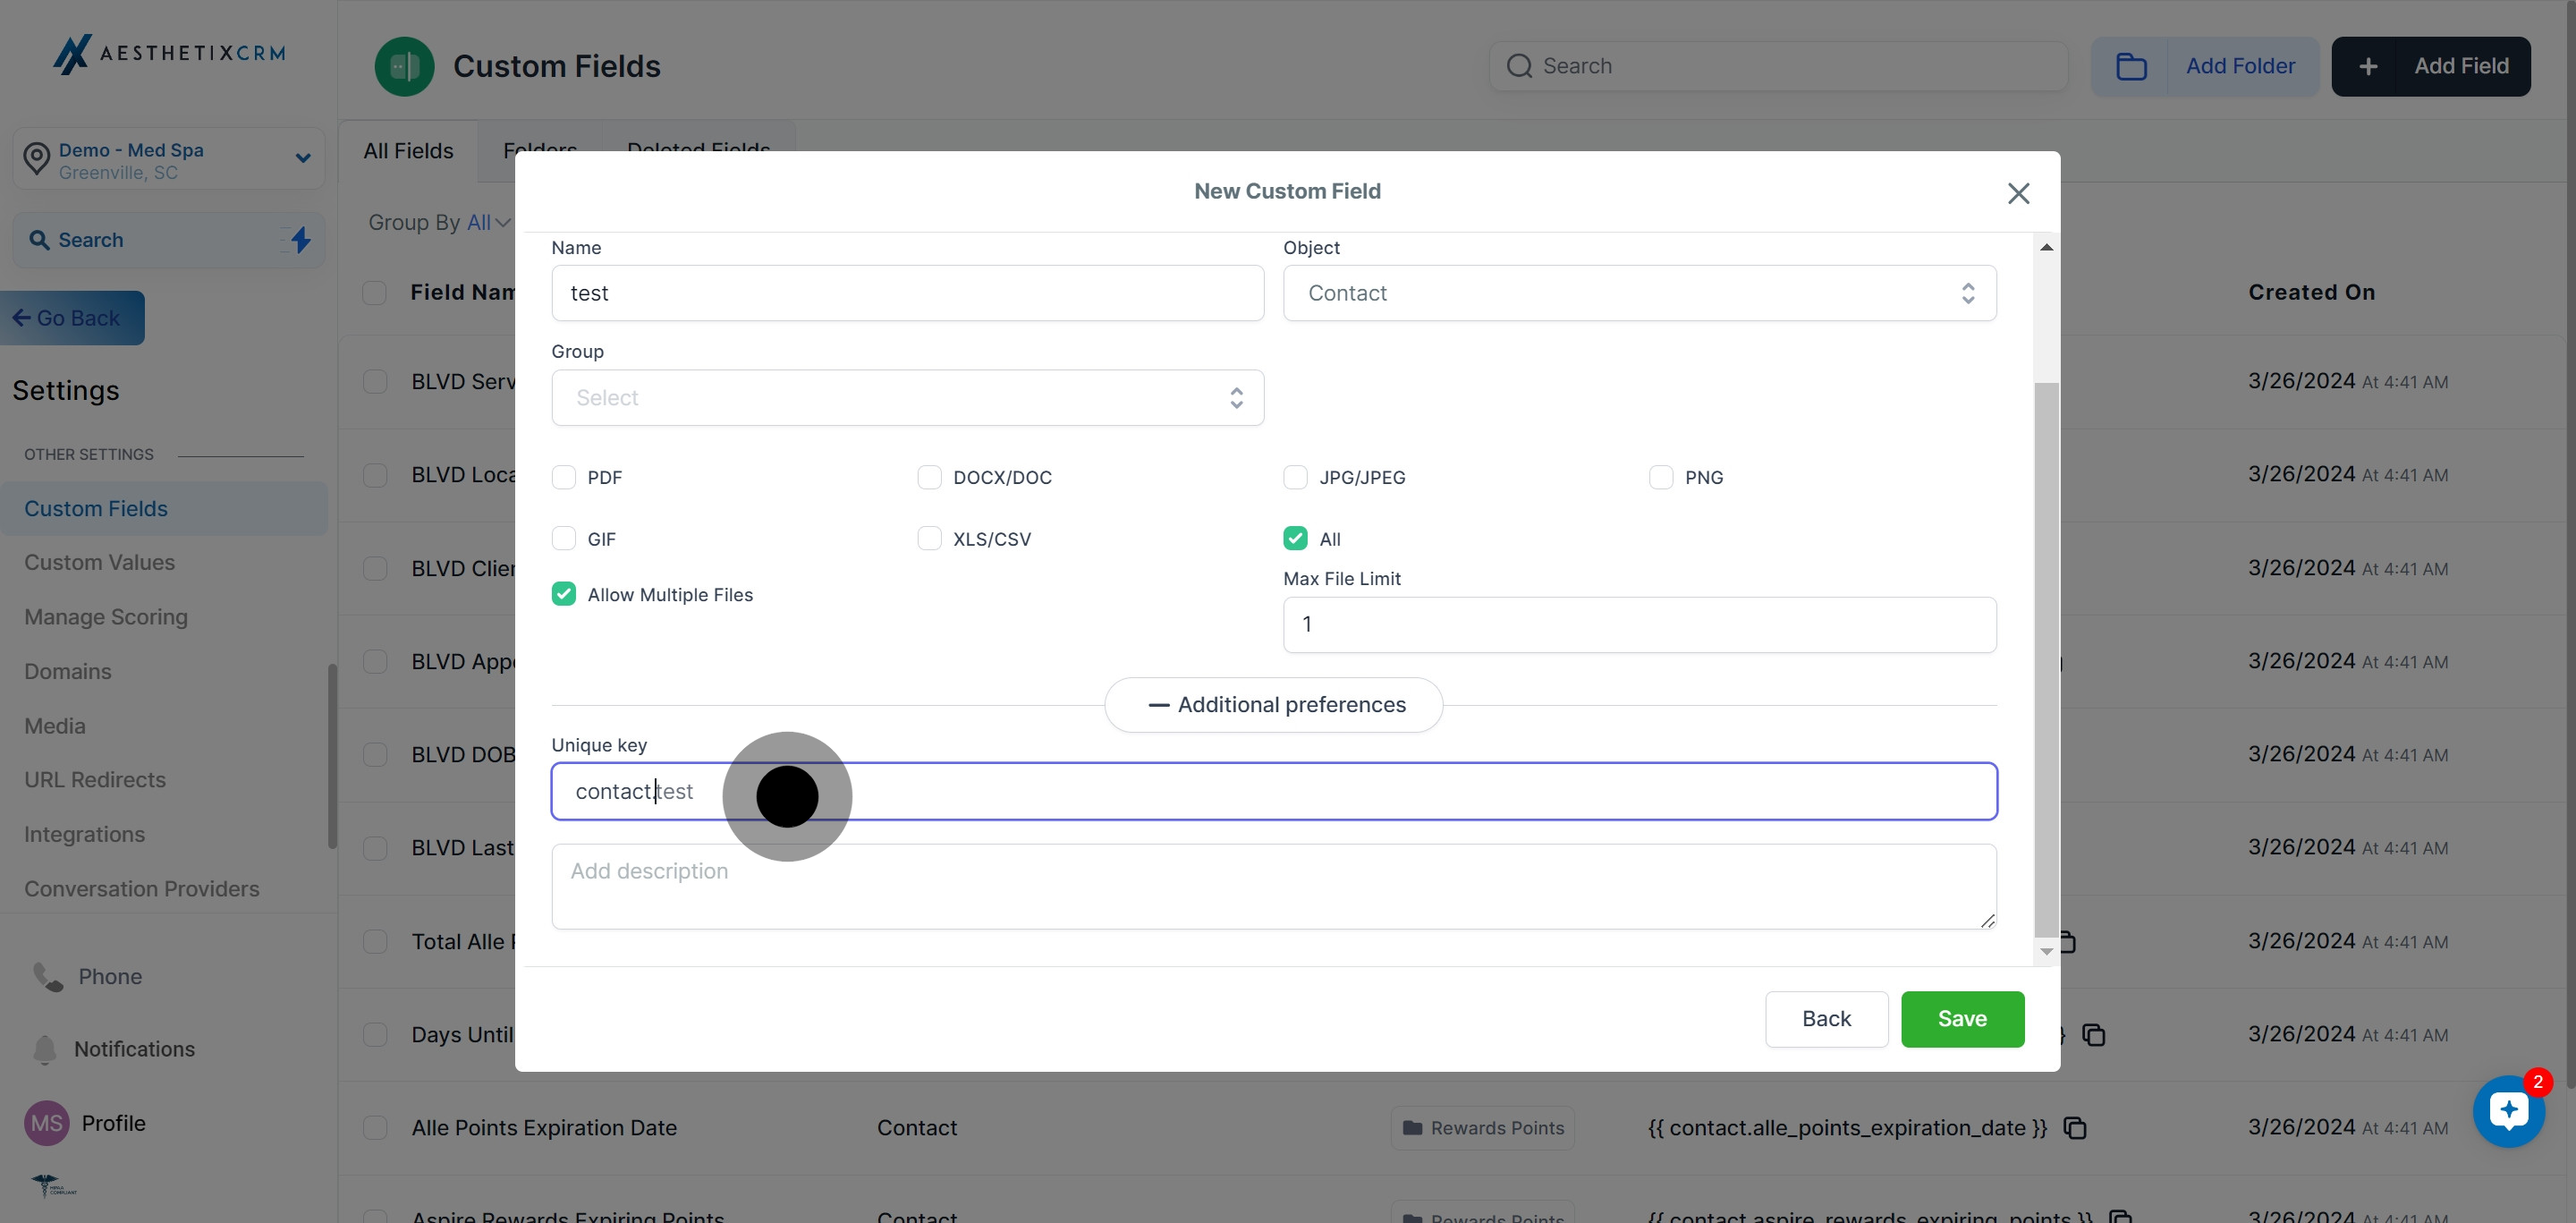
13. Choose the Max File Limit to set the limit.
14. Then, click on Additional Preferences for more options.
15. Provide a unique identifier in the Unique Key section.
16. Optionally, you can add a description for the added field.
17. Once all details are complete, click the Save button to finish.