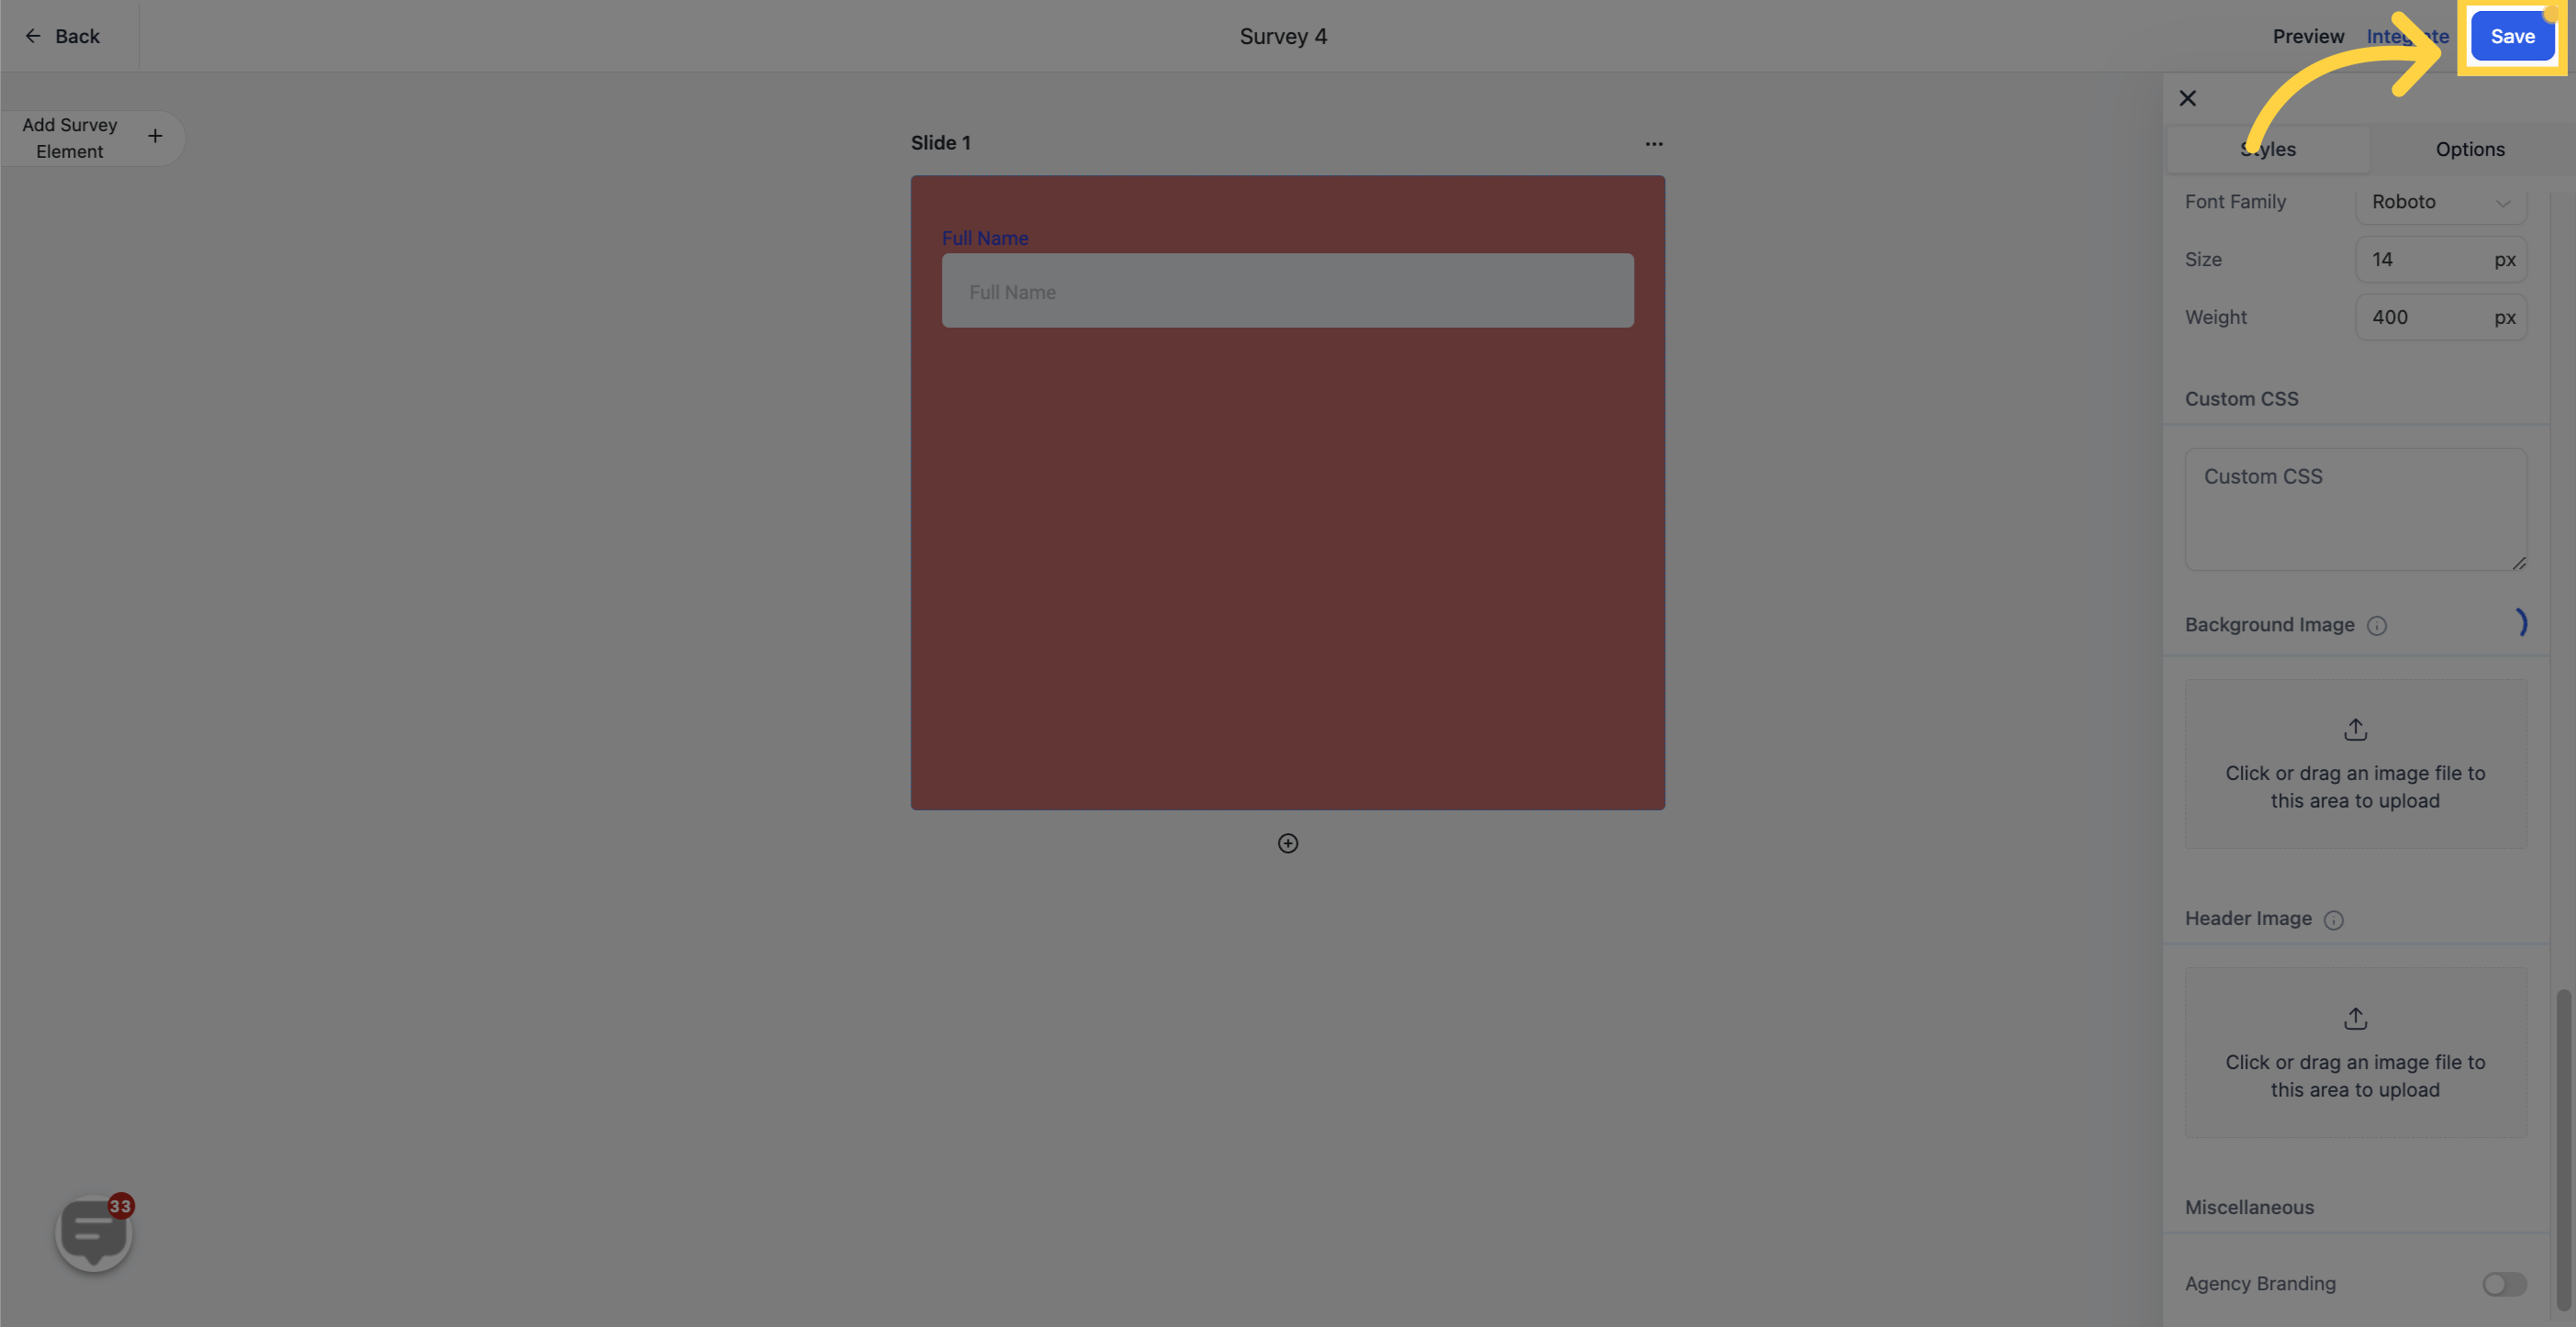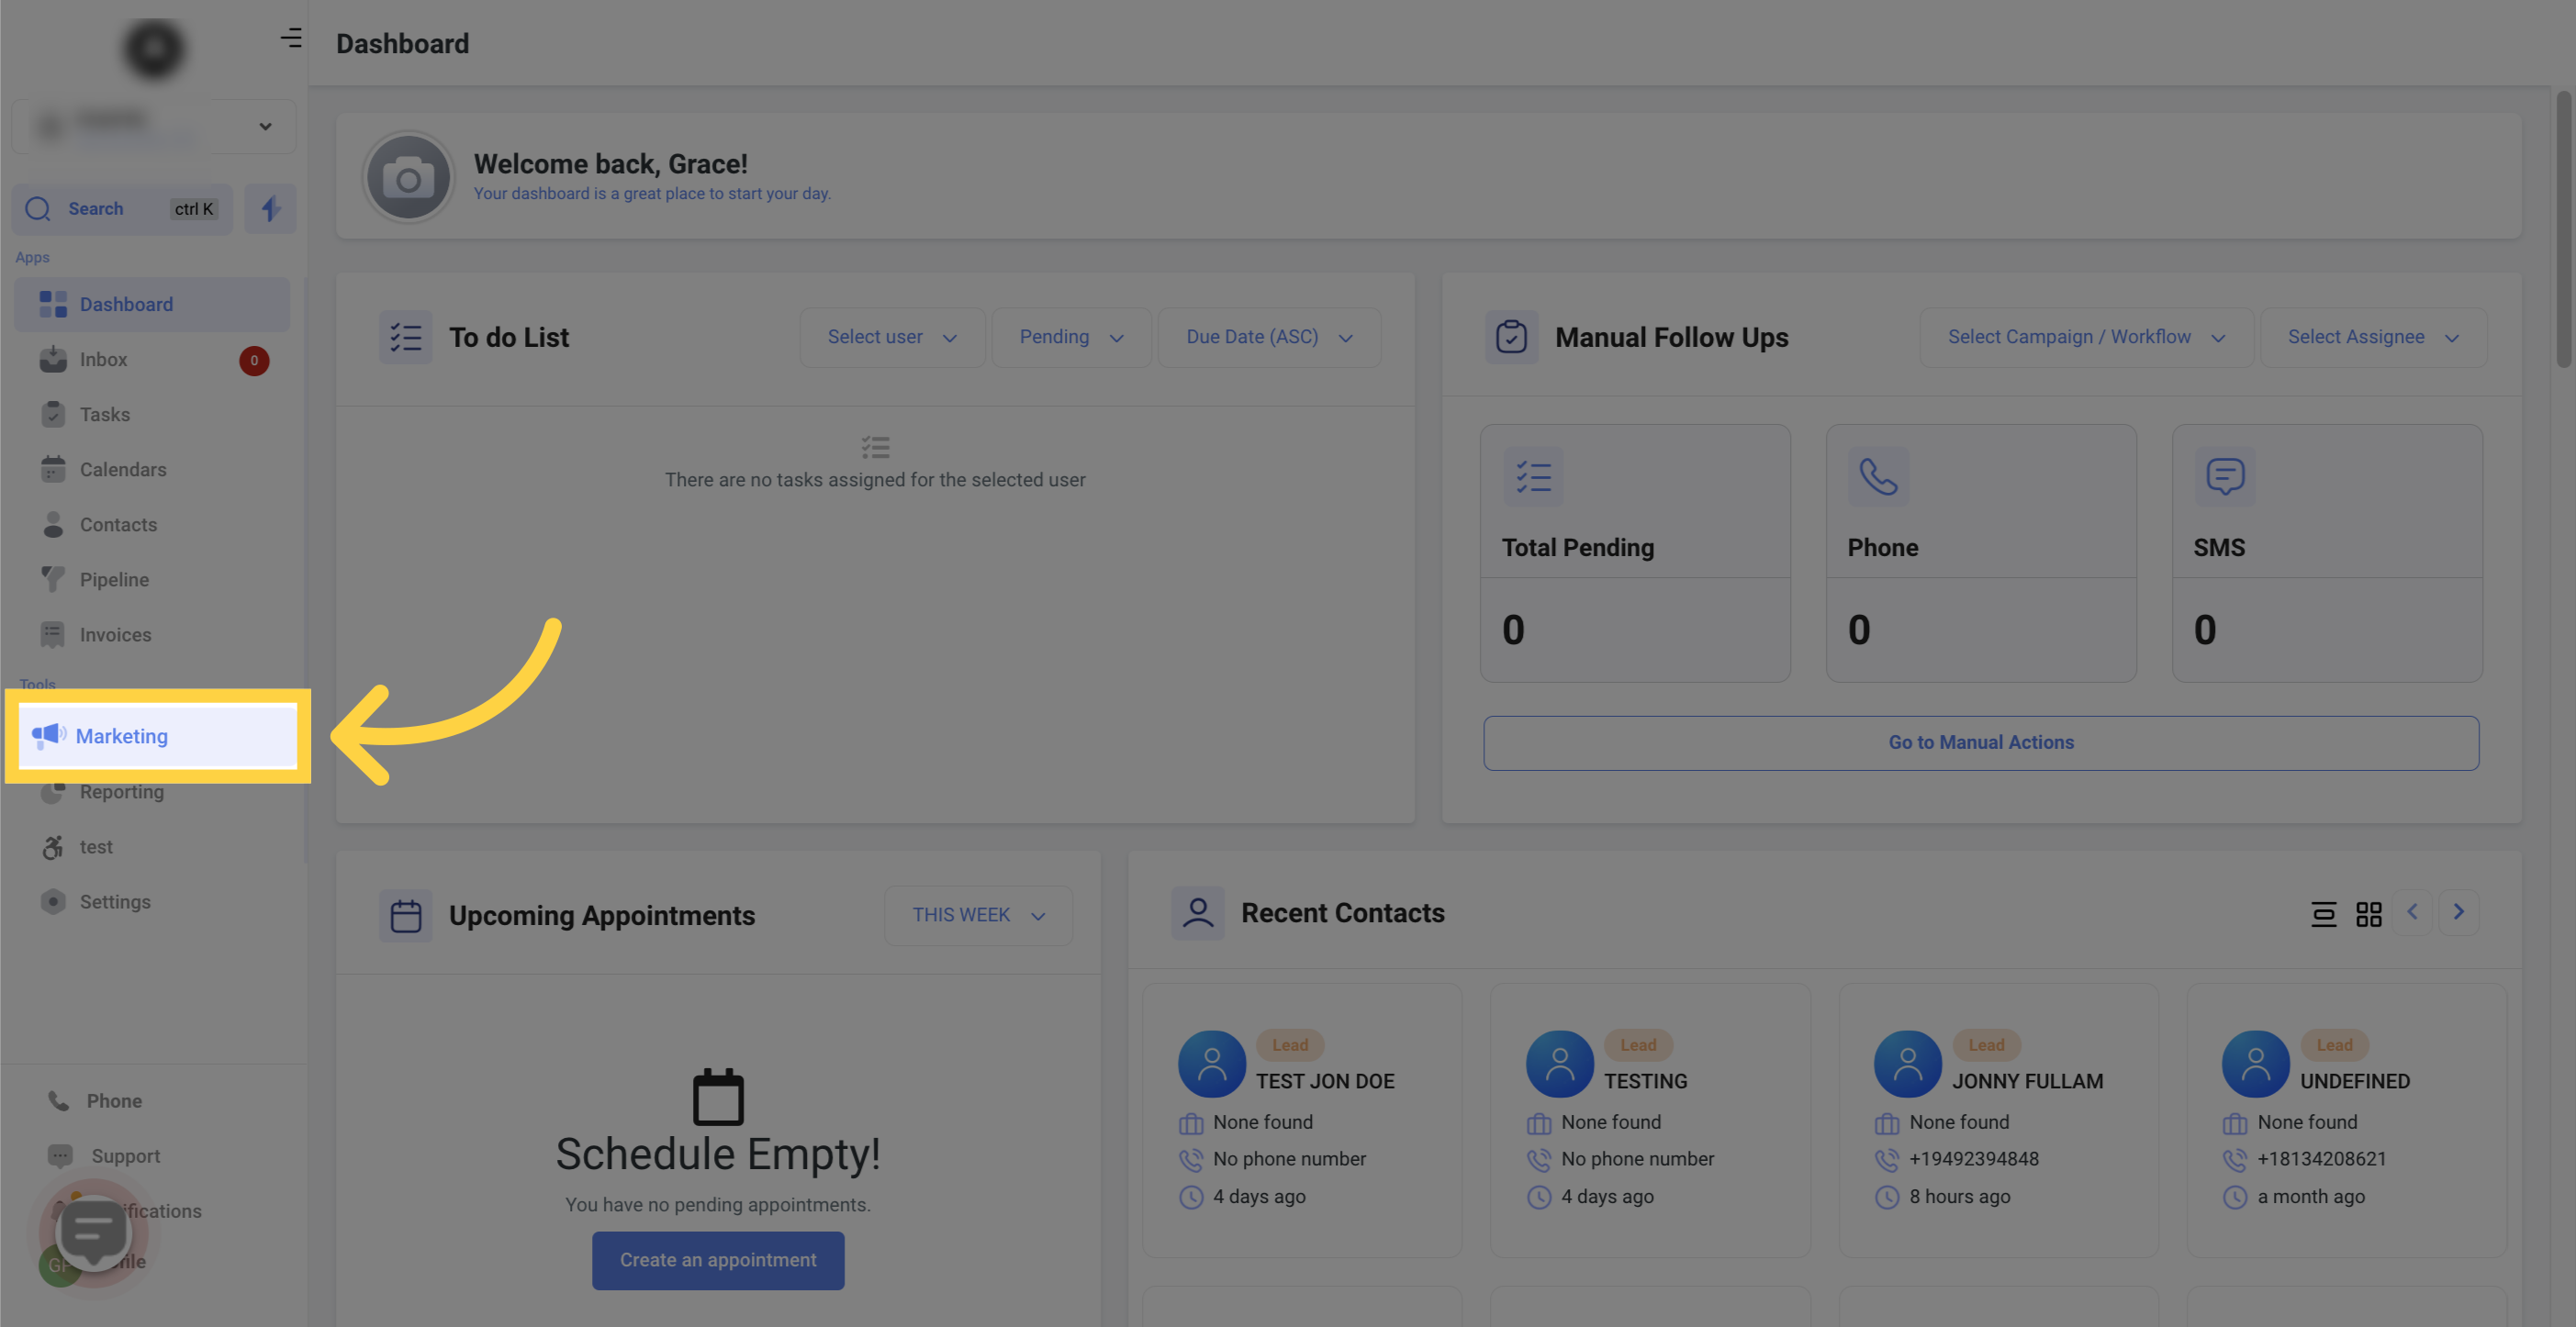
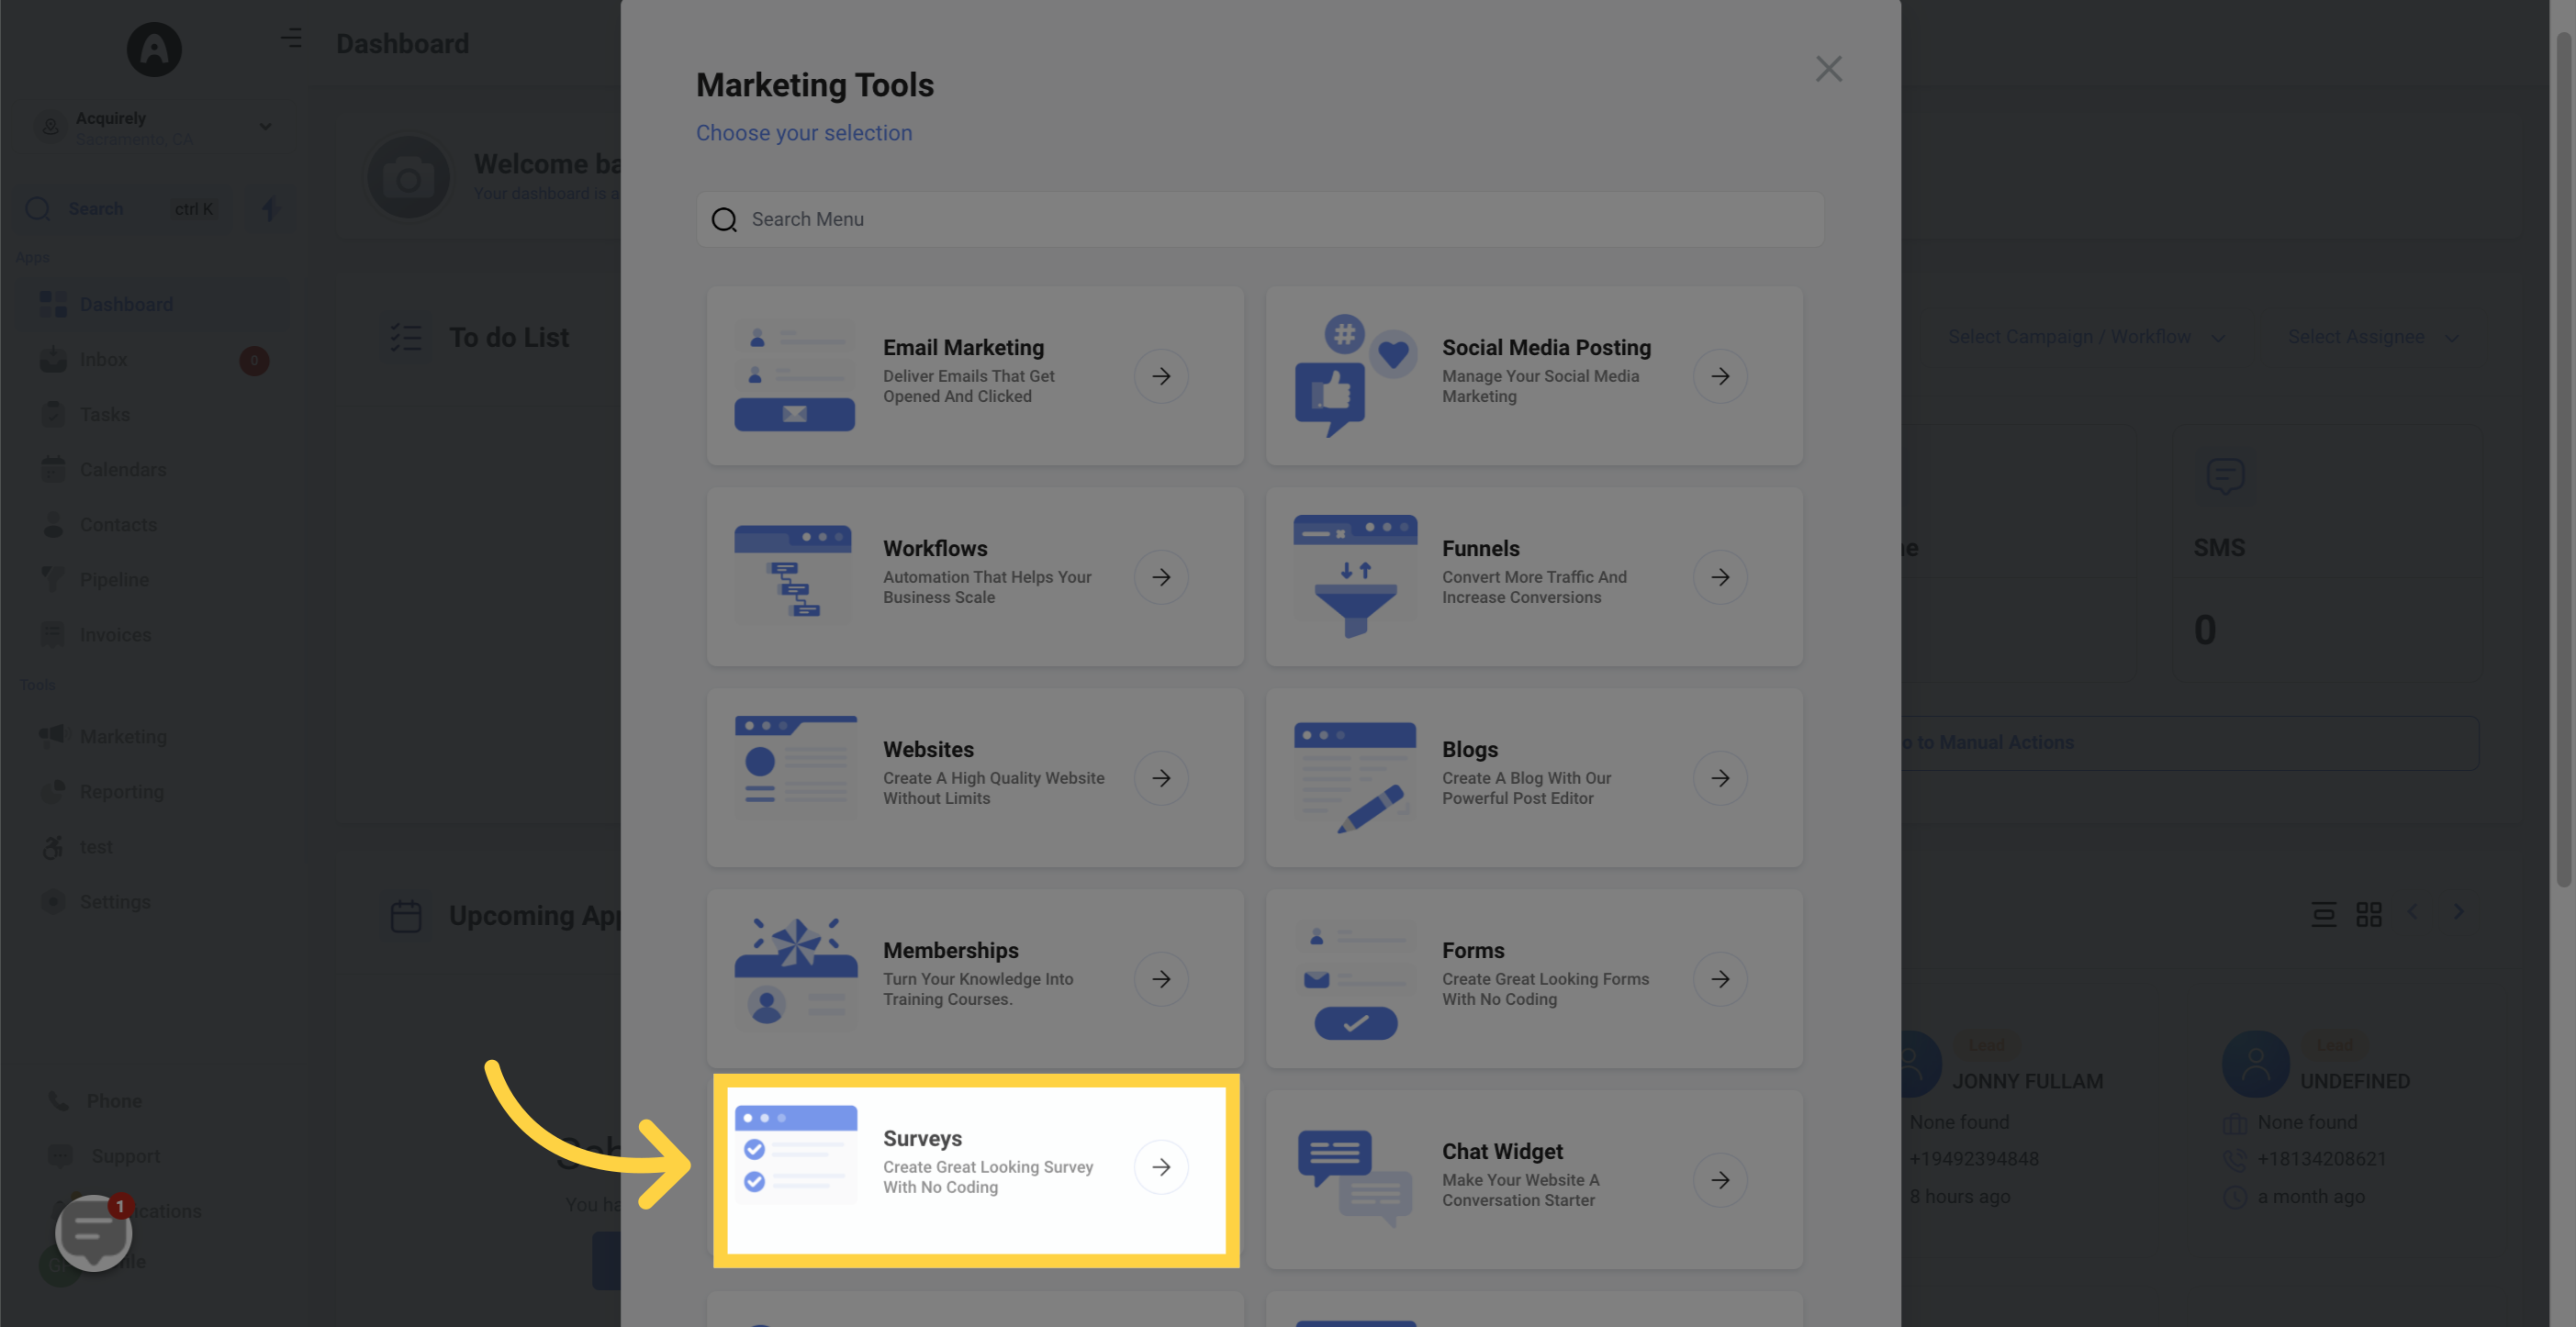
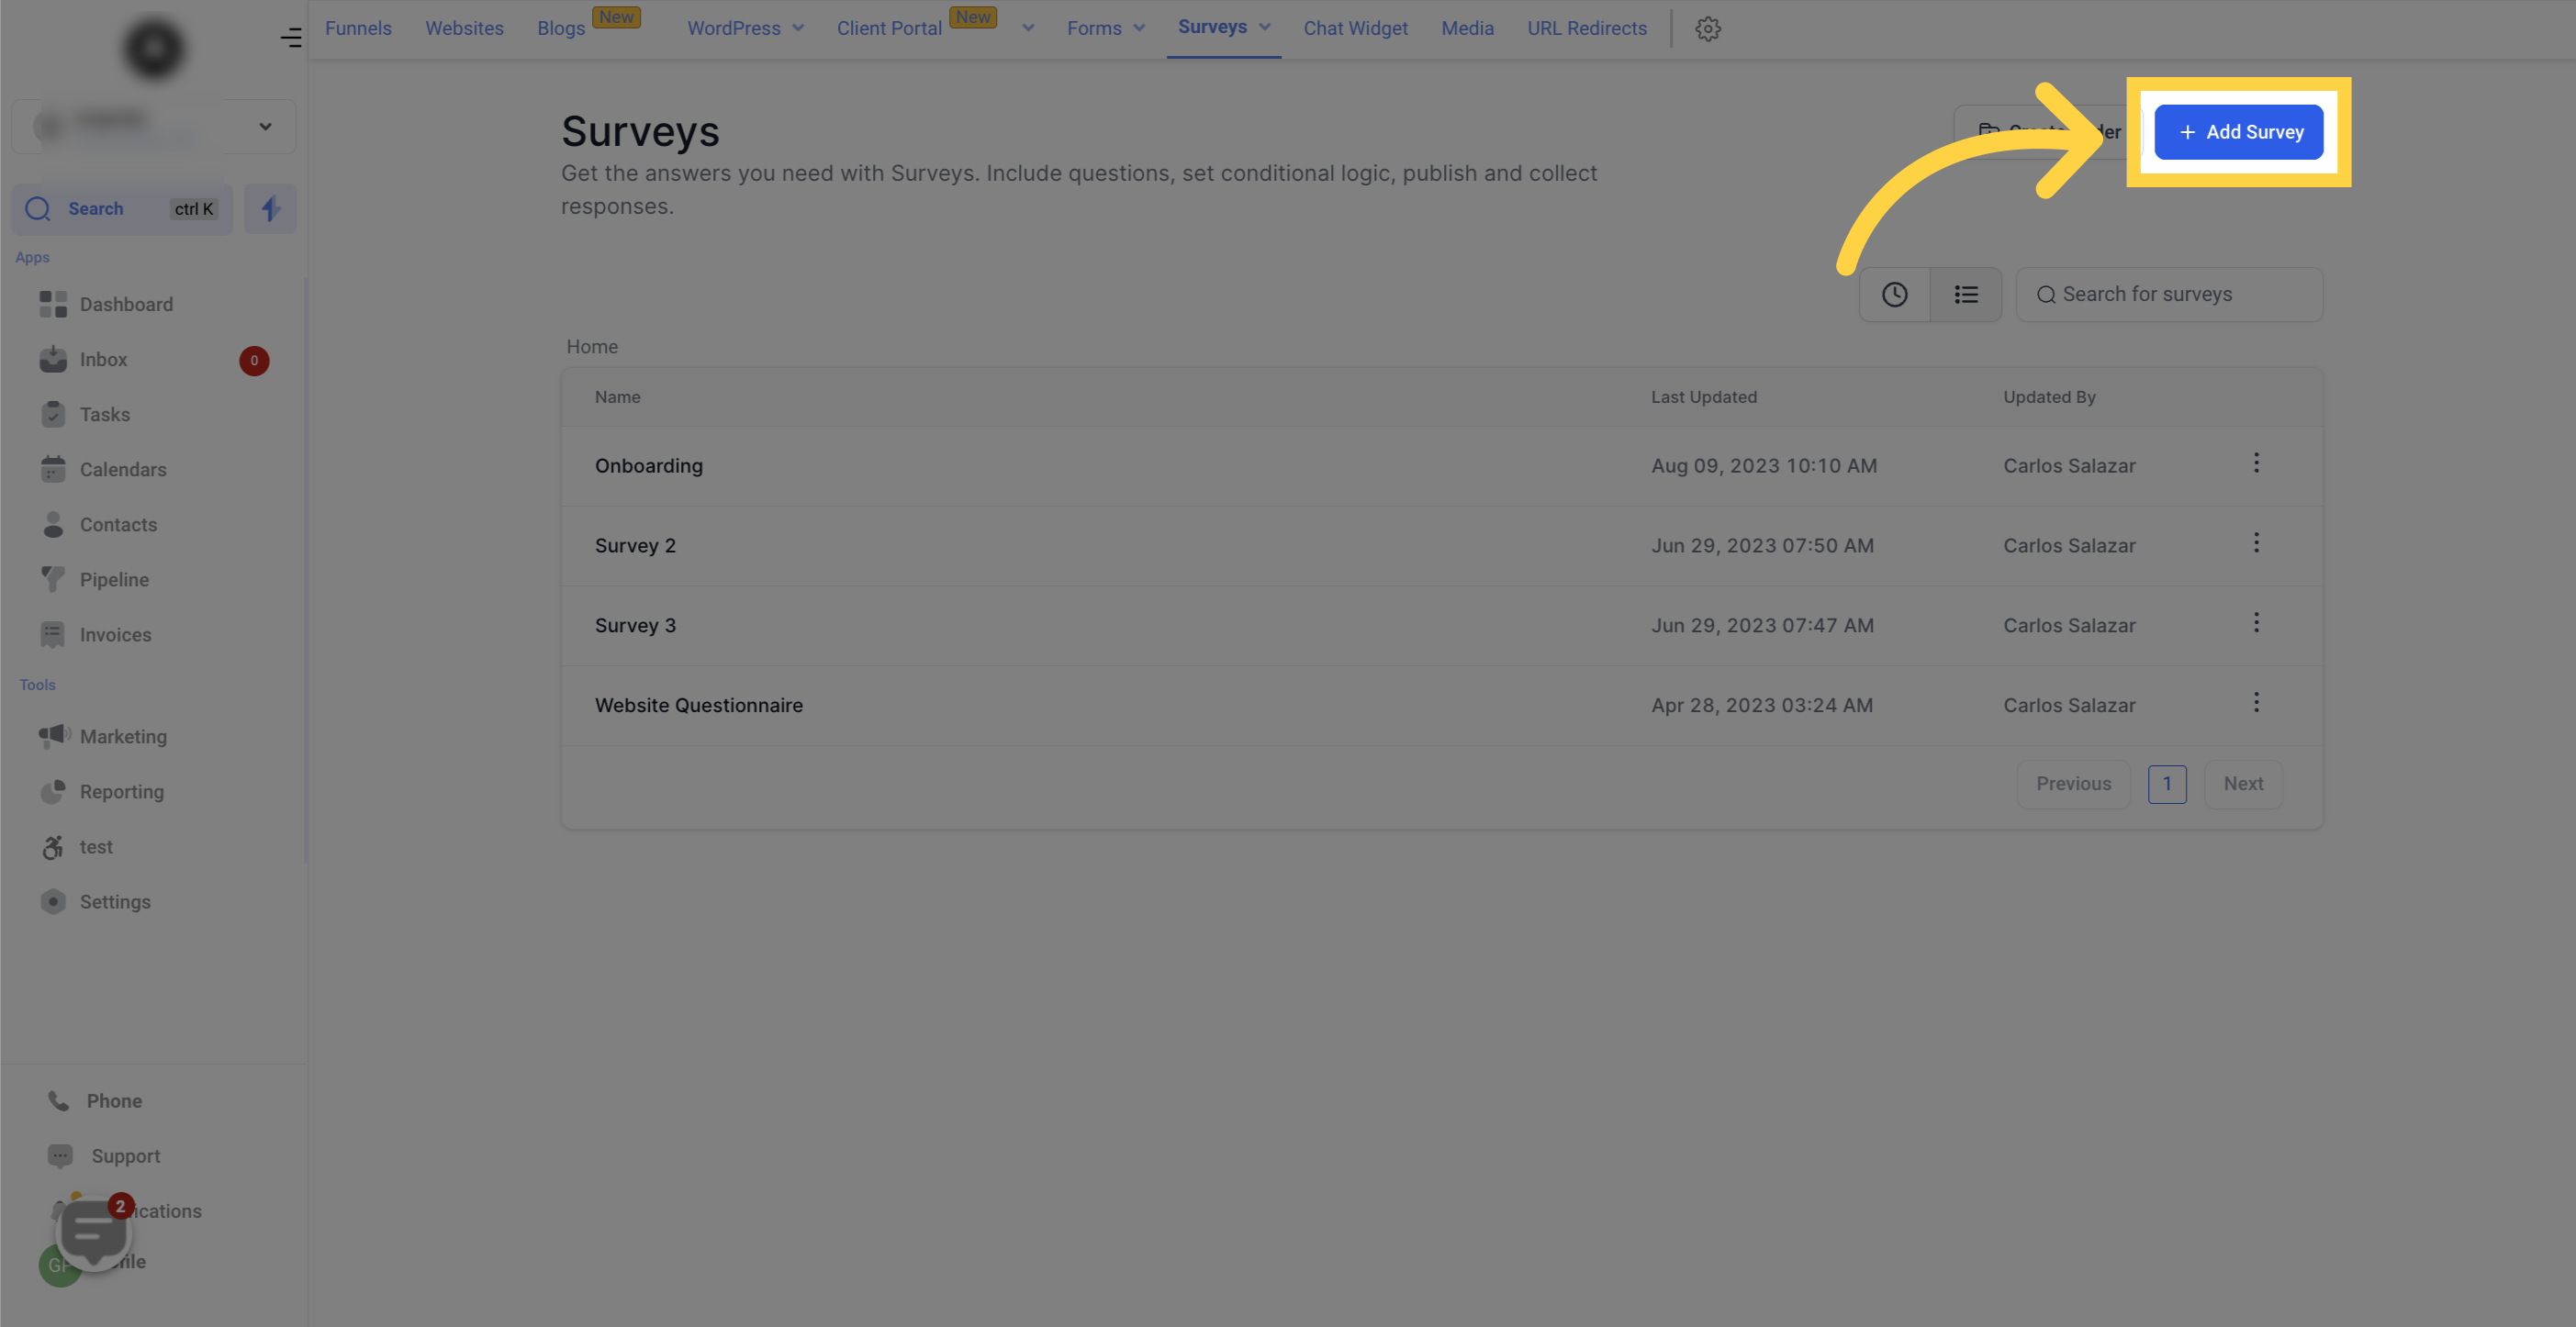
The styles tab allows you to customize the appearance of your survey, giving it a unique and personalized look.
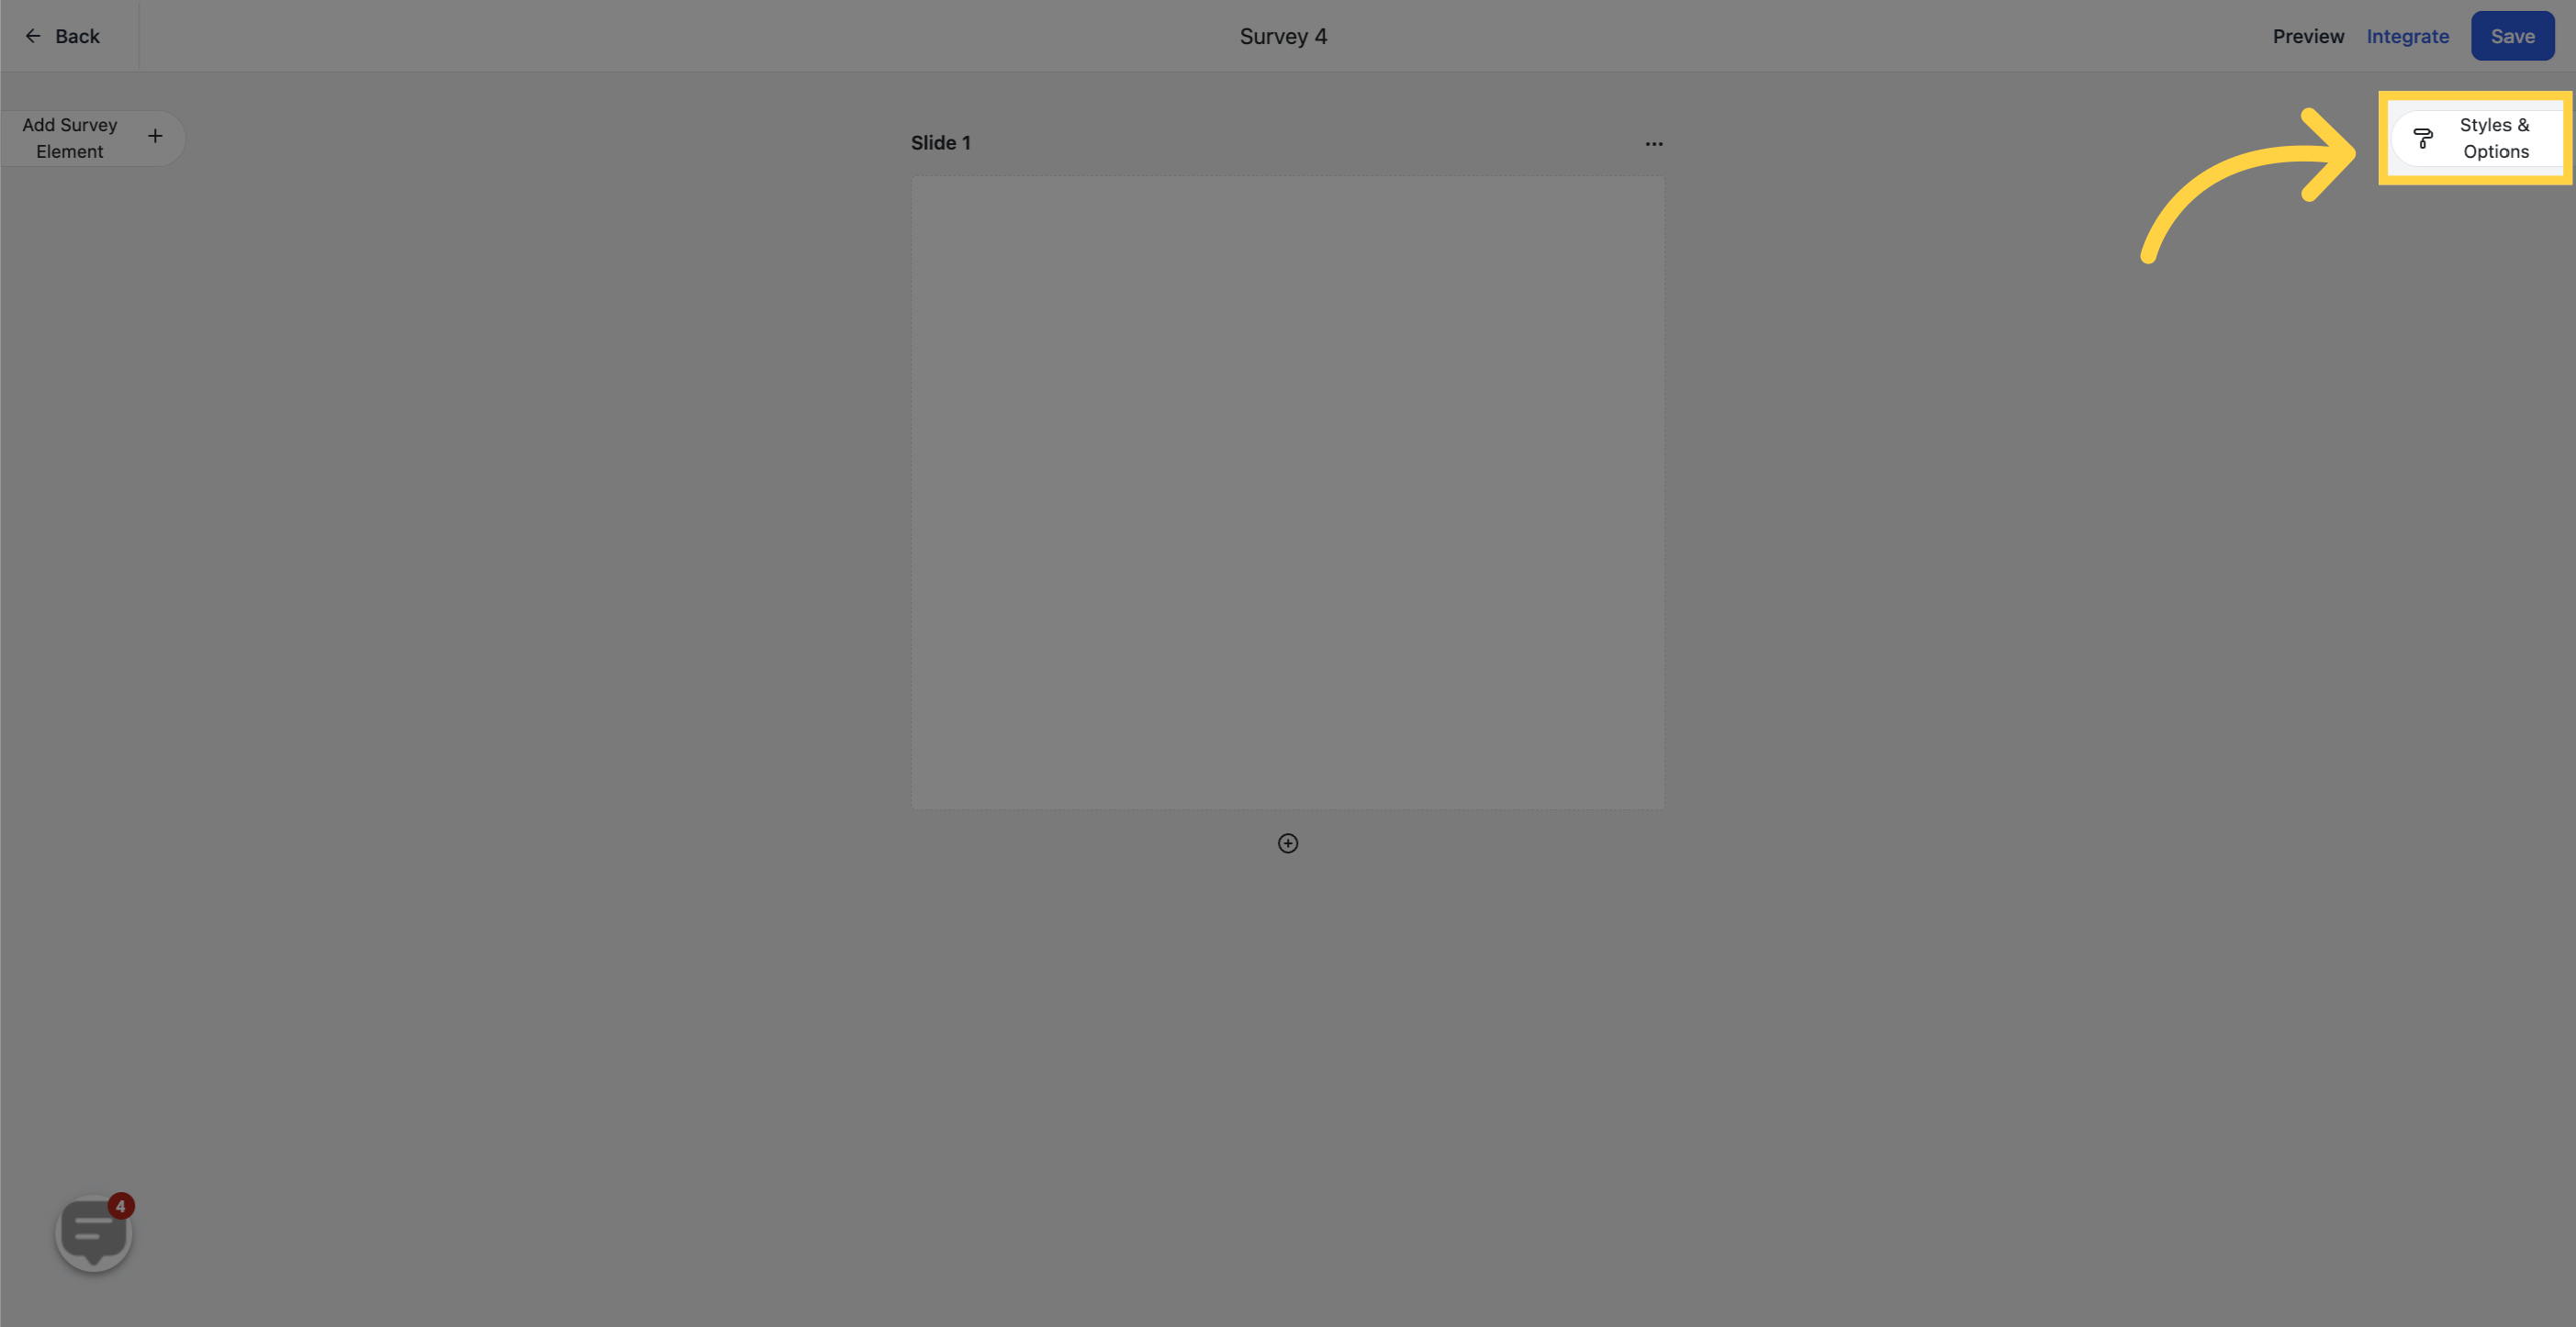
Toggle this option to hide or show the input field labels based on your preference.
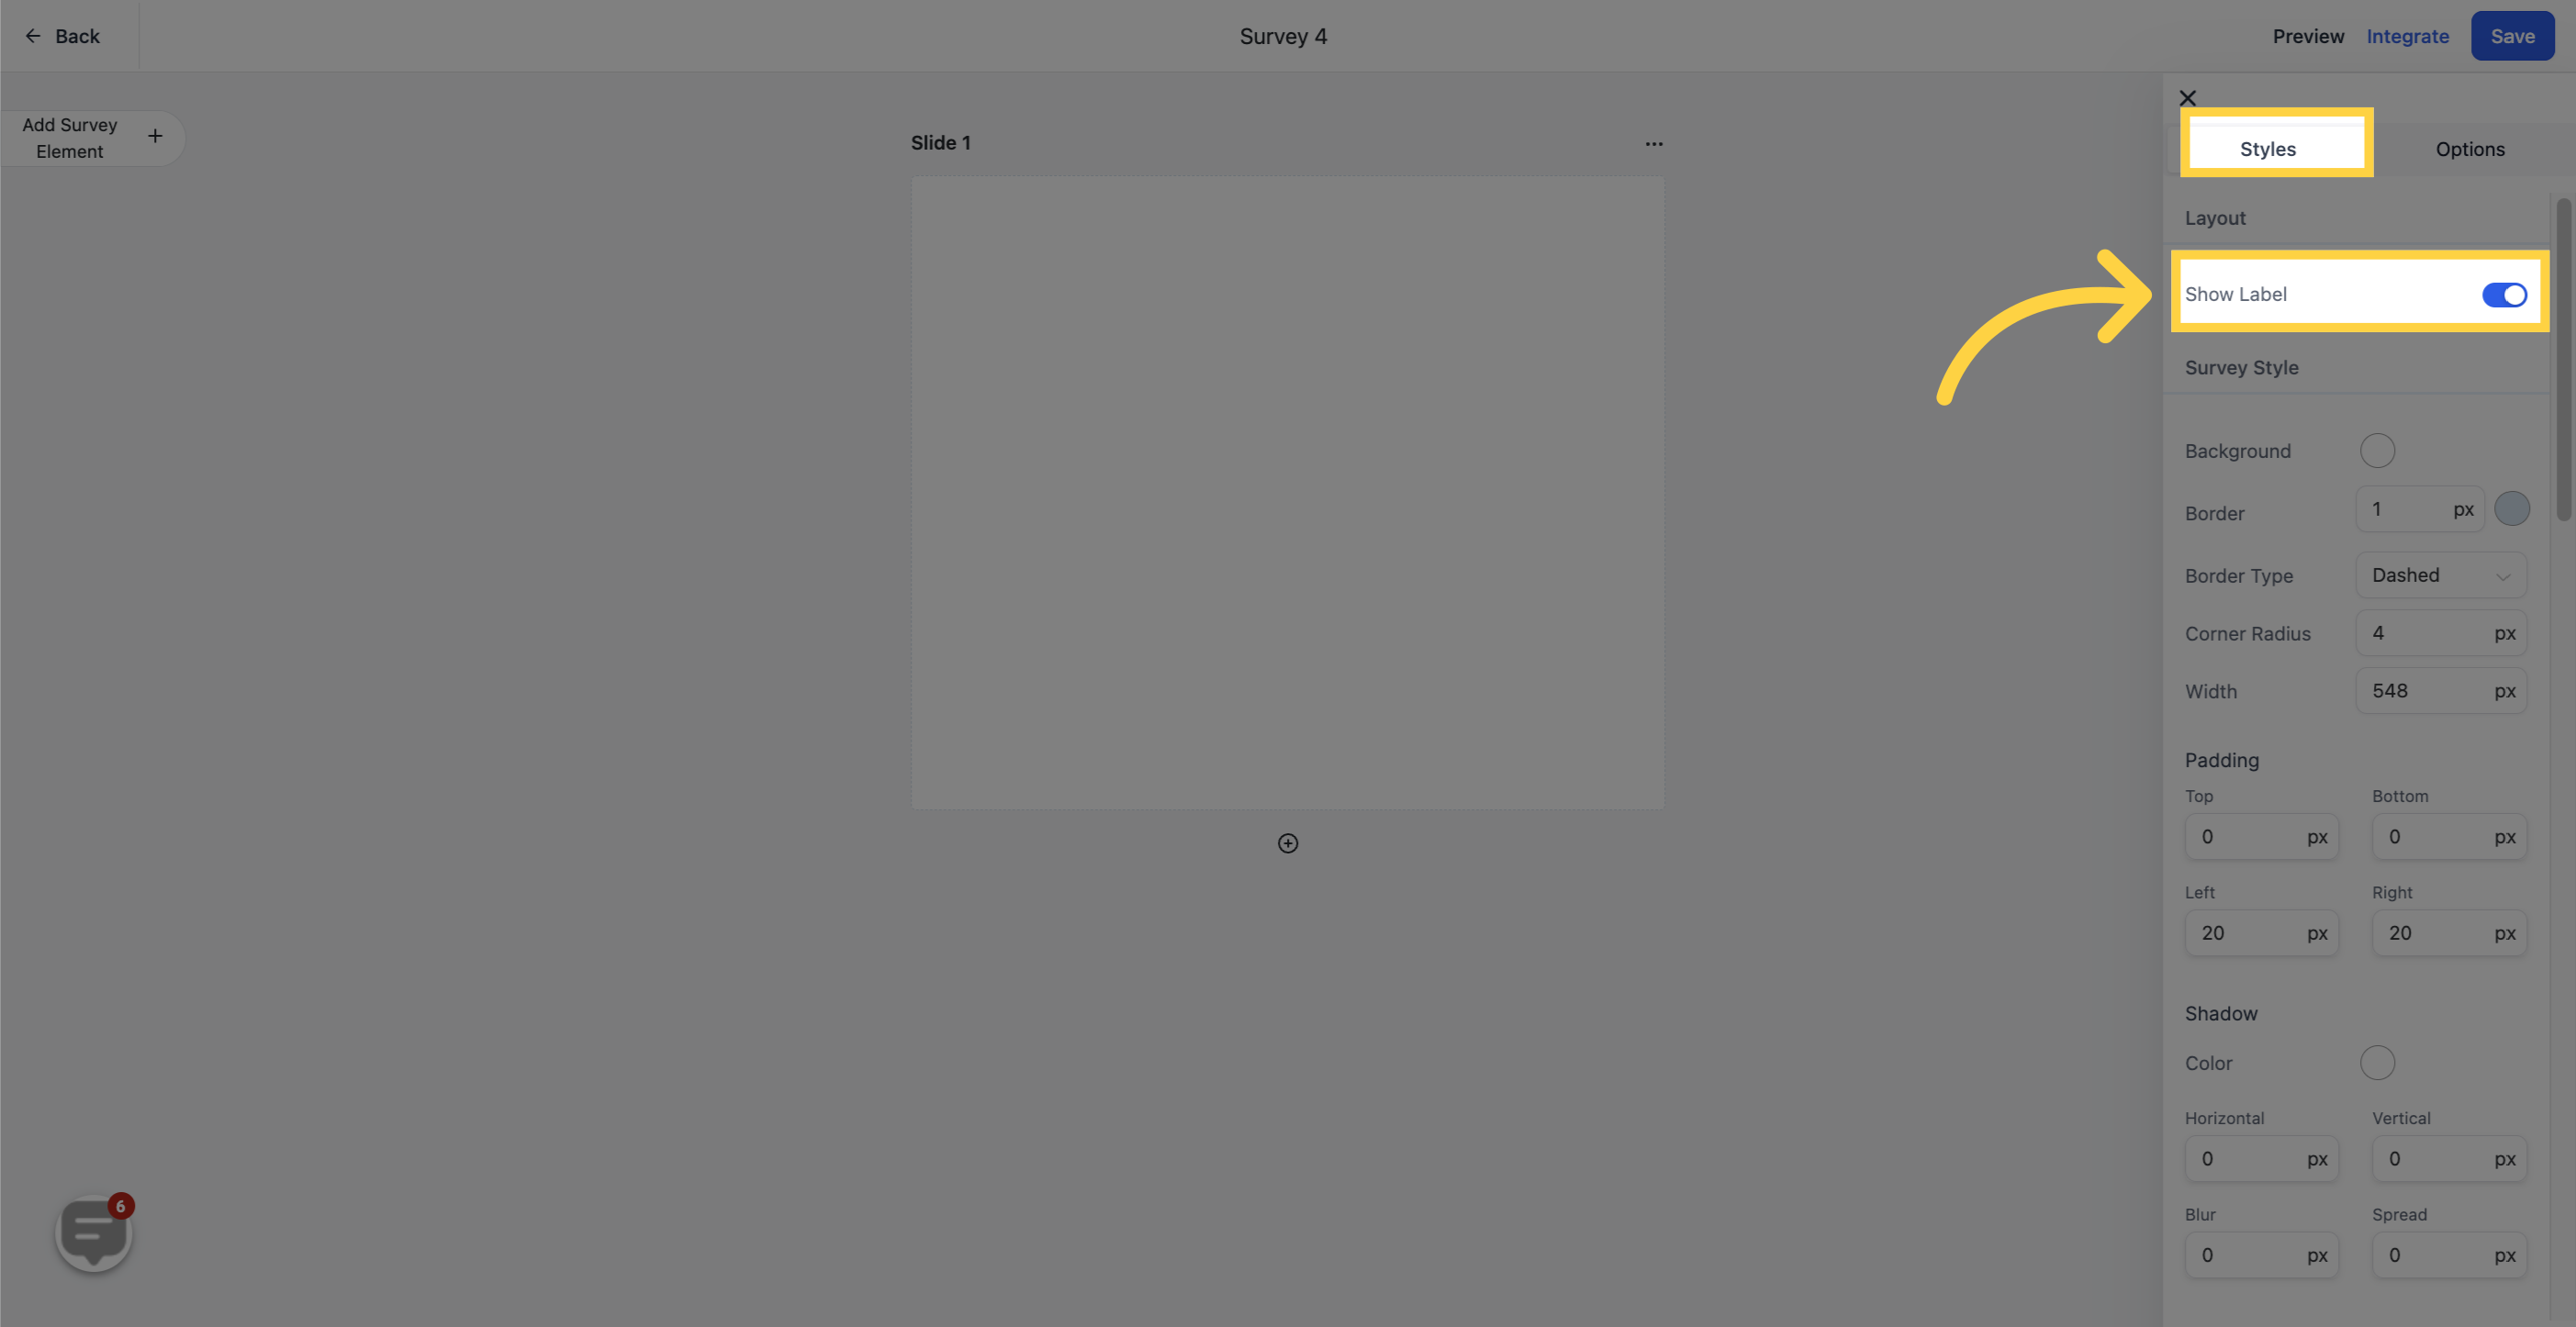
Customize the background color of your survey to match your branding or design preferences.

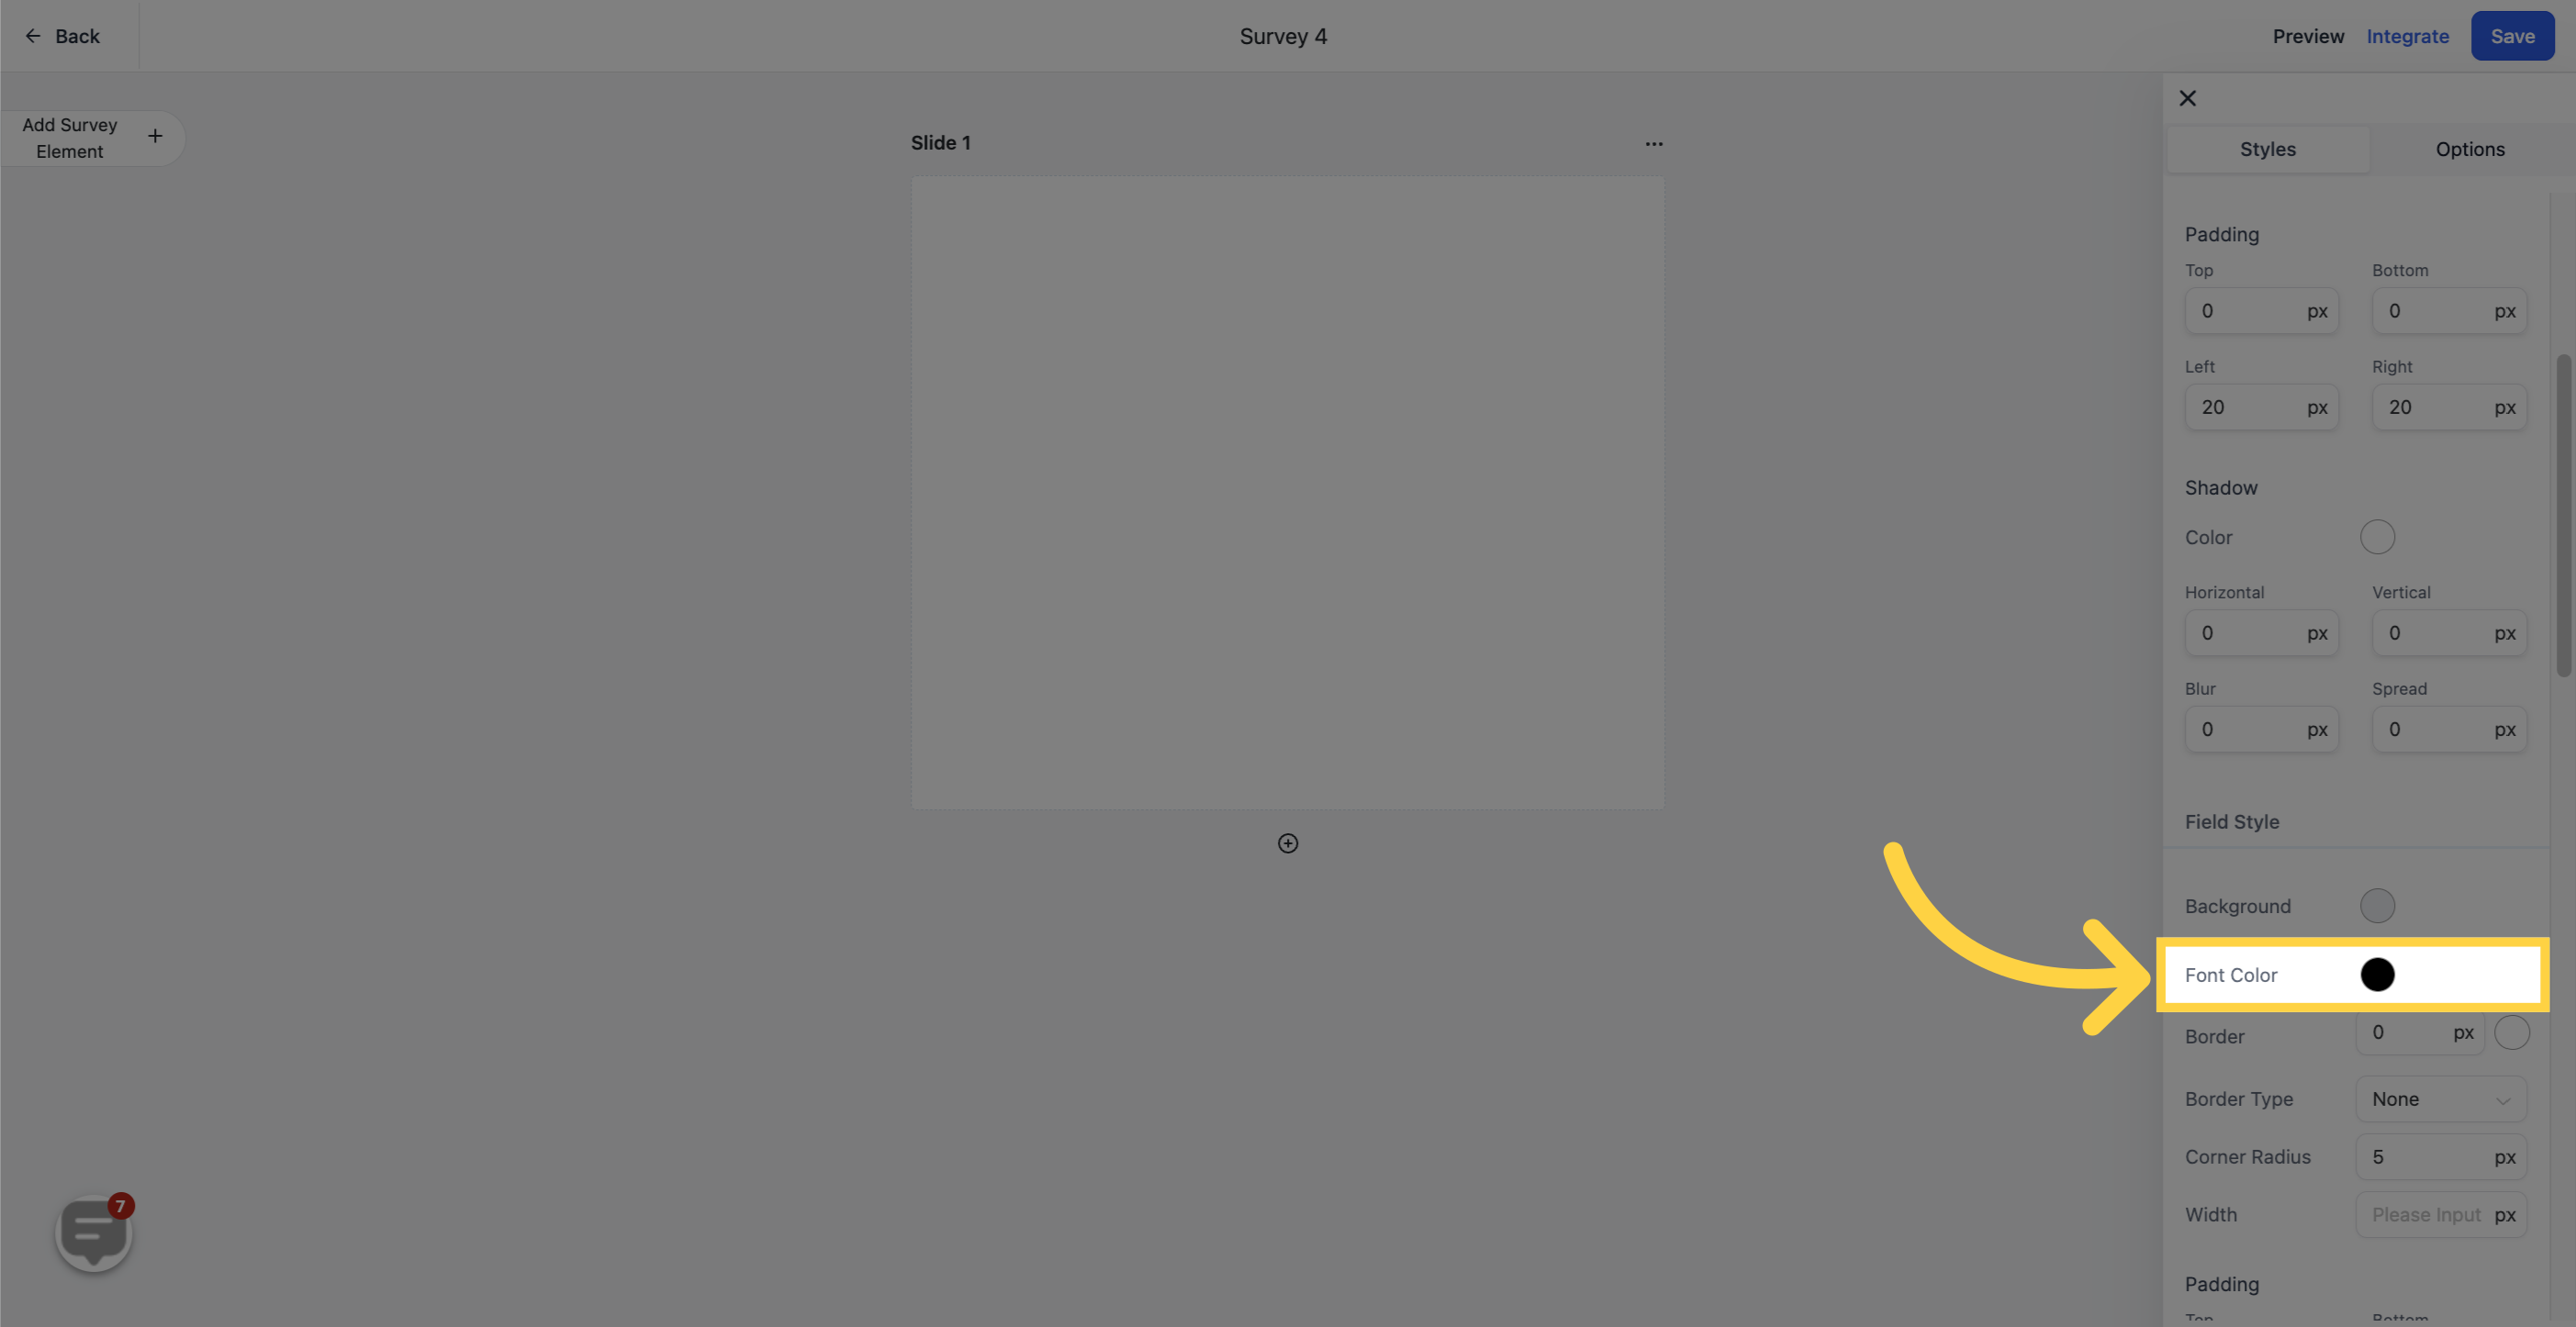
Change the font color of your survey to ensure readability and visual consistency.
Enhance the visual appeal of your survey by adding a border. Adjust the width of the border walls to achieve the desired effect.
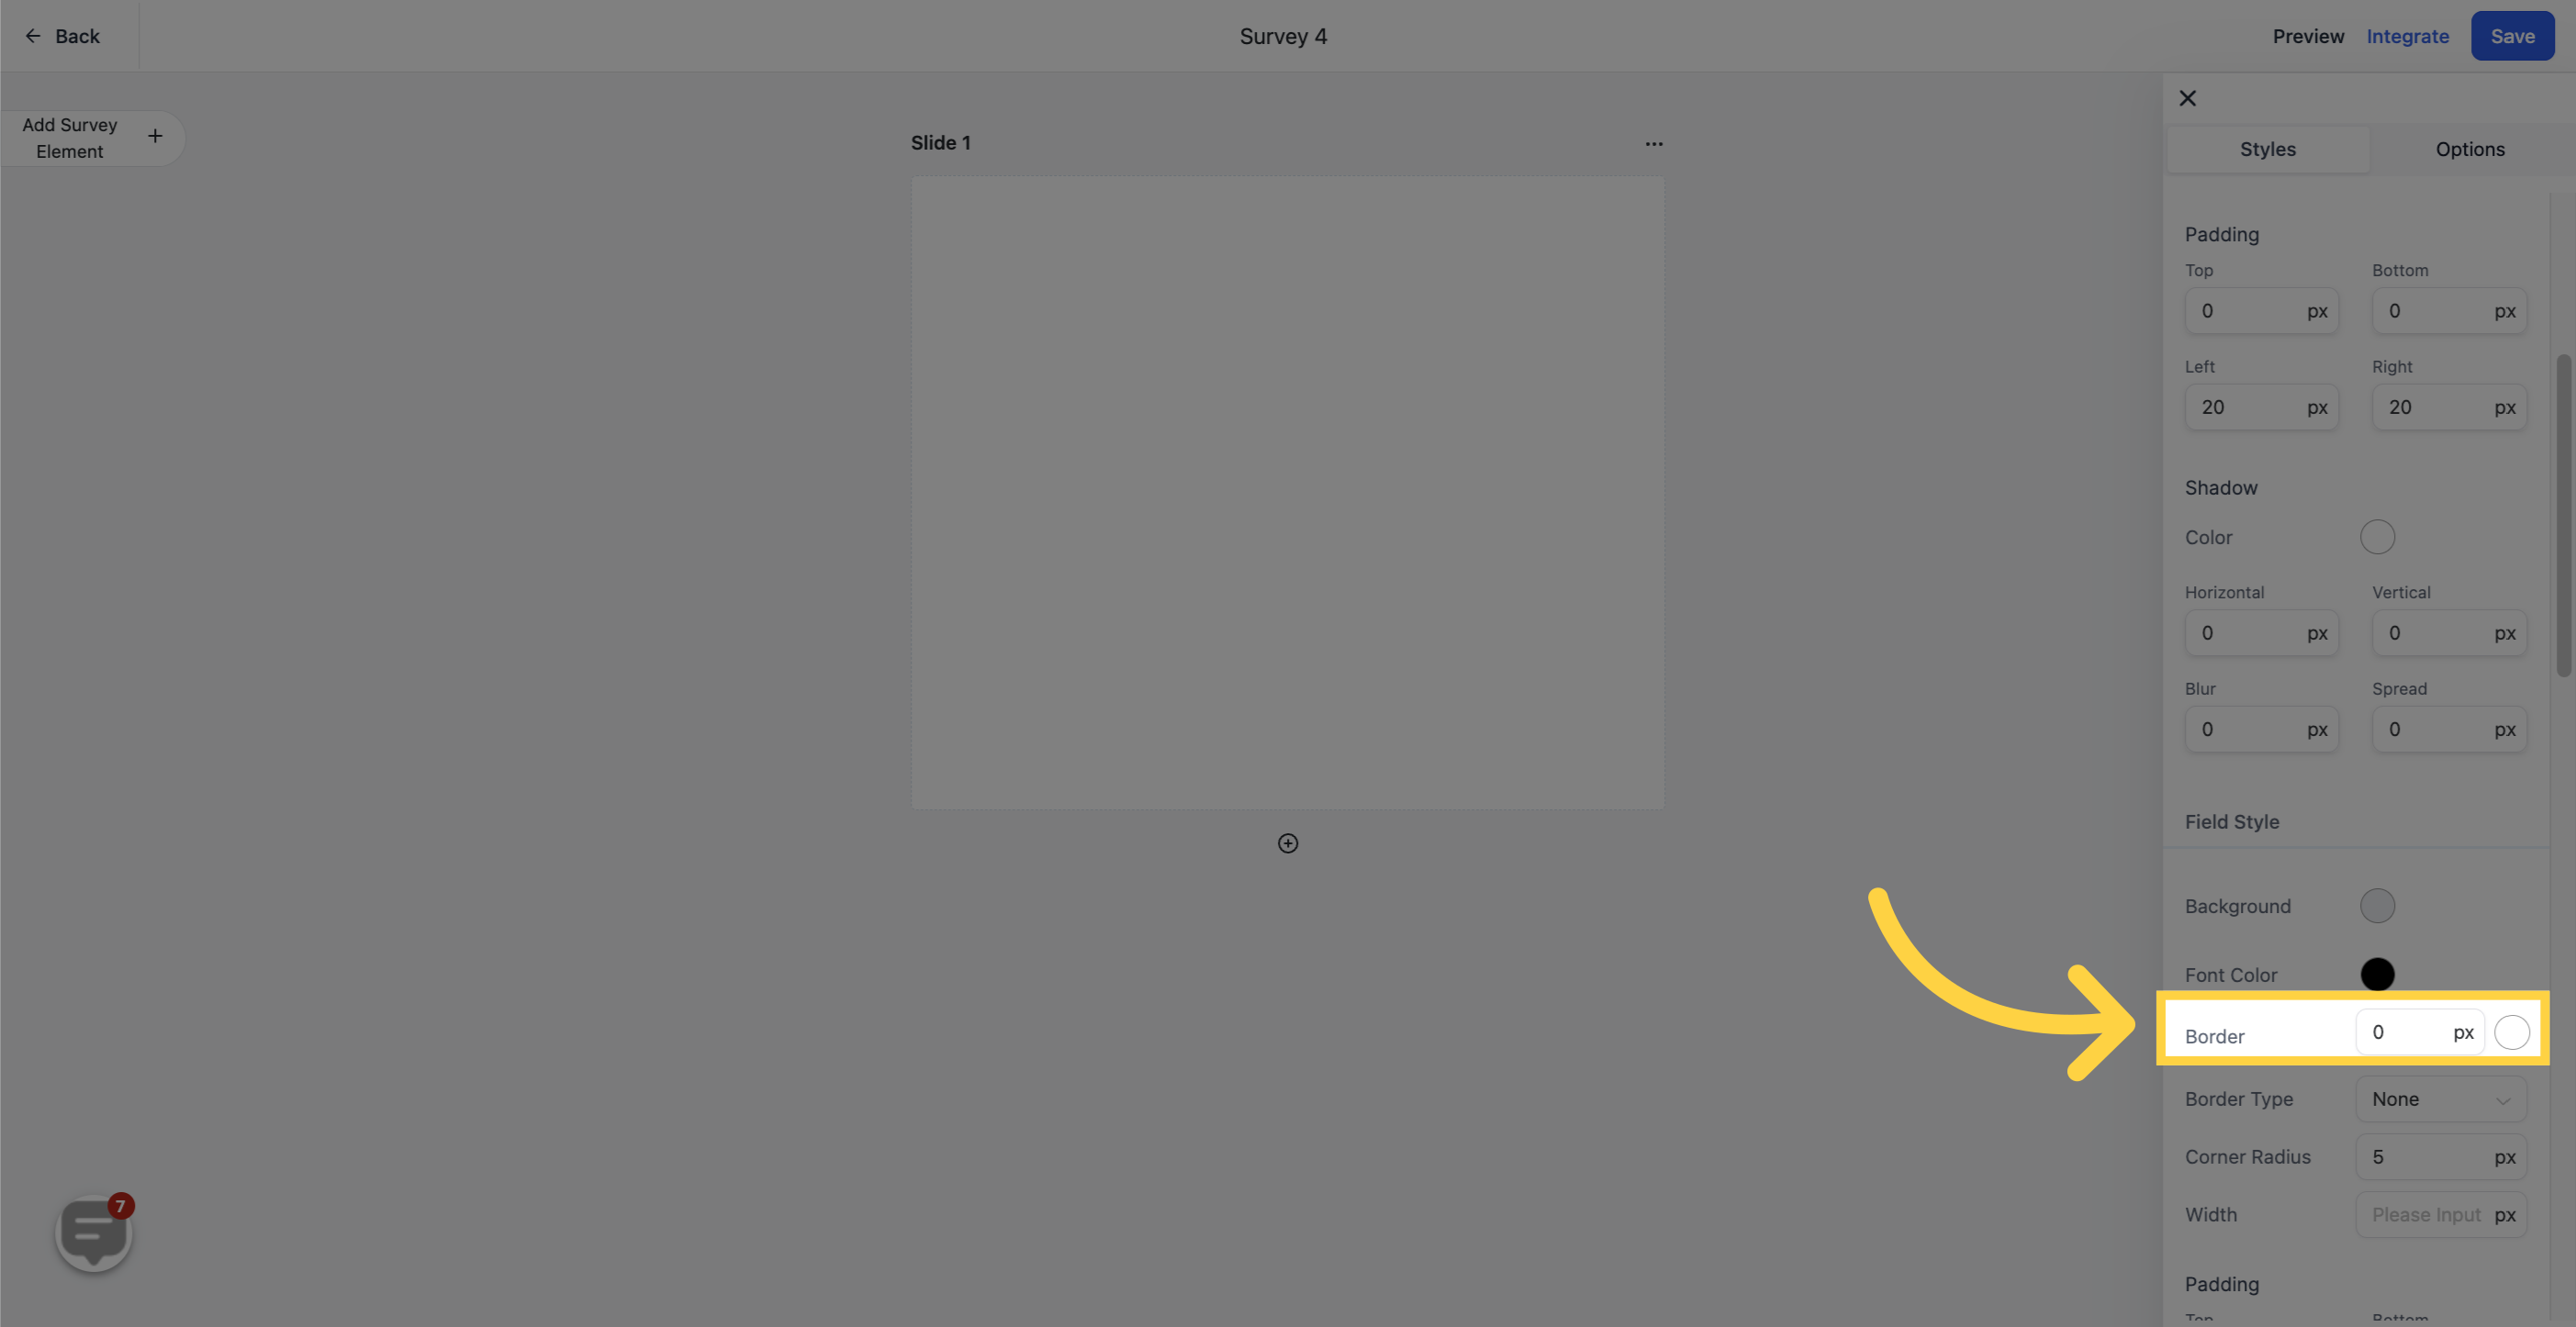
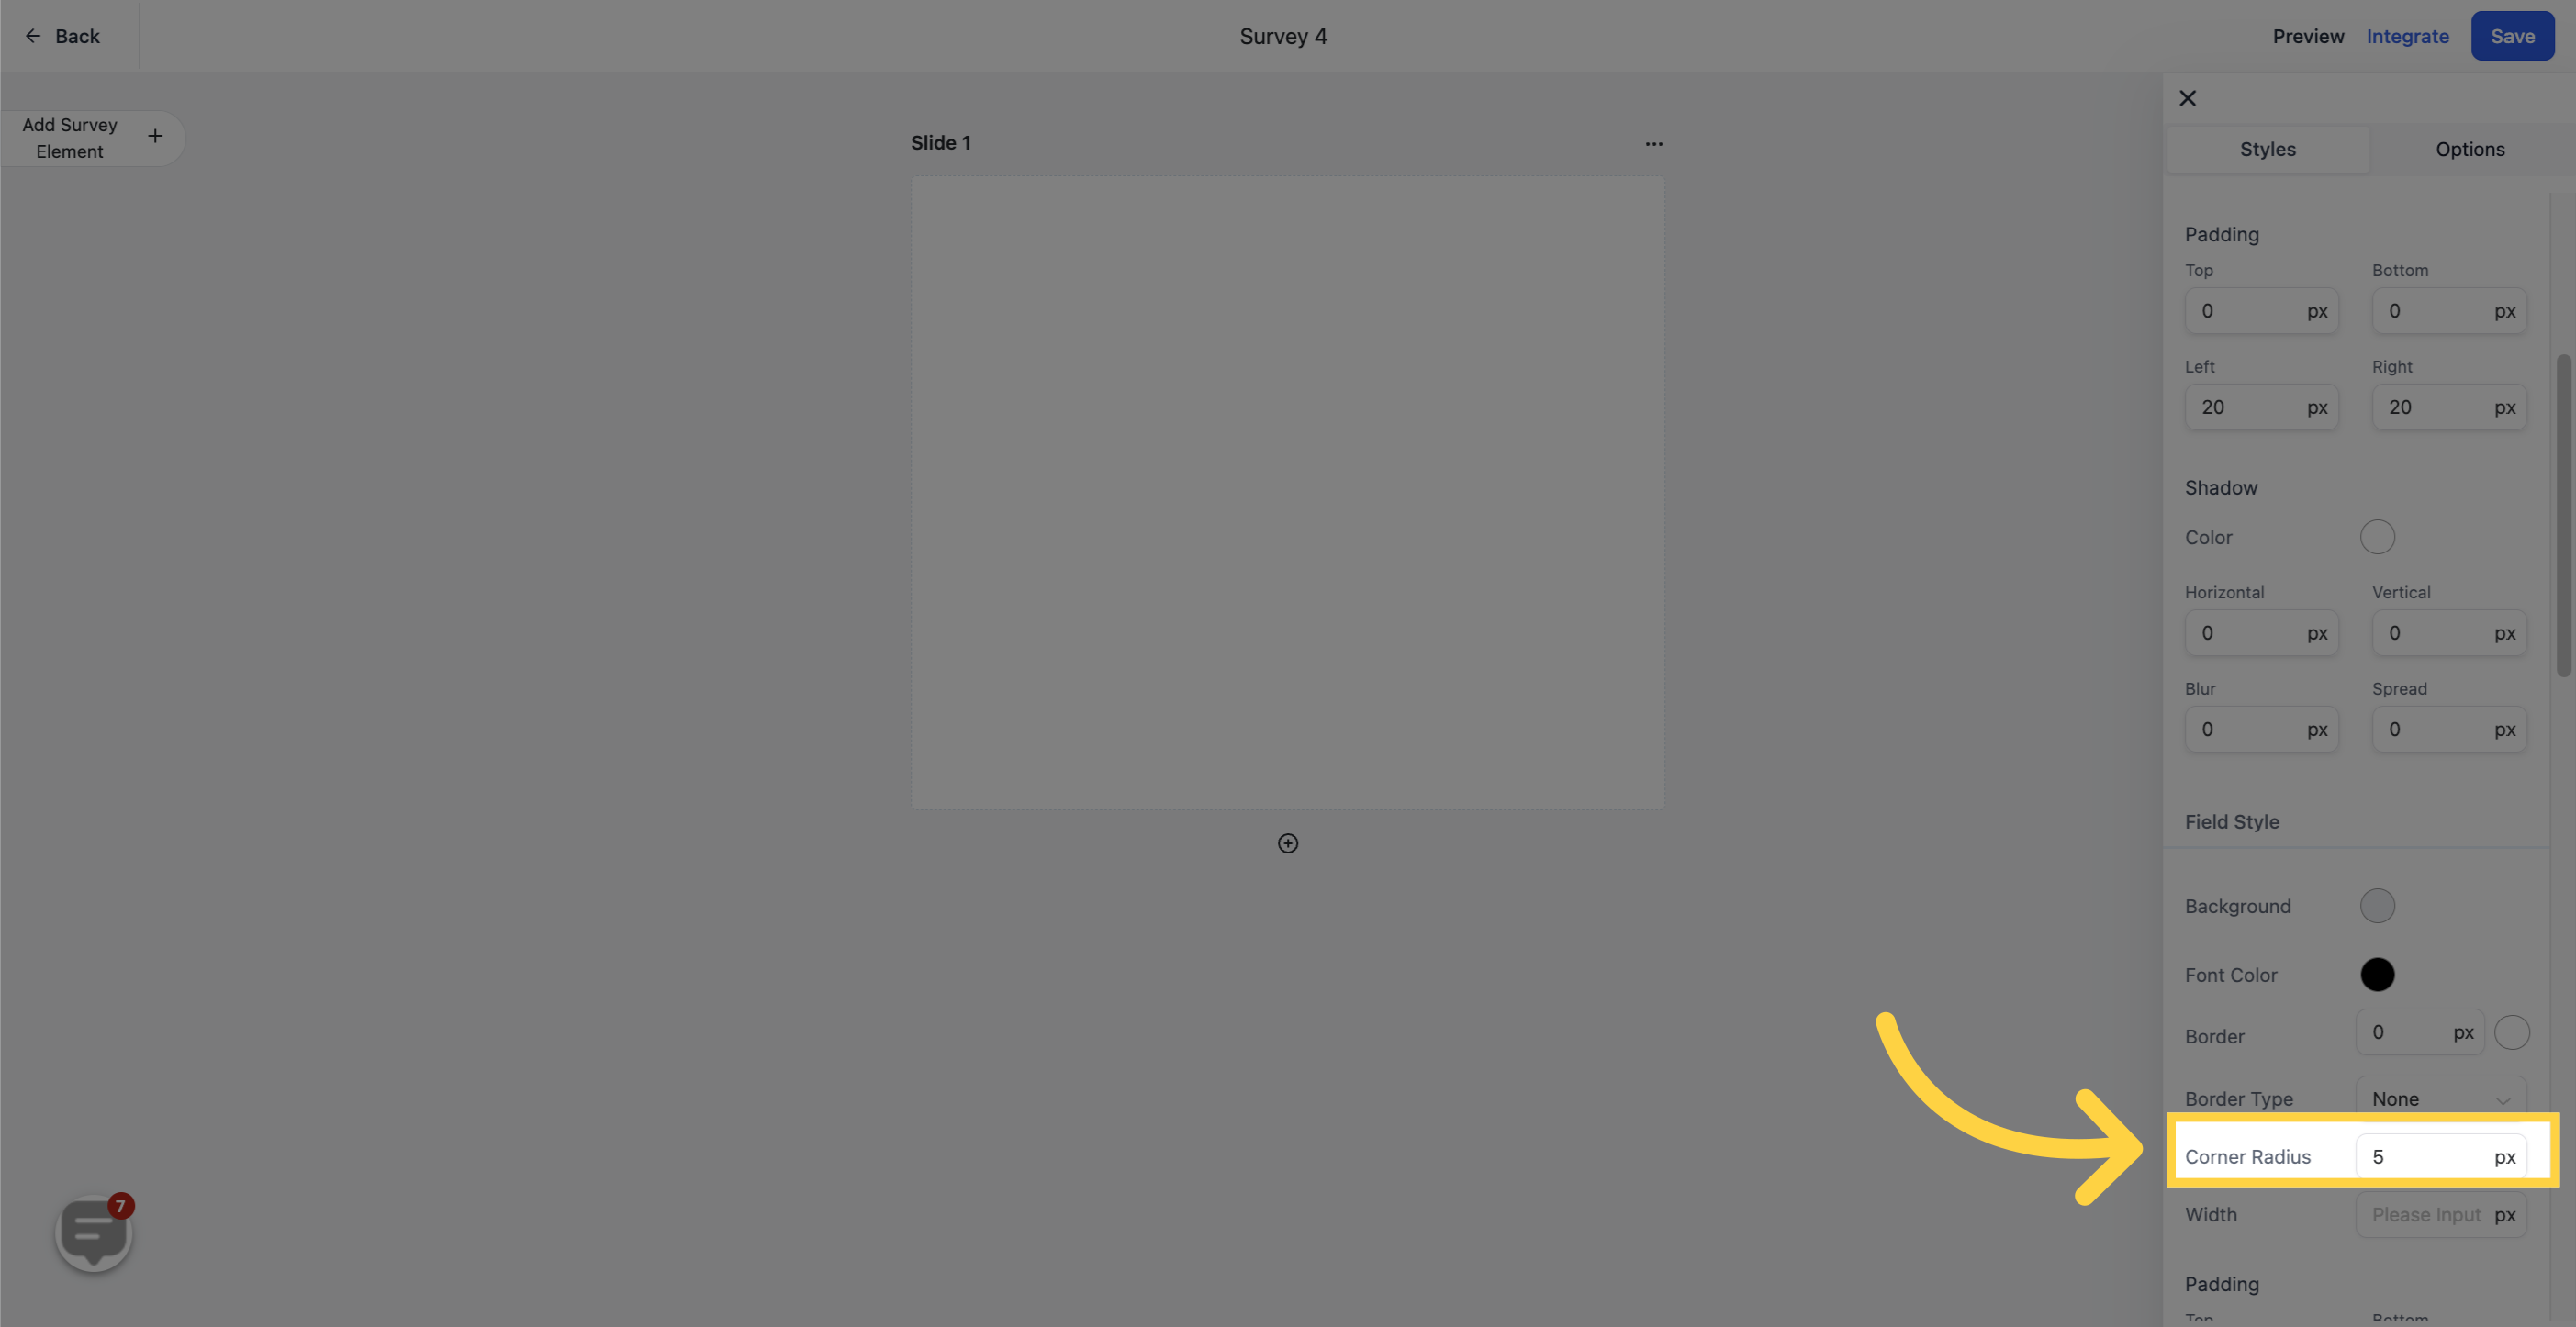
Give your survey form a unique shape by adjusting the corner radius. Transform squared-off corners into rounded ones for a softer aesthetic.
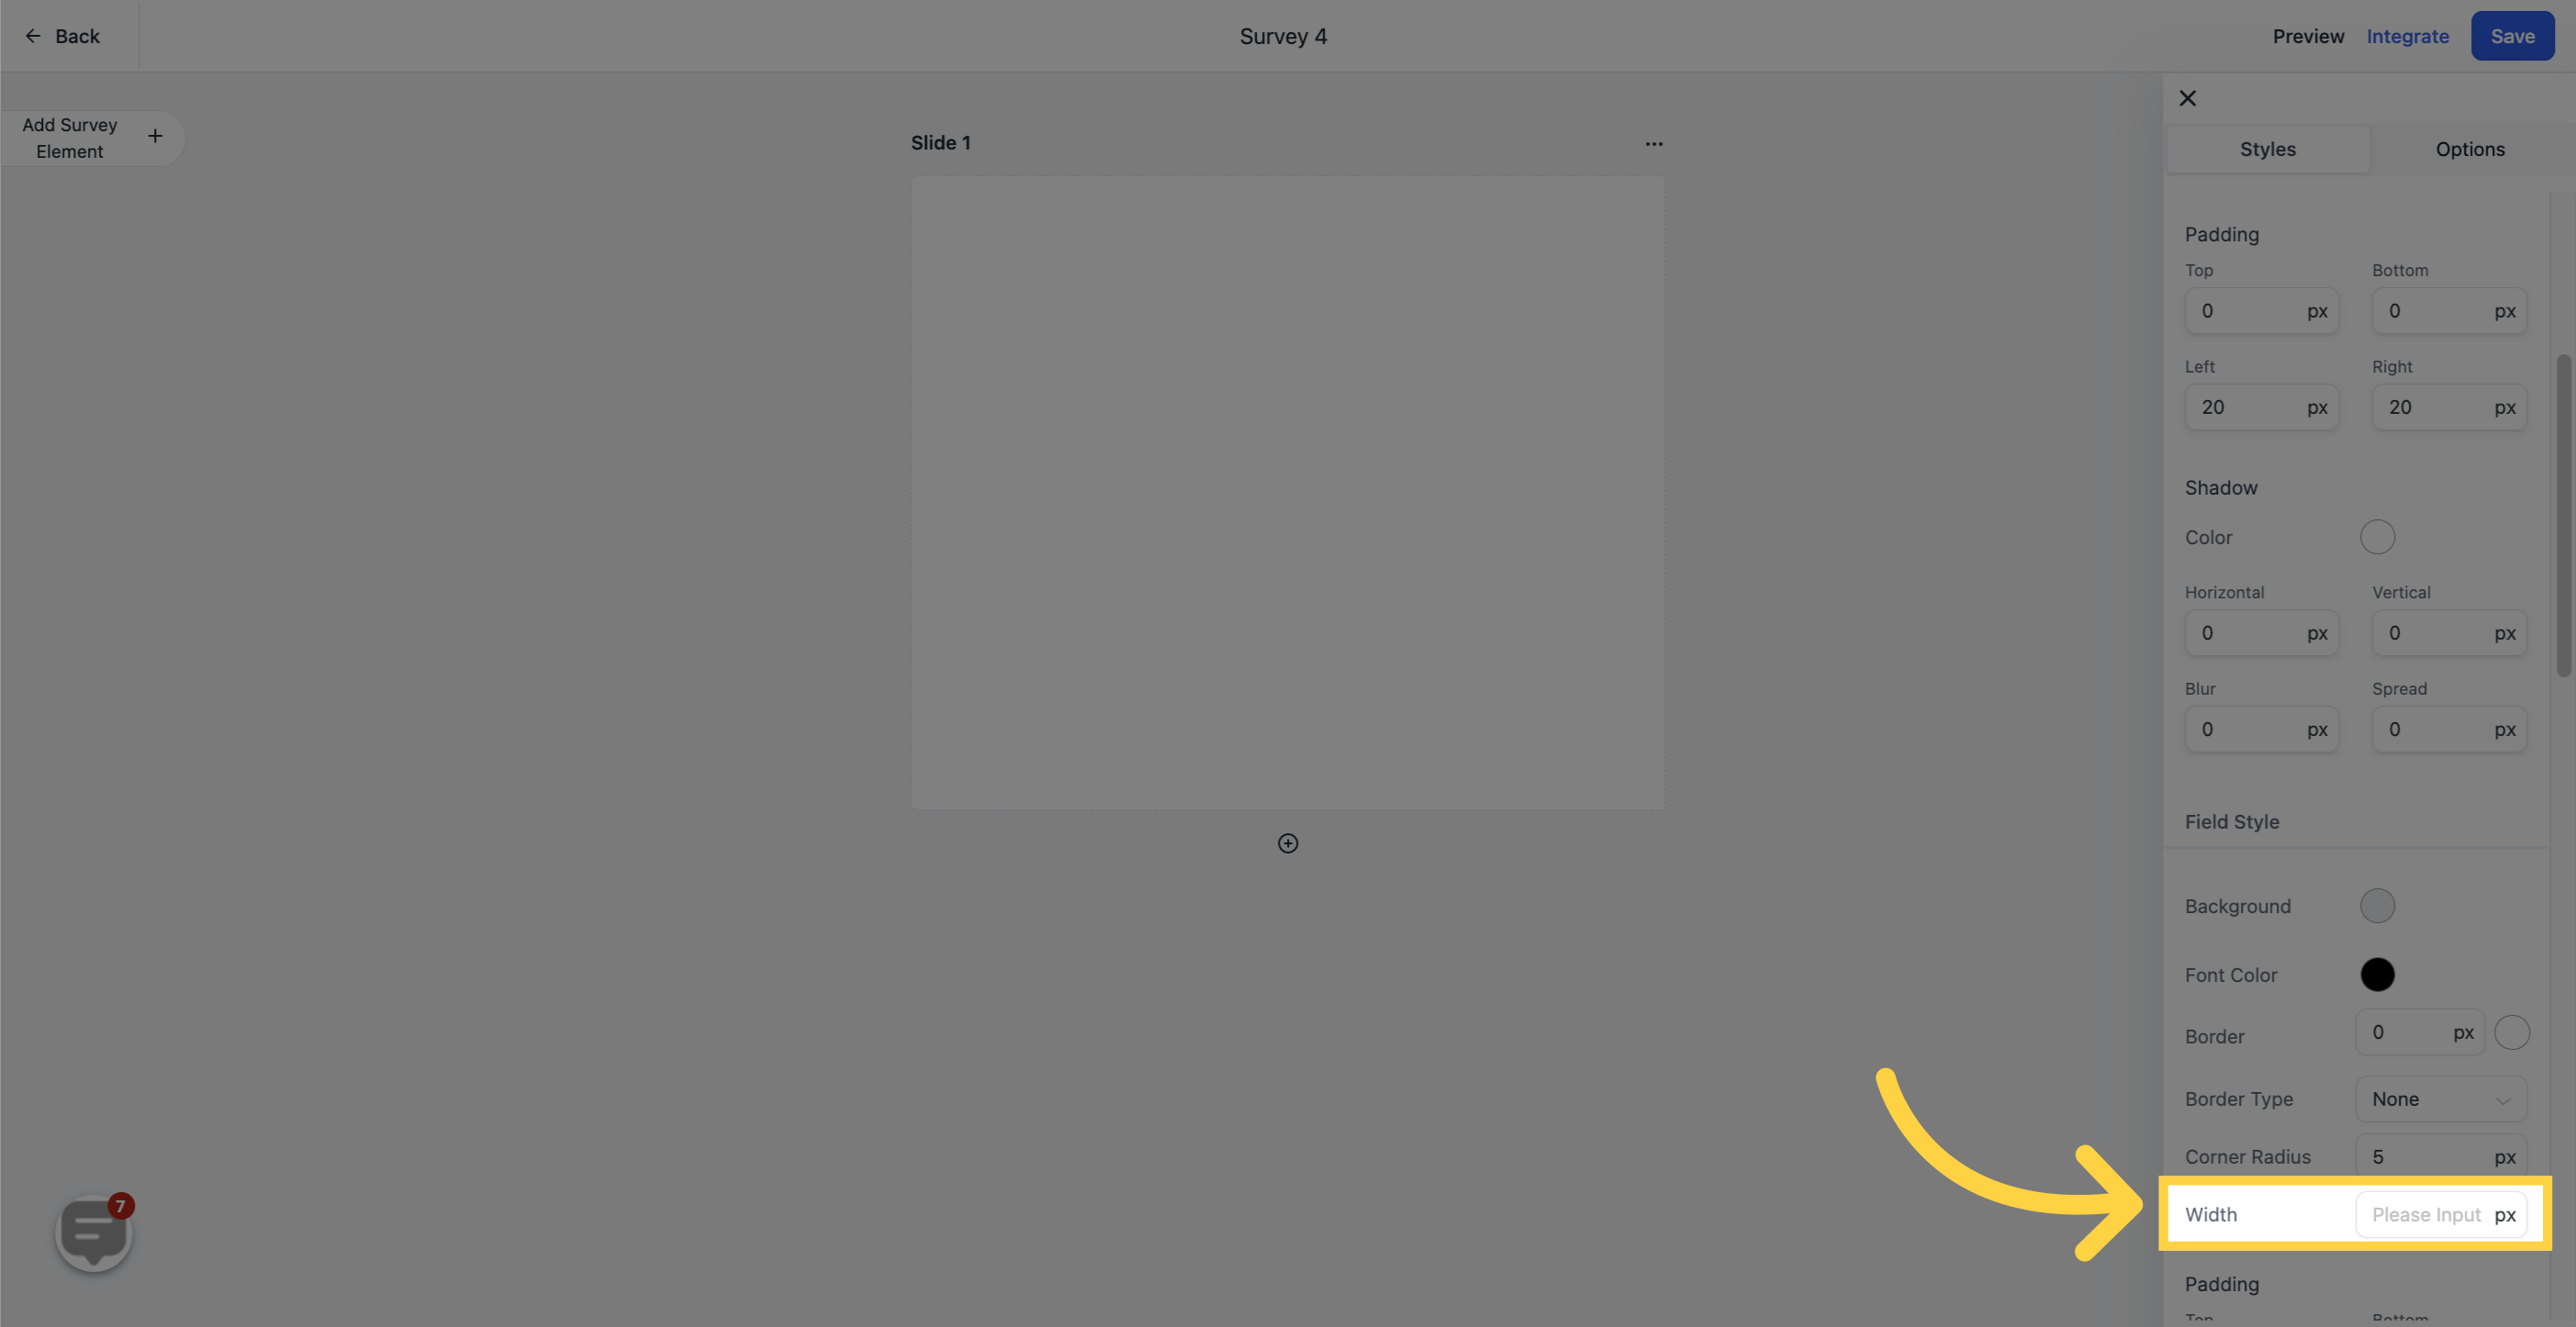
Adjust the total width of your survey to seamlessly integrate it into the page where it will be embedded.
For advanced customization, utilize custom CSS to fully tailor the appearance of your surveys. This includes modifying input field shapes, colors, buttons, and more. If you're unfamiliar with CSS, we recommend consulting a web developer with CSS expertise to assist you.
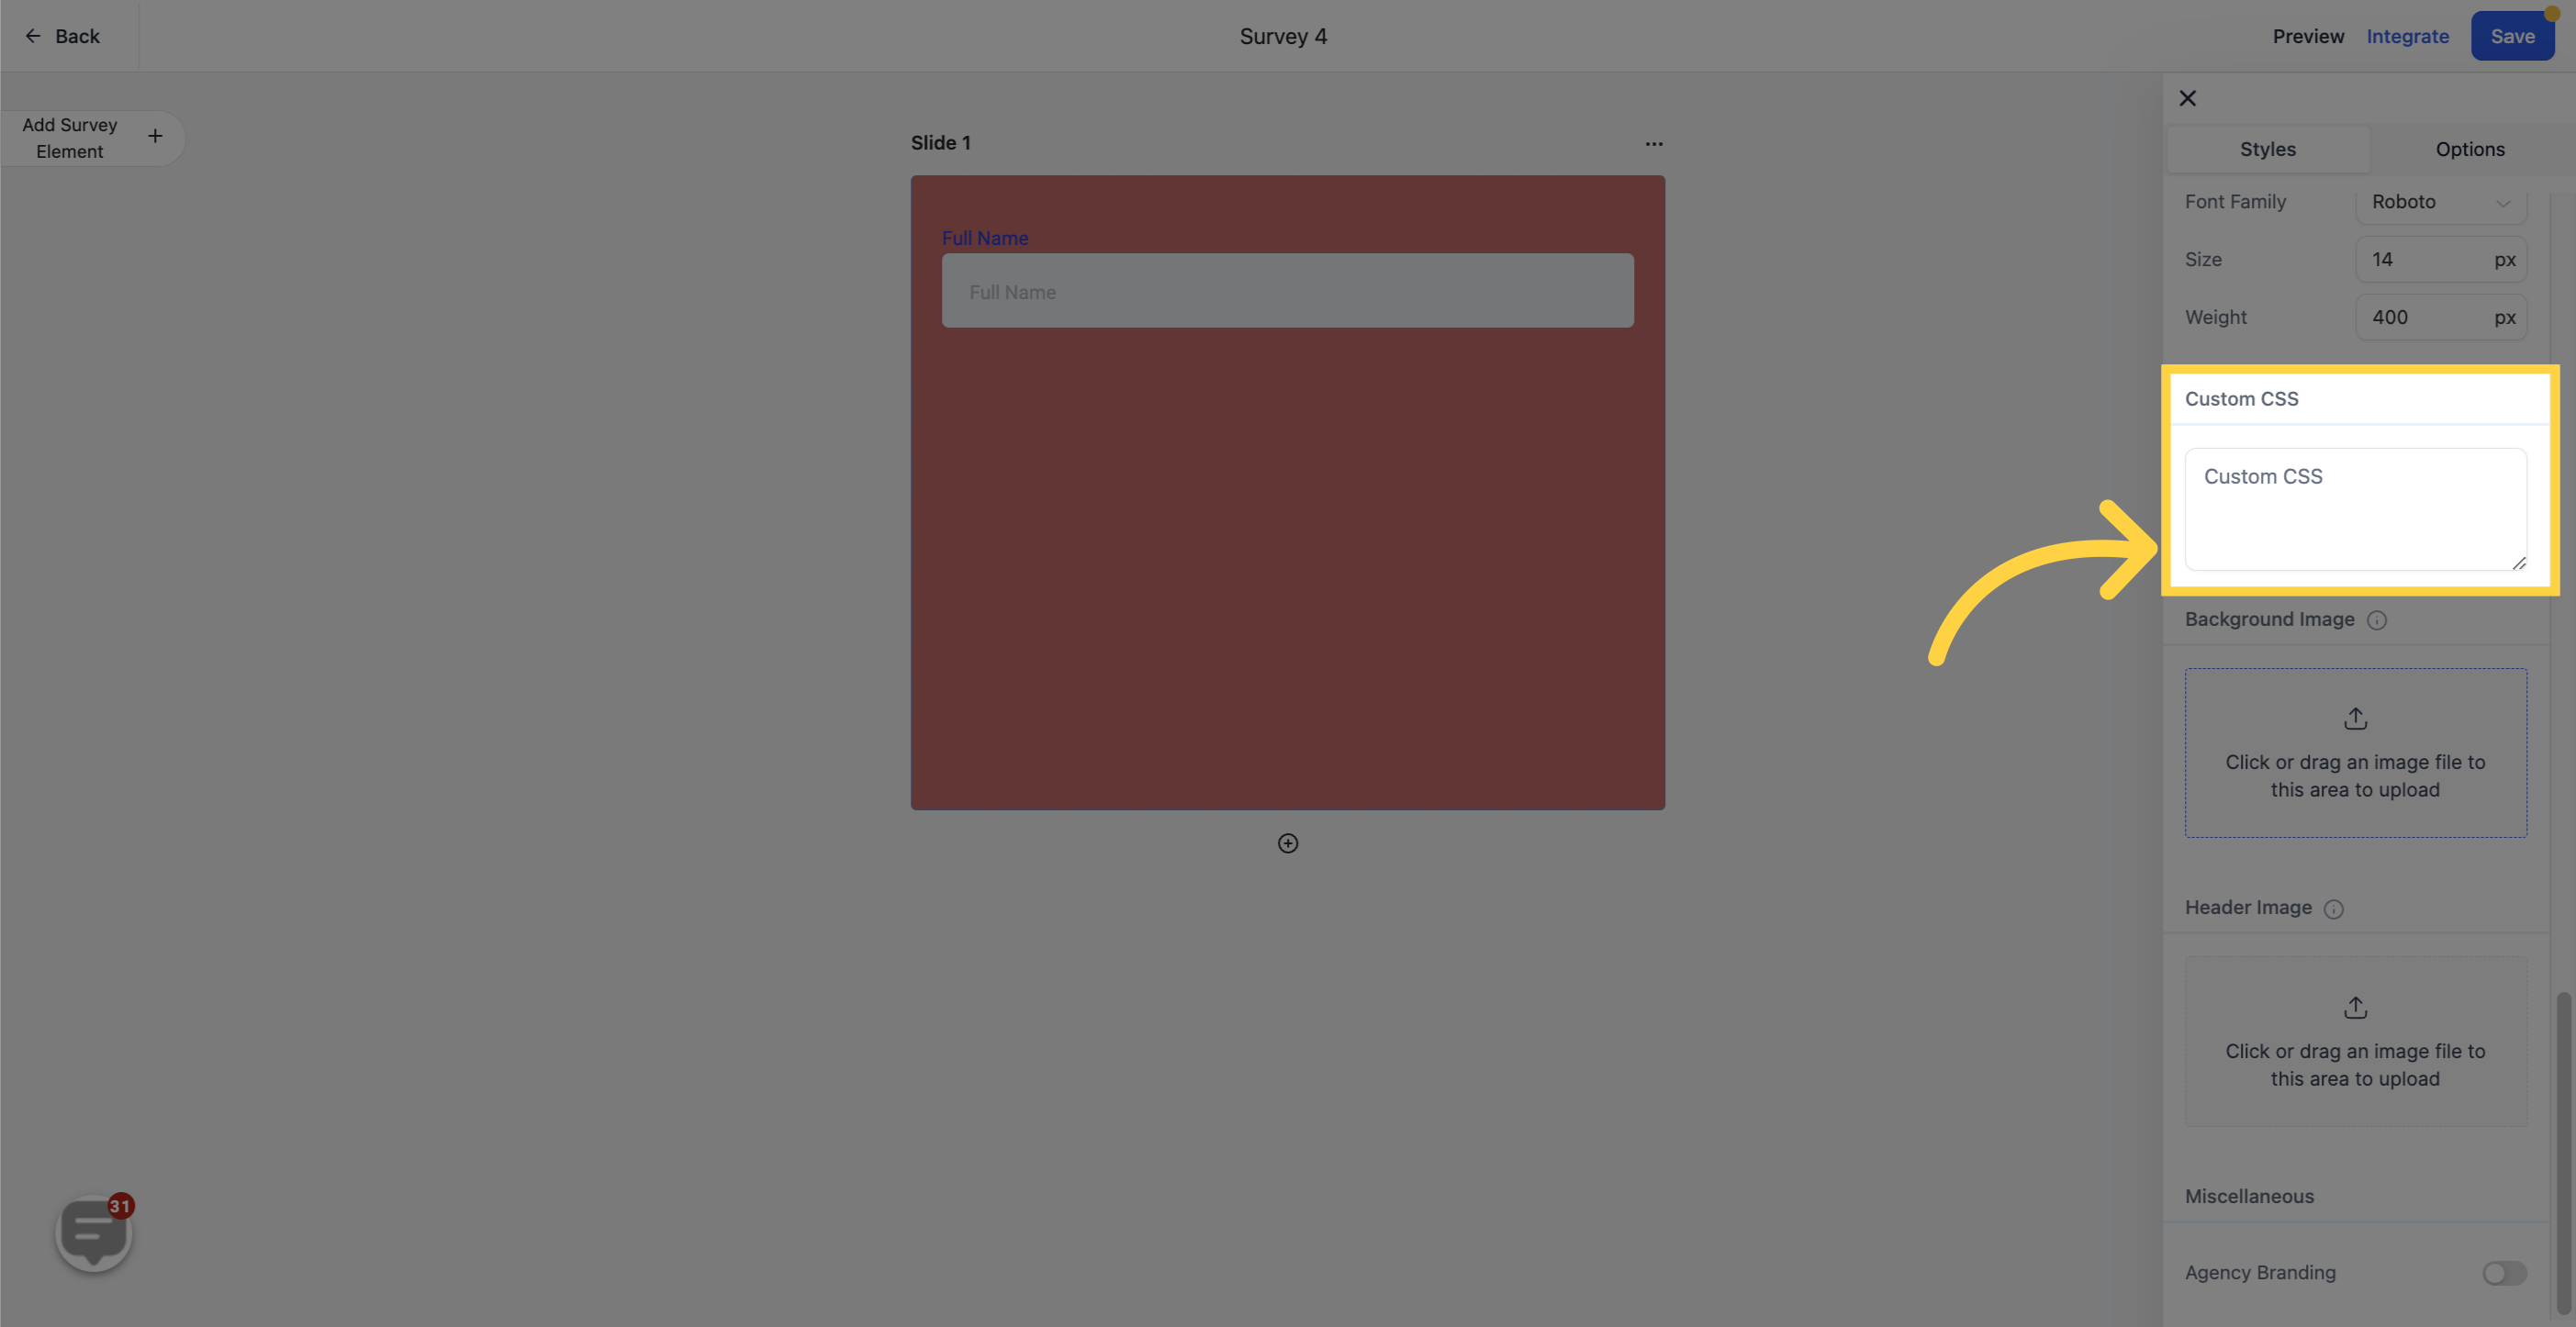
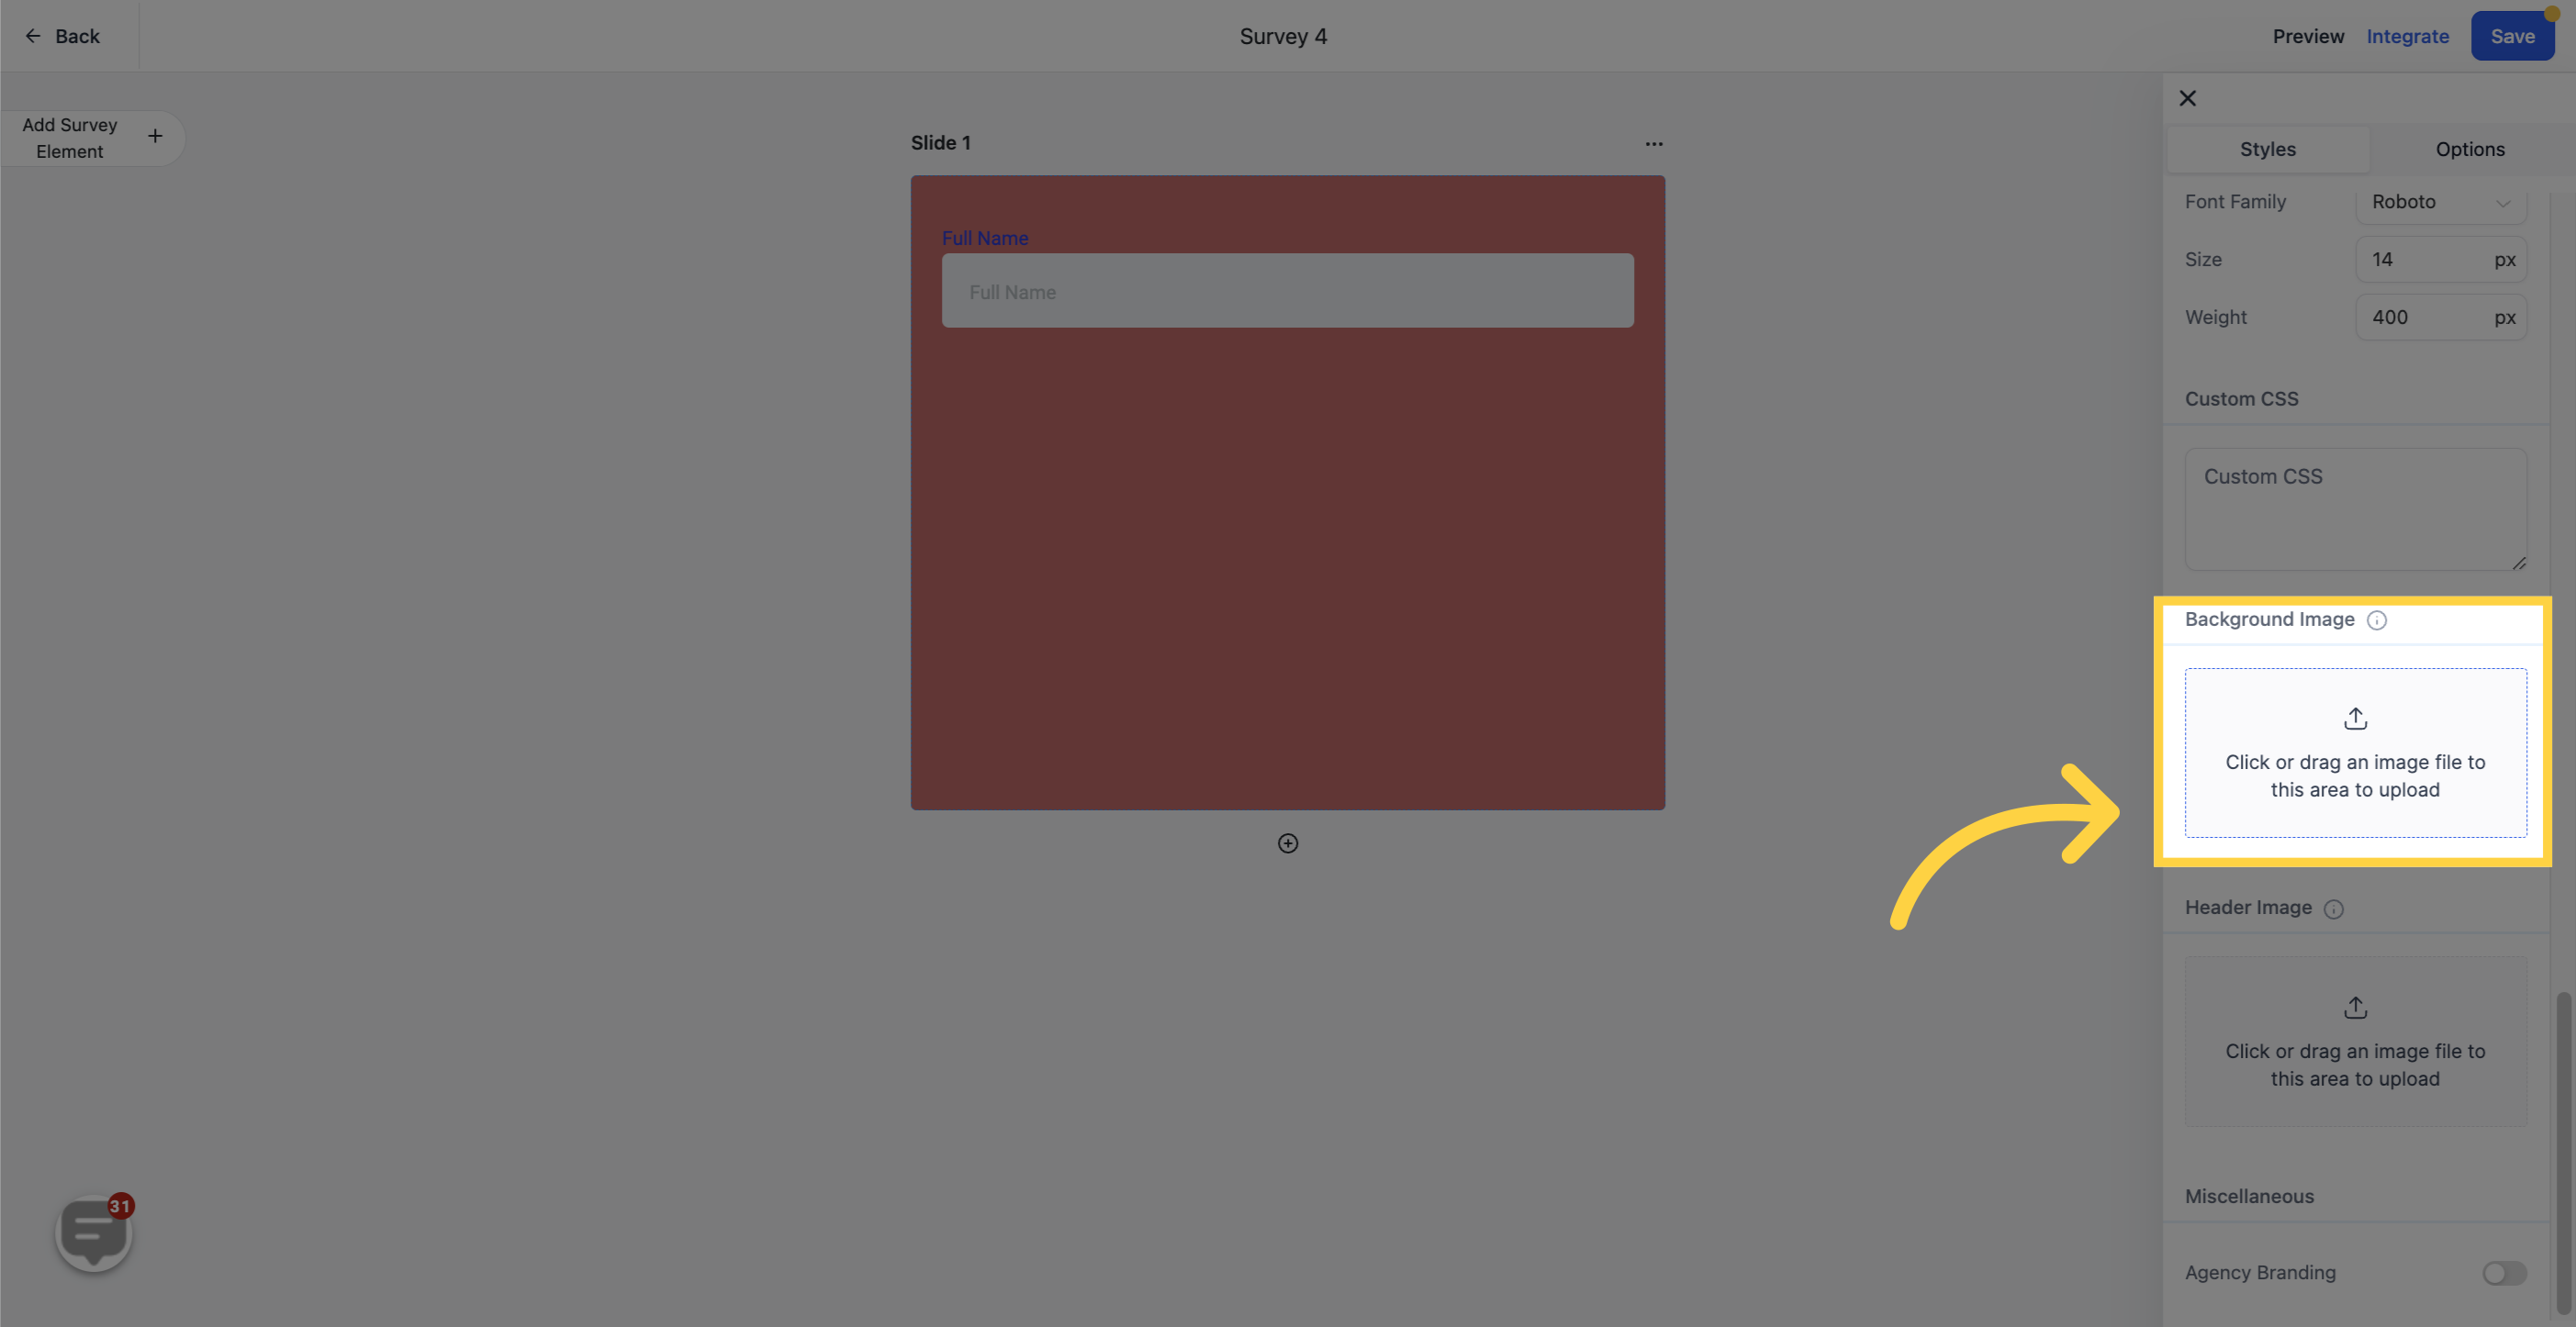
If you want to use a custom image as the background for your survey, simply upload it using this option. This allows for even further customization and personalization.
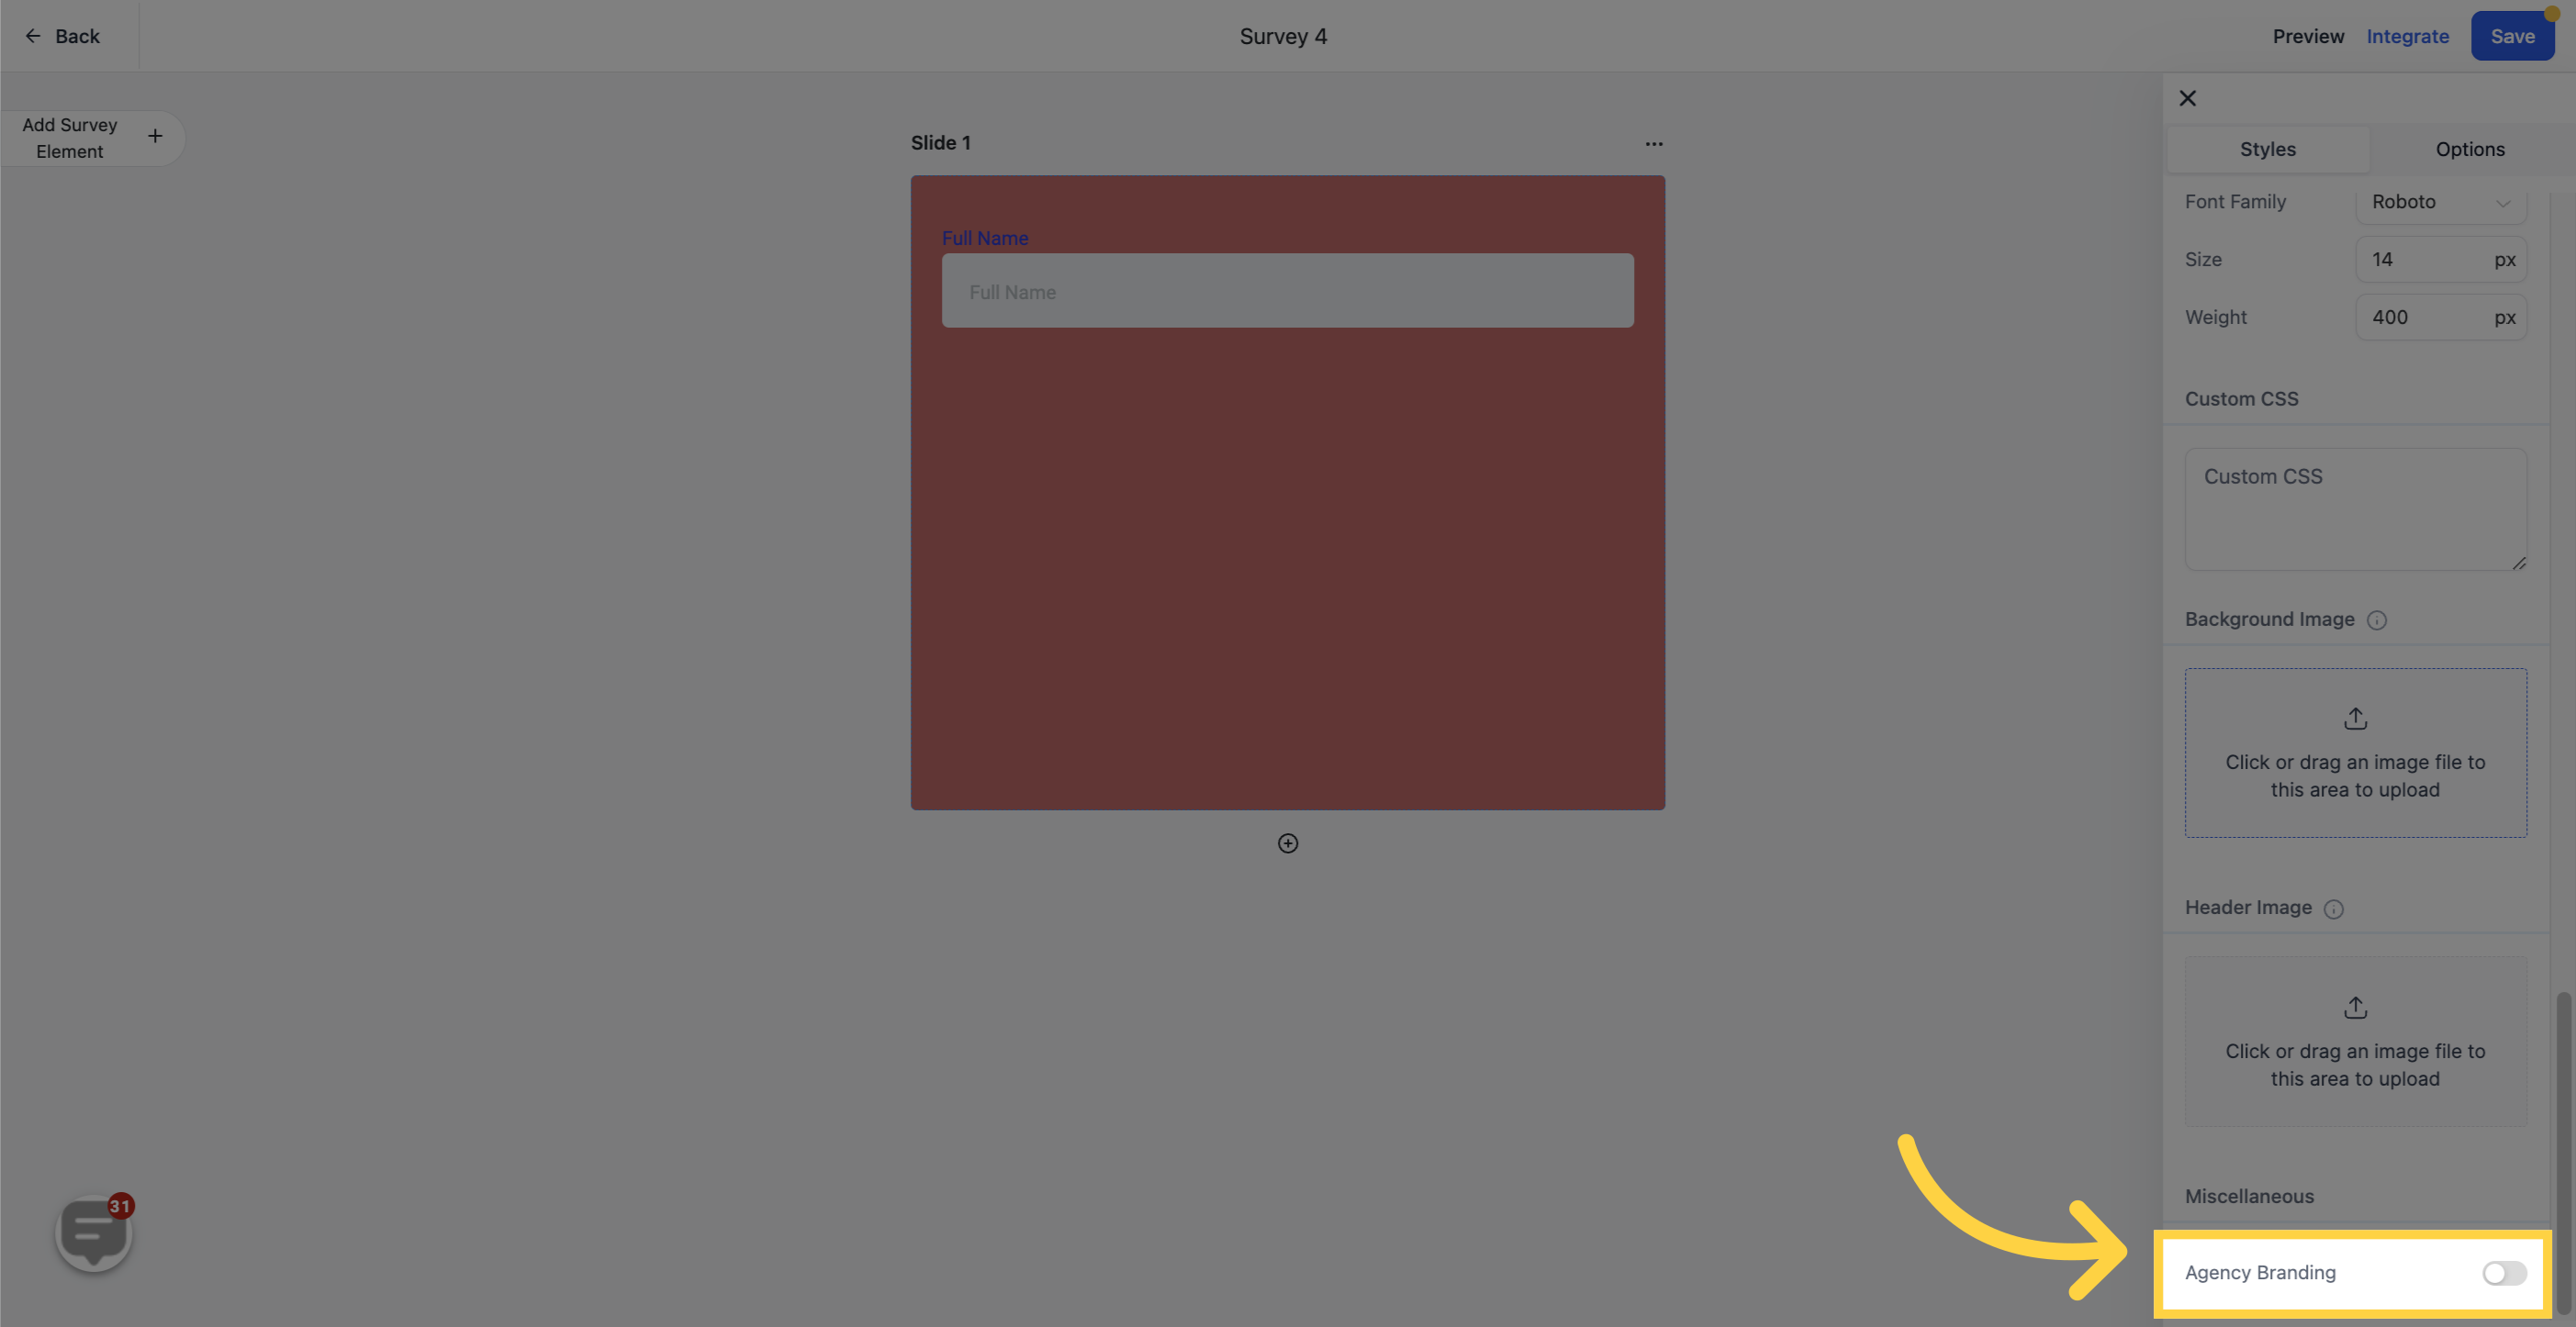
Choose whether or not to display your company logo in the corner of every survey. This feature allows you to maintain consistent branding throughout your surveys.
