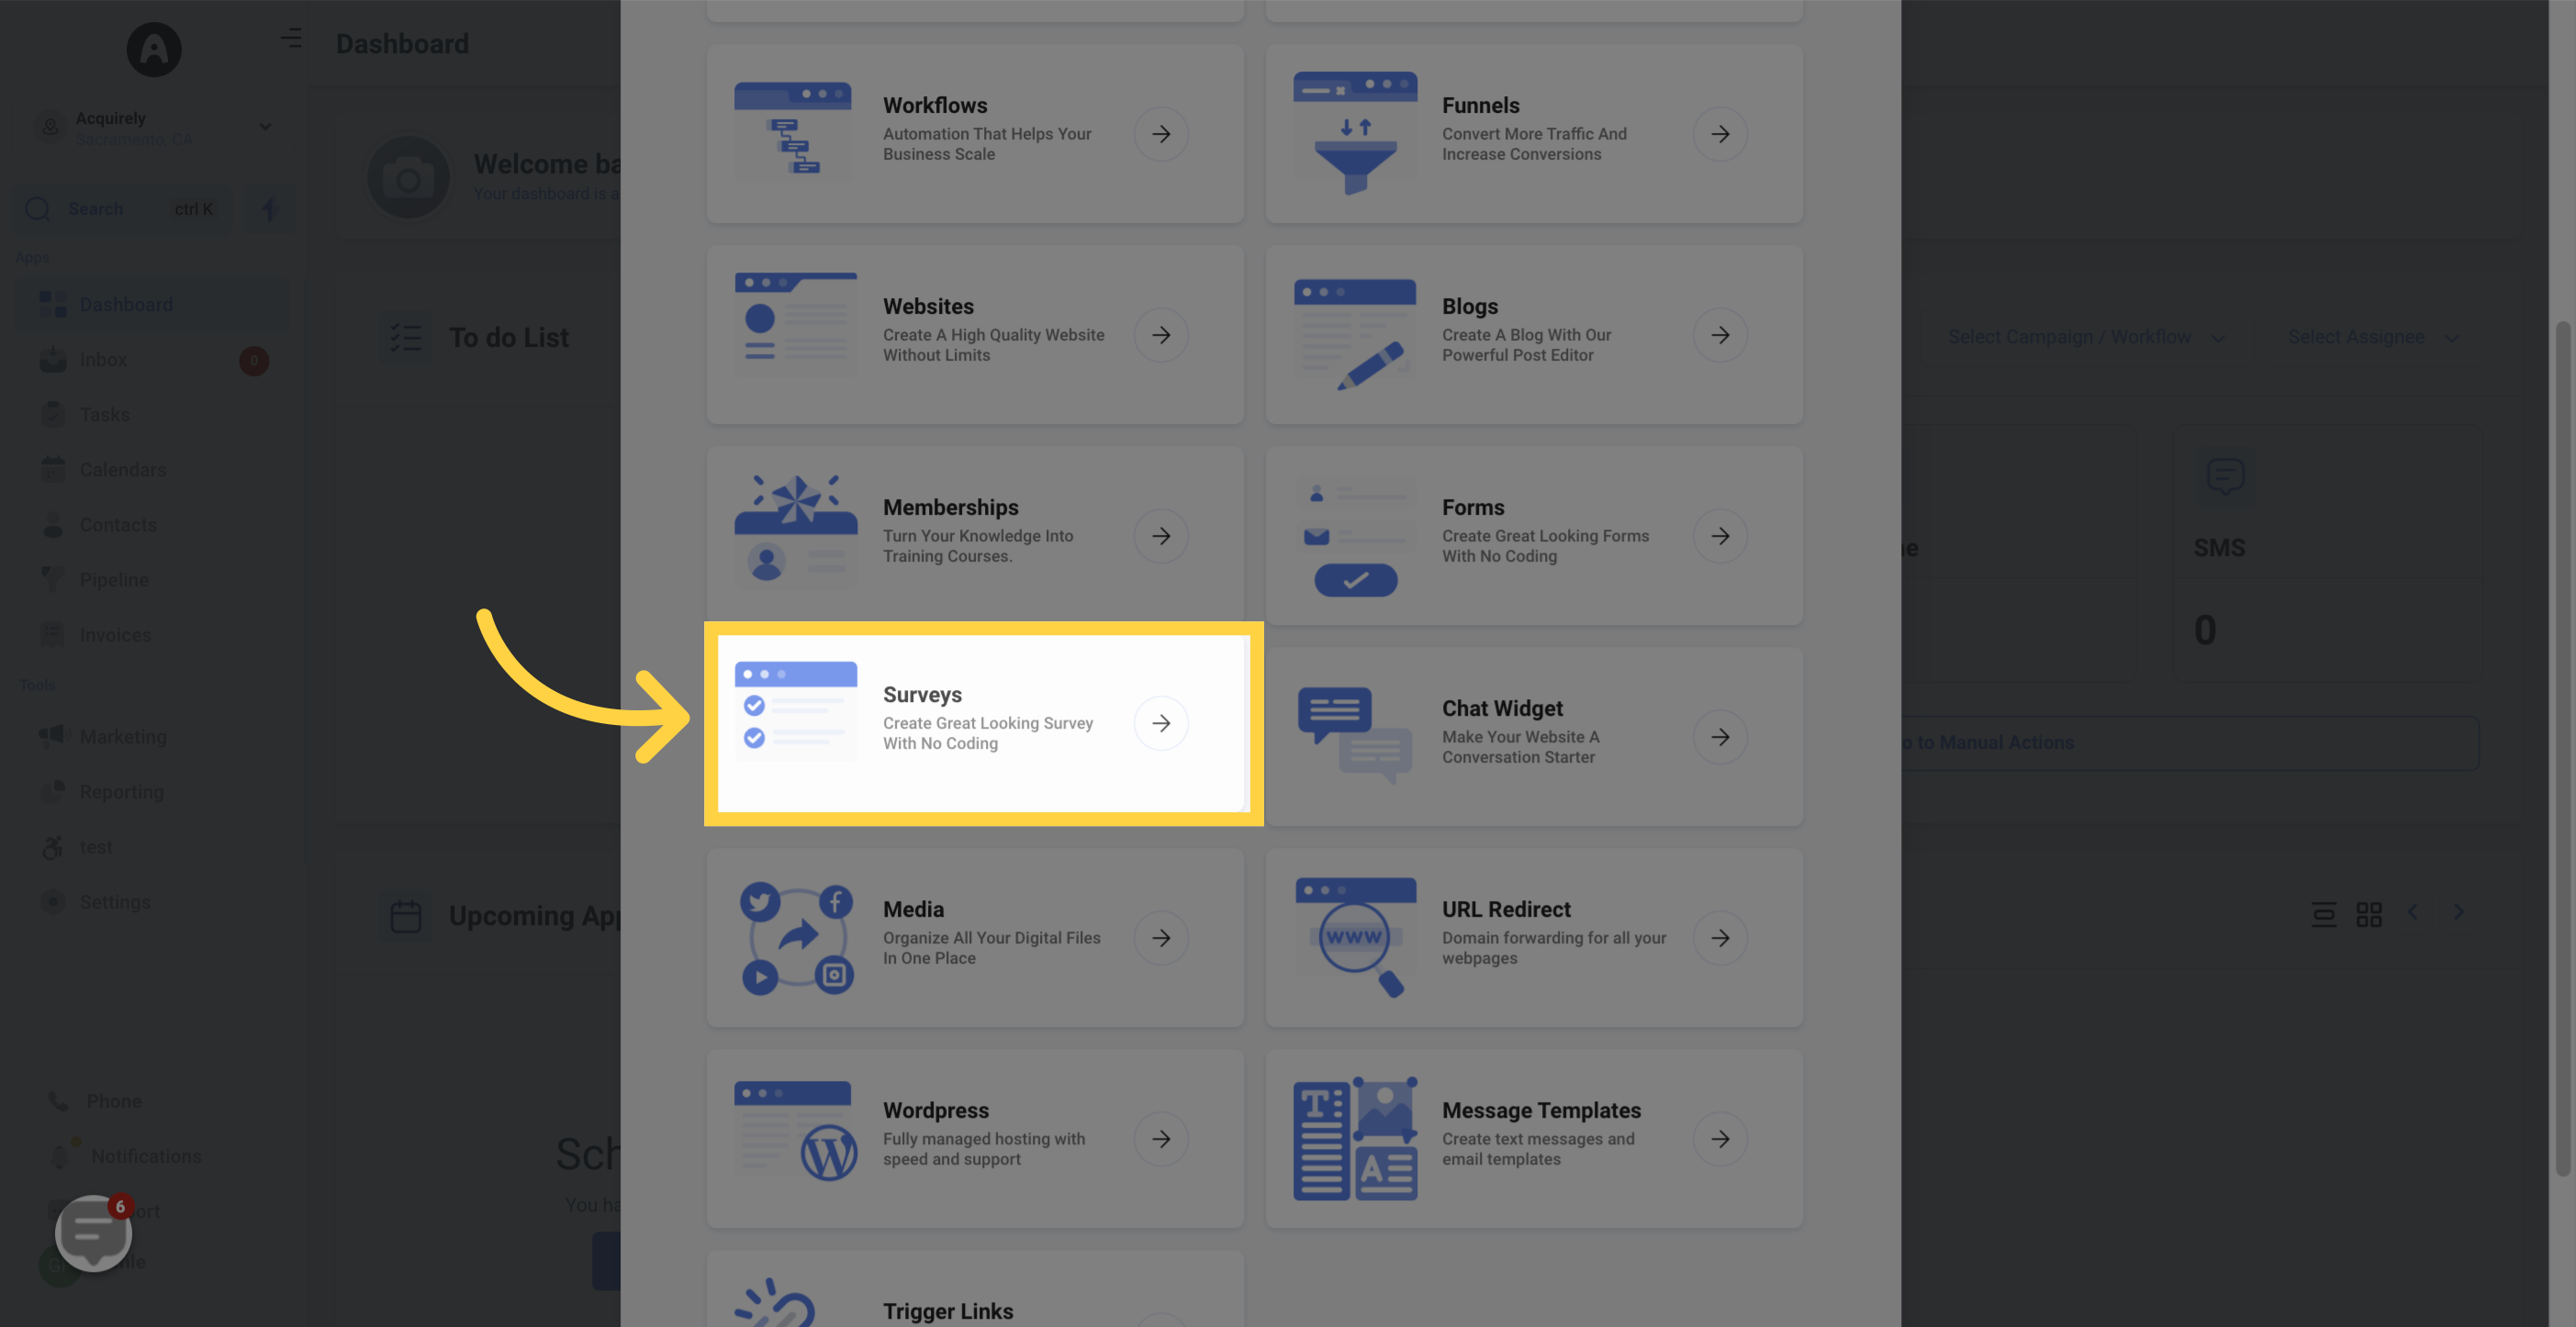
NotE: that your access to certain components may vary based on your user permissions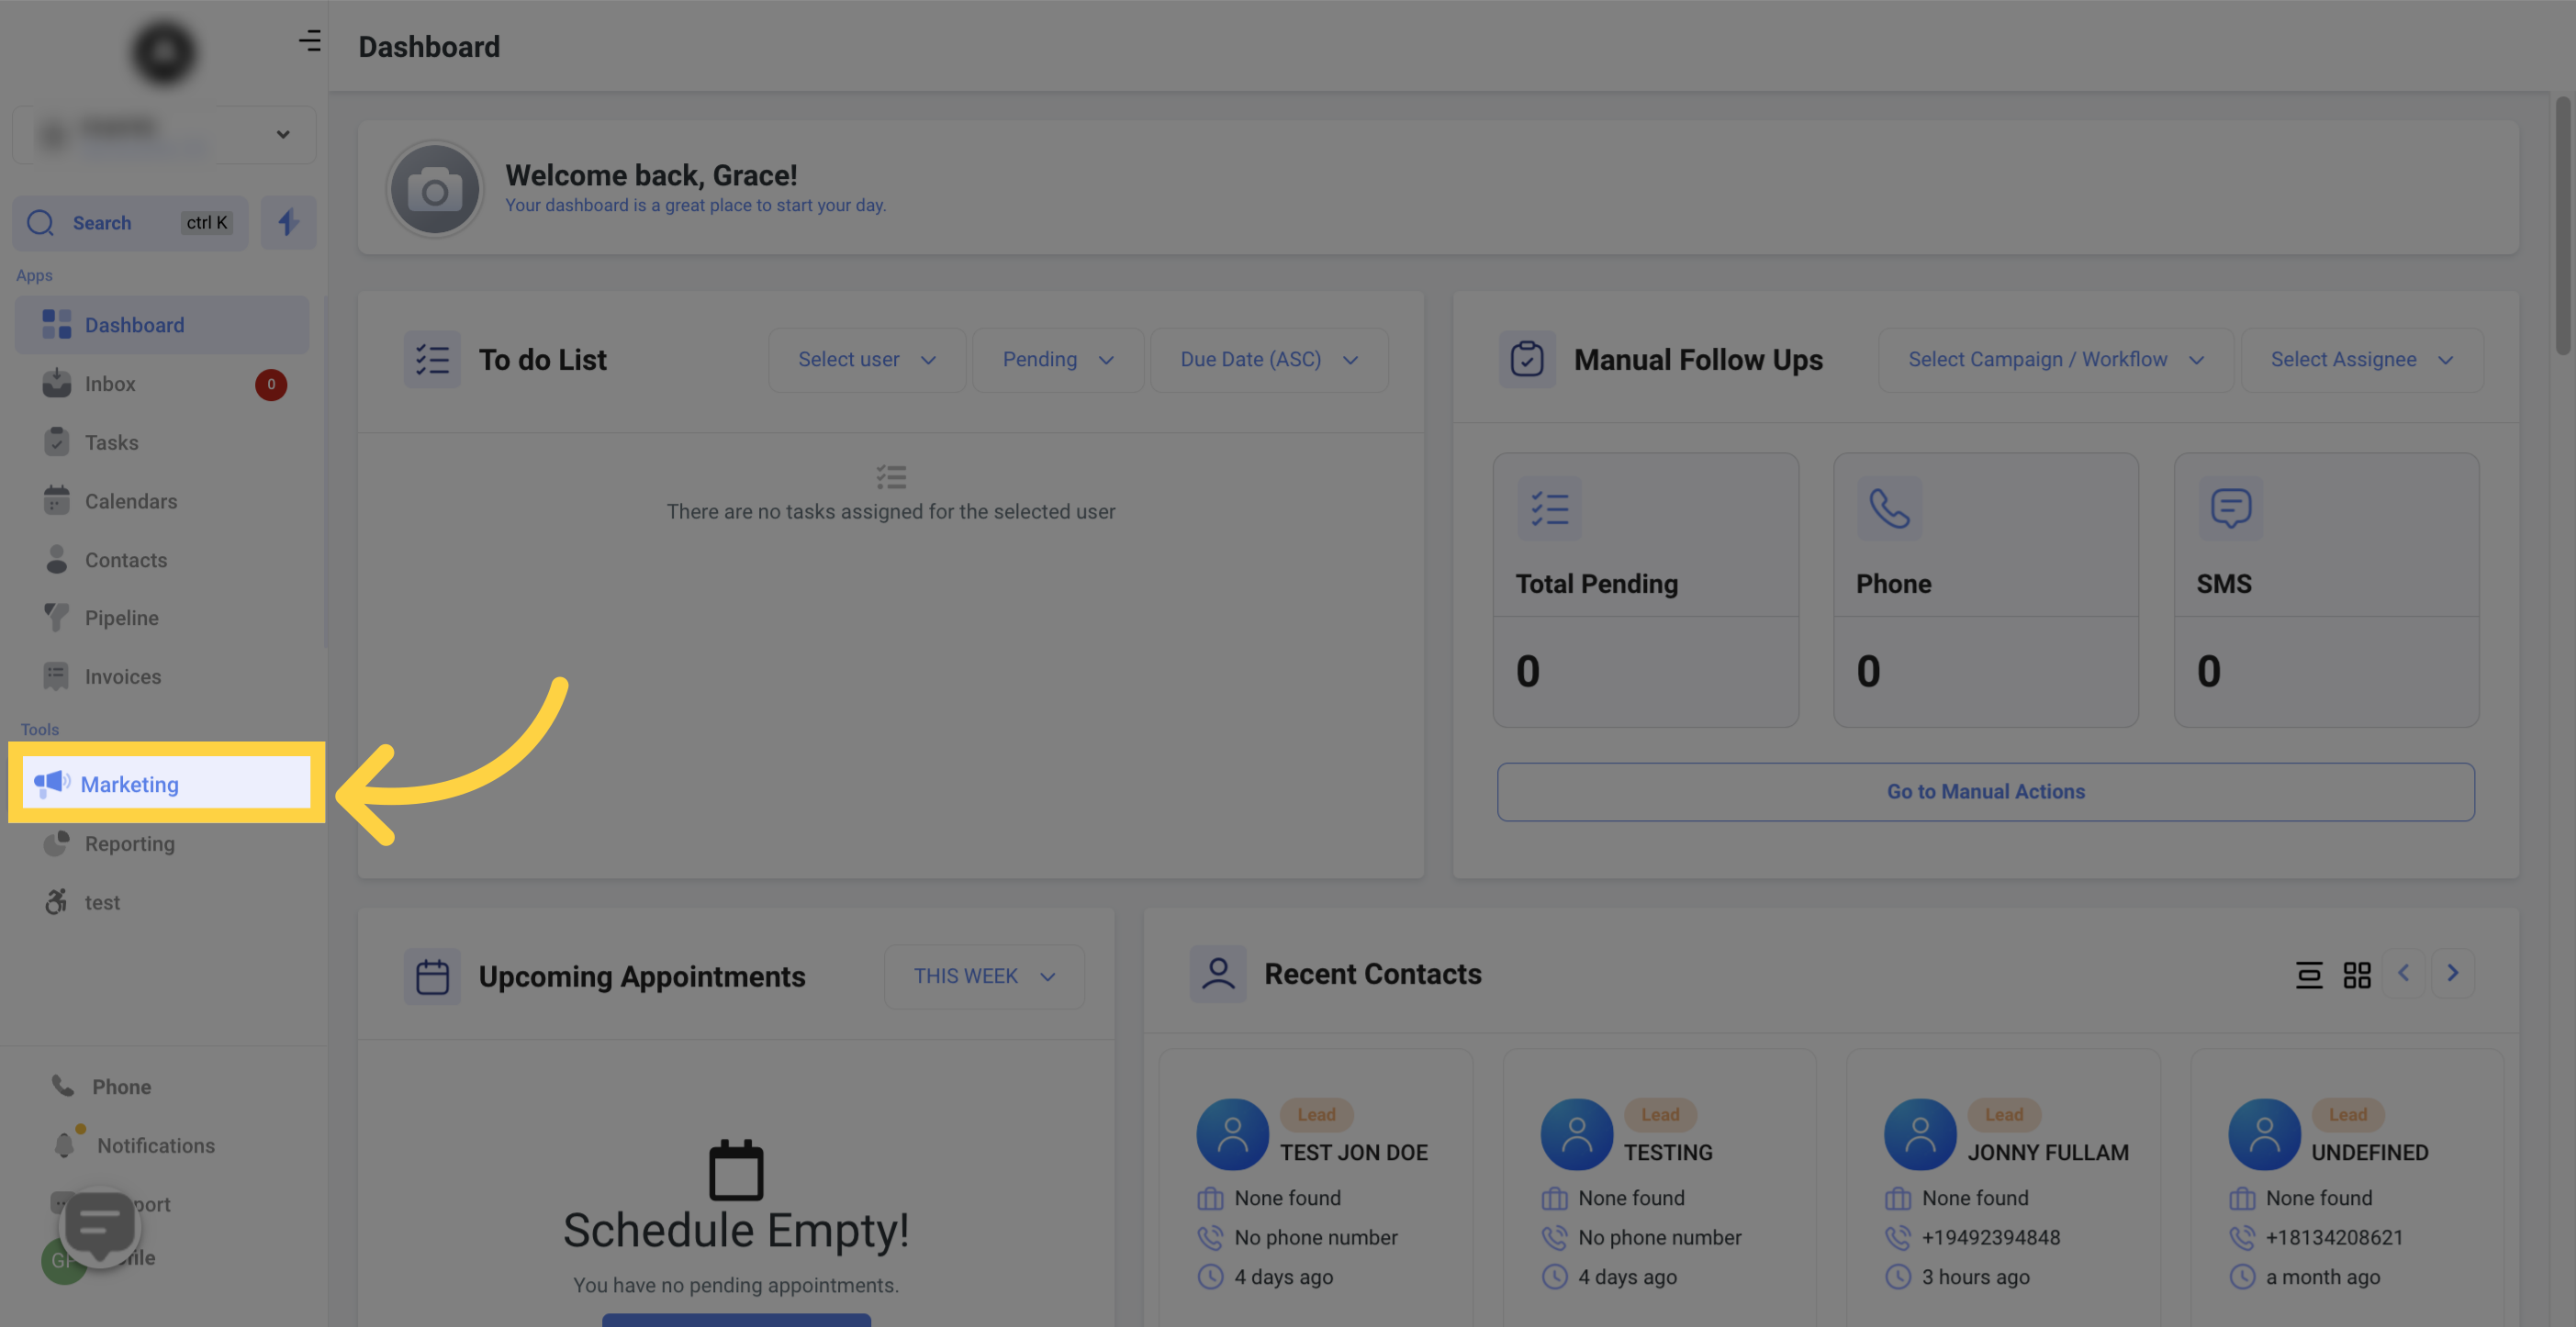
When you are ready to create your own survey, simply click the "Add new Survey" button. To learn more about creating forms, click on "Create & Edit Survey."
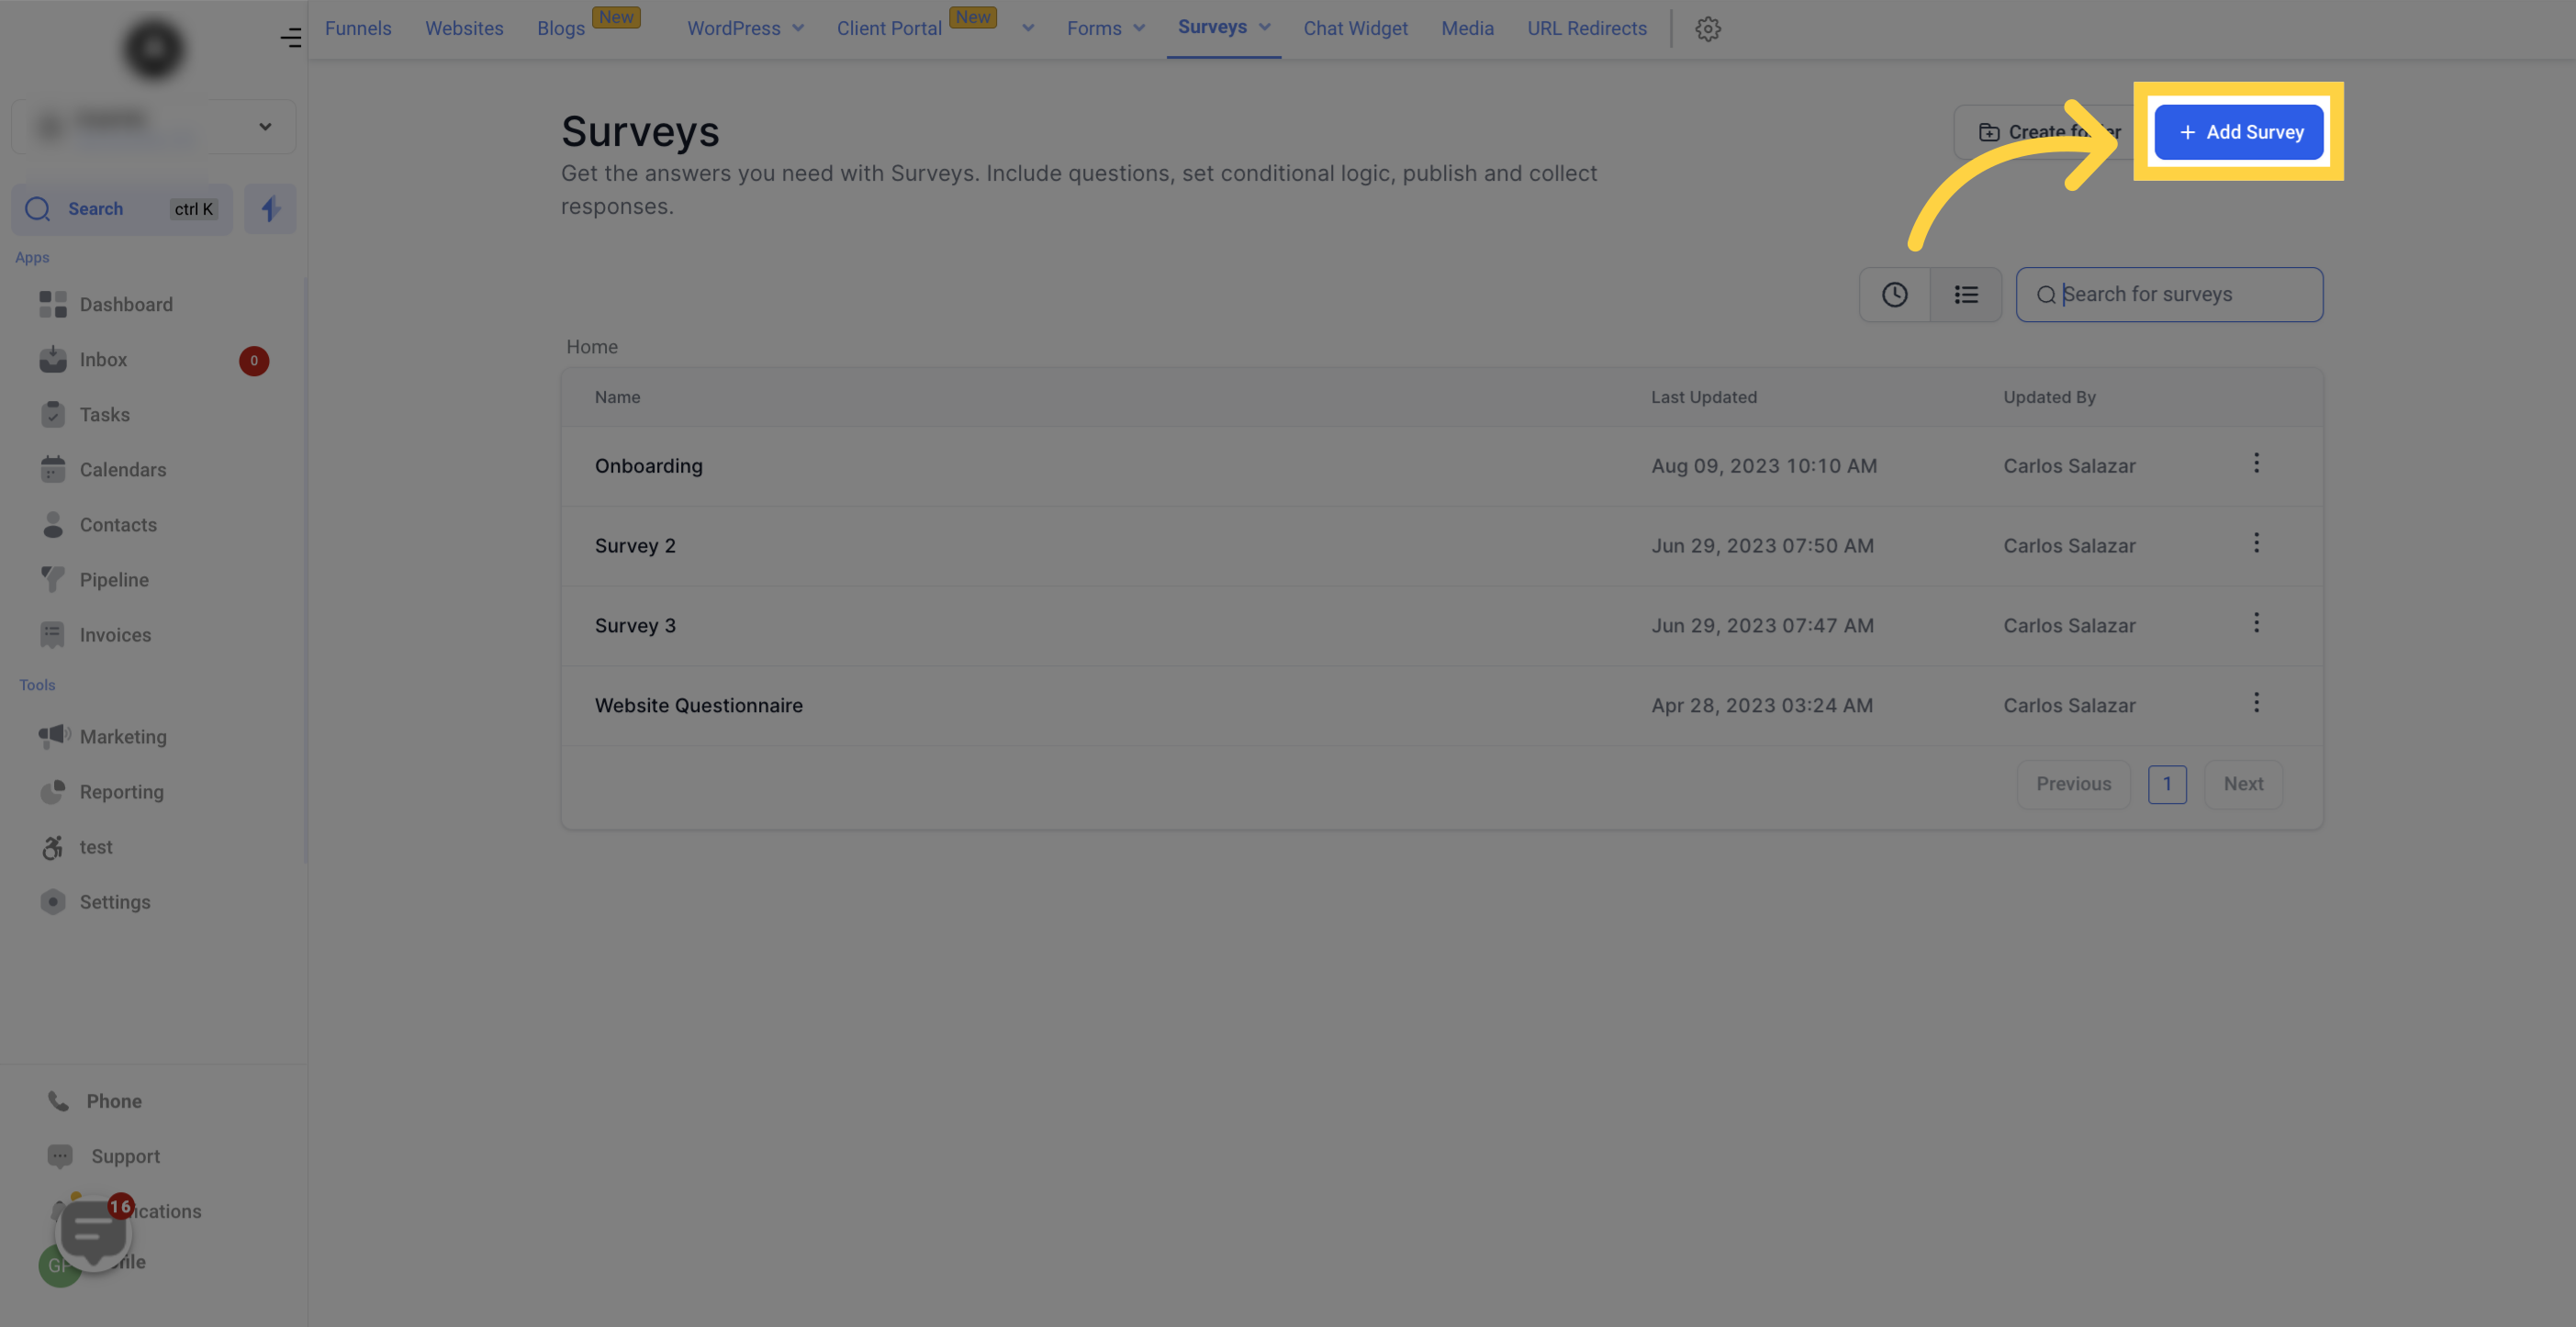
If you want to create a new folder, click on the "Create folder" button, provide a name for the folder, and click "Confirm" to save it.

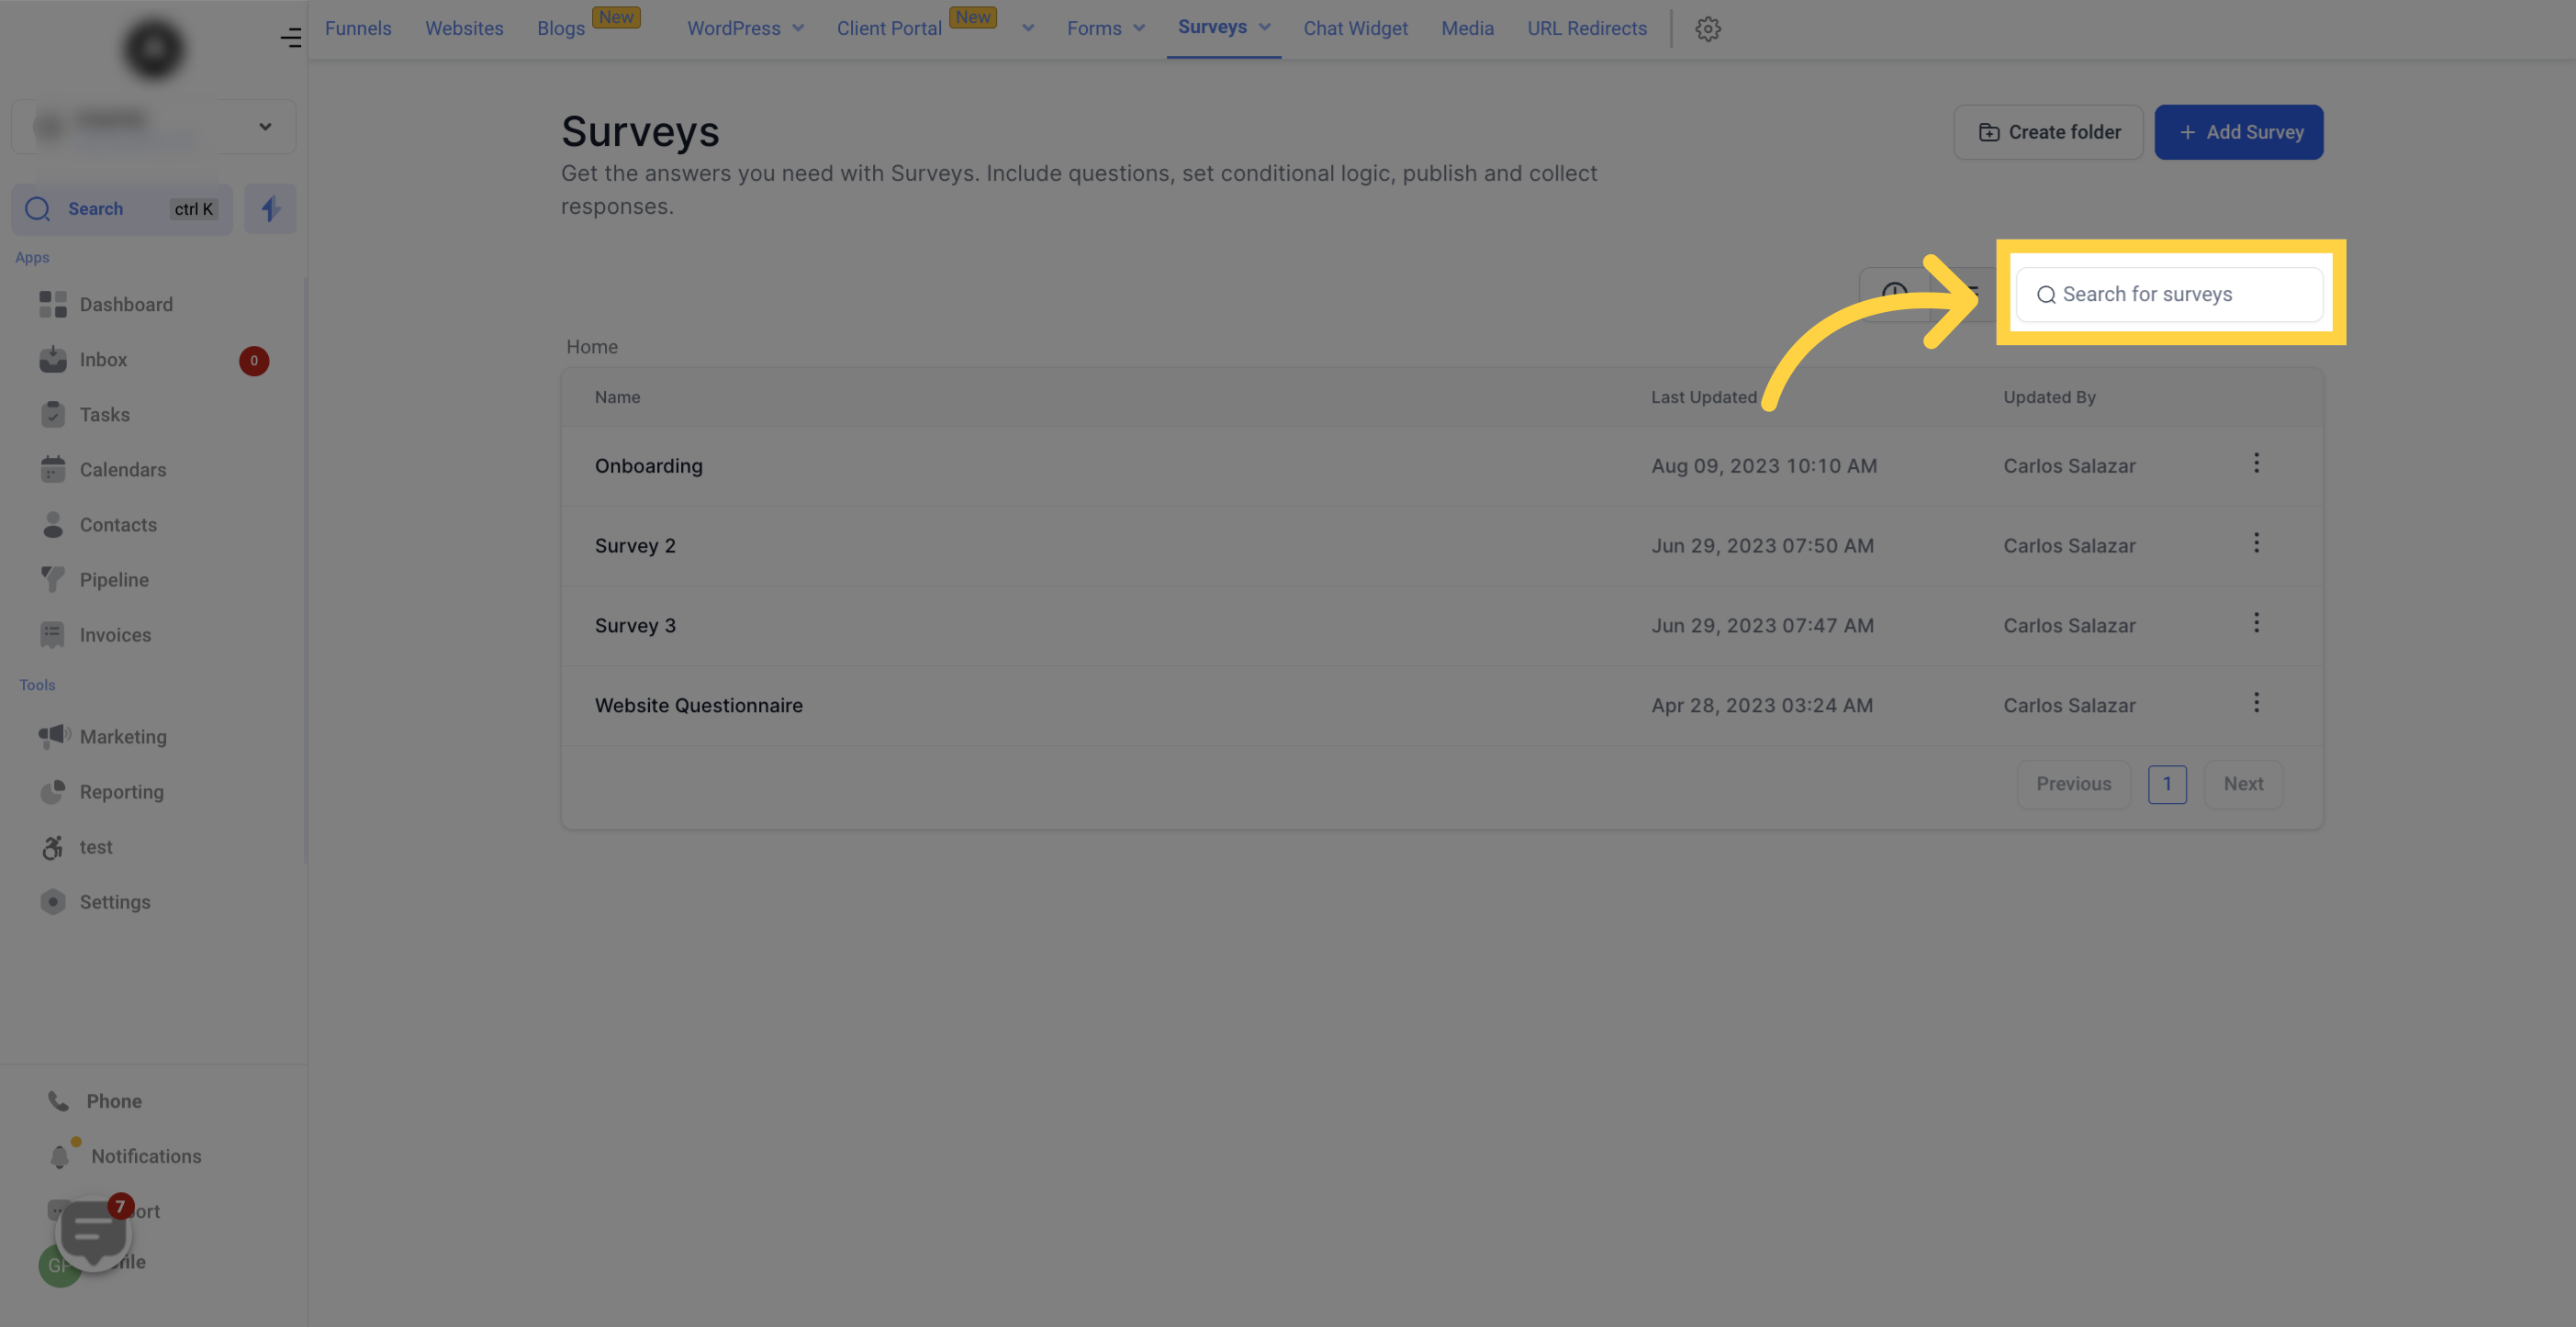
If you have a long list of surveys, you can easily search for a specific form by typing its name in this search bar.
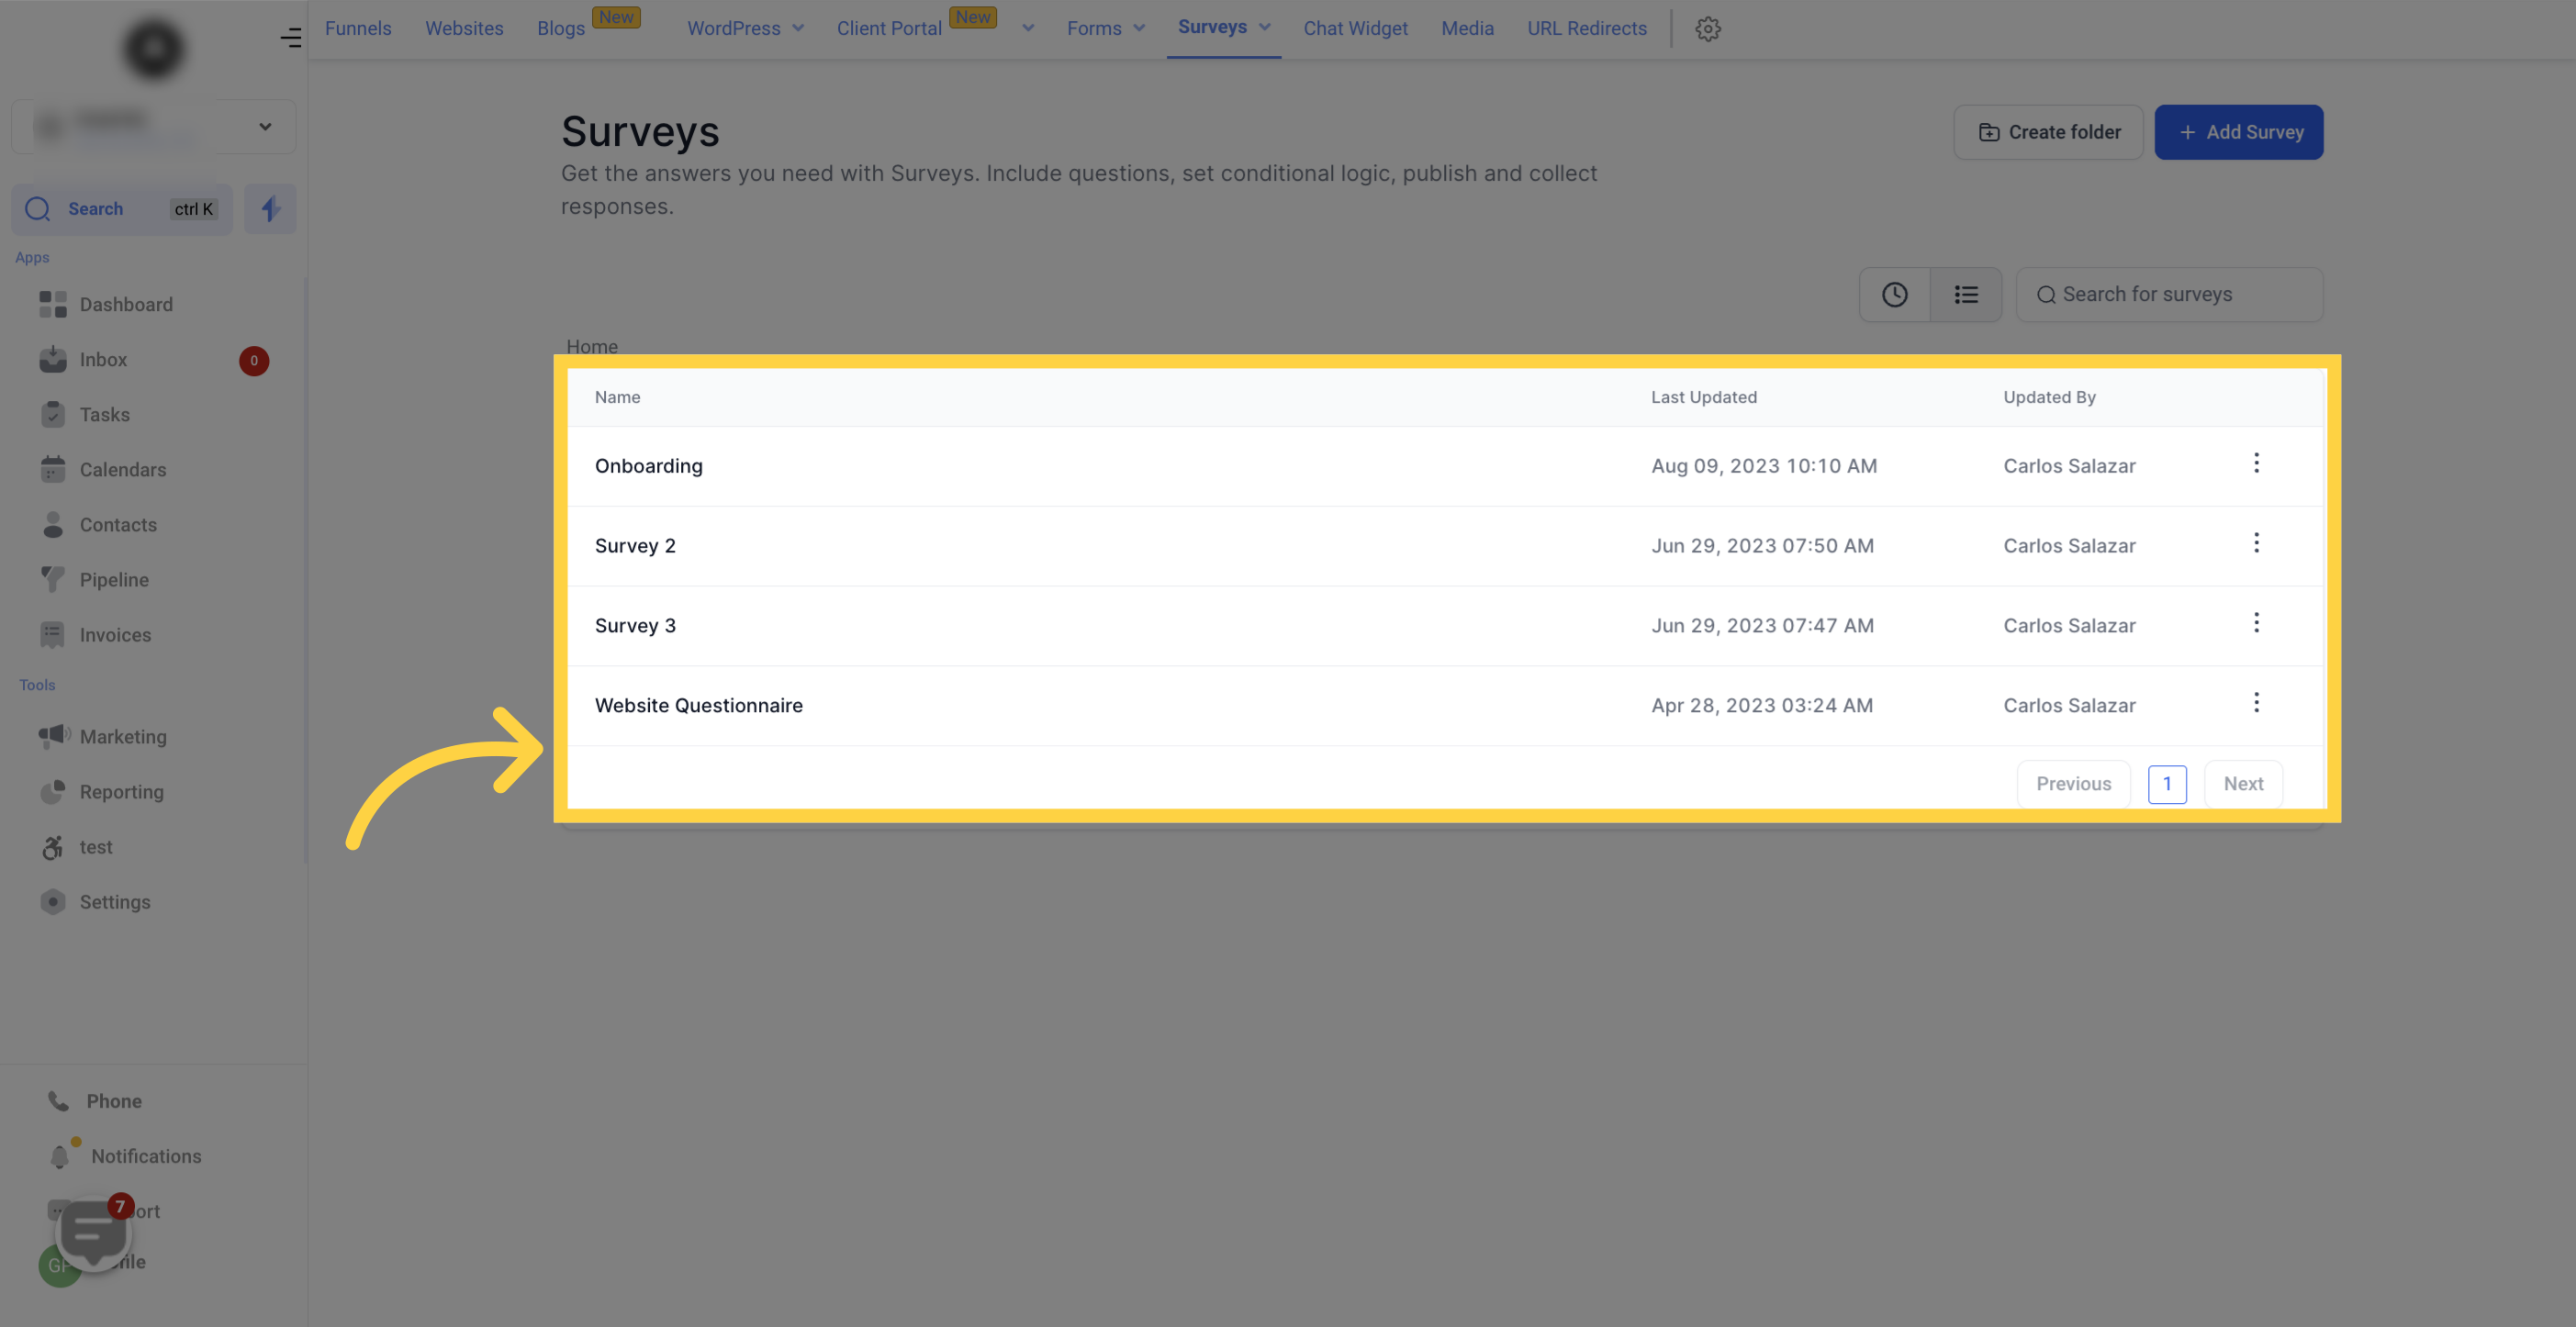
This section displays a list of all the surveys that have been created, along with their activities
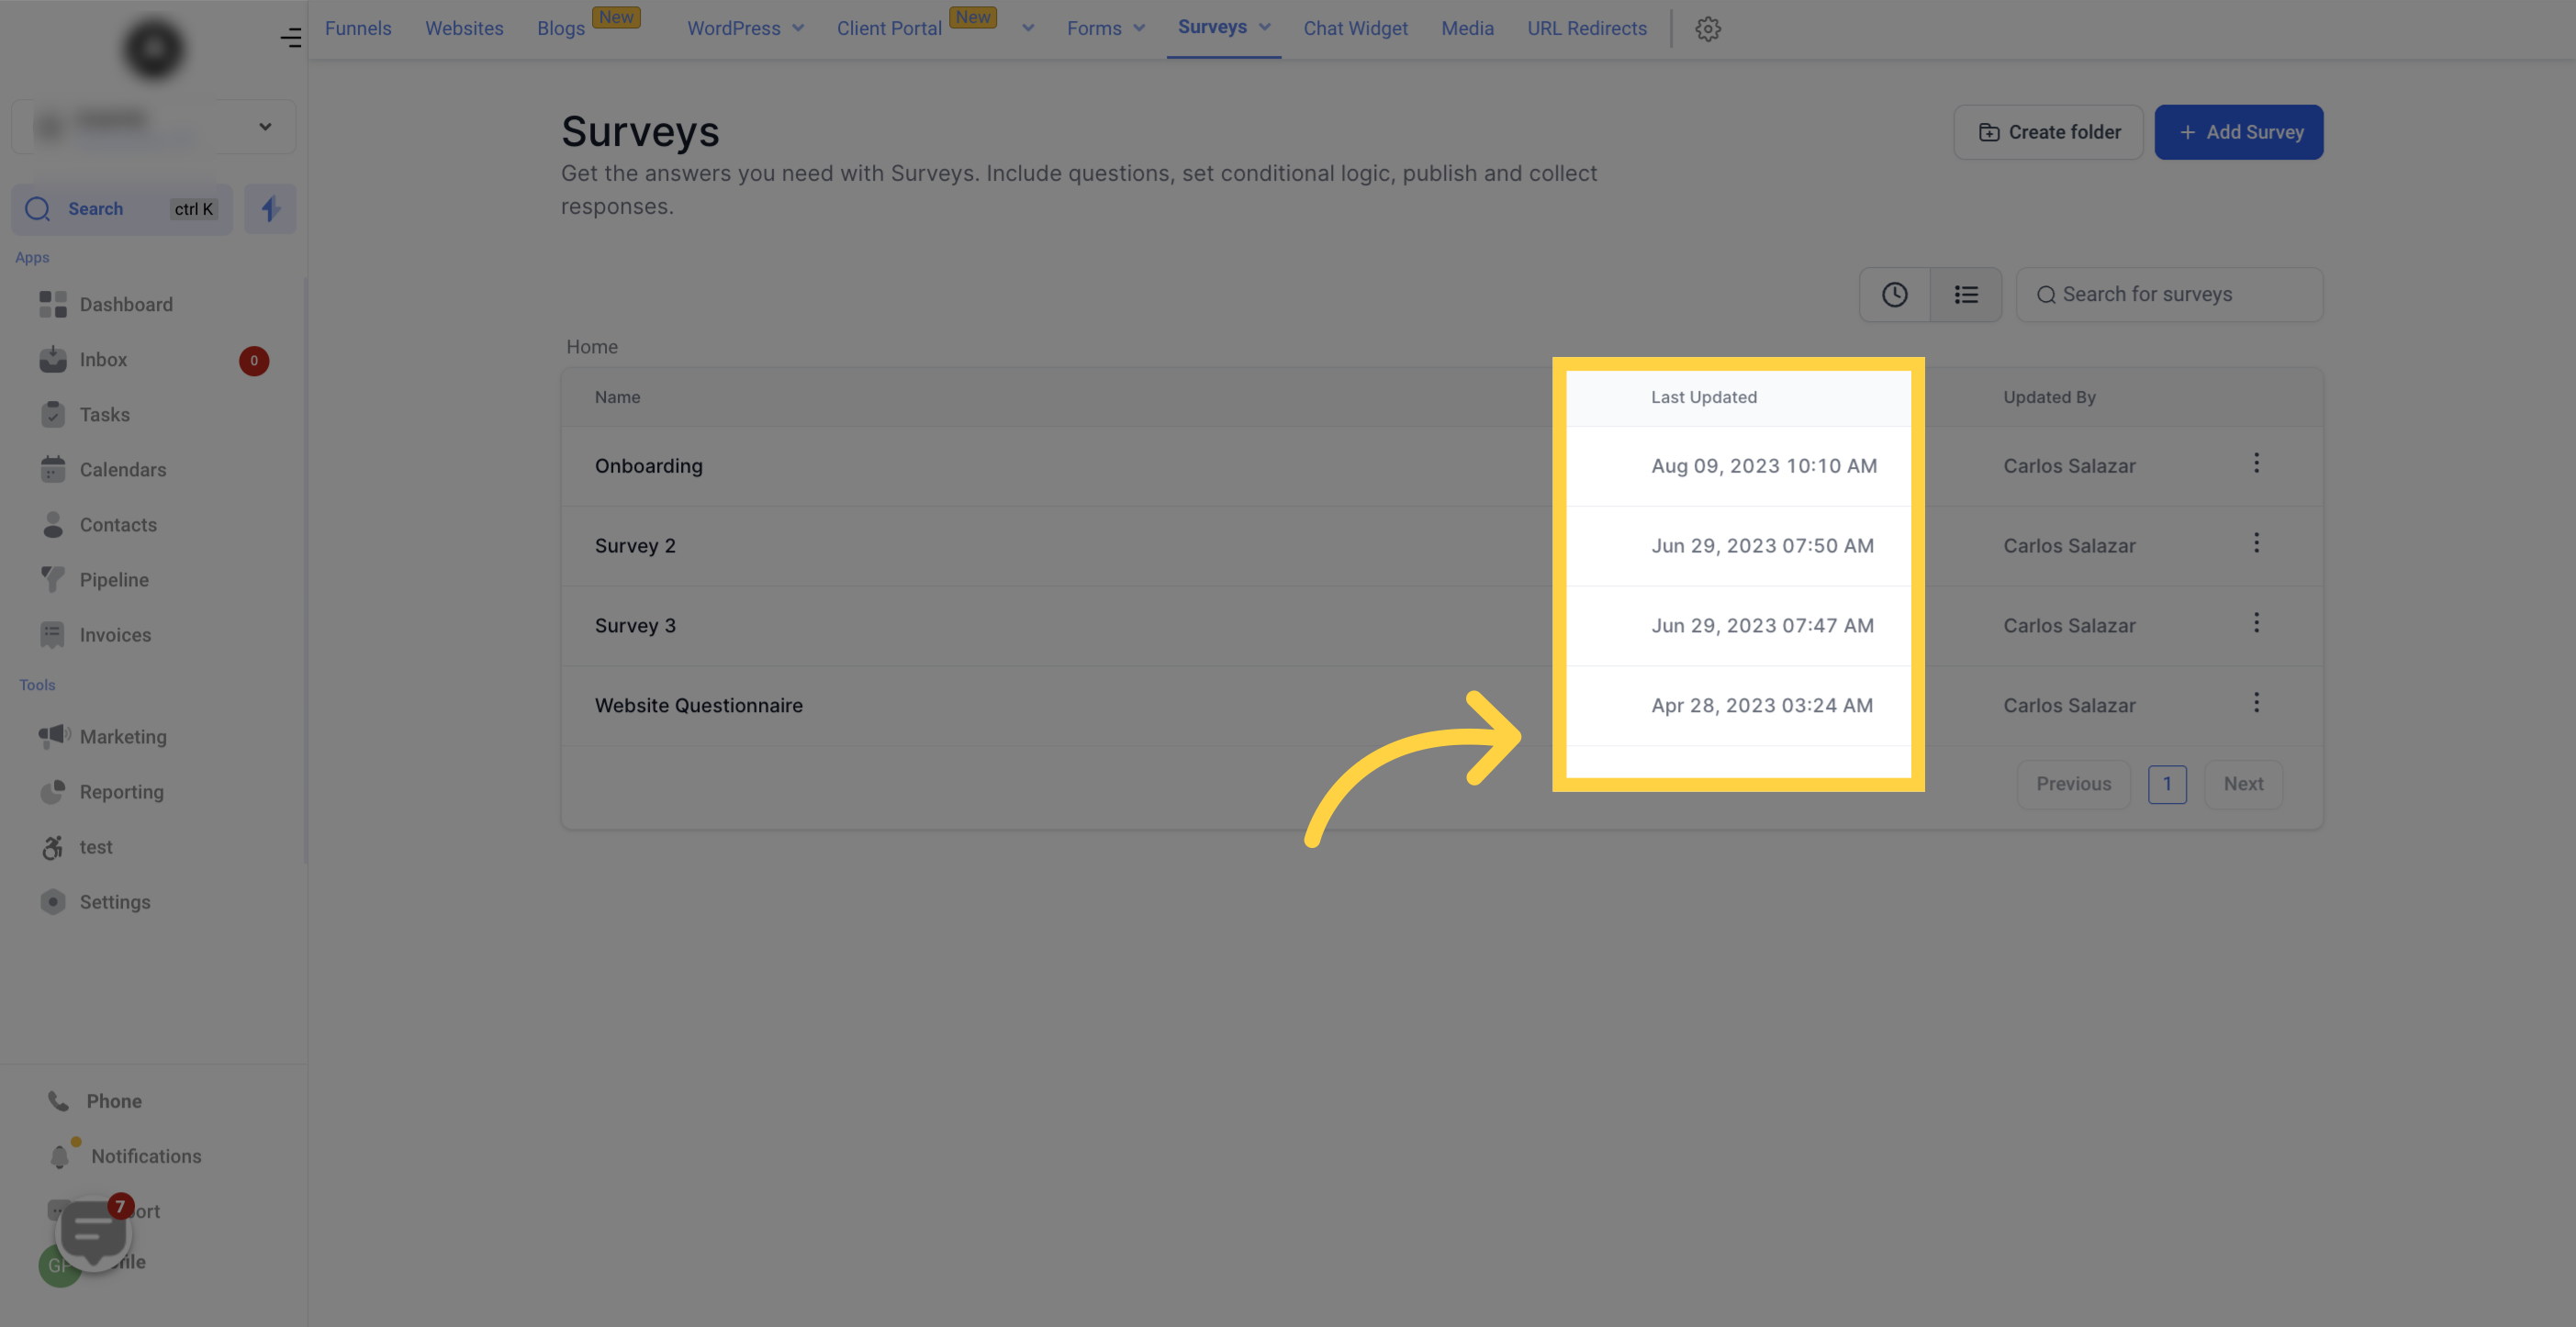
This column shows the name of each survey.

Here, you can see the date and time when each survey was last updated.
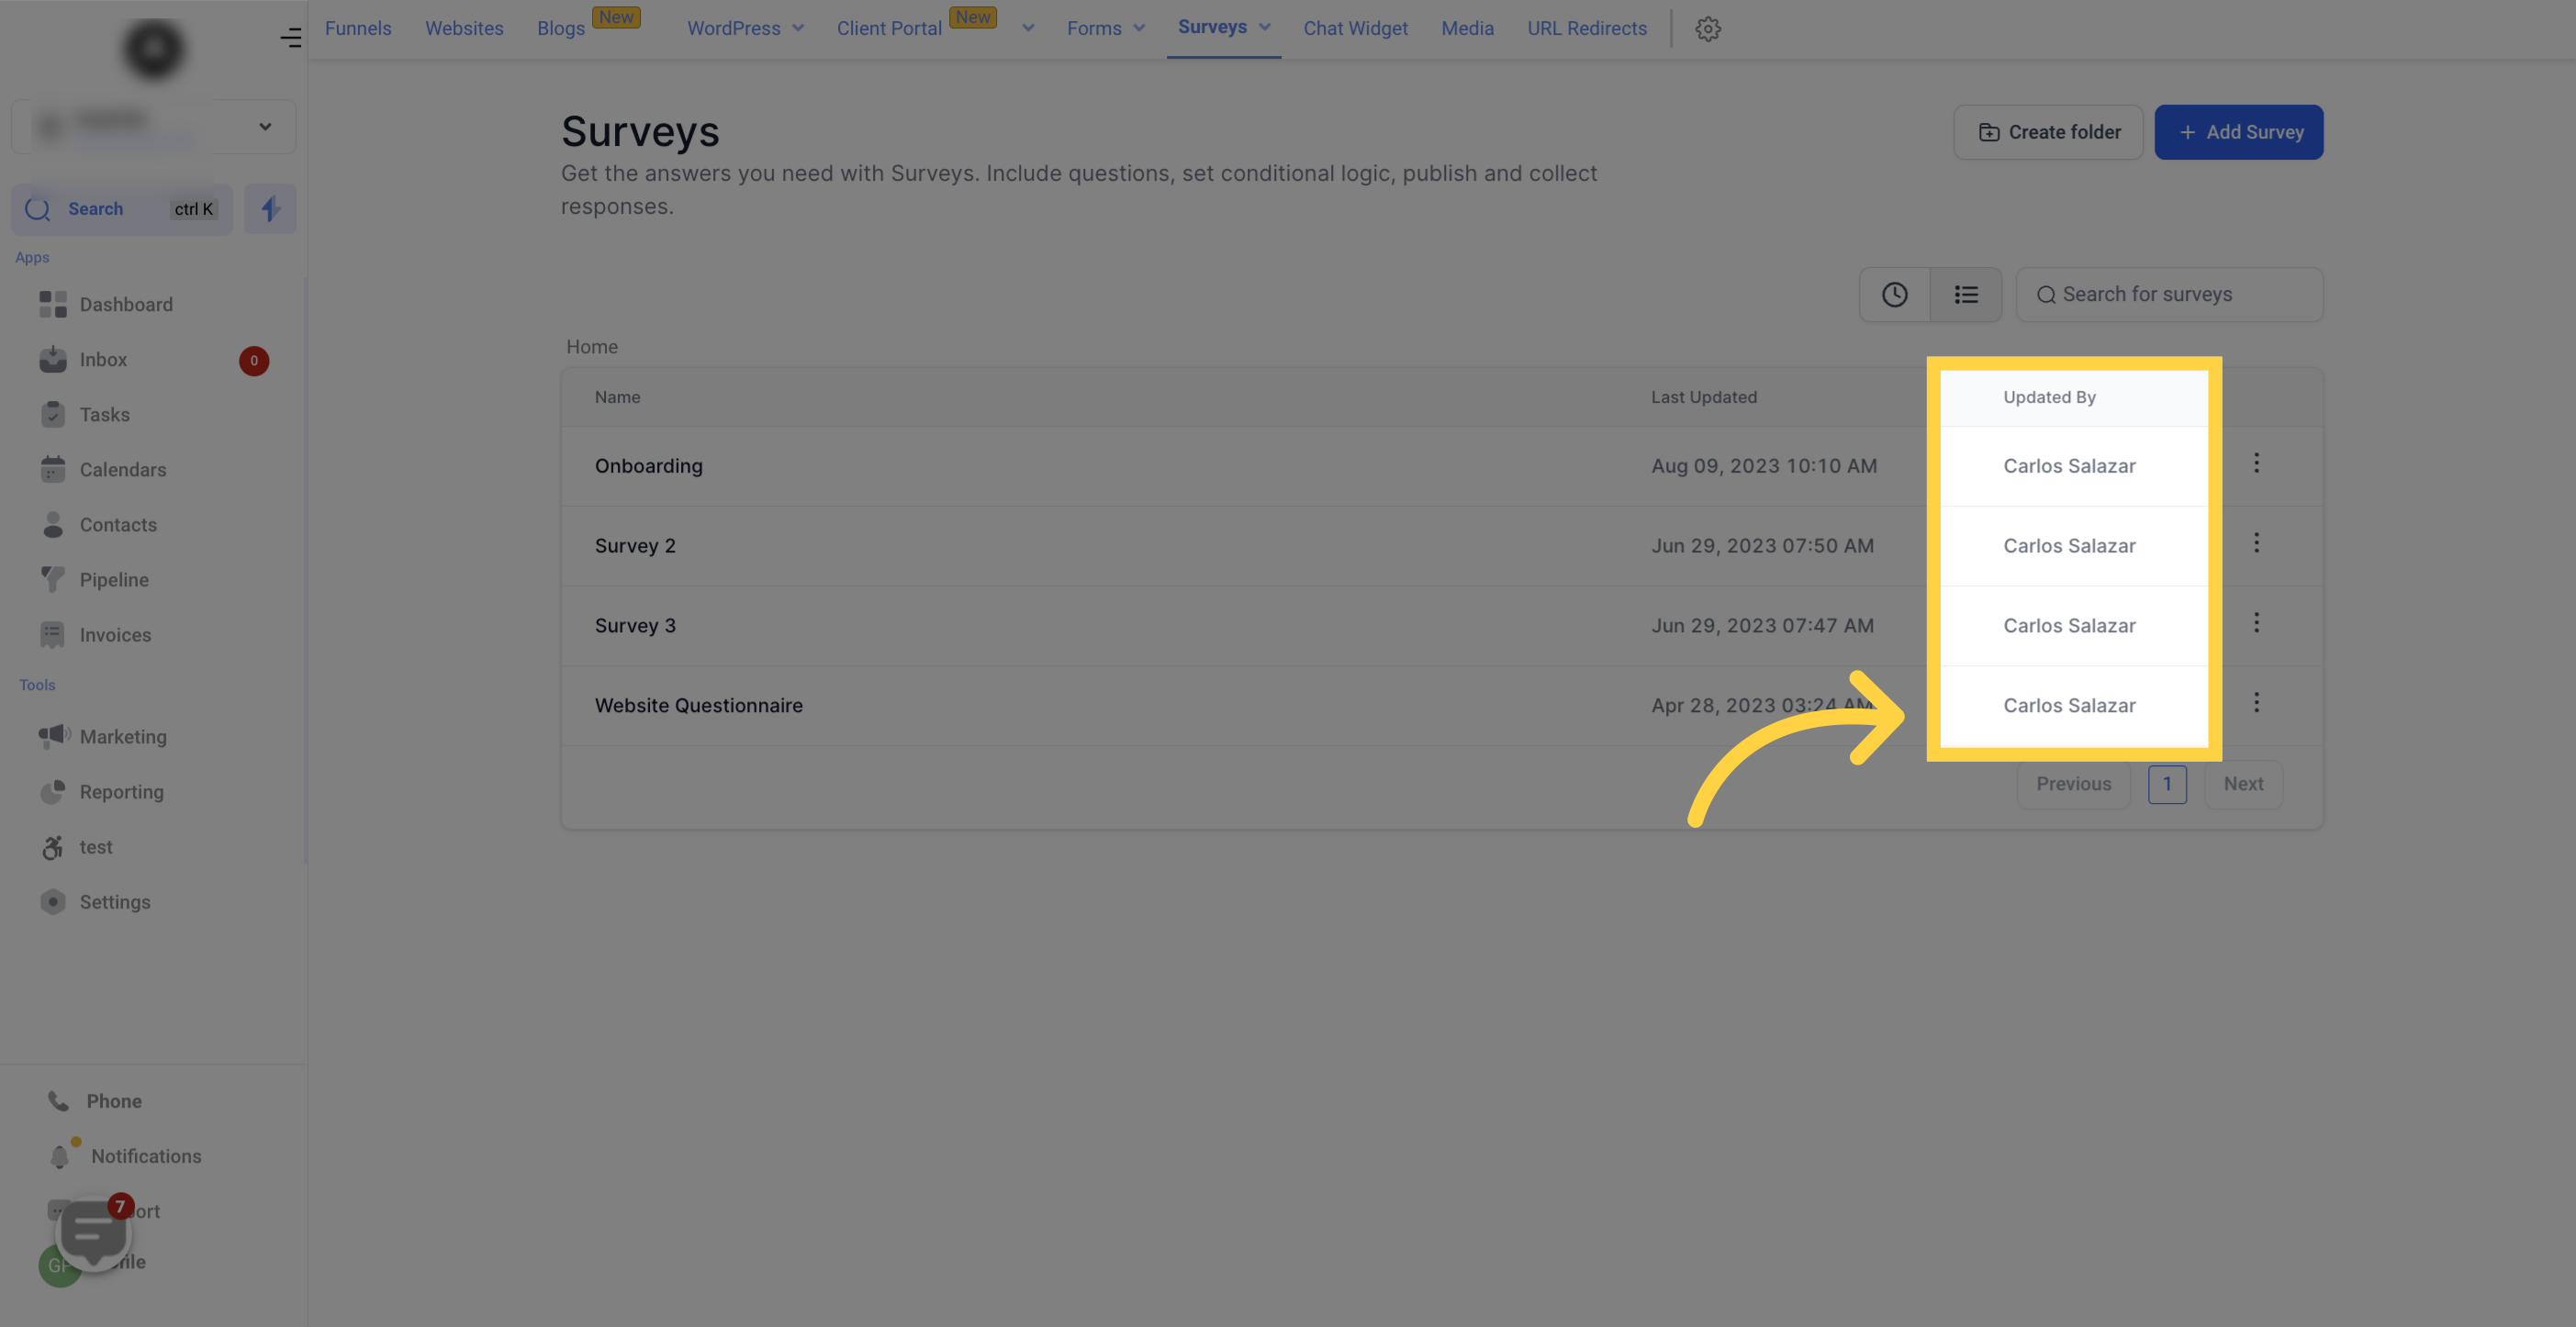
This column displays the names of the users who made the last update to each survey.
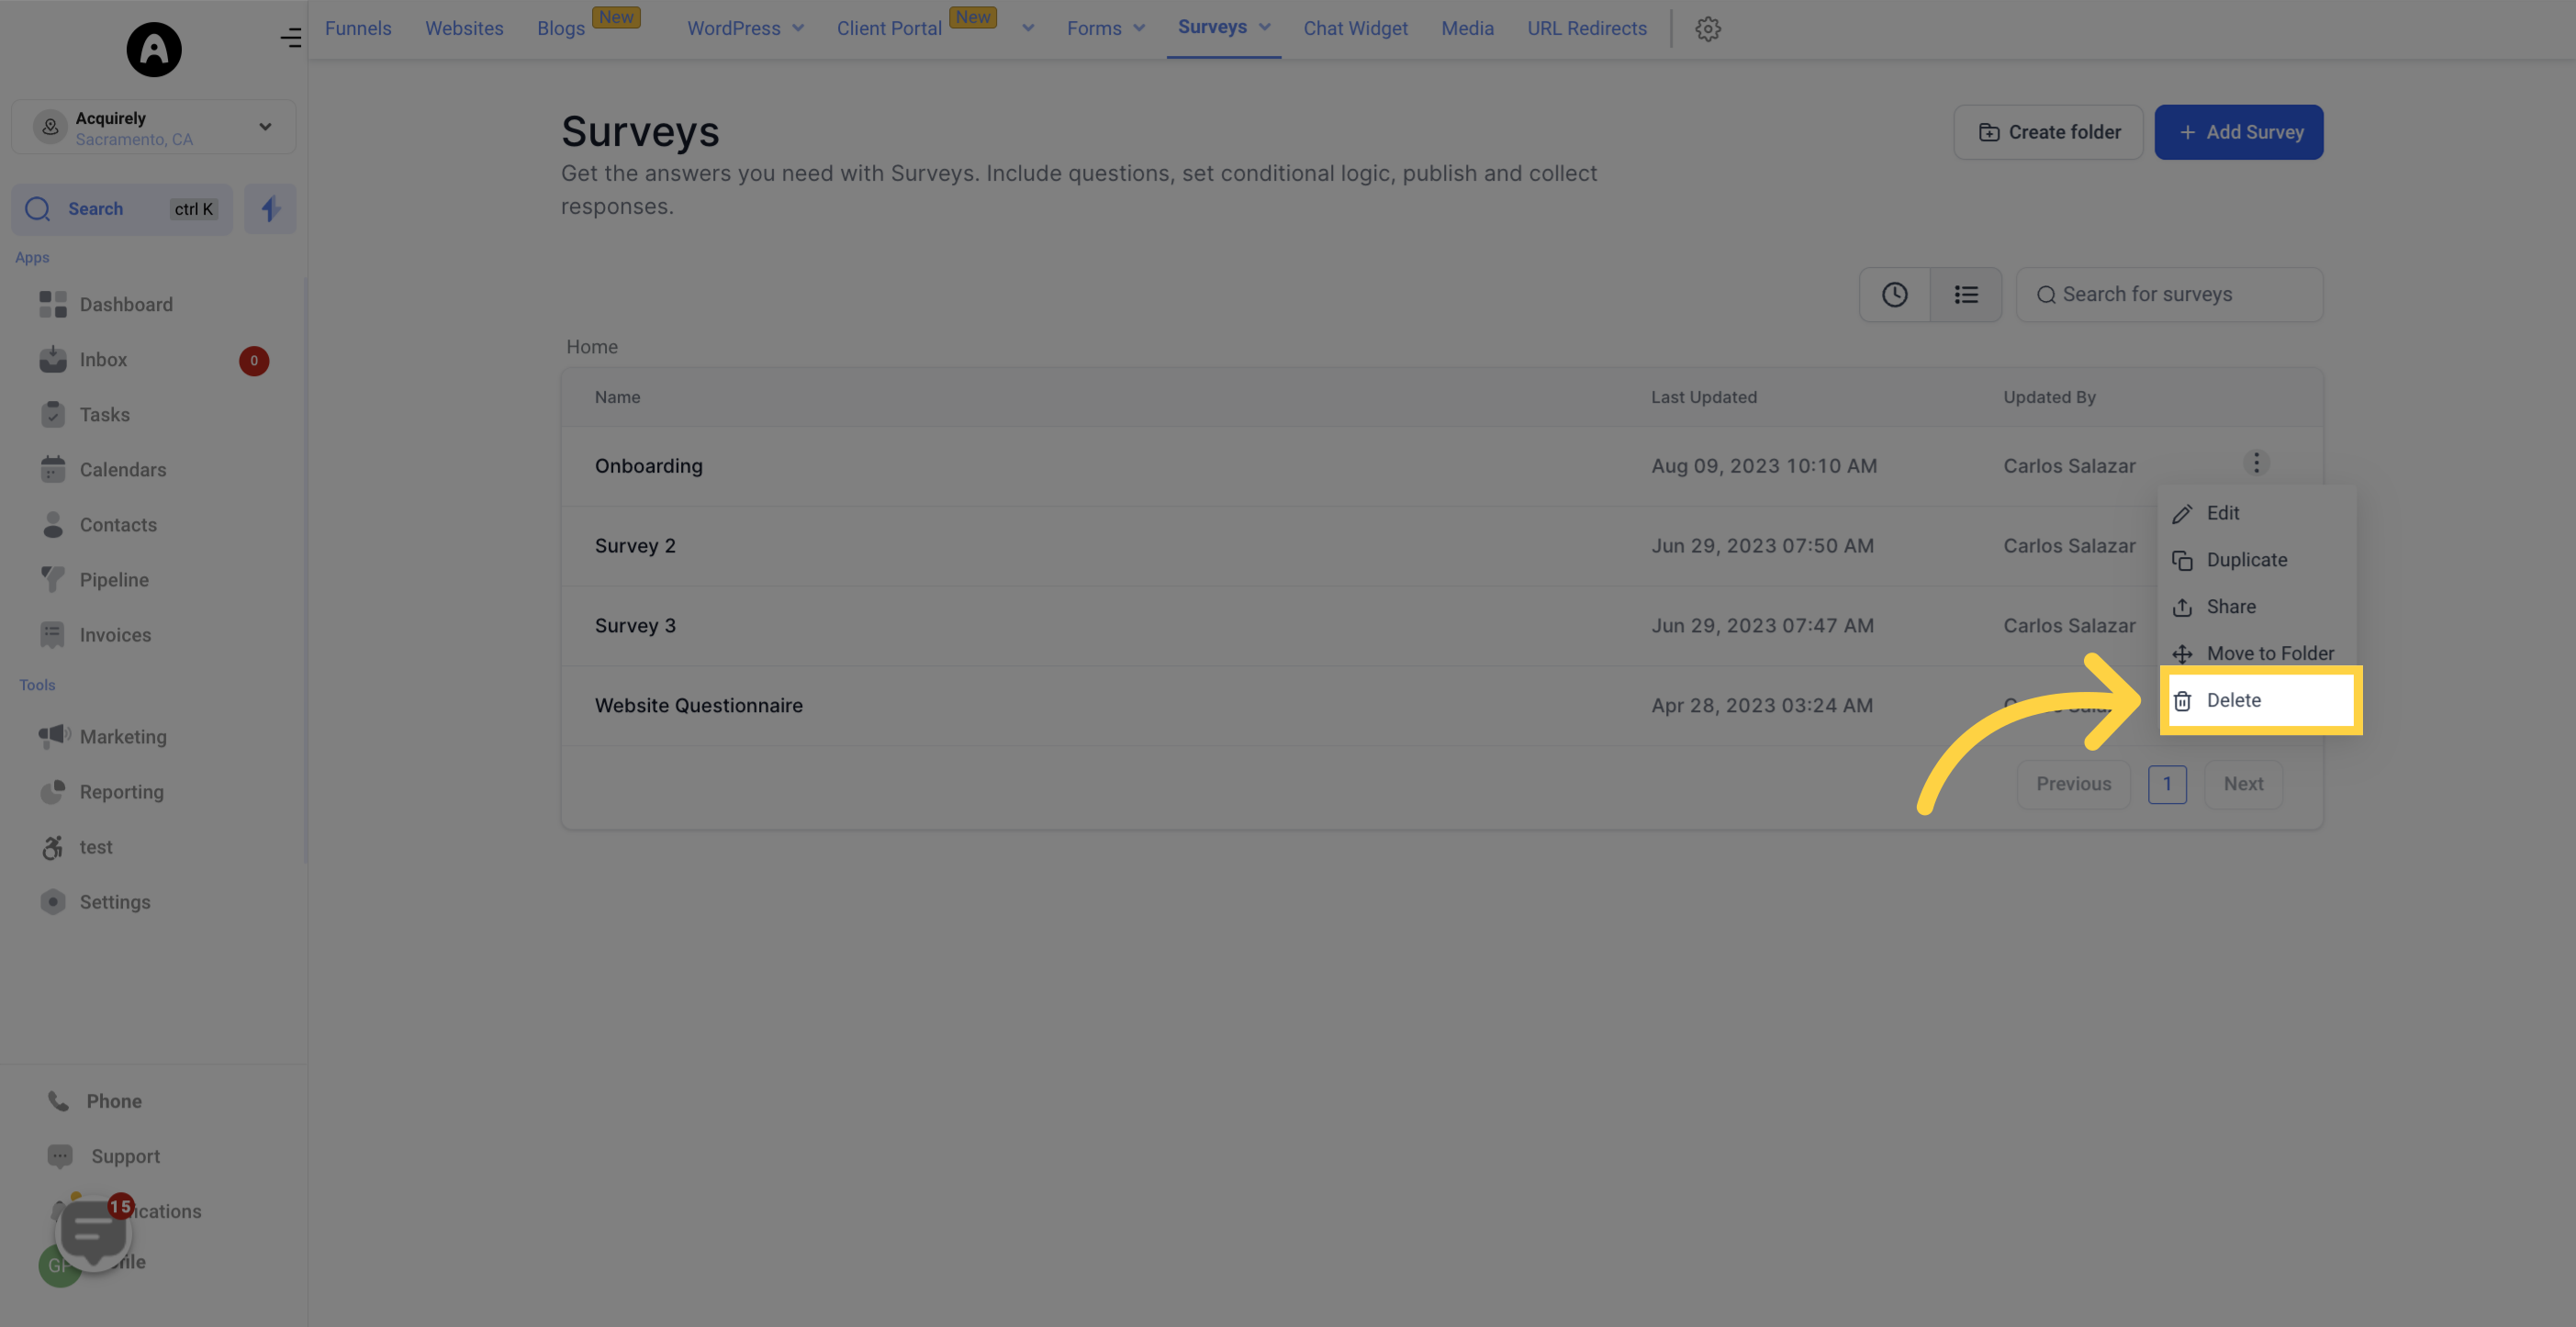
You have several options under this button:
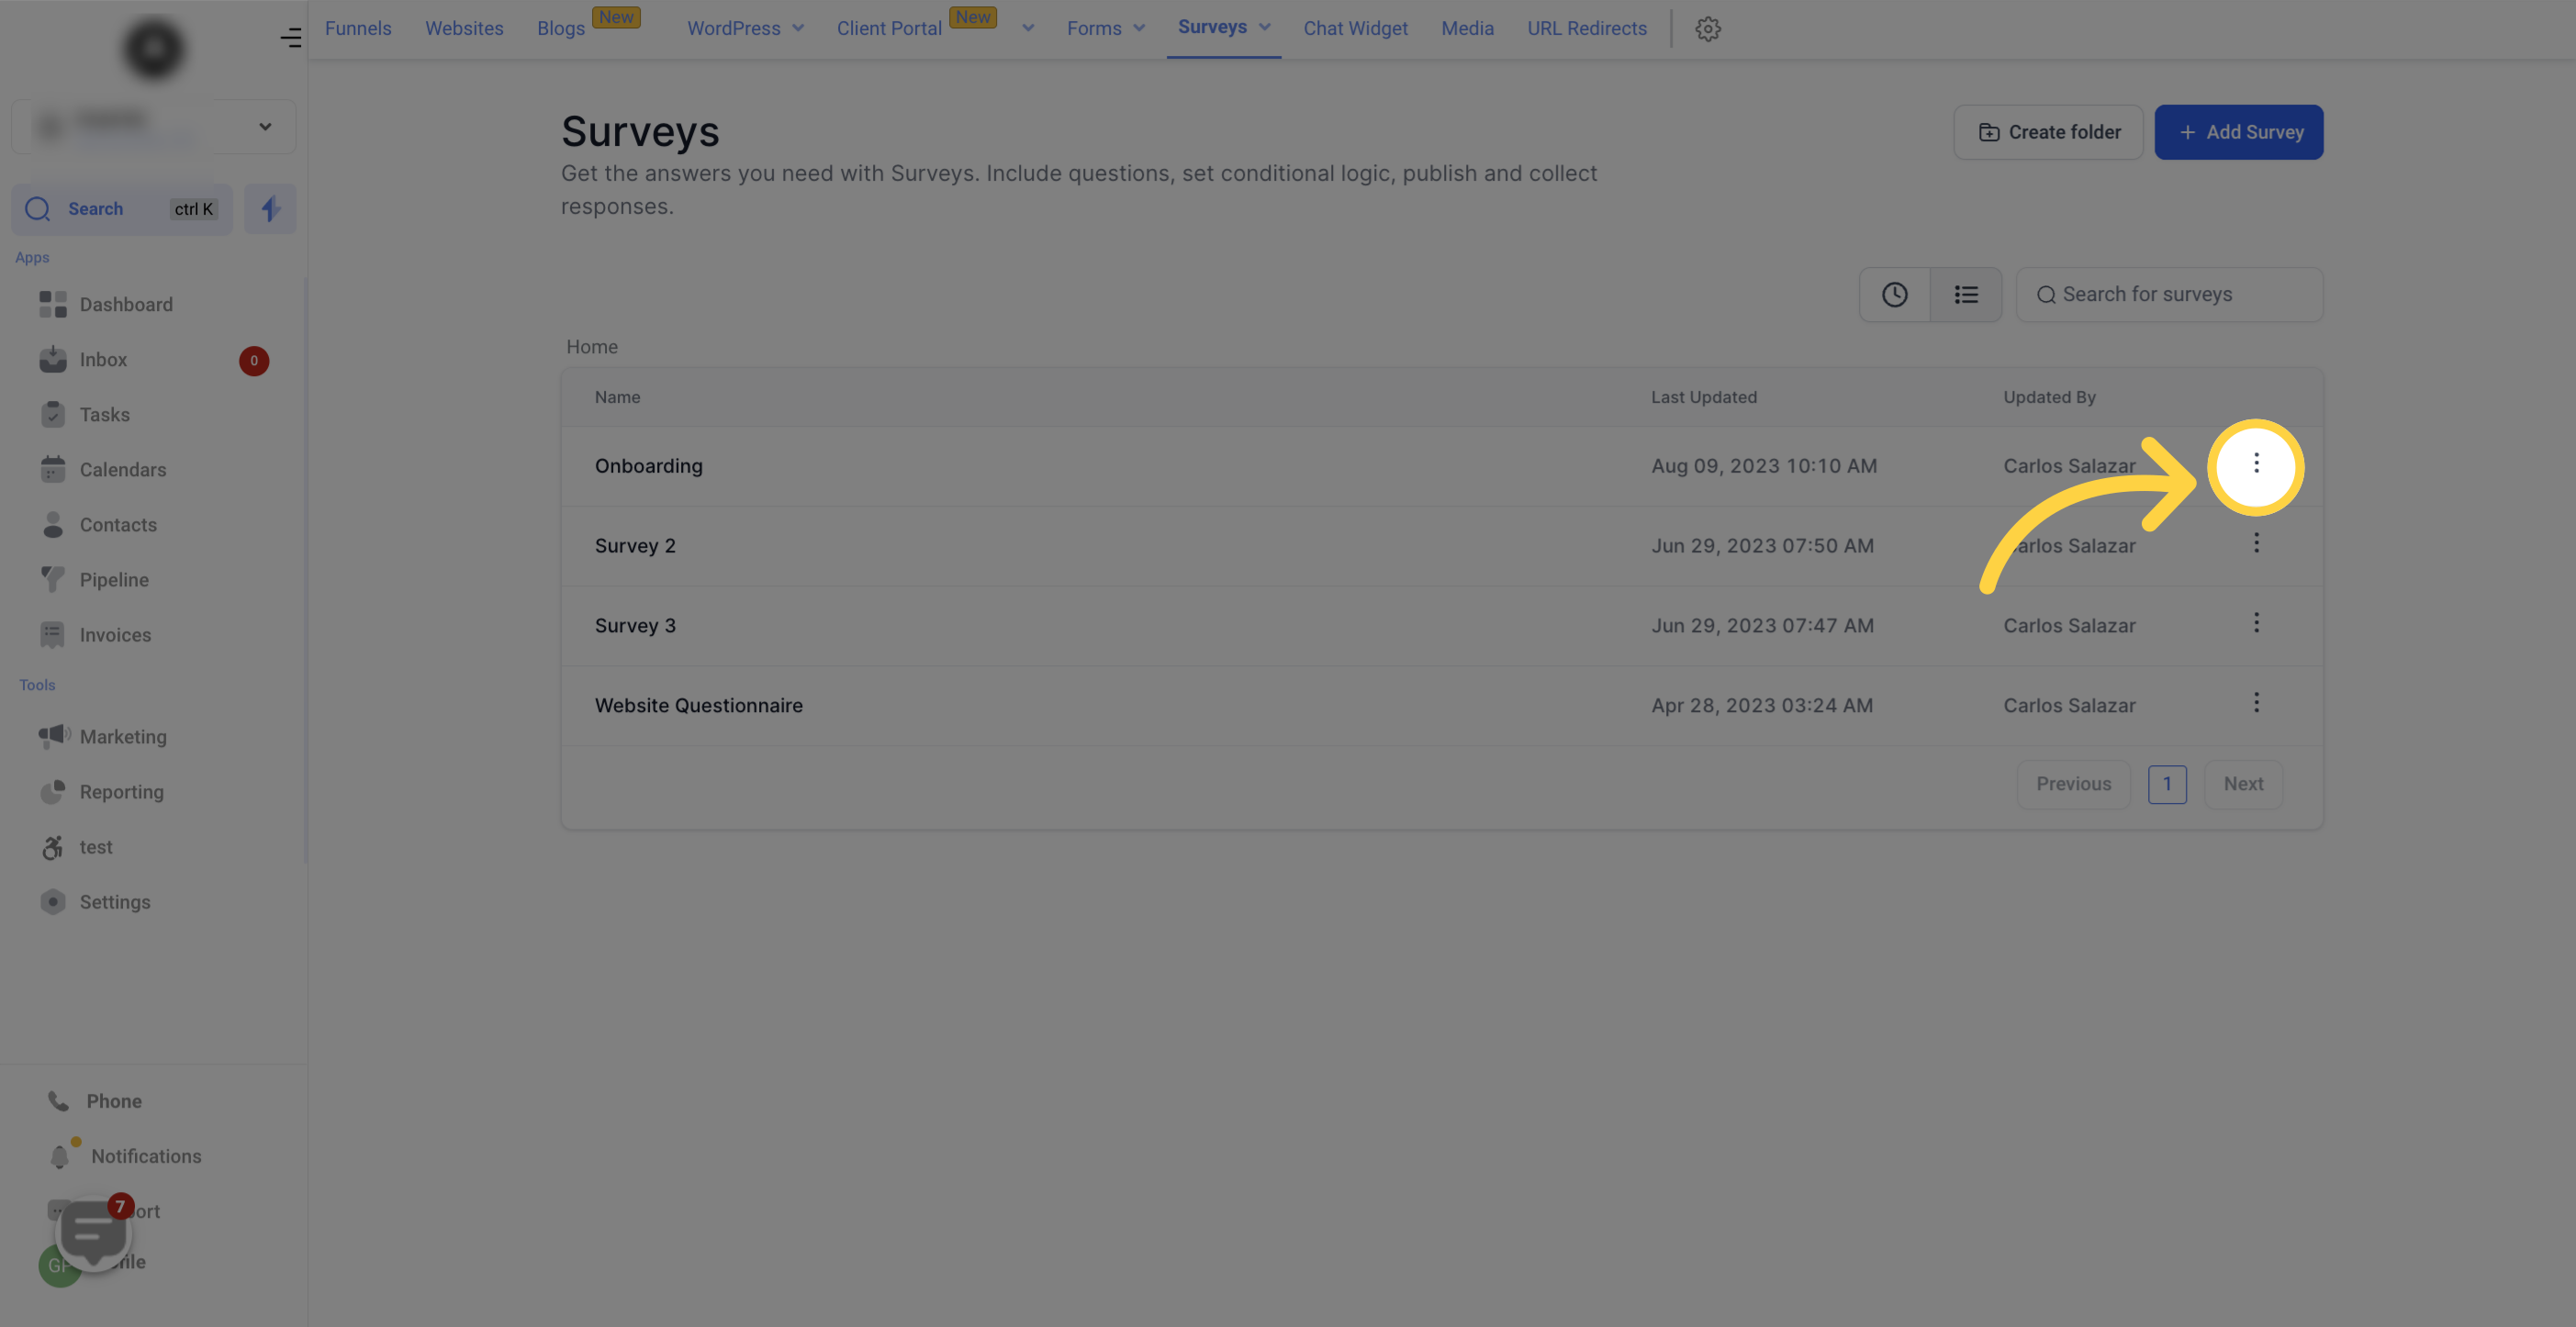
Click here to make changes to an existing survey.
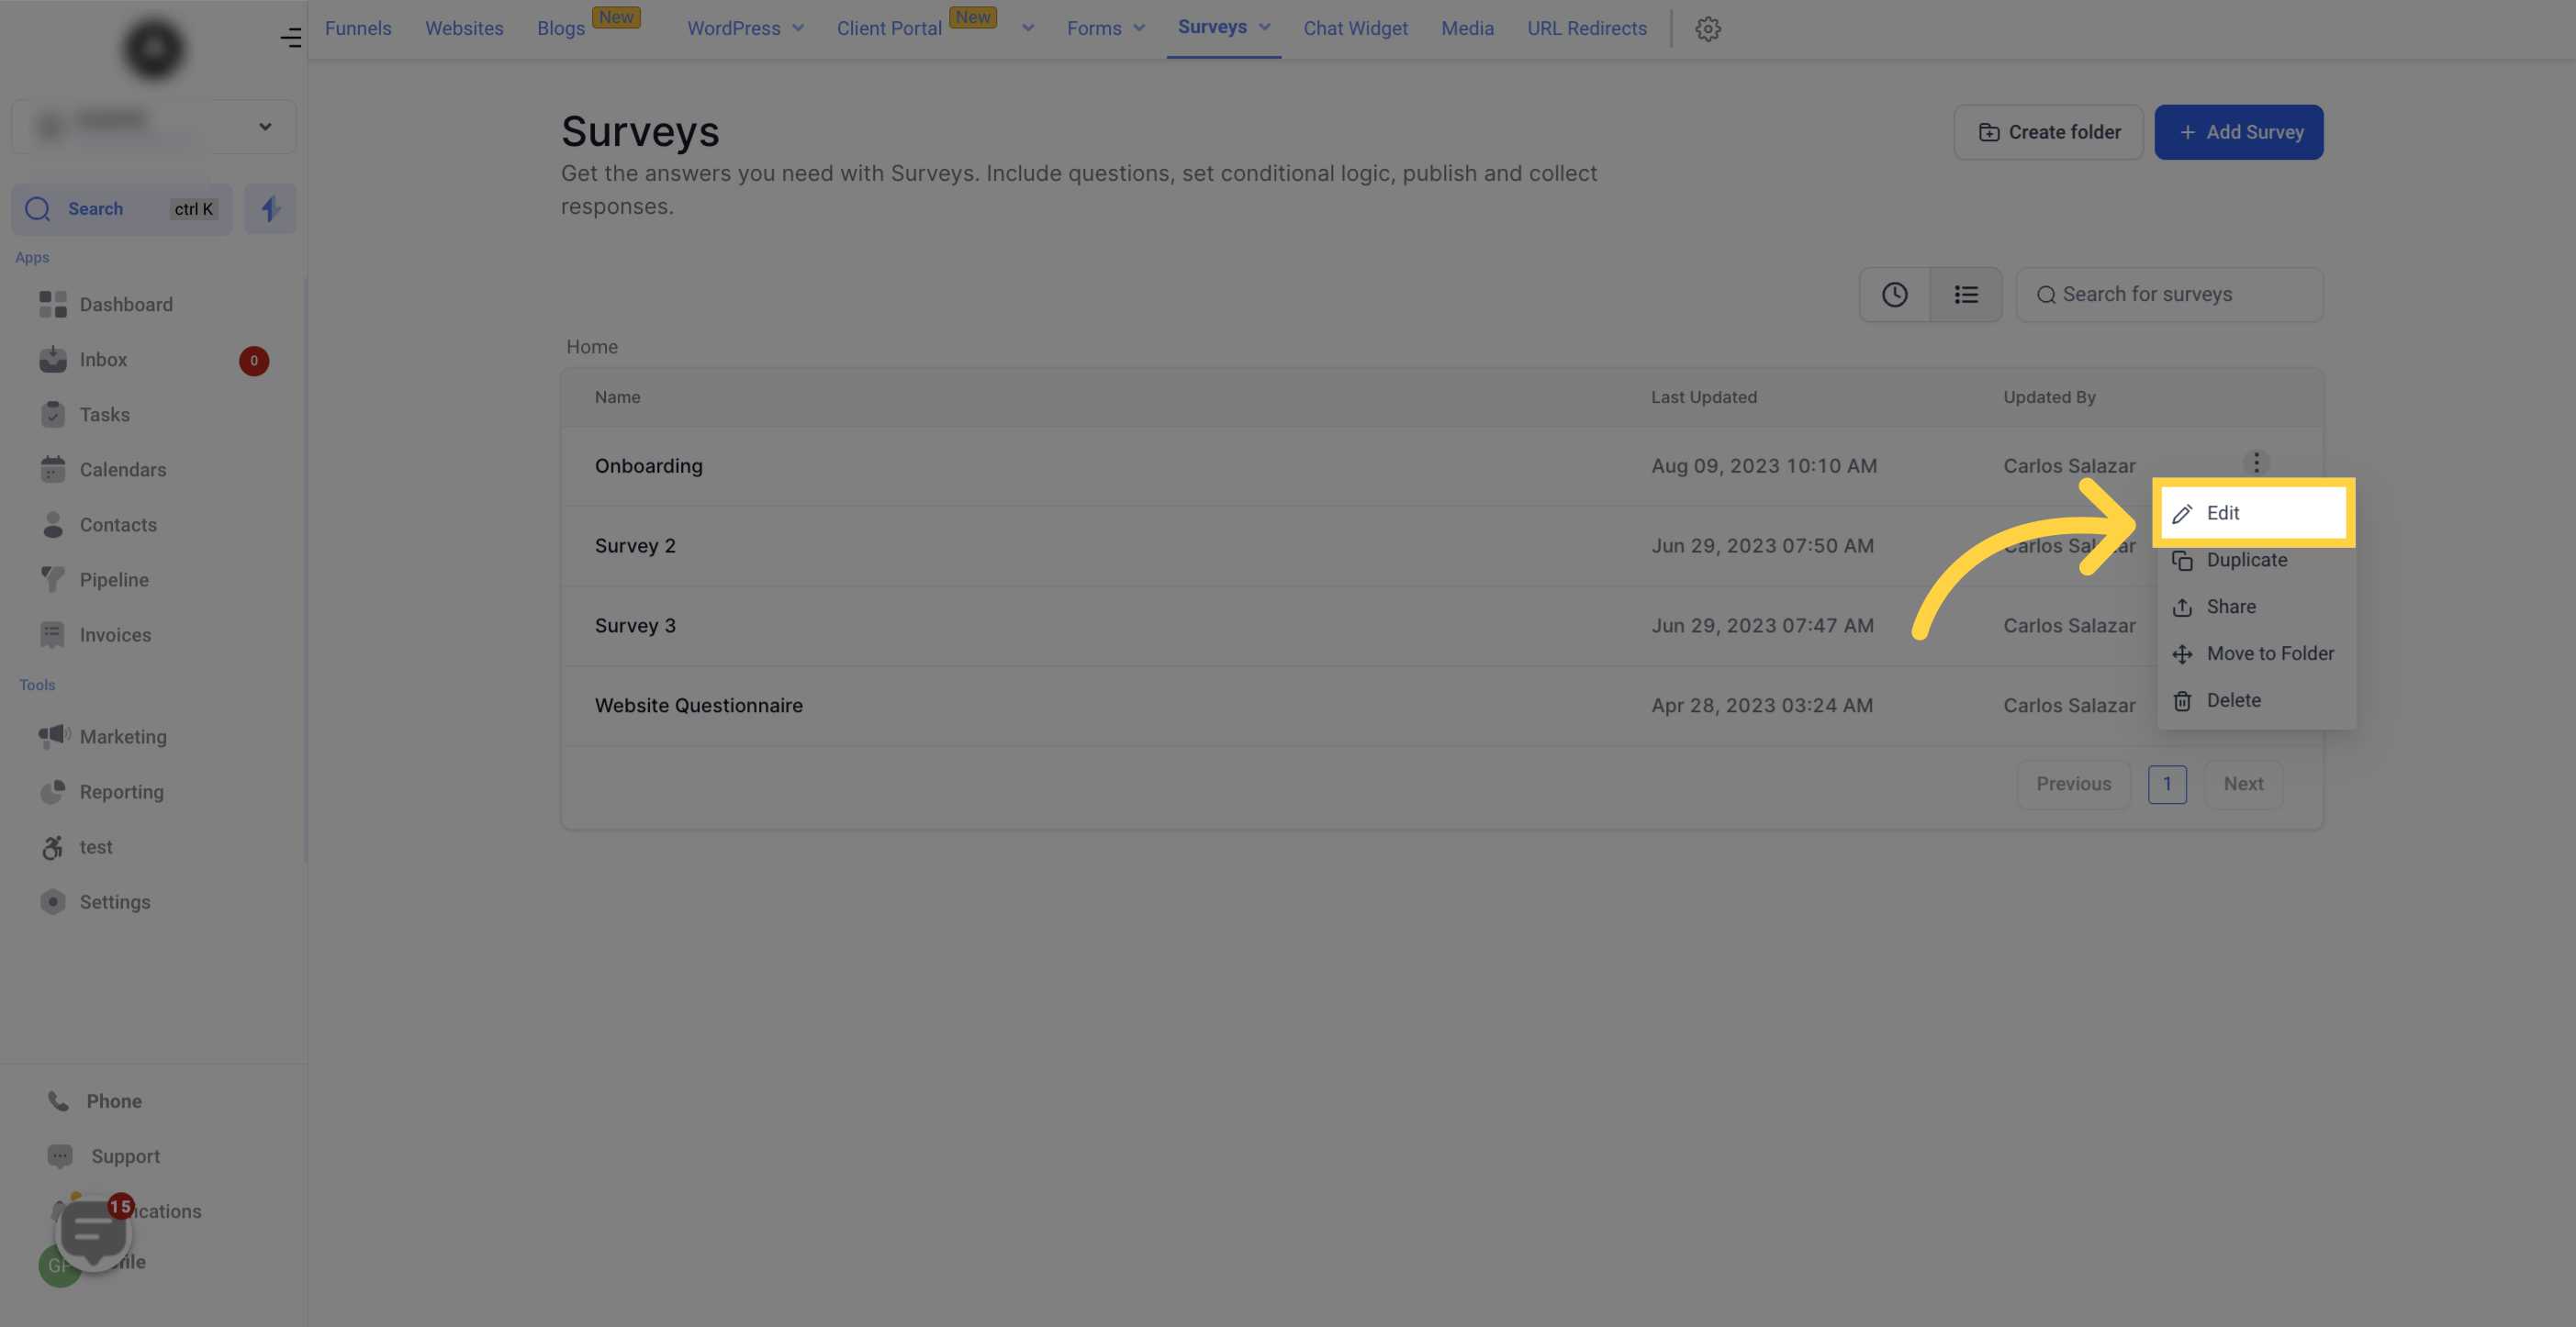
Use this option to create a copy of a survey.
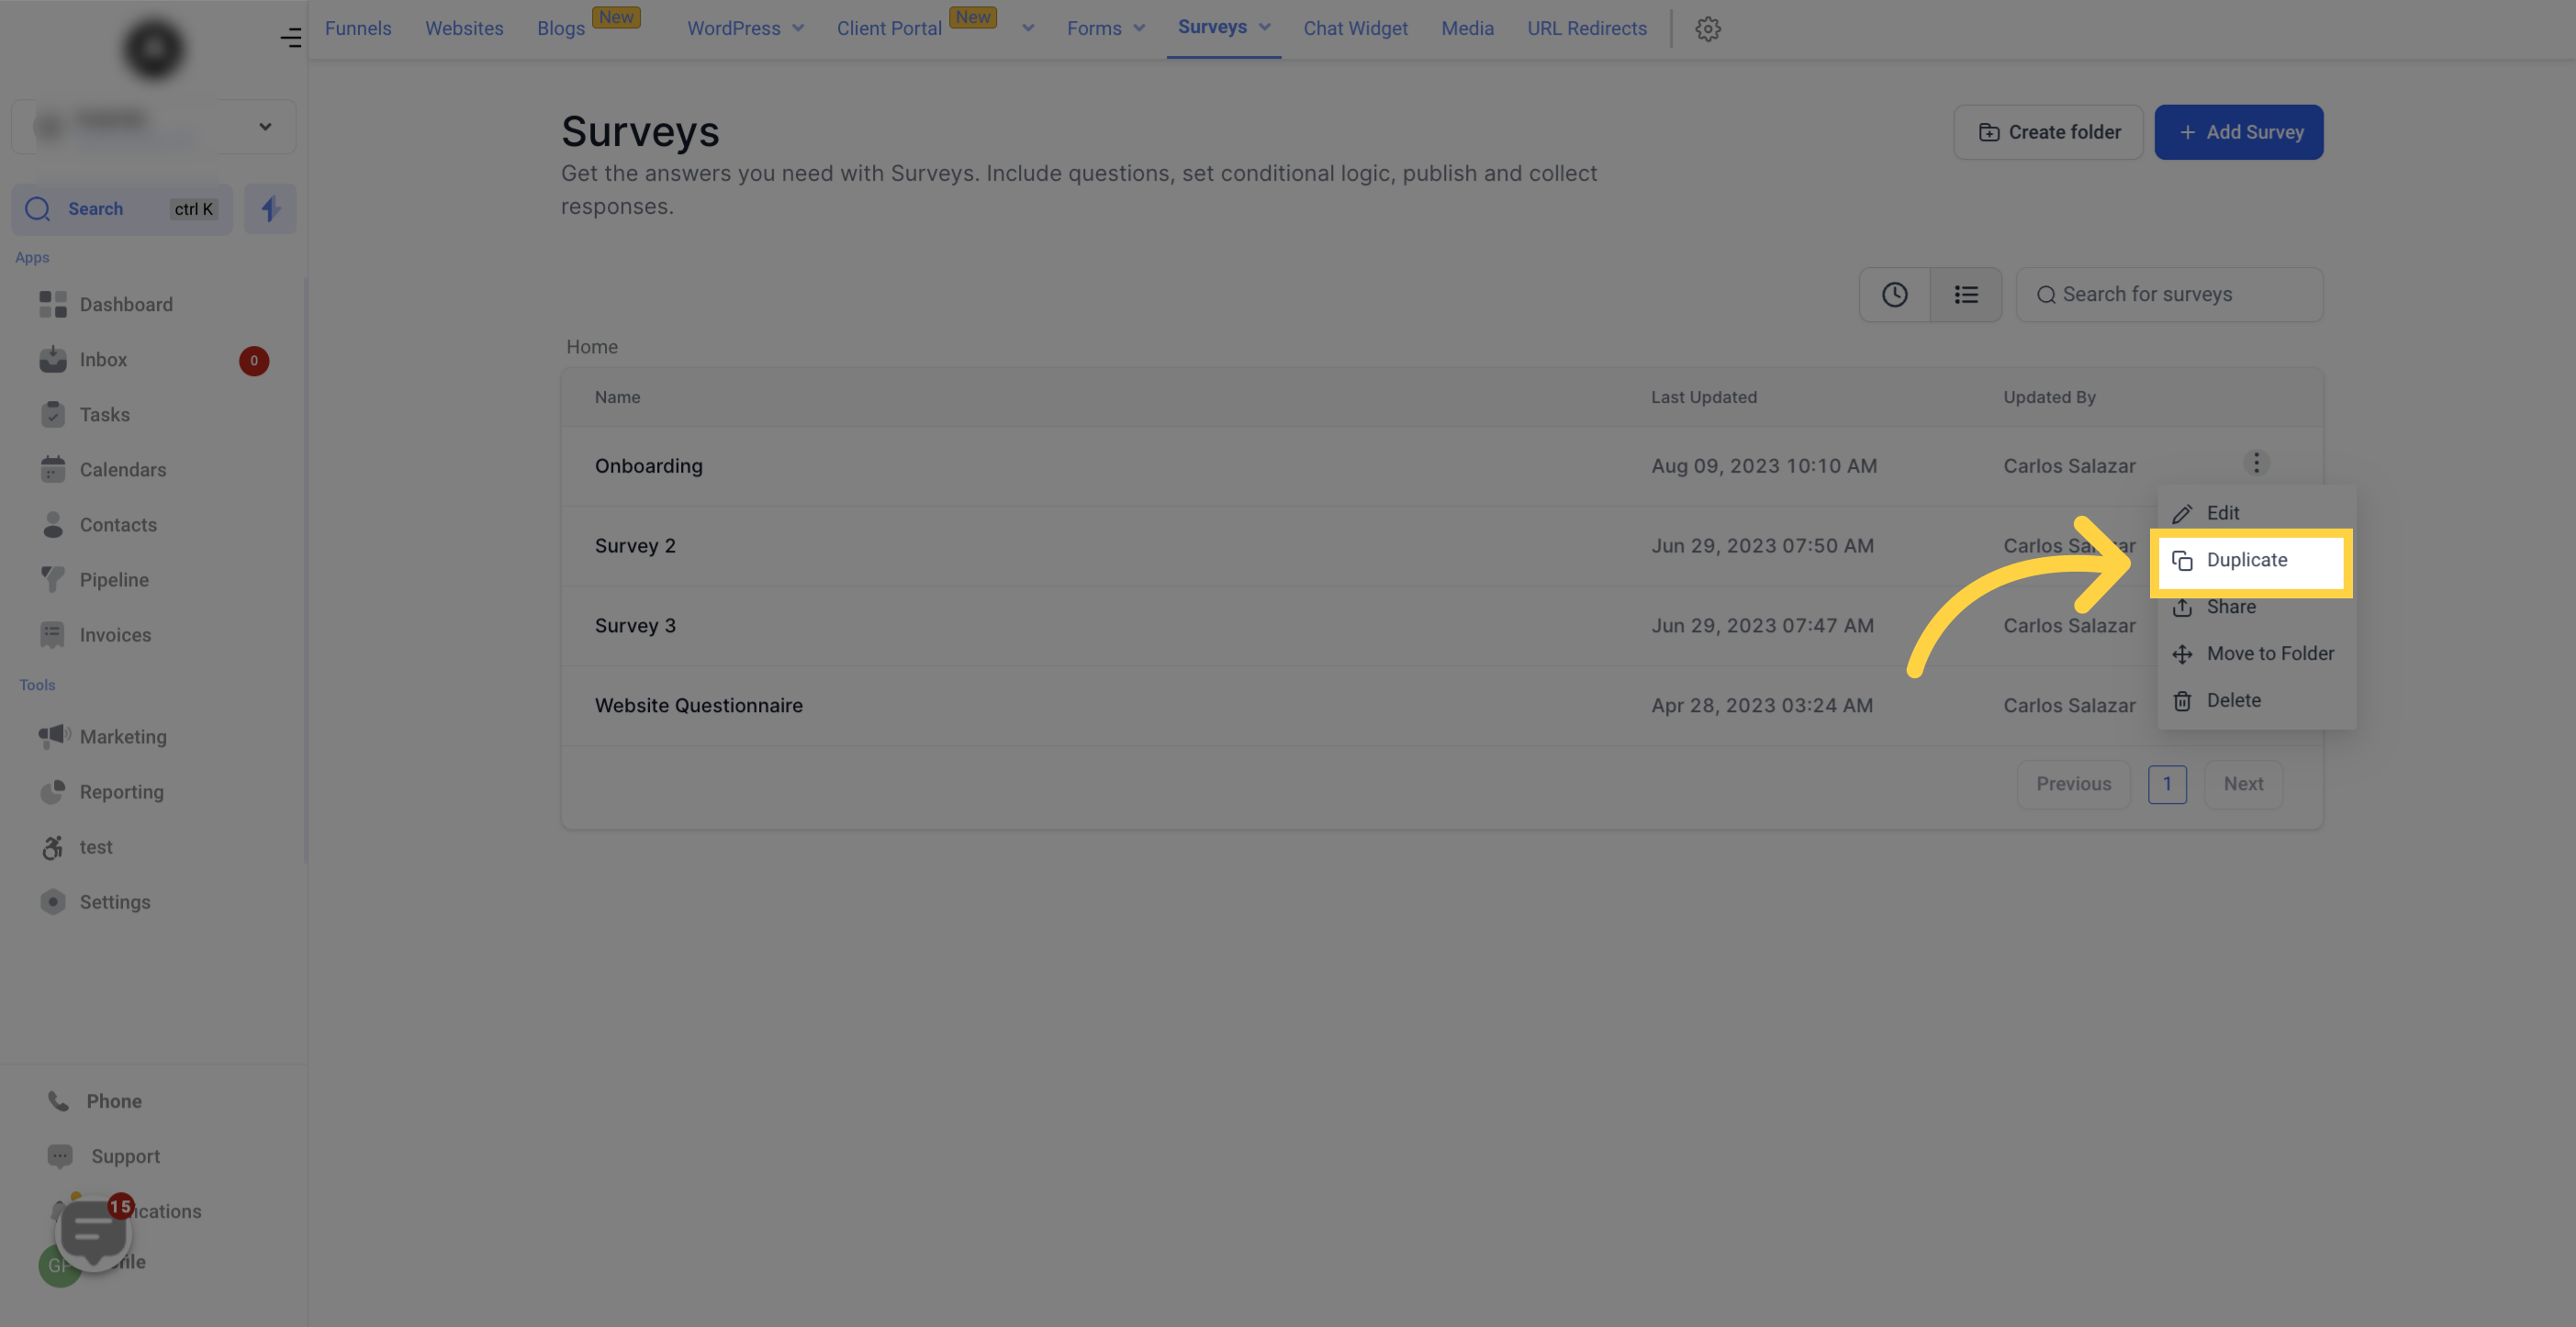
If you want to share a survey from this location or another within your CRM, click on the "Share" button and choose the desired location.
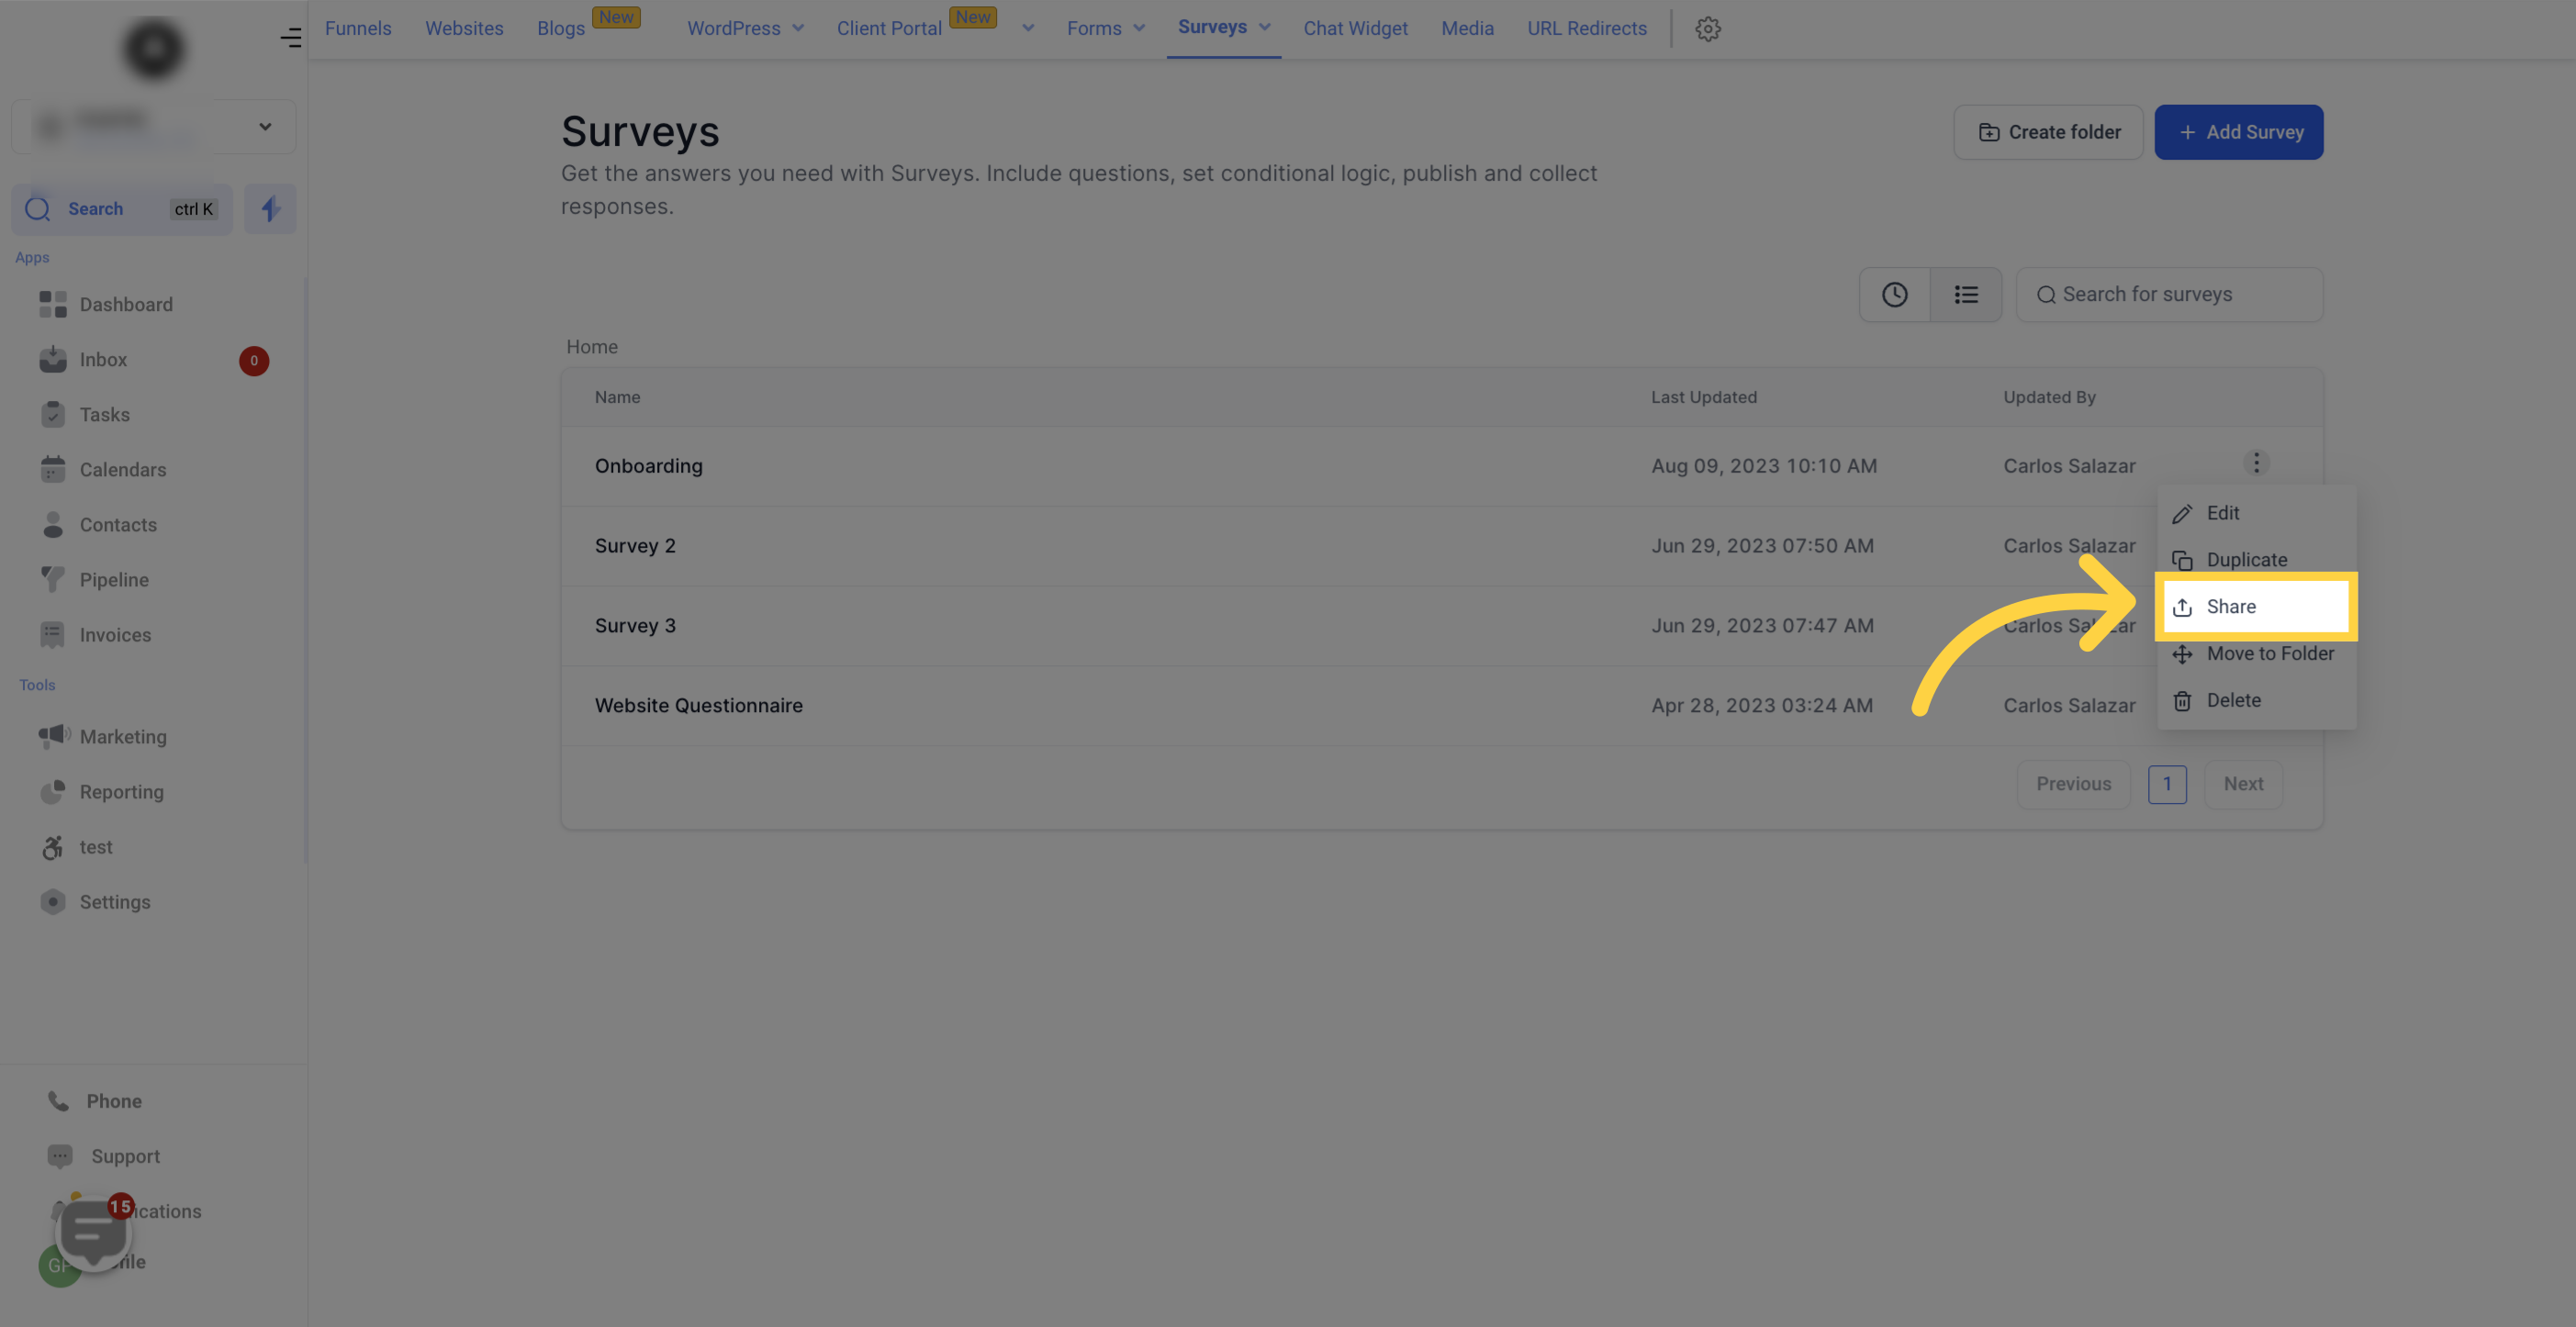
Easily organize your surveys by moving them to different folders. Simply click on this button and select the desired folder.
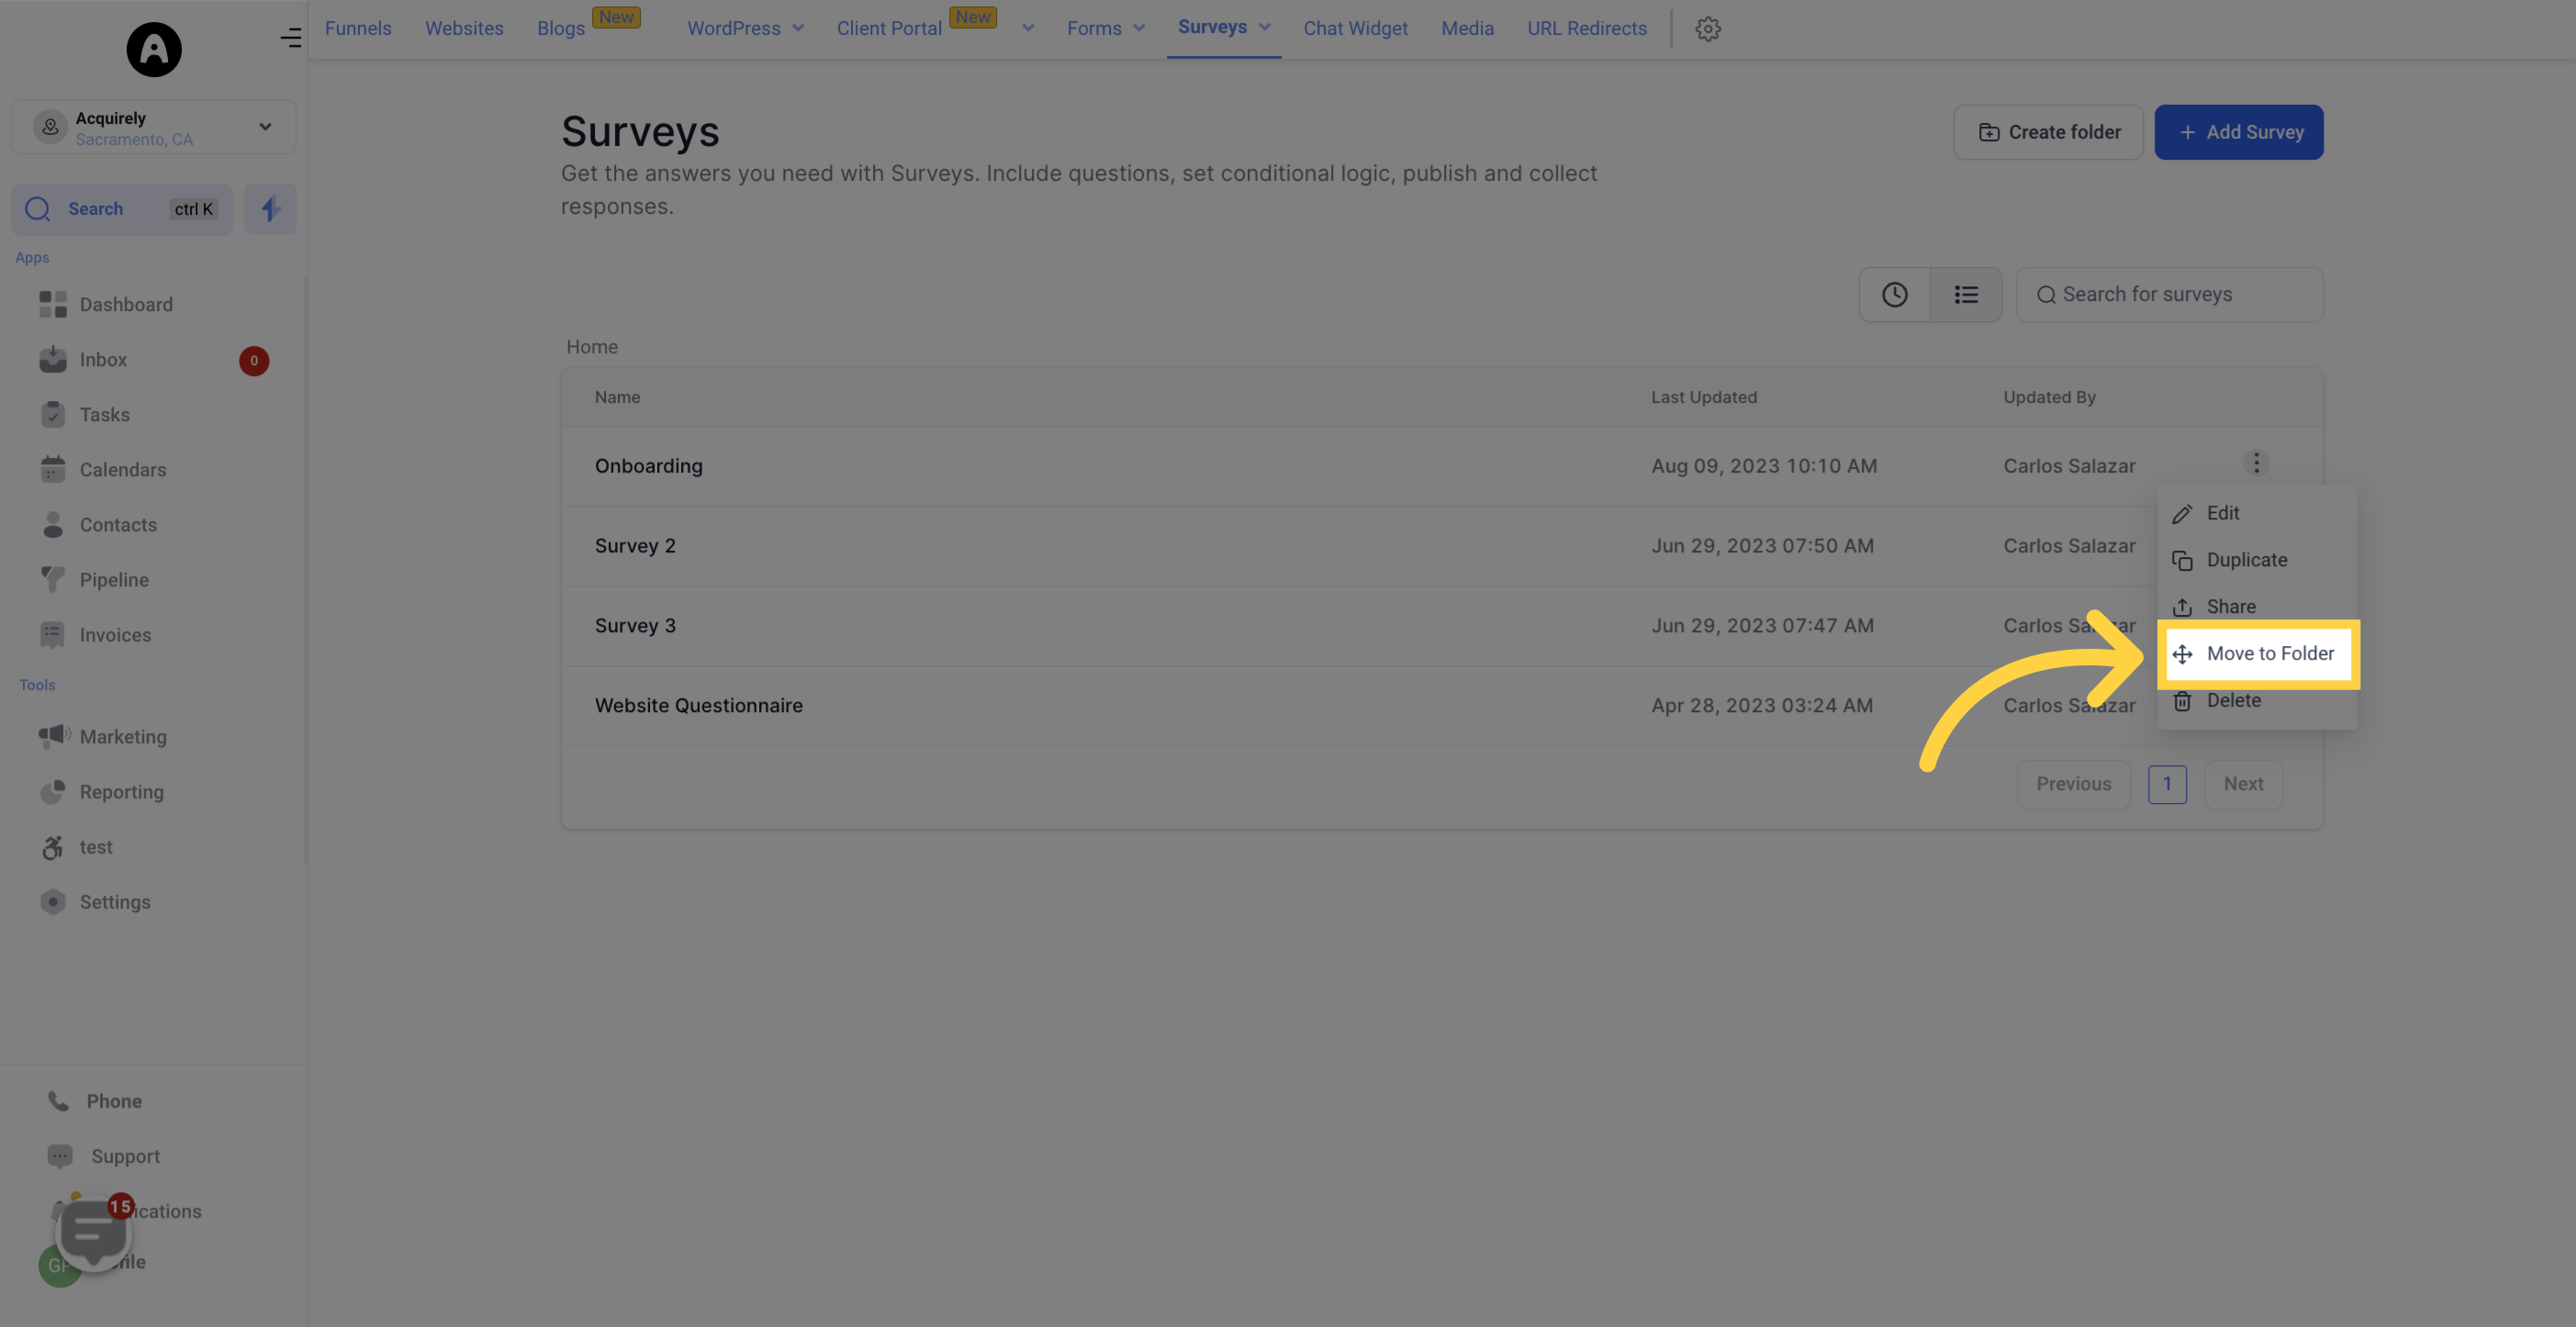
If you wish to remove a survey permanently, you can select the "Delete" option. Please be aware that deleted surveys cannot be recovered.
