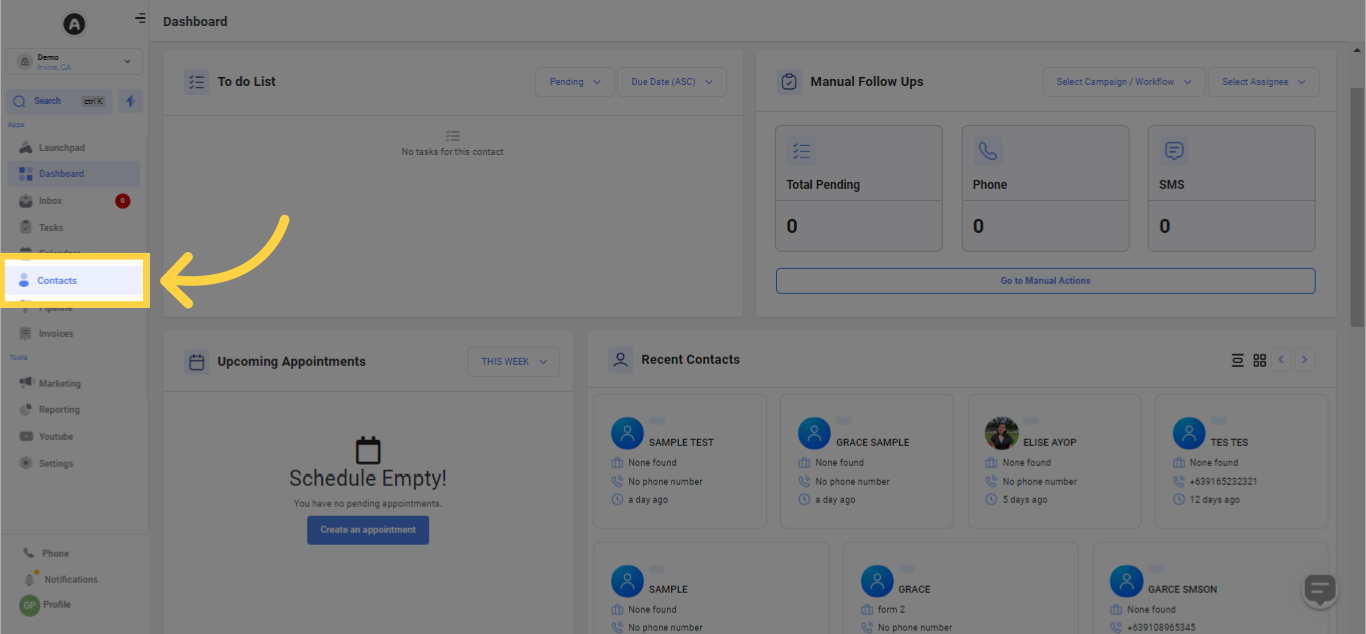
The 'Company Object' functionality allows for the creation of a new entity referred to as a "Company", under which contacts can be categorized. This feature can also function as a method for organizing a list of contacts; whereby a group of contacts can be assigned to a specific company for the purpose of monitoring collective activity.
Be Aware:
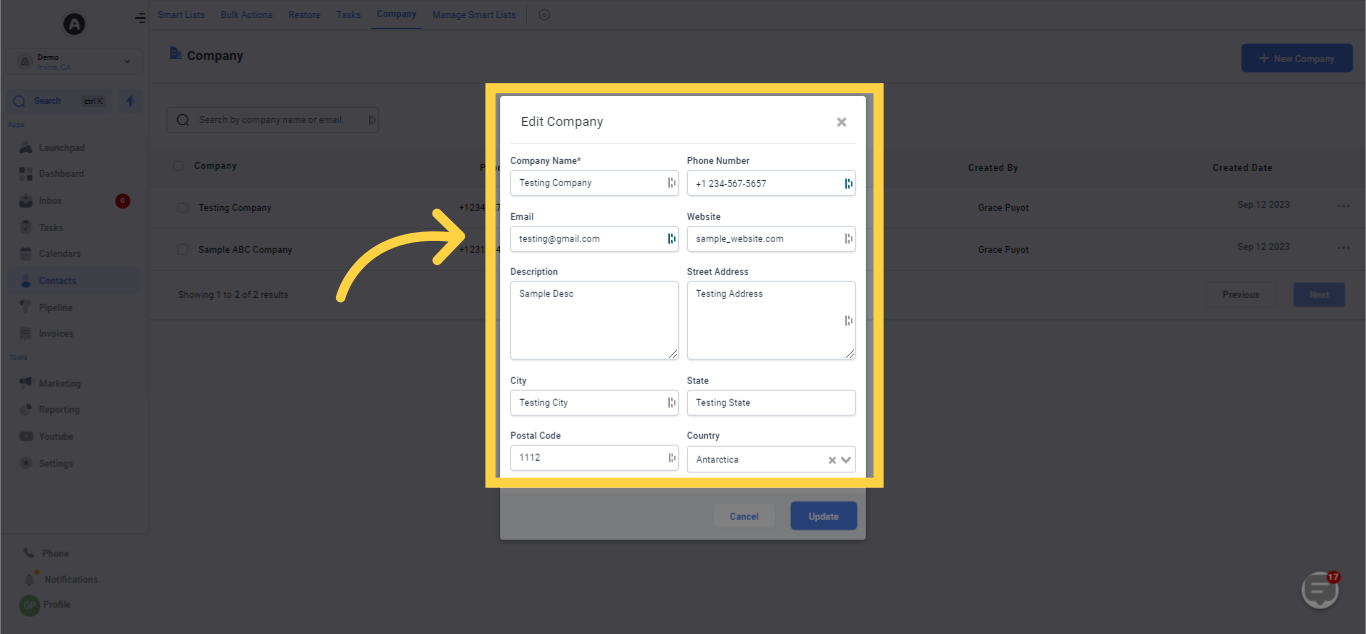
The fields below will require input when launching a Company:
Company name (required): This is an open text field.
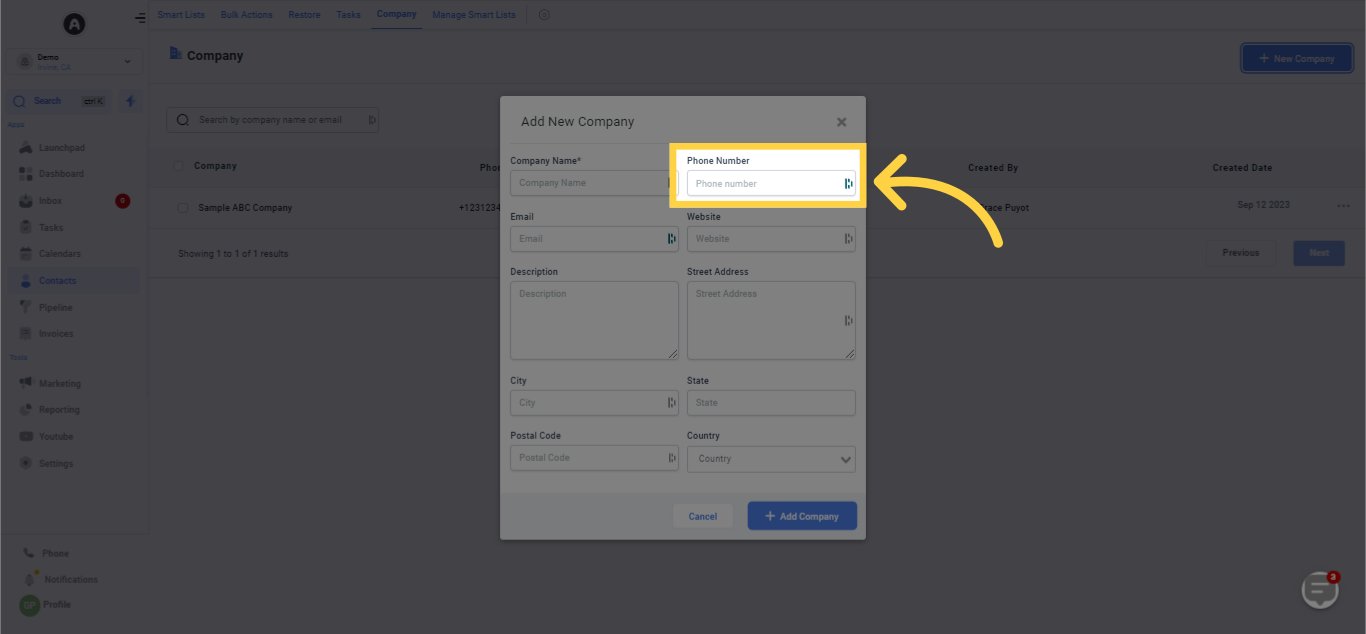
Phone number: This is an optional field.
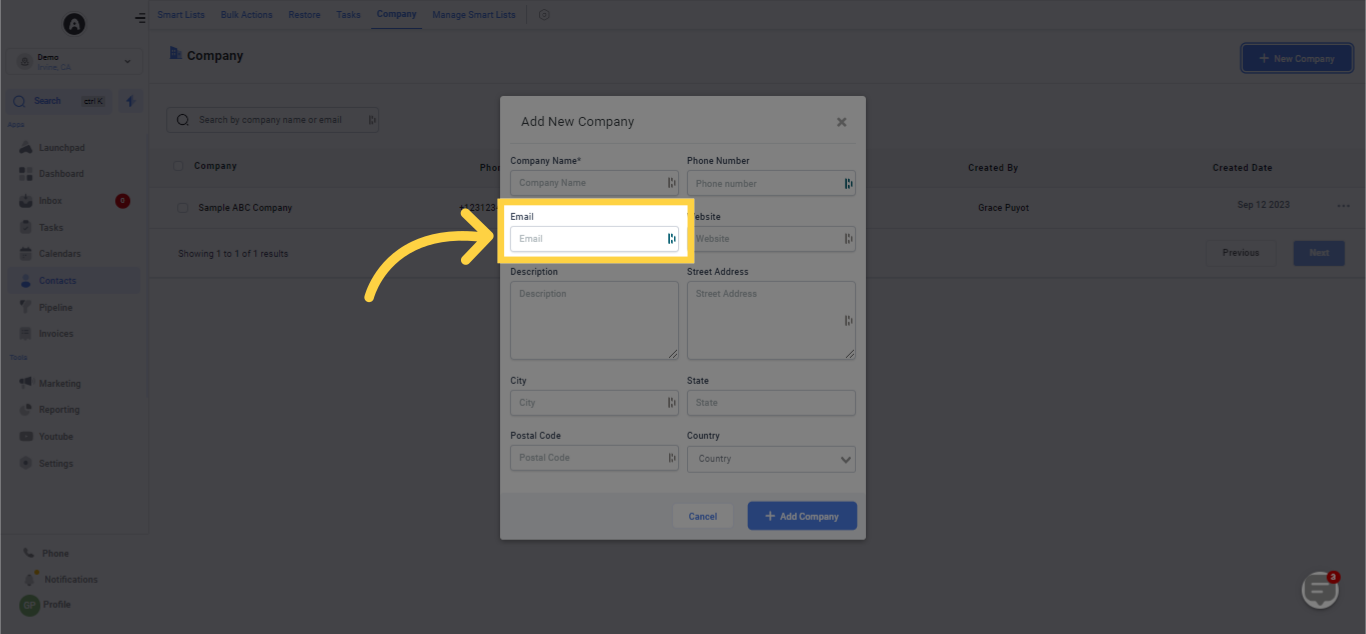
Email: This is an optional field.
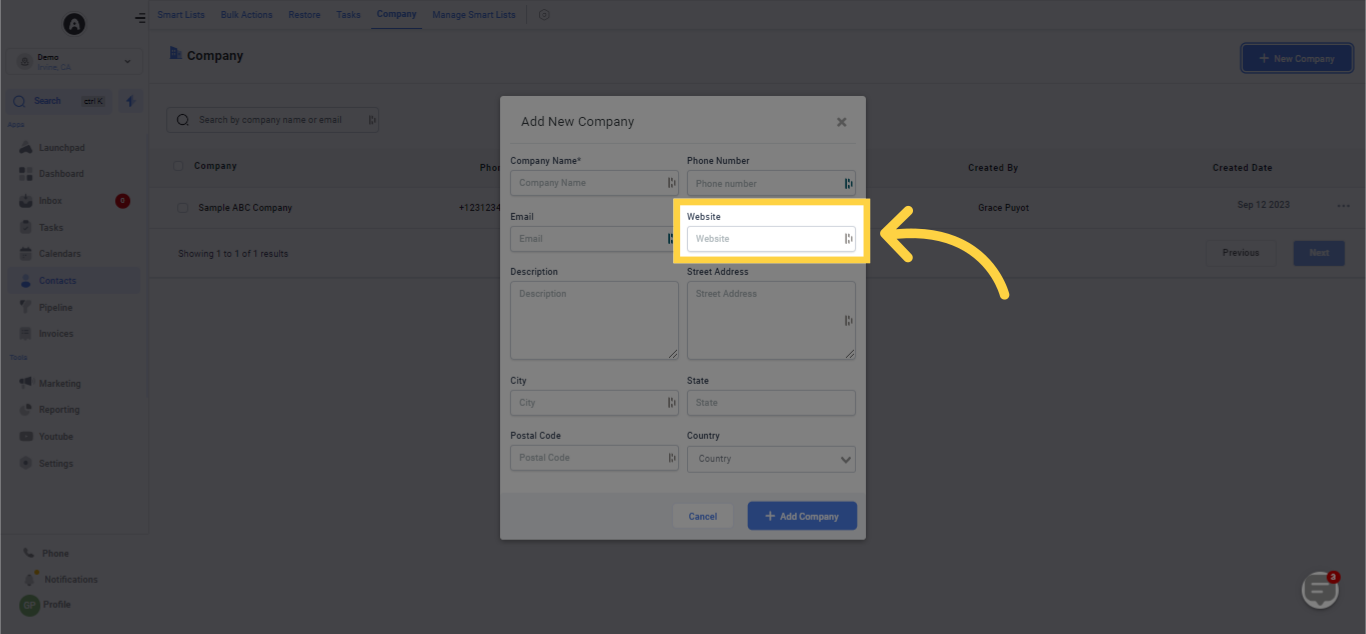
Website: This is an optional field.
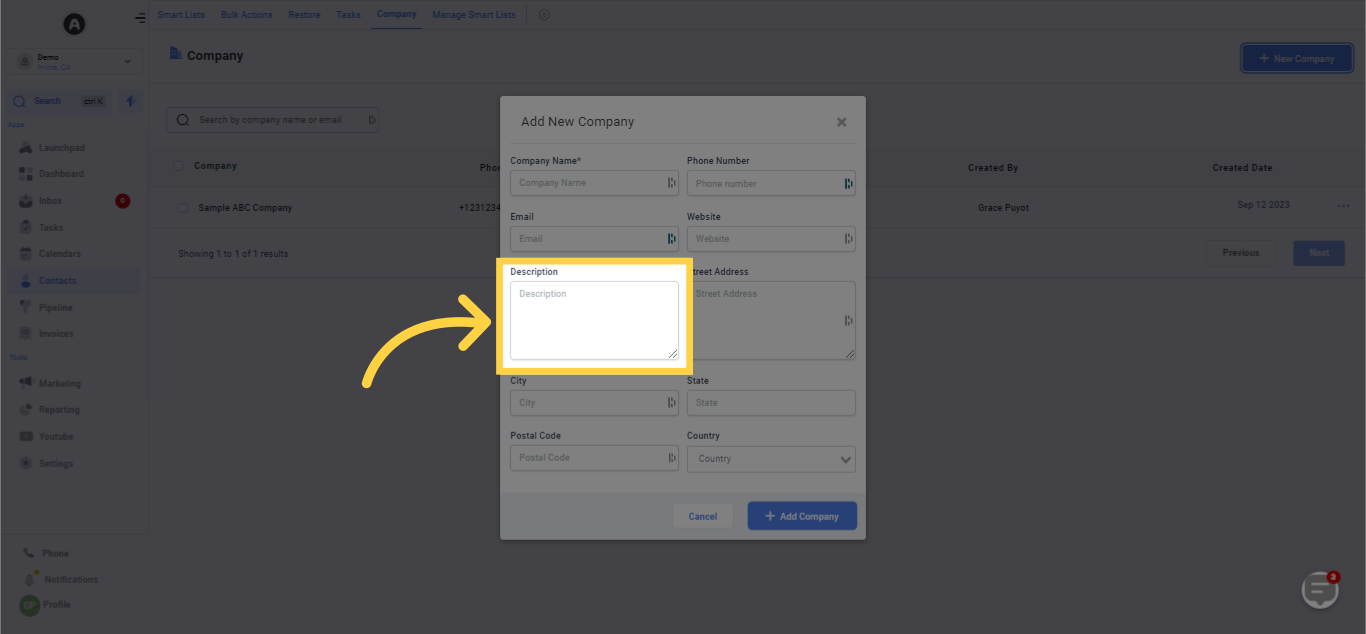
Description: This is an optional field.
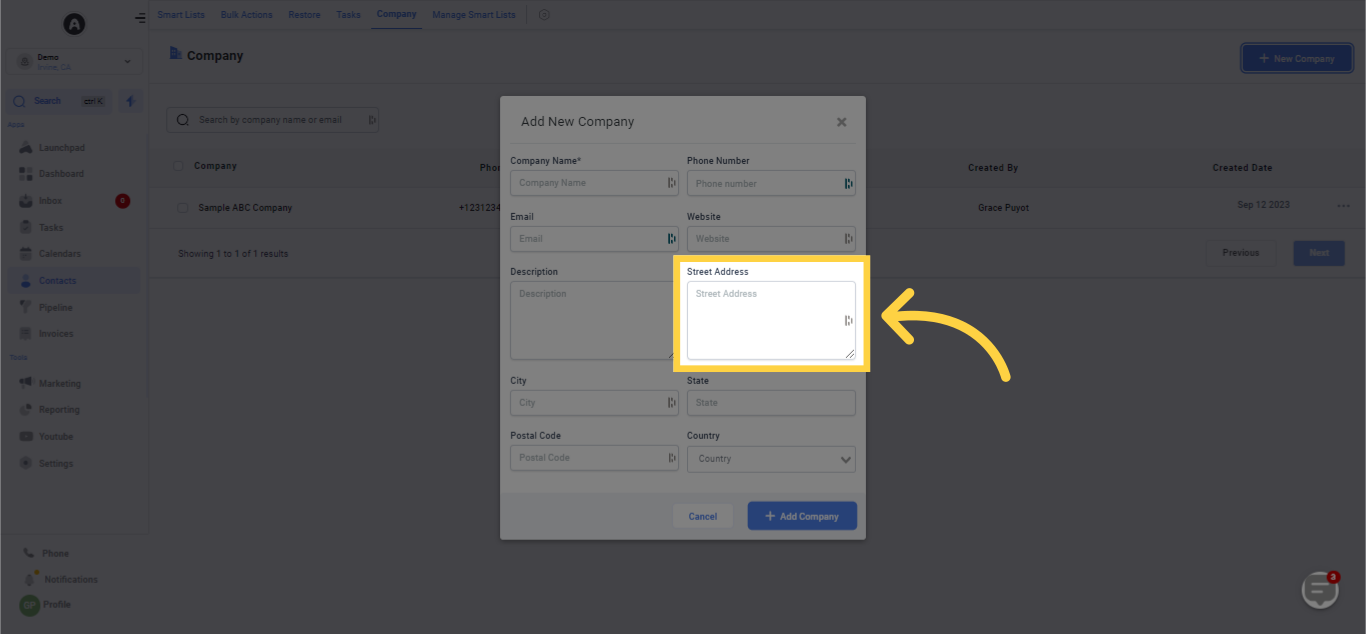
Street address: This is an optional field.
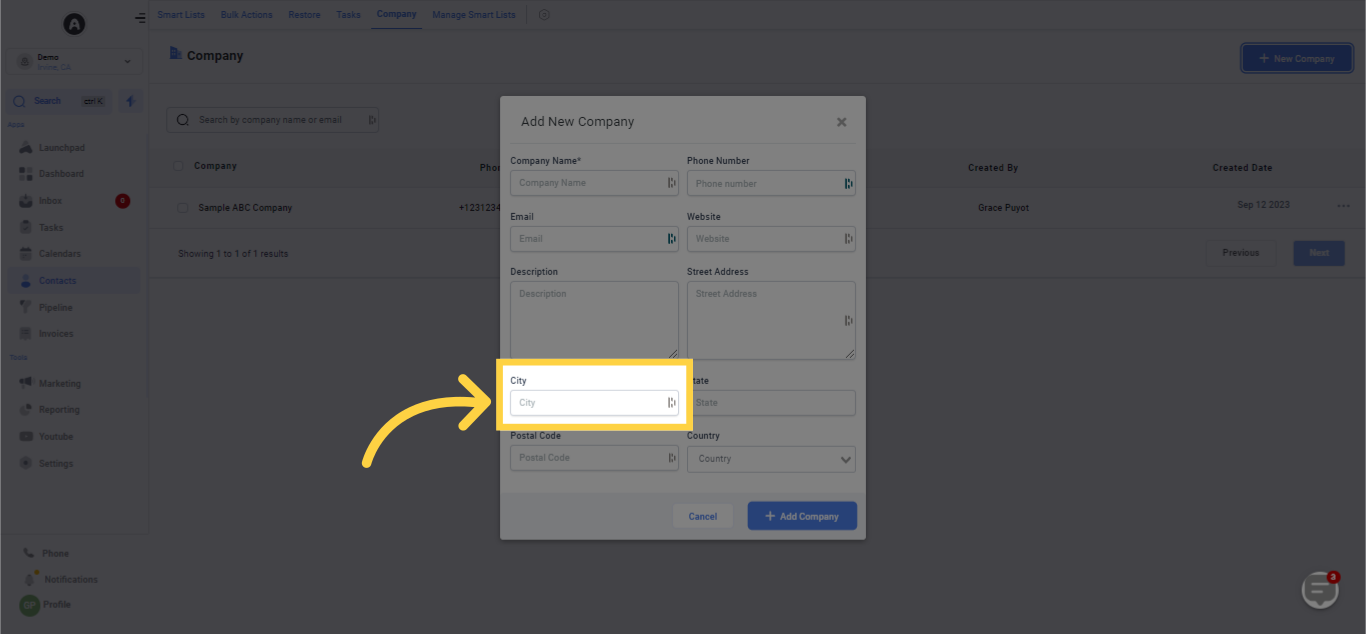
City: This is an optional field.
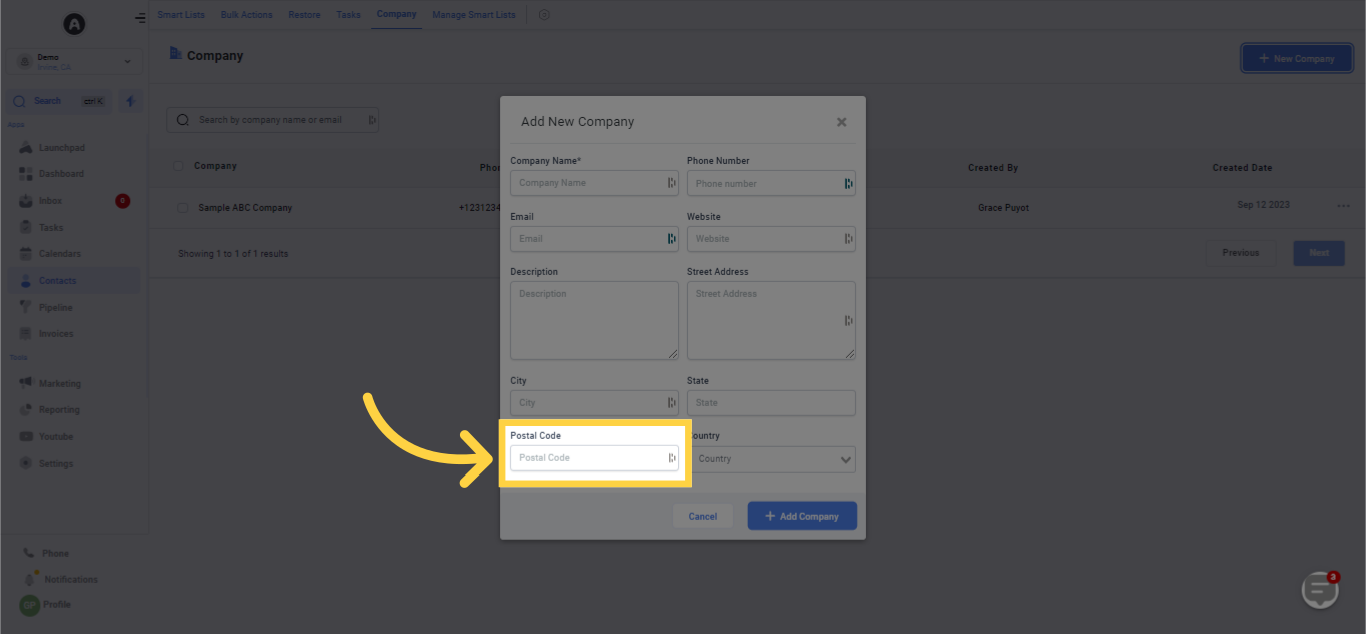
Postal code: This is an optional field.
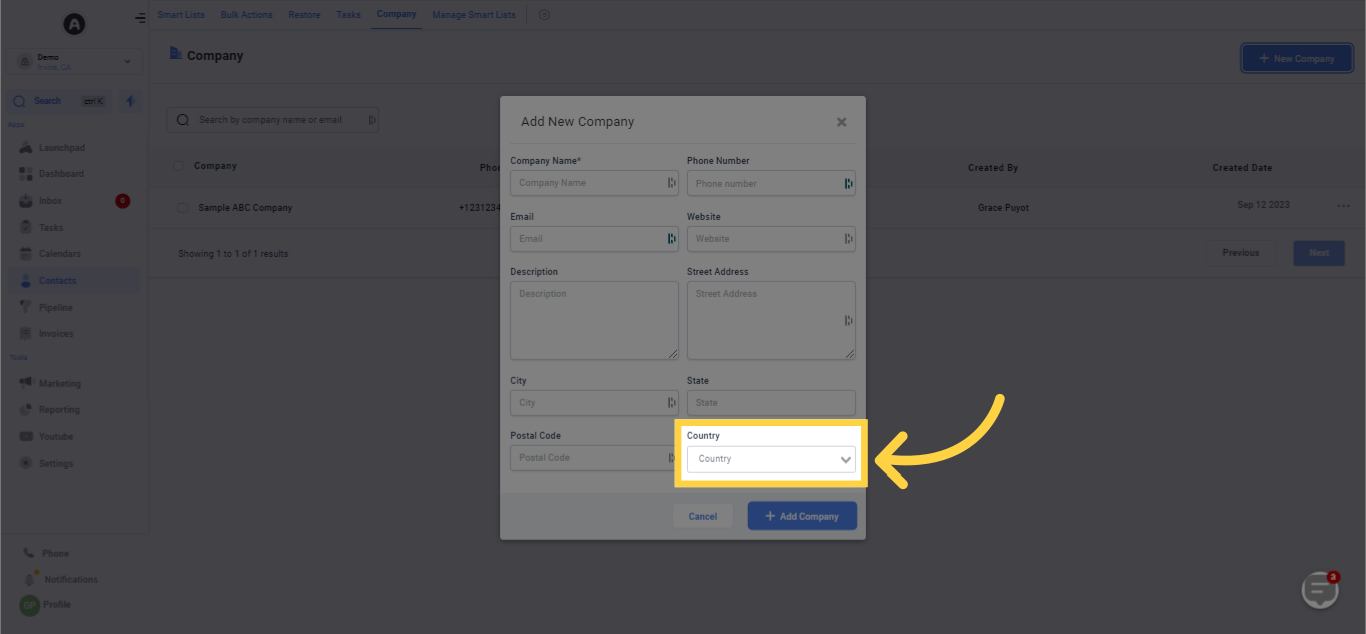
Country: This is an optional field.
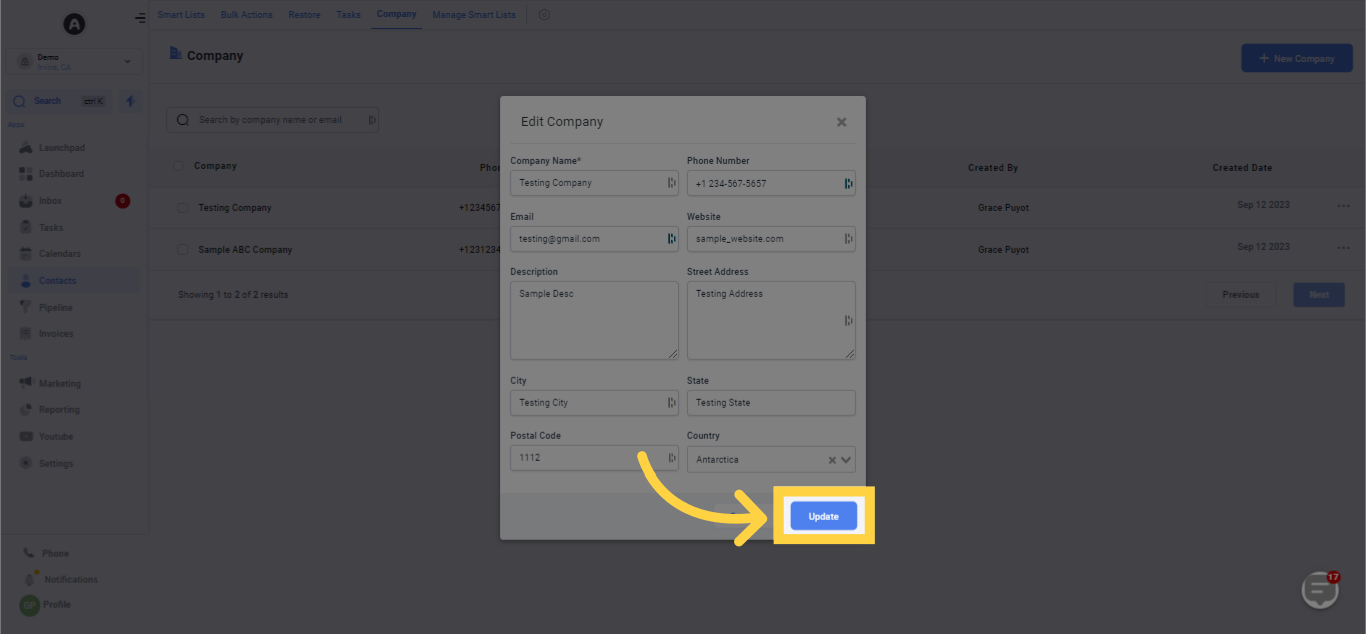
Validation: Only required fields will be validated. (The Phone and Email fields are checked for correct format but it is not confirmed whether the input information is a real phone number or Email address.)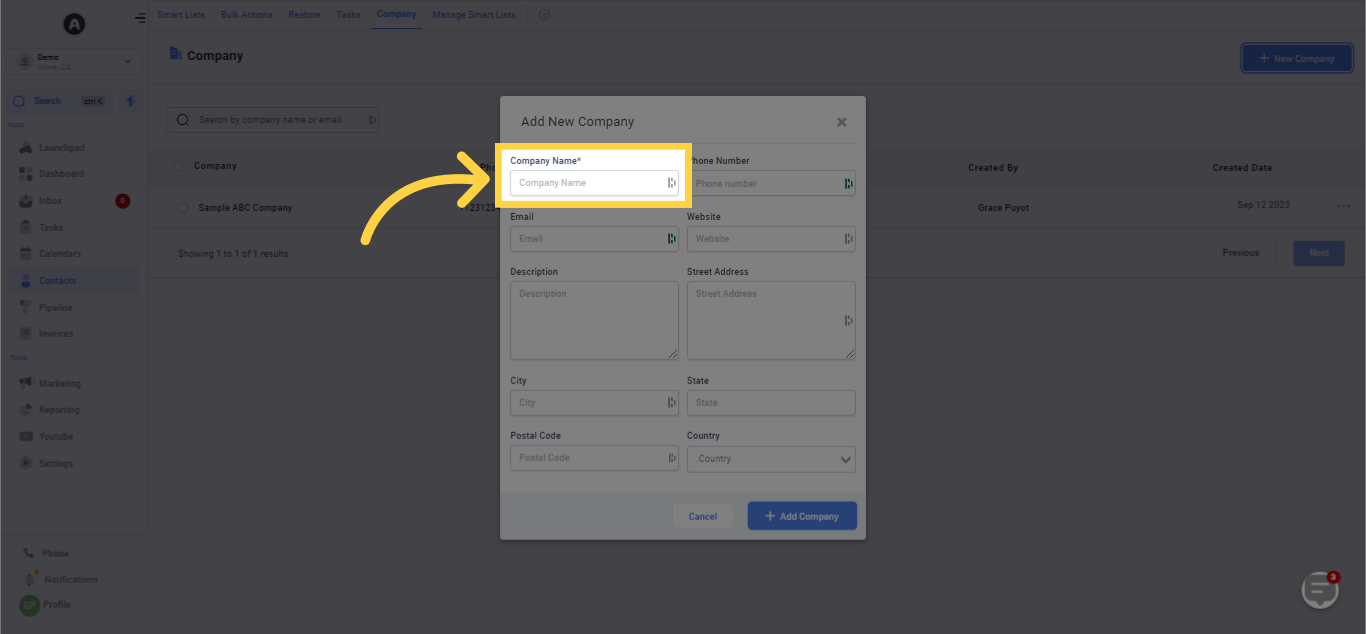


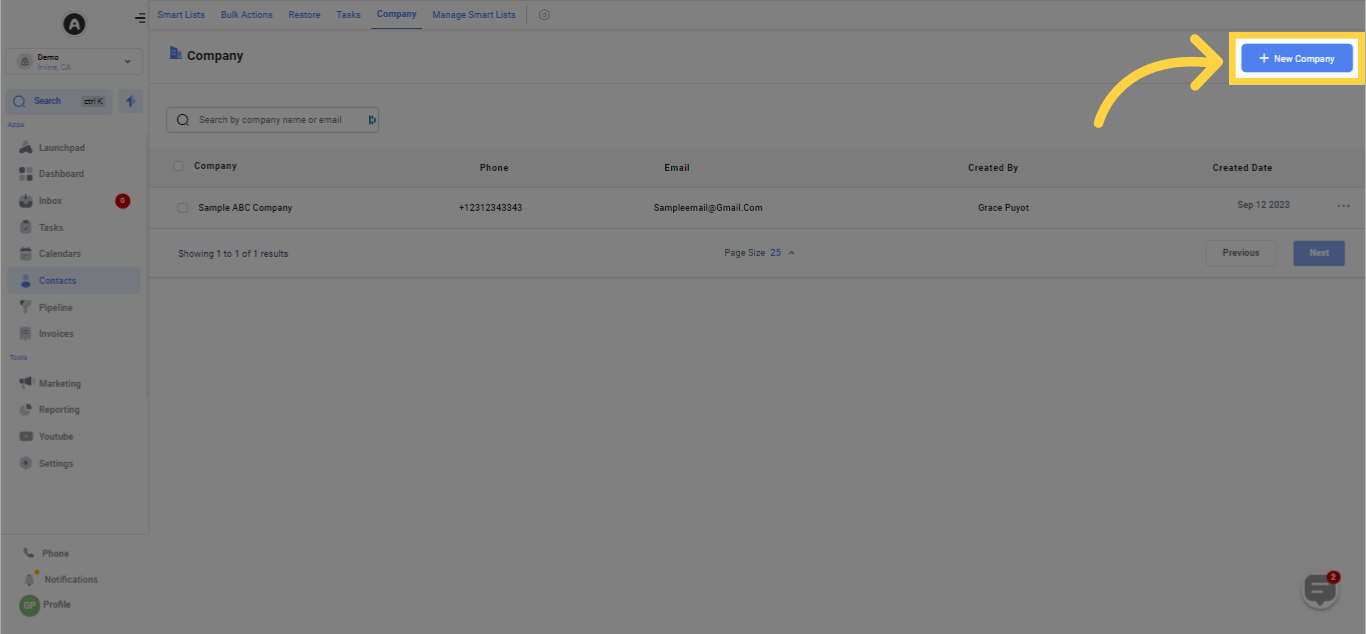
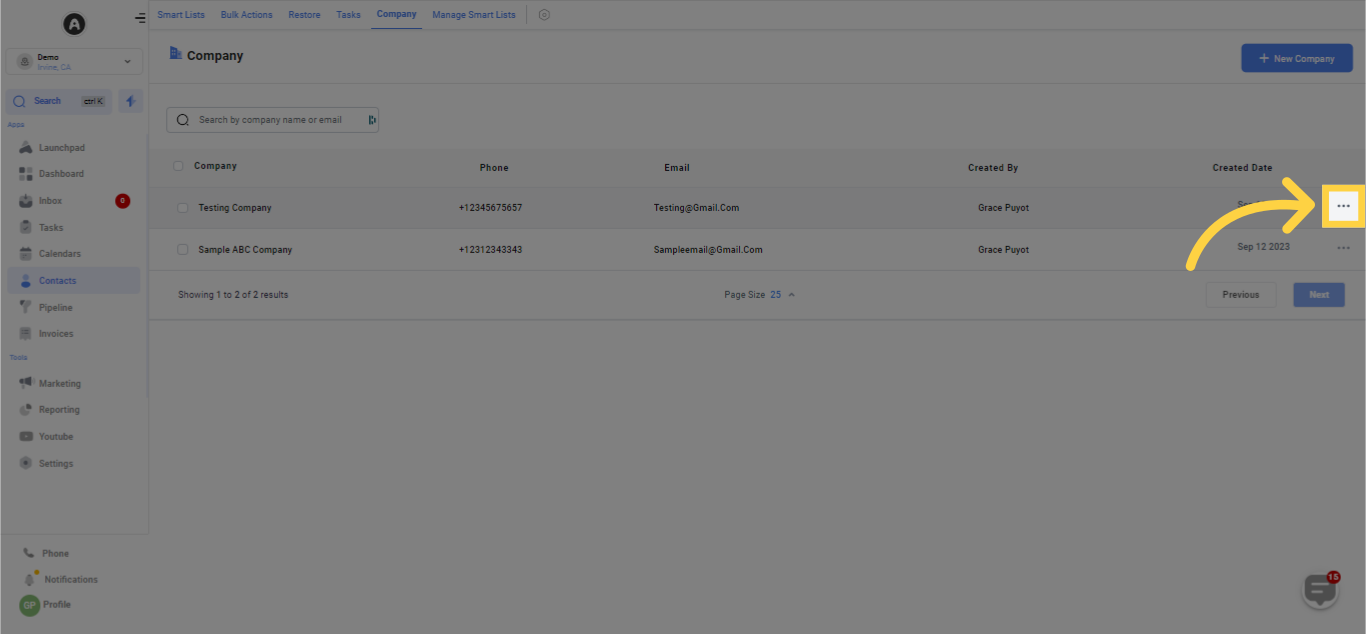
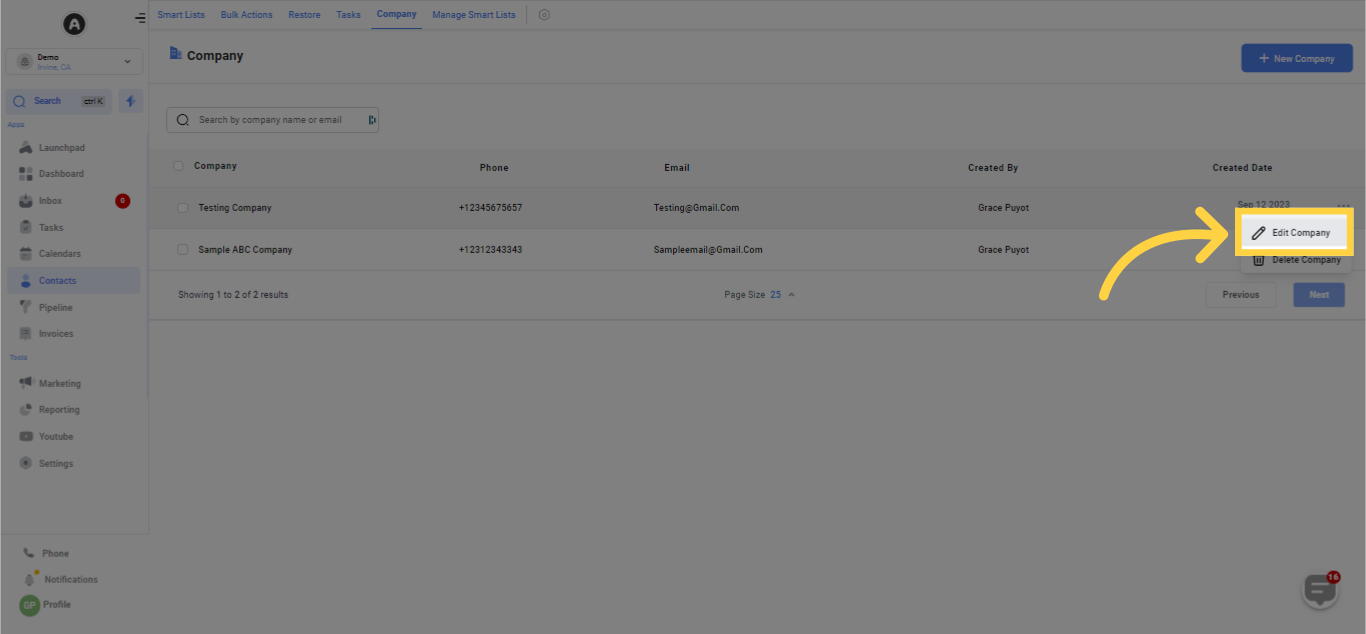
To modify the details of an already established company, navigate to the Company Tab. From there, click on the three dots adjacent to the Company, then select 'Edit Company'.
Kindly Note:
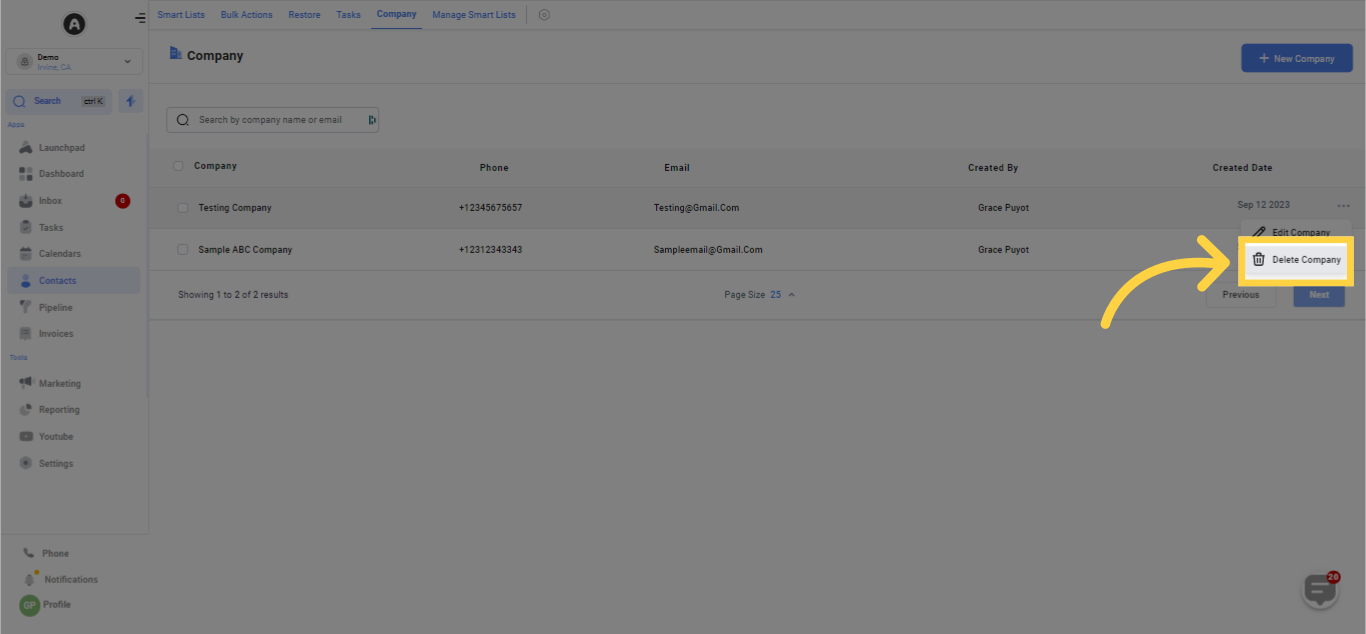
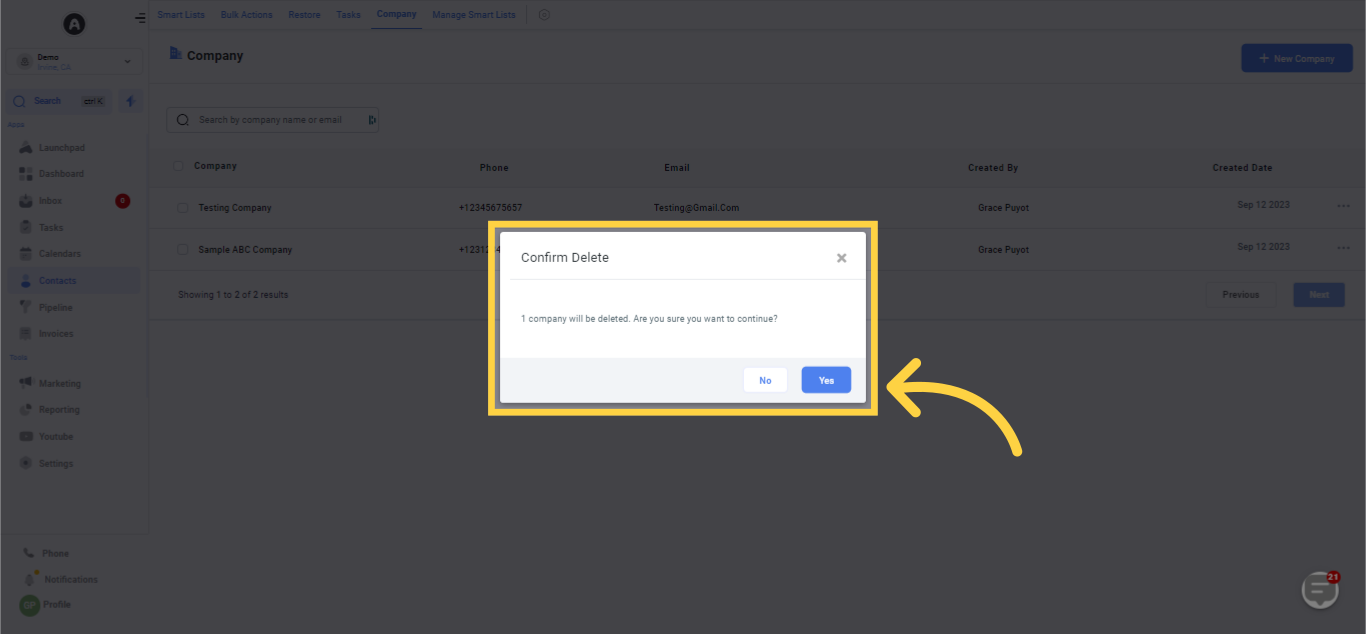
Deleting a company does not result in its associated contacts being removed from your contact list. Rather, it only eliminates the company data from the 'Company Tab' of your contact.To eradicate a Company, proceed to the Company Tab. Once there, select the three dots next to the Company, and then opt for 'Delete Company'.

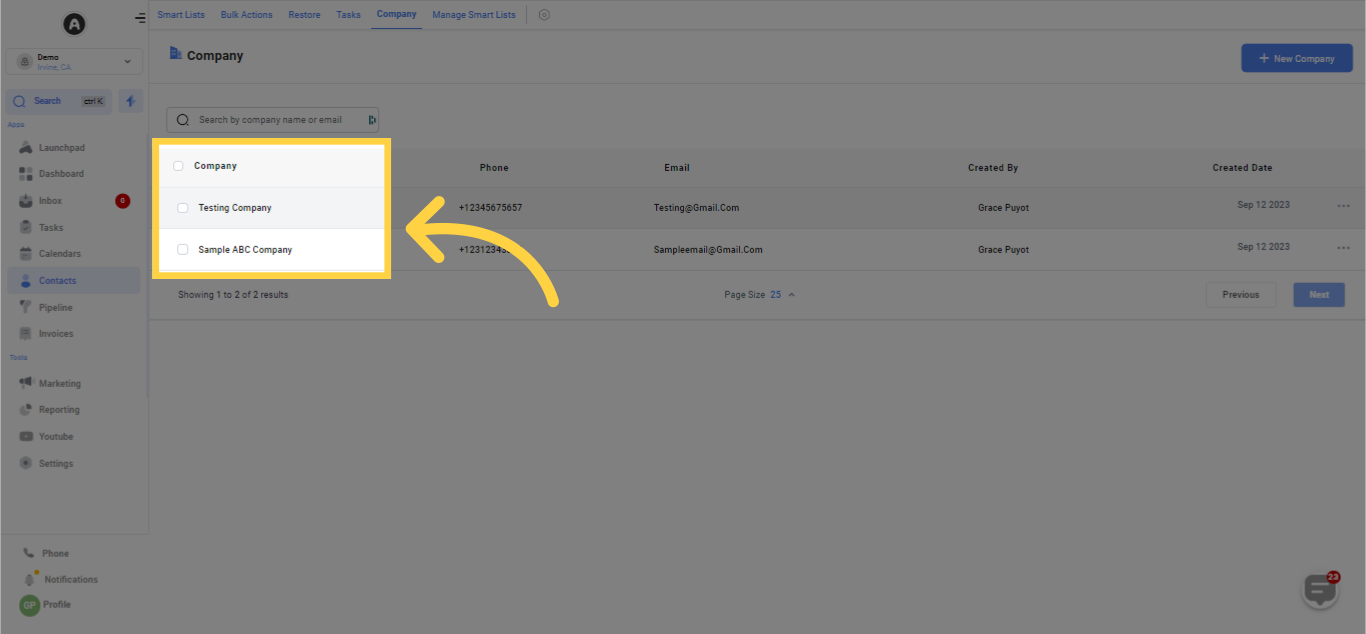
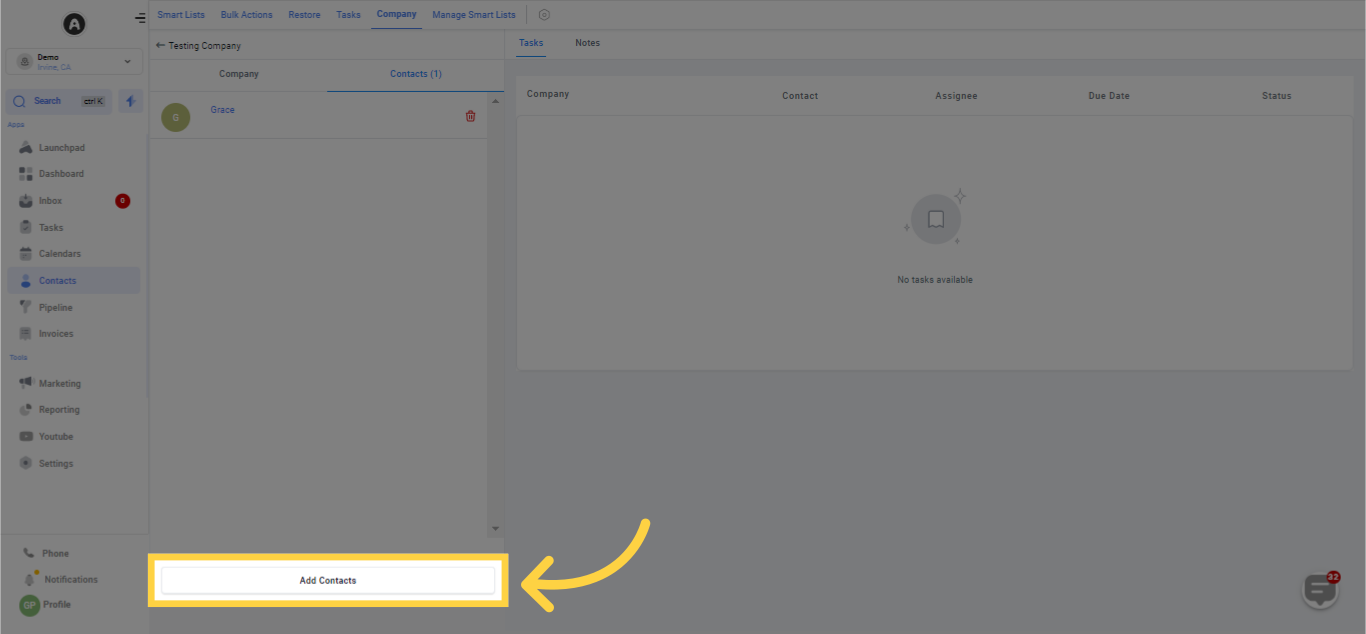
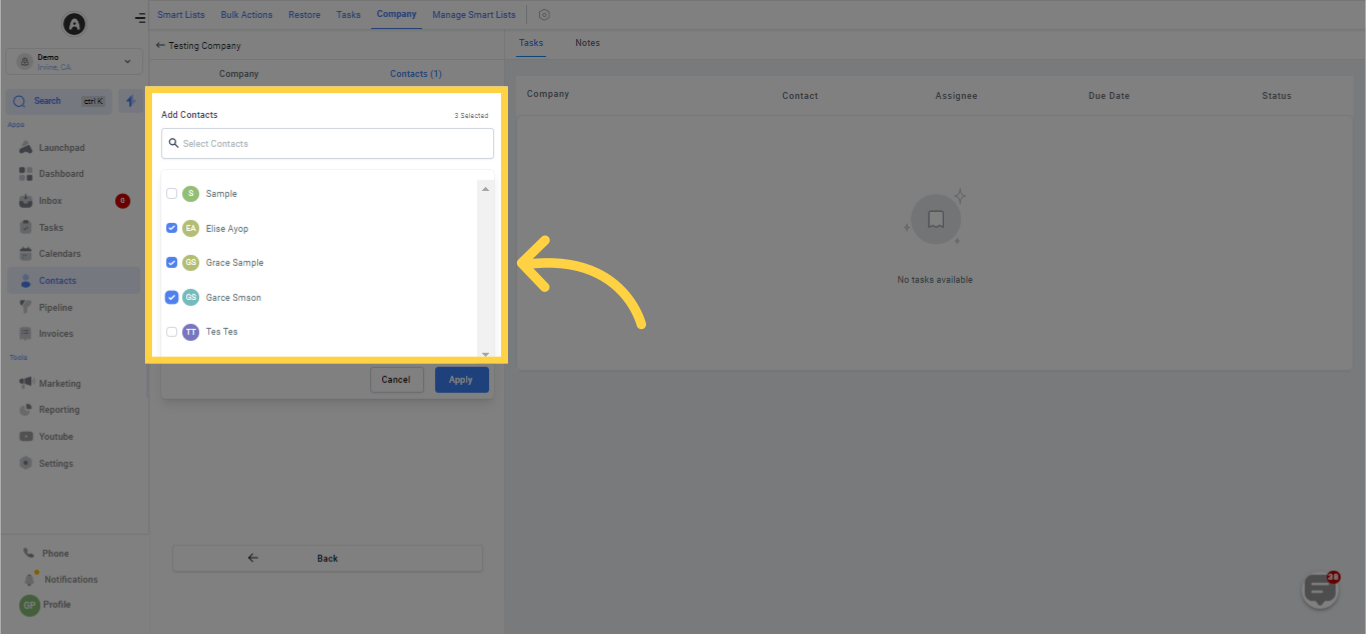
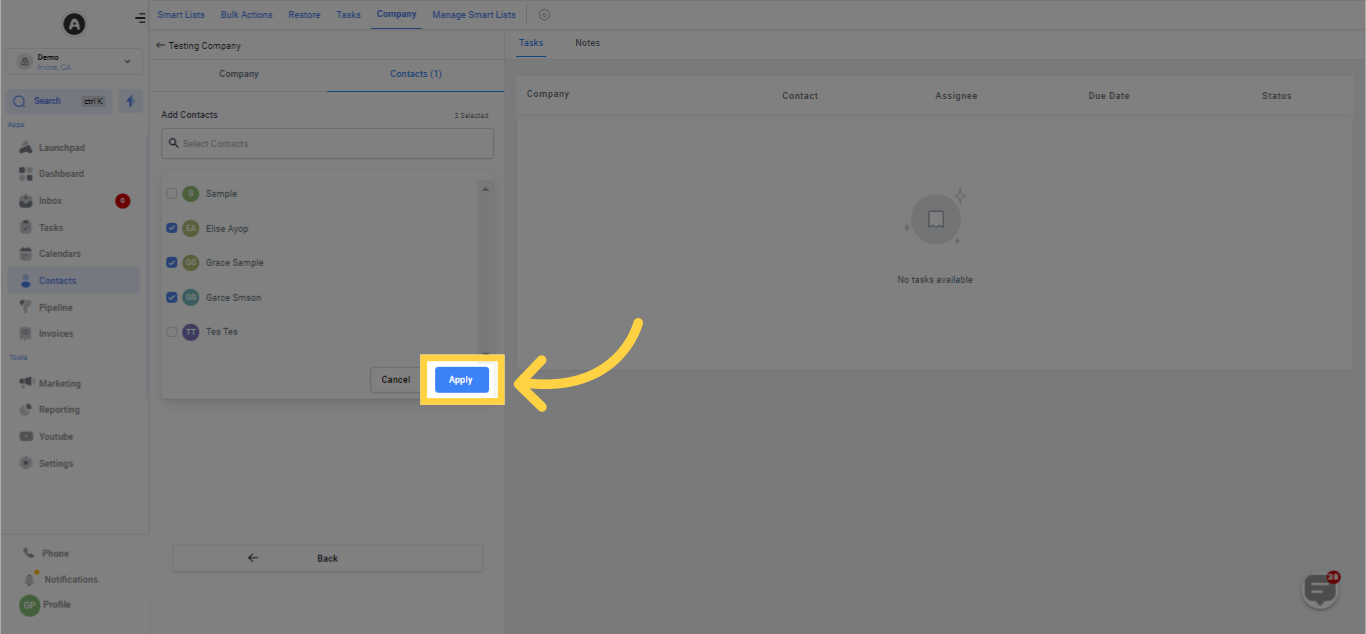
Currently, the only method to add contacts to a Company involves manually navigating to their Company tab, searching for the desired company, and subsequently adding them to it.
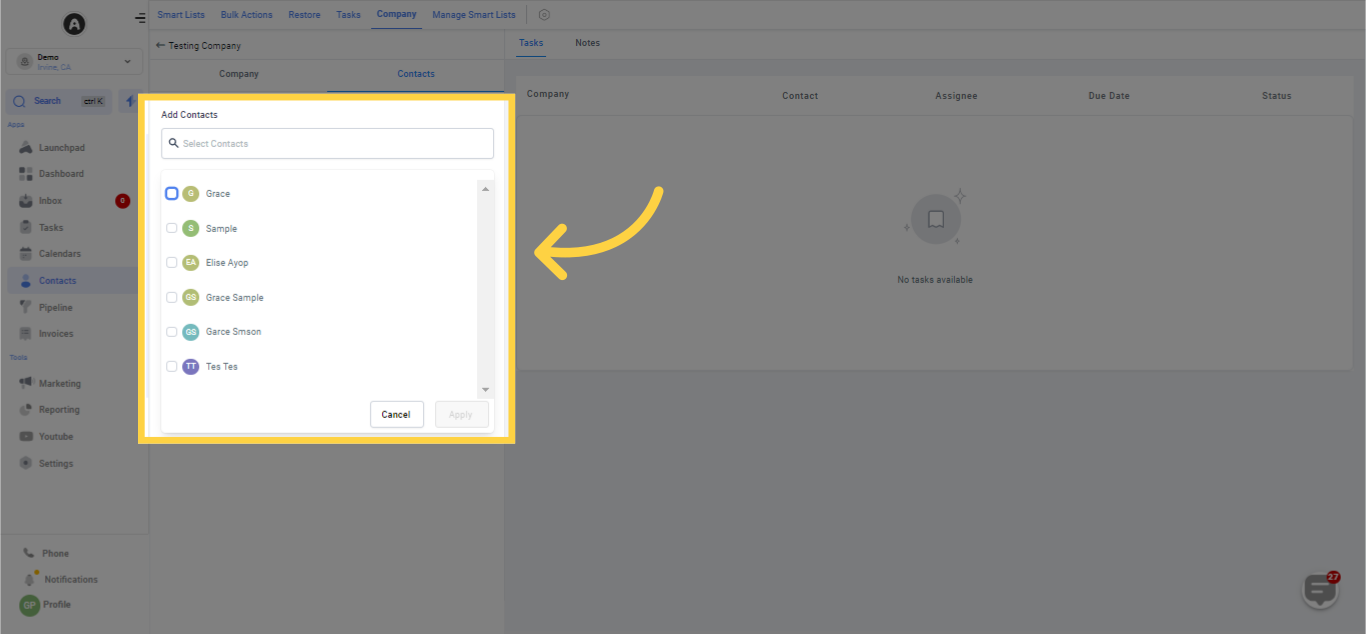
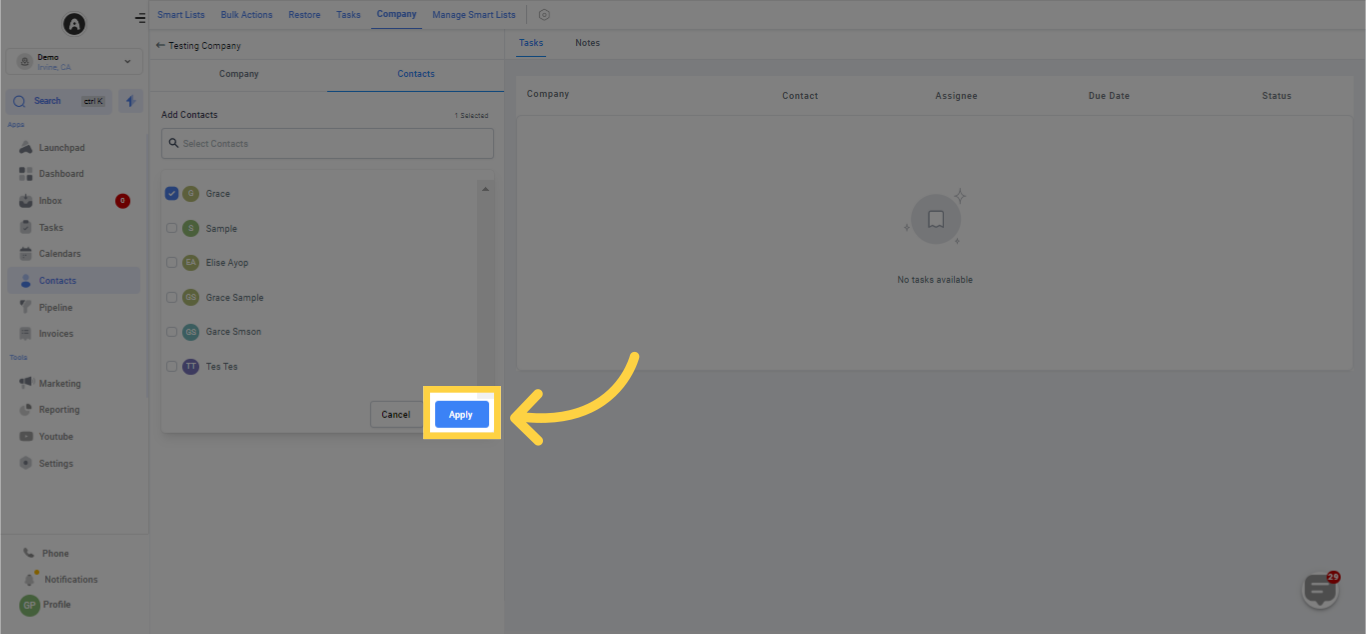
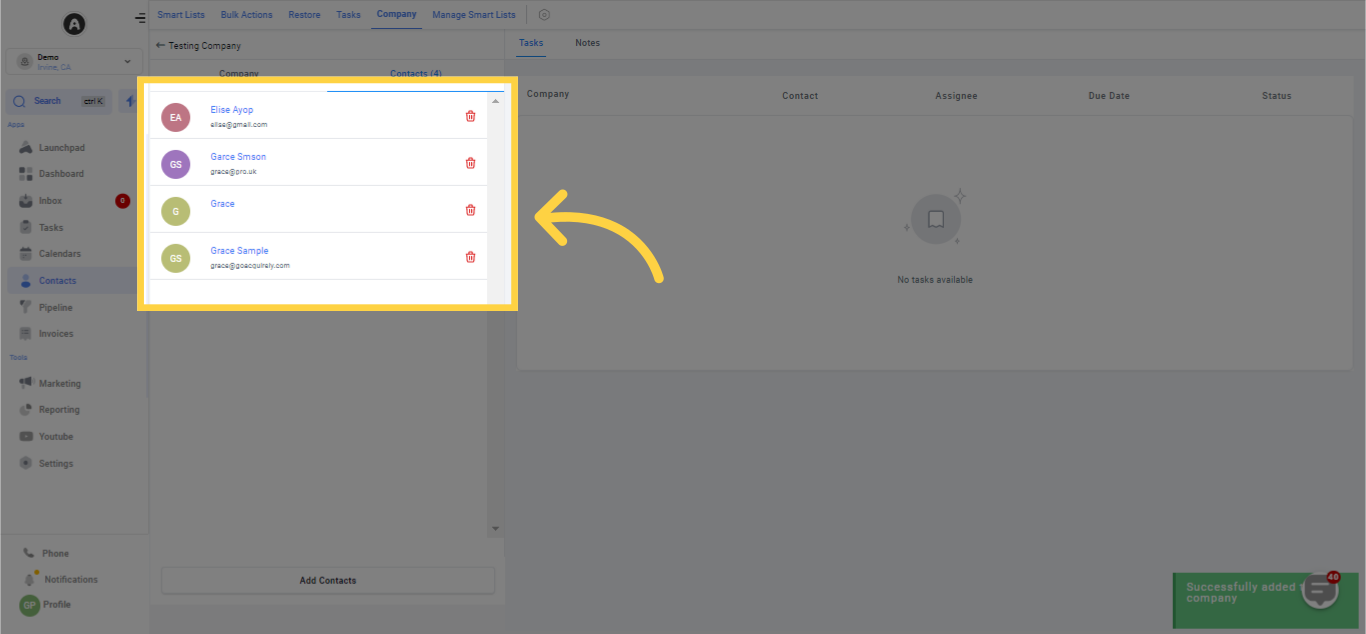
For the convenience of adding contacts to a company in large quantities, you have the option to select several contacts at once and then easily switch between them.
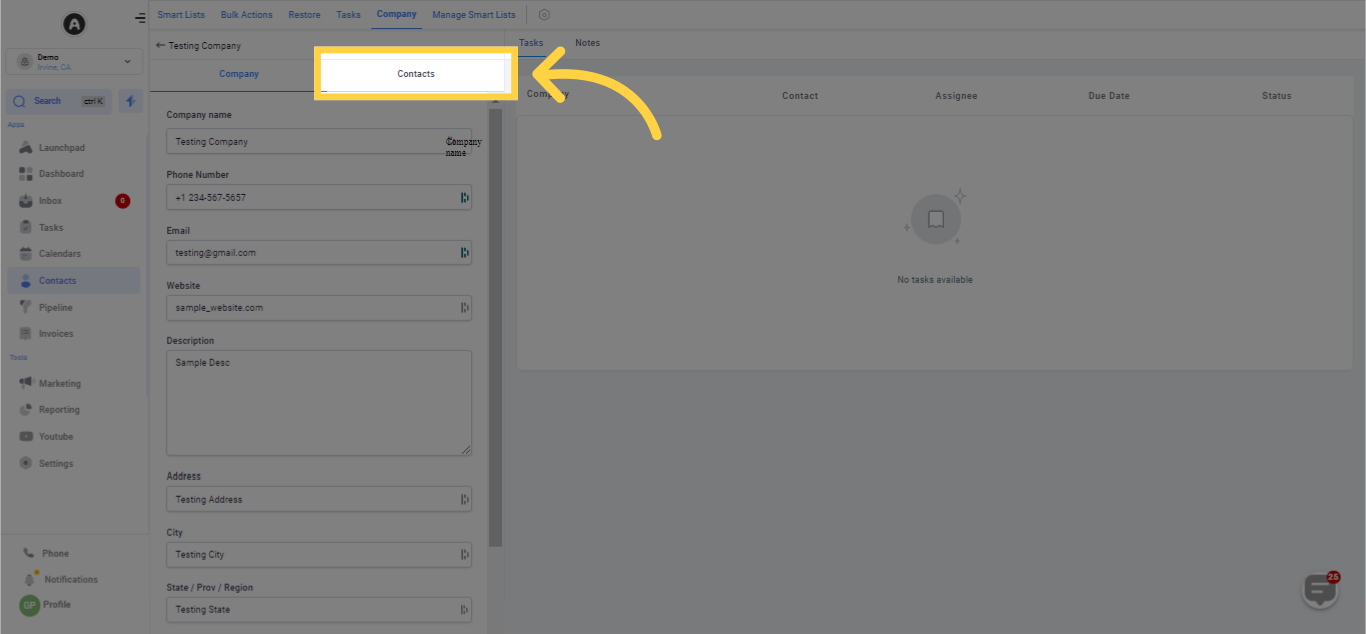
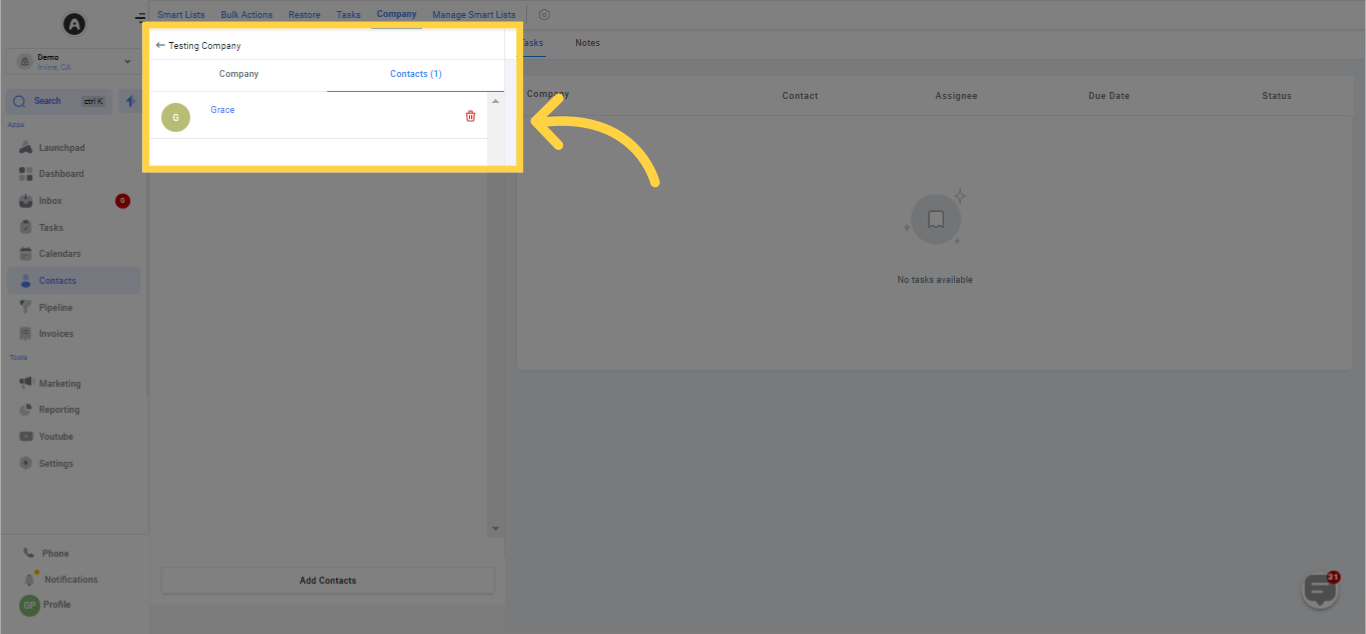
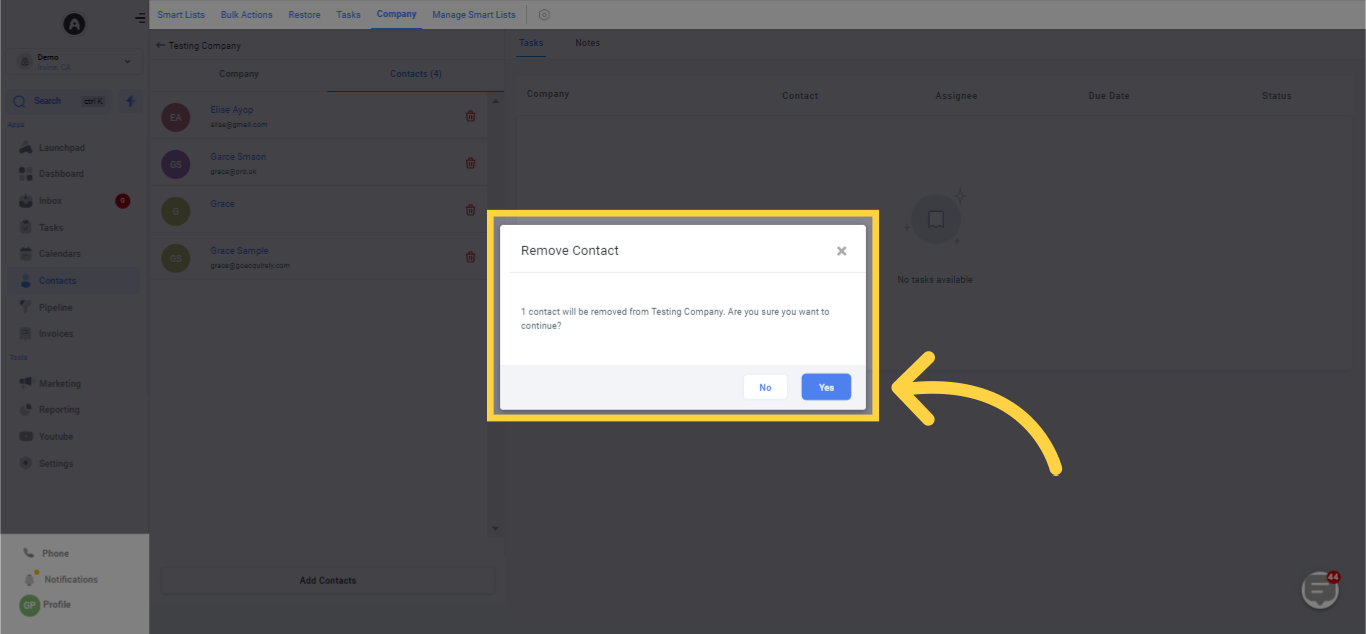
To disassociate a contact from a Company, first navigate to the Company tab, then select the company from which you want to remove the contact. Once inside the Company tab, switch to 'Contacts'. Find the desired contact and click the 'Trash' button next to it. When asked to confirm this action, click 'Yes'.

Kindly Note:
Excluding a contact from a Company does not remove the contact from your contacts list. What it does is it merely deletes the associated Company data from that contact's 'Company Tab' and takes them off the list of contacts connected to that particular company.