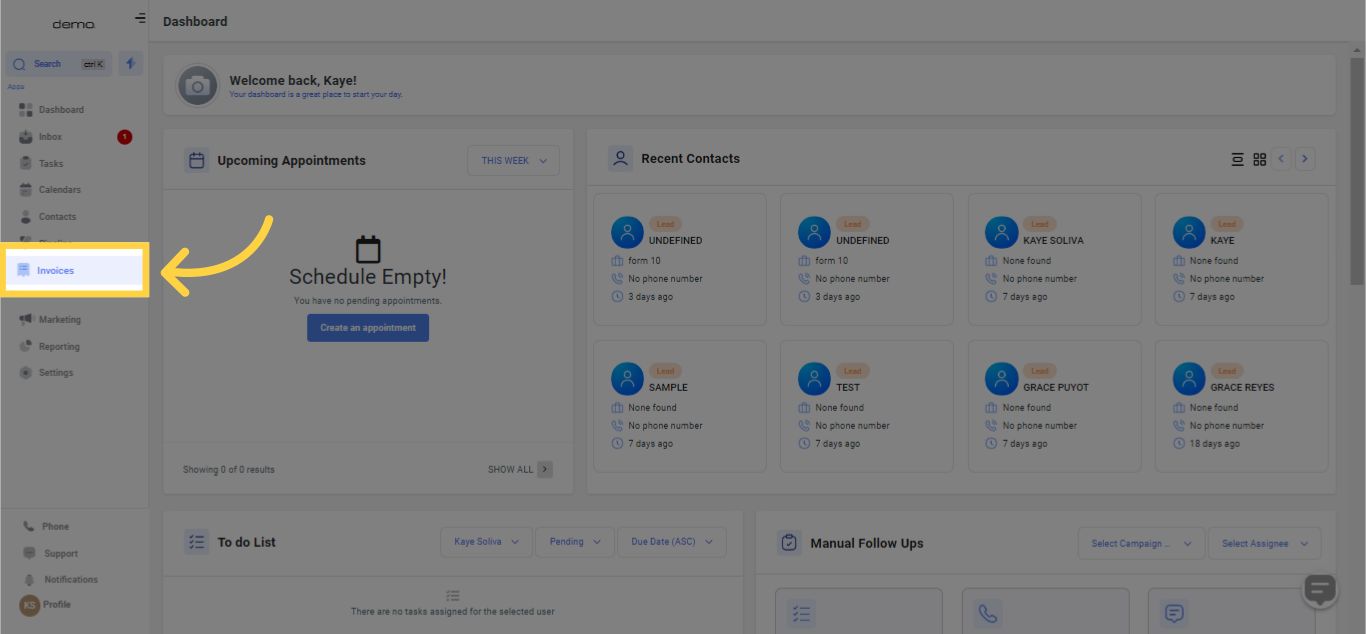
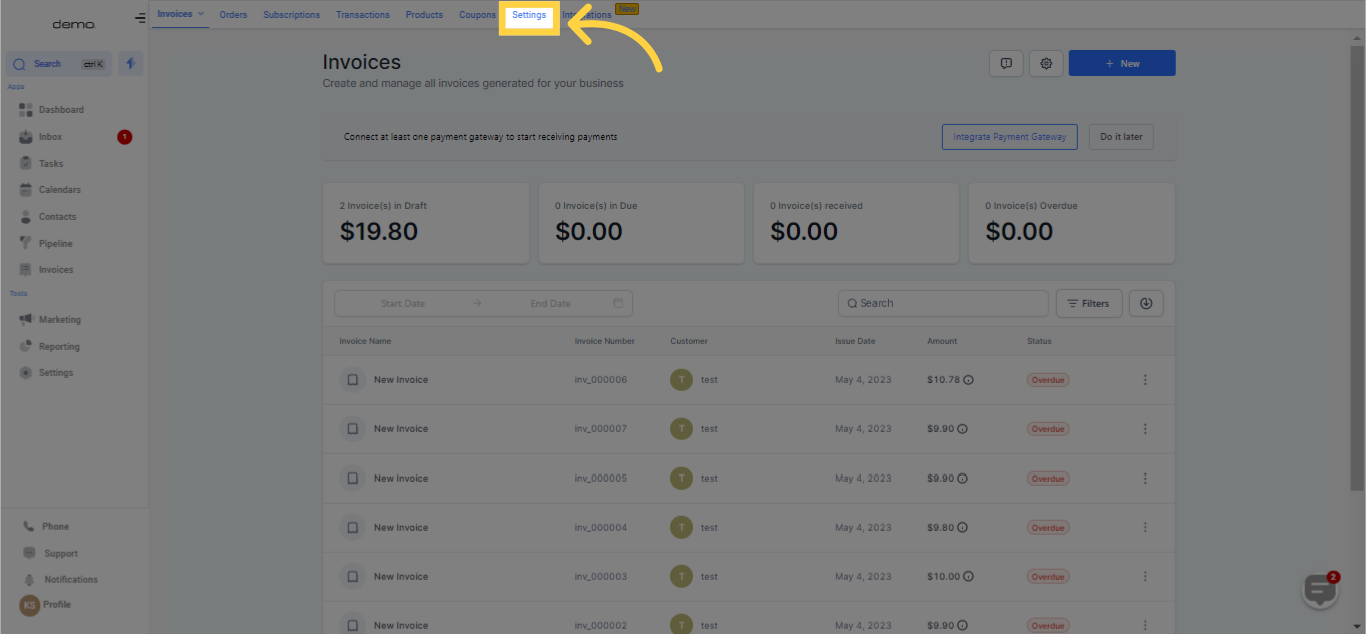
Taxes tend to accumulate rapidly, making it crucial for your business to accurately record the appropriate taxation. Utilizing the Tax Settings function, you can efficiently incorporate one or several taxes. This functionality will enable your business to register taxes while processing orders and issuing invoices.
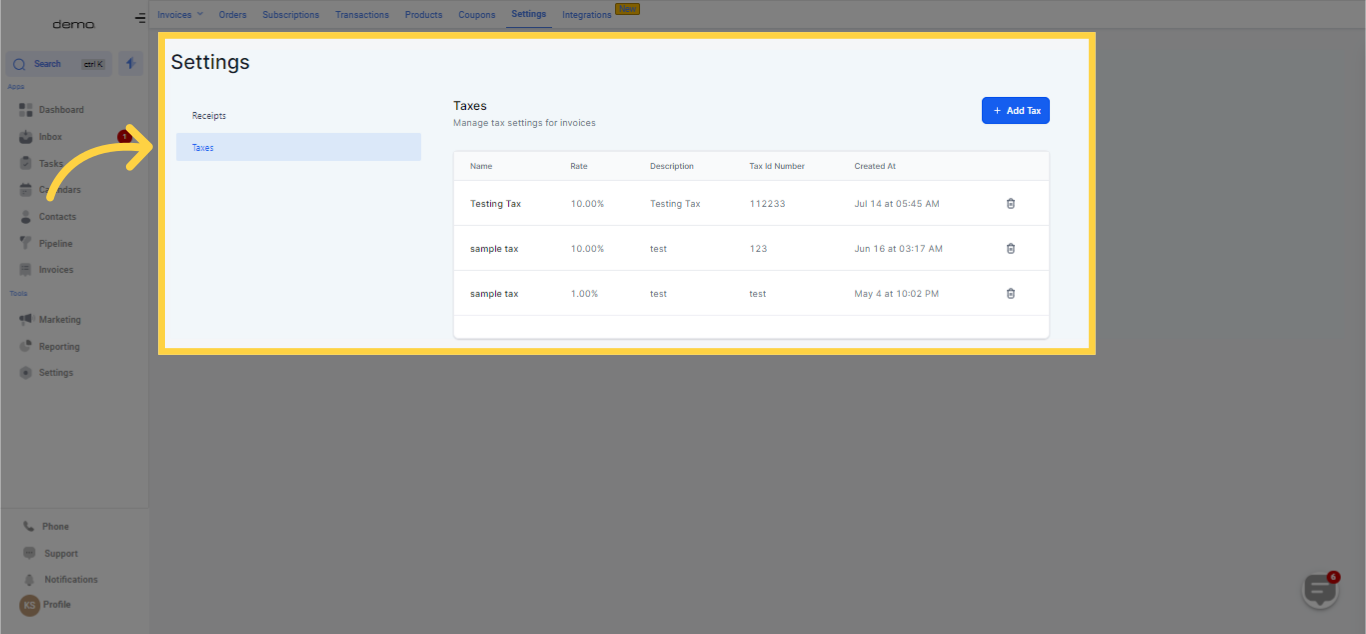
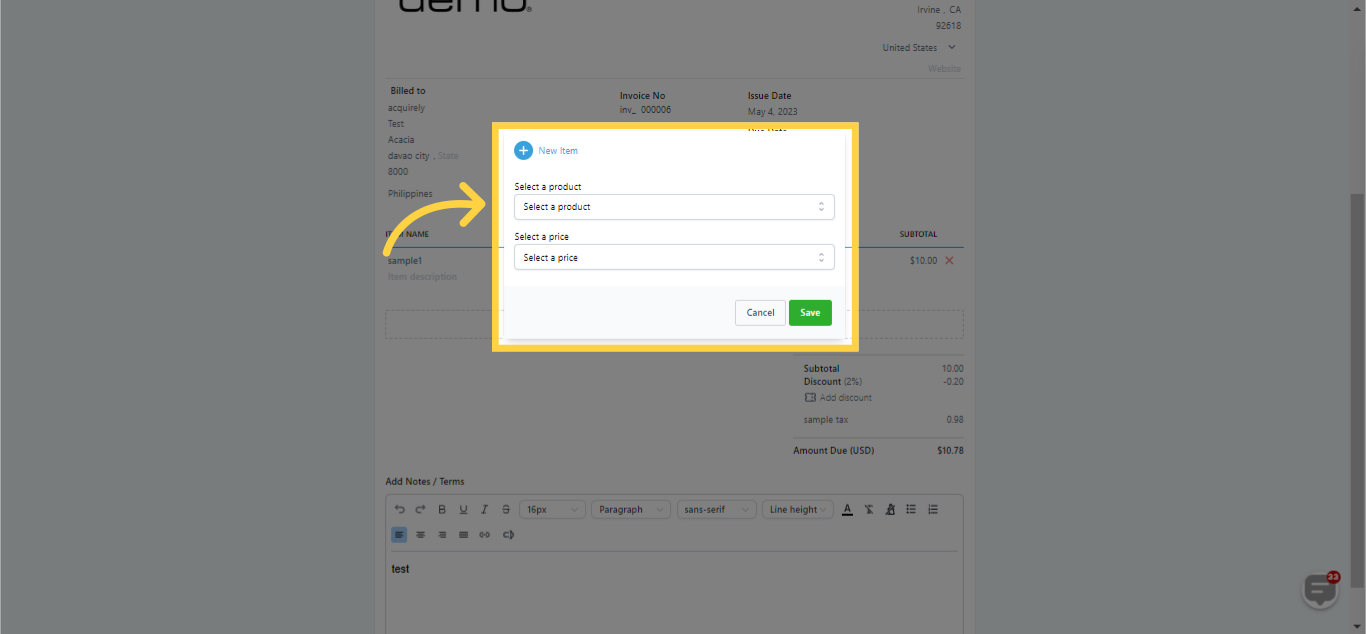
Complete the information in the popup box. Specify the tax name, select the percentage rate, and optionally, provide a description and tax ID number.
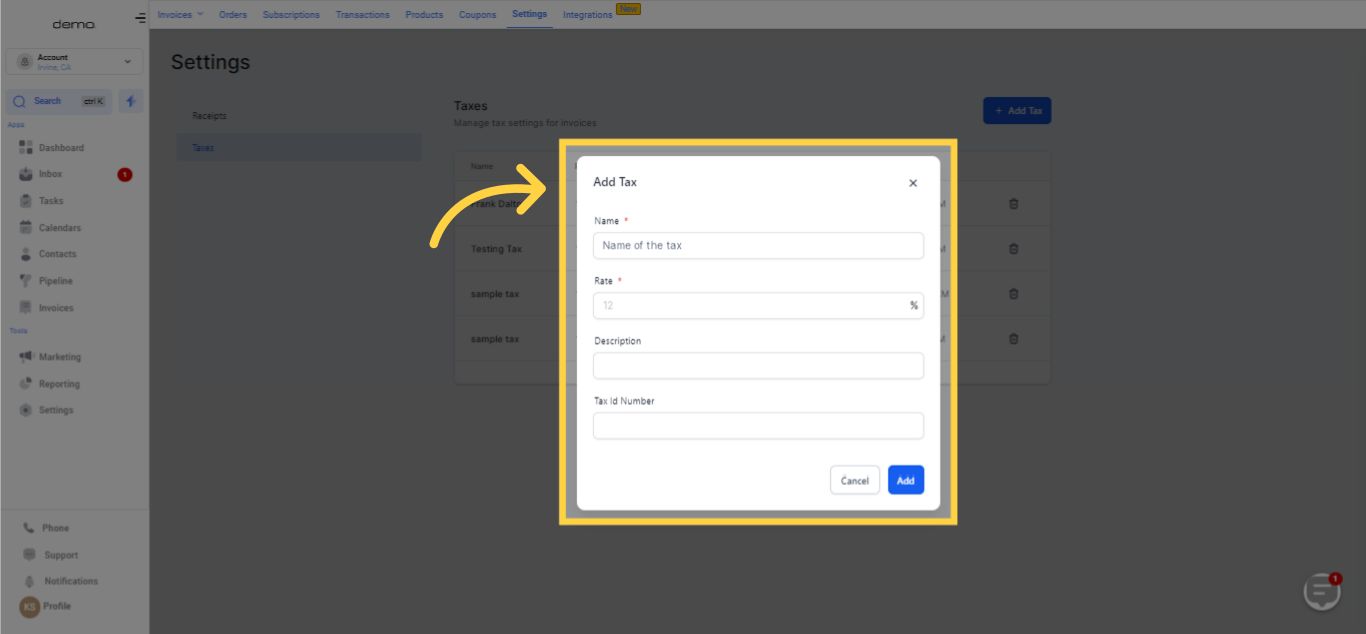
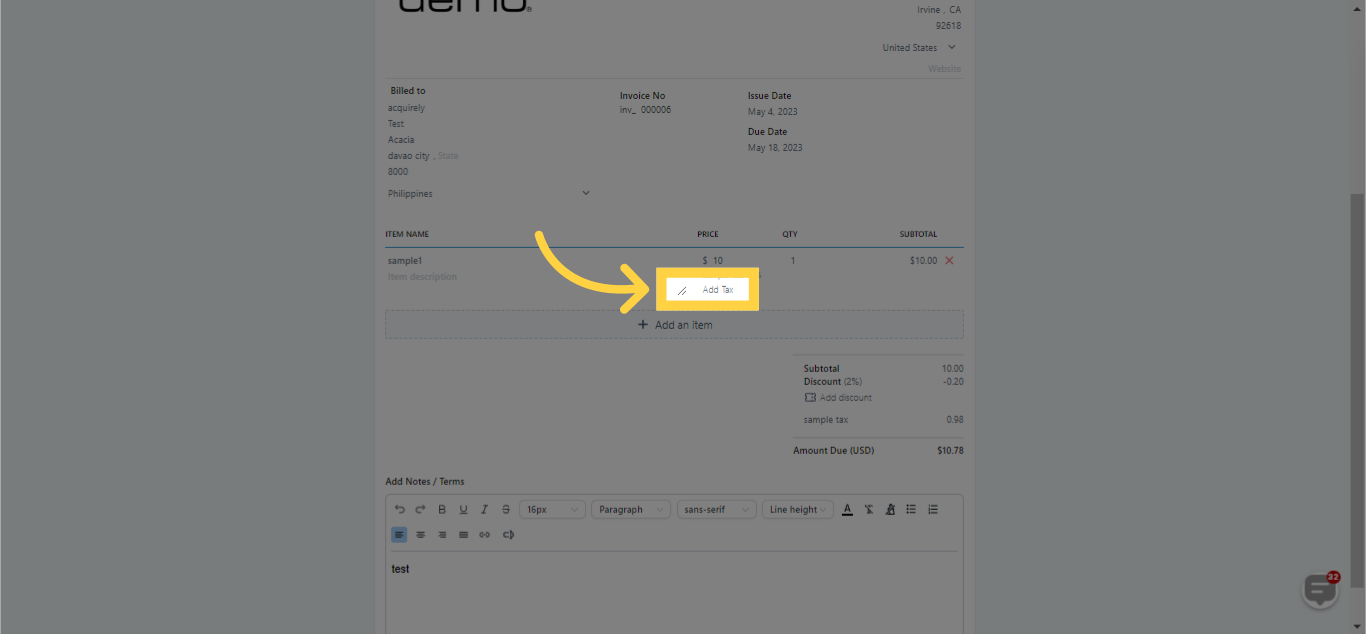
Click the "Add" option. The tax will now be displayed in your list of Taxes.
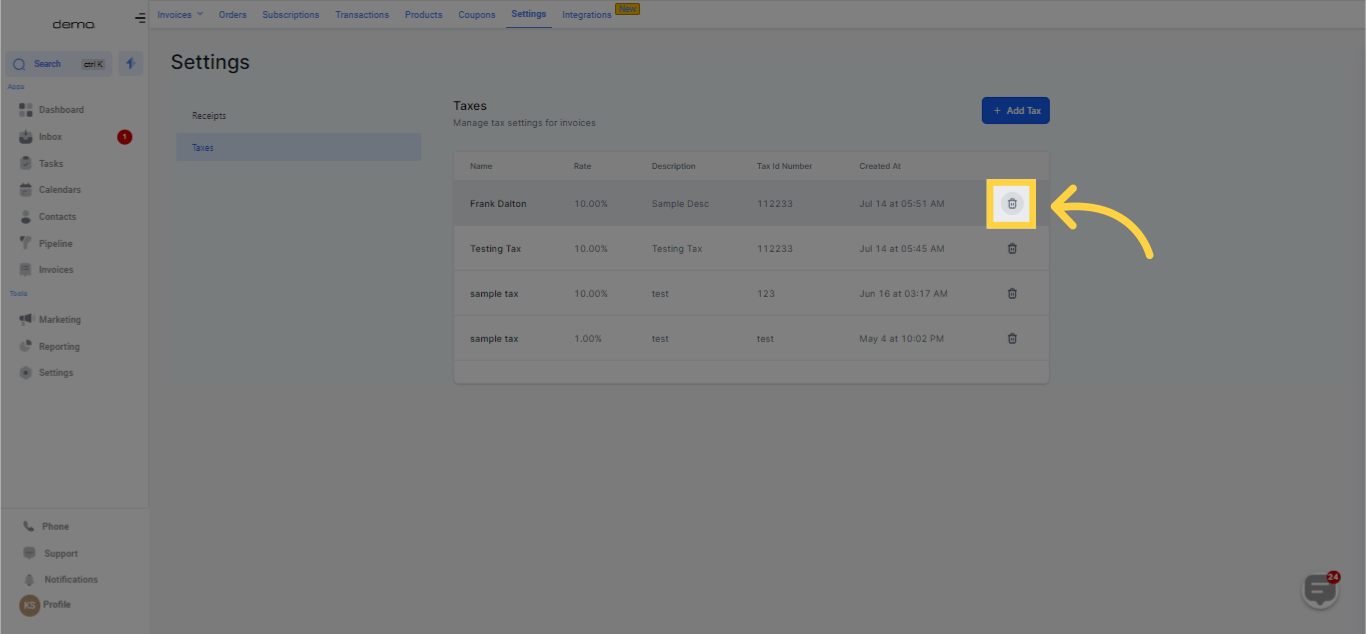
Through the "delete icon" on the right, you have the ability to delete any tax you want to eliminate.
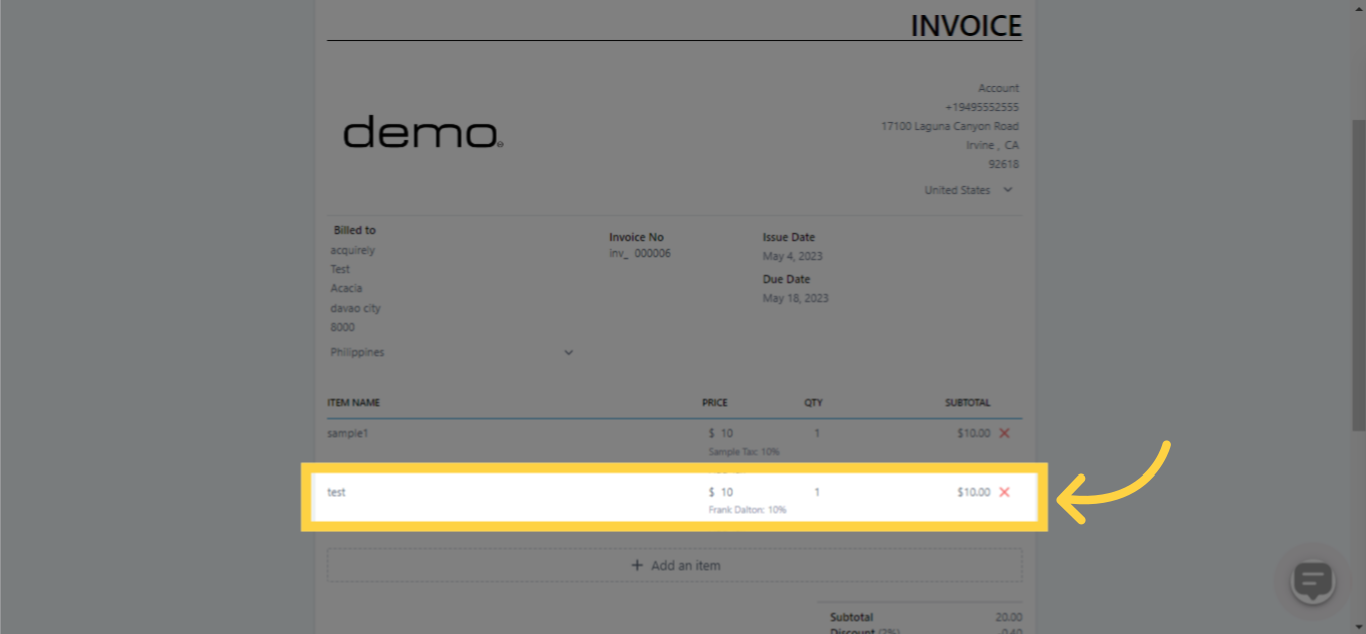
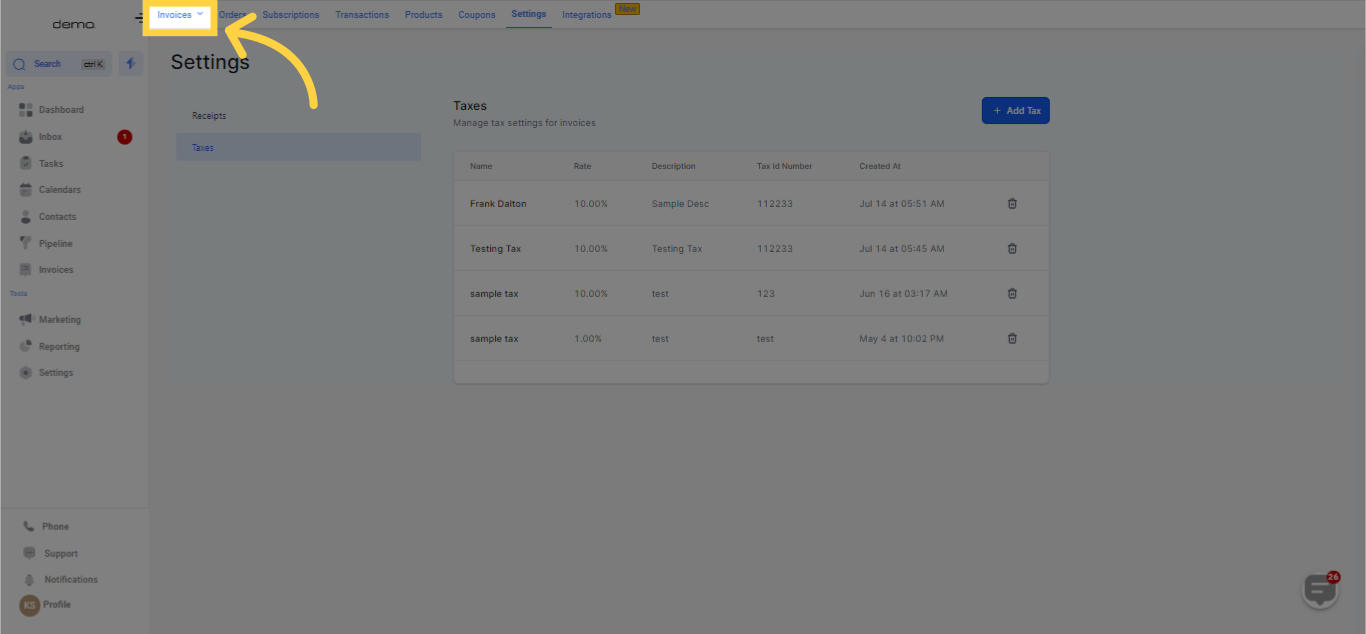
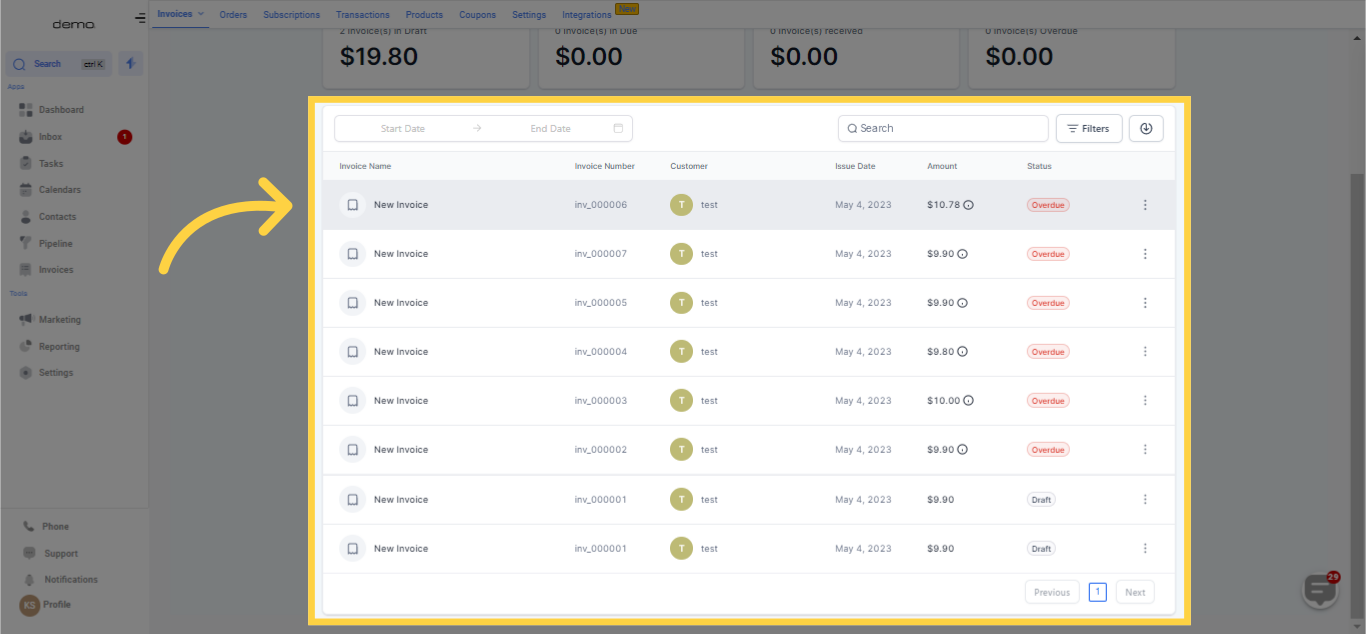
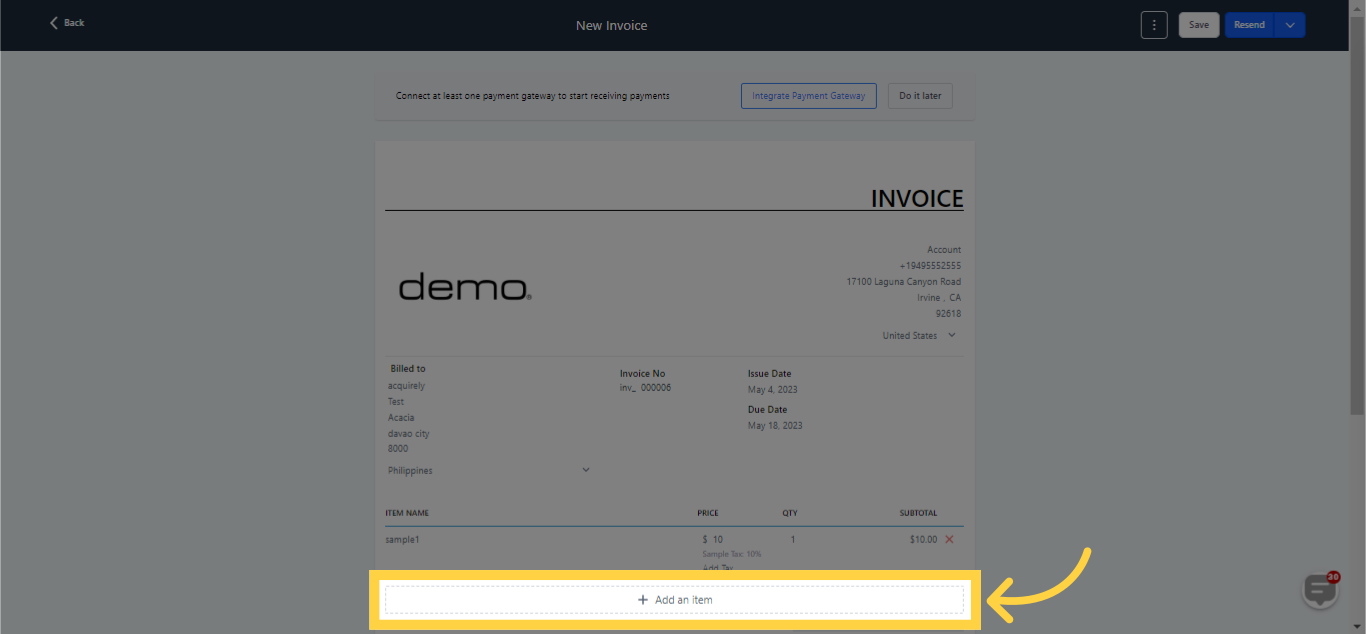
Within an invoice, you have the option to select "New Invoice" beneath a product.
In the "Add Tax" popup, mark the checkbox for the tax(es) you intend to include.
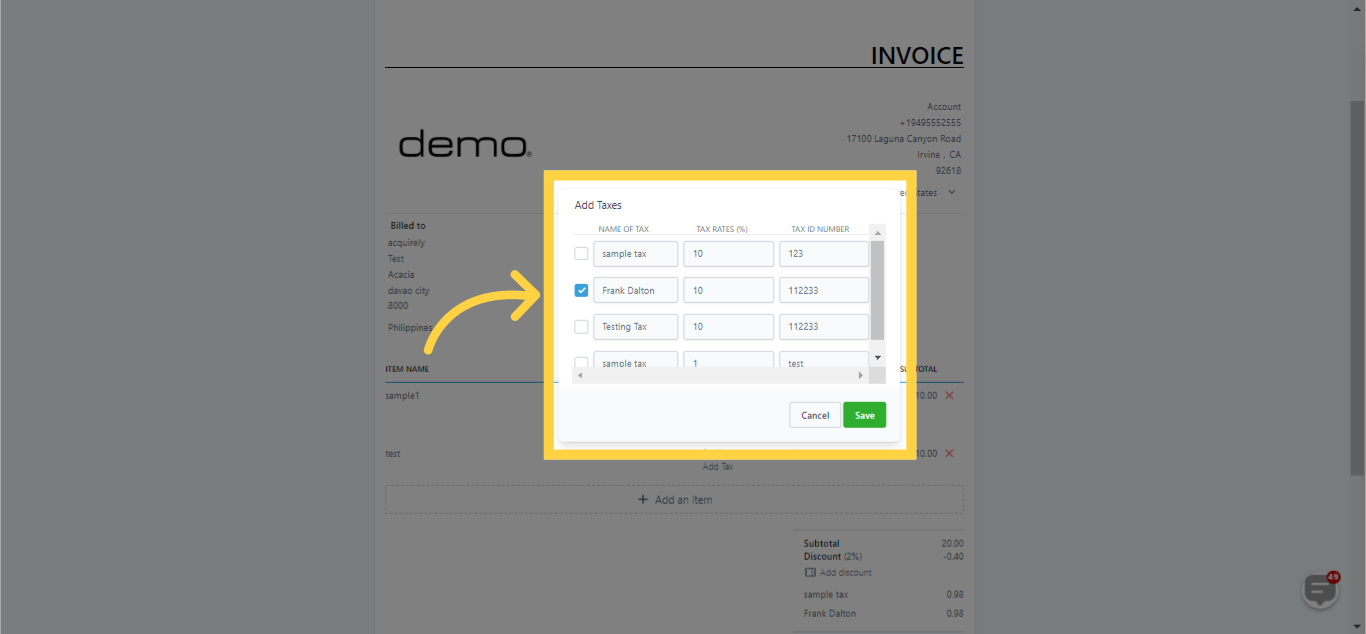
Click on 'Save' to finalize and secure your modifications.