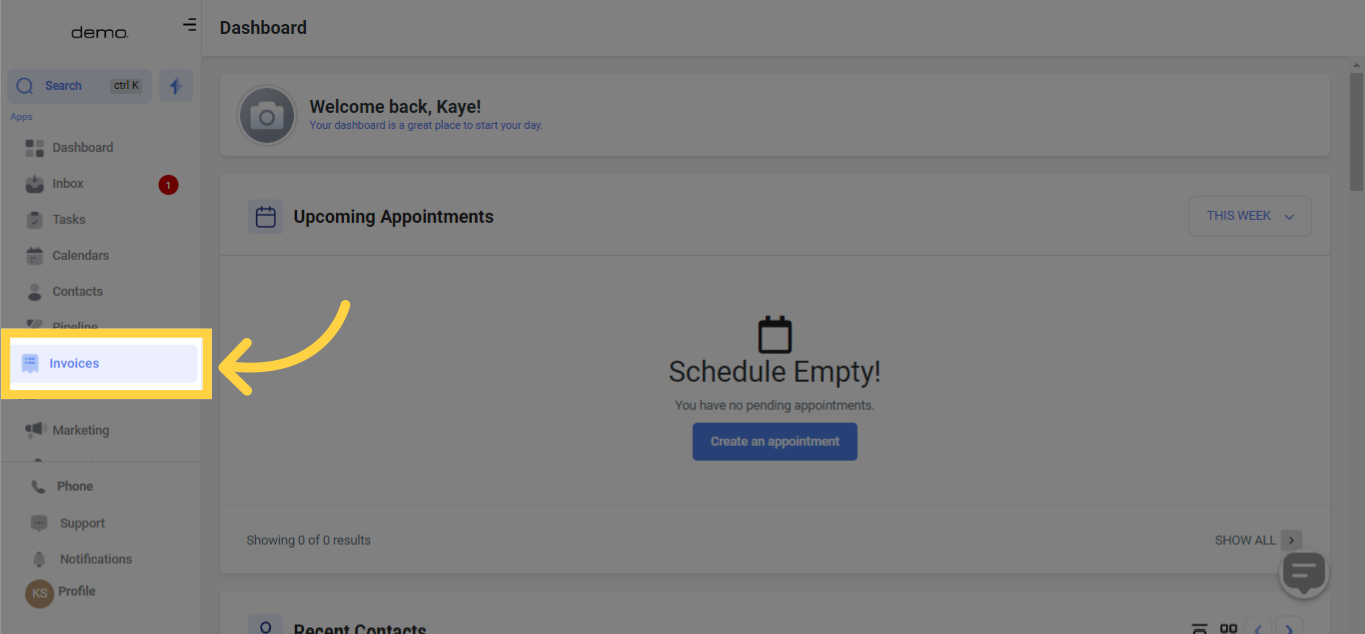
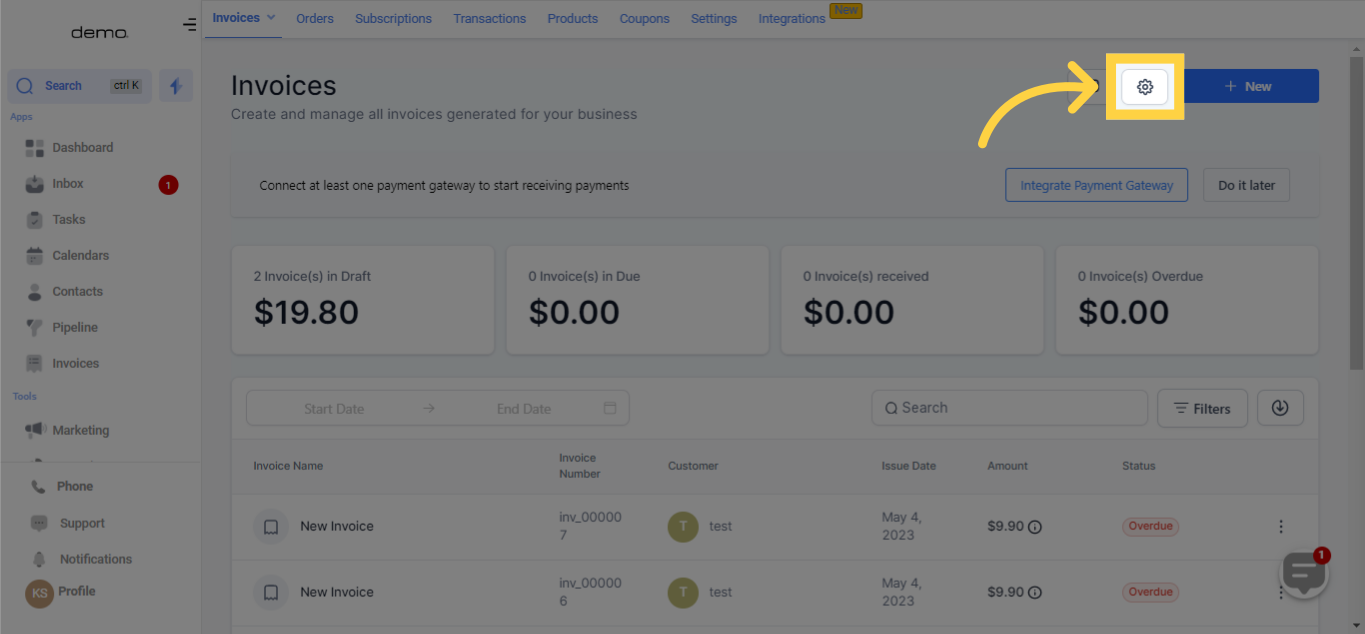
To modify your invoice settings, follow this path: Payments > Invoices > Gear Icon.
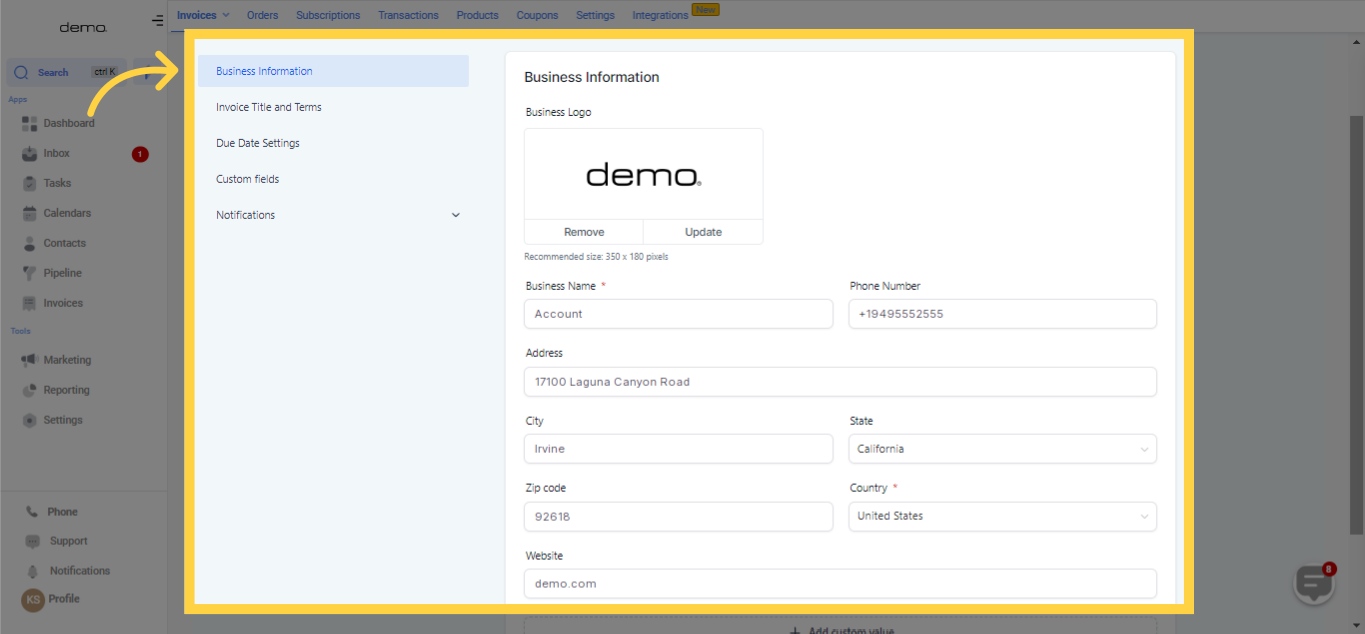
This menu grants you the ability to personalize Business information like the logo, business name, address, website, and lets you add custom values.

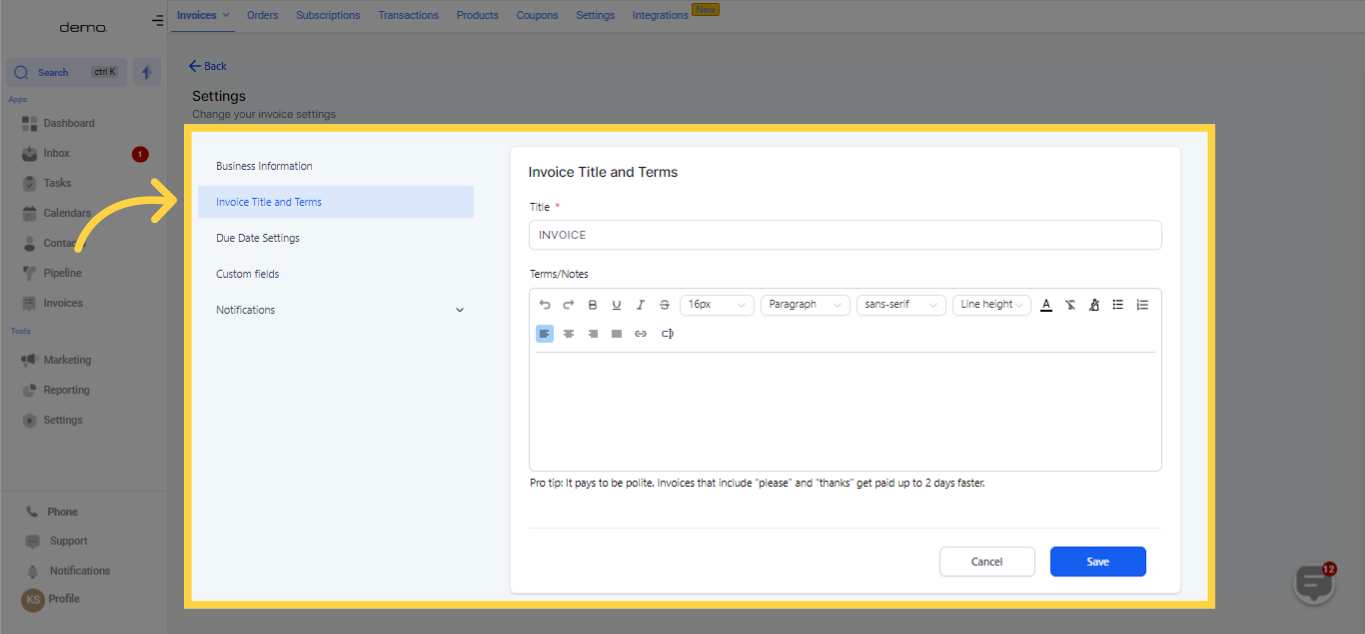
In this section, you can establish the title and terms/notes for the invoices generated. Numerous formatting options are available for features such as line breaks, links, and more.
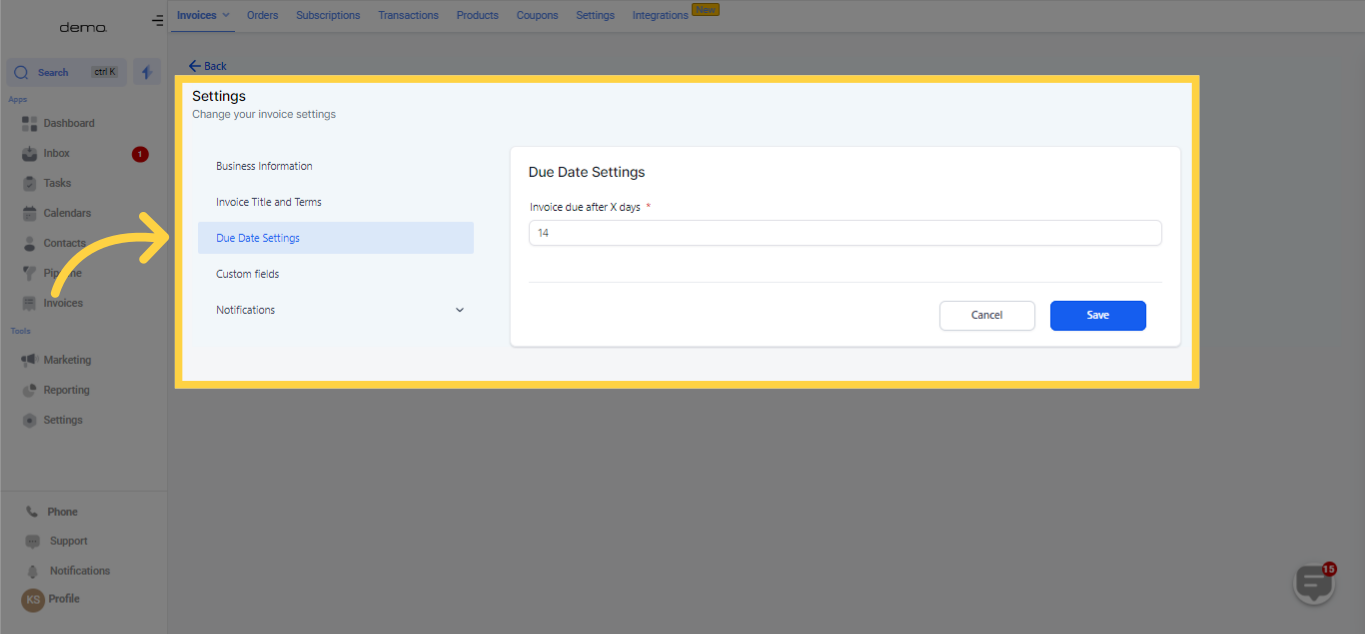
Choose the due date for the invoice, specified as X number of days after issuance.
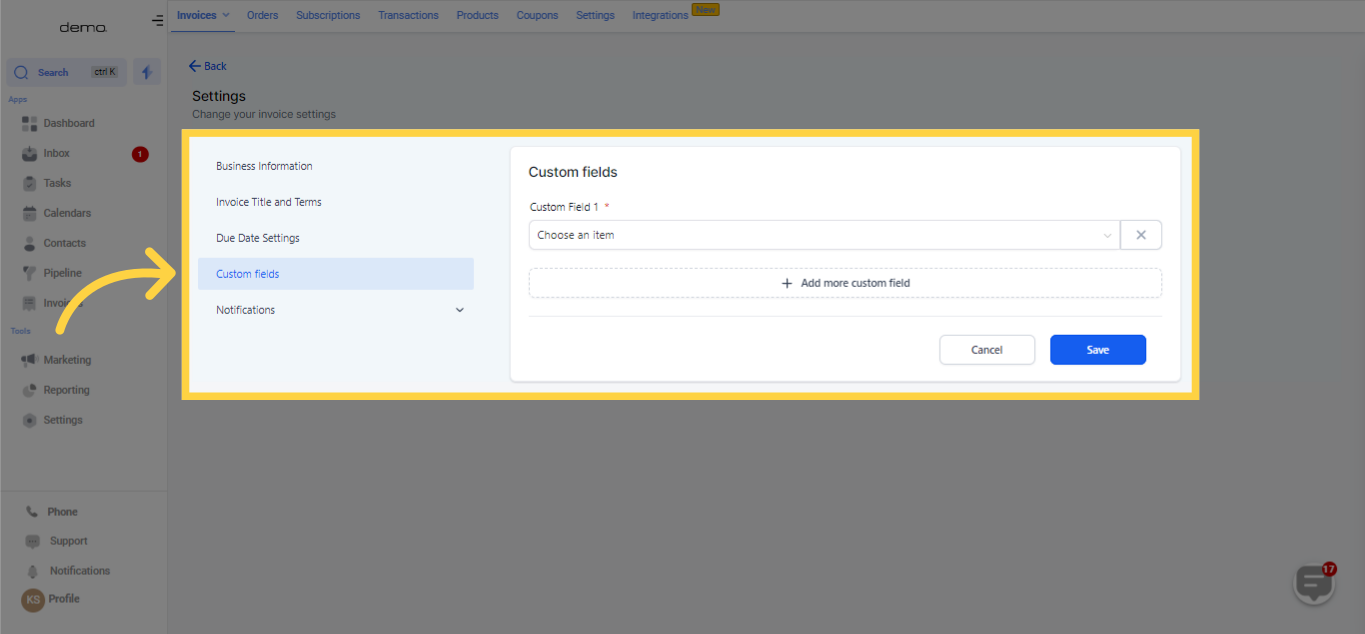
From this section, you can incorporate custom fields according to your preferences.
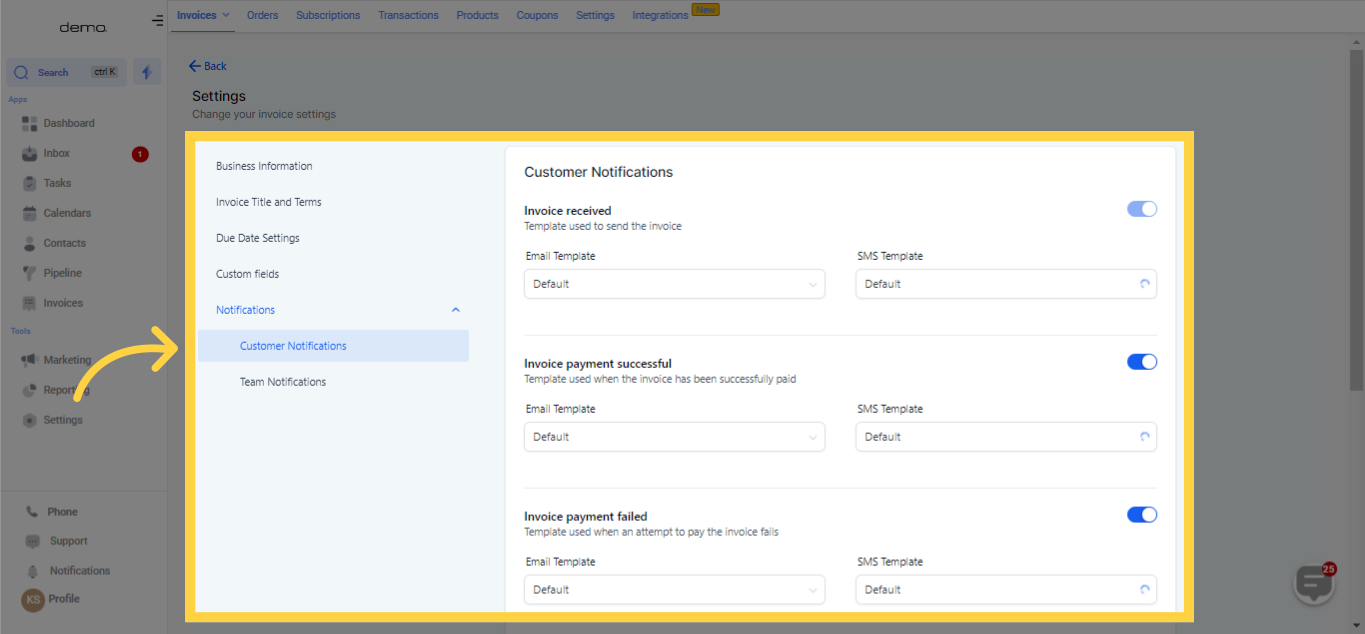
This section allows you to activate or deactivate various types of notifications, and to choose custom templates or rely on the default option.
The different types of notifications include:
Invoice Received
Invoice Payment Successful
Invoice Payment Failed
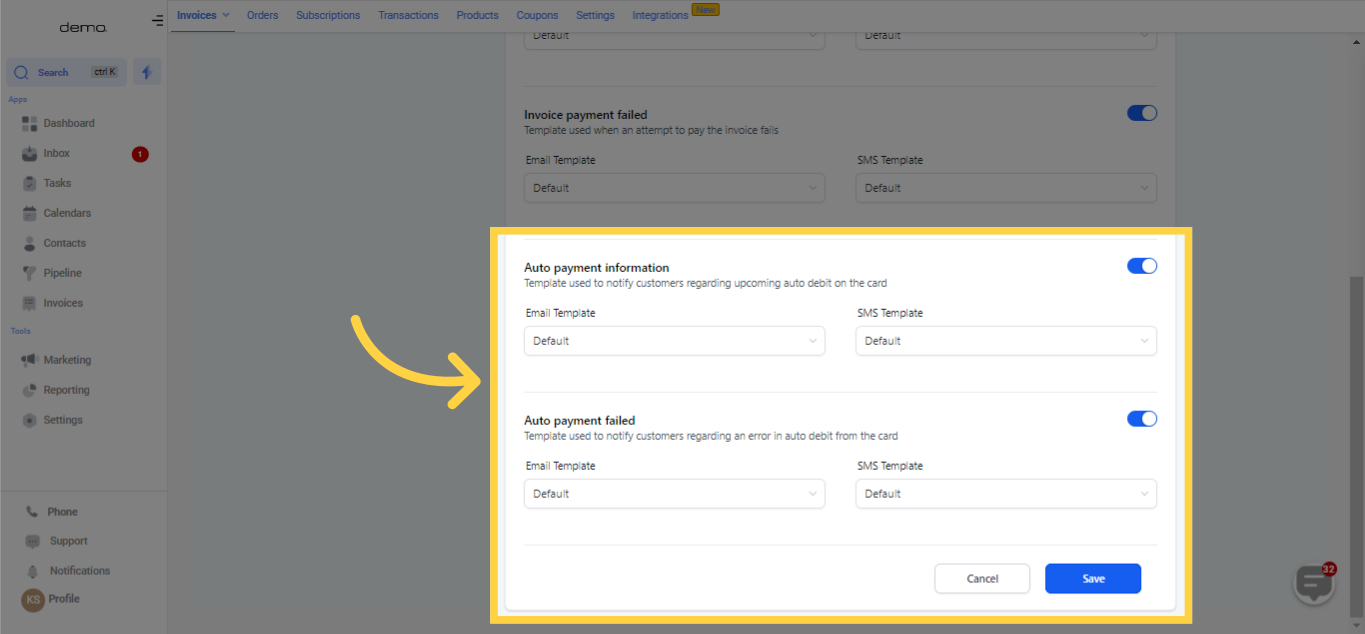
Auto Payment Information
Auto Payment Failed
Kindly note: To see the default template, a manual test is required.
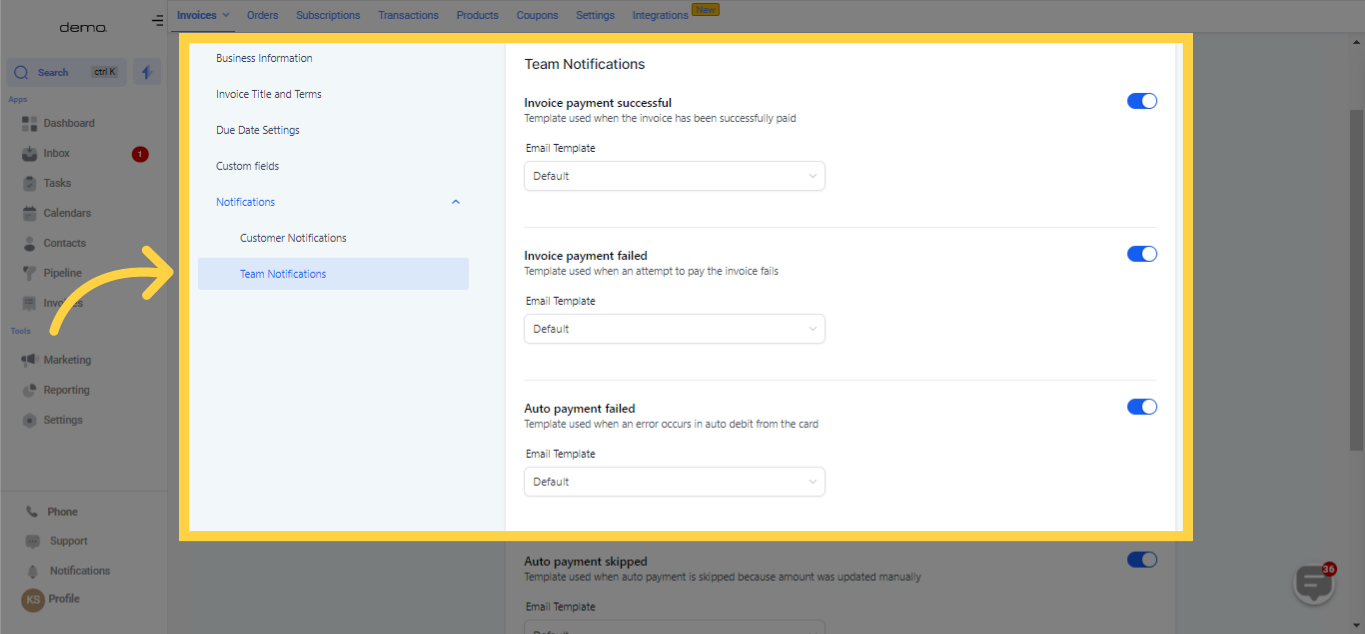
These notifications are dispatched to the business user who issued the invoice. You can choose to enable or disable these notifications, and select templates as required.
The different notifications include:
Invoice Payment Successful
Invoice Payment Failed
Auto Payment Failed
Auto Payment Skipped
The Invoice Could Not Be Sent
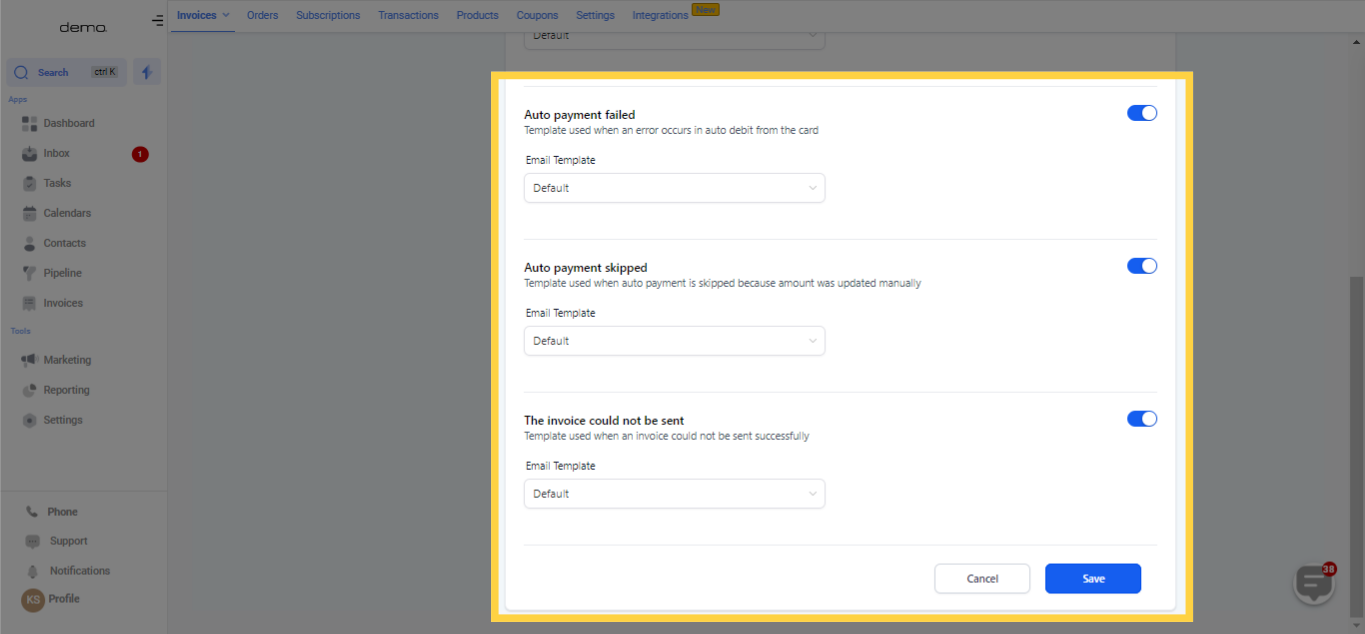
Once you're done modifying your default invoice settings, remember to save your changes.
