)
)
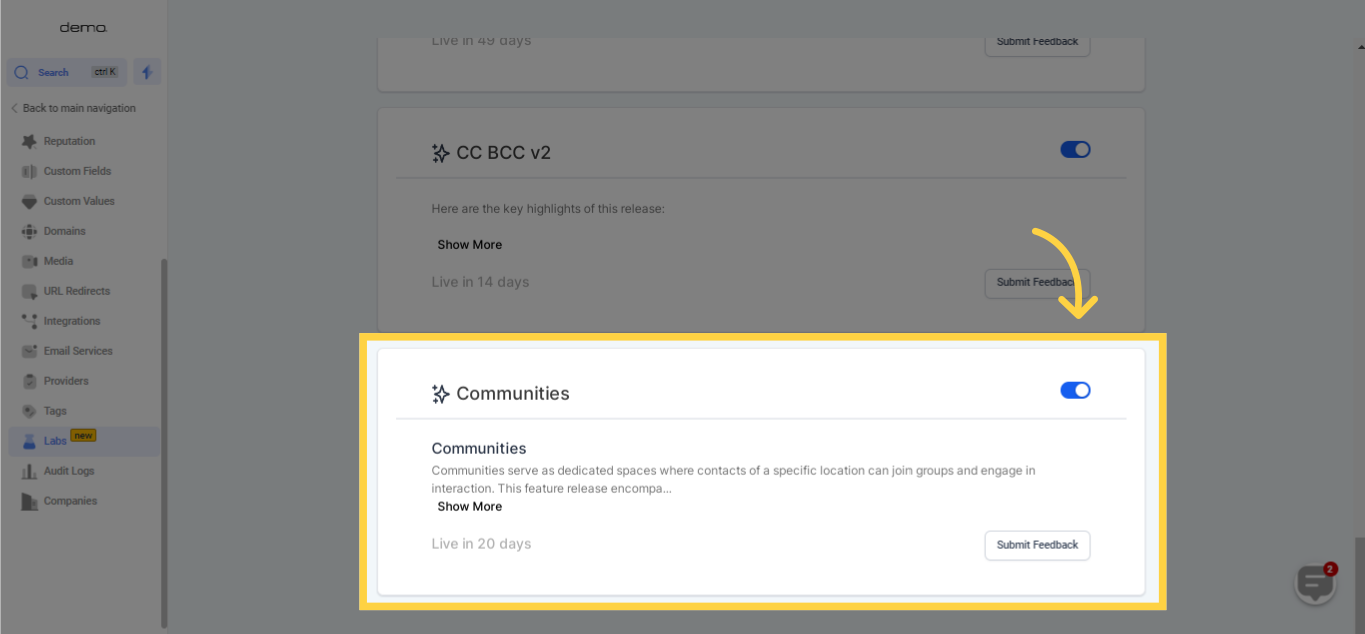
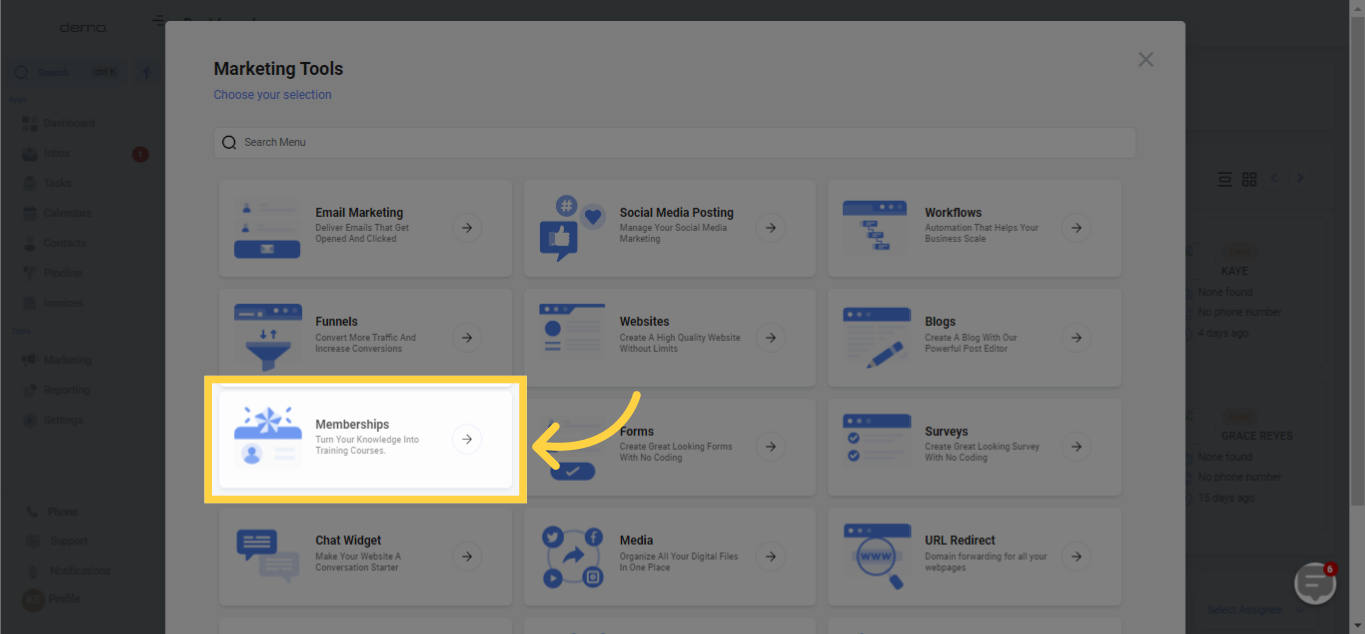
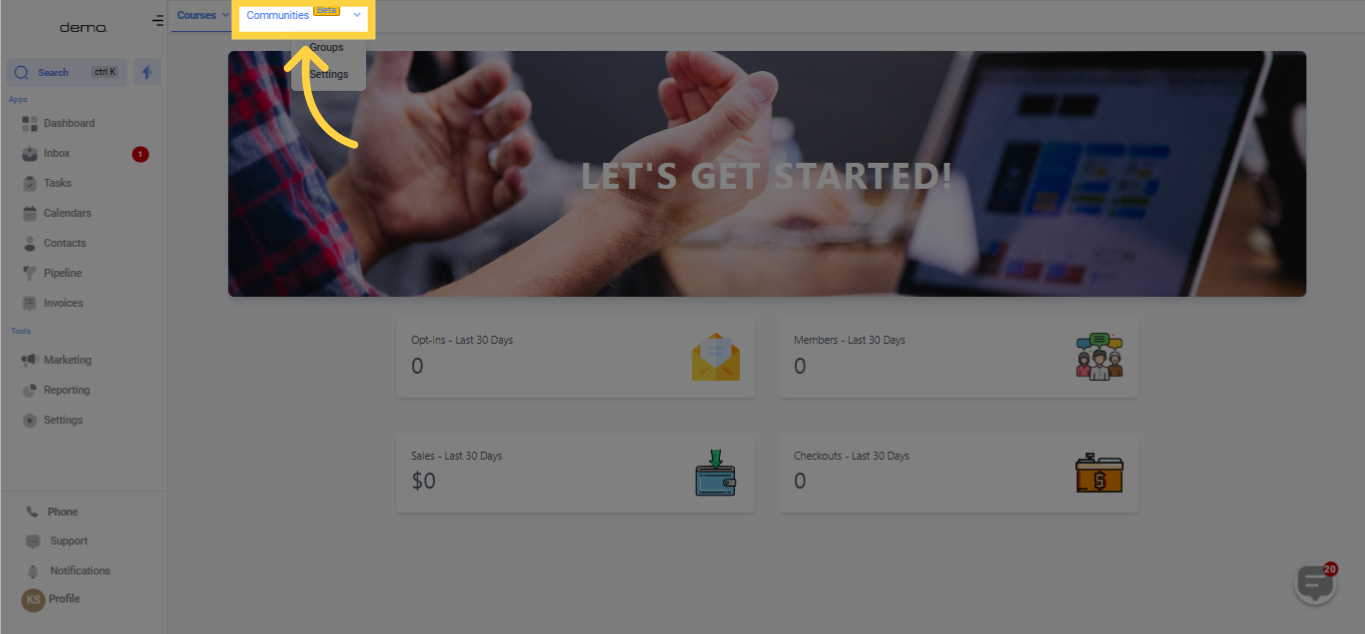
Communities is a dynamic, unified platform that amalgamates a variety of educational resources, enabling members to establish, connect, and participate in groups centered around particular interests. It promotes interactive dialogues and the exchange of knowledge among members by incorporating functionalities such as domain configuration, group formation, customization, and
)
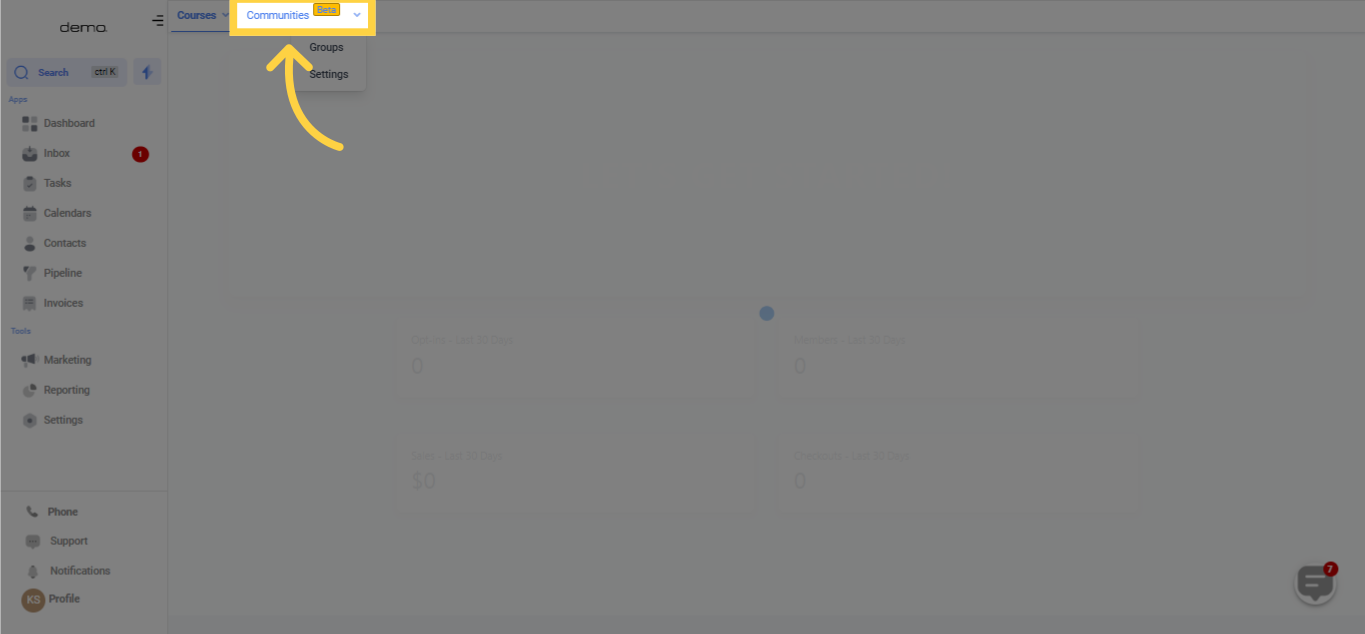
Note: If you have previously configured a domain for your ClientPortal, there is no need to repeat the process for your Communities portal. This is because Communities utilizes the same domain as the Client Portal.To set up your domain for communities, adhere to these steps:
)
)
)
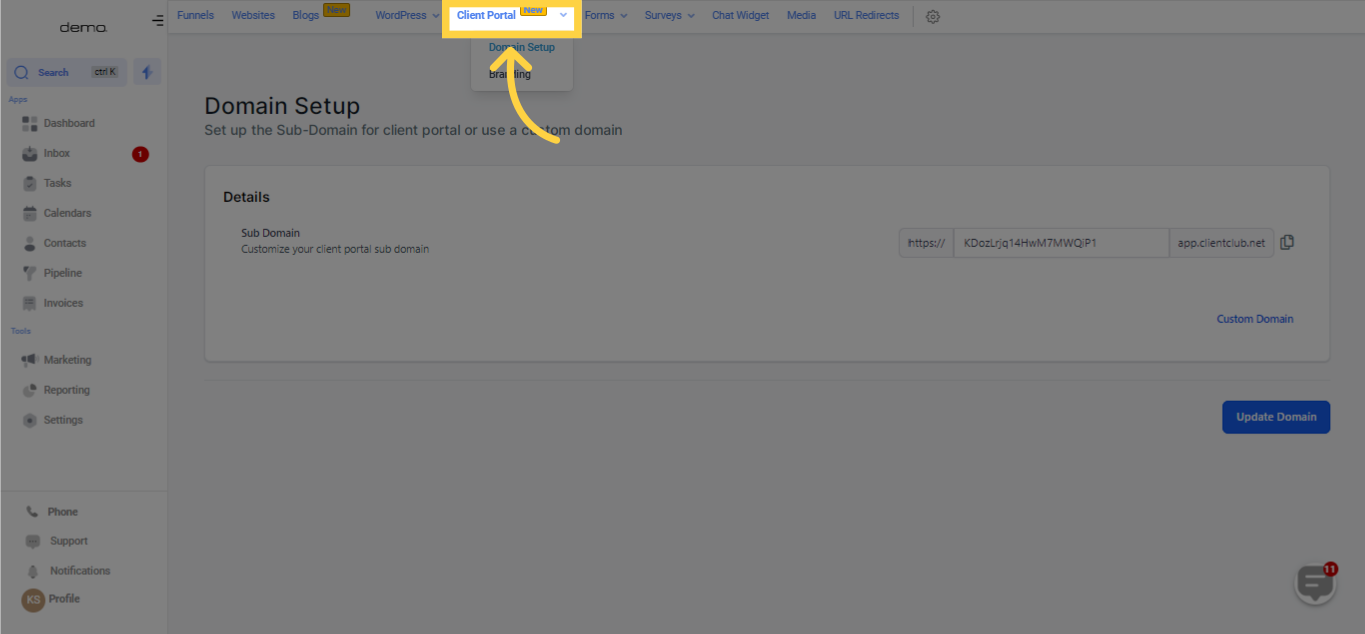
To set up your domain for communities, please follow these steps:
)
)
When accessing this feature, you will be automatically redirected to the Domain Settings within the Client Portal since both functionalities share the same domain.
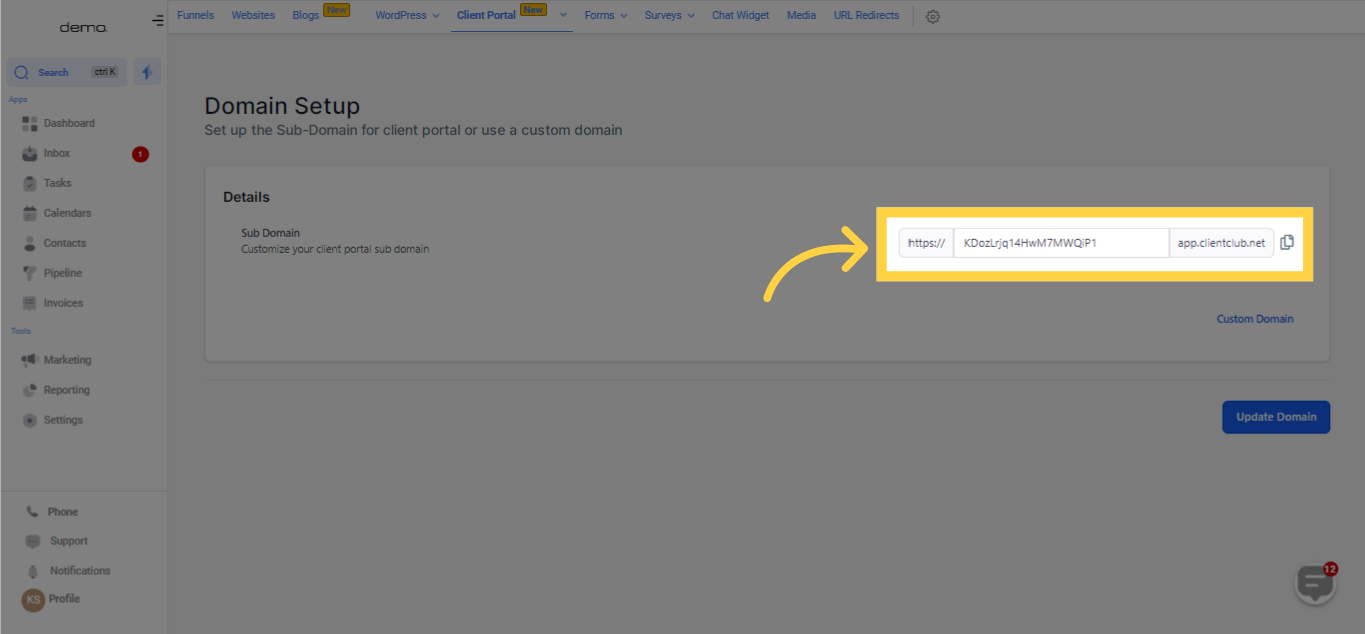
To set up a custom domain for your client portal, please follow the steps below:
)
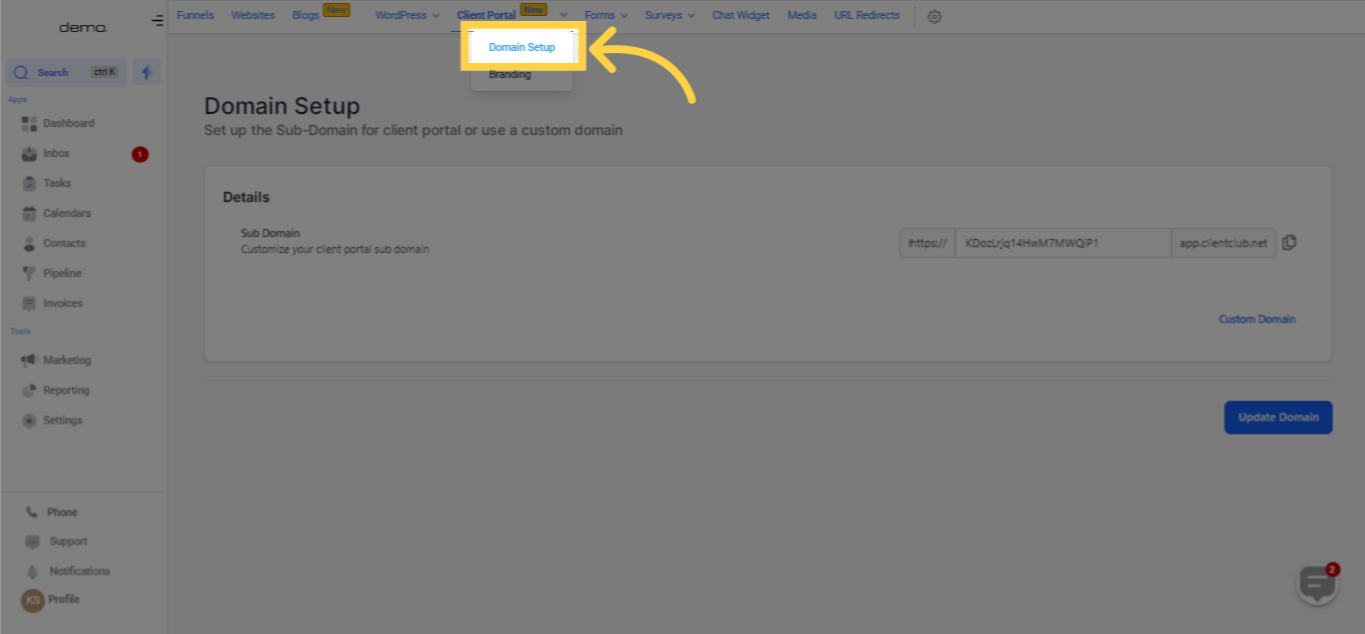)
Now, you have two available options to choose from:
You can make use of a pre-configured subdomain under "clientclub.net". This subdomain is already prepared and can be used instantly. If this option aligns with your requirements, all you need to do is select it. However, remember to scroll down and click on "Update Domain" to ensure proper functioning.
)
Configure your own custom domain
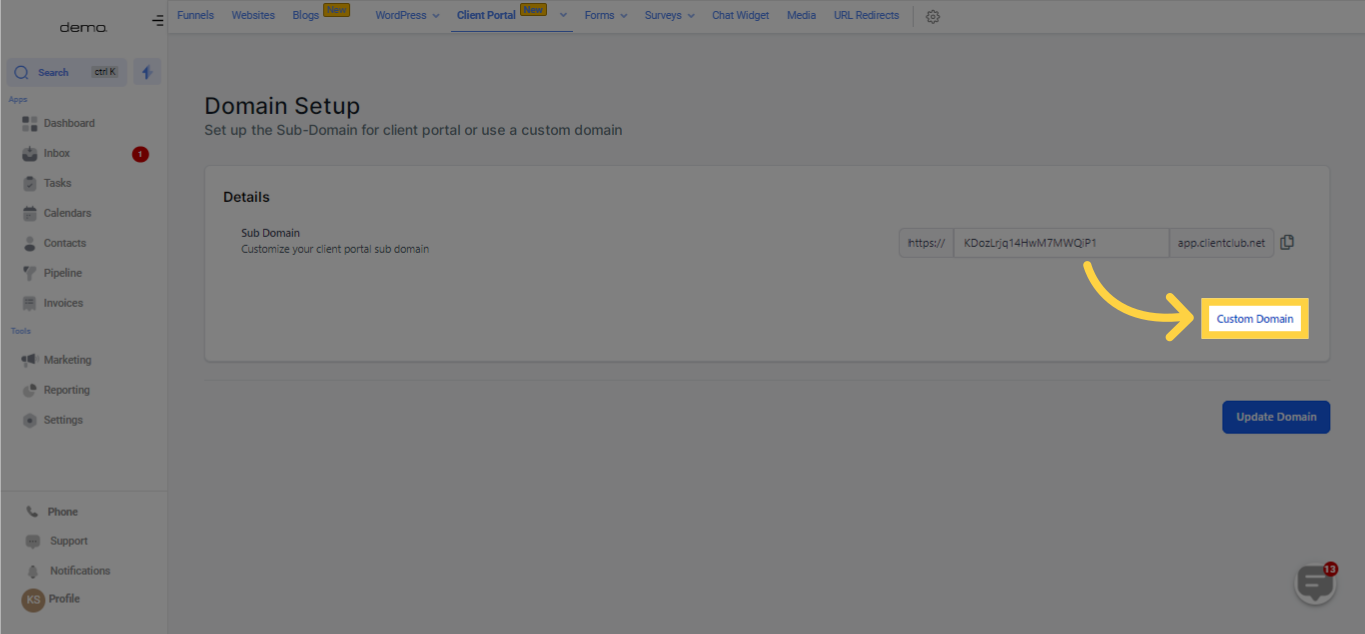)
Select the Custom domain option and enter your preferred domain name.
)
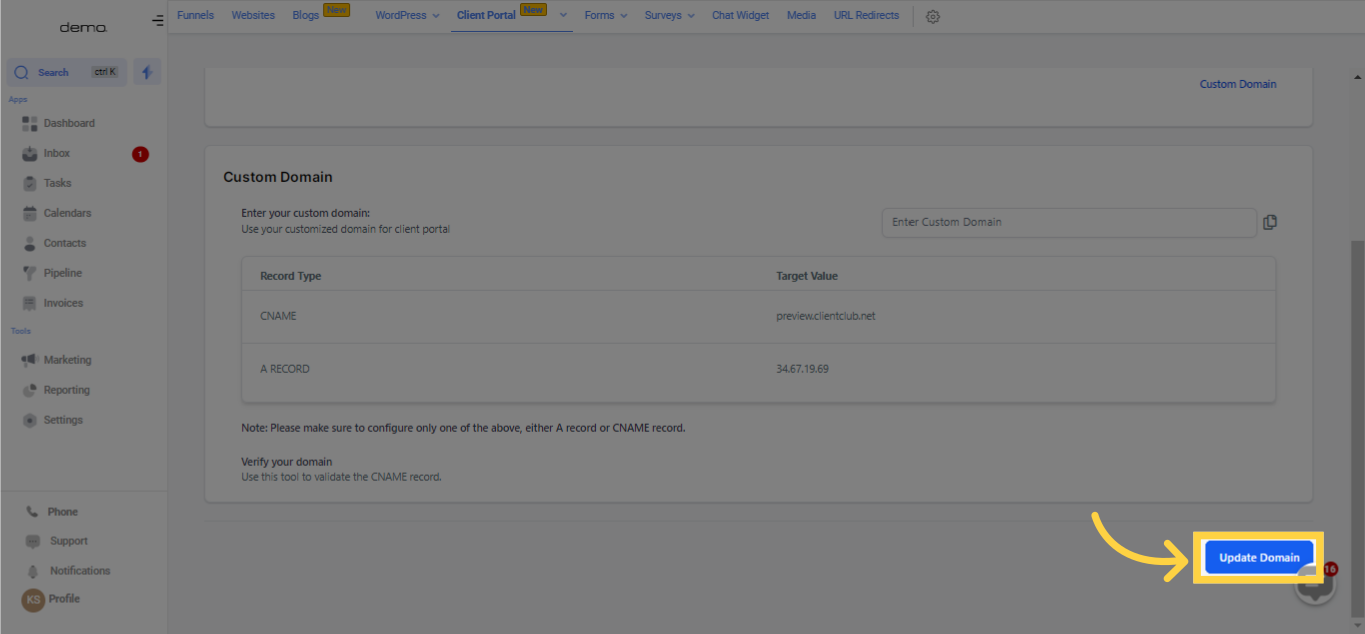
Before the successful configuration of an A or CNAME record can be accomplished, it's imperative to first adjust your domain registrar to point towards the specific IP address or server given to you. This crucial step ensures that your domain accurately refers to your server, thereby facilitating its proper operation.
An A Record, also known as an Address Record, links your domain to a specific server IP address. Conversely, a CNAME record, or Canonical Name record, assigns your domain (or subdomain) to another domain name.
Here's a detailed guide on how to add A records and CNAME records:
Sign in to your Domain Registrar's dashboard.
Proceed to the DNS settings.
At this point, you will encounter an option to create a new record.
Choose the type of record you want to establish (A or CNAME).
Provide the necessary details - for an A record, you would input the IP address 34.136.231.88; for a CNAME record, you would input the target domain preview.clientclub.net.
Save the modifications you've made.
Note: Ensure to replace the placeholder "designated IP address or server" with the actual IP address or server information in the record. It is crucial to accurately complete this field to ensure the correct configuration of your domain settings.After inputting the DNS records in your Domain registrar, allow a sufficient amount of time for them to propagate (duration may vary depending on your domain registrar), and then click on Update Domain.
)
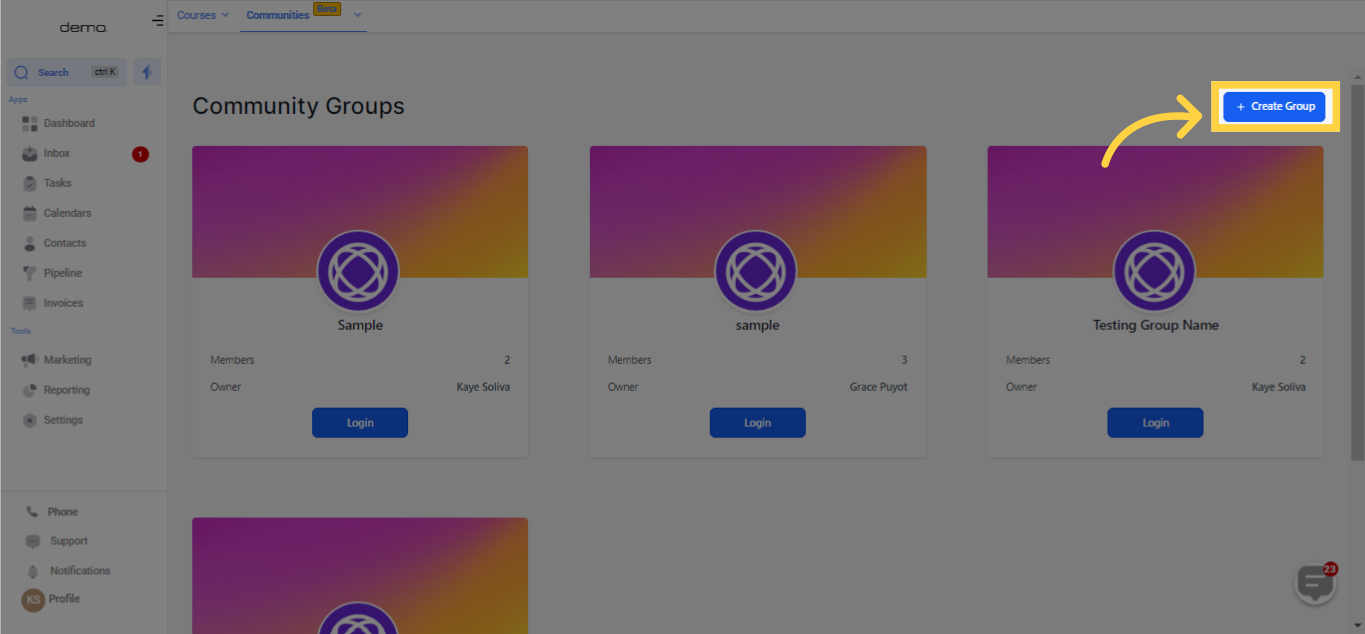
Note: Although the following resources offer a comprehensive overview, the precise duration of DNS propagation may differ due to factors like the TTL configured for the DNS record, the update frequency of your ISP, and geographical considerations. It is generally recommended to allocate a period of 24 to 48 hours for DNS propagation to take effect.Once your domain setup is complete, you gain the capability to establish groups within a community. It's important to note that the domain setup process is distinct from the creation of community groups.
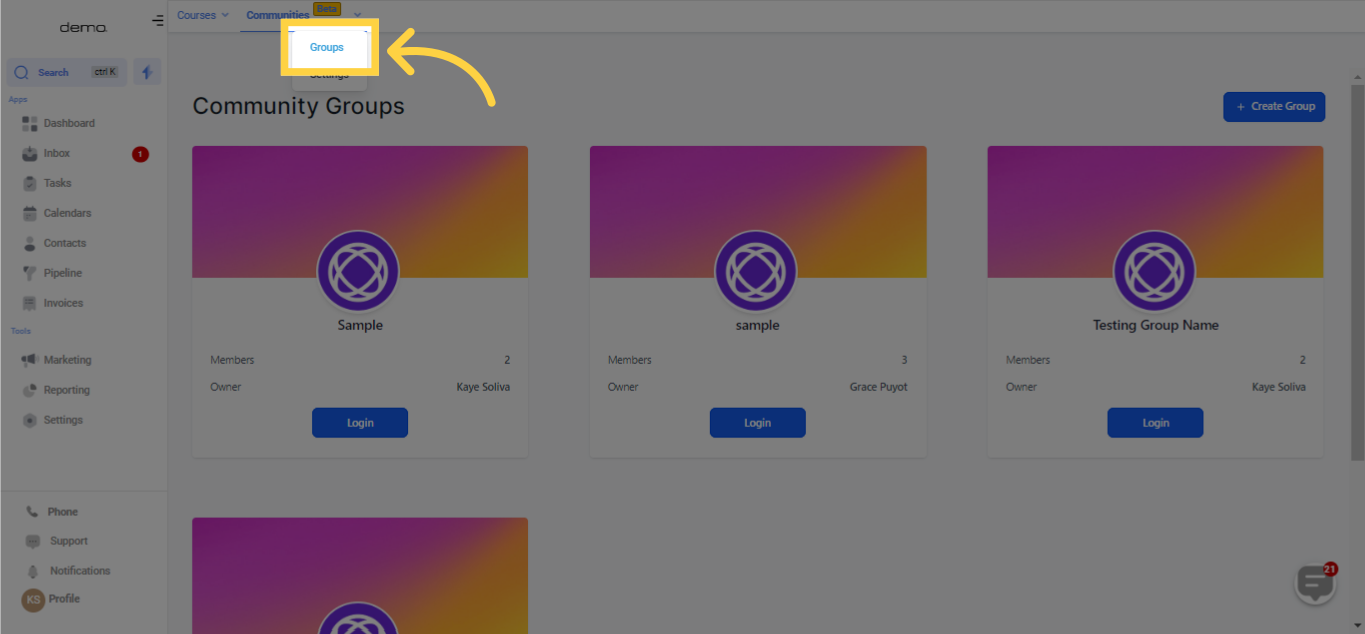
In the context of communities, groups pertain to smaller subdivisions situated under a subdomain.
Each subaccount has the ability to generate multiple groups, facilitating more targeted discussions and collaborative efforts within specific areas of interest.
)
)
)
)
)
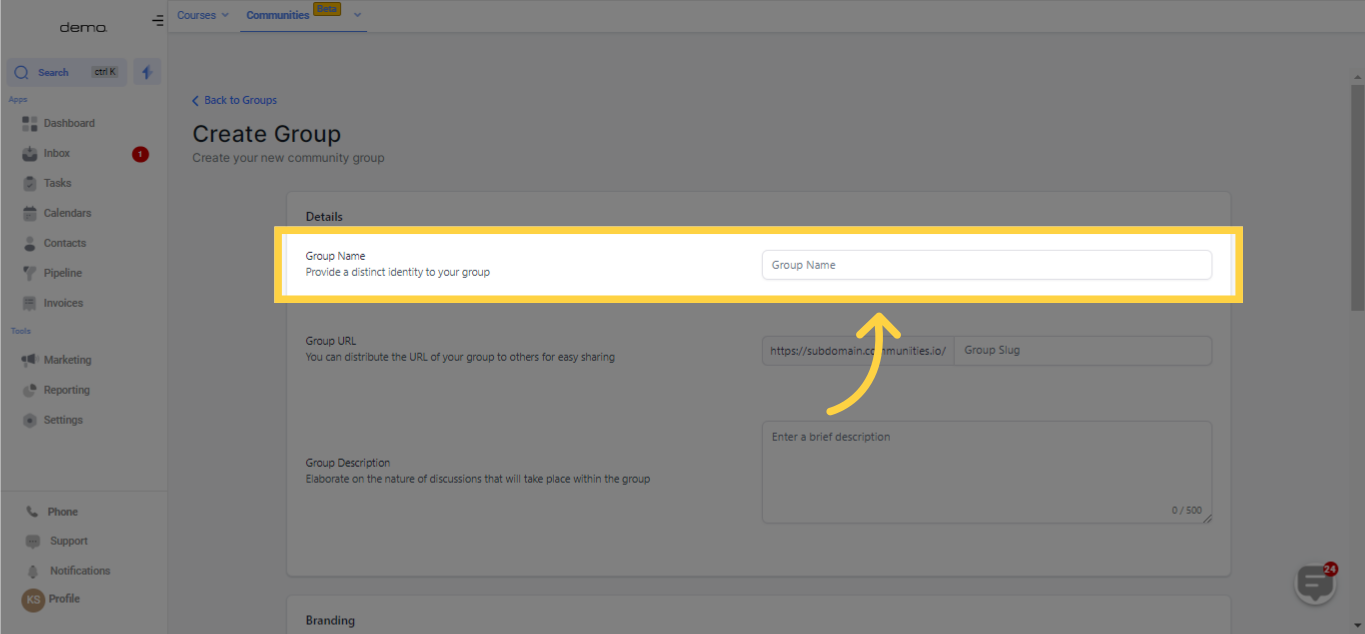
At this point, you will encounter a form or settings page where you can enter the required details for your group.
In this field, supply a distinctive name for your group which will act as the central identifier for your community. It should be relevant to the purpose or theme of the group. For instance, if your group revolves around digital marketing, you might consider the name "Digital Marketing Enthusiasts."
)
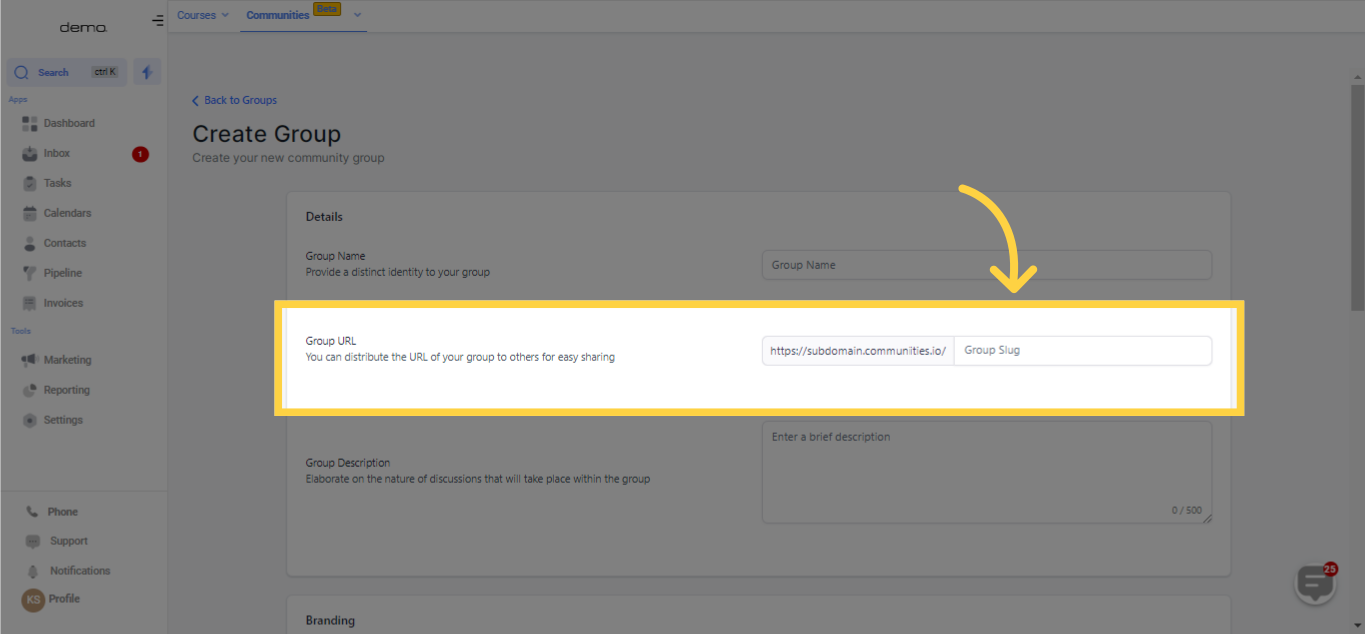
This is the distinct web address at which your group will be positioned. It should be straightforward to recall and distribute. Typically, it could be a simplified or abridged version of your group title, like "digital-marketing" in the case of a group named "Digital Marketing Enthusiasts."
)
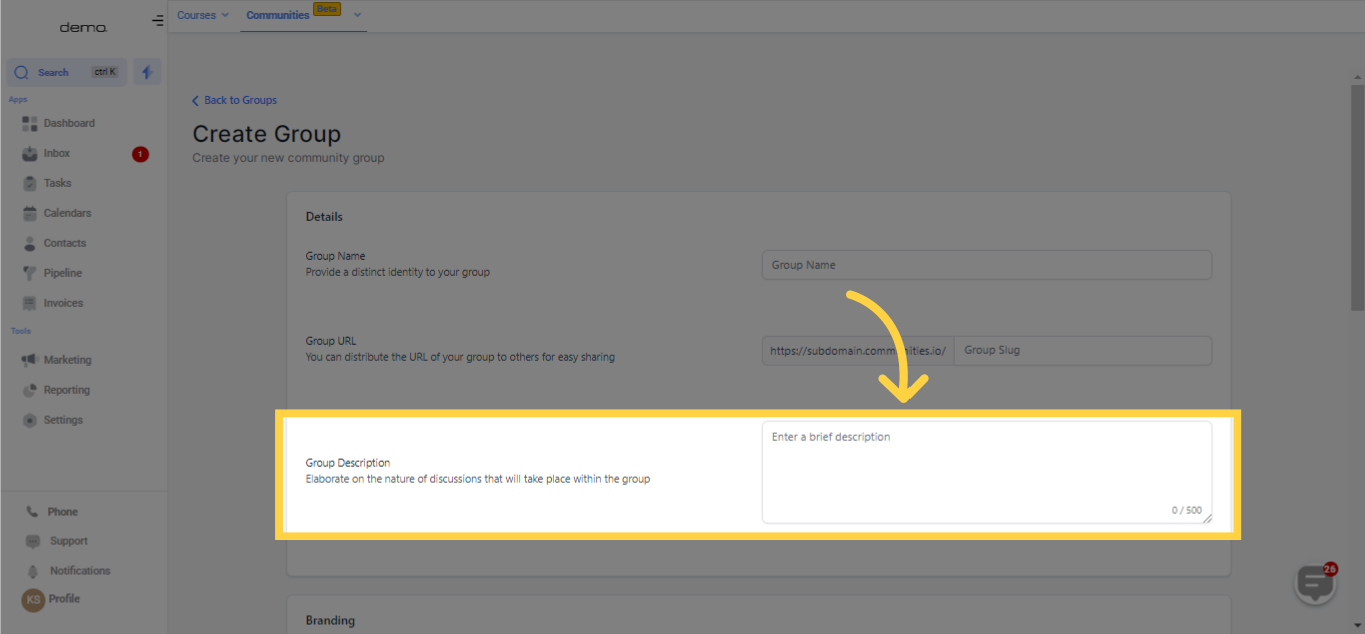
This segment should briefly outline the nature of your group, the discussions anticipated, and what members can expect from their participation. For example, the Digital Marketing Enthusiasts group could be described as "A community where digital marketing professionals and enthusiasts exchange strategies, tools, and industry trends."
)
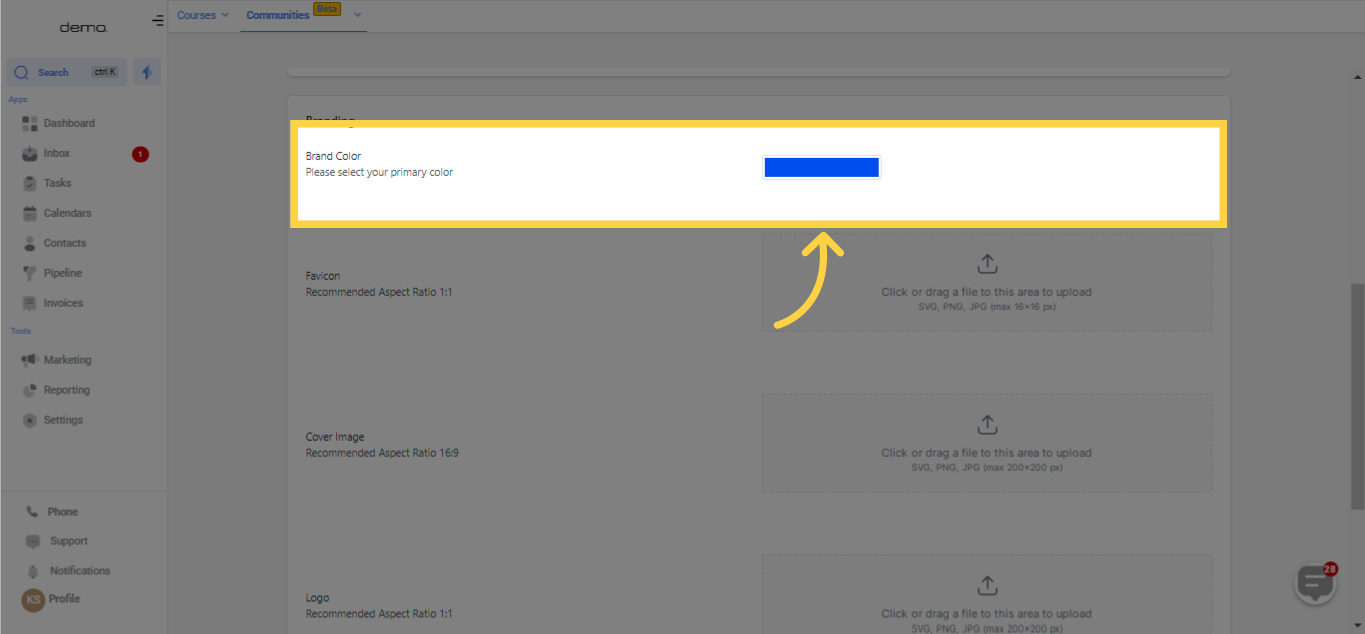
Select a color symbolizing your group or your brand. This chosen color will feature in various design elements of your group to ensure a cohesive aesthetic.
)
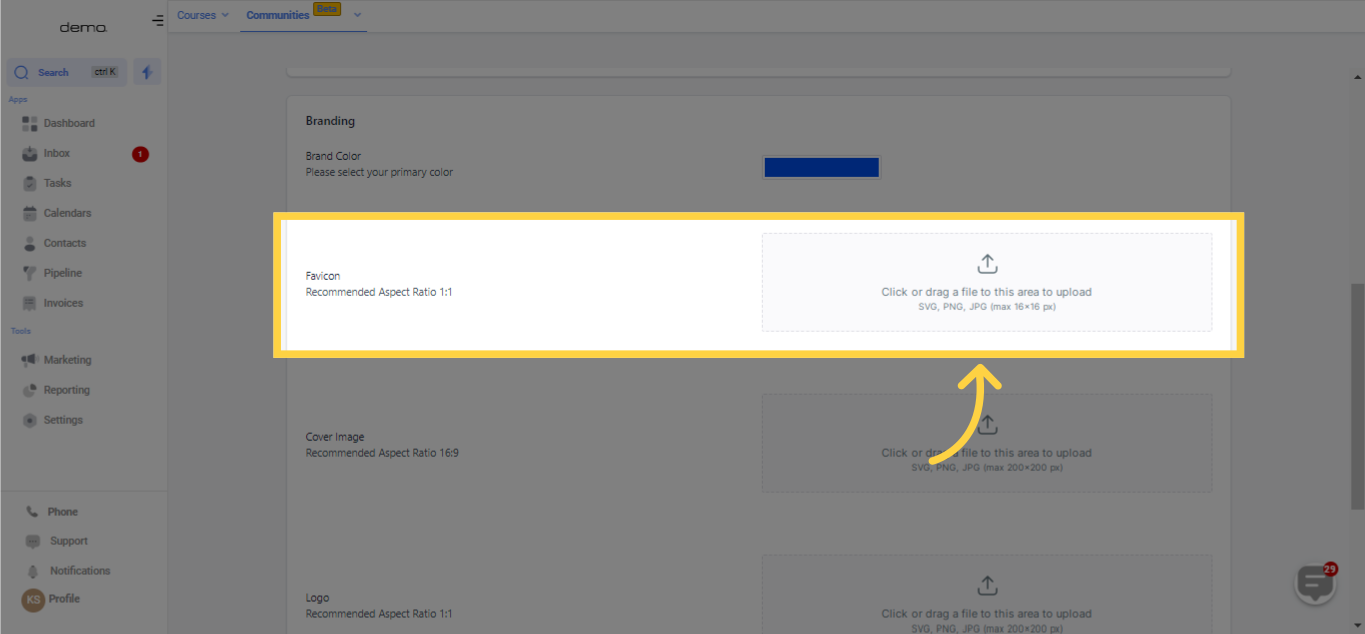
This compact icon will be displayed in the browser tab when someone accesses your group. Ideally, it should be a reduced version of your logo or an emblem representative of your group.
)
The primary image will be featured at the top of your group's page. It should be visually pleasing and pertinent to your group's theme. The proposed aspect ratio is 16:9, and the image should be explicit at a resolution of 200x200 pixels.
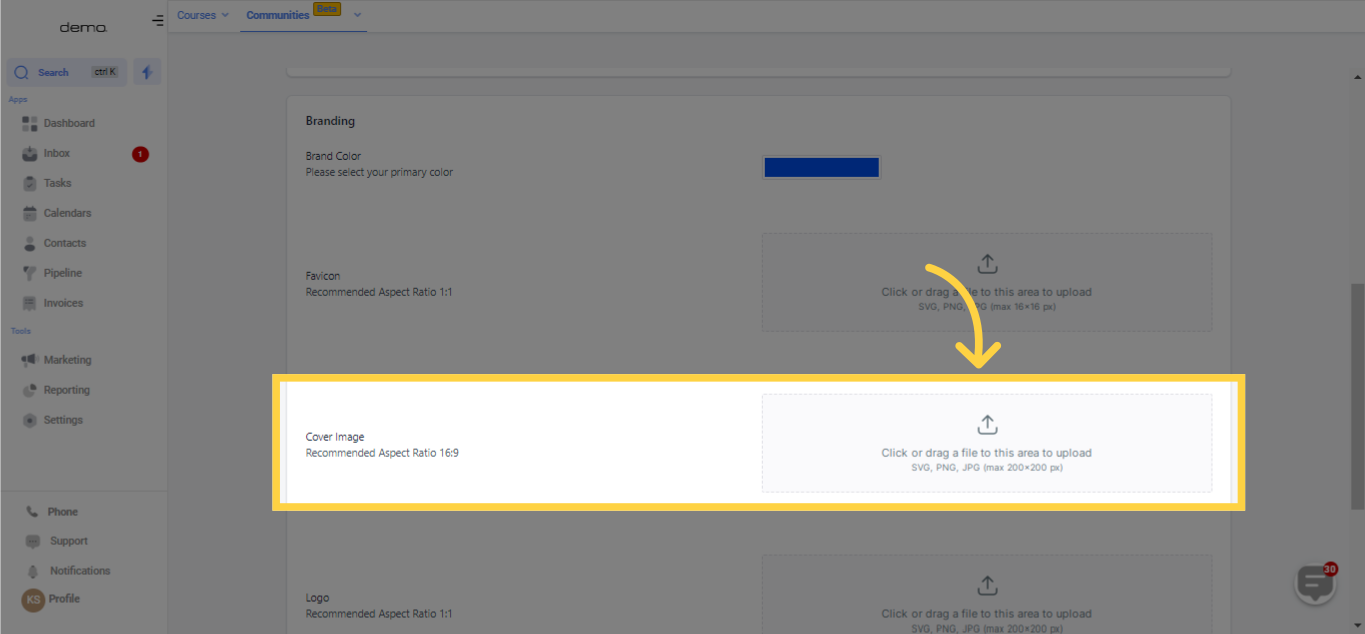)
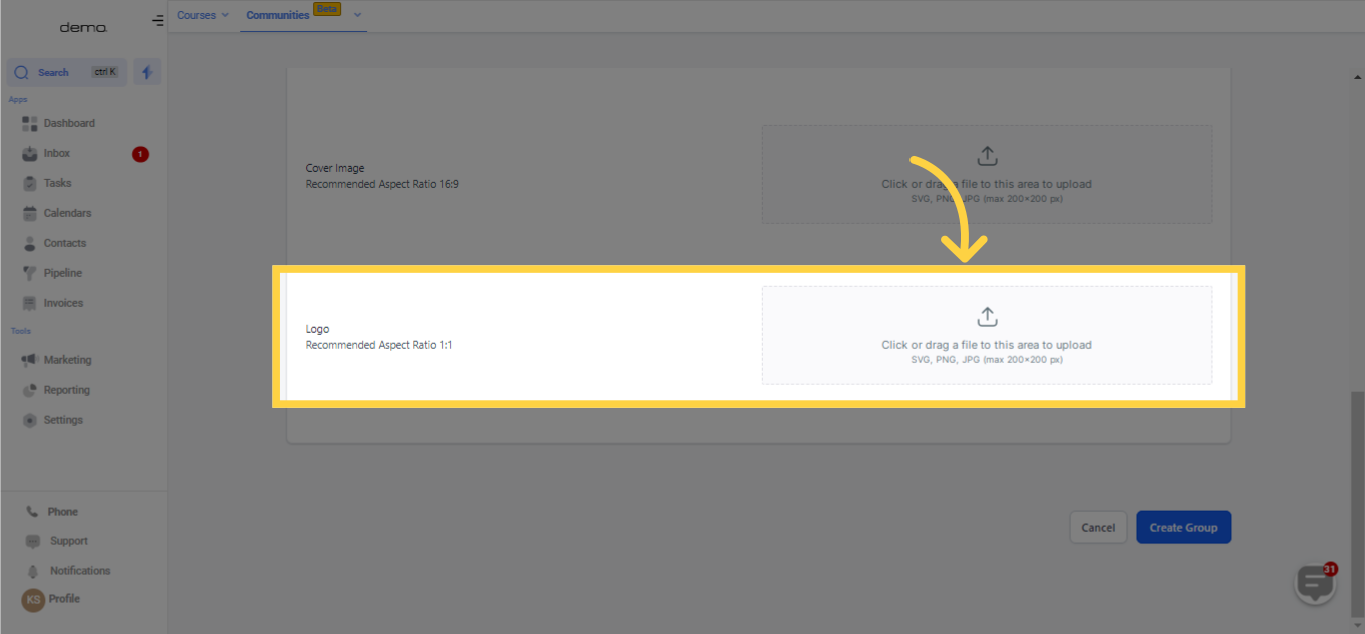
This represents the main logo for your group, which will be displayed in various contexts, such as the group switcher. It is advised that it be square, presenting a 1:1 aspect ratio, and be clear at a size of 200x200 pixels.
)
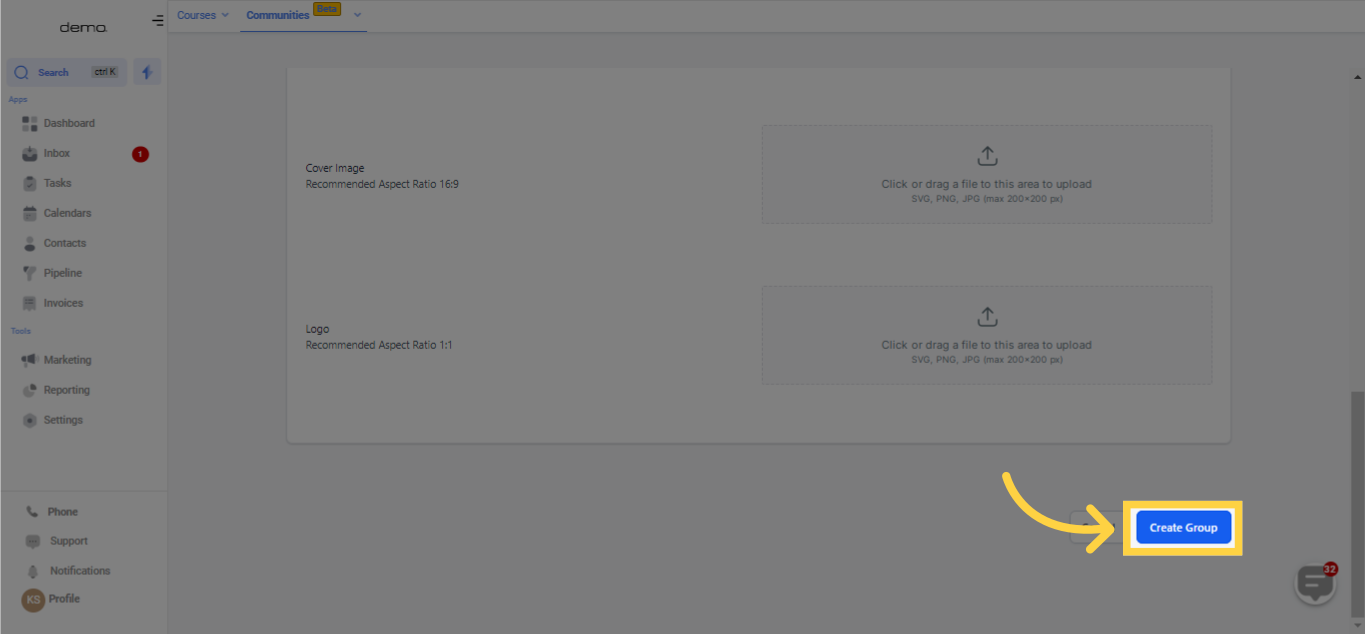
Upon completion of providing the obligatory details, you can establish the group using the given options or buttons.
)
Note: The person who initiates the group creation process automatically assumes the role of the group owner. As the owner, they are responsible for the administration and enjoy the associated privileges within the group.In order for members to join your group, they need to sign up using the group's exclusive URL and create a community profile. It's crucial to understand that this community profile will be utilized across all groups within the same community. Here's a revised explanation of the process:
Reach out to potential members via email or SMS, sharing the group's URL and extending an invitation to join. This communication serves to inform and encourage individuals to become part of the group.
)
Members can simply click on the URL provided, which will direct them to a dedicated page where they can proceed to join the group.
Once they click on "Join Group," they will be prompted to sign up for the client portal.
)
Upon signing up or logging into the client portal, individuals gain access to the portal and can freely engage in any of the available groups within the community. They have the flexibility to choose and participate in the groups that align with their interests and objectives.
Members have the option to join multiple groups within the community based on their individual interests or preferences. This allows for a diverse range of engagement and participation within various groups that cater to different topics or areas of focus.
You have the flexibility to personalize and customize your community groups based on your preferences. By default, a group will inherit the customizations made in Step 2. Here are several available options for customization:
You have the option to select a fitting name for your group that aligns with its purpose.
)
Enhance your group's appeal by adding a descriptive group description that offers valuable information and context to potential members.
)
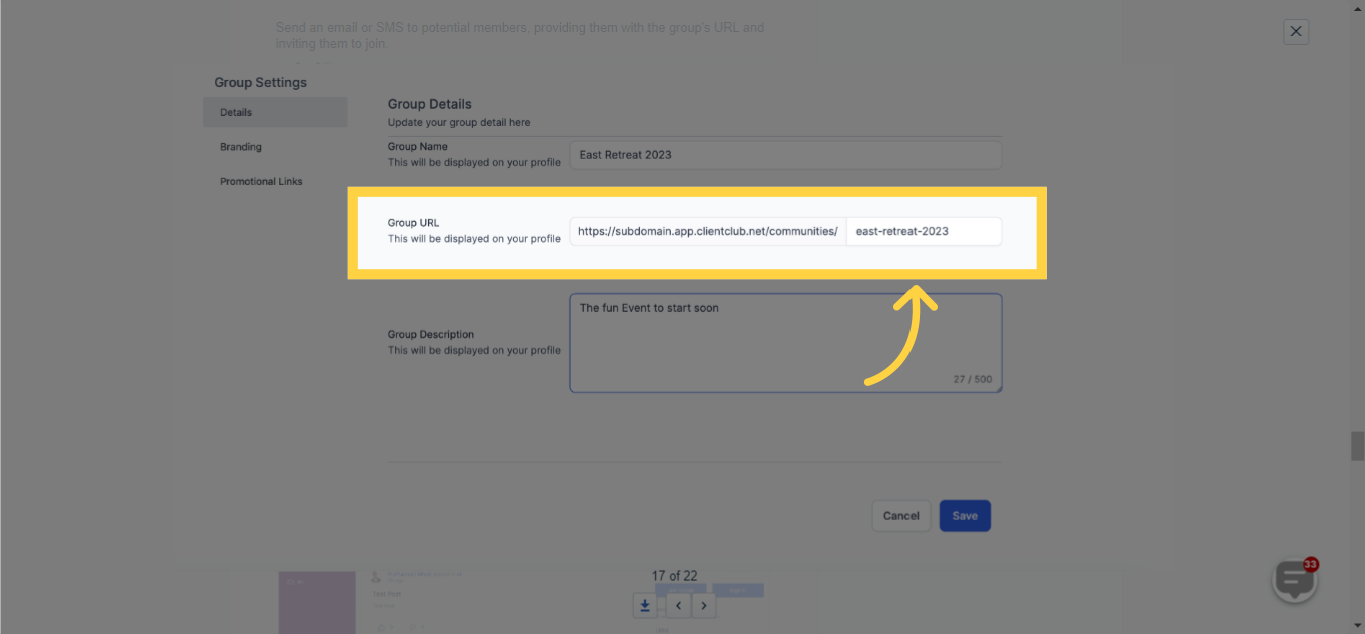
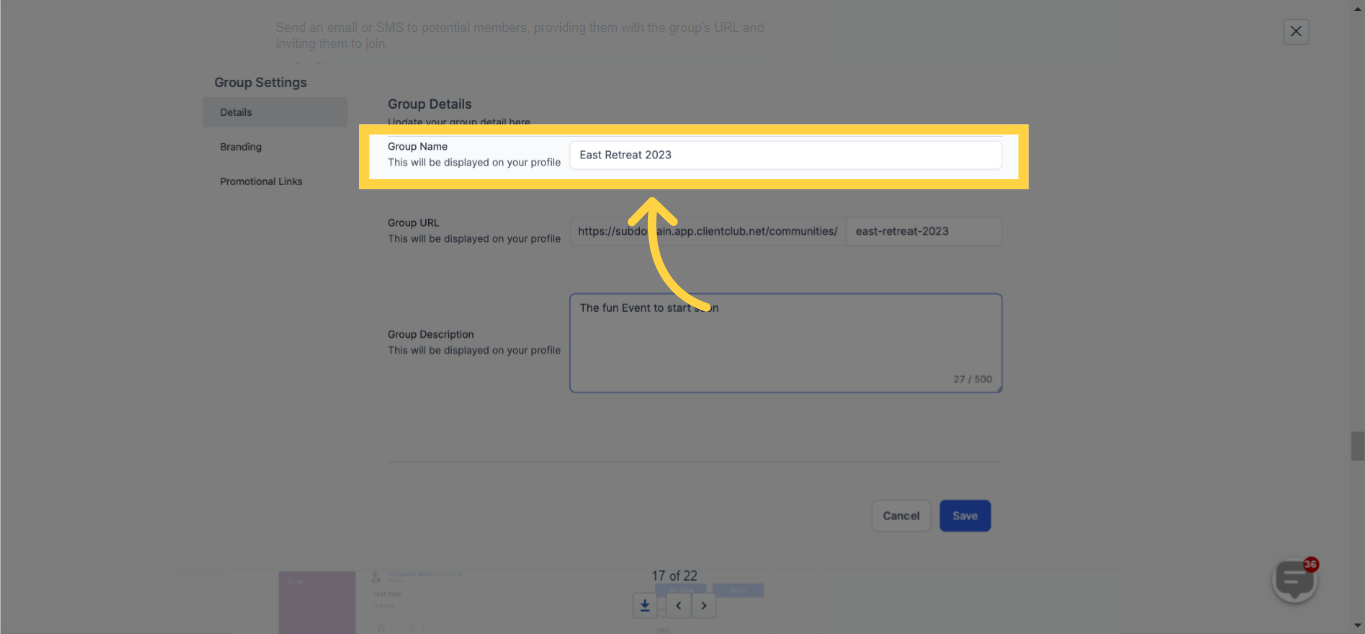
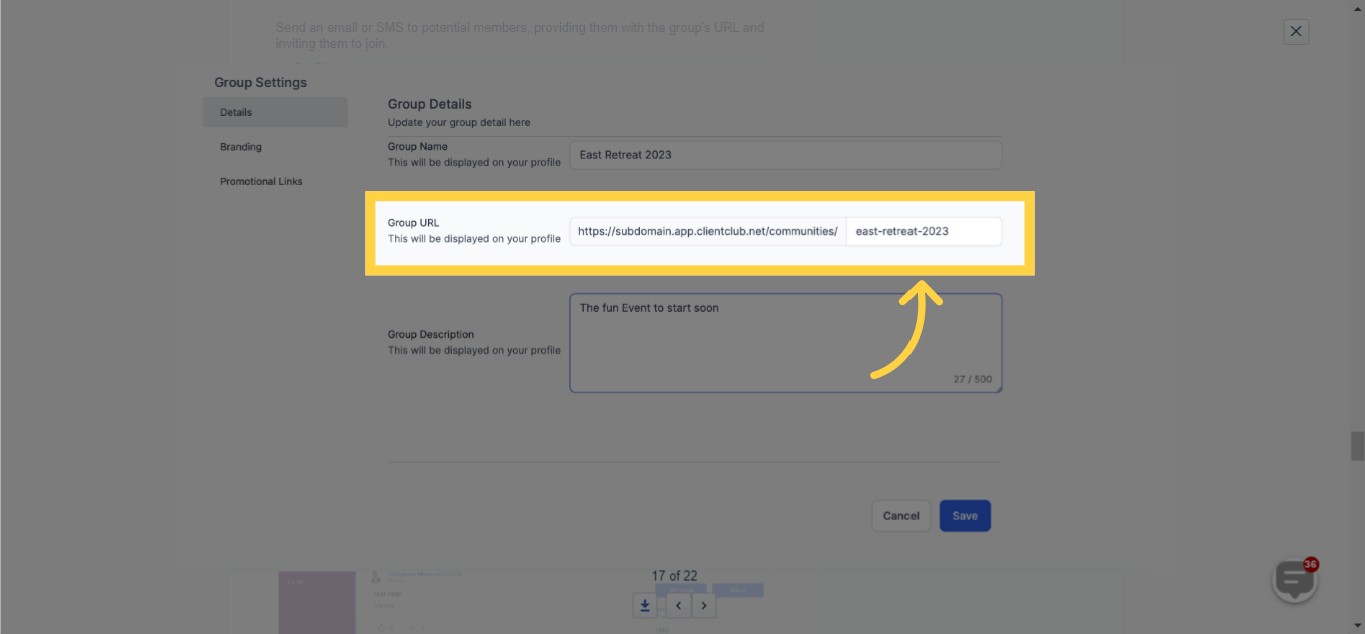
Tailor the group's URL to make it more relevant and memorable for your intended audience. While each Community Group is initially assigned a default URL, you have the flexibility to personalize it according to your preferences.
Note: Please note that you can only modify the group URL once, so it is important to double-check the desired URL before finalizing and saving the changes.To customize your Community group's URL, follow these steps:
Click on the settings icon located at the top of the page to access the group settings.
In the left menu, locate and click on the "Details" section.
Within the Details section, you will find the option to change the group URL.
Make the necessary adjustments to the URL.
Save the changes.
Congratulations! Your group now has a customized URL. To confirm the update, you can revisit the settings modal and ensure that your current URL reflects the newly set one.
Please be aware that you are limited to modifying the group URL only once. It is vital to carefully review your changes before finalizing them.
)
Choose a primary color that aligns with your brand identity. This selected color will be consistently reflected throughout your group, resulting in a cohesive visual experience for members.
Choose a primary color that accurately represents your brand identity. This selected color will be consistently reflected throughout your group, ensuring a cohesive and visually appealing experience.
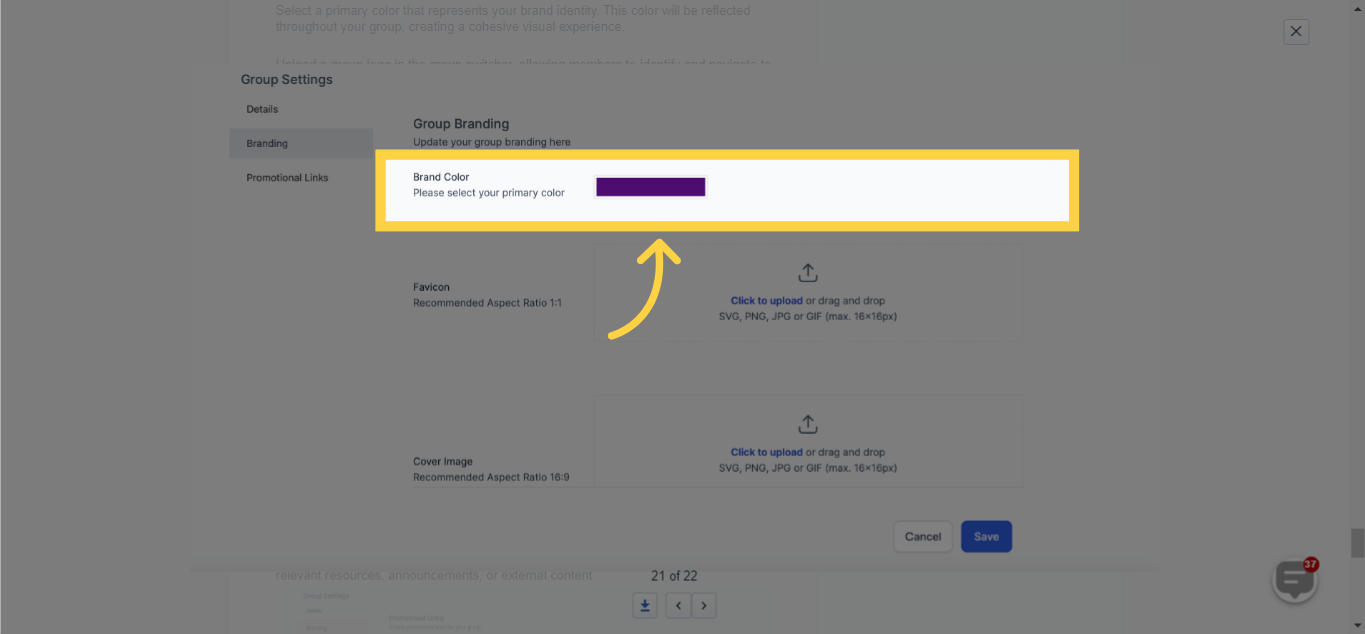)
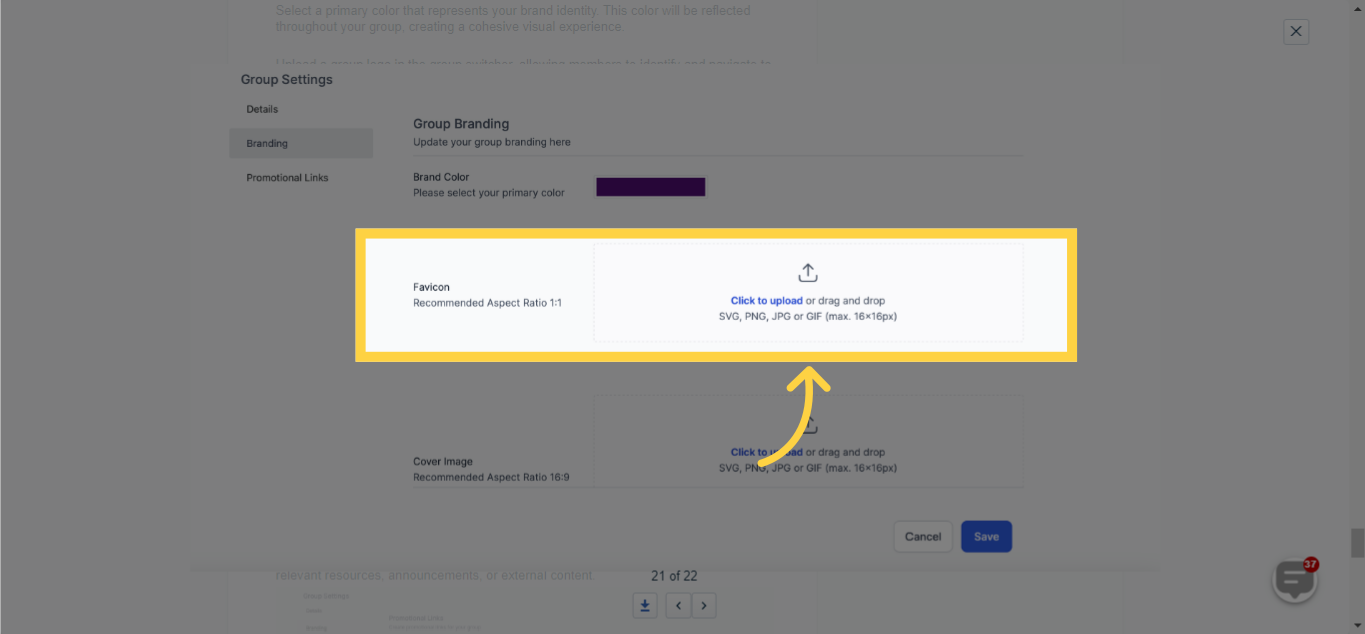
Enhance your group's branding by including a favicon, a small icon that appears in the browser tab. This favicon helps to further reinforce your group's identity and presence.
)
Personalize the appearance of your group by adding a cover image. This allows you to showcase relevant visuals or branding elements that align with the group's theme and purpose.
)
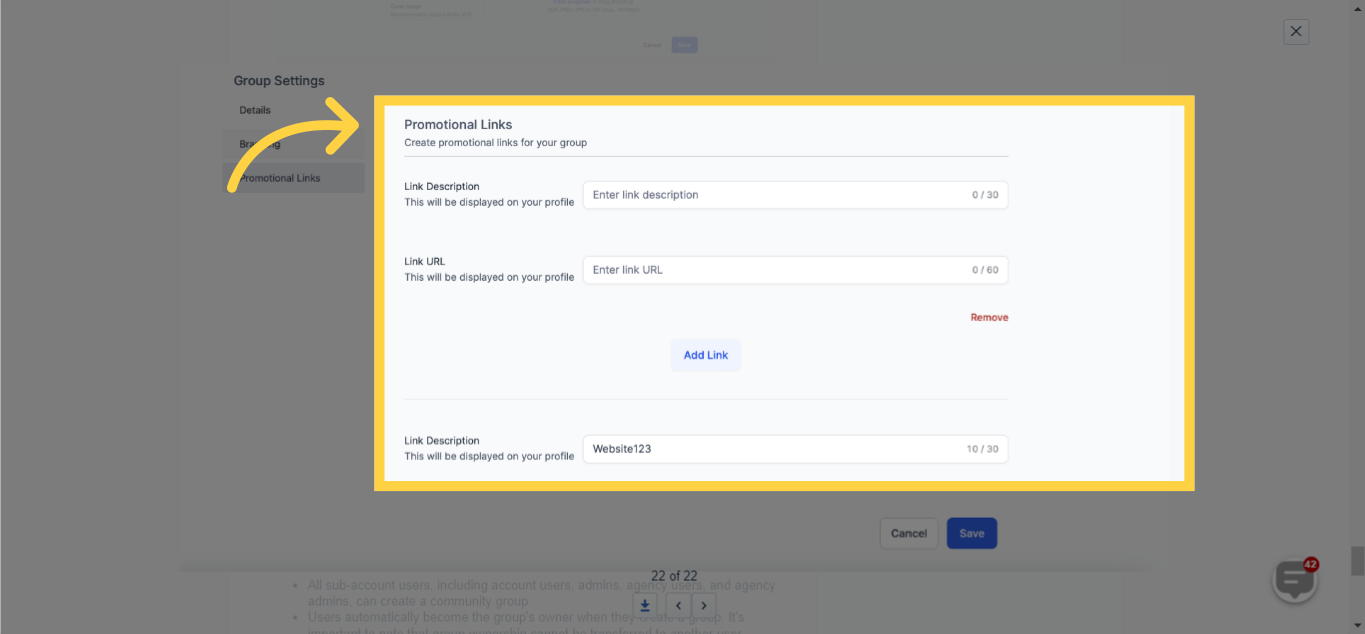
These links will be visible to members of your community group, allowing you to share relevant resources, announcements, or external content.
Members of your community group will have visibility to these links, enabling you to share pertinent resources, announcements, or external content. This facilitates seamless access to valuable information and enhanced collaboration within the group.
)
Utilize these customization options to tailor your community group and create a distinctive, branded experience for your members. This way, you can provide a unique and personalized environment that aligns with your community's vision and values.
Within community groups, all users under sub-accounts, including account users, admins, agency users, and agency admins, have the ability to create their own community groups.
Once a user creates a group, they automatically become the owner of that group. It's important to note that group ownership cannot be transferred to another user.
Sub-account and agency admins are assigned admin privileges automatically when they log into the community from the platform.
On the other hand, sub-account and agency users assume the role of group moderators when they log in from the builder platform.
This differentiation in roles ensures effective management and moderation of the group, granting admins and moderators the necessary permissions and responsibilities based on their user type and platform access.
By adhering to these role assignments, sub-account admins, agency admins, sub-account users, and agency users can actively participate in and manage the community groups within the platform.
