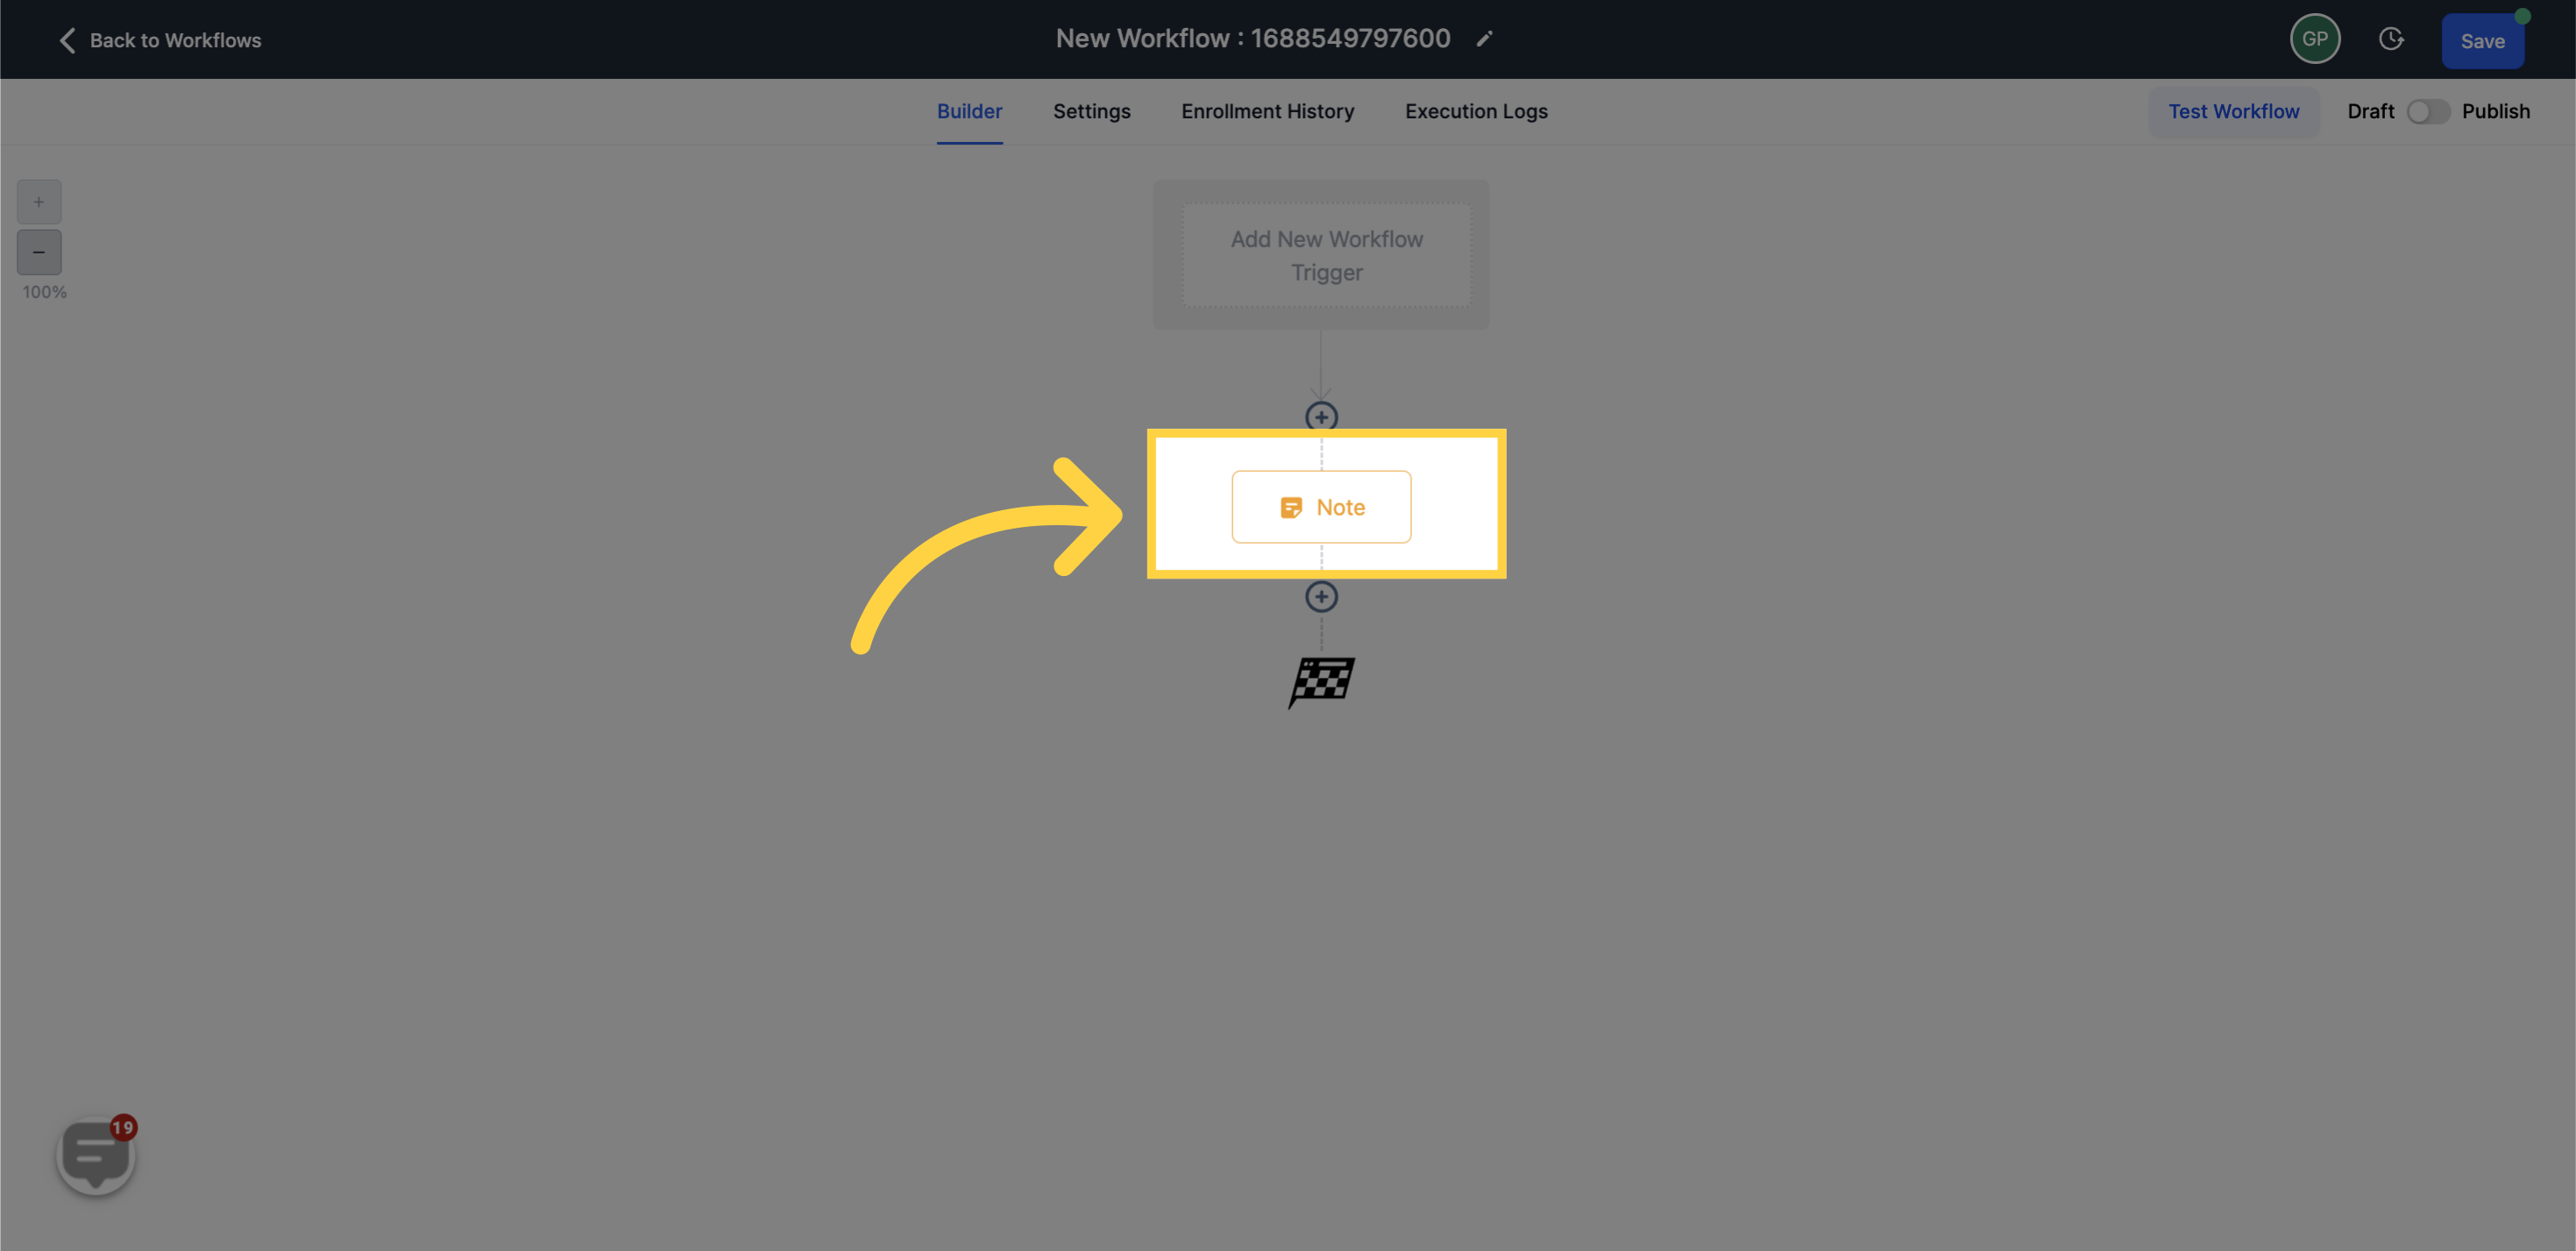
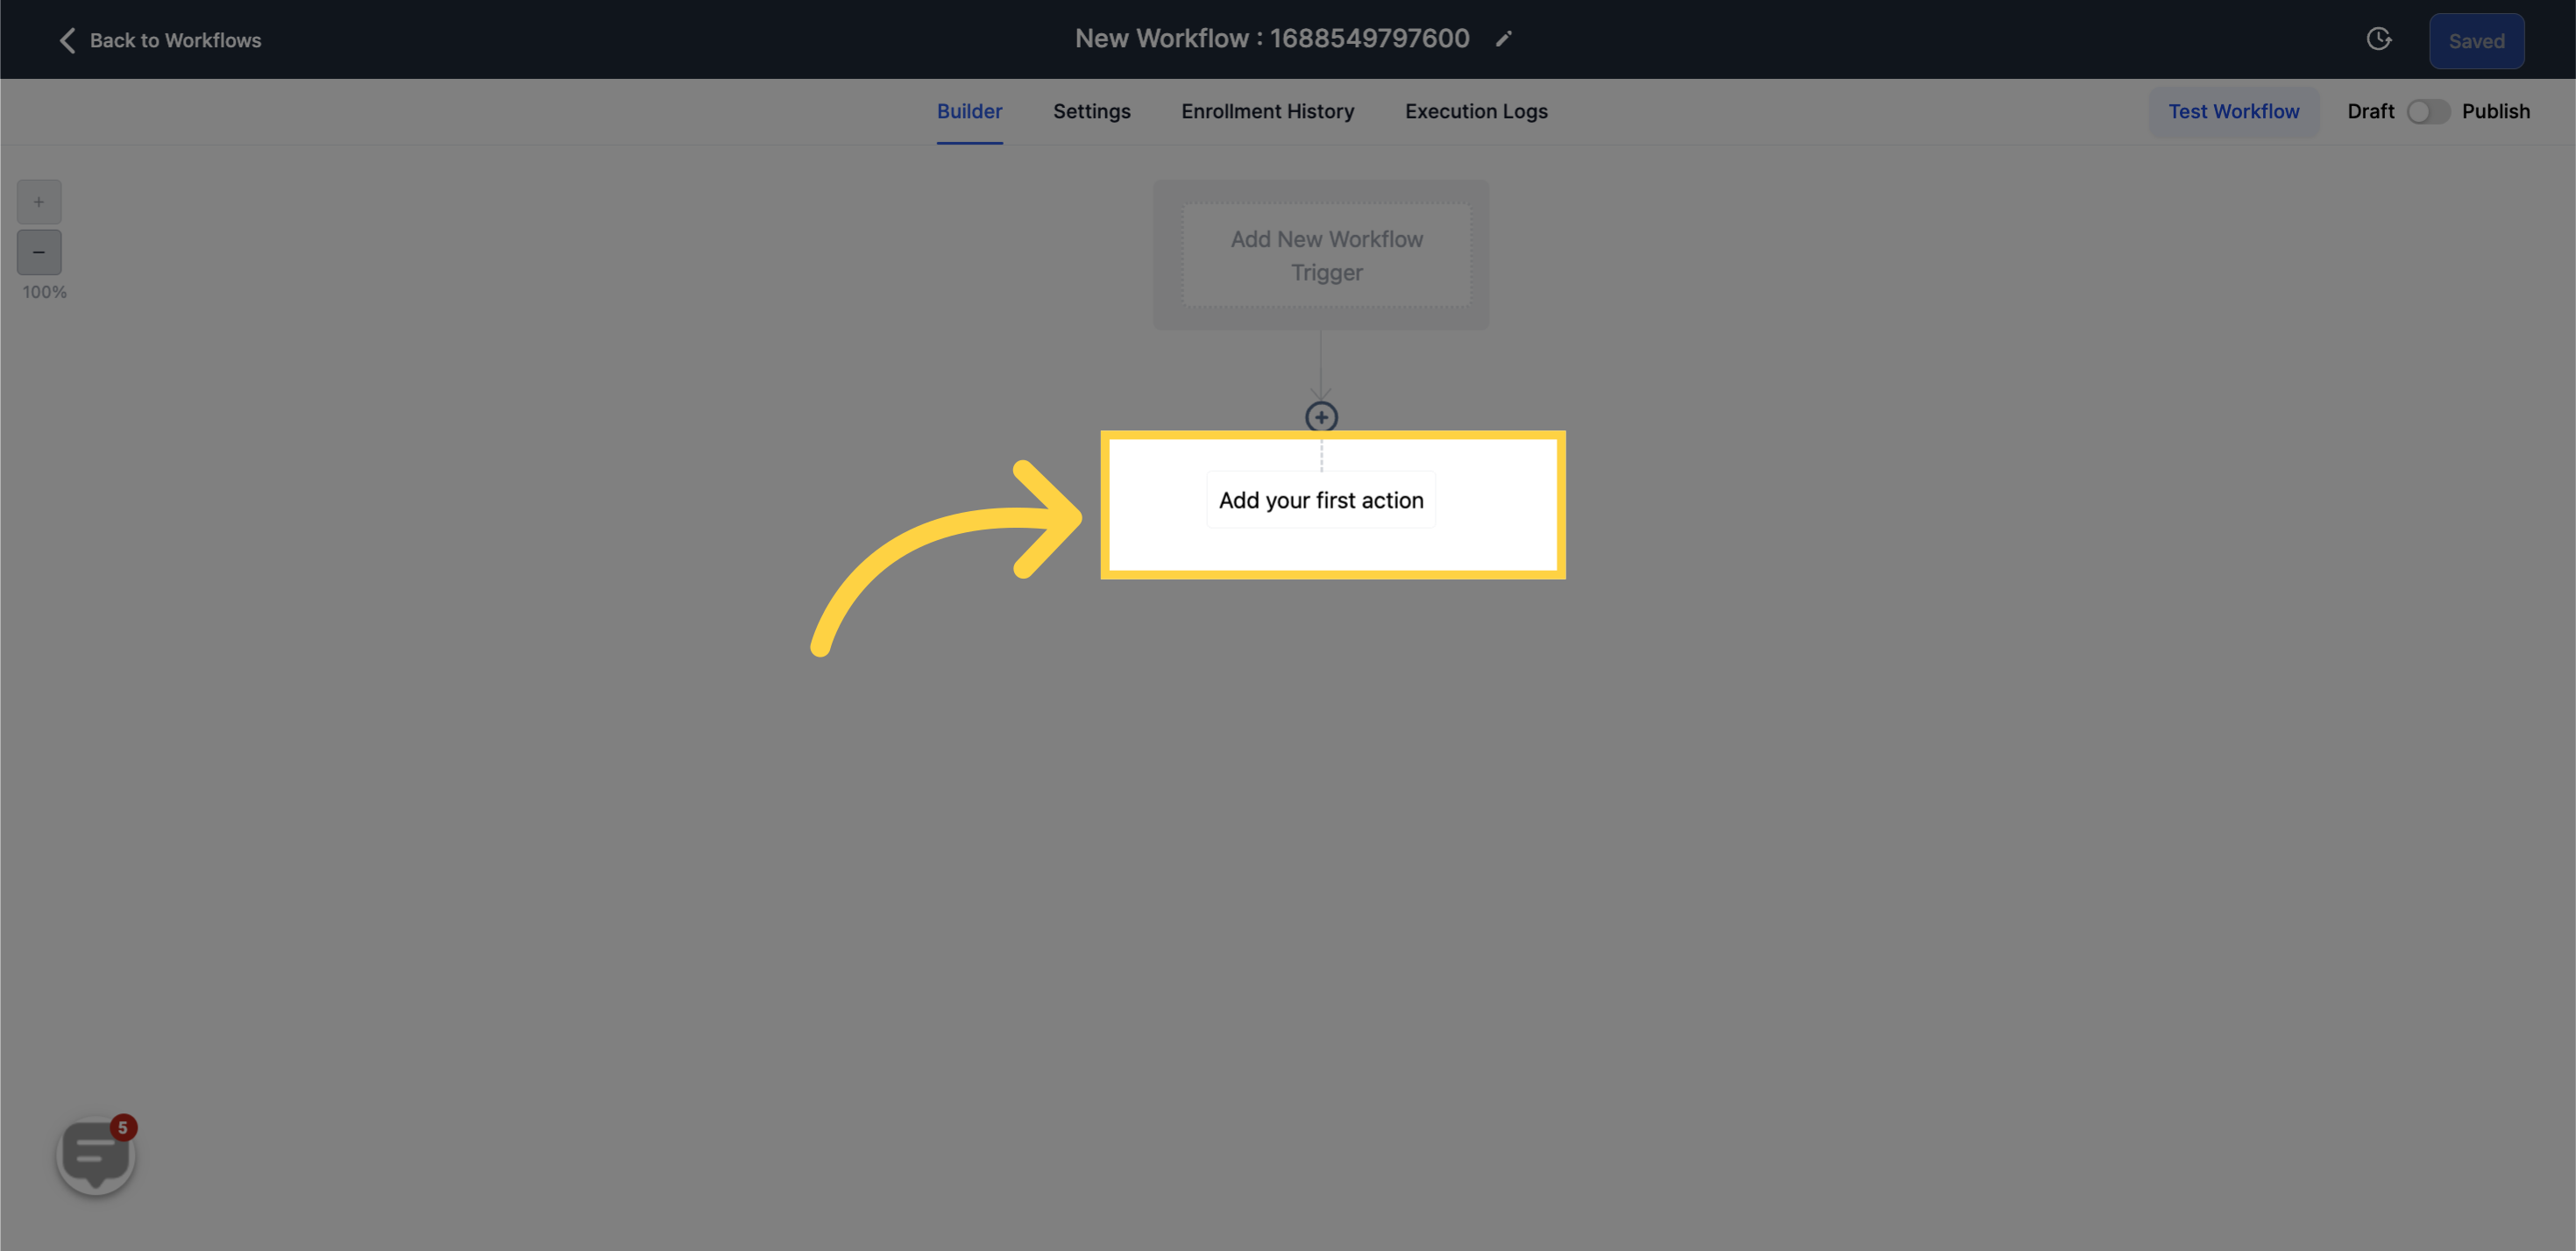
Remember, in order to PUBLISH workflows, it is crucial to set both a workflow trigger and a workflow action. Without these two, the workflow can only be saved and not published.
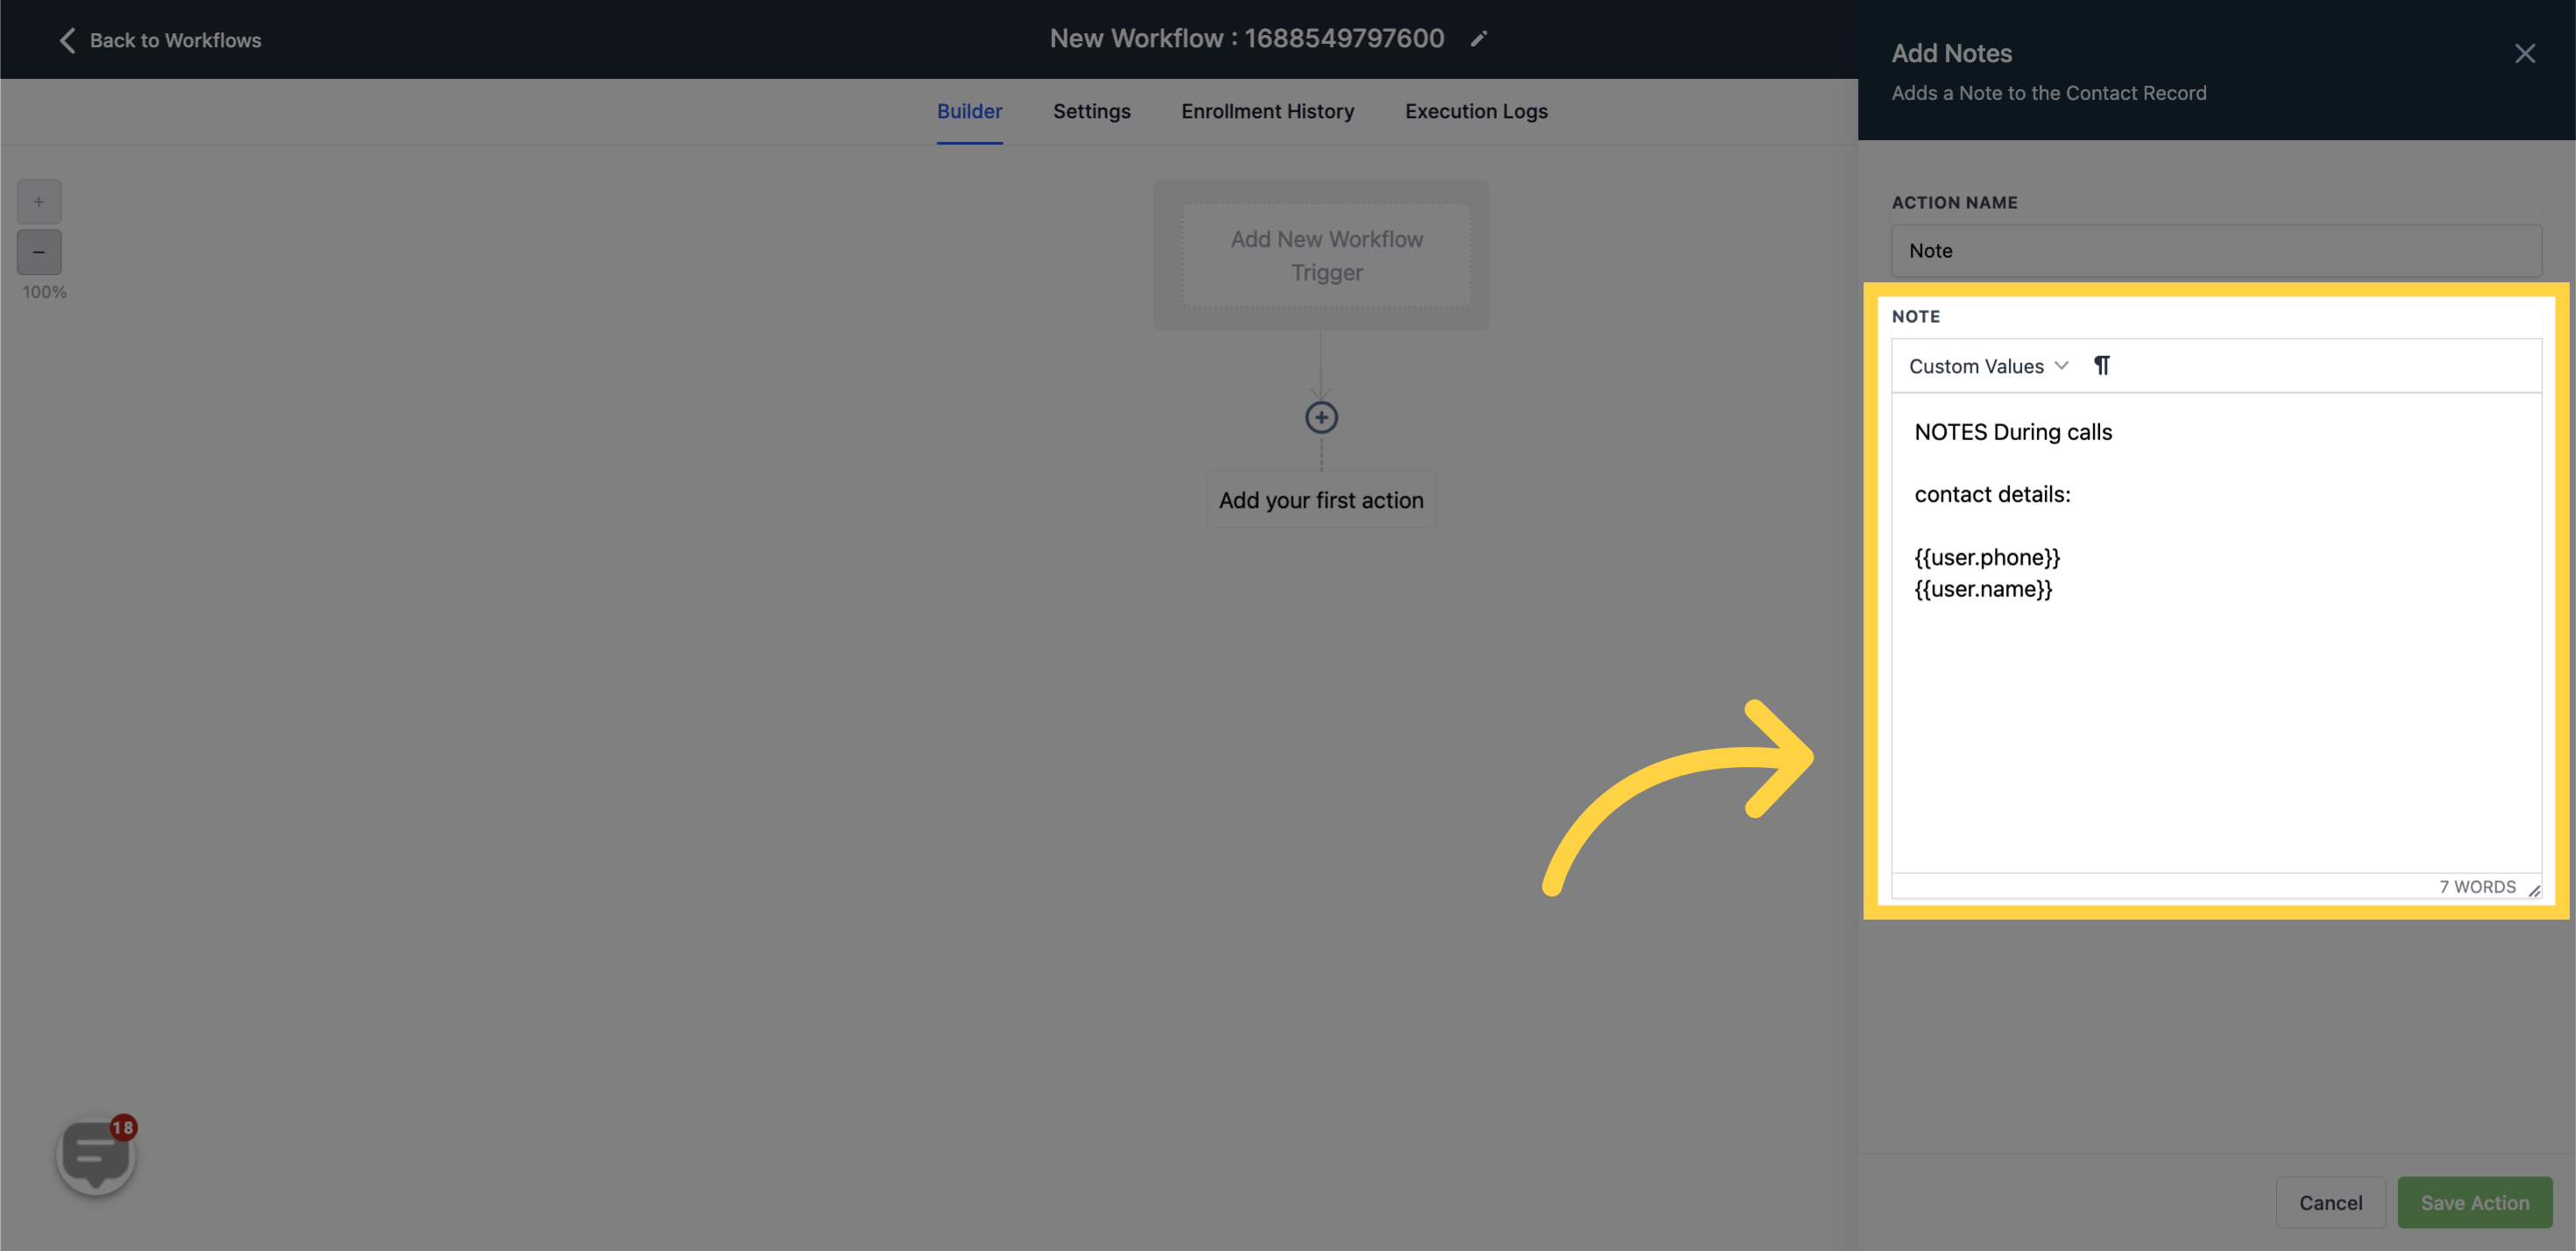
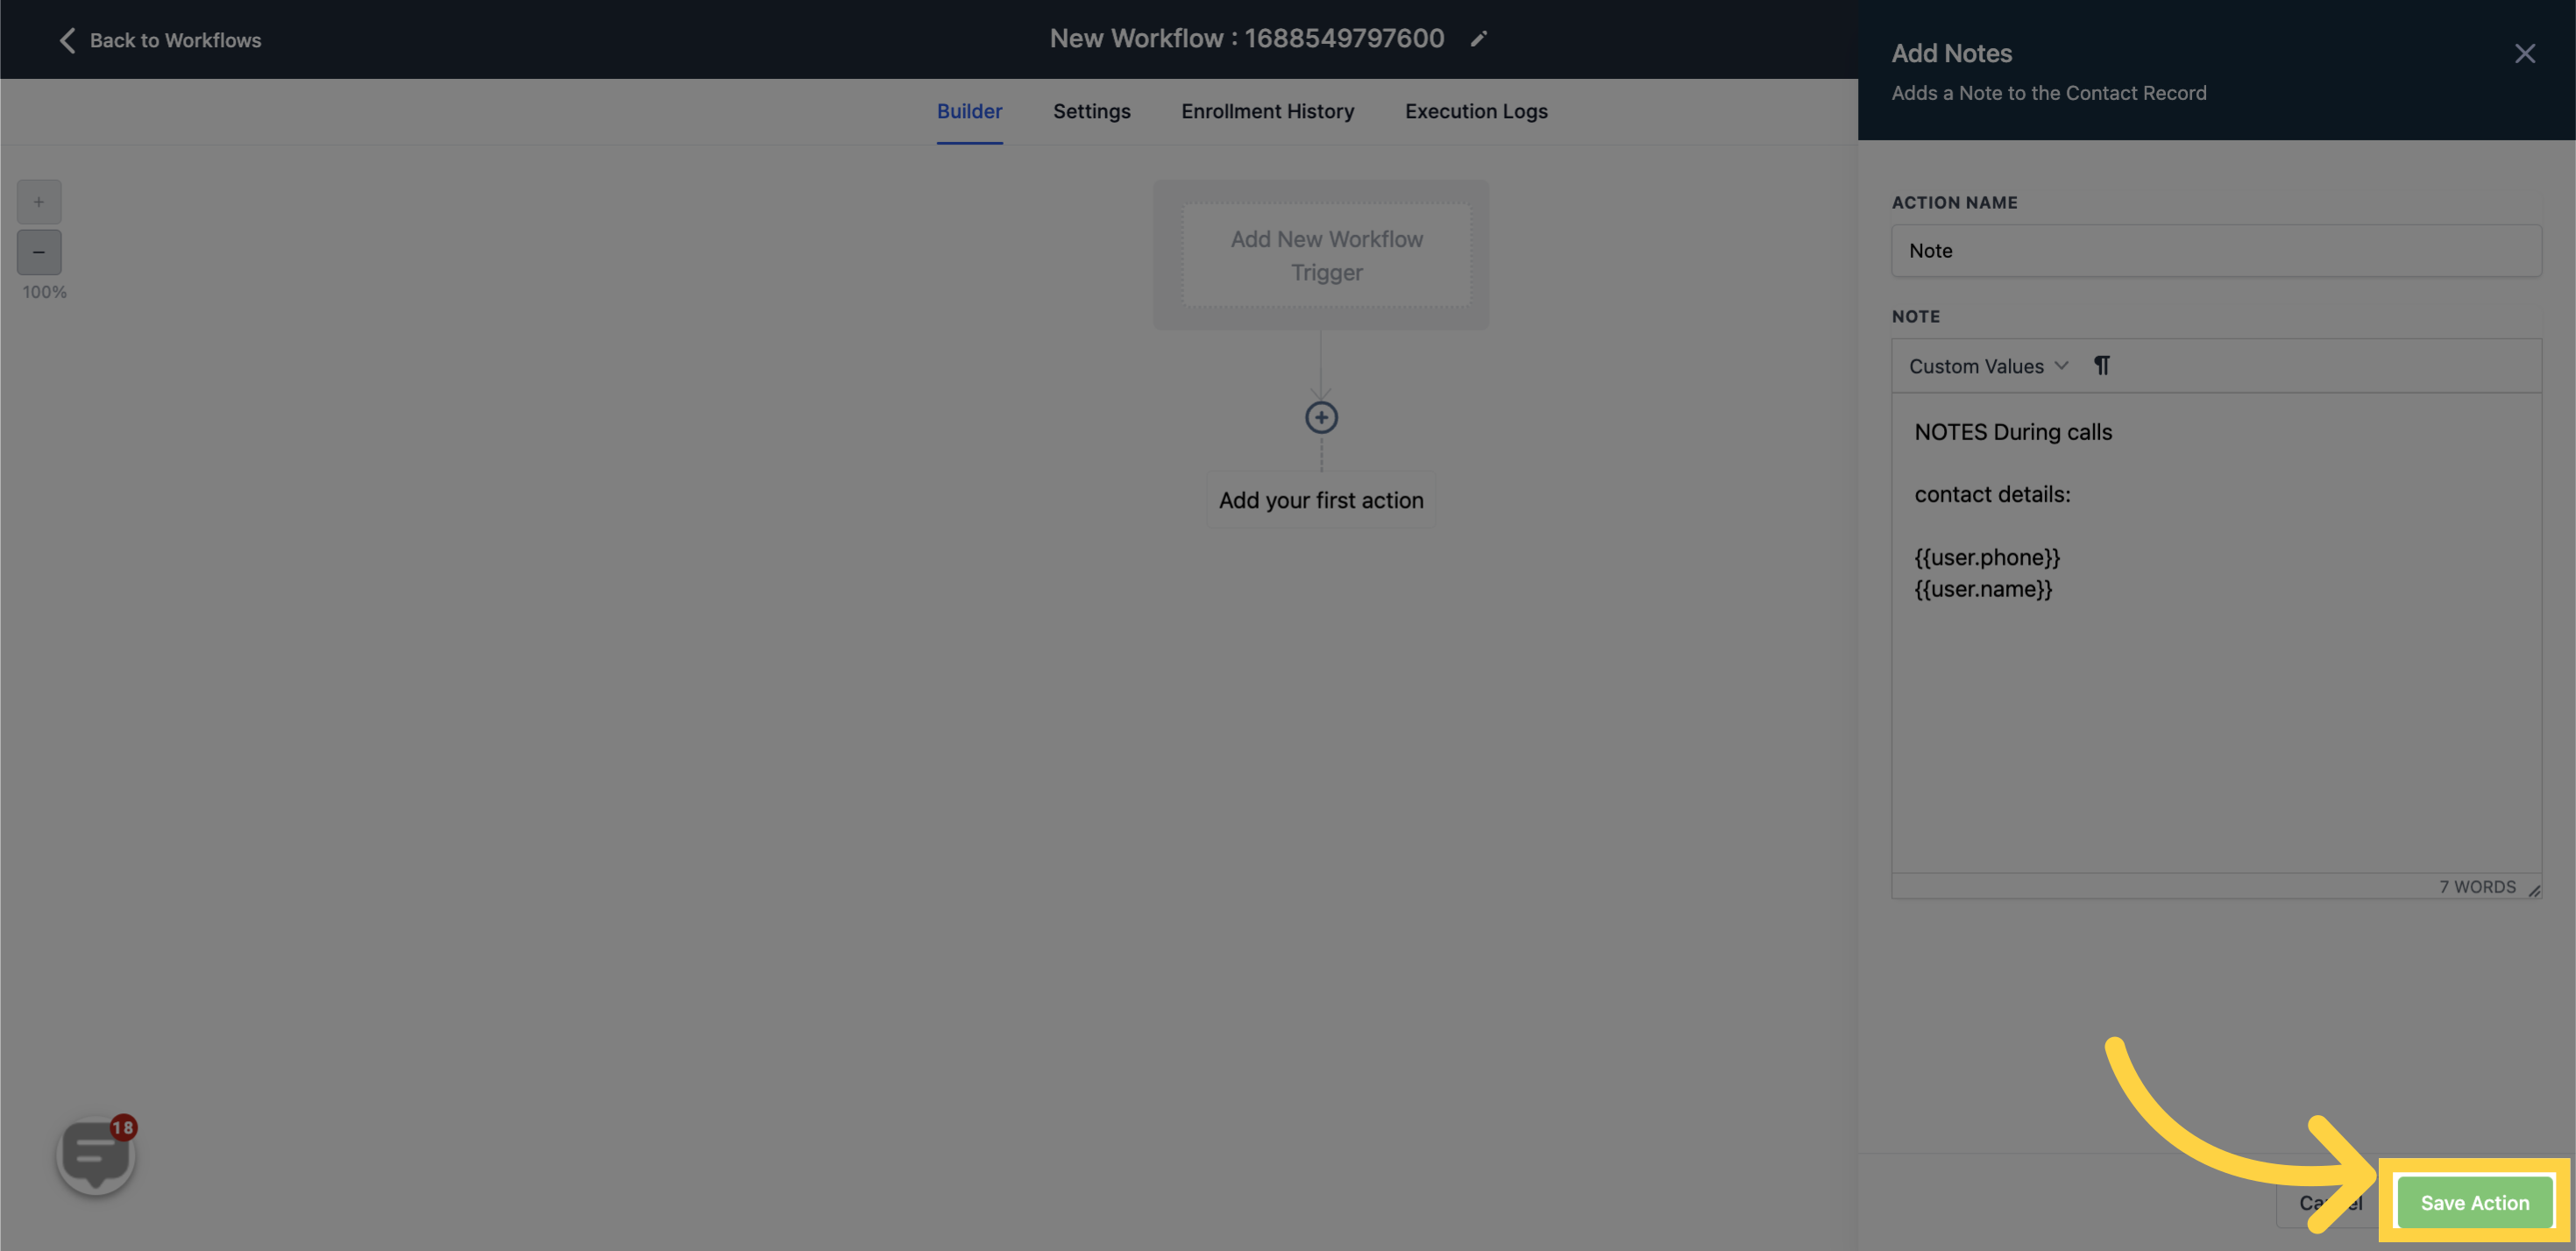
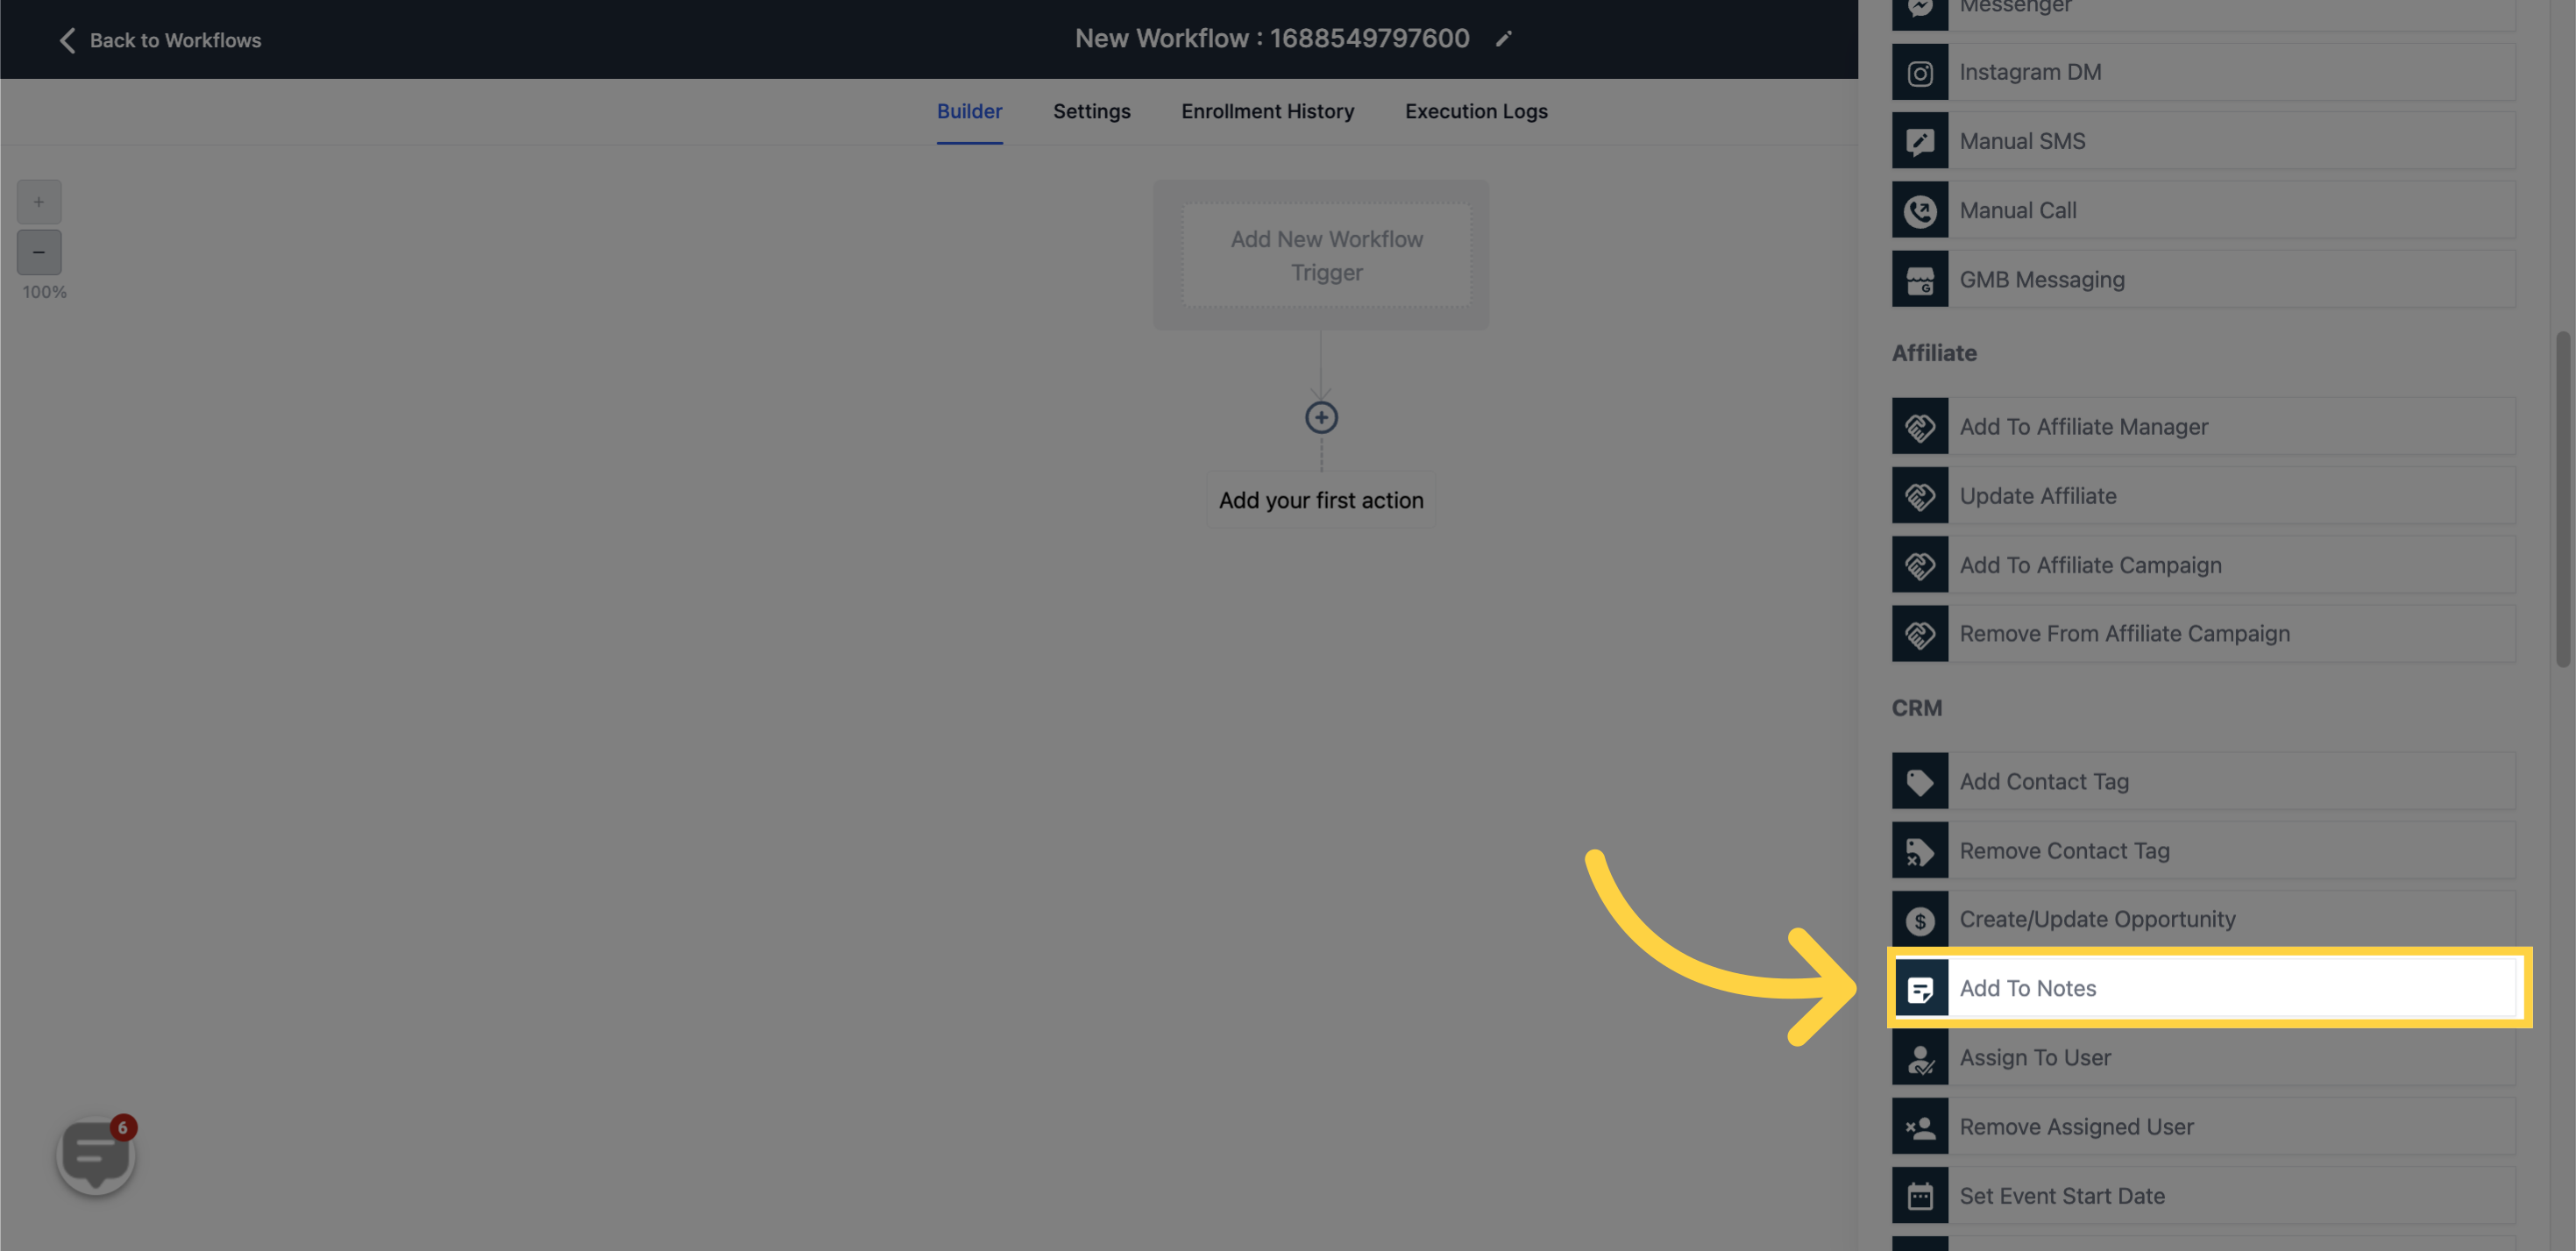
This particular action appends a Note to the Contact Record.
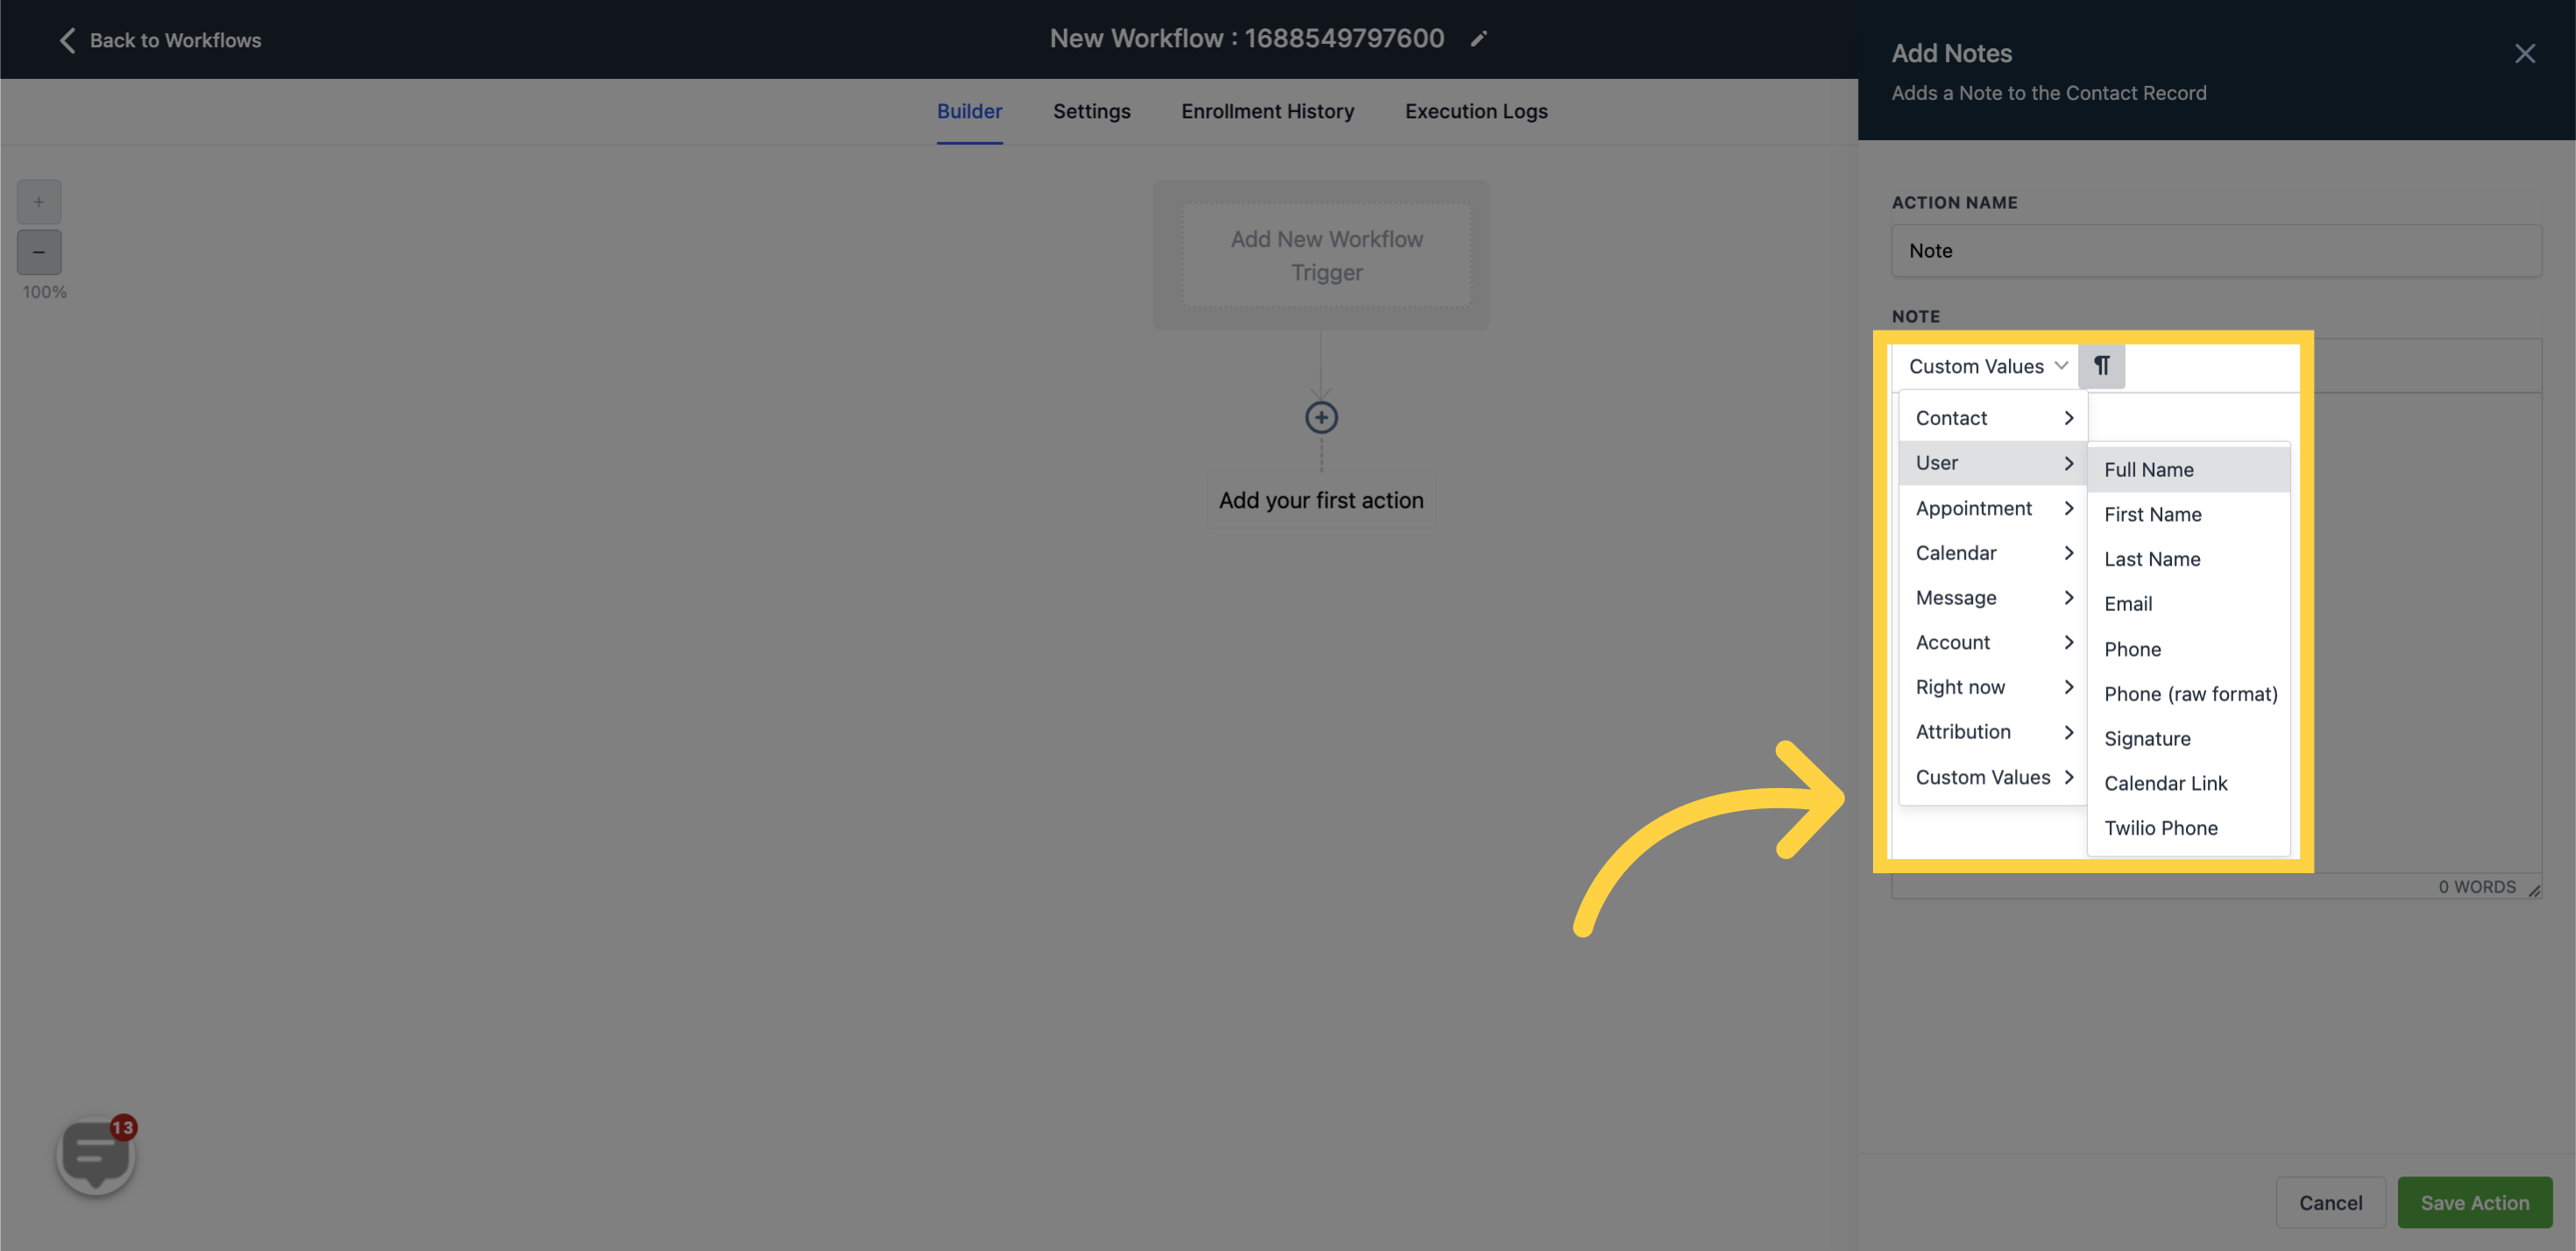
Utilizing custom values is another possibility when incorporating notes within the workflow.
A note can be included in the contact record at this point. This feature aids other assigned users in understanding any particulars regarding the contact that you wish to convey.