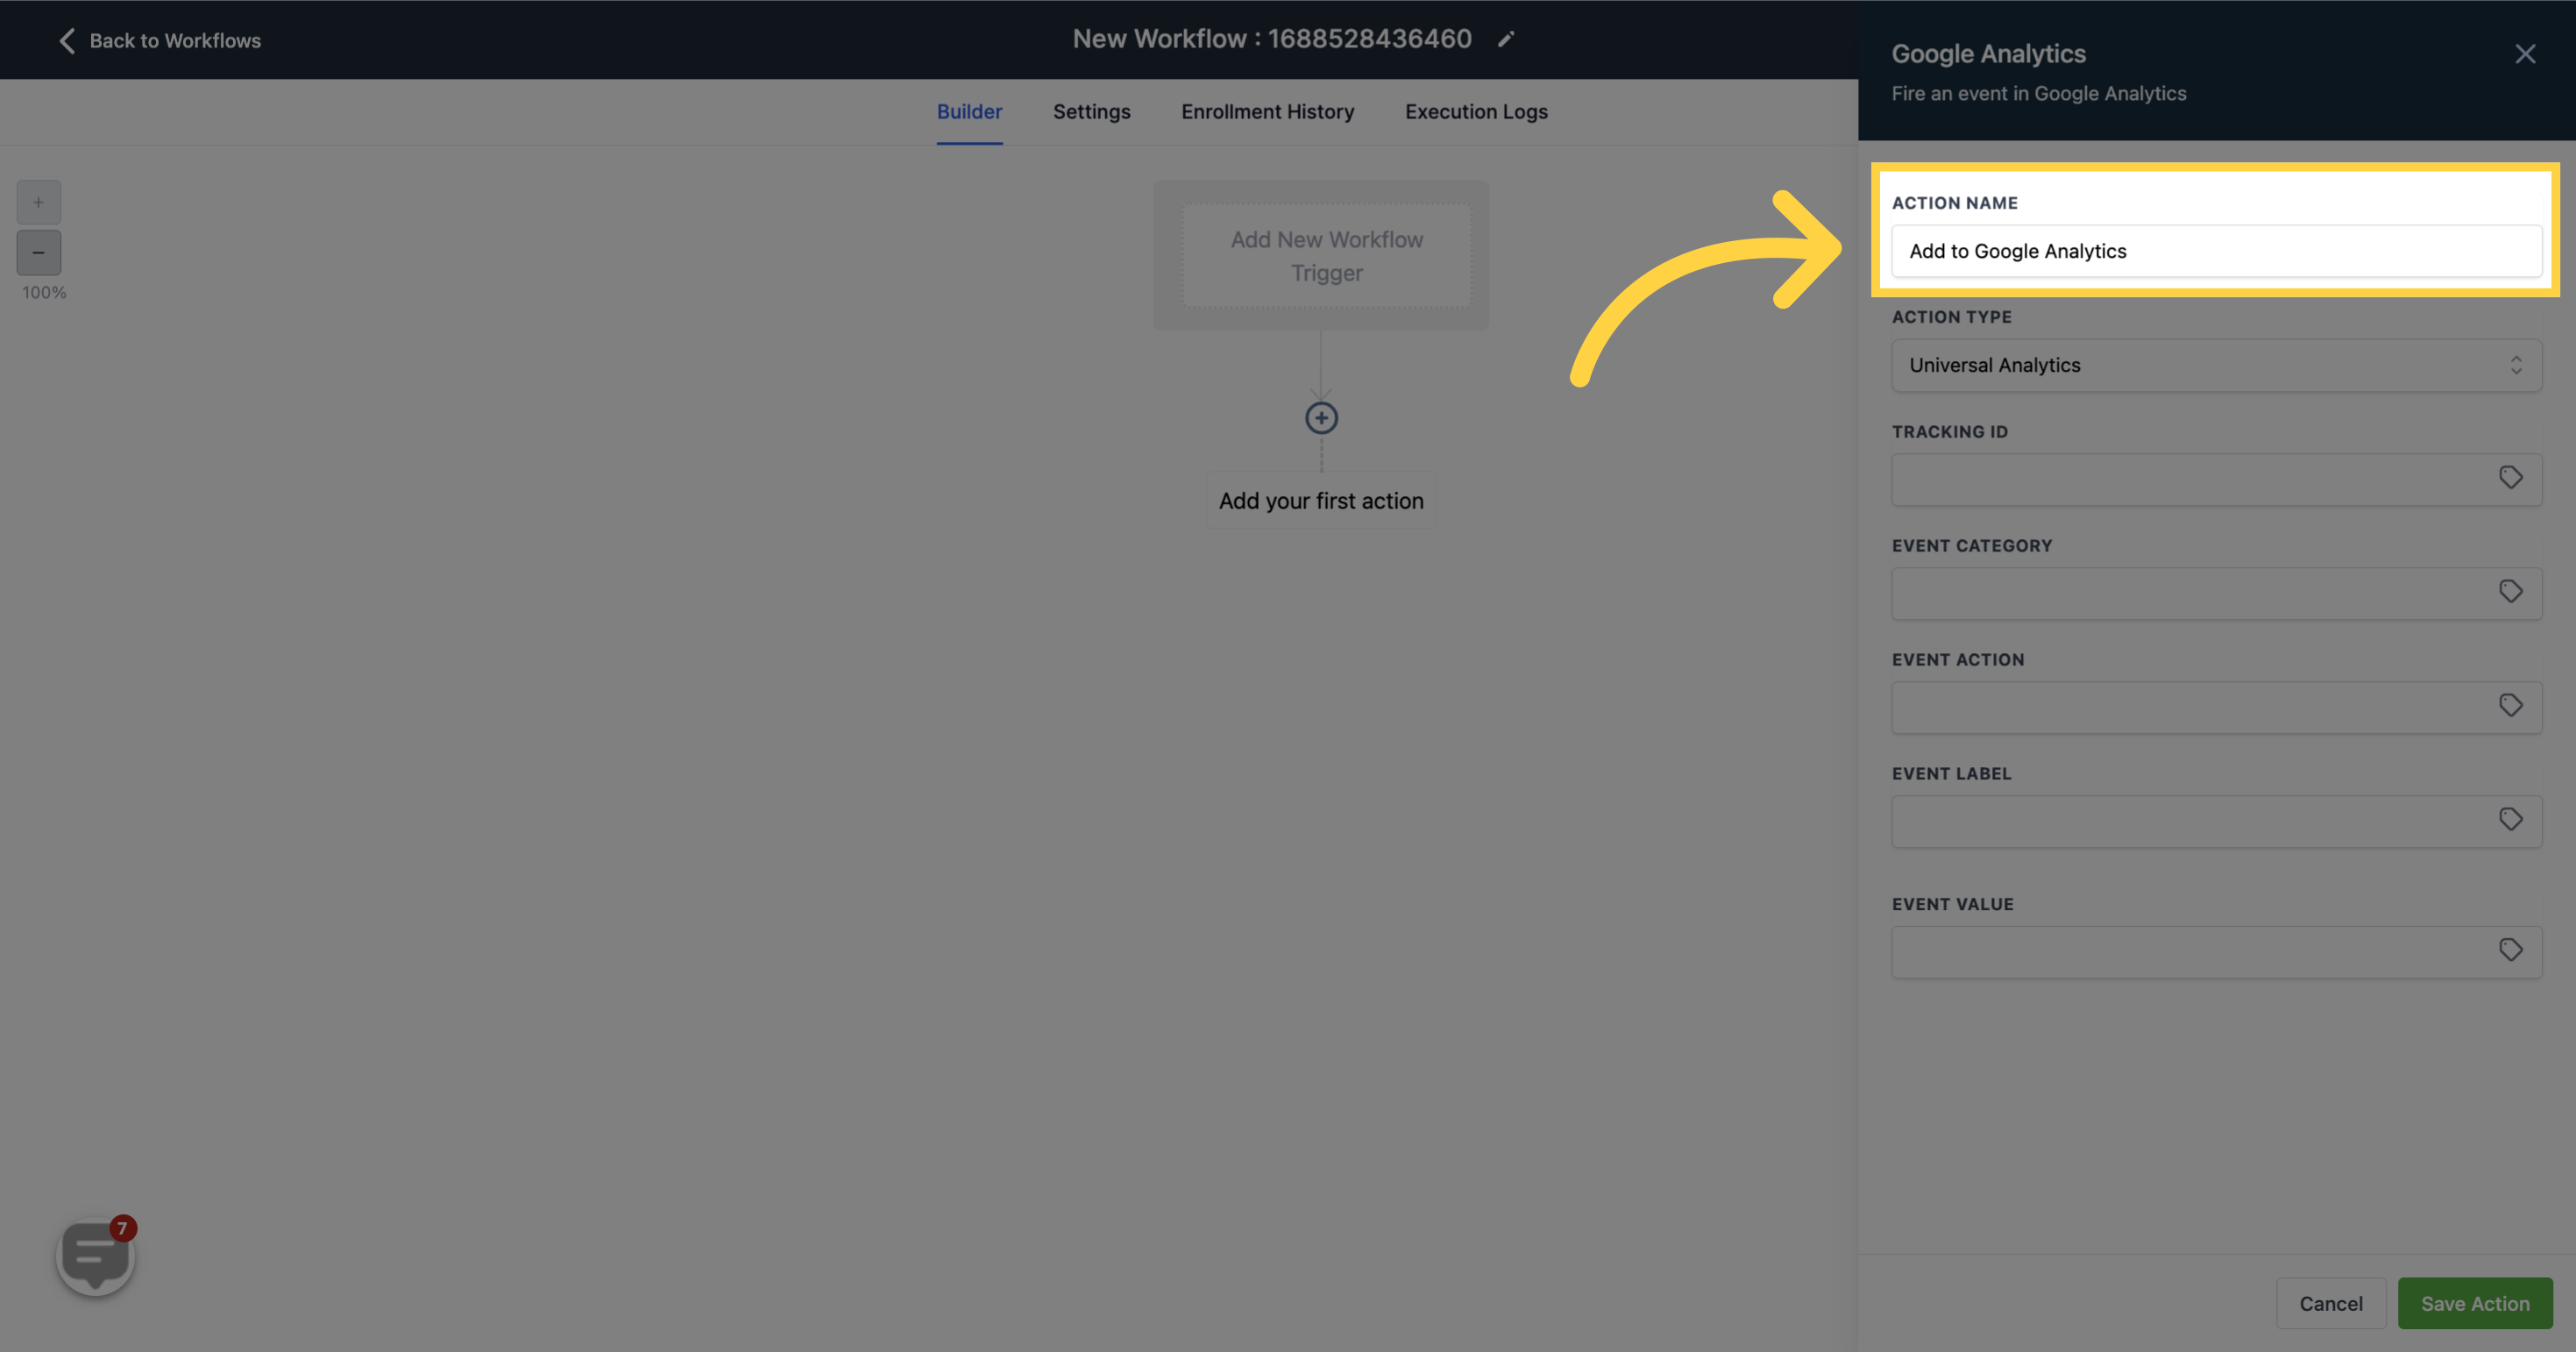
Enter the desired action name here or use the default name if preferred.
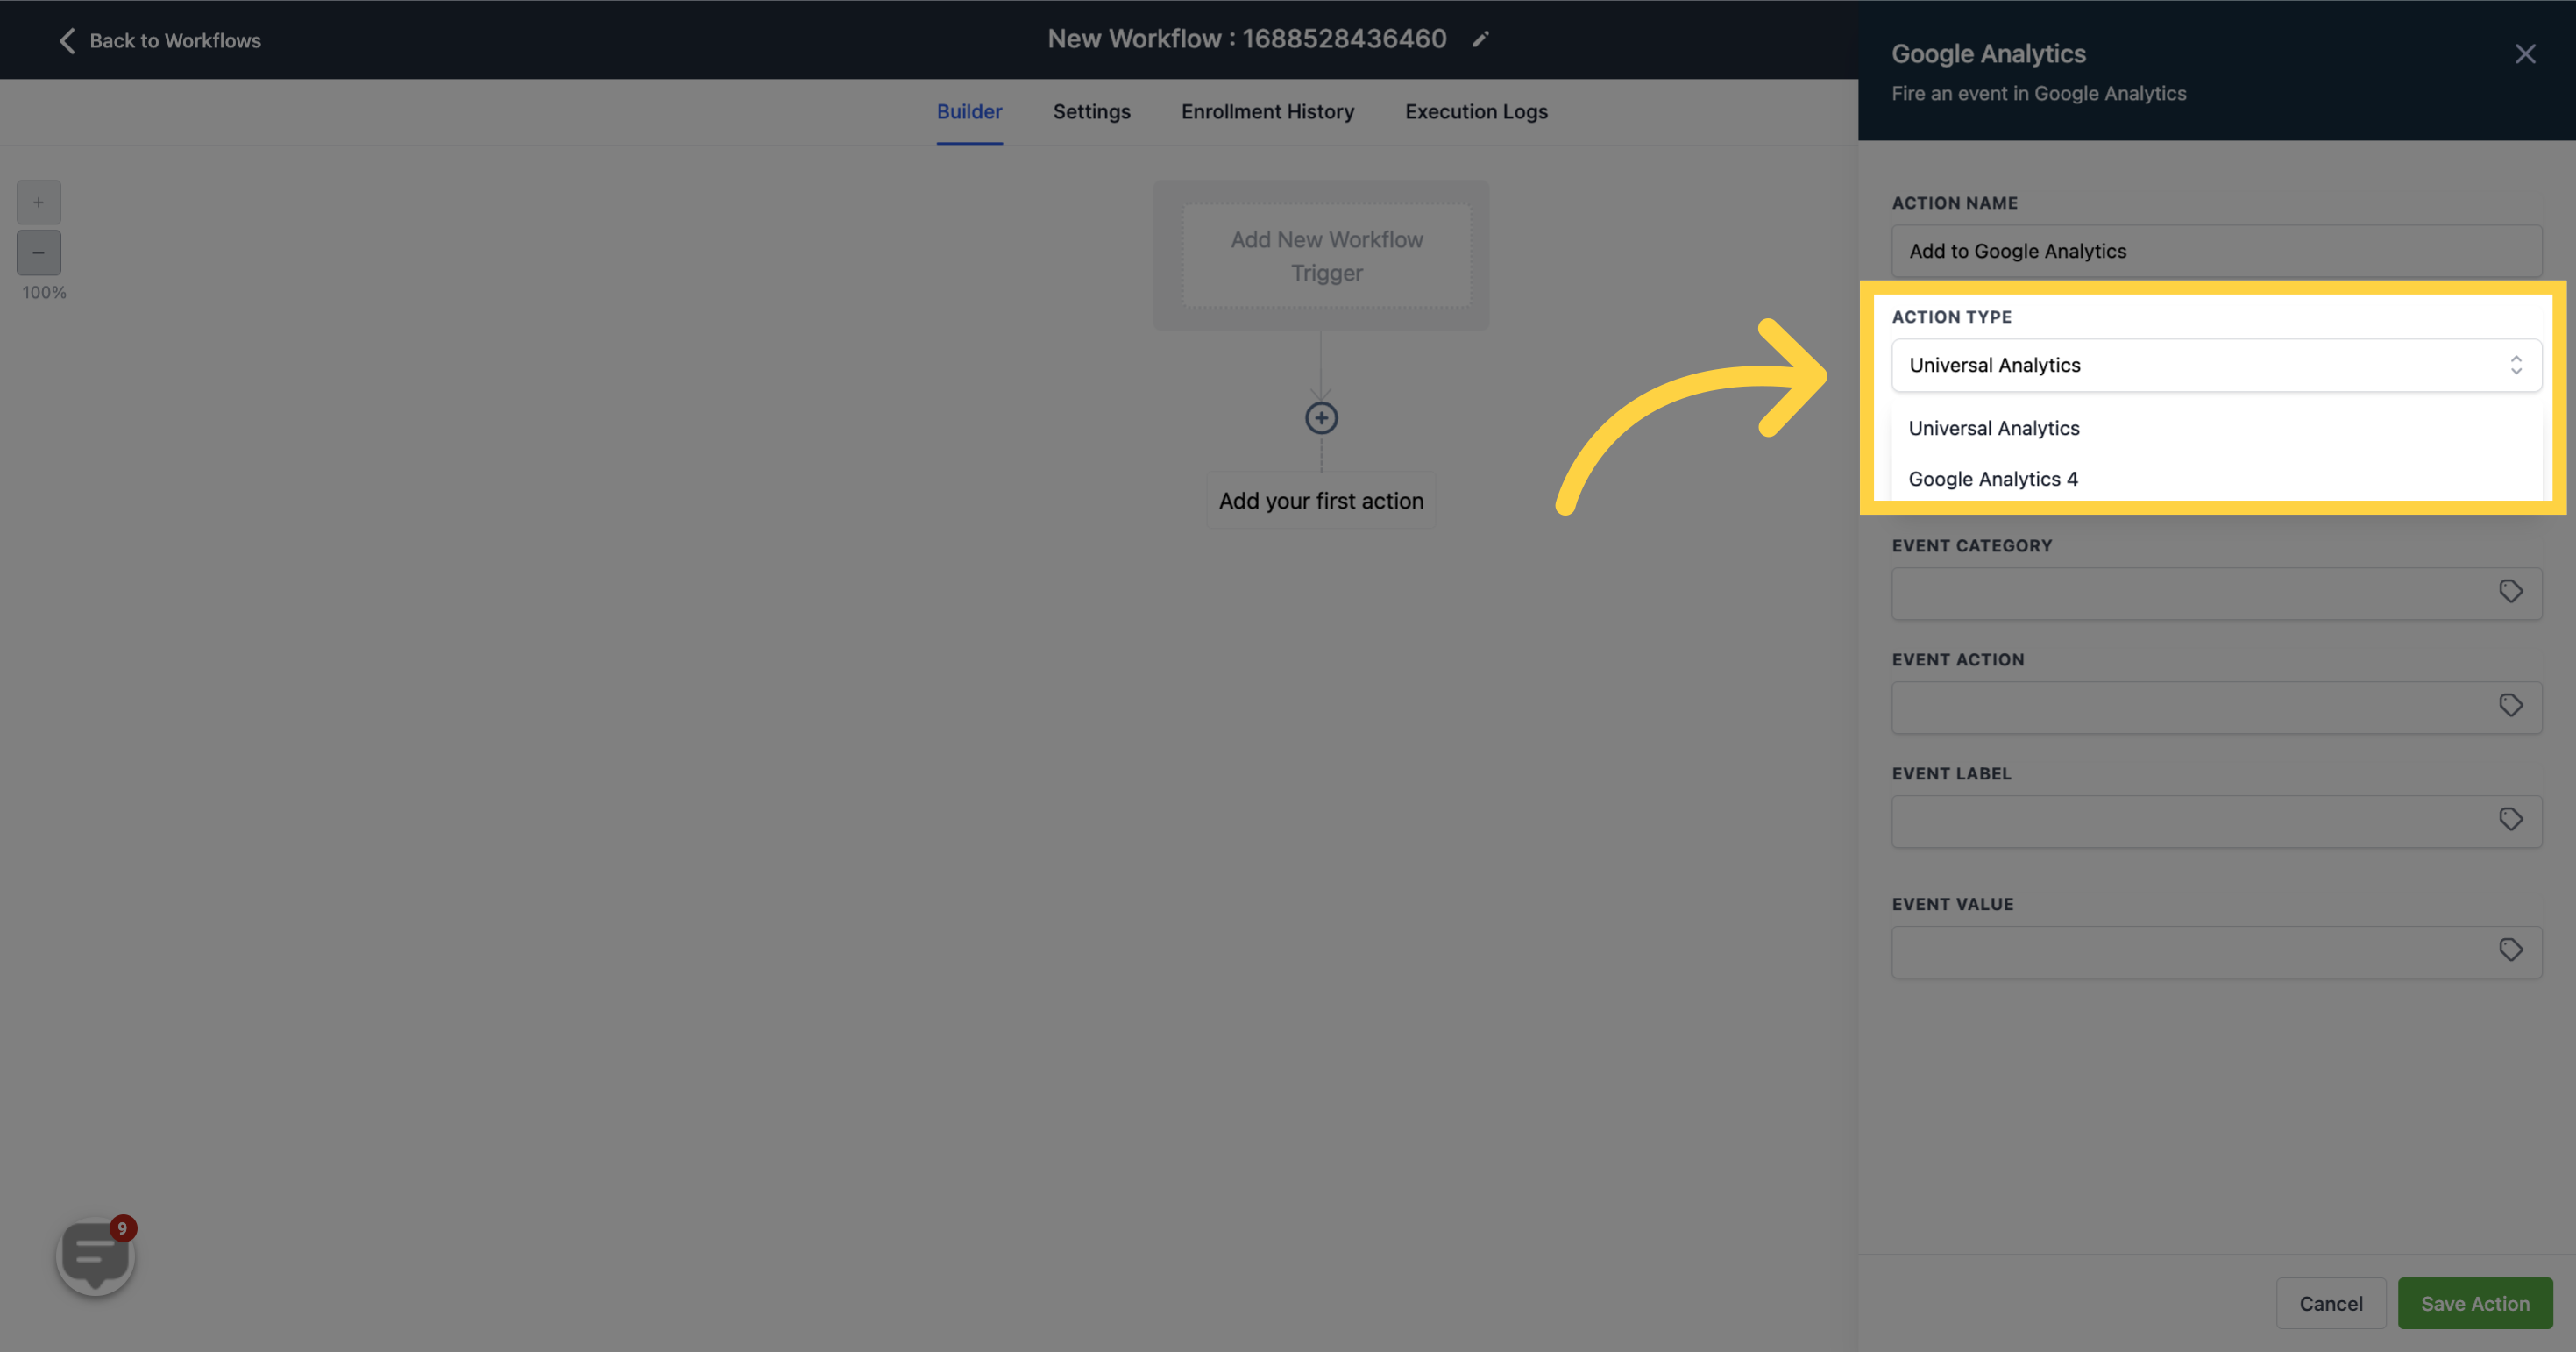
For UA Users:
Open Google Analytics and click on the 'Admin' tab.
In the left-hand column, click on 'Tracking Info' and then select 'Tracking Code'.
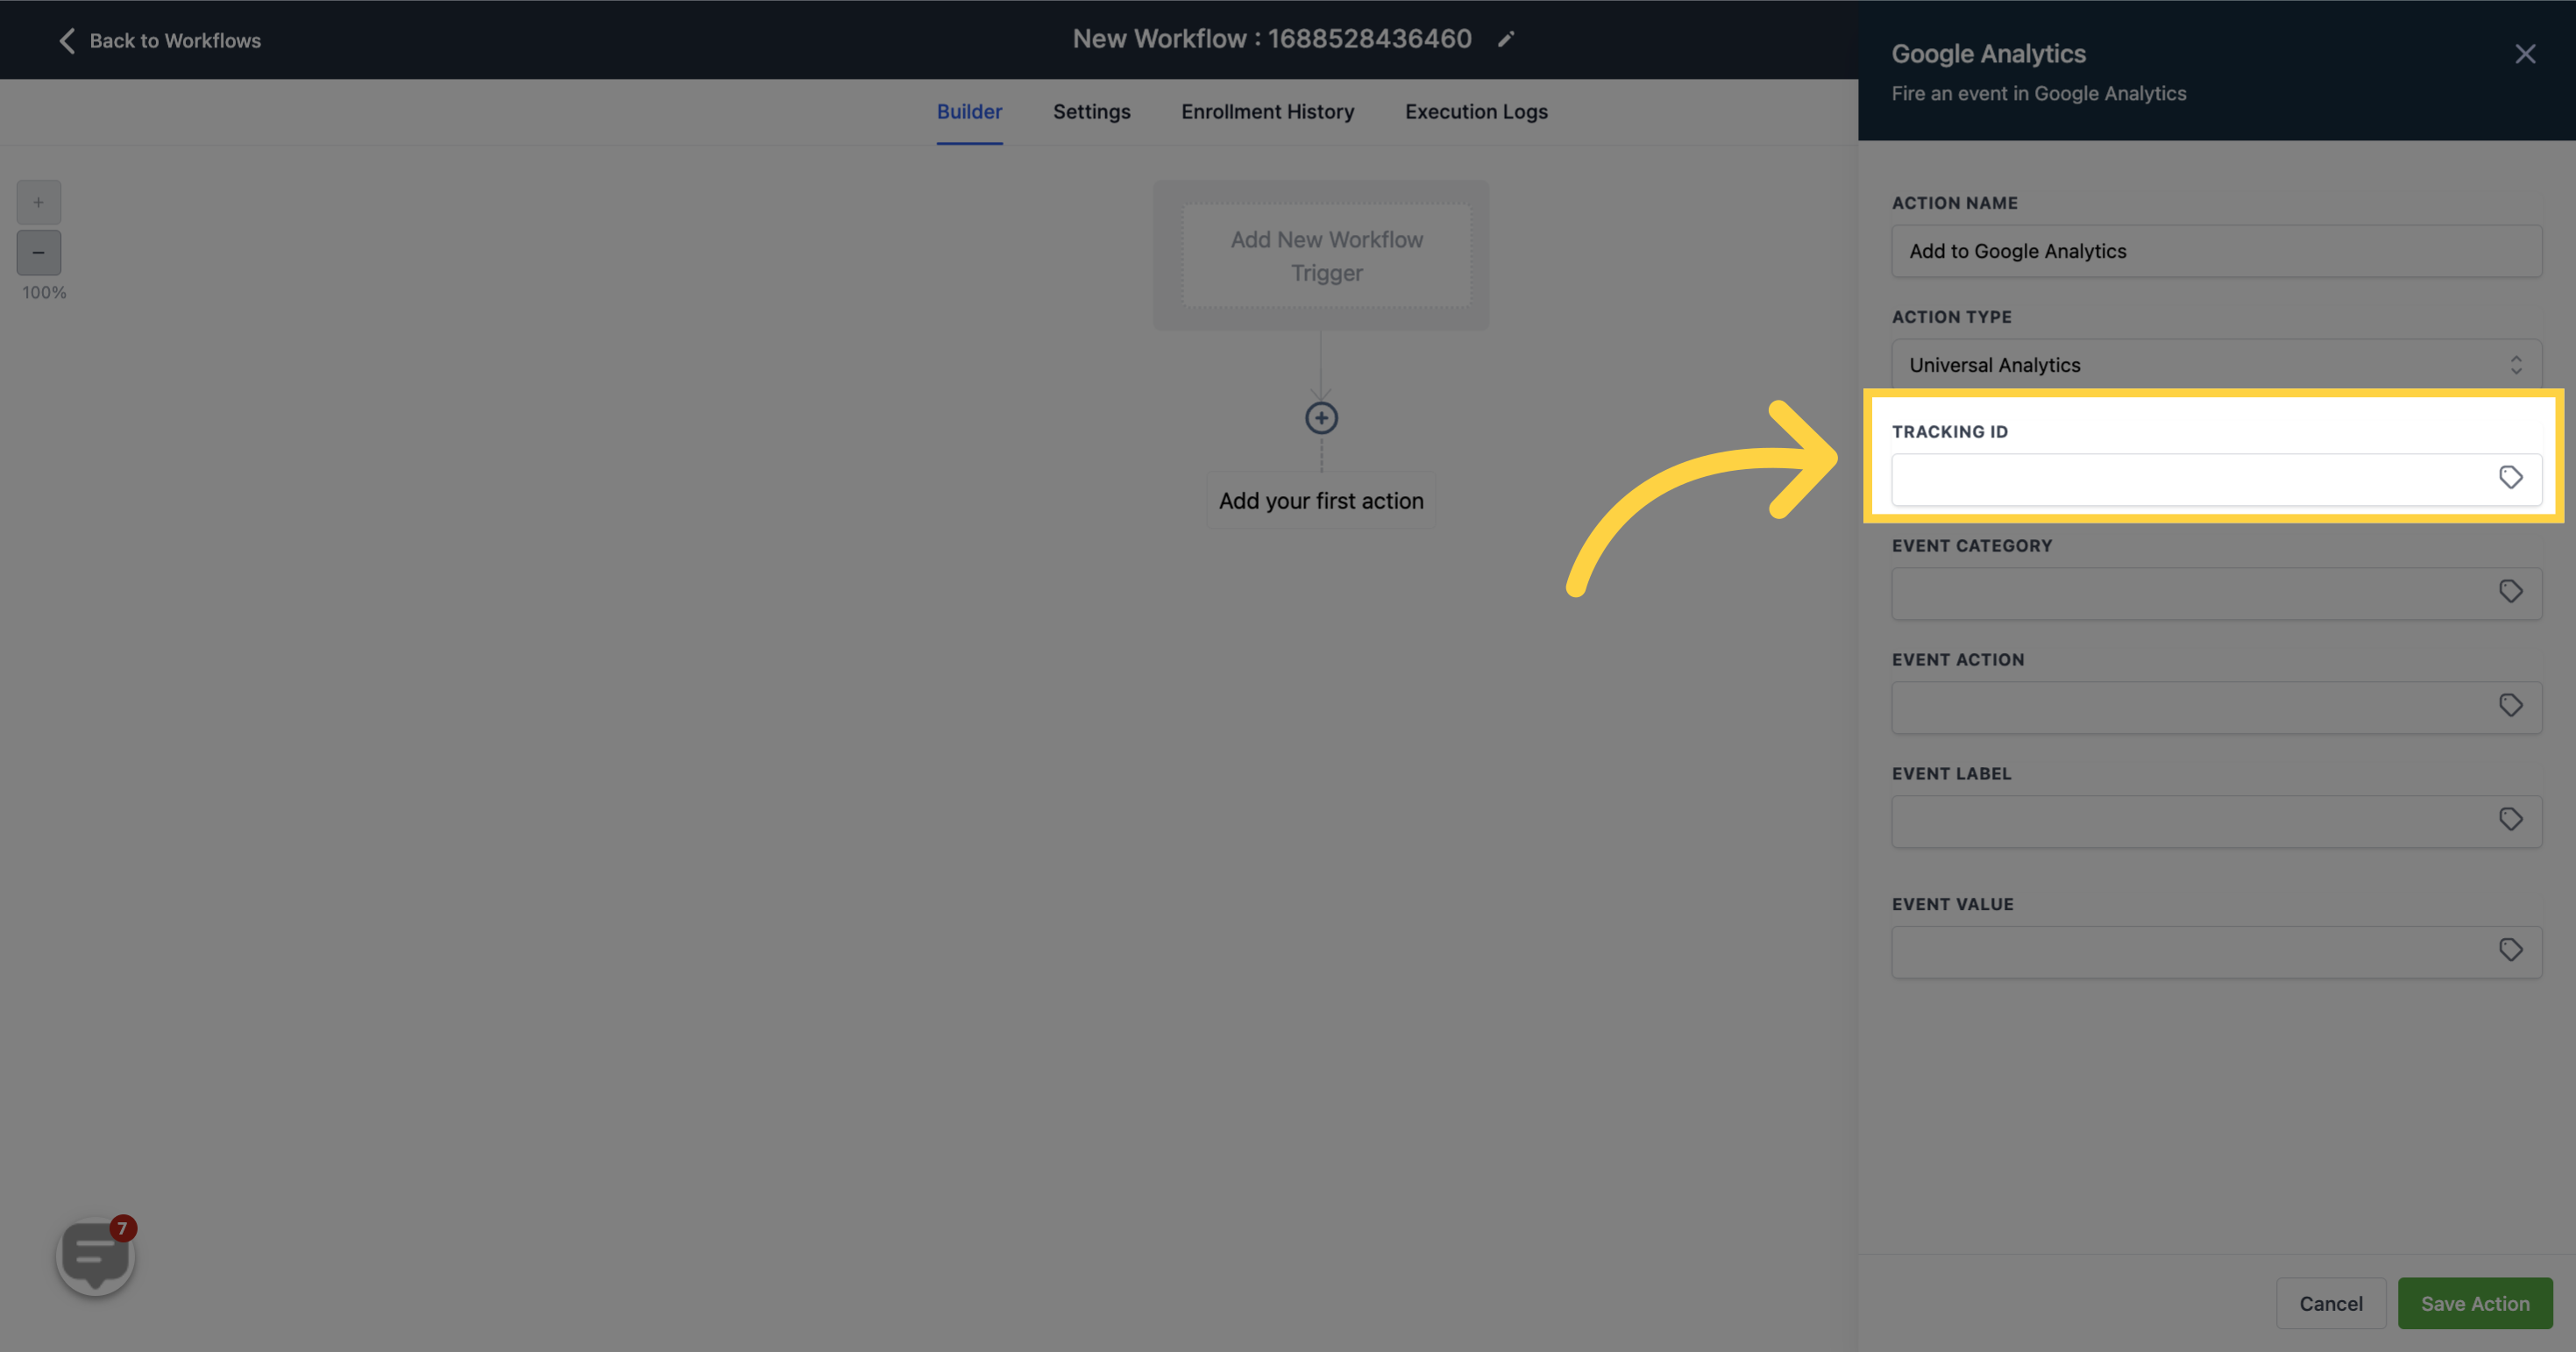
Your tracking code, starting with "UA", will be available here. Copy and paste it into the provided space in the workflow.
For GA4 Users:
Open Google Analytics and click on the 'Admin' tab.
In the left-hand column, click on 'Property Settings' and then select 'Property ID'.
Your tracking code, consisting of a number, will be available here. Copy and paste it into the provided space in the workflow.
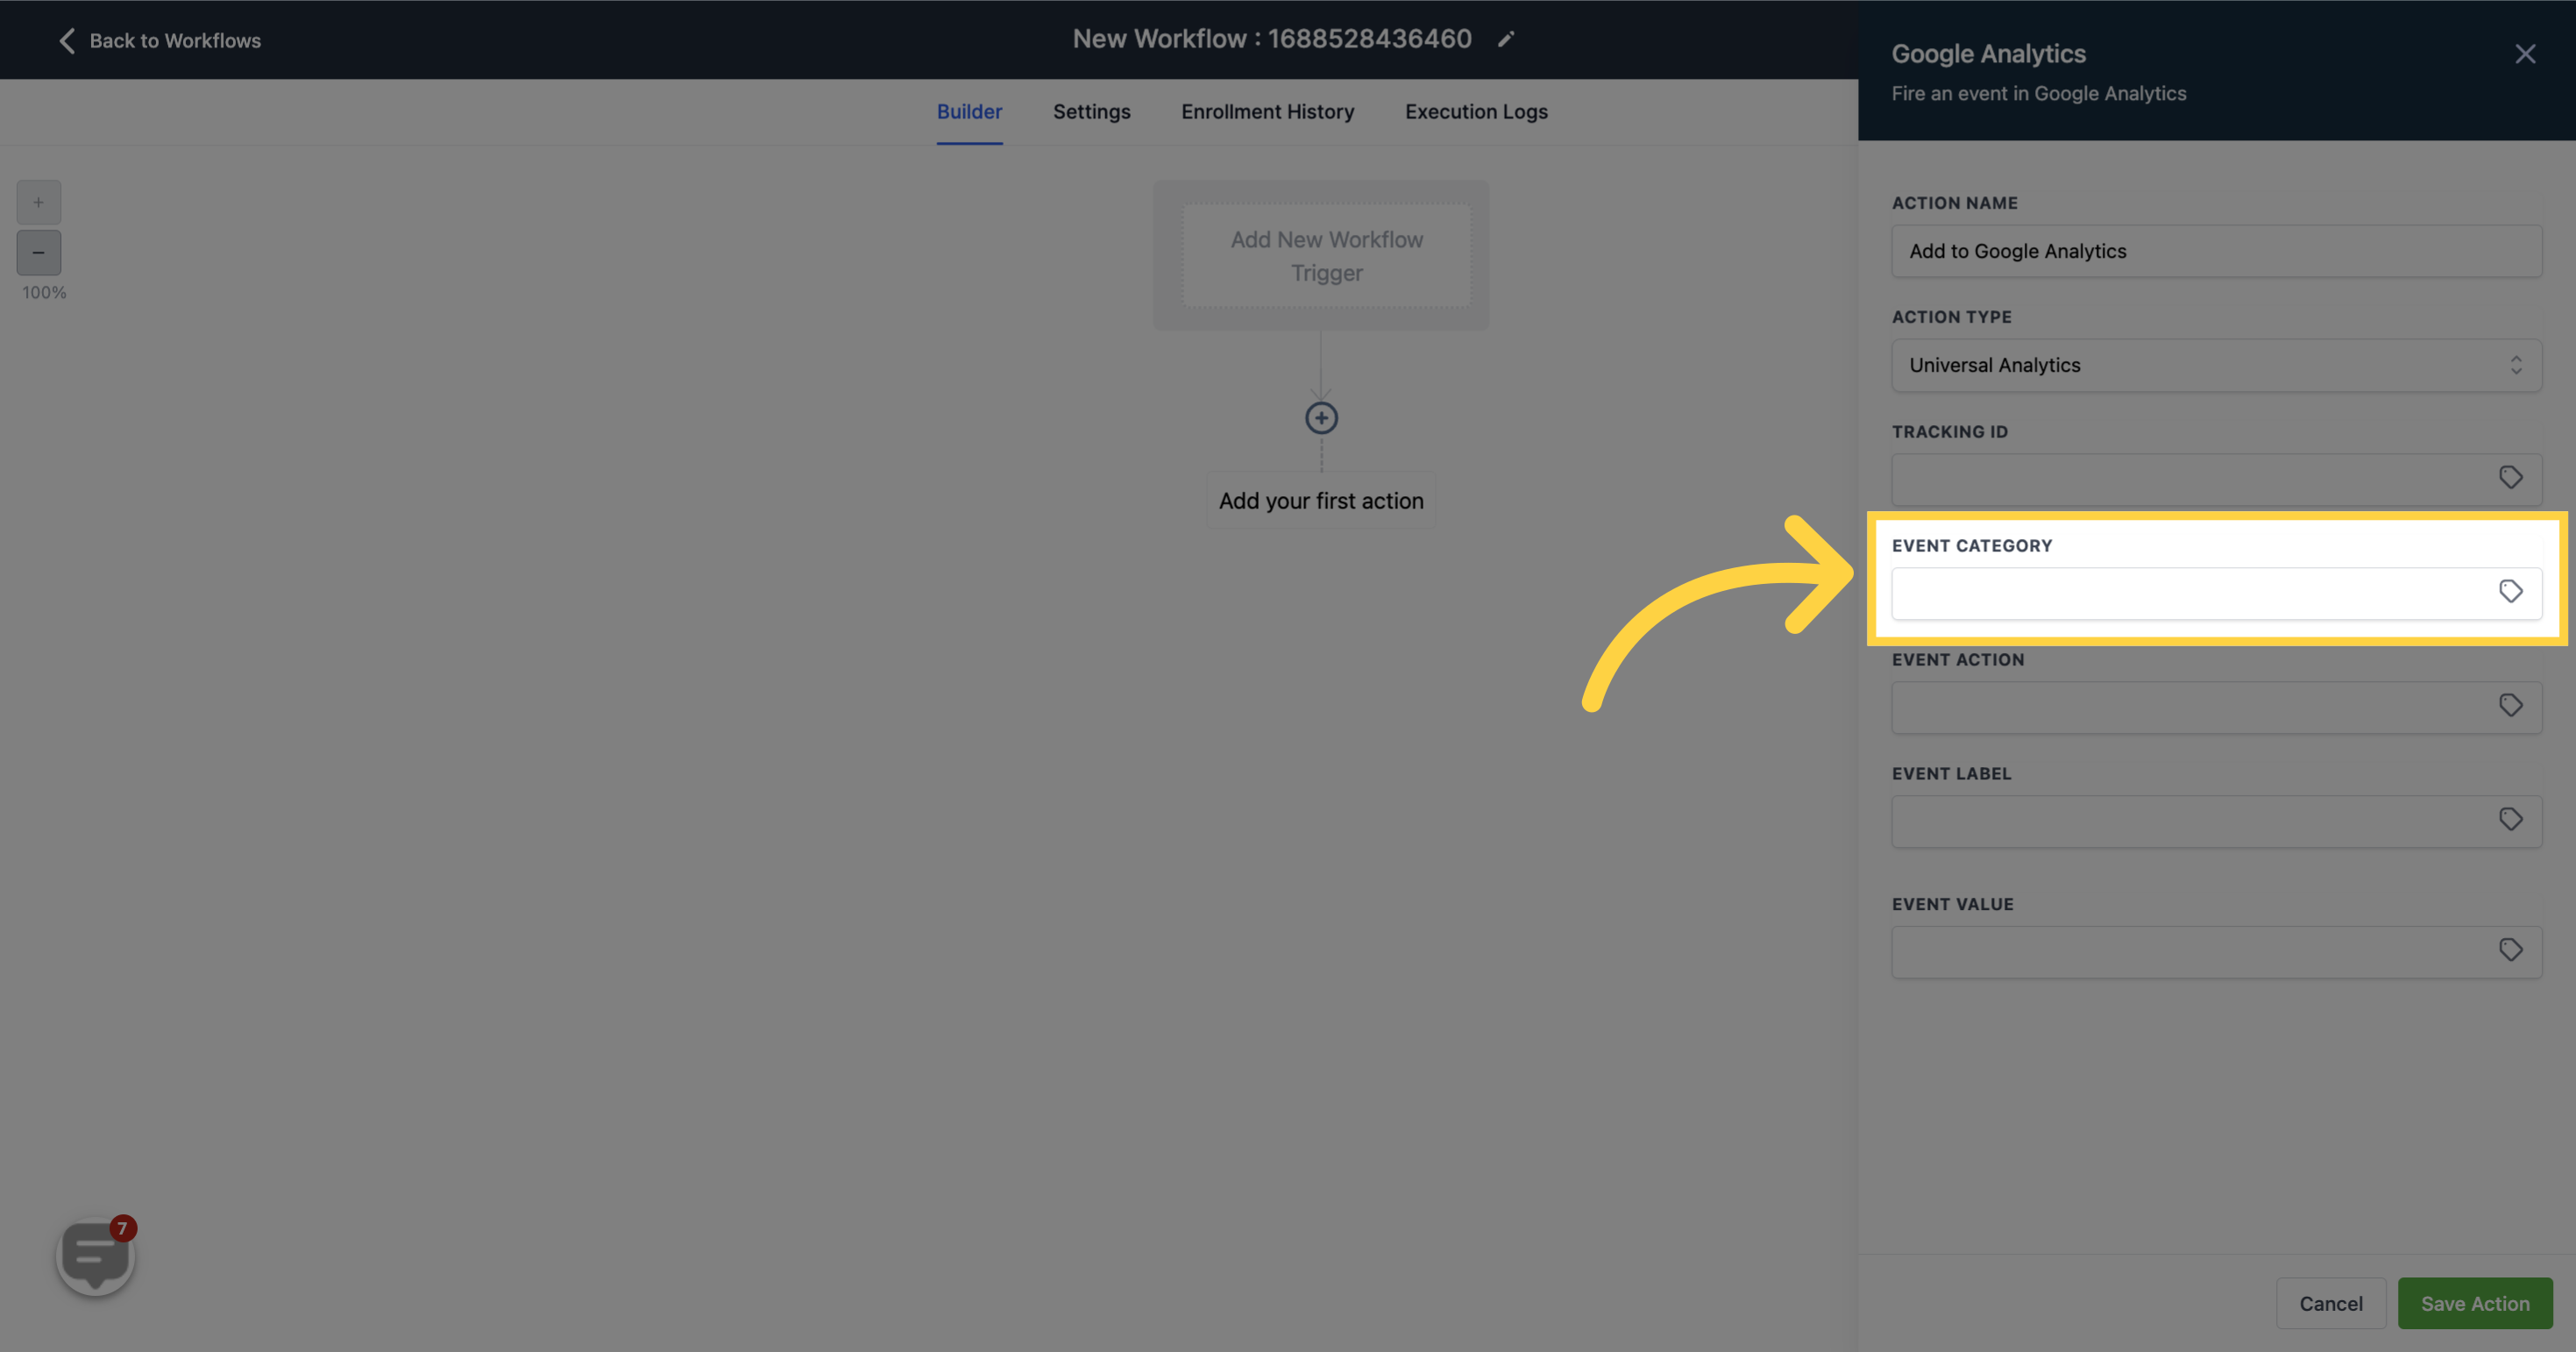
Enter the event category here, such as 'Form Submission'. You can also use custom values to add a category.
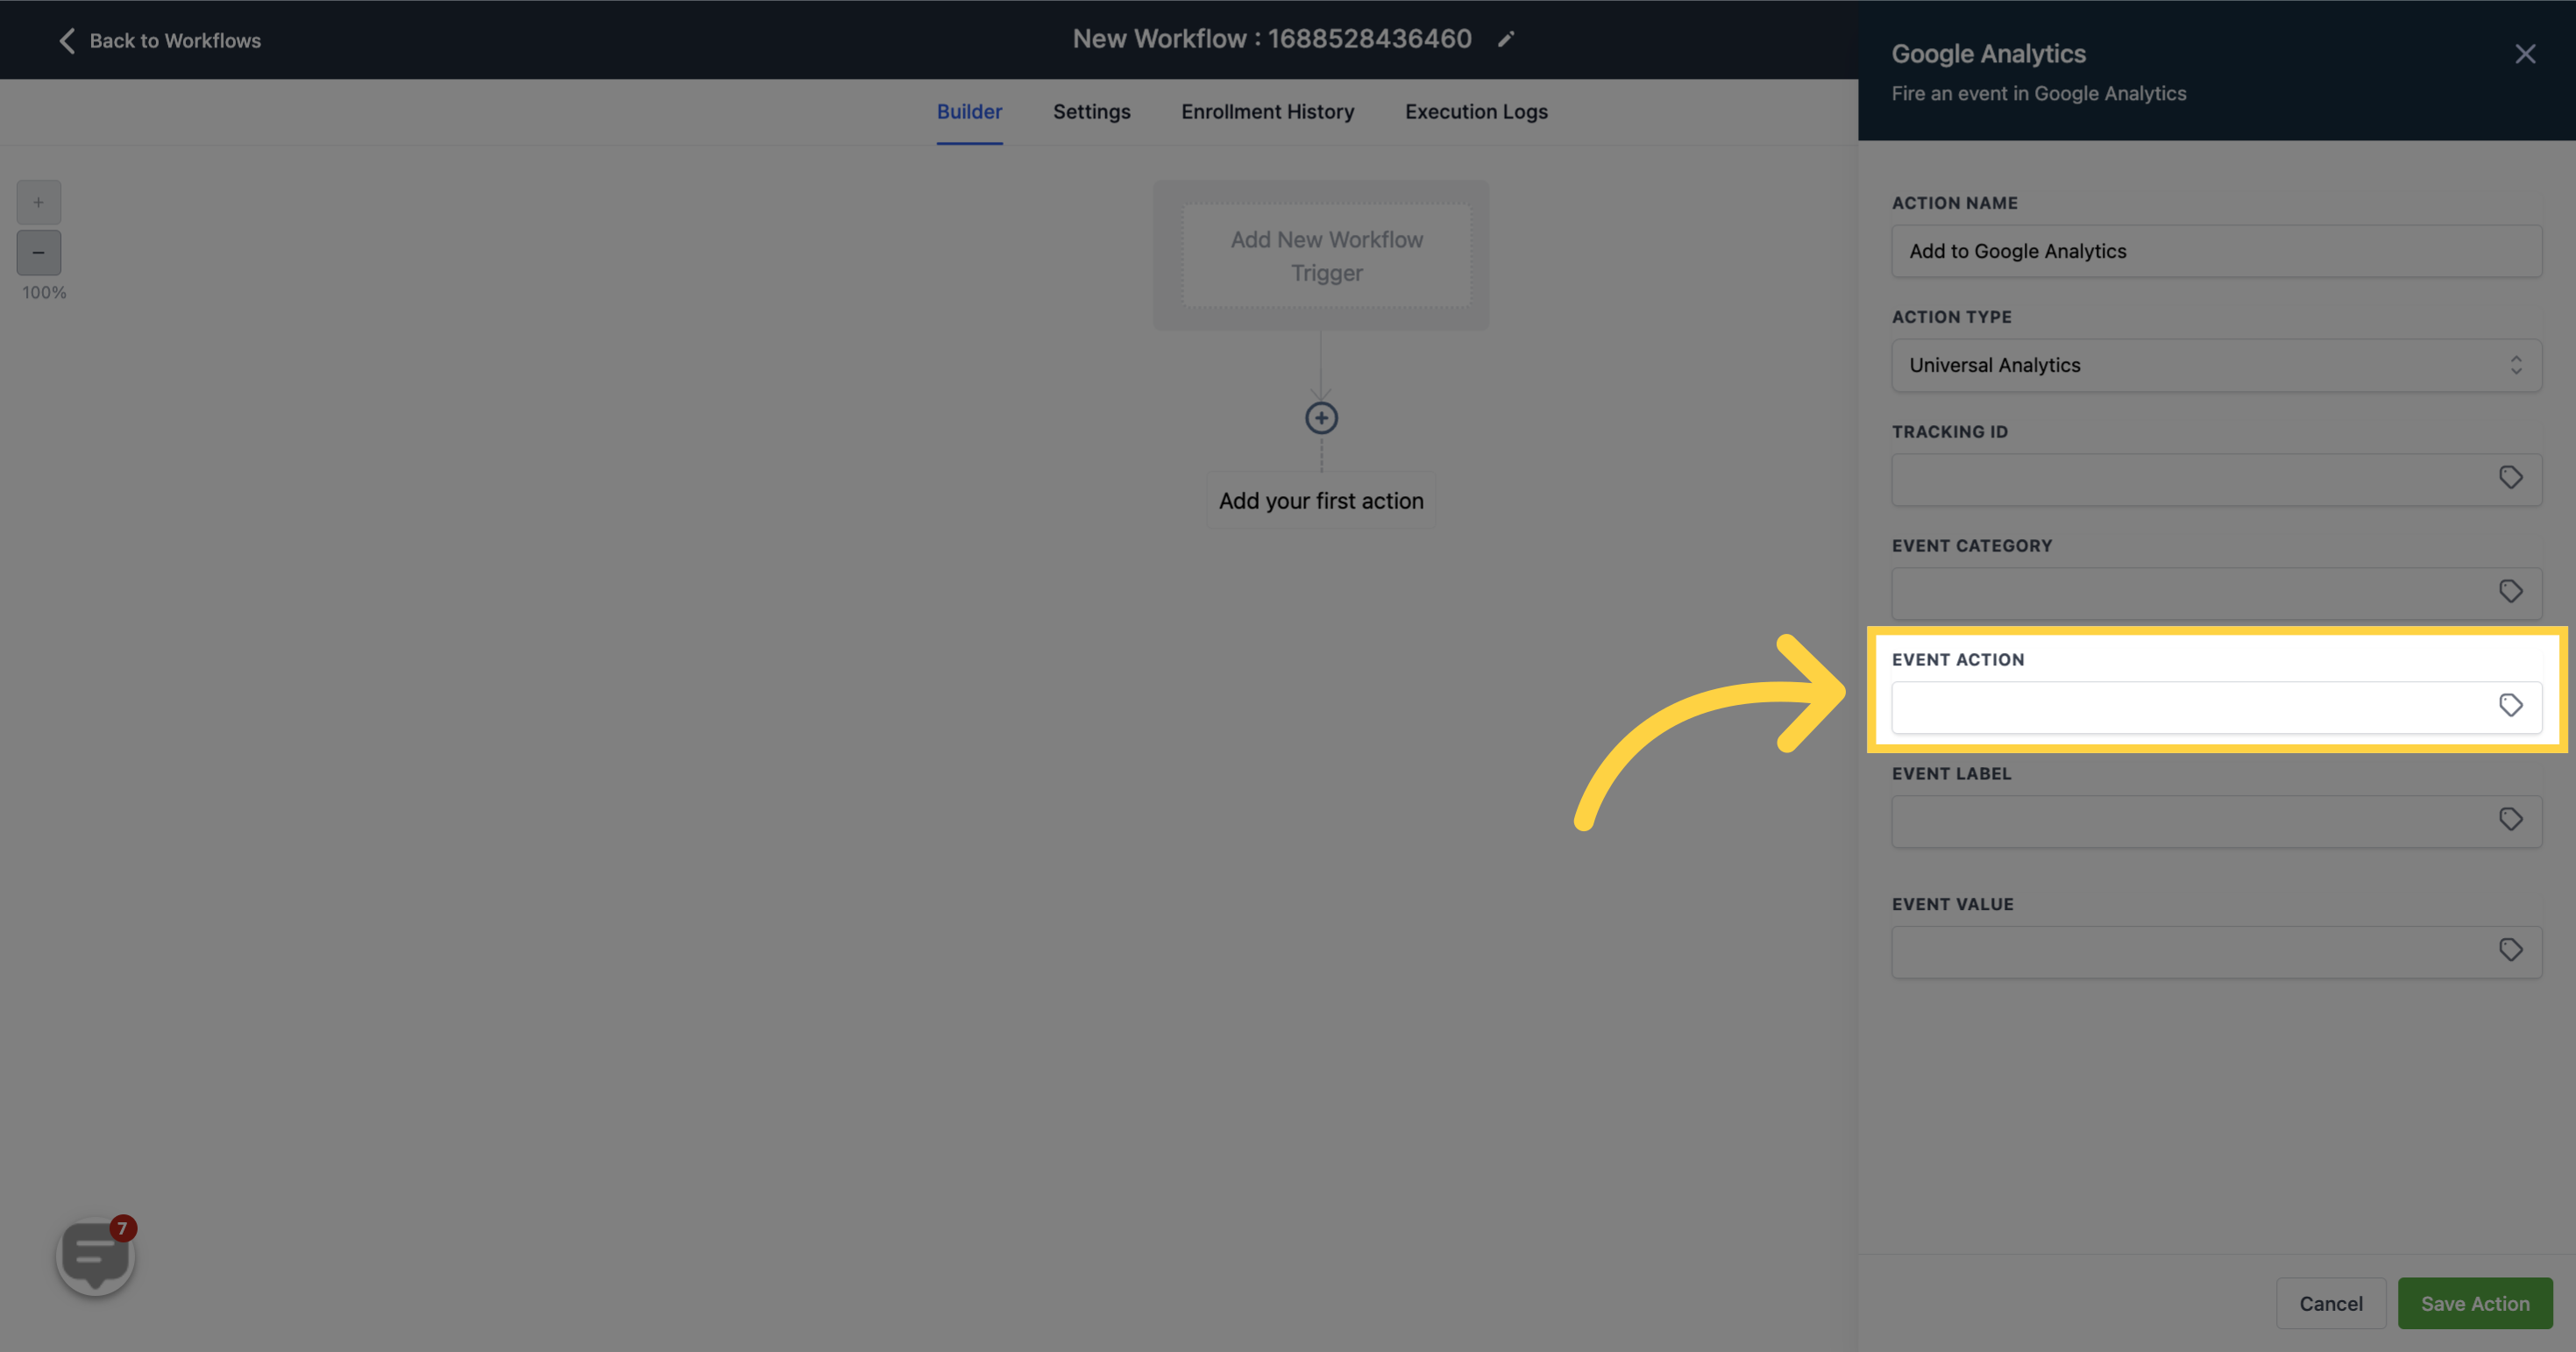
Add the desired event action to be triggered when a visitor views the form submission, such as 'Exit Form Opt-in'.
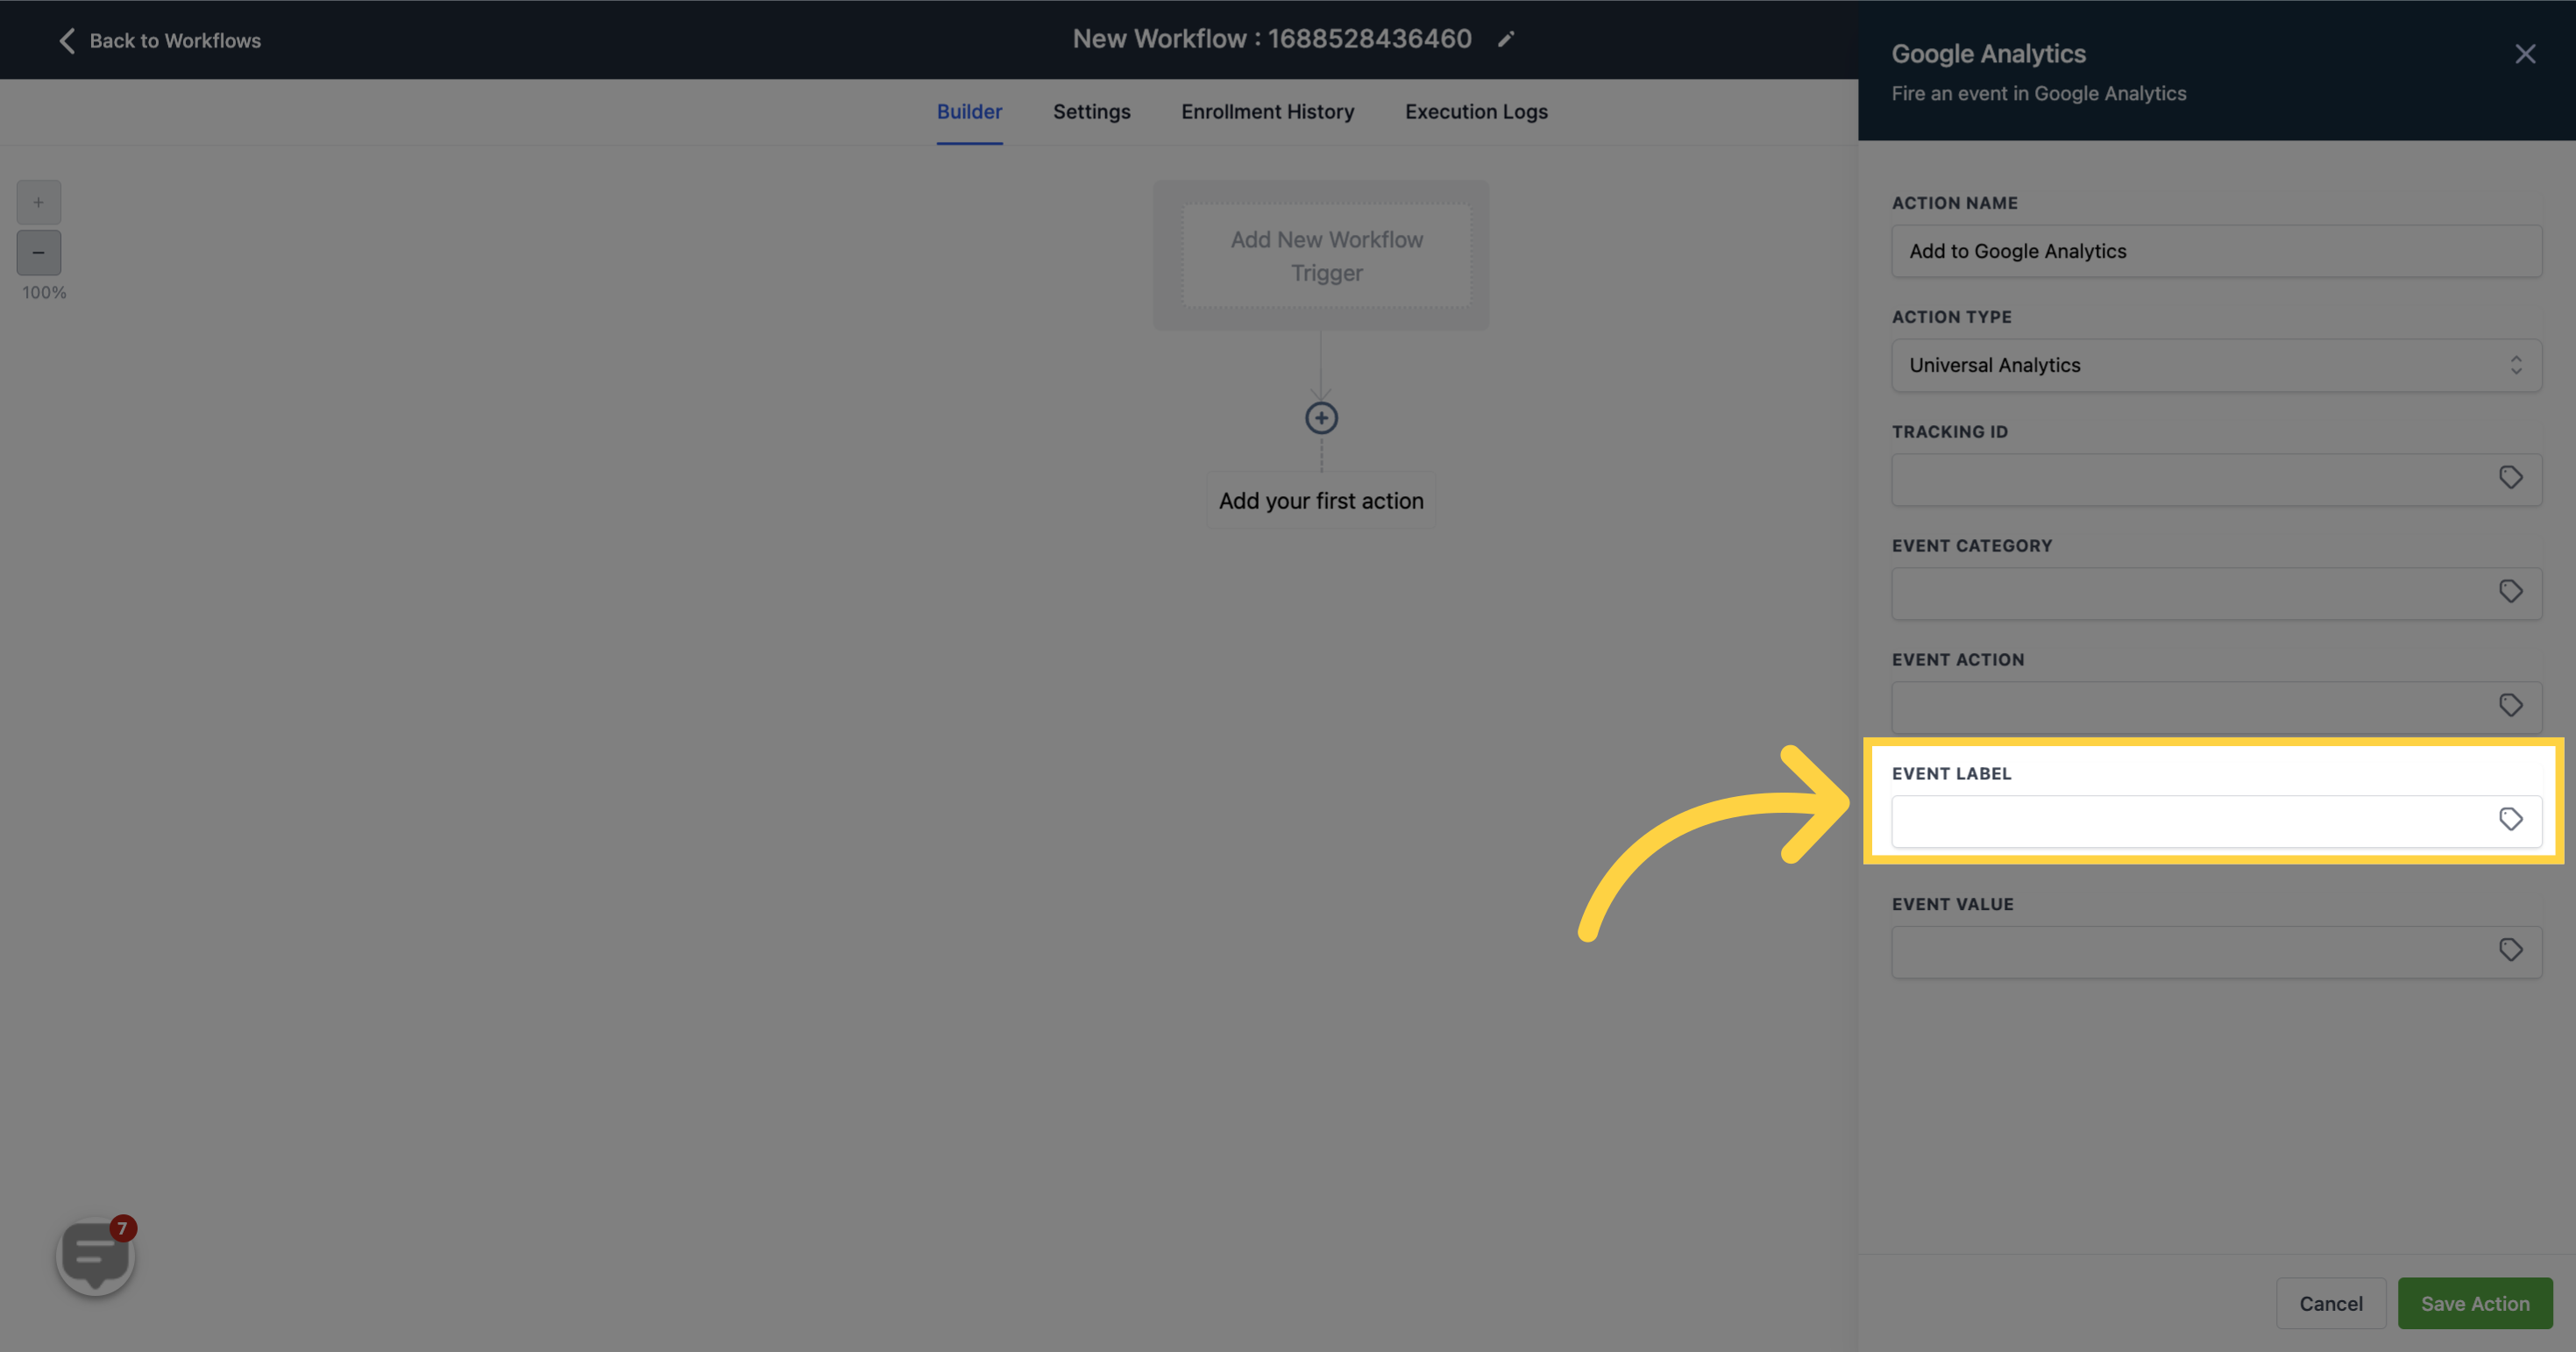
Label the event for easy identification, such as 'Black Friday Form Submission'.
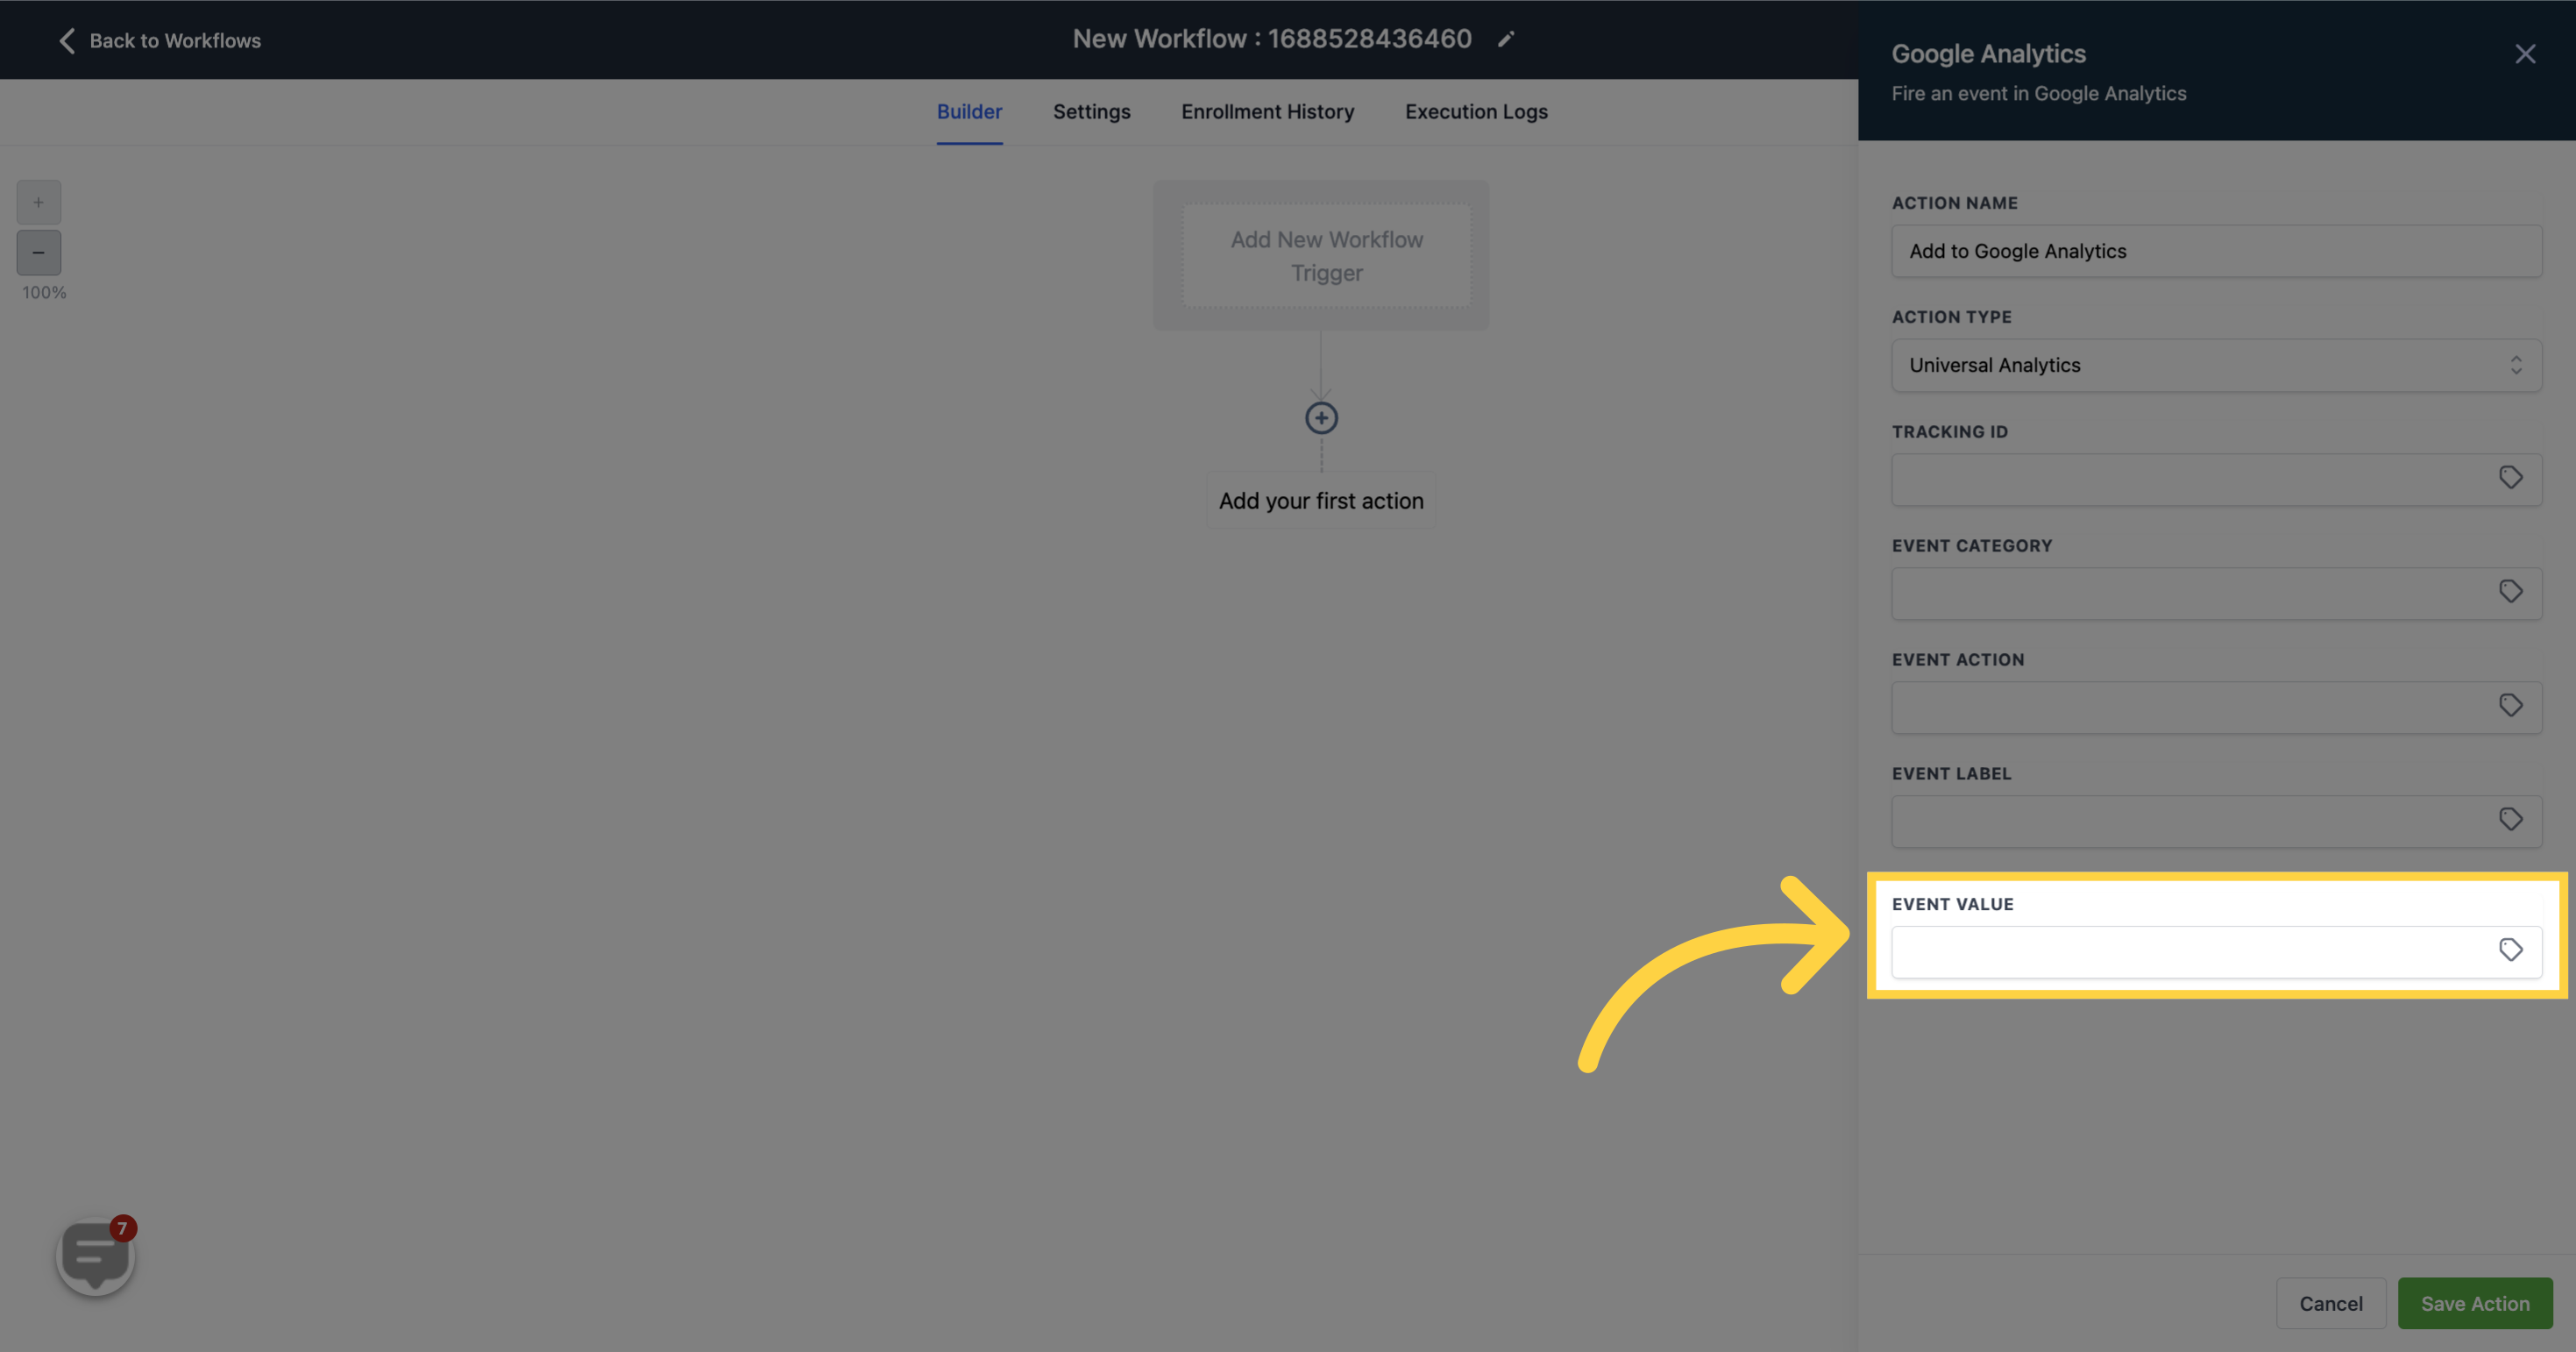
You can dynamically add a value to the event using small icon tags.

We adhere to a specific set of guidelines to classify traffic into a particular source. We examine the complete page URL along with the referral domain (if provided) in accordance with these guidelines. The table below provides detailed information about the tracking rules and sources.
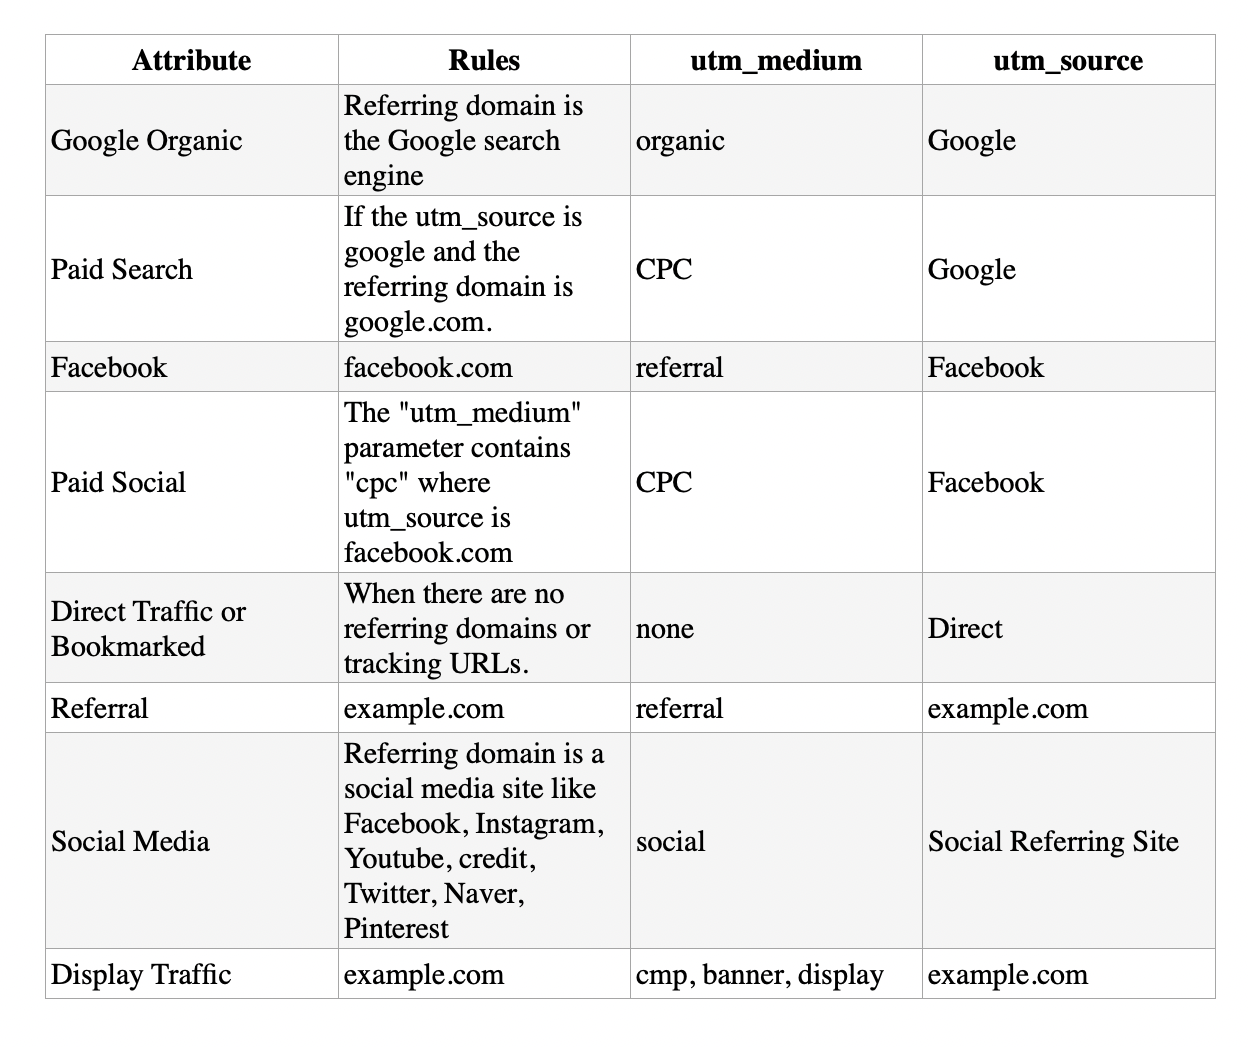
Note: If you have set both utm_medium and utm_source, we will use them and if any one of them is not available, we will categorize them according to the below-given table.
We pass GCLID (Google Click Identifier) to recognize each unique click.