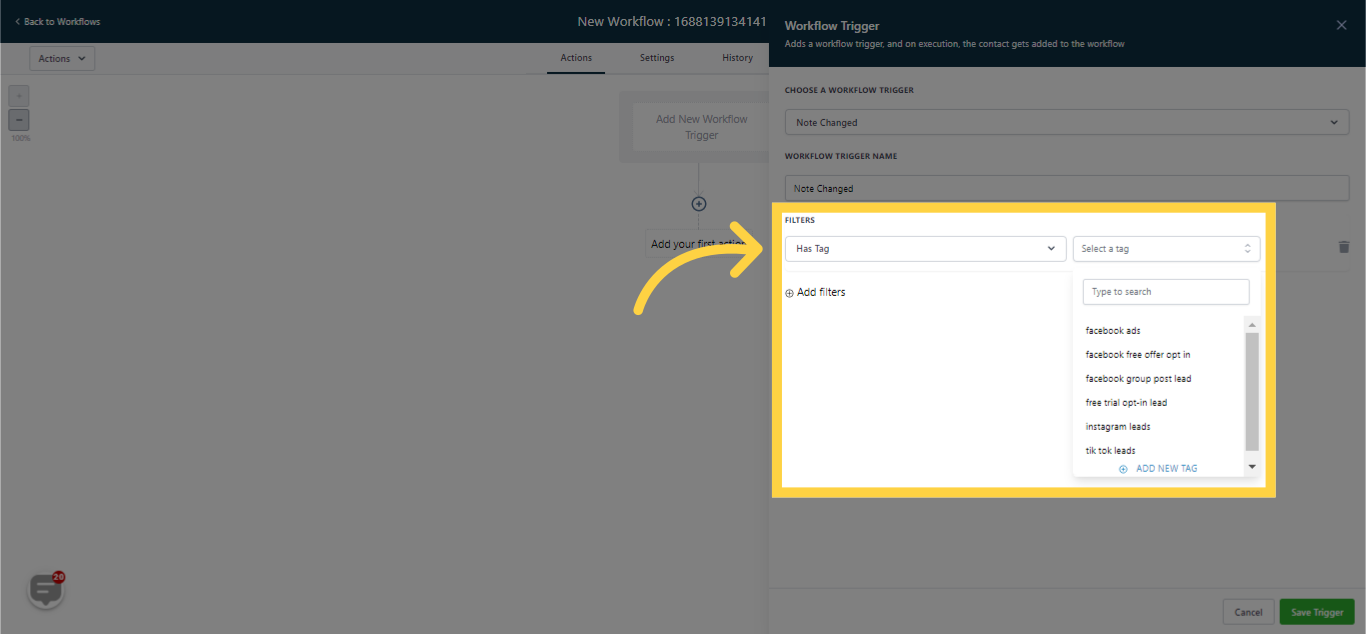
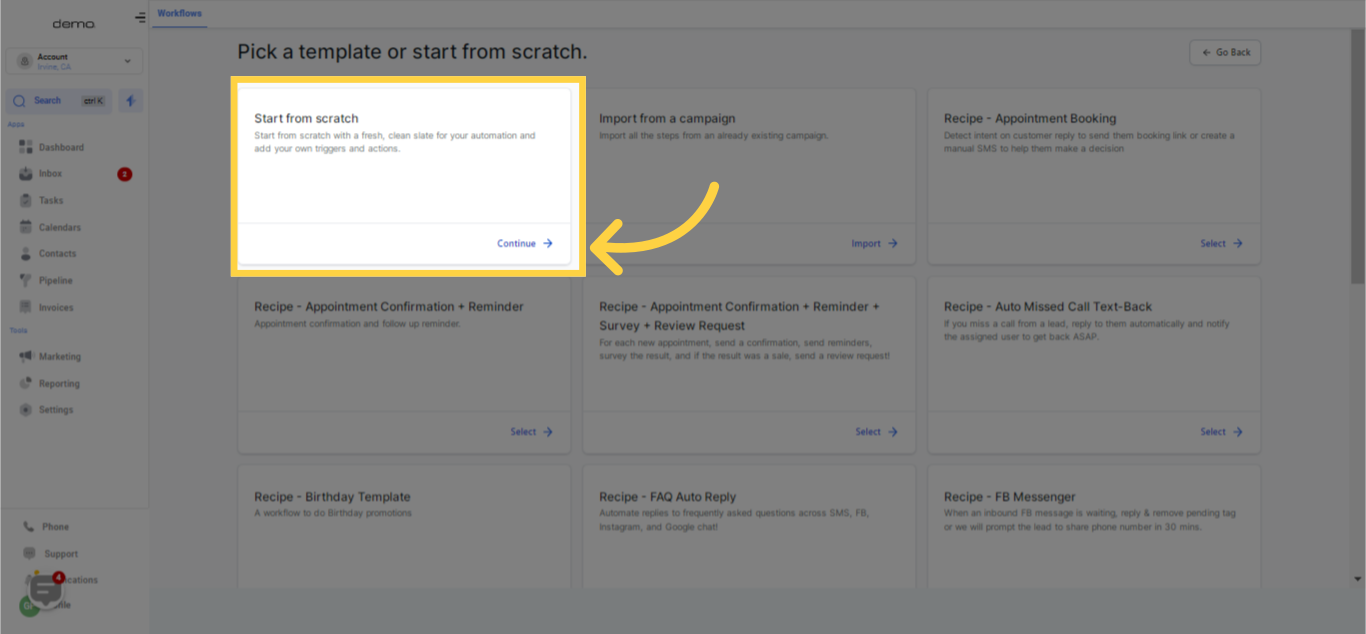

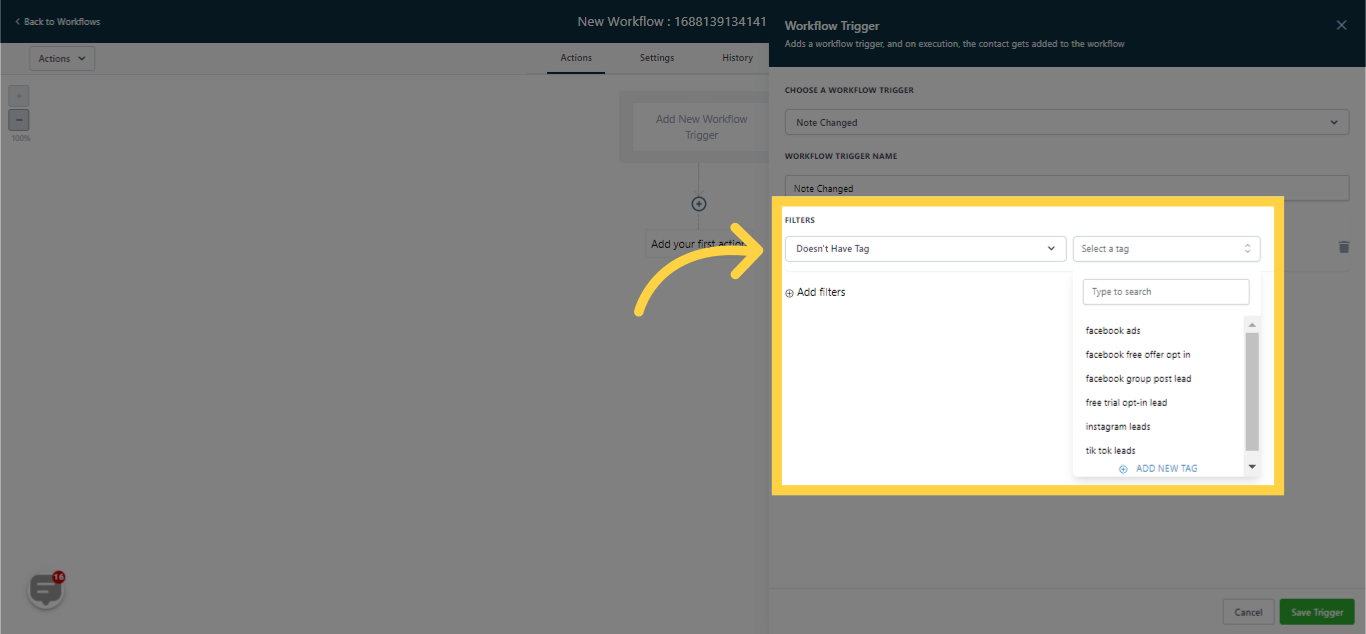
By choosing the "Doesn't Have Tag" filter option, the workflow will solely be activated when you modify a note for a contact lacking the specific tag designated in the filter section.
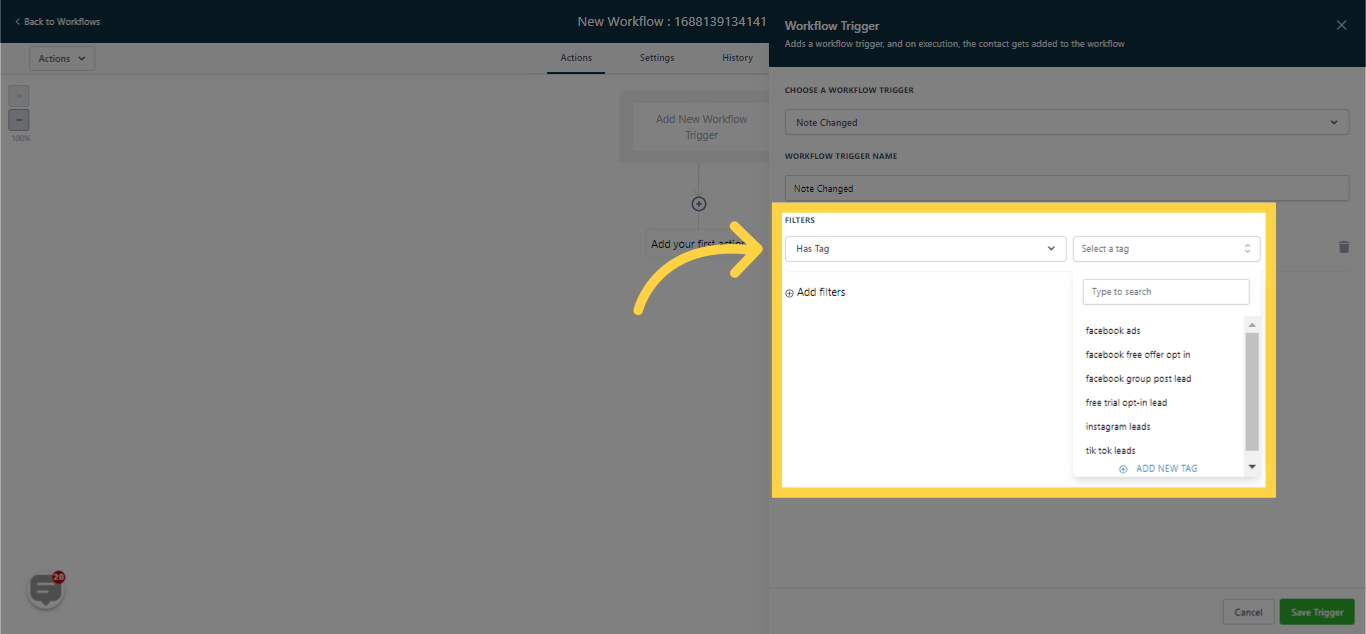
By opting for the "Has Tag" filter, the workflow will exclusively trigger when a note is added to a contact that carries the specified tag.
This workflow trigger is activated exclusively when updates are applied to the contact record. If any alterations occur within the contact record, the trigger initiates. This system aids in synchronizing contact information and monitoring any changes.
After choosing a trigger, you can proceed to detail the workflow's configuration. In this step, please select the 'Note Changed' trigger located under the 'Contact' section.
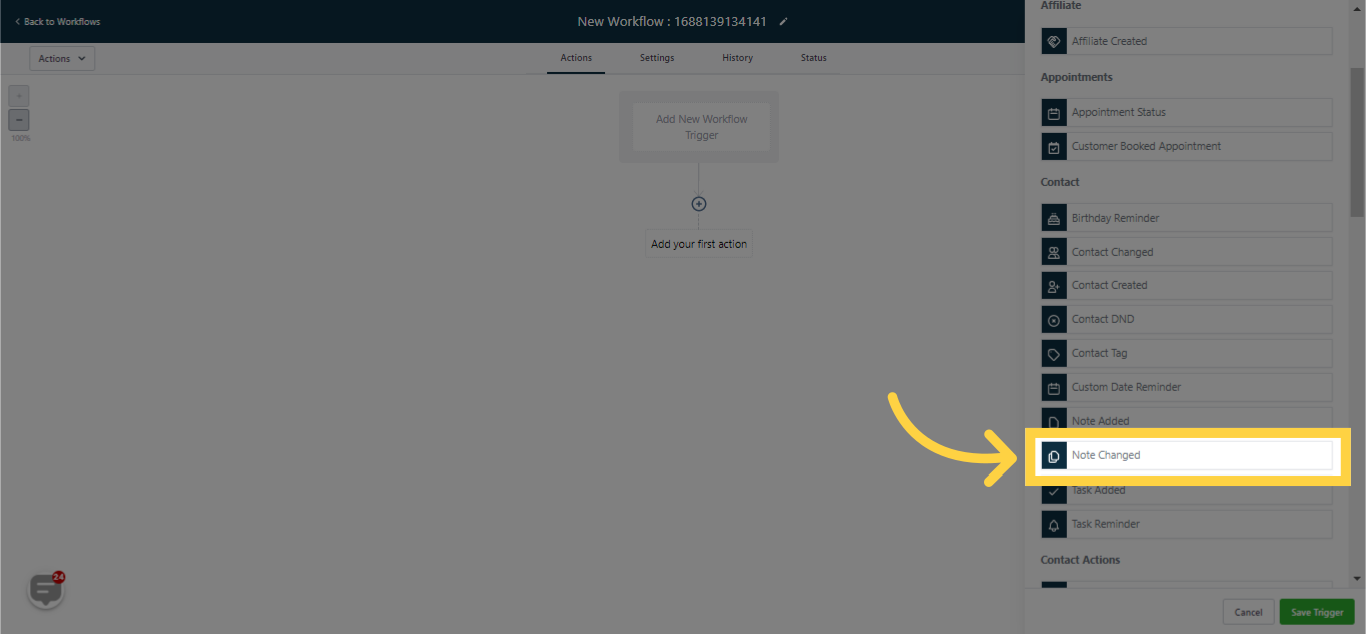
Design a name for your Workflow trigger. This will assist in enhancing comprehension and serve as a reminder for future usage of this specific trigger.

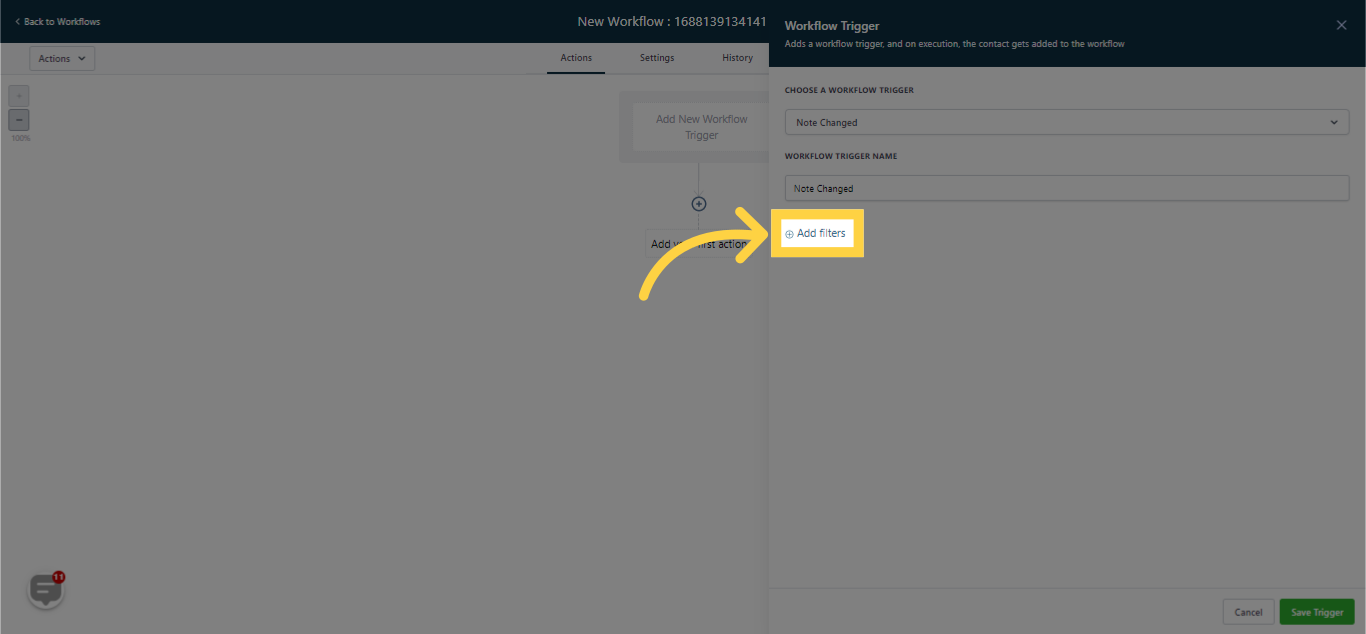
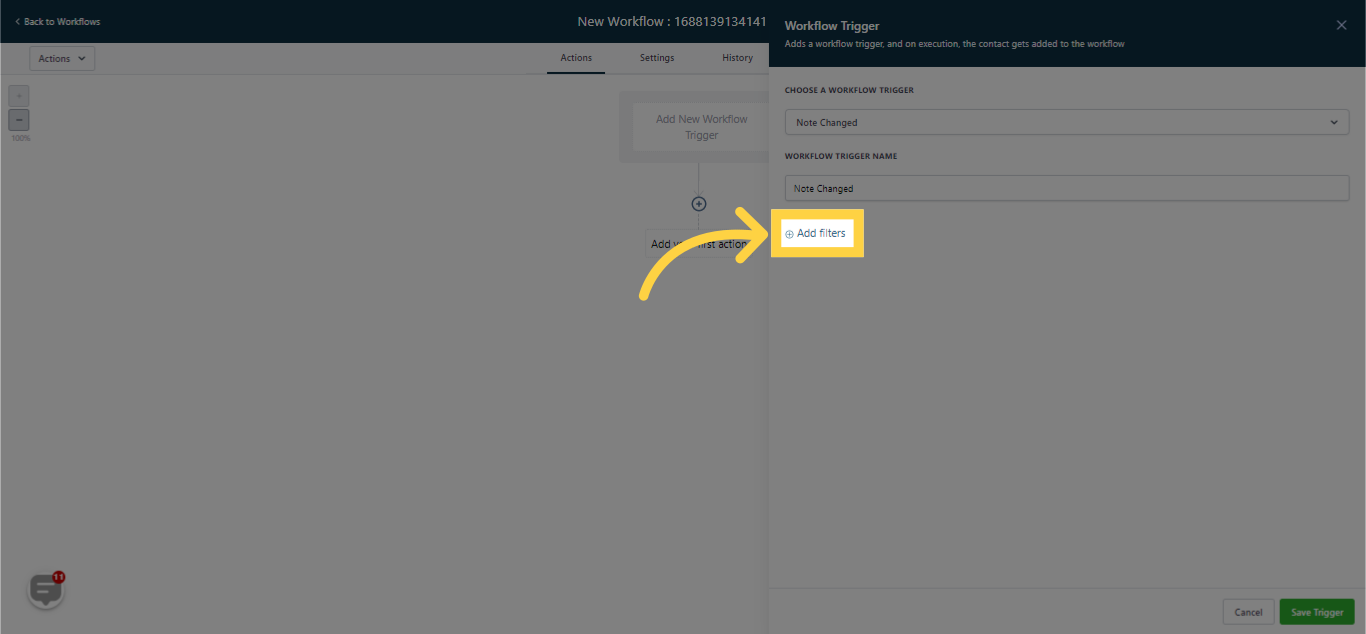
Hover over and click on 'Add Filters'.
Filters can be selected from the drop-down lists or you can opt to save the trigger without applying any filters. In the latter case, the trigger will activate whenever any modifications are made to any contact record.
If you prefer otherwise, choose any filters from the following two options:
Activation of this trigger is exclusively when the contact record lacks any tags.
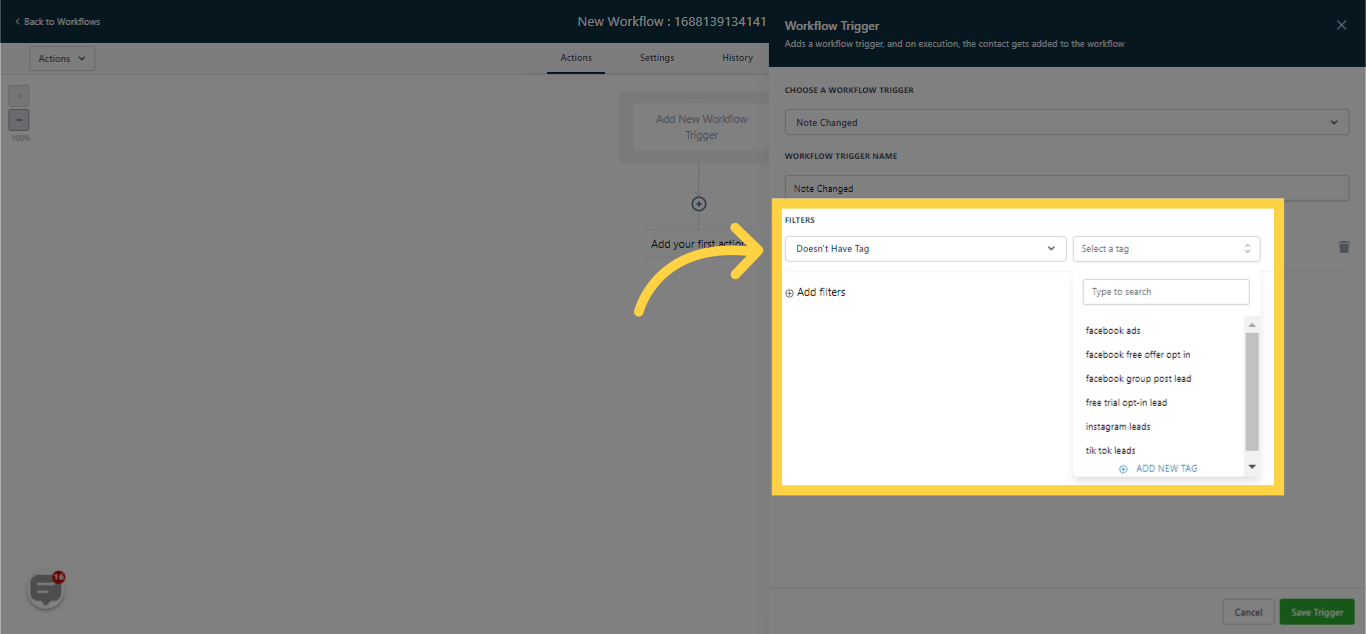
This trigger is only set off when the contact record contains a tag, which can be selected from your predefined list of tags.
