Note: For the message to be delivered successfully, the contact must have previously messaged a connected Facebook page in your CRM within the past 24 hours before reaching this event.
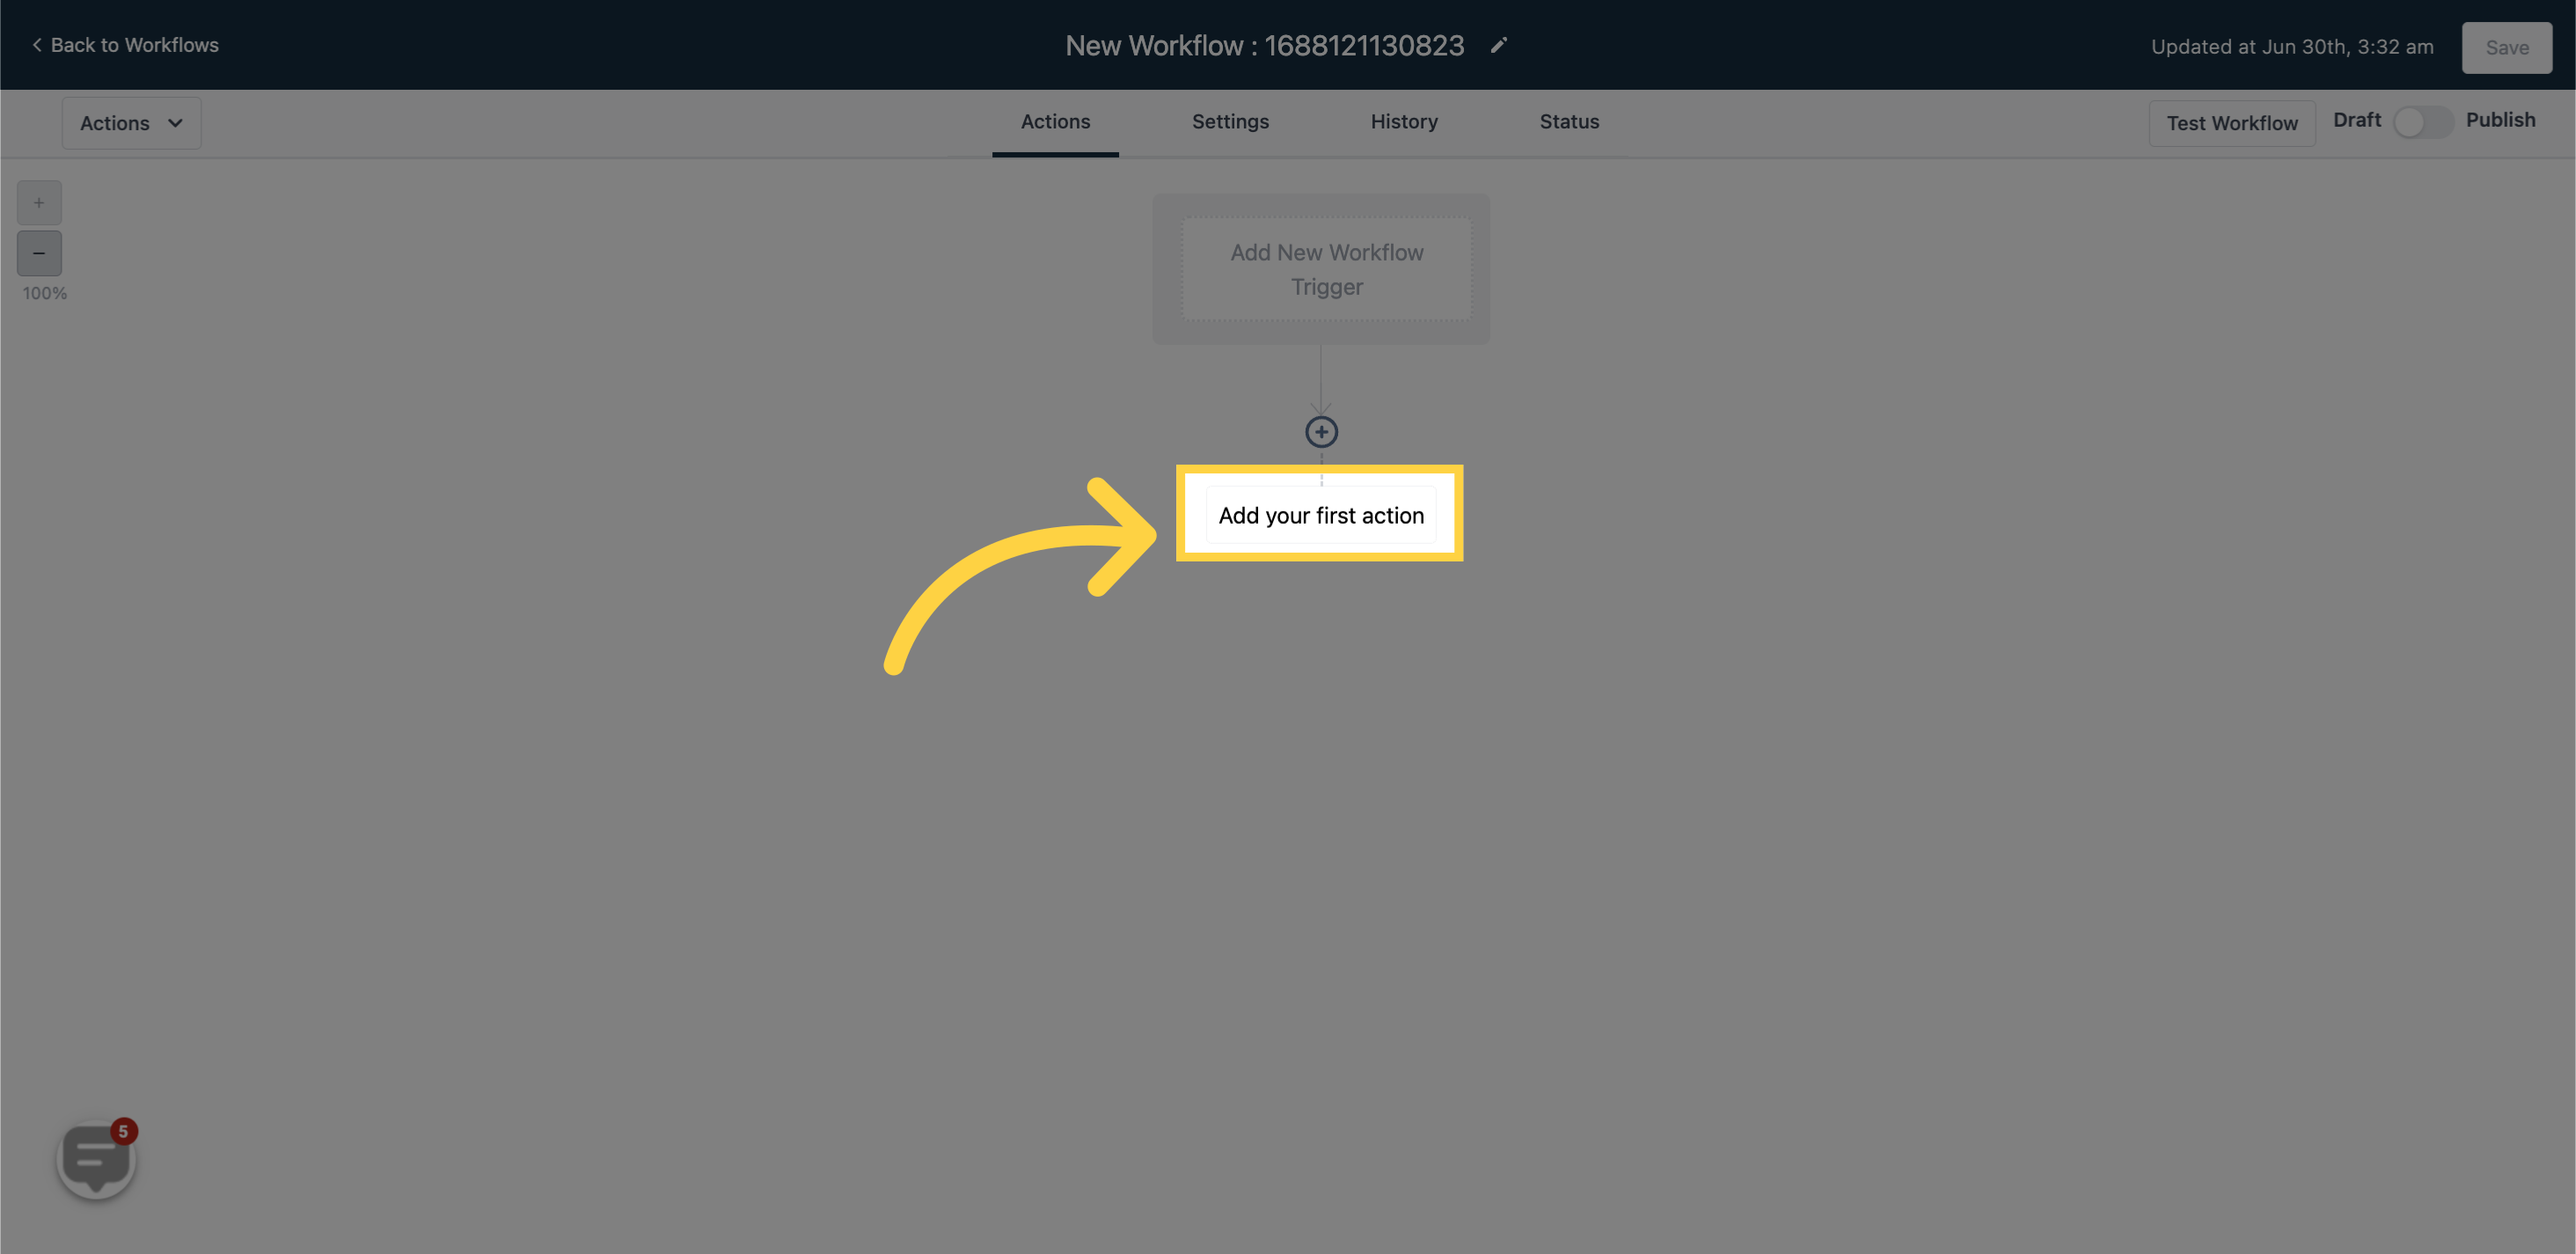
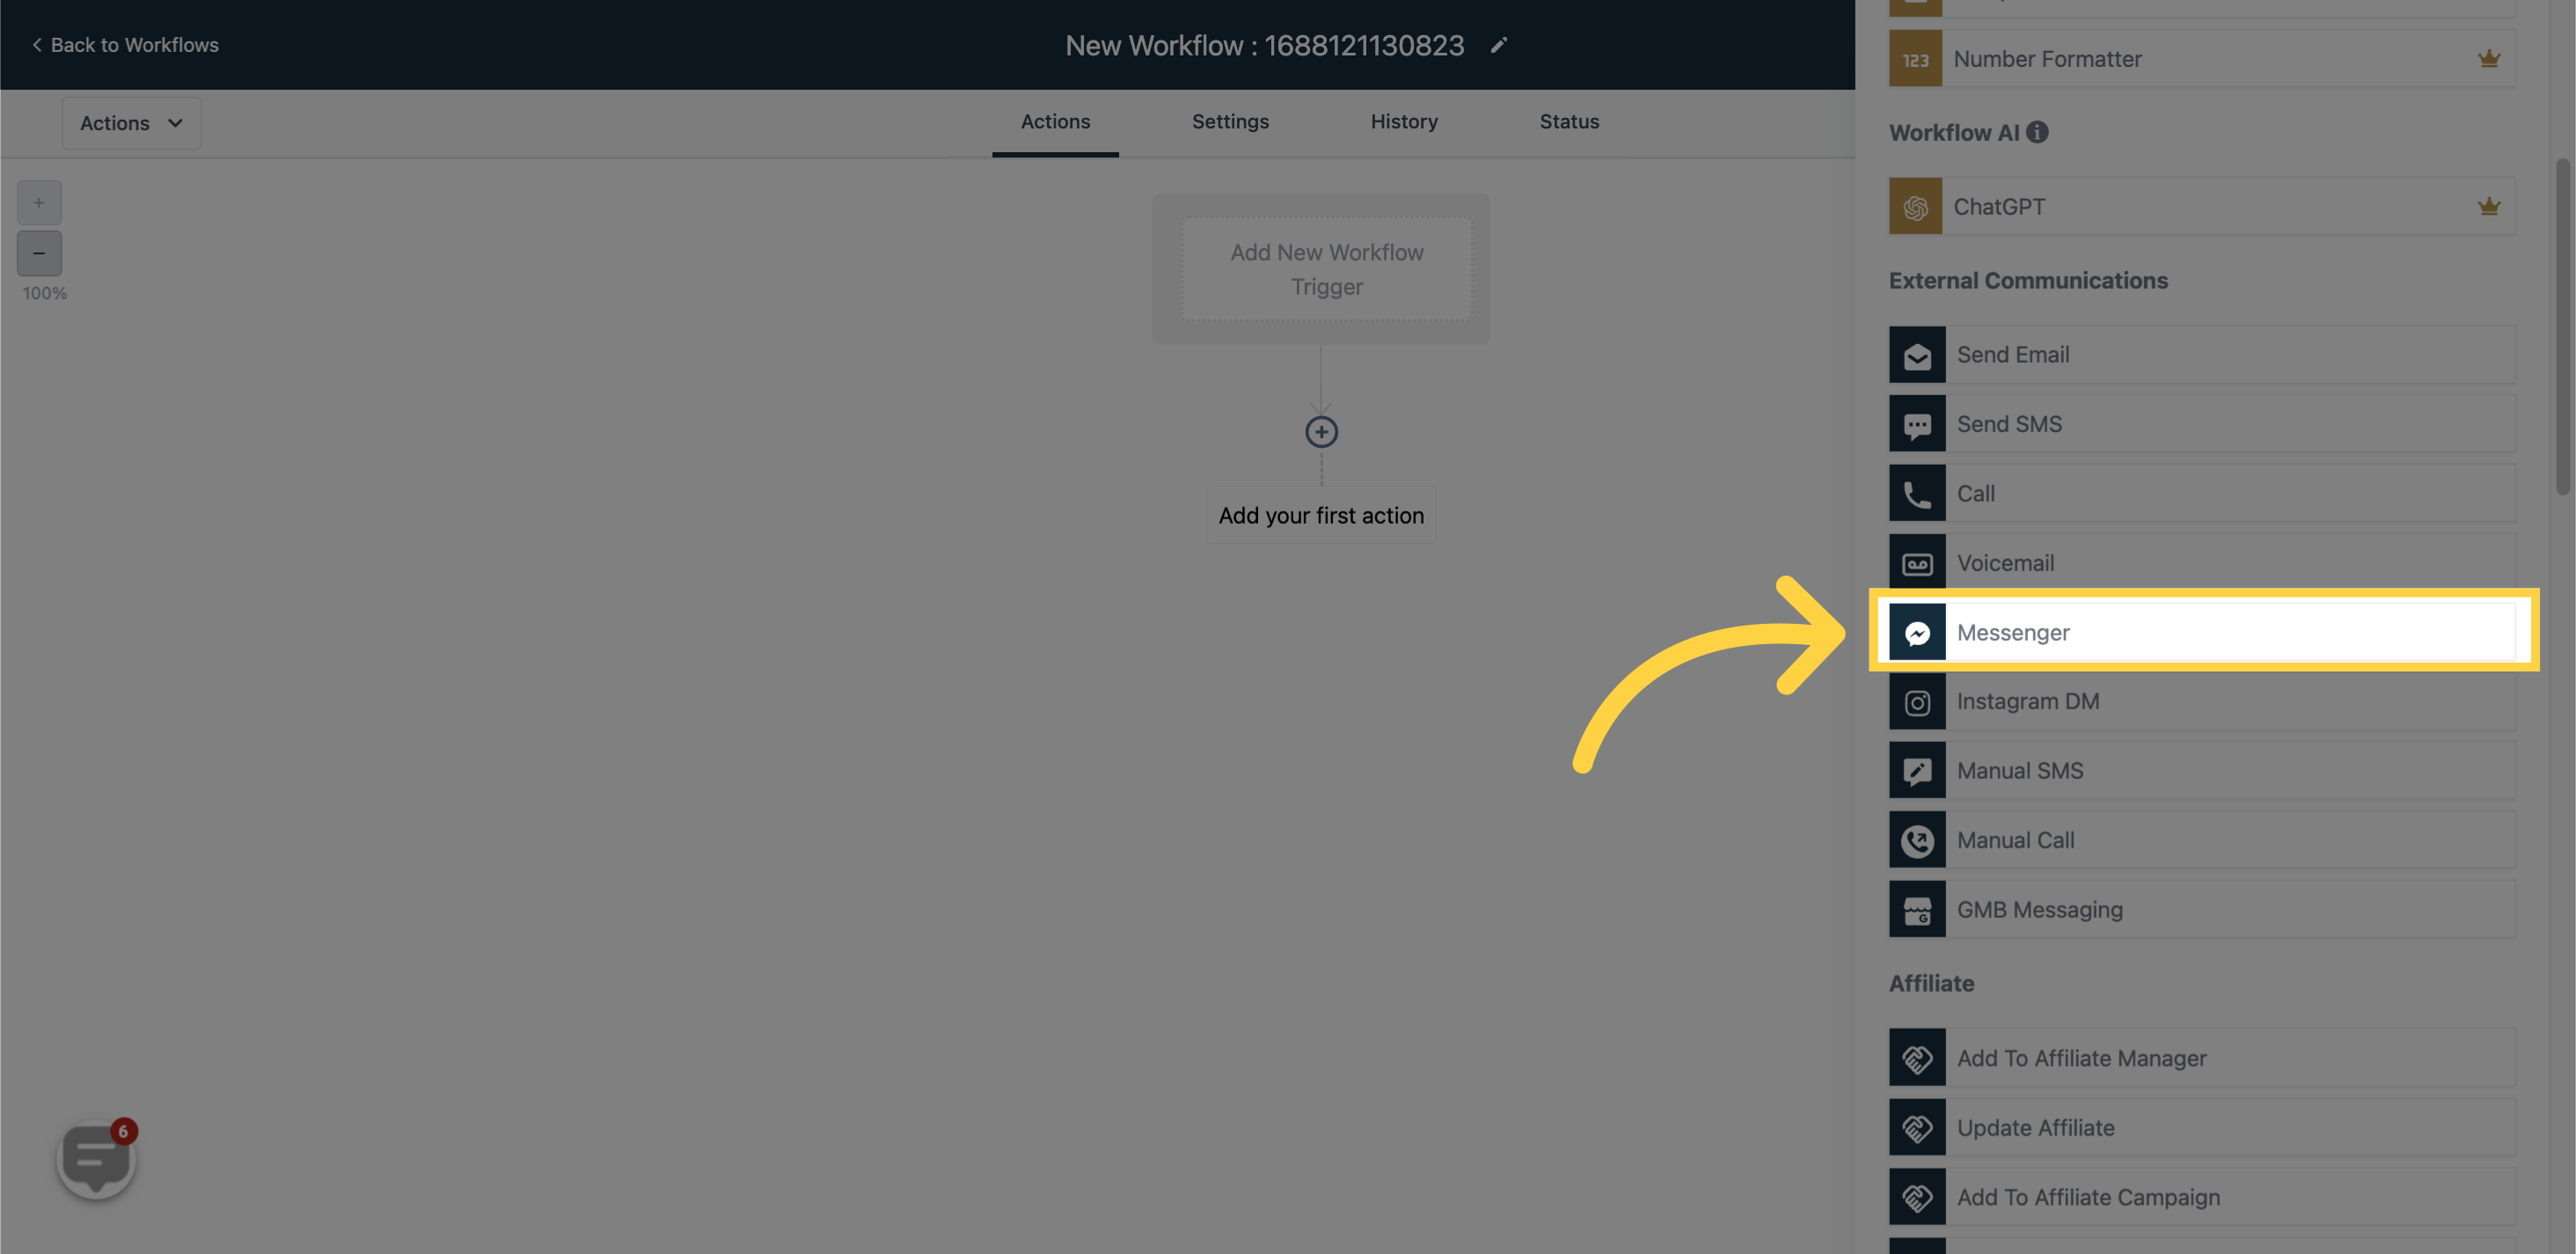
This action allows you to send Facebook Messenger messages to your contacts.
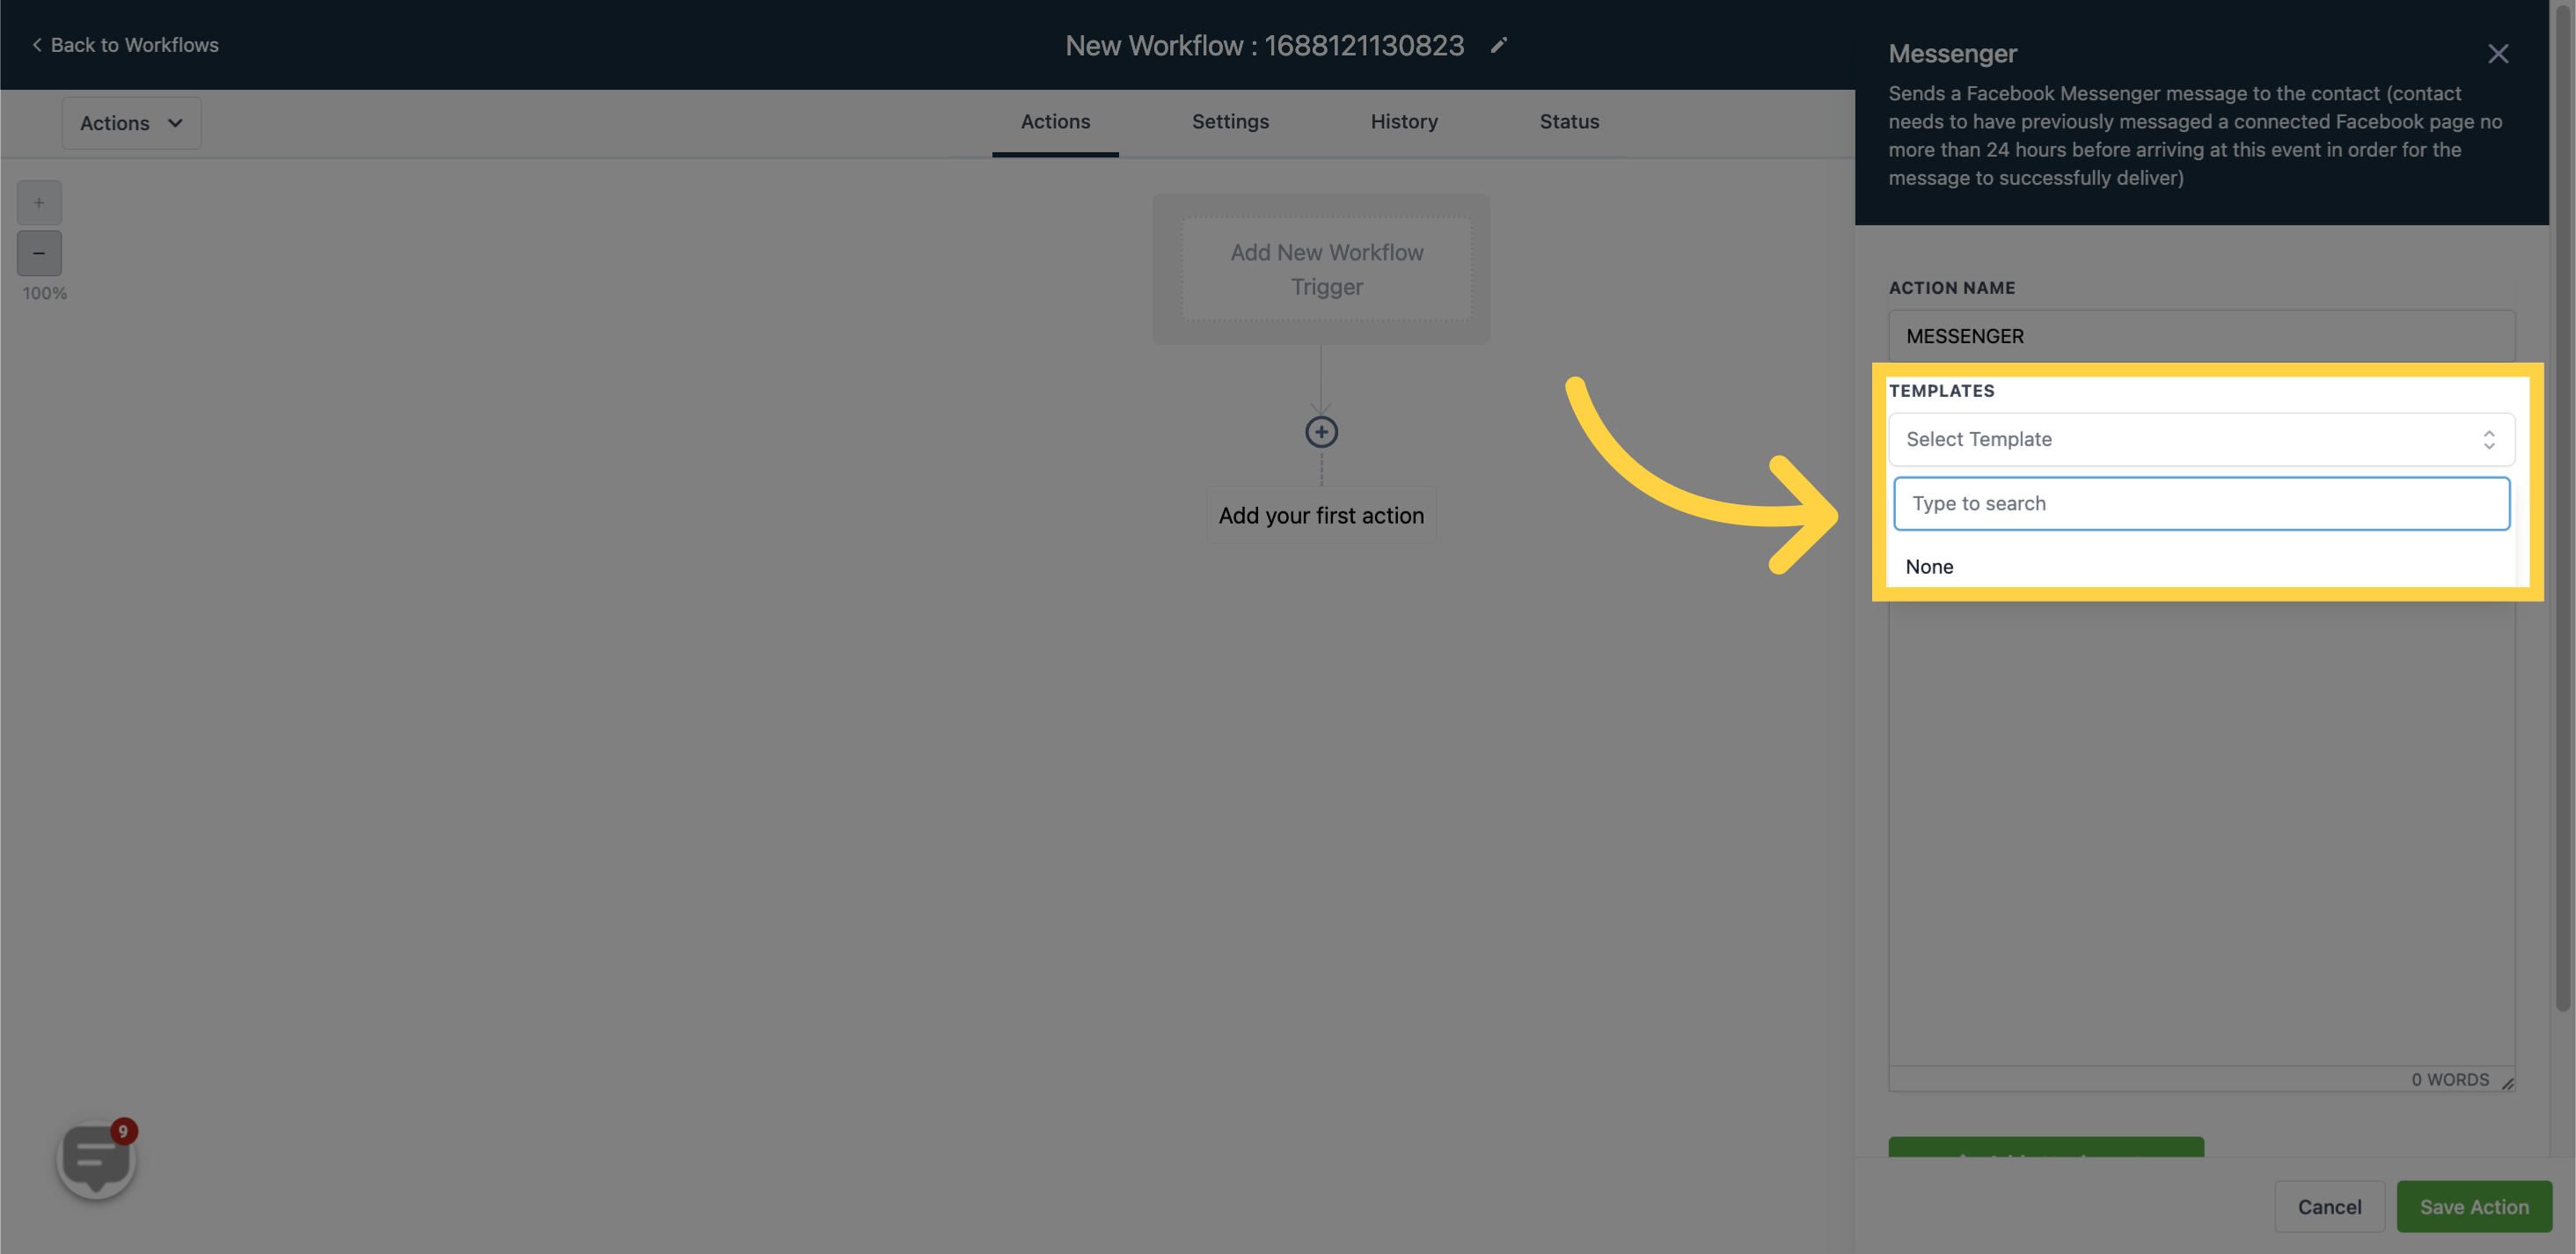
Click on this field to select from available Messenger templates.
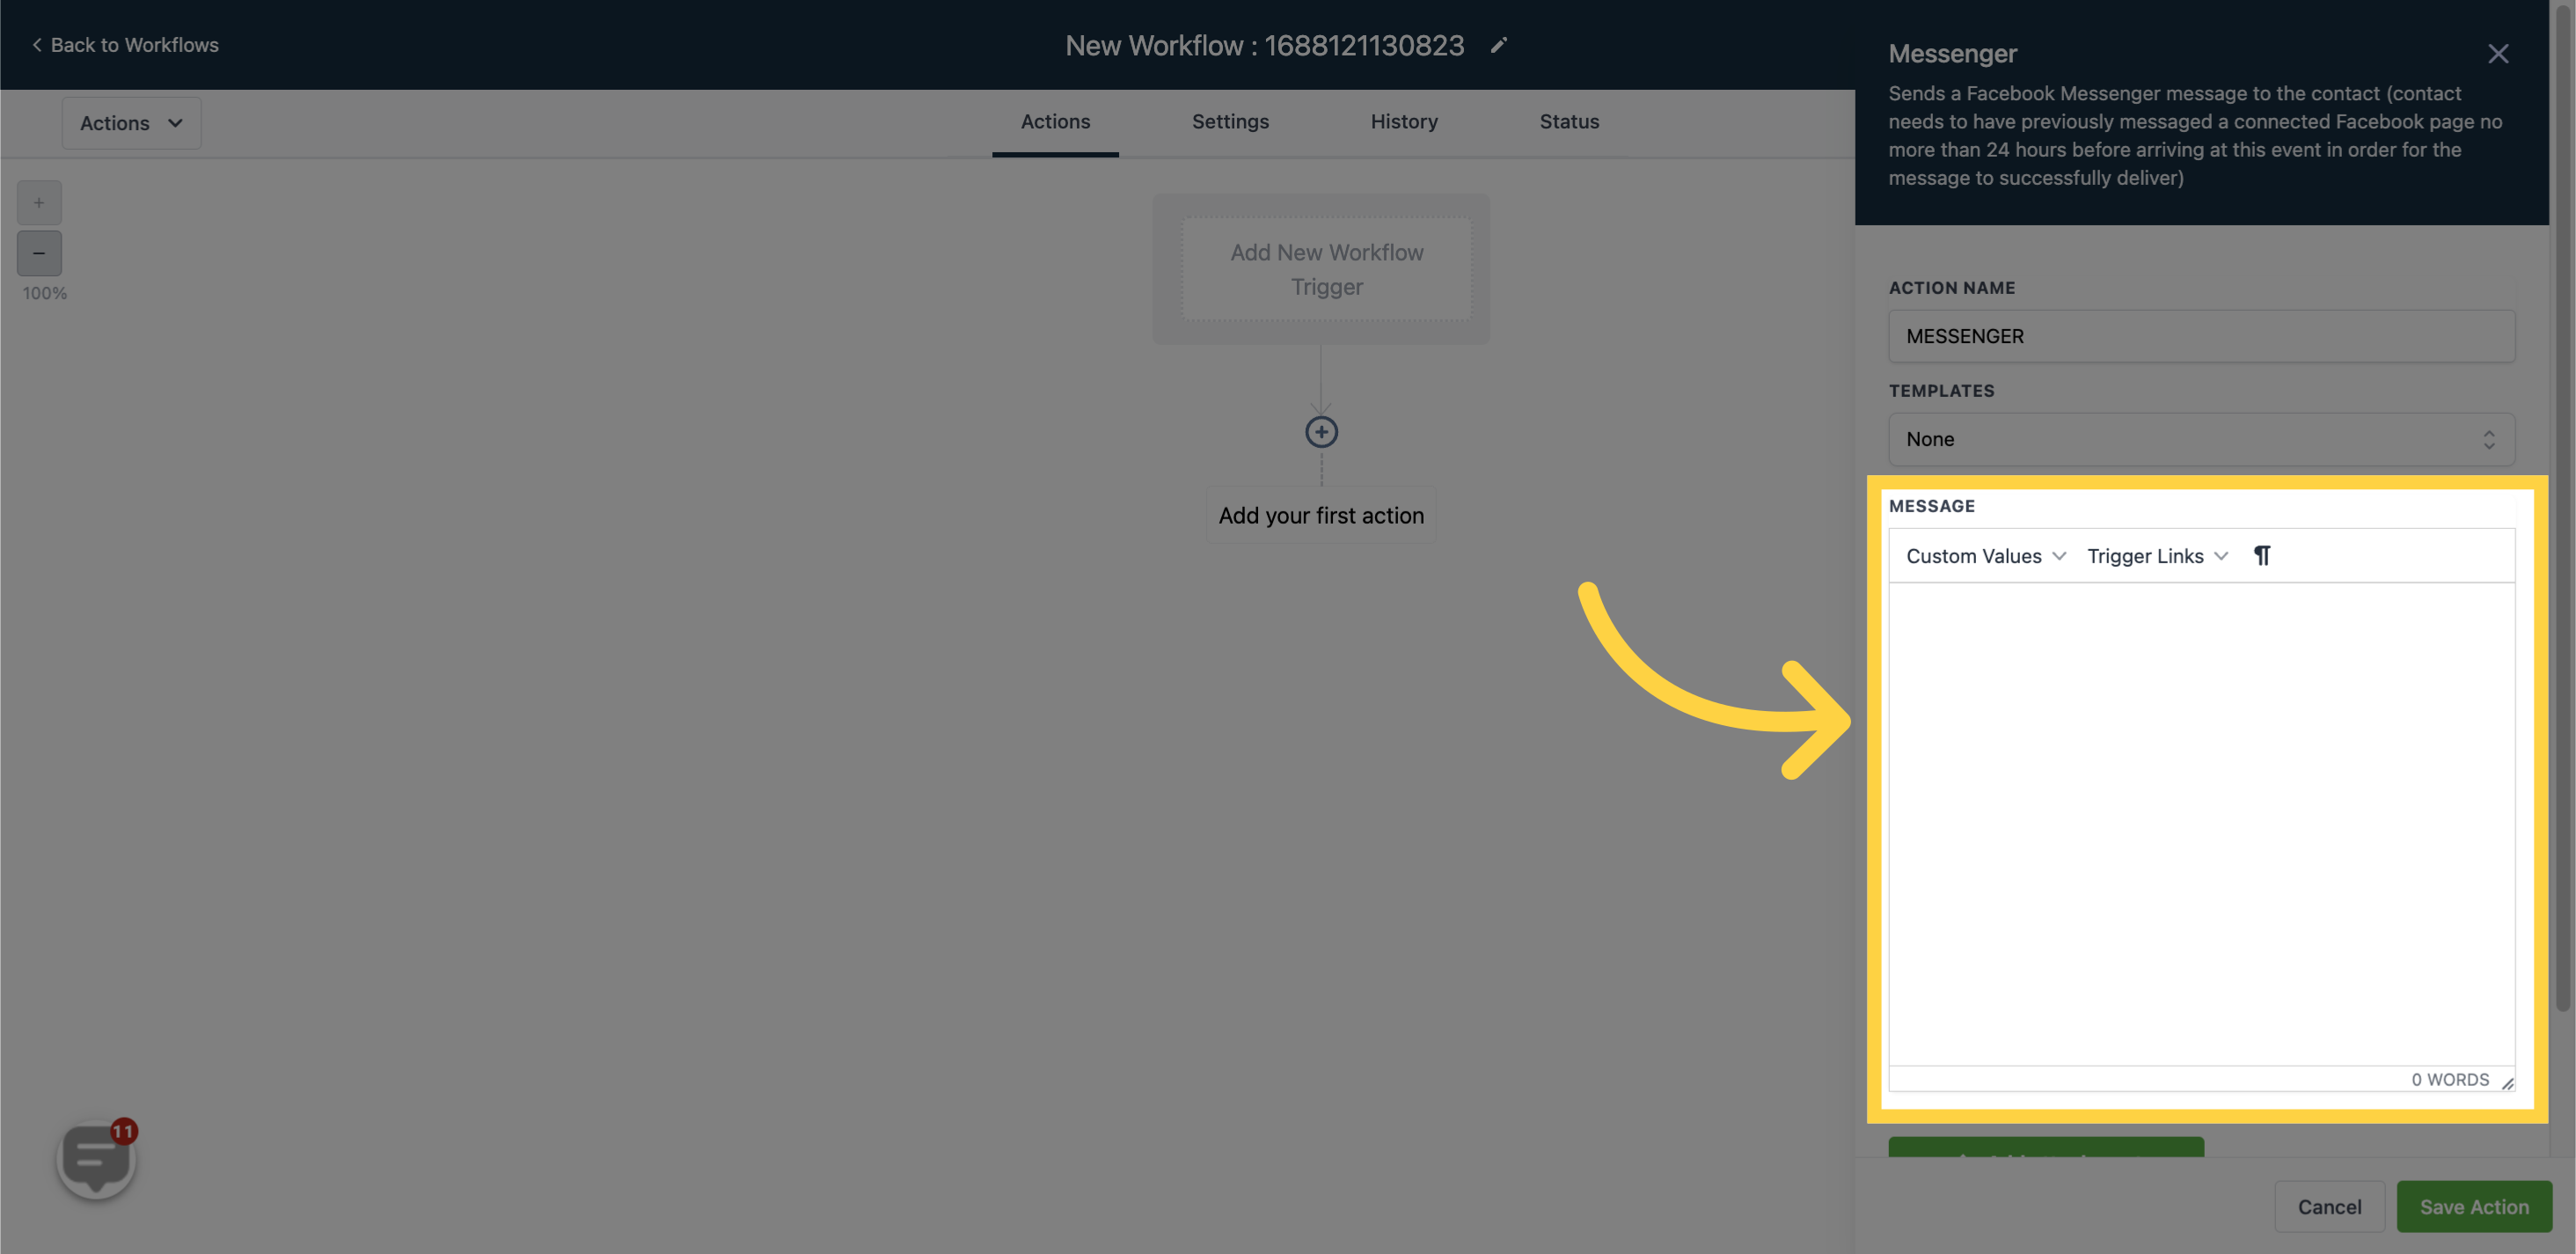
Enter the body of the message in this field.
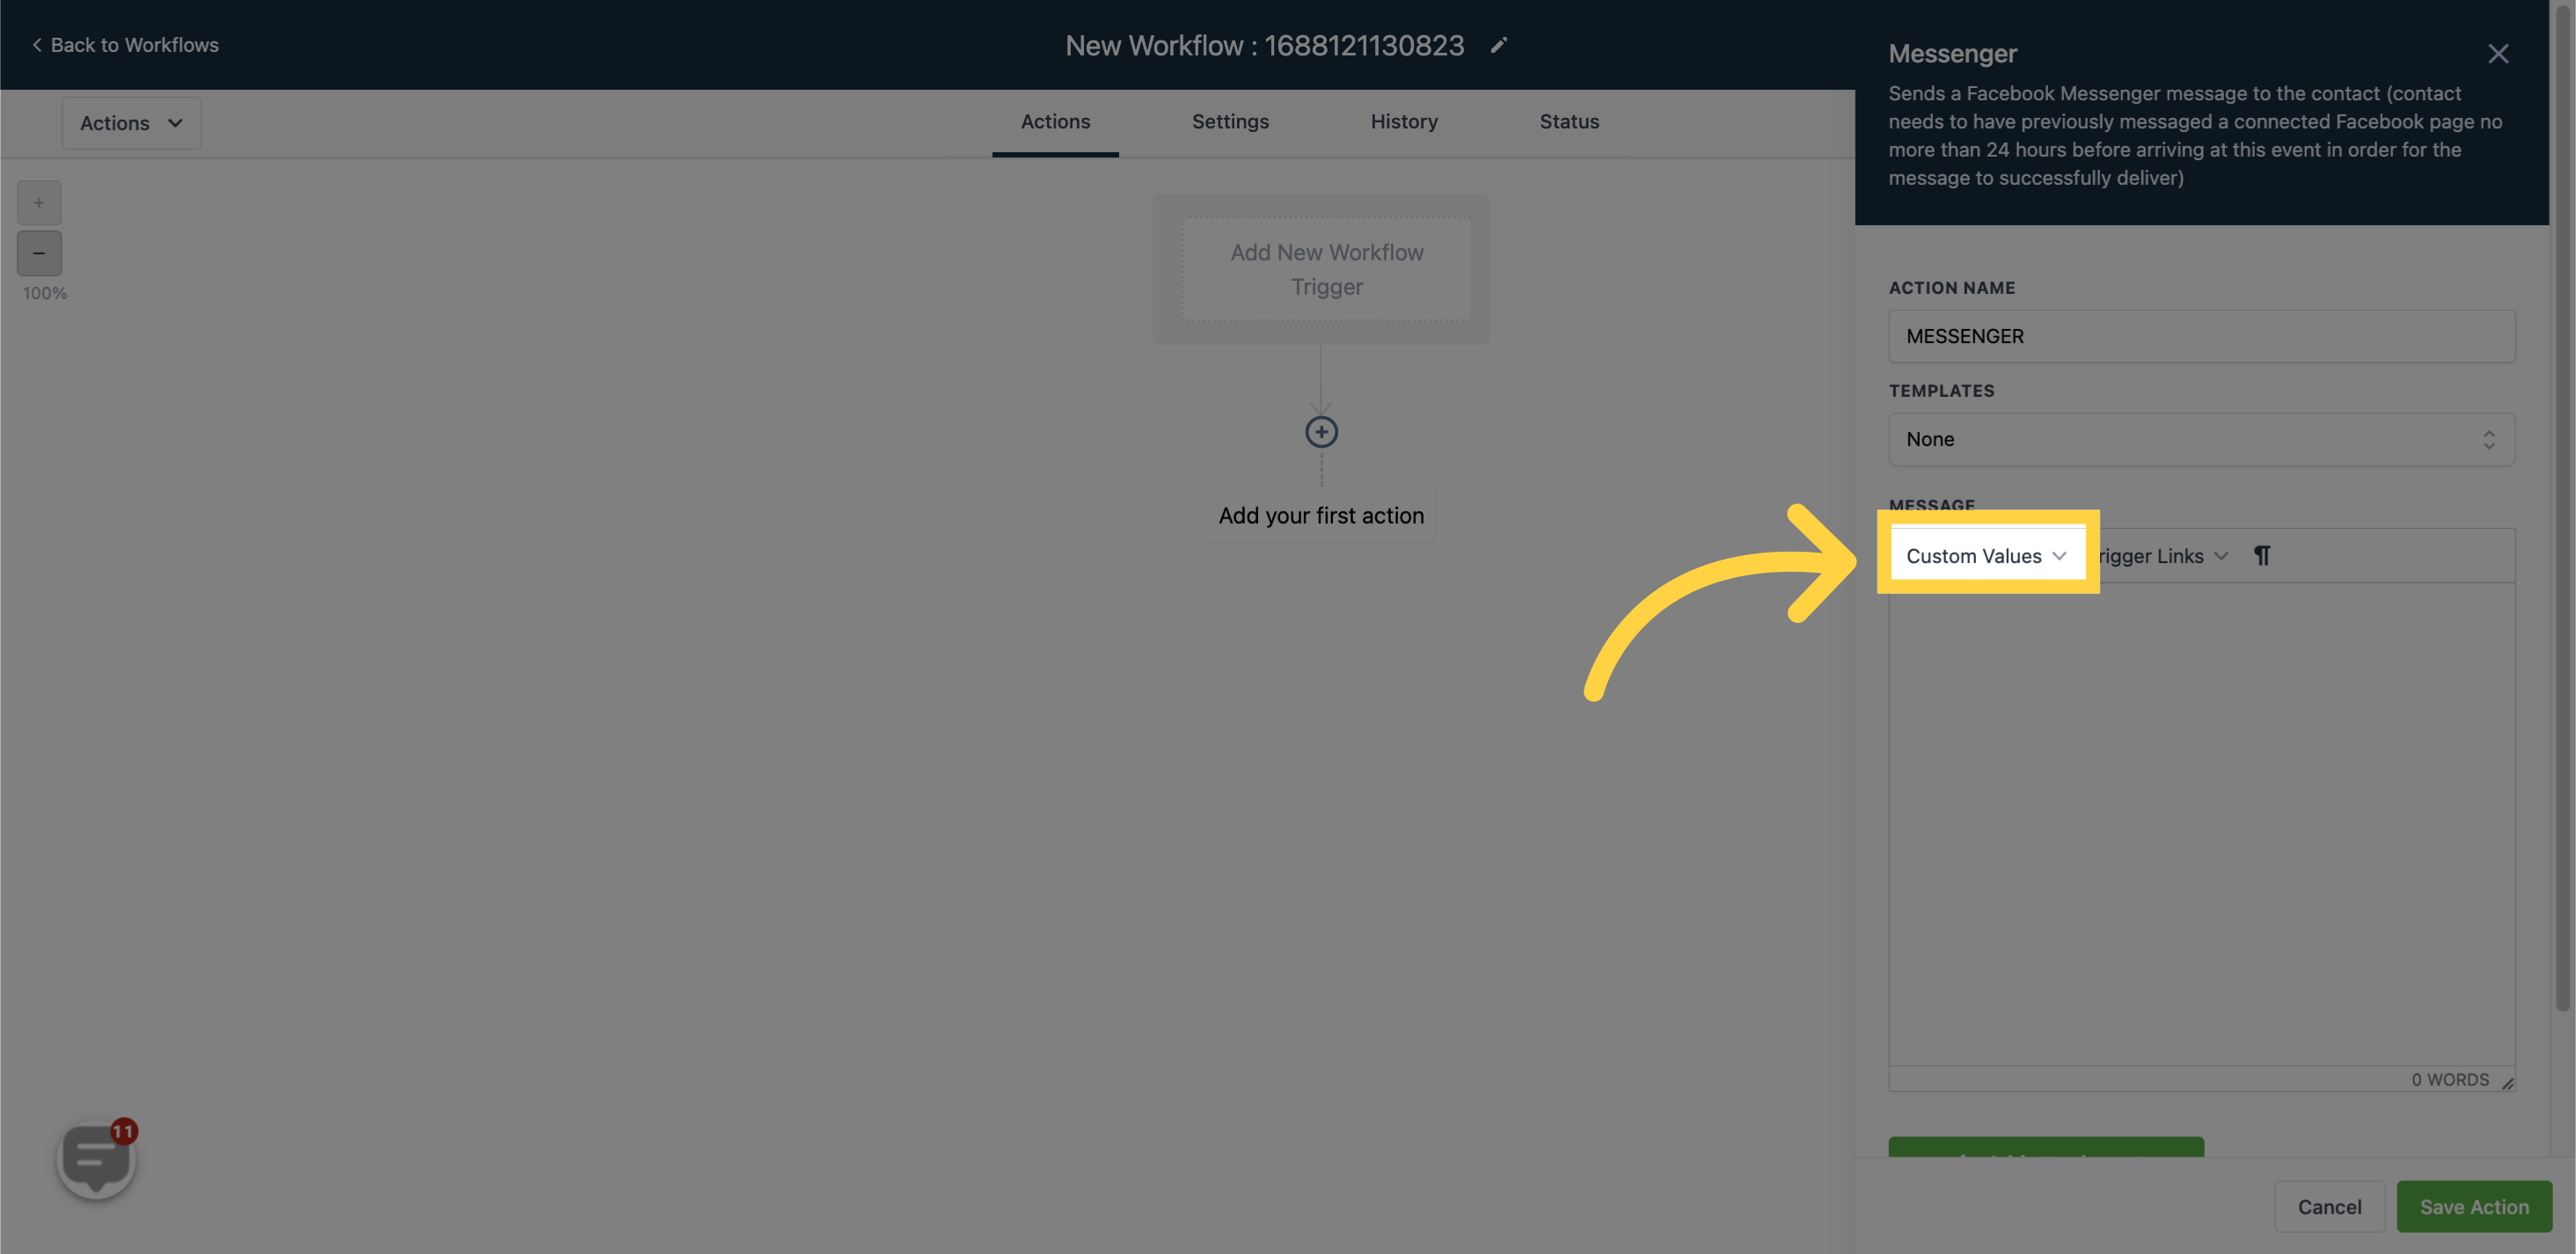
Select the desired custom value to personalize the message.
Attach files by clicking on this icon.
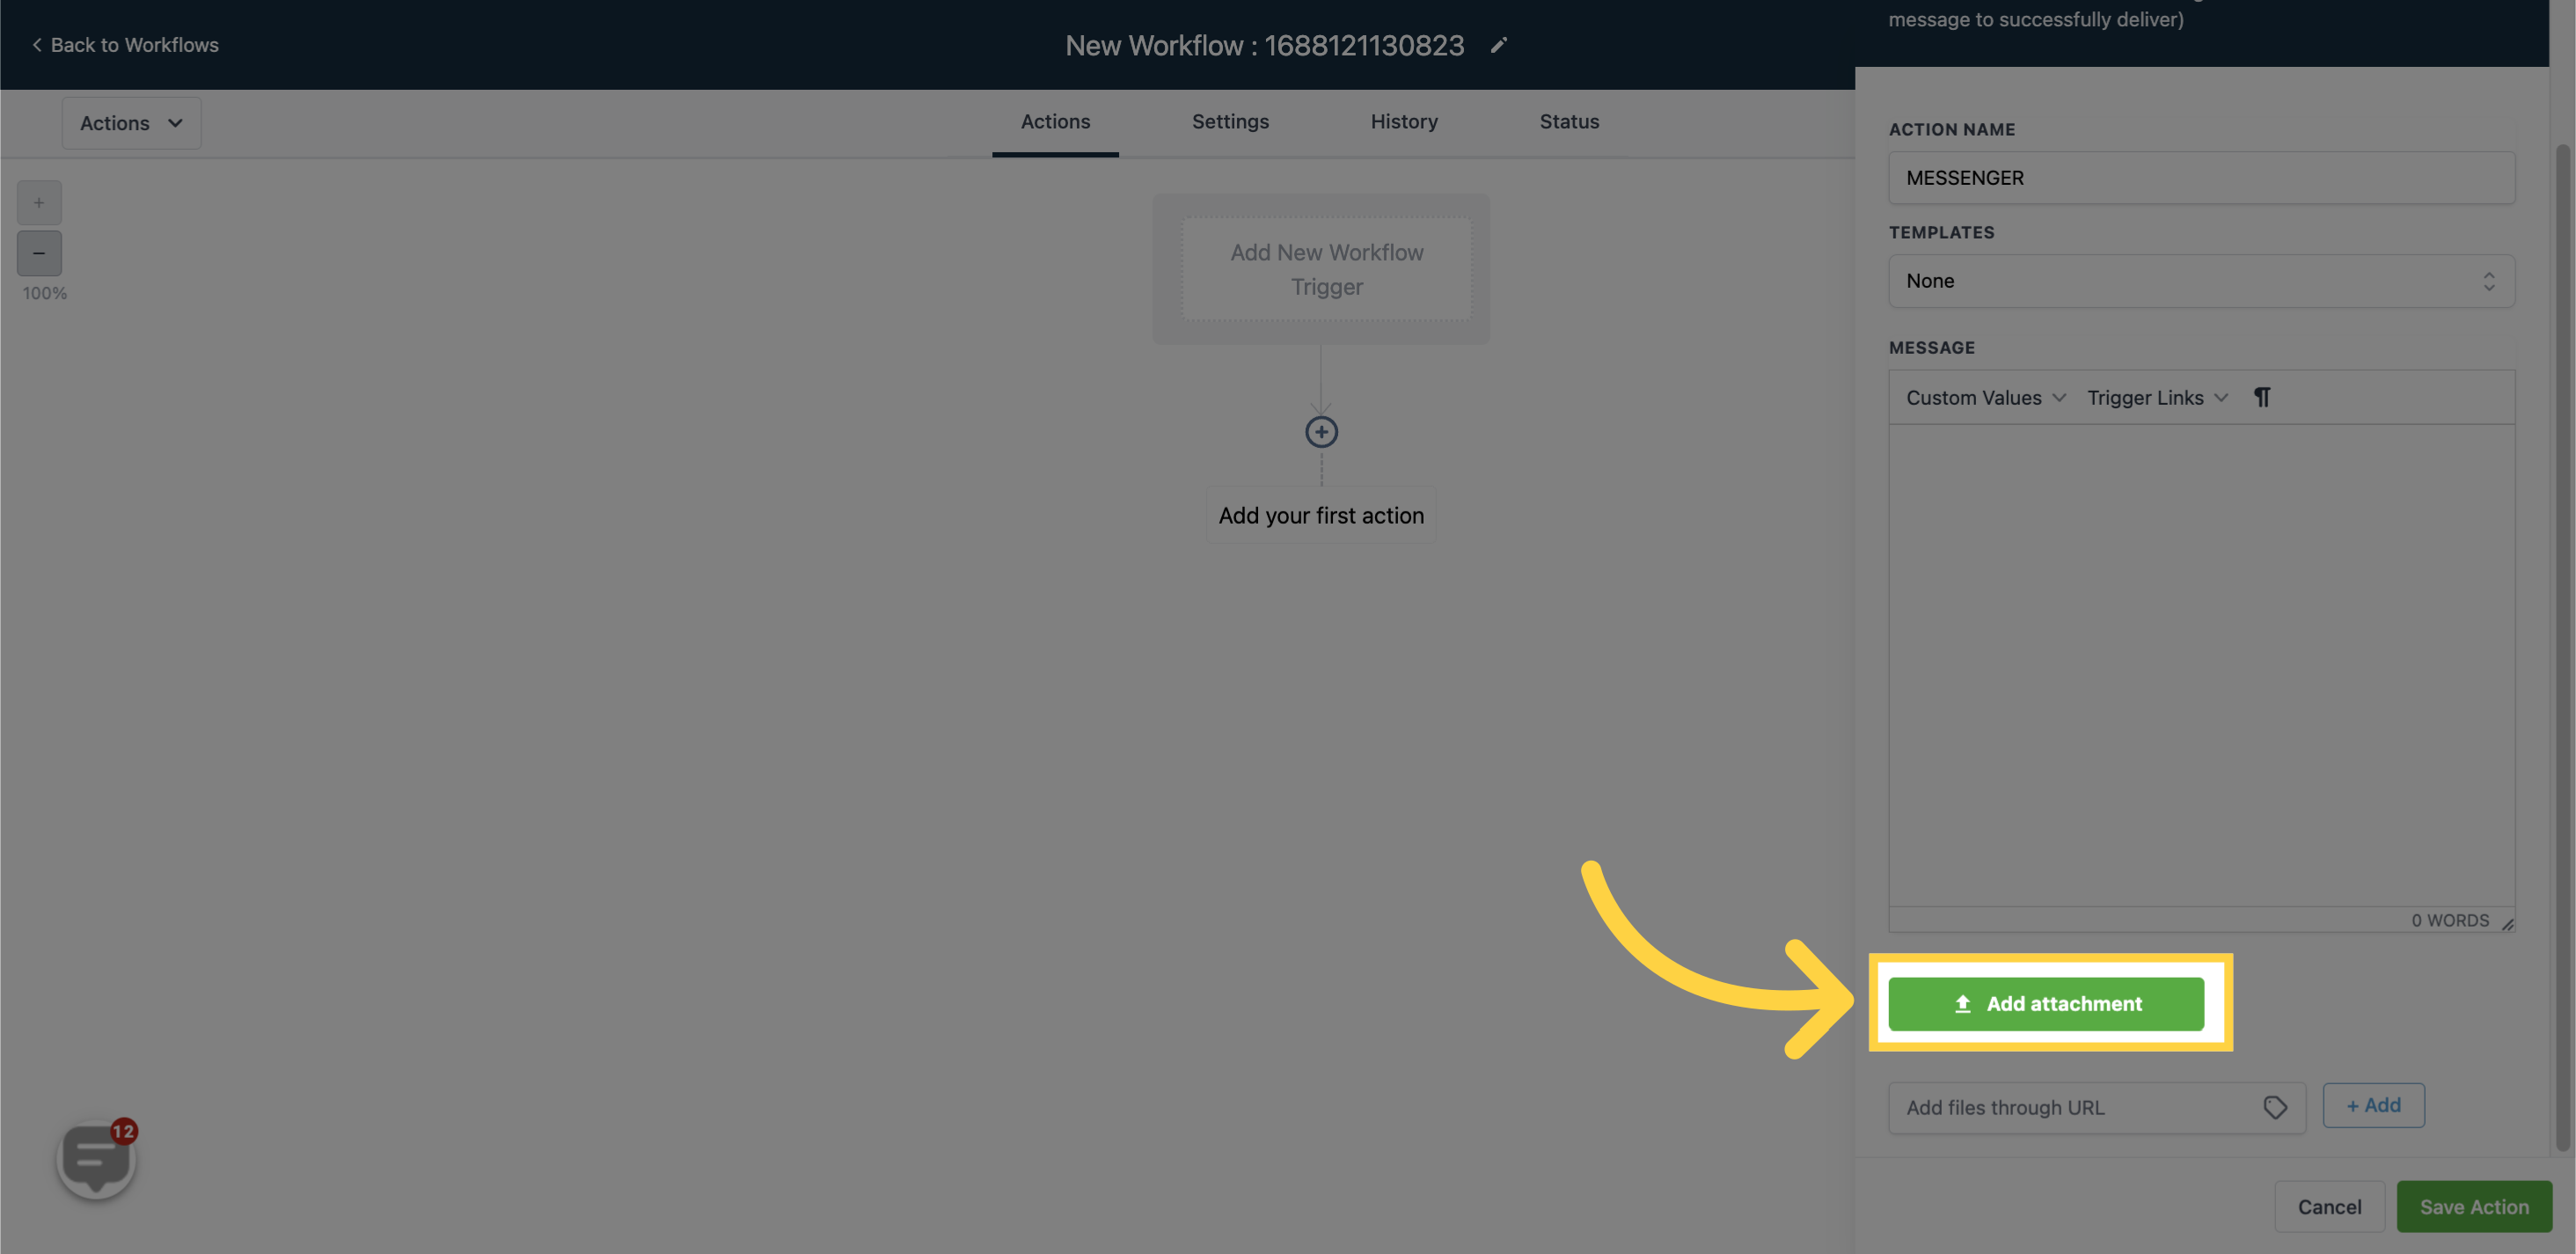
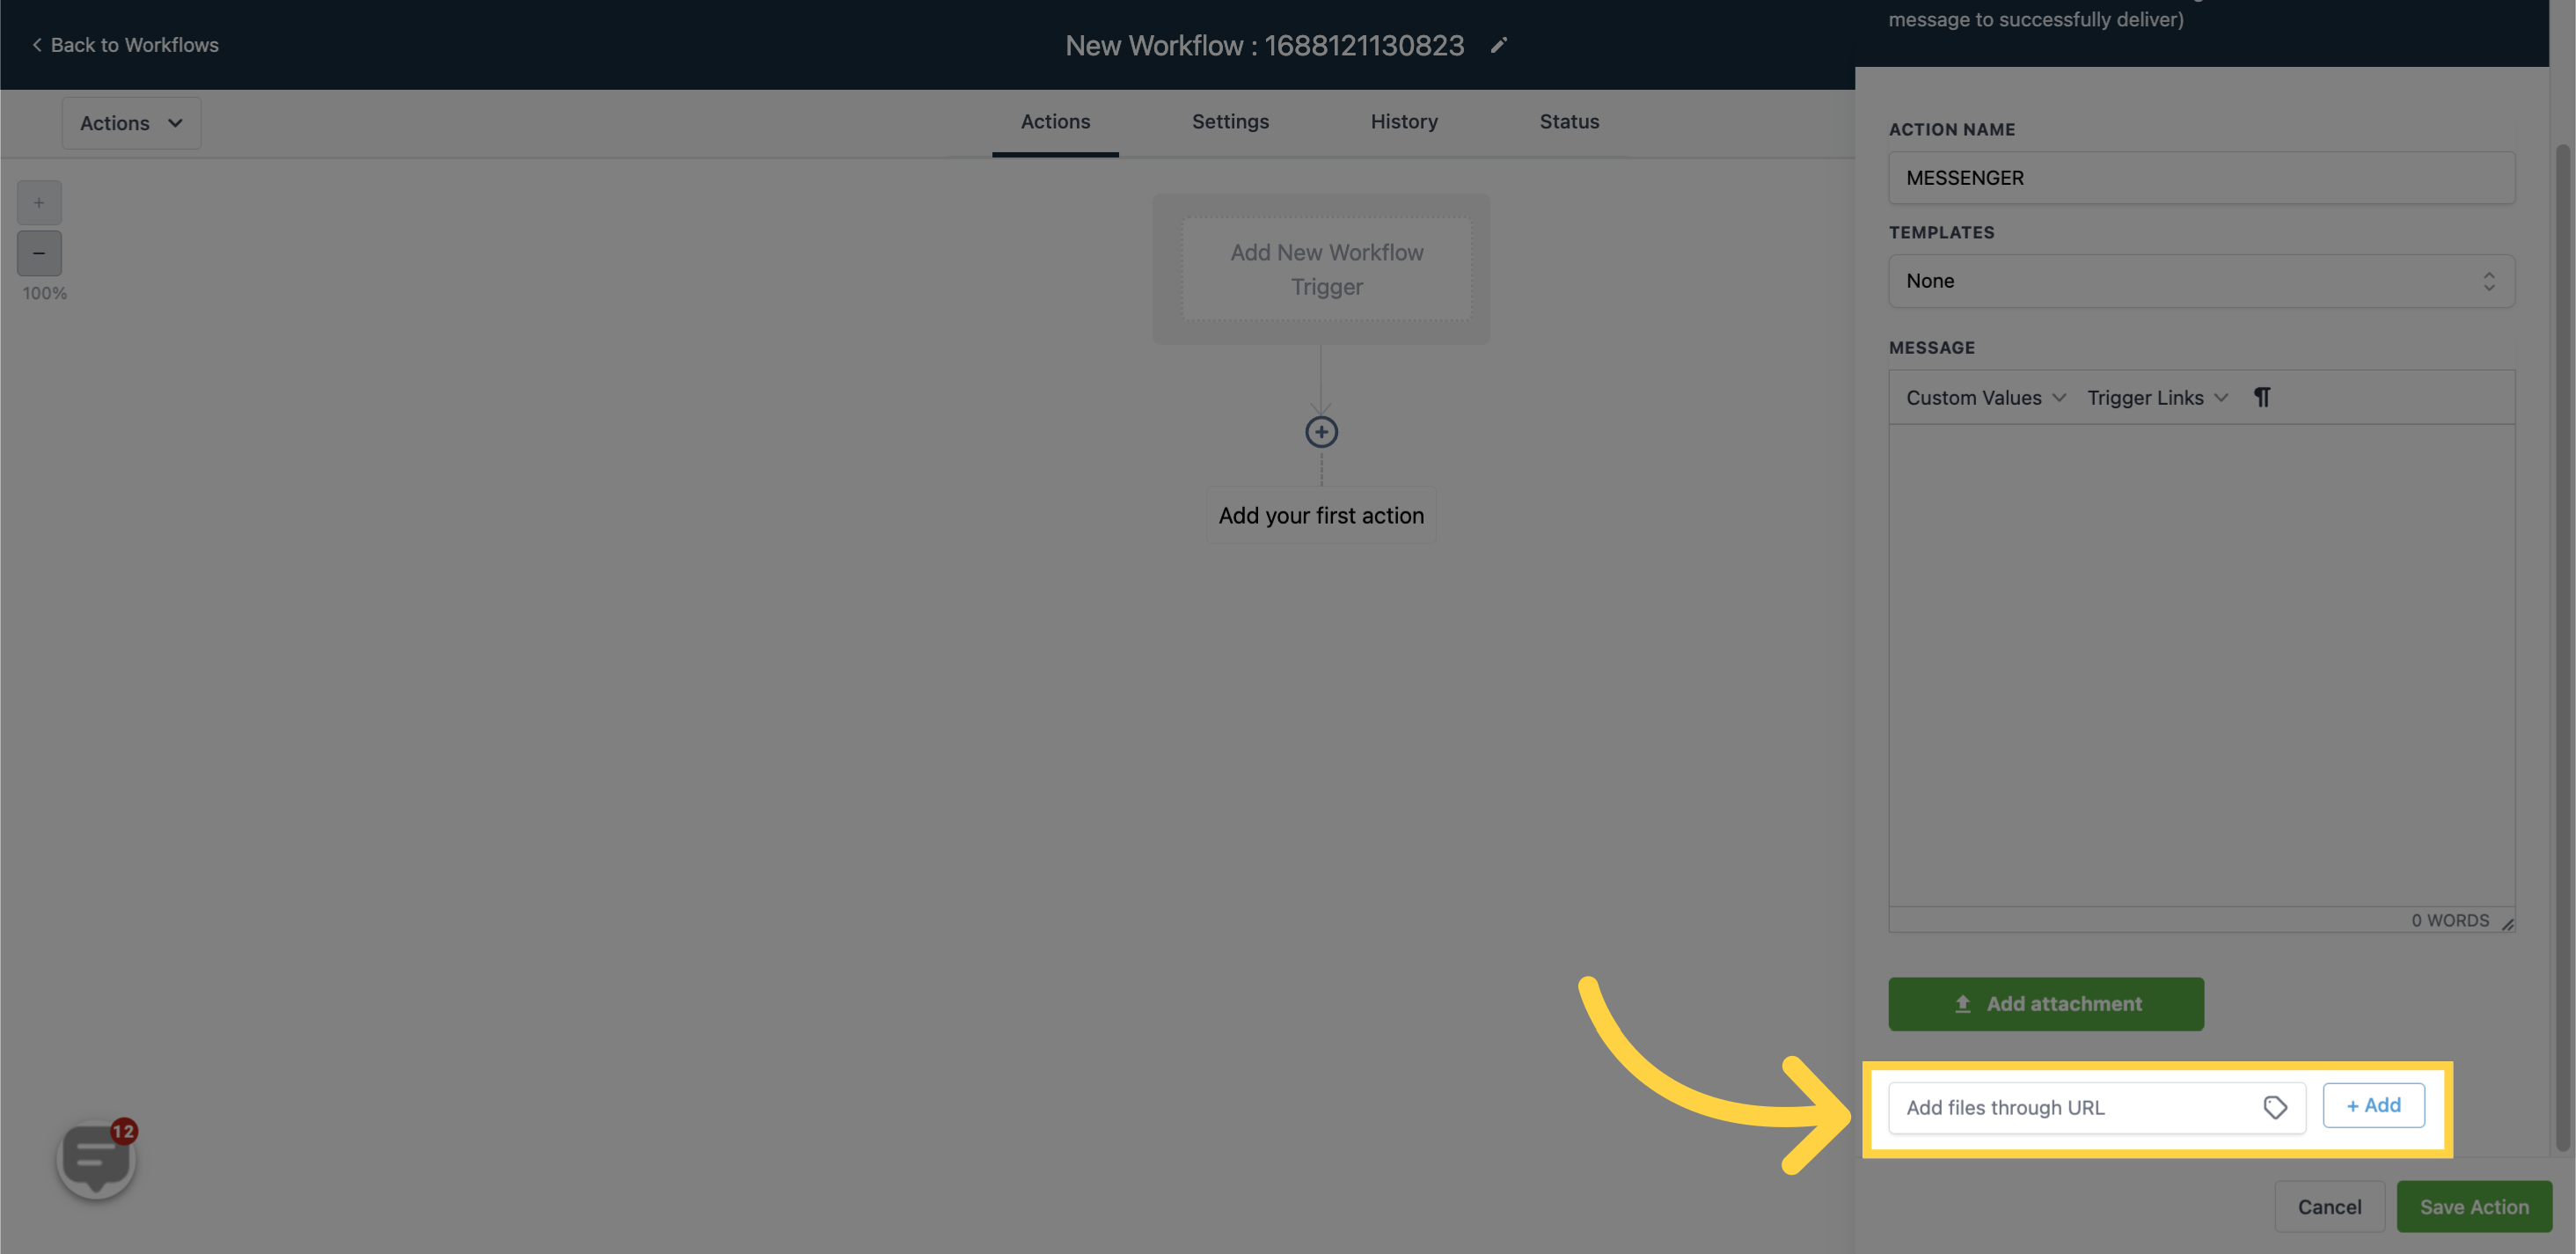
Add files through a URL by entering the URL in the field and clicking "+Add".
