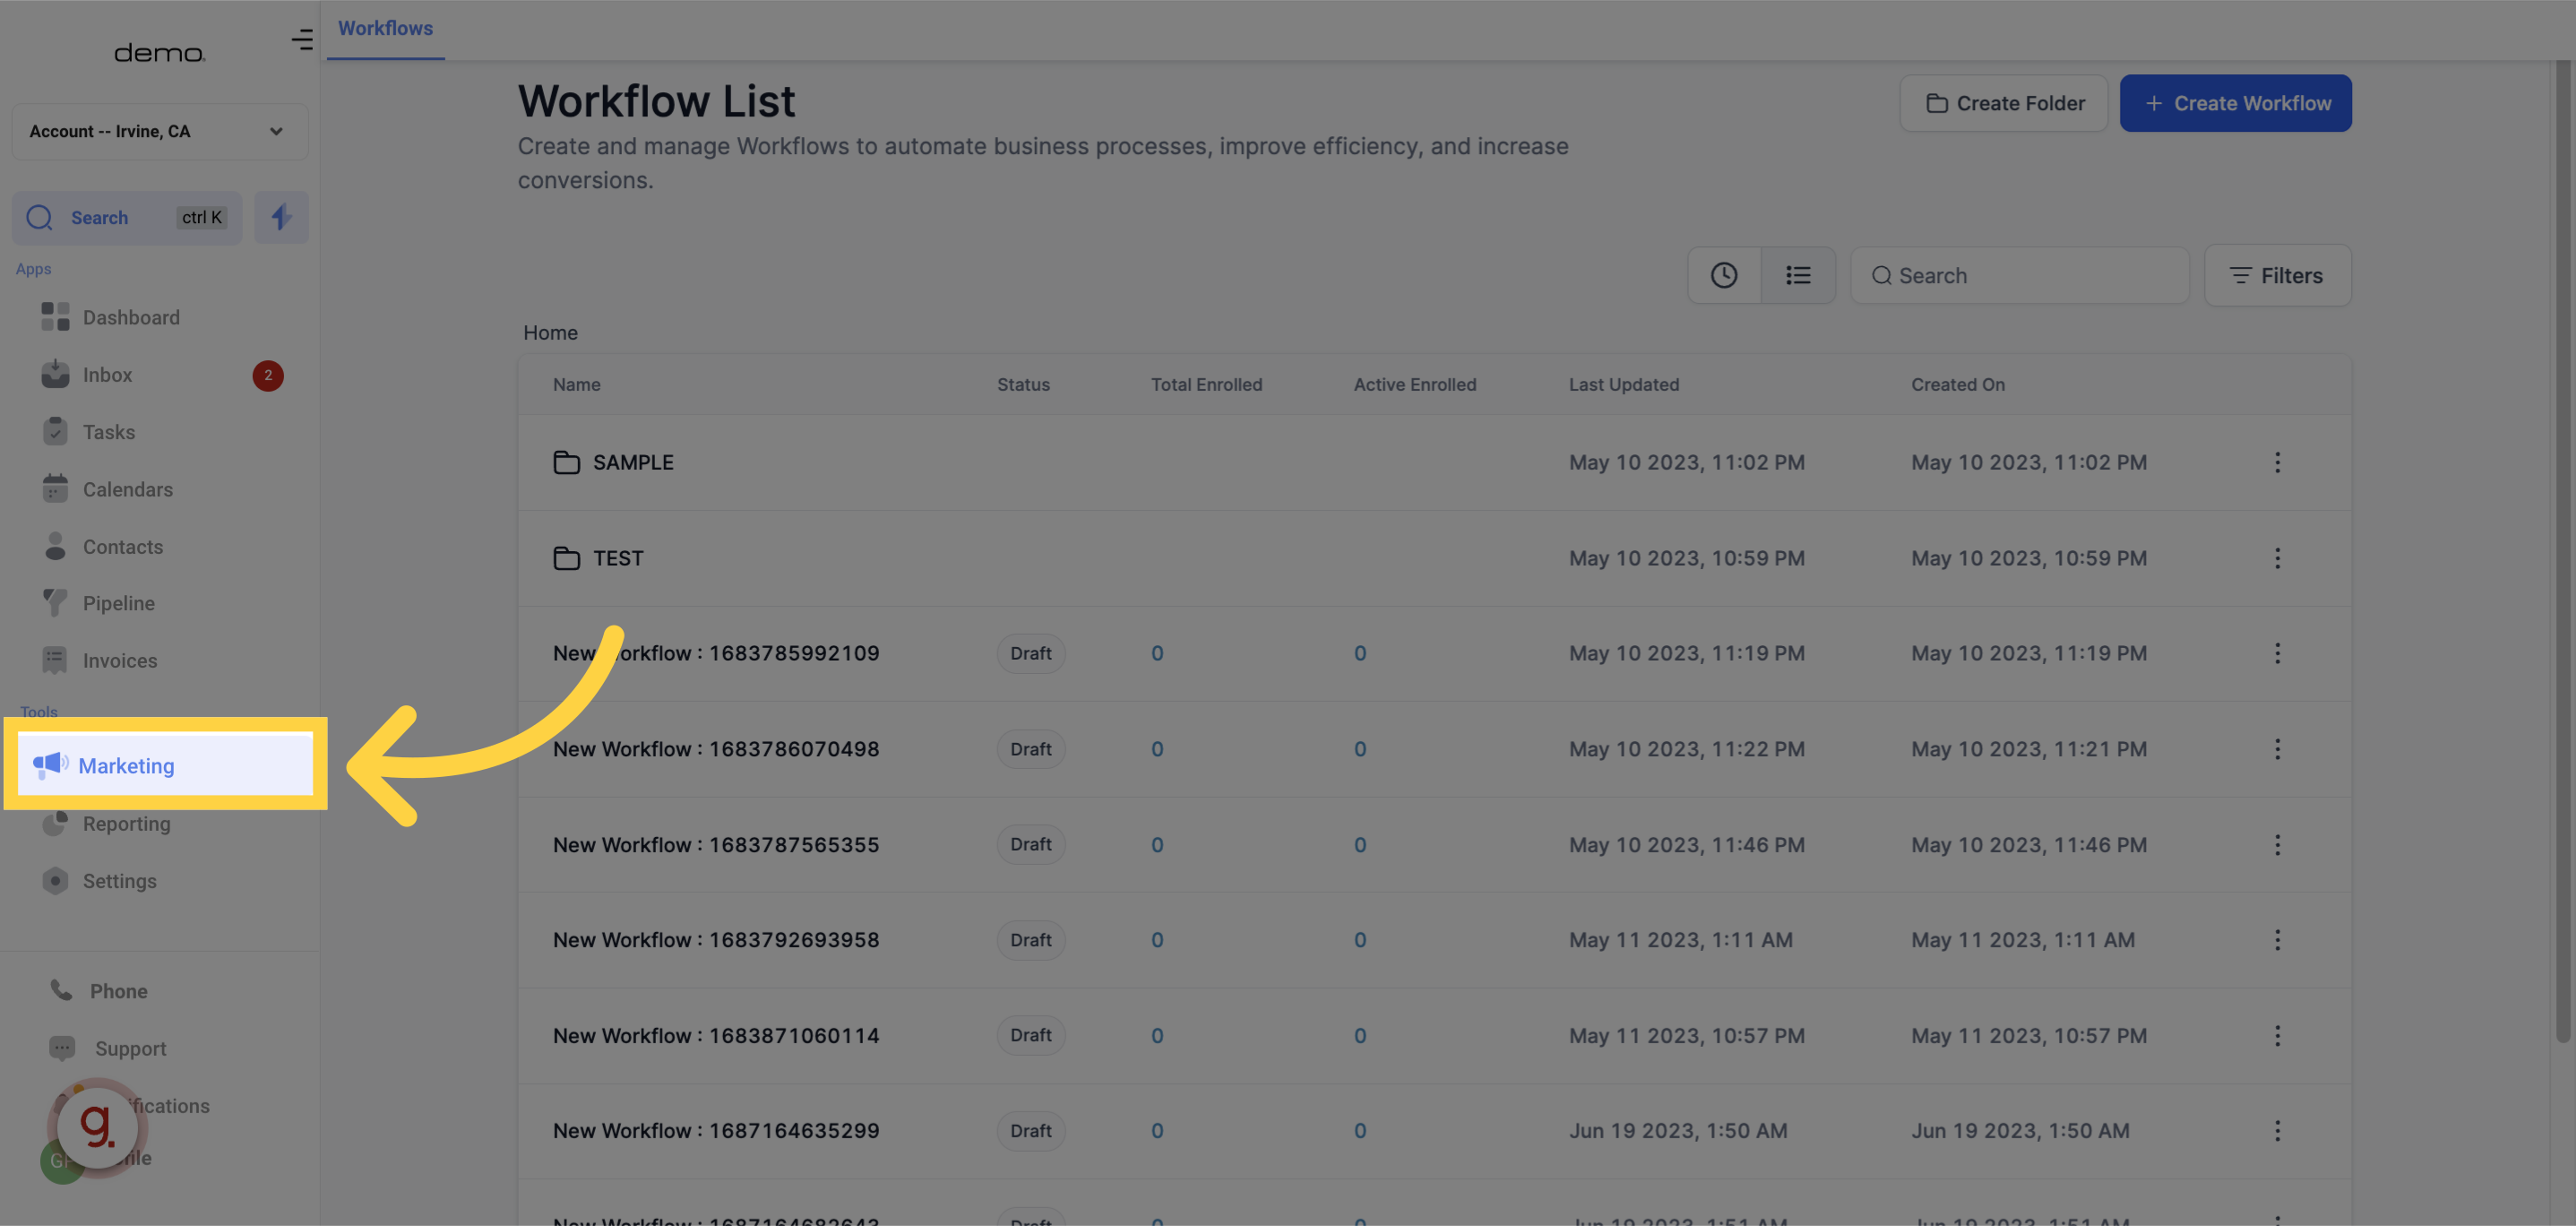
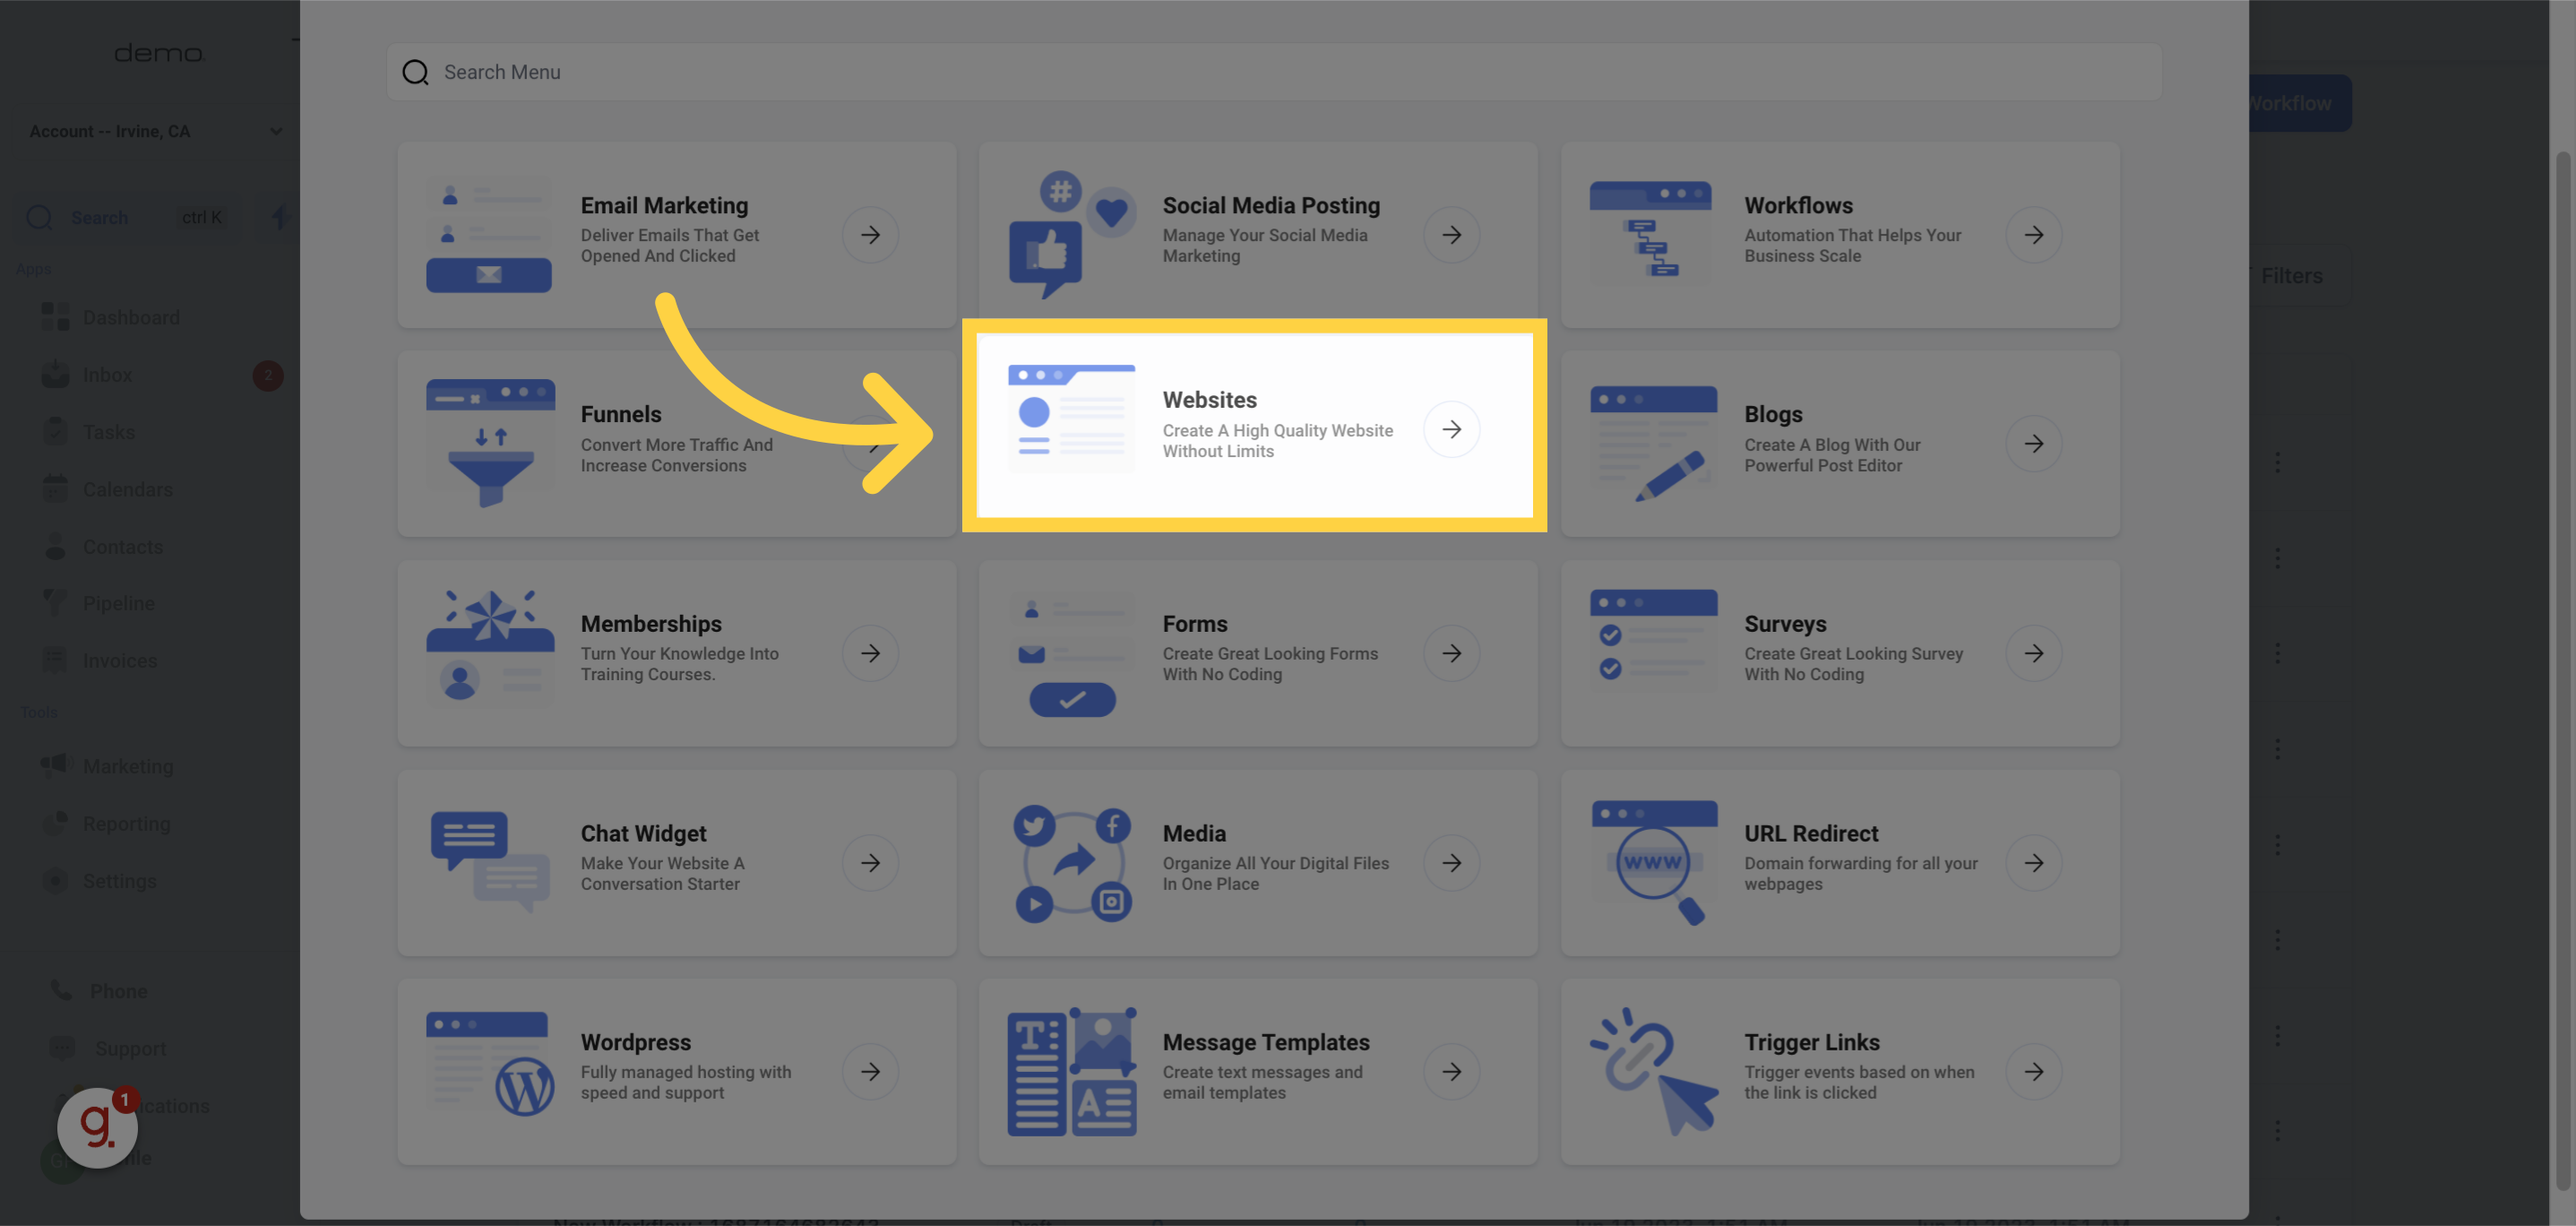
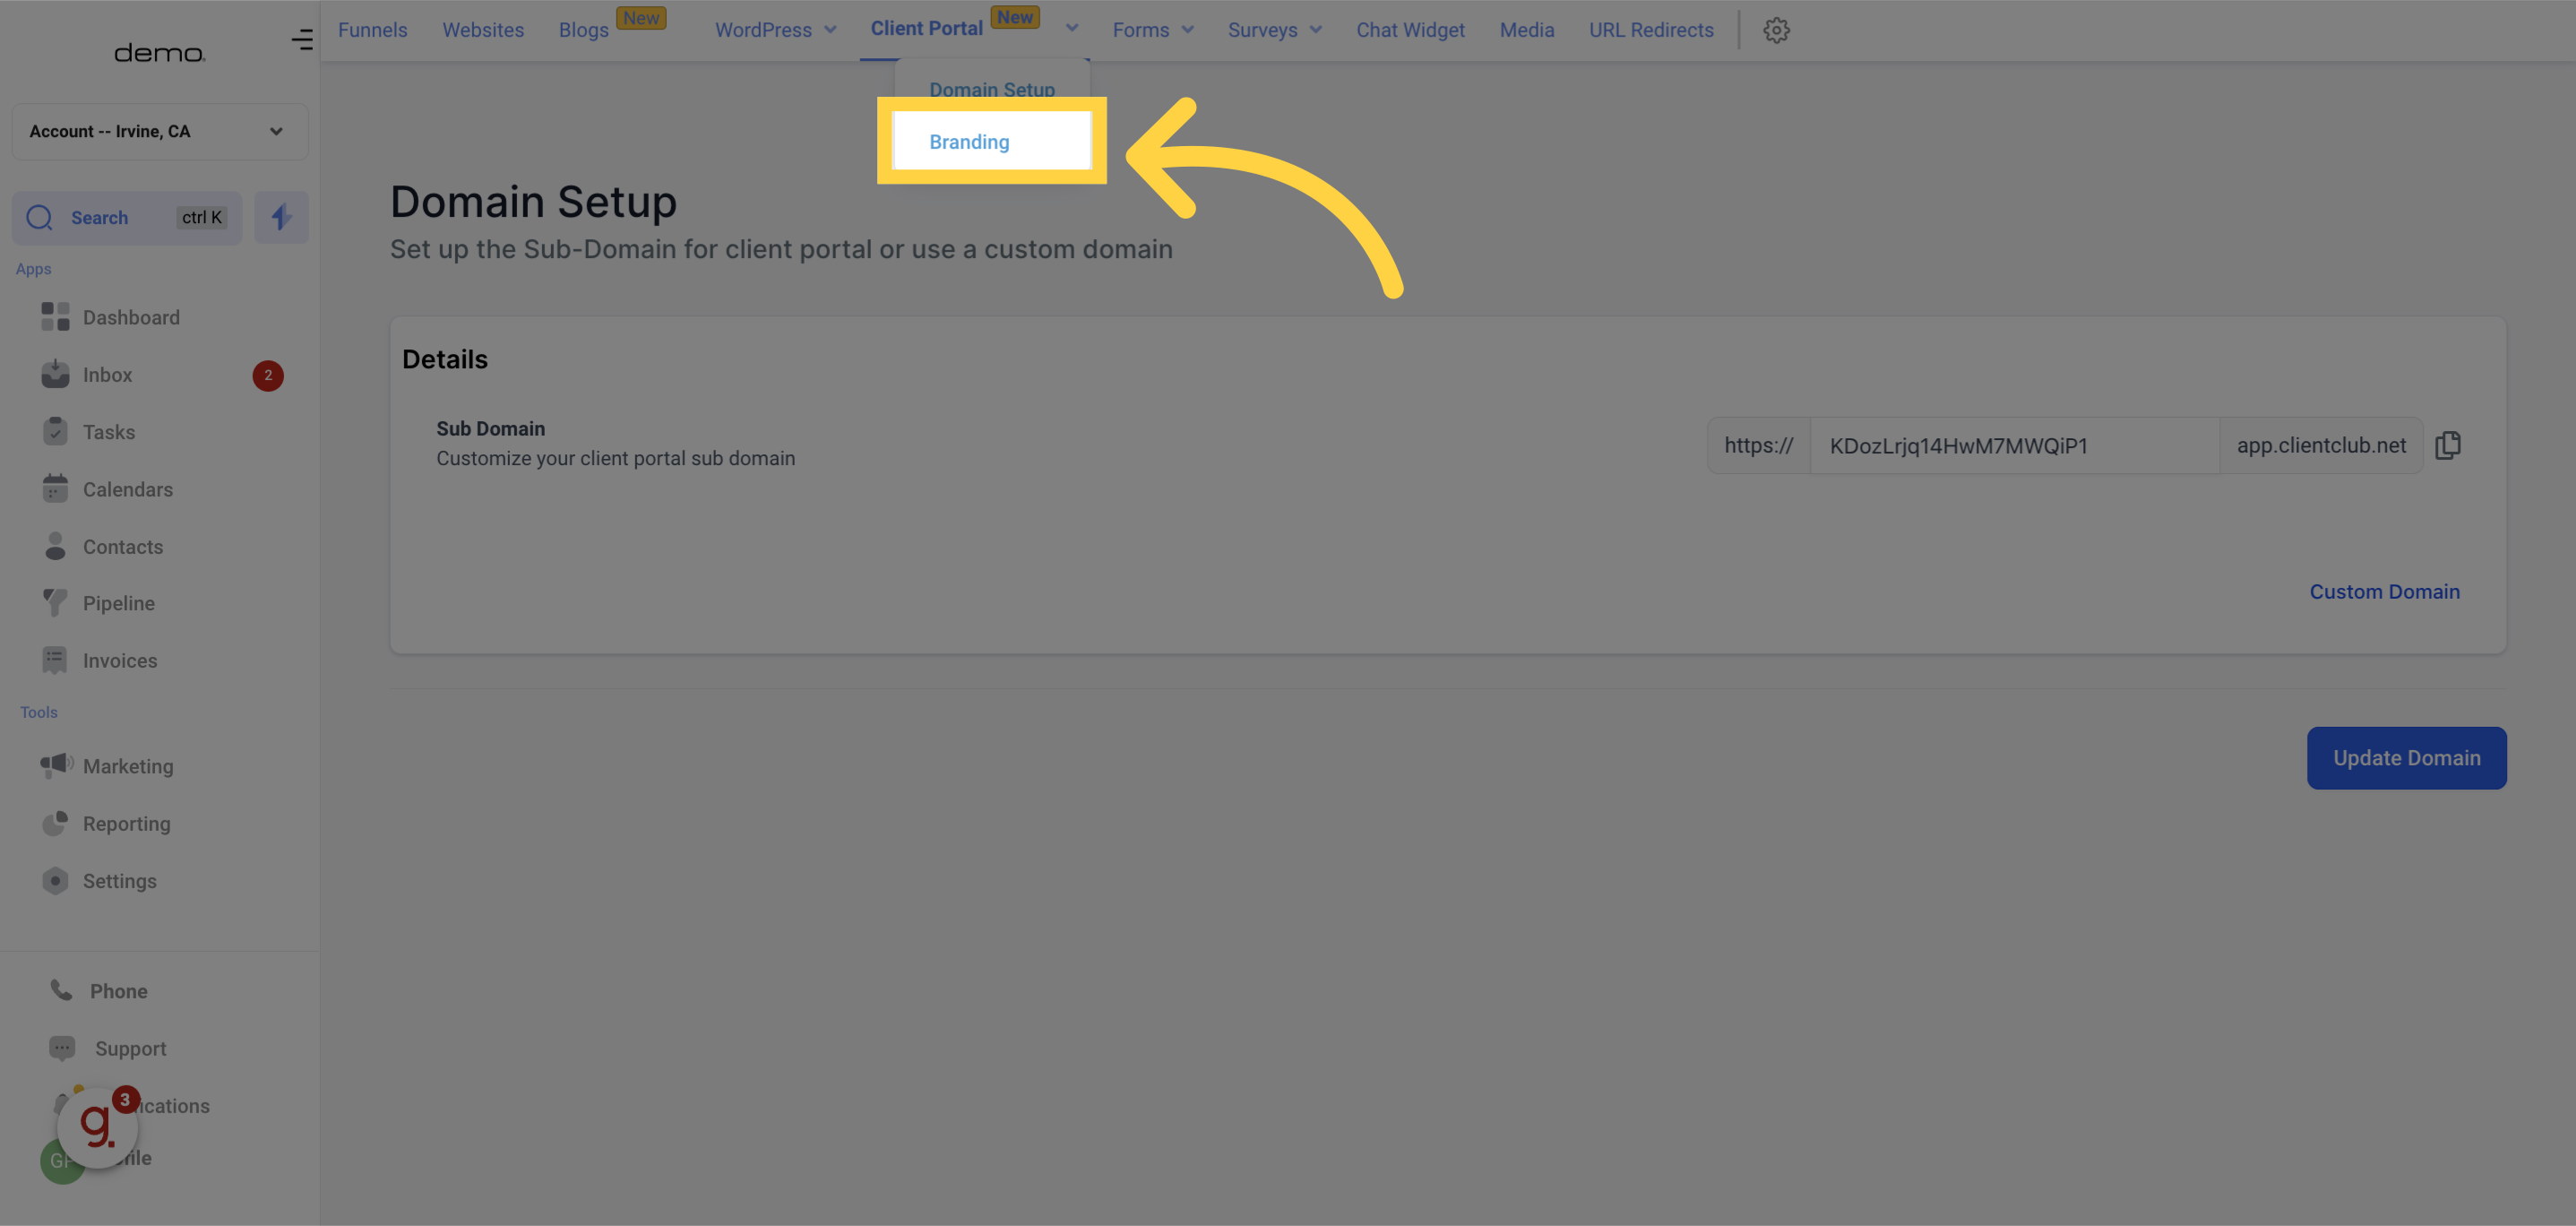
Begin by navigating to your account's client portal section, typically found in the left navigation menu when logged into a sub-account.
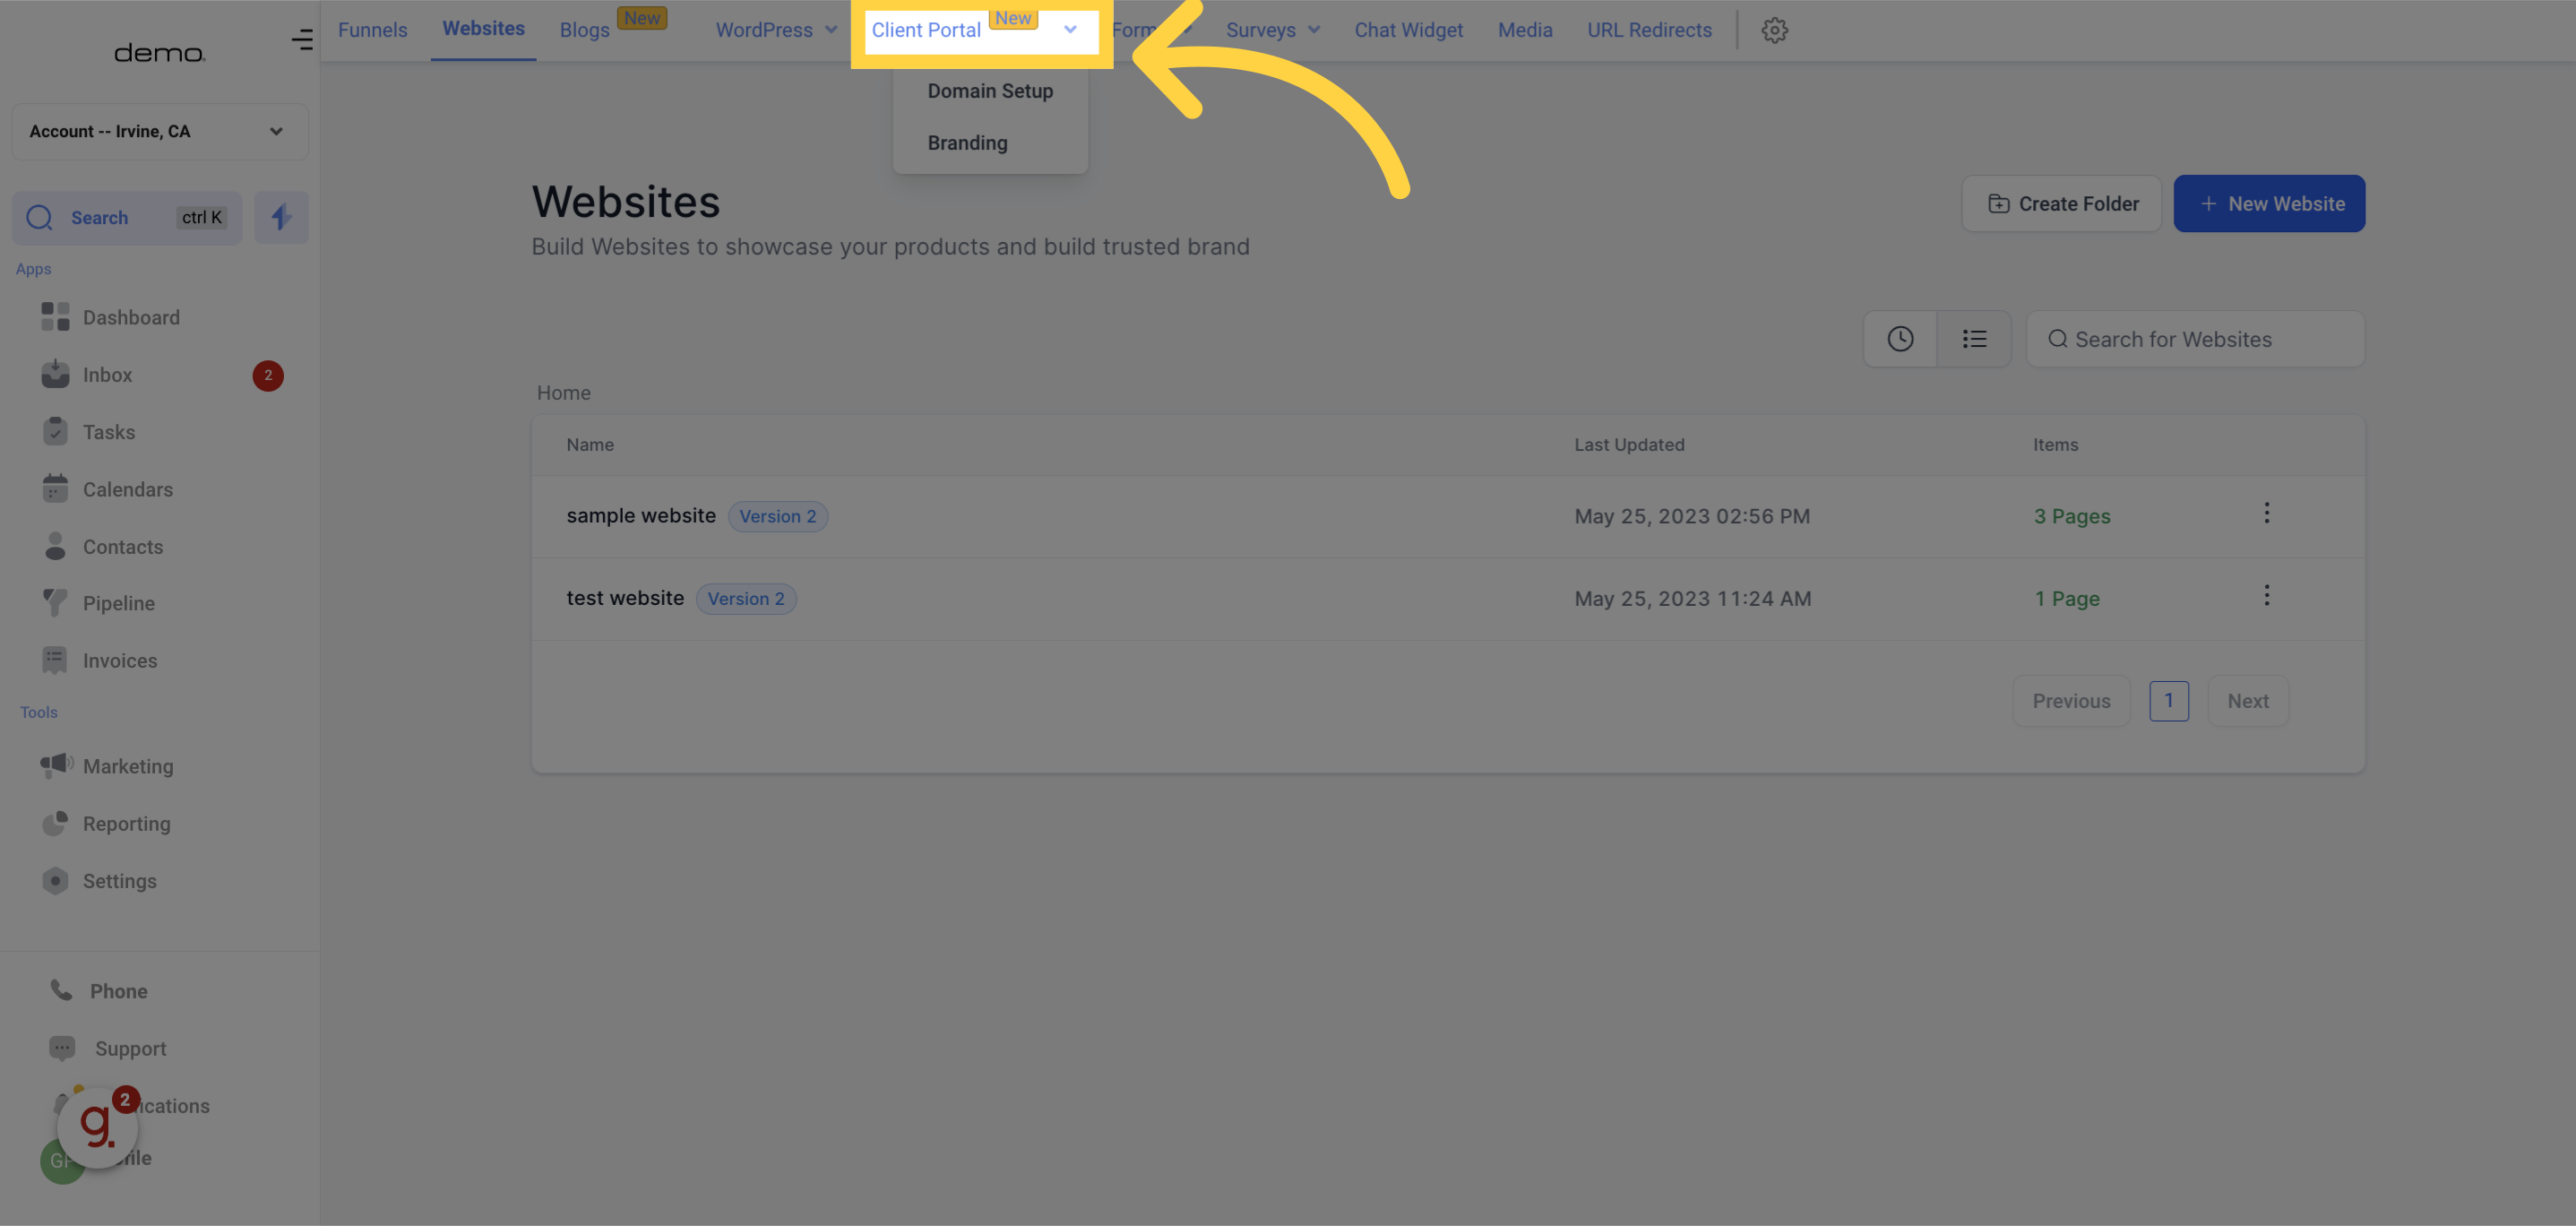
Once inside the client portal section, explore the available features and locate the "Branding" option to start personalizing your portal.
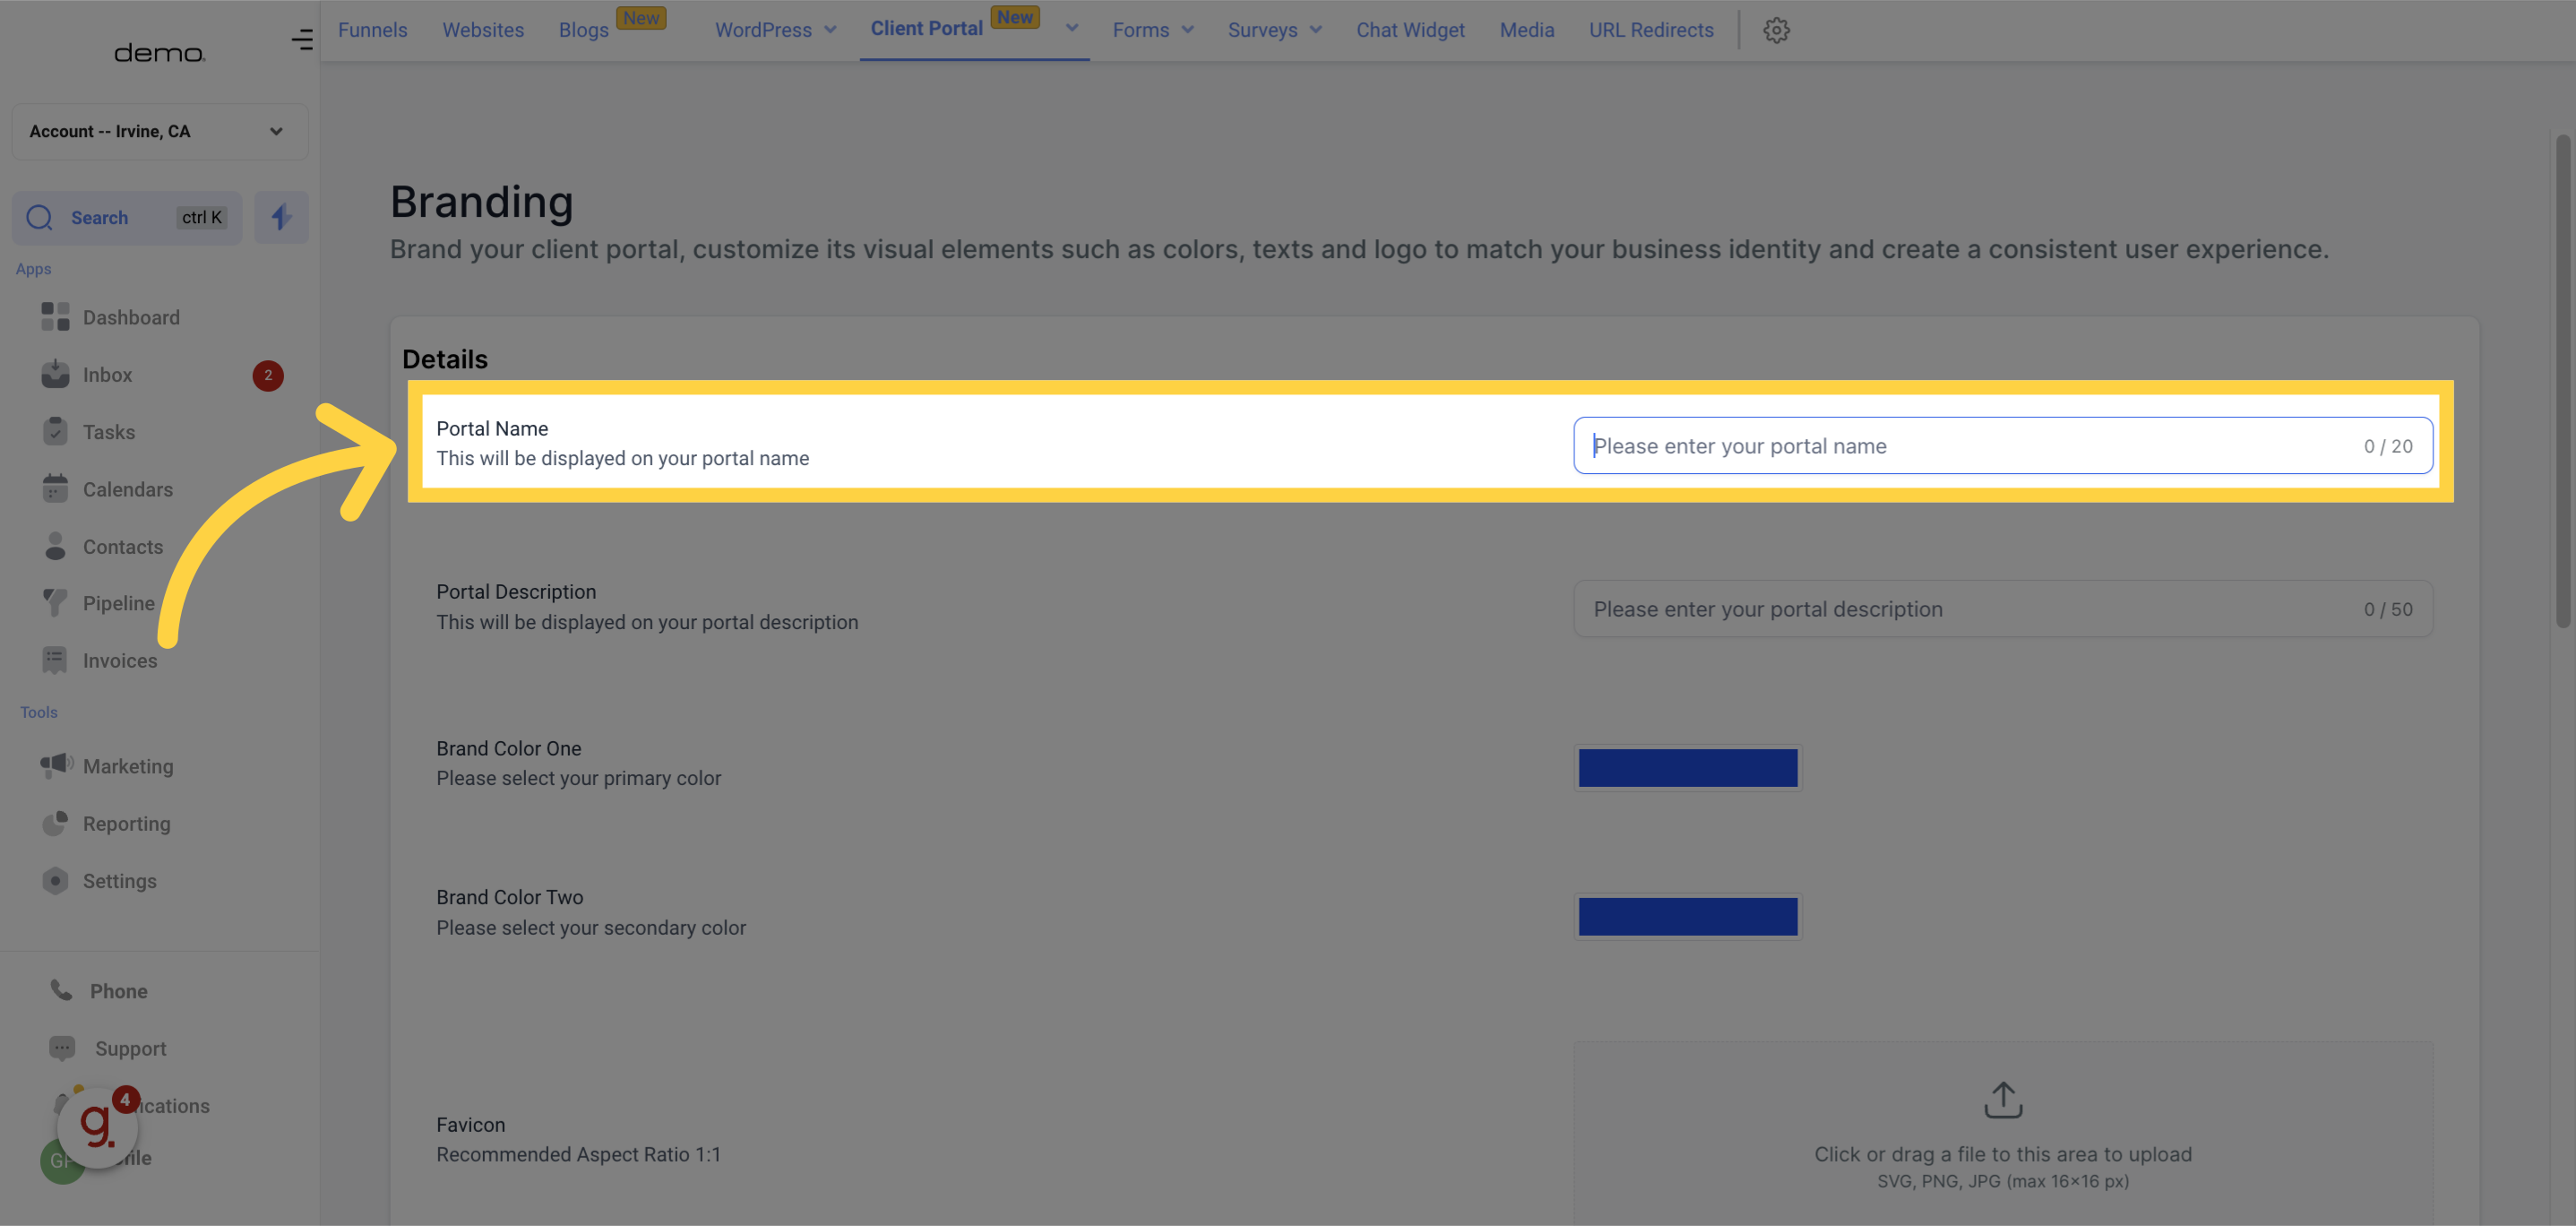
In the "Branding" area, you can fully tailor the appearance of your client portal using the following settings:
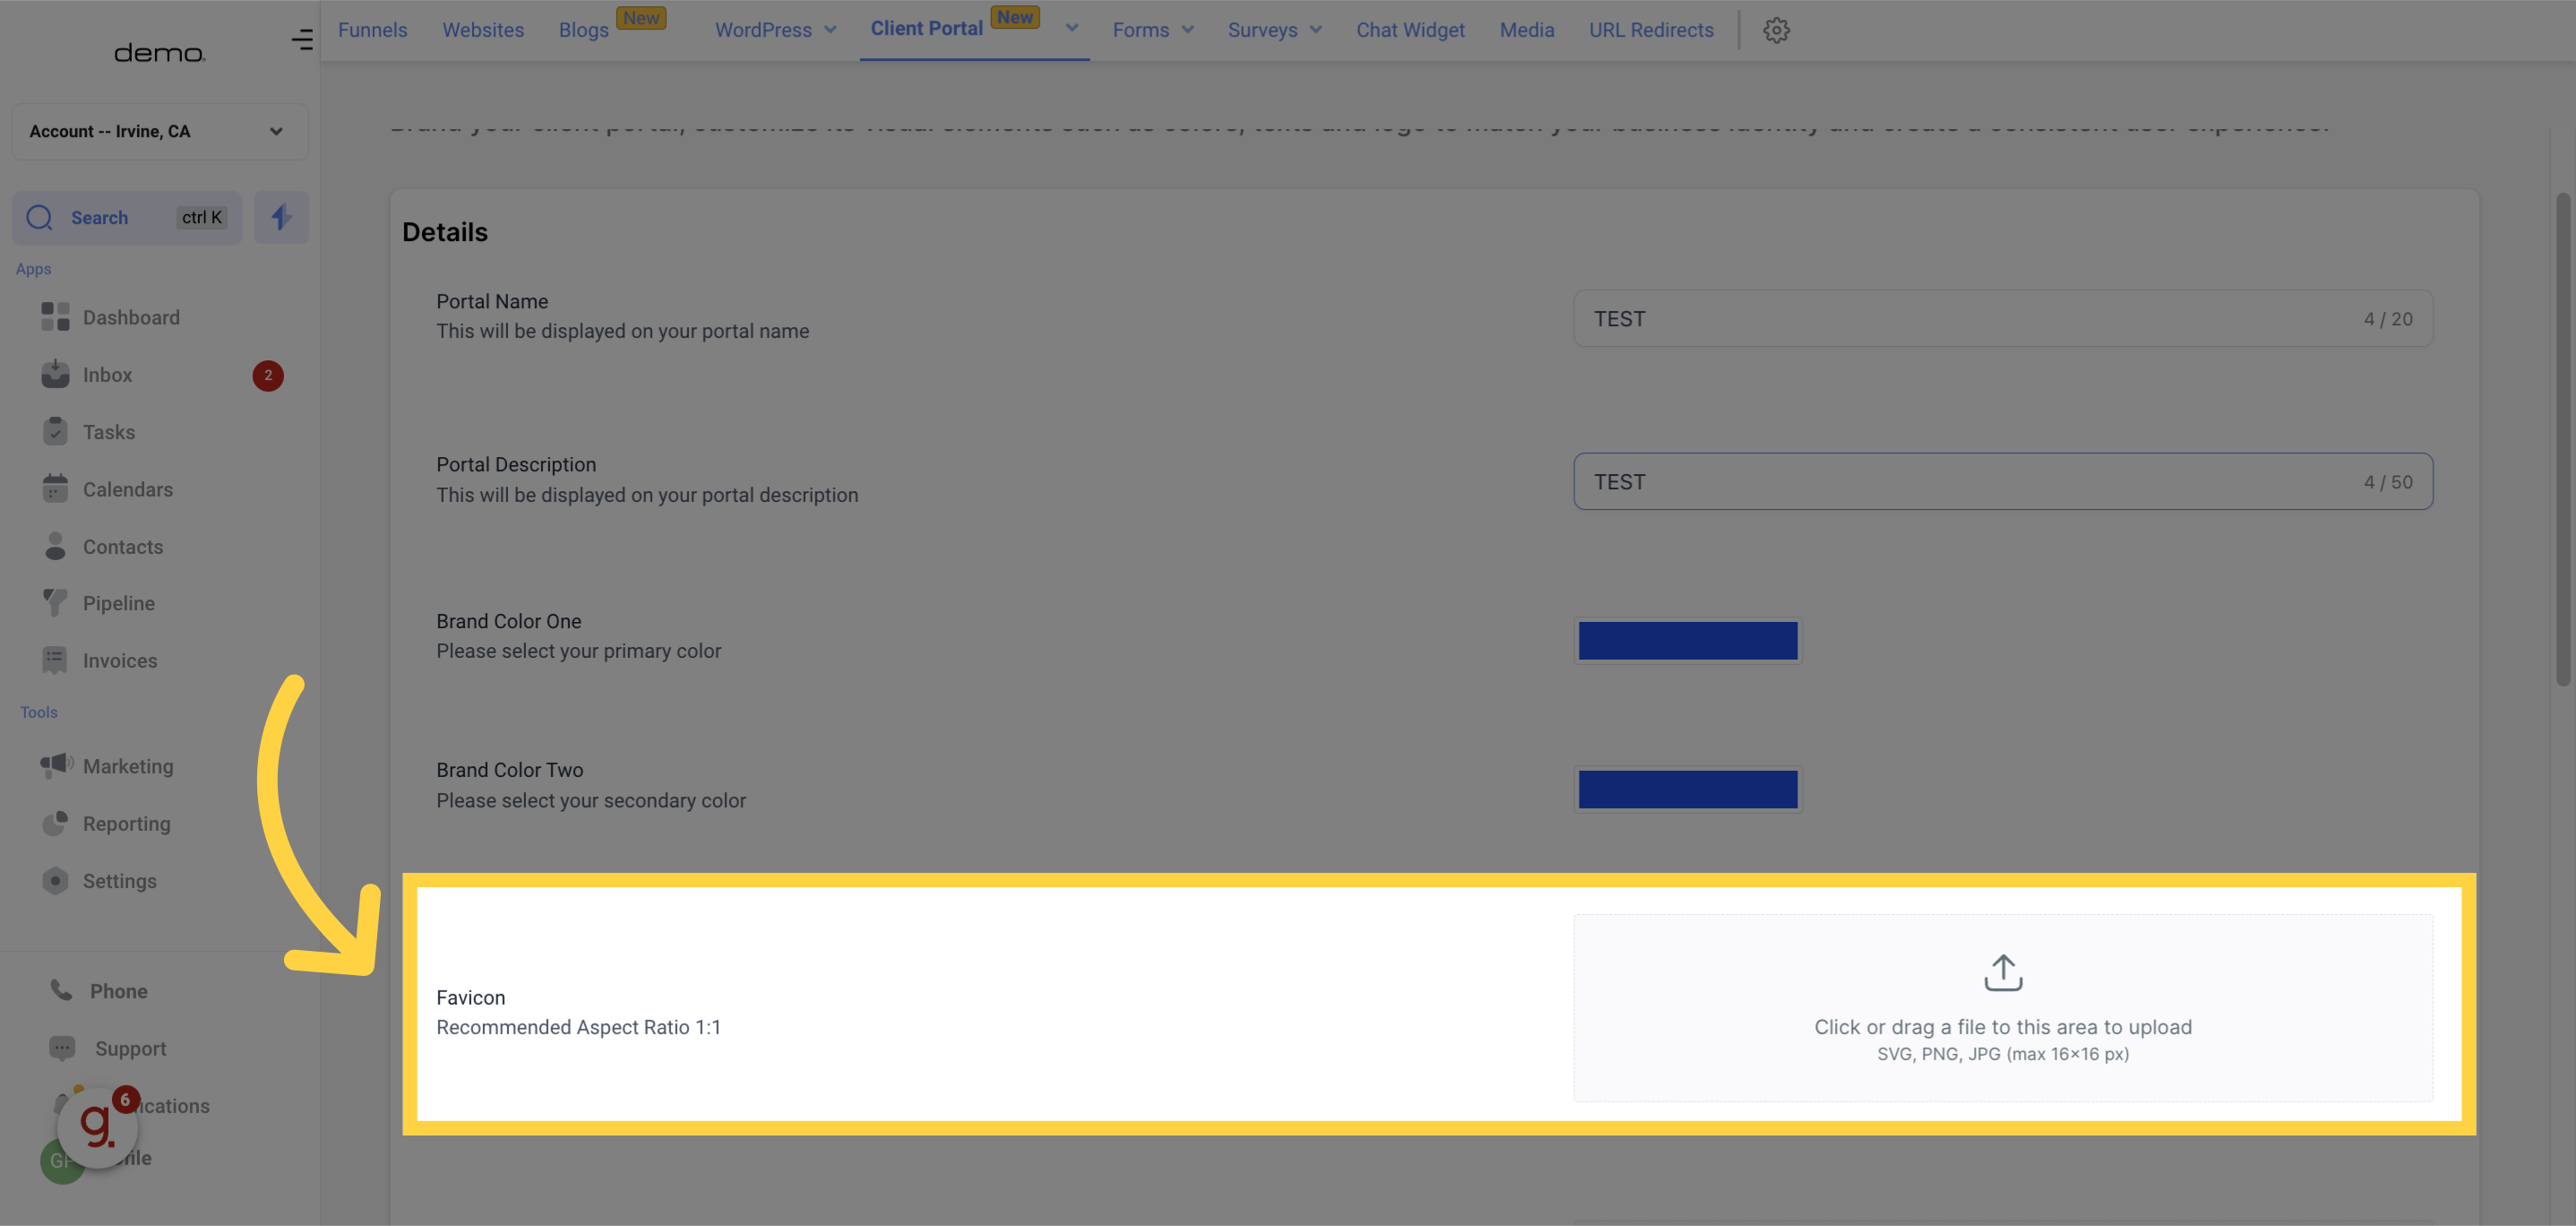
Input a custom name for your portal, which will be prominently displayed on the site.
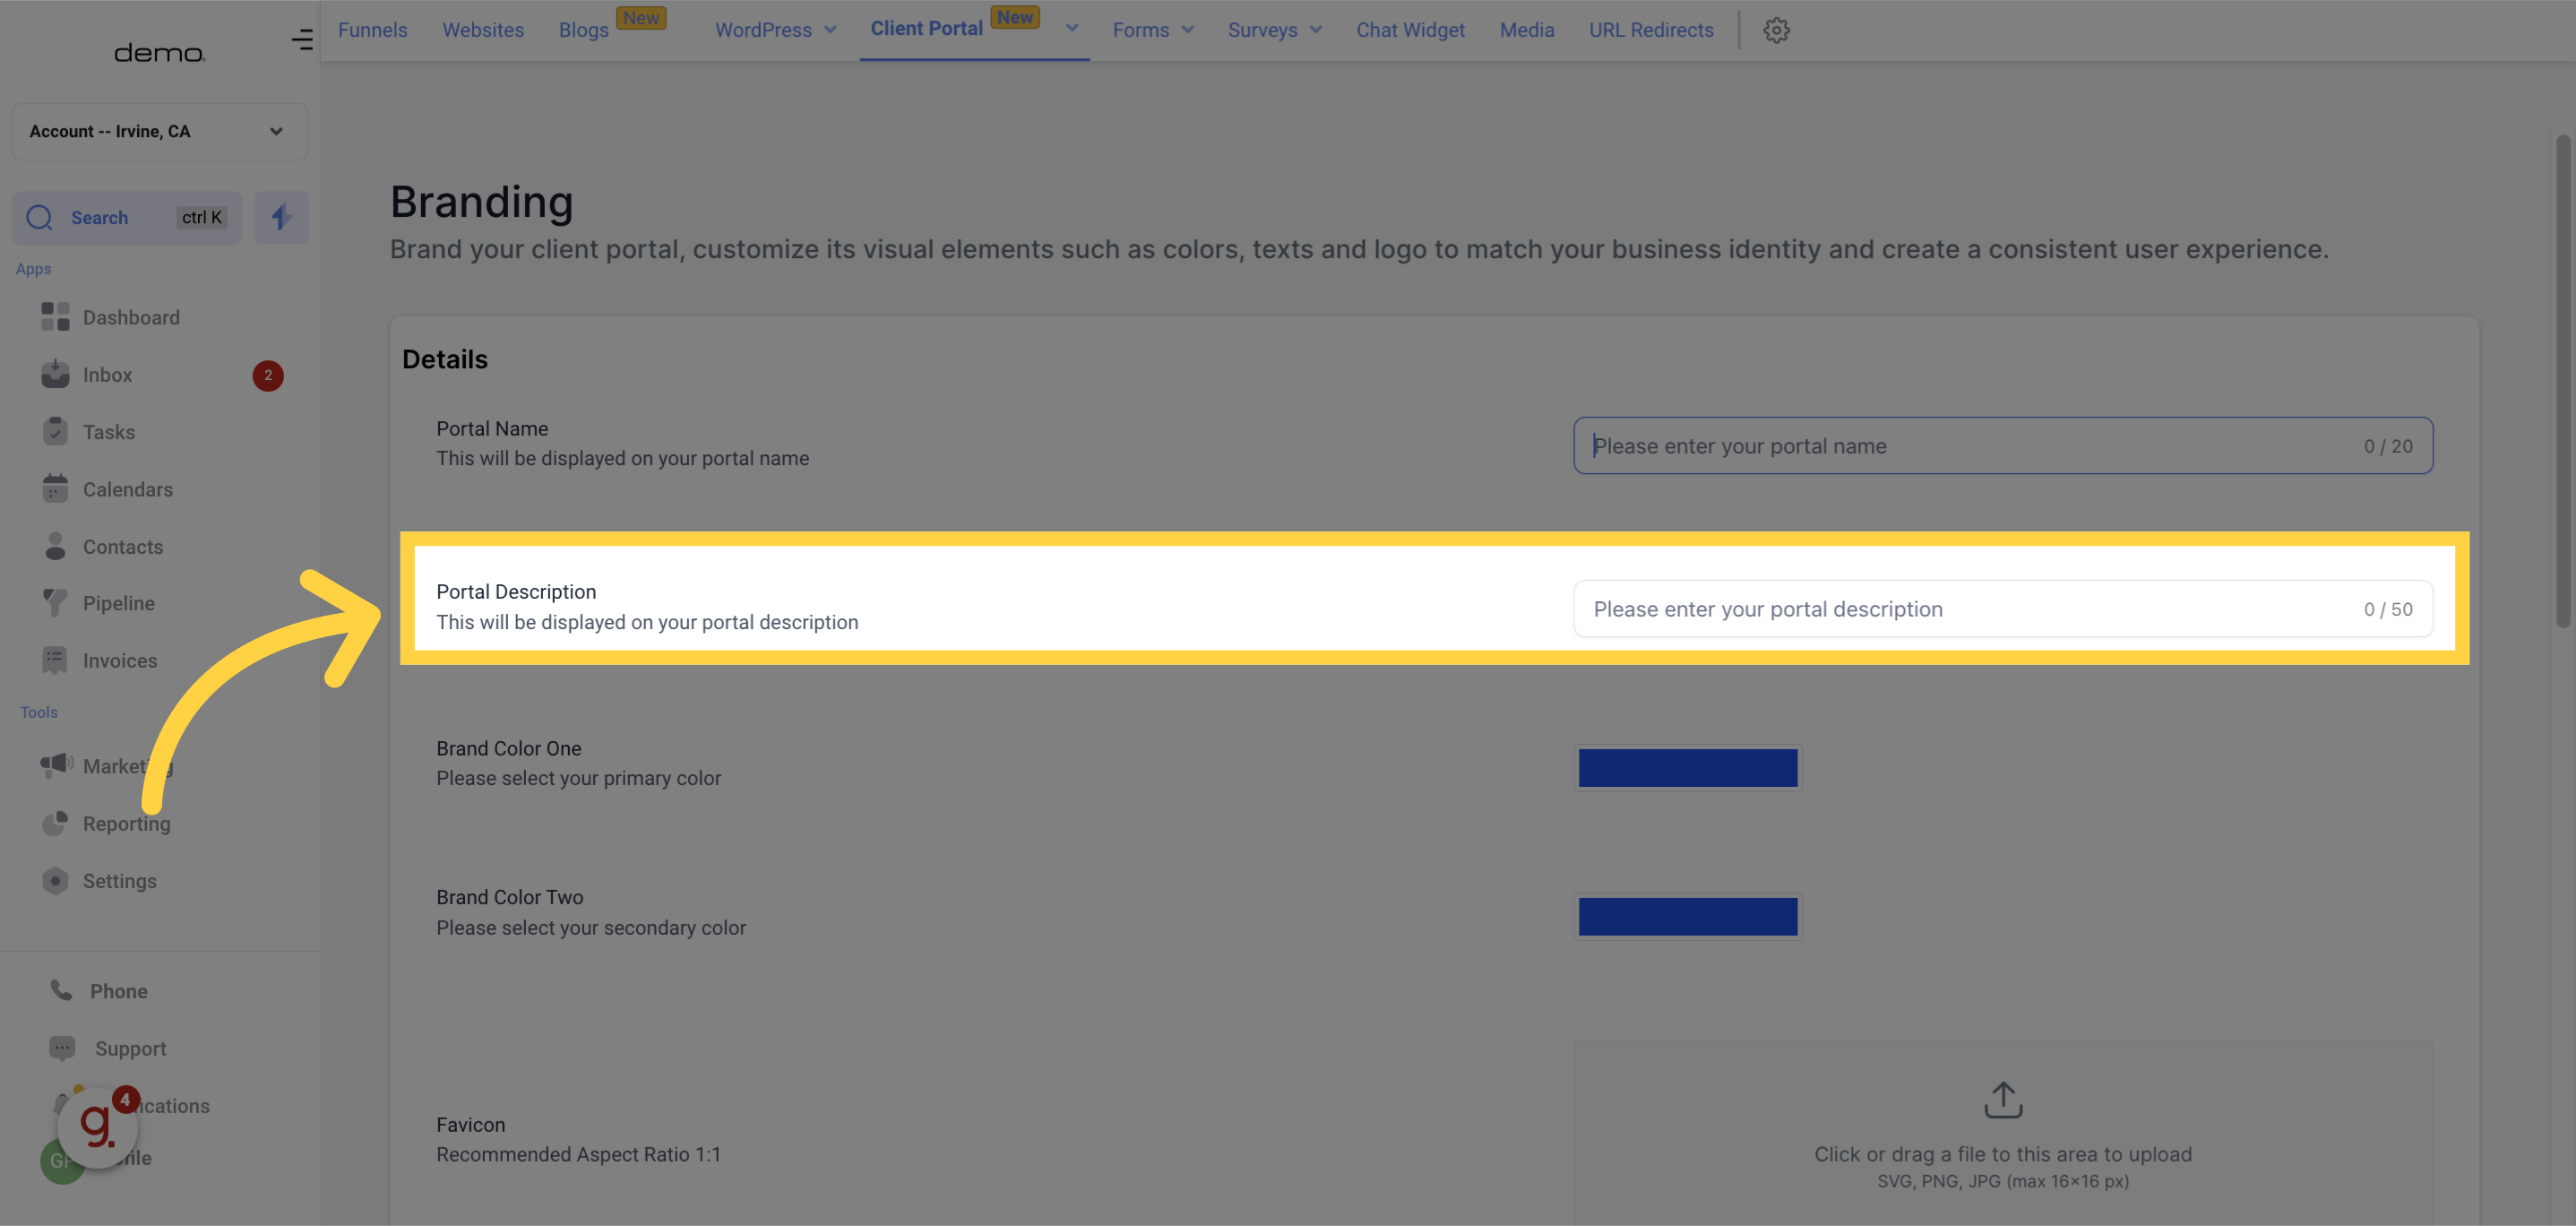
Include a brief description informing users about the portal or the services it offers.
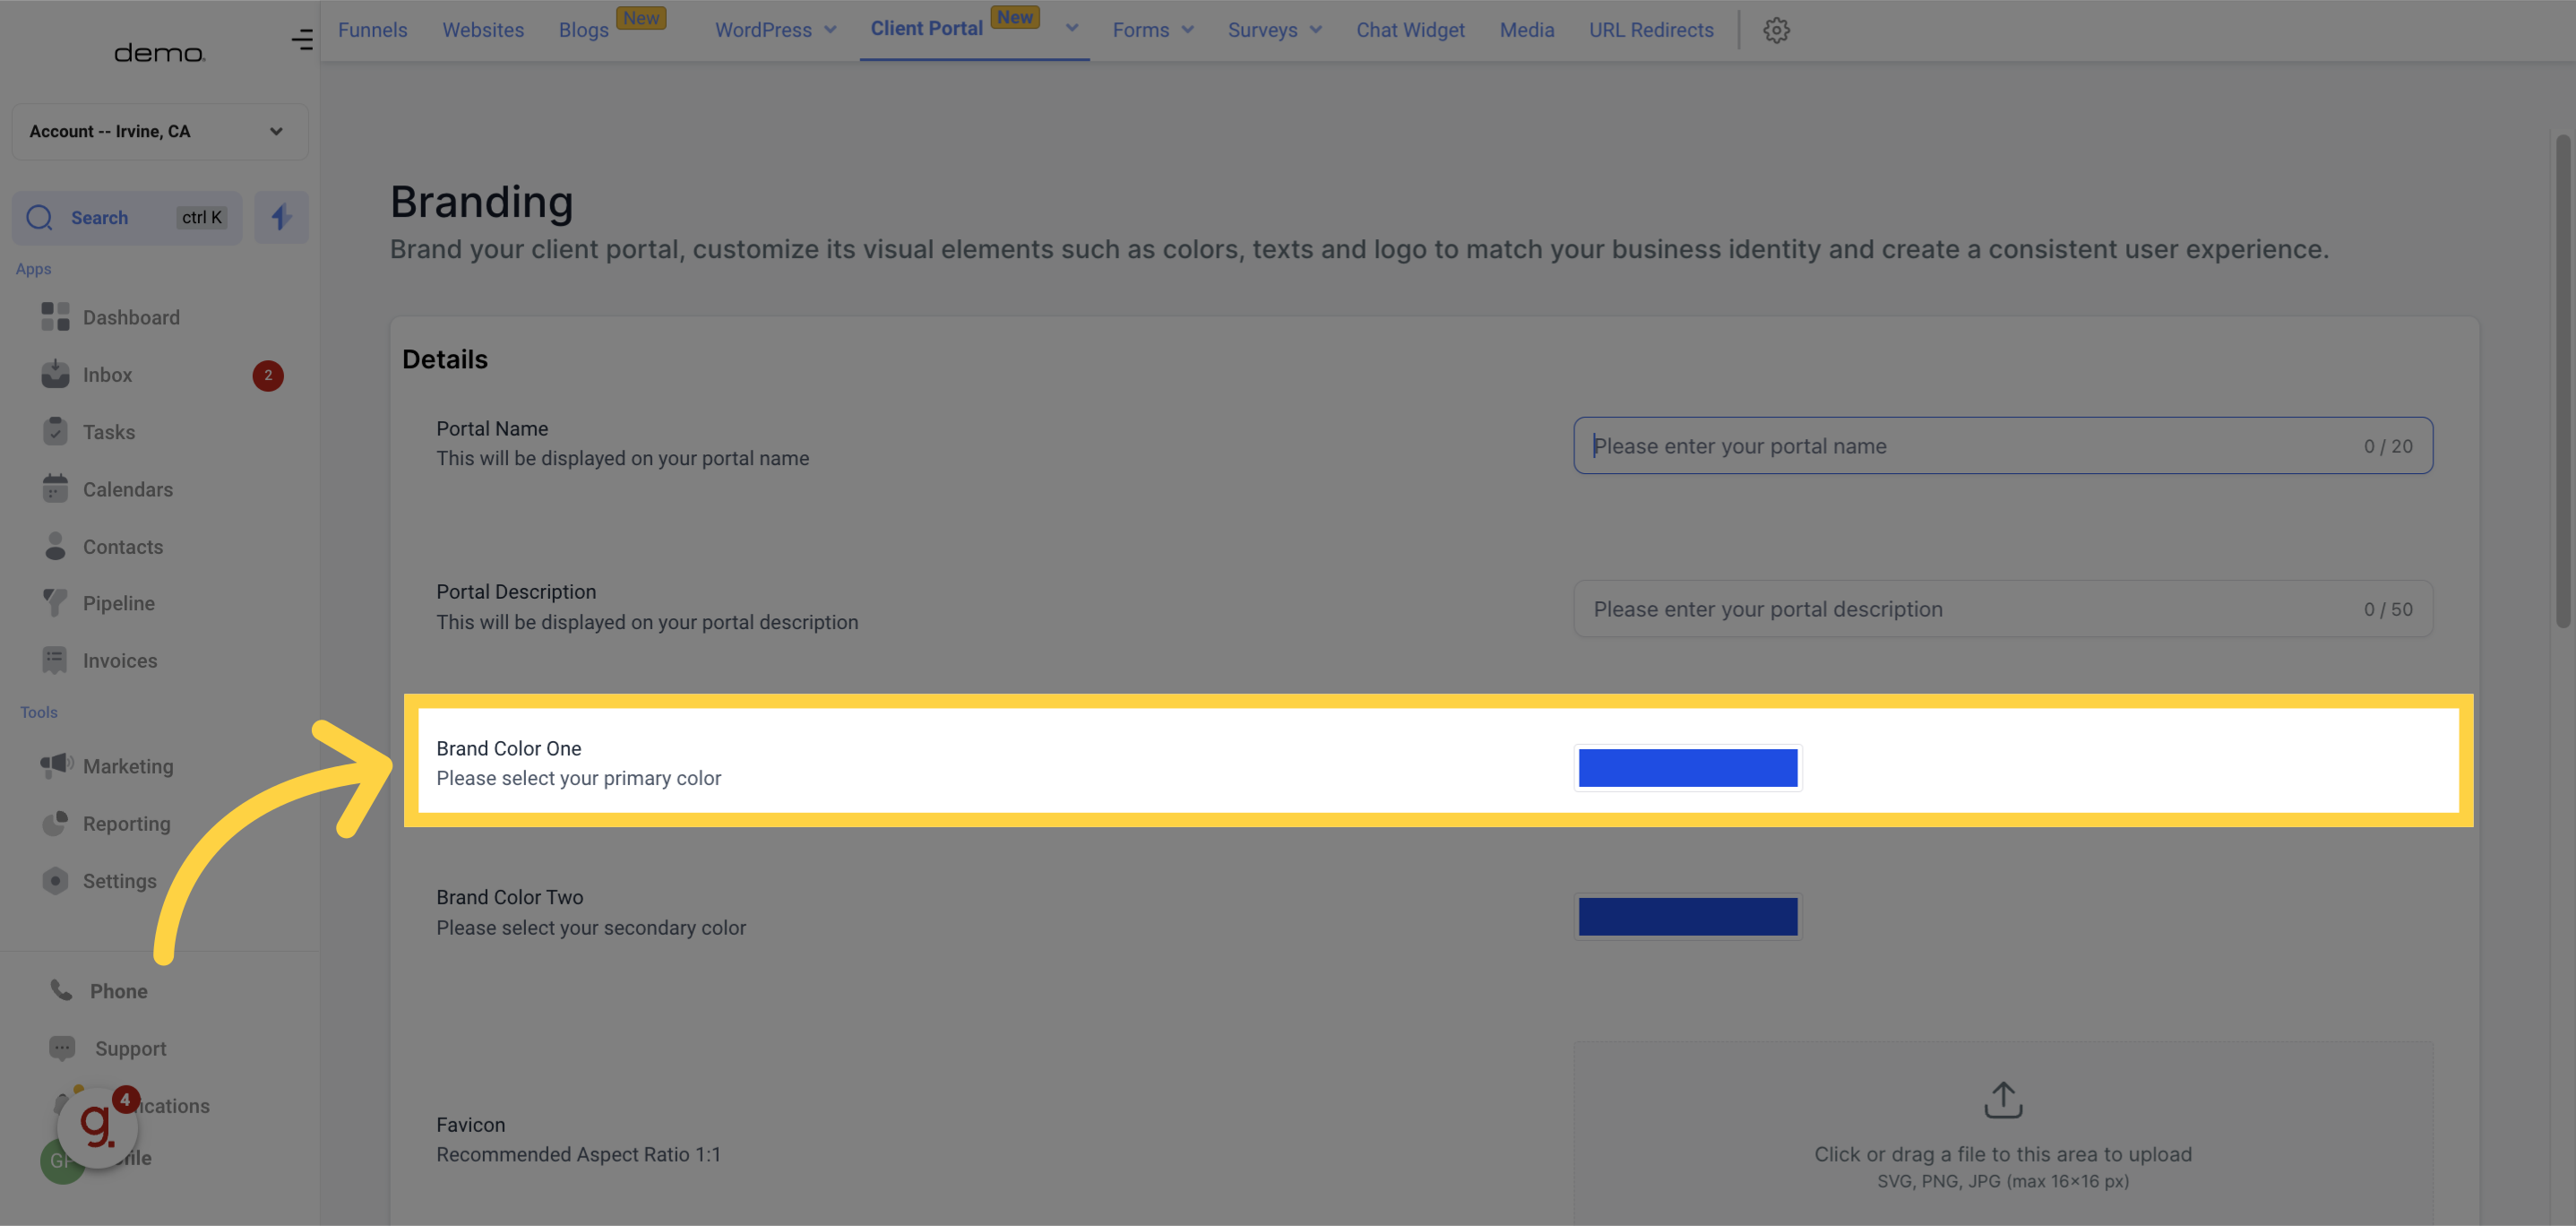
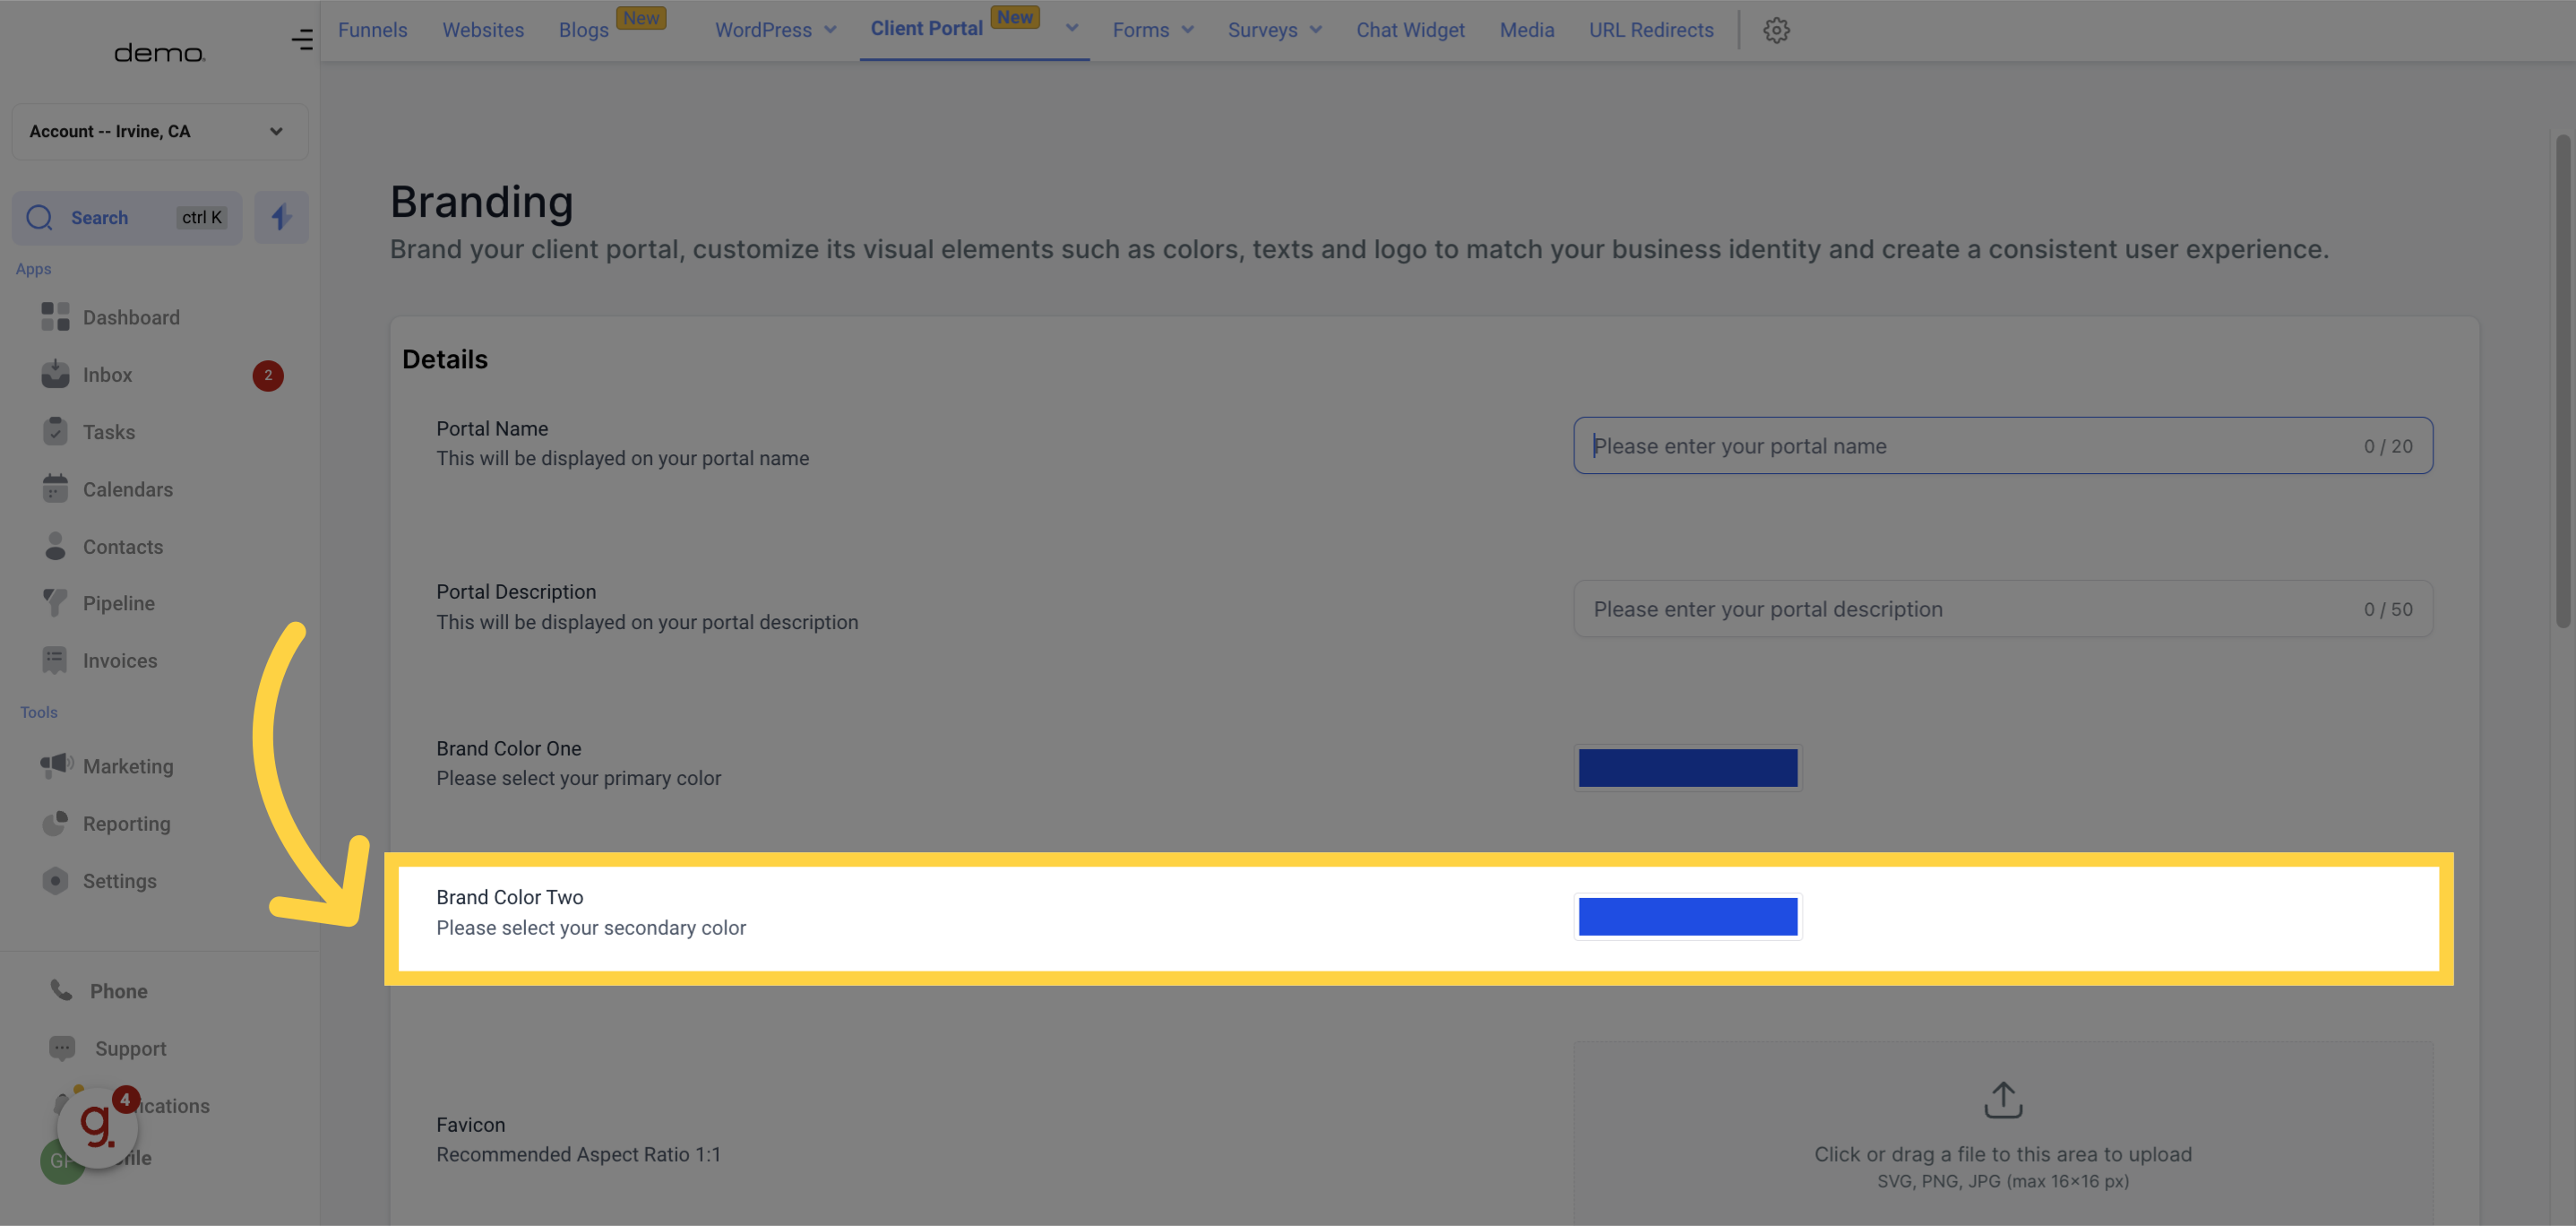
Select a primary color representing your brand on the portal, typically used for buttons, headings, or highlights.
Choose a secondary color complementing the primary hue, adding depth and variation to the portal's color palette.
Upload a small icon symbolizing the portal in the browser tab when opened. Favicons should be square (1:1 aspect ratio), in SVG, PNG, or JPG format, with sizes up to 16x16 pixels.
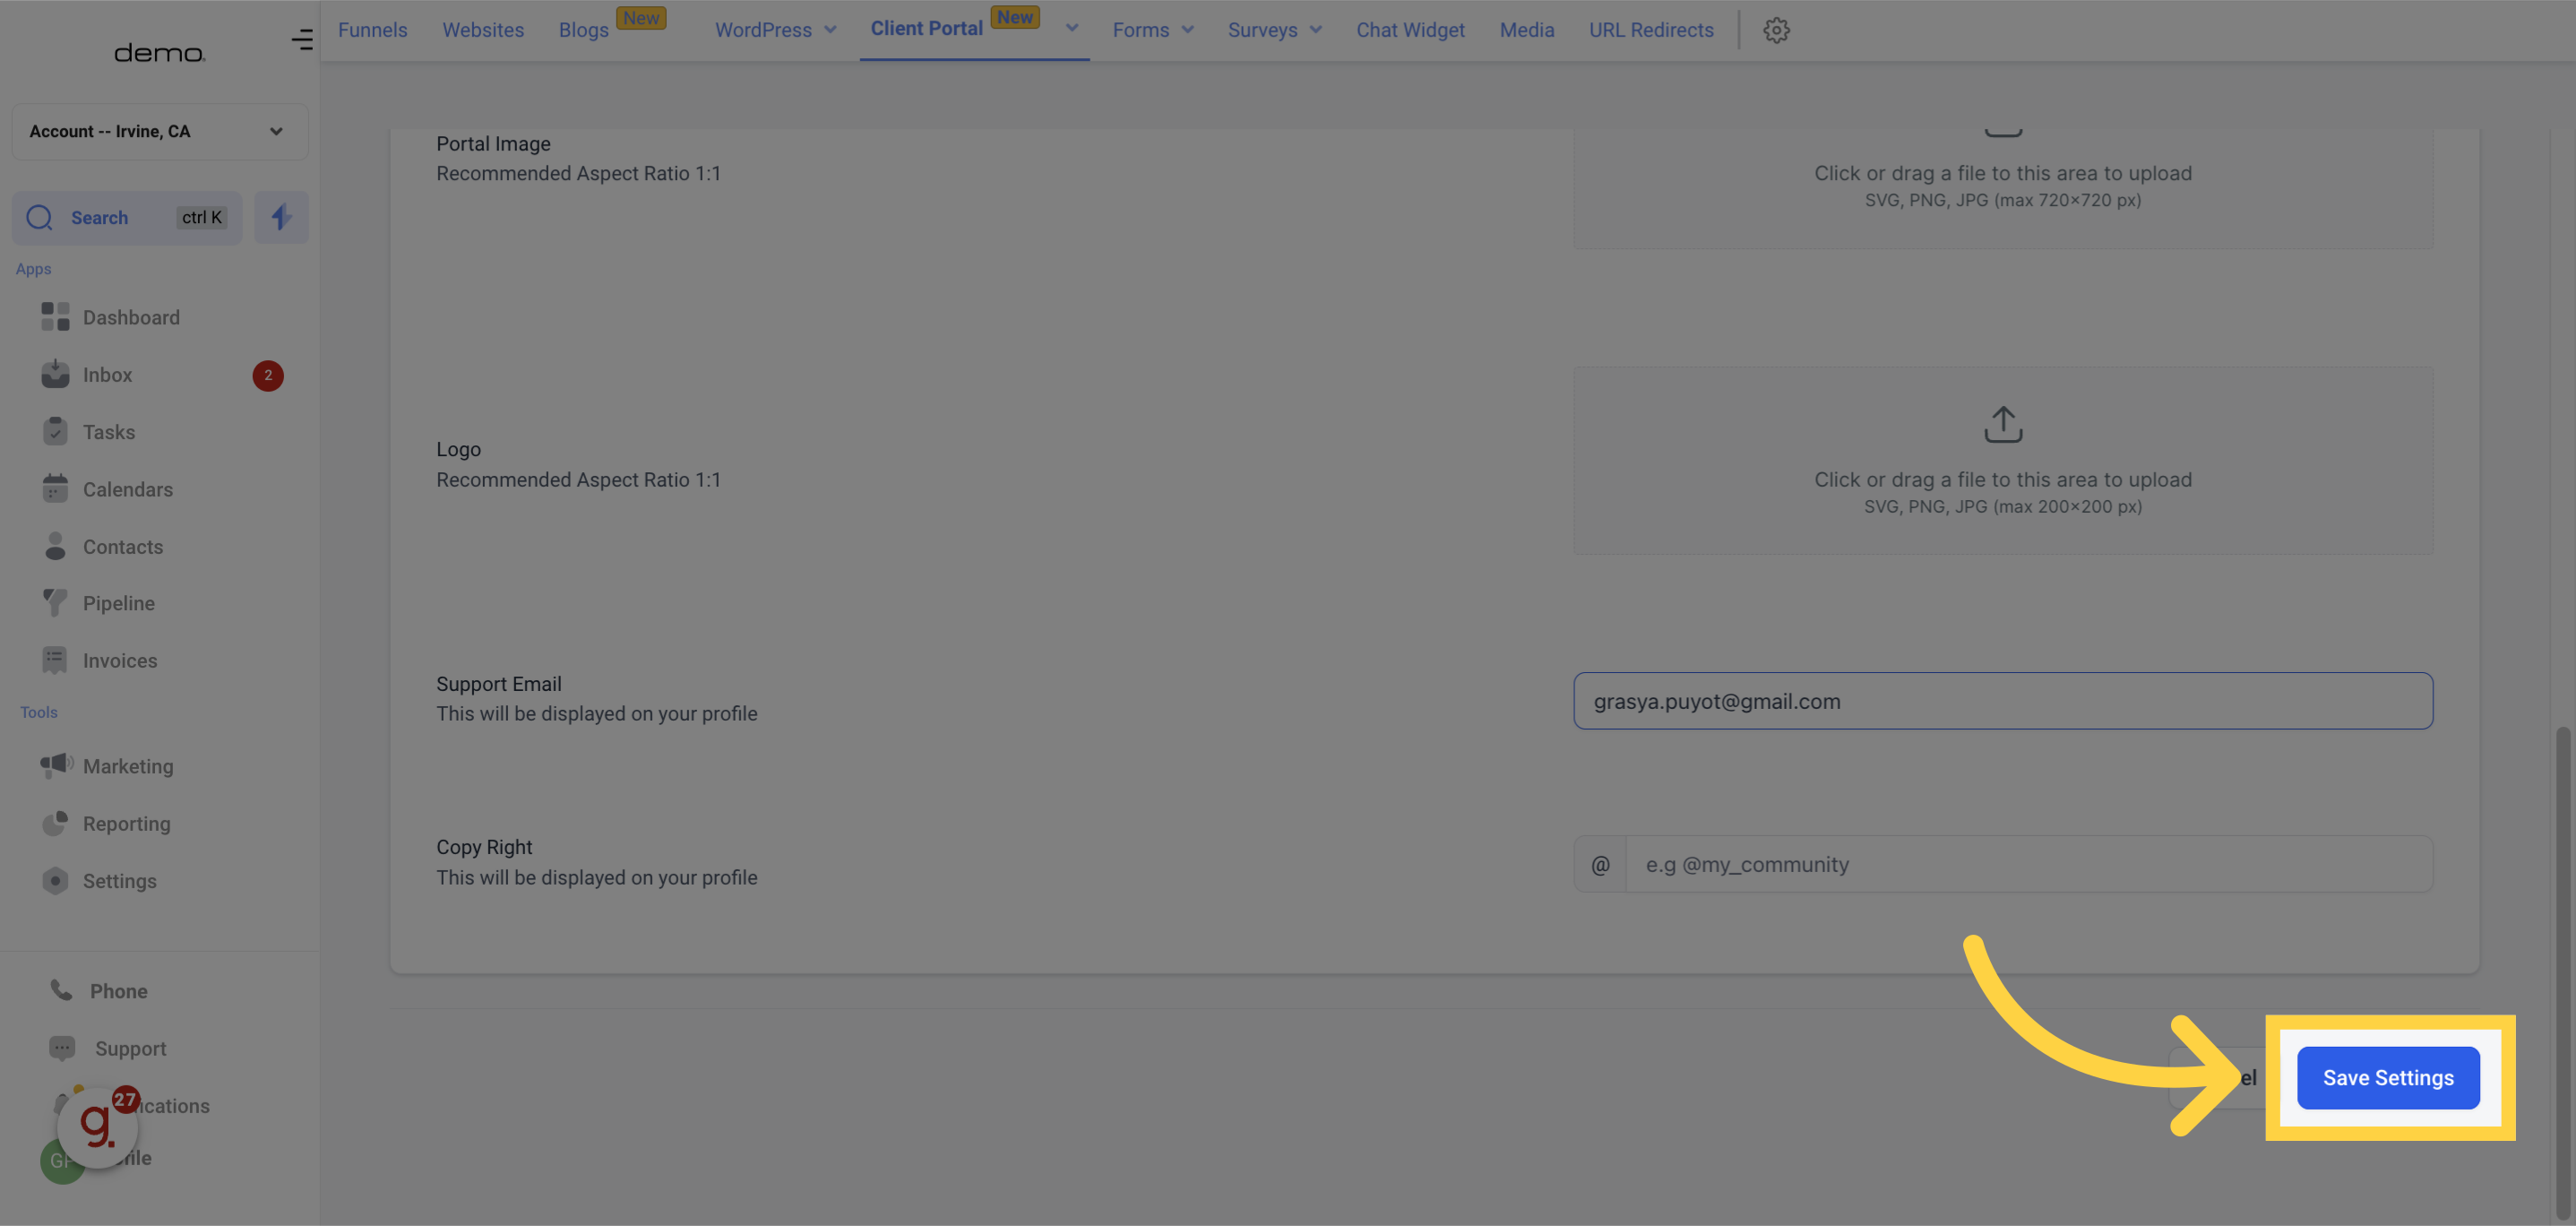
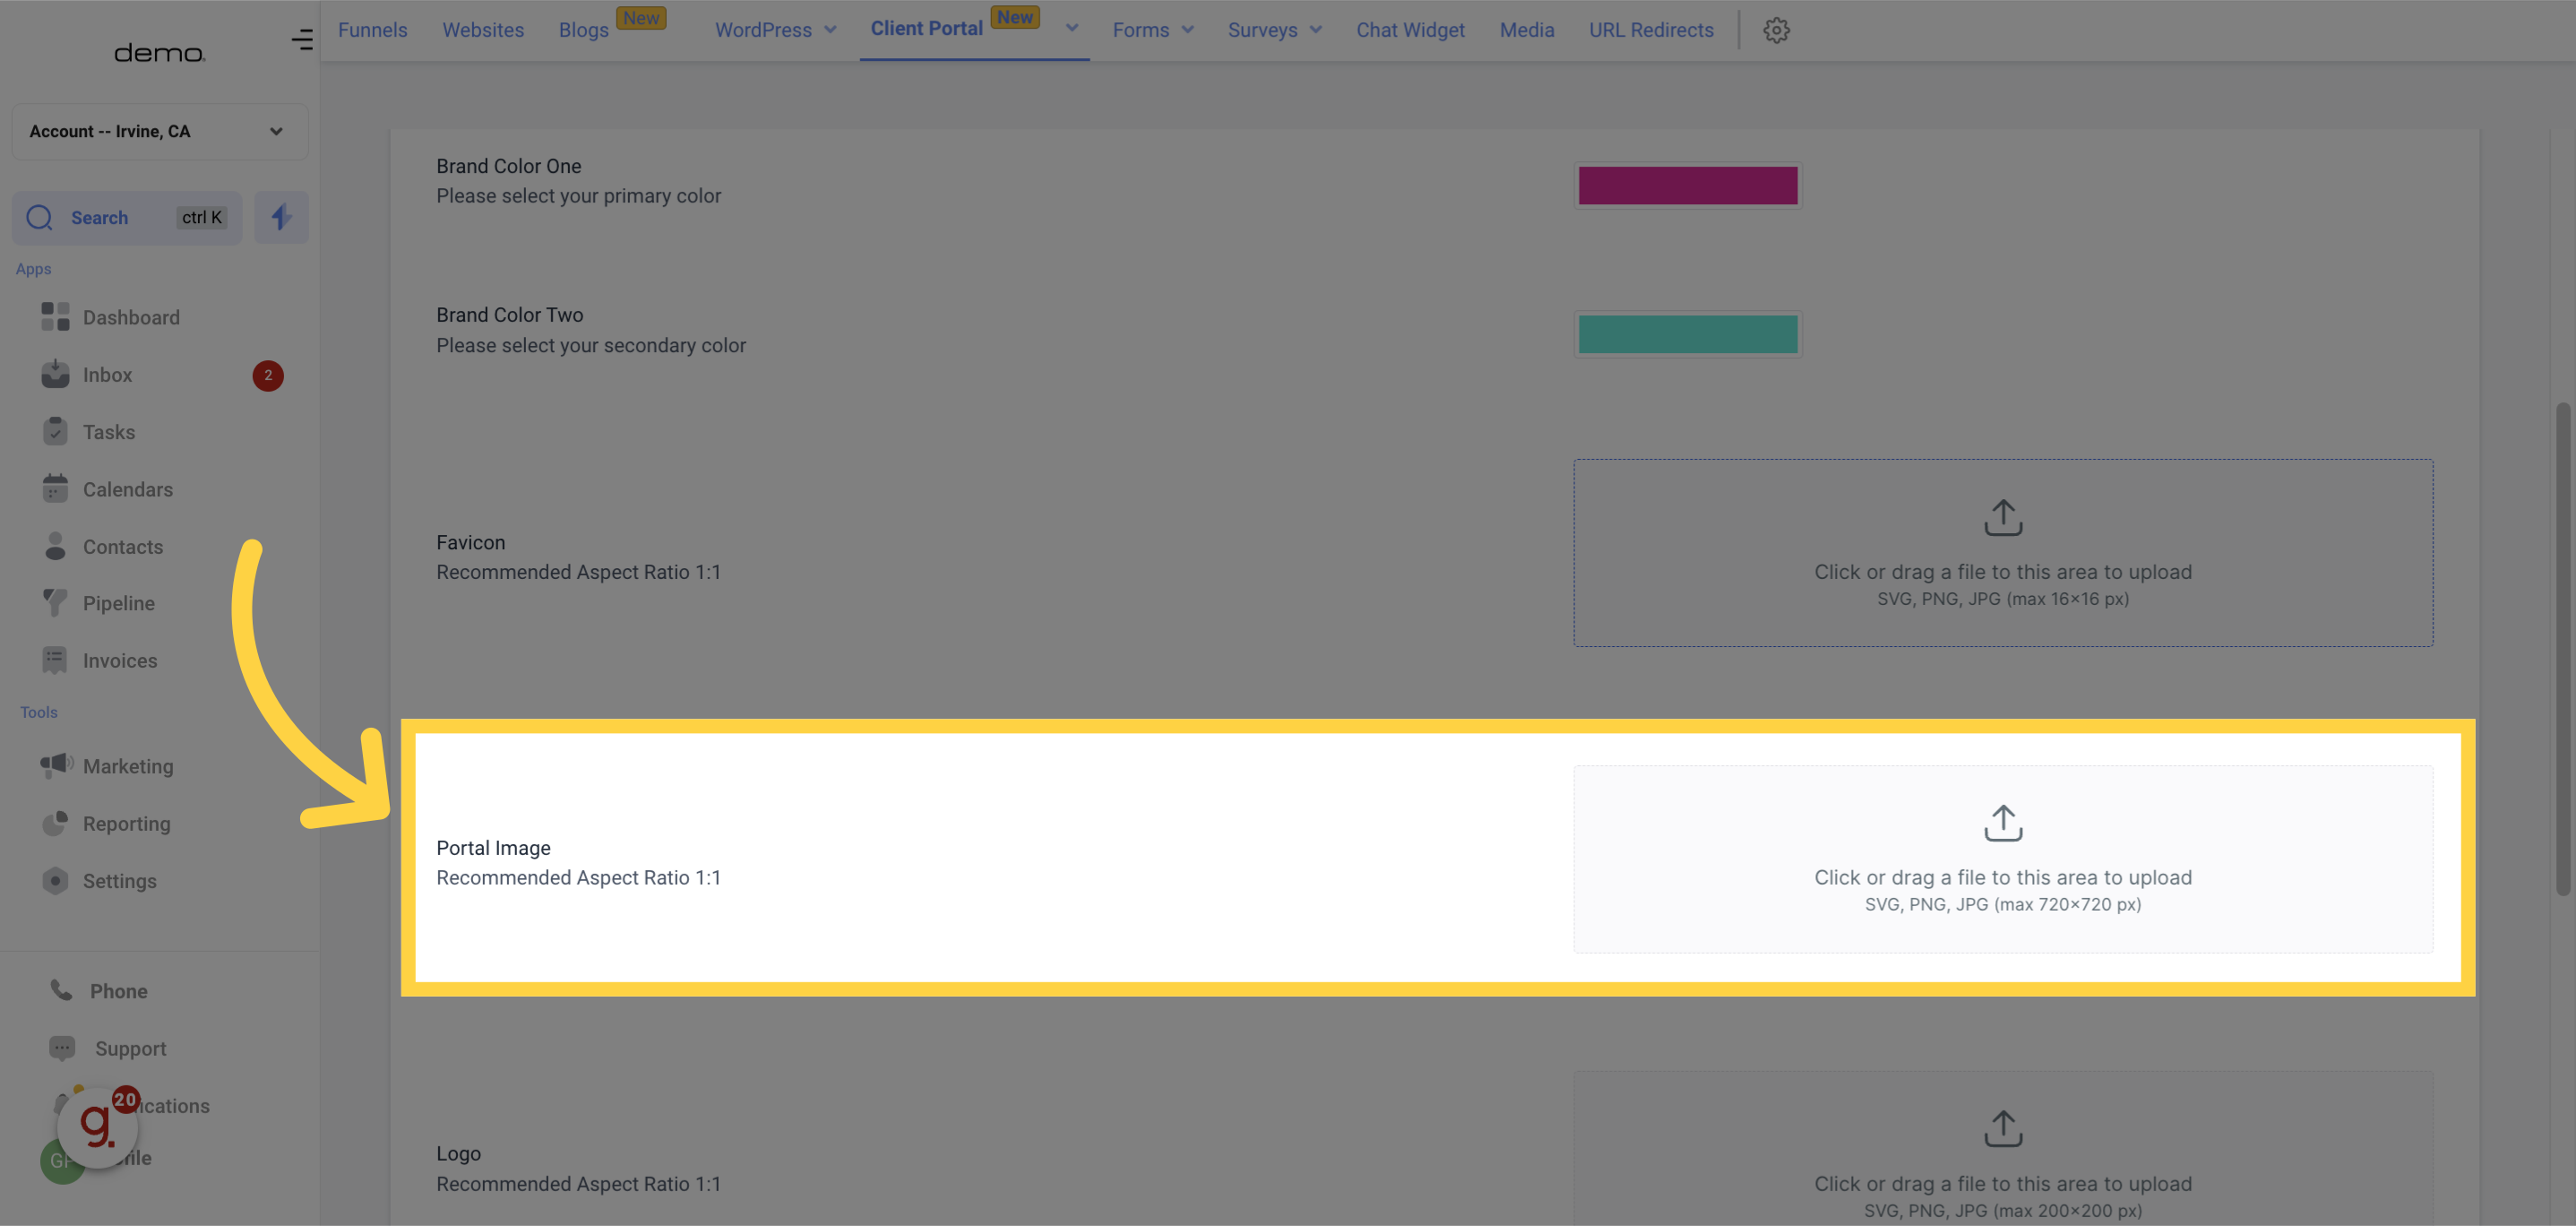
Upload a square (1:1) image in SVG, PNG, or JPG formats (maximum 720x720 pixels) to serve as the main branding image in your Client Portal.
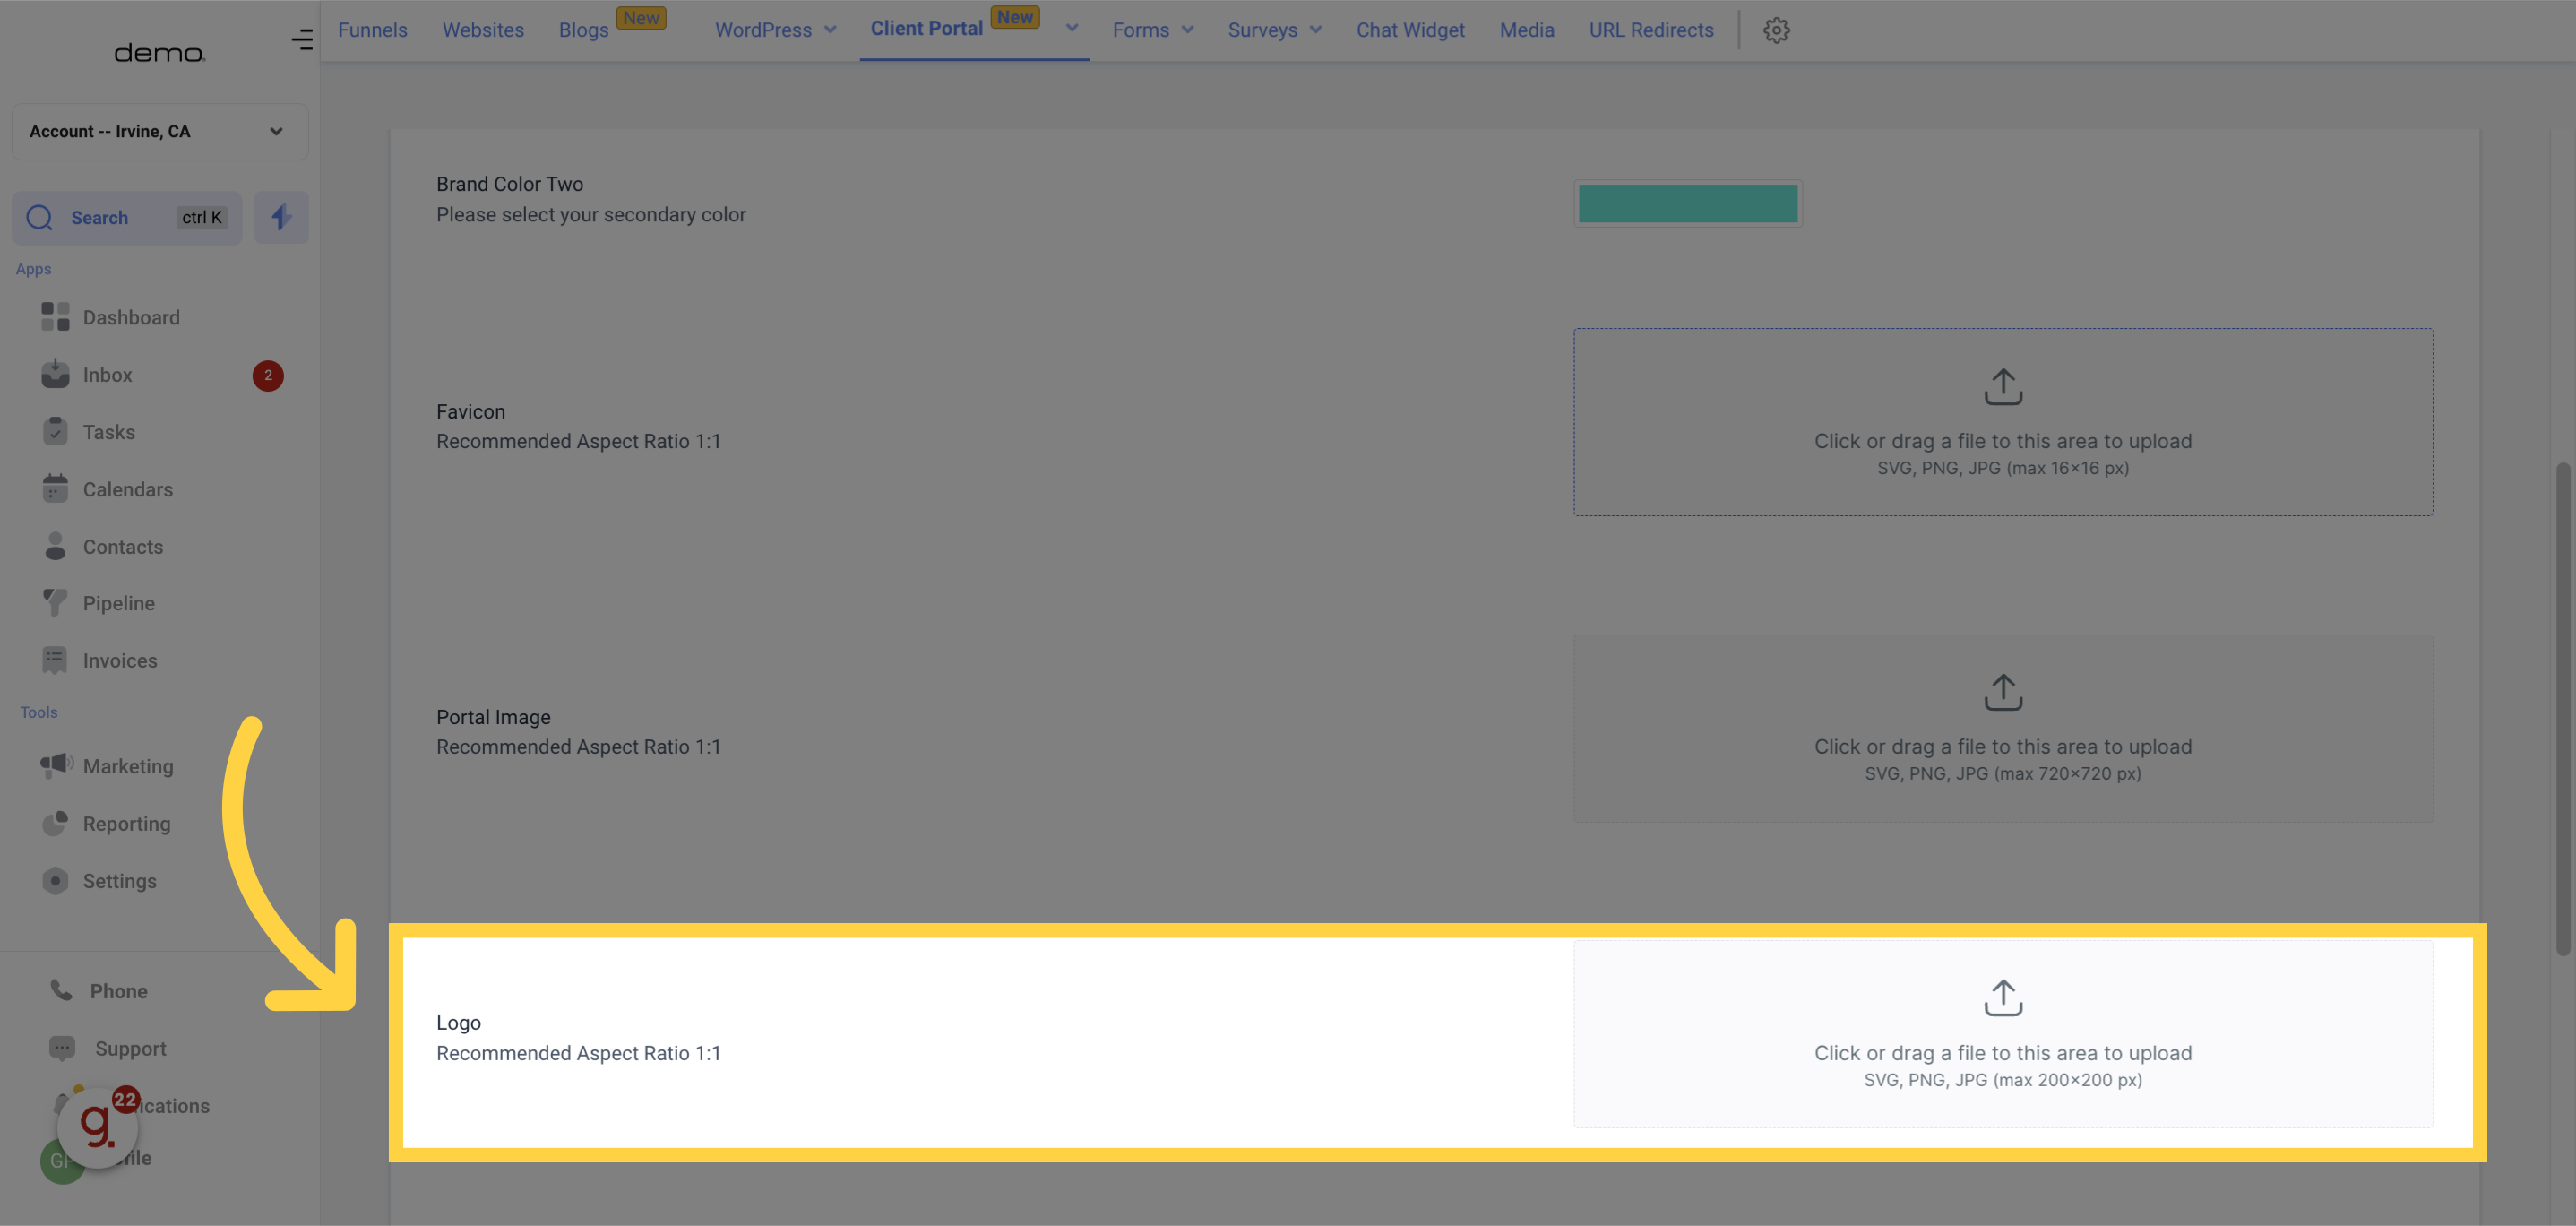
Submit your brand logo to feature on the portal. Like favicons, use a 1:1 aspect ratio, in SVG, PNG, or JPG format, not exceeding 200x200 pixels.
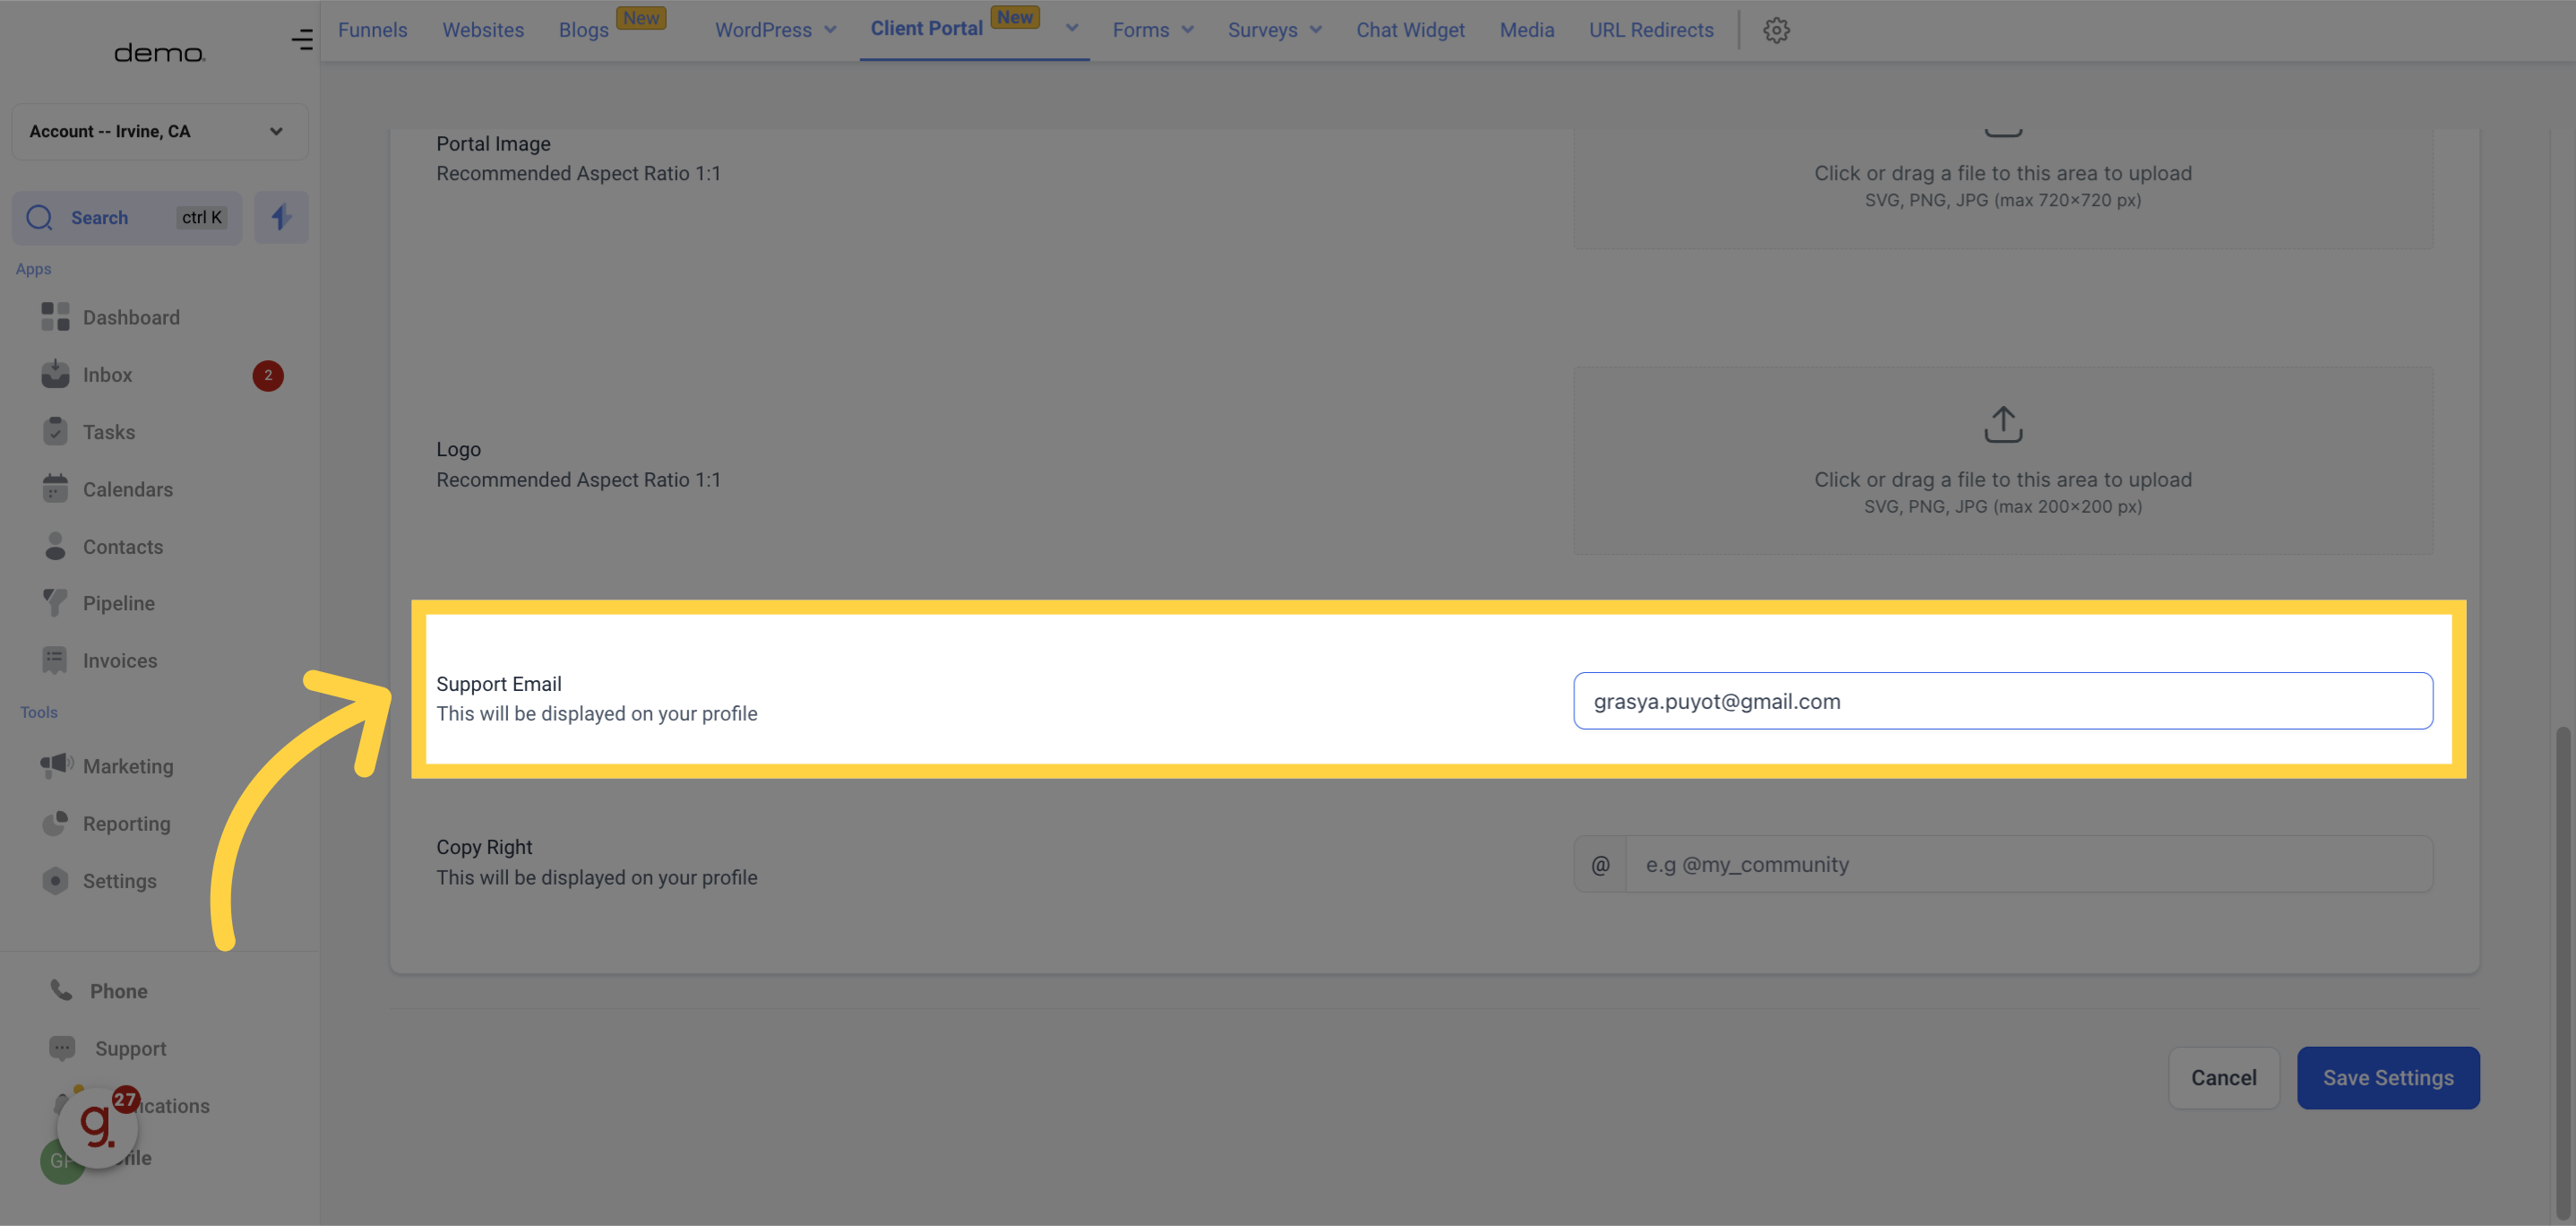
Provide an email address for customers to contact regarding any queries or issues with the portal.
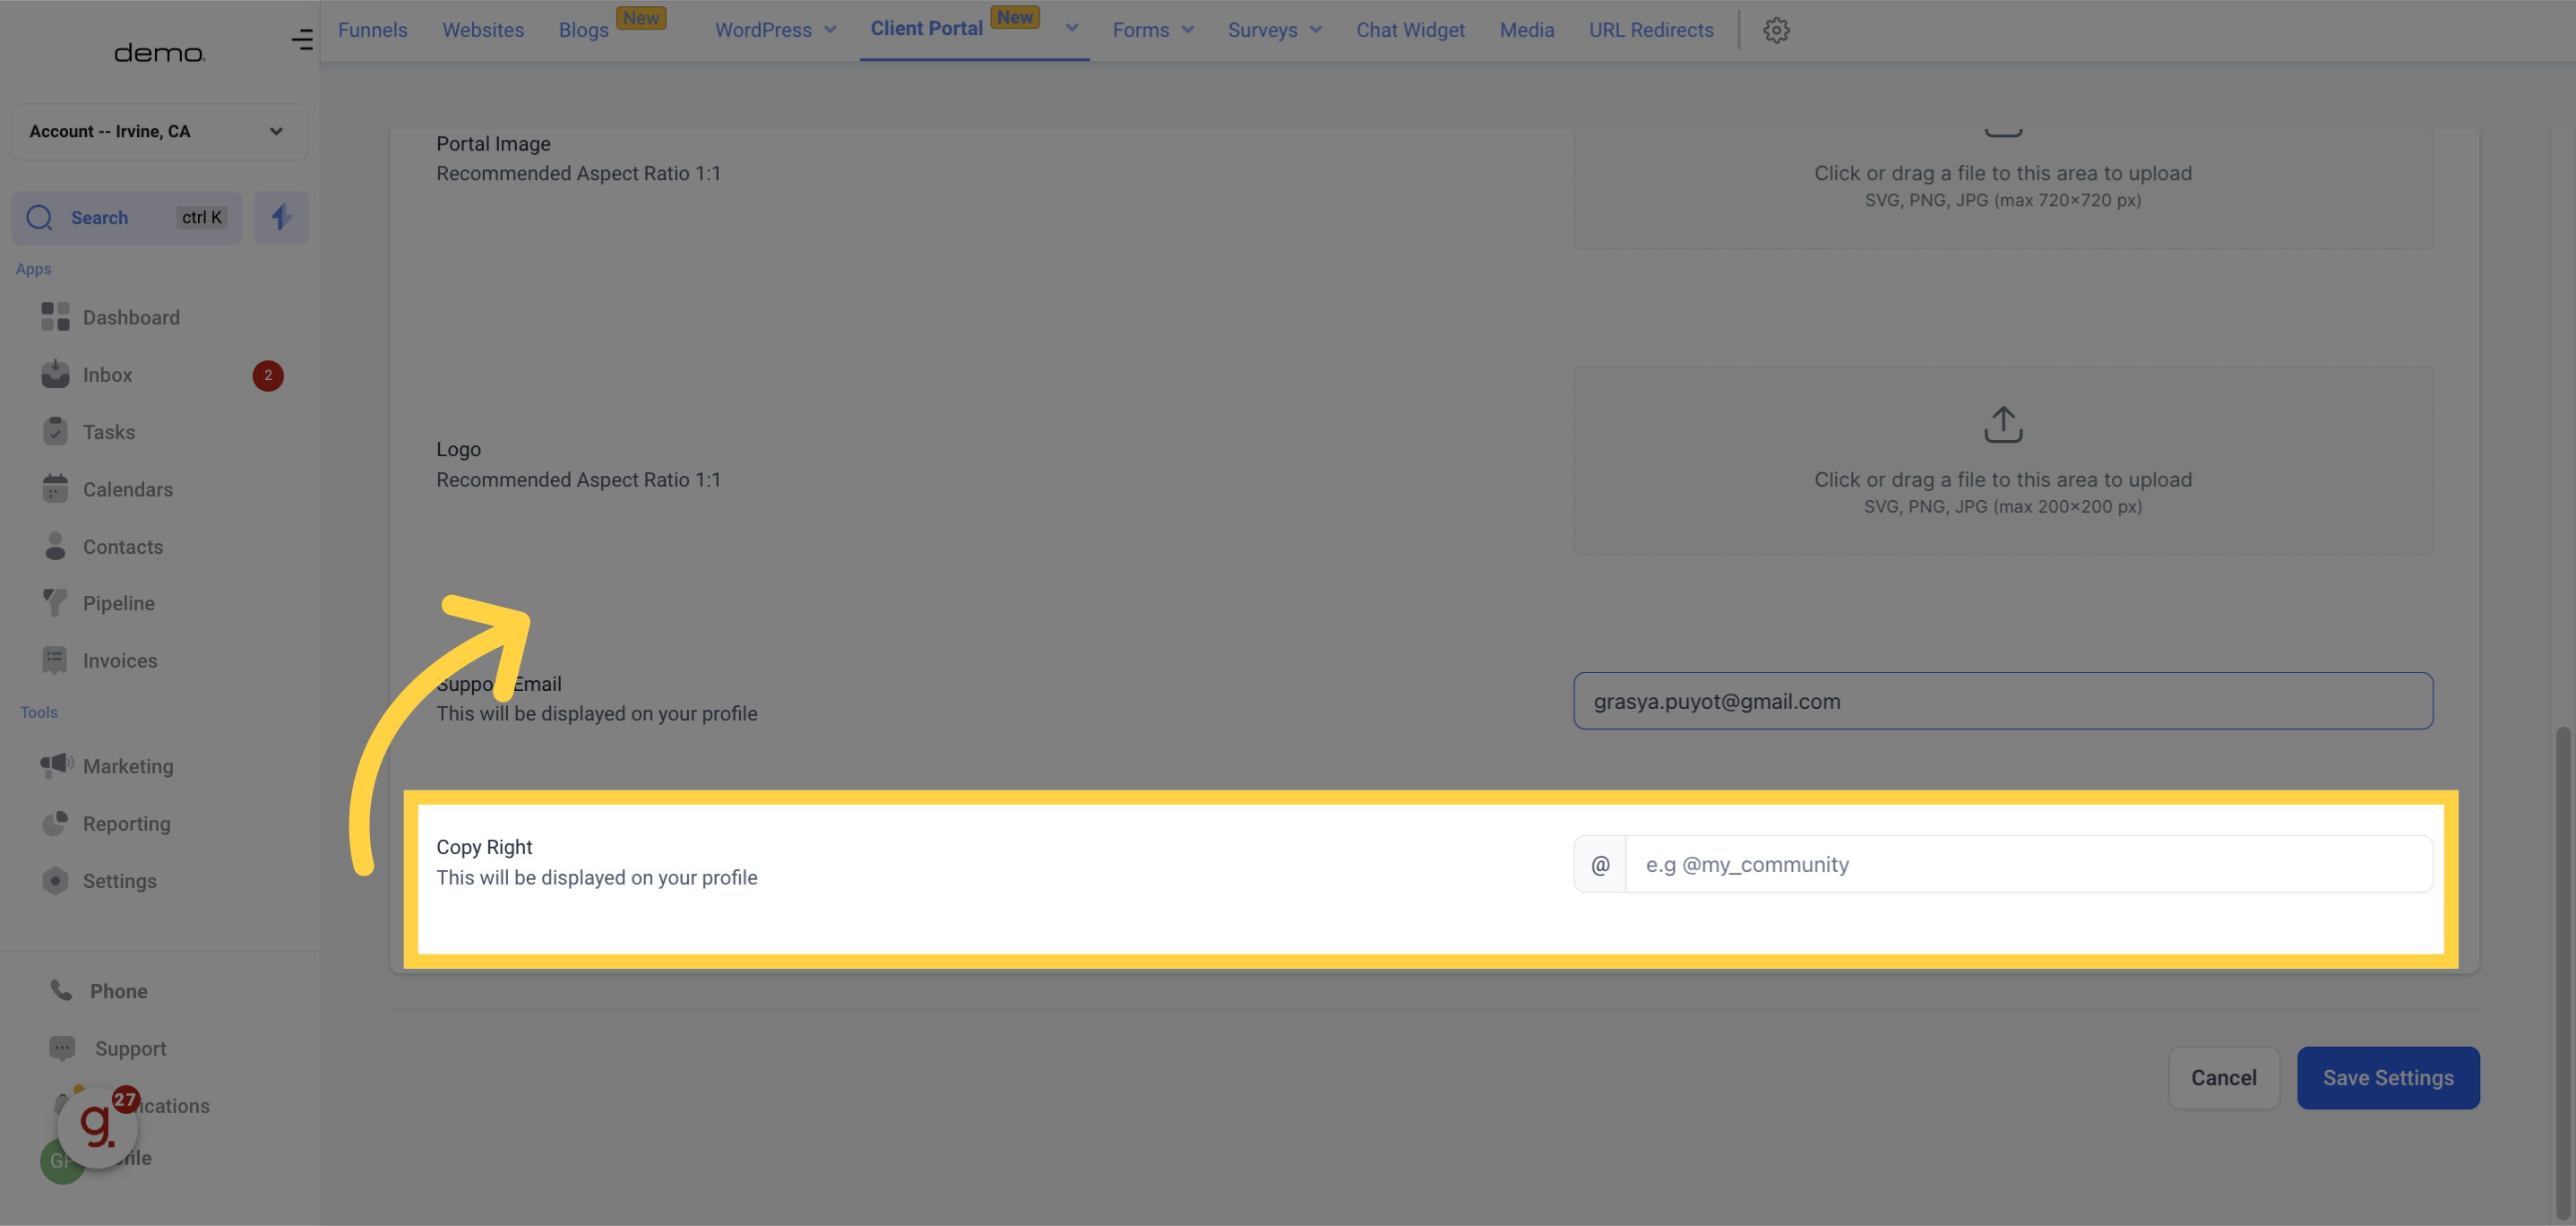
Include copyright details (e.g., "© 2023 Your Company Name") to establish ownership and protect your content.
To revert to previous settings, select "Cancel" before saving.
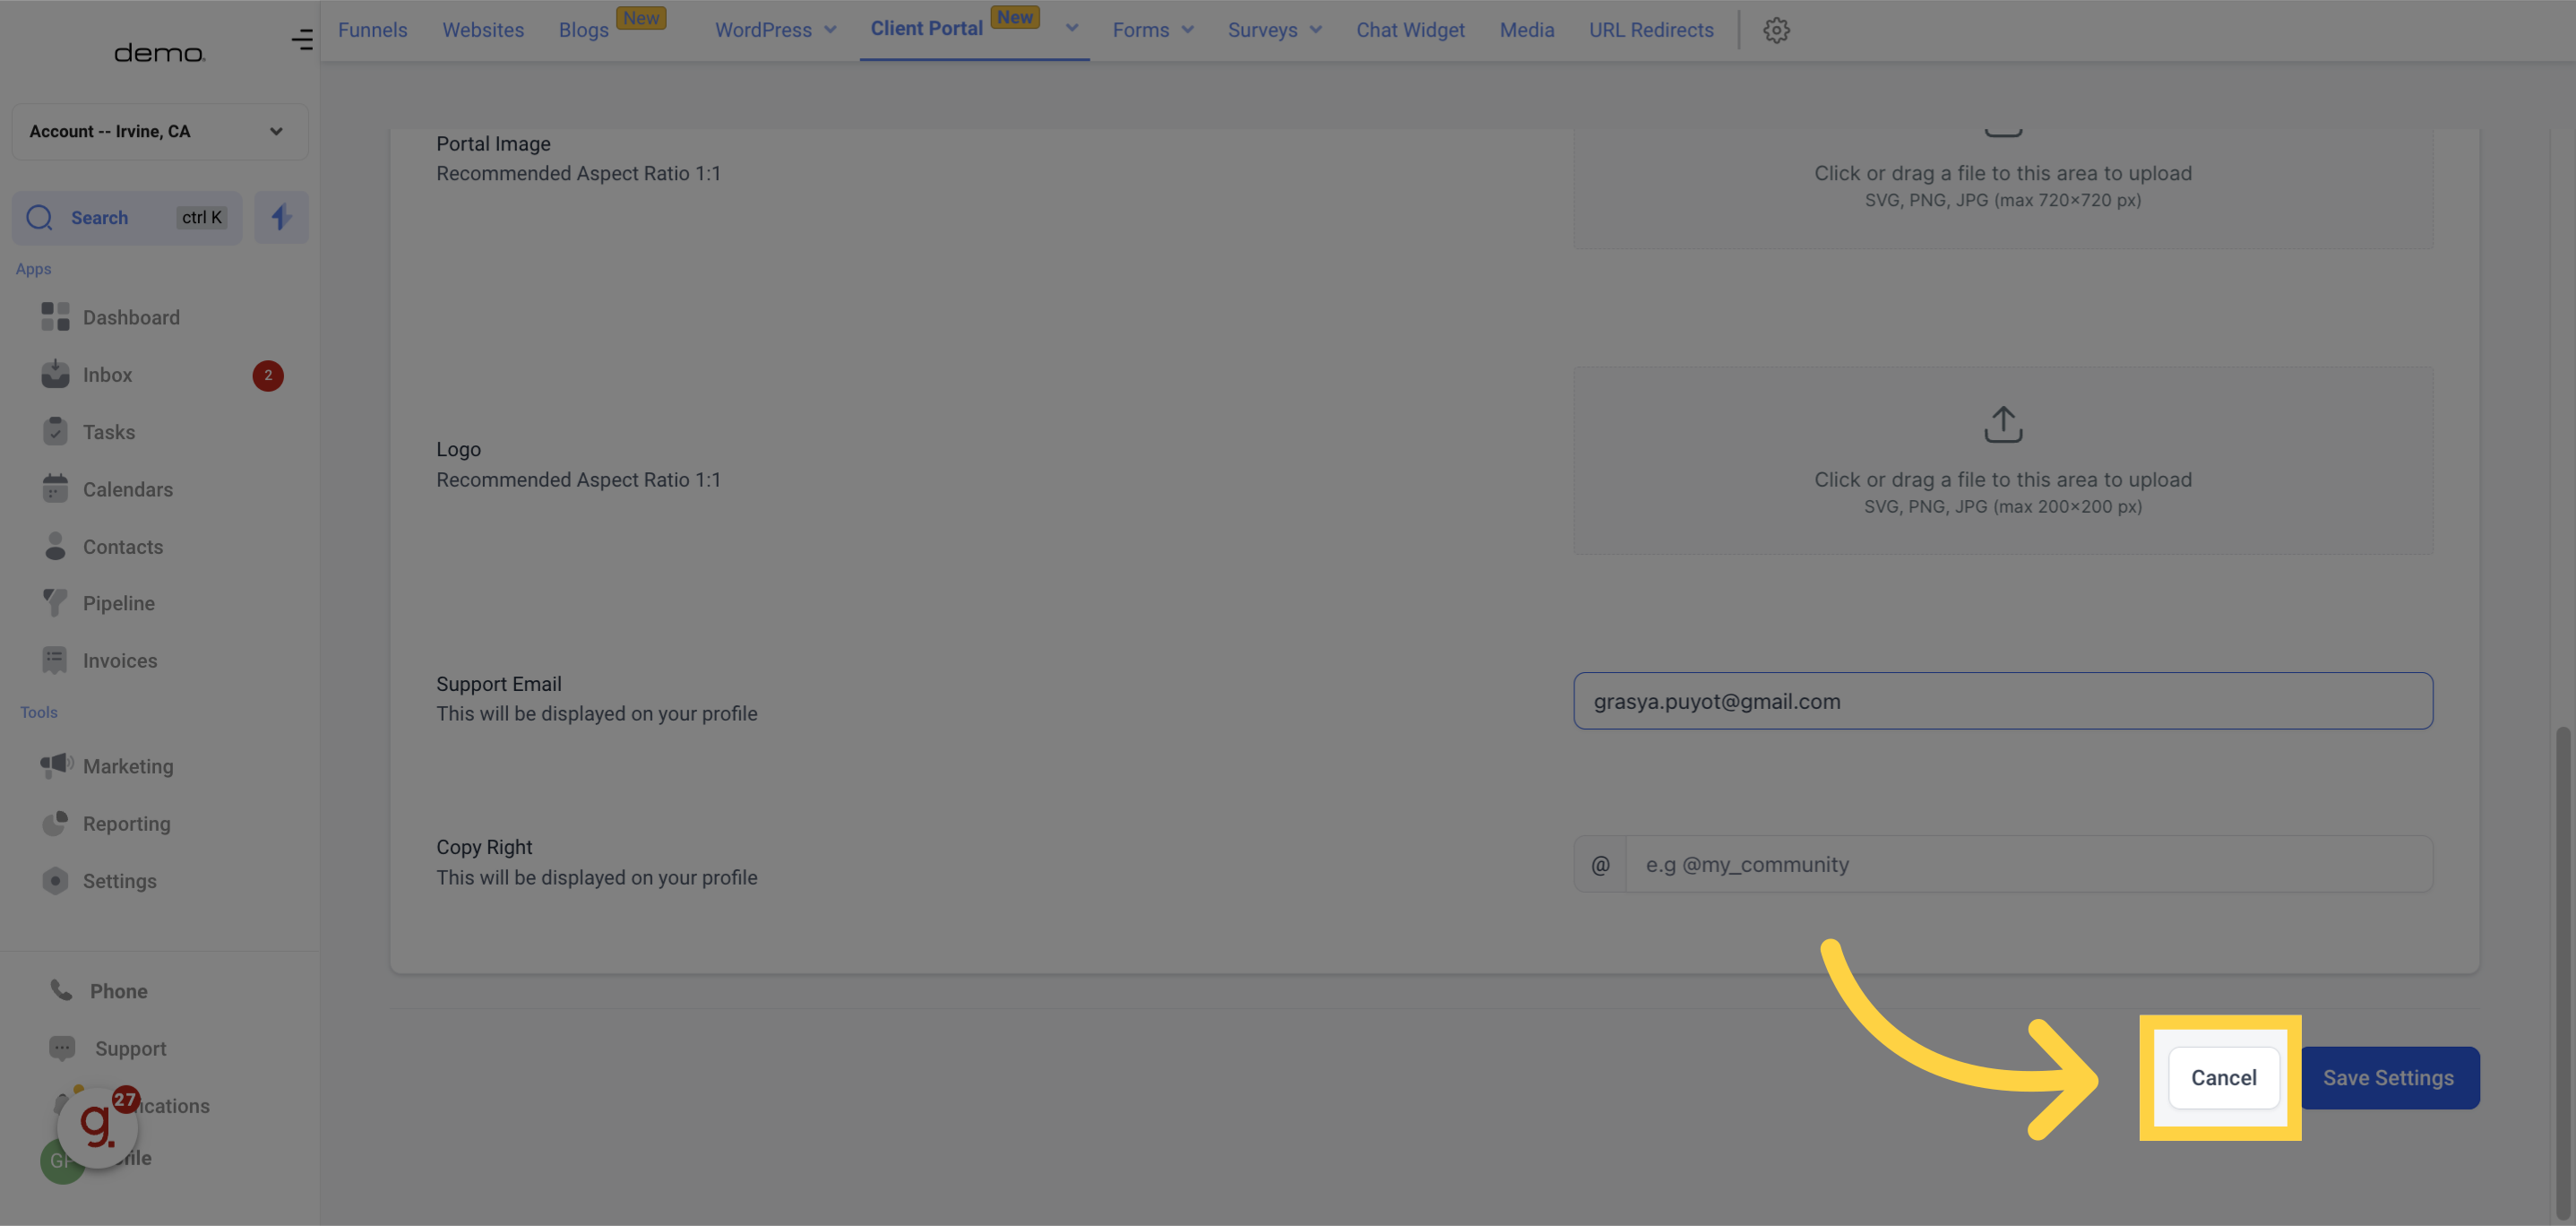
Remember to click "Save Settings" after making all desired adjustments, applying the customizations to your client portal.