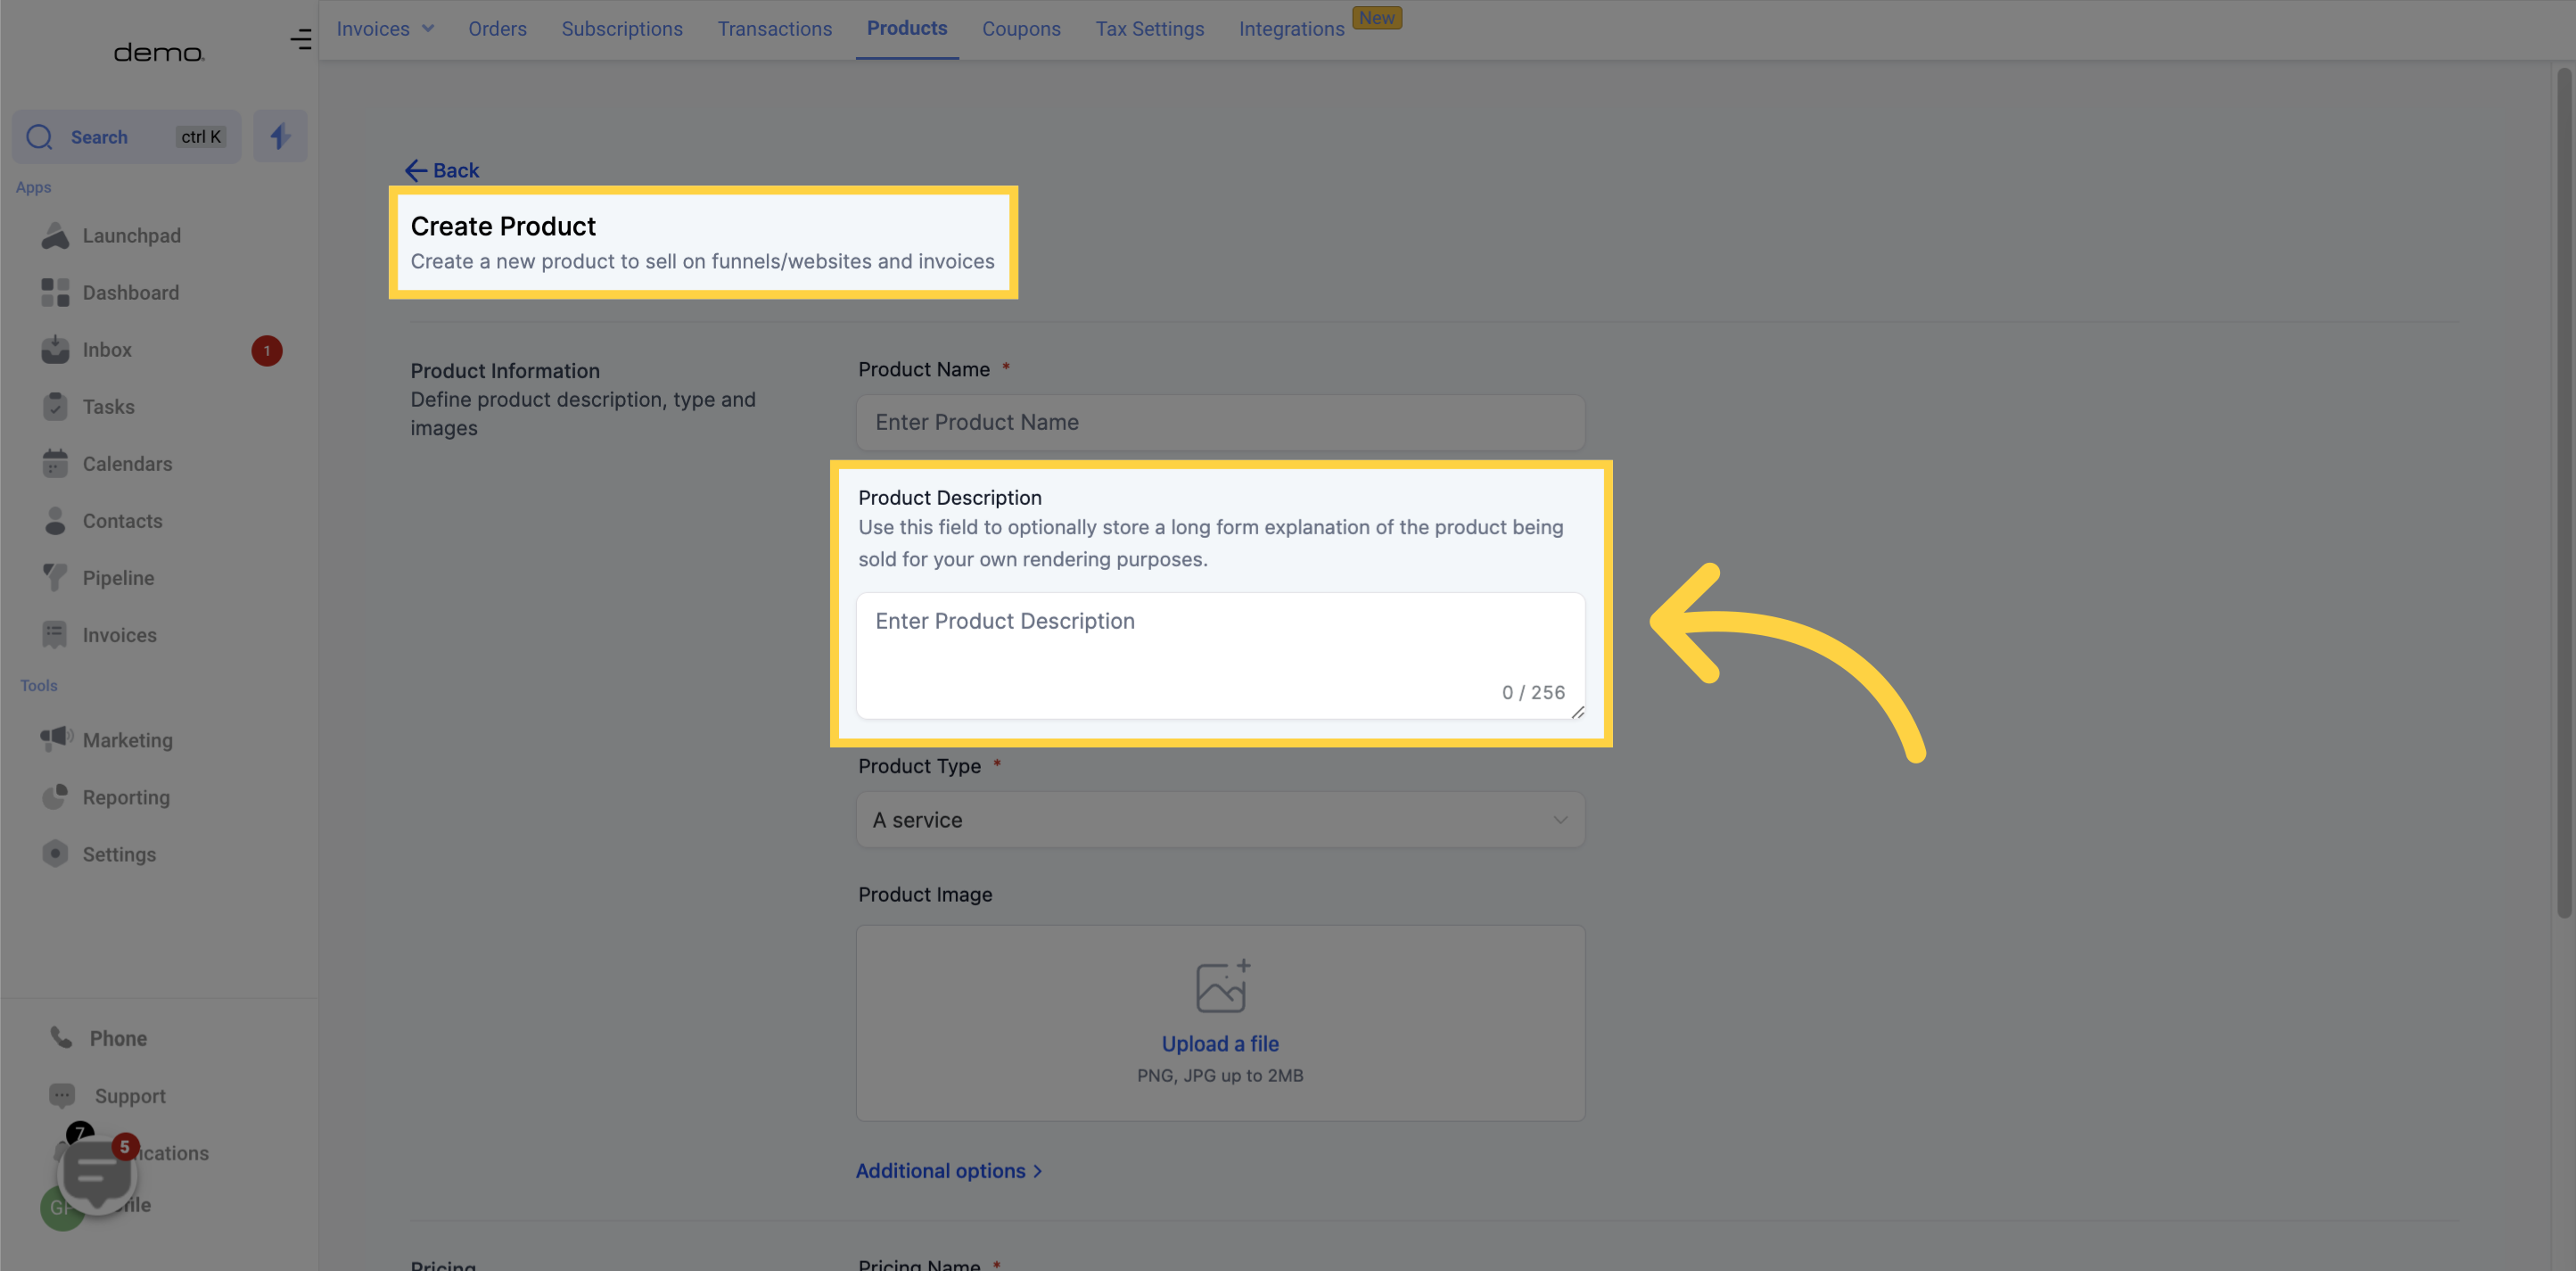
To start selling your product, the first step would be to name it.
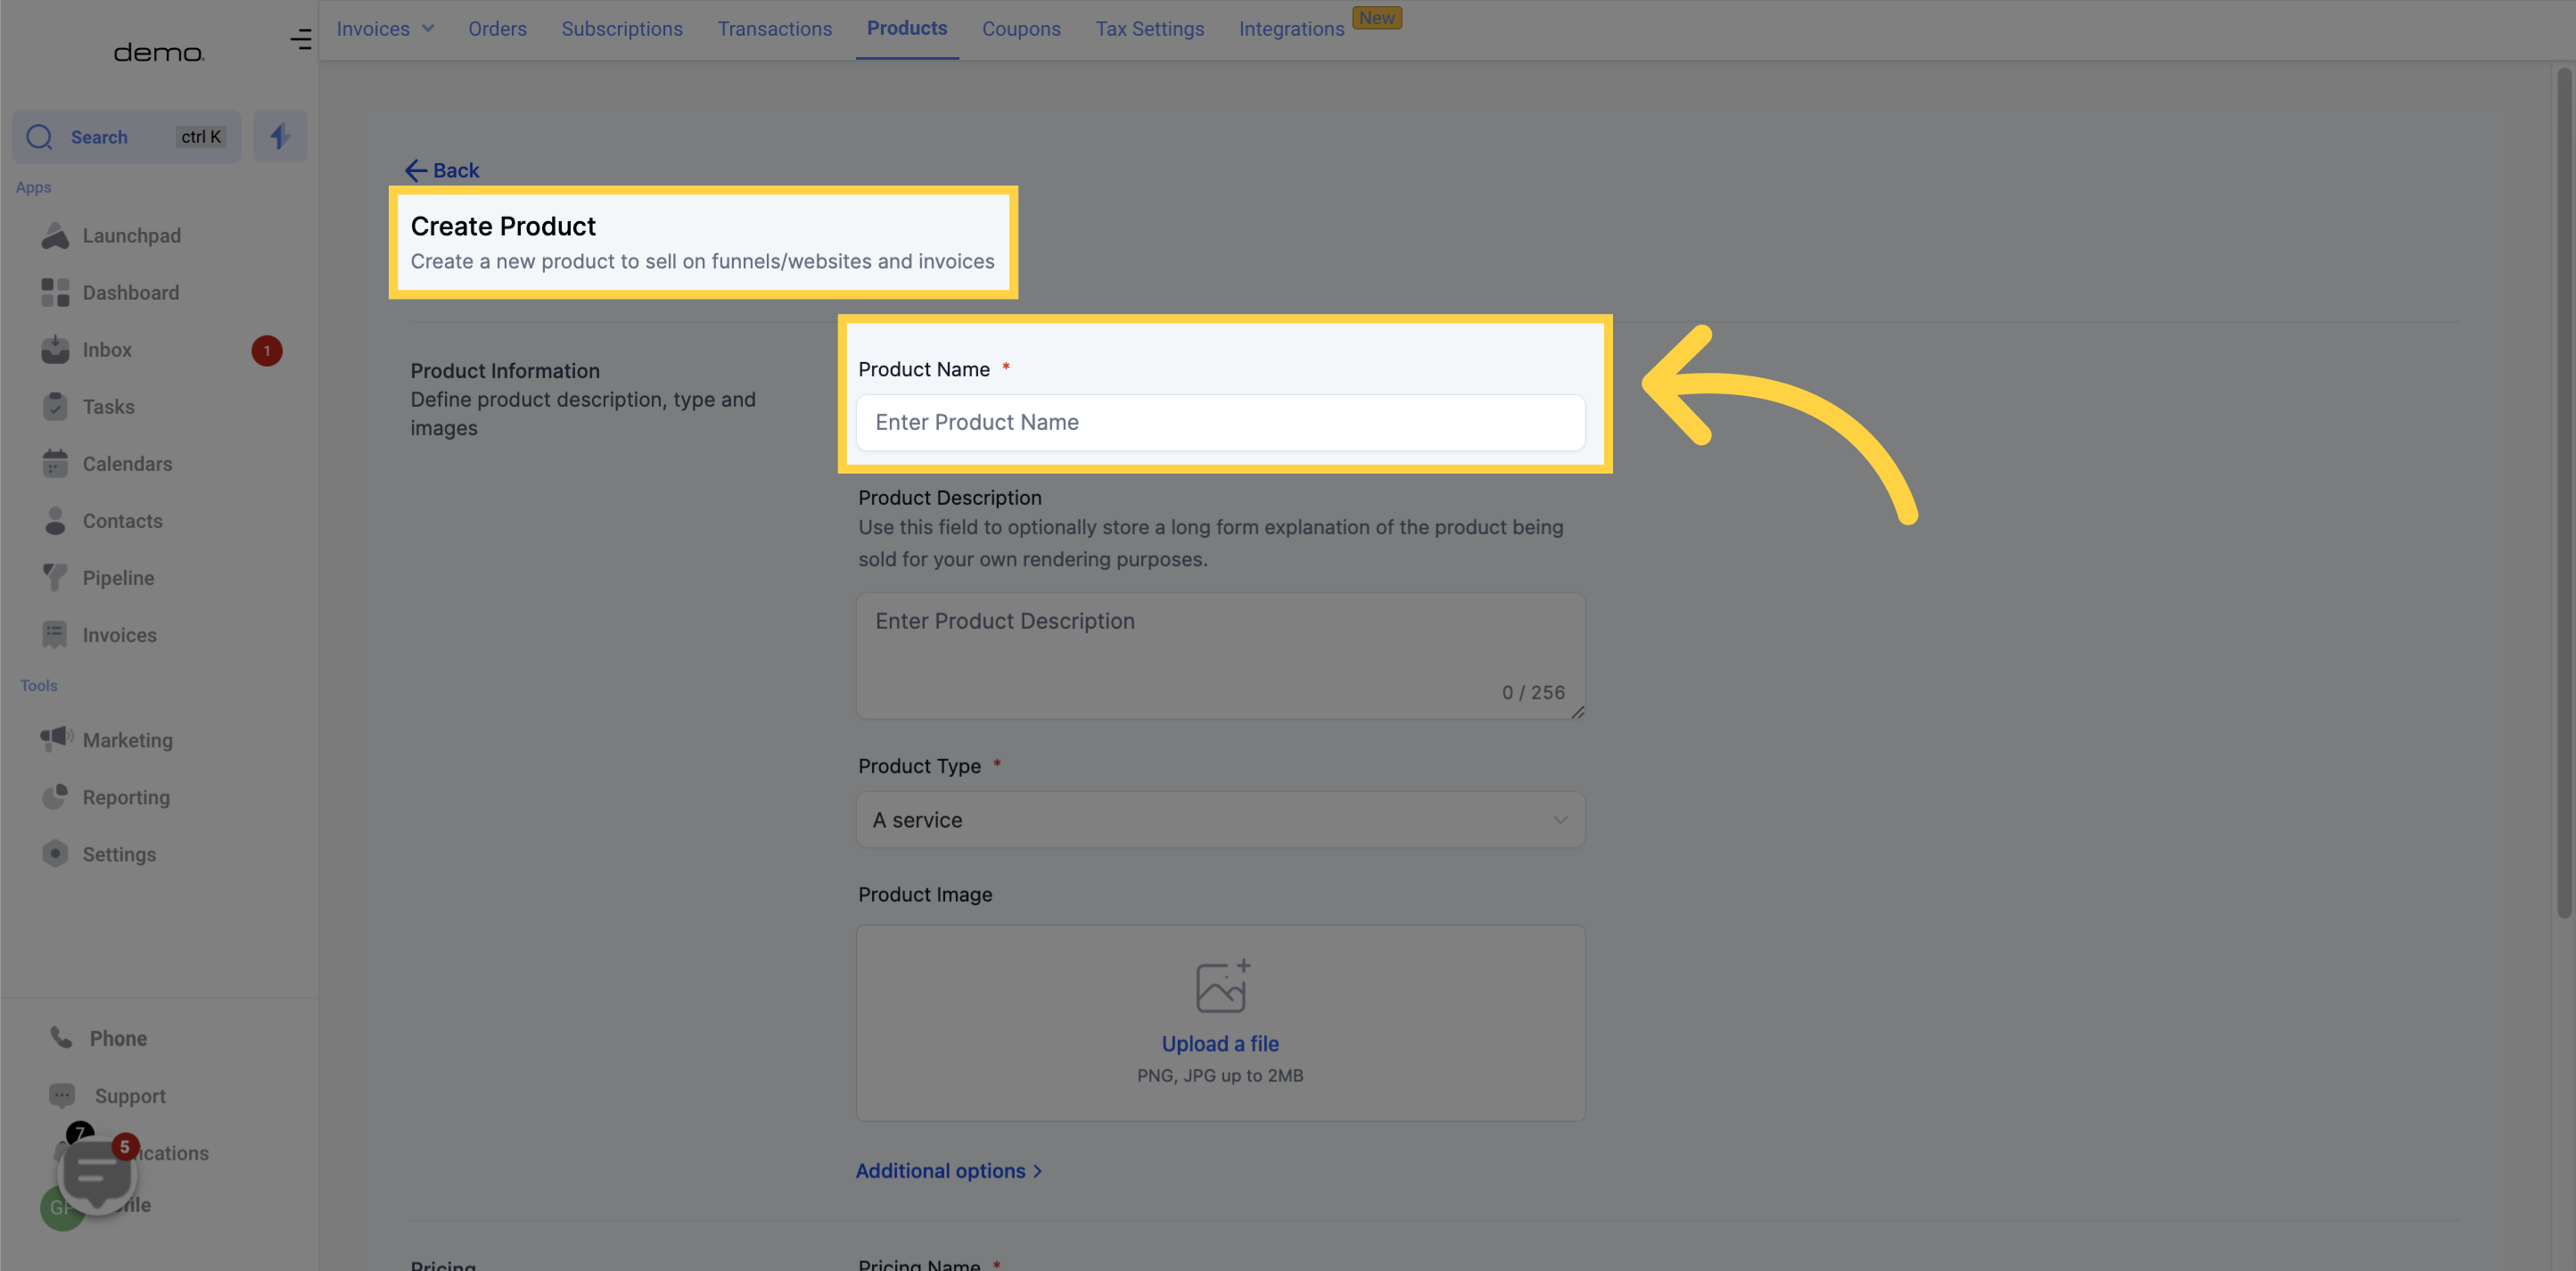
Once you have a name, you can use the product description field to provide a comprehensive explanation of the product you're selling.
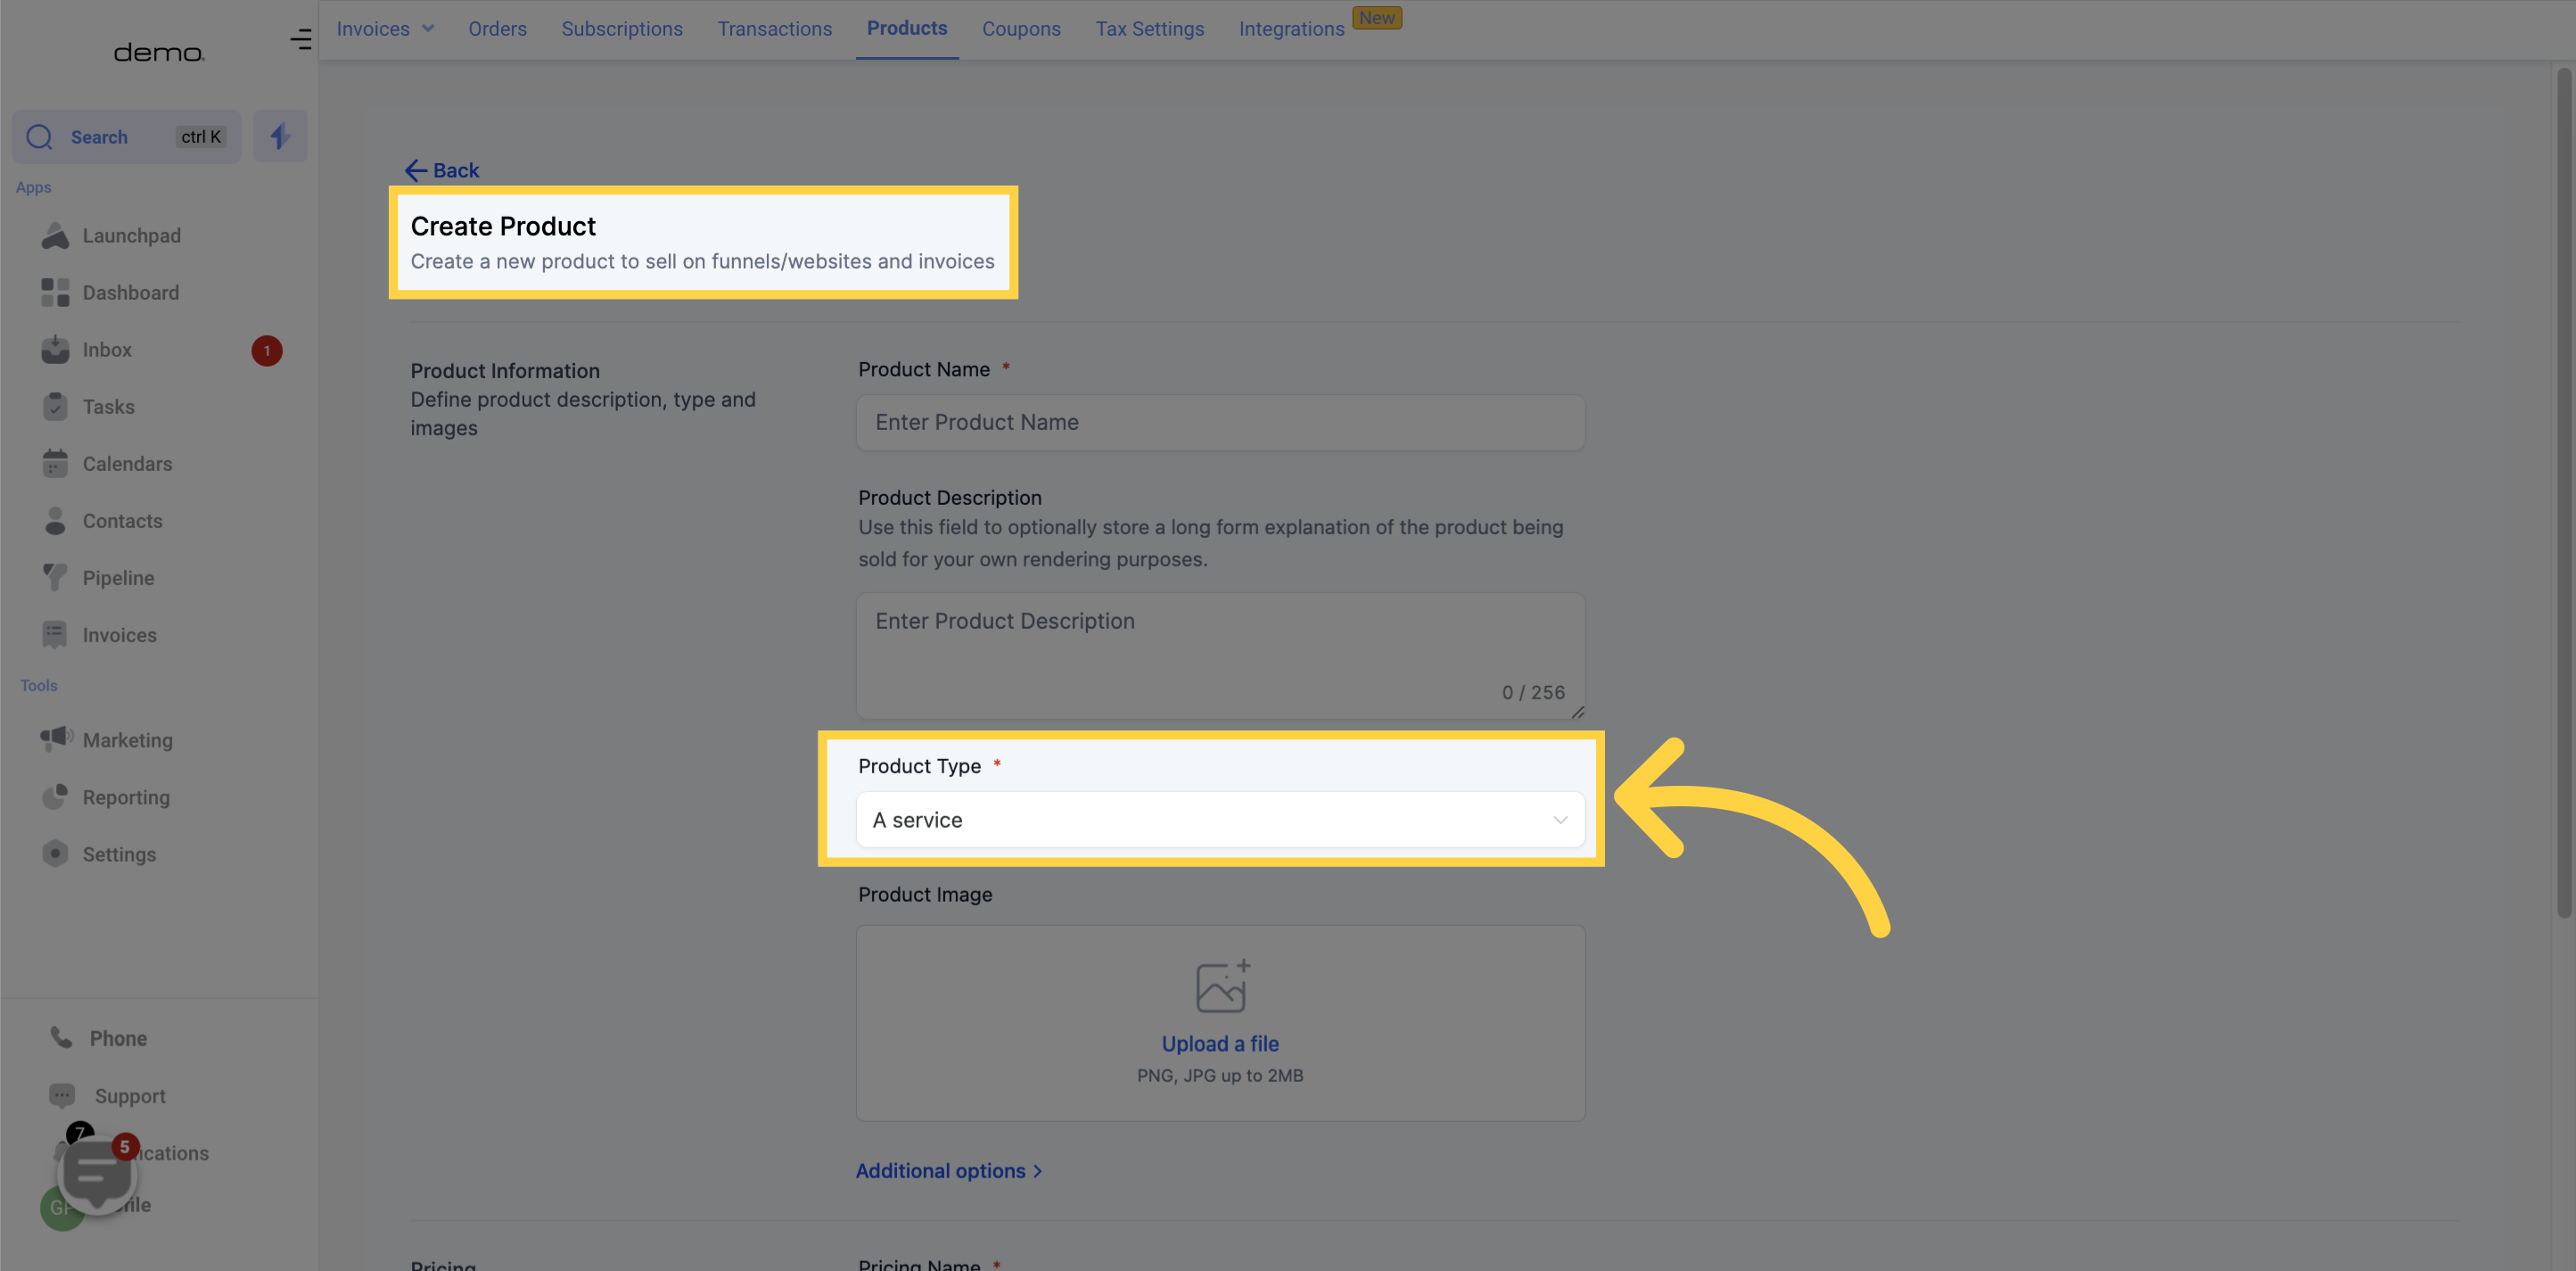
Please select the type of product that you are creating from the options below:
Physical Goods
Digital Goods
Service
Make a selection based on the type of product you are offering.
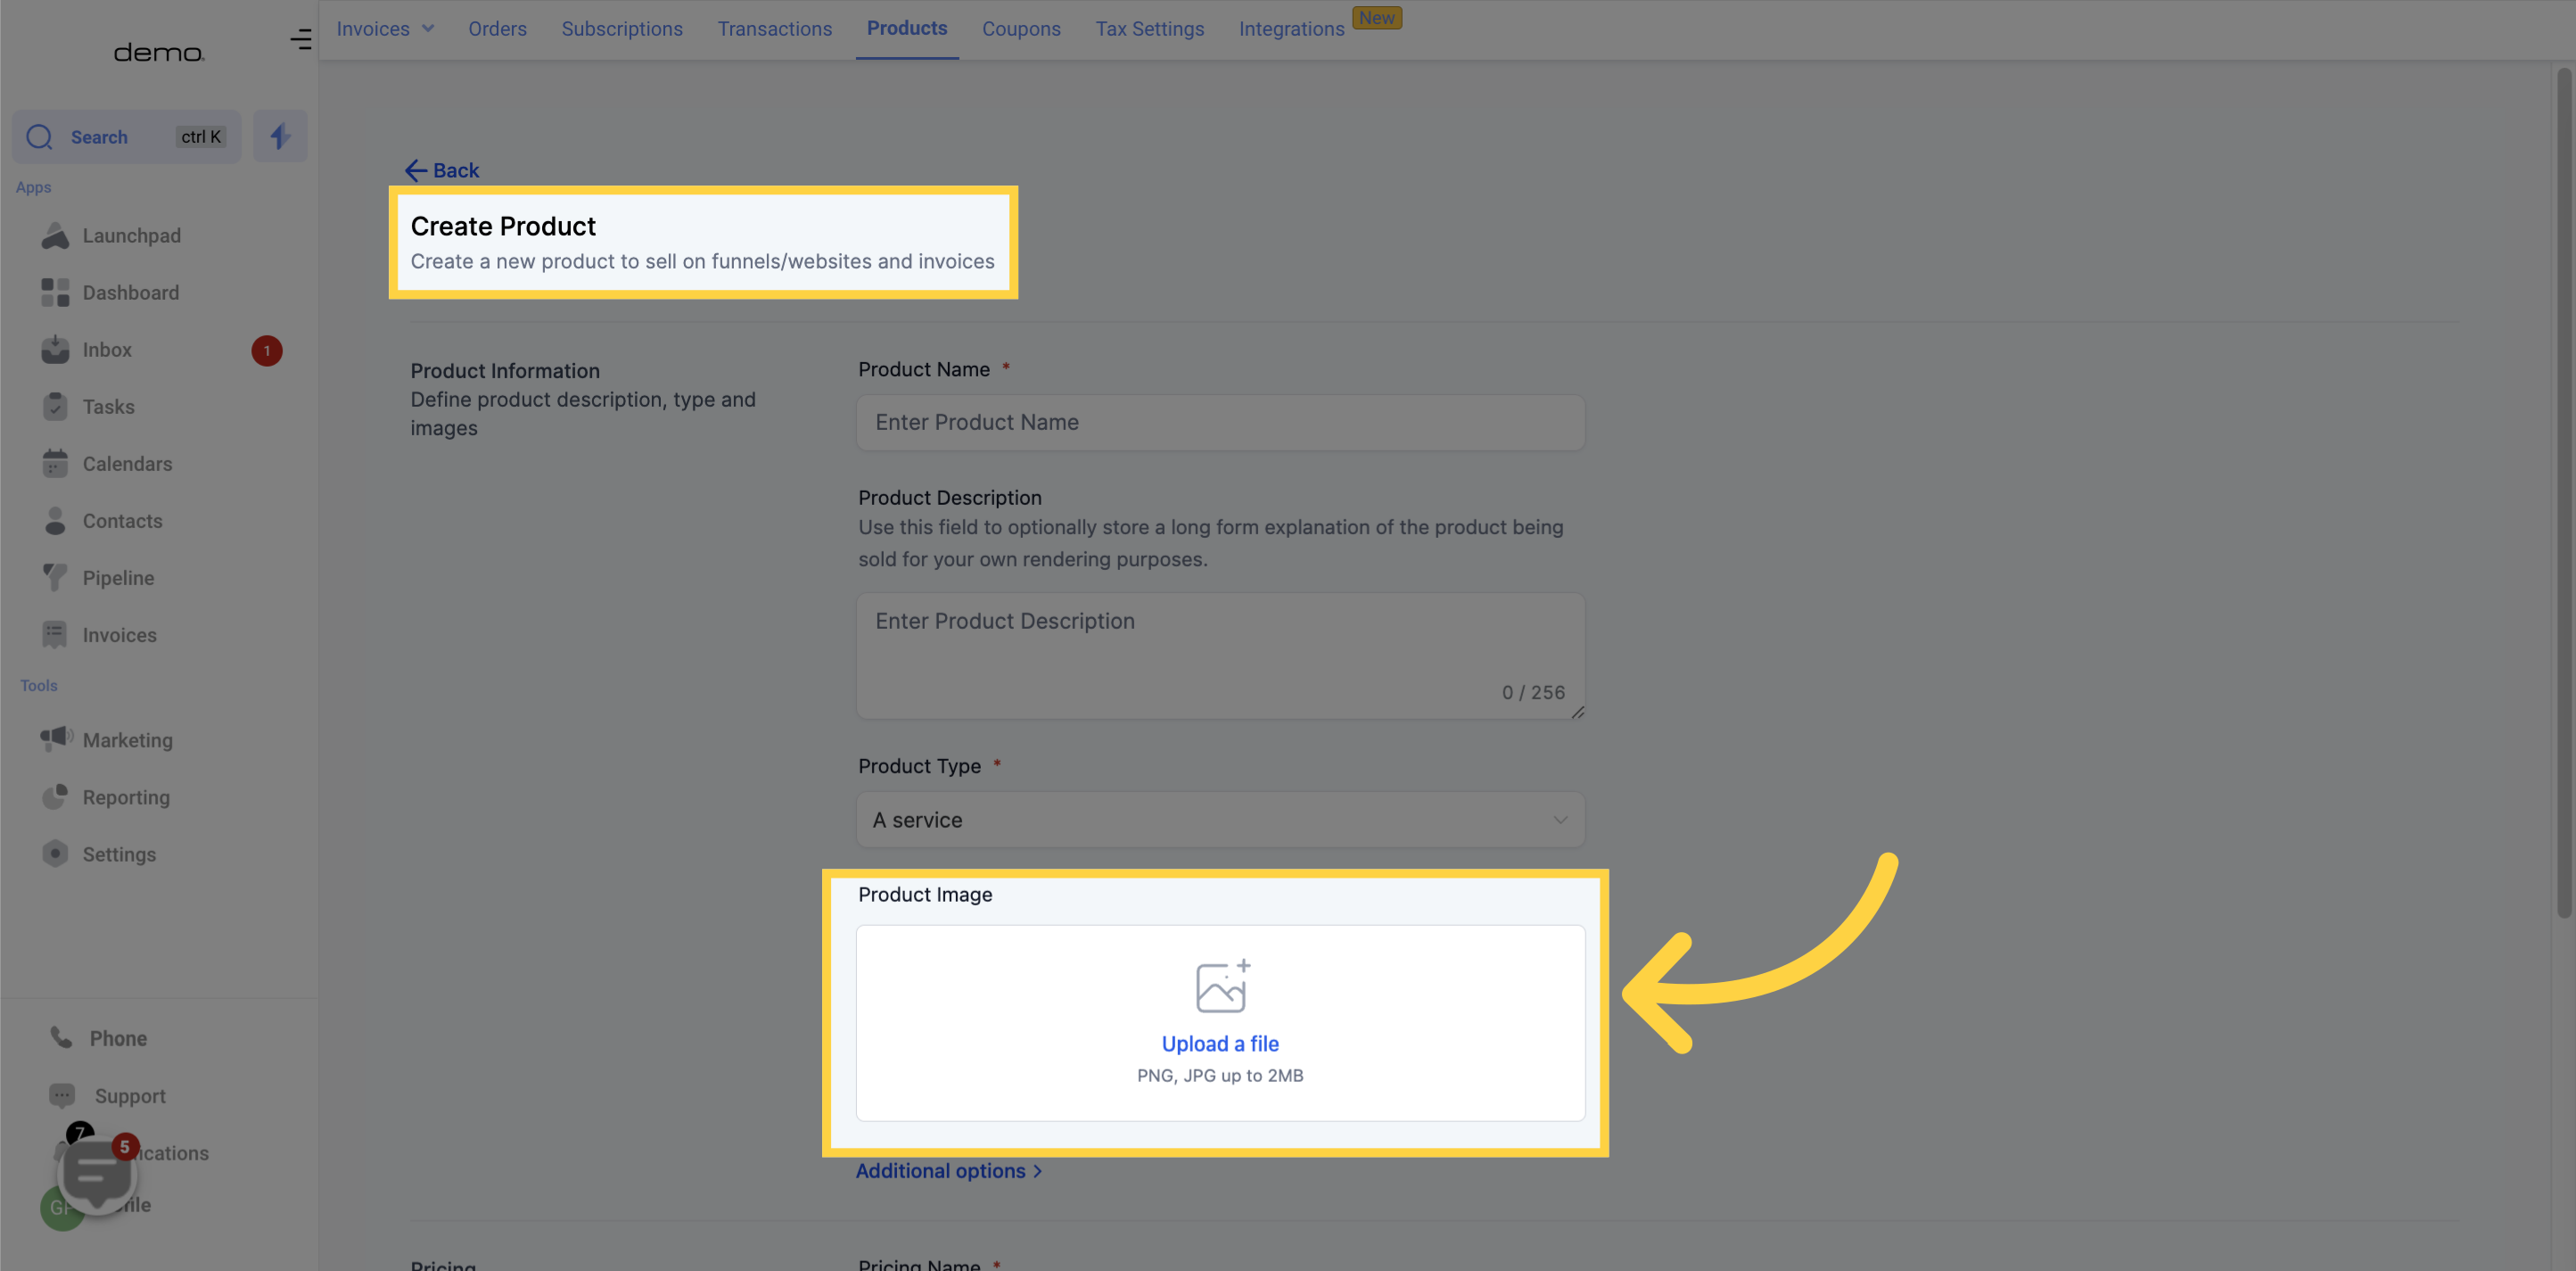
If you would like to add an image to your product, you can easily upload one here. We support PNG and JPG image files, with a maximum file size of 2MB.
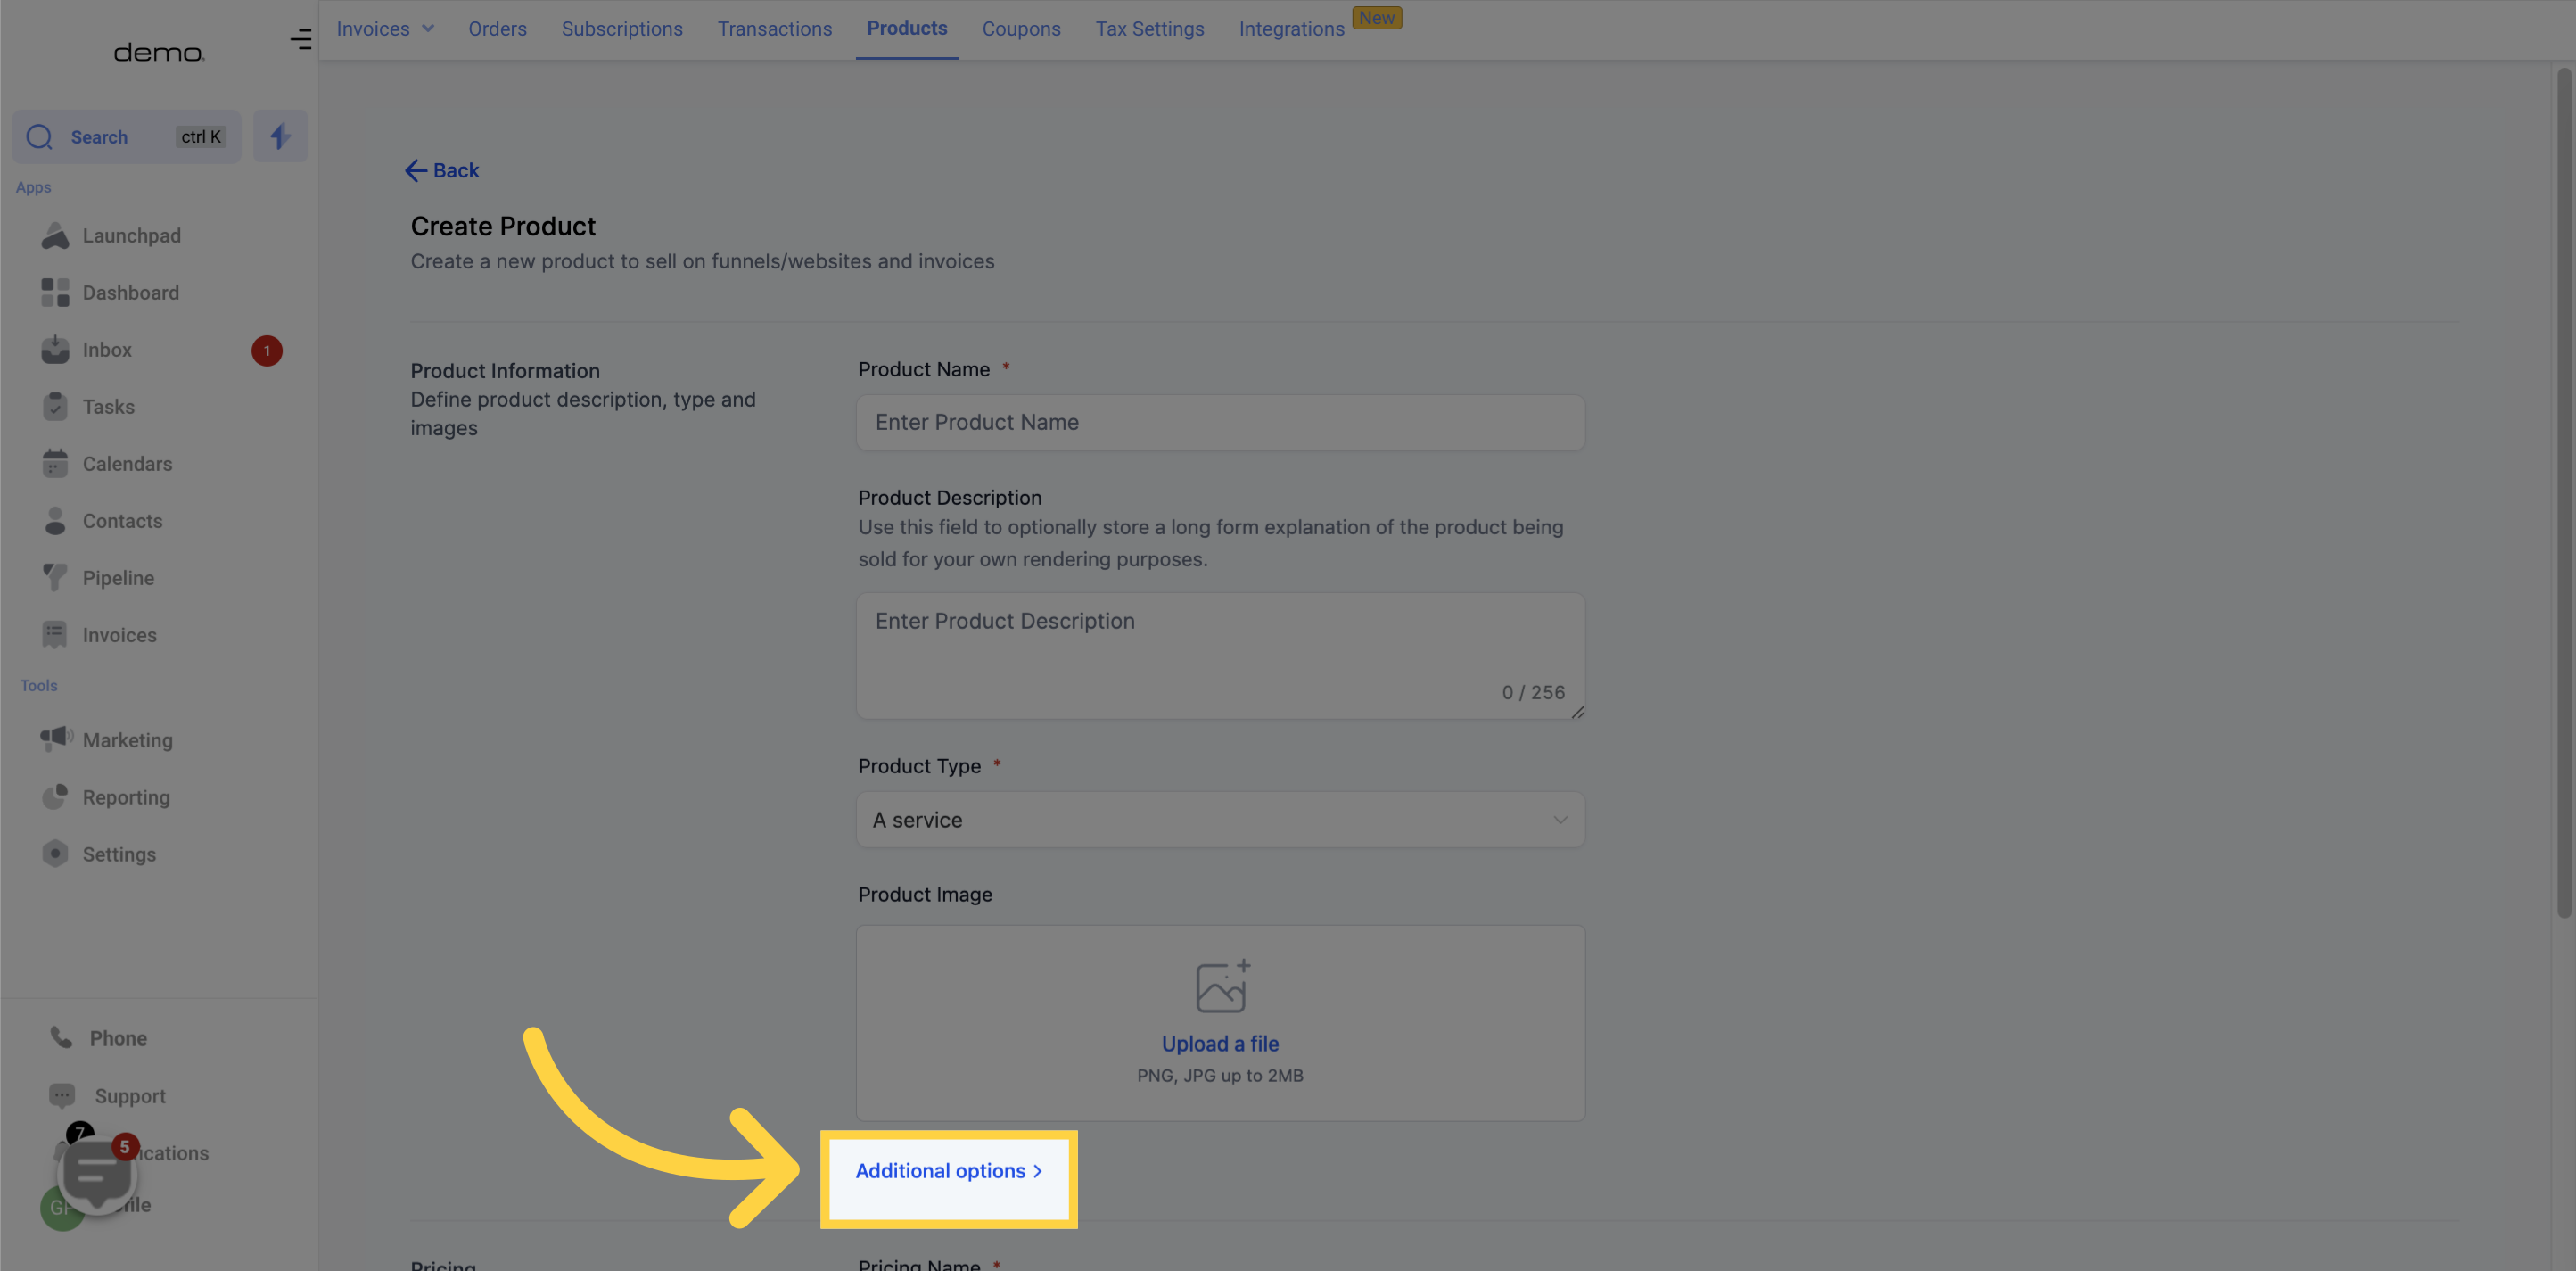
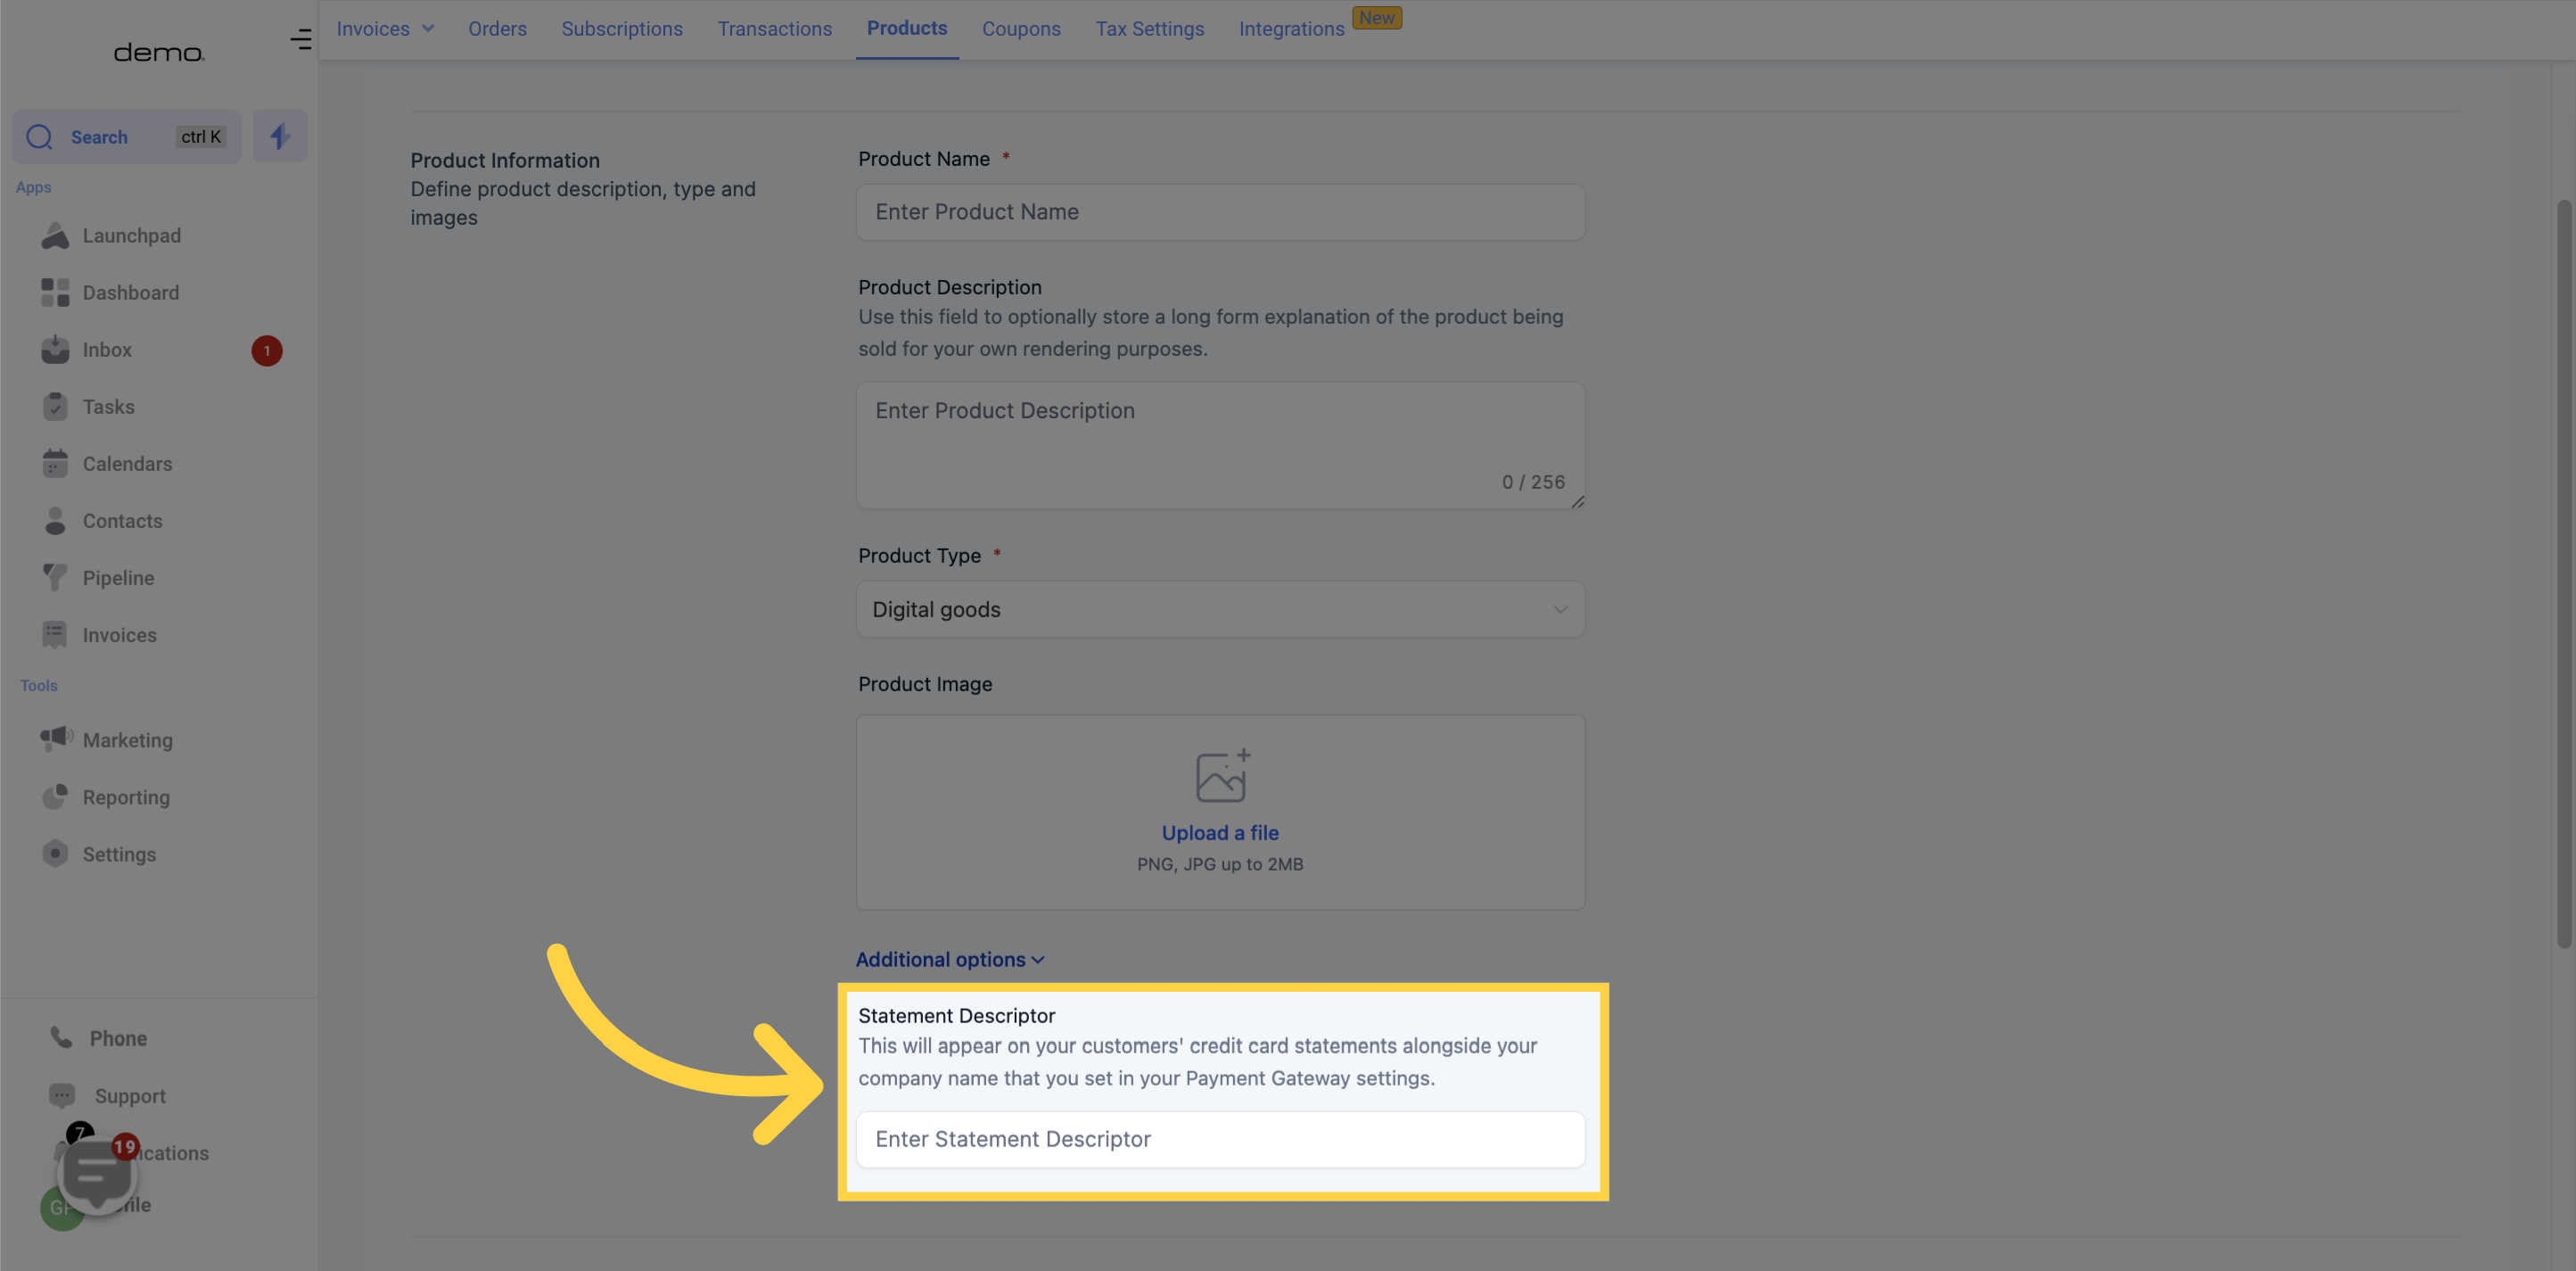
Please enter a short description for your product that will appear on your customer's credit card statement.
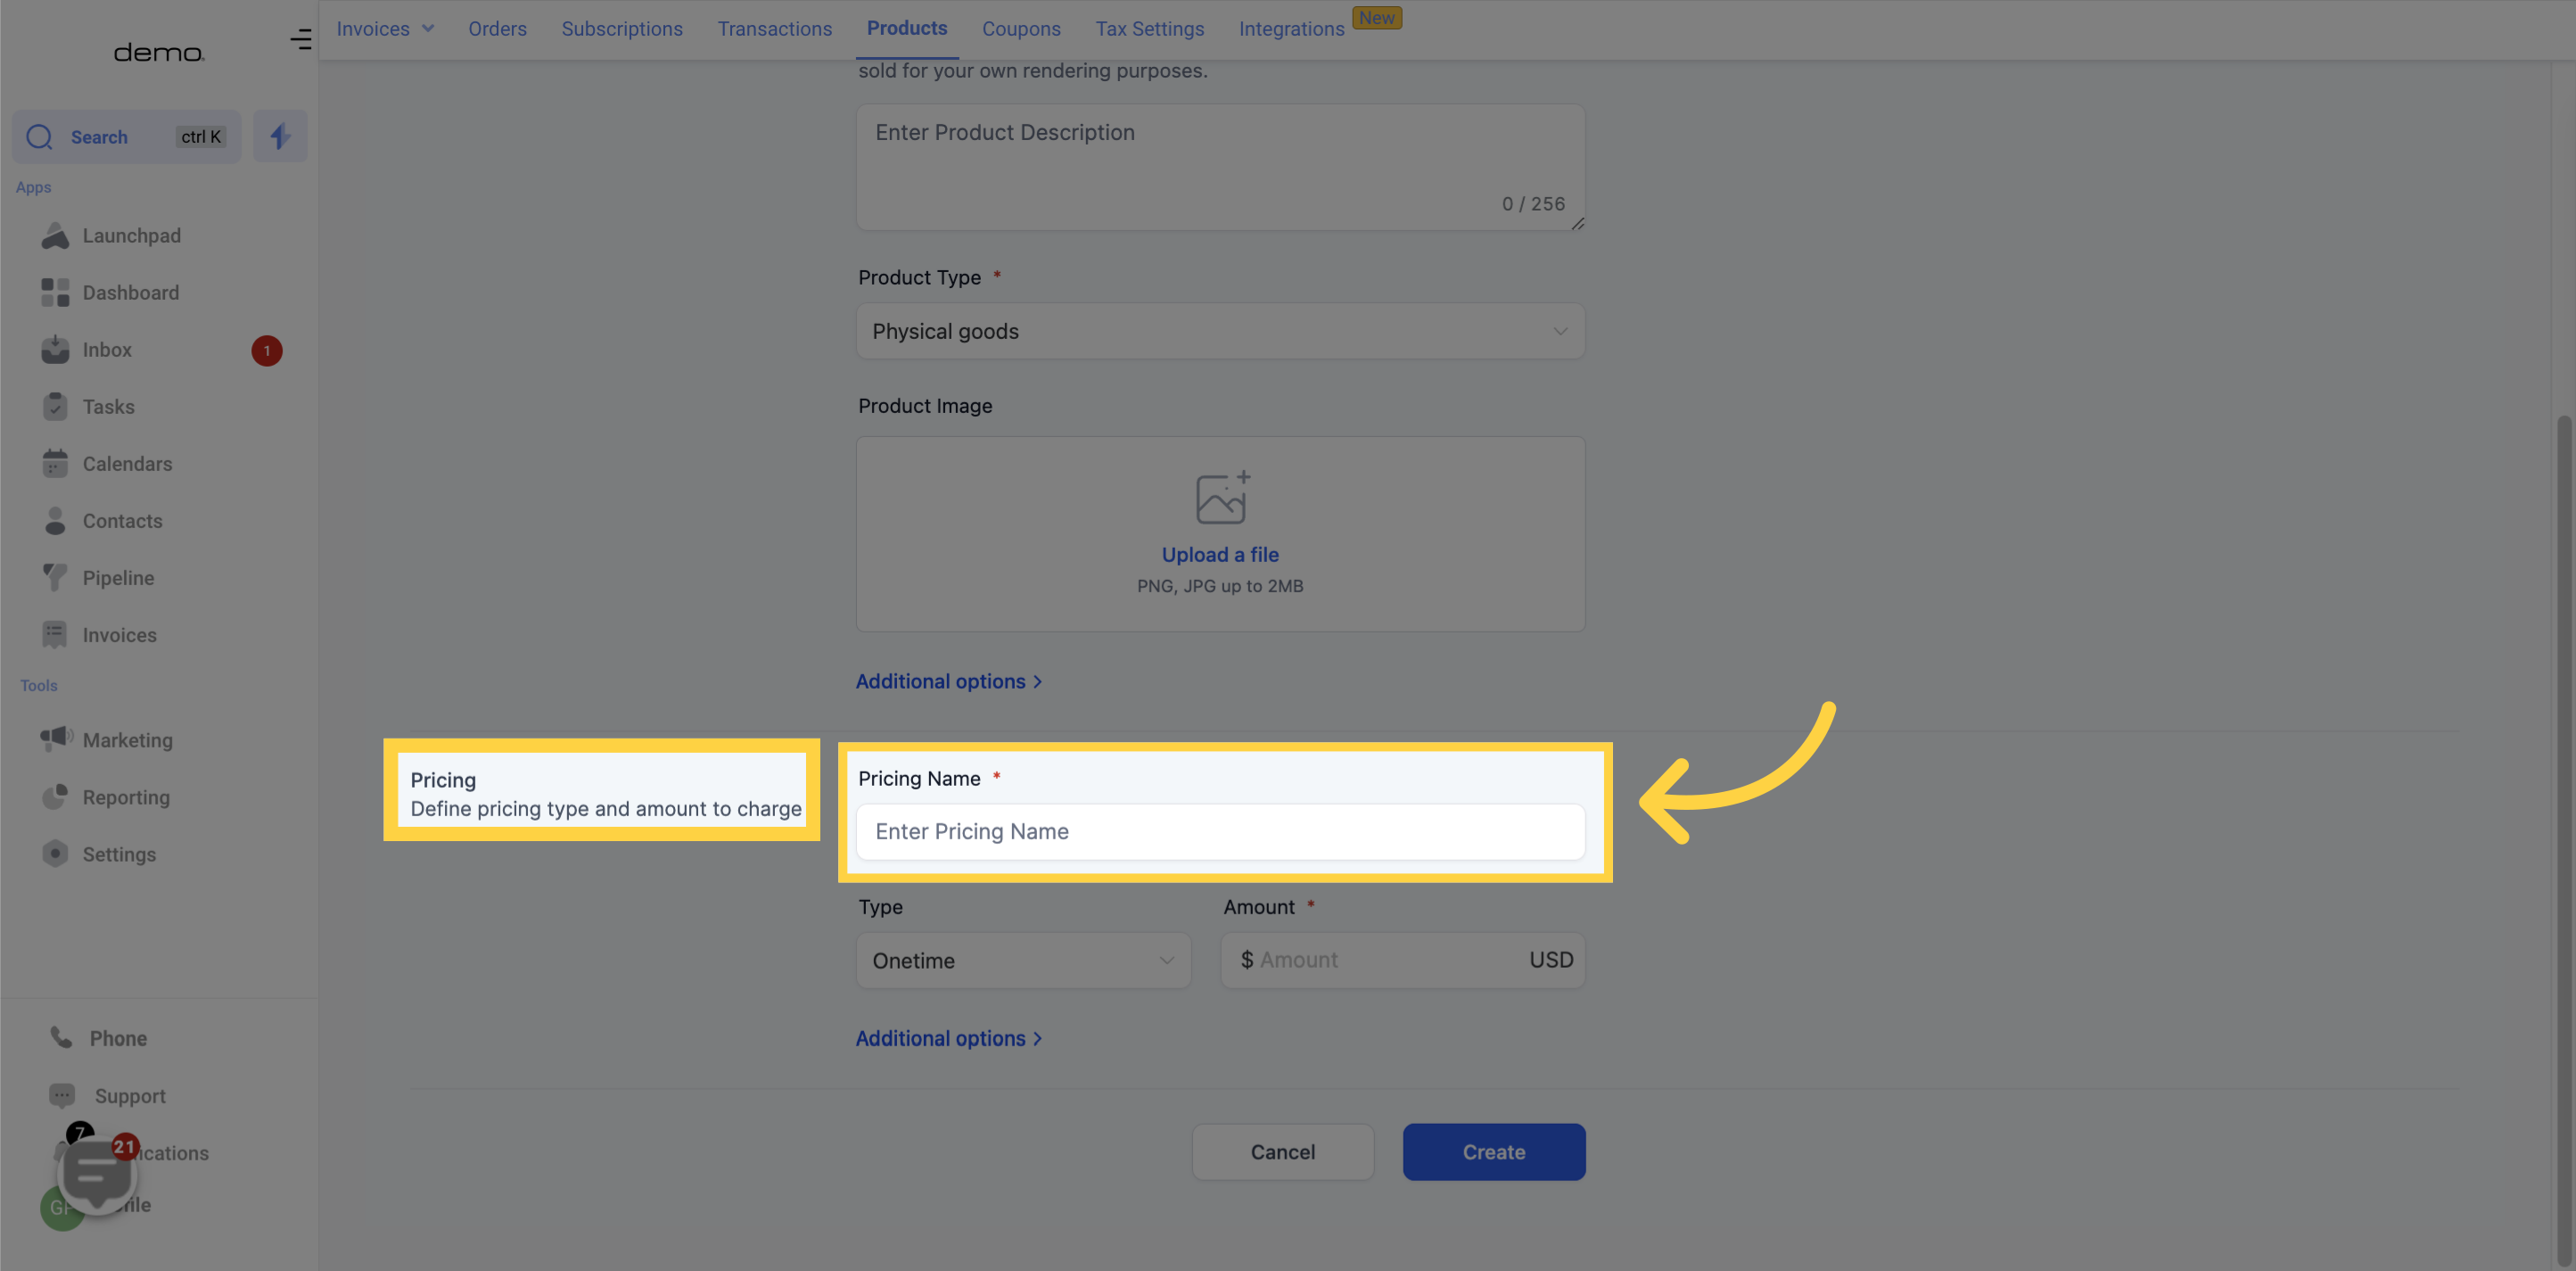
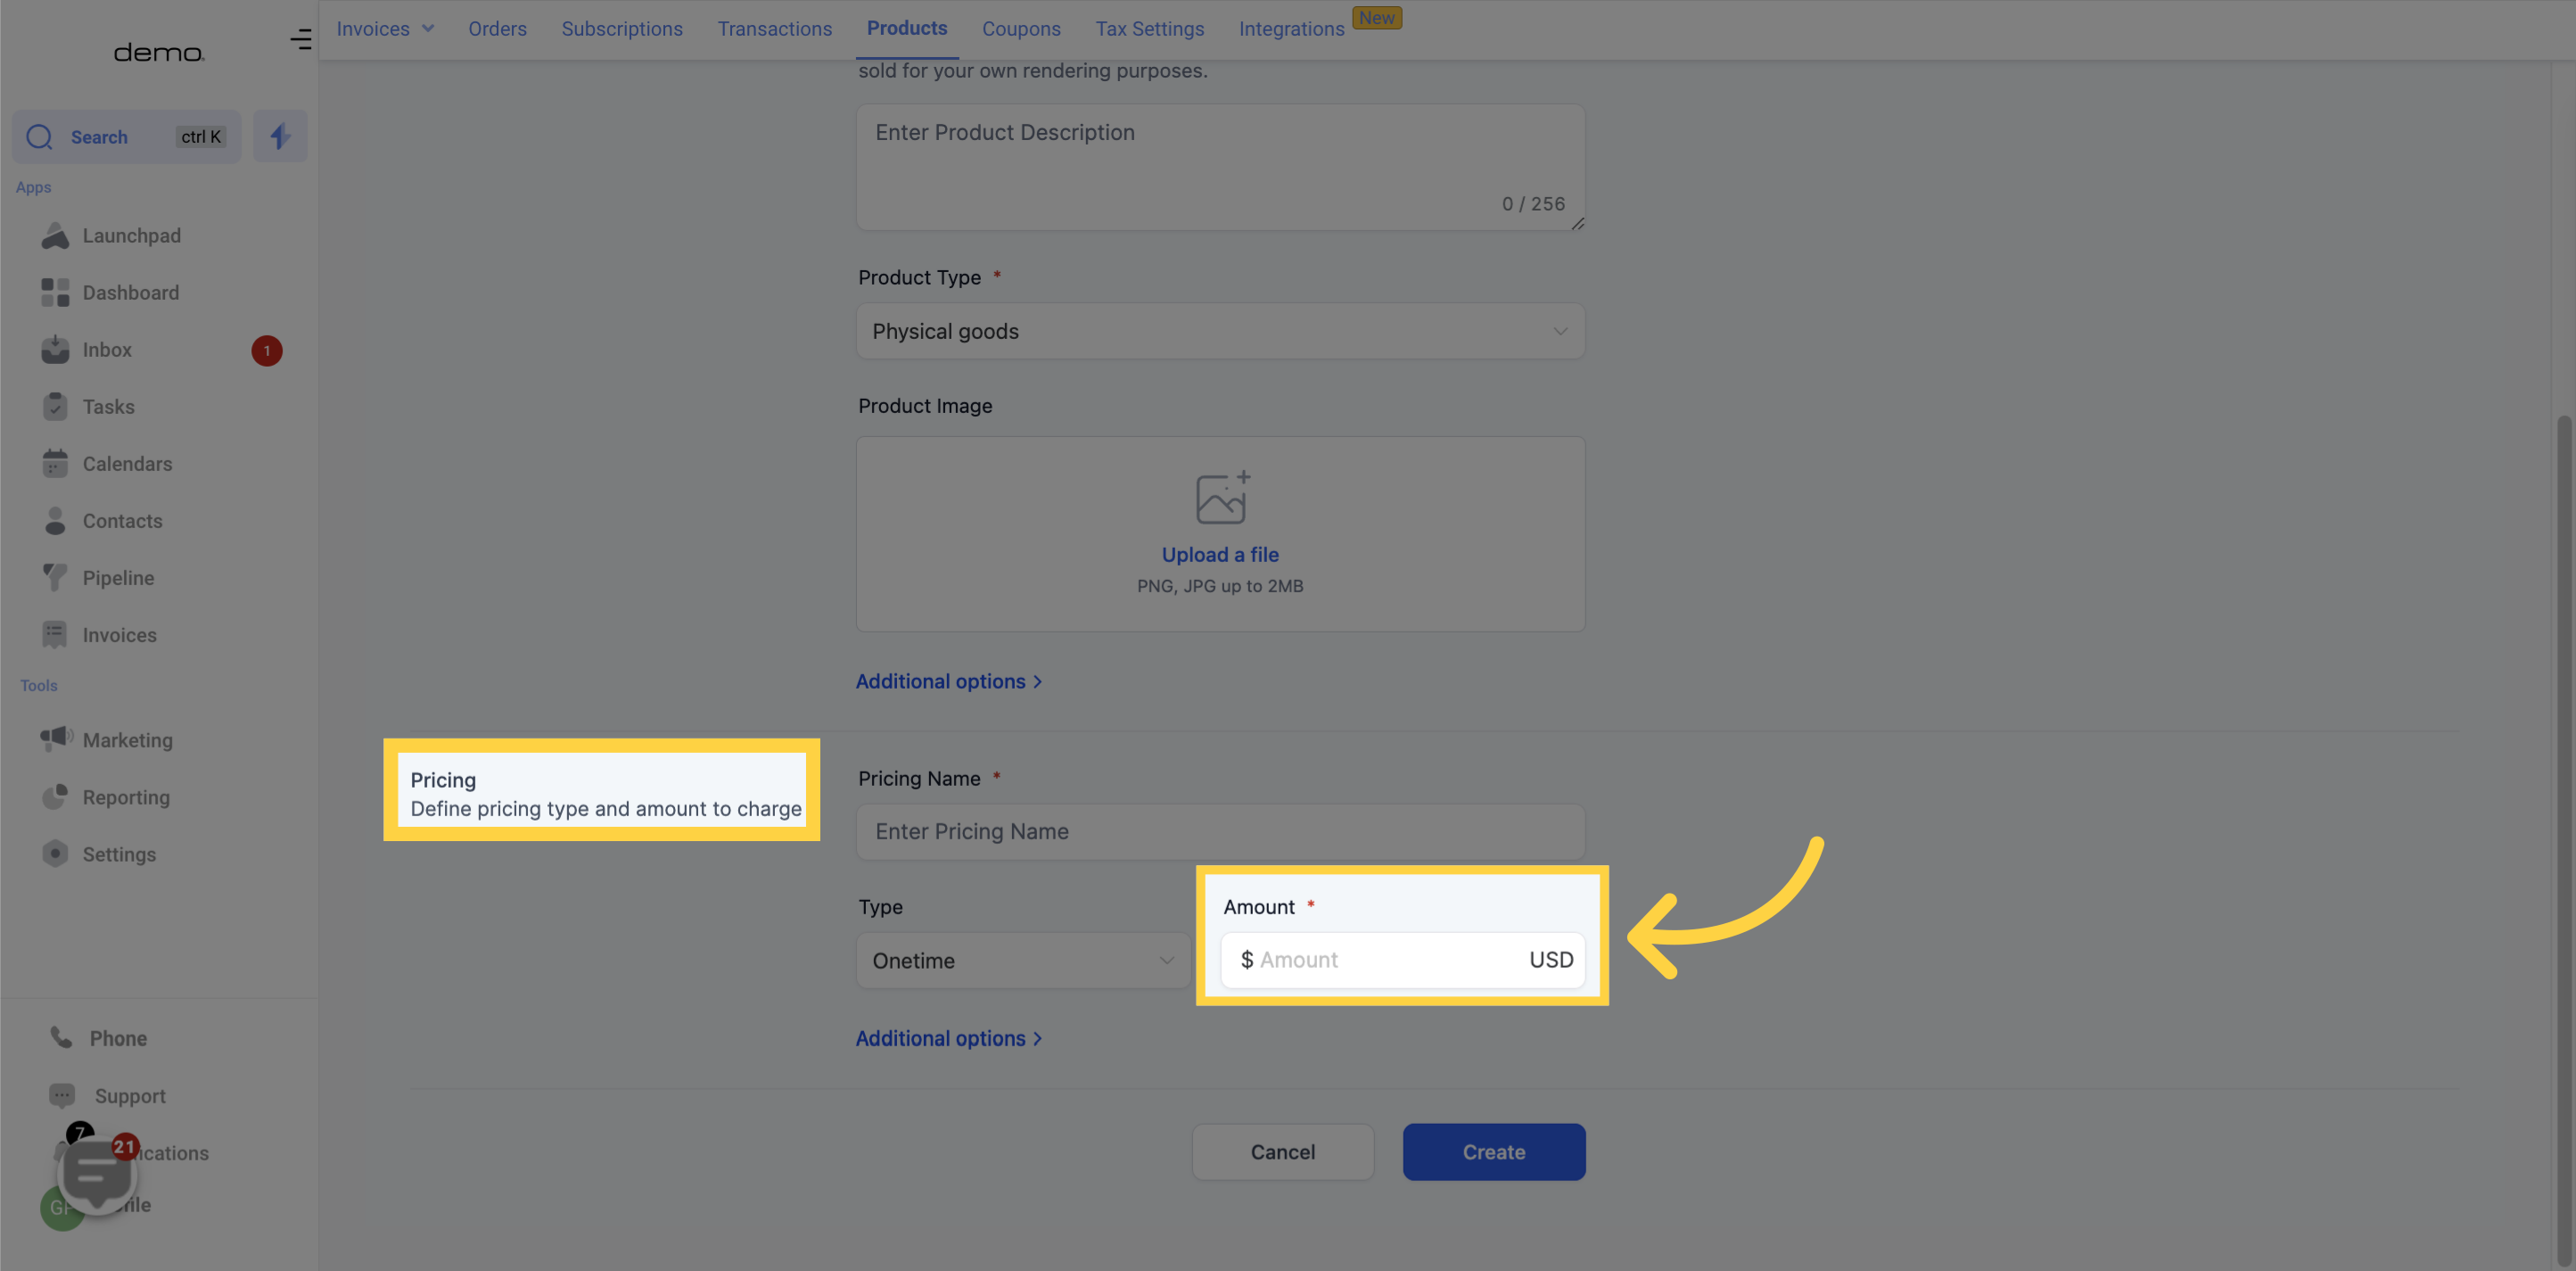
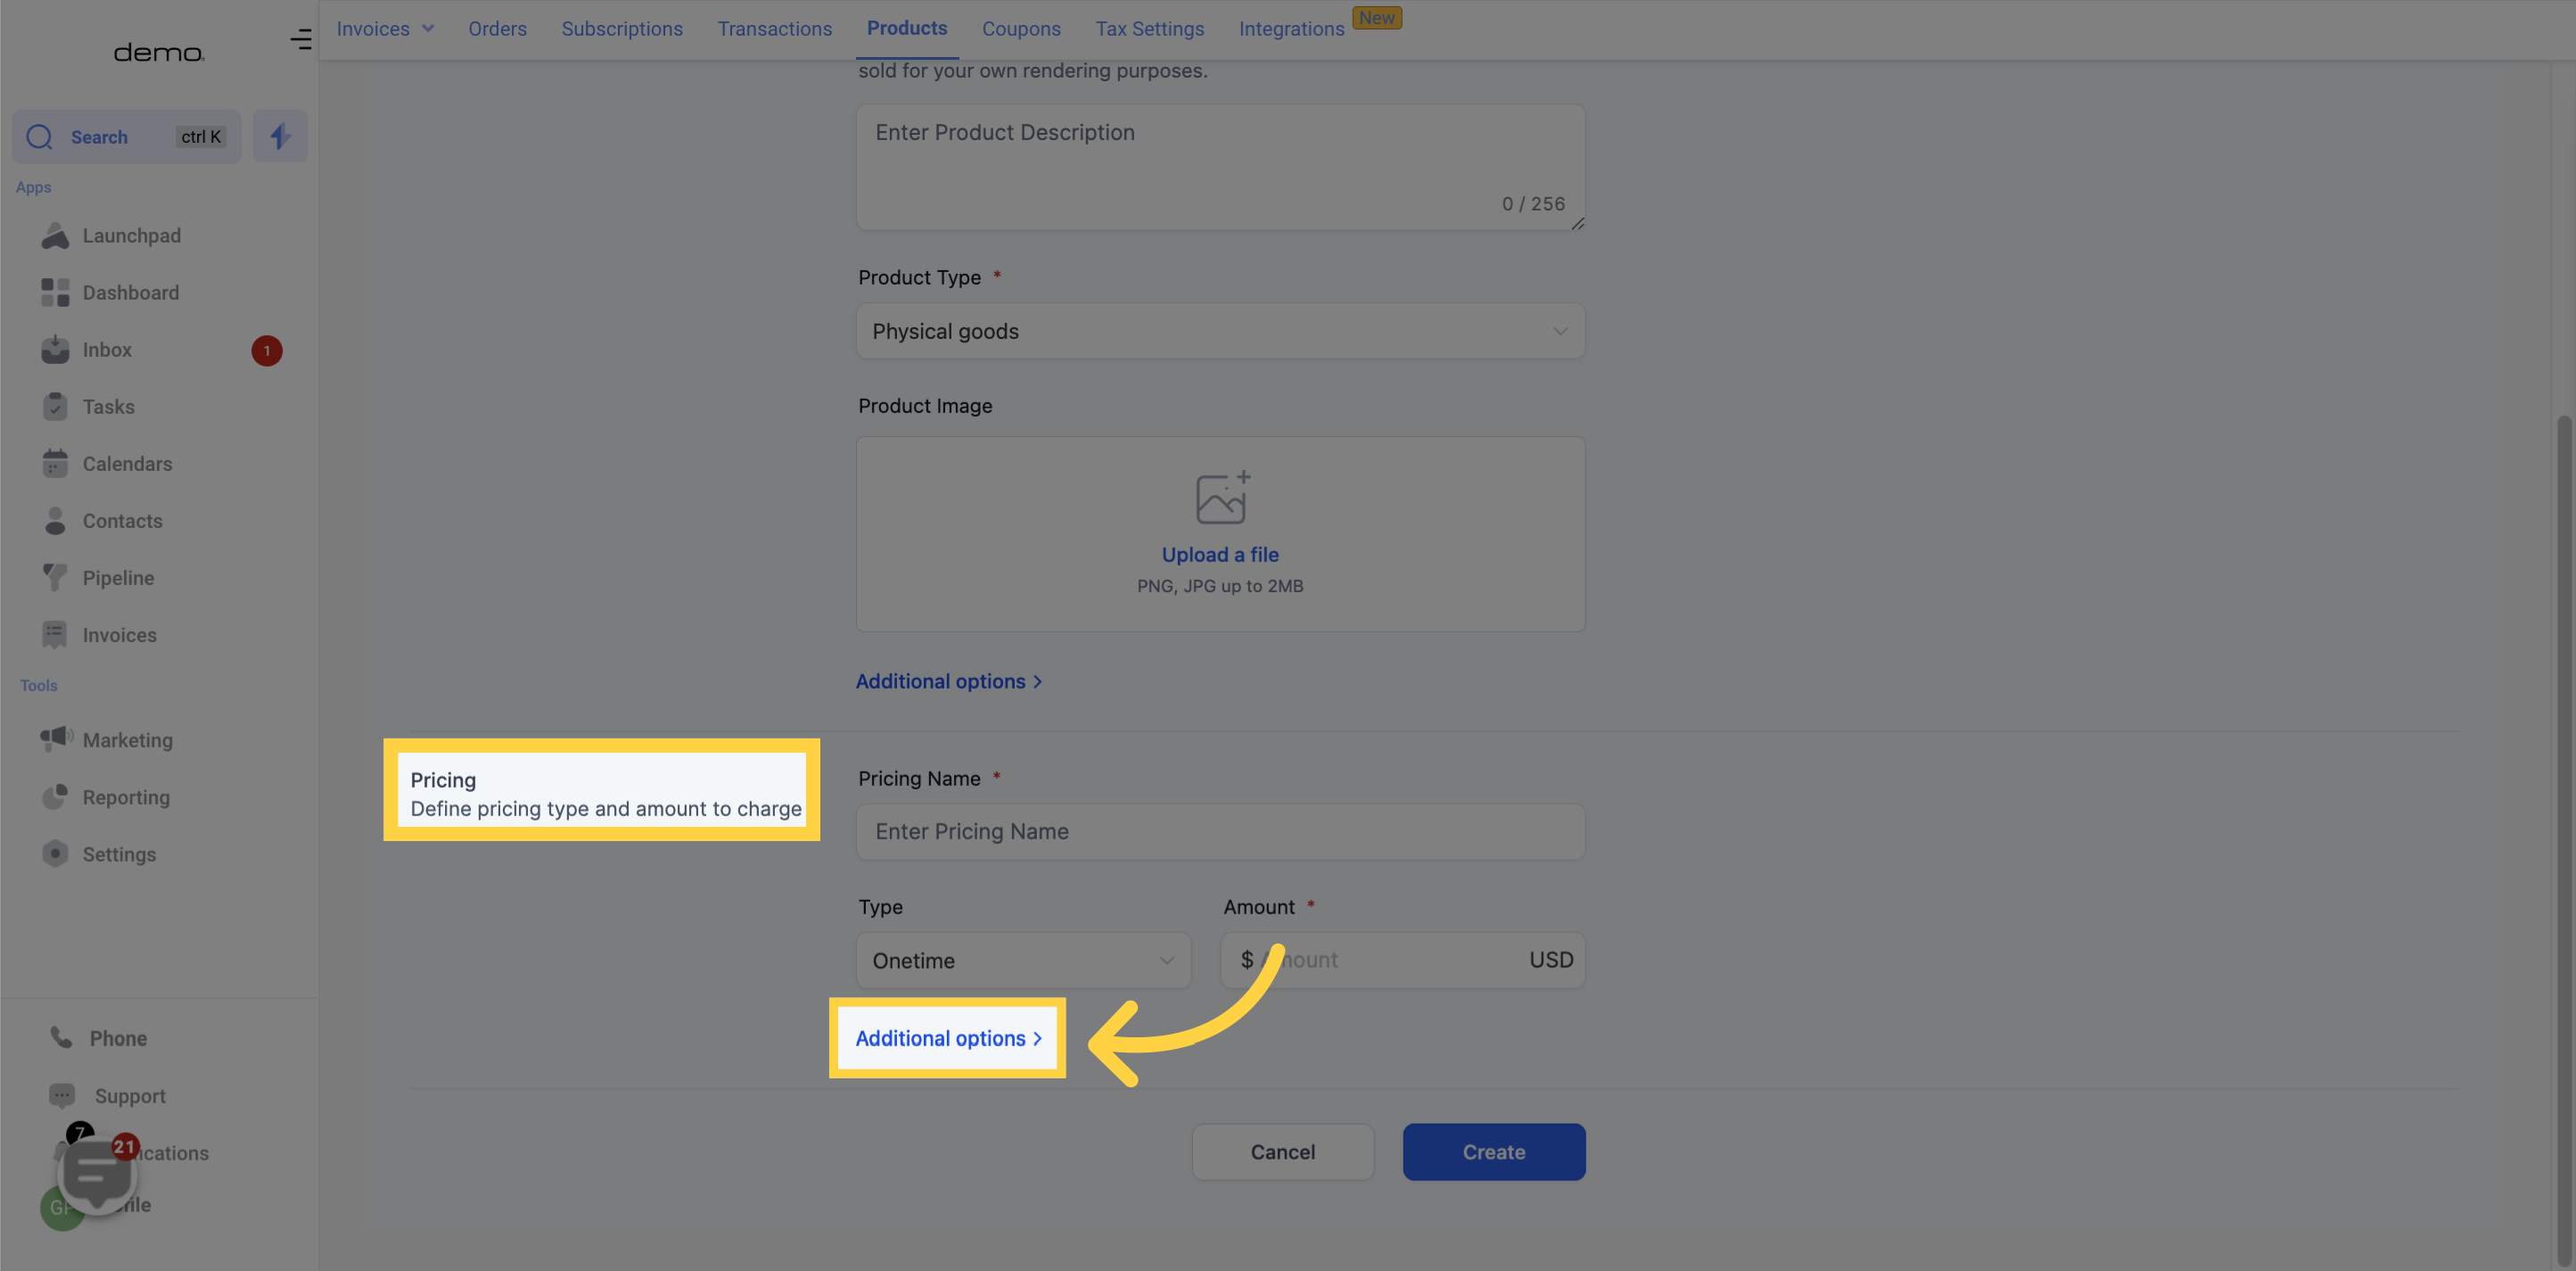
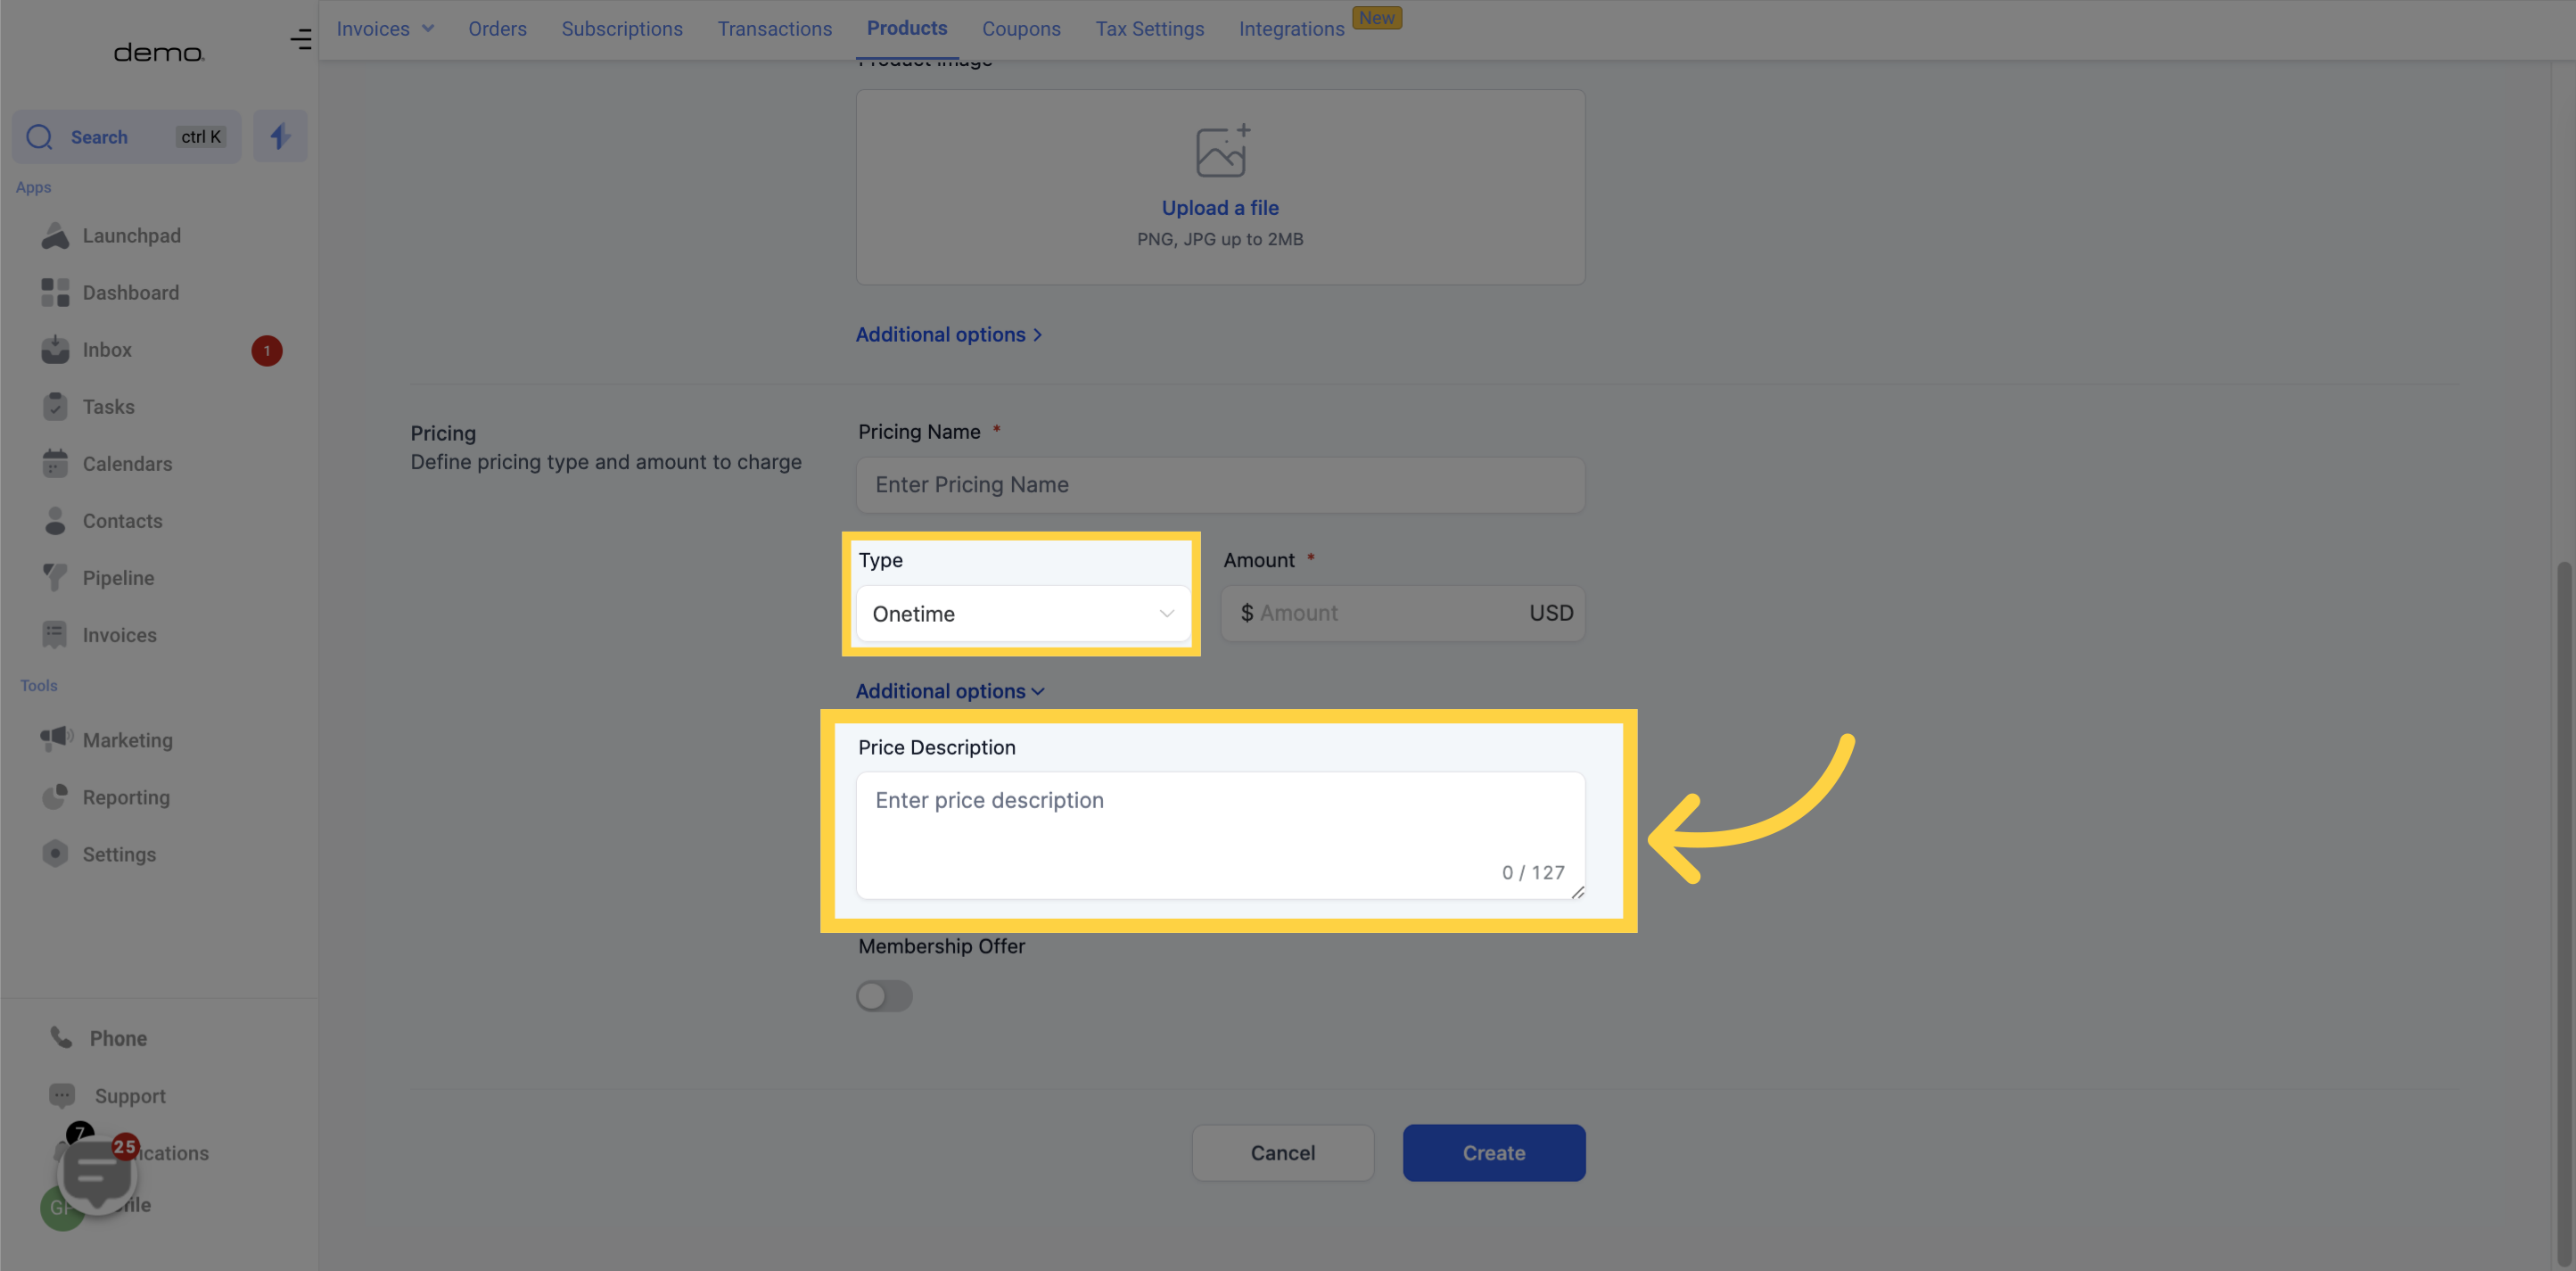
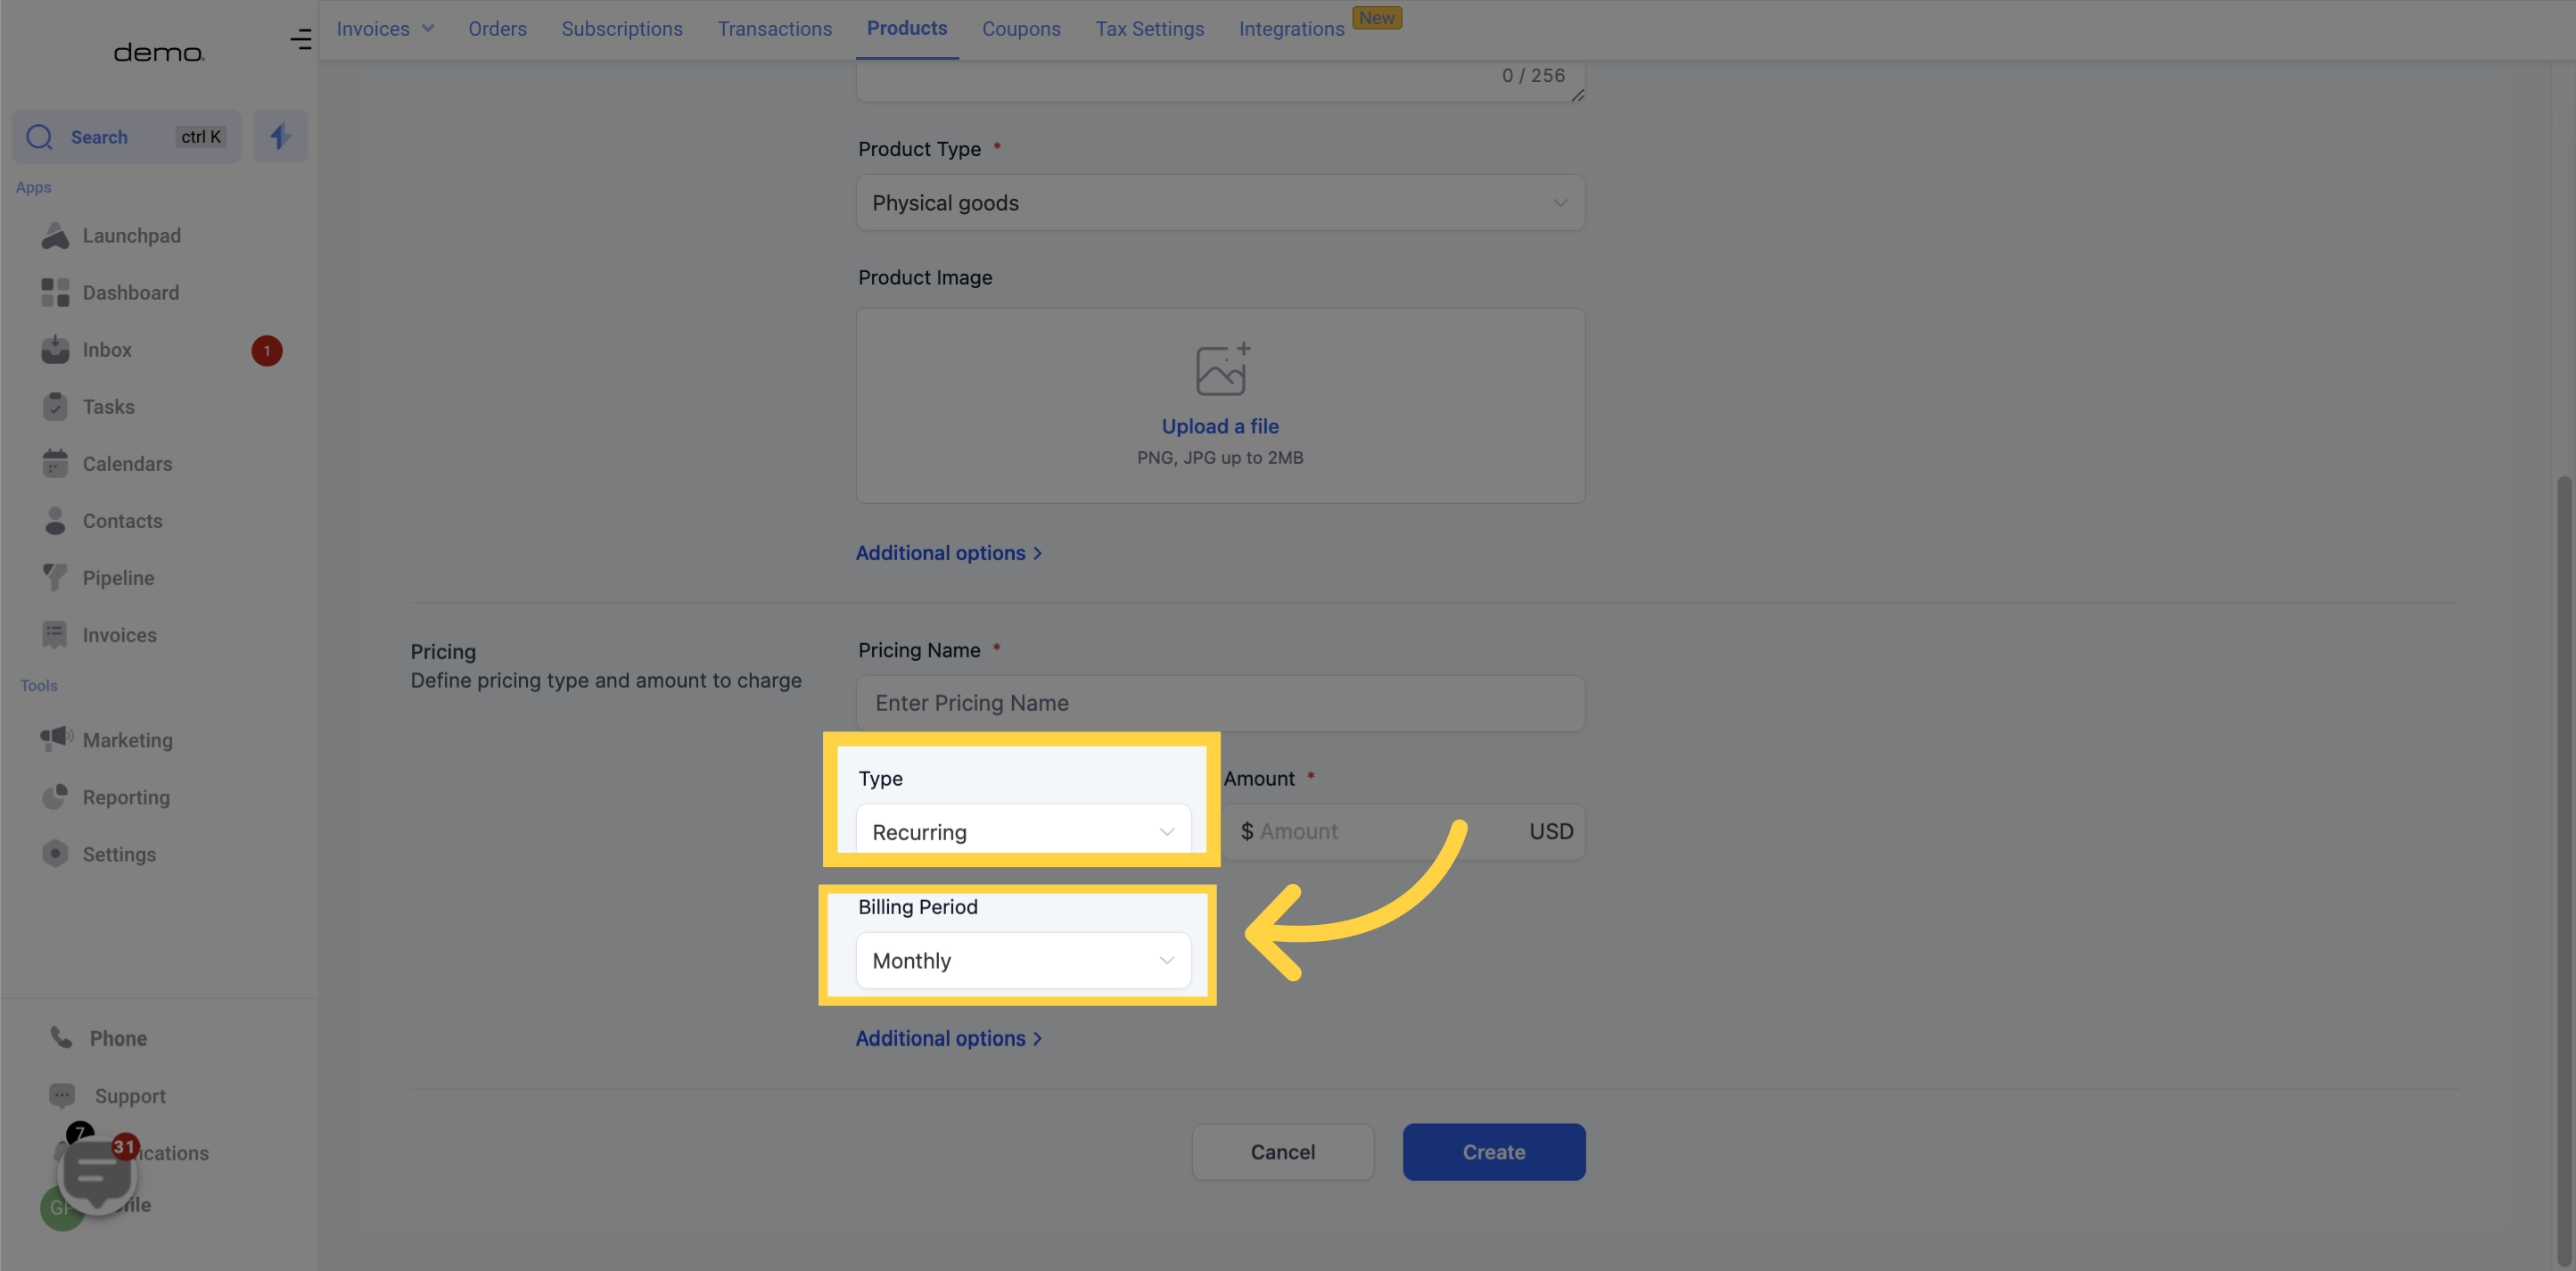
Next, you will need to add pricing information such as name, price, currency, and whether it's a one-time or a recurring product.

Please enter a short description for your product that will appear on your customer's credit card statement.
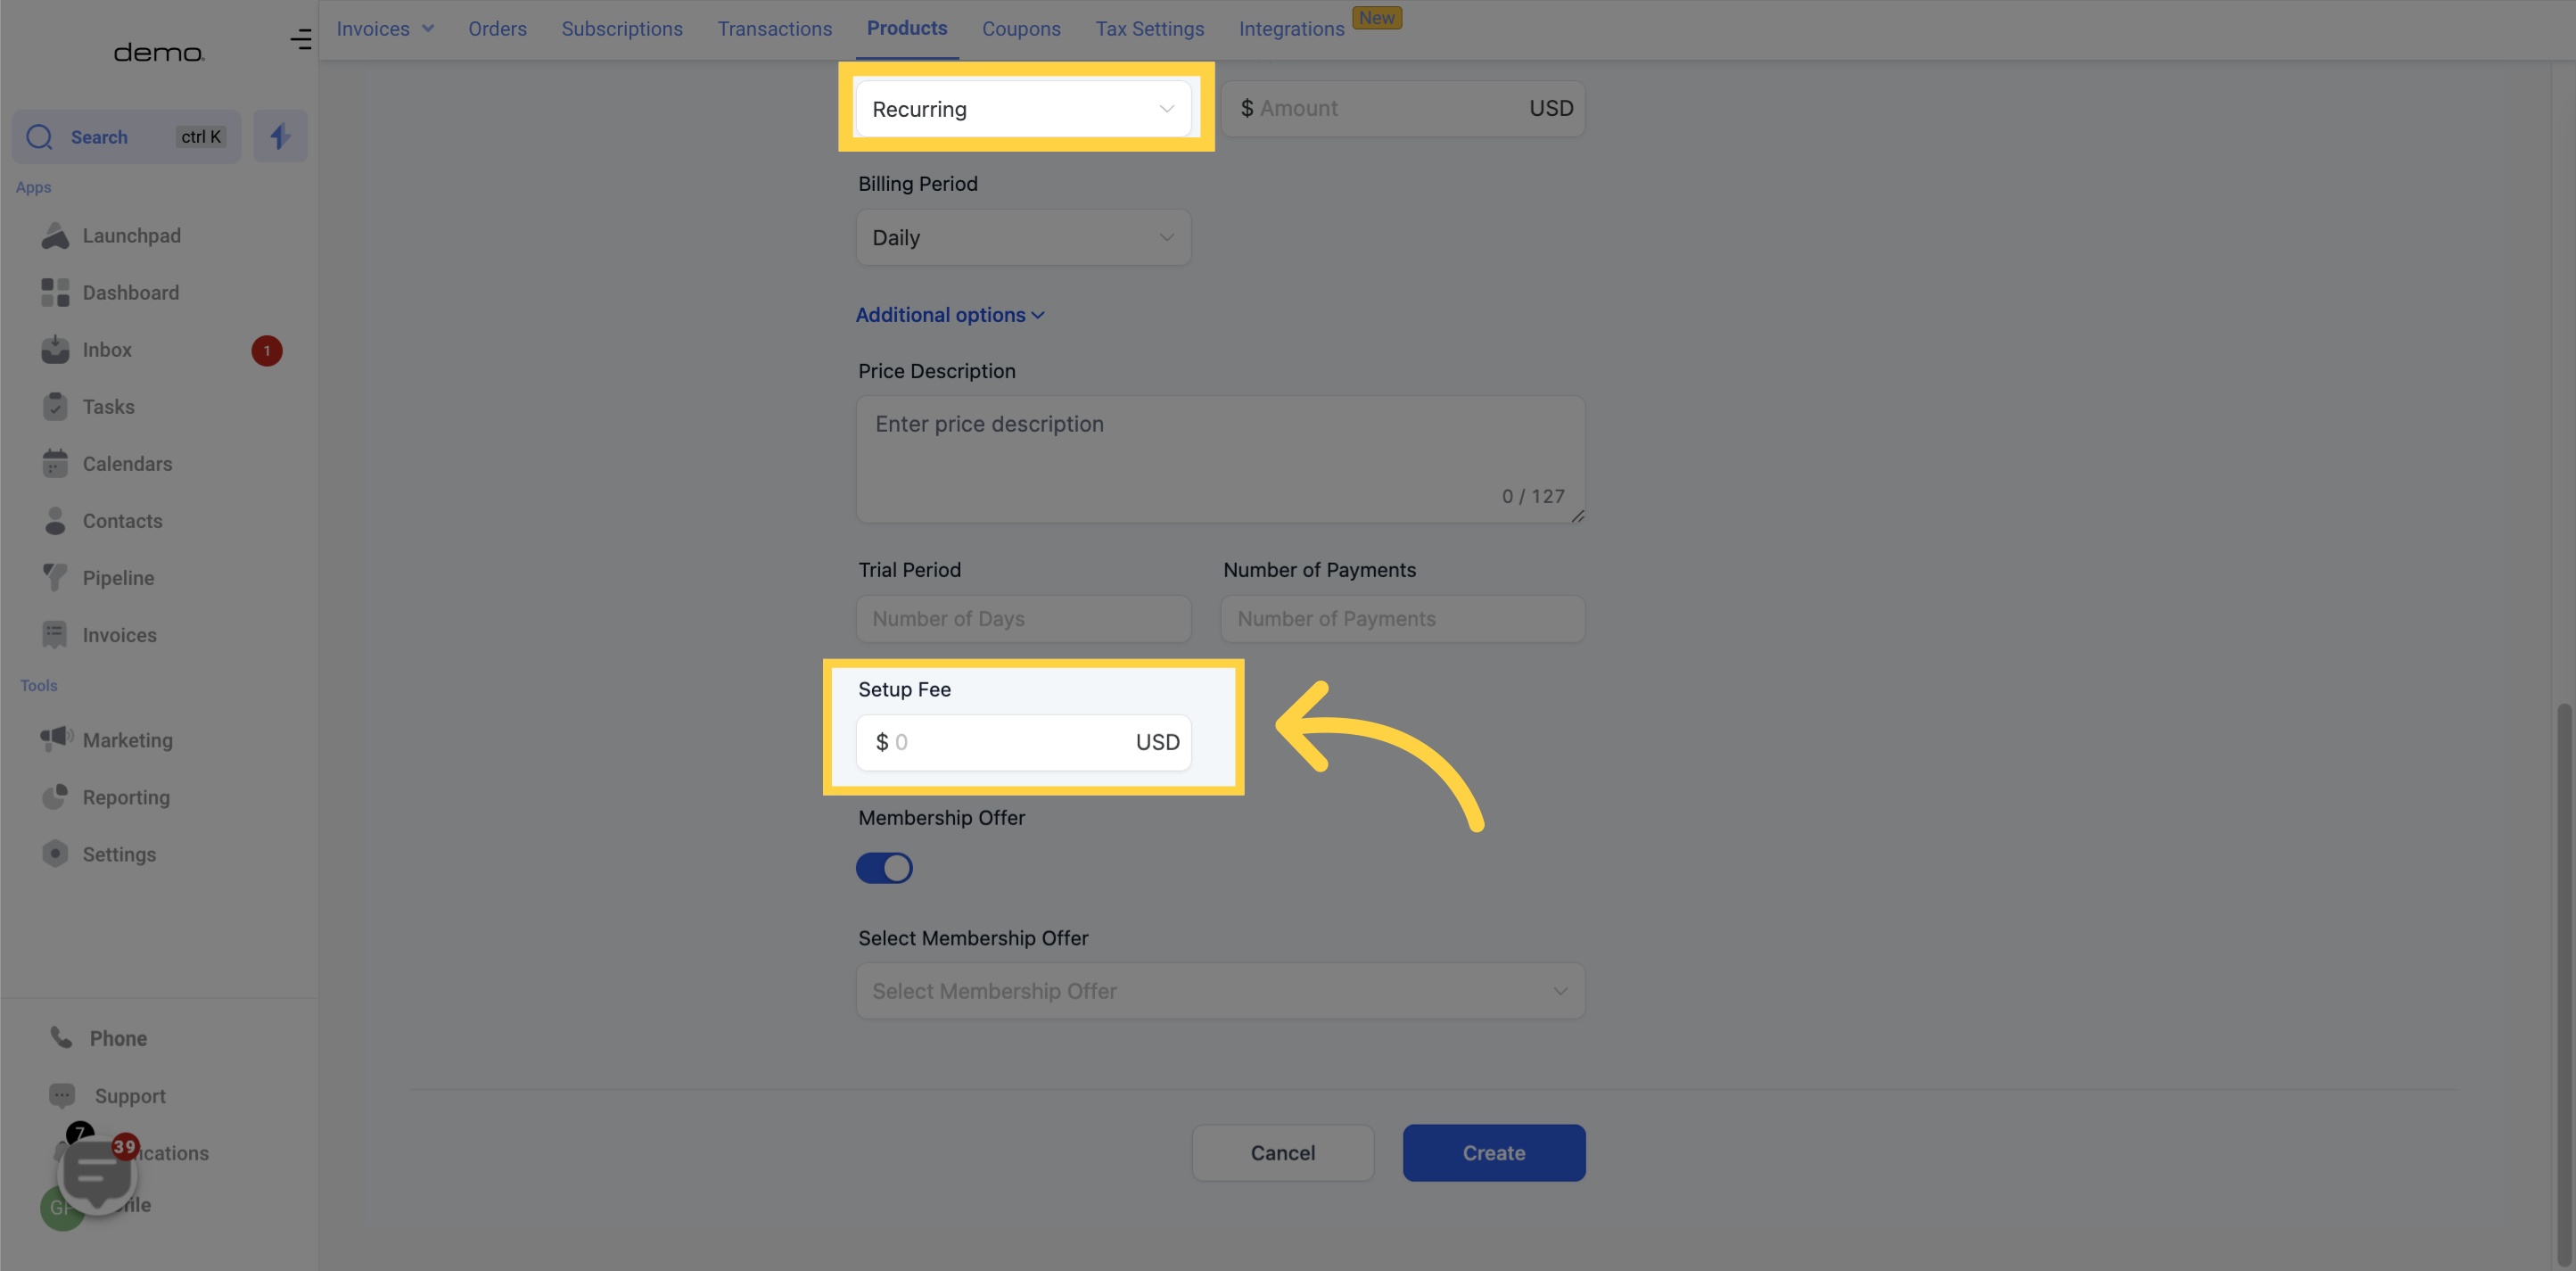
If you have selected a recurring payment model, you will need to select when your customer should be billed for this product. You can choose; Daily, Weekly, Monthly, Yearly, or even a custom period.
If you would like to offer a free trial period for your new products, you can specify the details in this section.
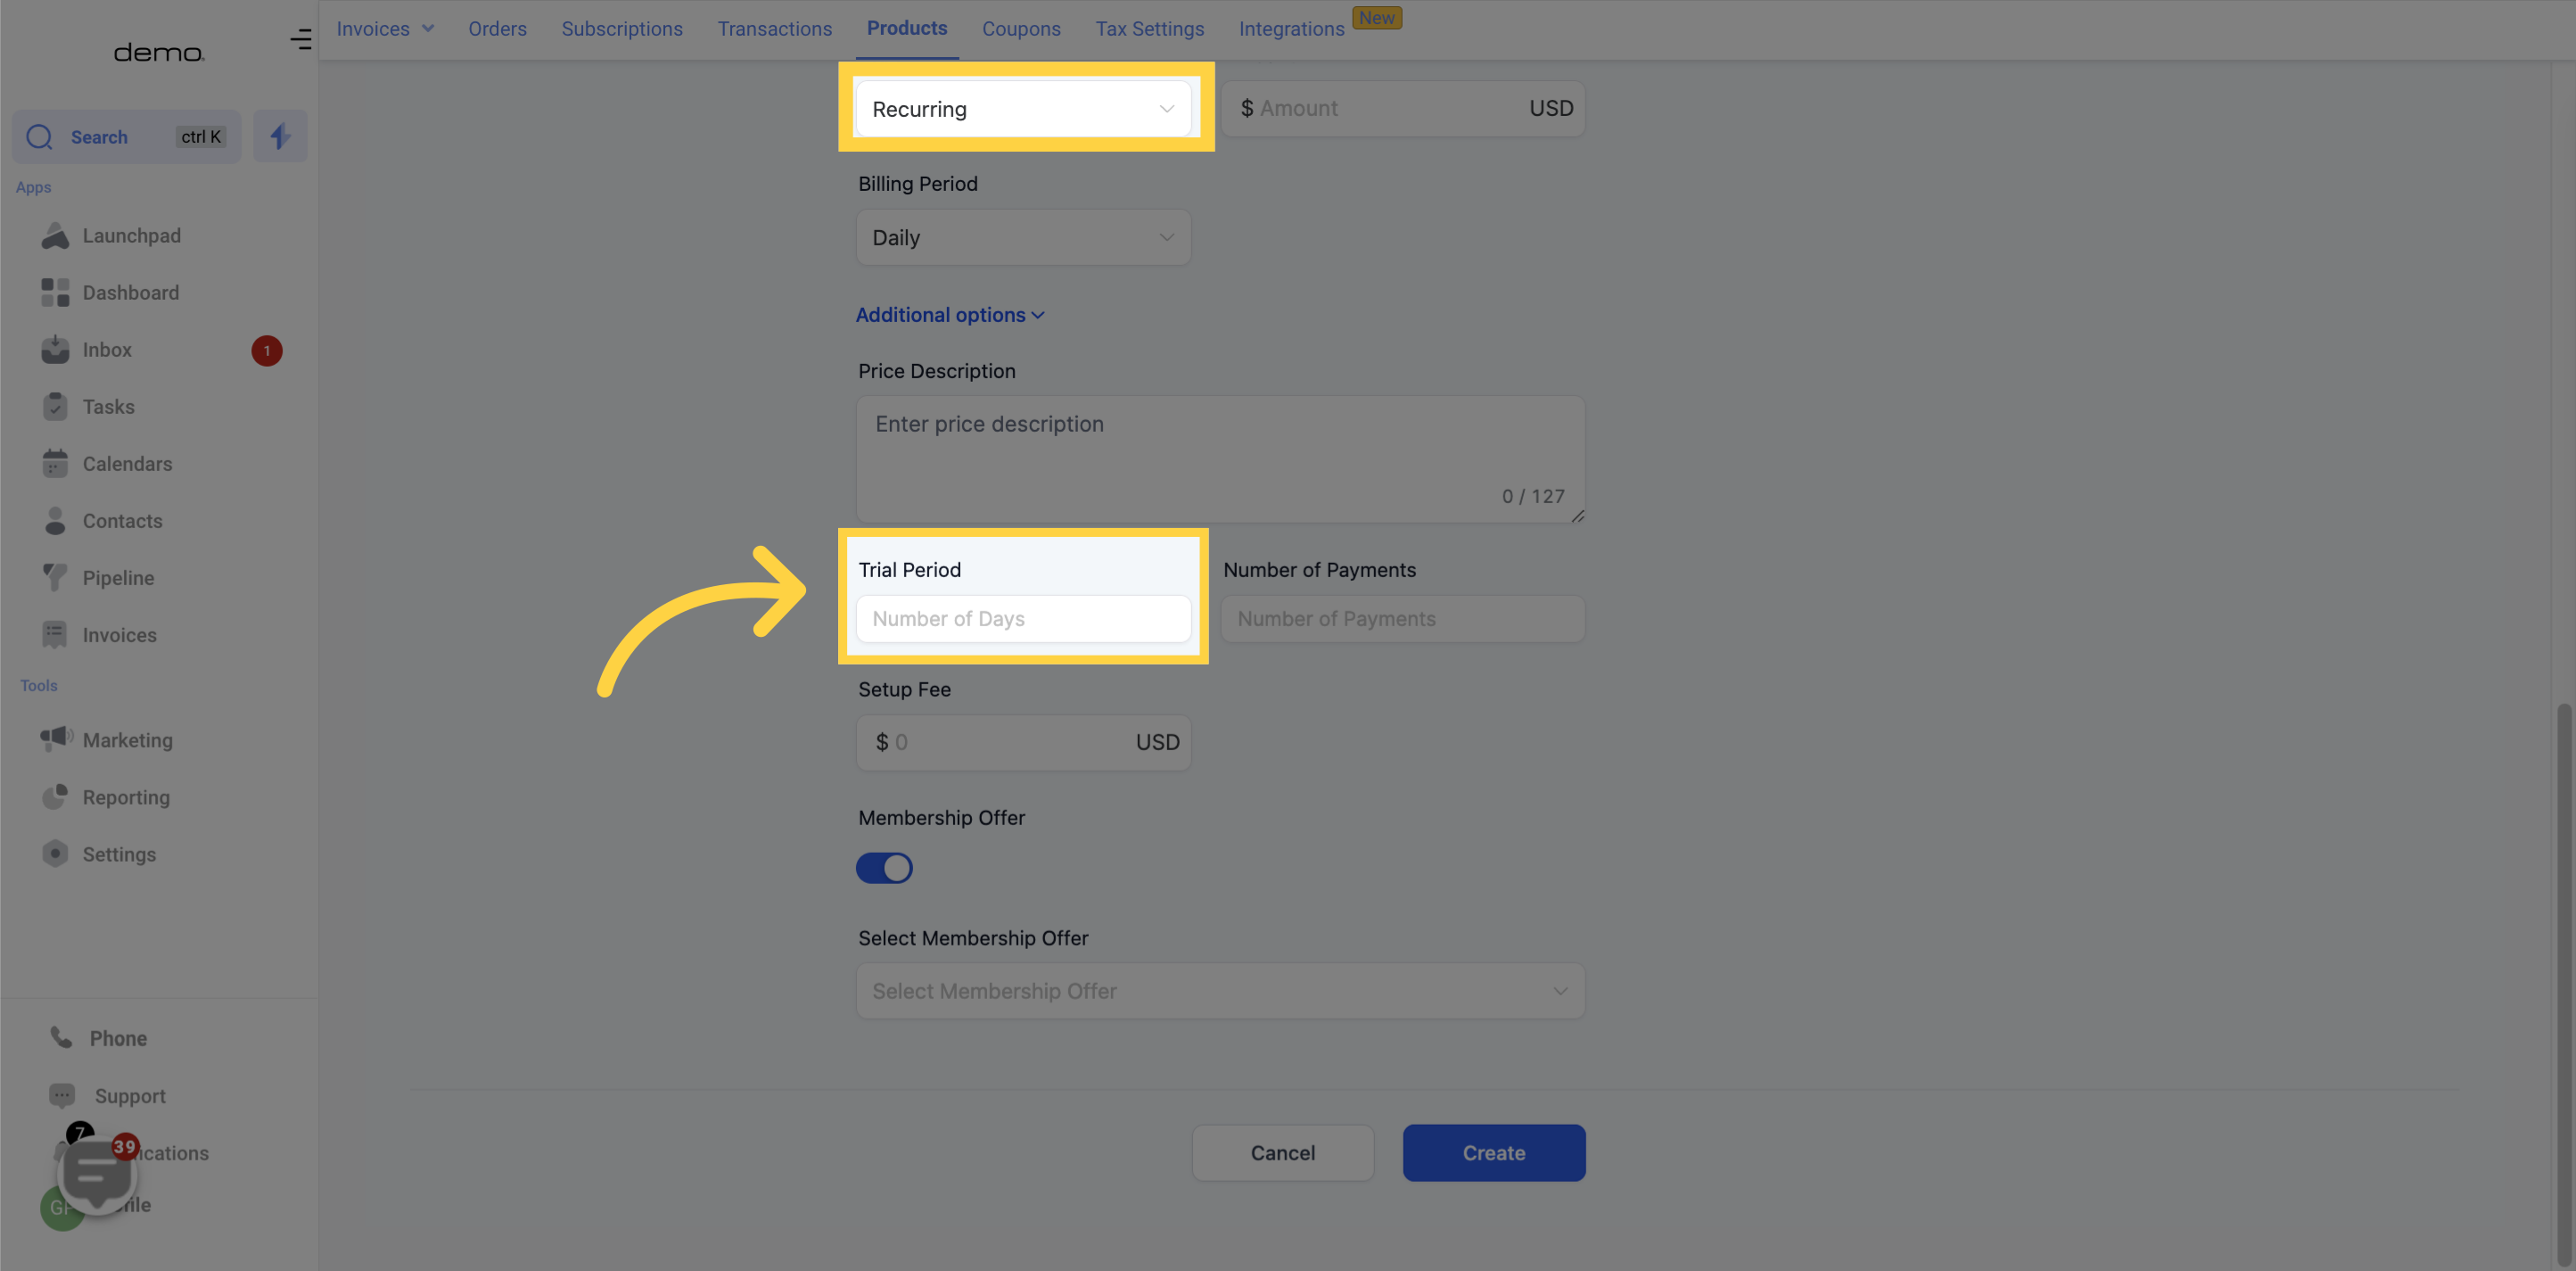
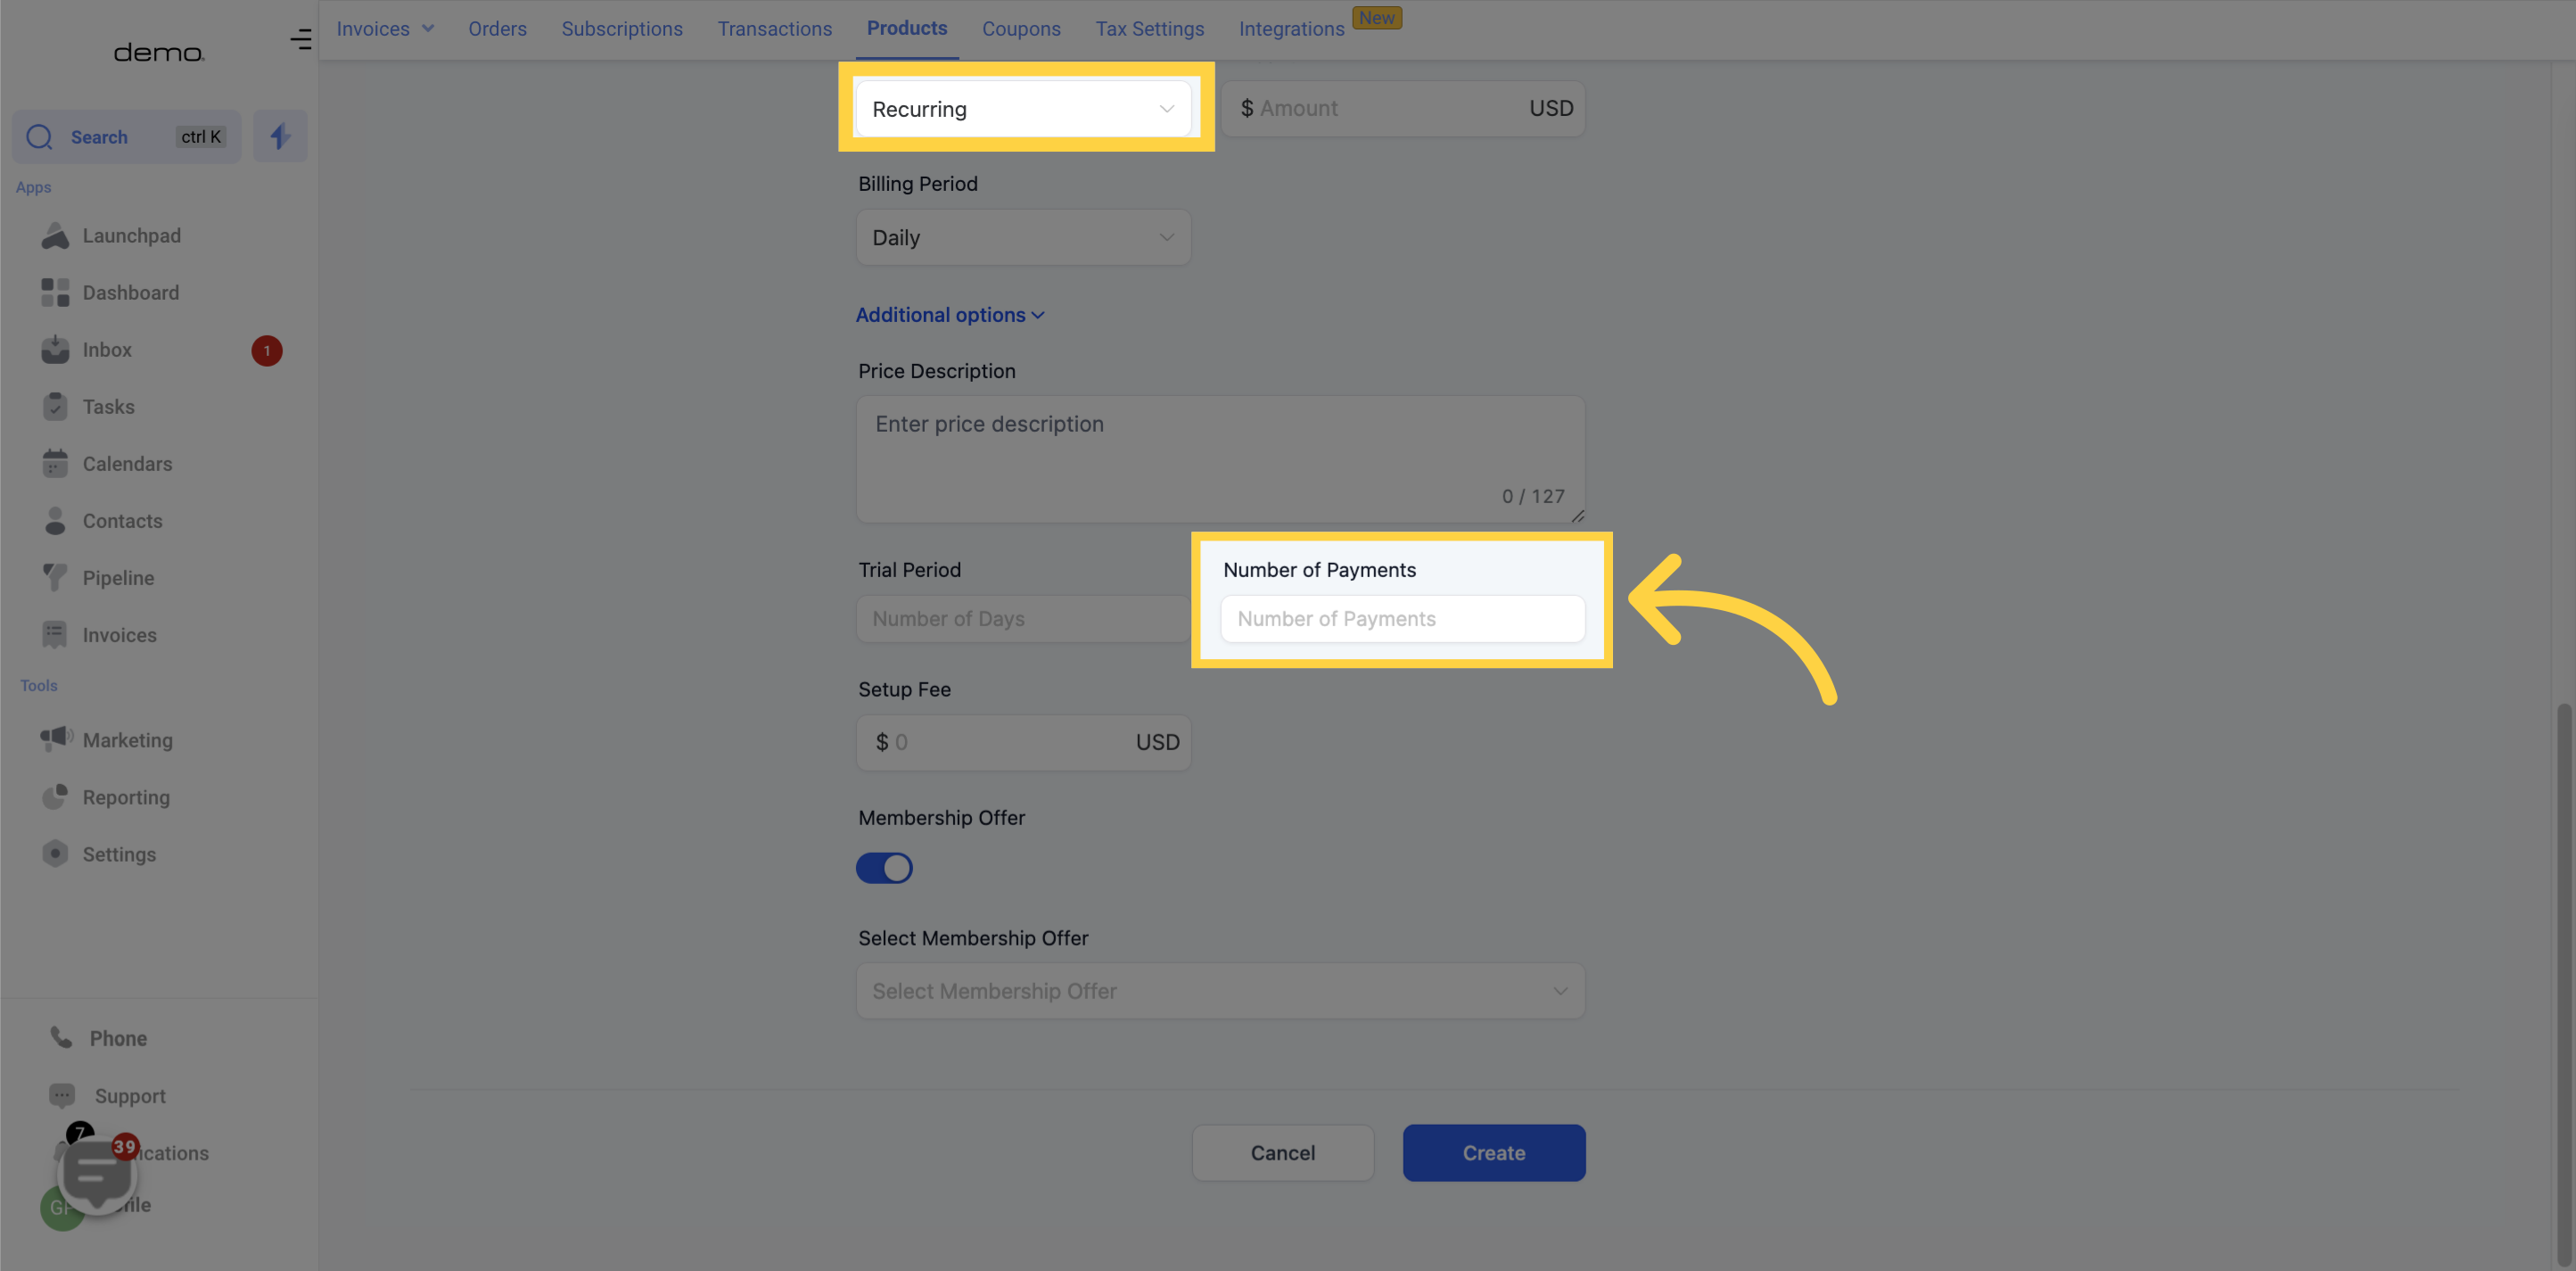
If you would like to set up a specific number of payments for a product, you can add that information in this section.
If you would like to add a one-time setup fee on top of the subscription payments for a product, you can specify the details in this section
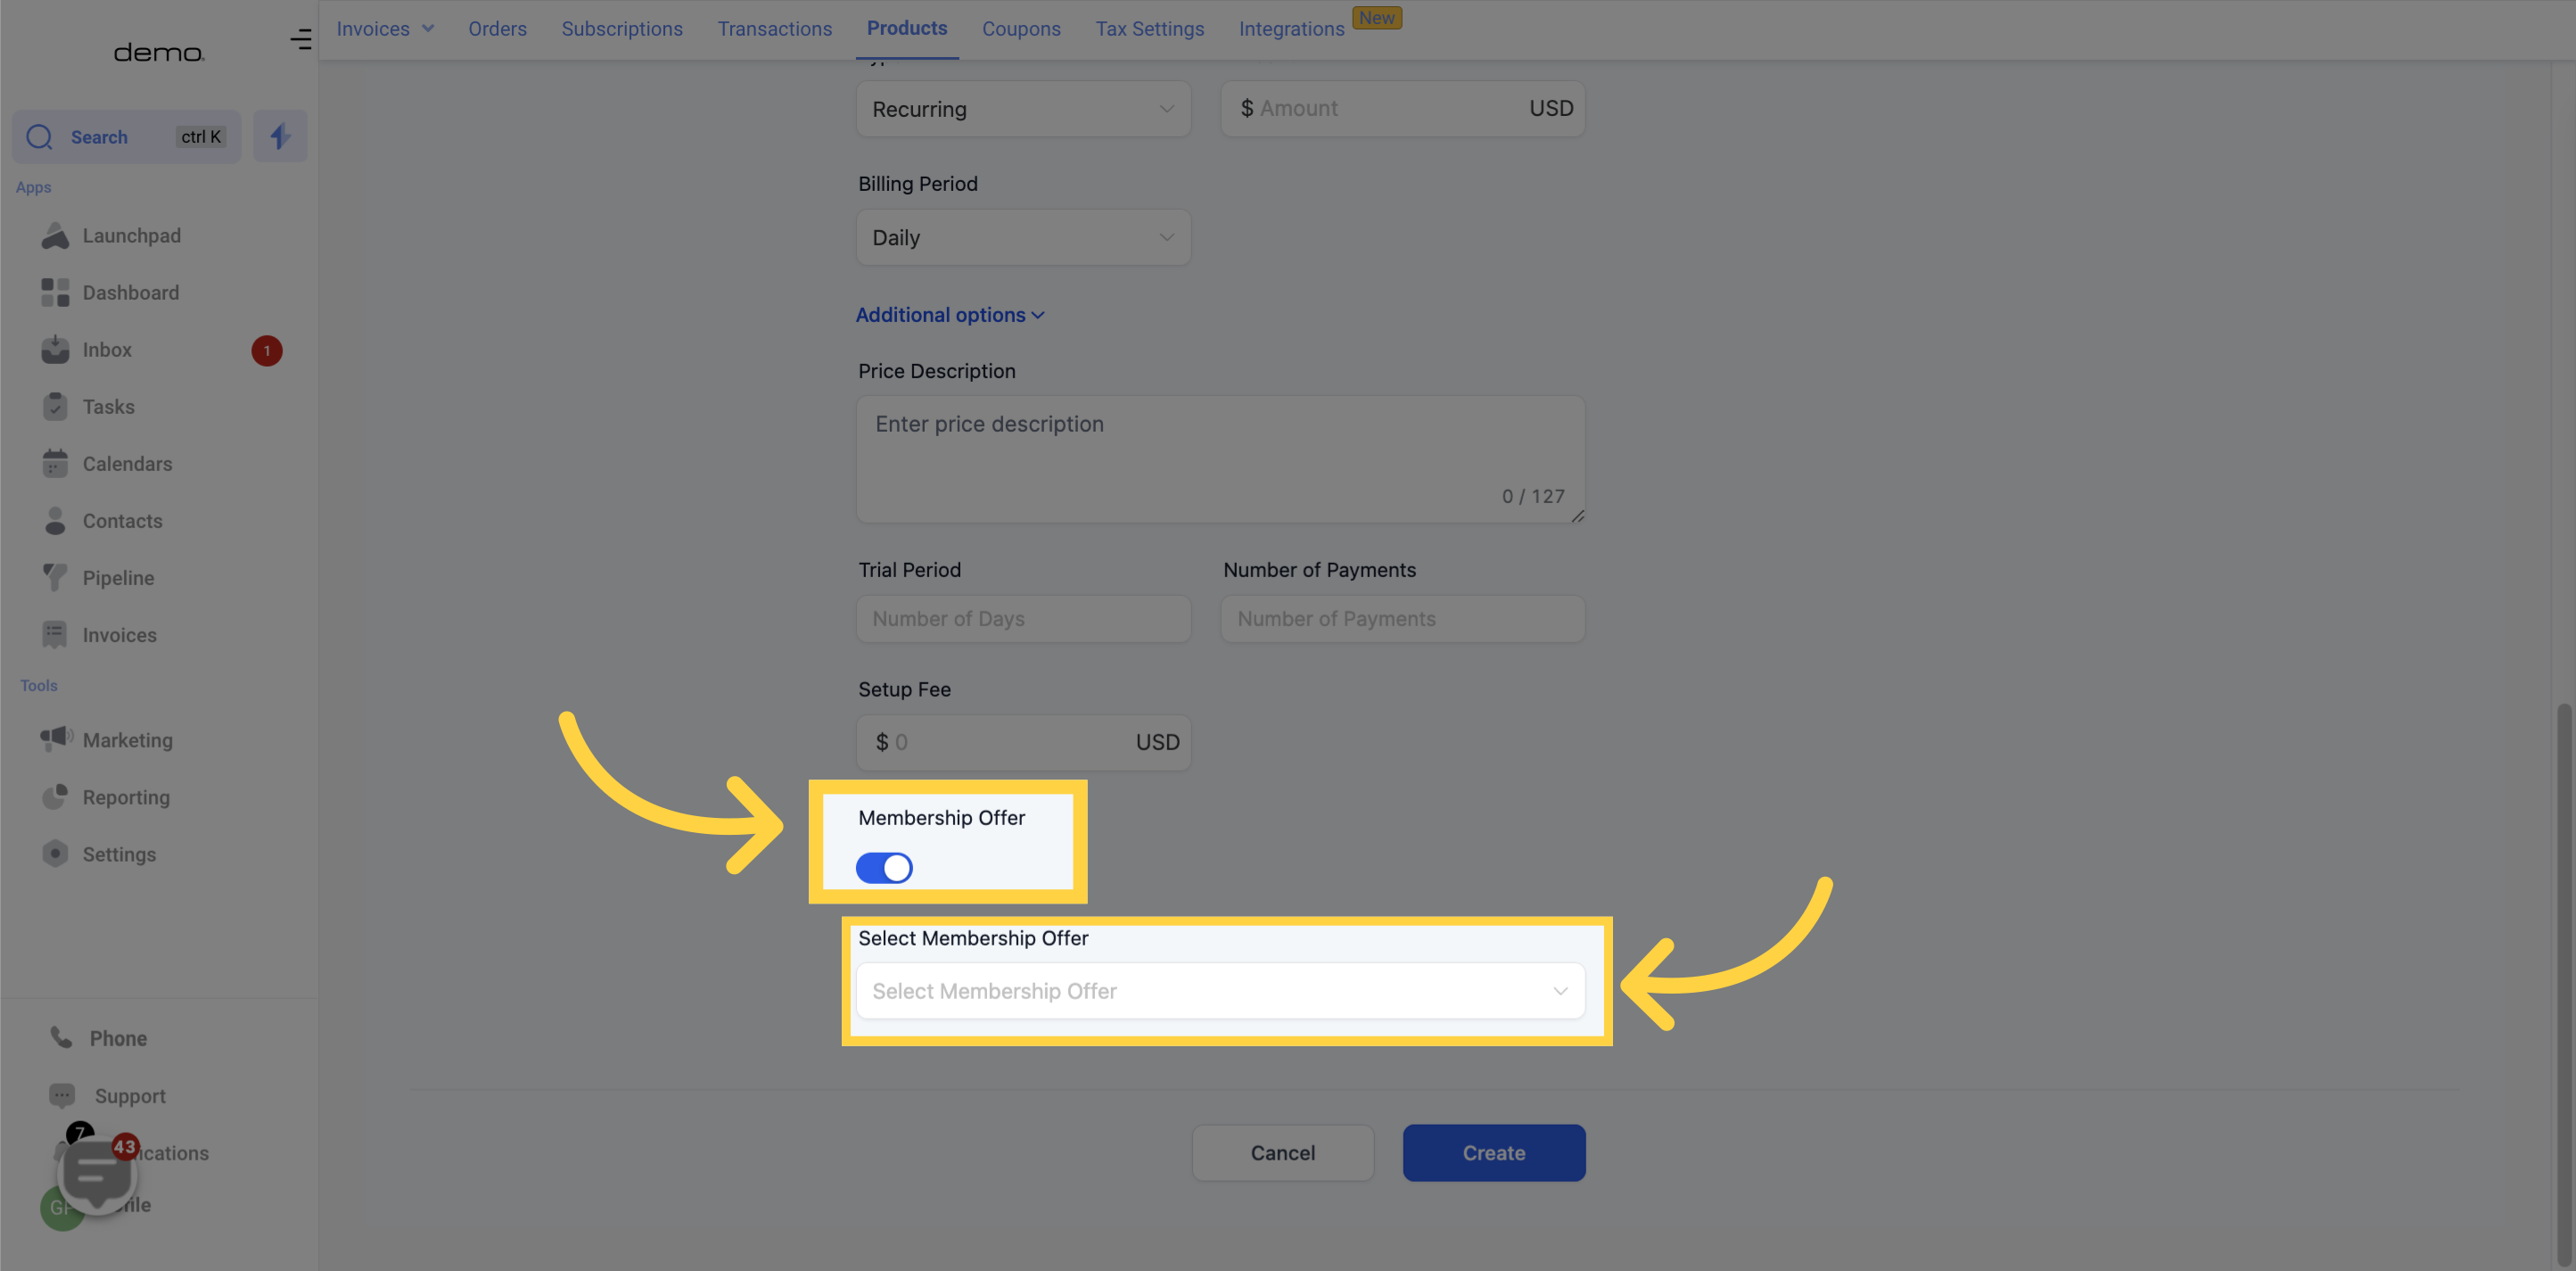
To connect a new product to a membership offer from within your CRM membership portal, simply toggle the switch provided in this section.
Use this drop-down tab to select the membership offer you'd like to connect to a product.
To create your new product, simply click on the button provided in this section.
This will create your new product, and it will appear in the list of products in the payments section.

