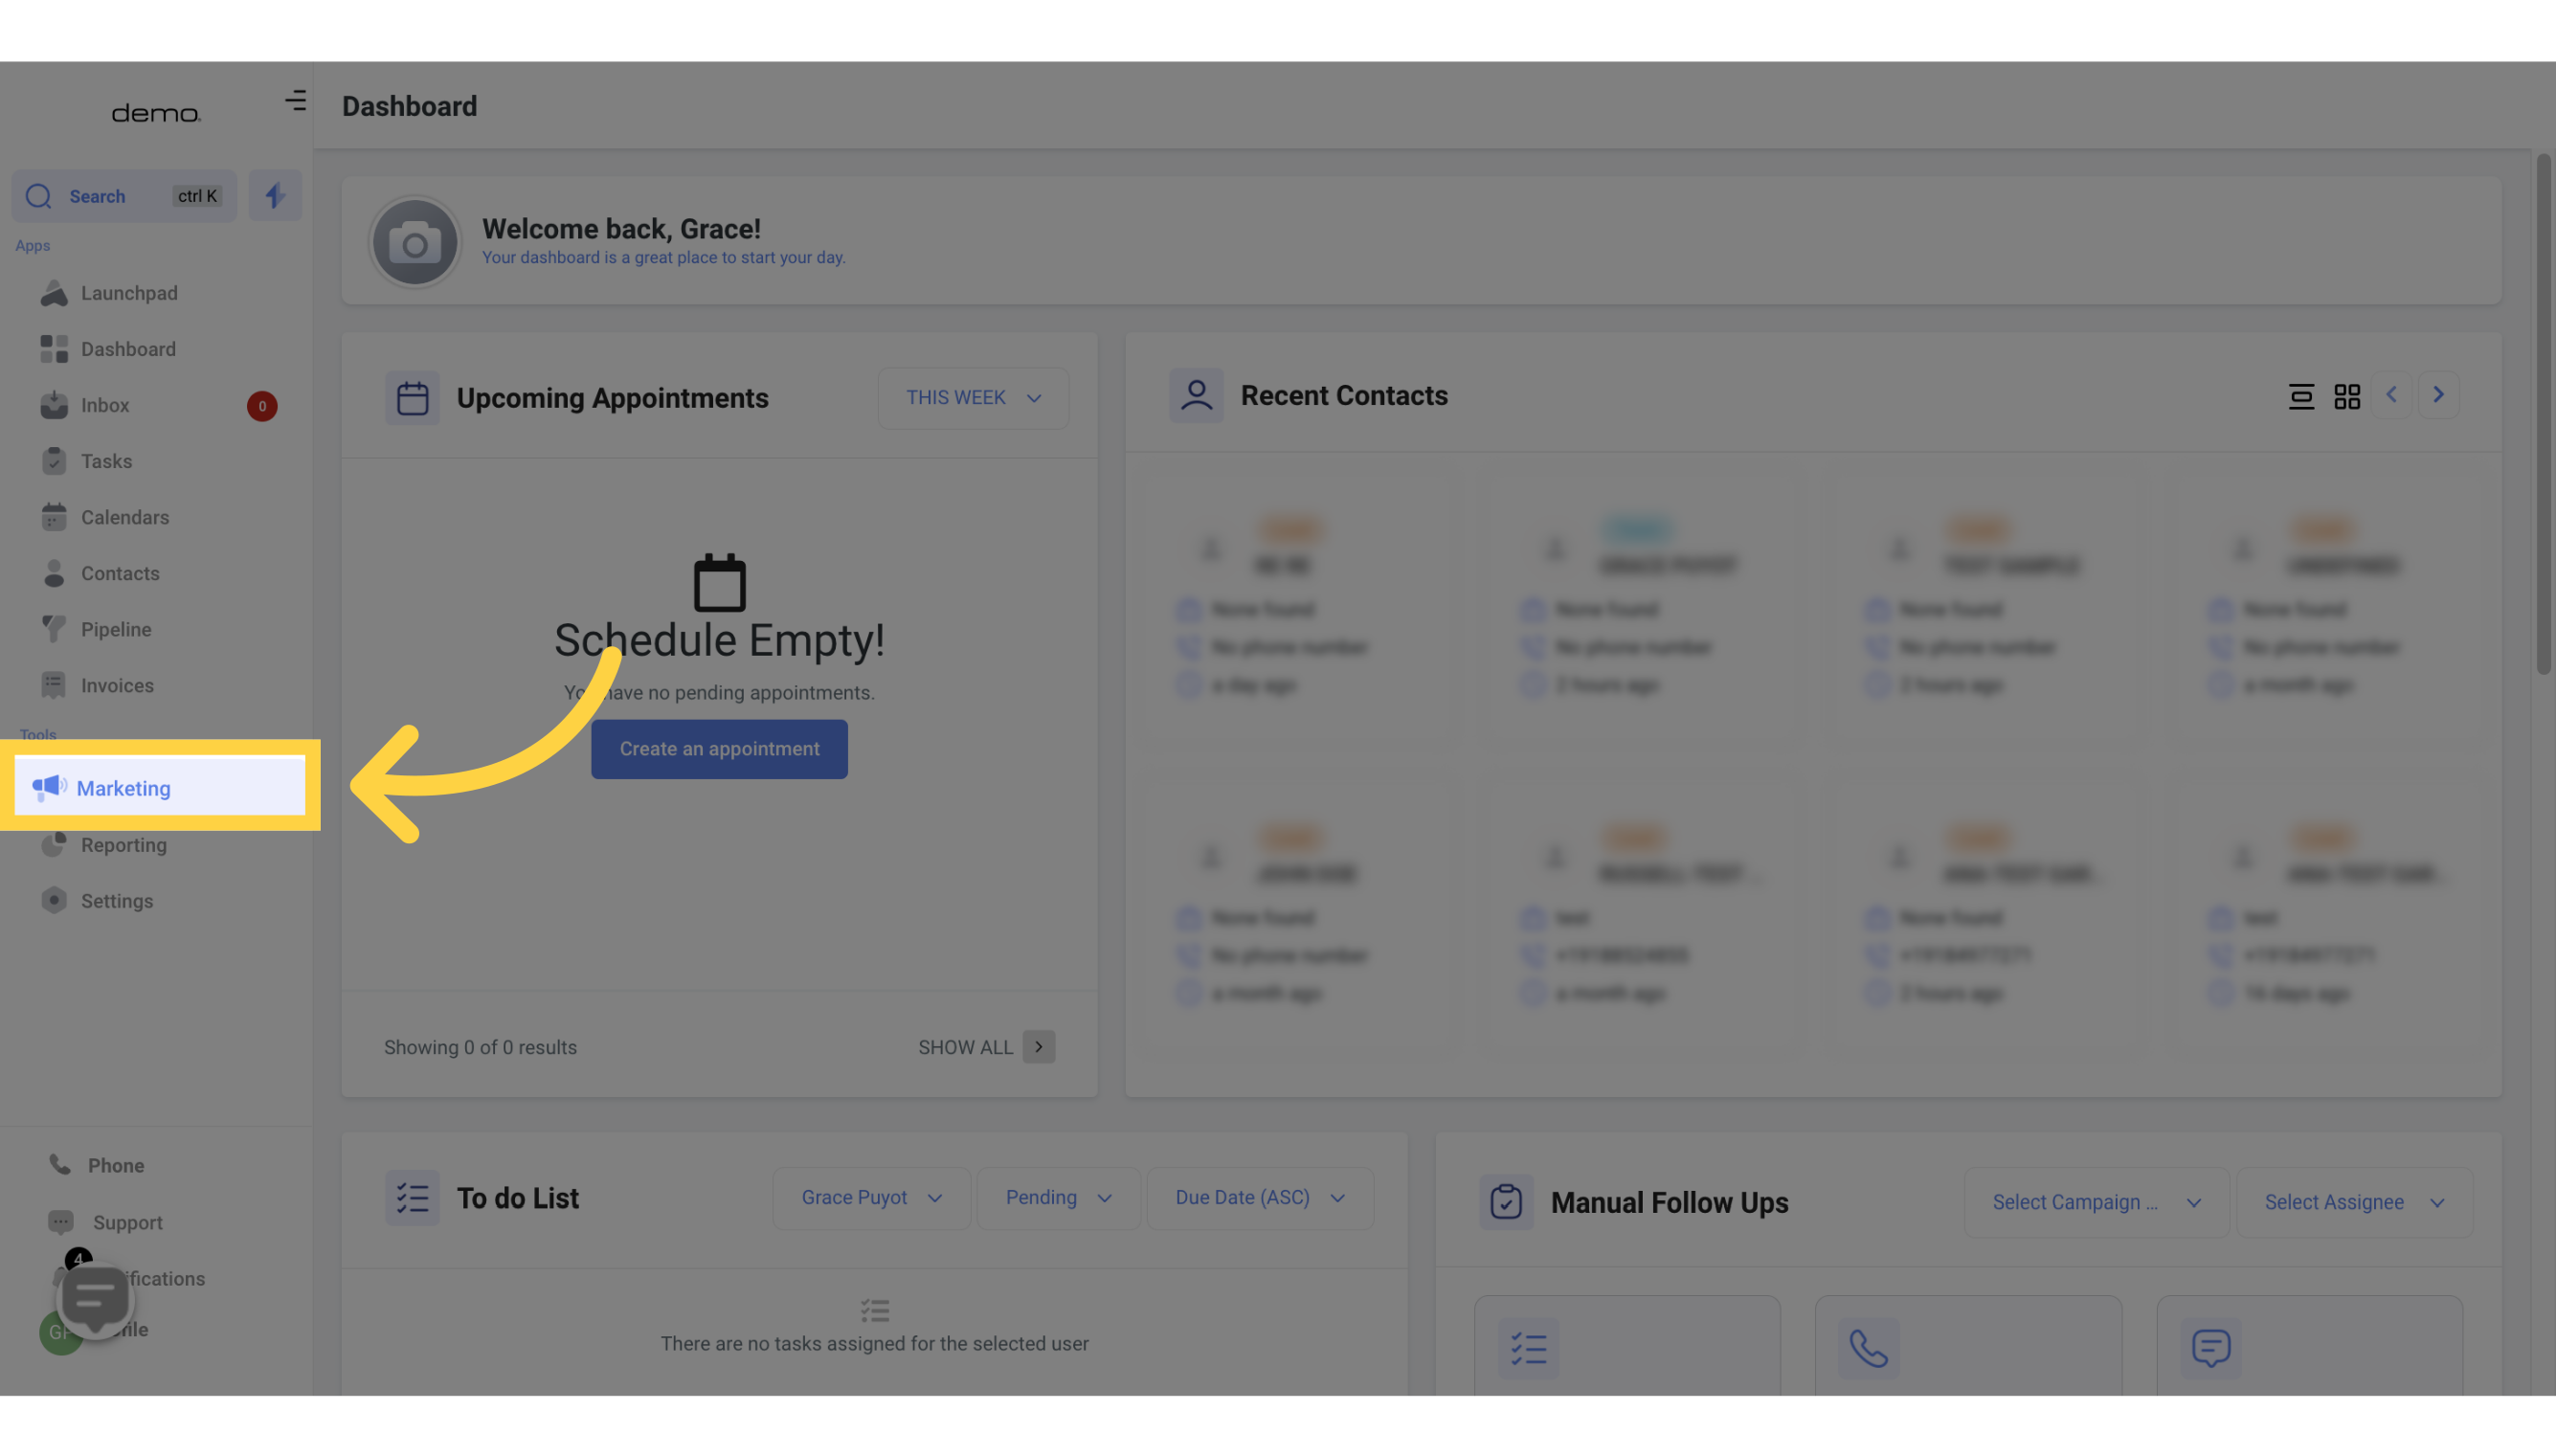
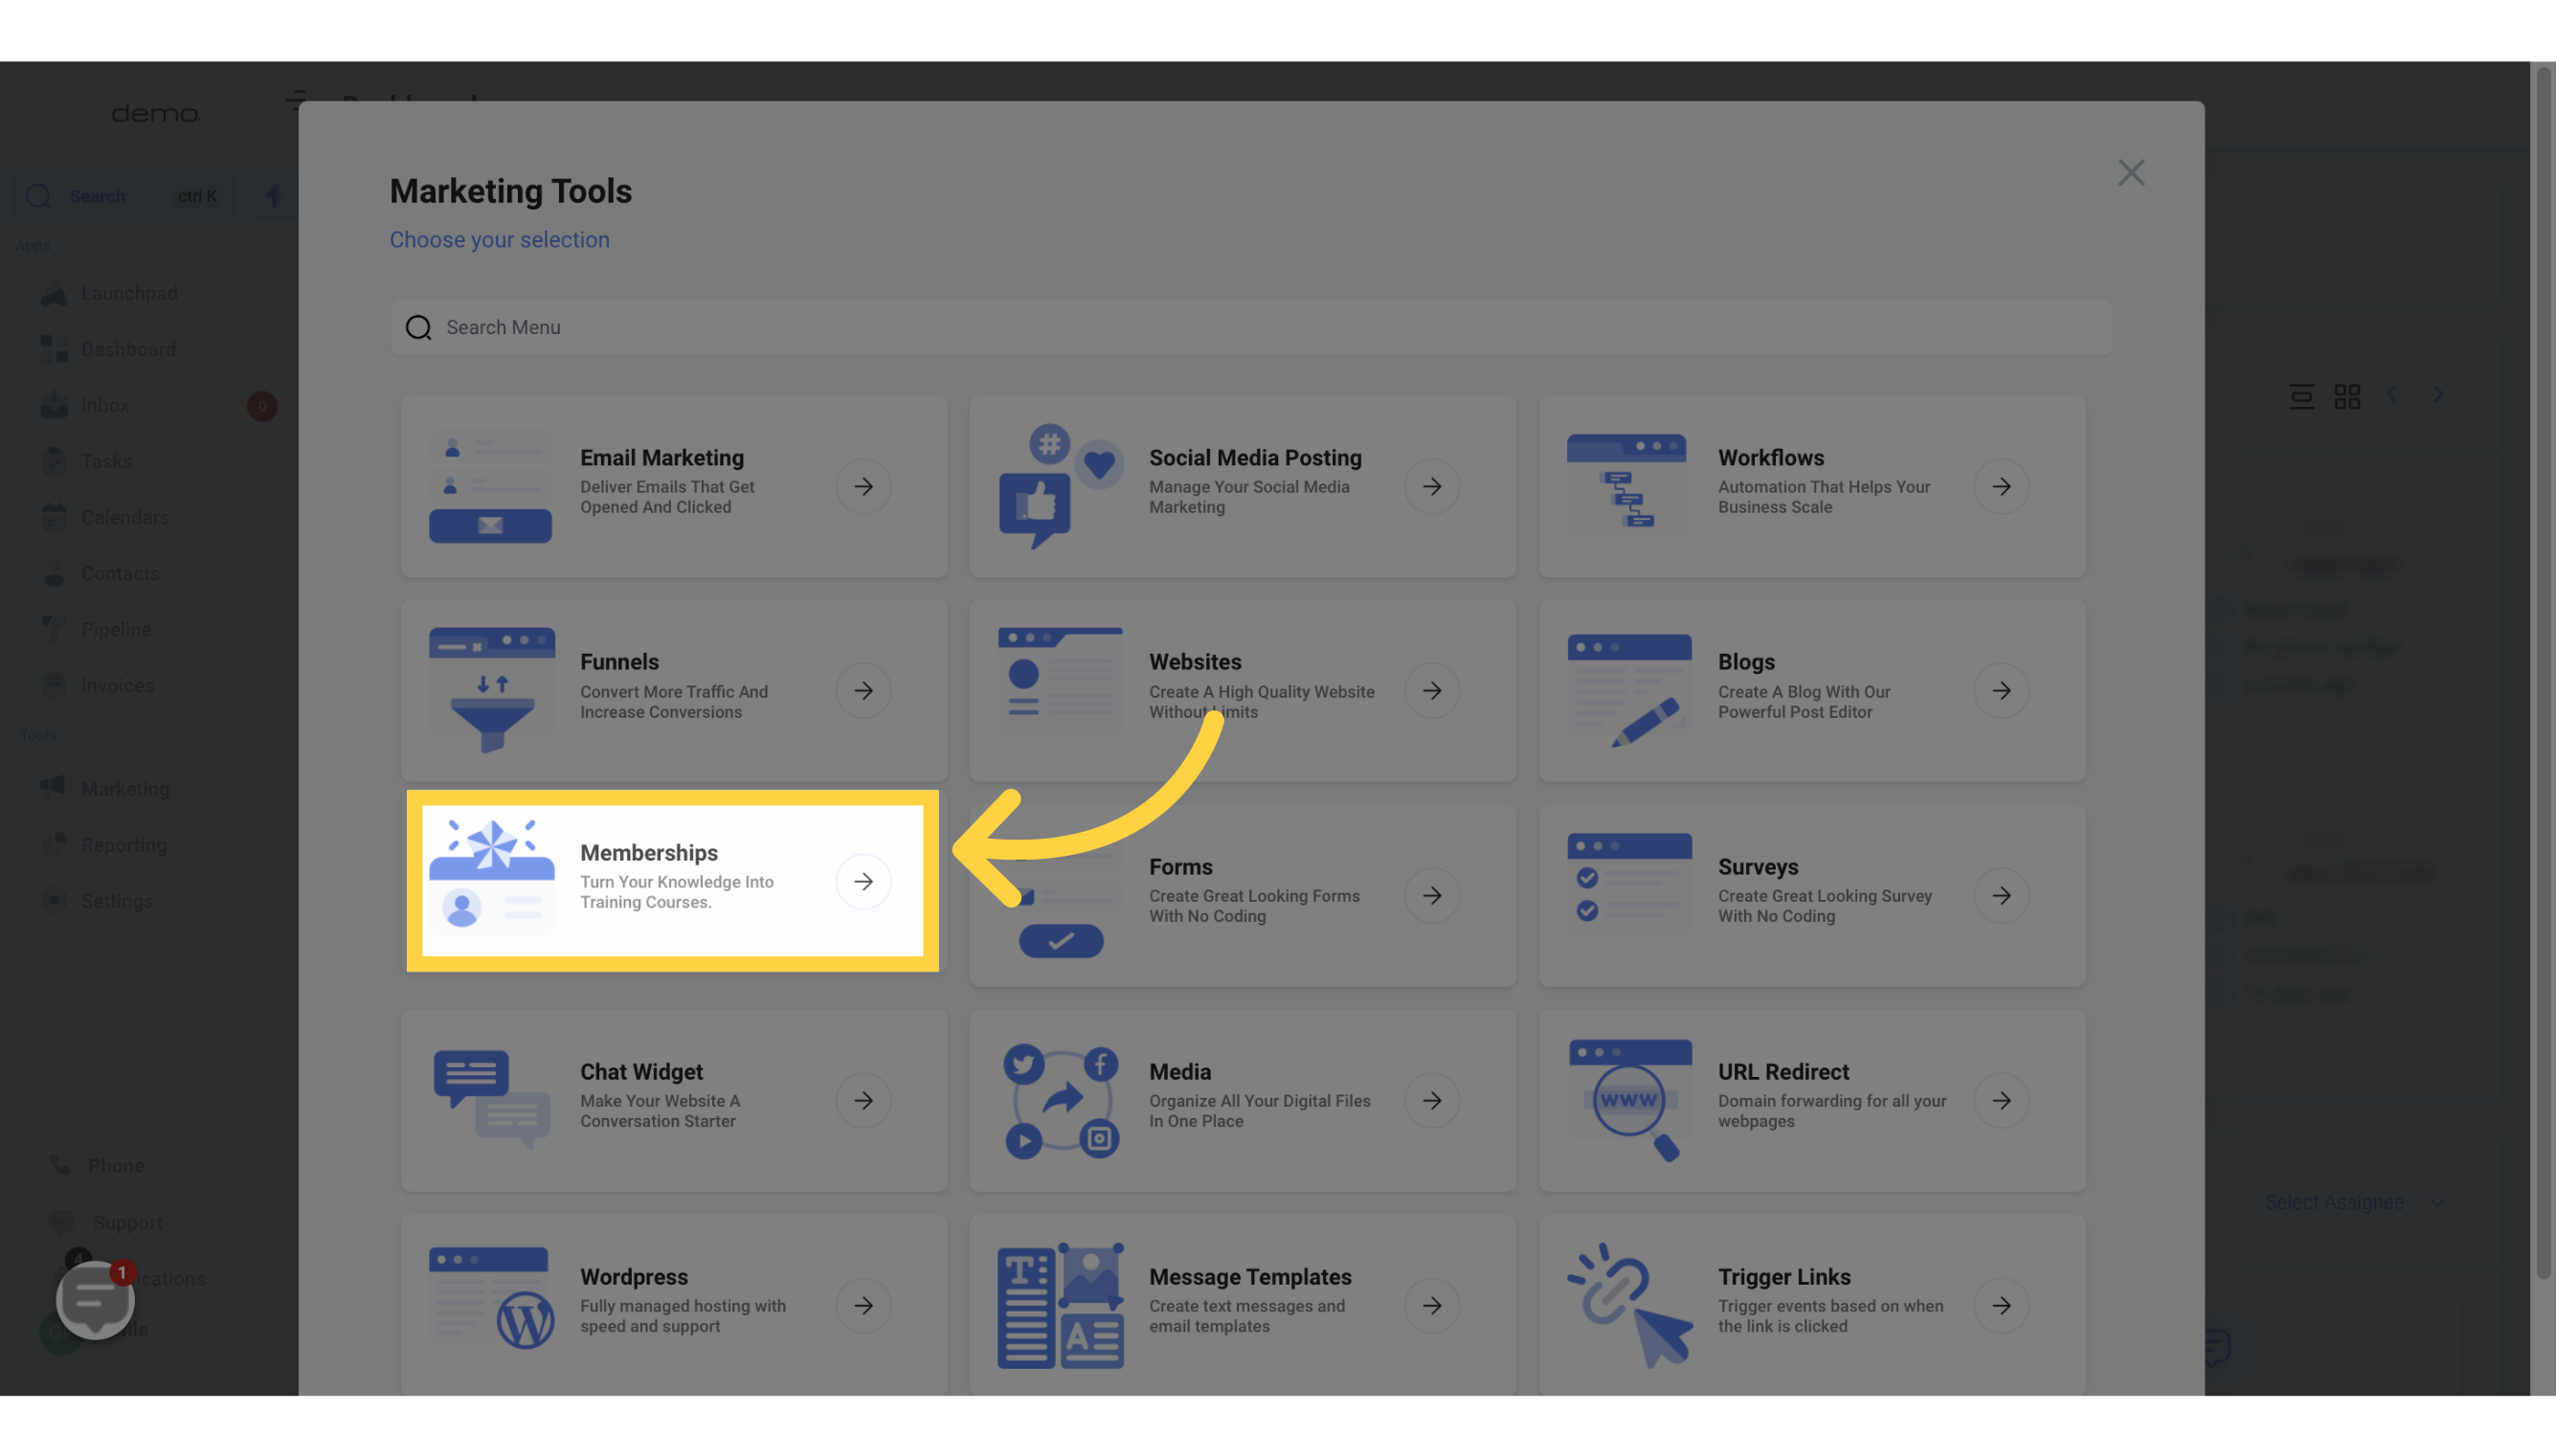
Go to the Marketing section
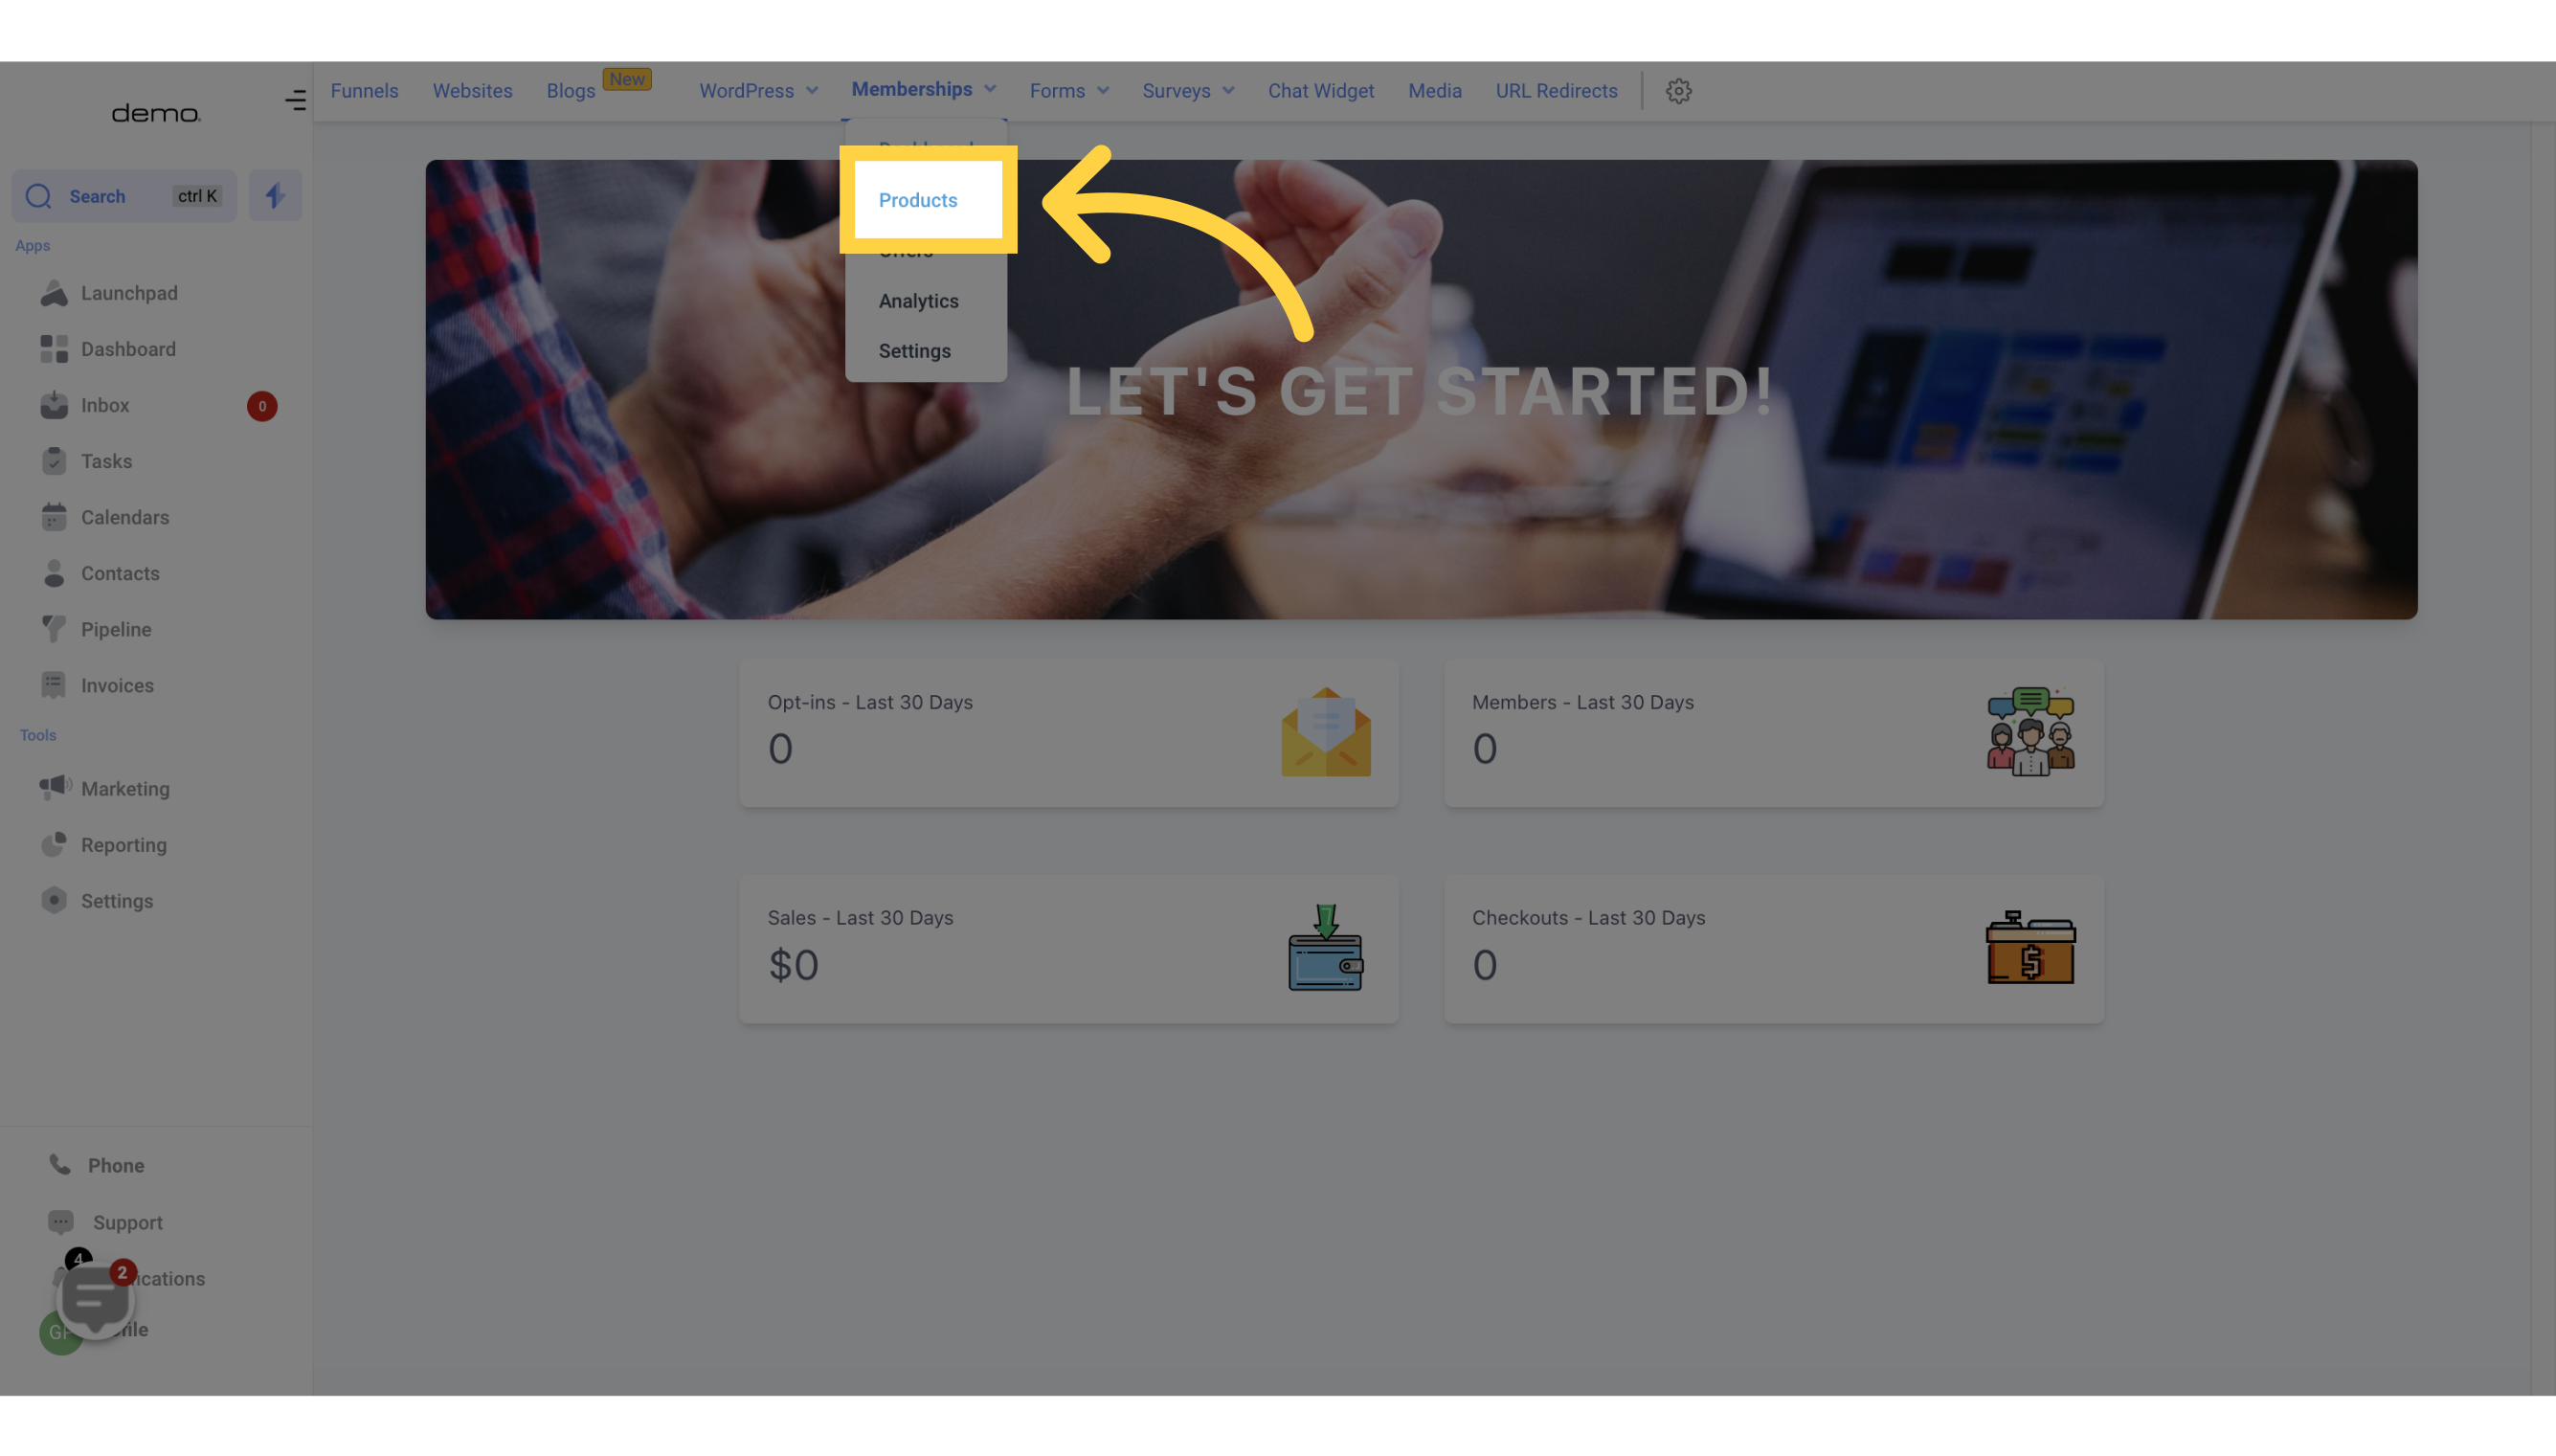
Choose the Products tab.
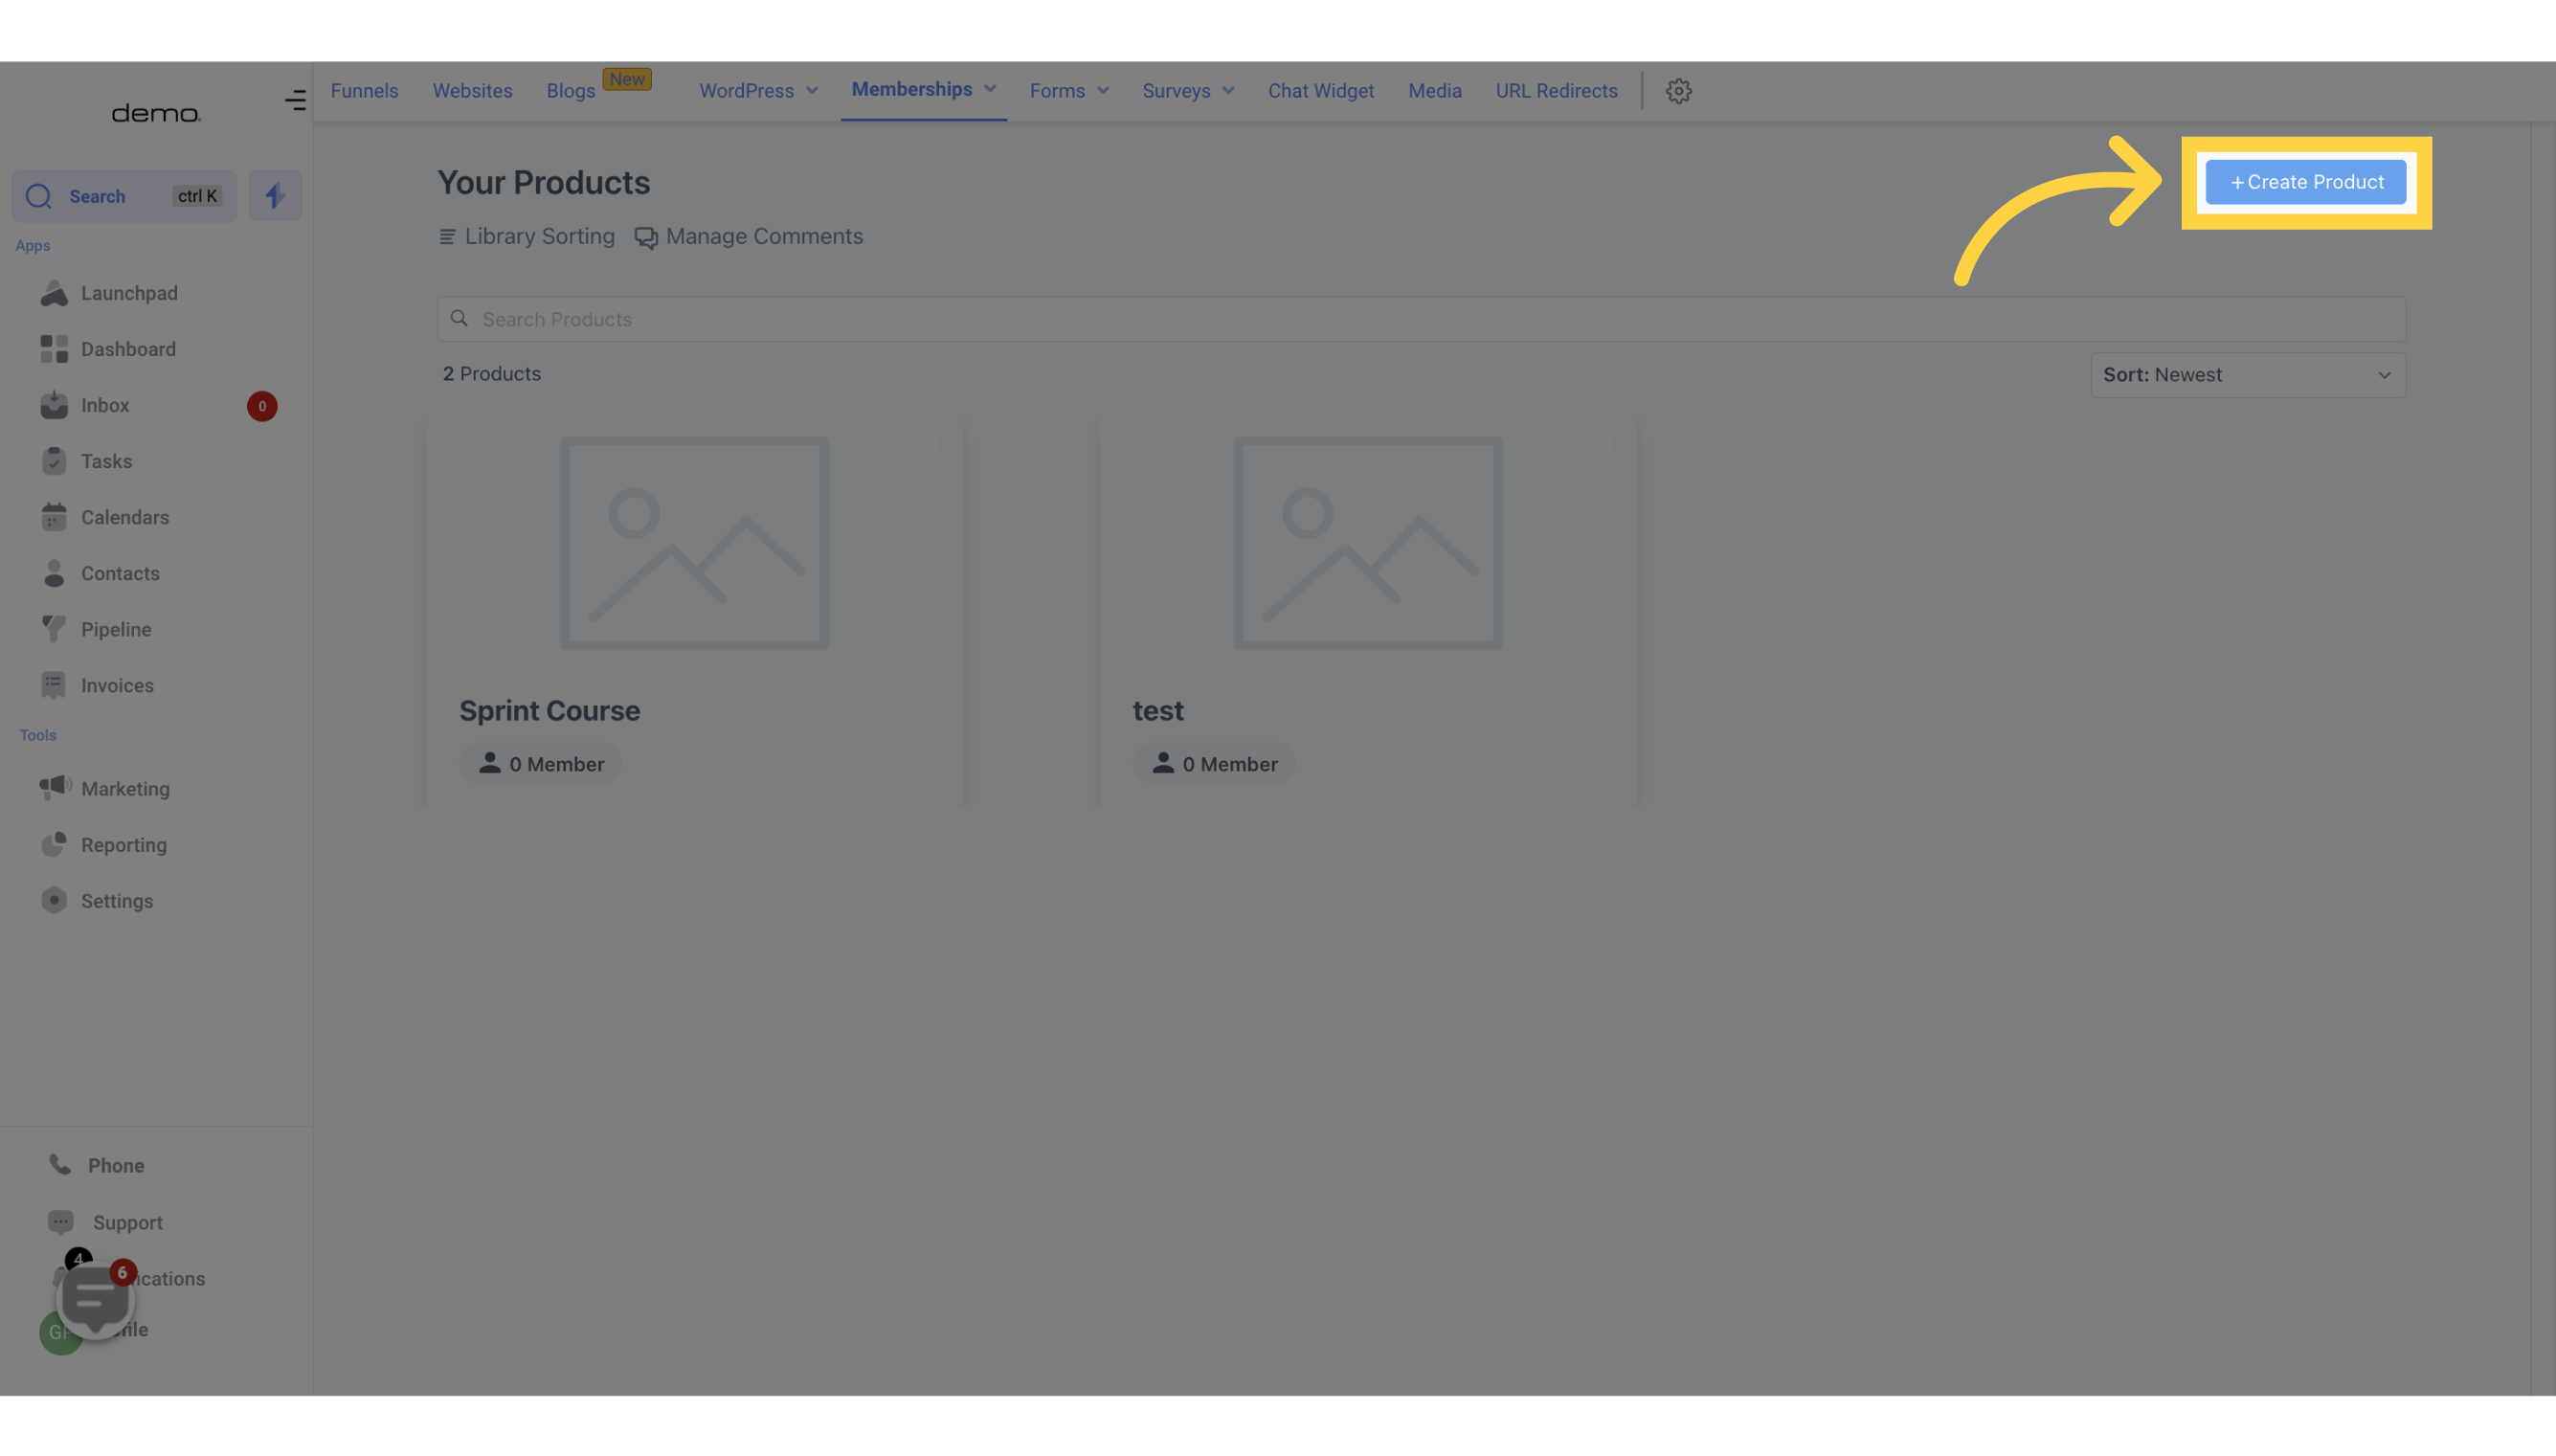
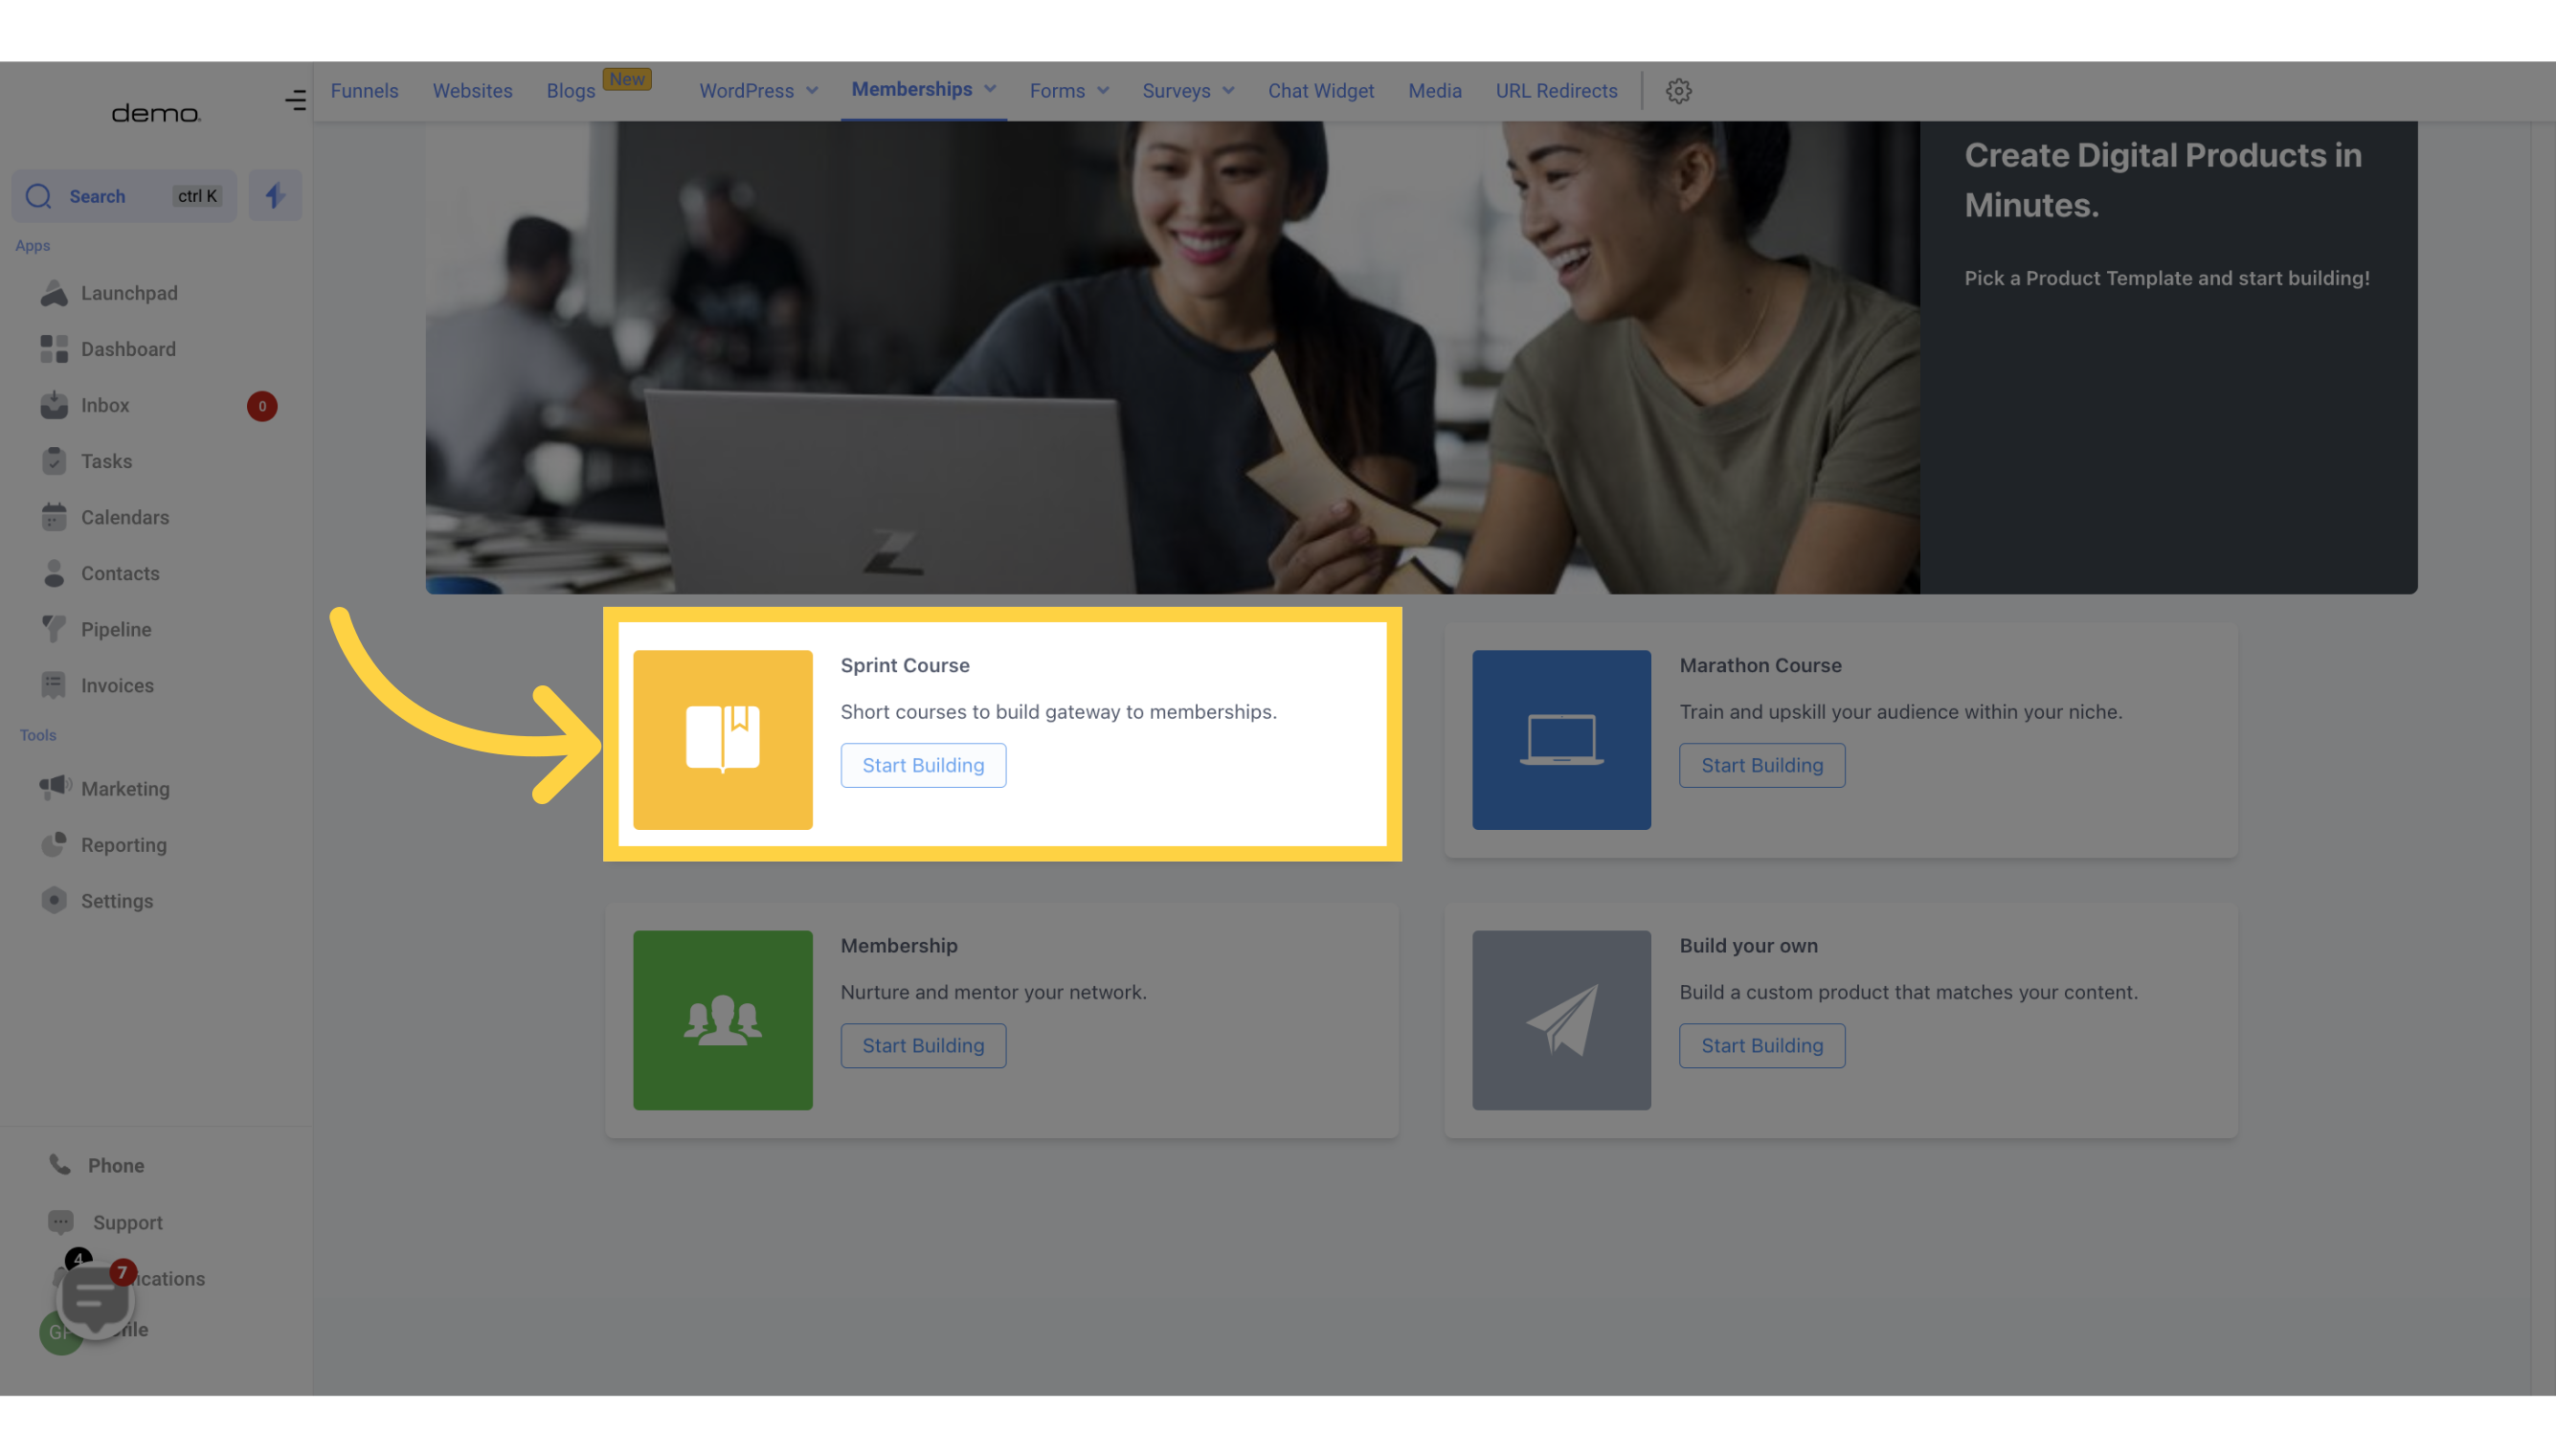
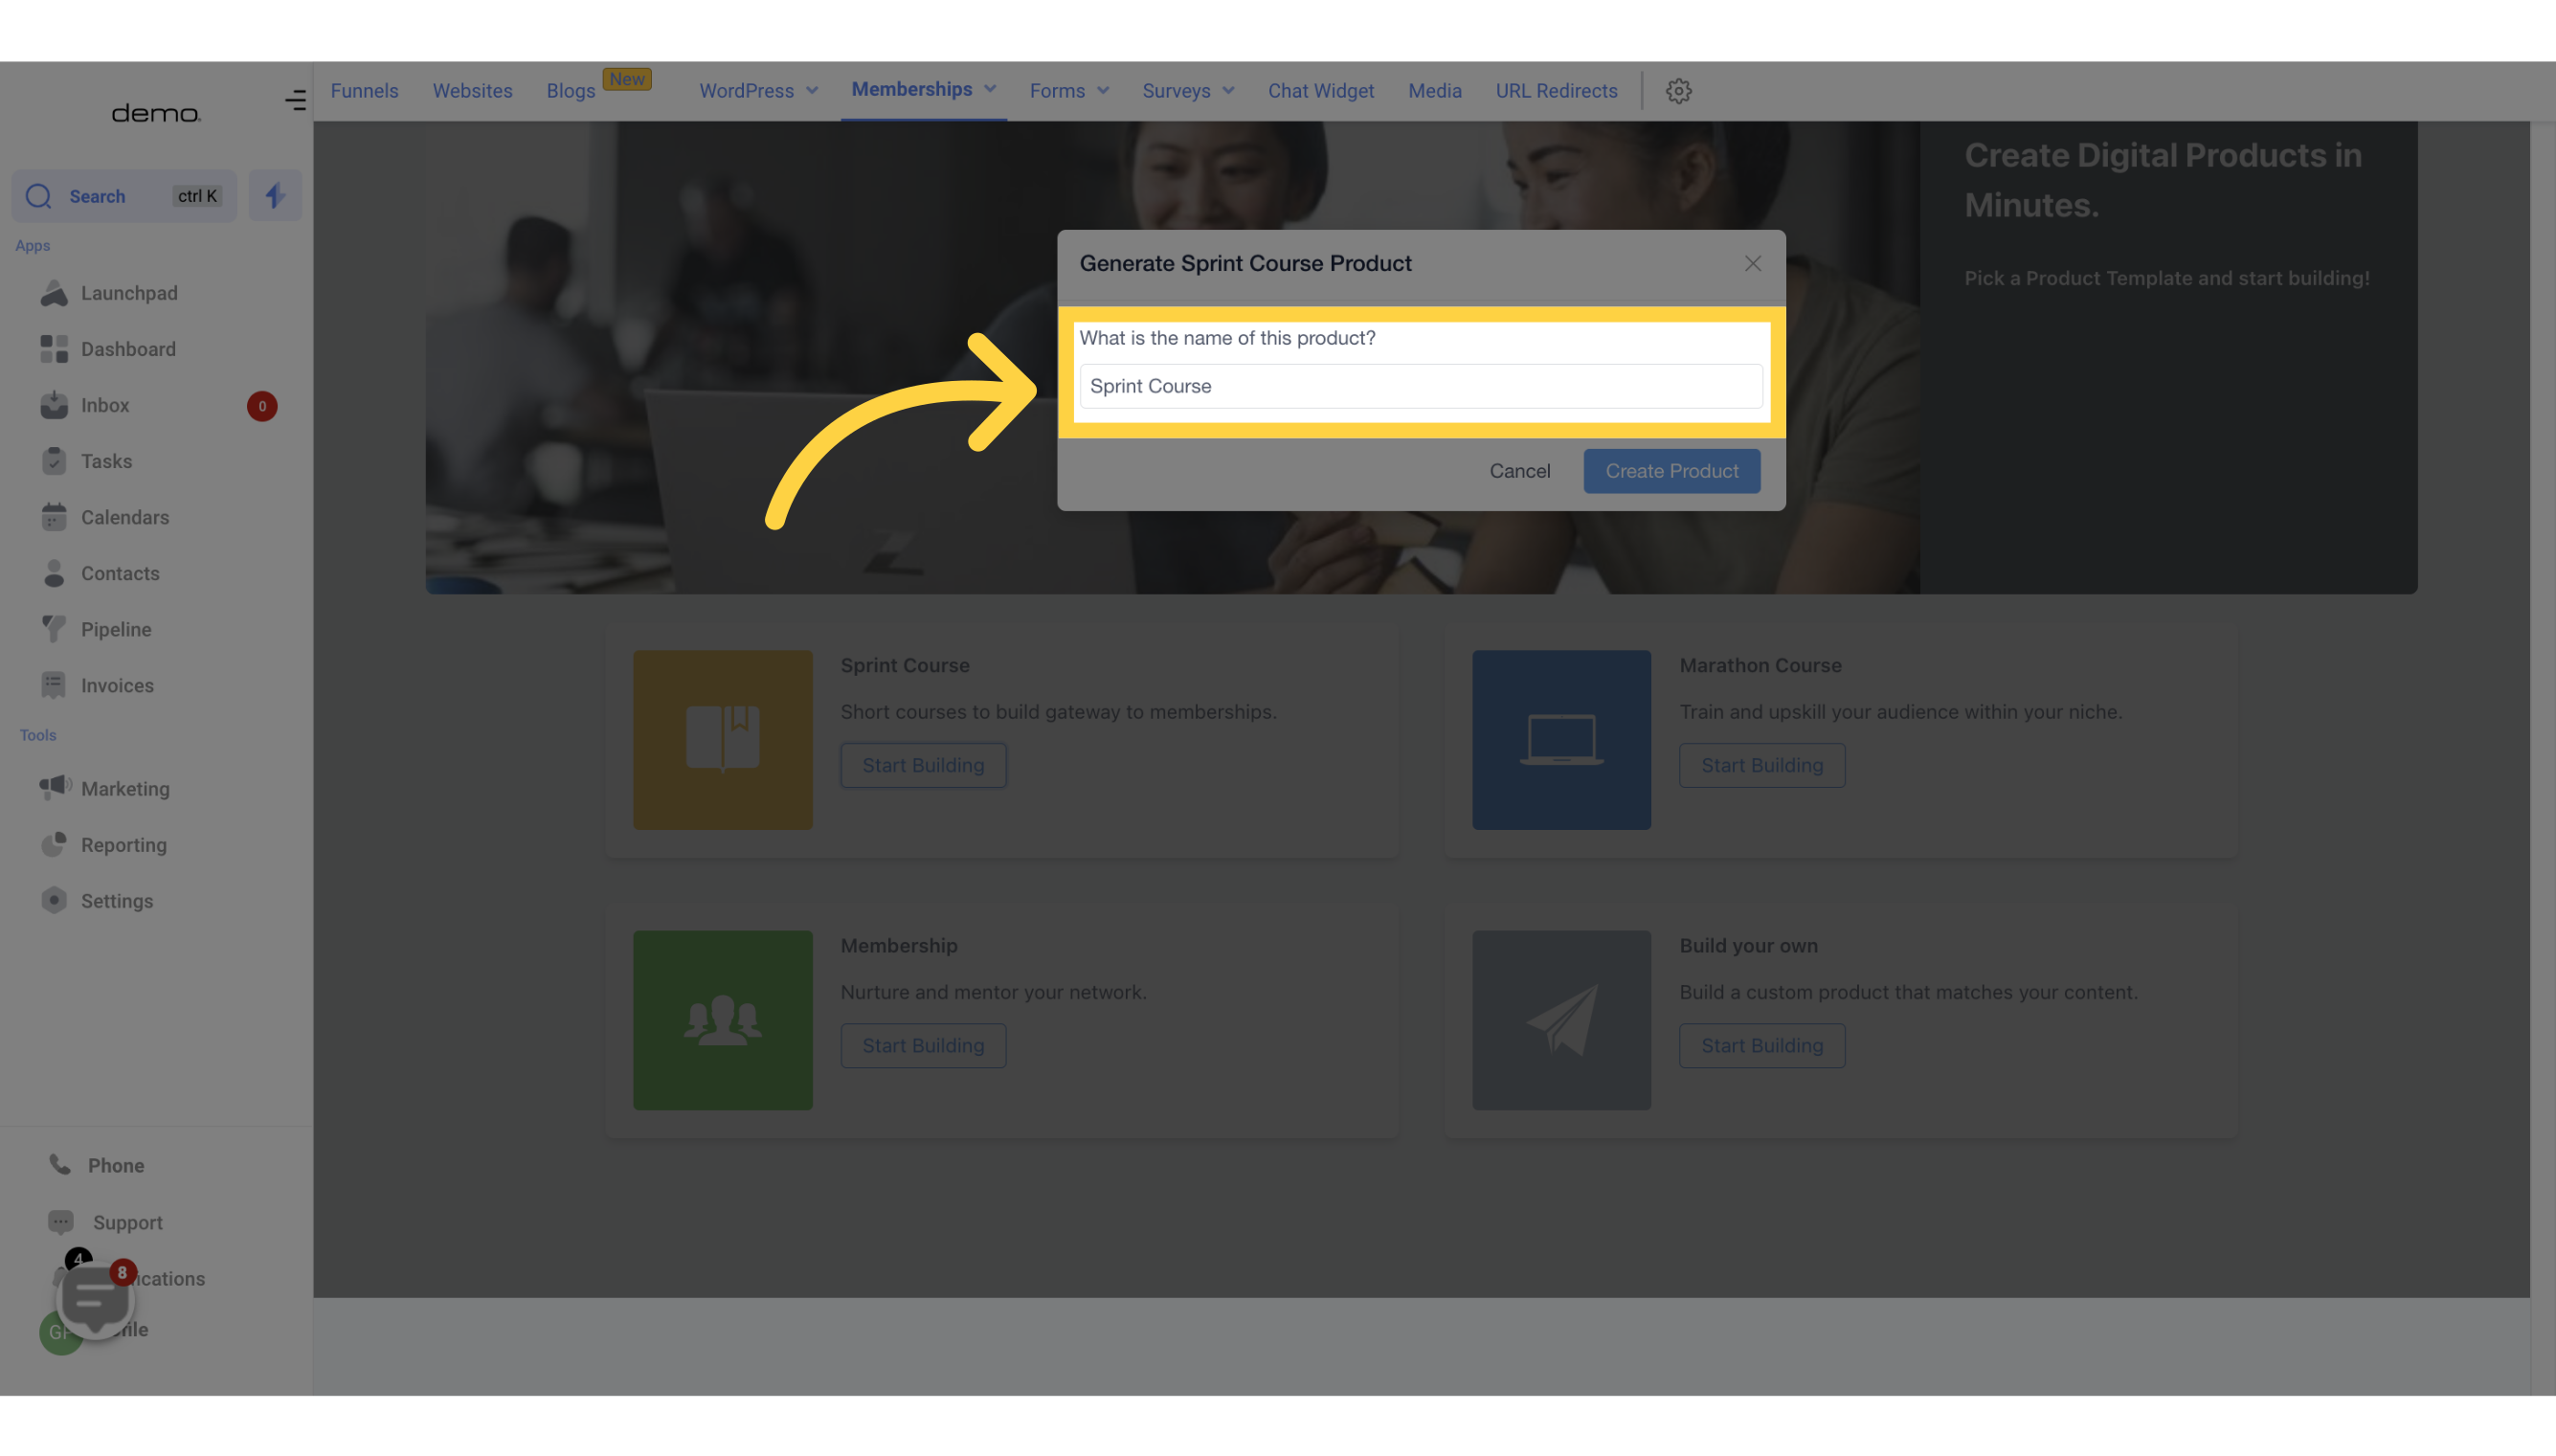
First, come up with a name for the course you are going to create. Once you have decided on a name, click "Create Product" to save it. Your newly created product course will then be displayed. From here, you have several options: edit, preview, customize, or clone the course. Additionally, you can assign a price value to the course.
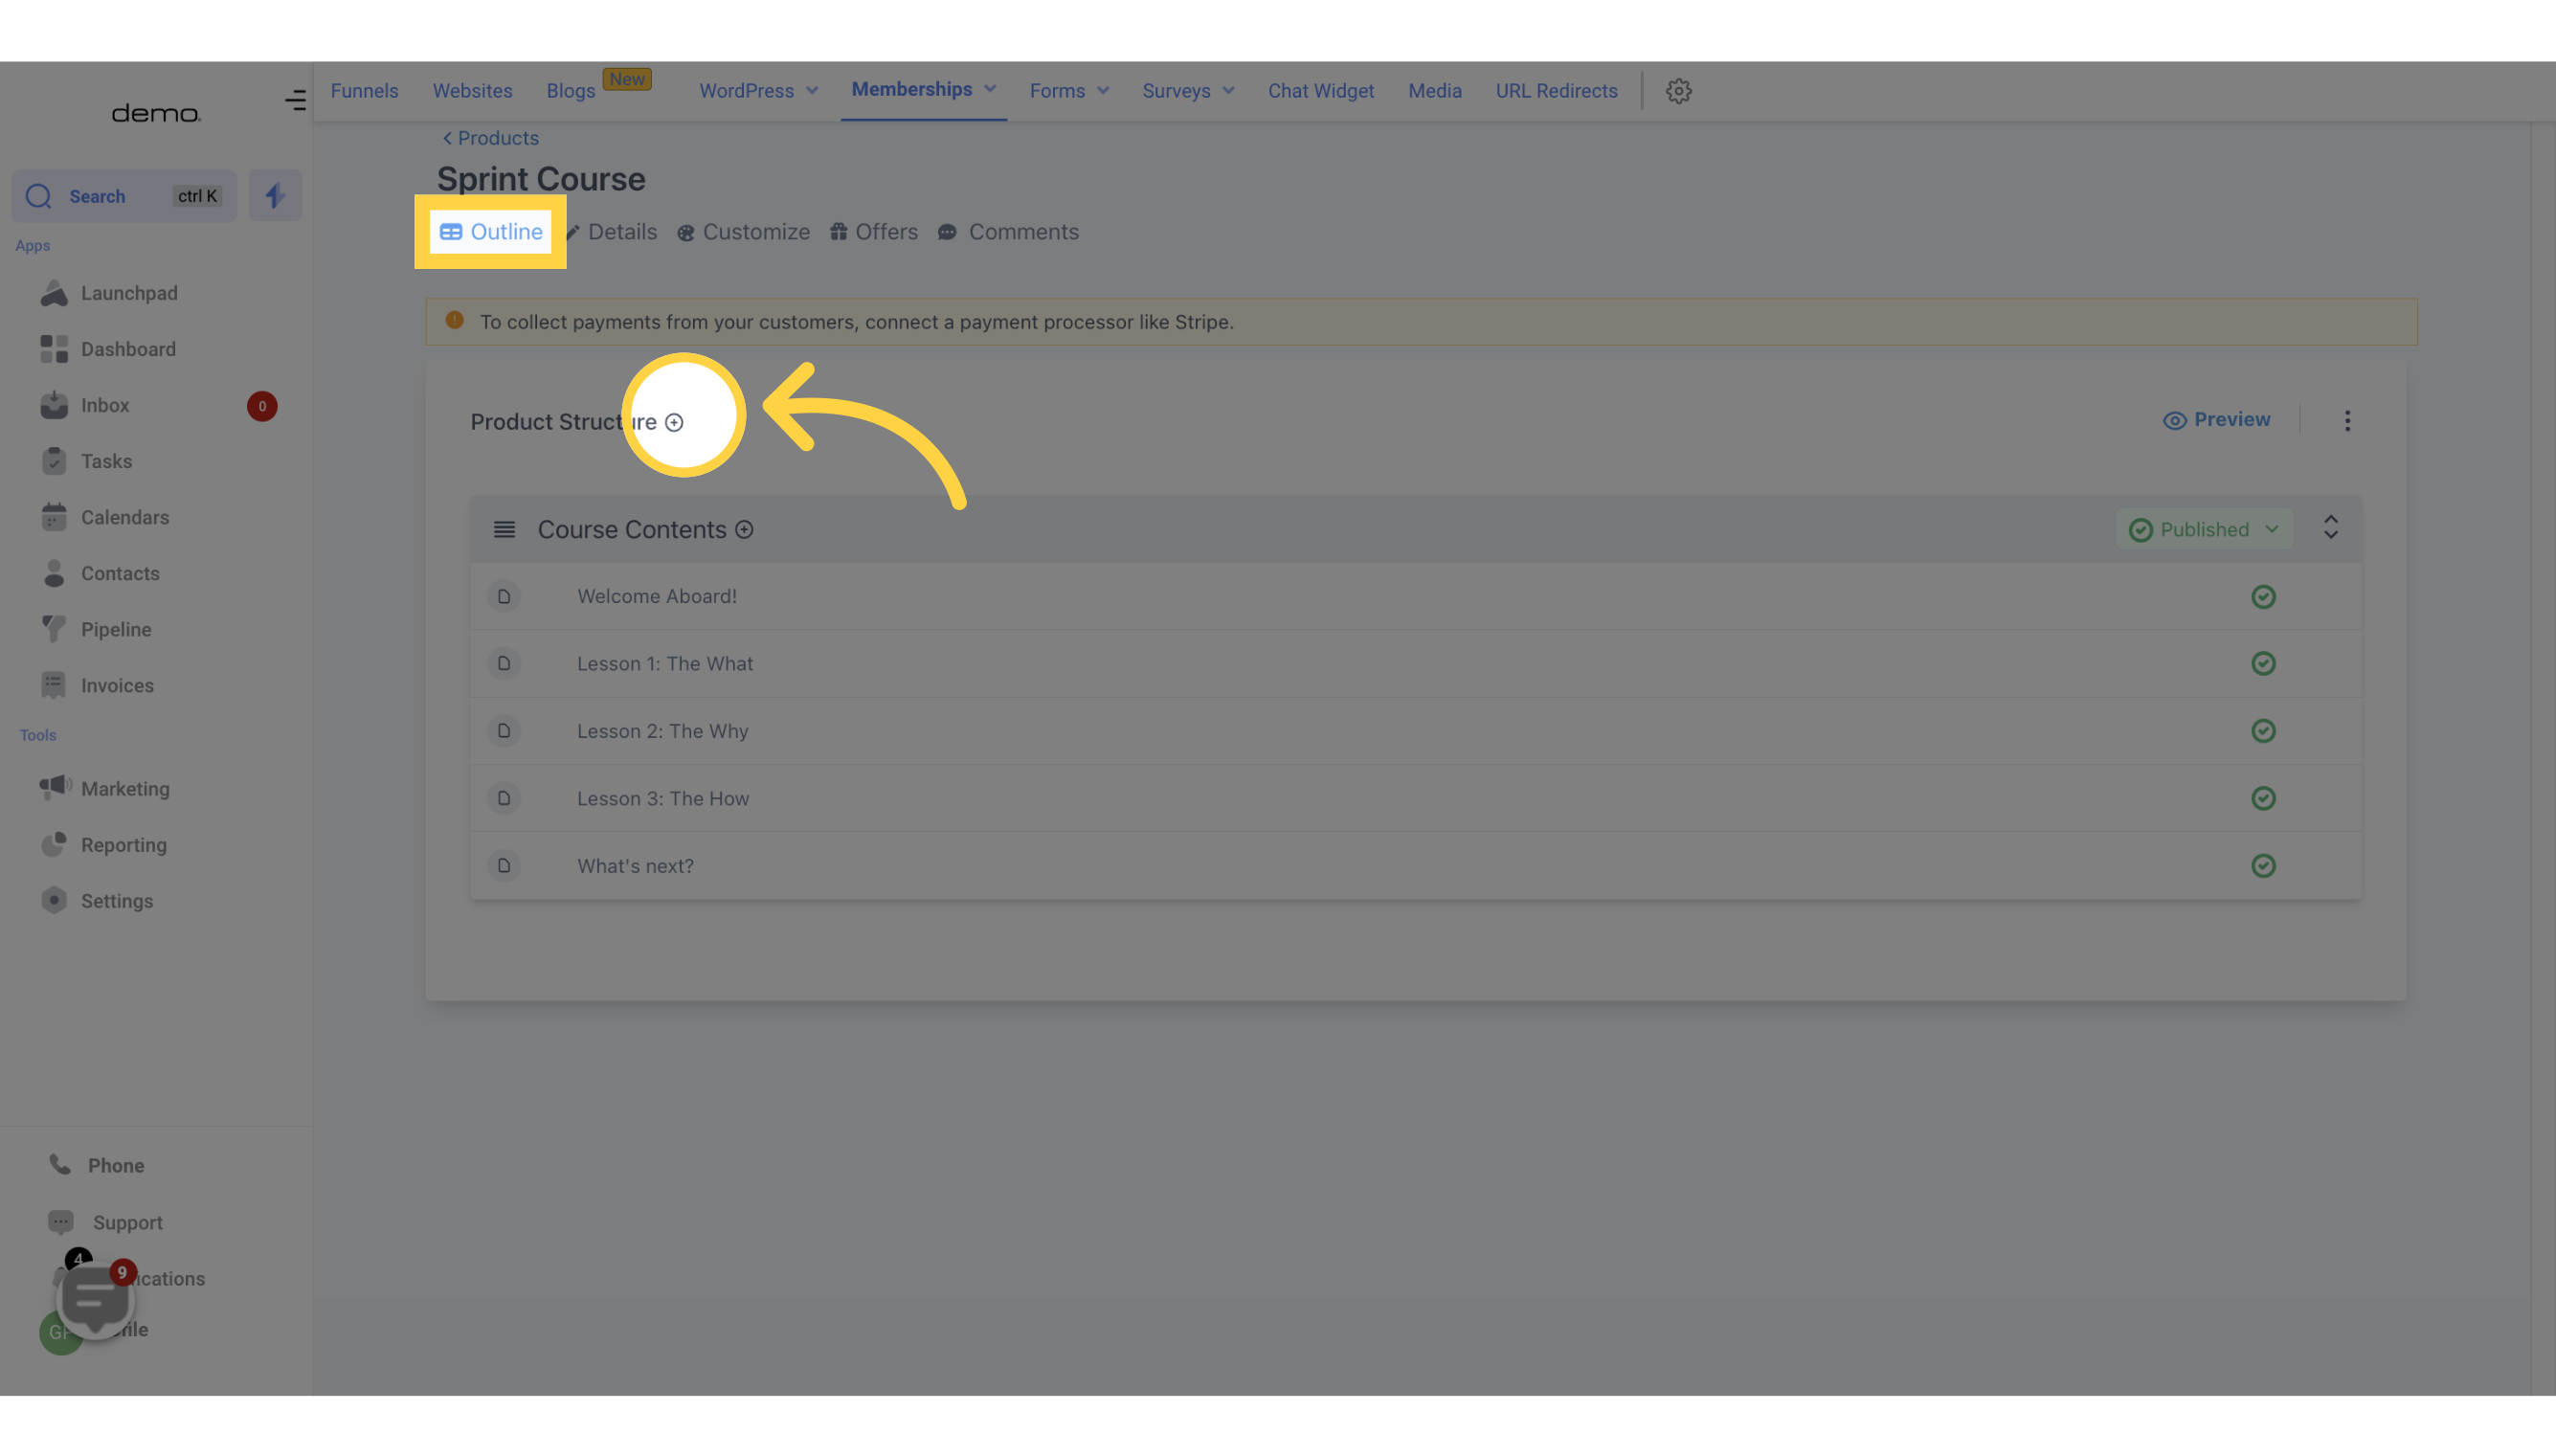
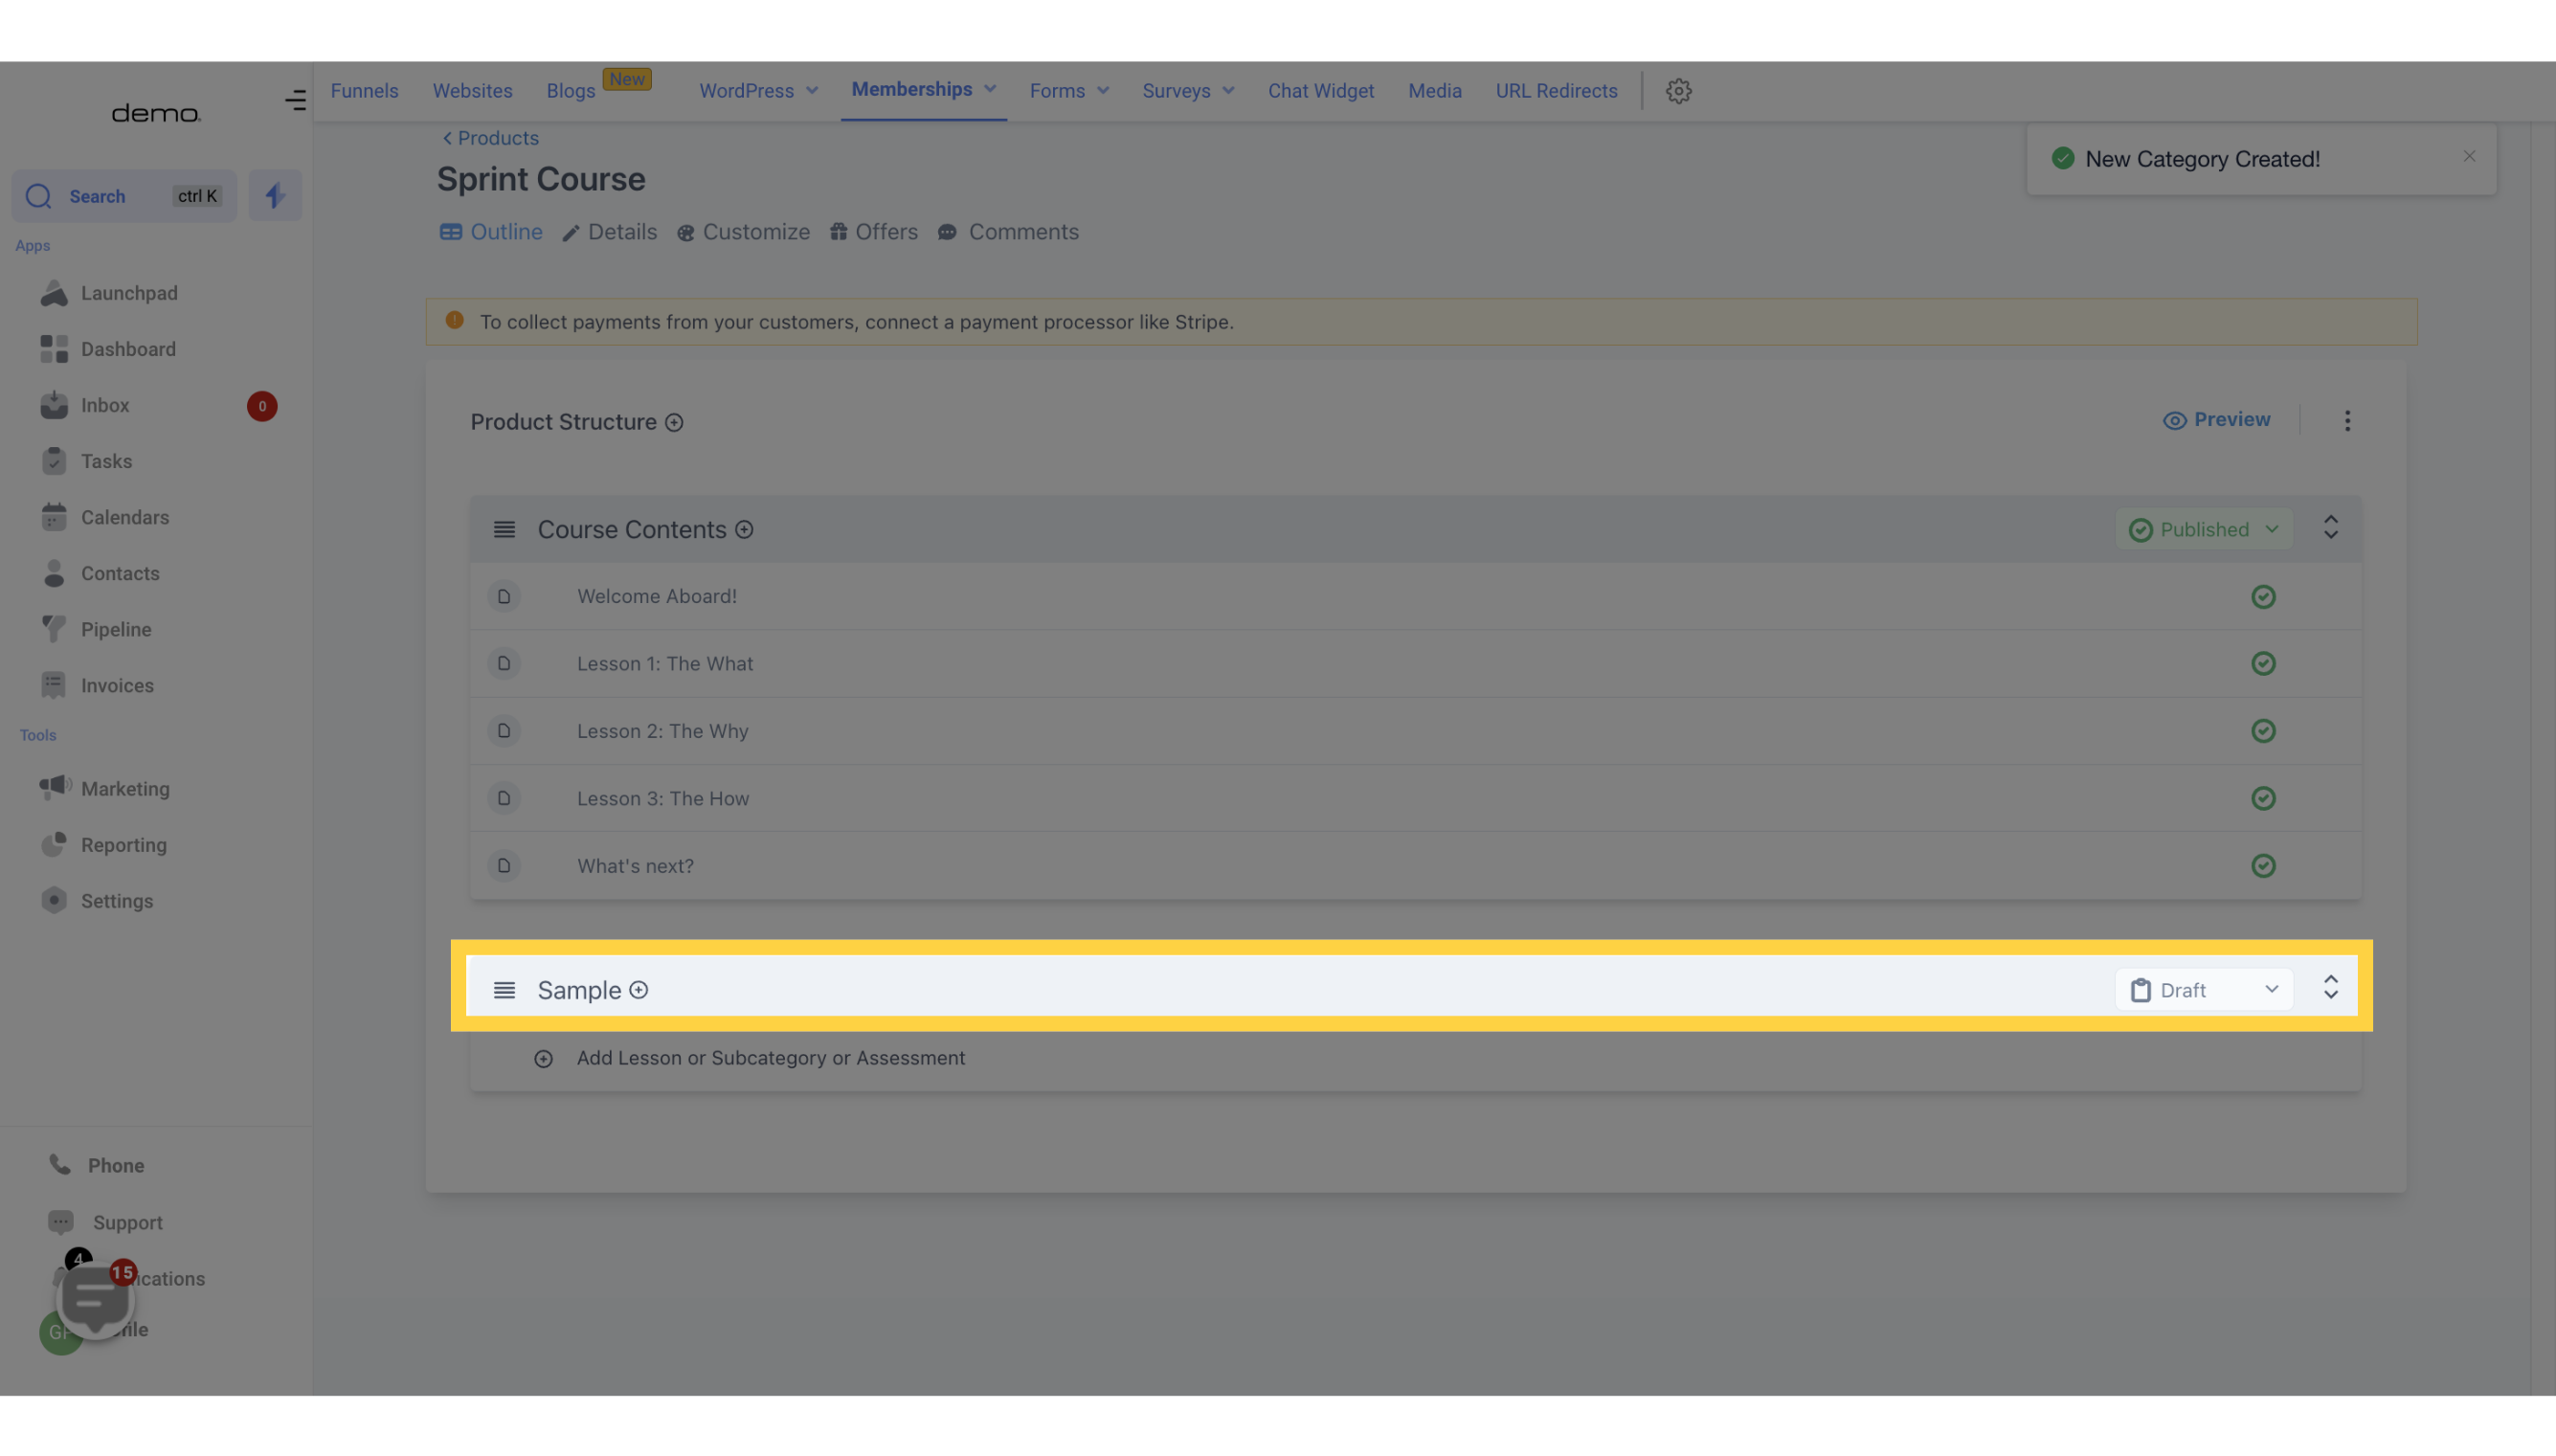
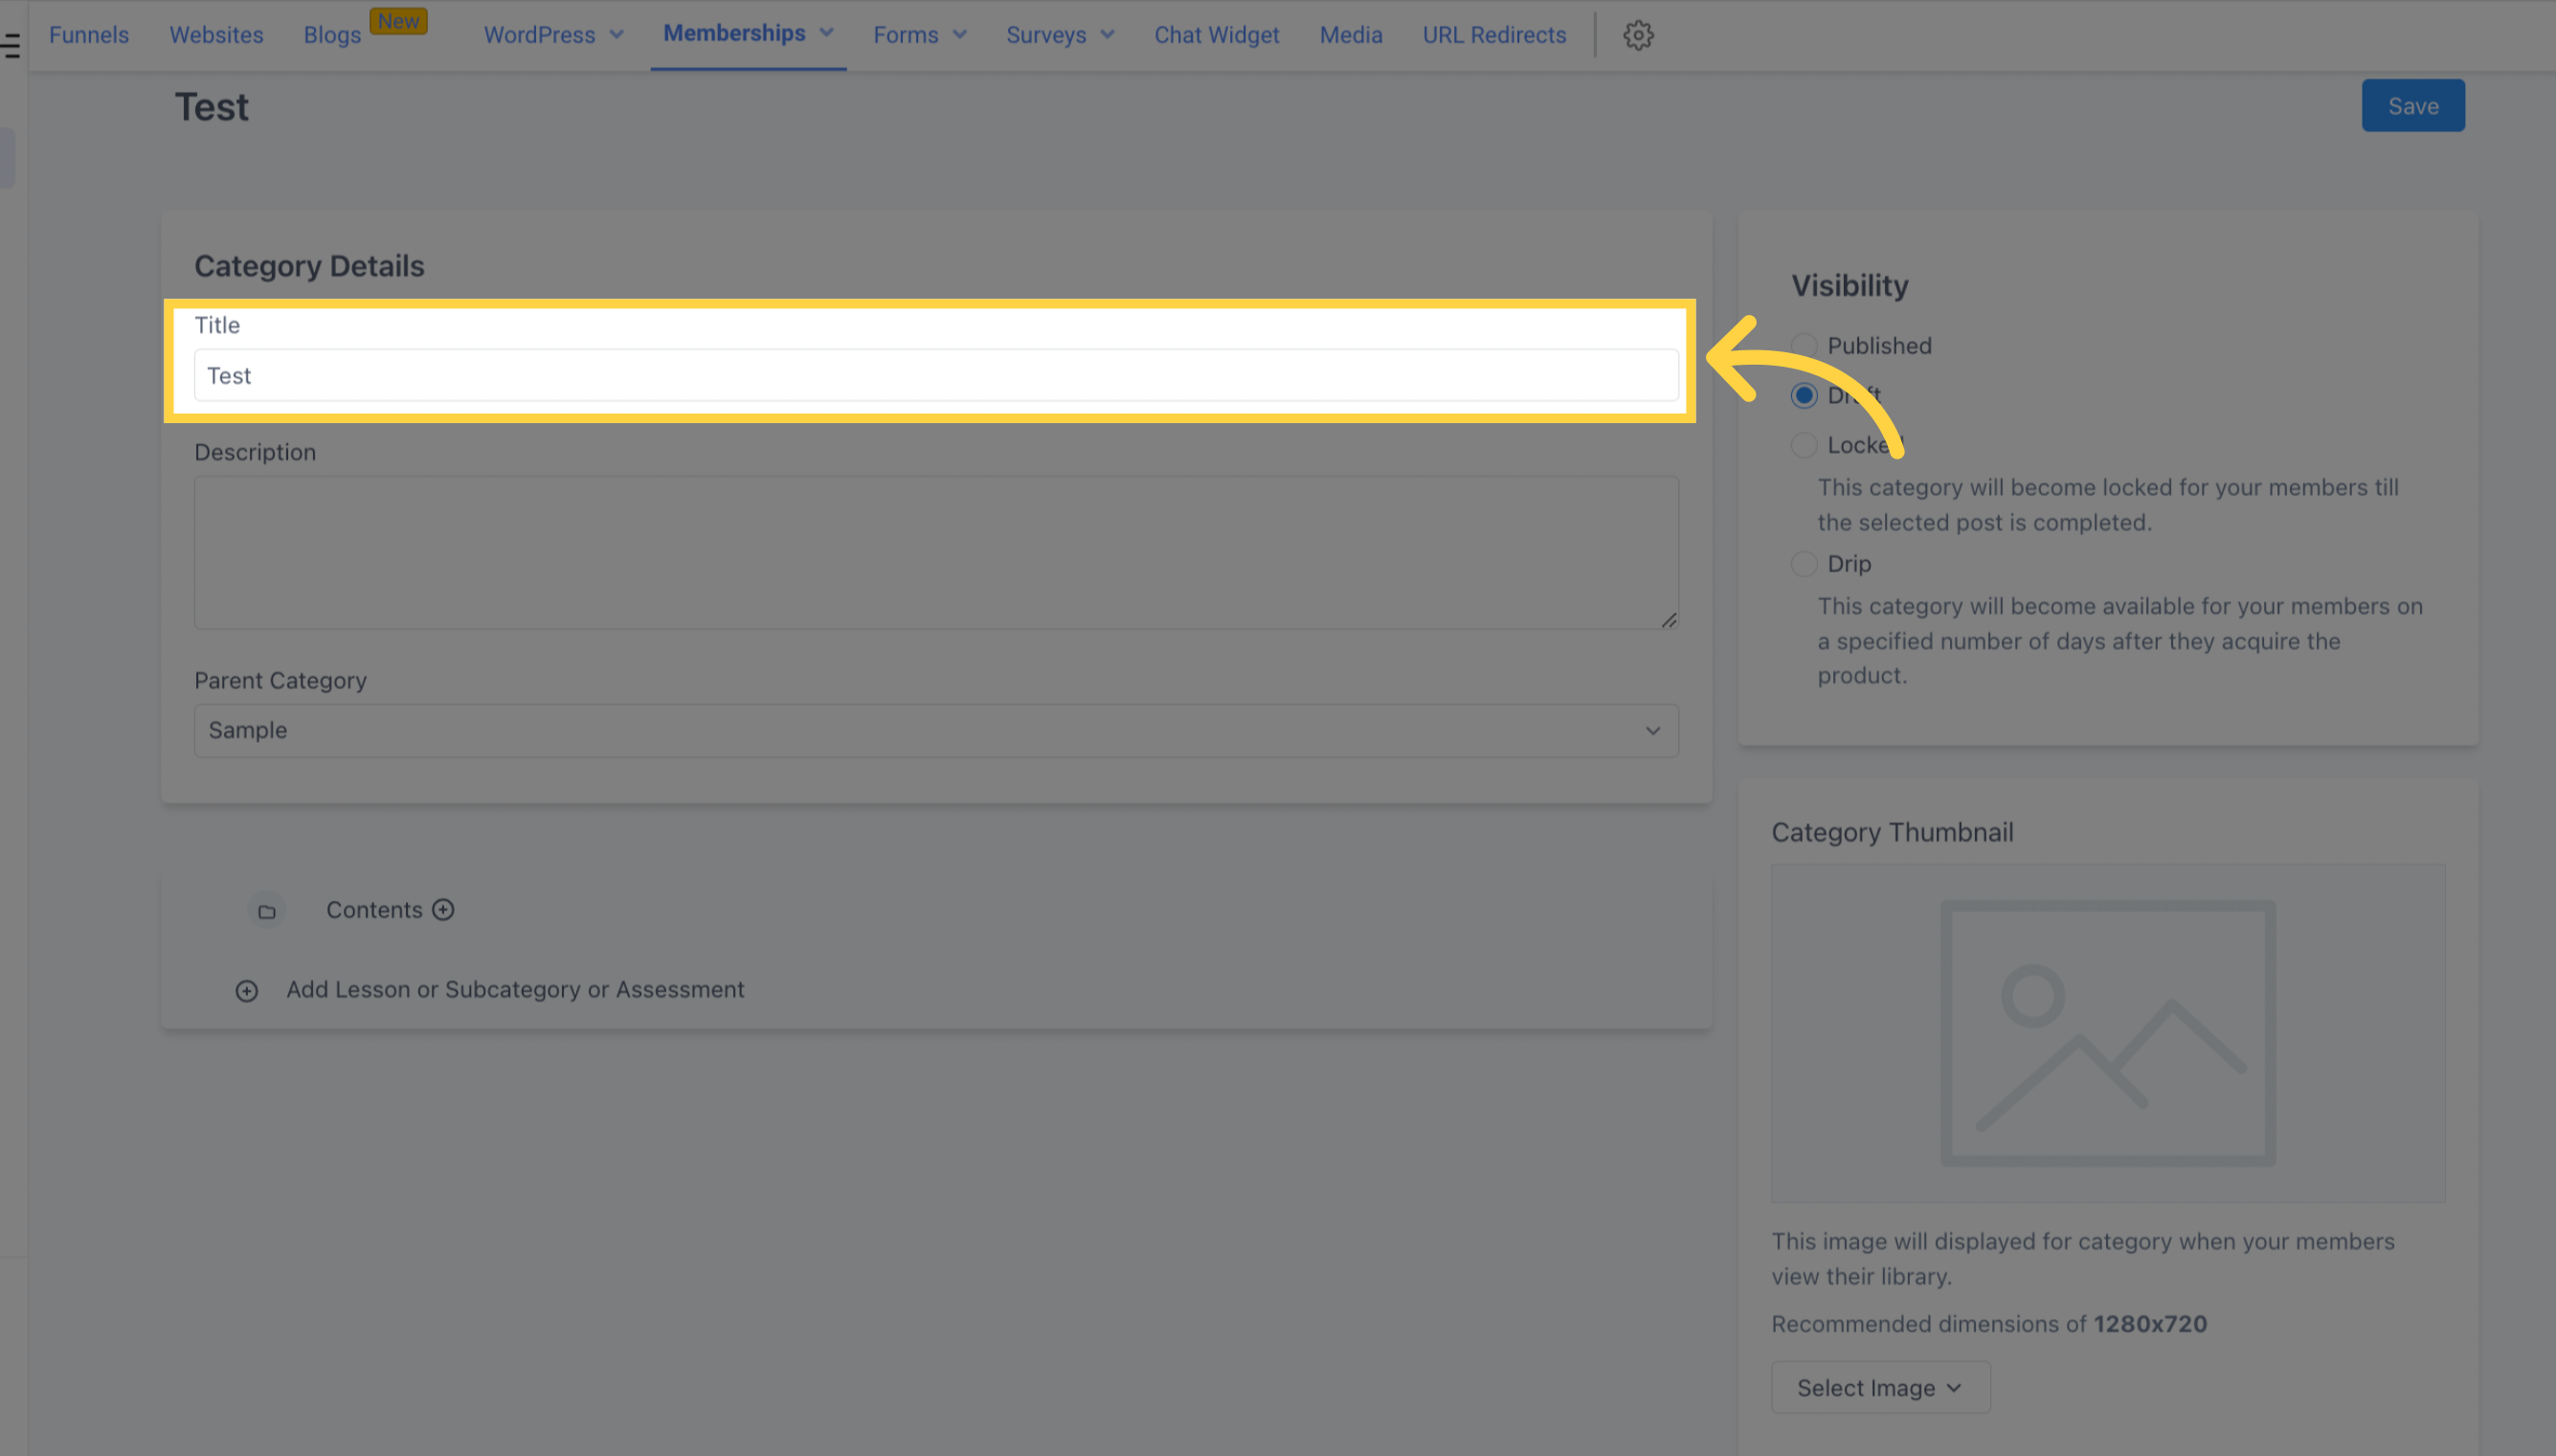
To include or generate a category for your product, simply click on the (+) icon next to the Product Structure. After providing a title, save the category!
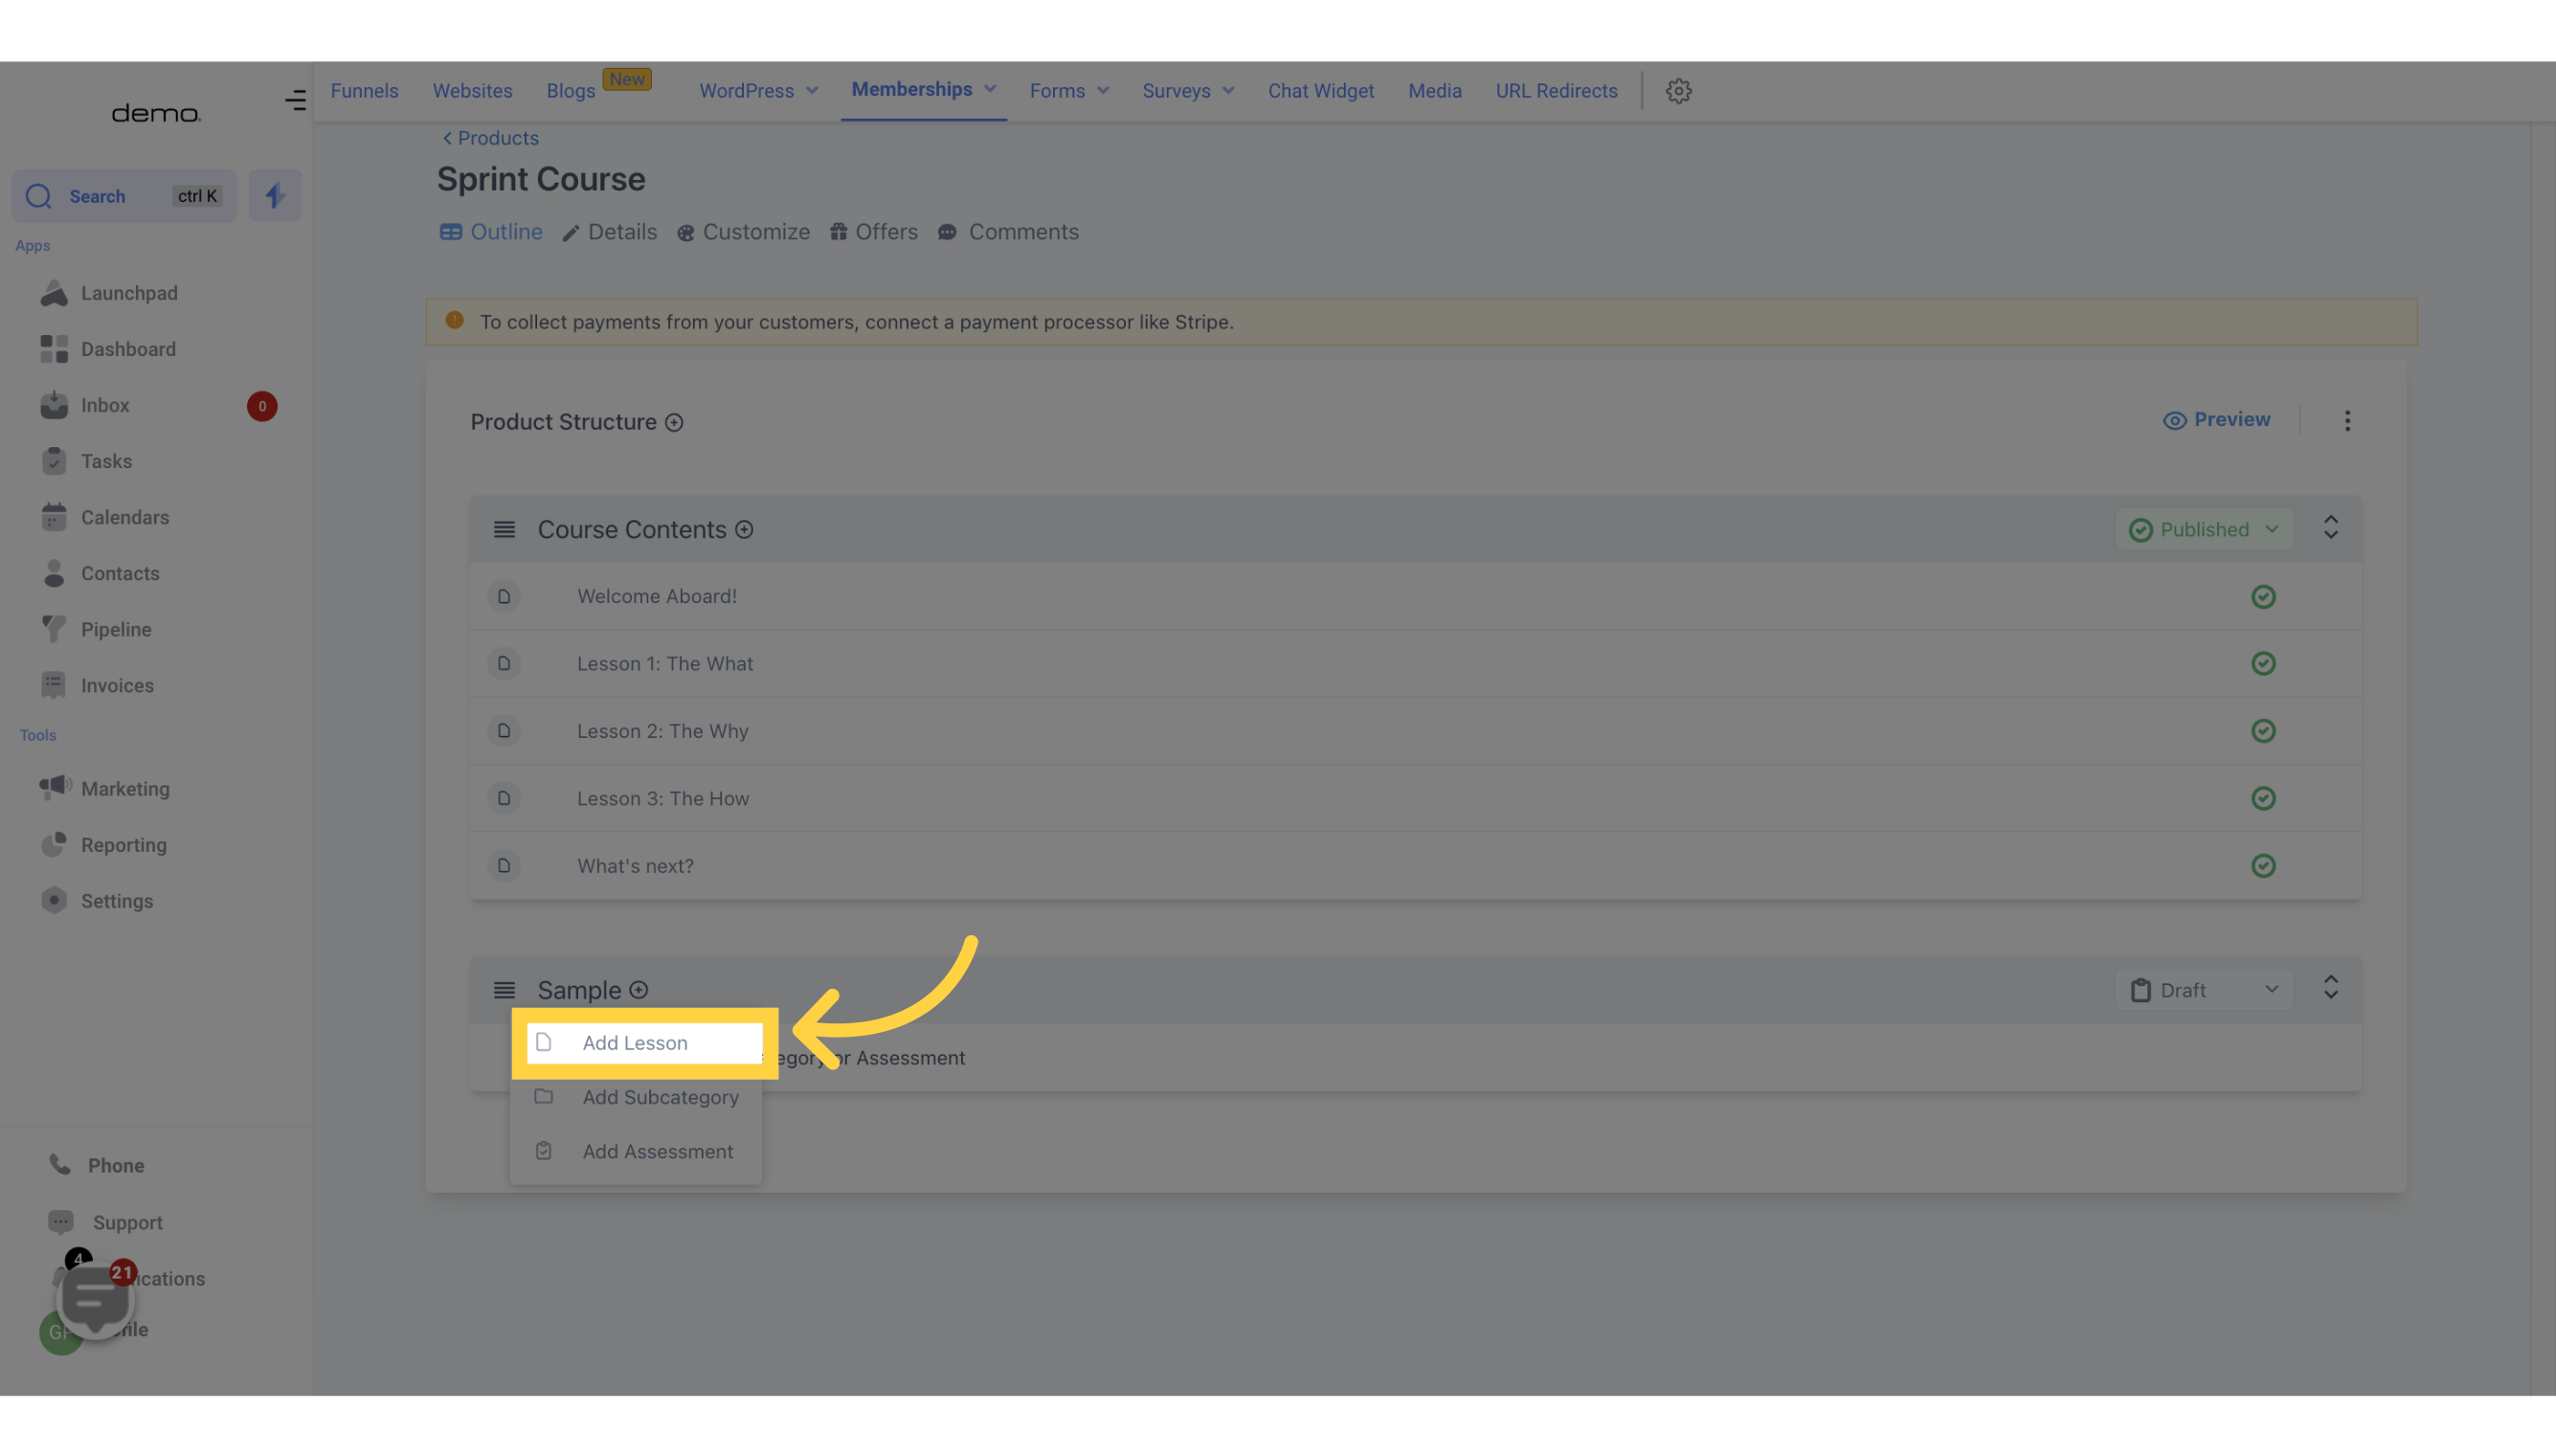
Don't forget to title each lesson you create when deciding to include lessons in your Product.
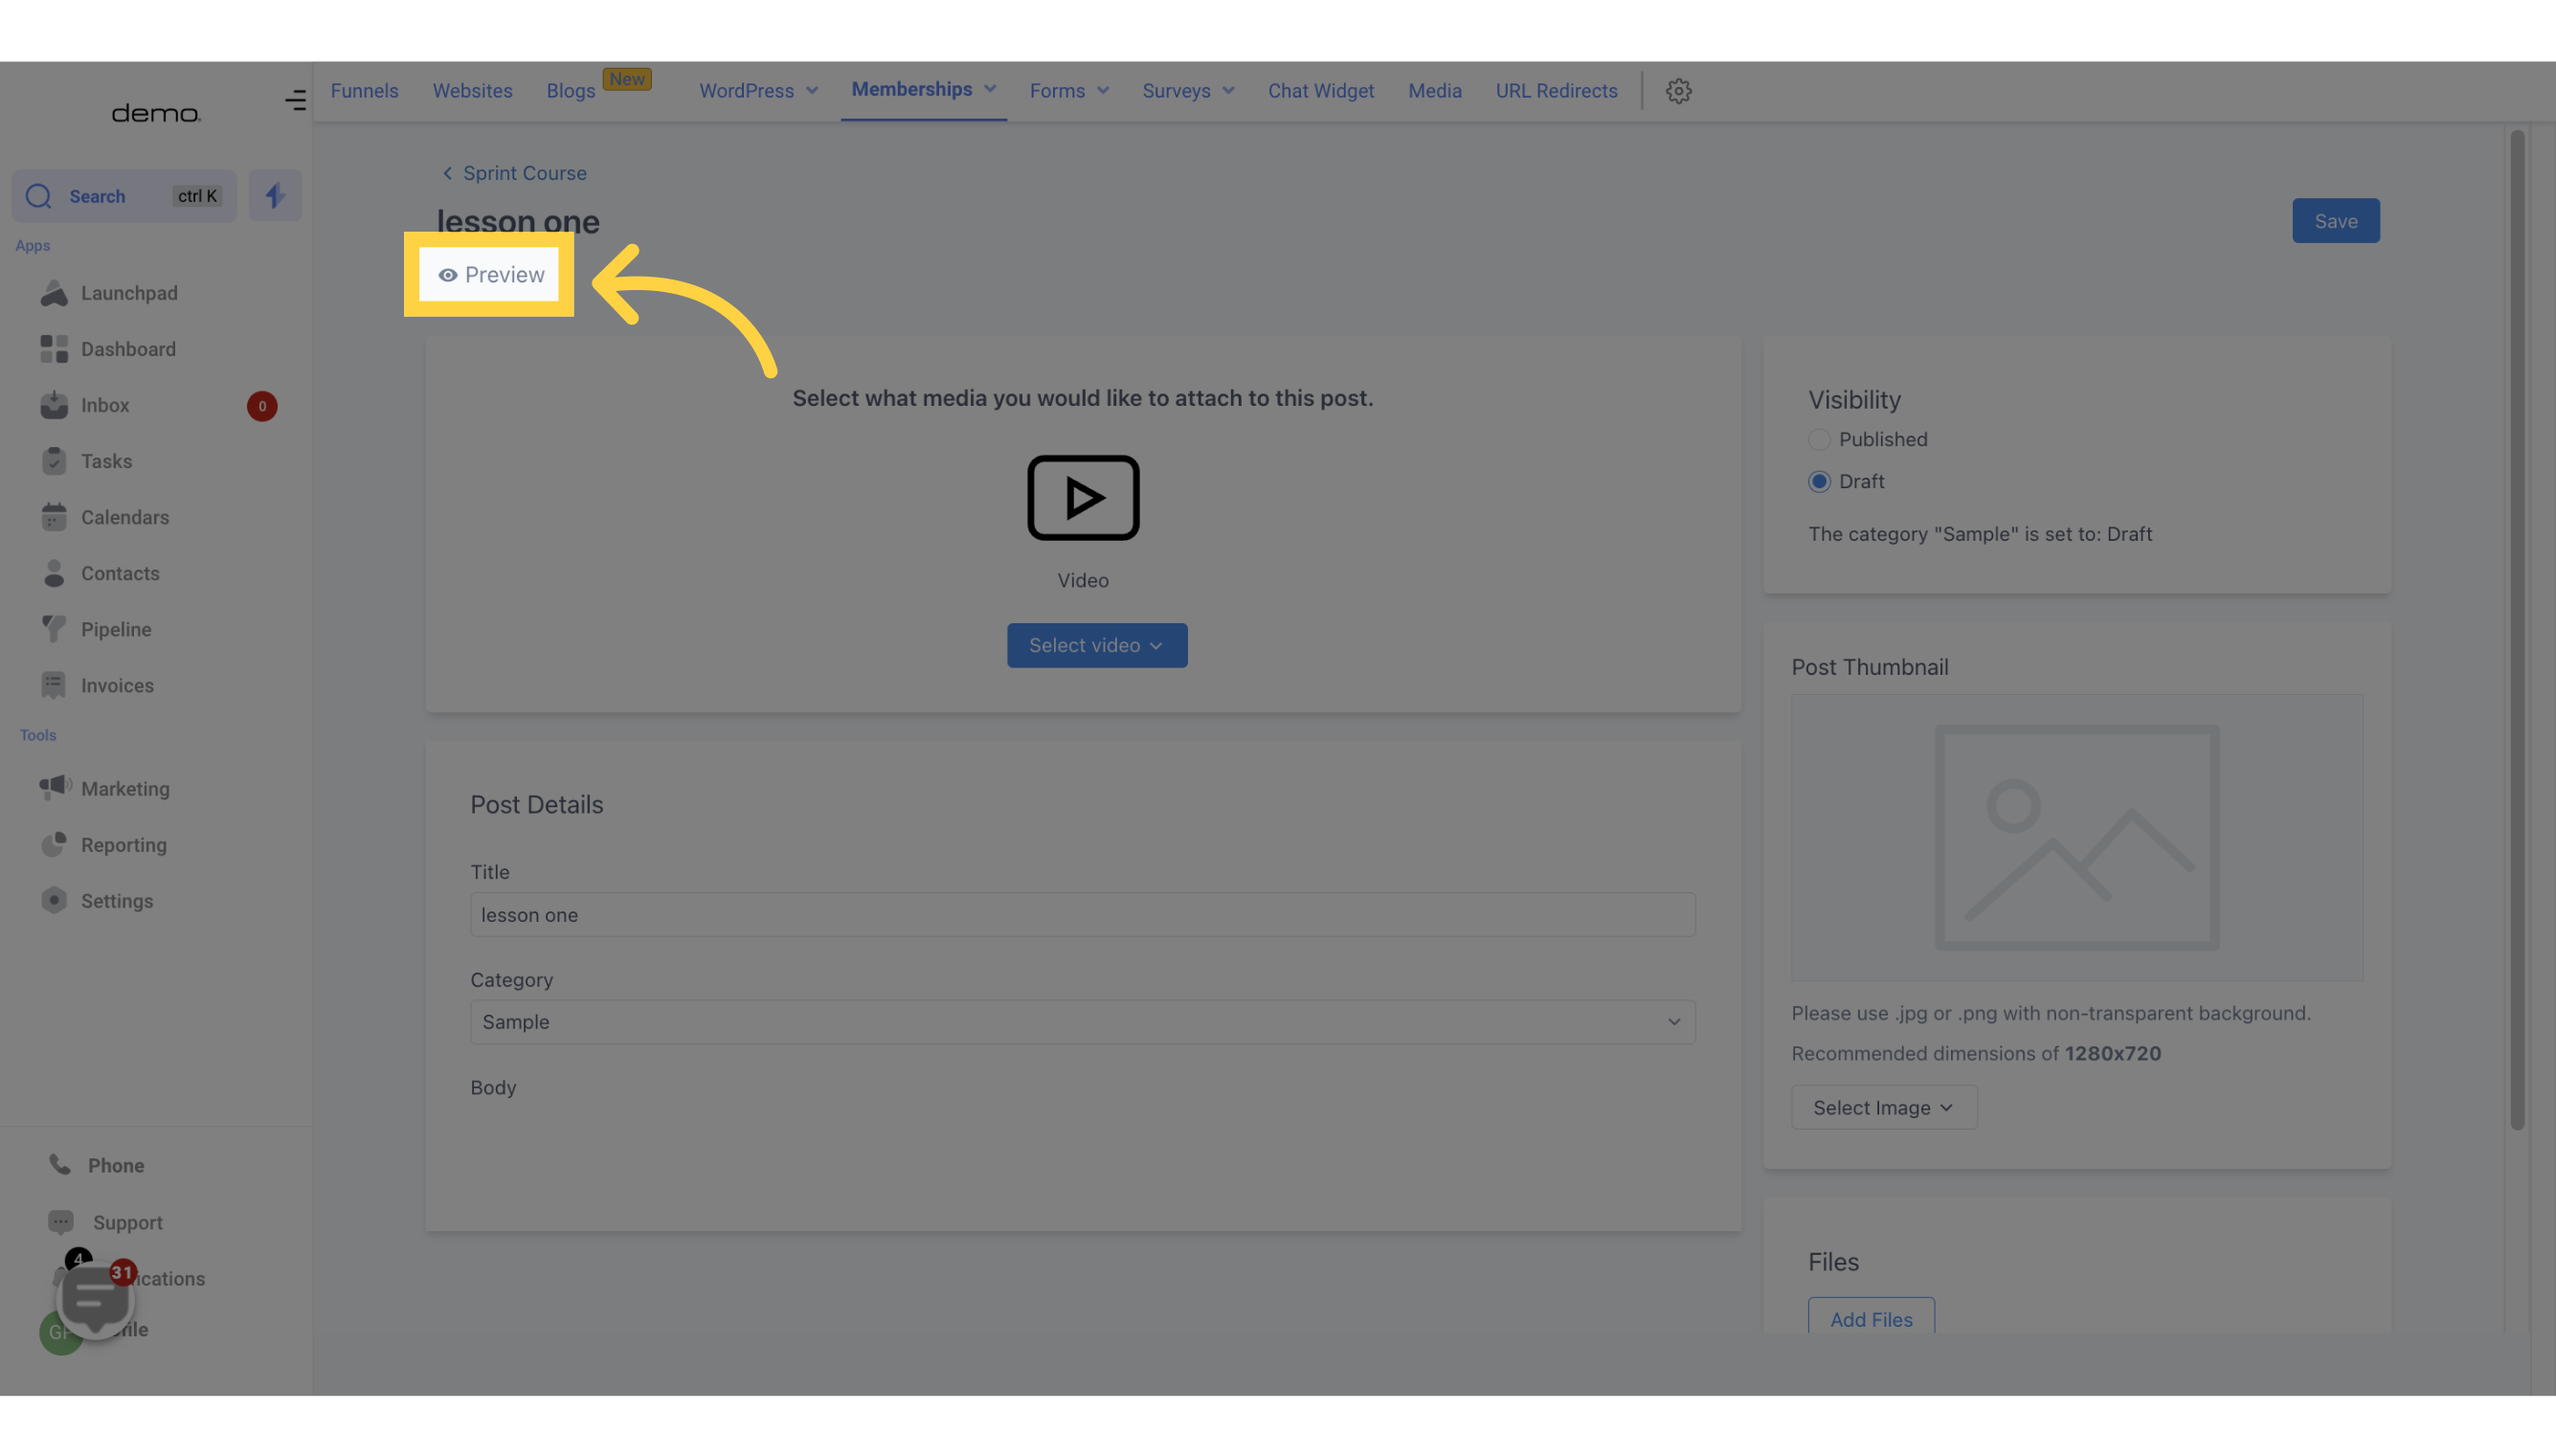
To see how your lesson will appear once it goes live, simply click on the Preview button.
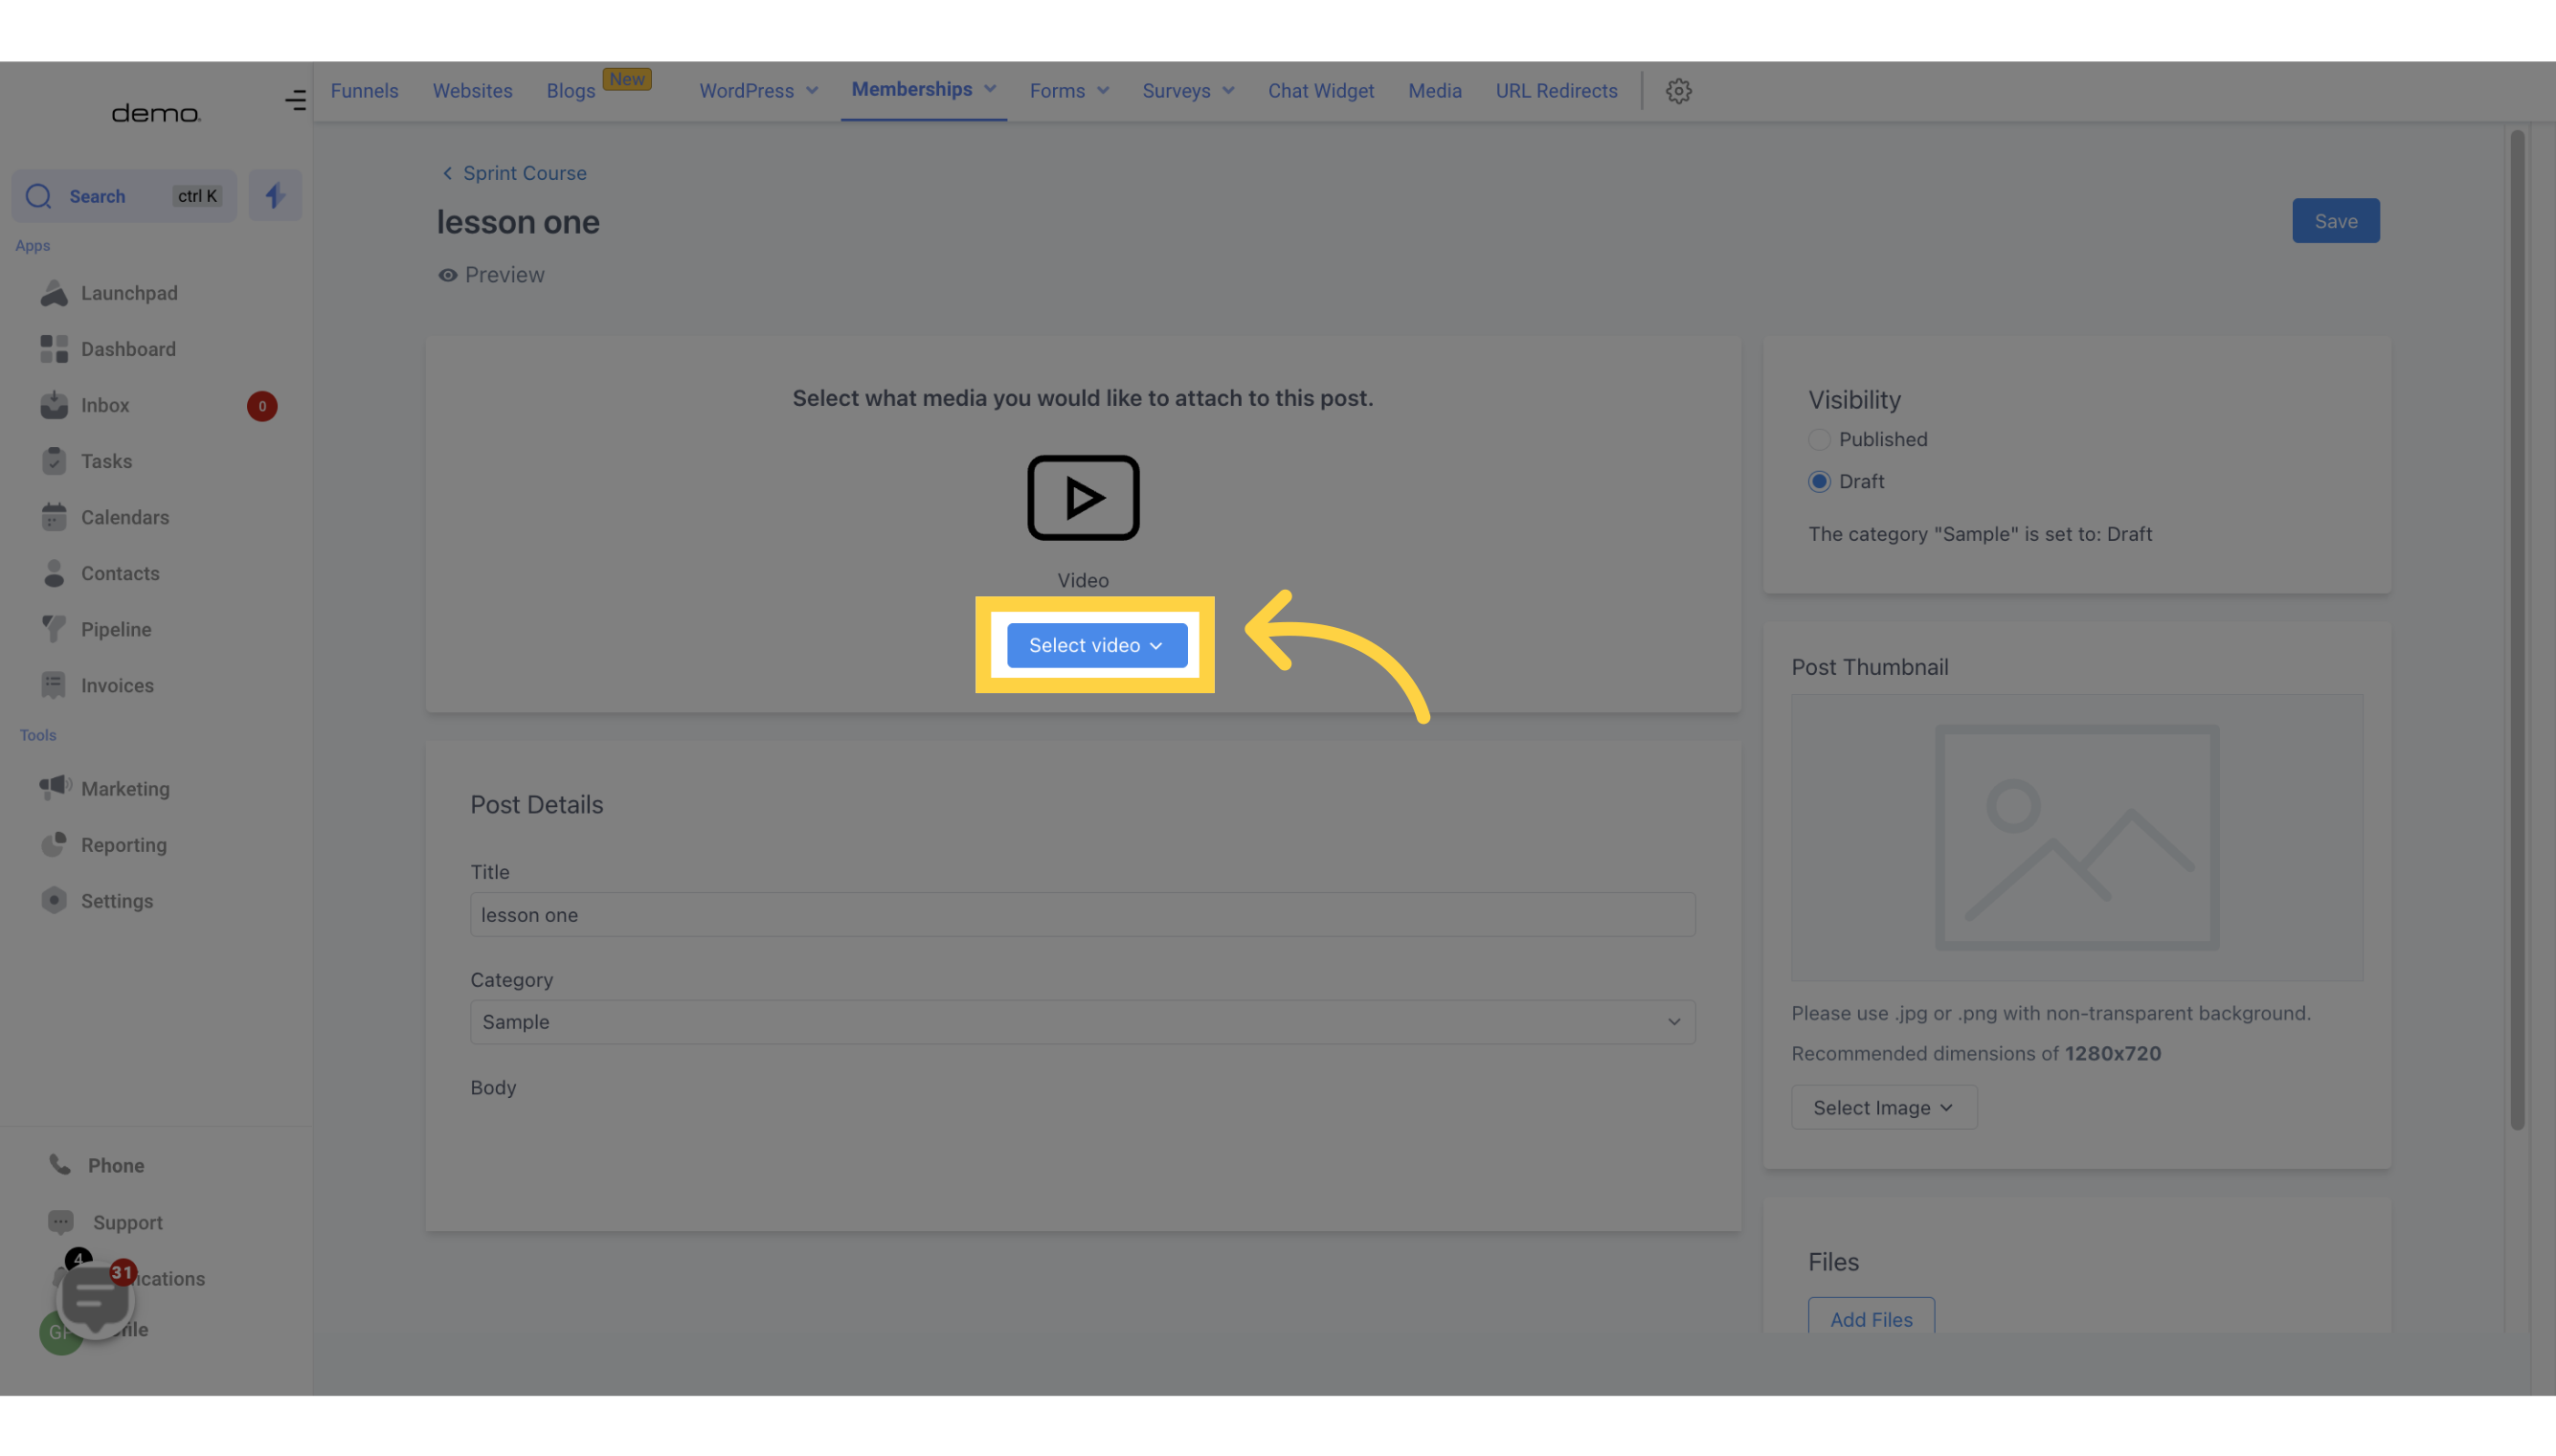
If you want to upload a new video, click on "Select Video" and choose a file in one of the supported formats, which are .mp4, .webm, and .mov.
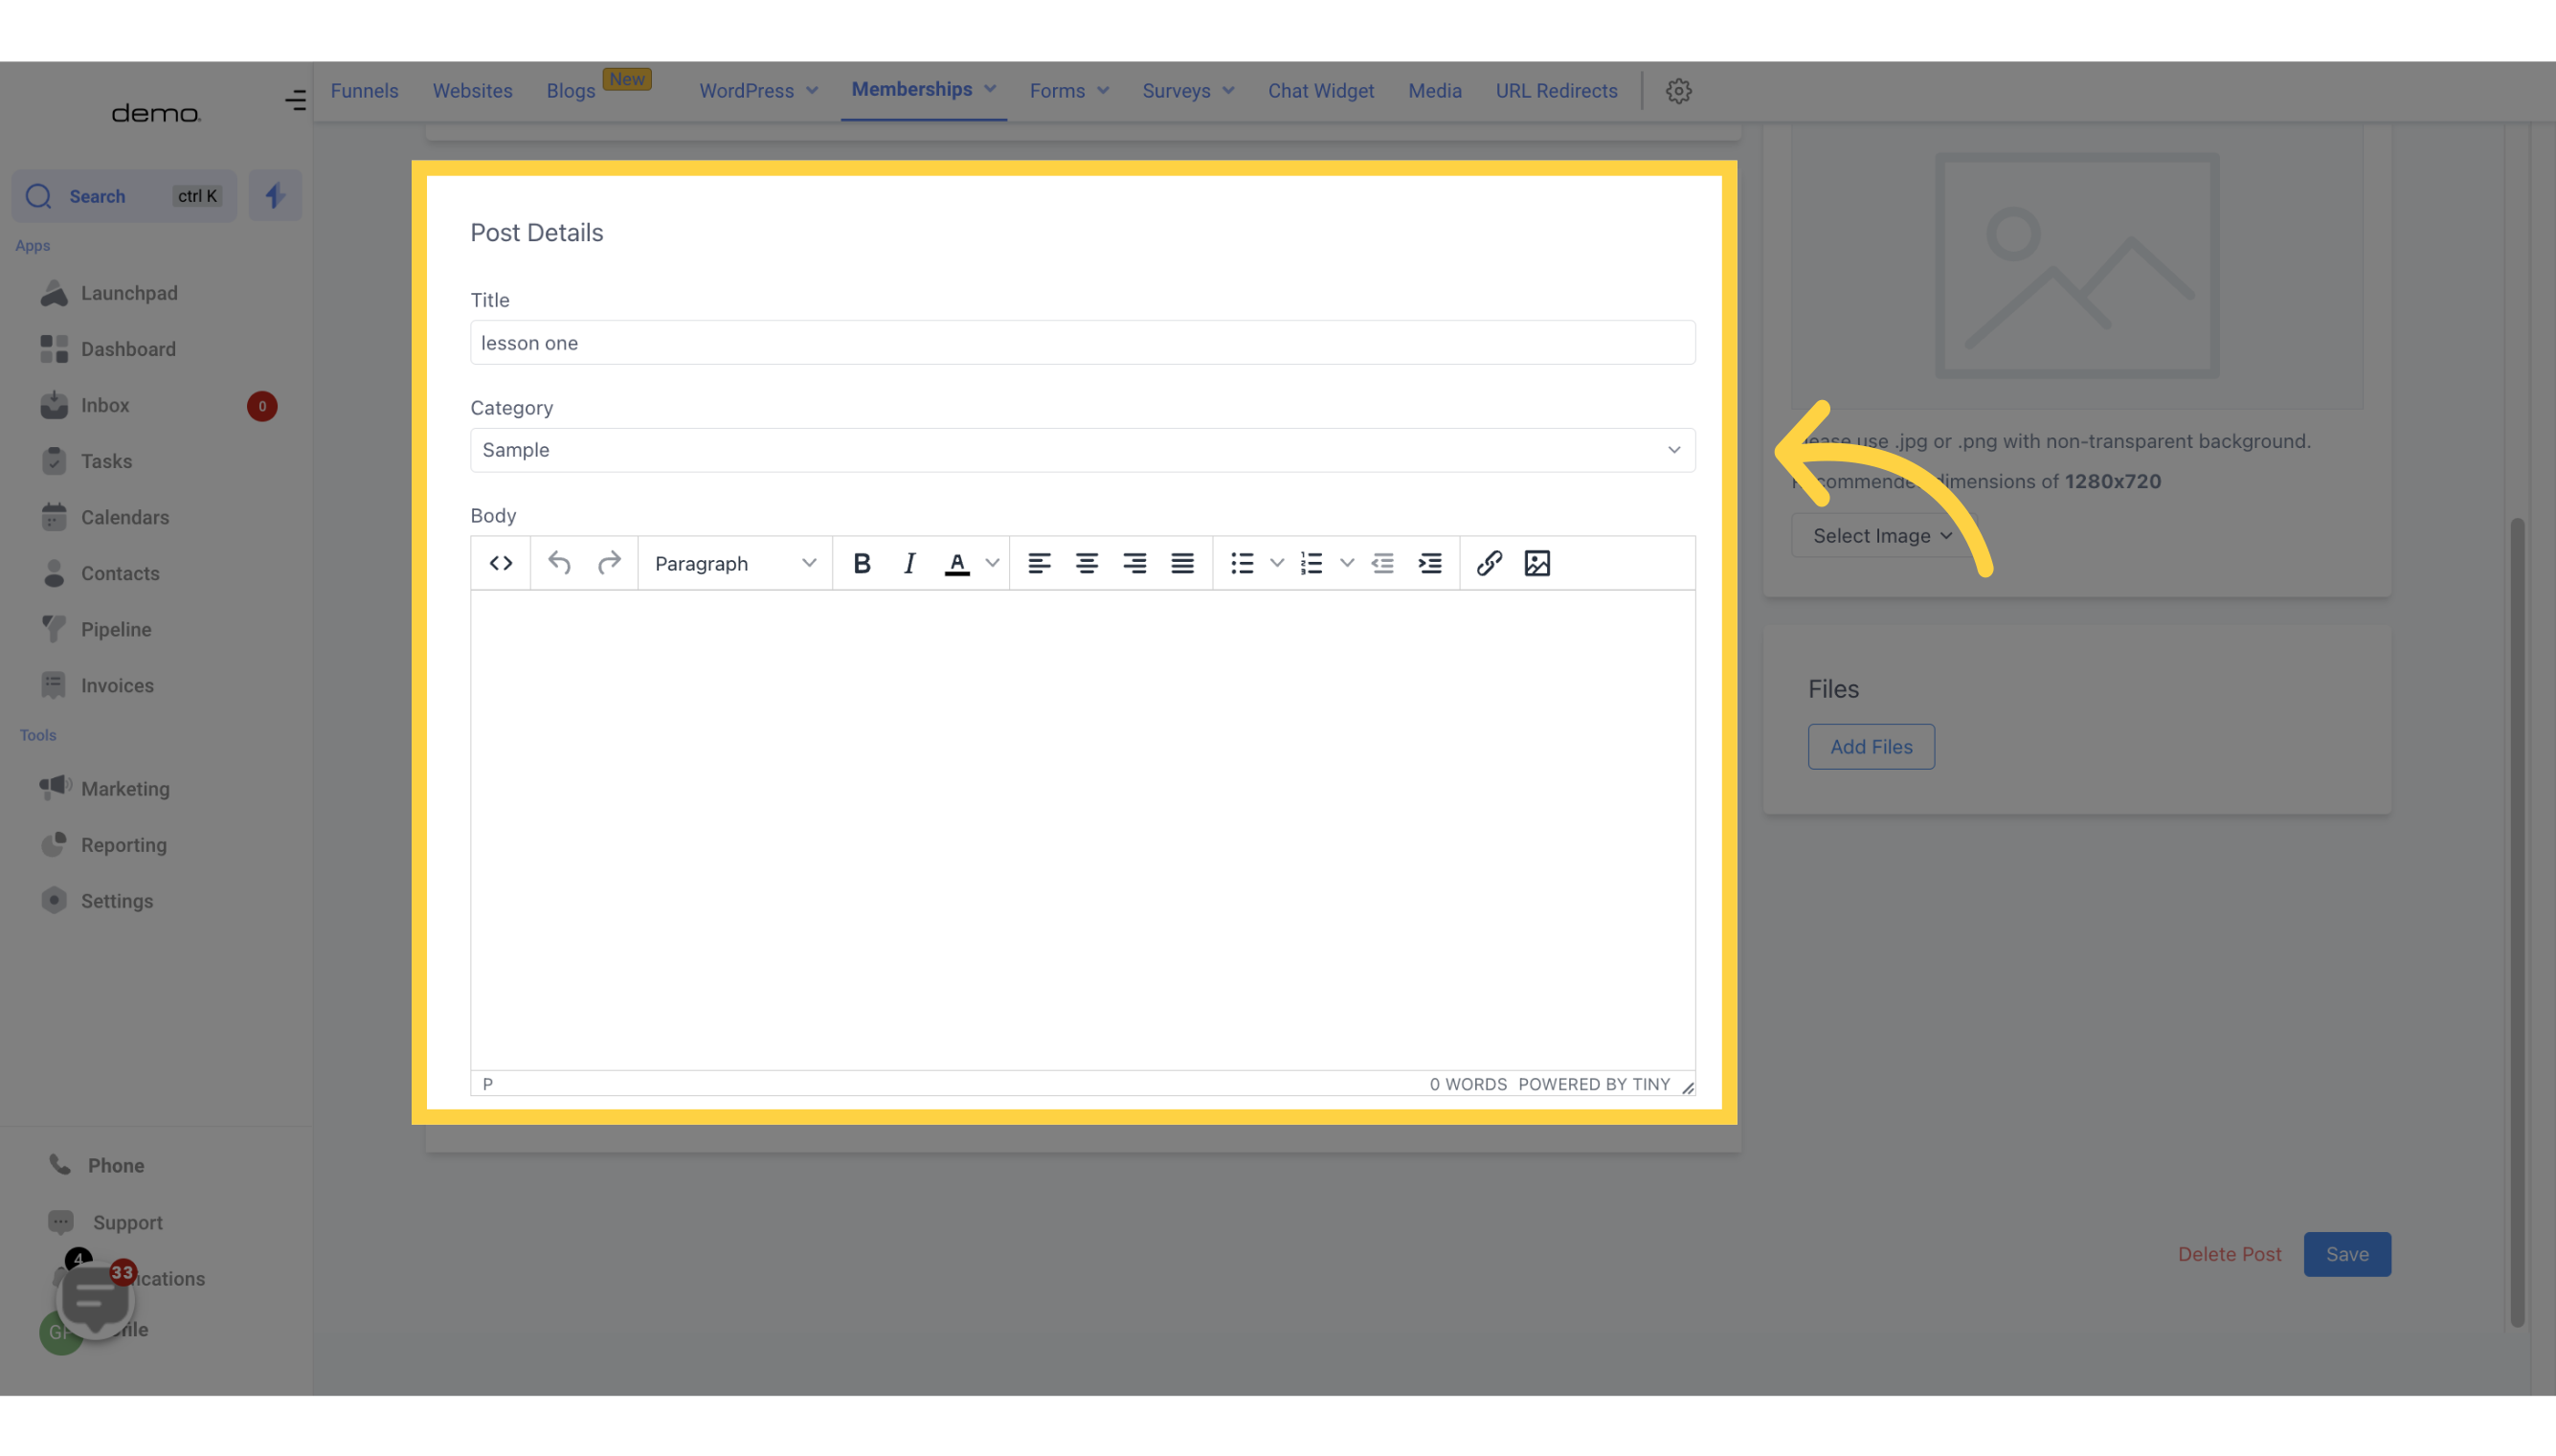
This section includes the Lesson title, Category of the lesson, and the lesson body.
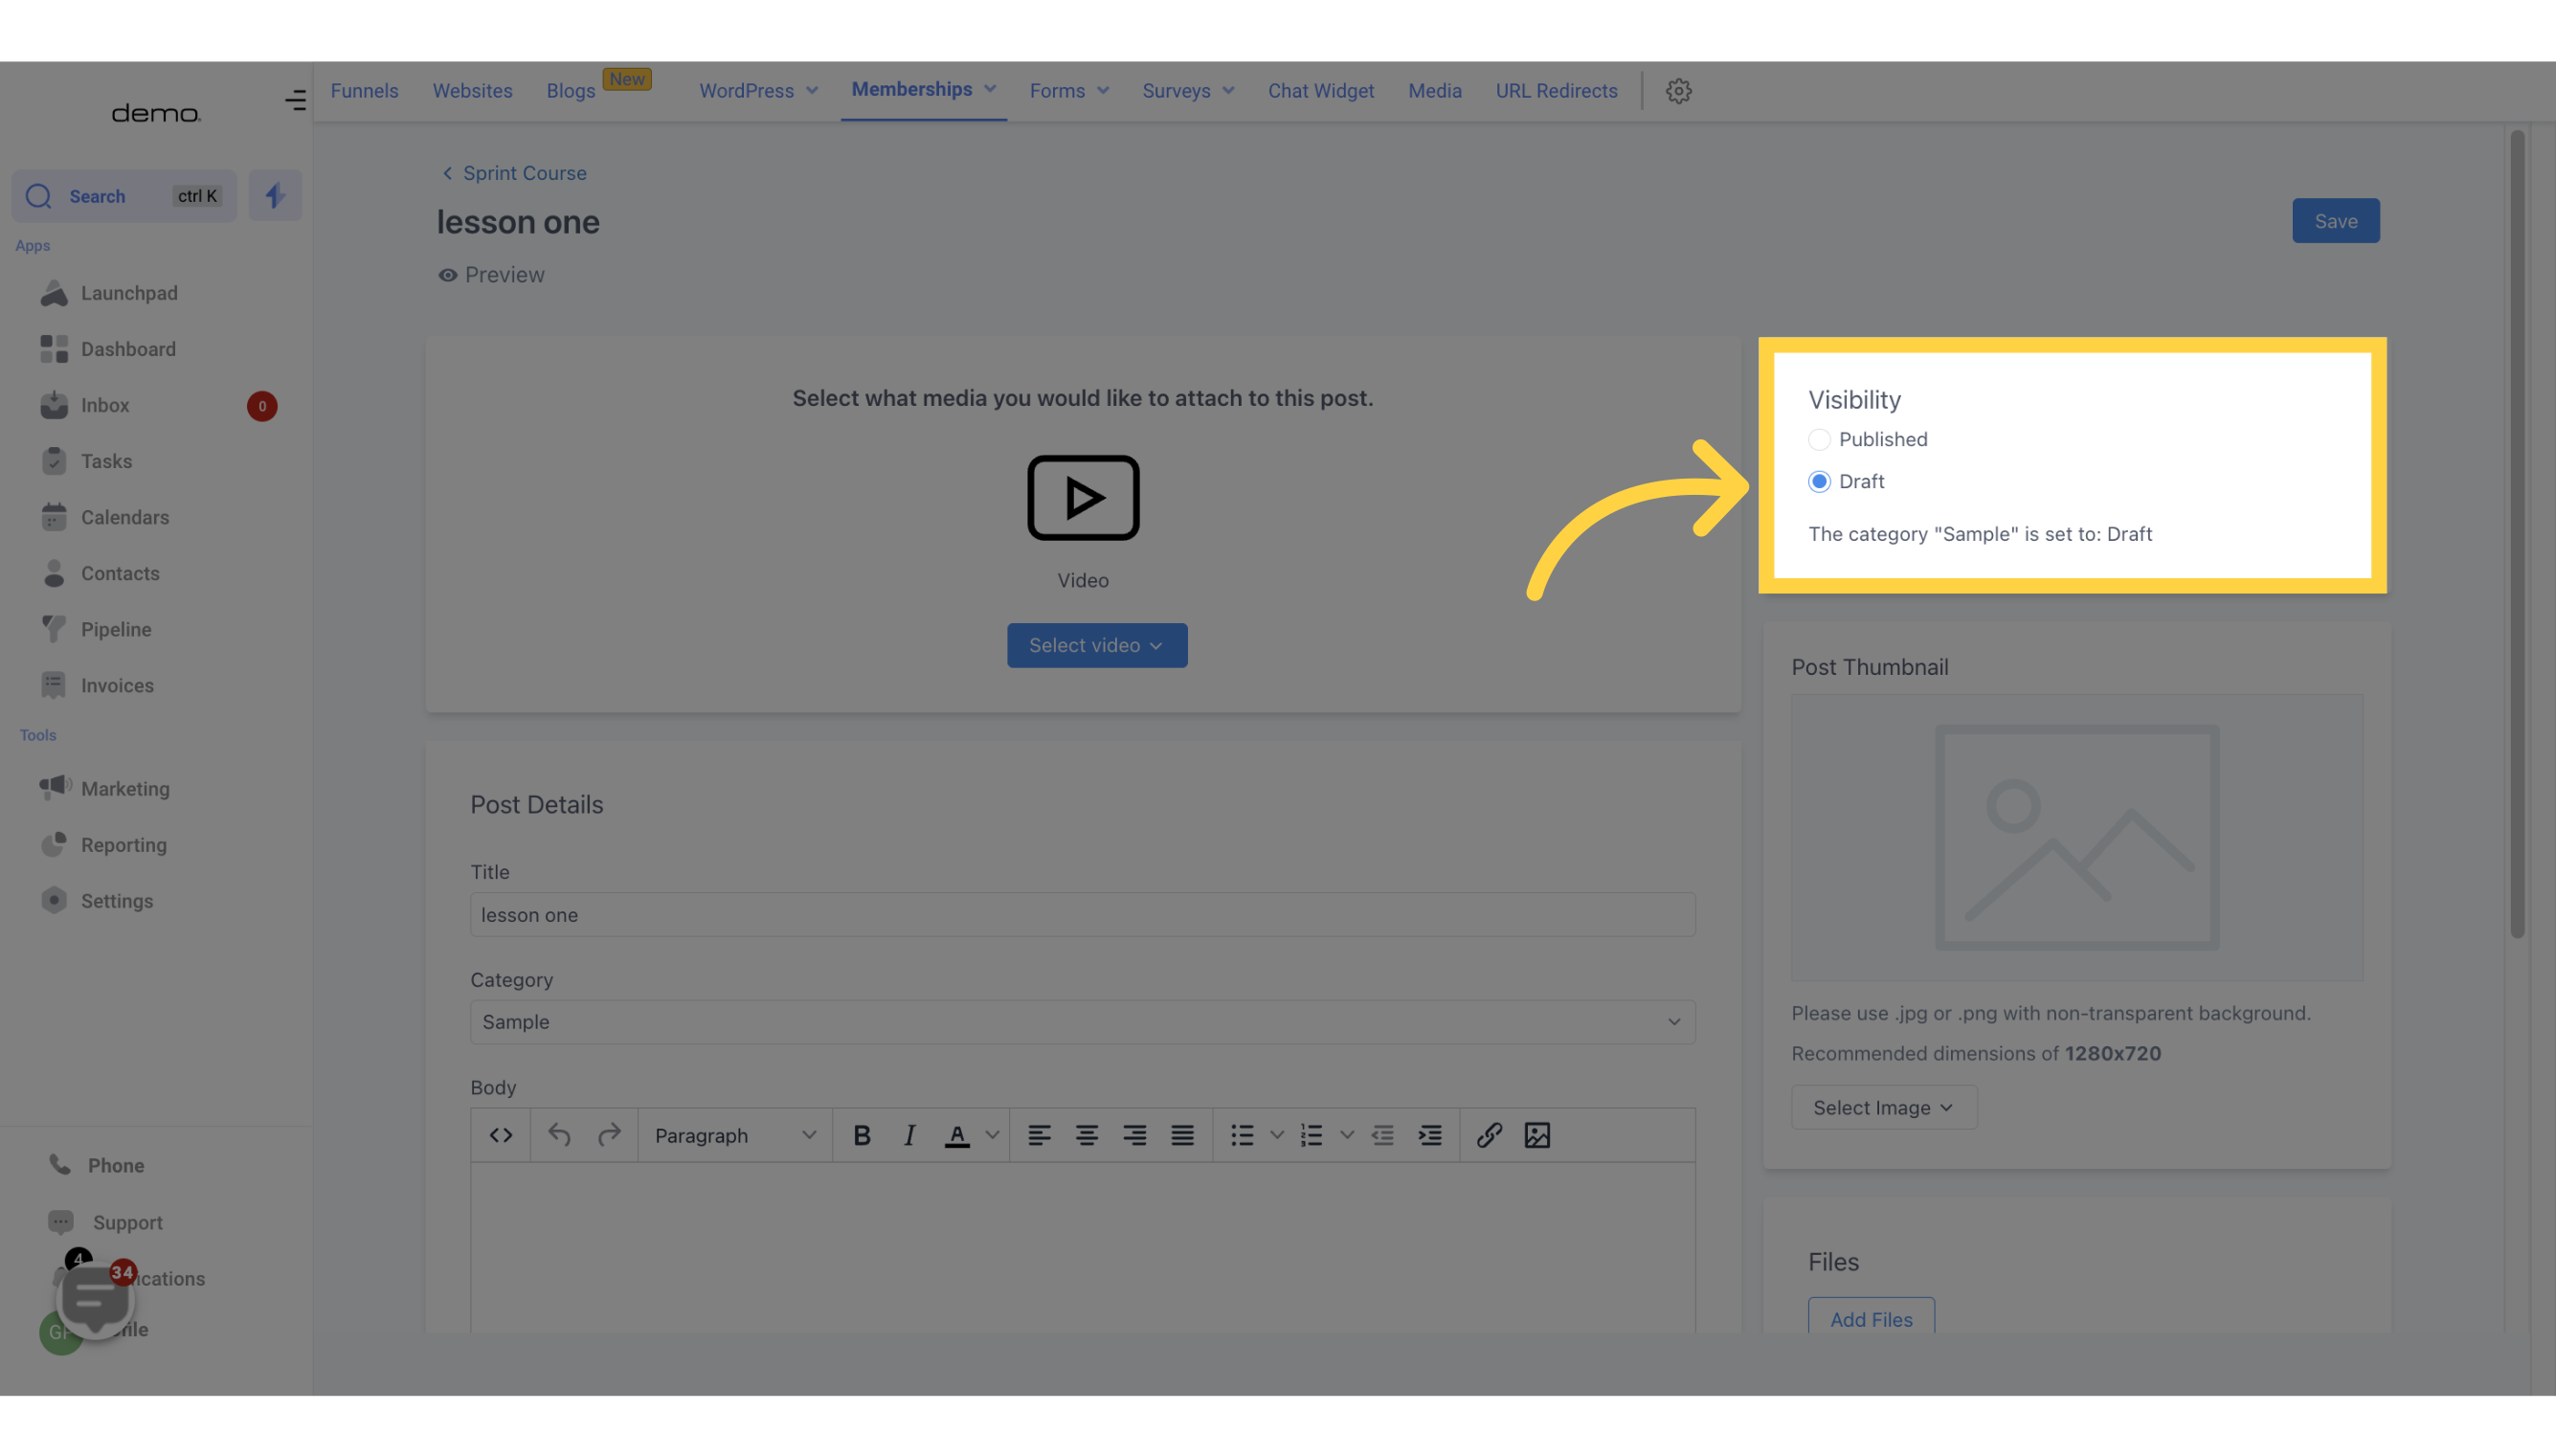
Once you're done editing your lesson, switch to Publish mode from Draft.
Your members will see this image when they view each lesson. We recommend the dimensions of 1280x720. To add an image, click on "Select Image" and upload a file from your device. If you need to delete an uploaded image, simply click "Remove" on the right side of the "Select Image" button.

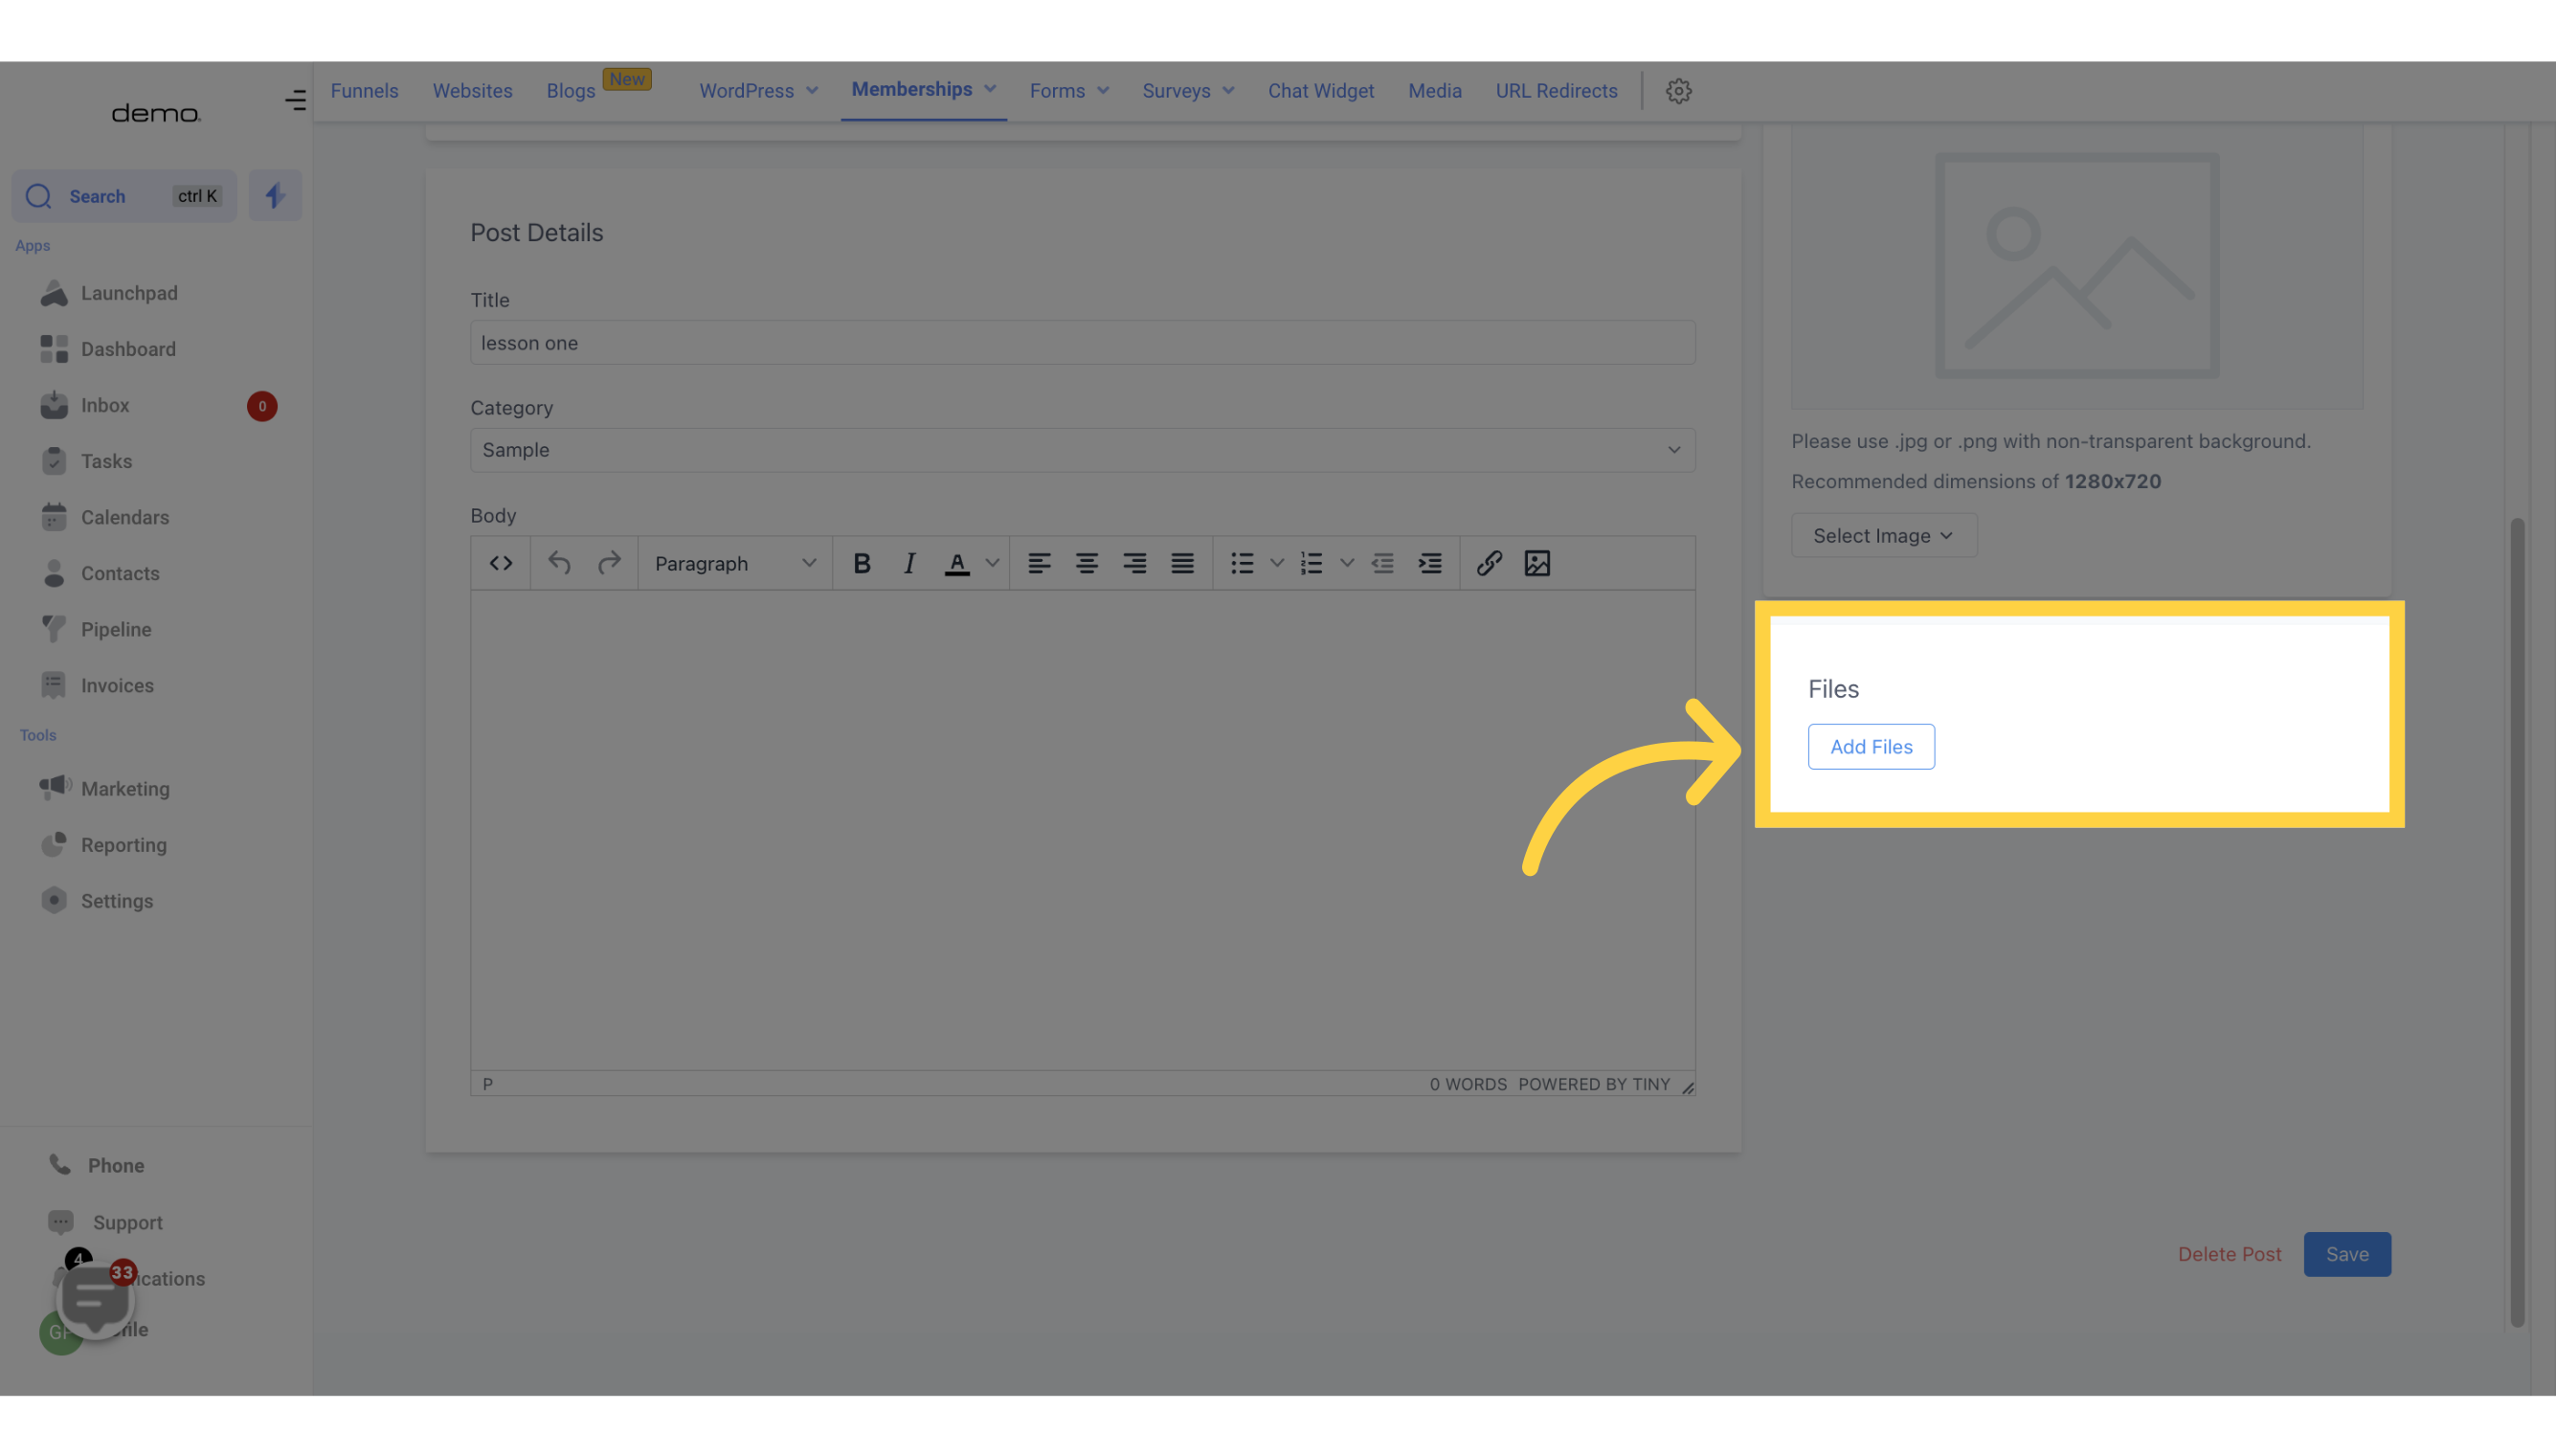
If you need to upload any additional files or information, this is the place to do so.
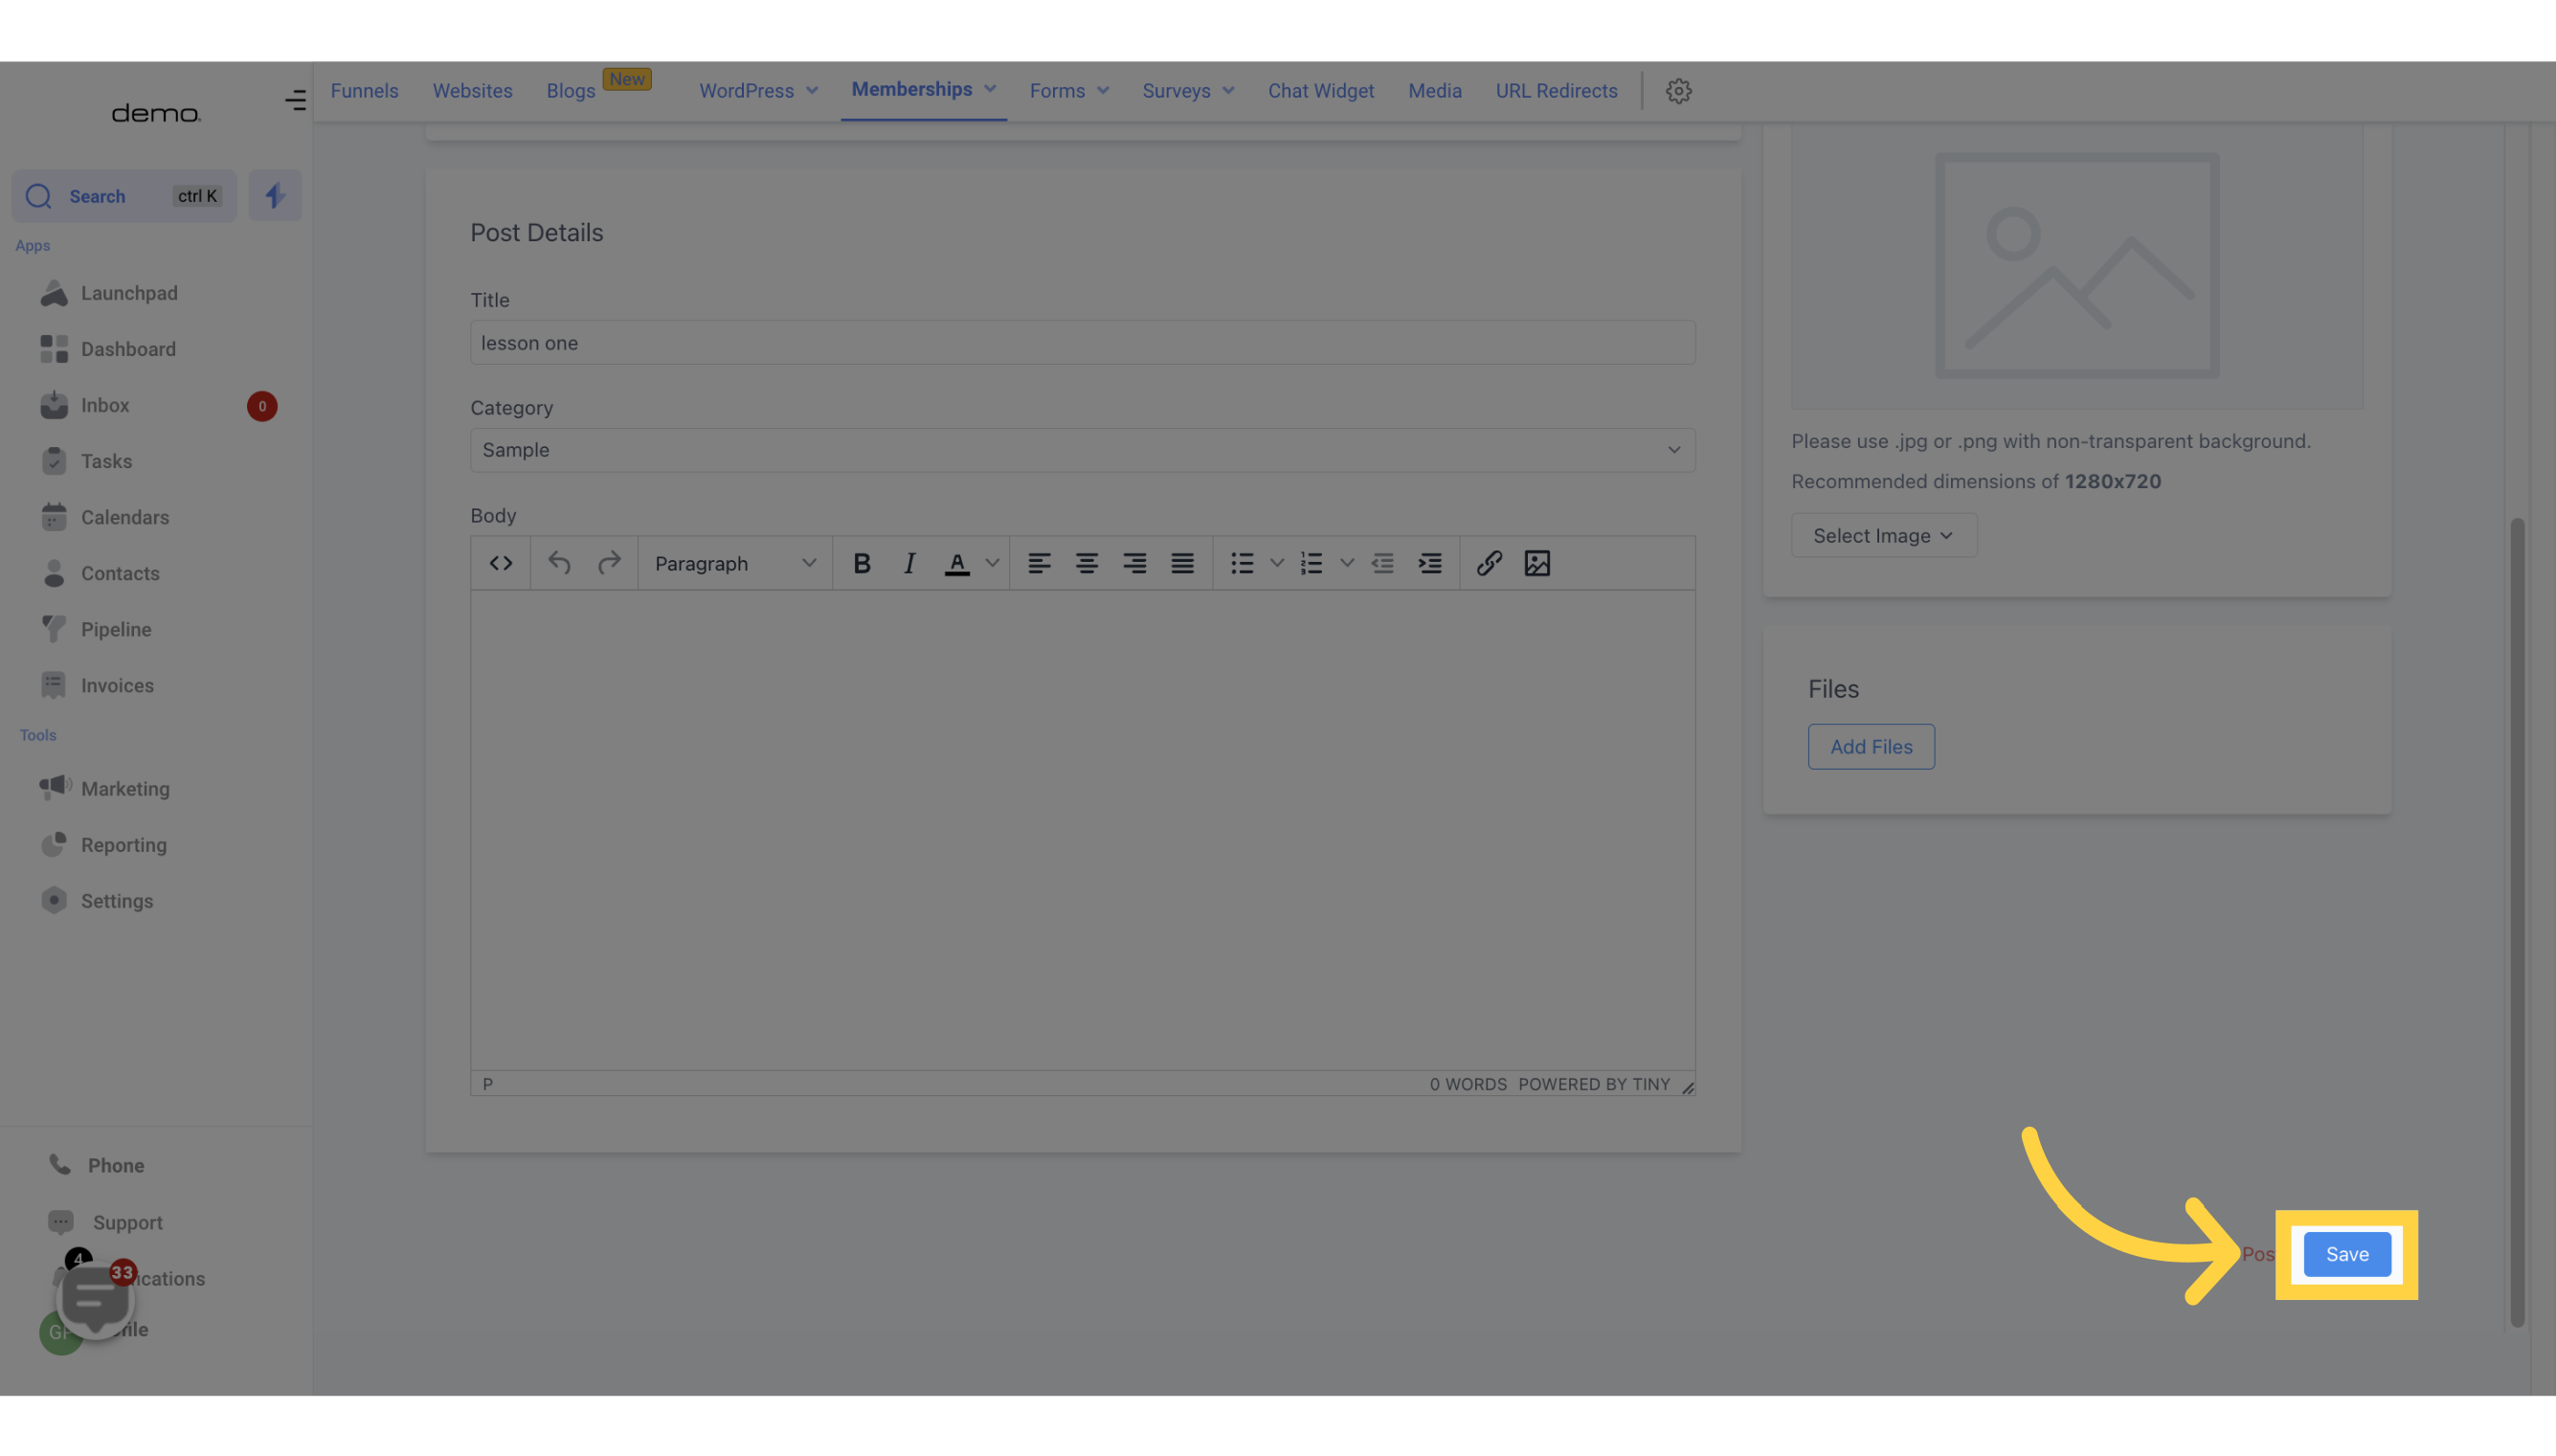
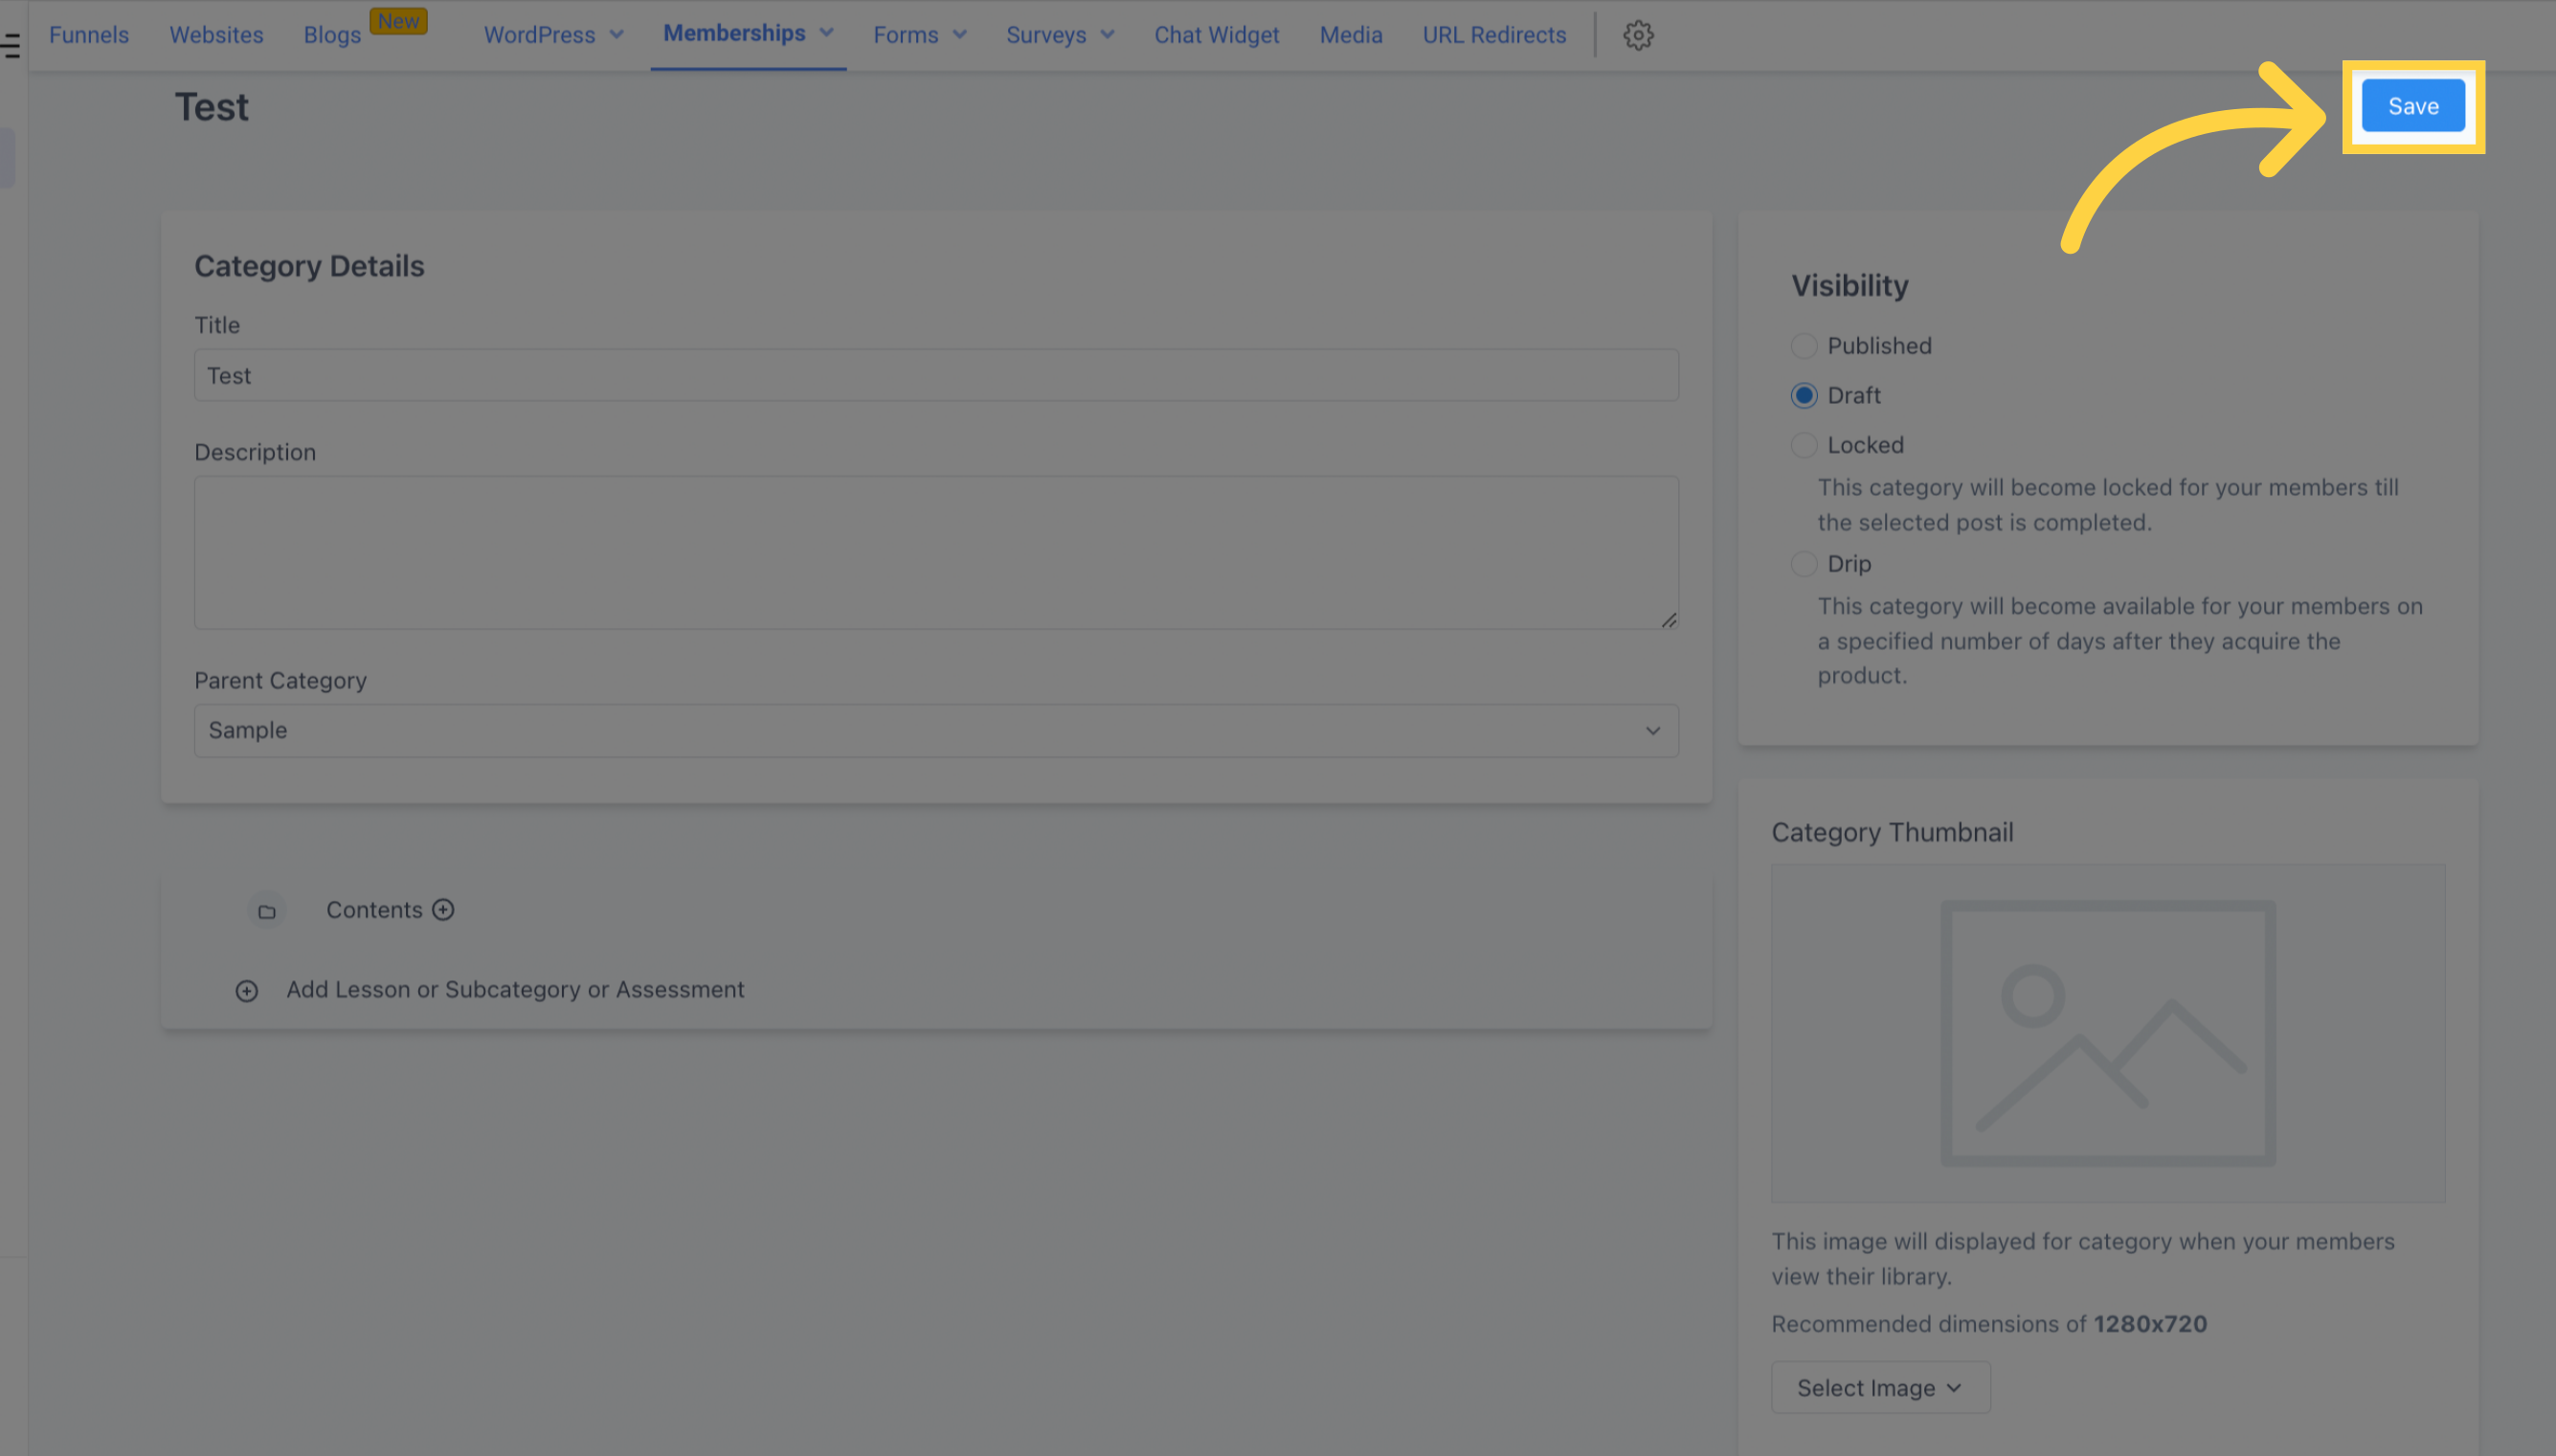
Make sure to save your work before you finish!
You have the option of including subcategories and including the title.

Enter the title of this subcategory.
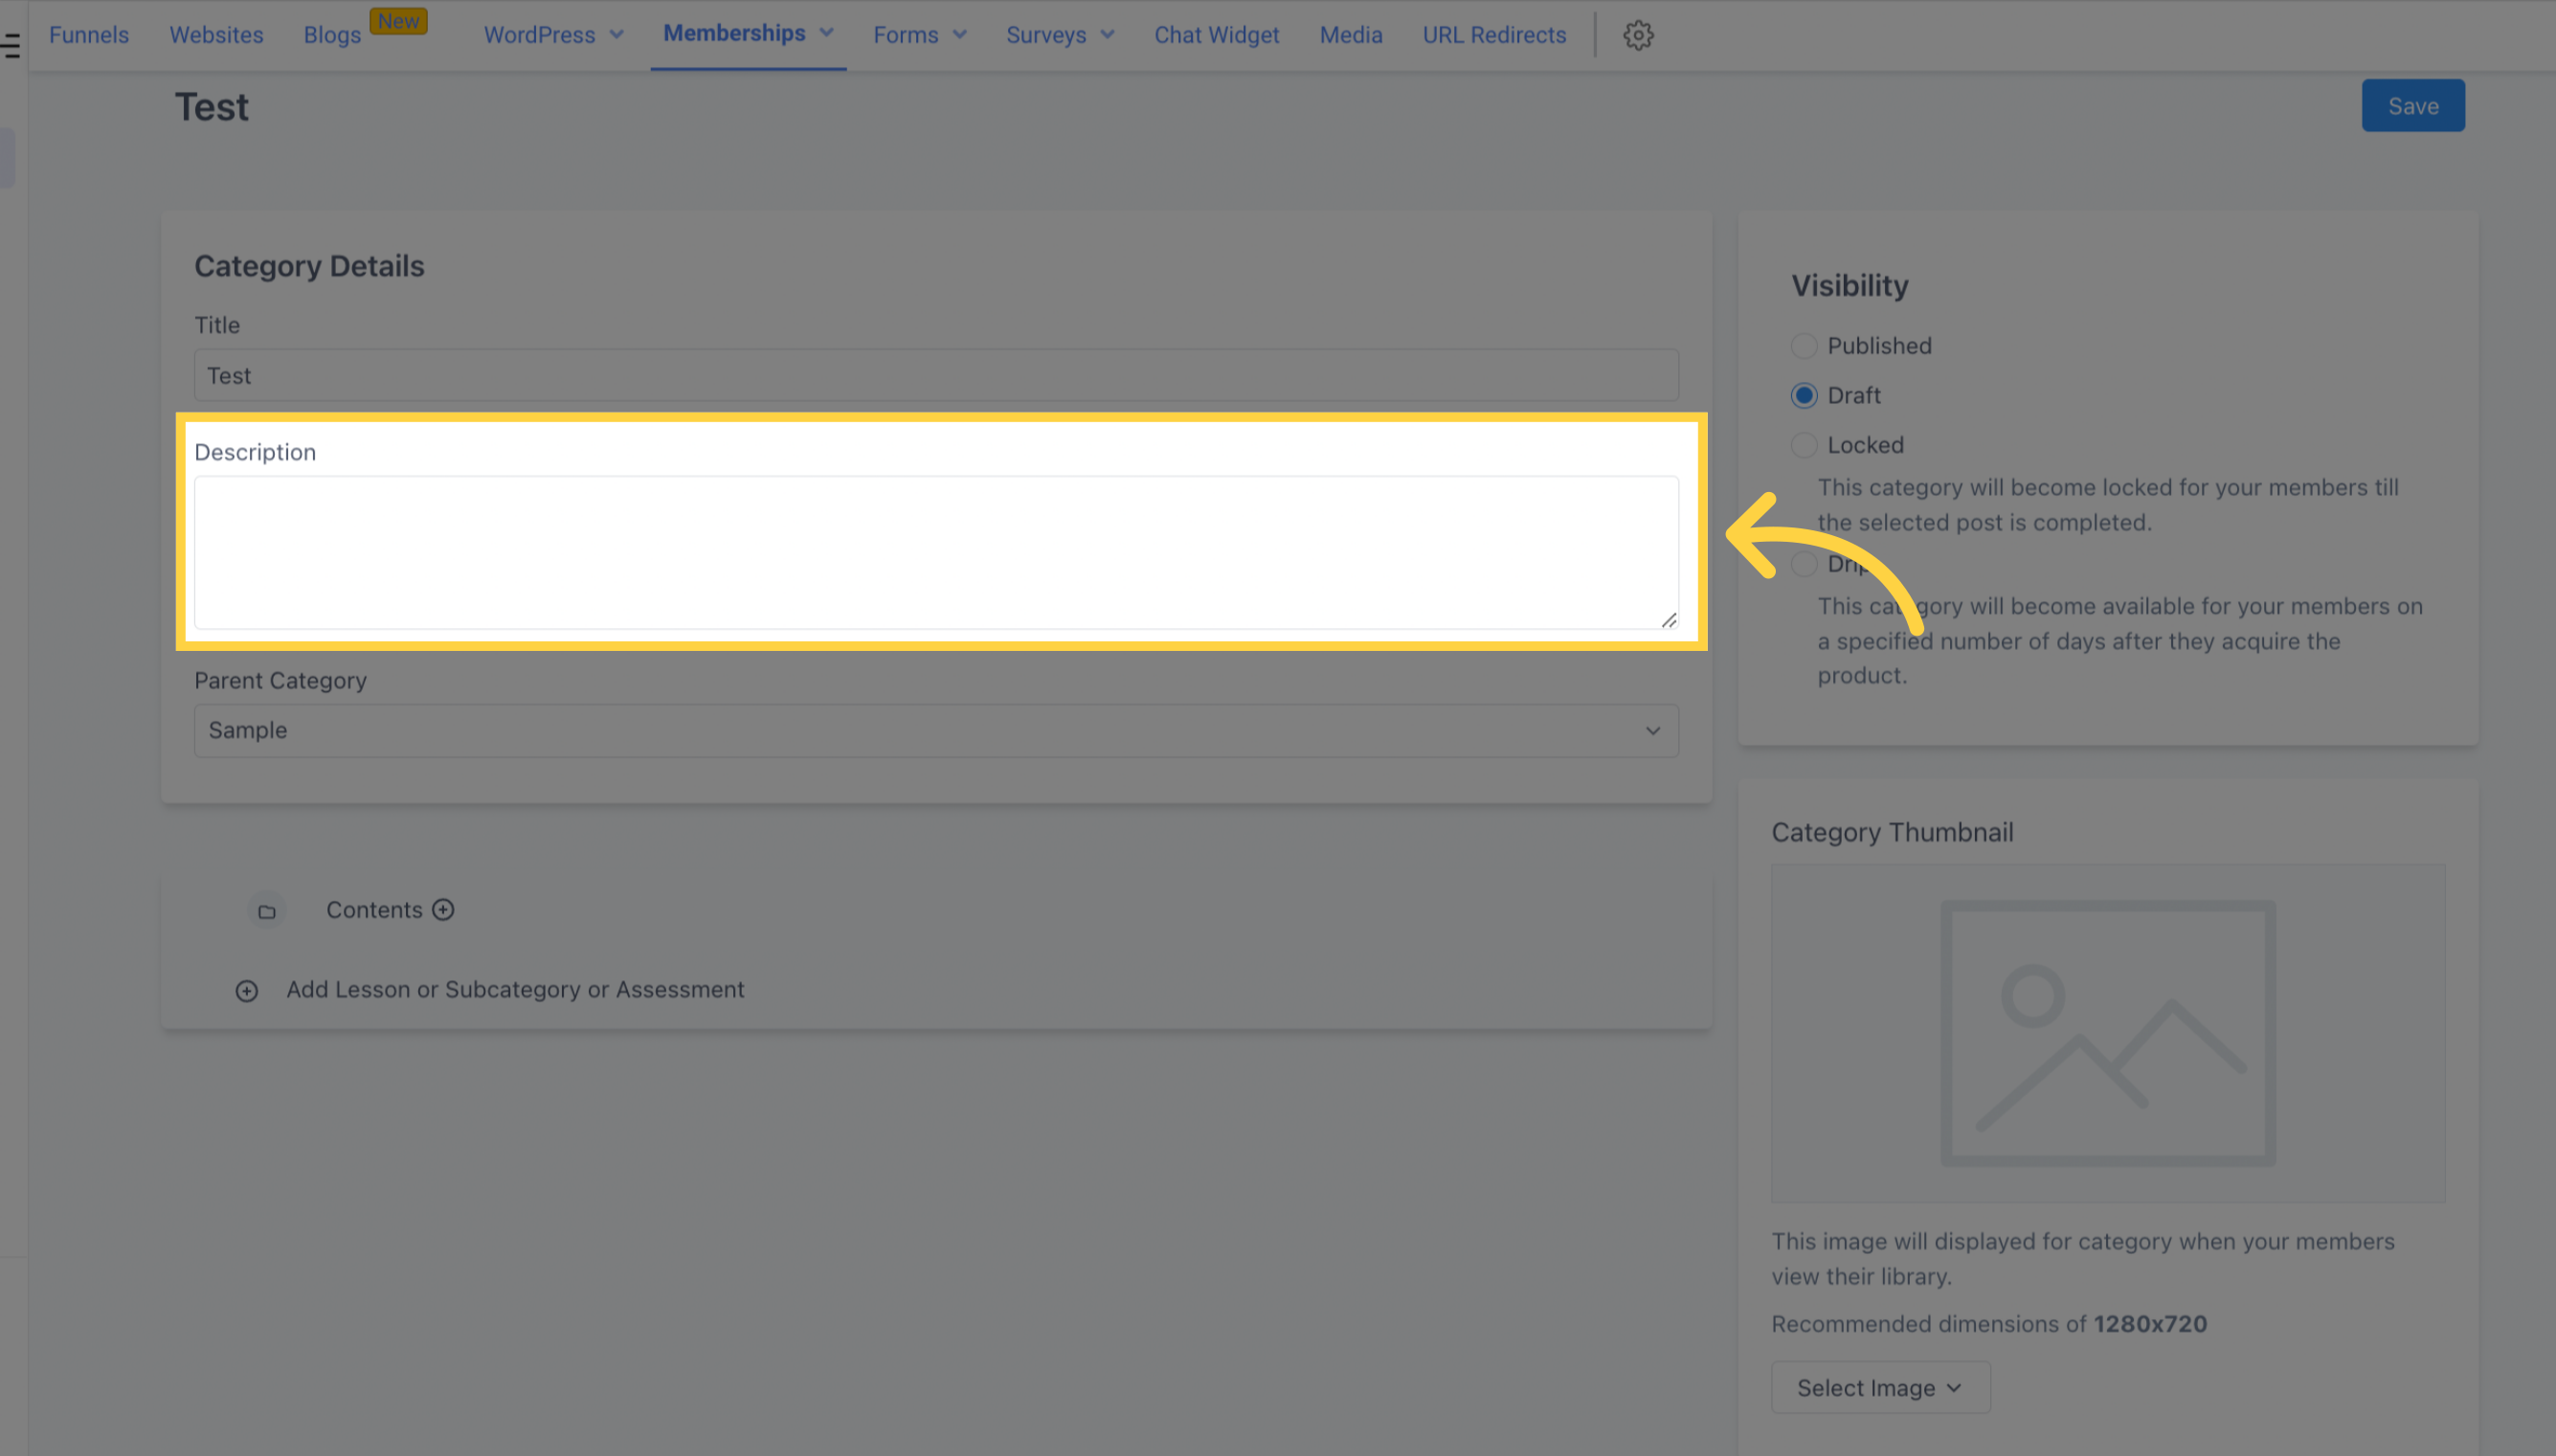
Provide a brief description of the content included in this subcategory.
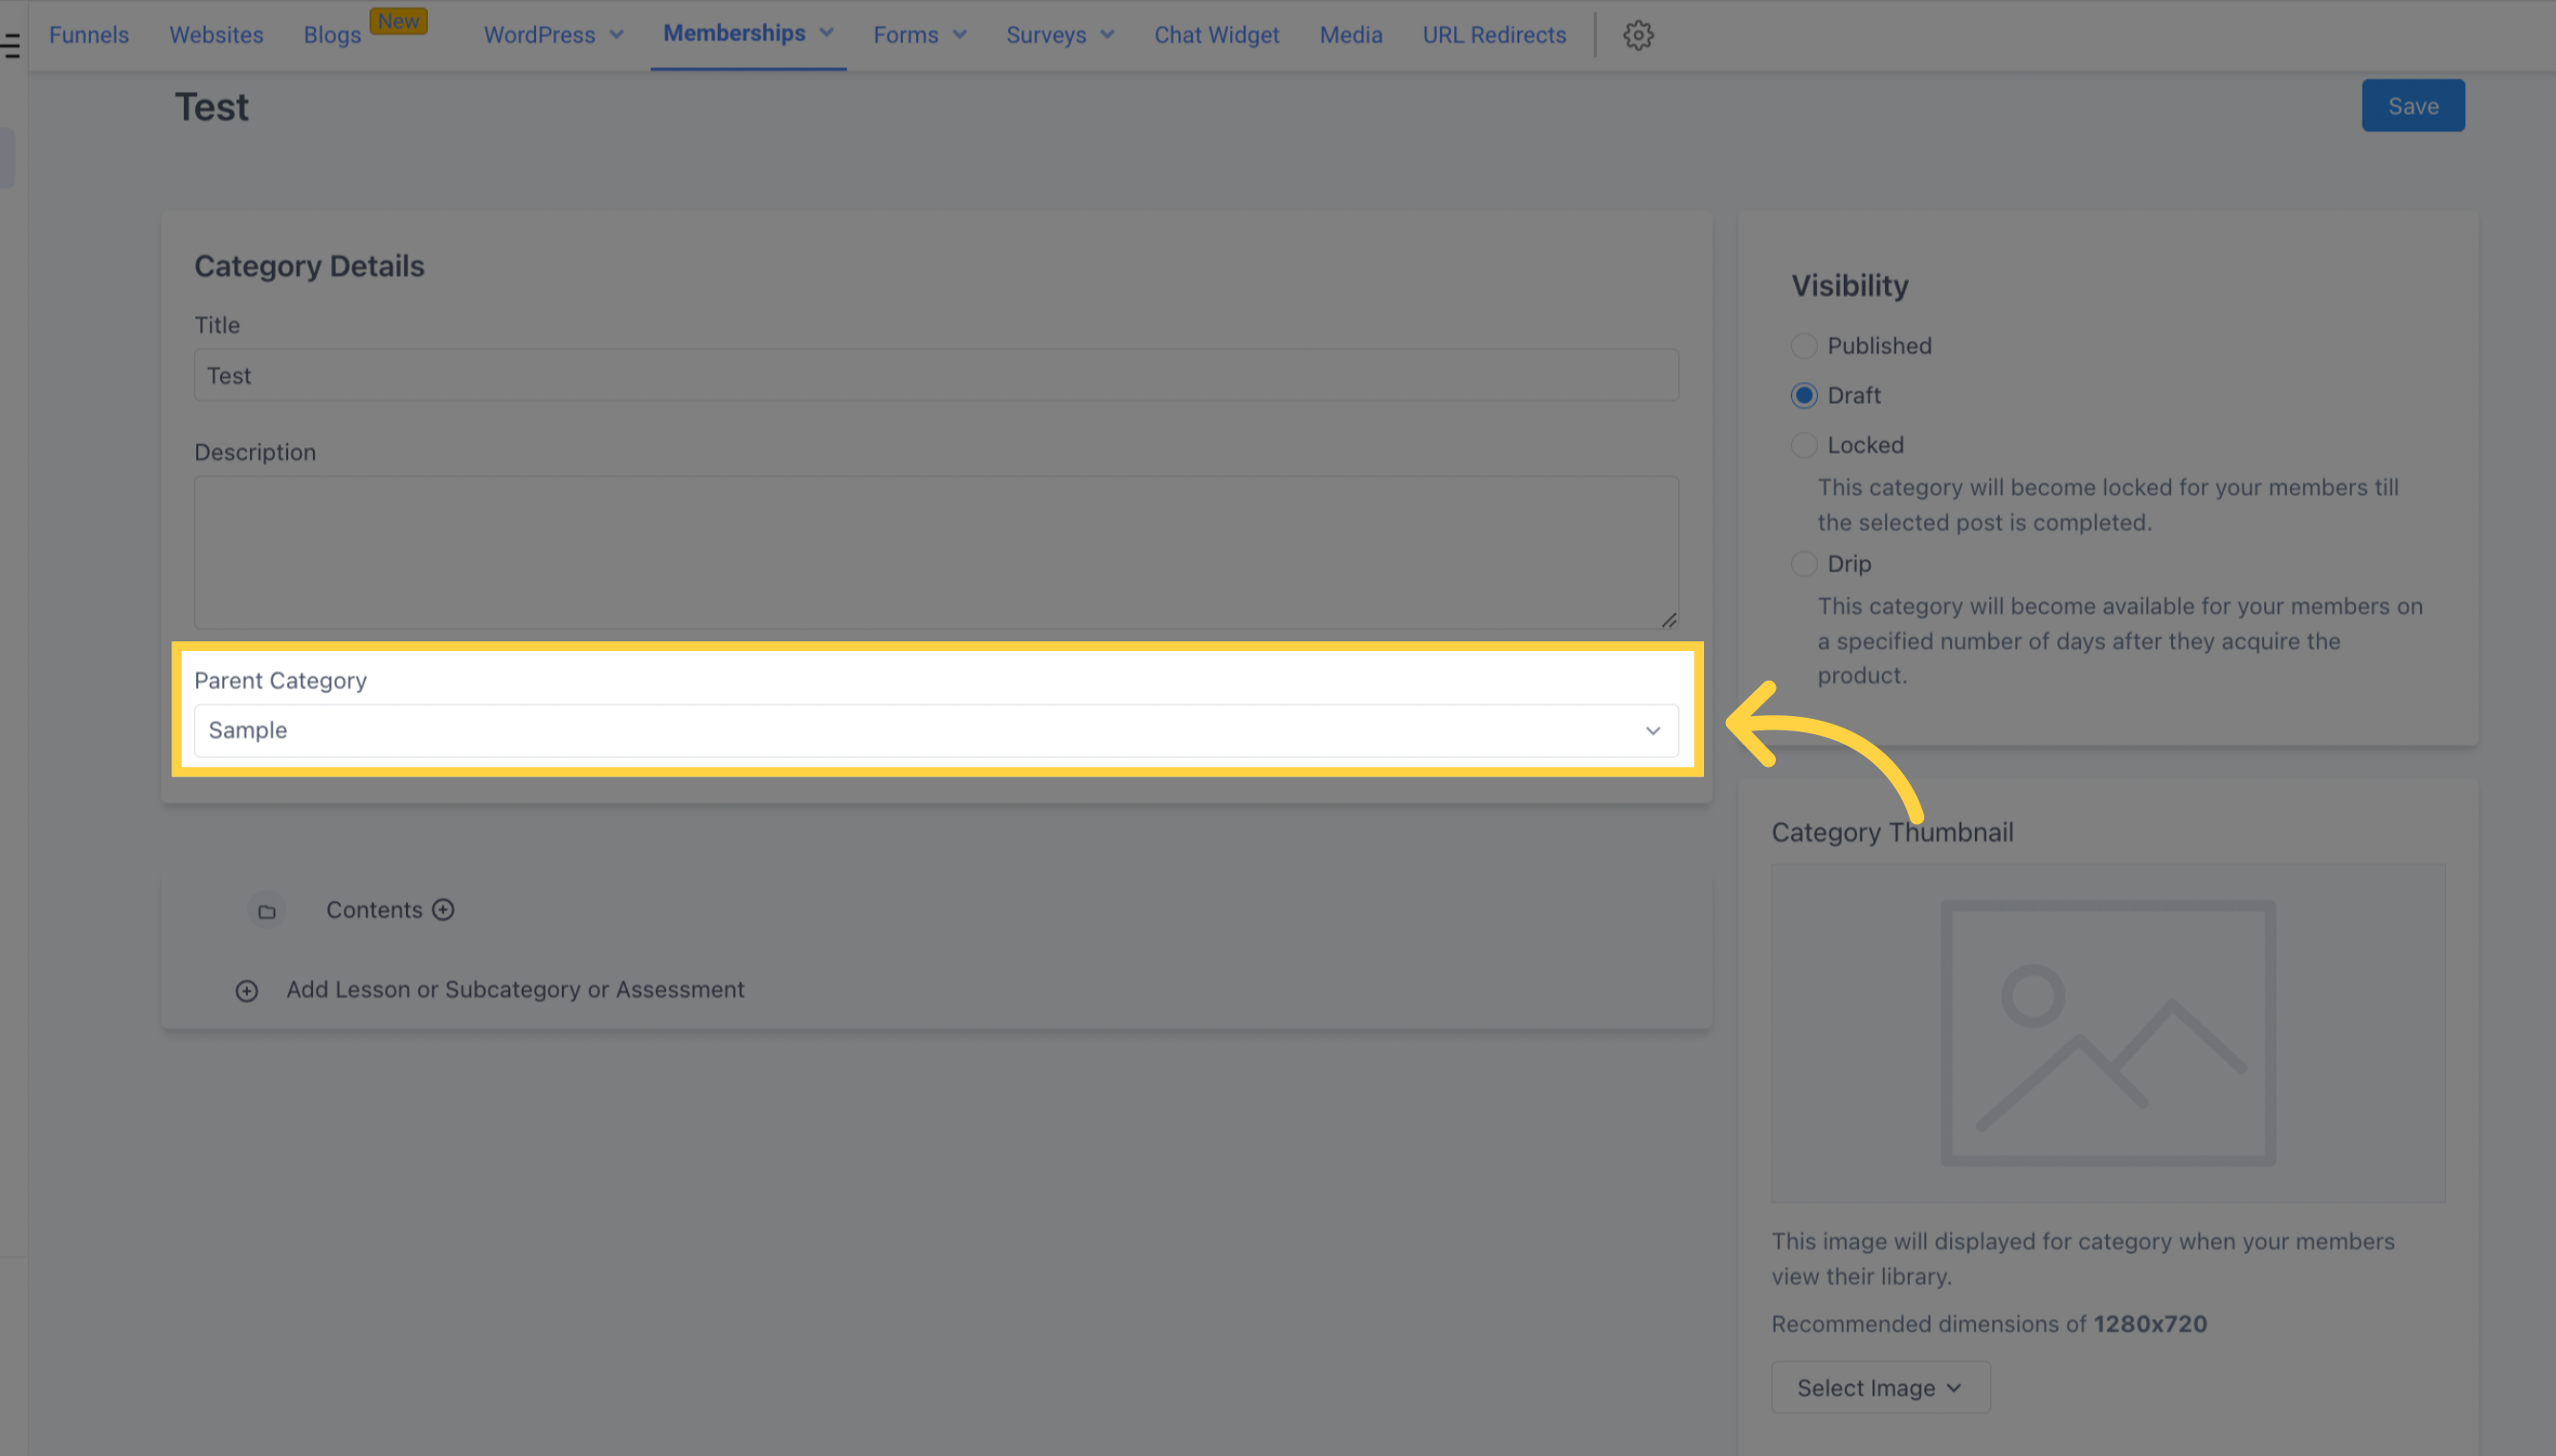
Indicate the main category that this subcategory is related to.
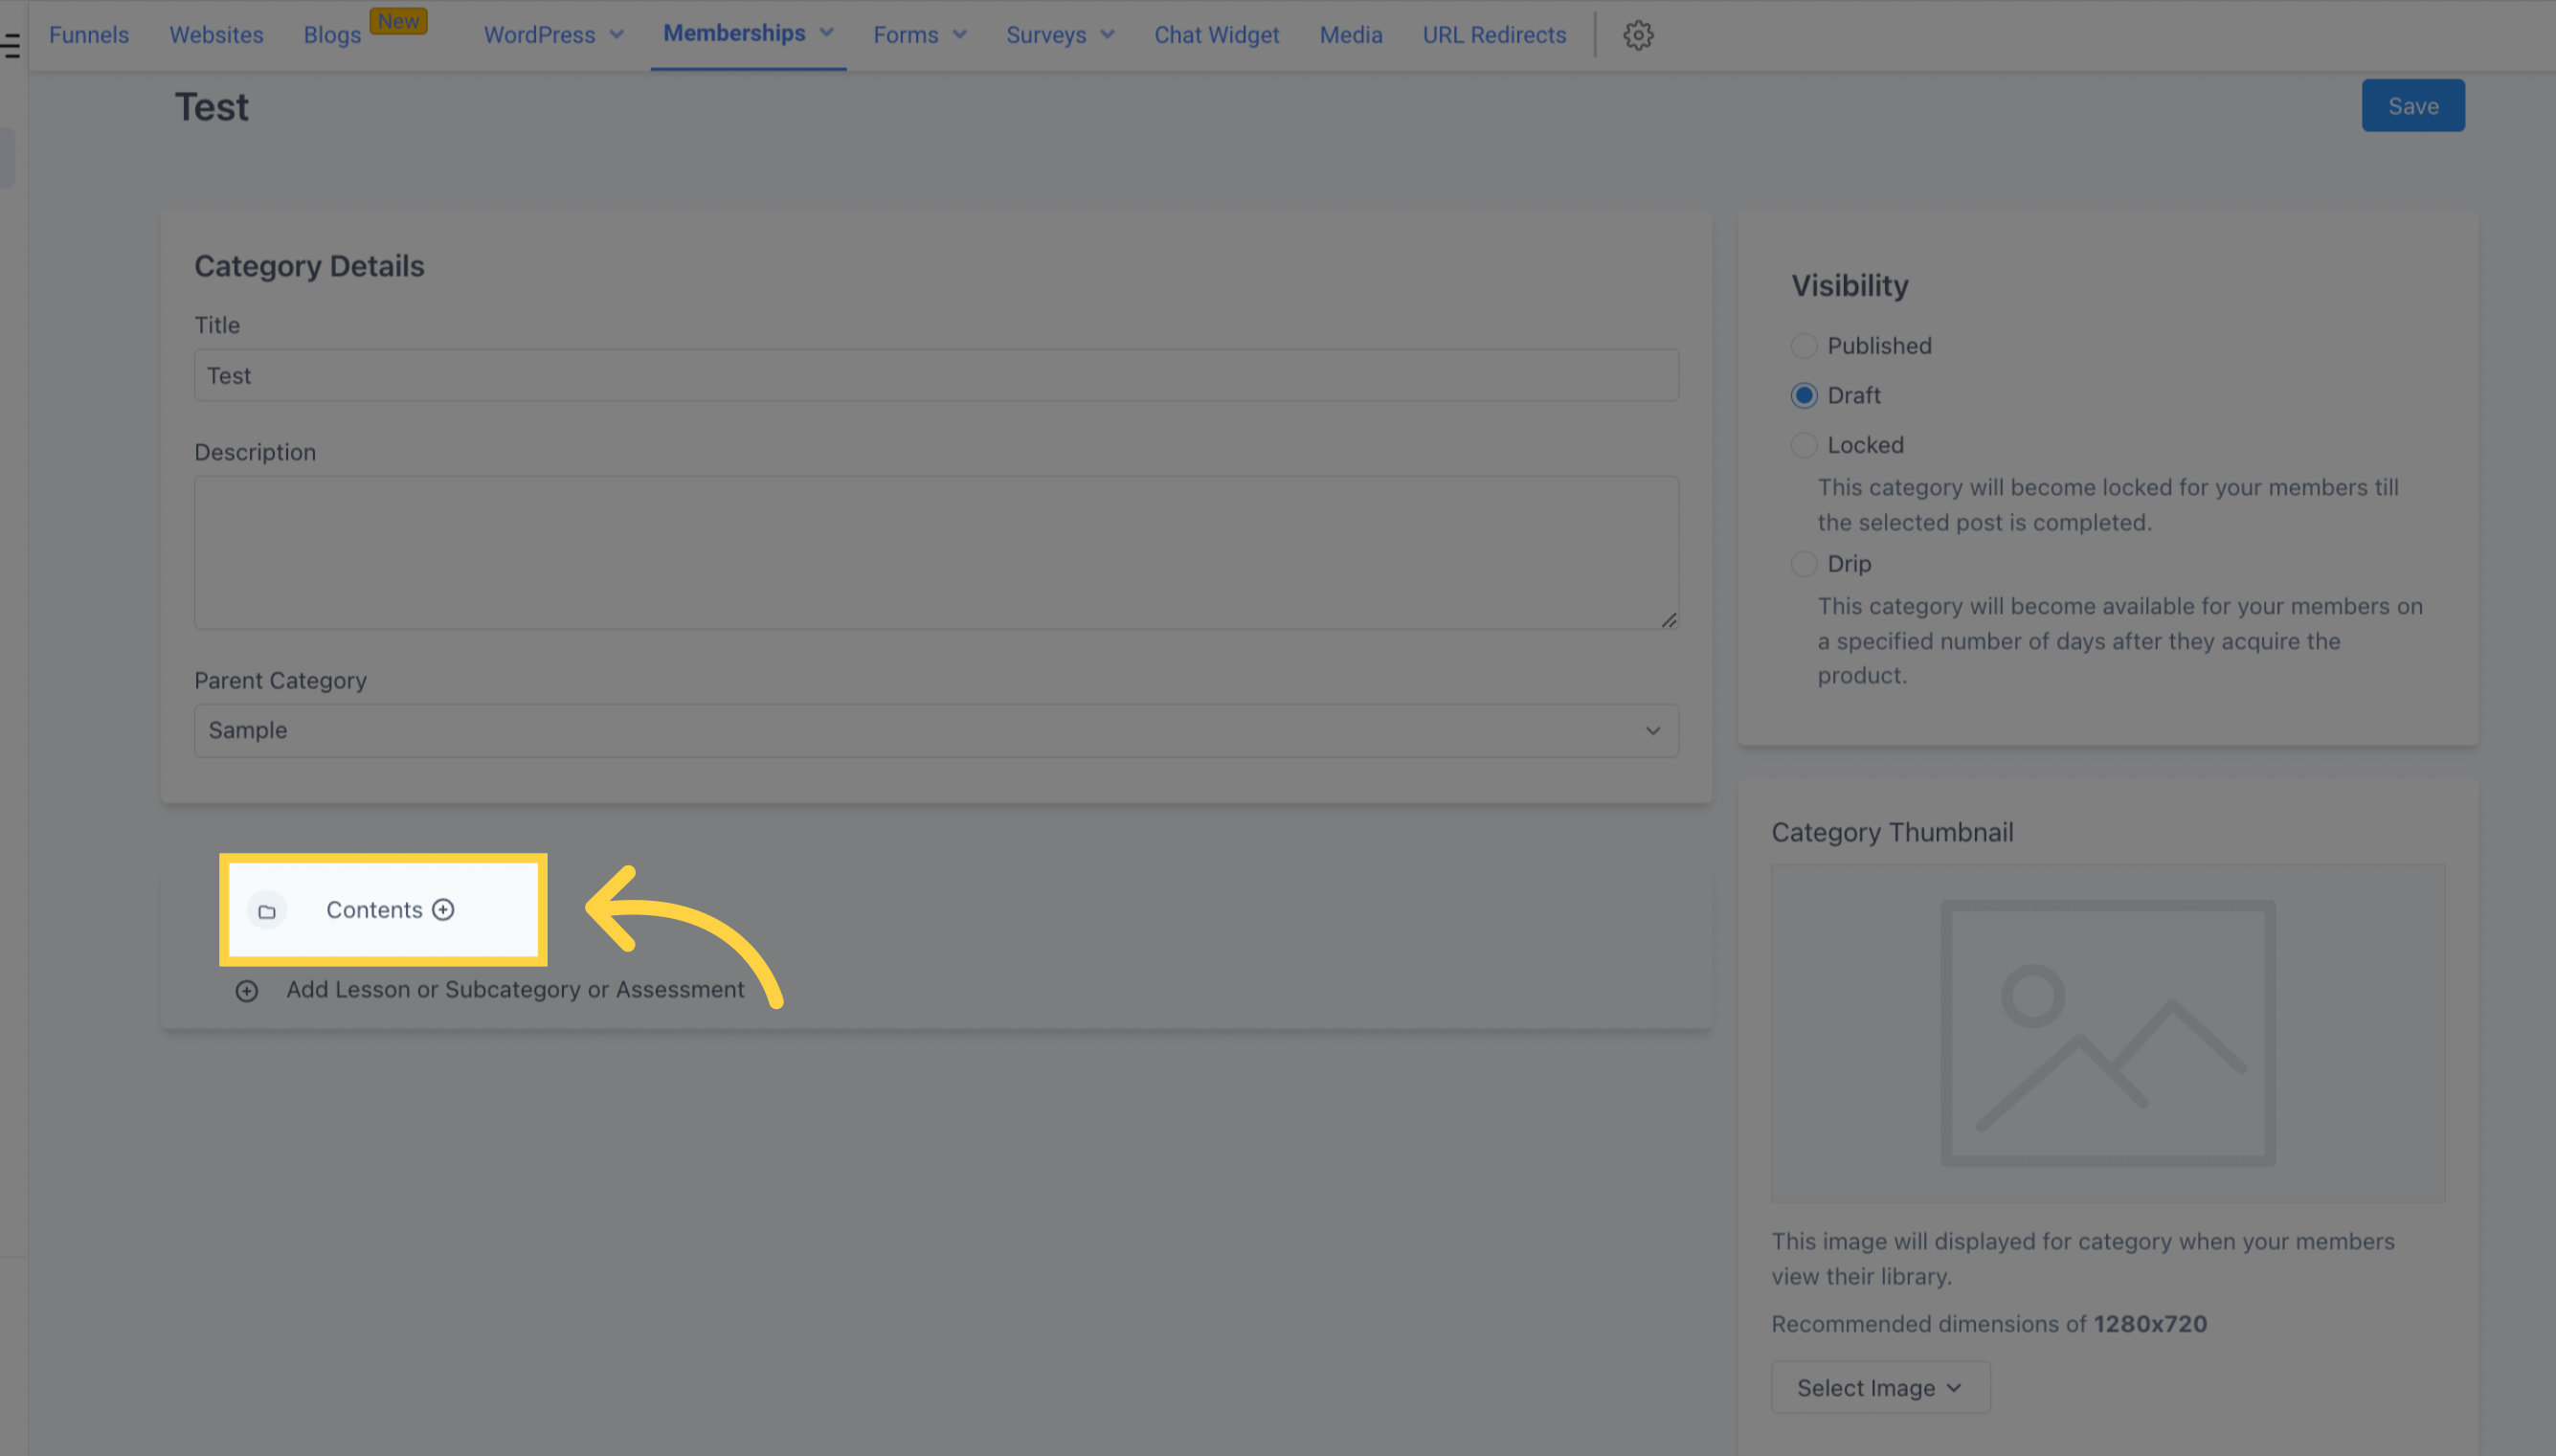
Choose between a lesson or an assessment as the content for this section.
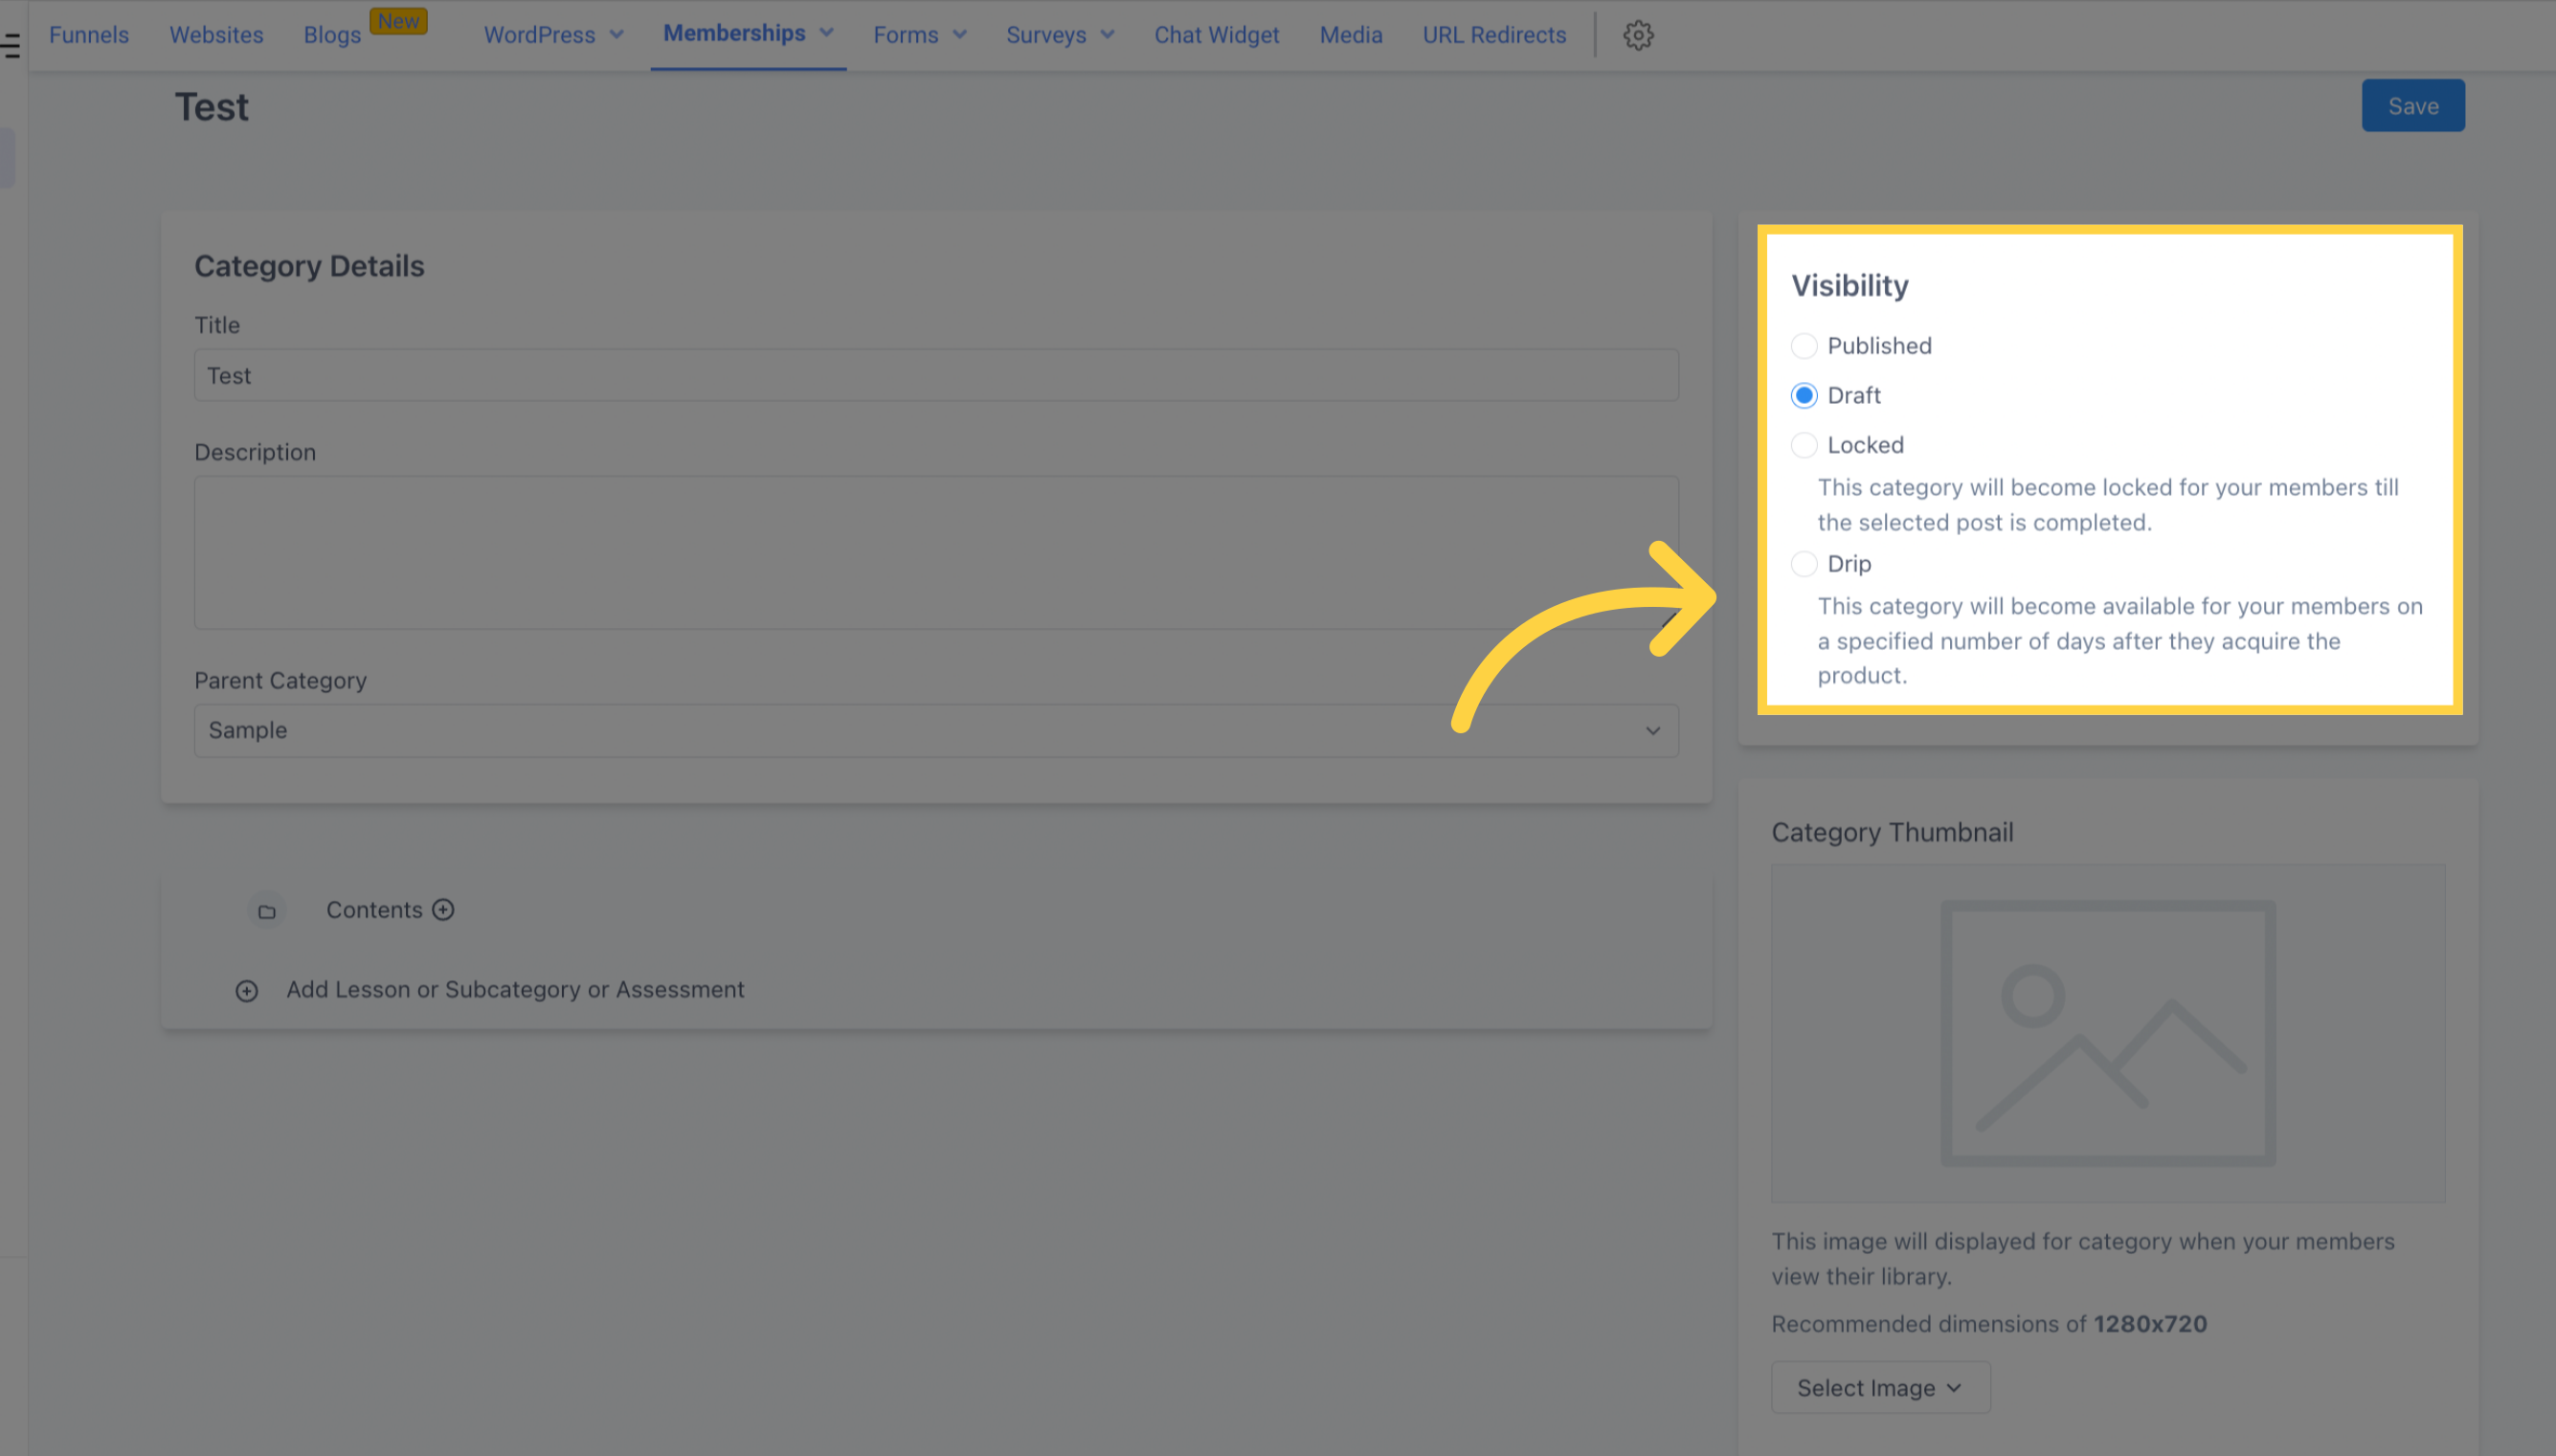
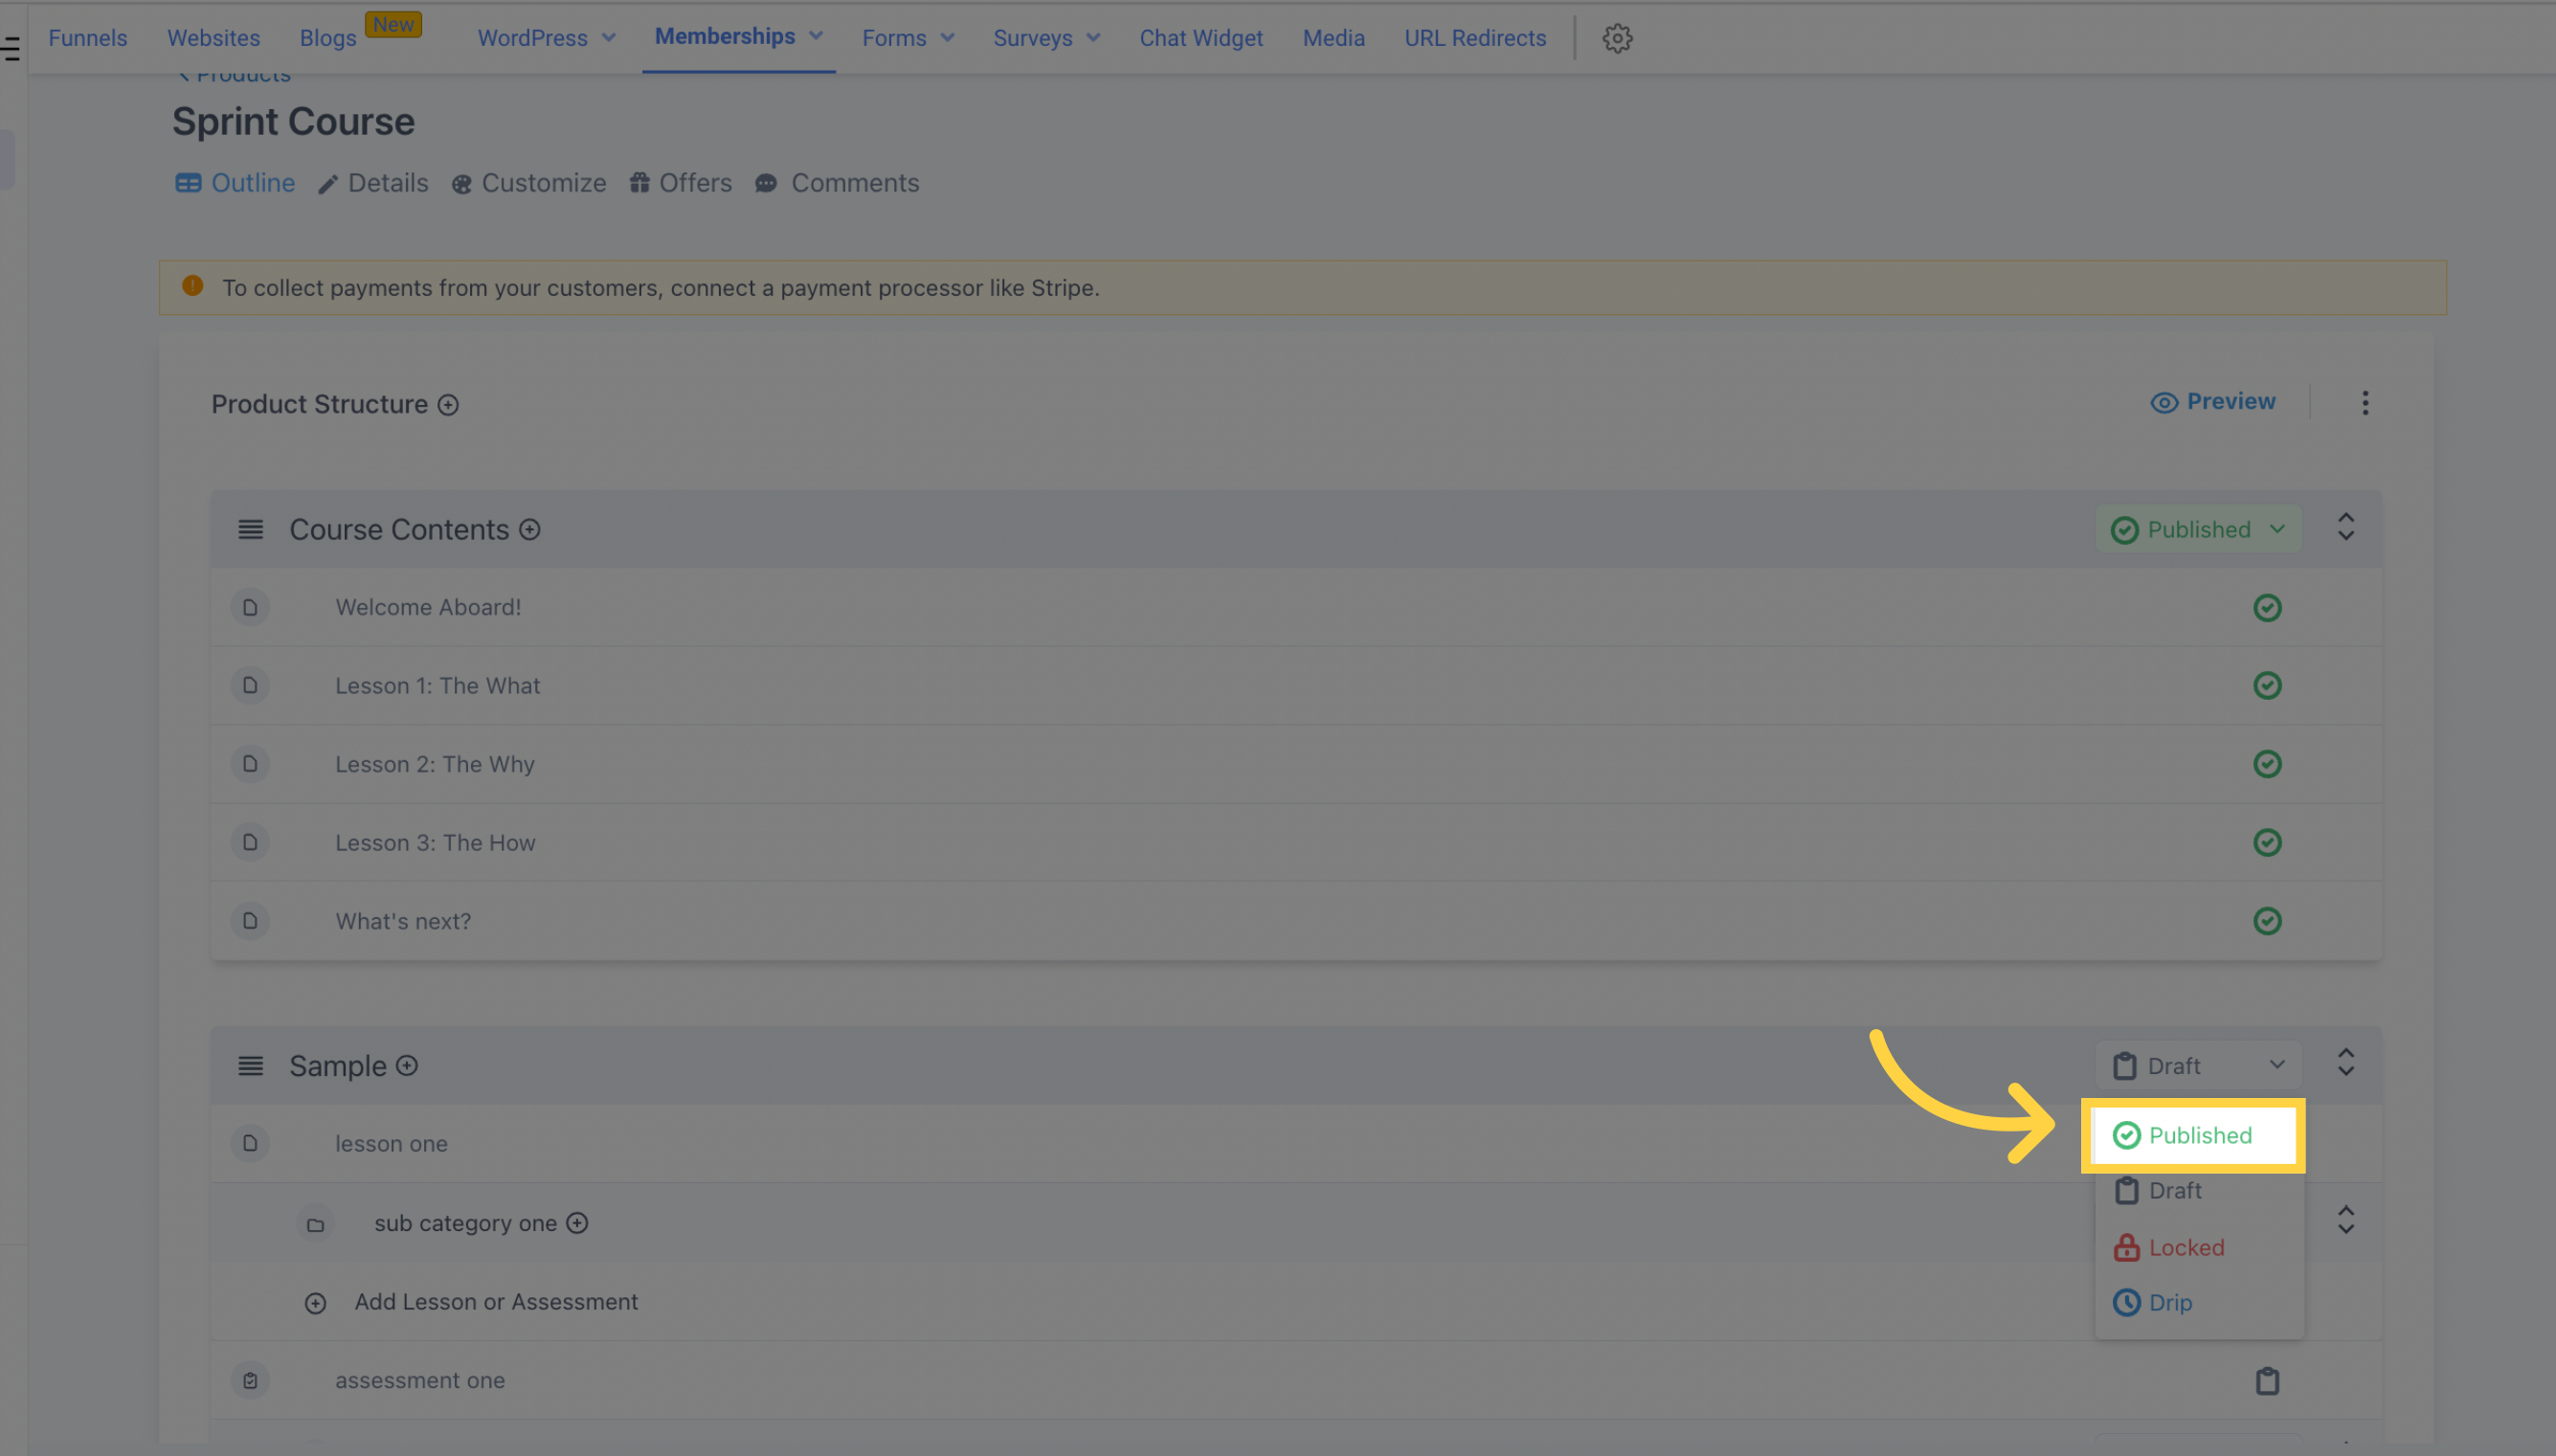
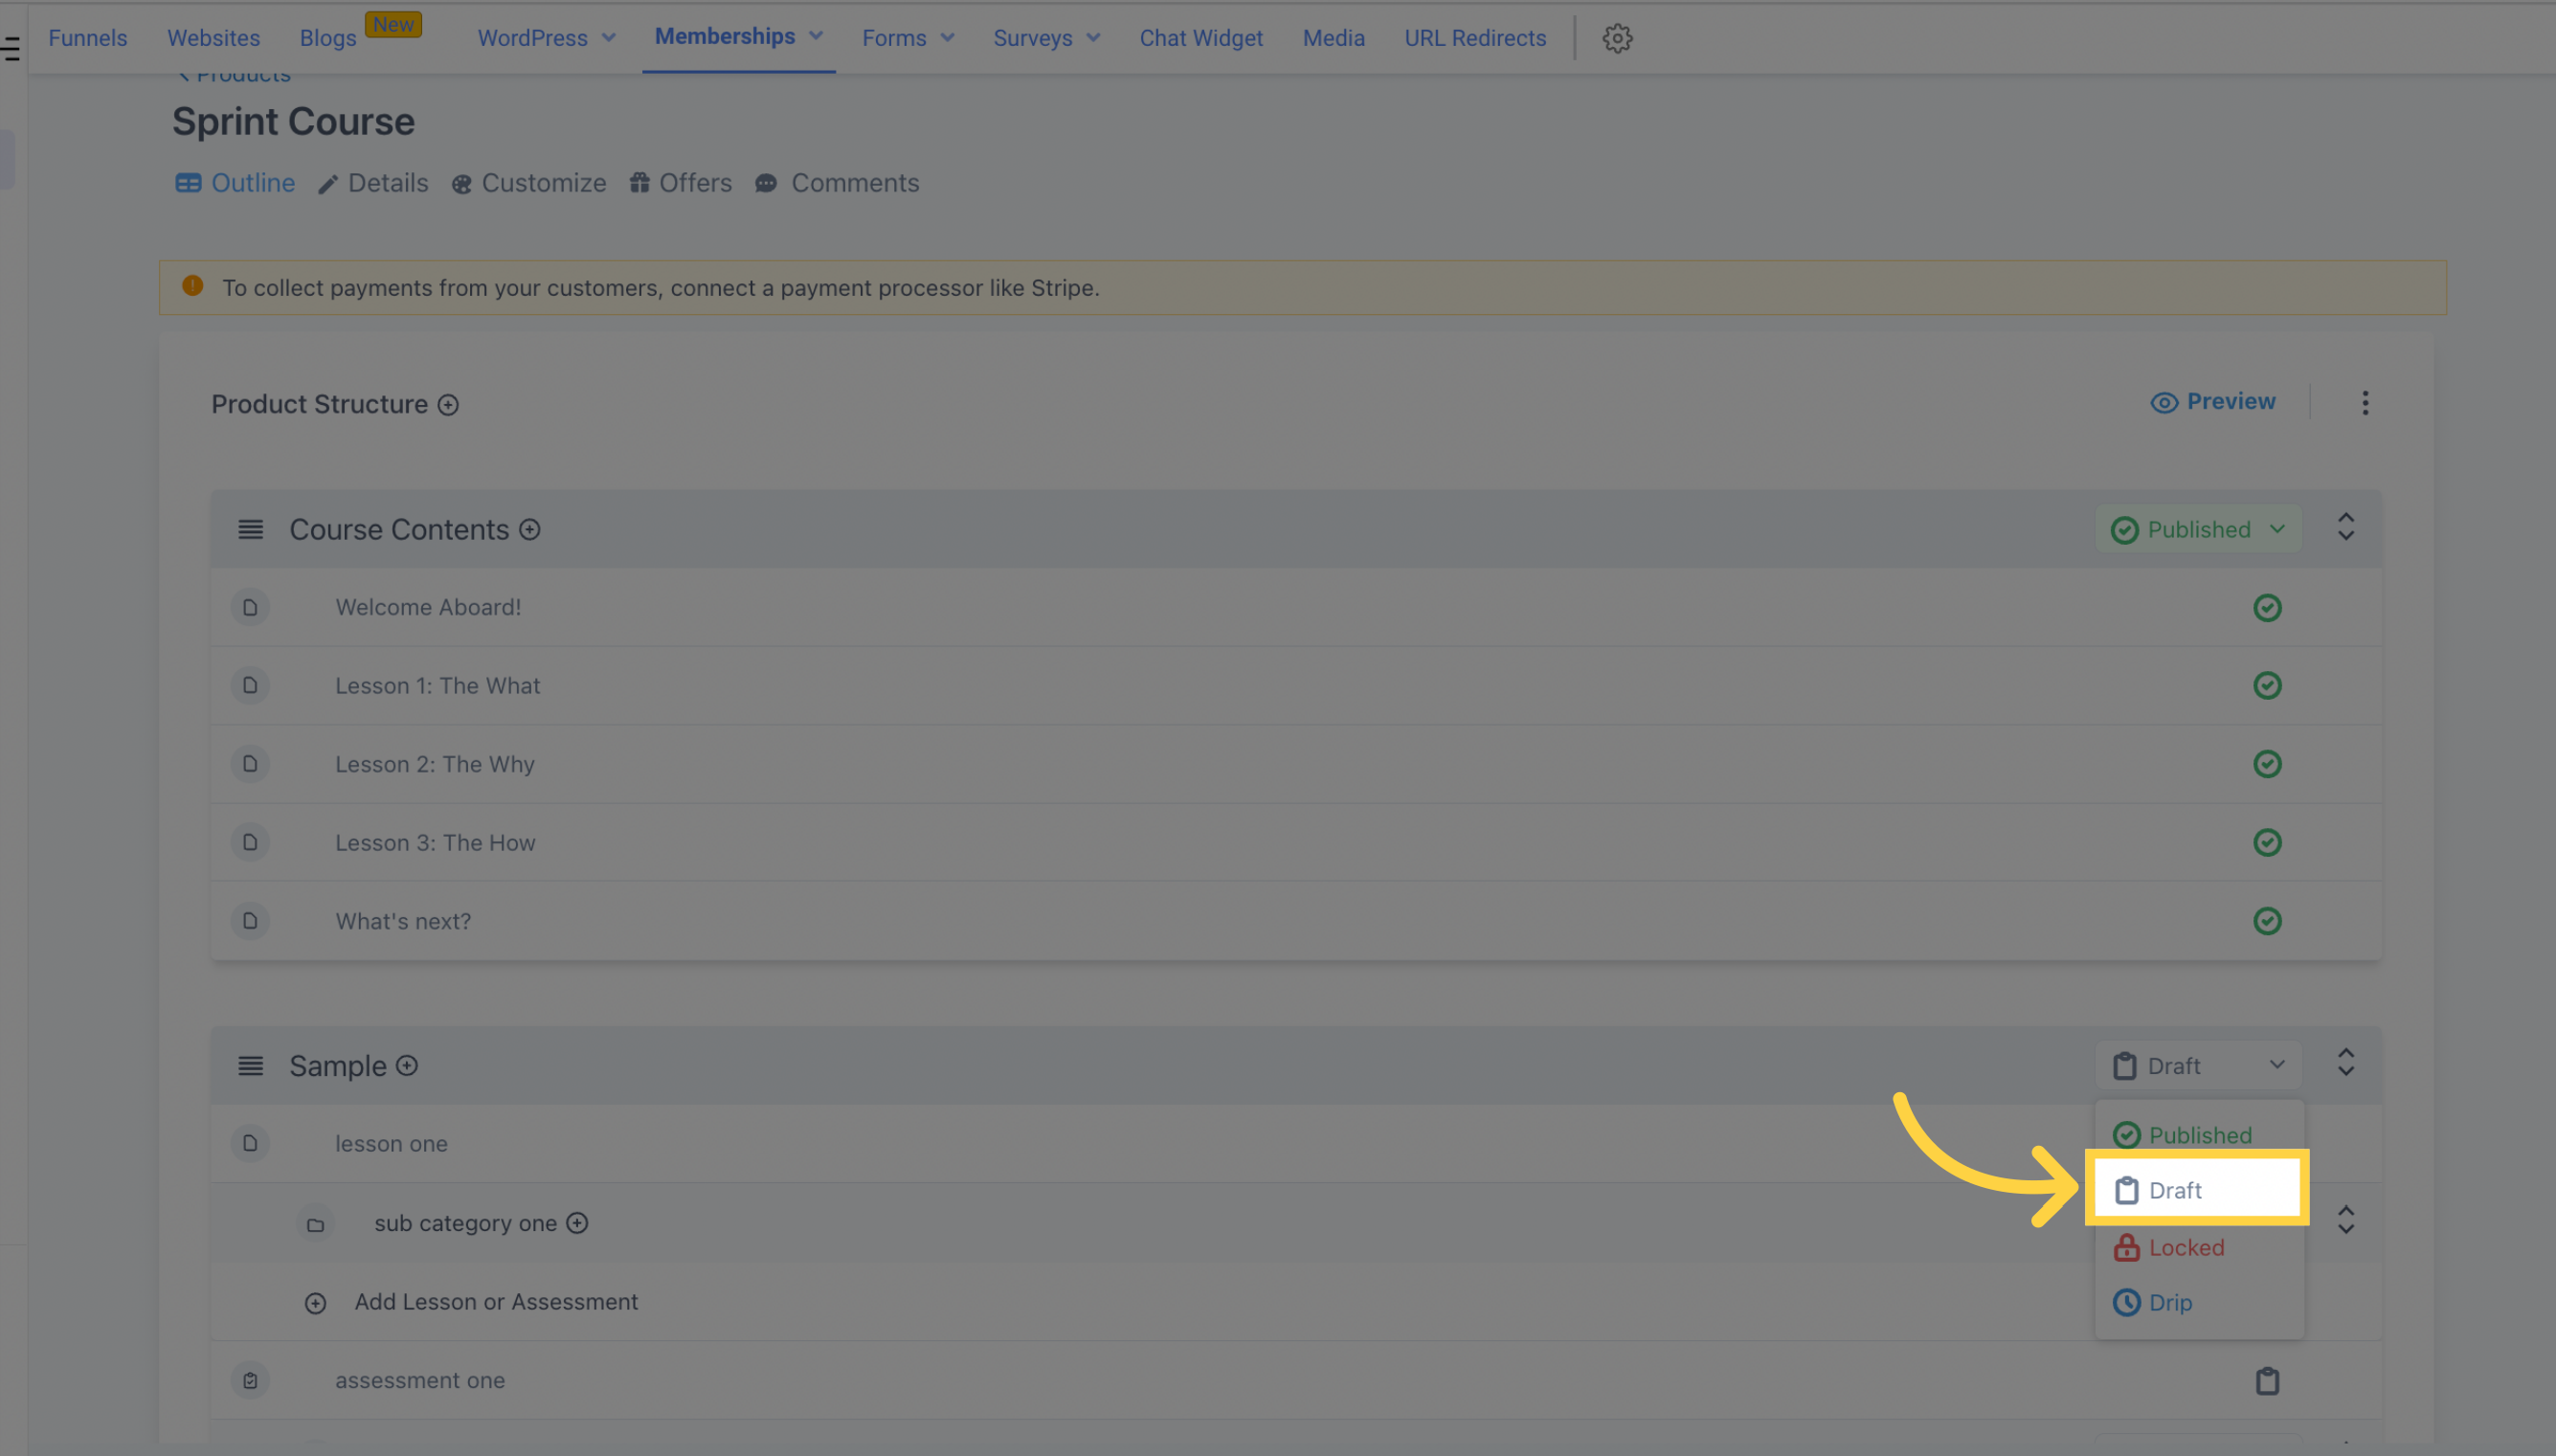
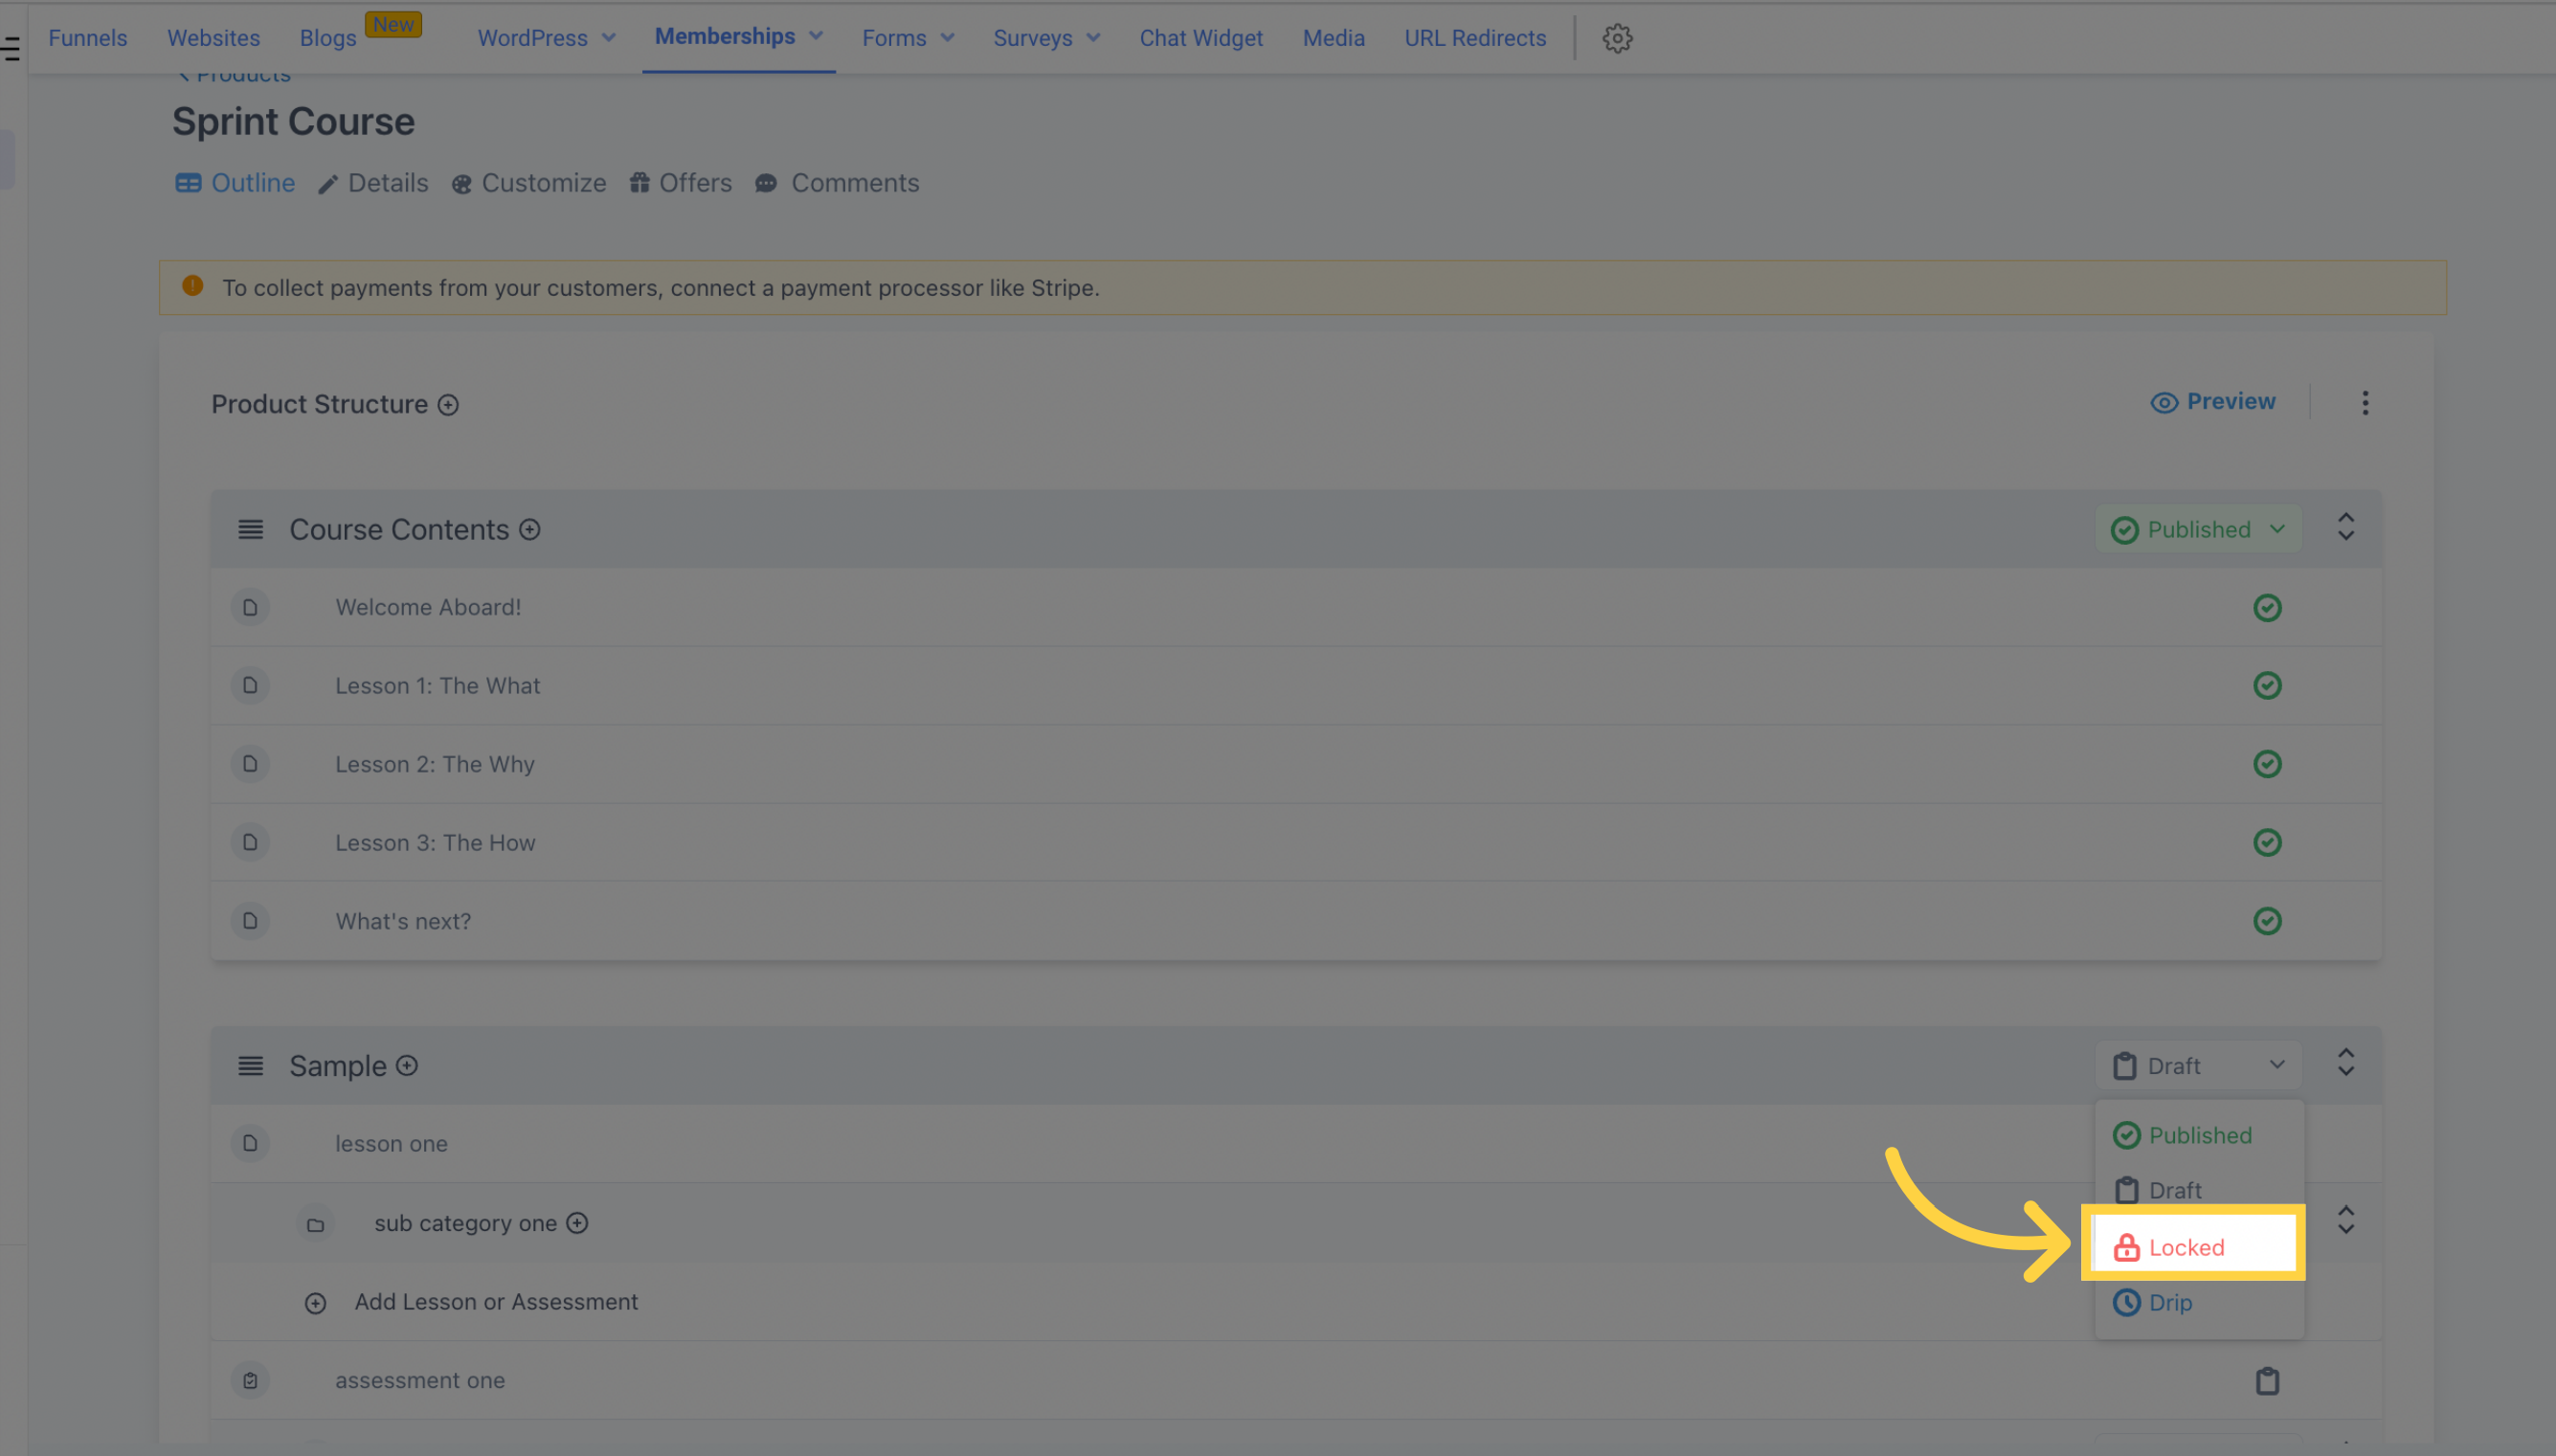
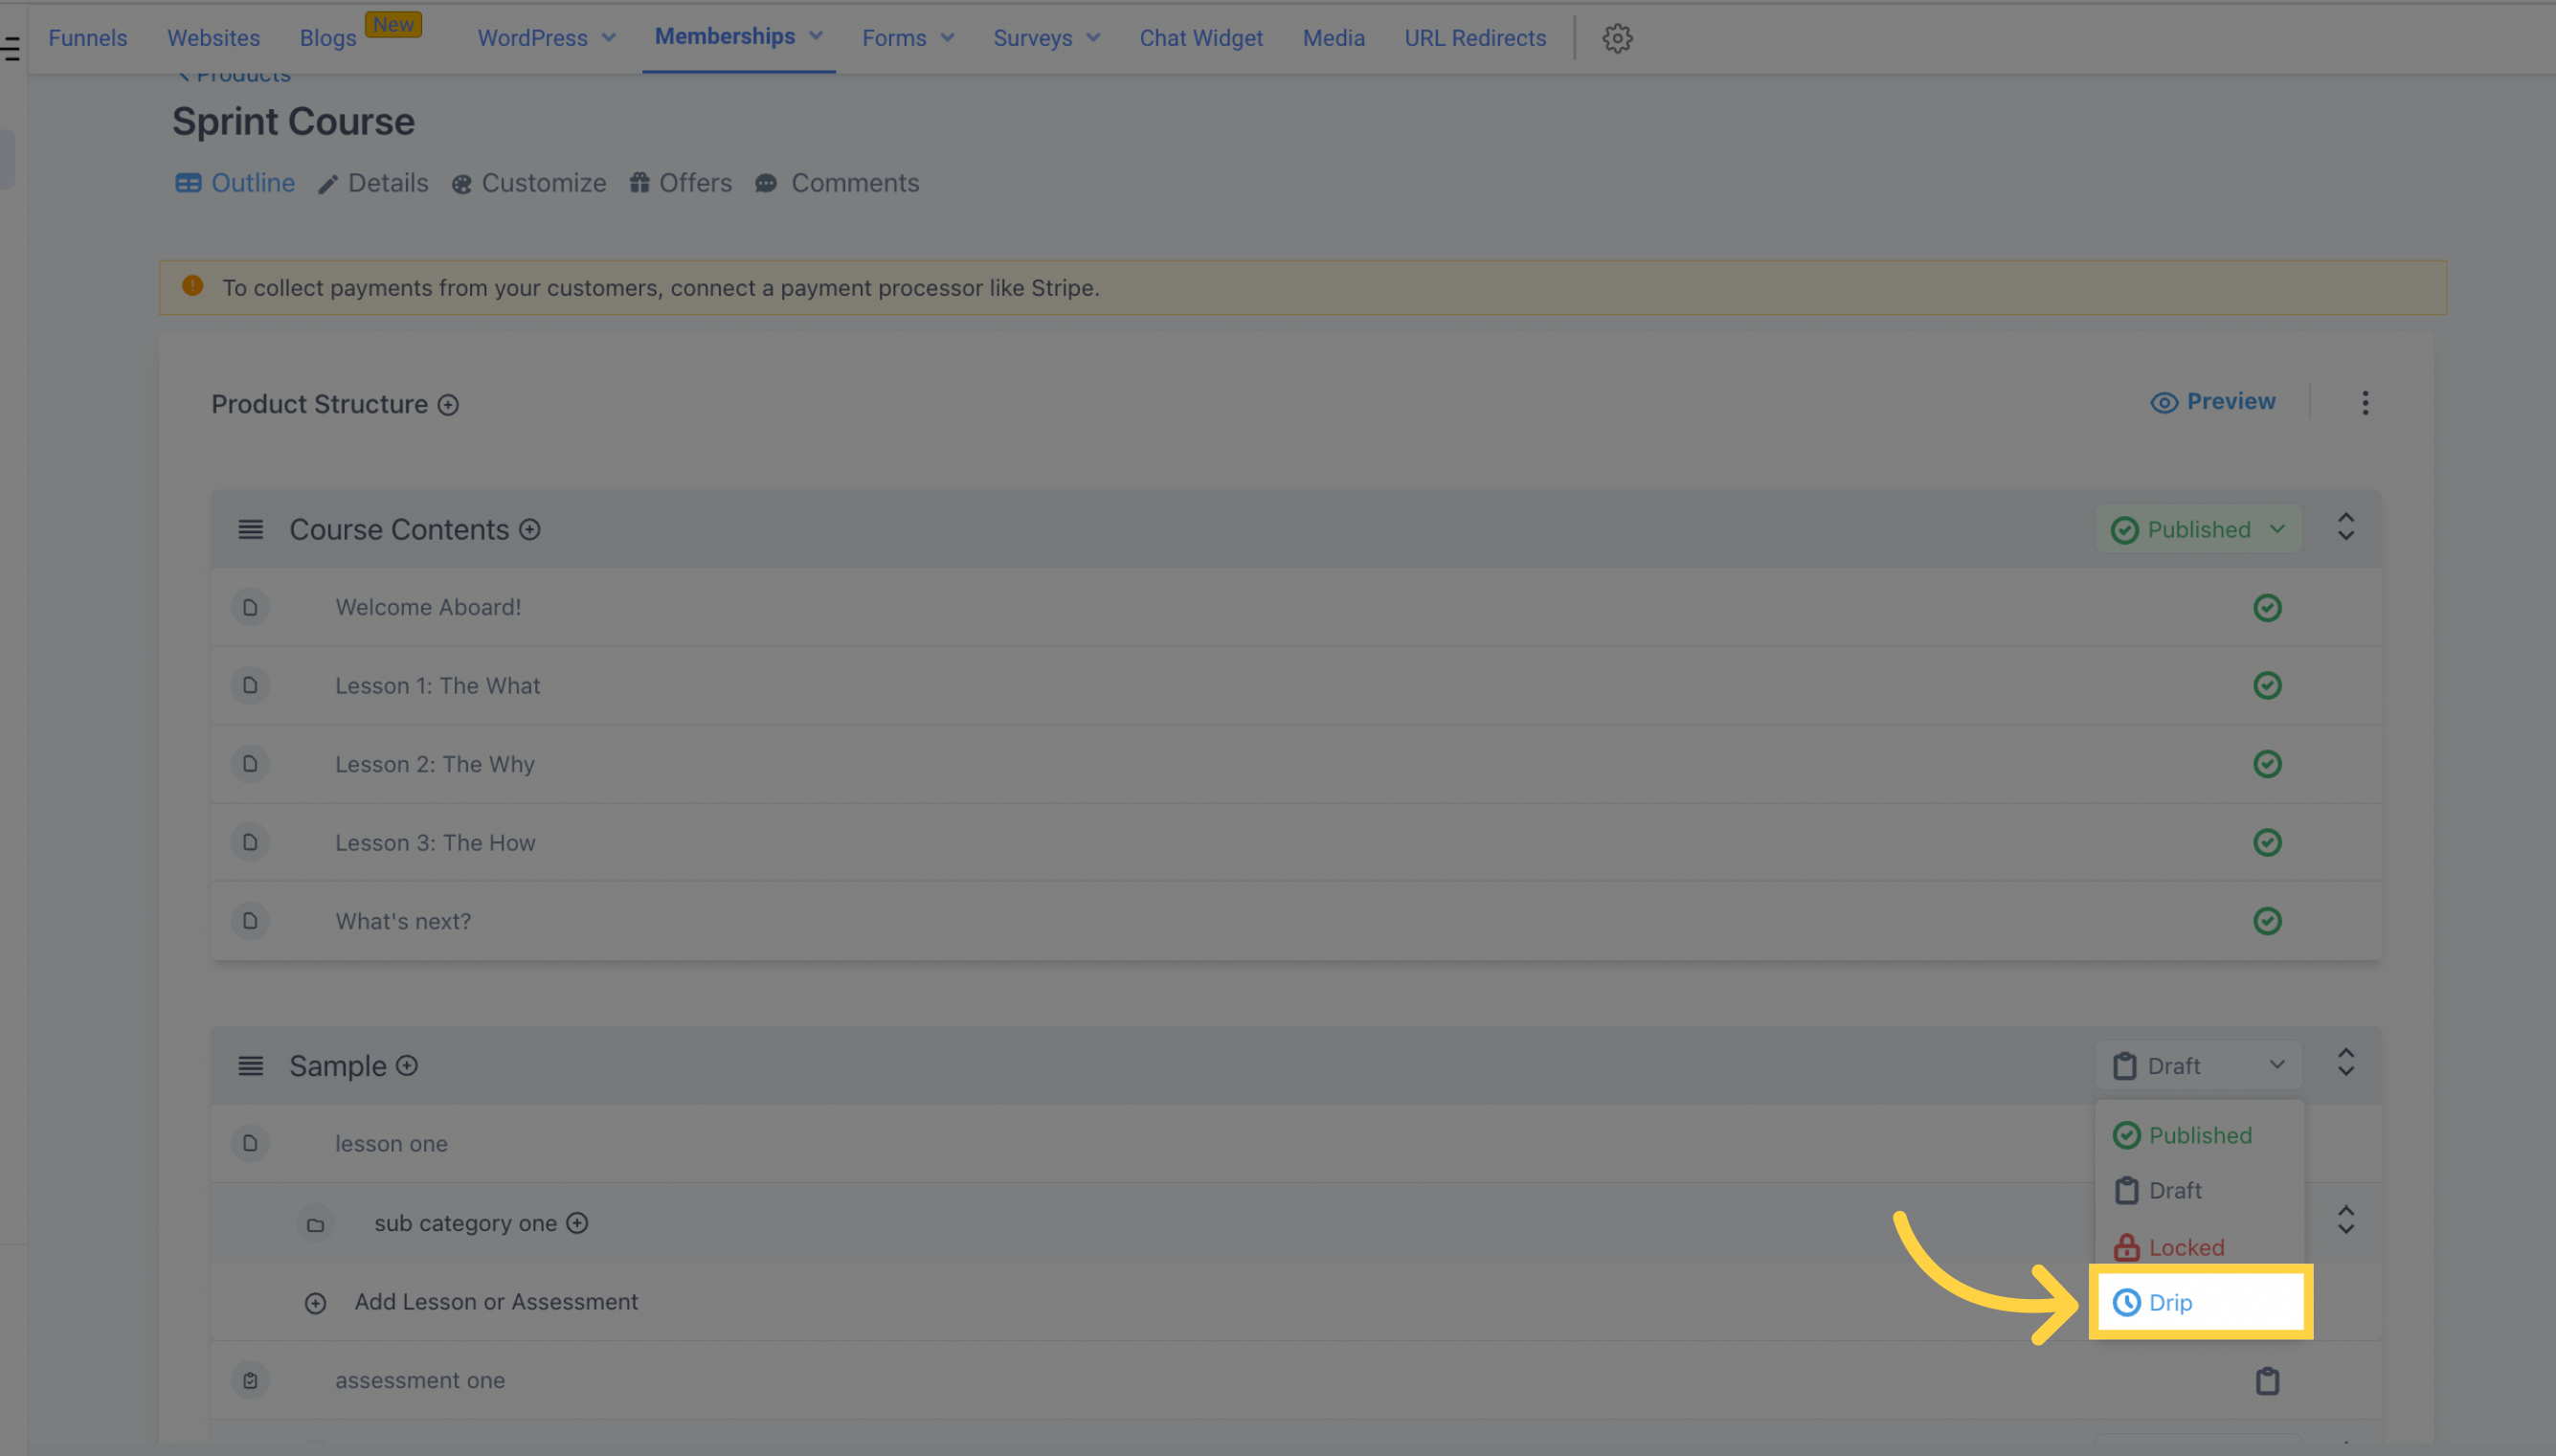
Once you have finished editing your lesson, you can switch to Publish mode from Draft. You may choose to lock the subcategory or switch to Drip mode.
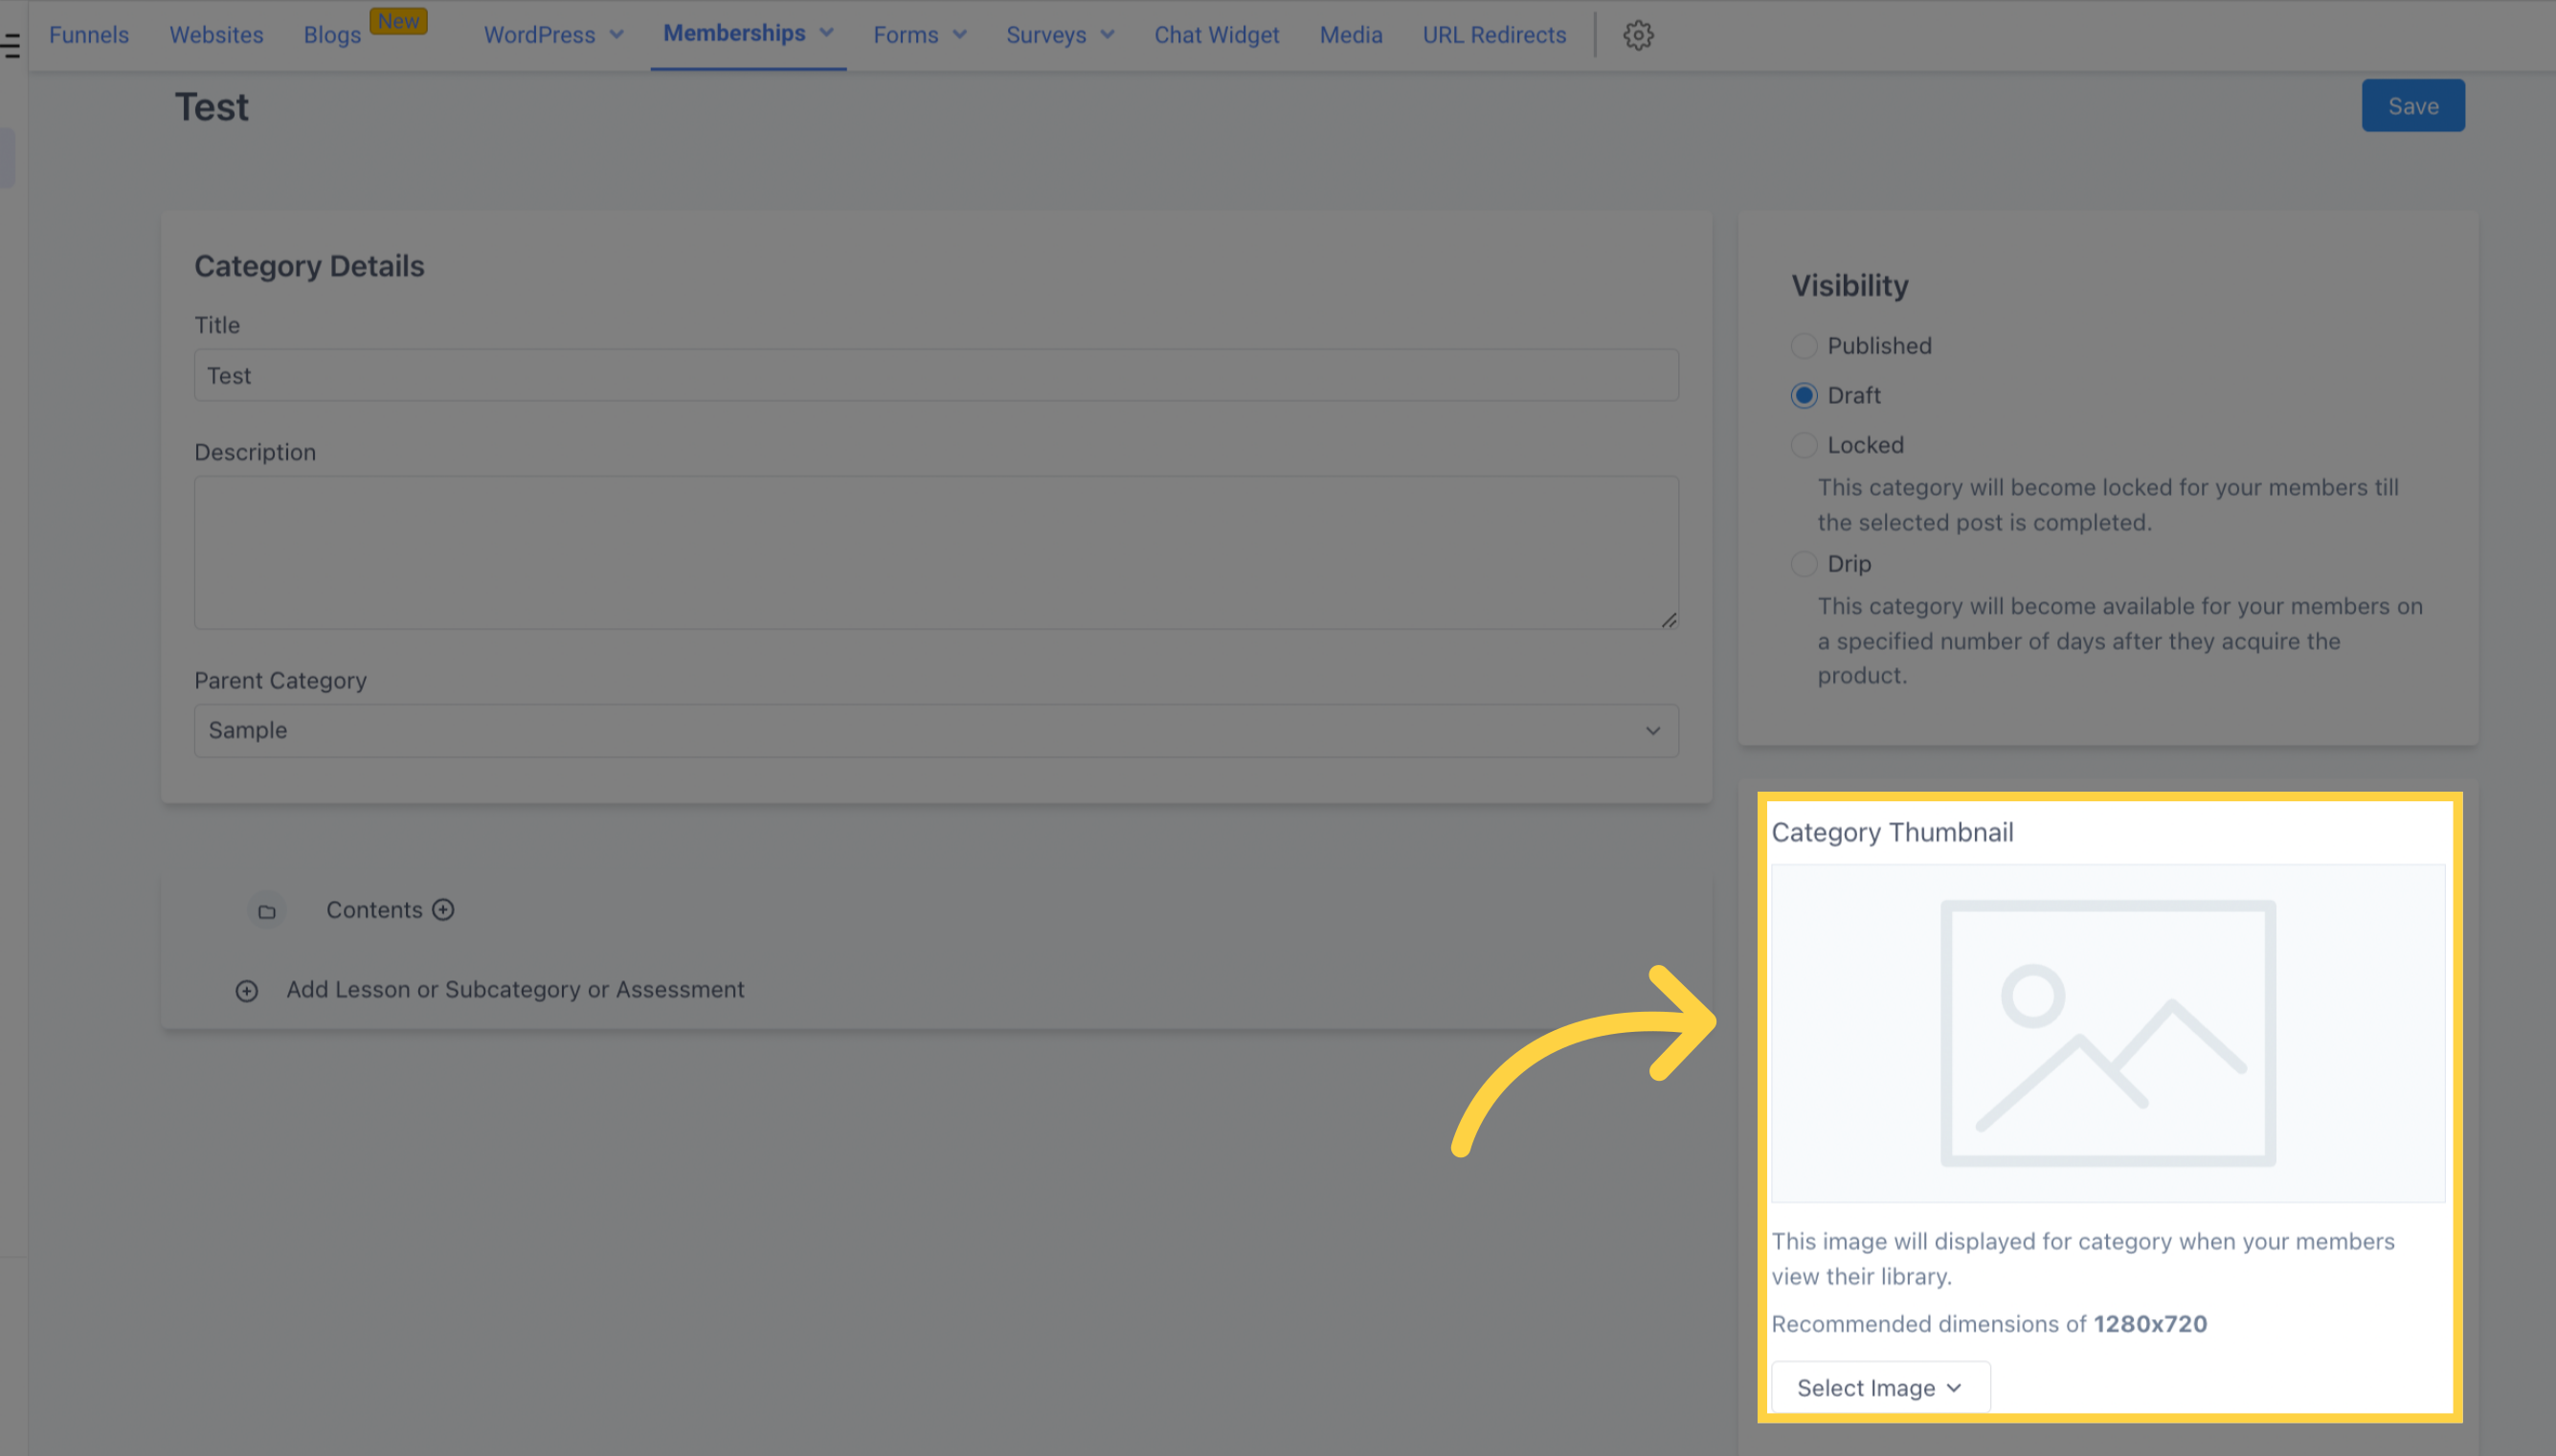
This image represents the subcategory and will be displayed to your members. The recommended dimensions are 1280x720. To add an image, click on the "Select Image" button and upload a new file from your device. If necessary, you can remove an uploaded image by clicking on "remove" next to the "Select Image" button.
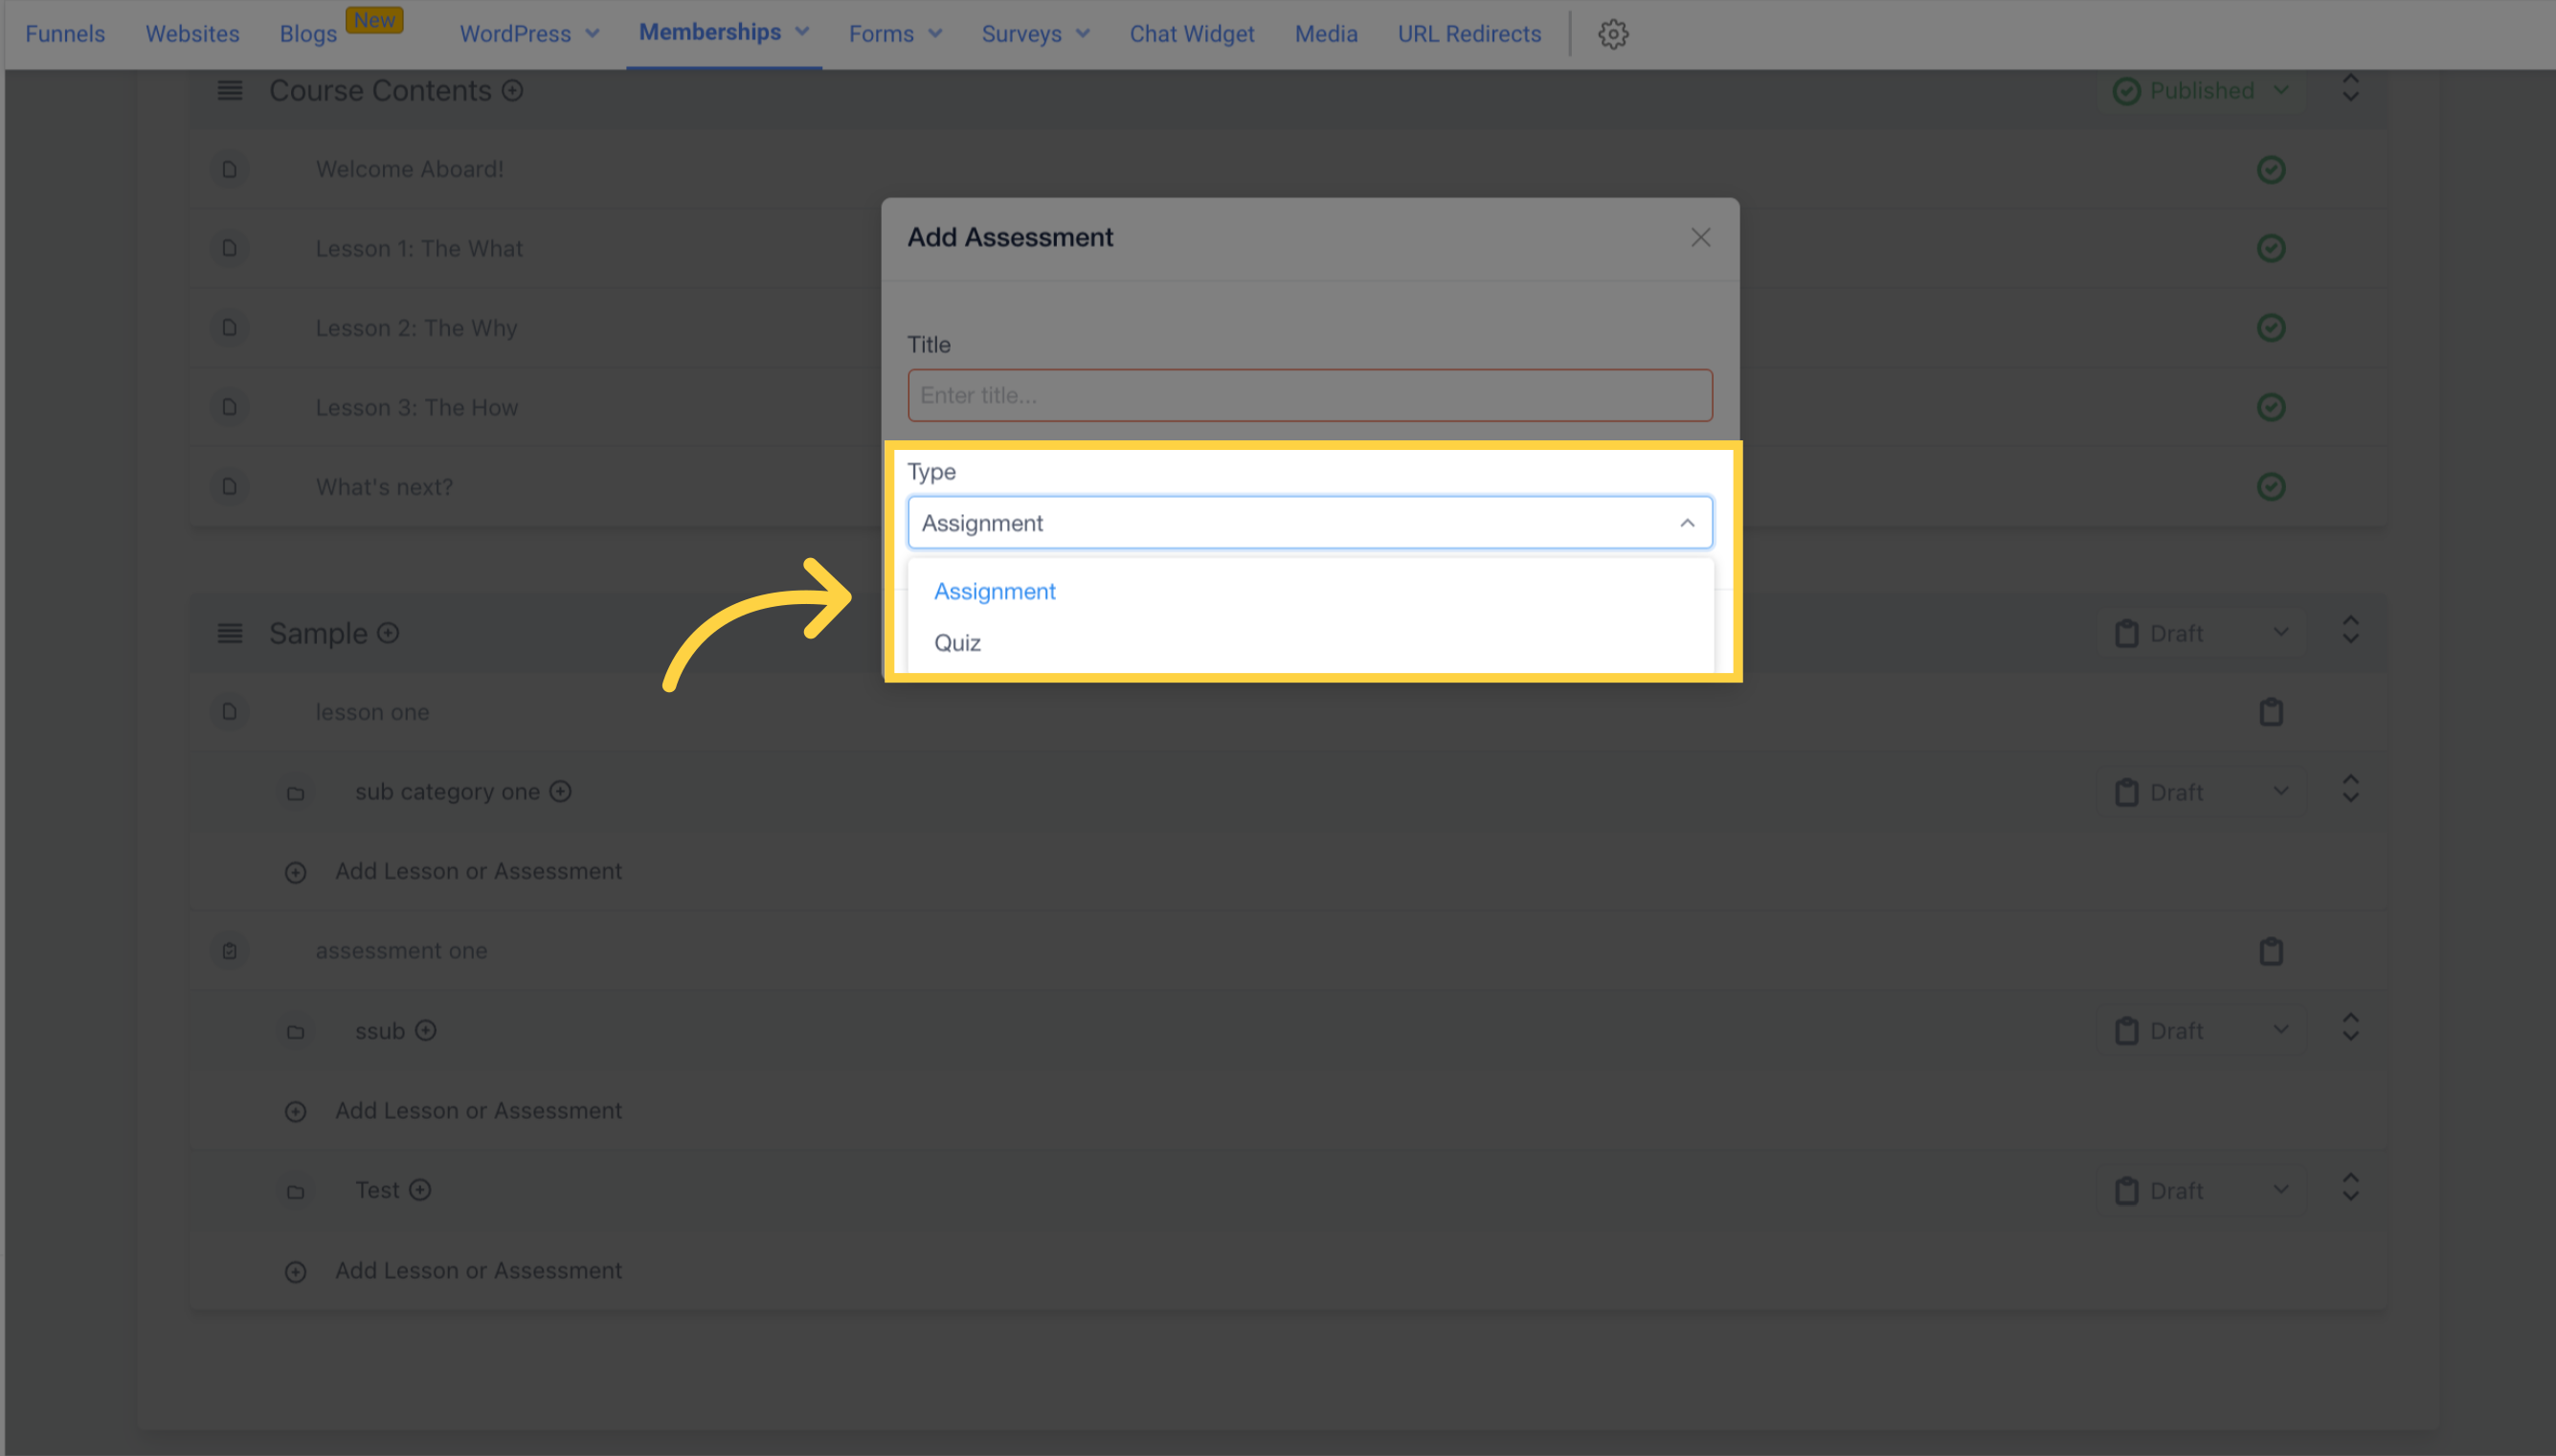
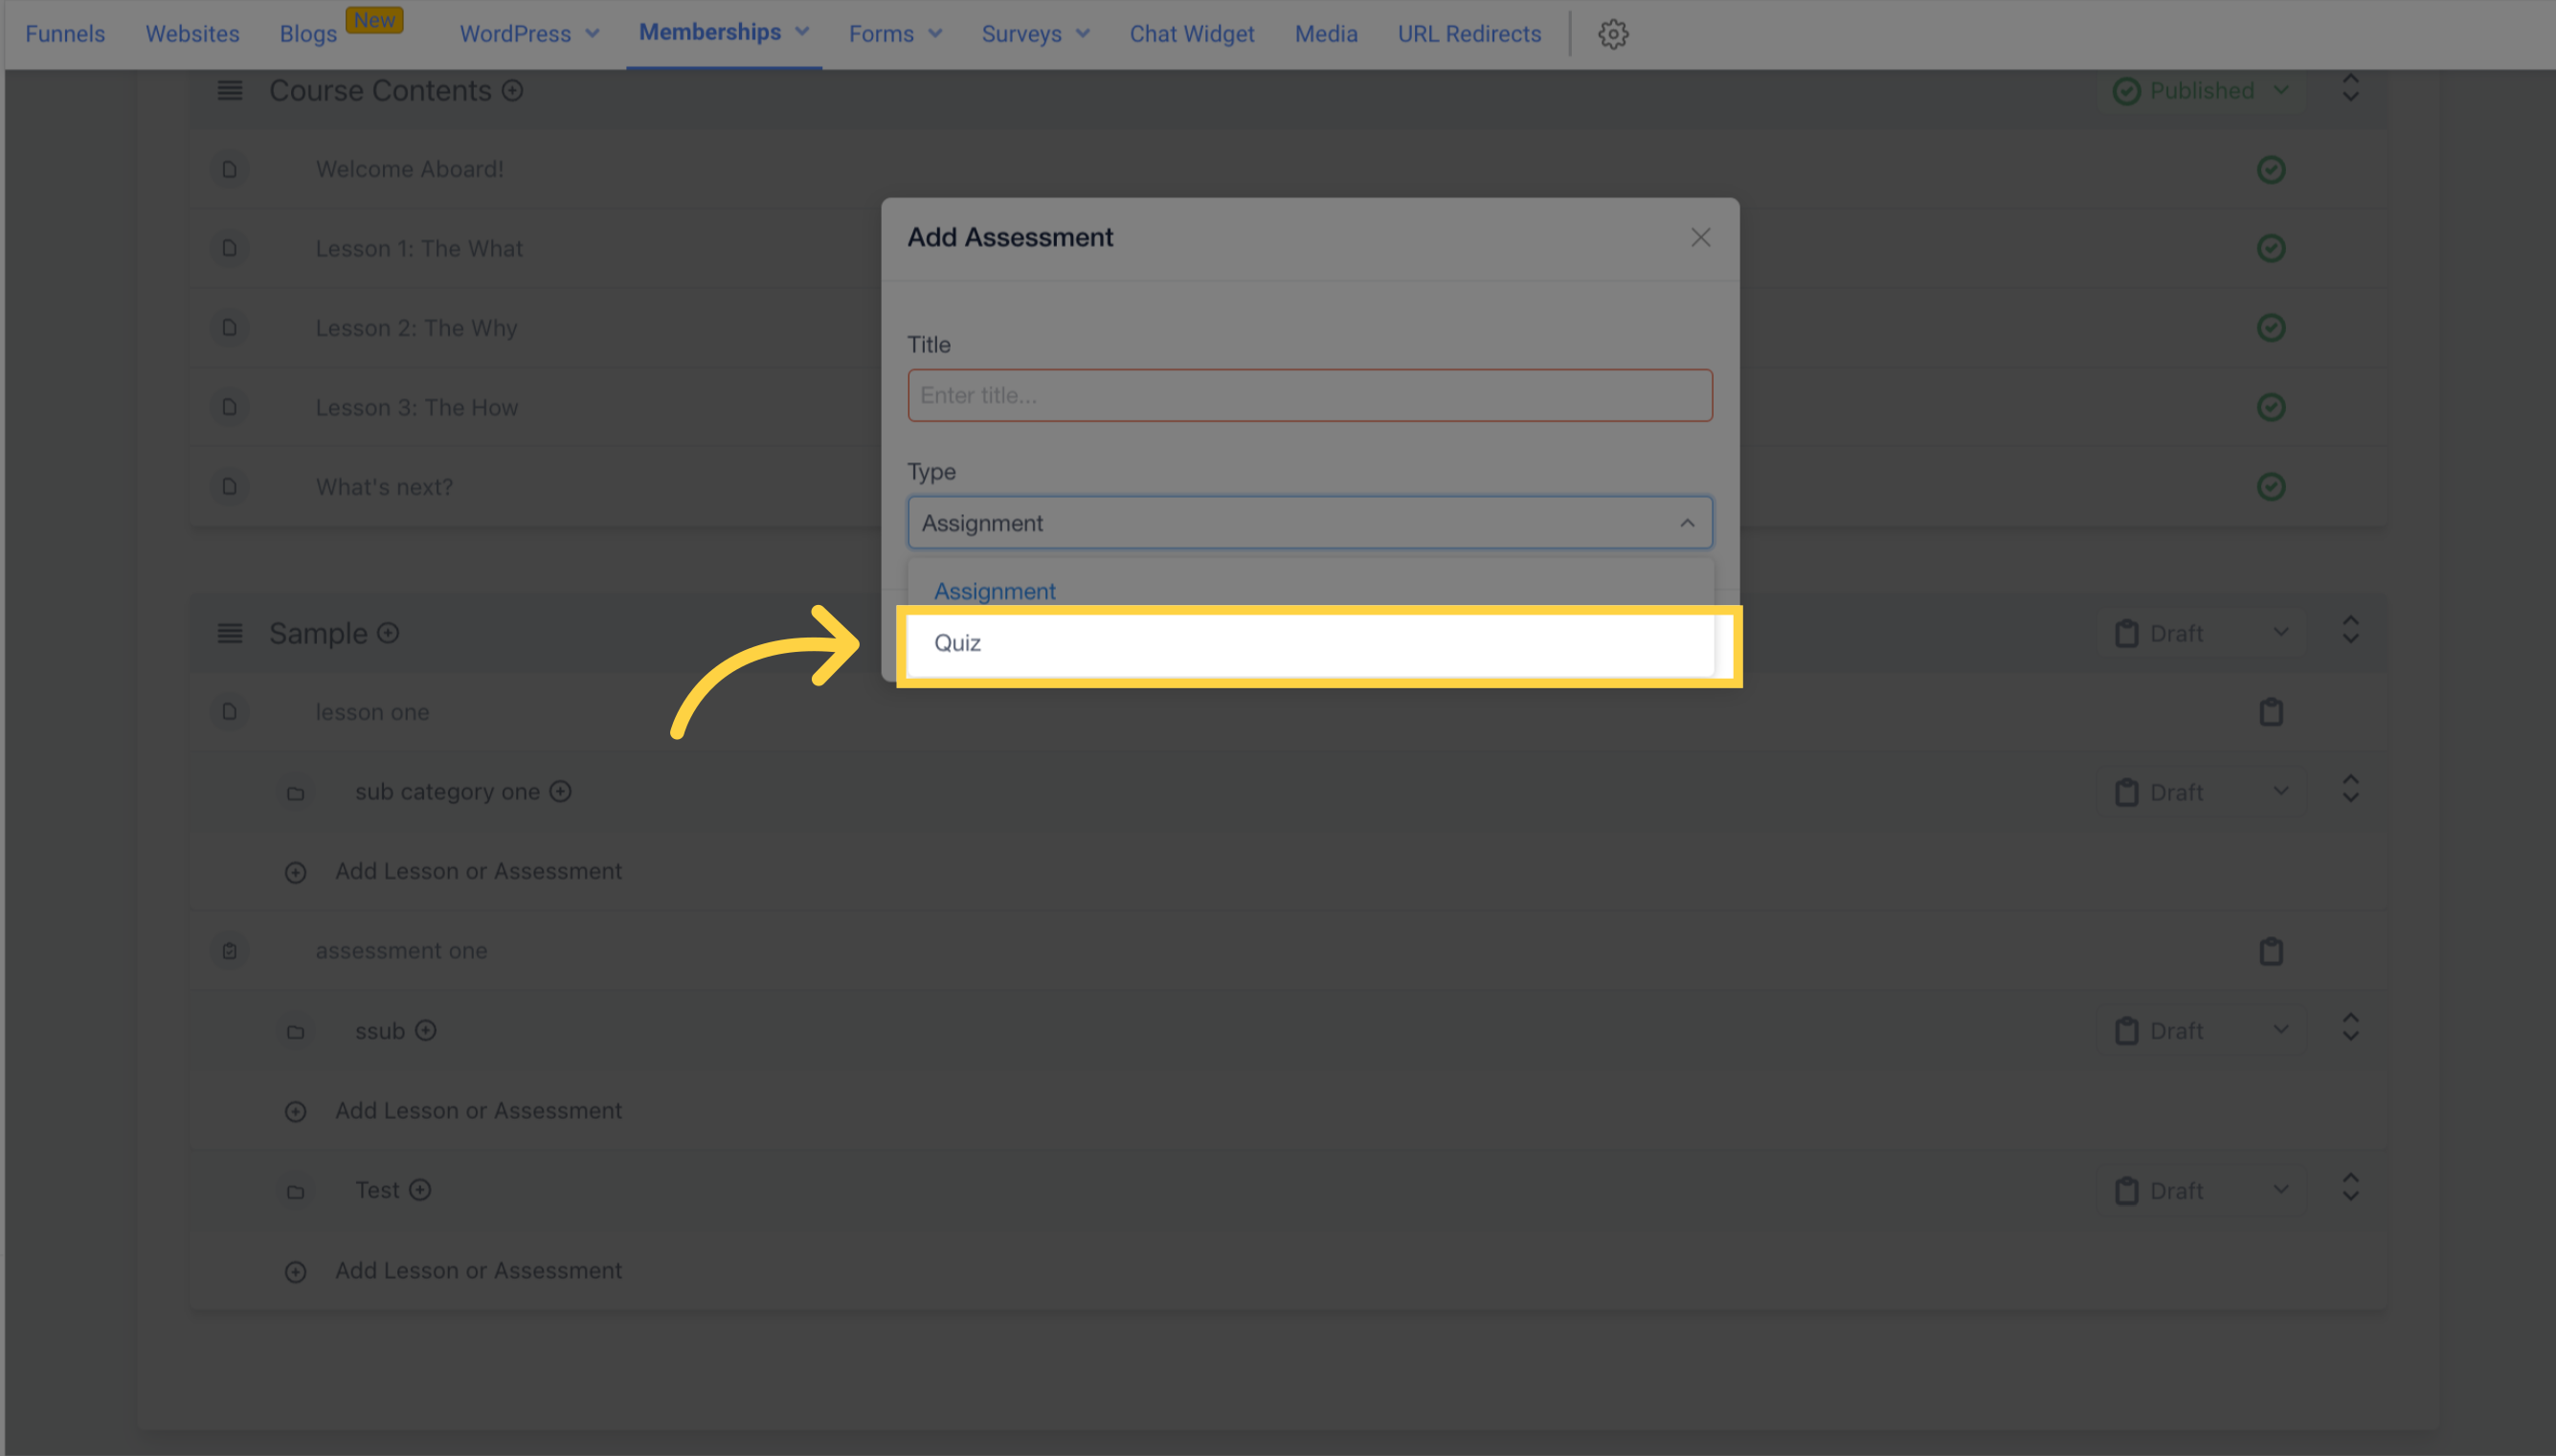
By using this feature, you can incorporate Assessment into your product.
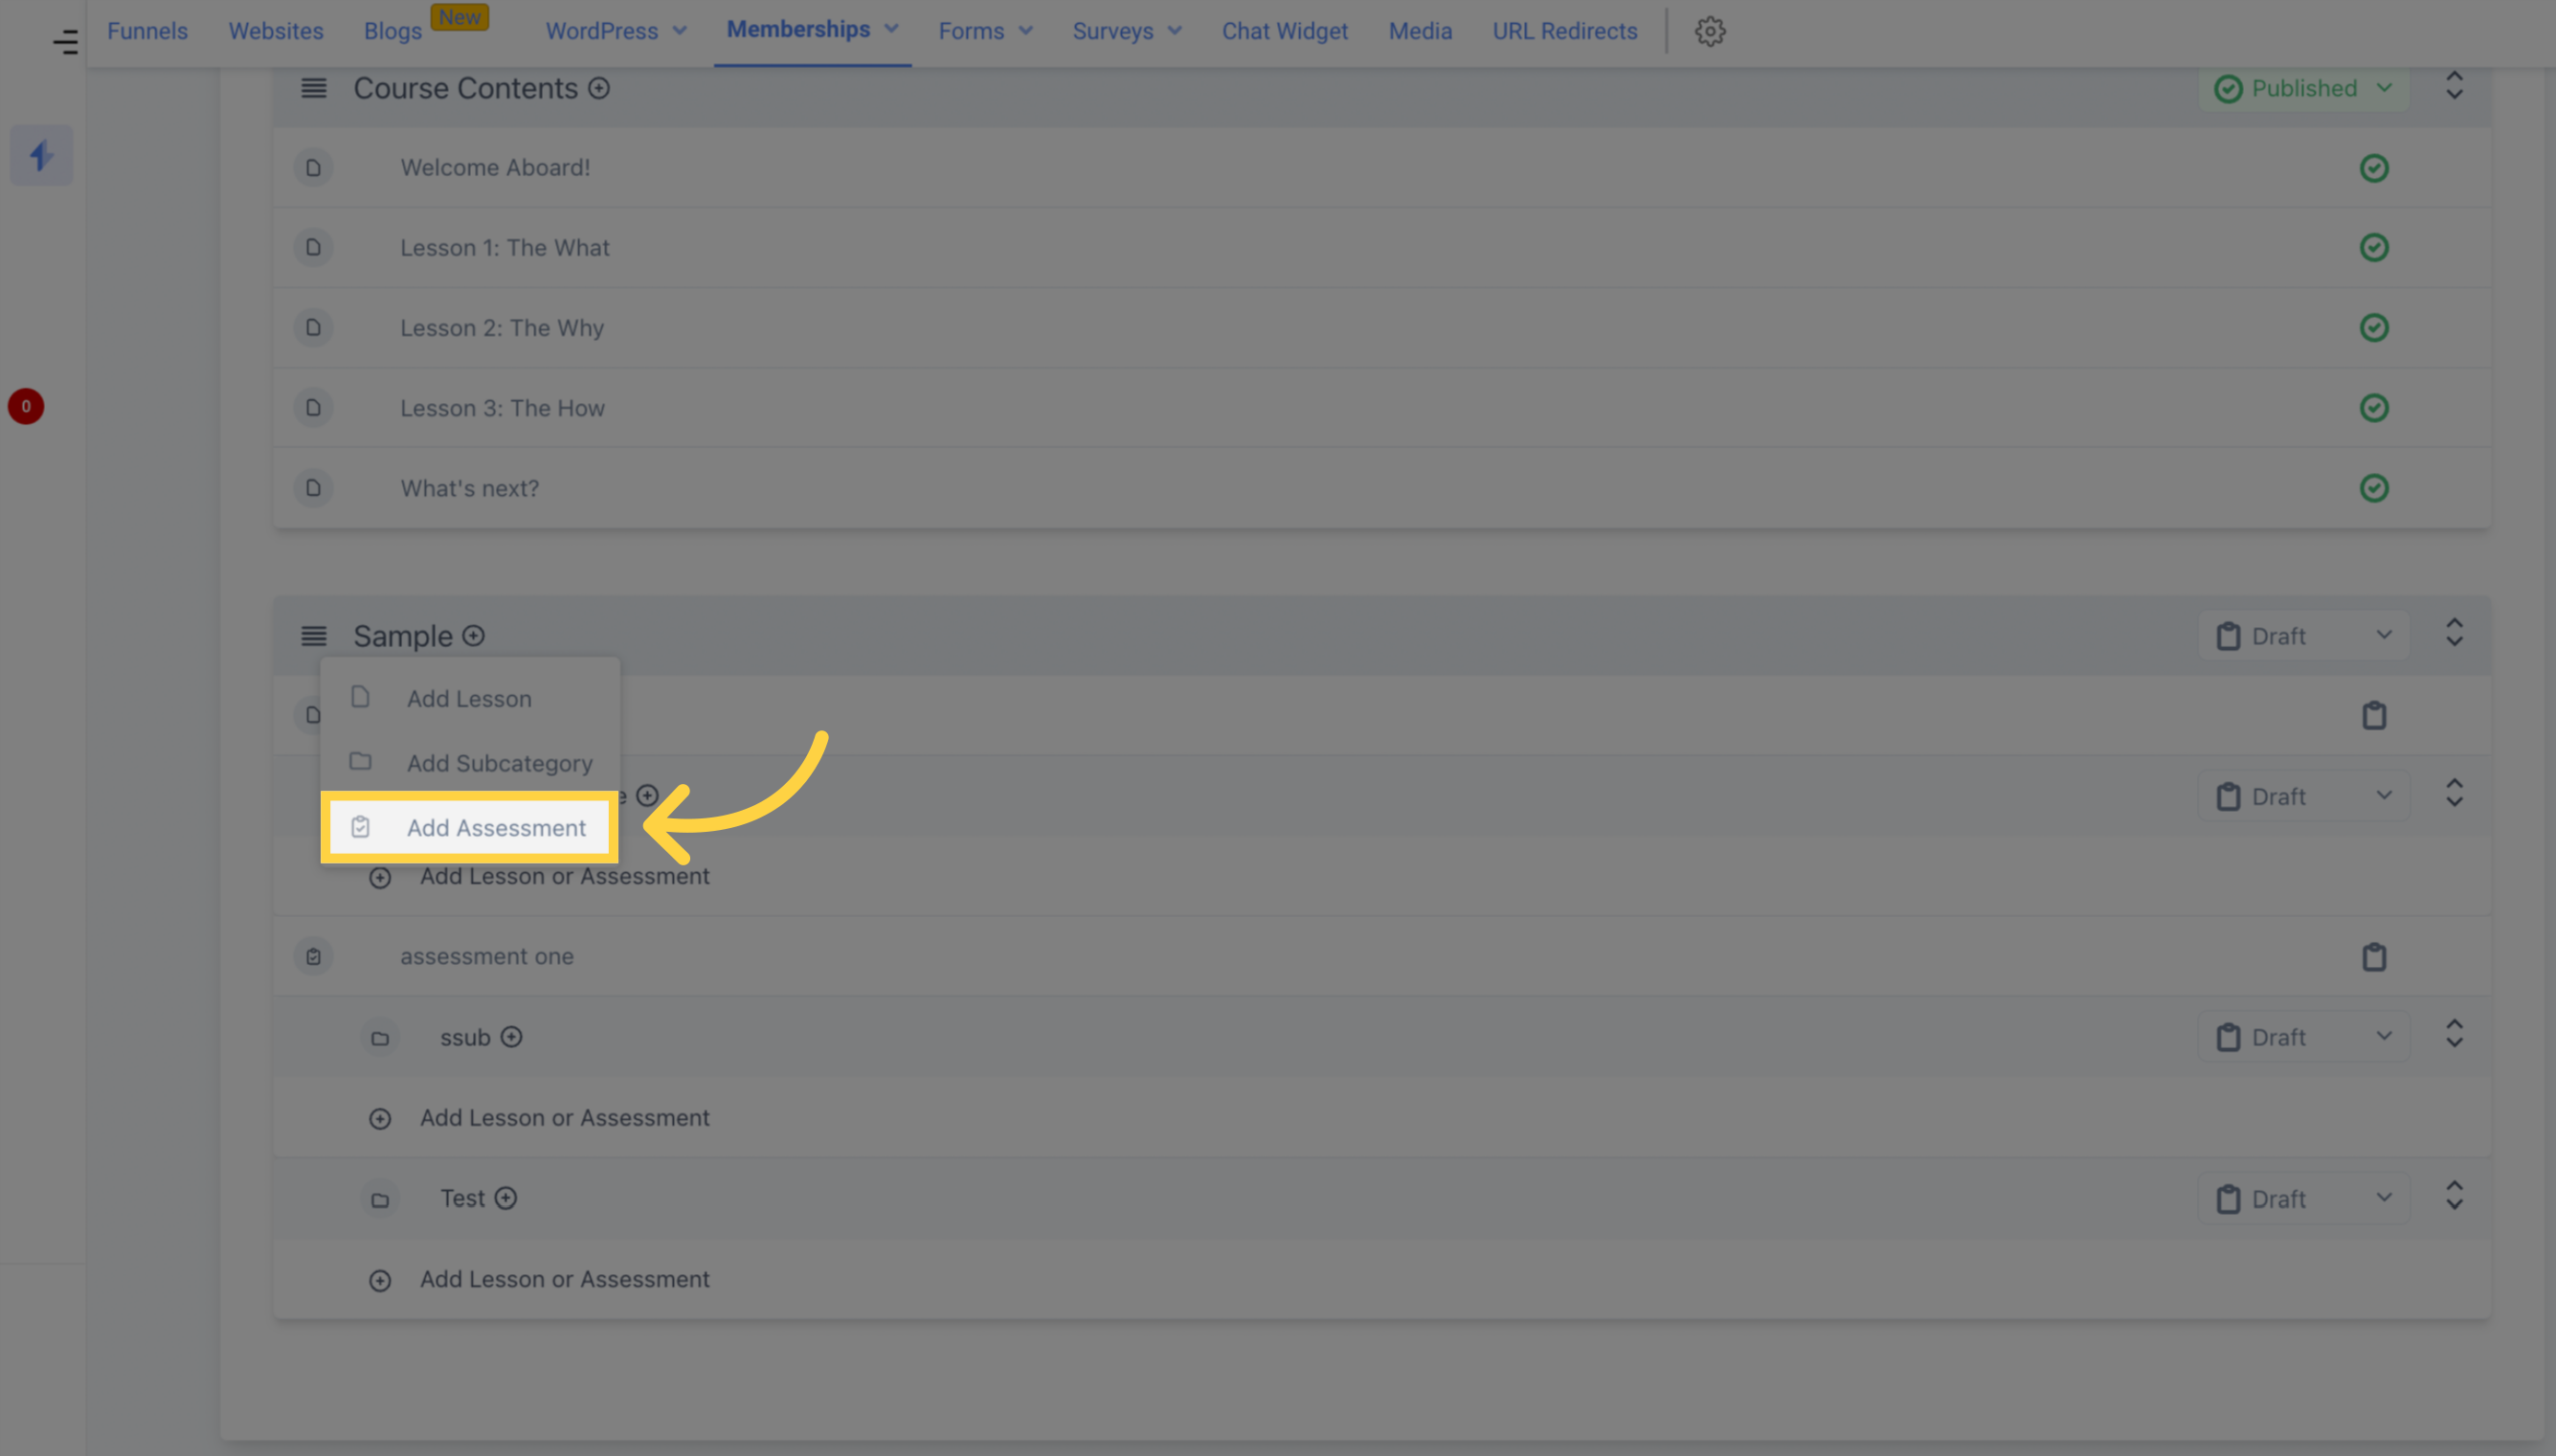
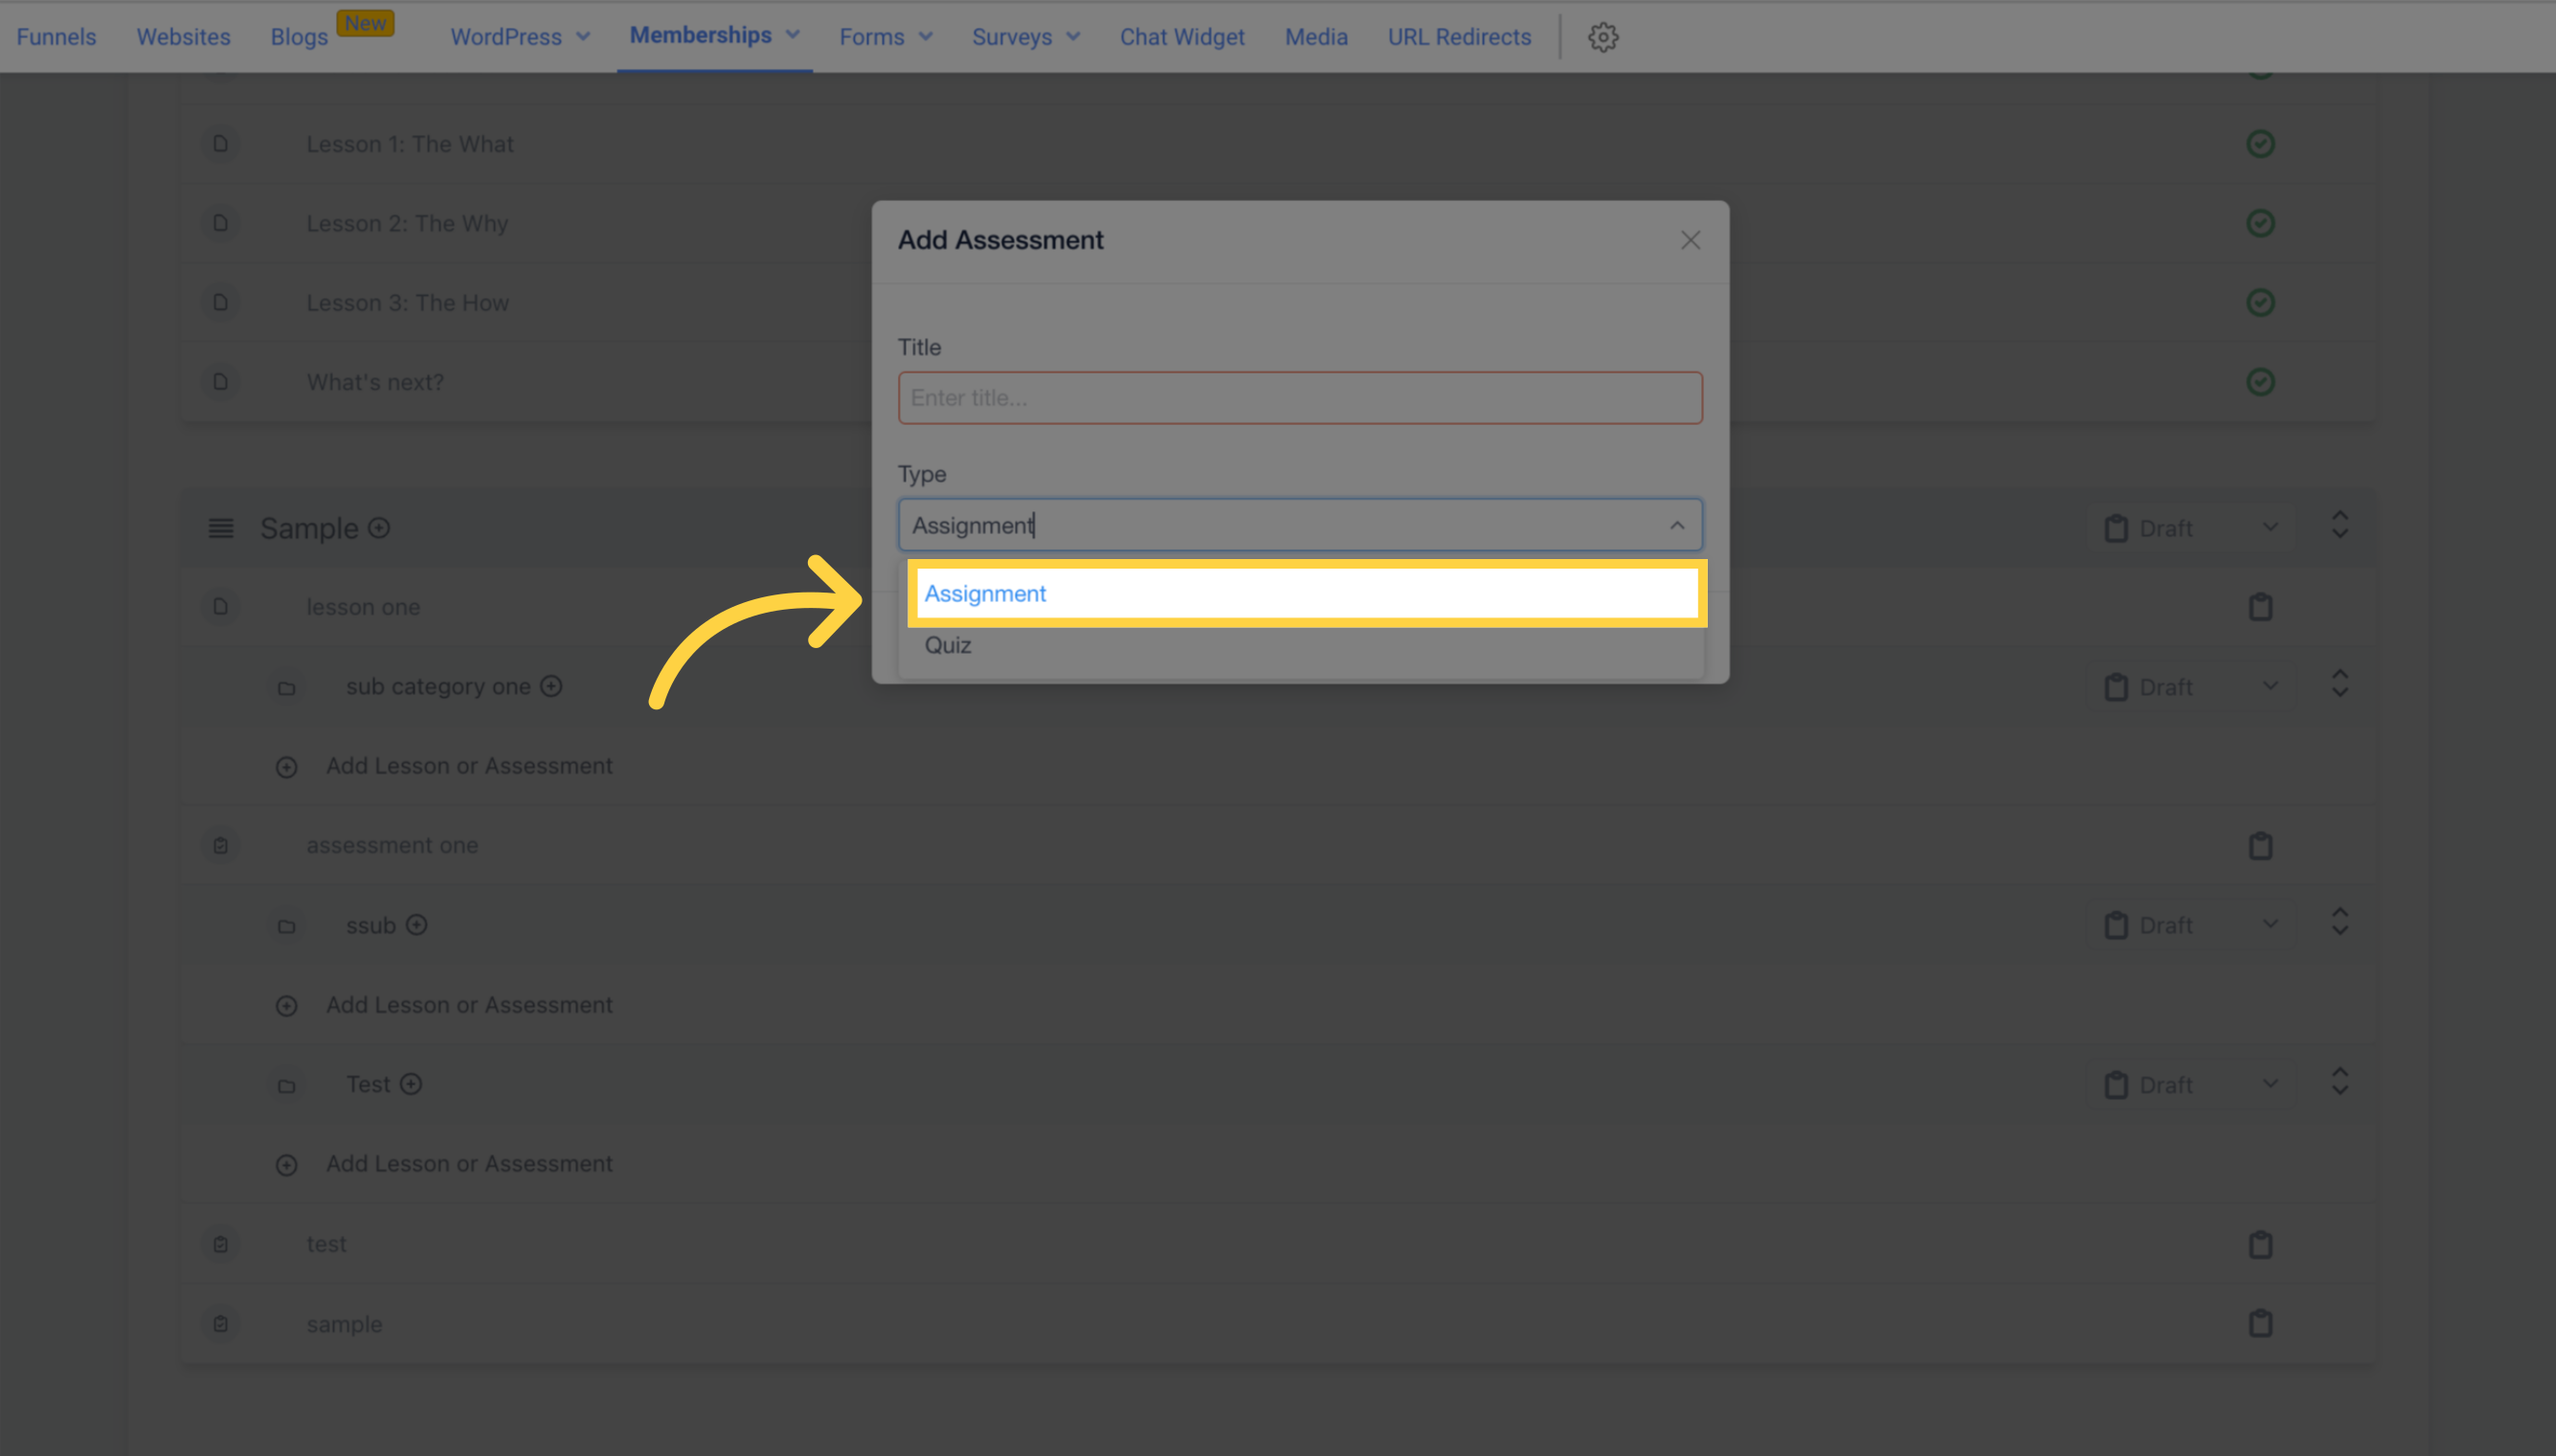
You have the option to select either a Quiz or an Assignment as your form of assessment, and be sure to include a title.
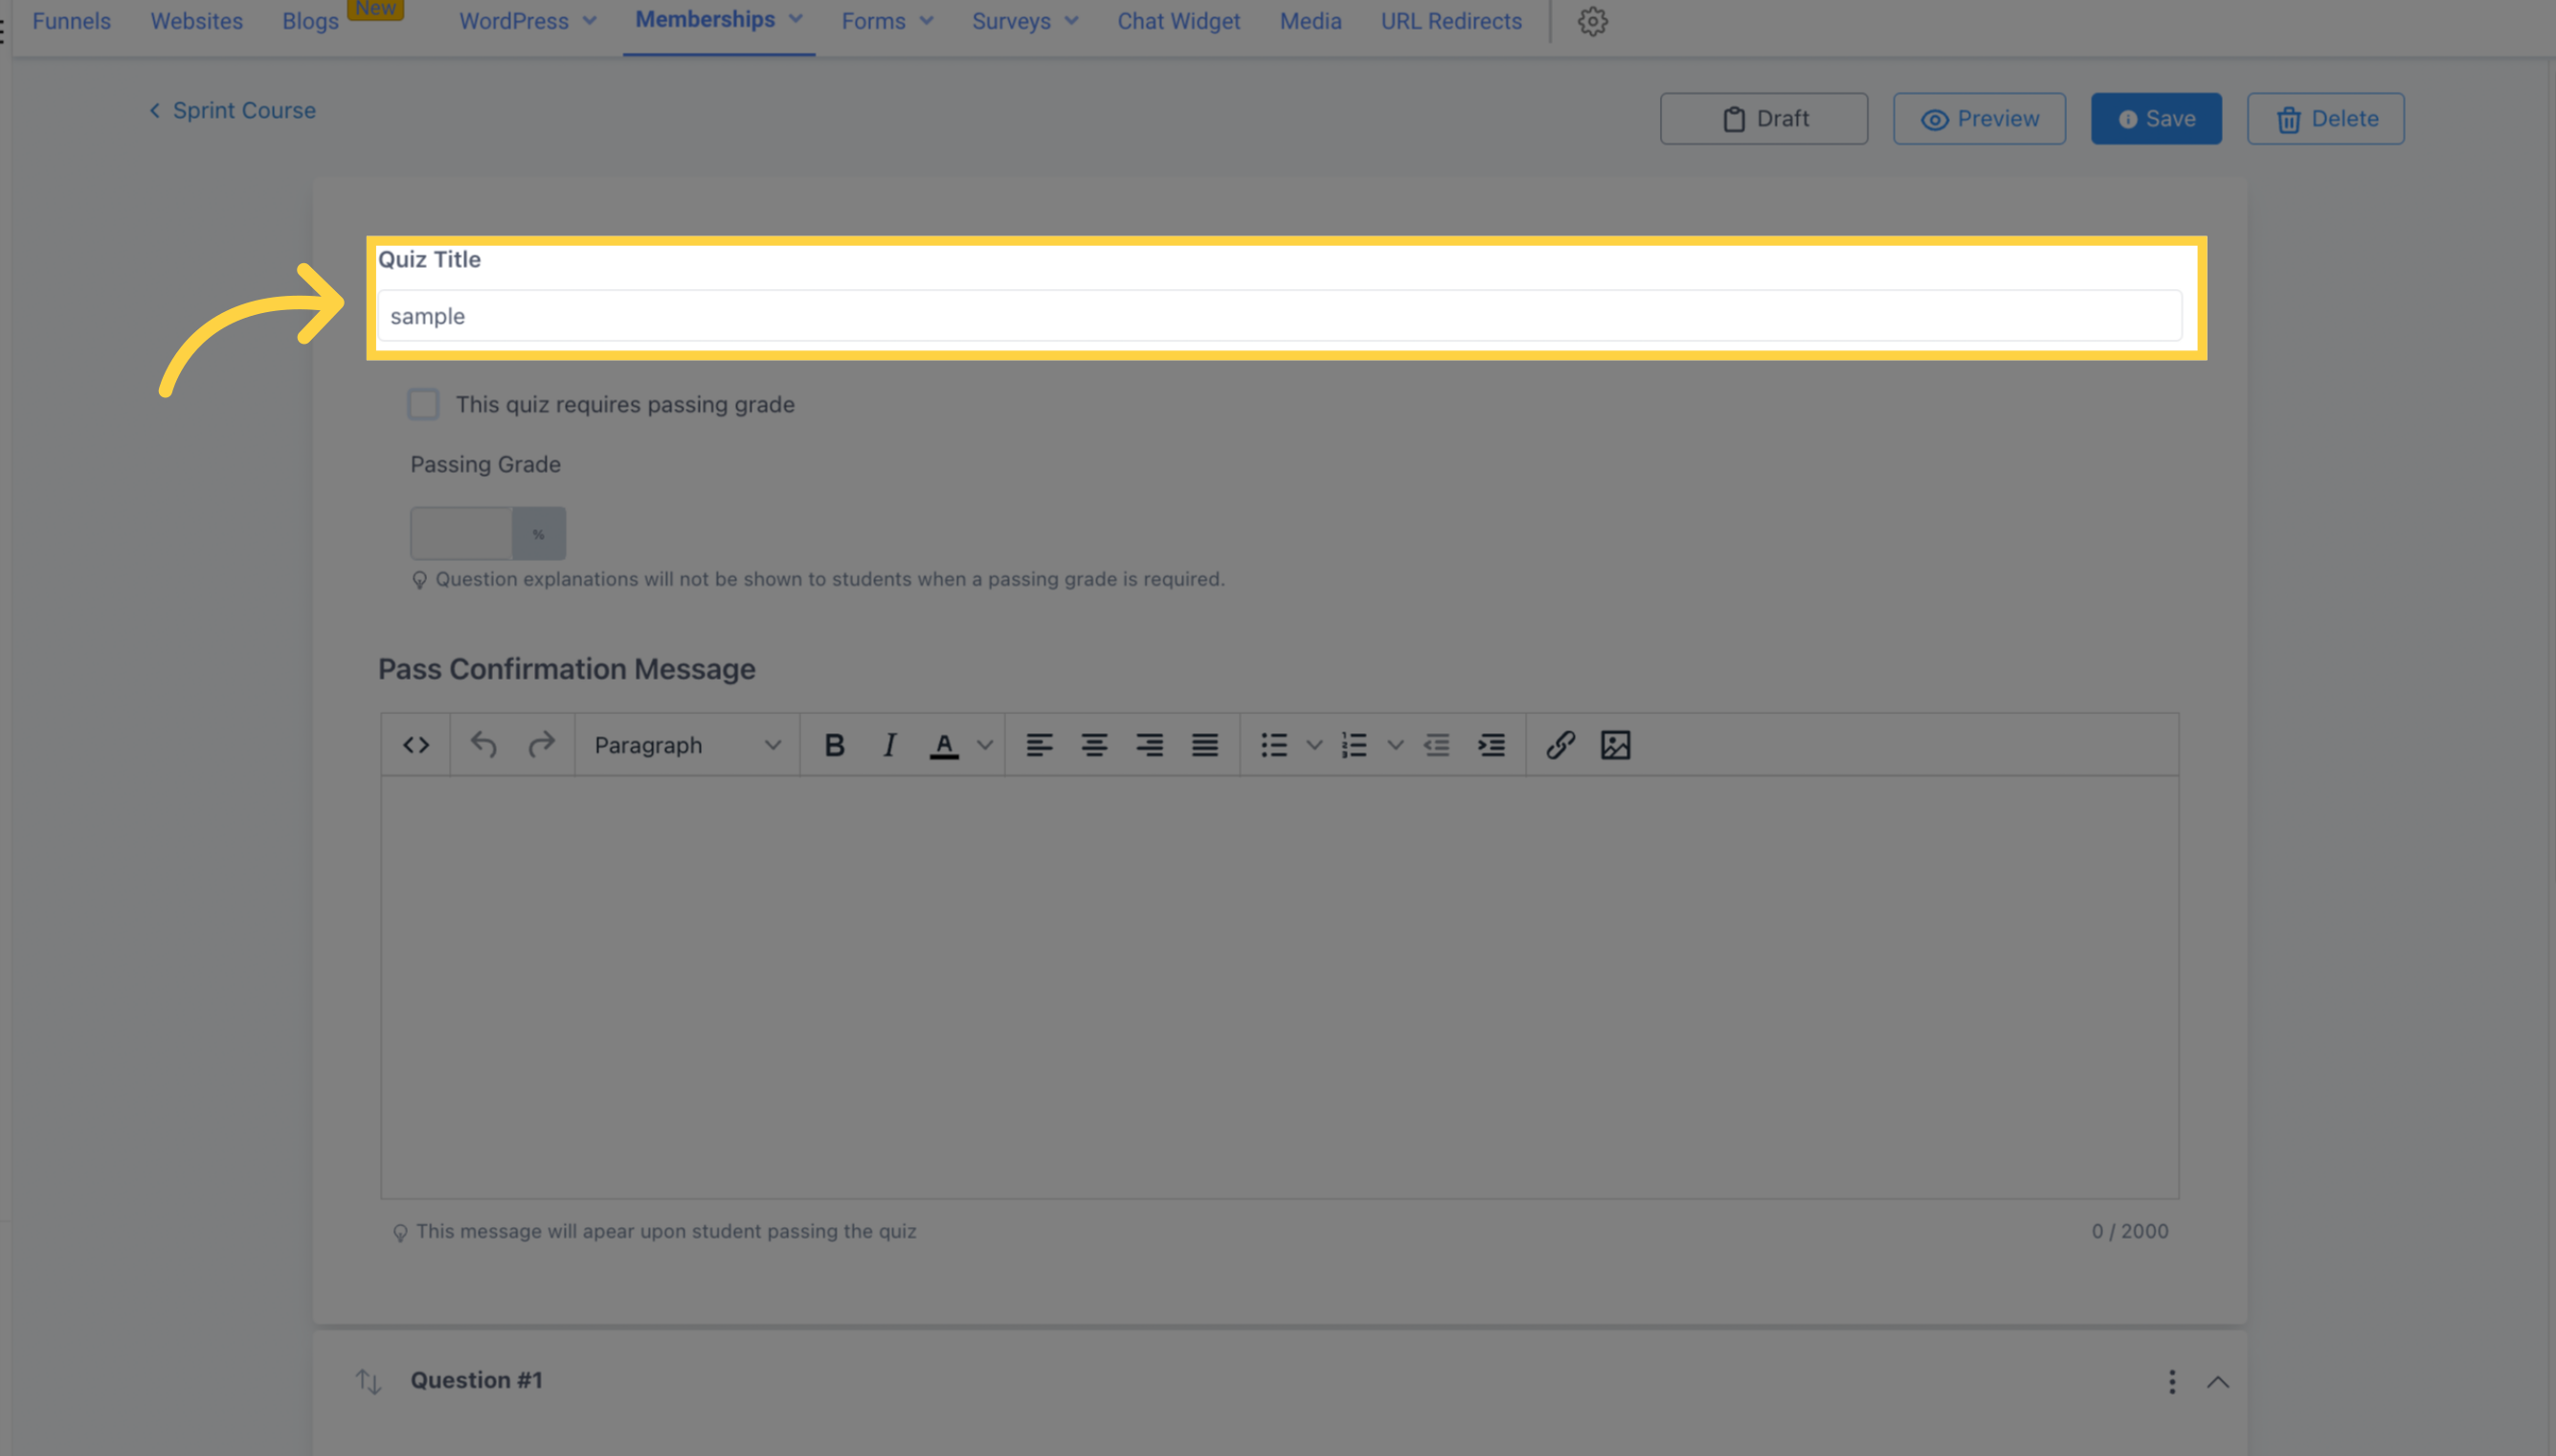
Create your quiz questions and specifications in this section.
Enter the quiz title in the provided space.
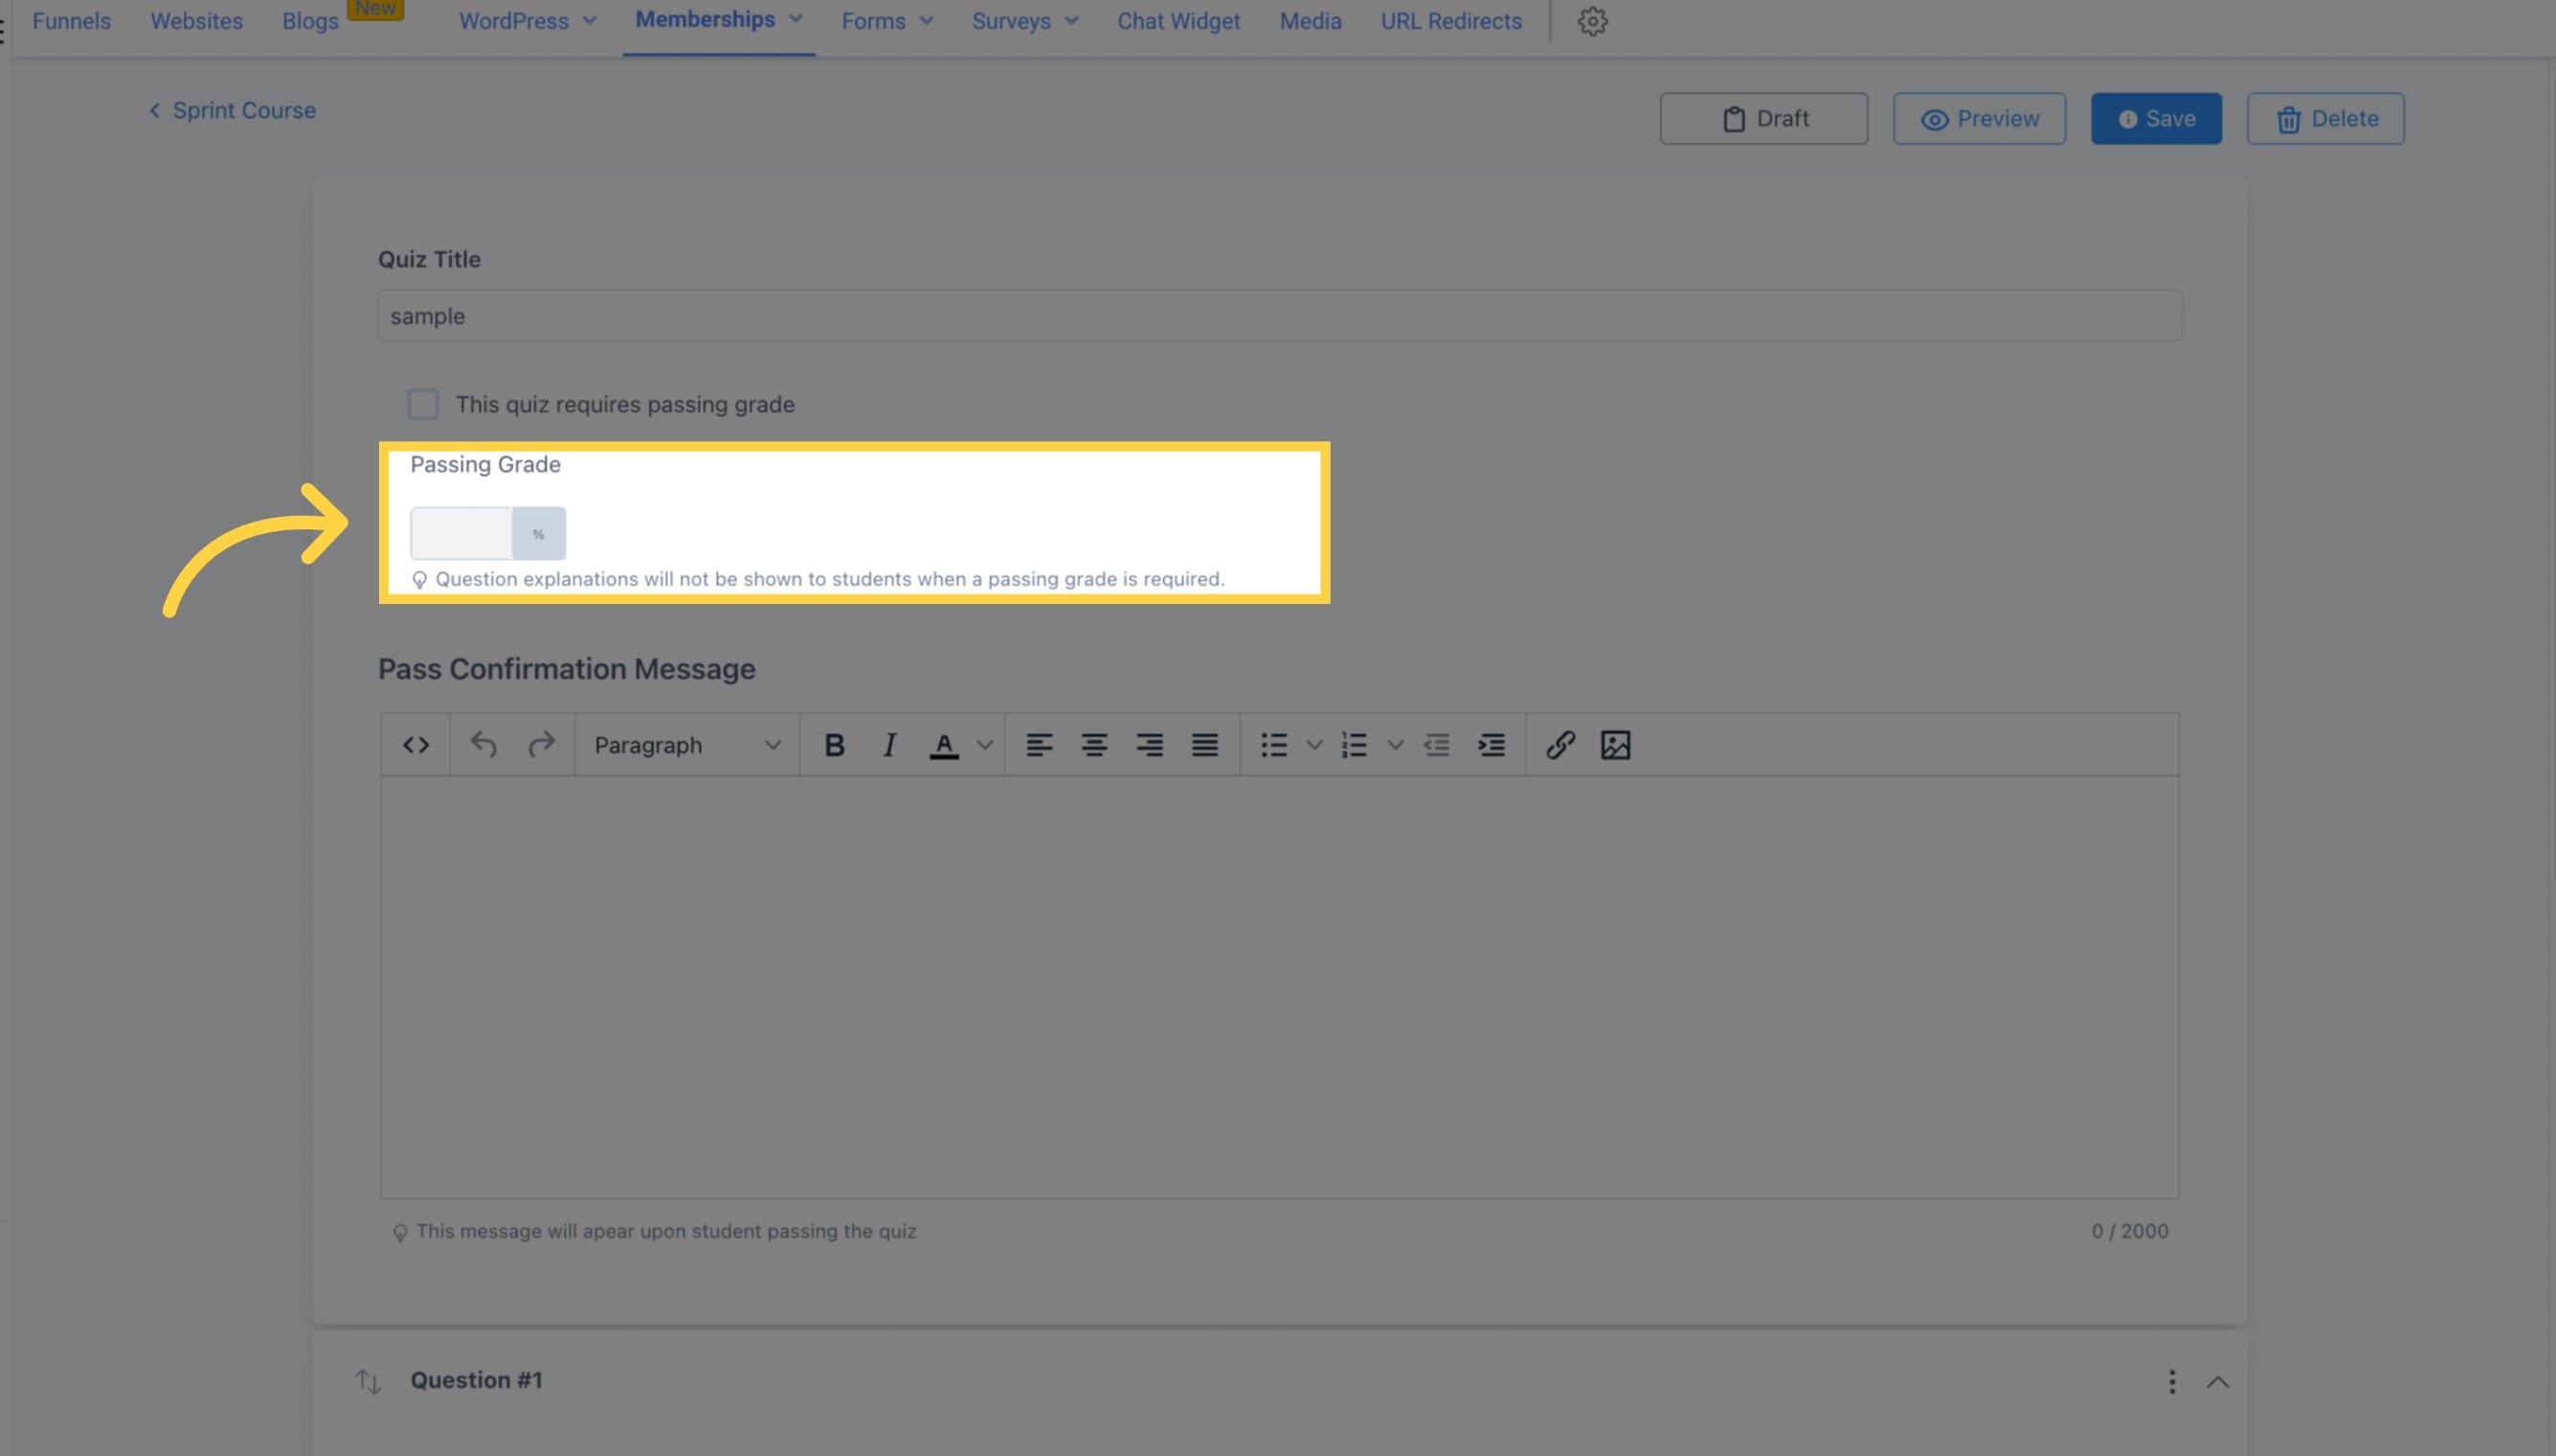
Make sure to set a passing grade requirement if desired and input the designated passing grade.
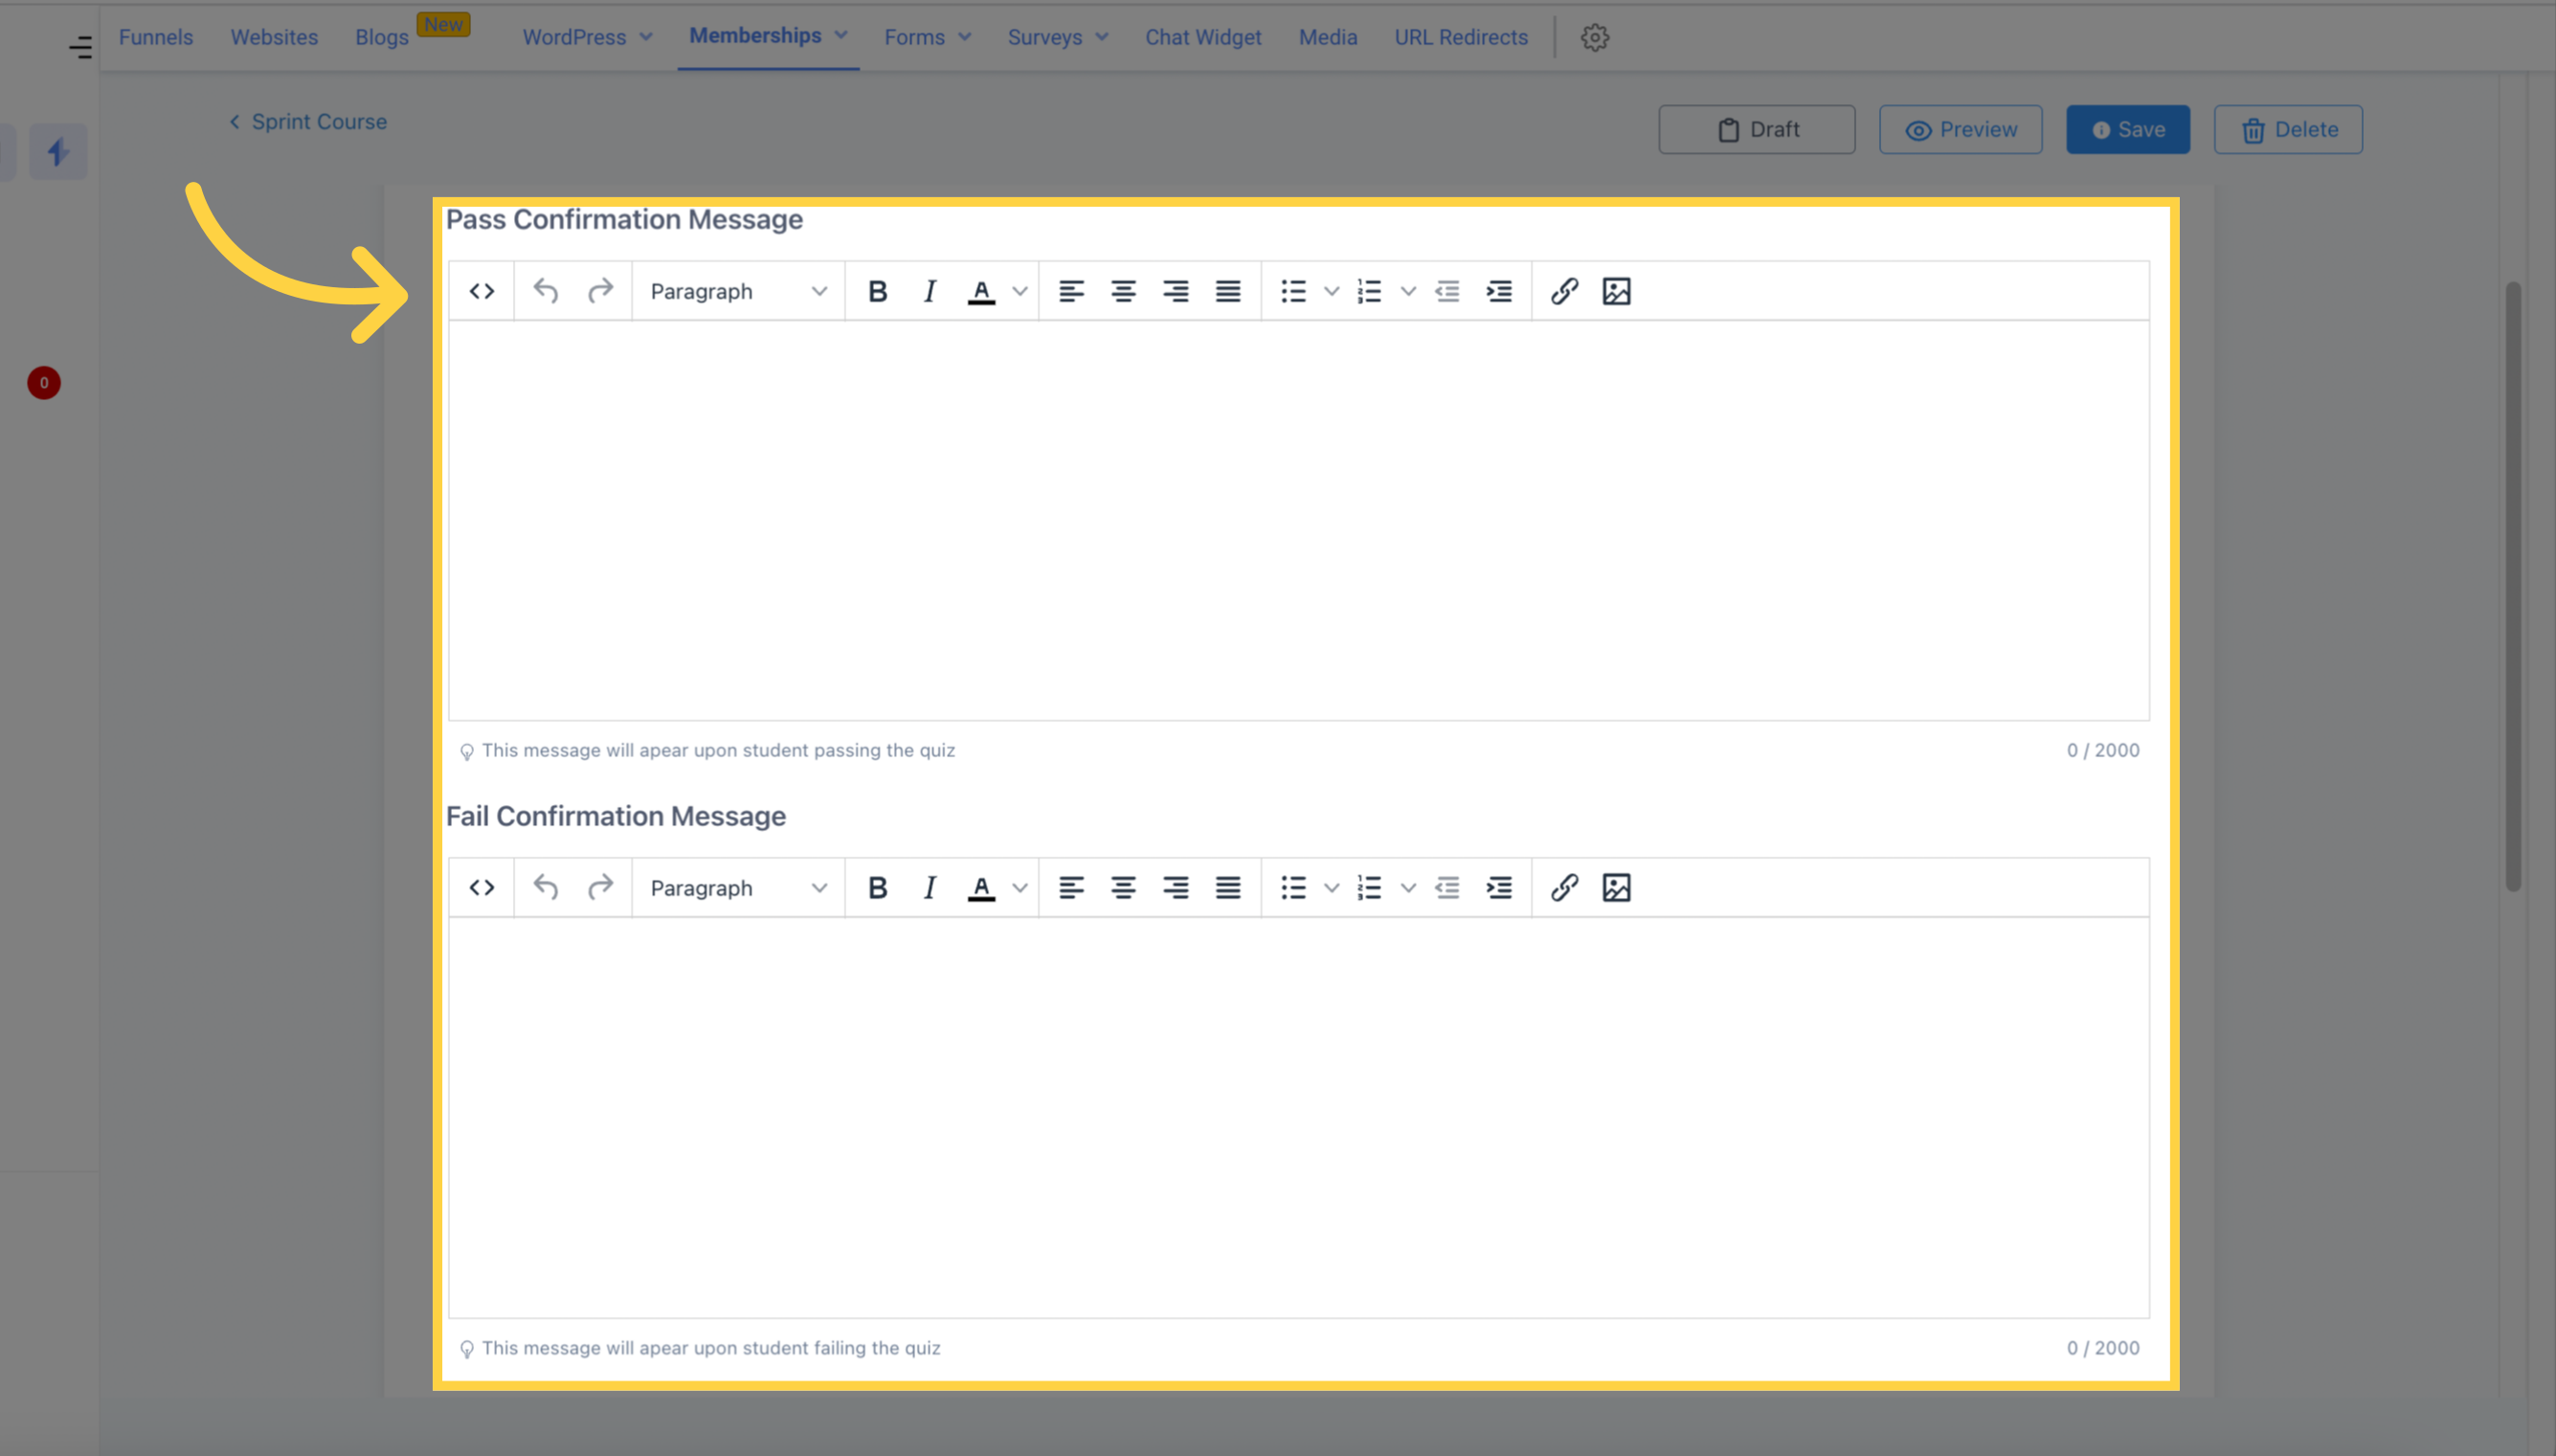
Prepare a congratulatory message for those who pass and a "Try Again" message for those who fail.
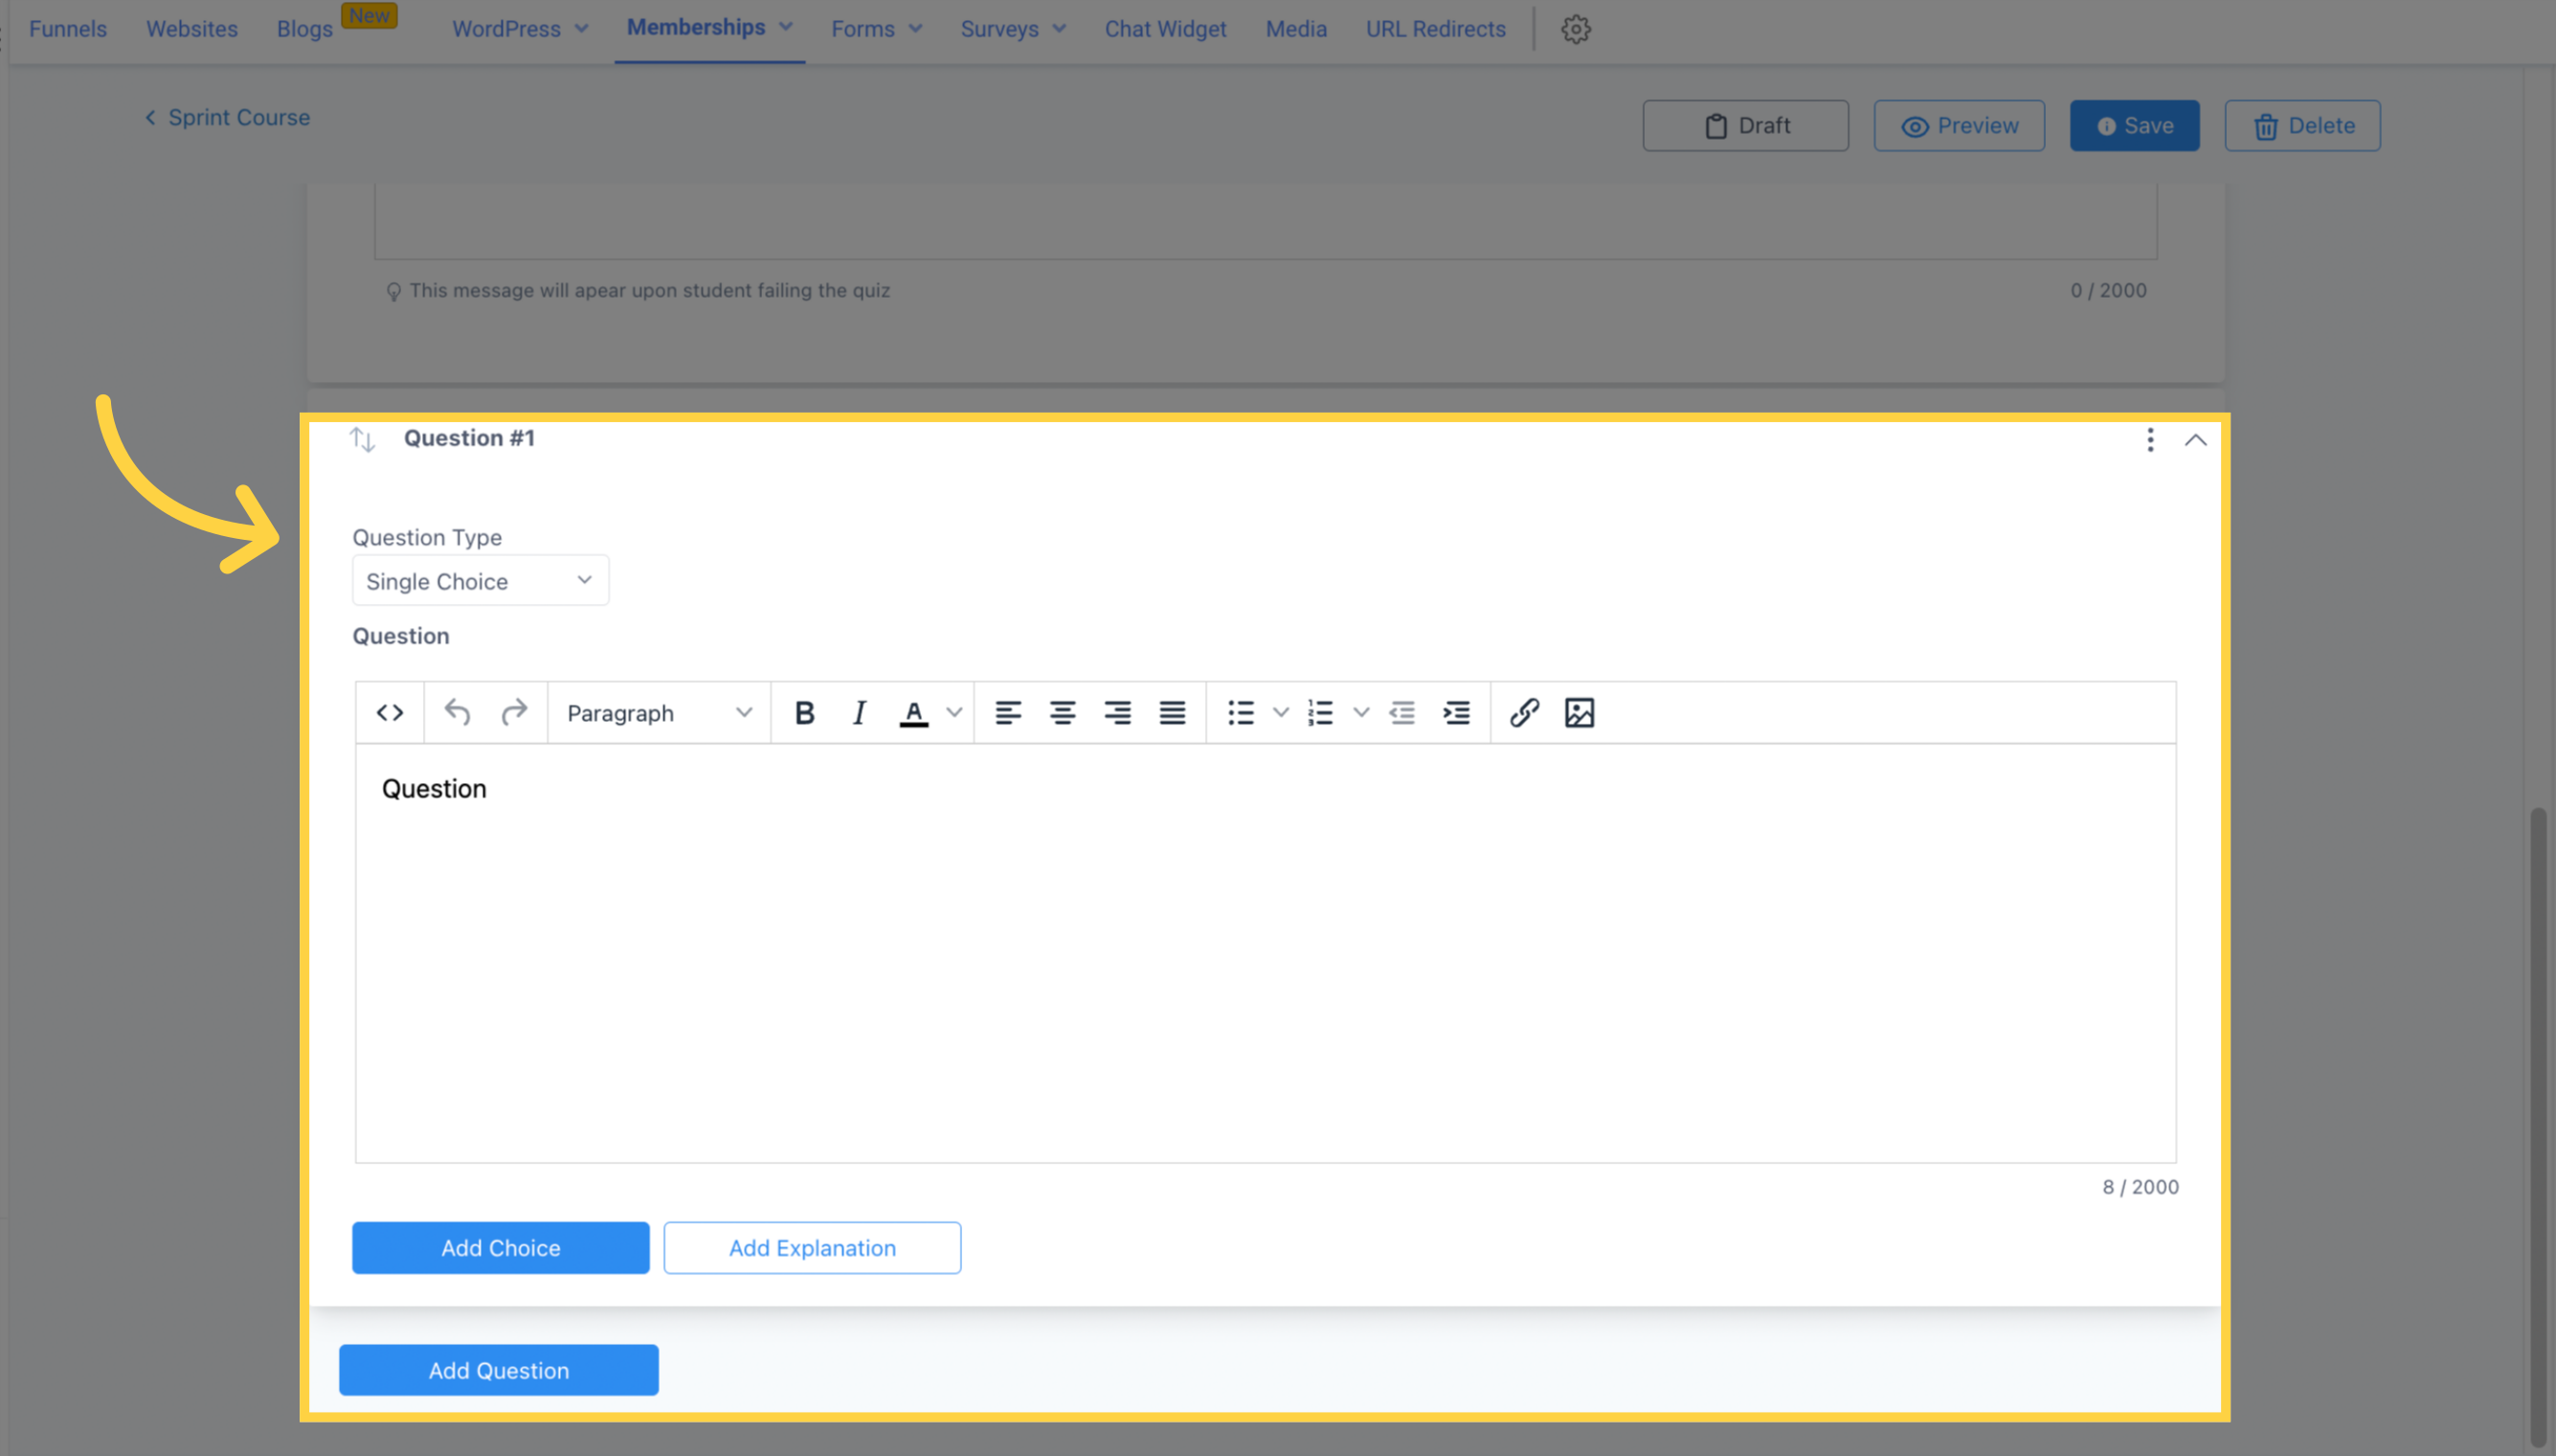
Be sure to craft a comprehensive set of questions. You have the choice of selecting single or multiple-choice type questions with corresponding answer options. Be sure to mark the option that contains the correct answer.
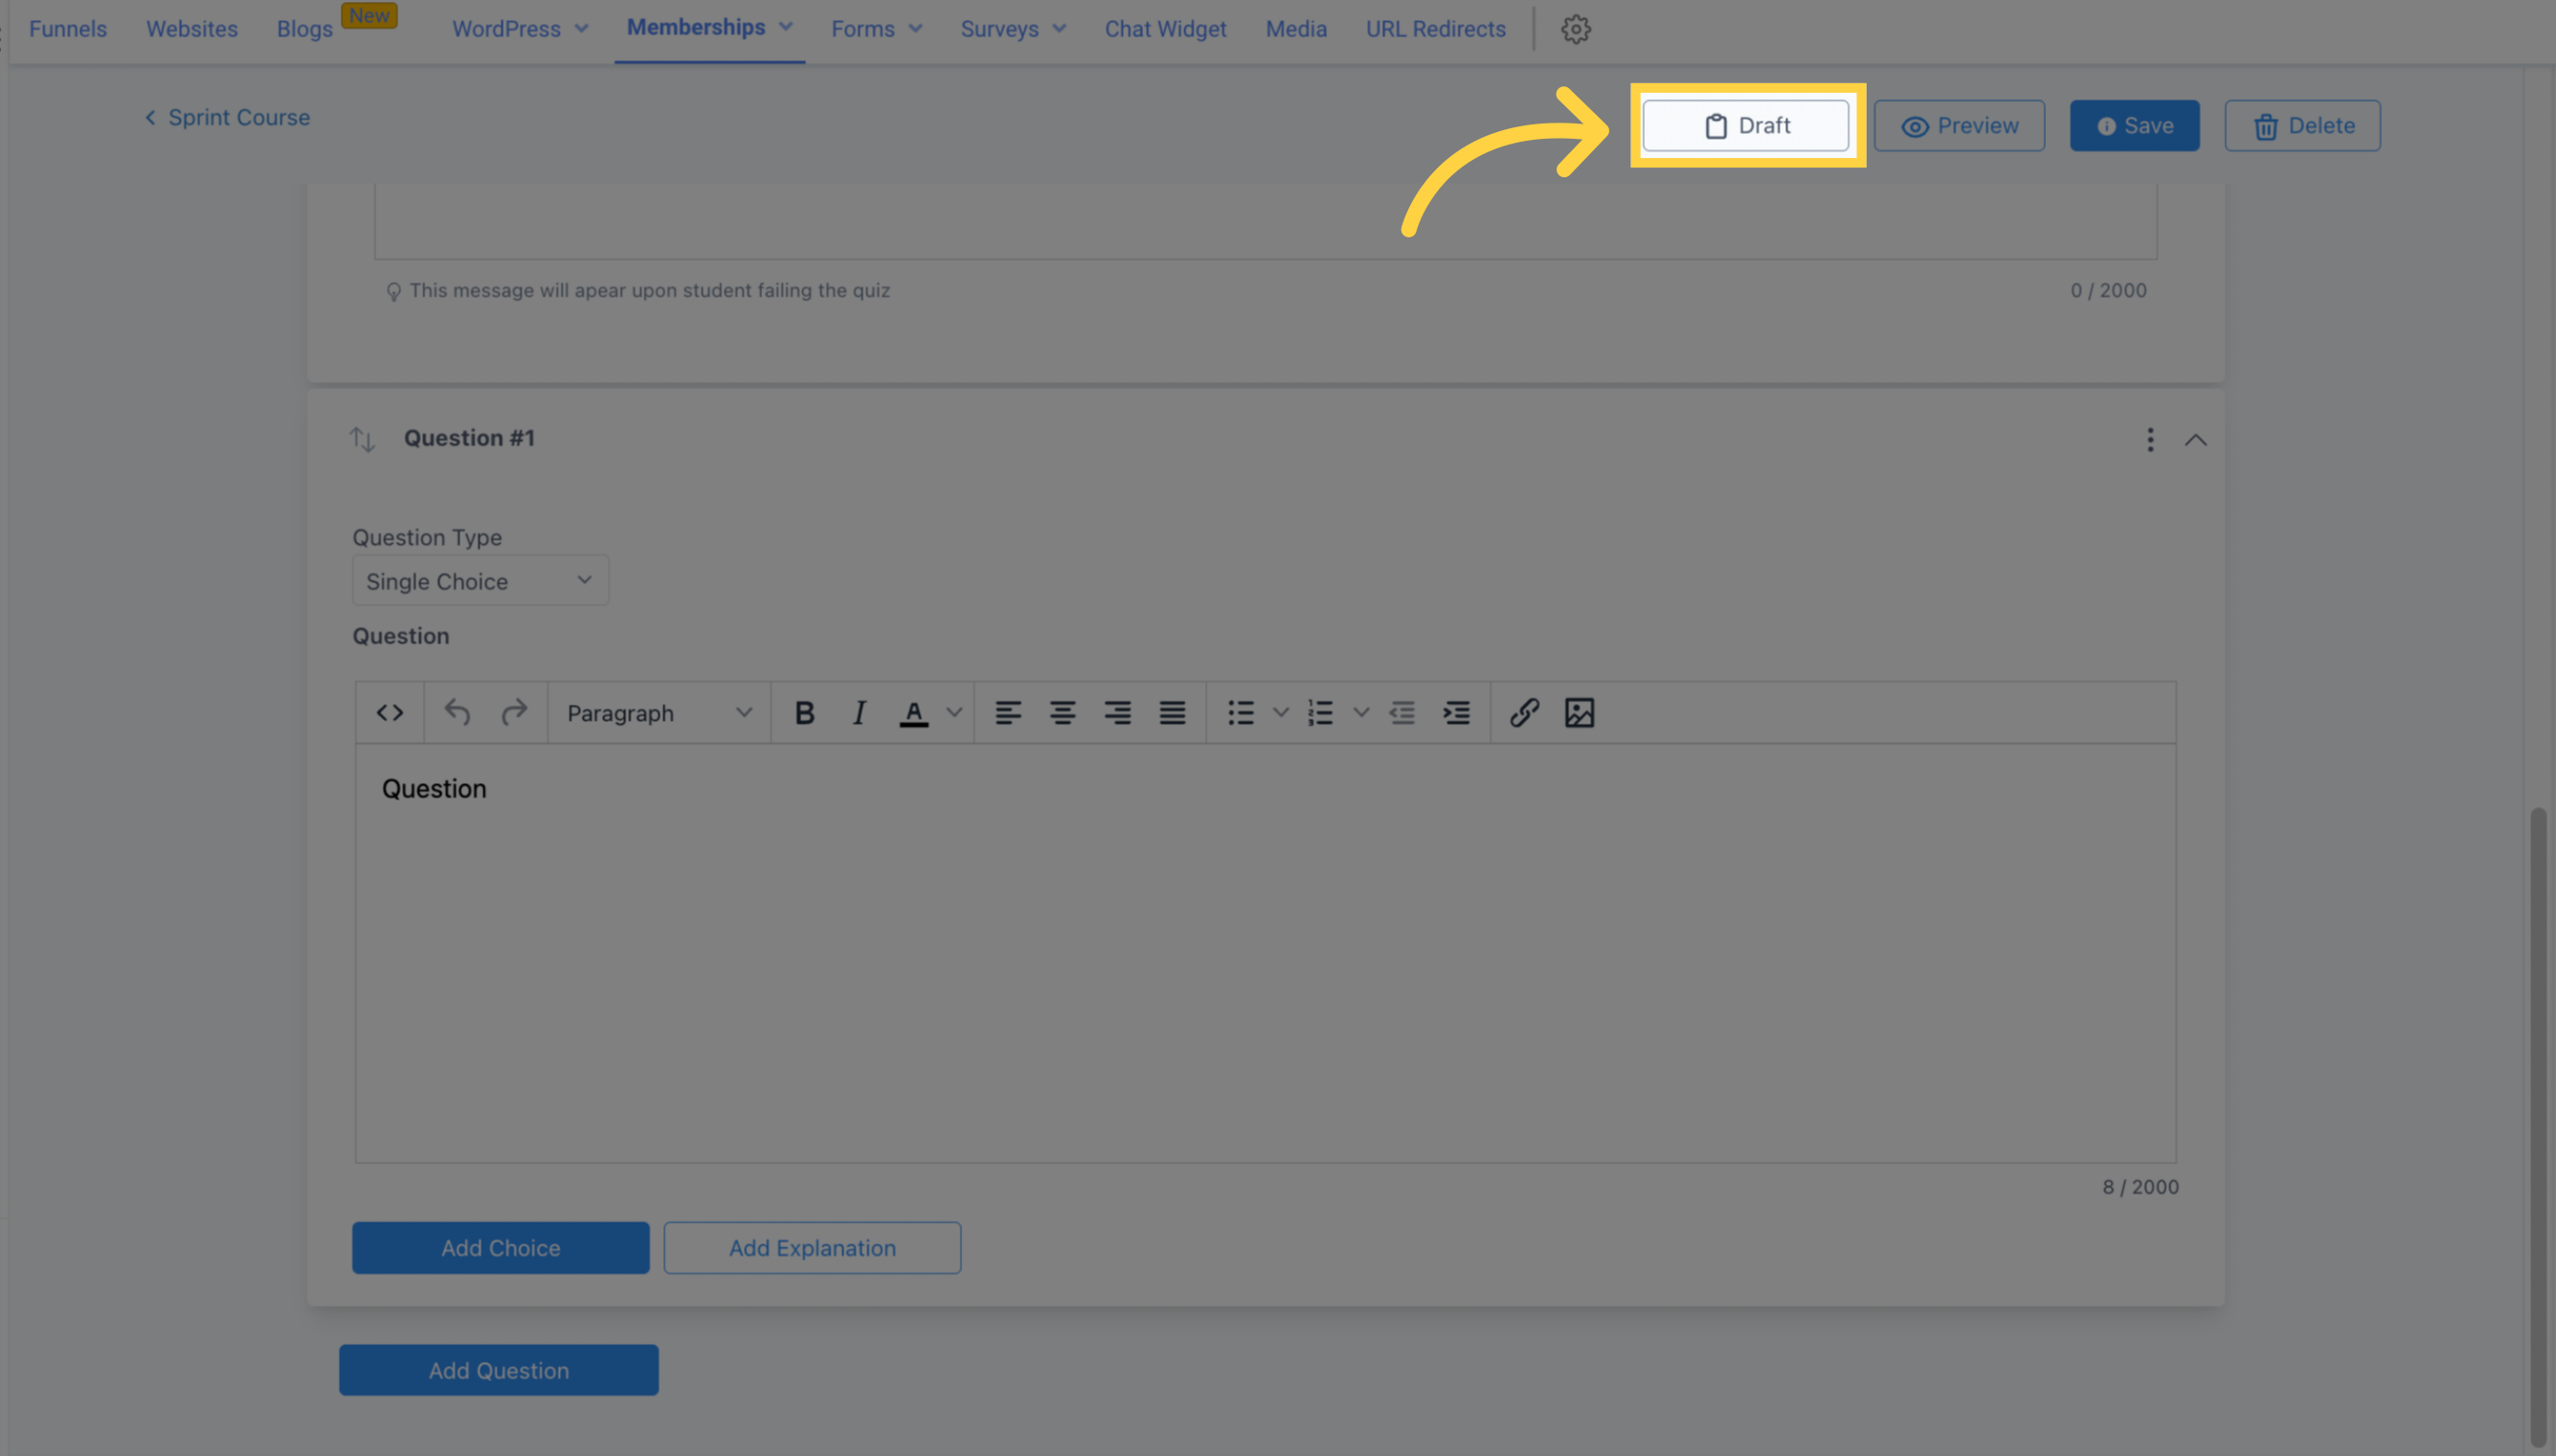
Save your quiz as a draft if you're still working on it and later publish it when it's ready.
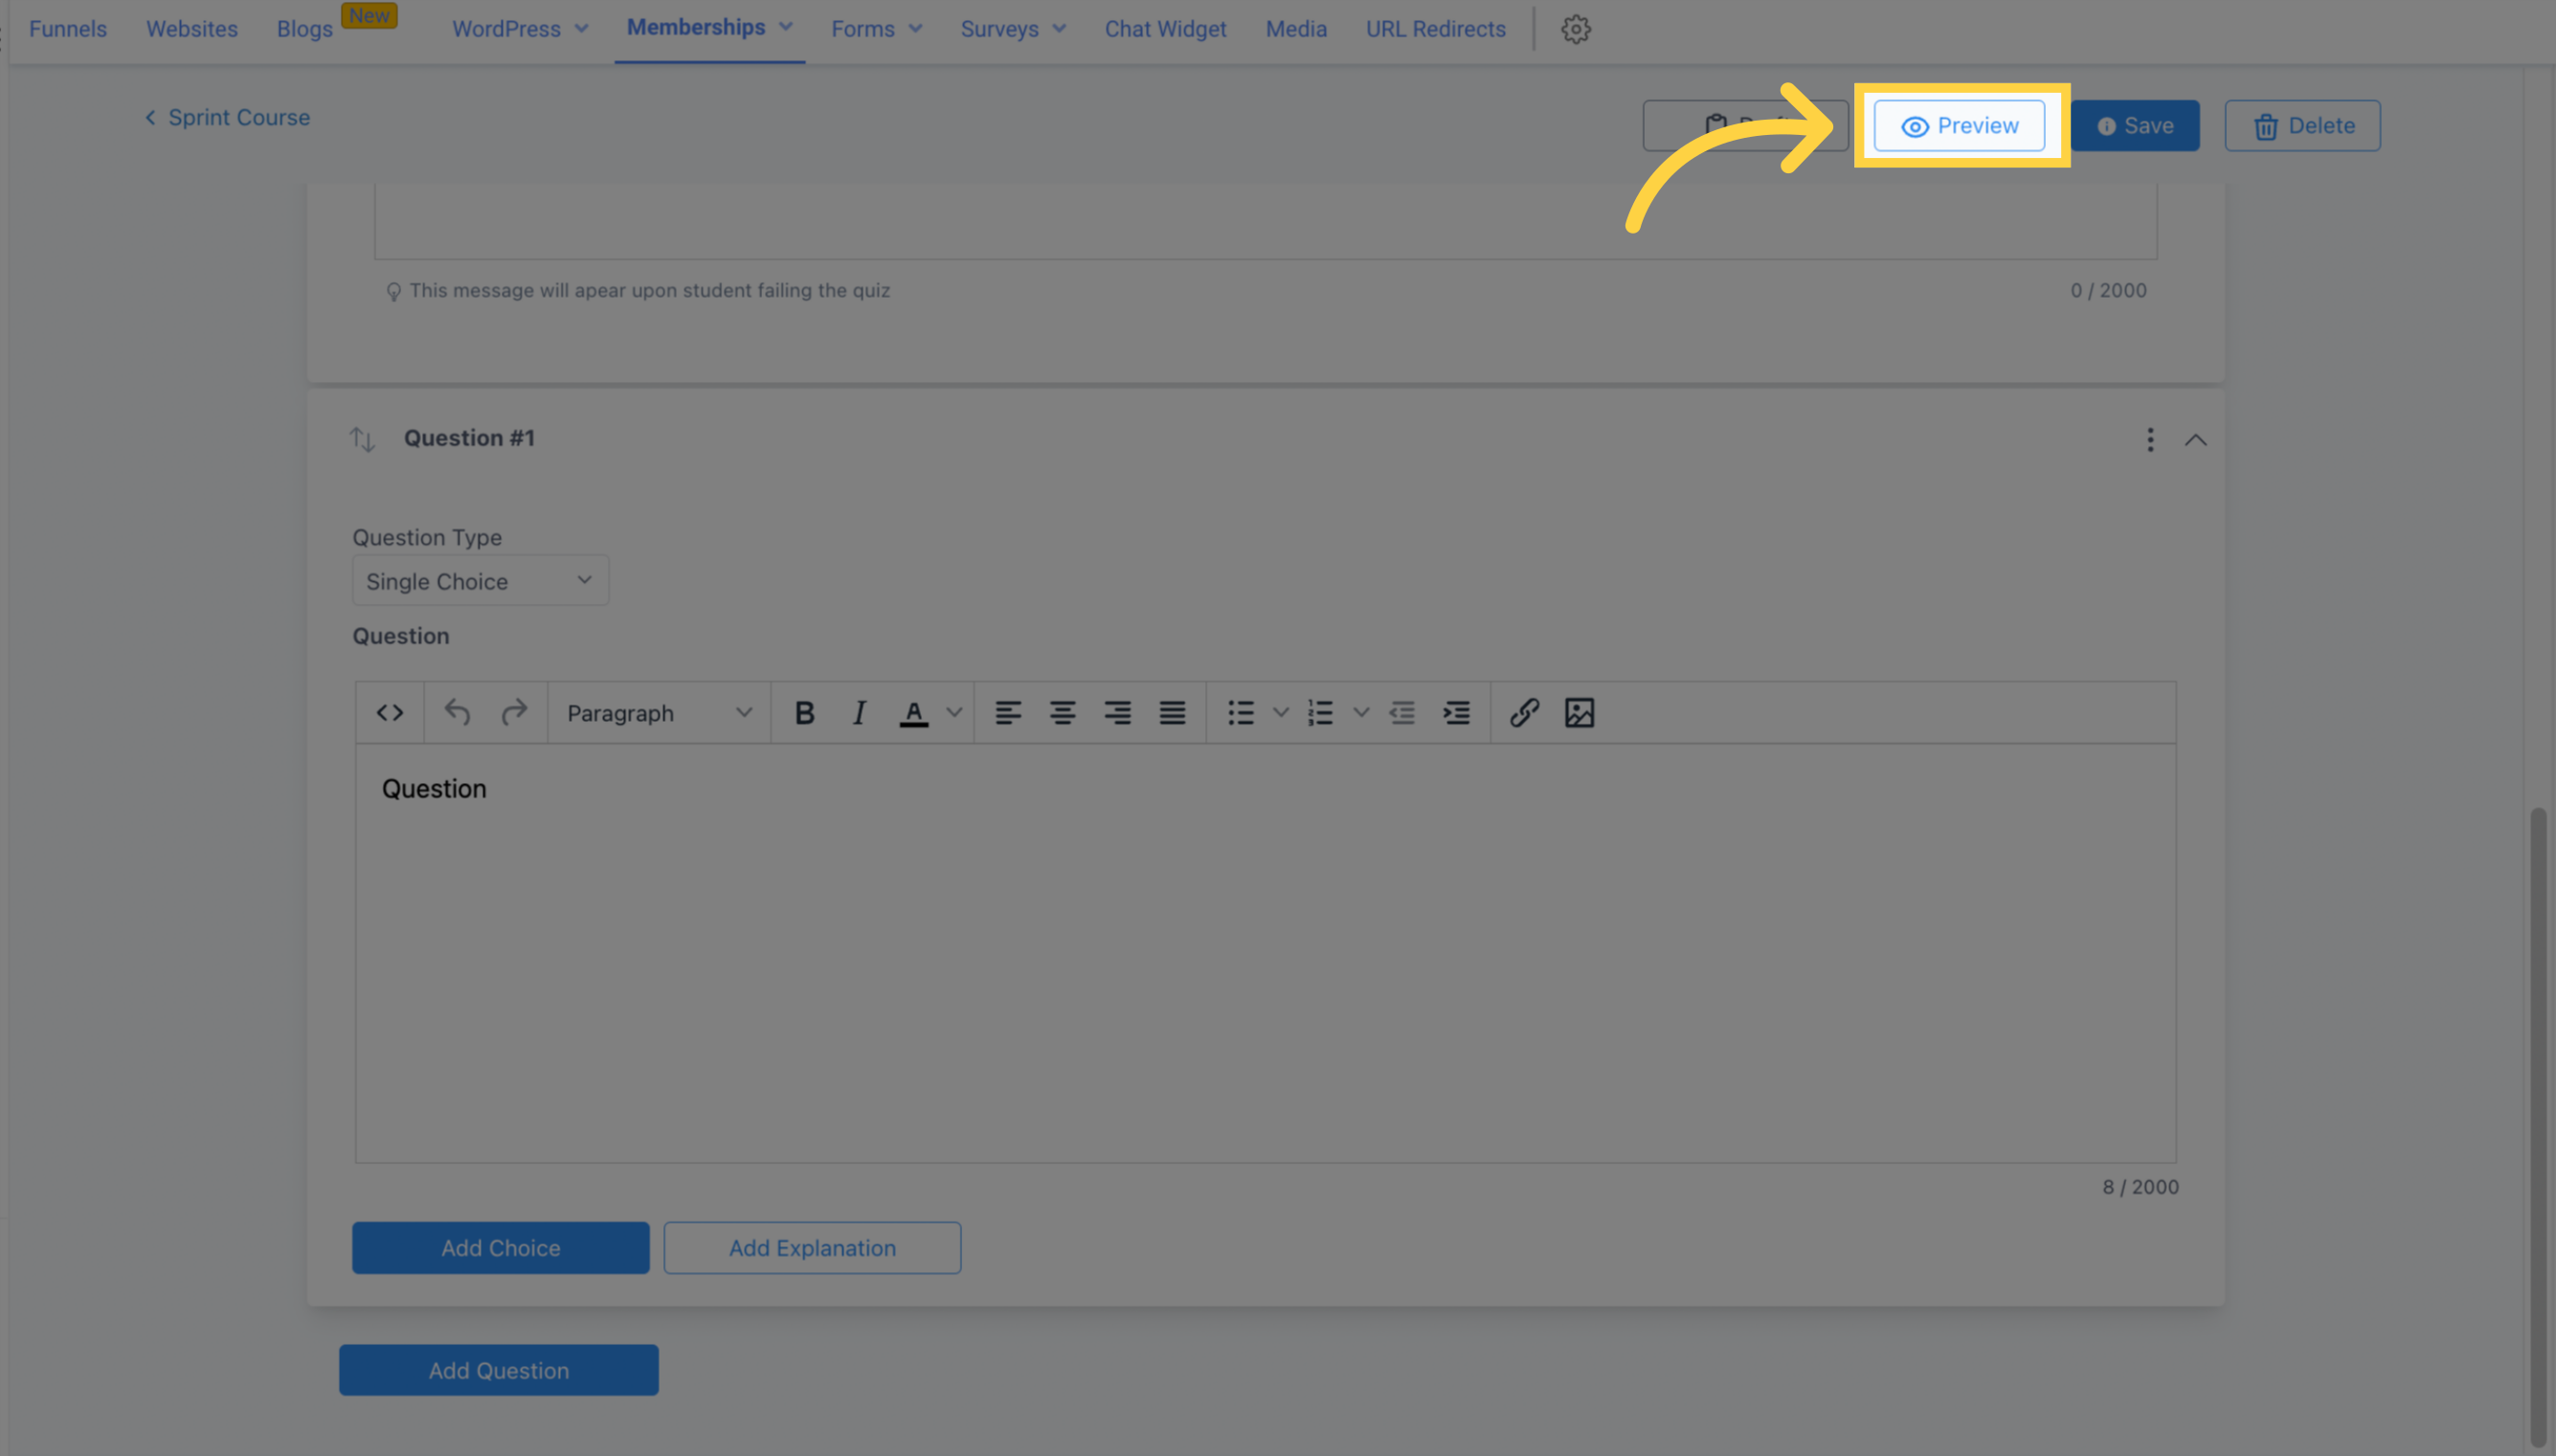
You'll be able to review your quiz by clicking on the Preview button.
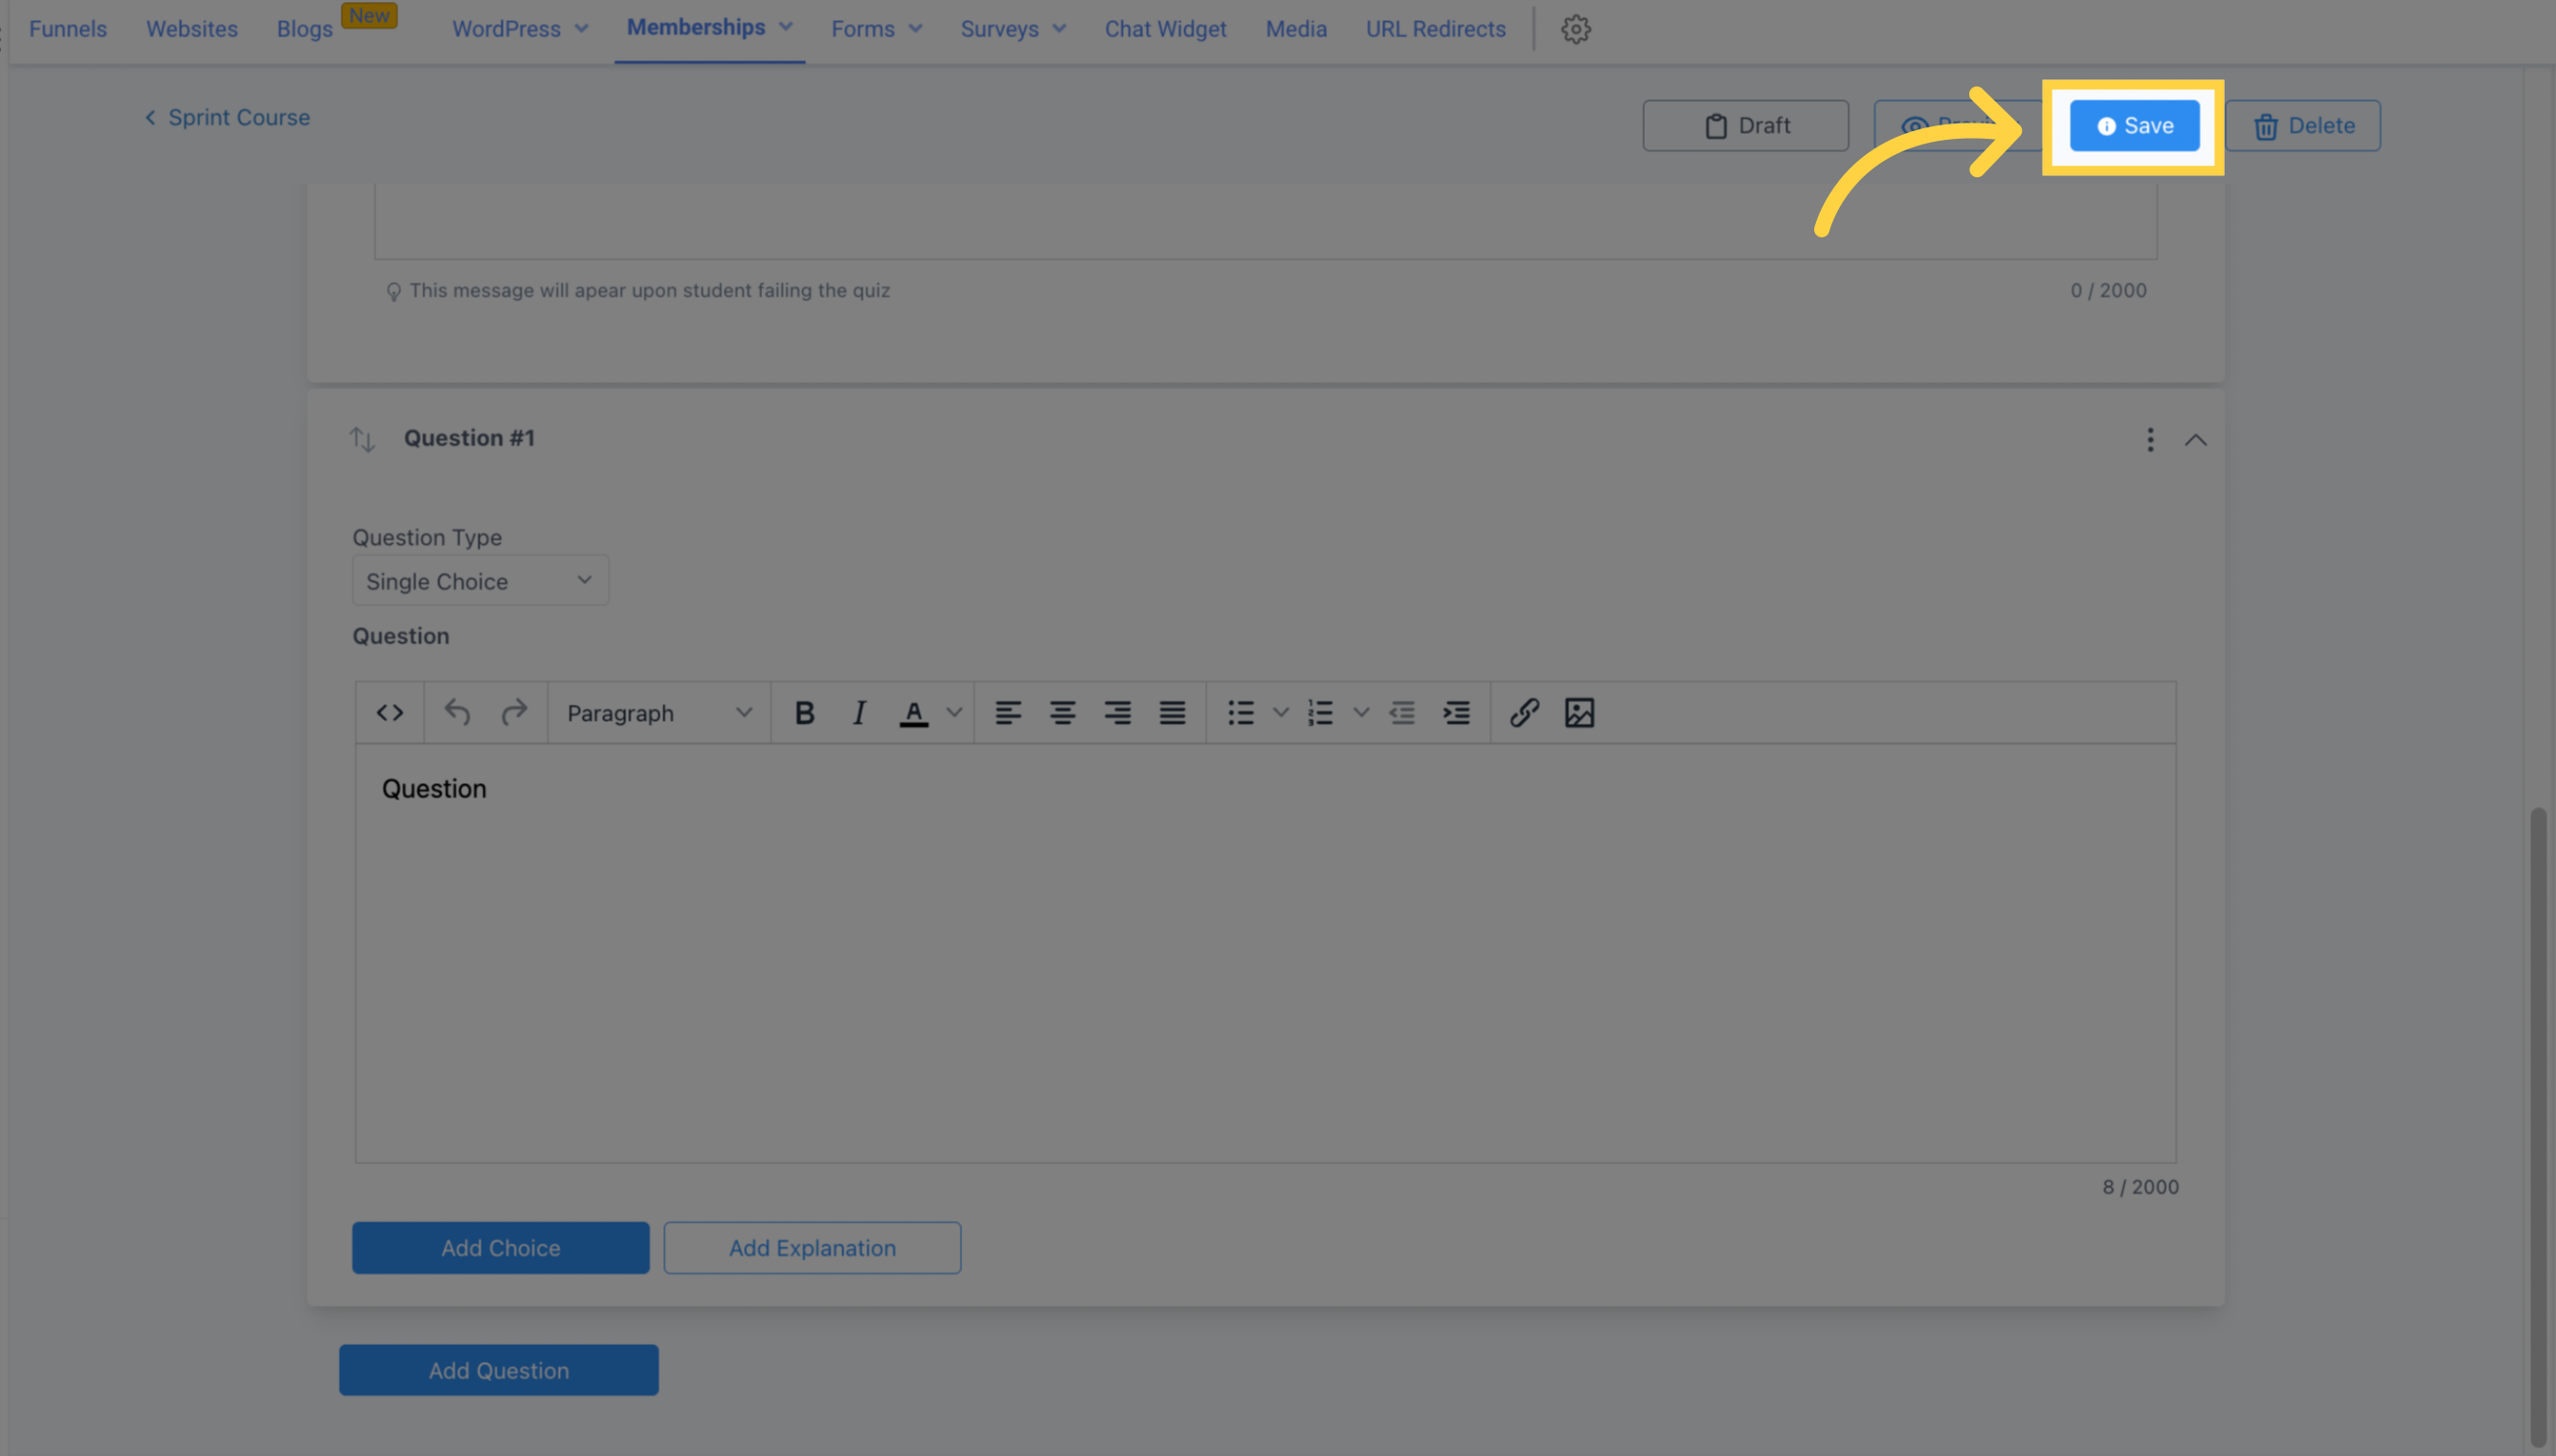
To avoid losing your work, save your progress frequently.
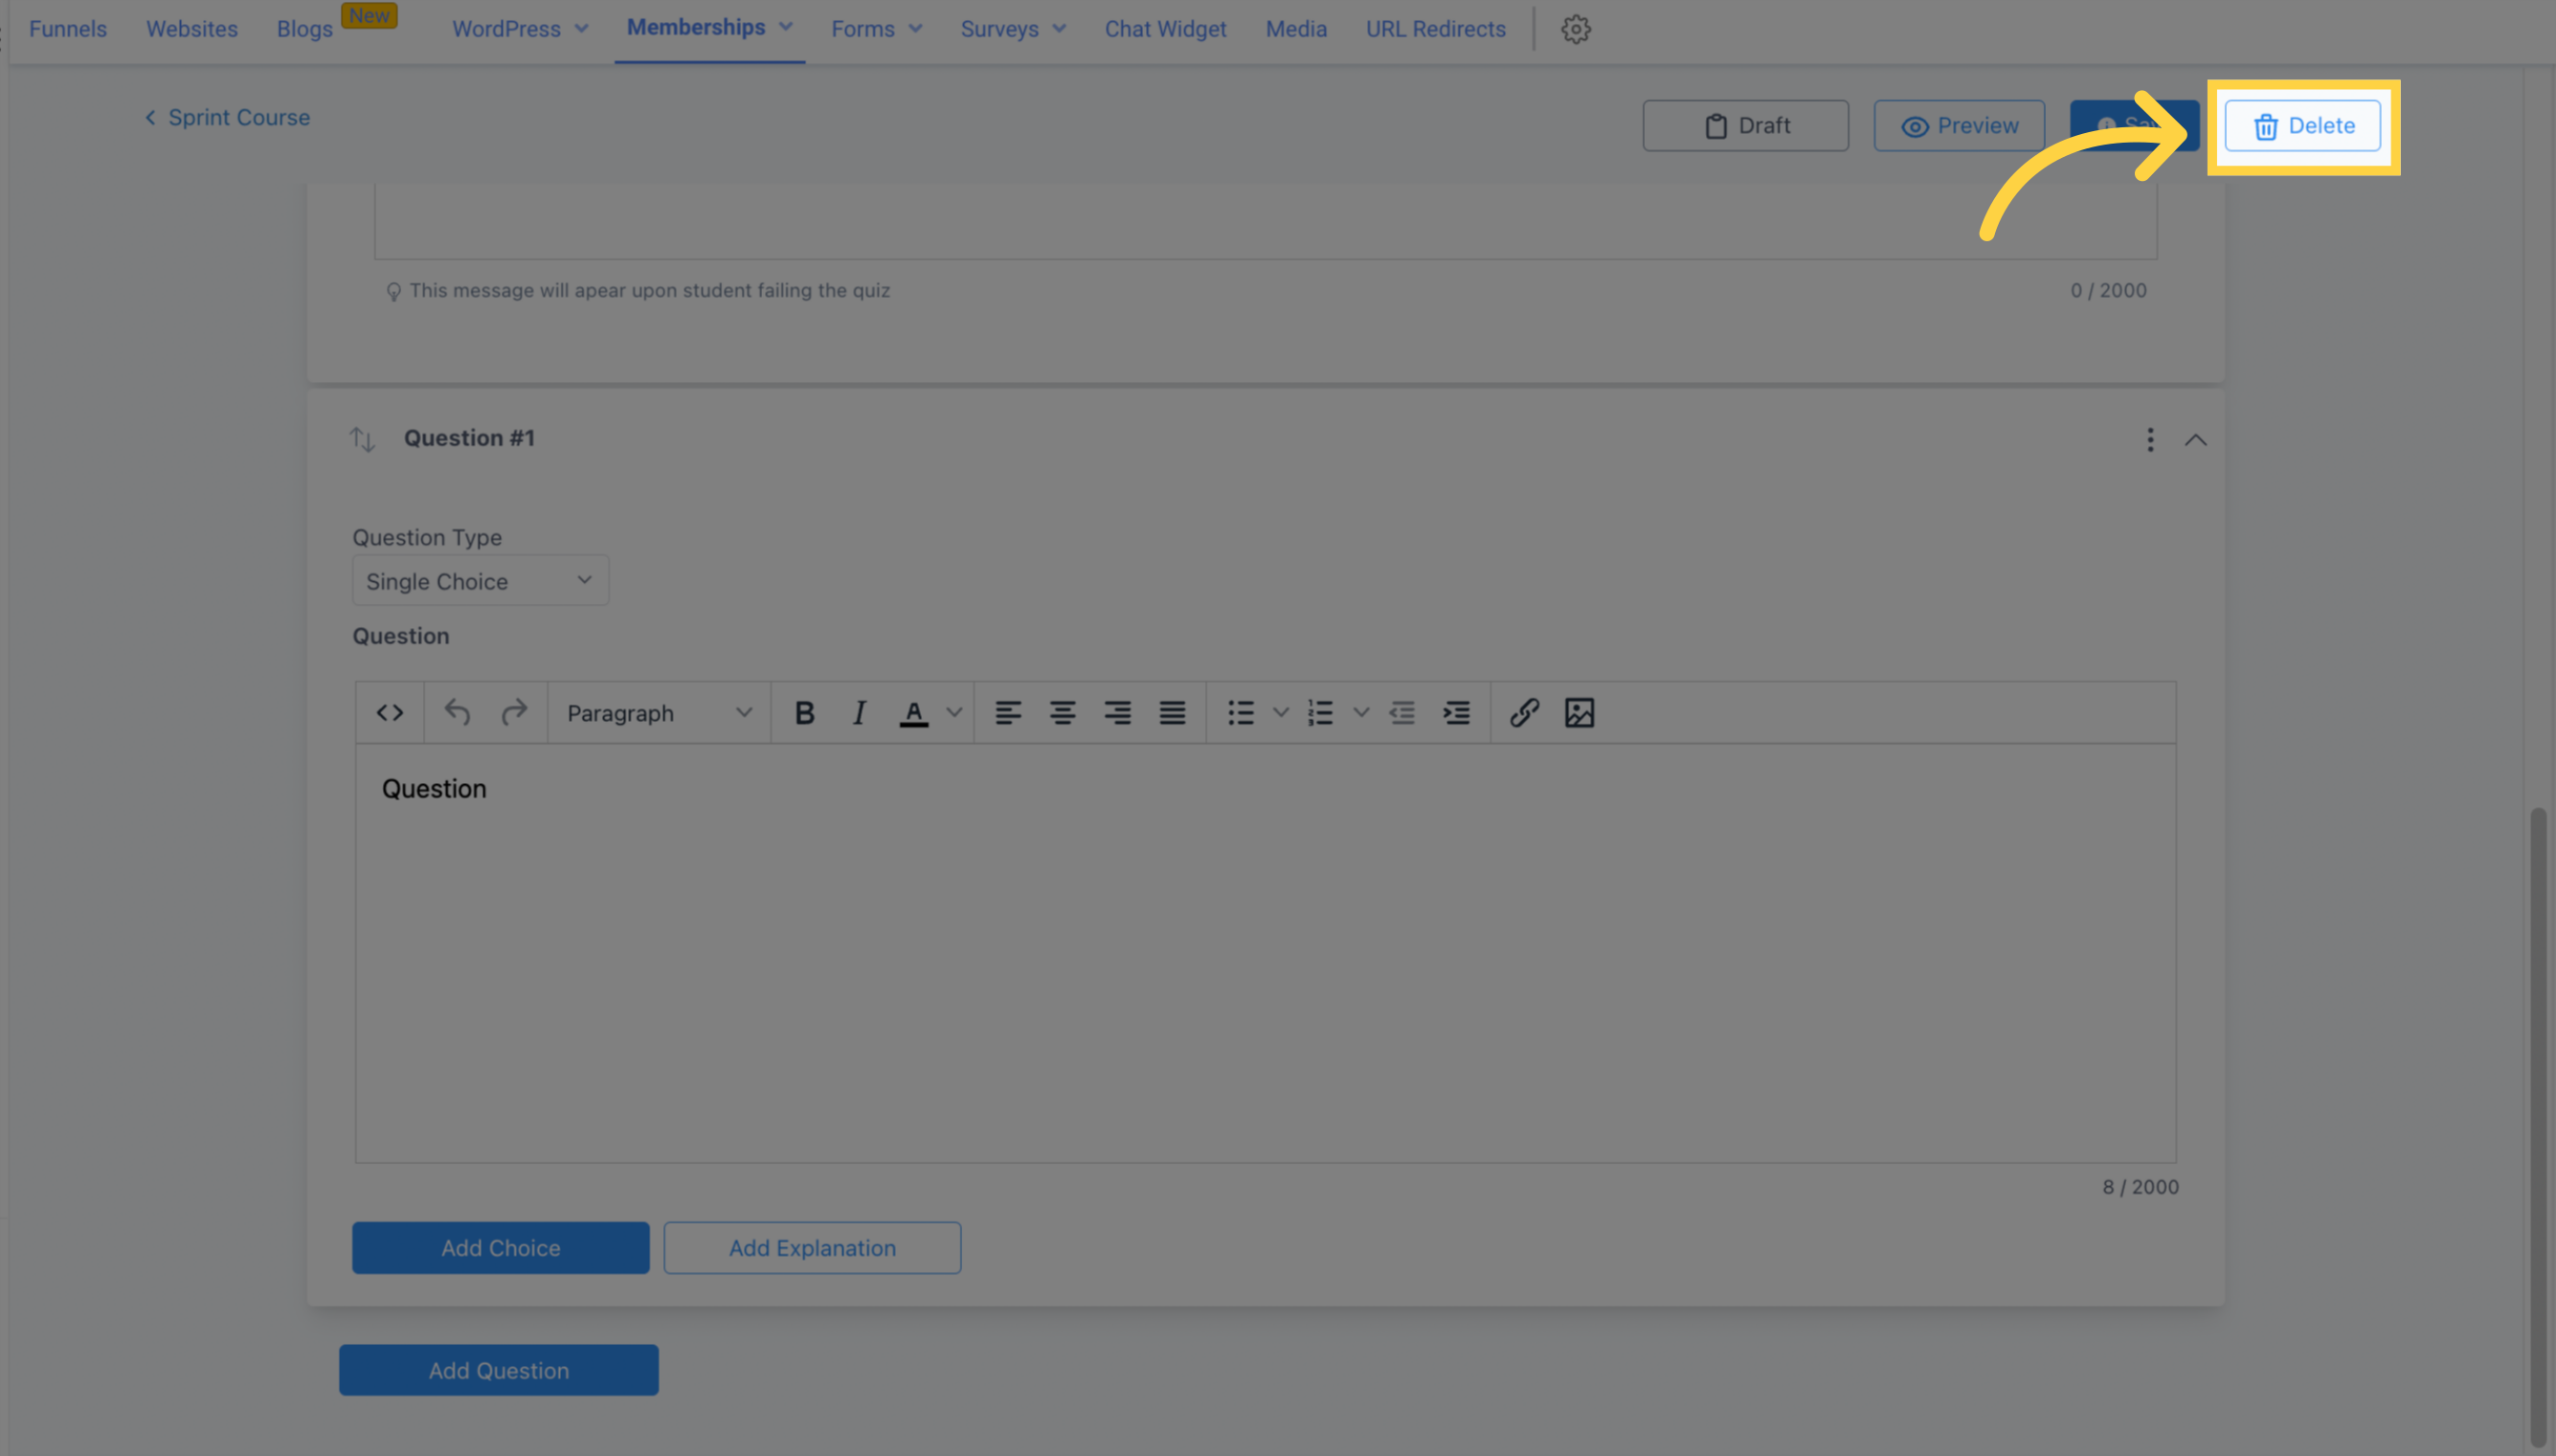
If you decide to remove the entire quiz, click the Delete button, but don't forget that a prompt will appear requesting your confirmation before deleting permanently.
You can arrange your queries for your members in the Assignment section.
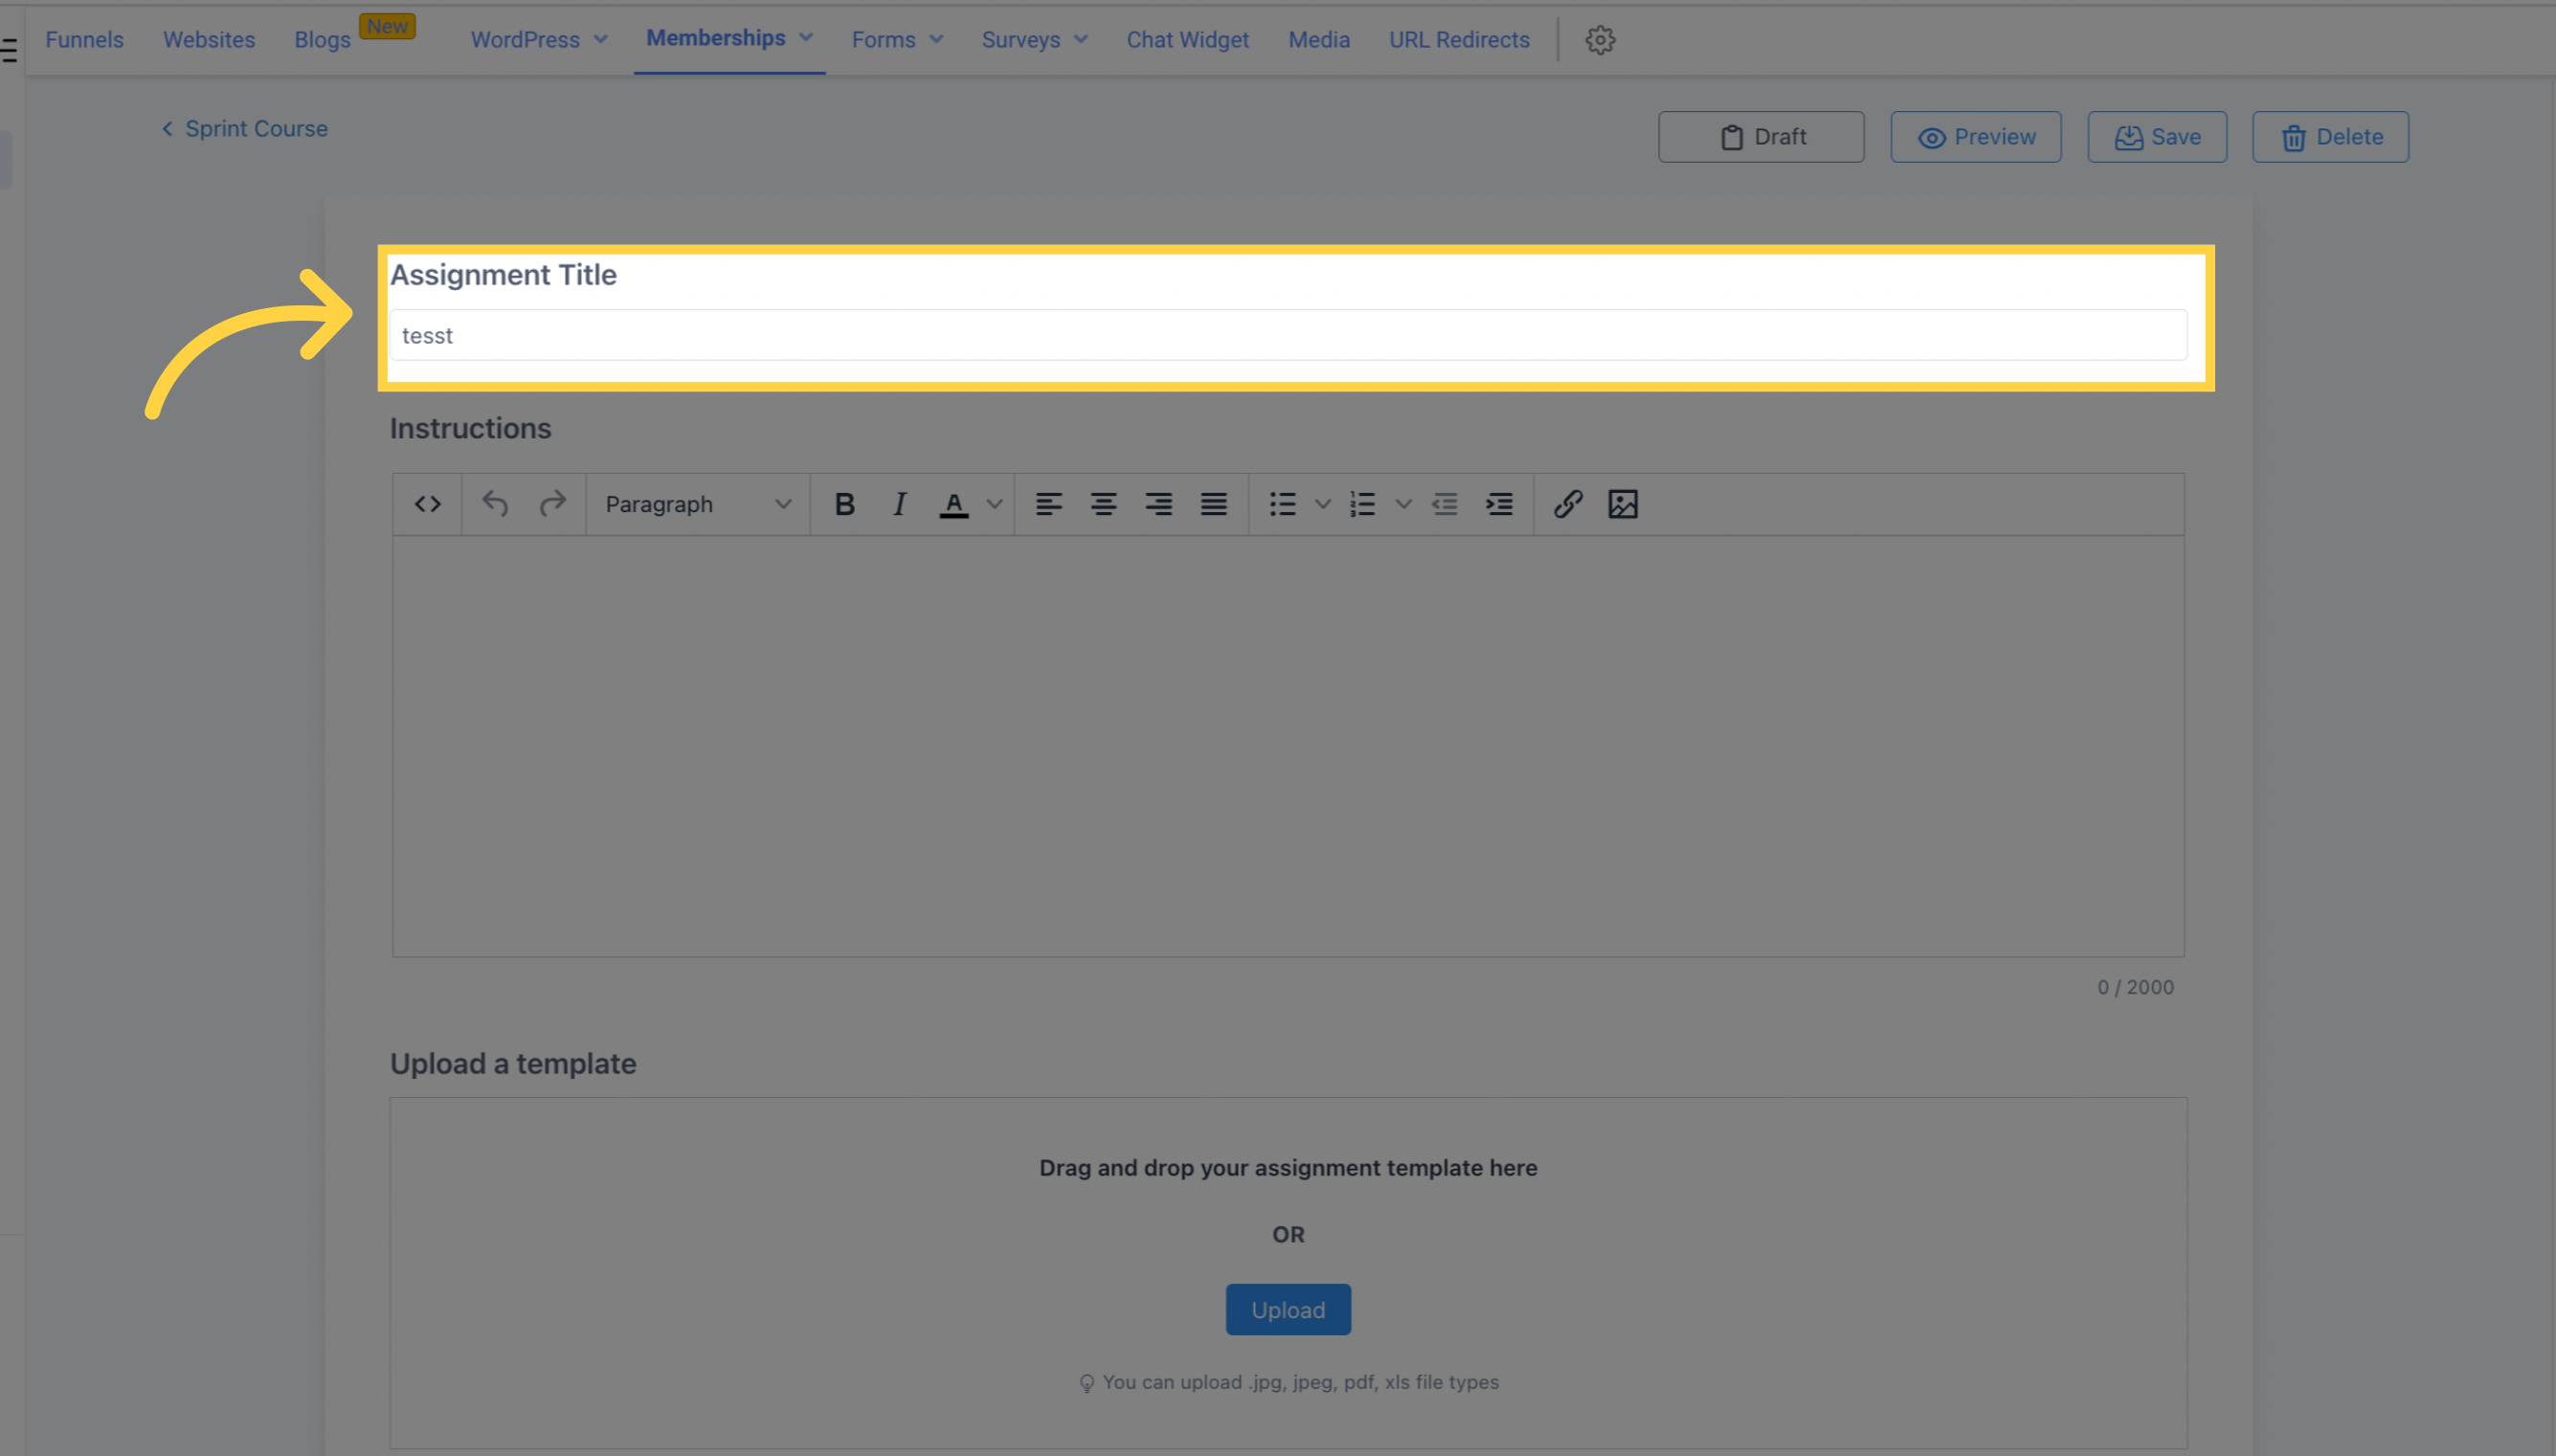
Enter the title of your assignment below.
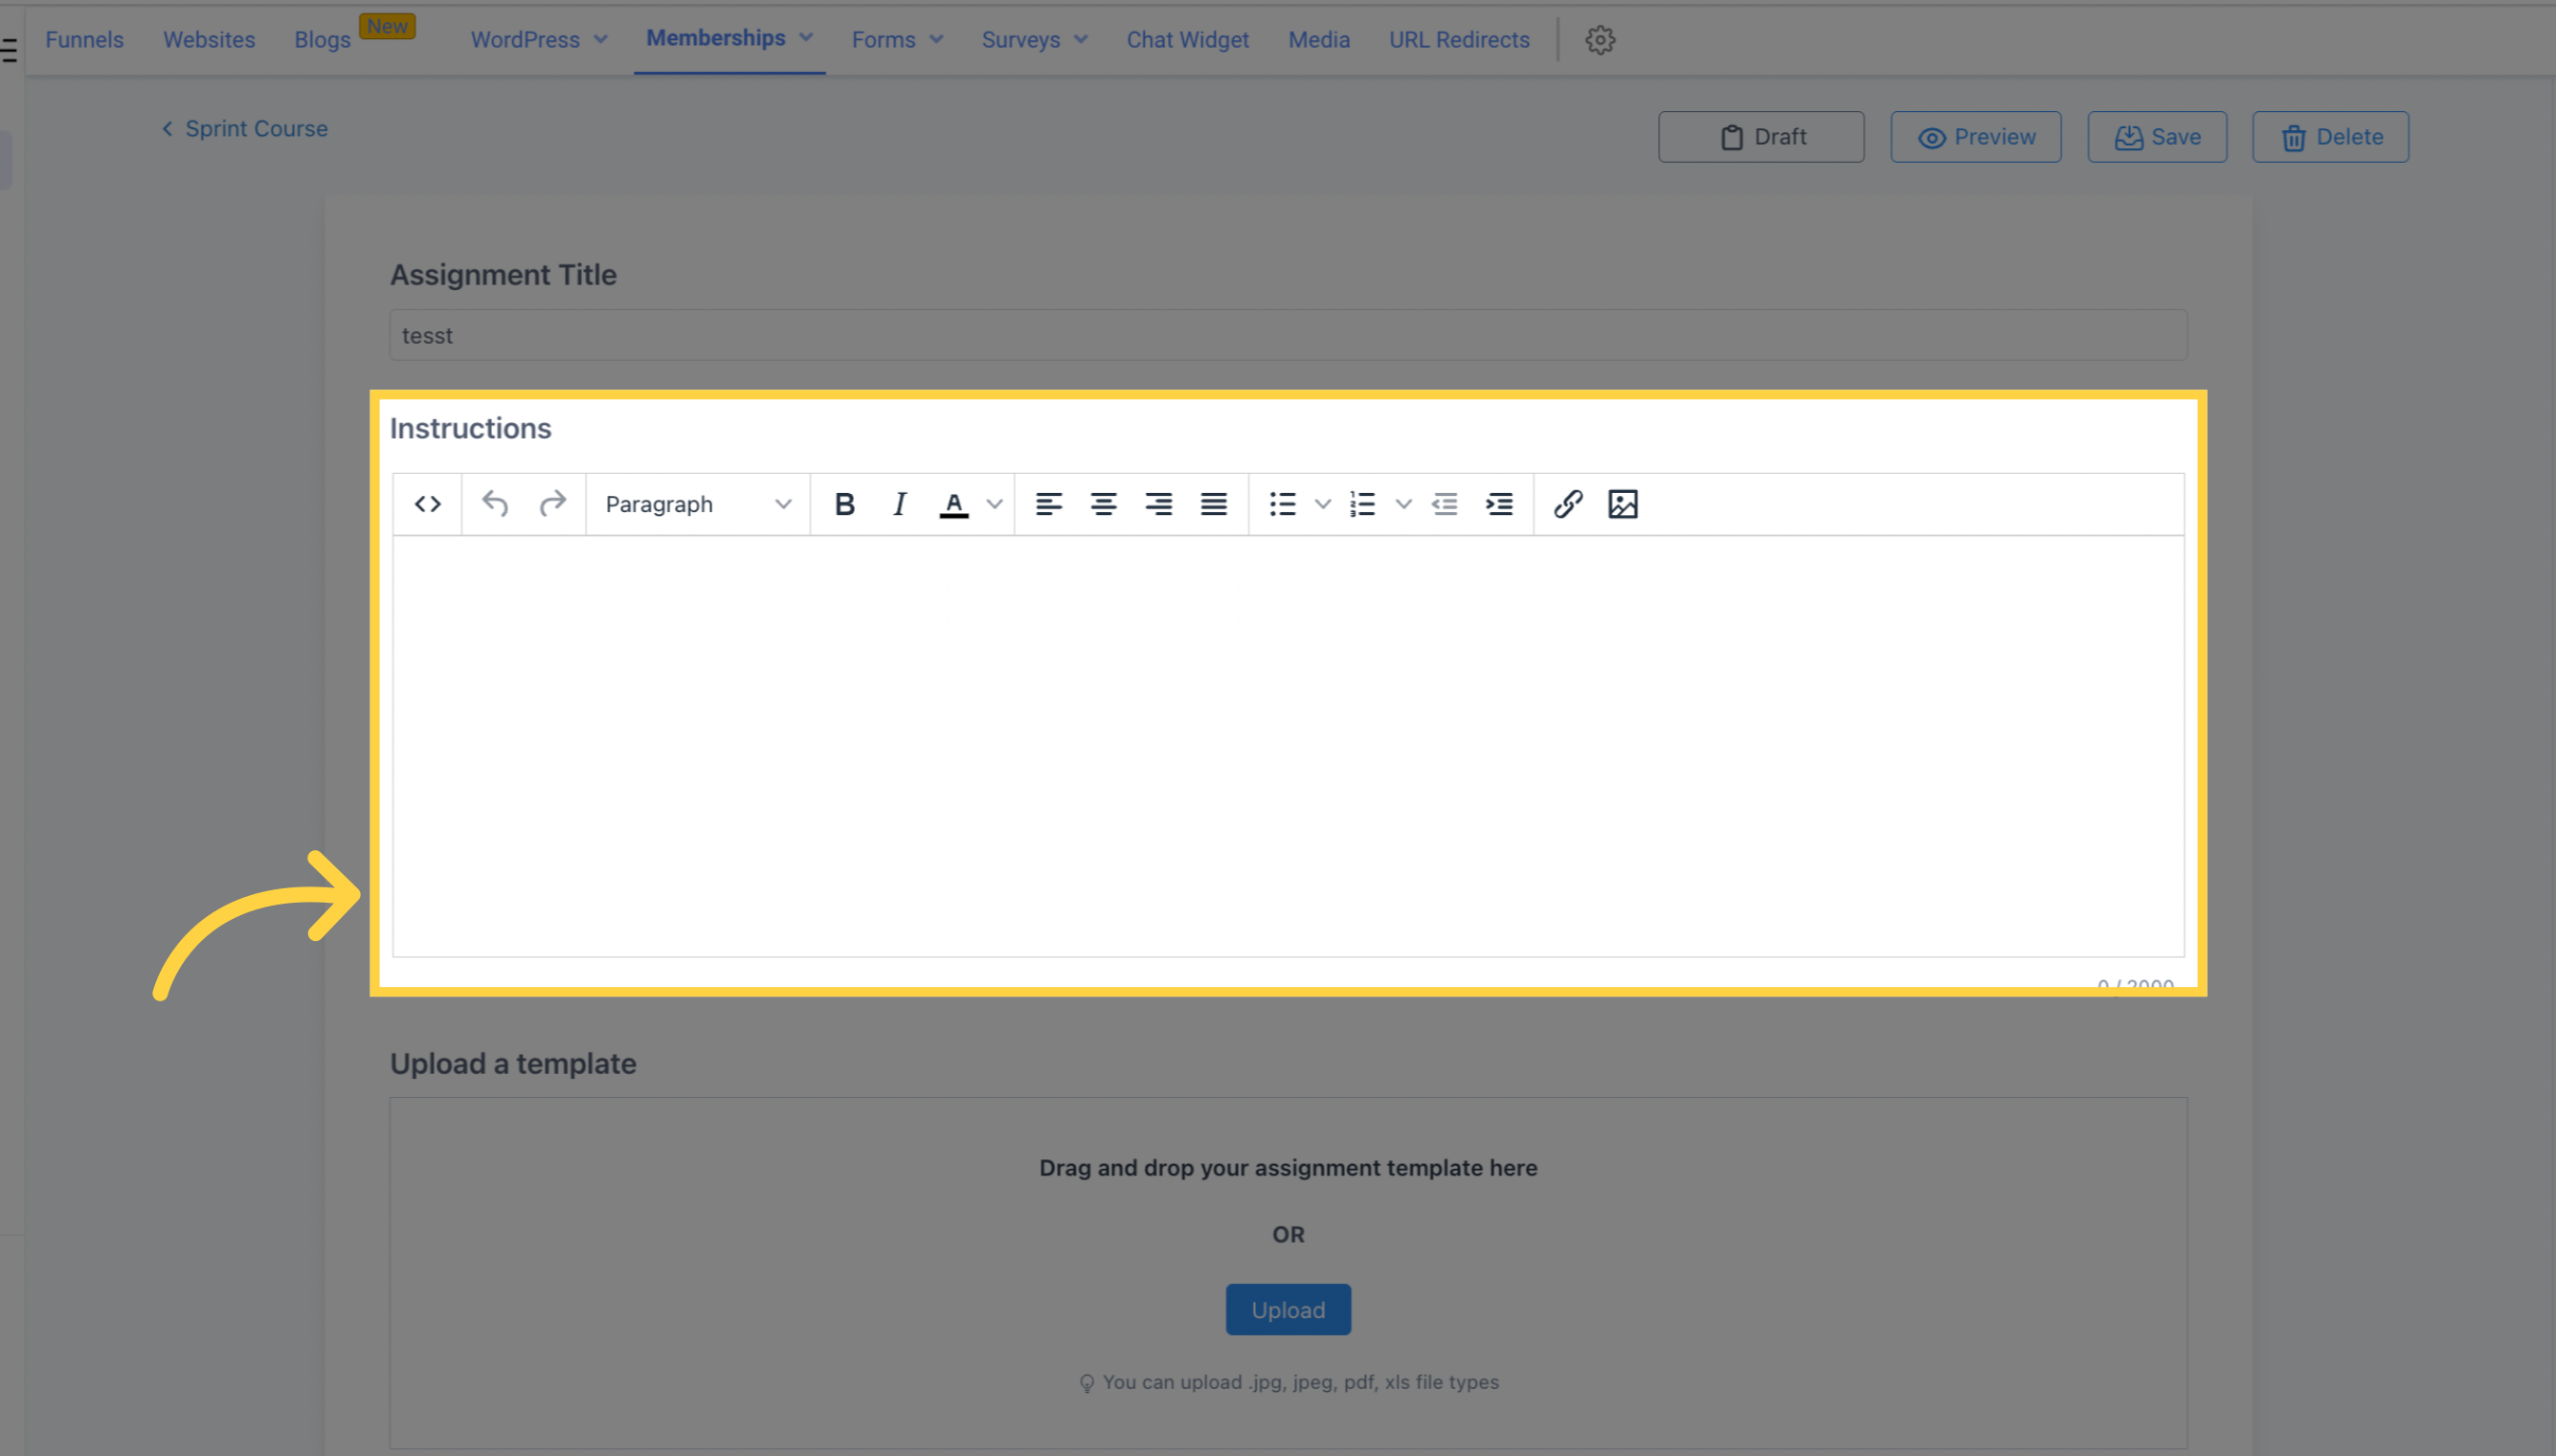
Please provide instructions for completing the assignment below.
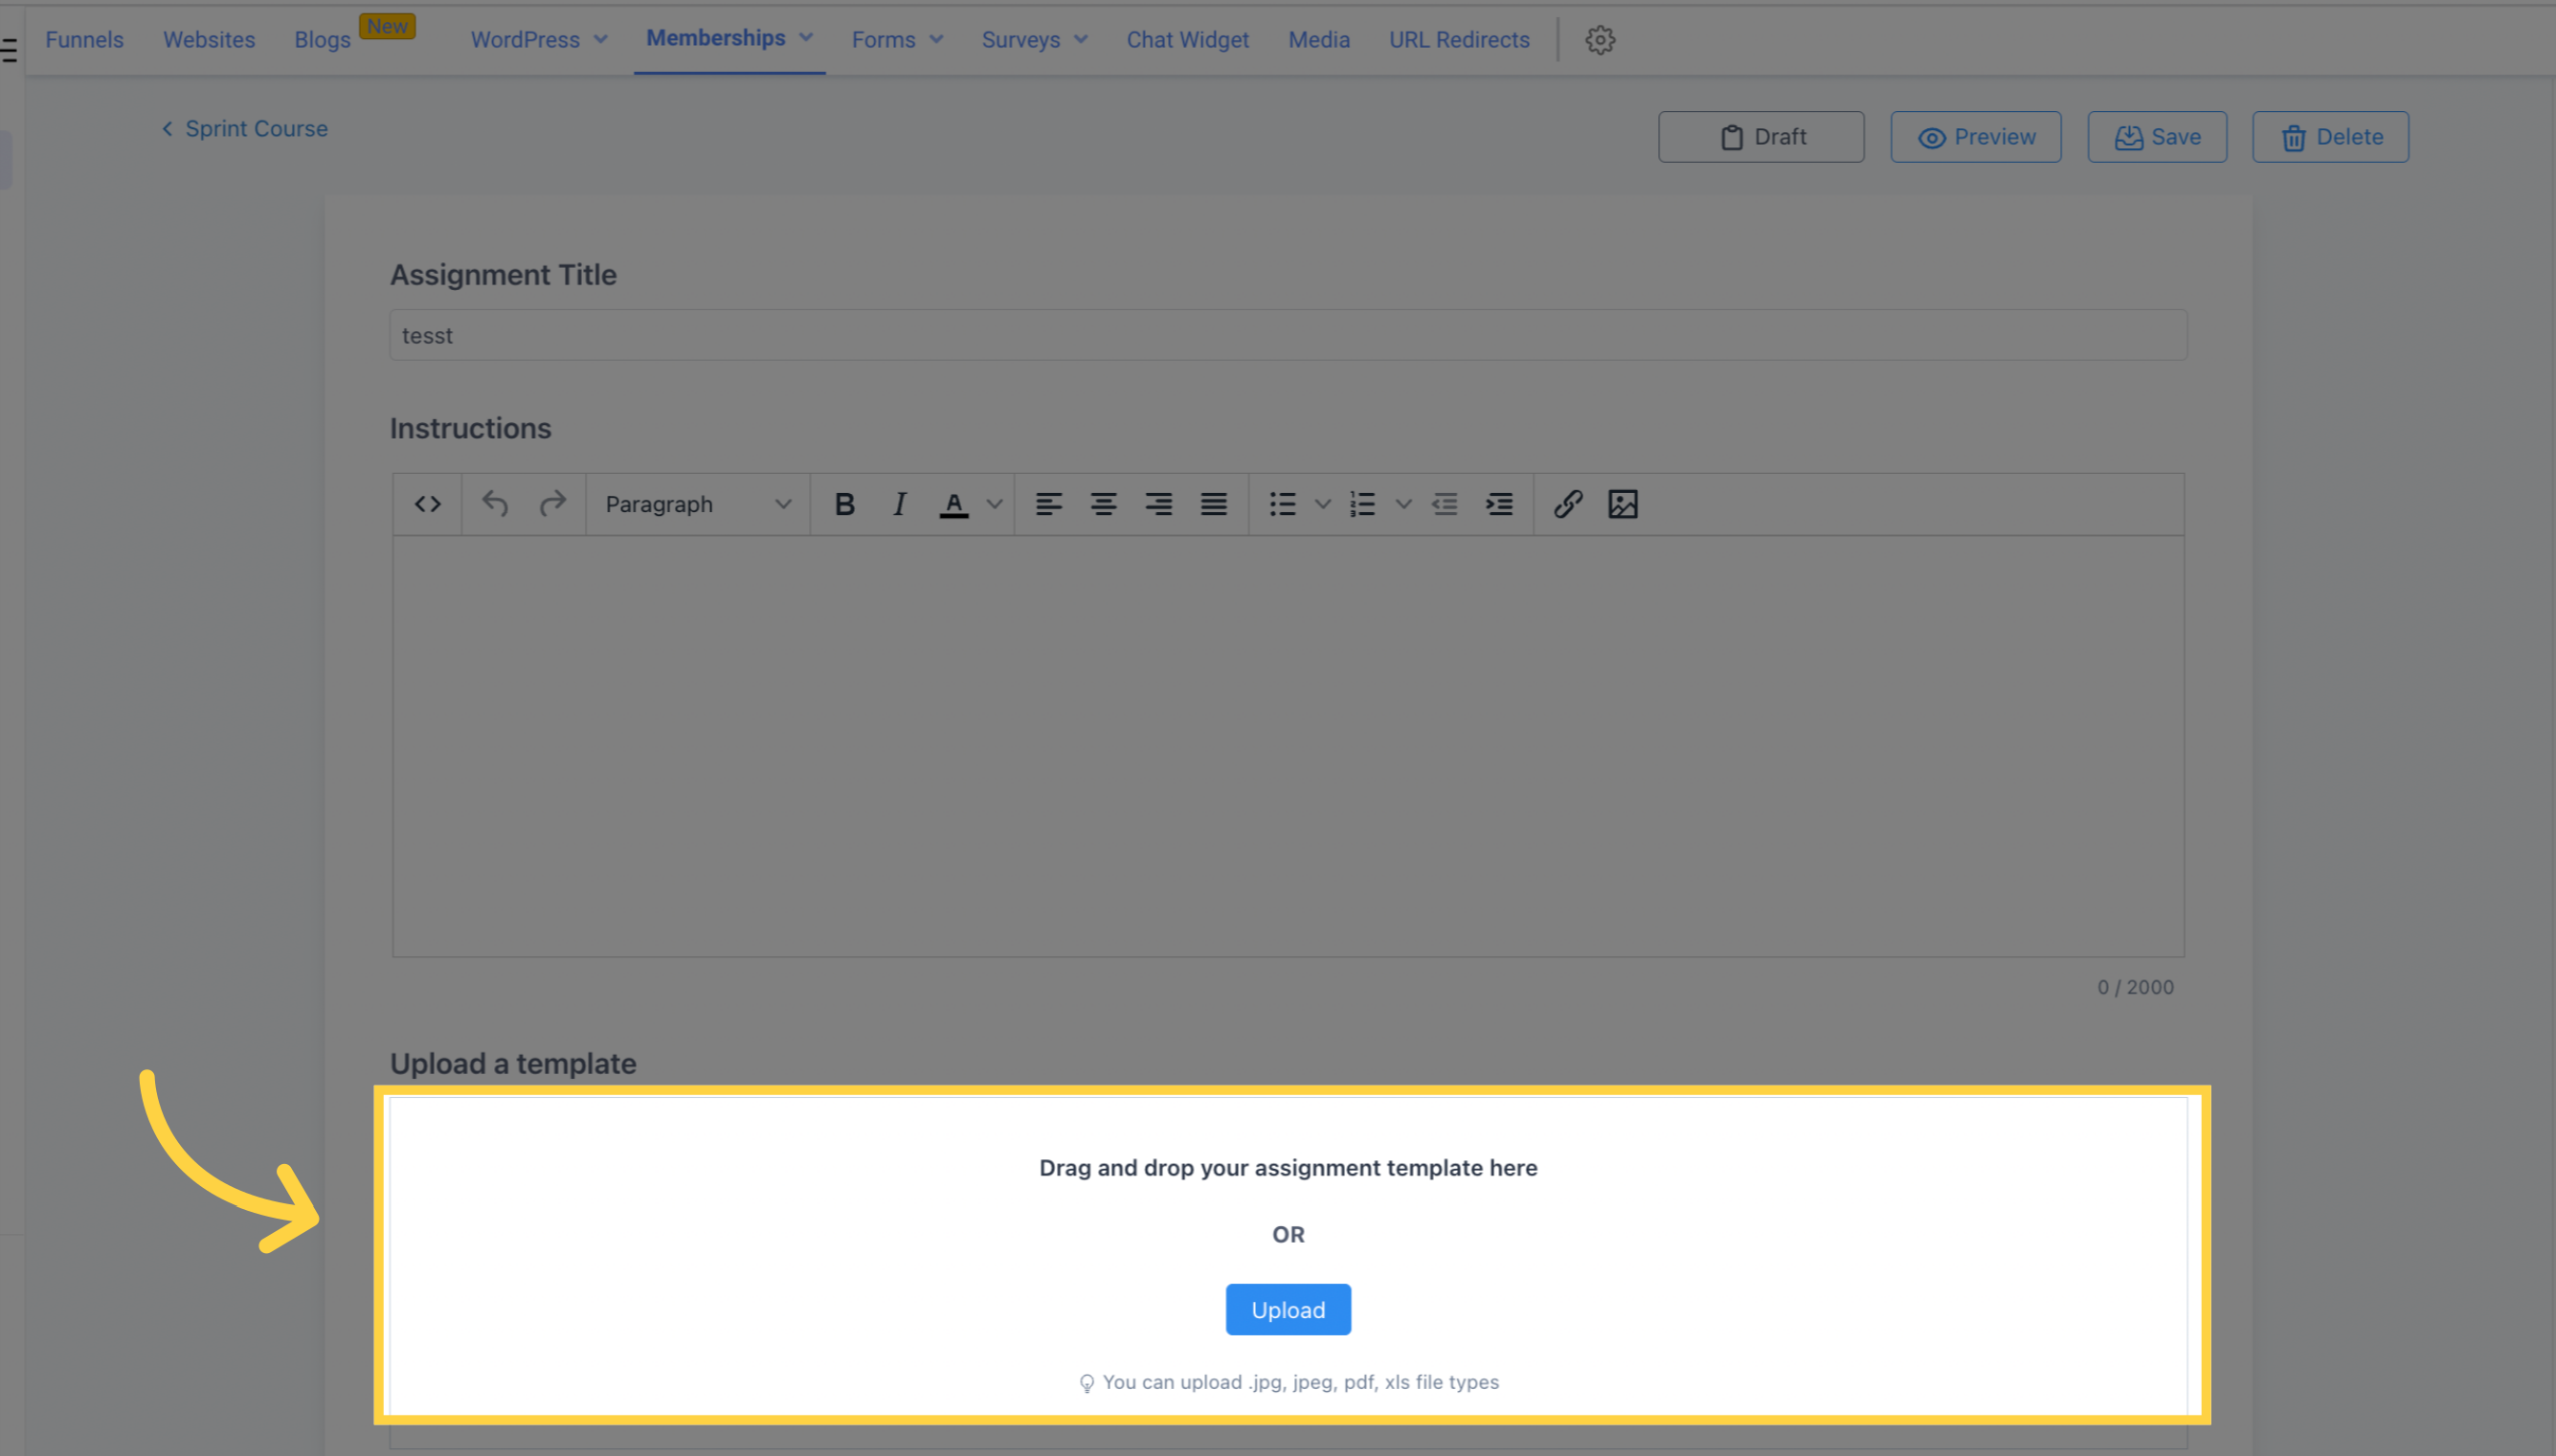
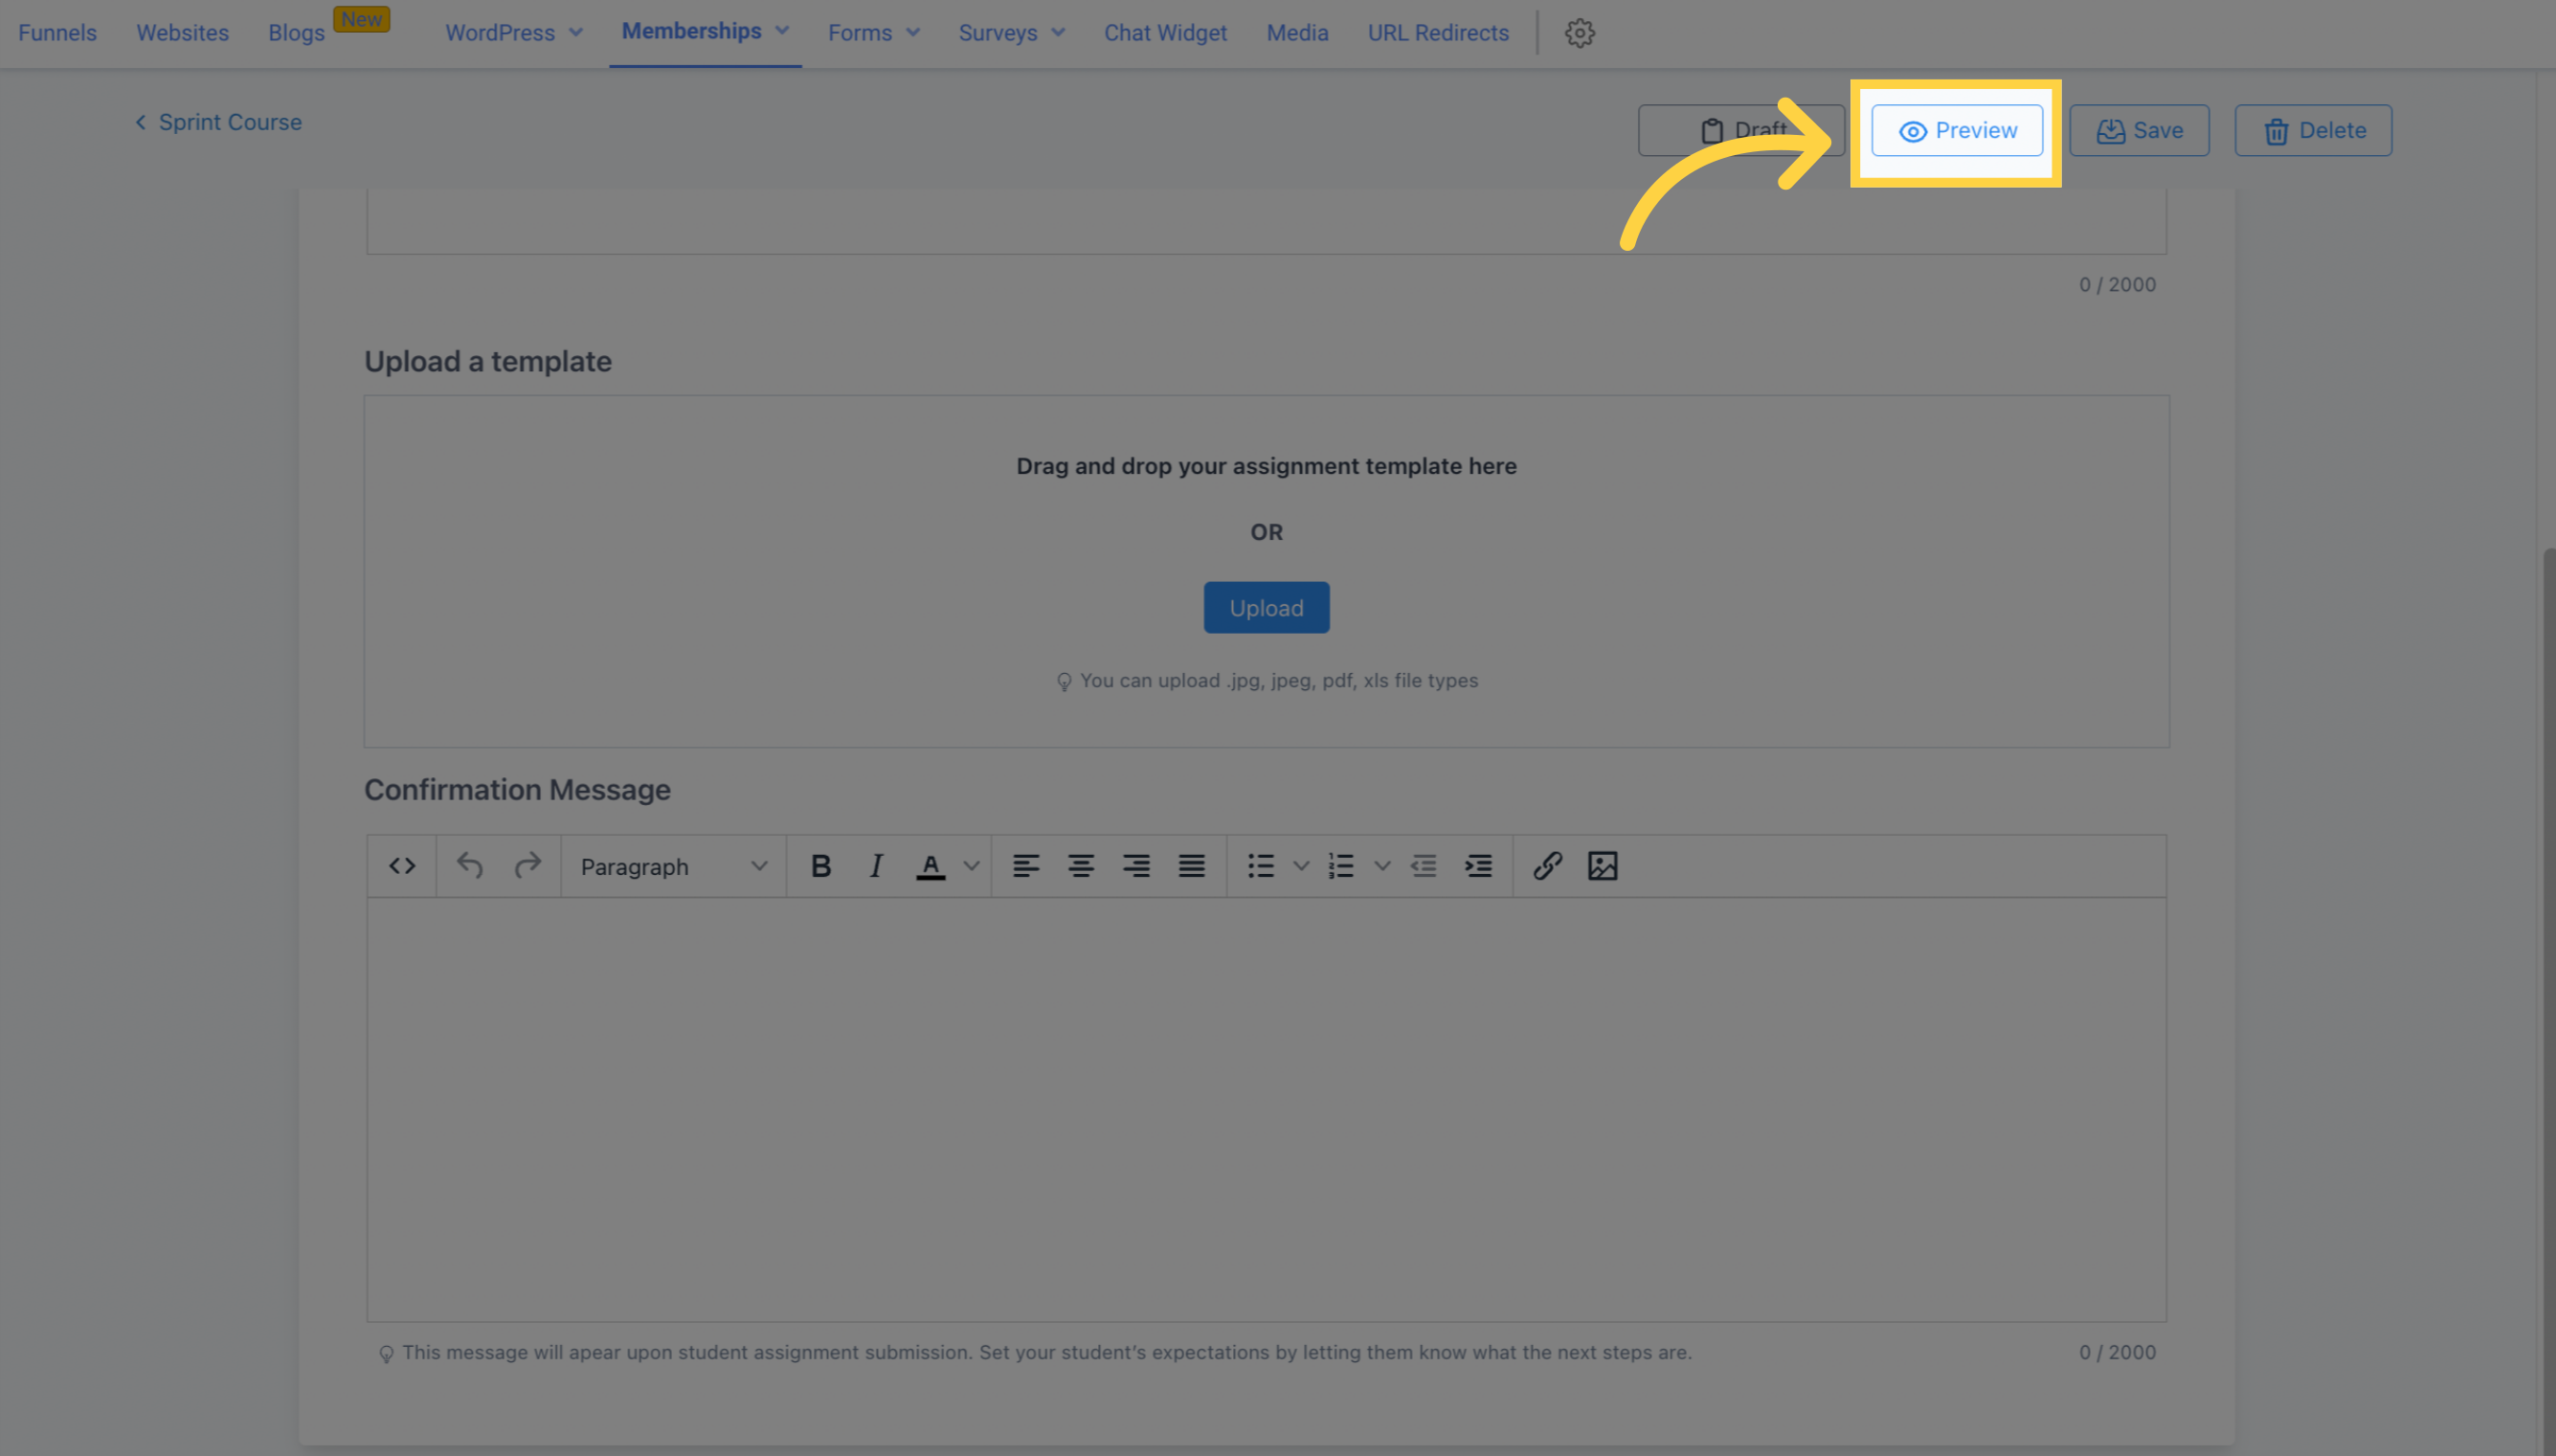
Please upload your assignment template in one of the accepted file types (.jpg, .jpeg, .pdf, or .xls)
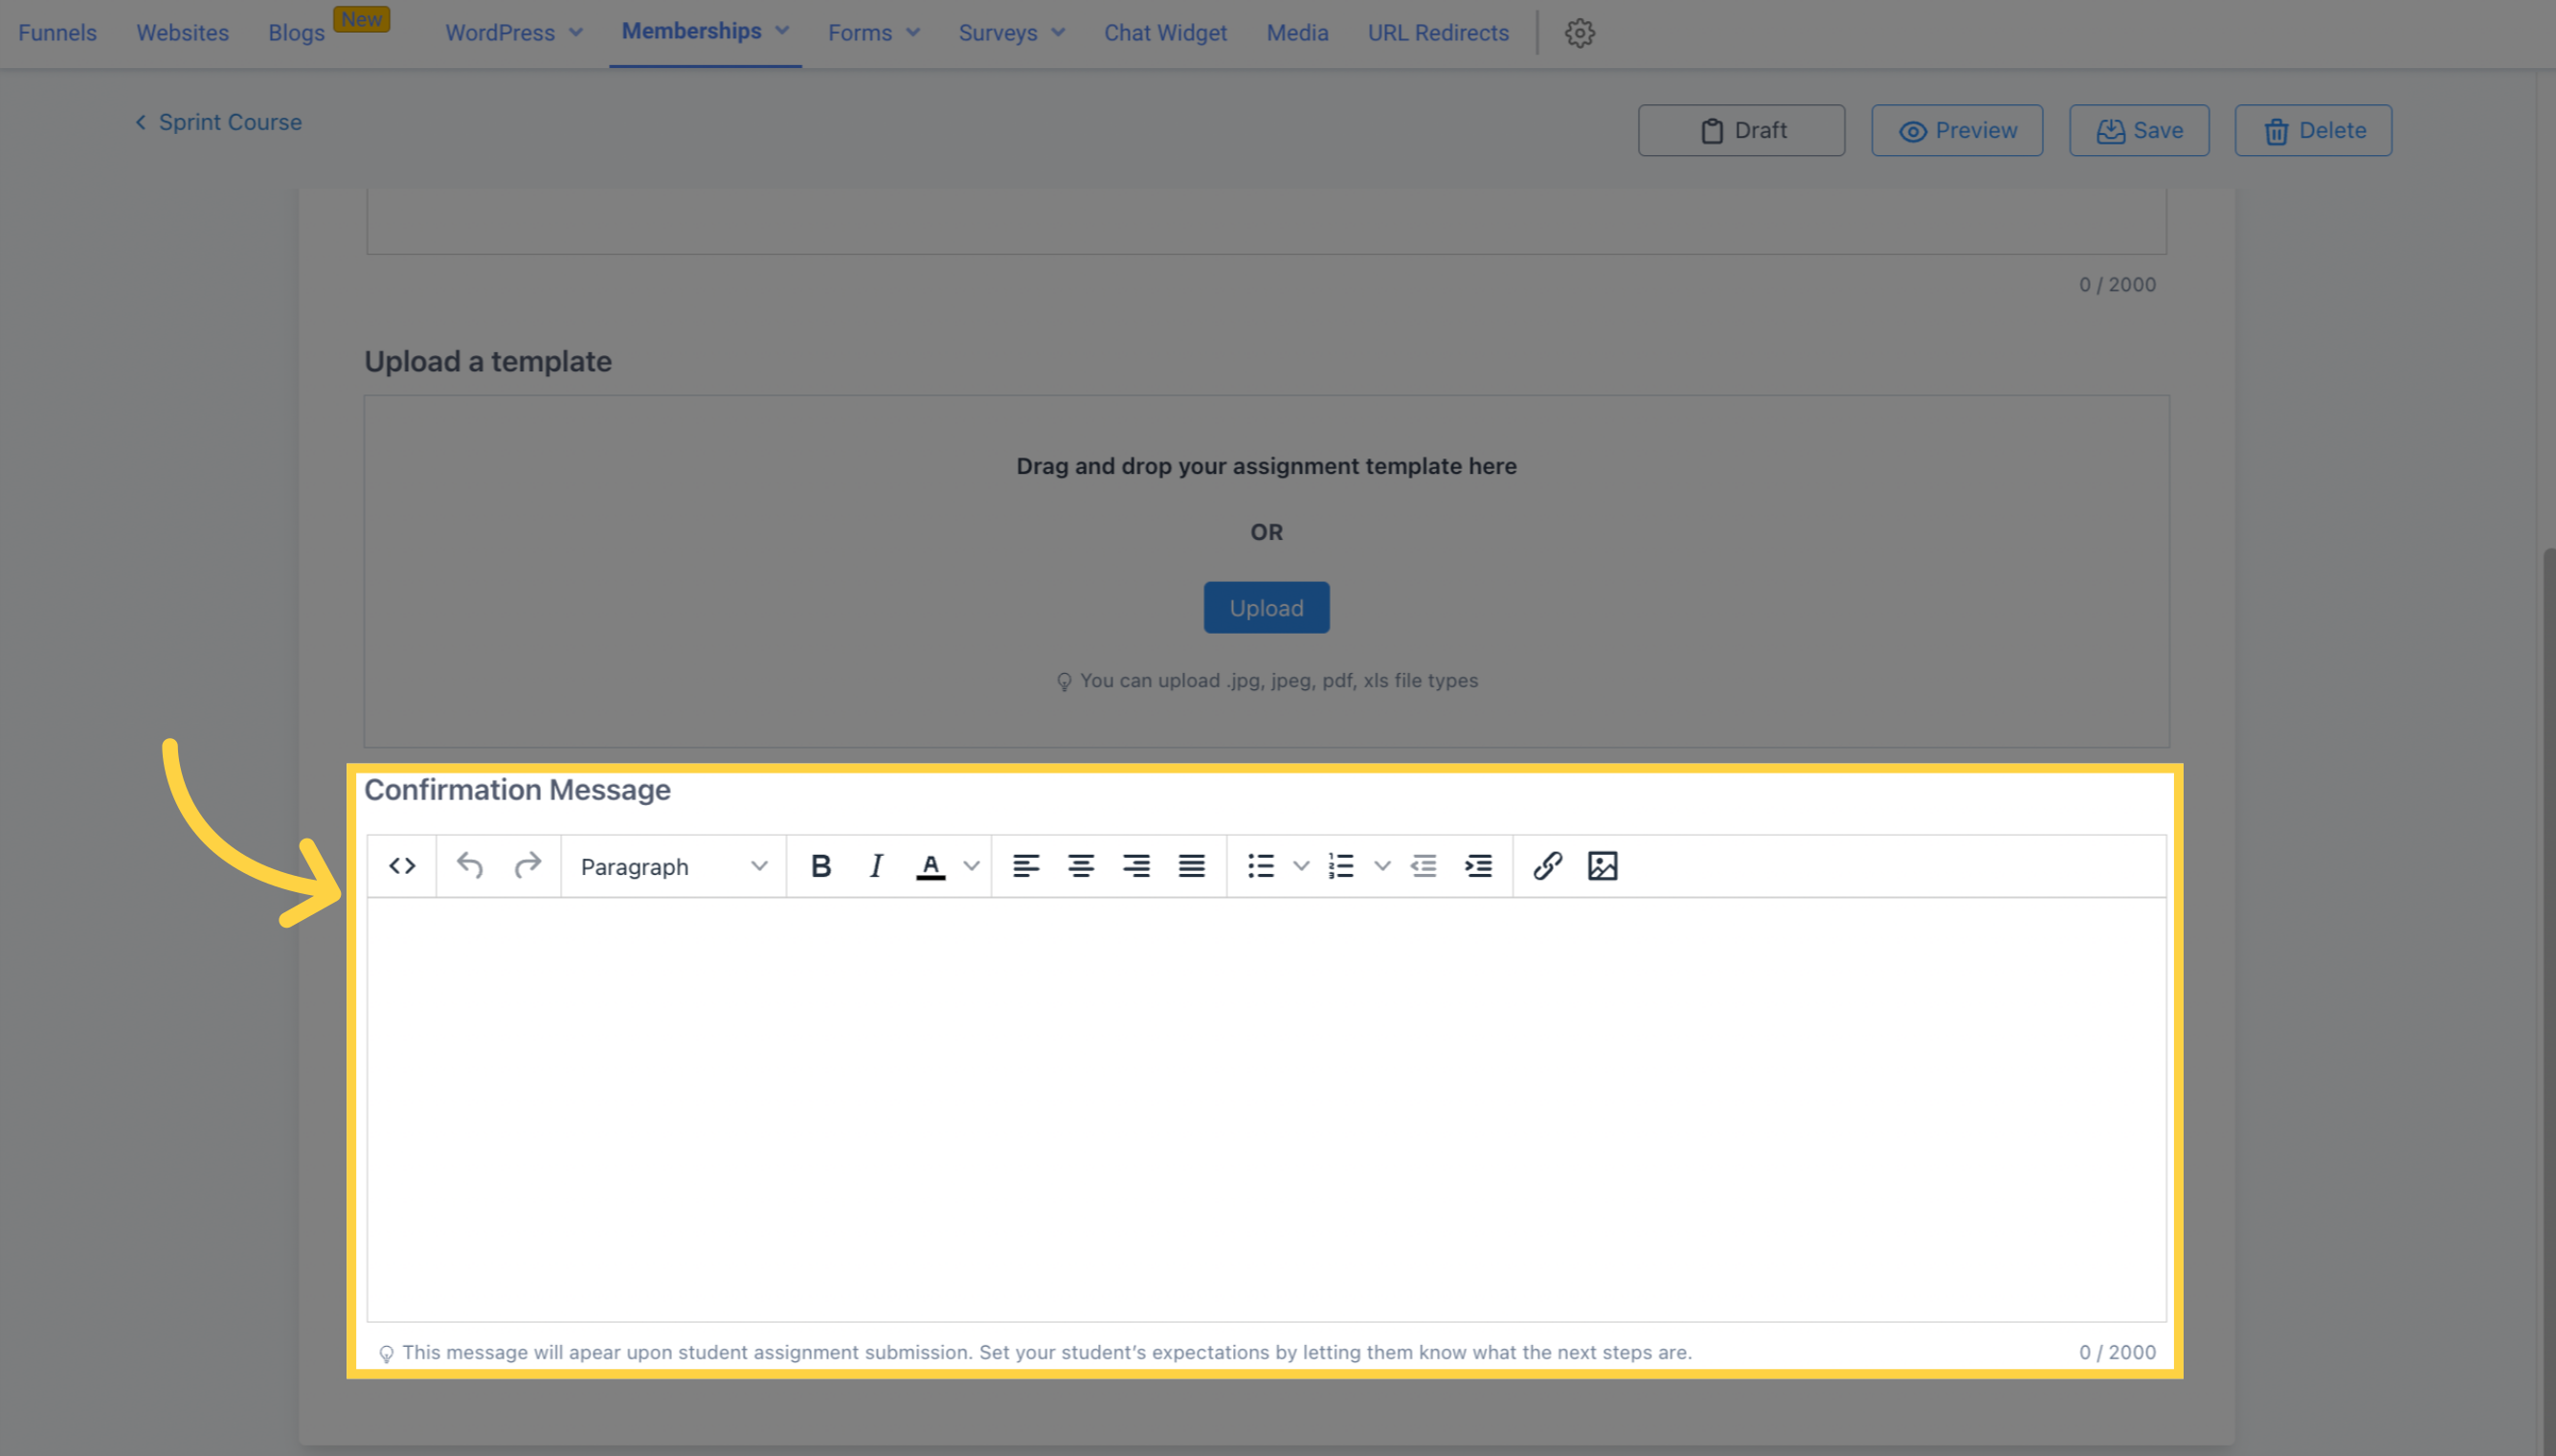
Your submission has been received. Please see the next steps below.
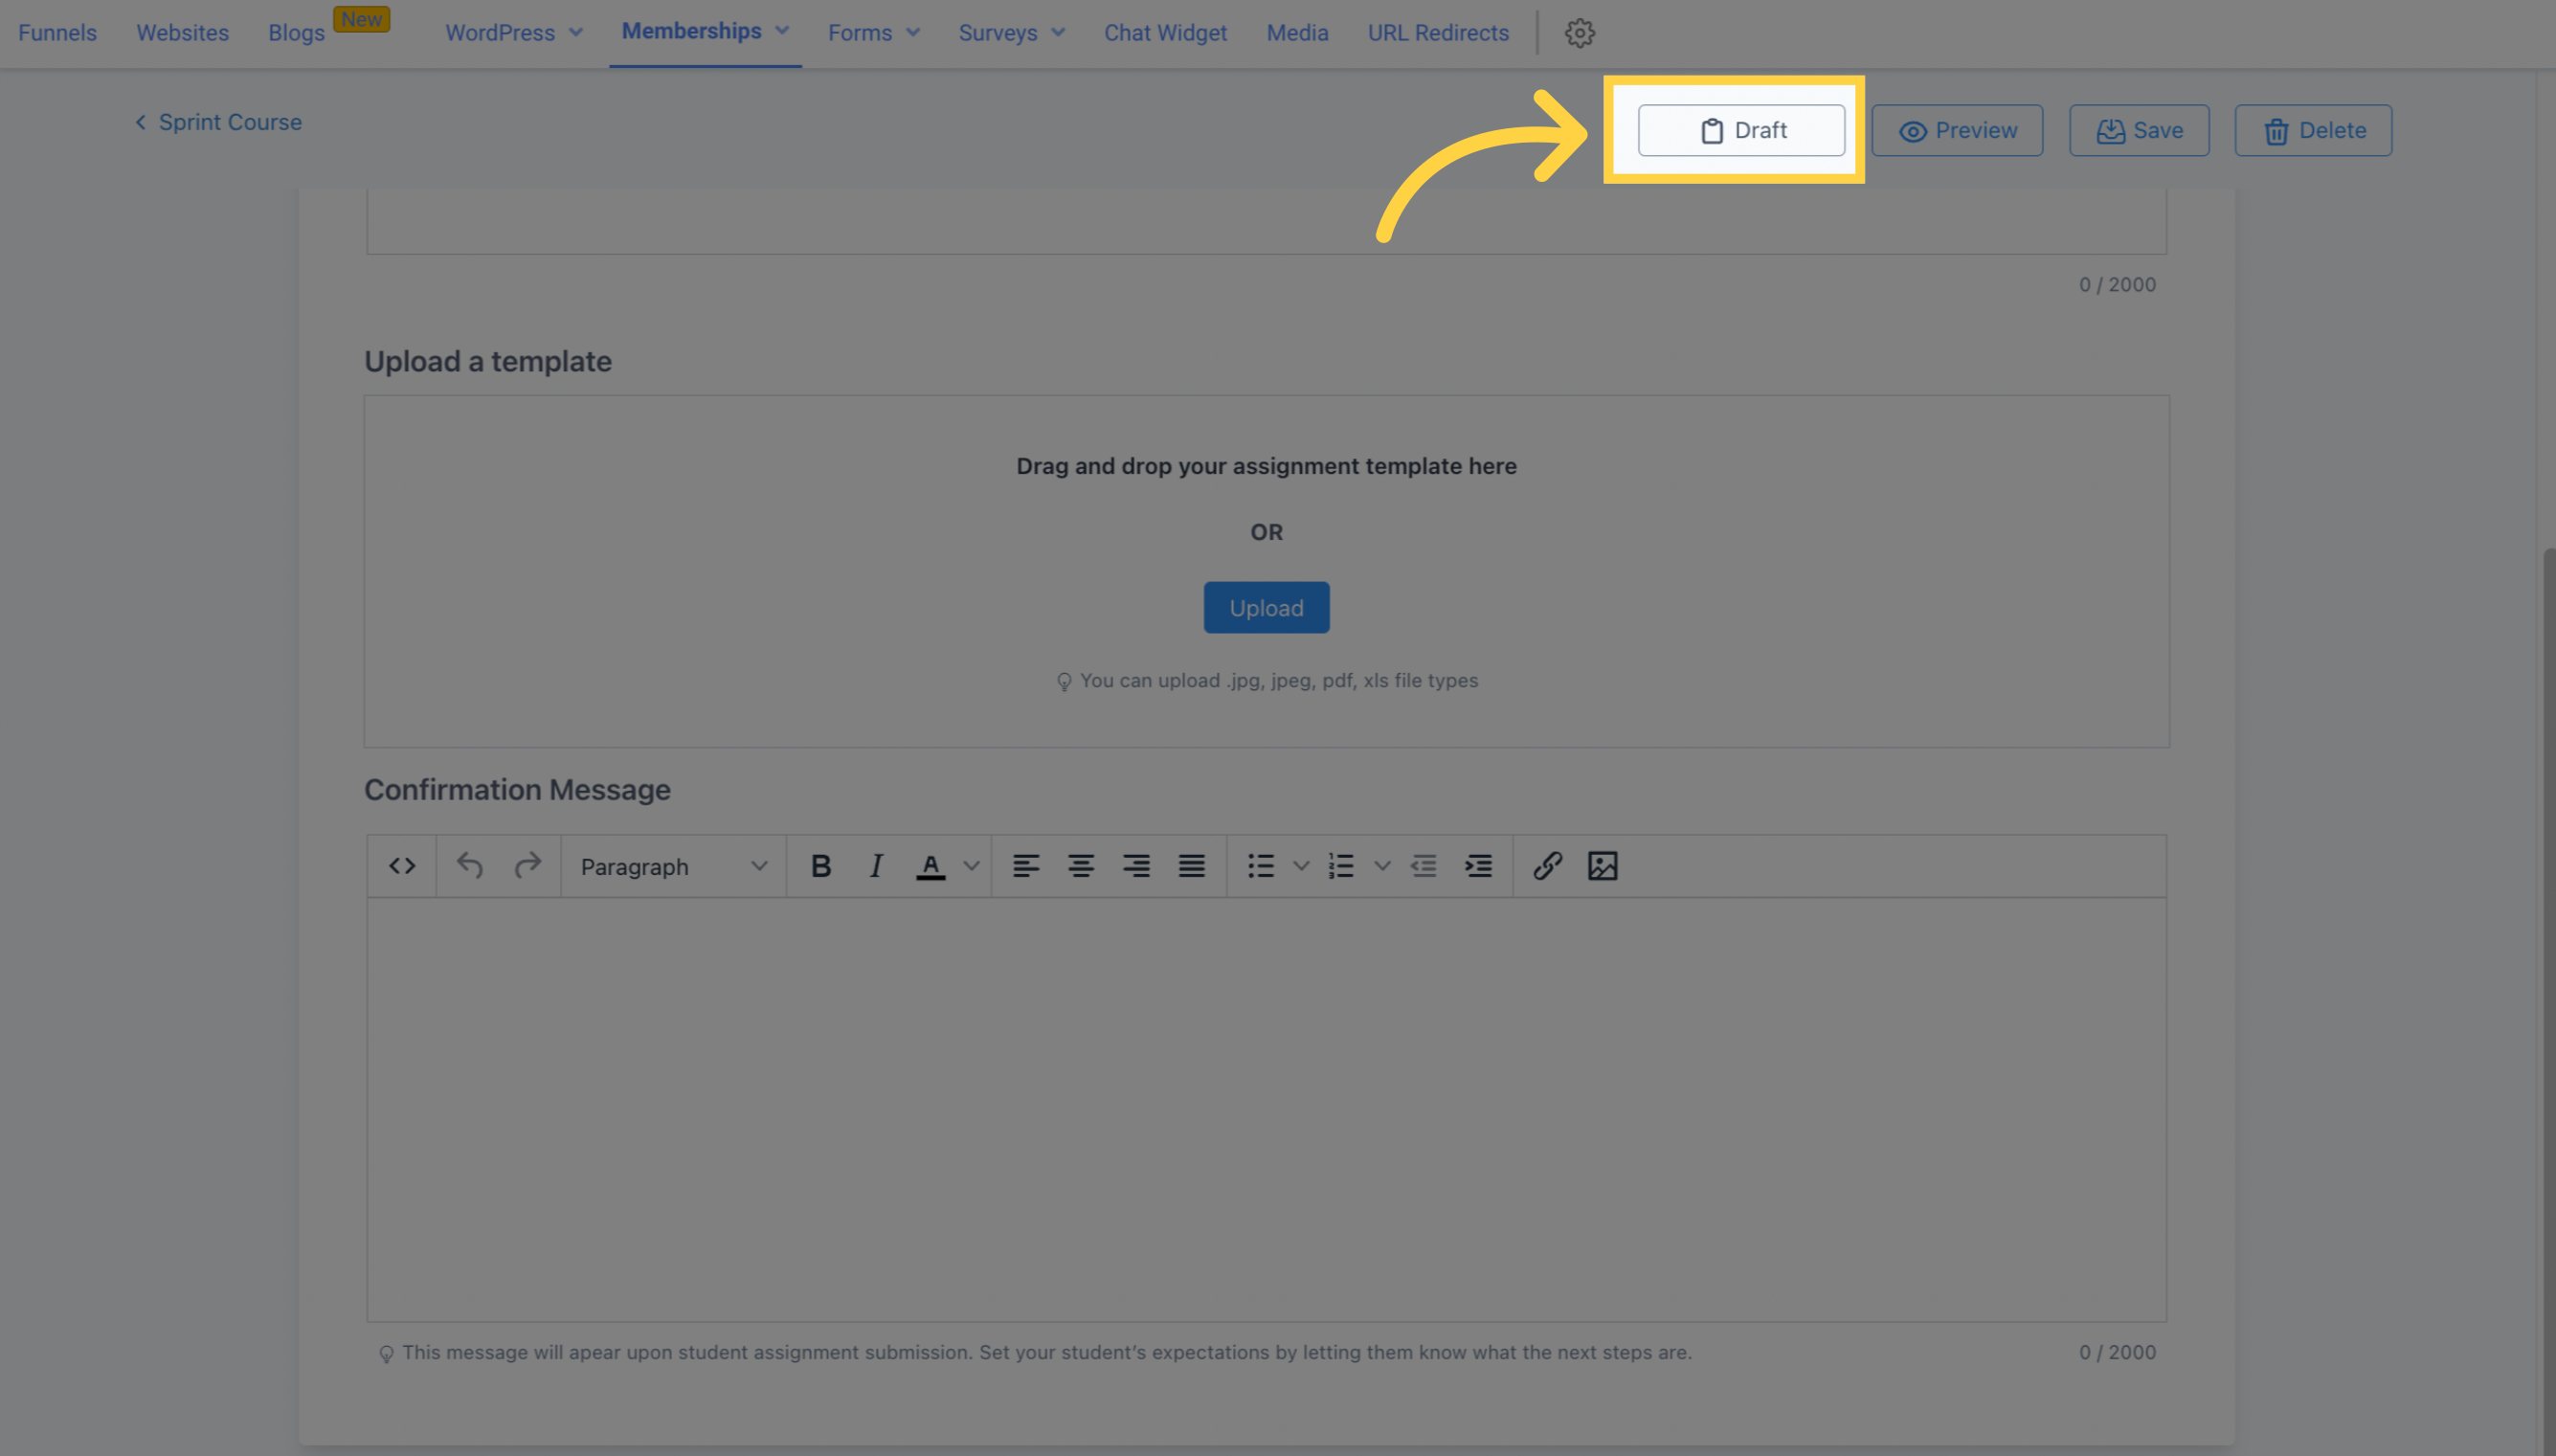
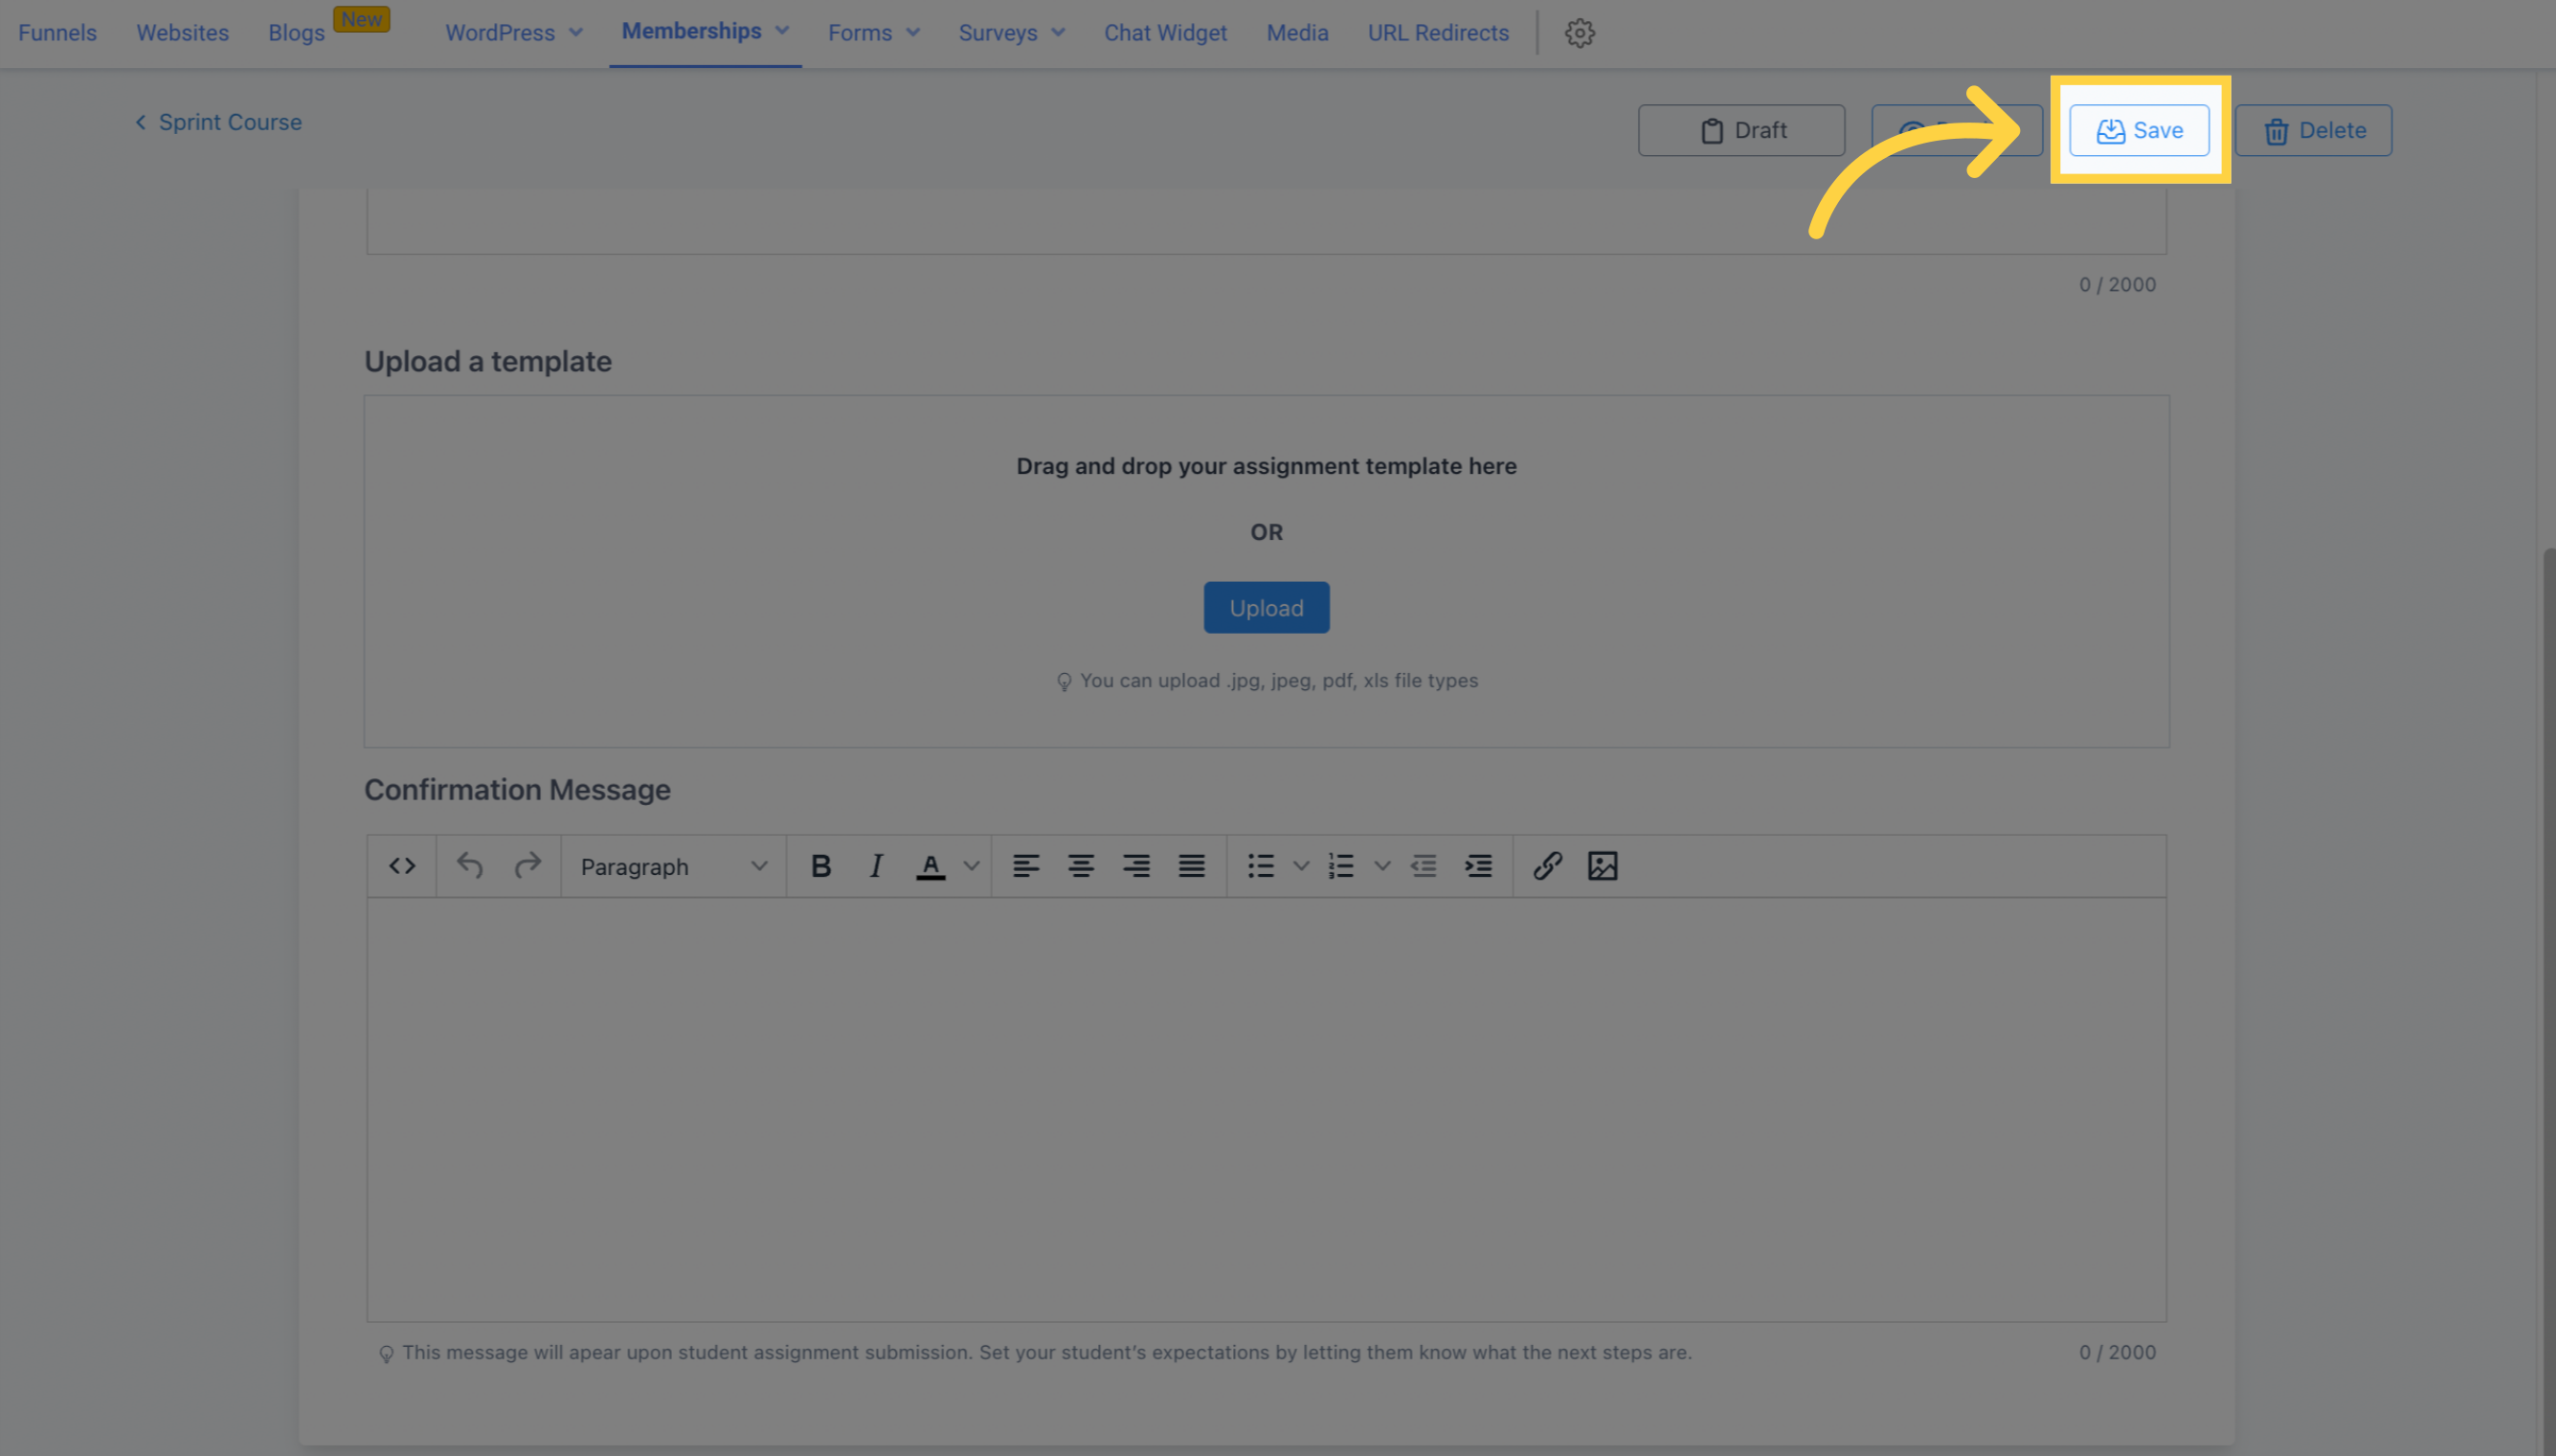
You can save your assignment as a draft if you are not finished, and publish it when you are ready.
Click on the preview button to view your completed assignment.
Remember to save your changes to avoid losing your work.
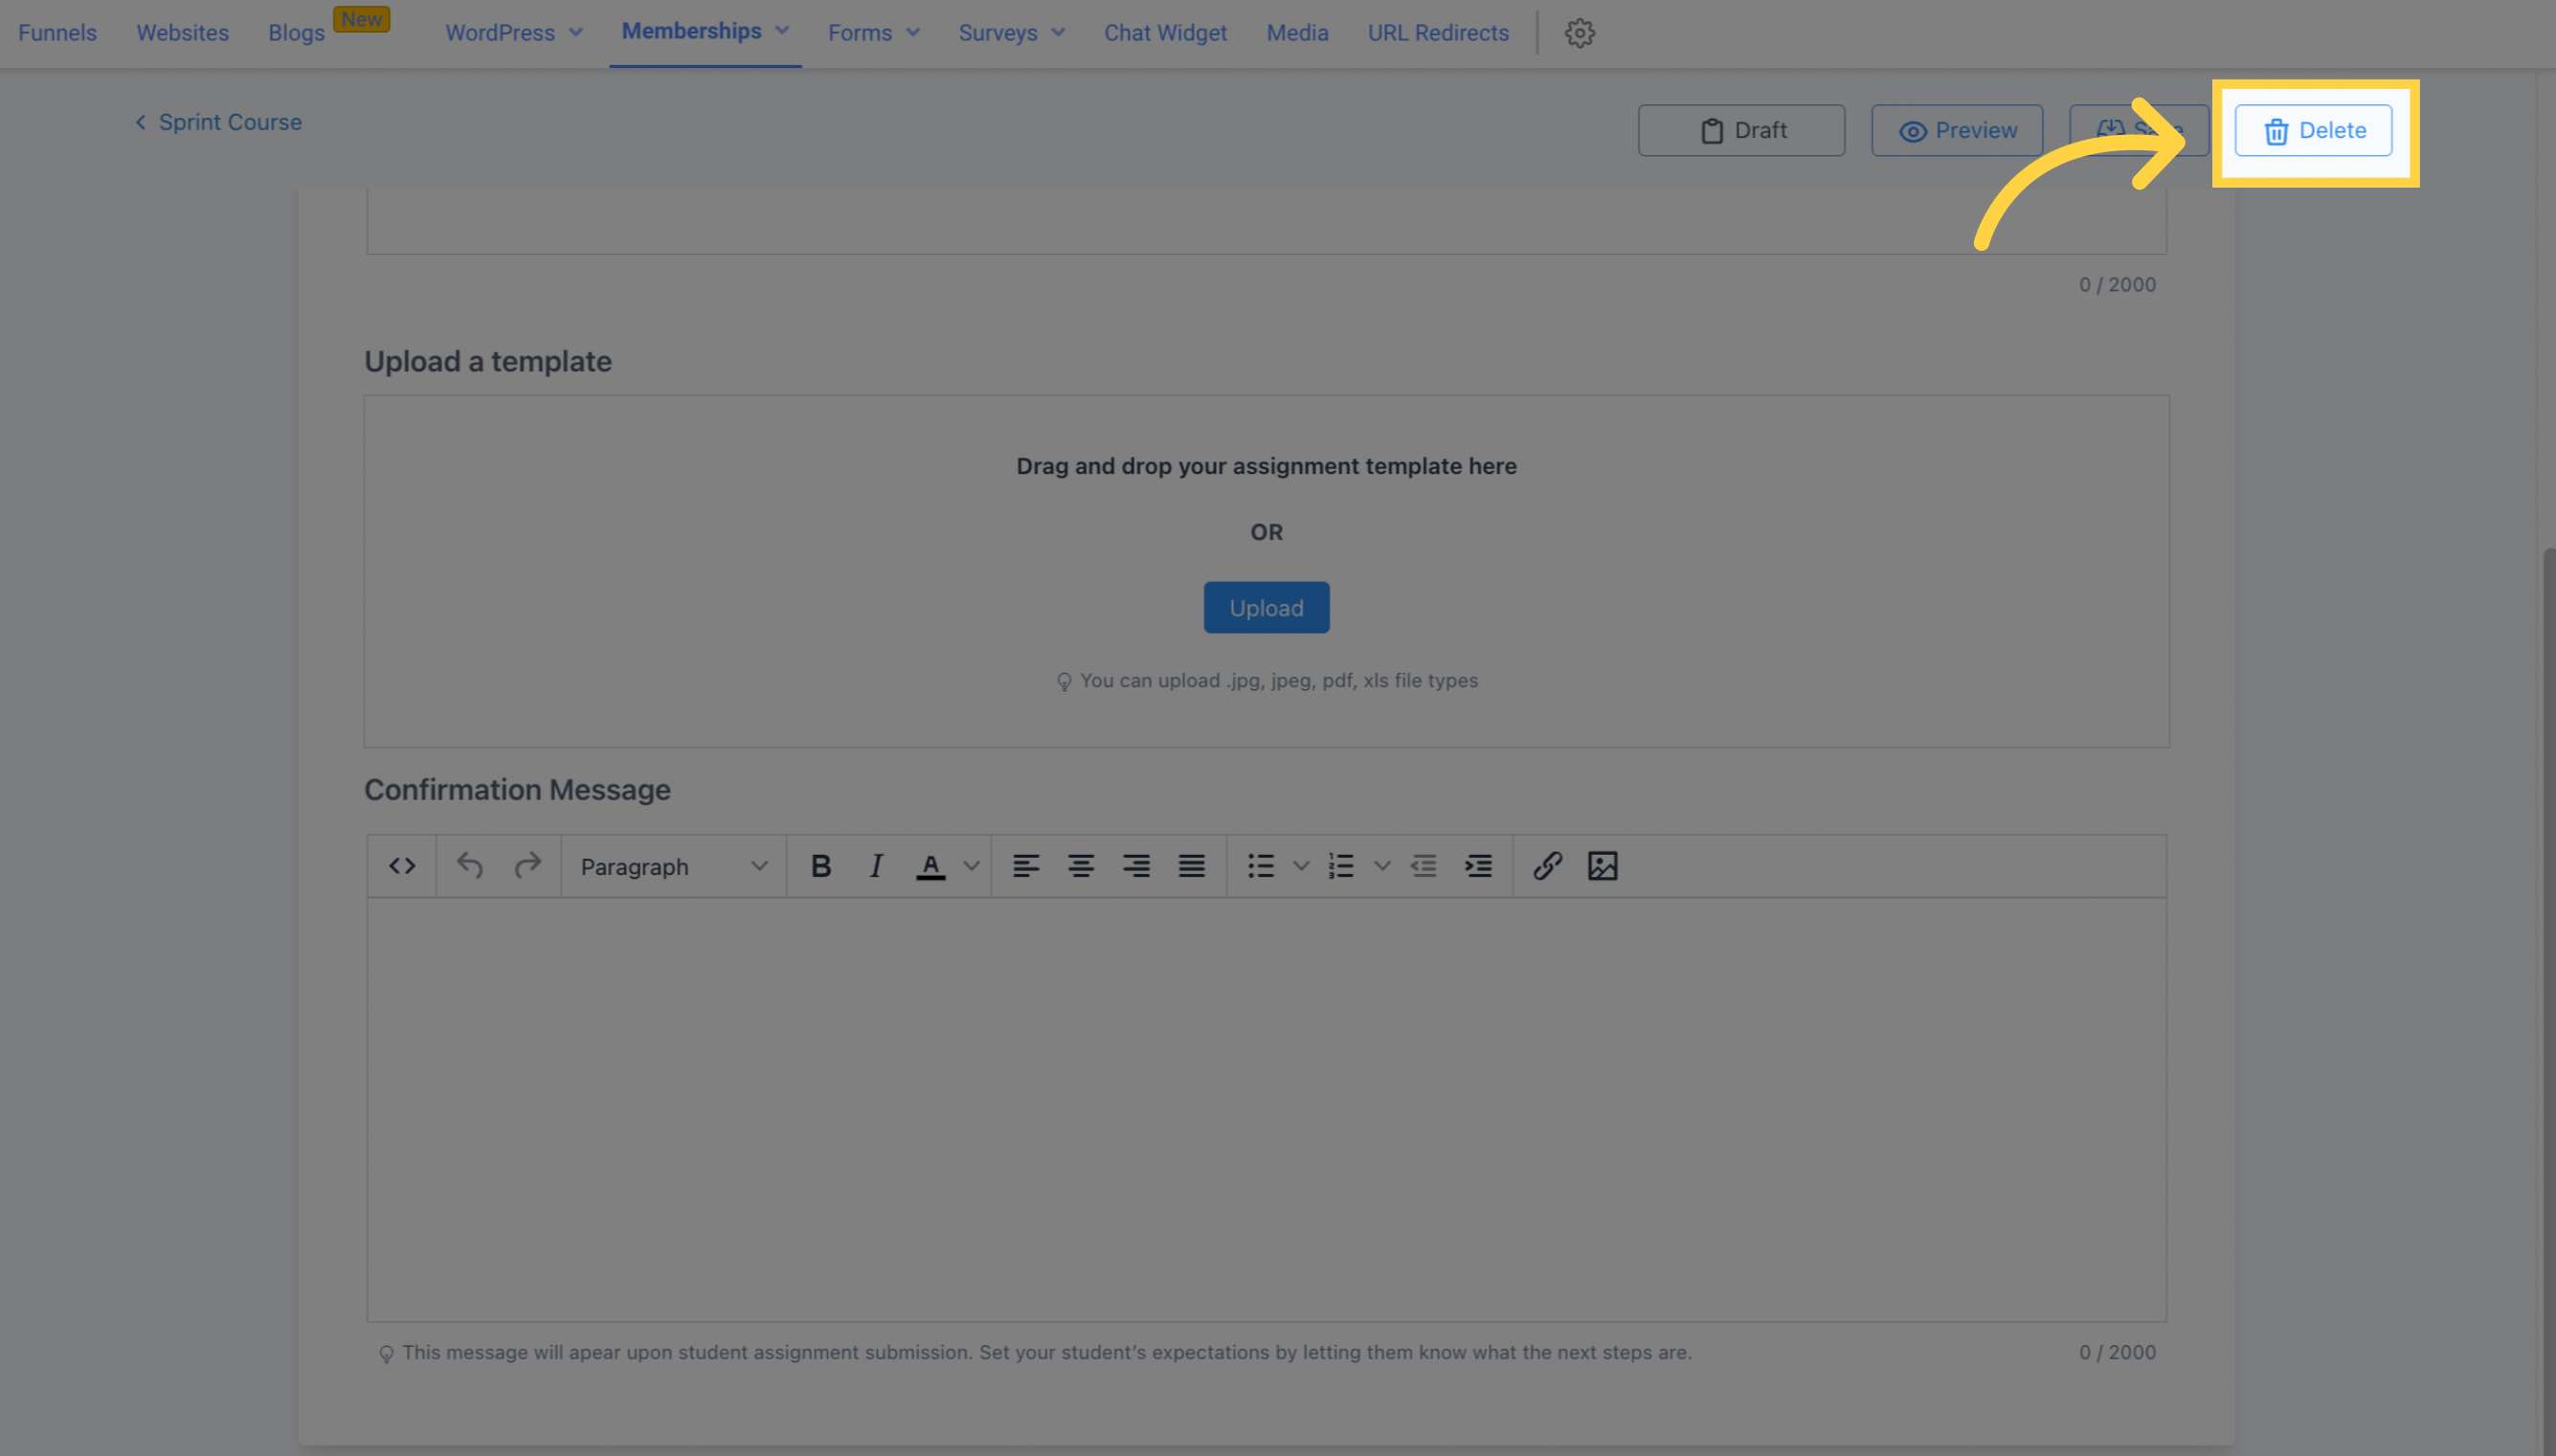
To delete the entire assignment, click on the delete button. You will be prompted to confirm before permanently deleting.
You have the option to edit and preview your lessons, subcategories, and assessments, or you may choose to switch them to different visibility modes.
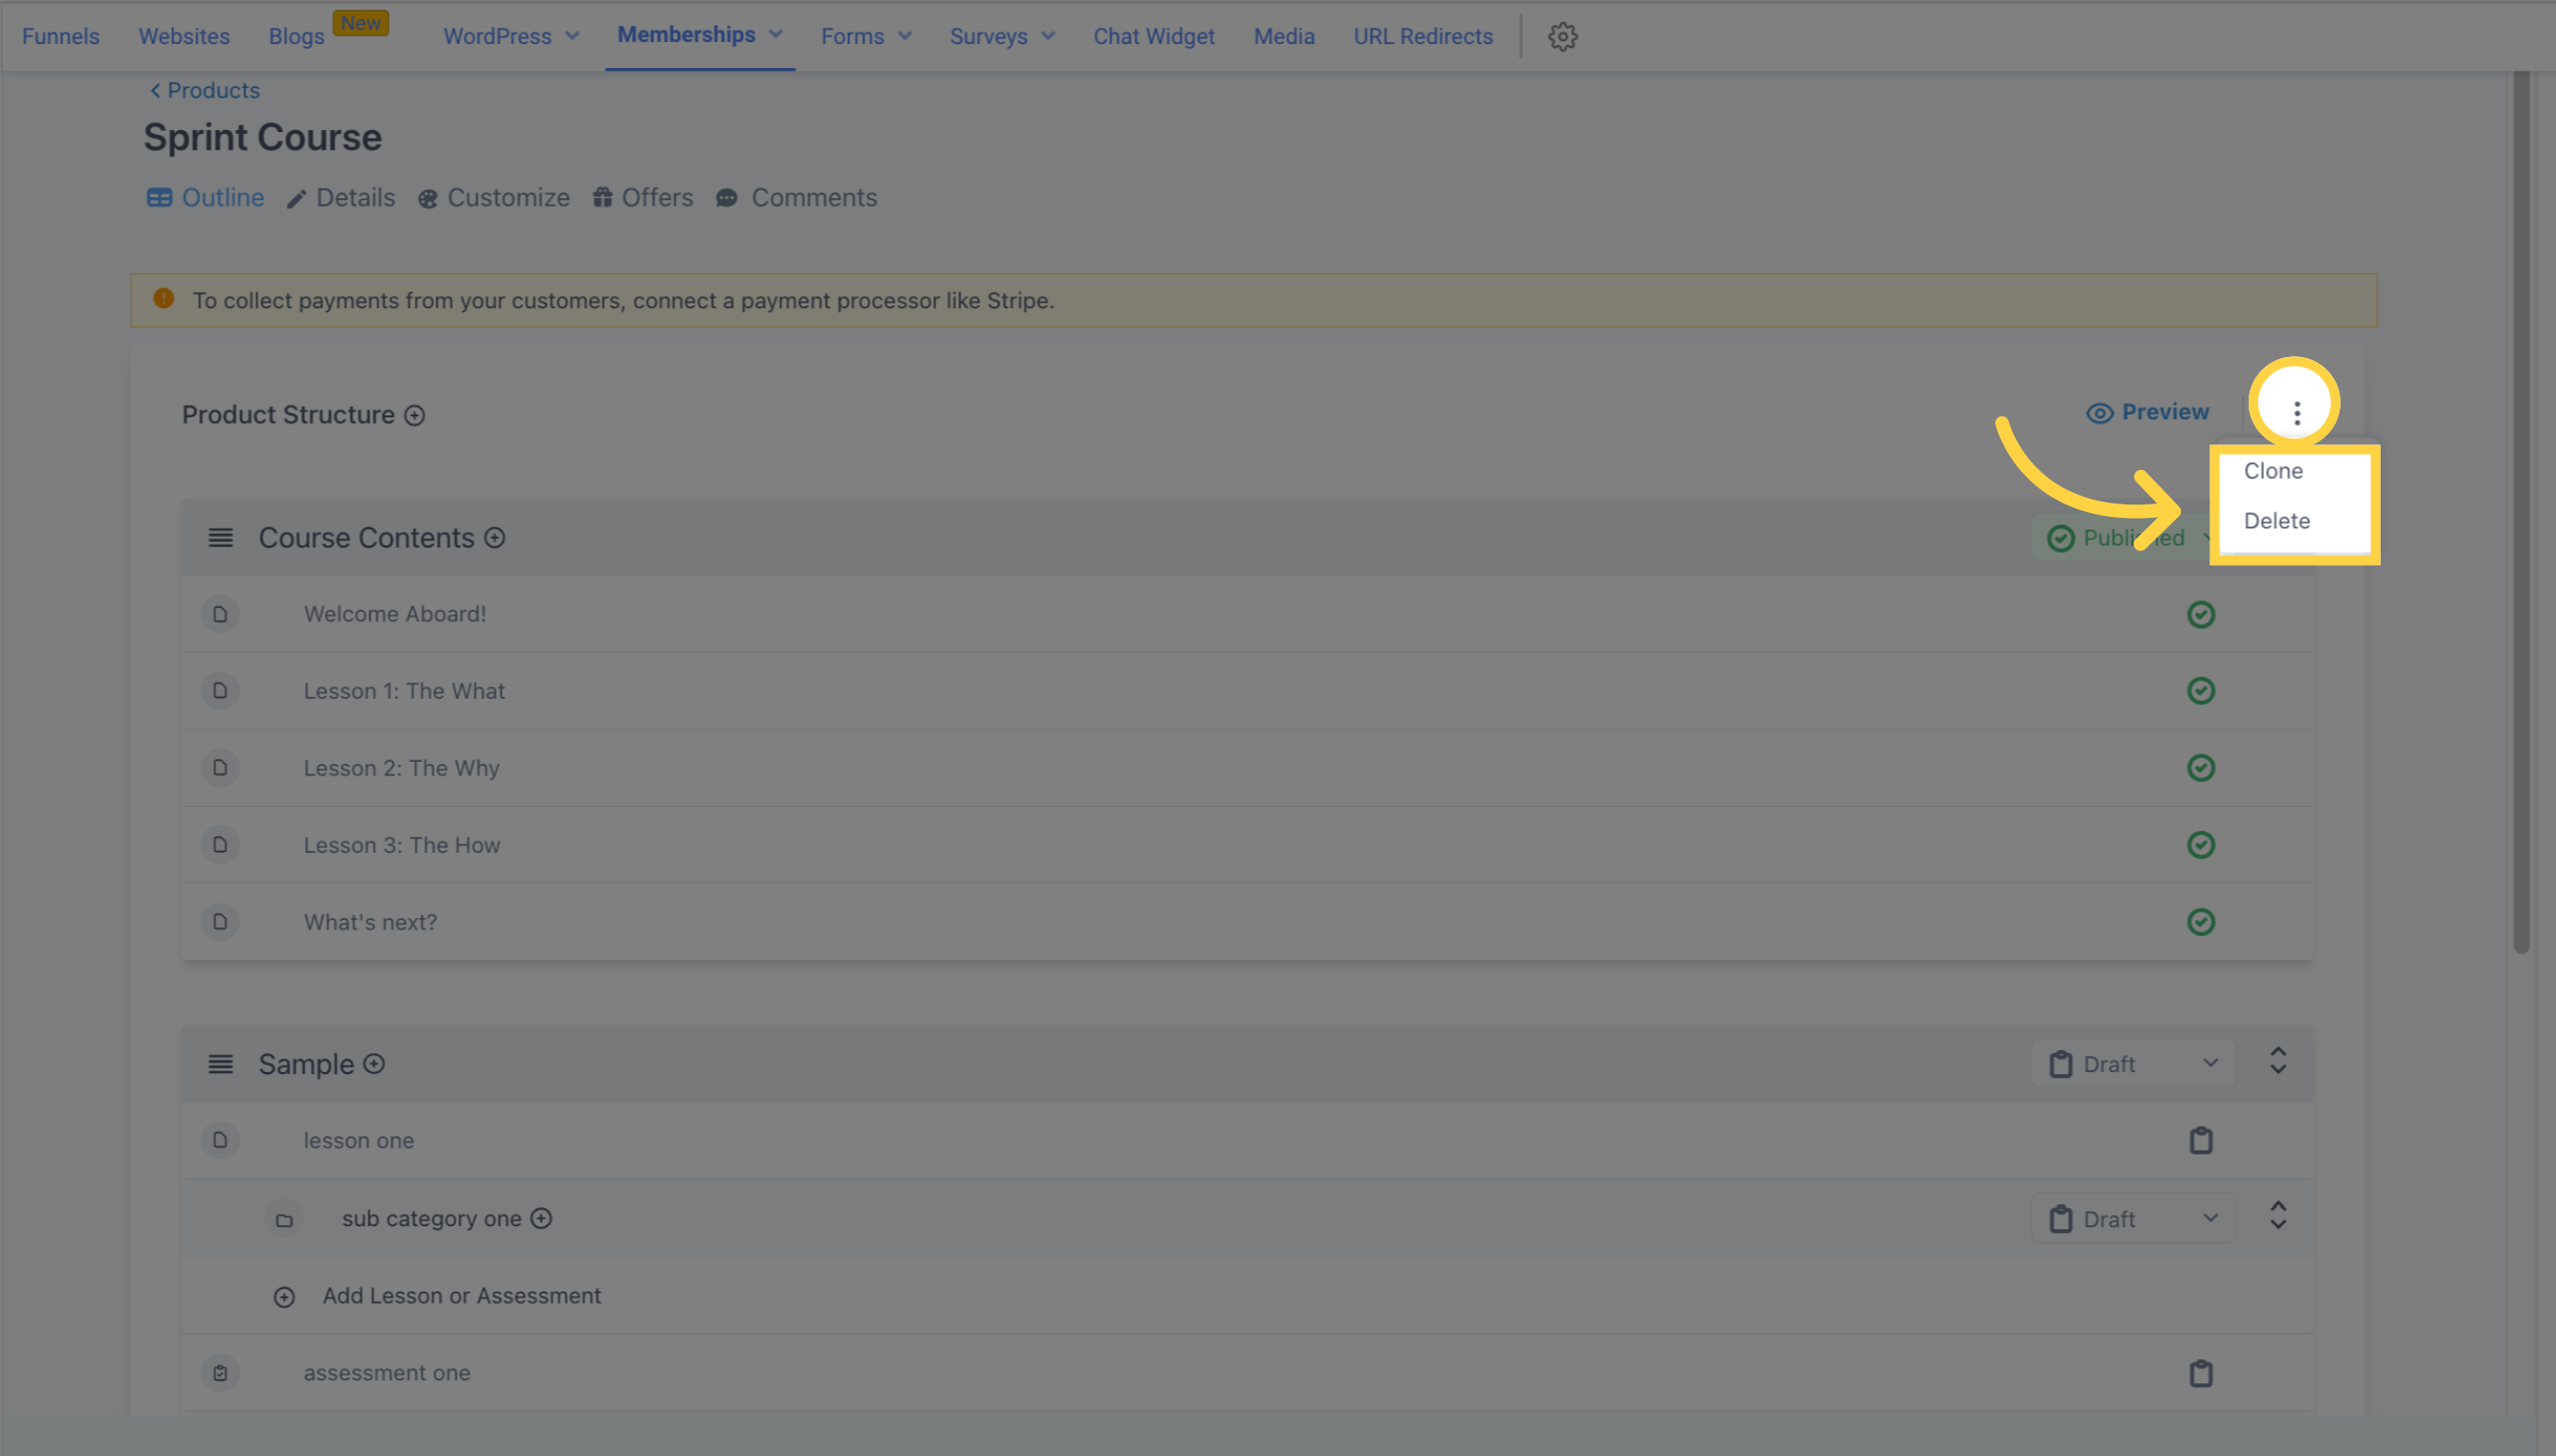
You can clone or delete your product by clicking on the 3-dot menu next to the preview button. When you select "clone", a popup notification will appear allowing you to either clone the course in your current CRM account or in multiple locations within your CRM. Select the location you prefer and click "Clone".
To preview your product, click on the preview button located in the upper right corner of the outline page.

Once you've finished editing, you can make your product live by clicking on the publish mode.
In draft mode, you can make as many edits to your product as you want without it going live until you're ready for it to be published.
If you have more than one product structure category, you can lock each category until the visitor completes the preceding category. To do this, click on the "Locked" icon and select the post from the preceding category that the visitor needs to mark as complete before gaining access to the next category.
You can set a specific number of days for visitors to access your product through drip mode. Simply select the number of days the visitor has to complete each category.
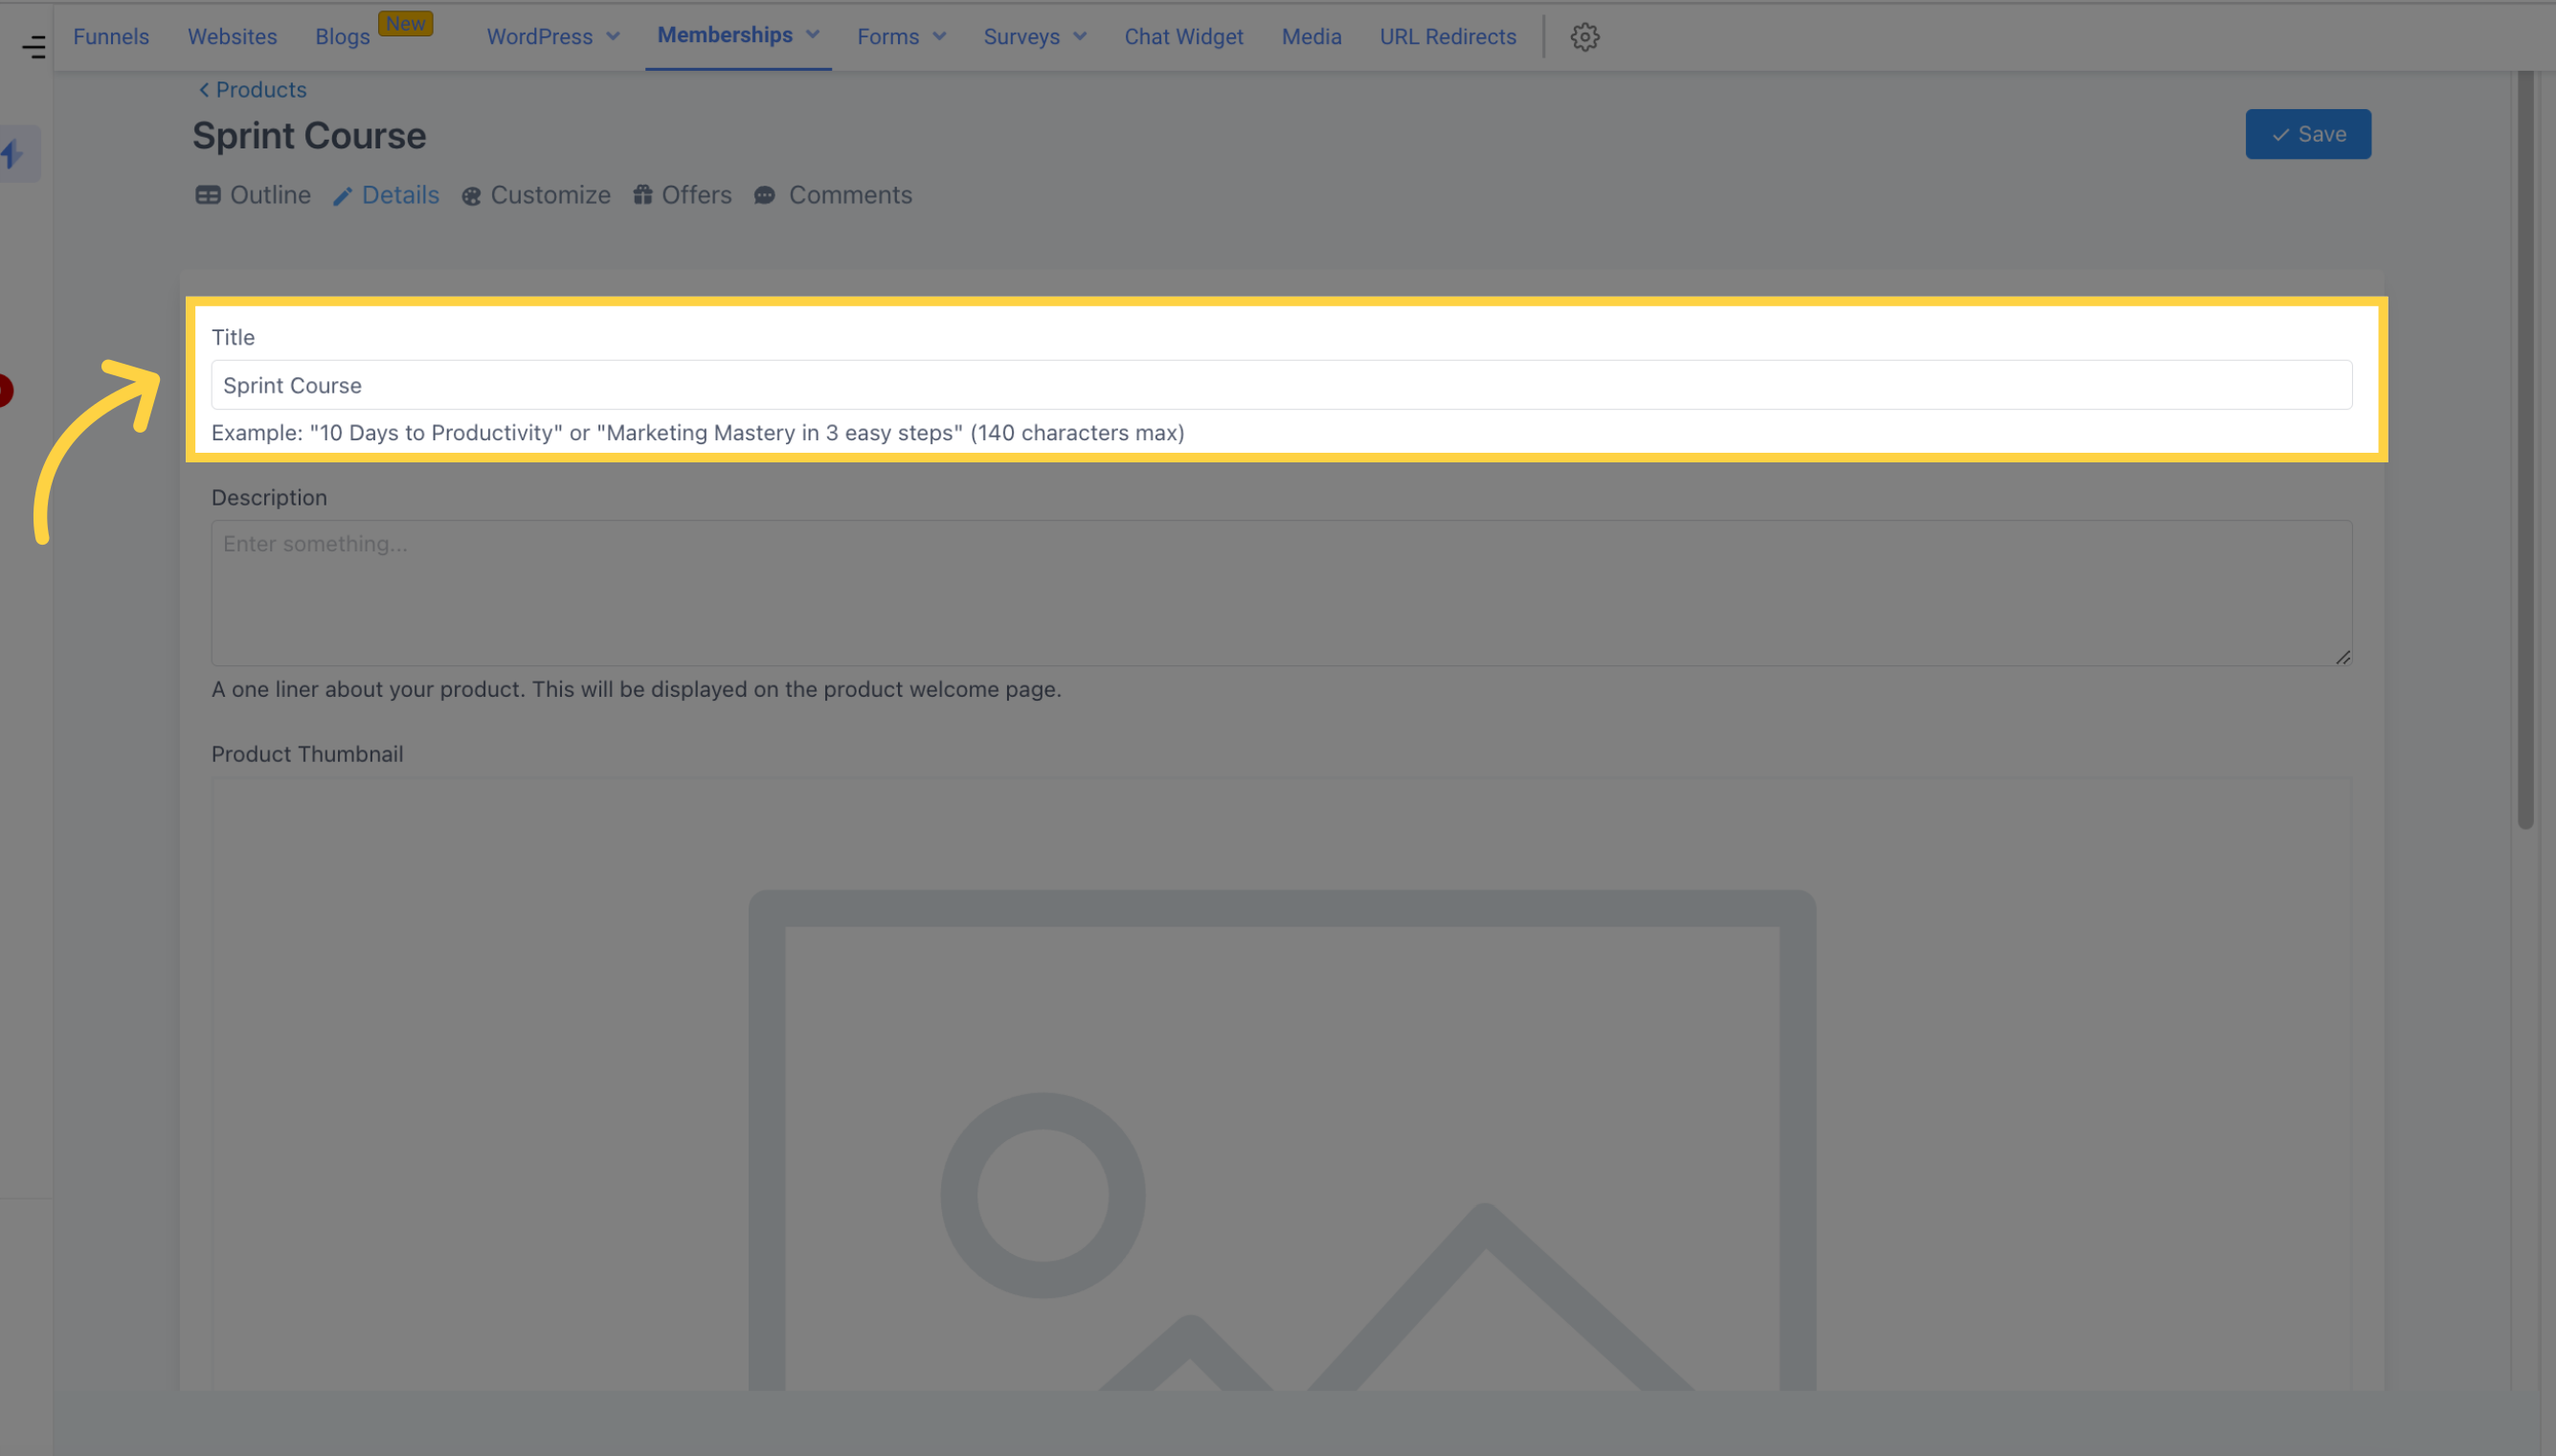
You have the freedom to modify the course name anytime by typing it into the provided title box.
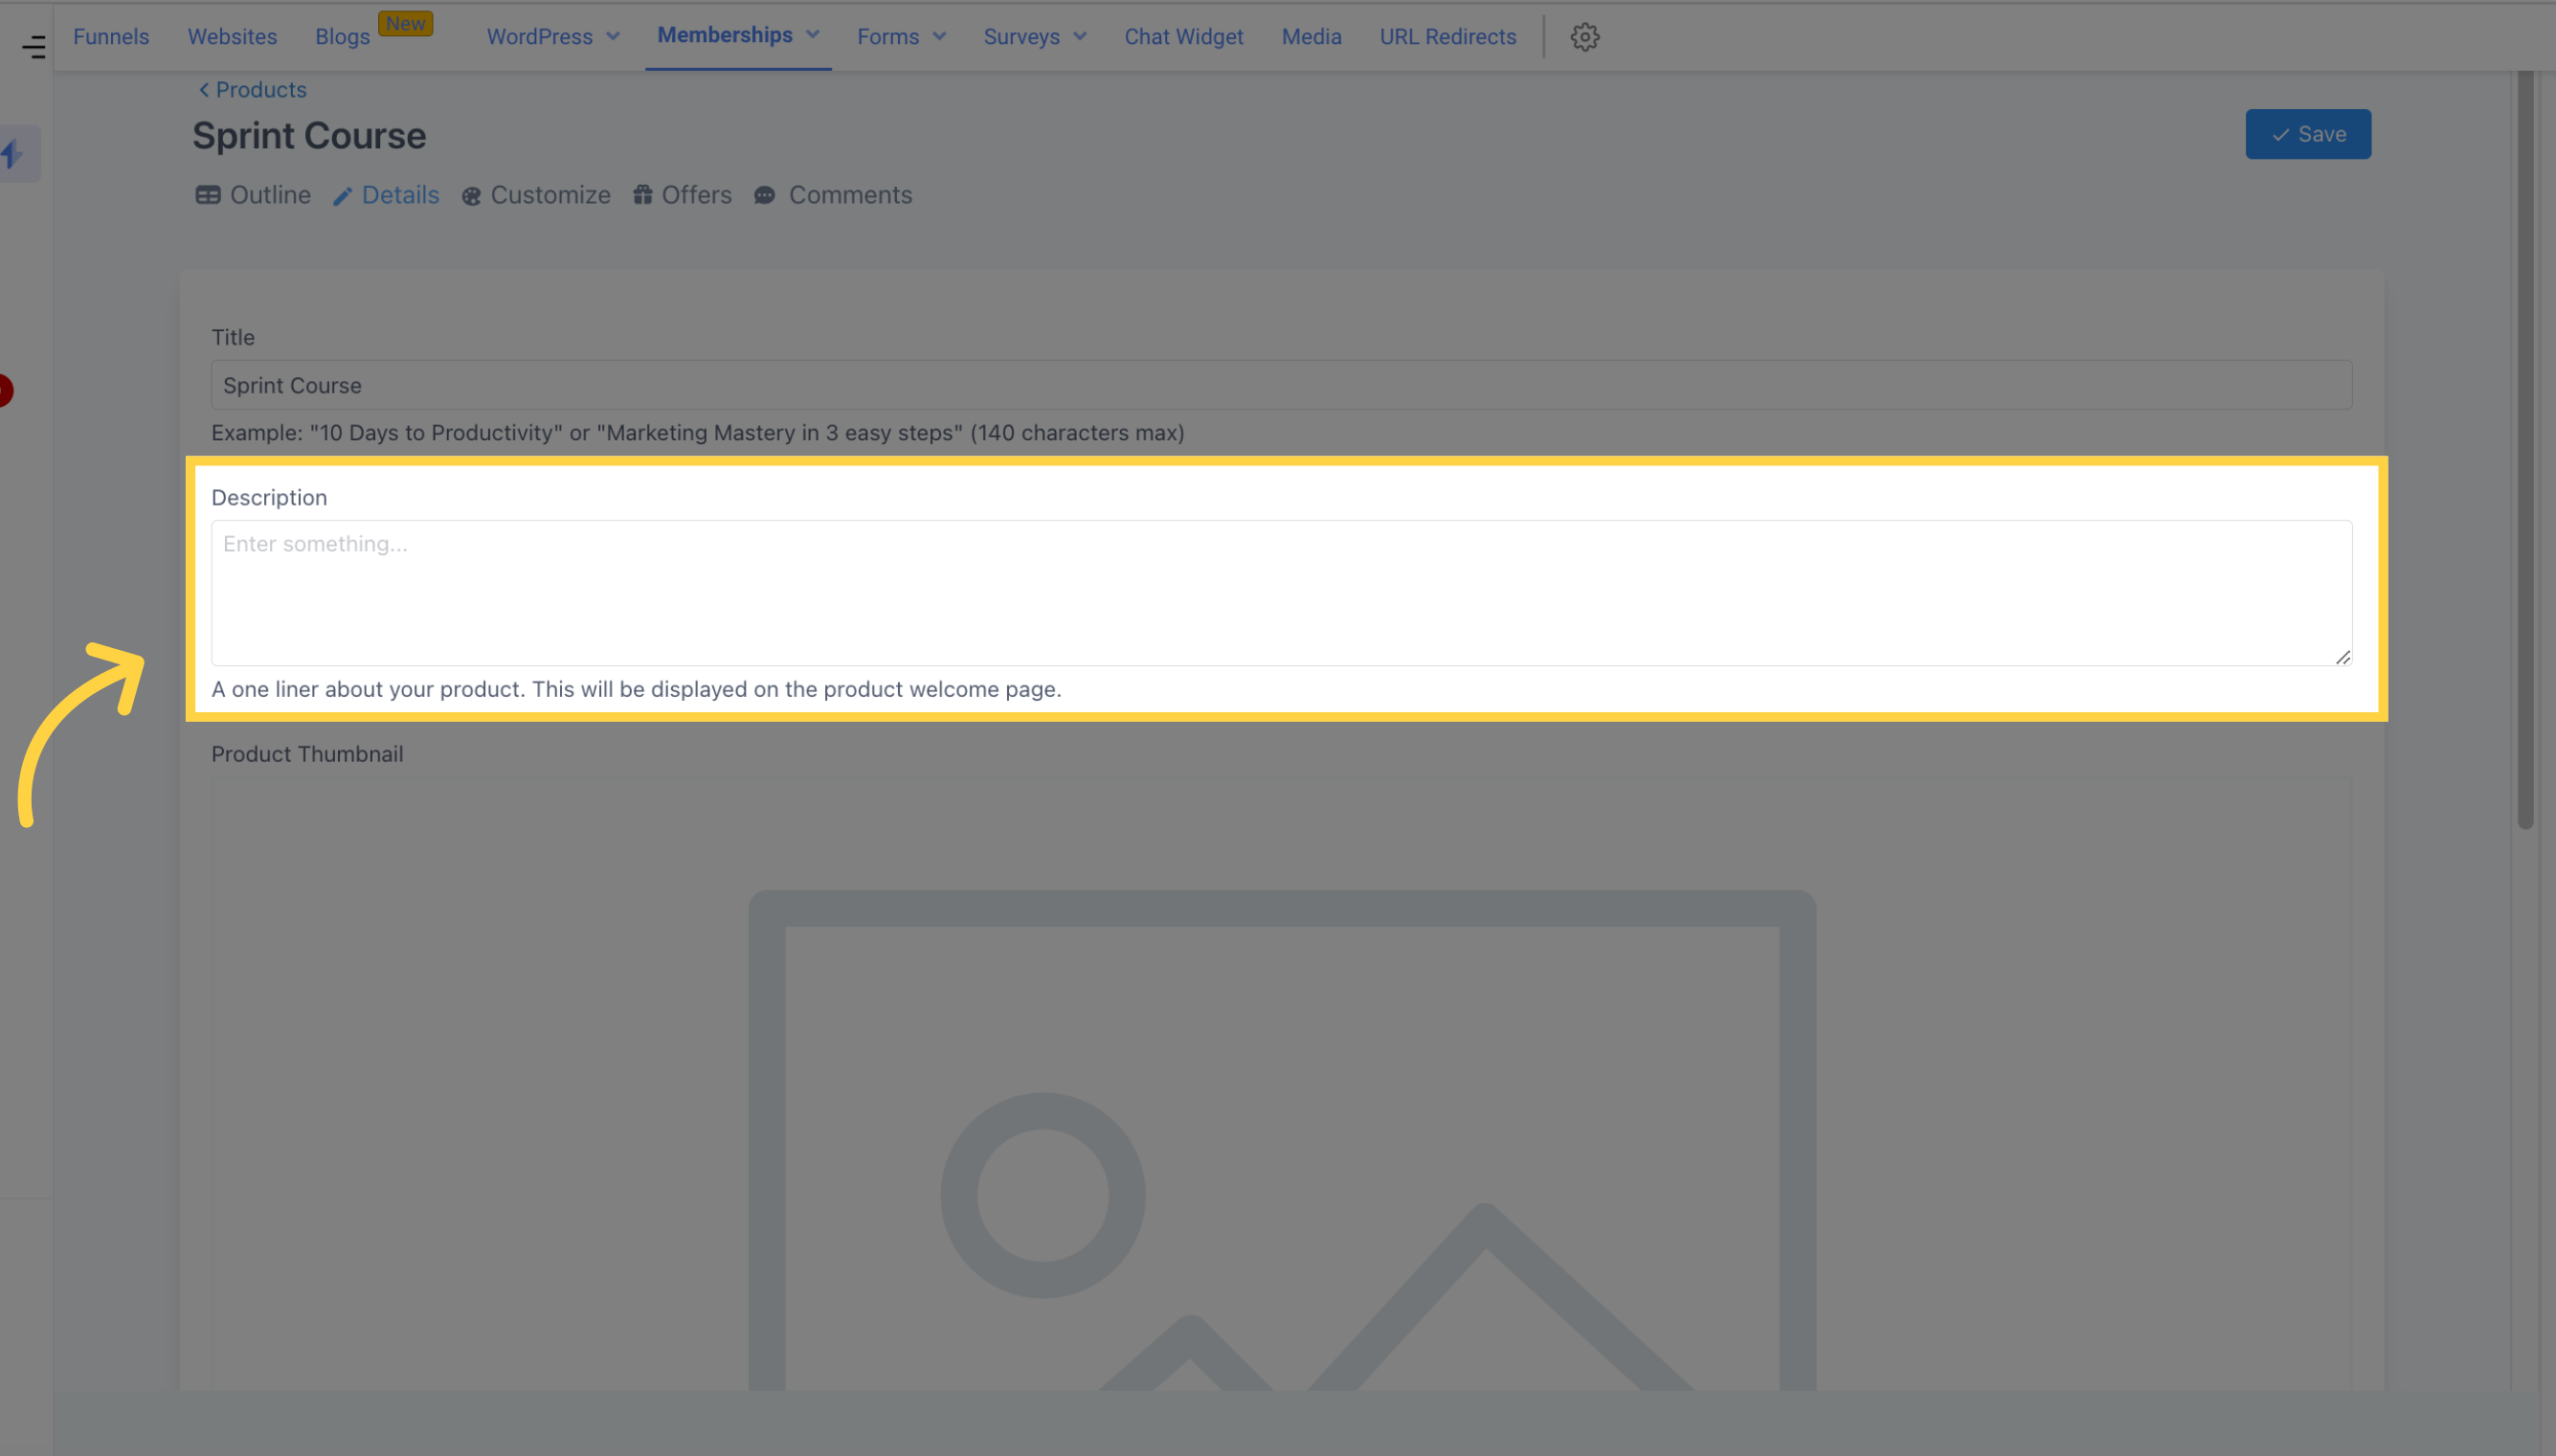
For the Description, a concise one-liner about your product can be added to give members a glimpse of what to expect. This will be visible on the product welcome page and can be previewed or viewed upon publishing by clicking "Preview" or "Go To Product".
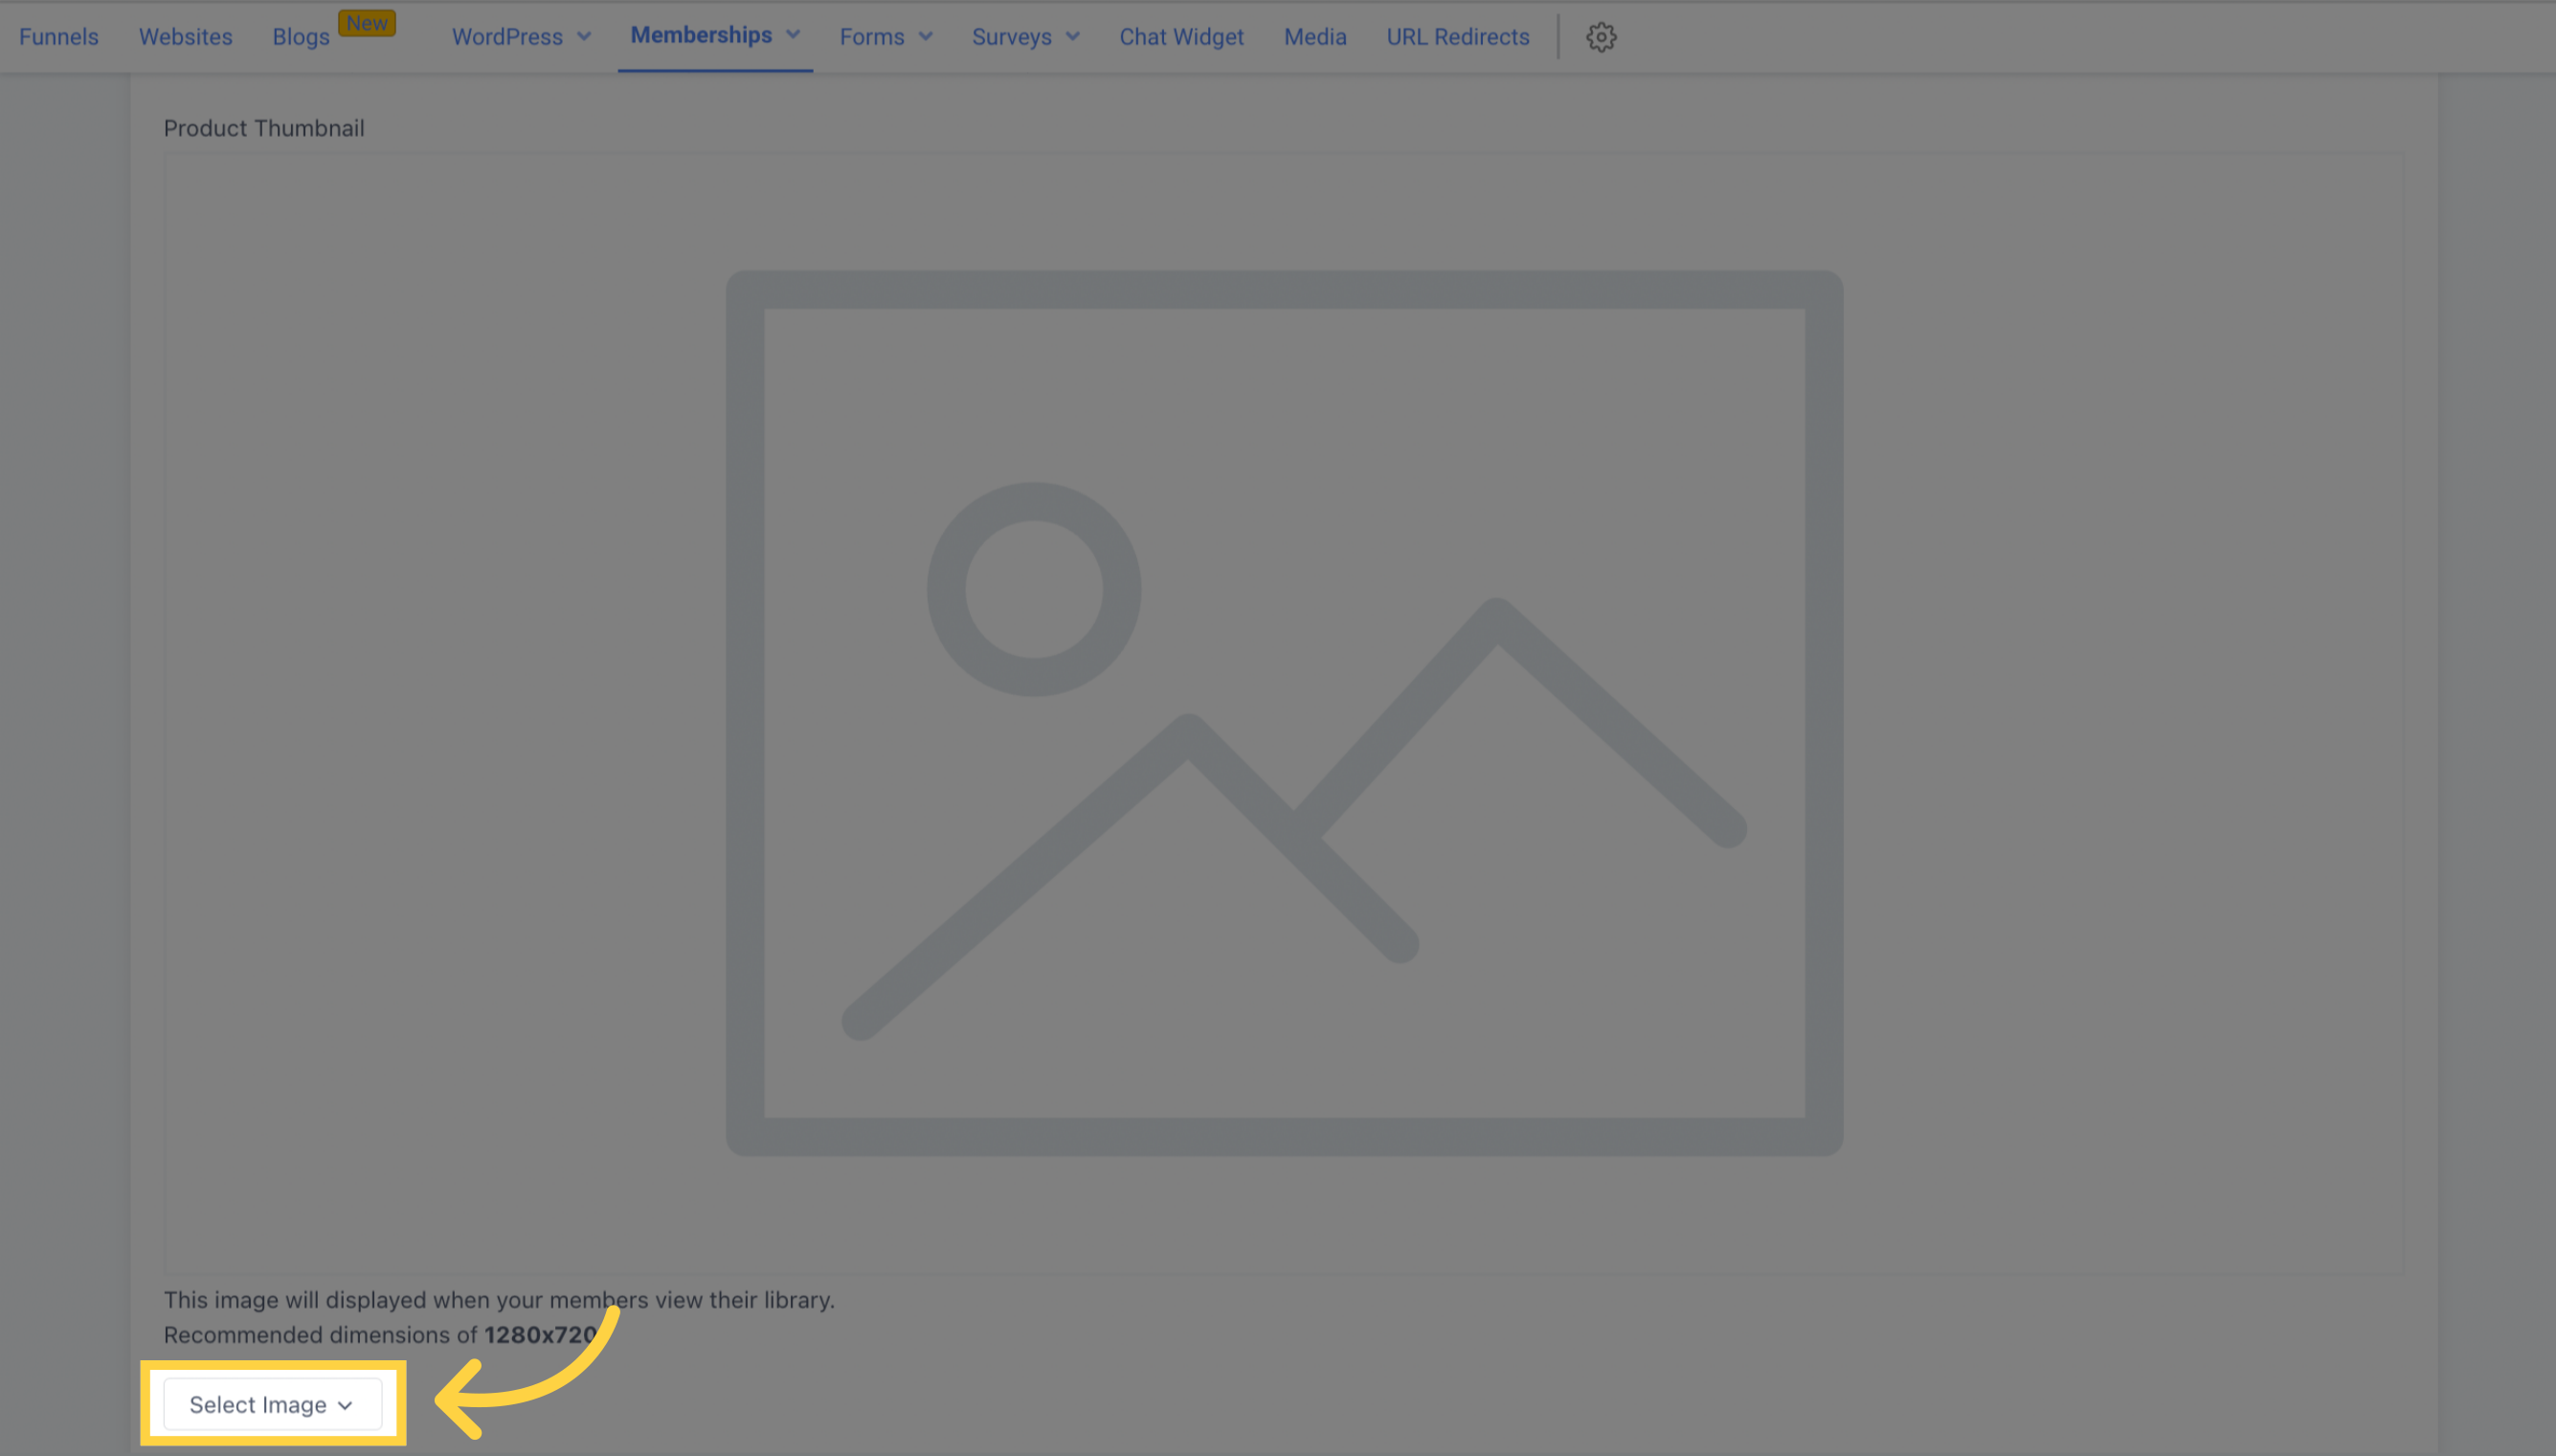
The Product Thumbnail serves as the image displayed for members to view in their library, with the recommended size being 1280x720. Uploading an image can be done by selecting the "Select Image" button and uploading a new file from your device. To remove an uploaded image, simply click on "remove" located on the right side of the "Select image" button.
Enter the desired header text in this section. For instance, you may use "Instructor".
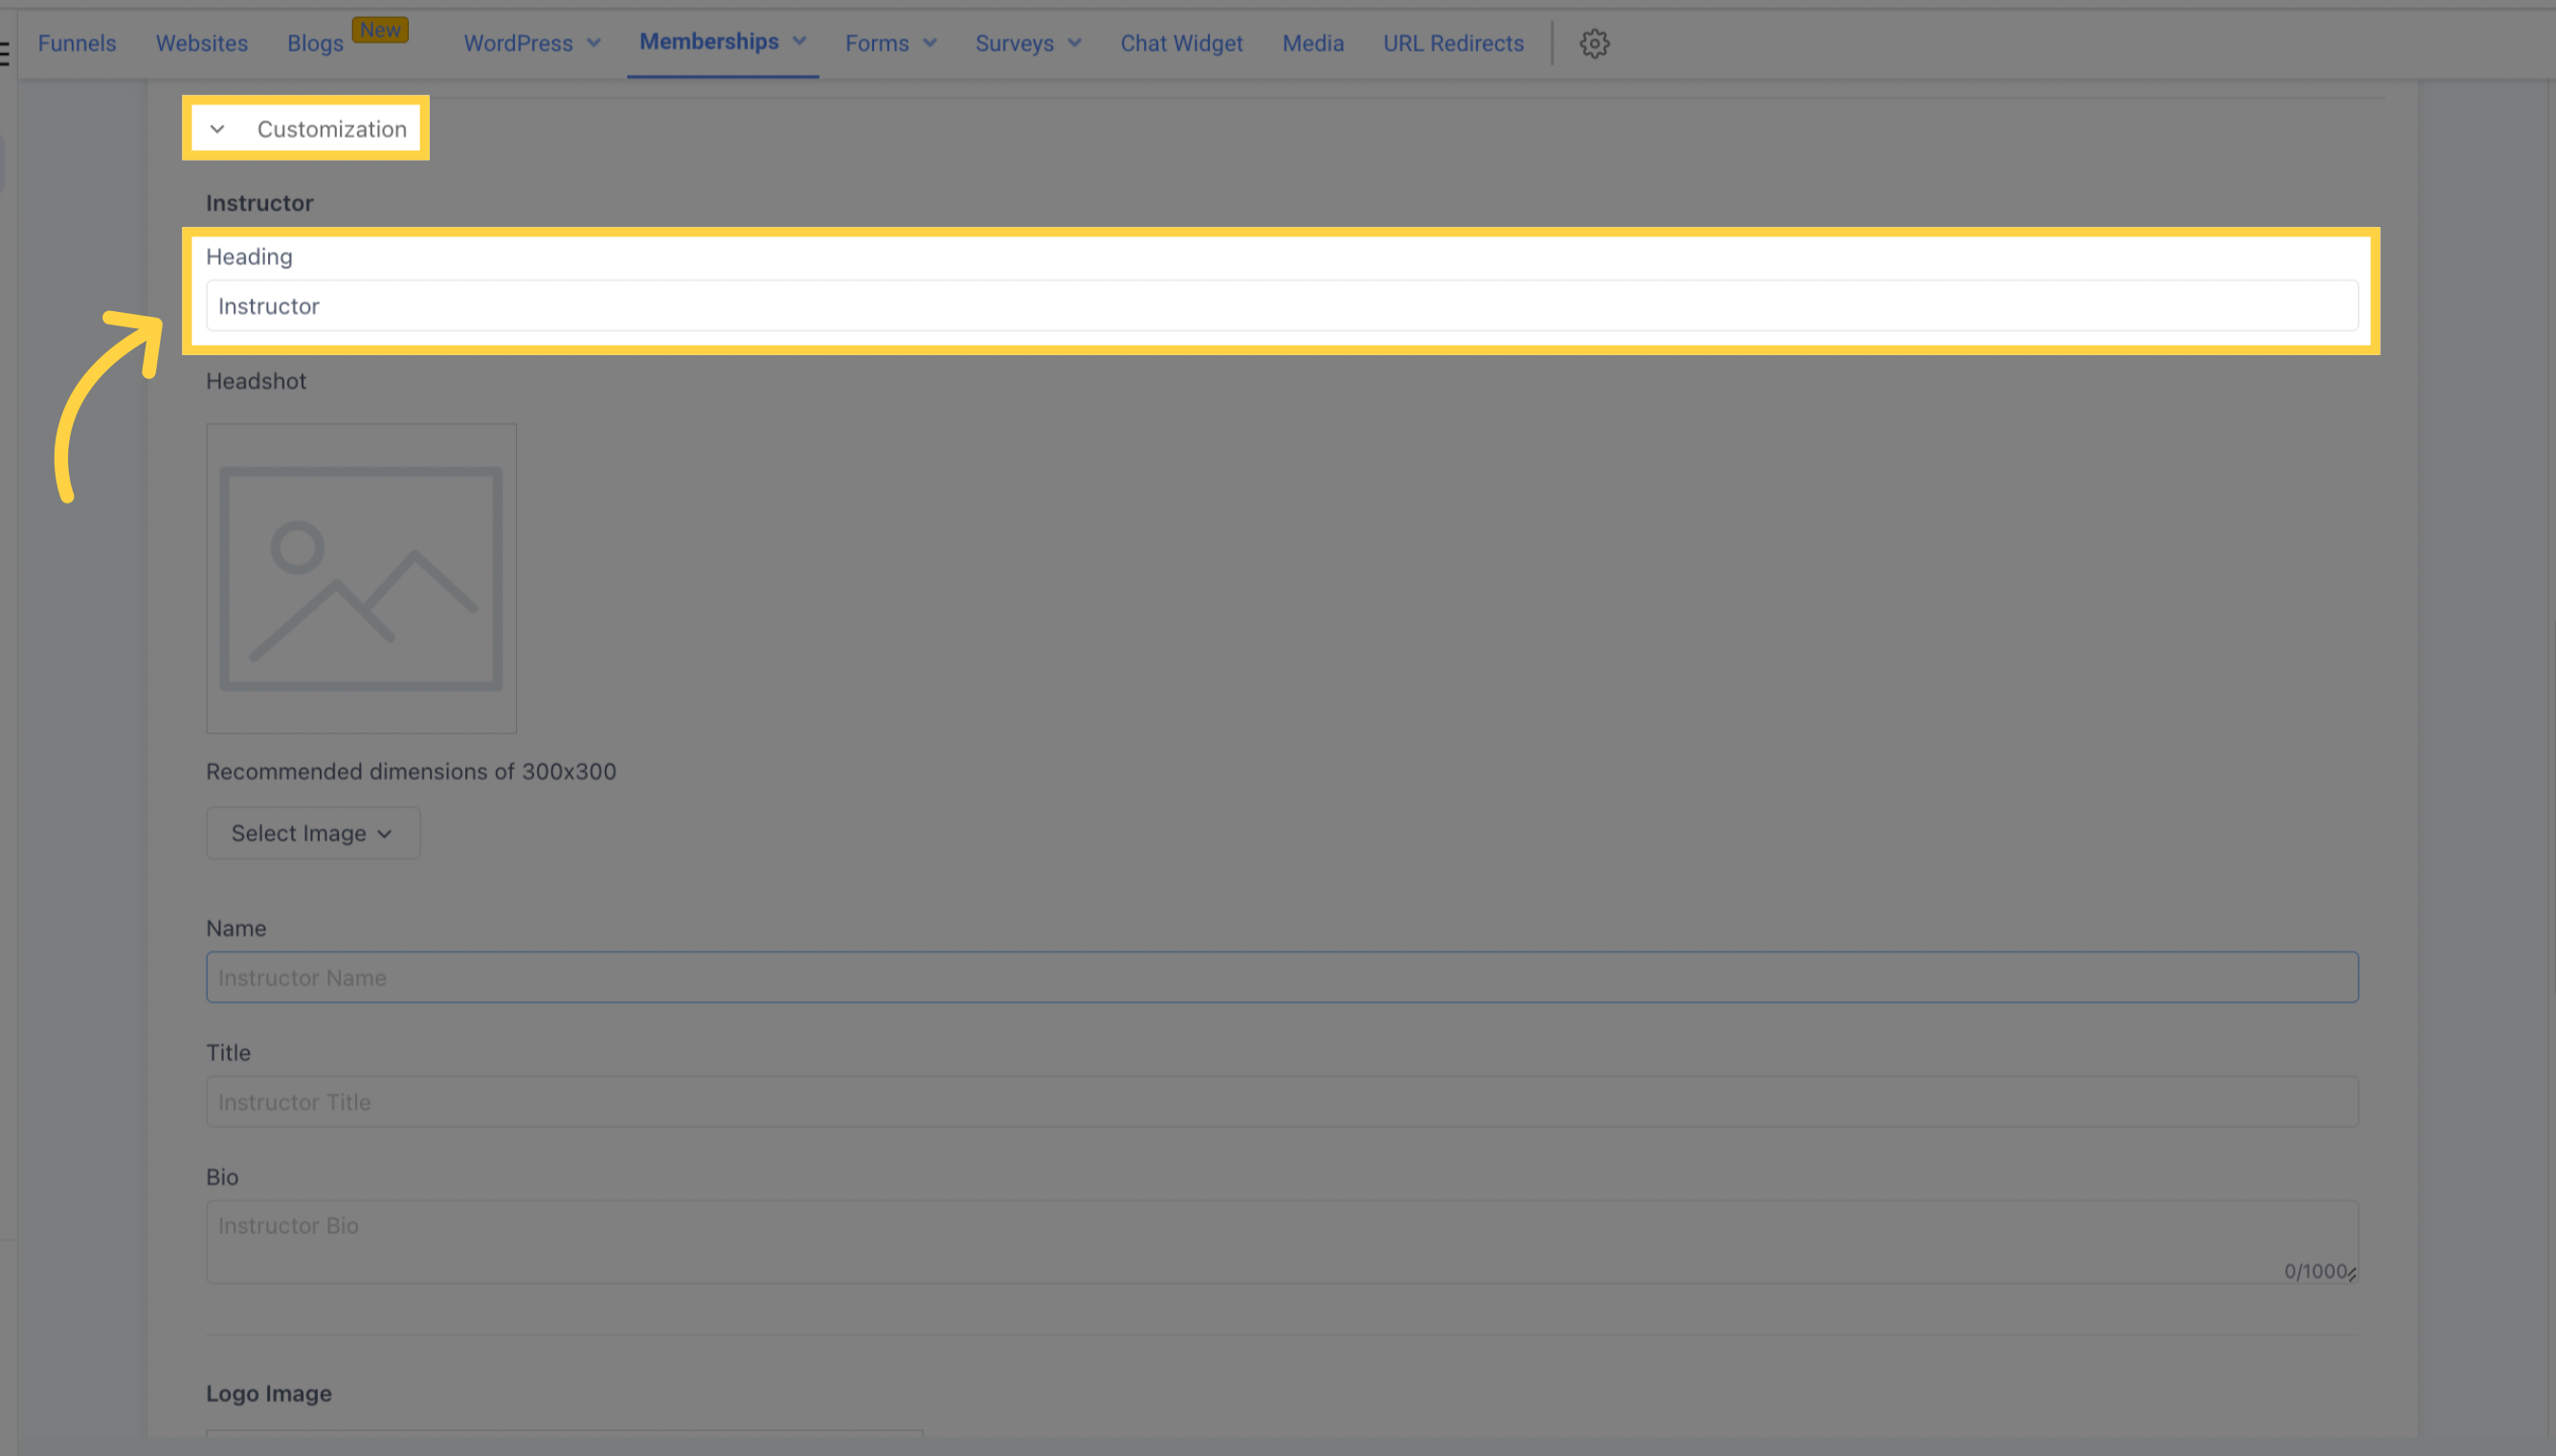
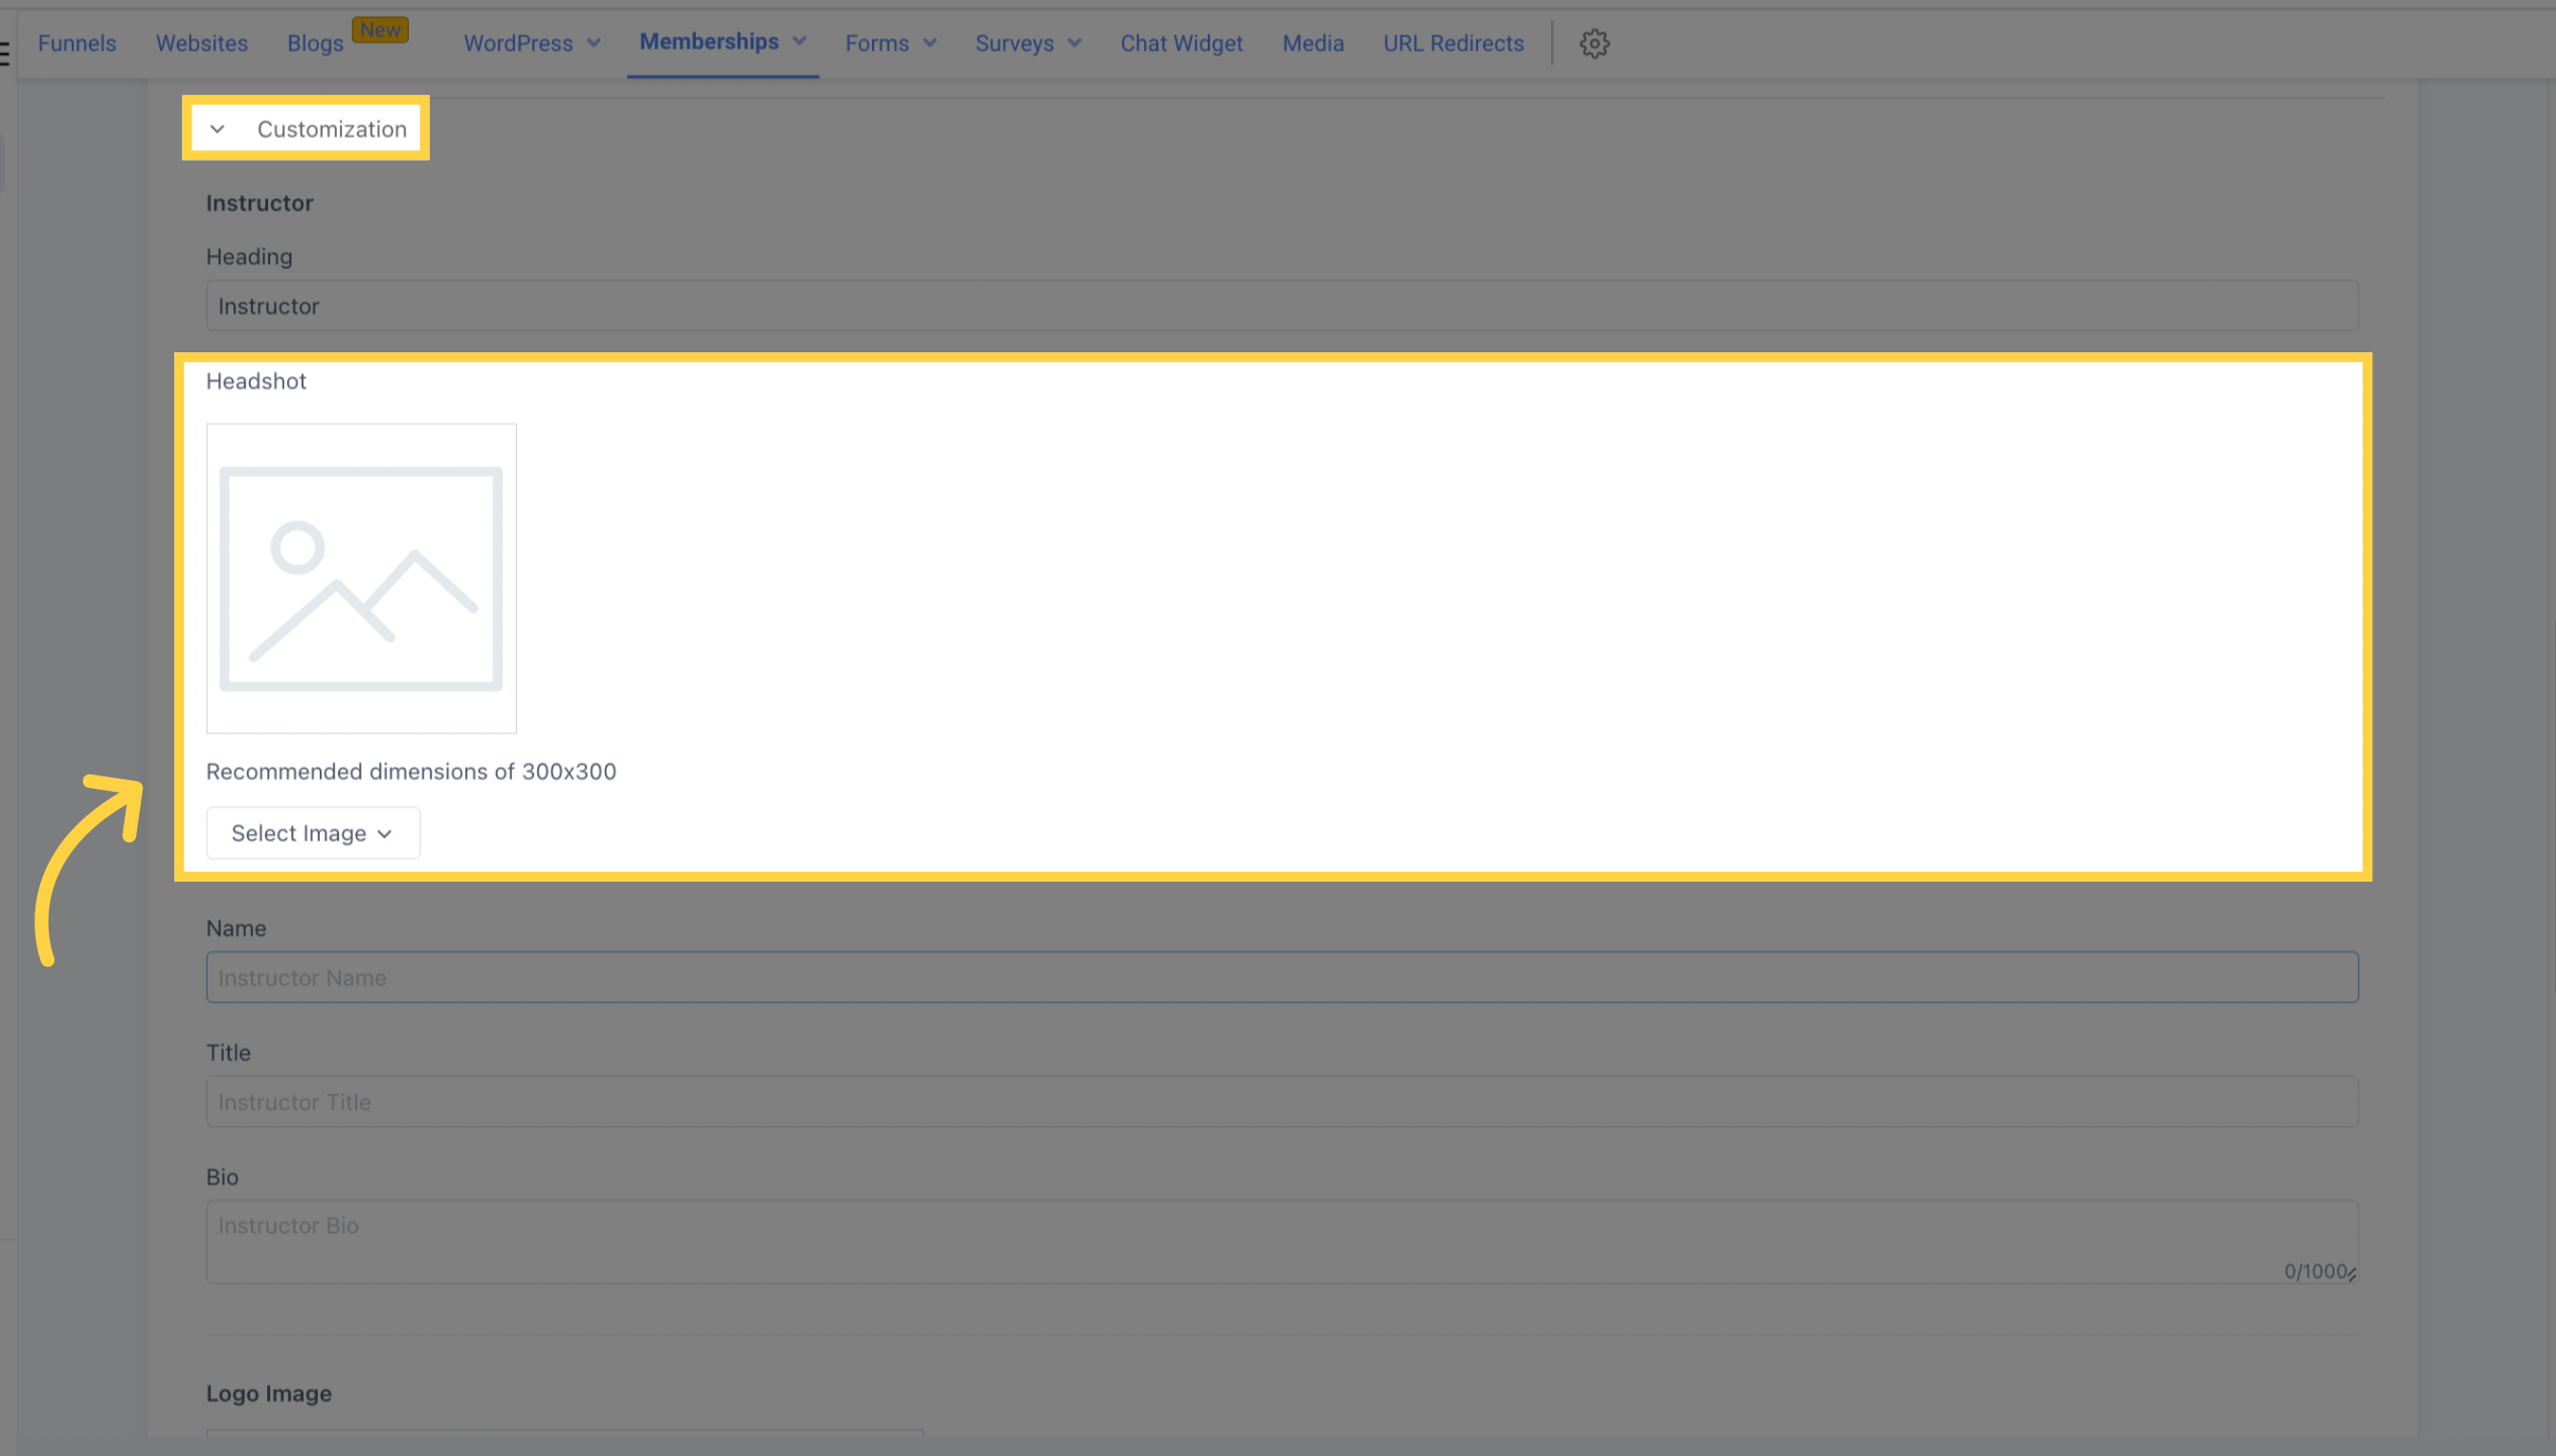
The instructor's photo will be visible to course members. Please use 300x300 as the recommended dimensions. To add a new image, click on "Select Image," and upload the file from your device. If you need to remove any uploaded image, you can click on "Remove" on the right side of the "Select image" button.
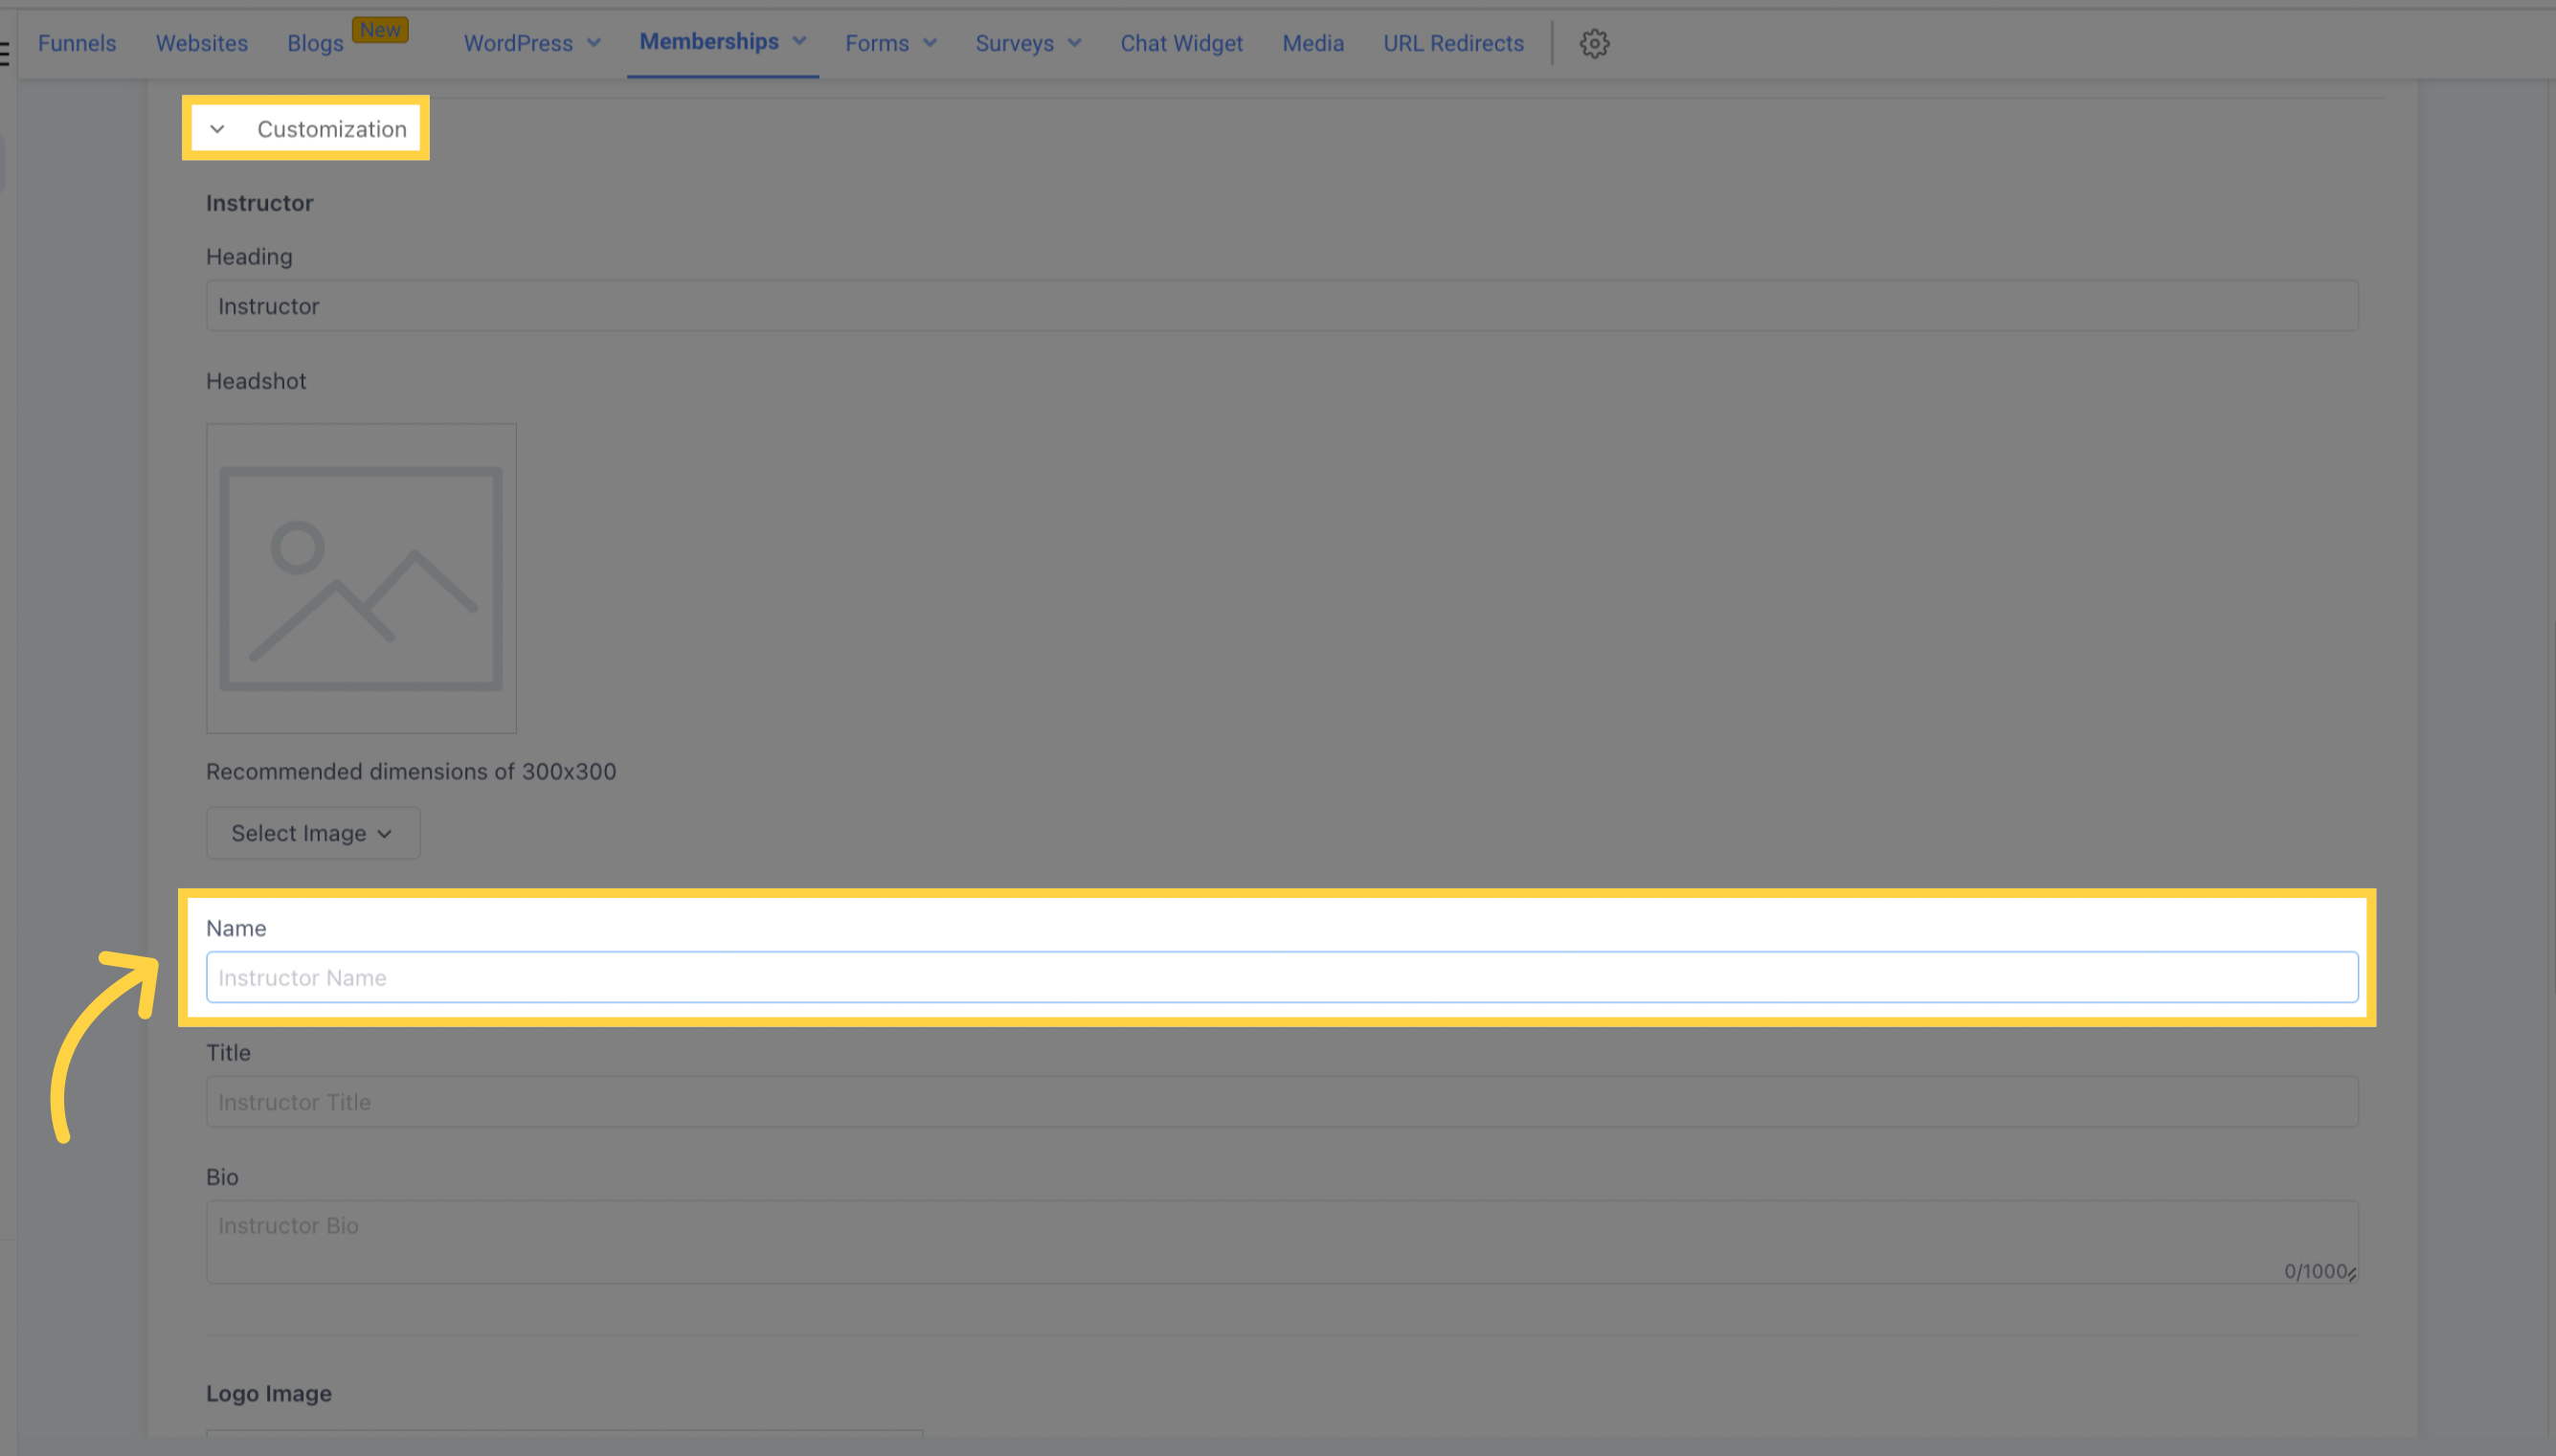
Enter the instructor's name or preferred name here. This name will be visible to course members.
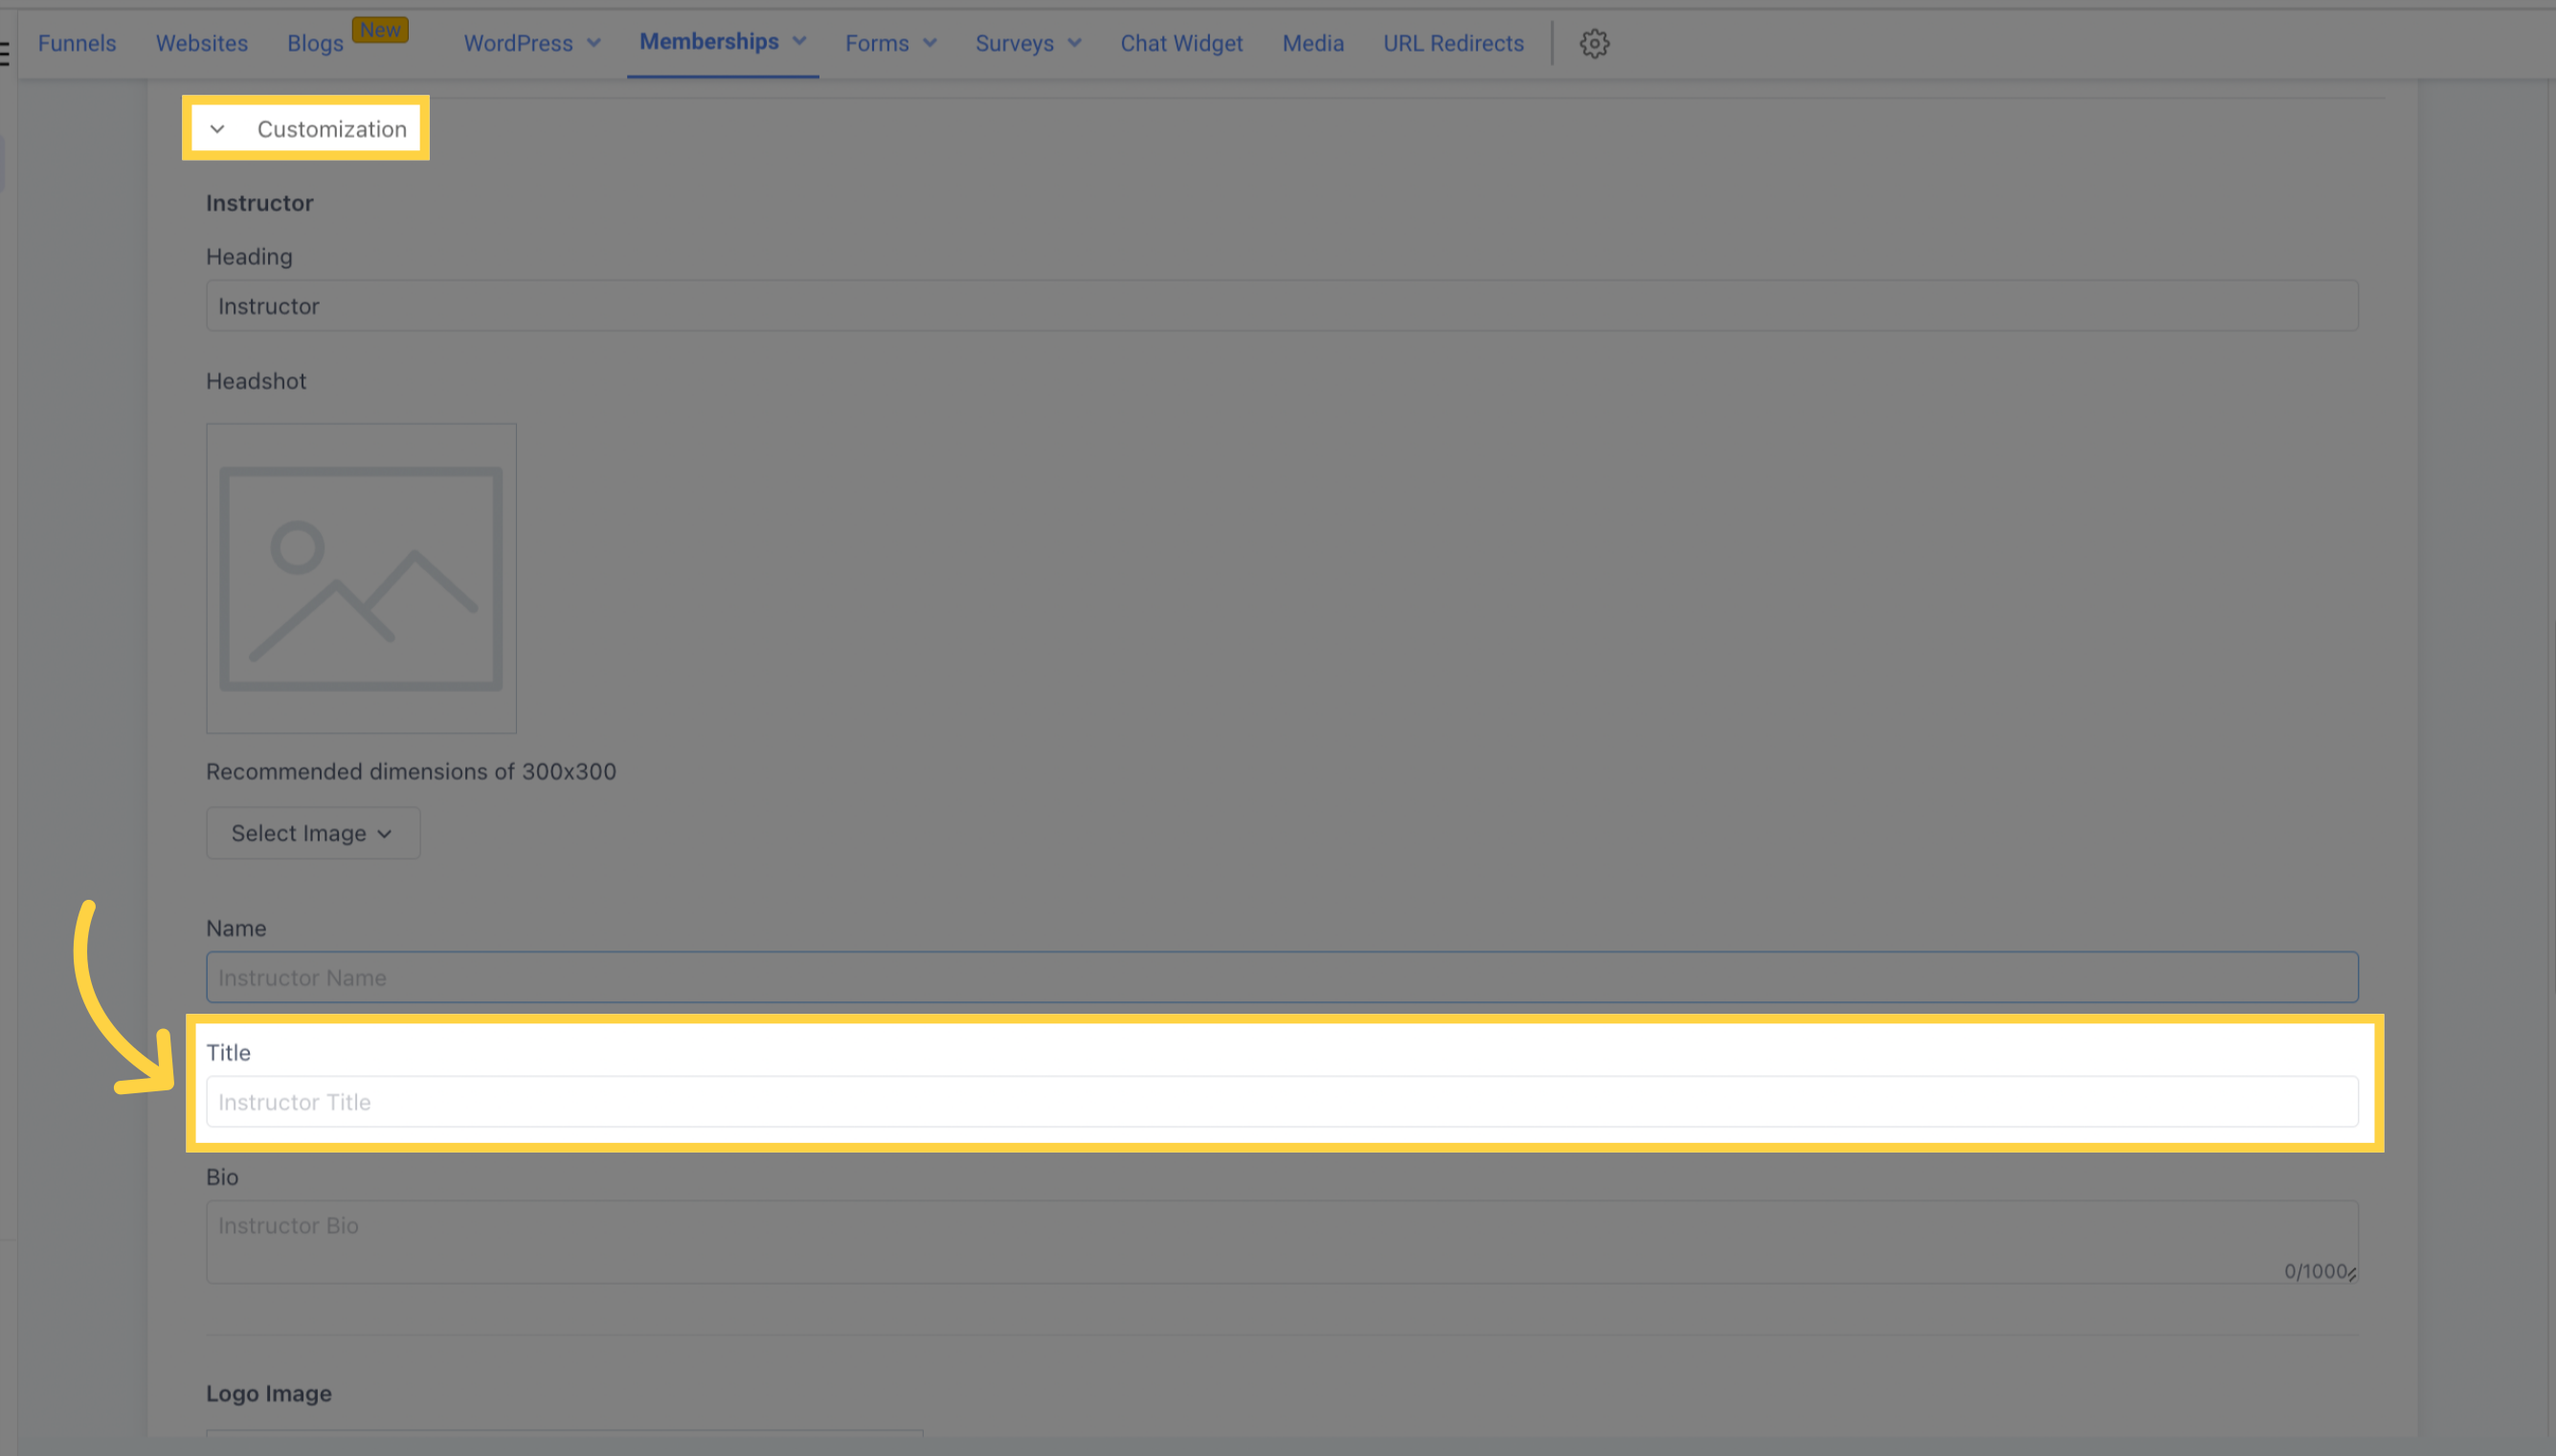
Add the instructor's job title in this section, for example, "Coach."
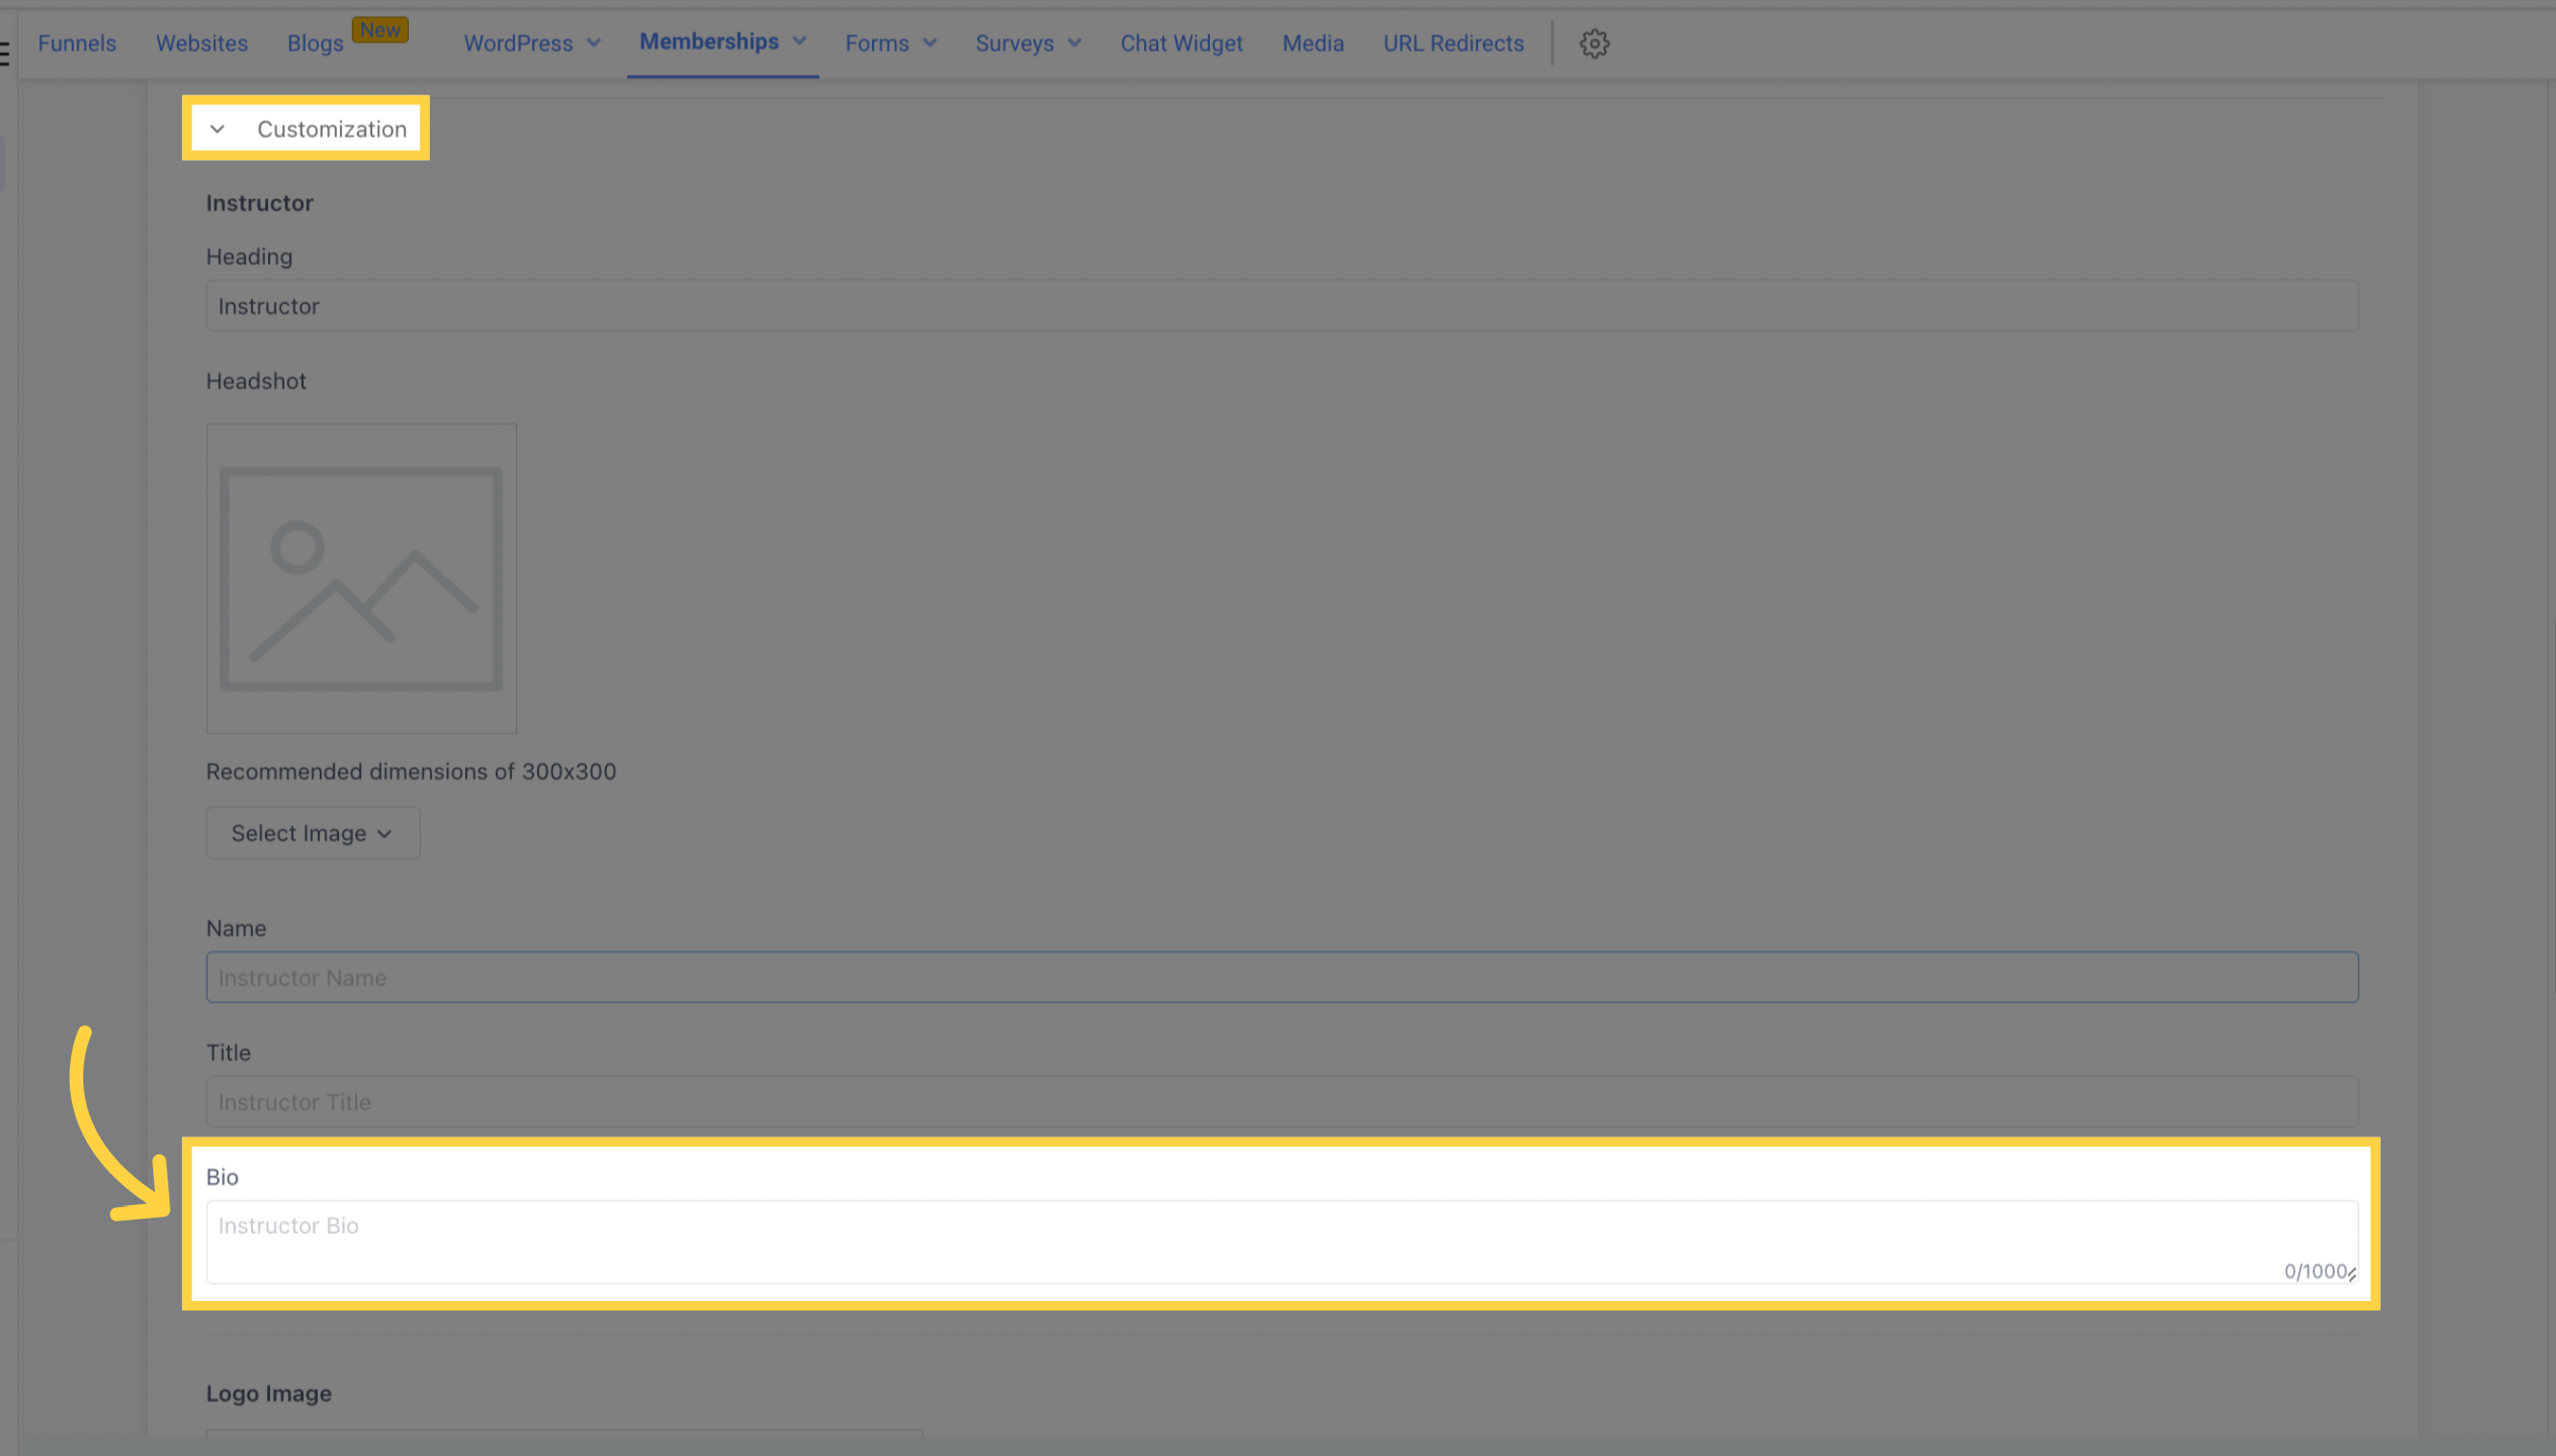
Use this section to write a brief biography of the instructor. You can add up to 1000 words.
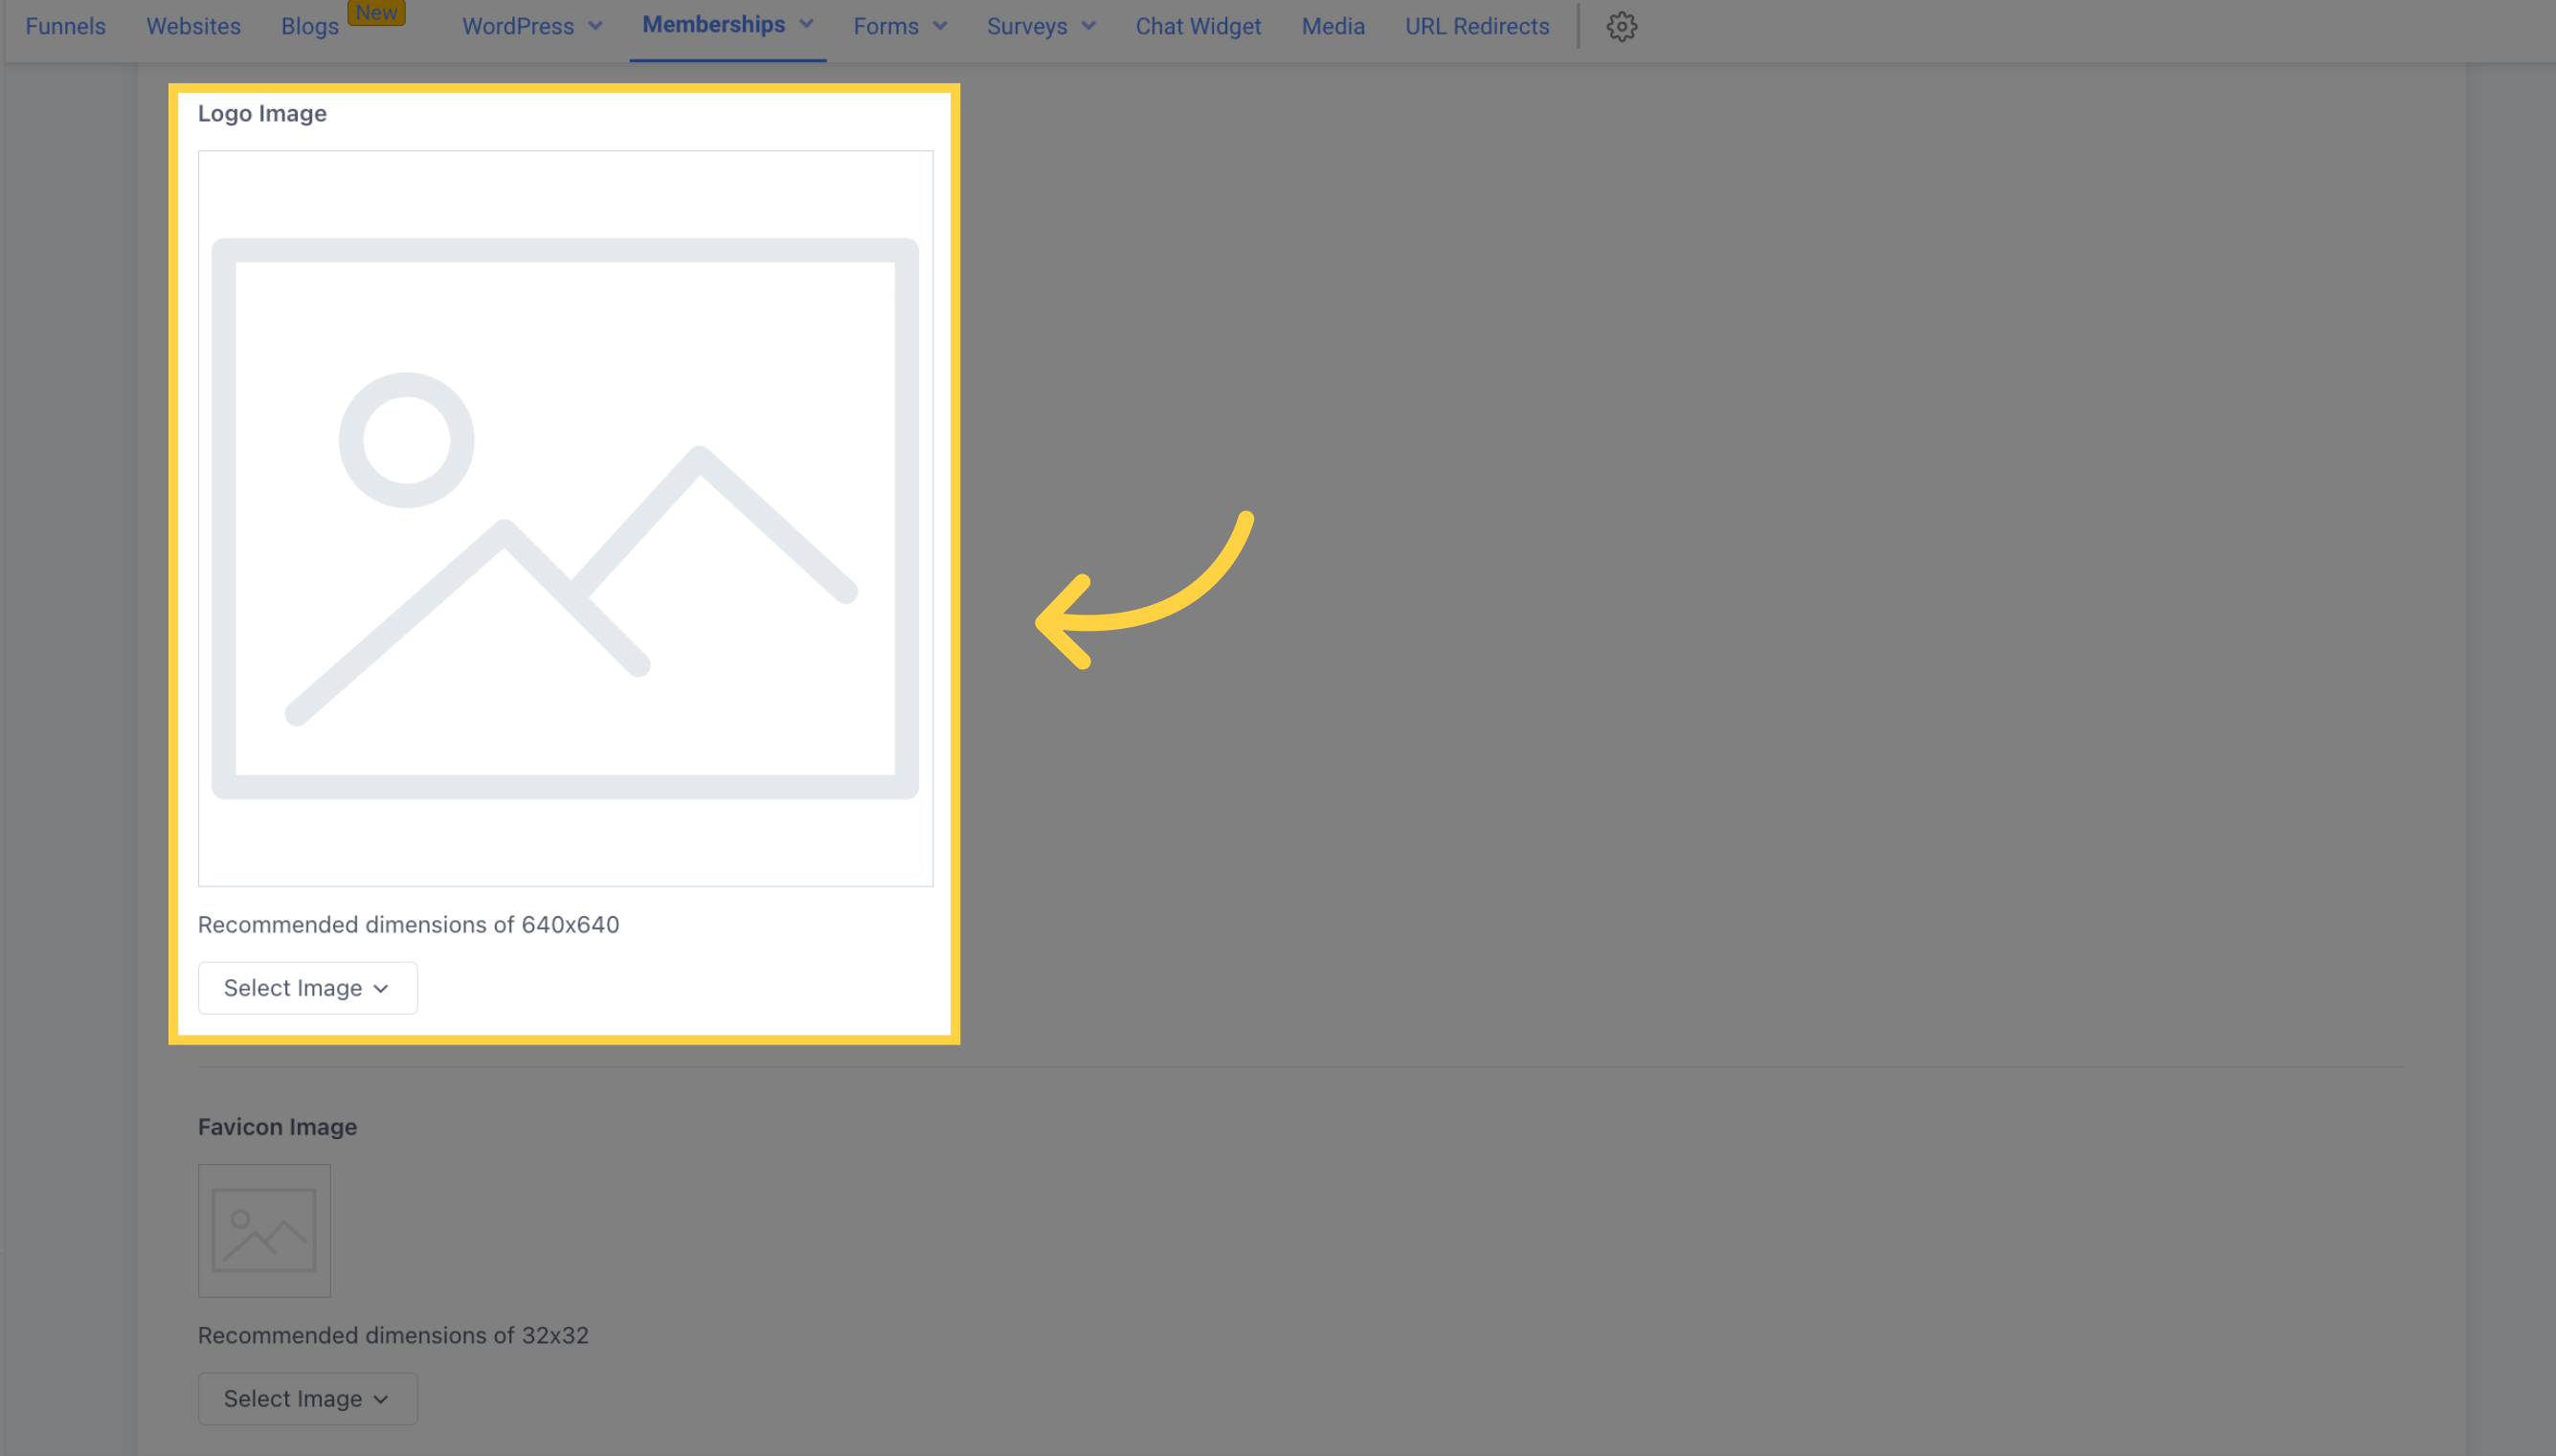
When you upload a logo image, it will appear on the top left corner of the course page. Please use 640x640 as the recommended dimensions.
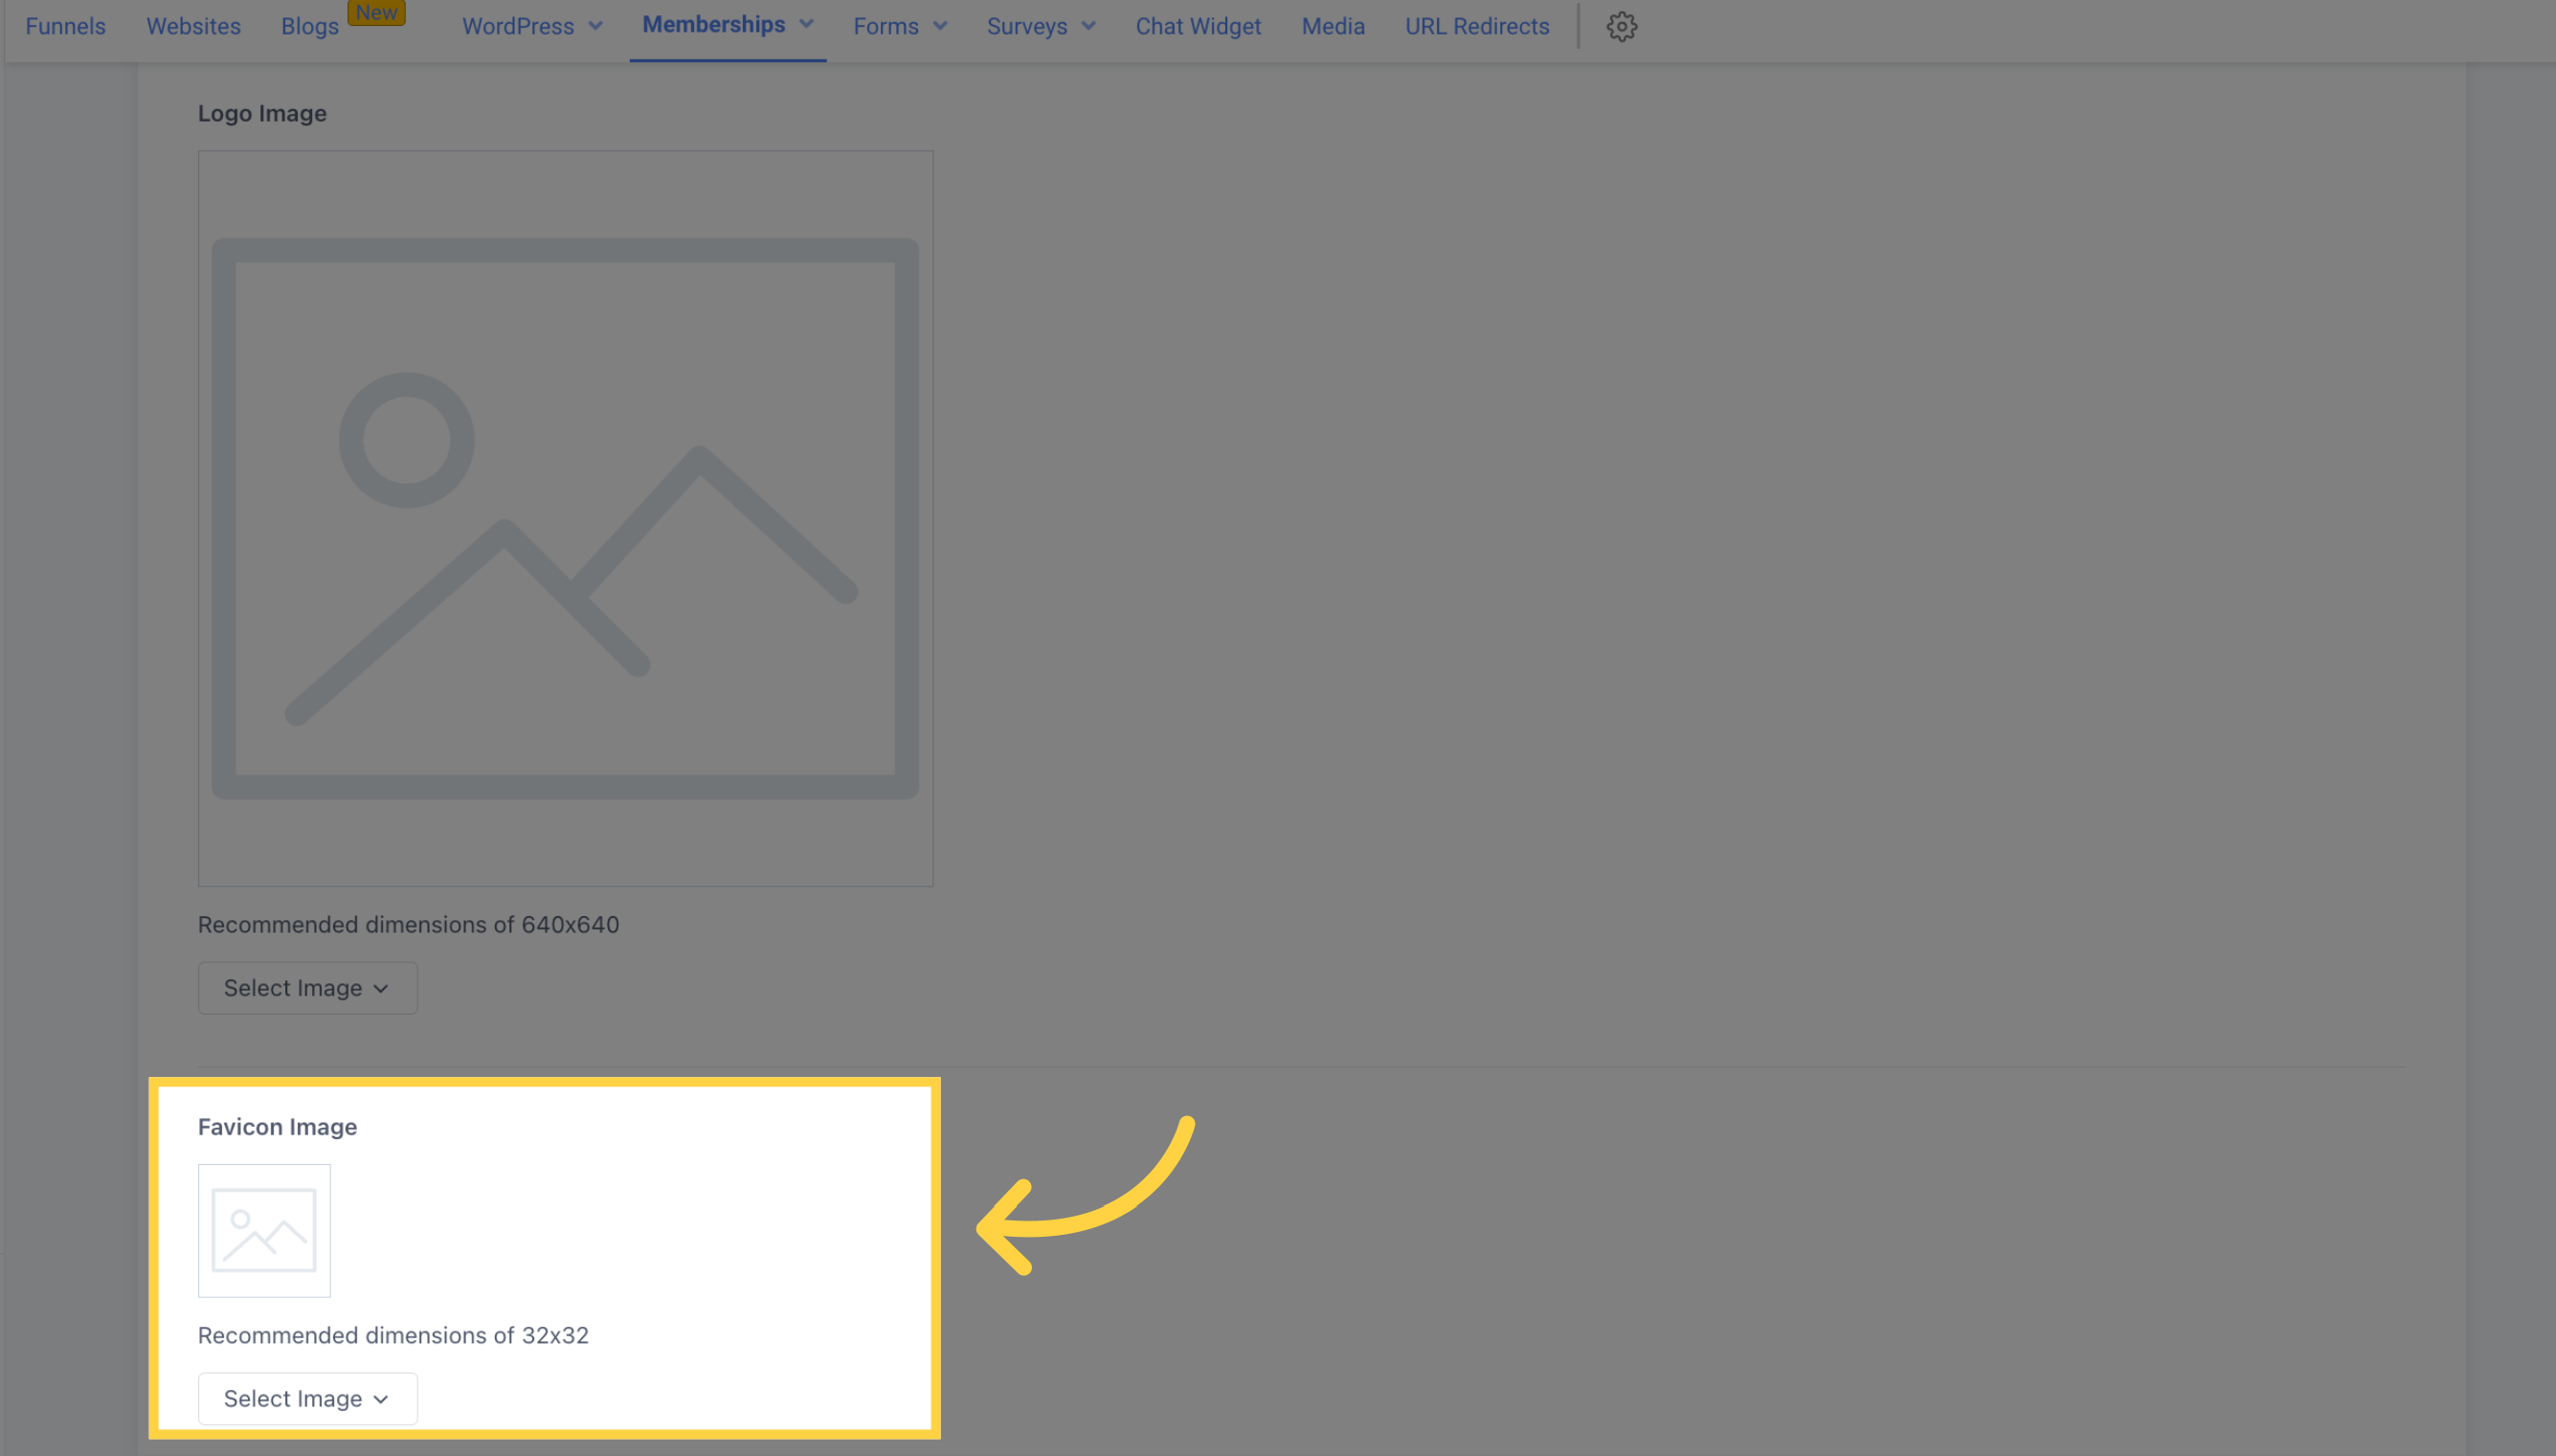
When you add a favicon image, it will be visible on the tab alongside the course page title. The recommended dimensions are 32x32.
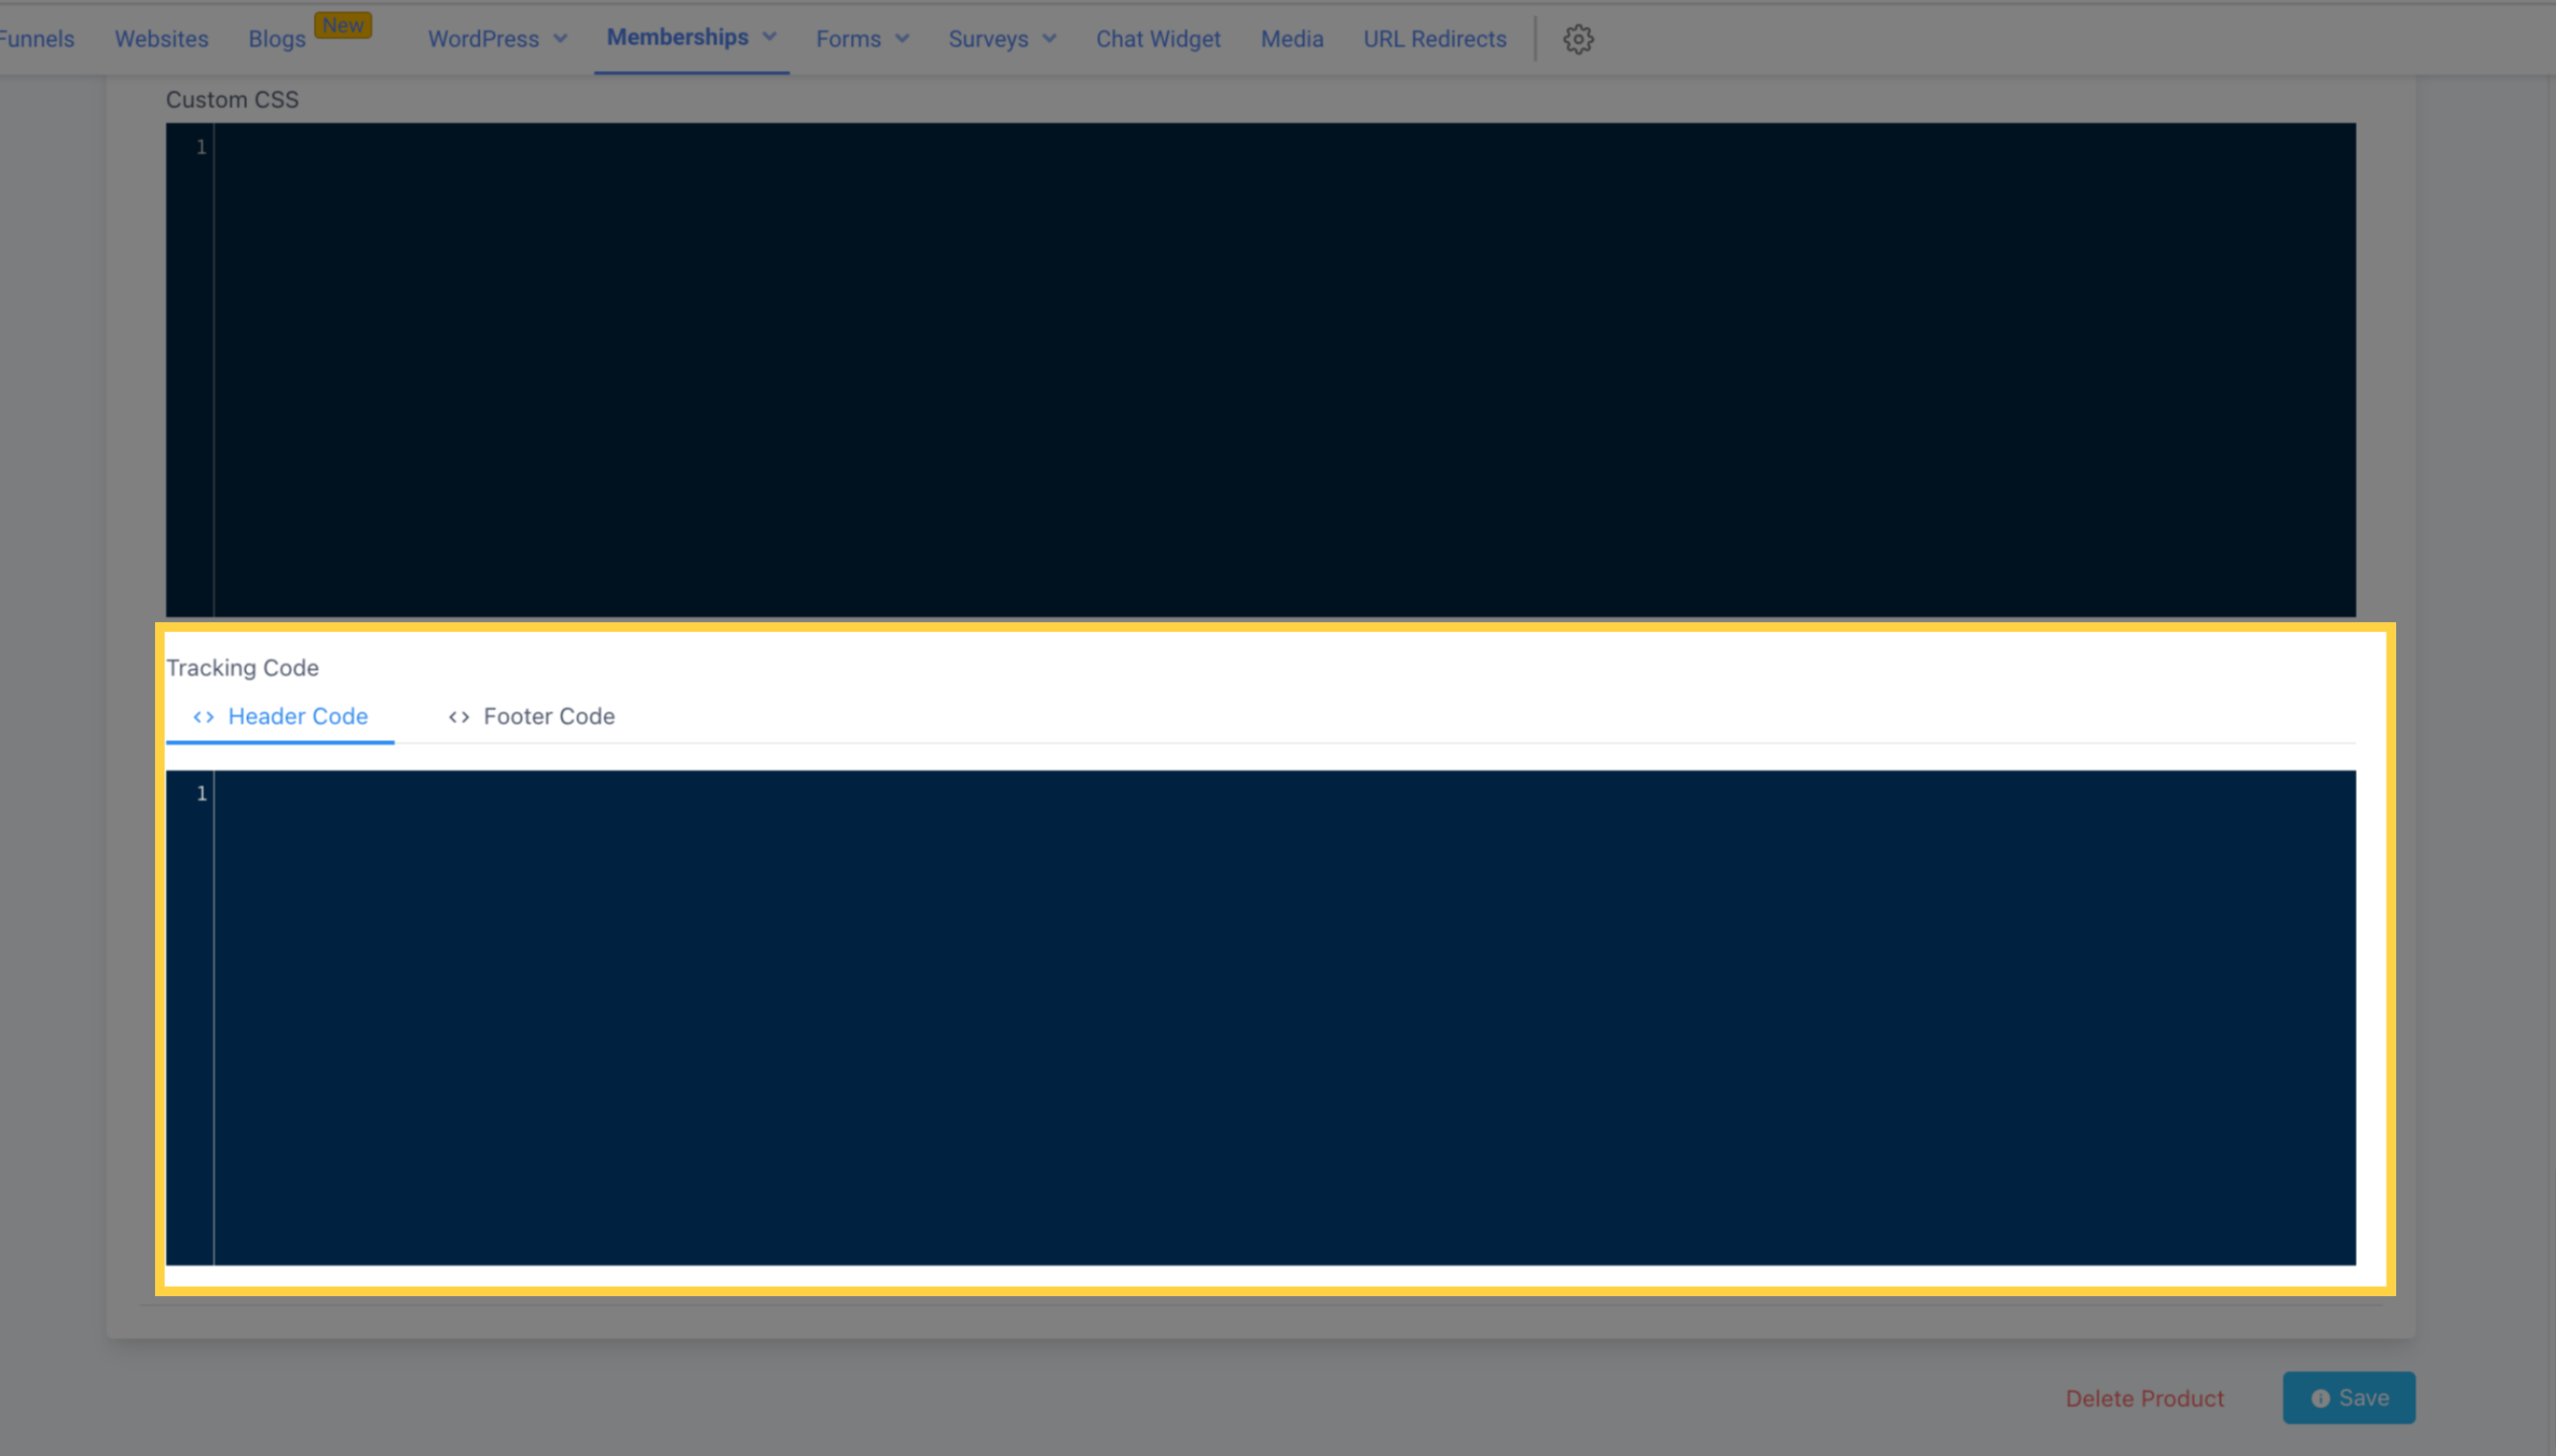
You have the option to insert your own personalized JS, CSS, and Tracking Code on this platform.

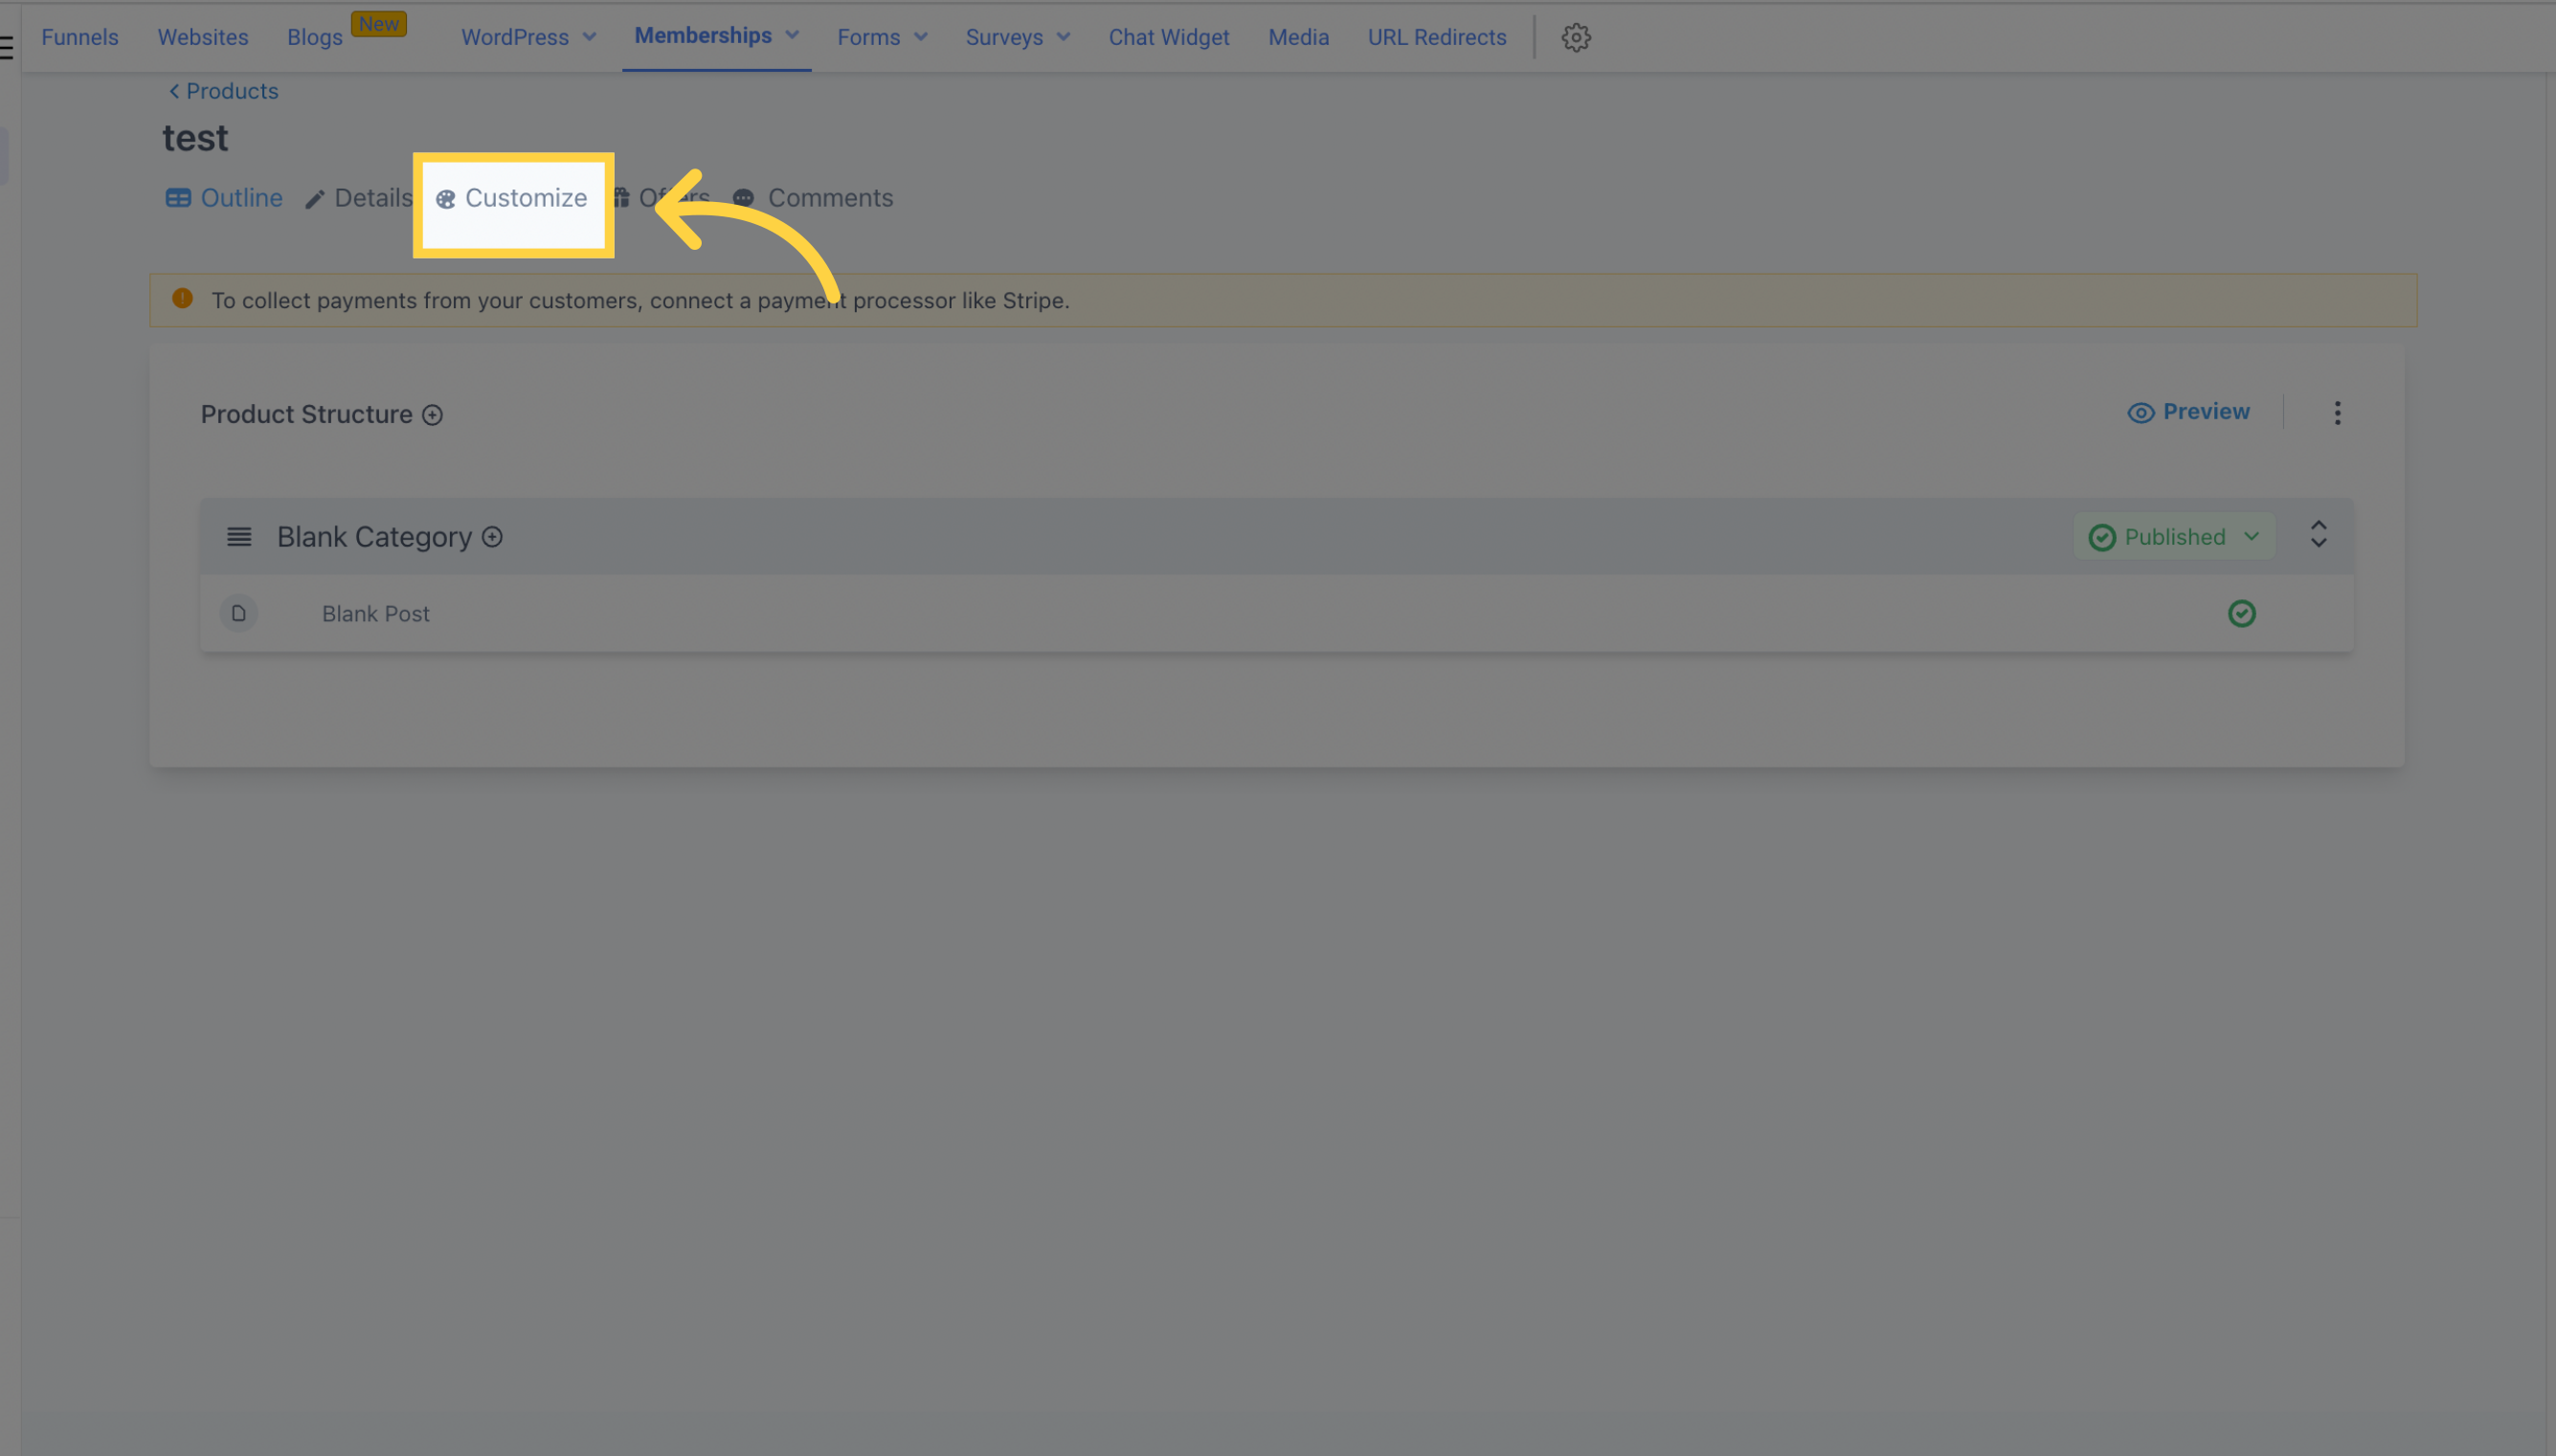
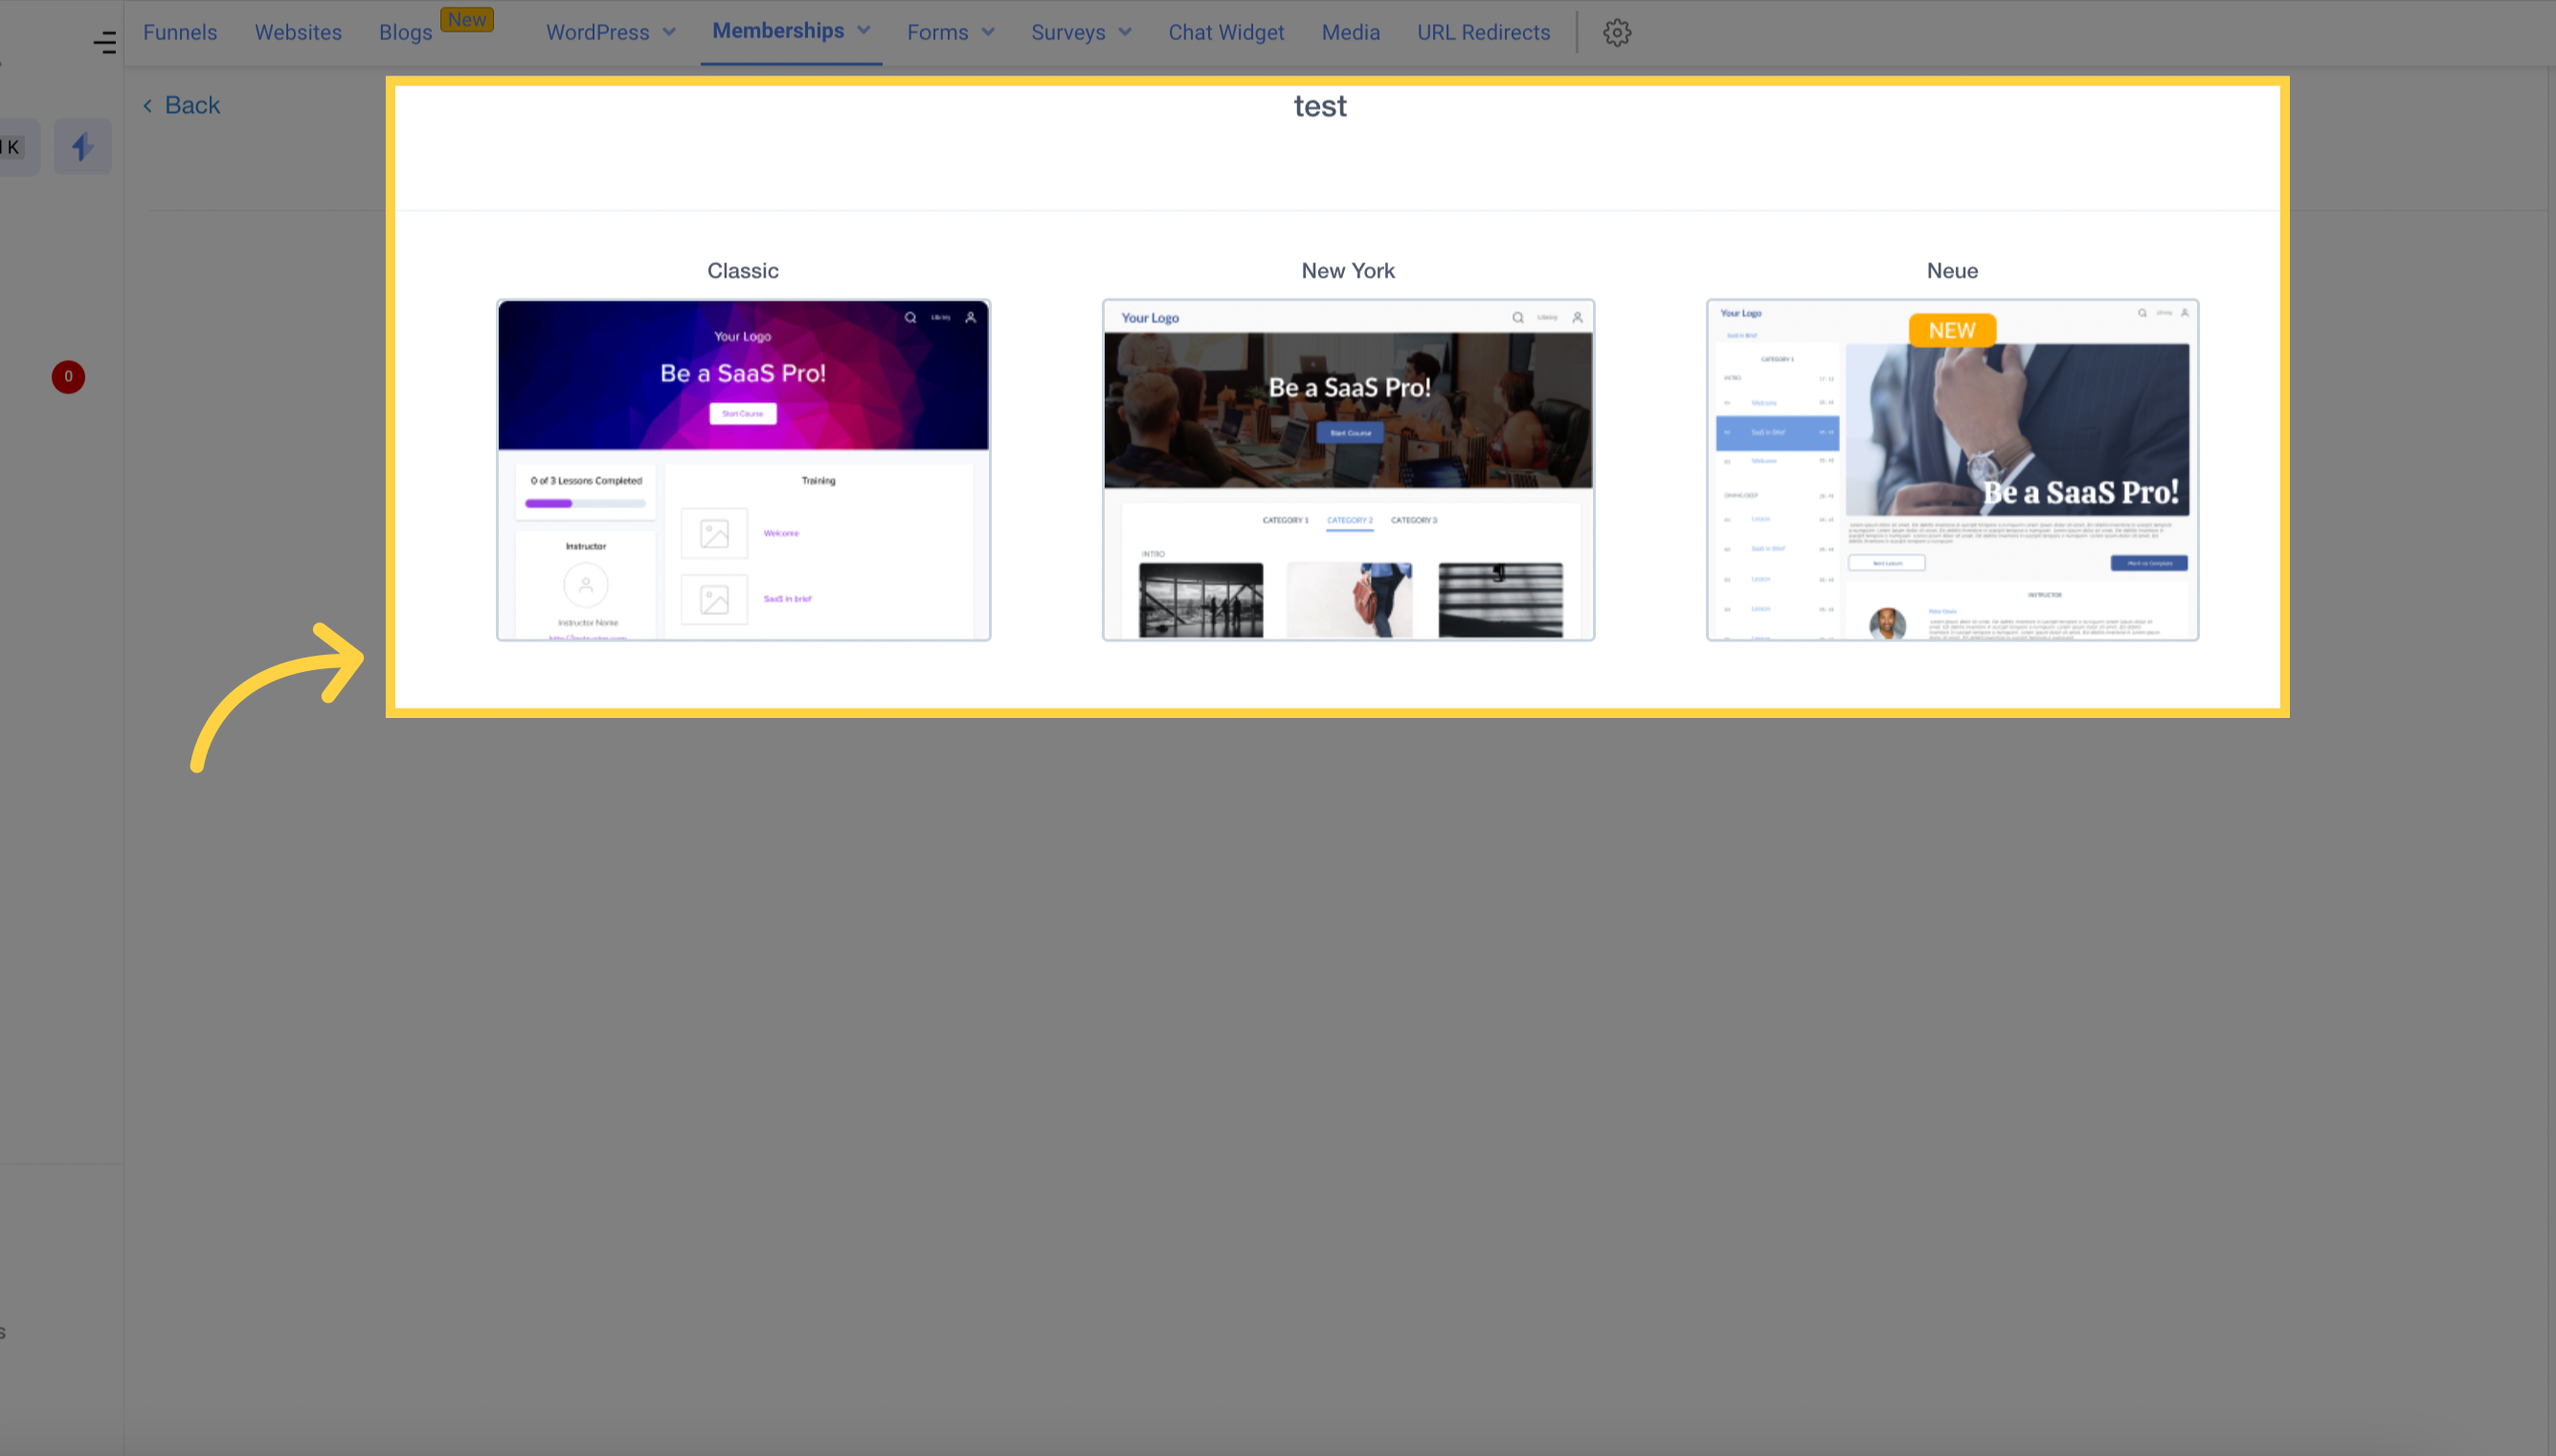
To personalize your product page, simply click on the "Customize" icon. This will take you to the customization page where you'll be able to modify the Theme Layout of your course.
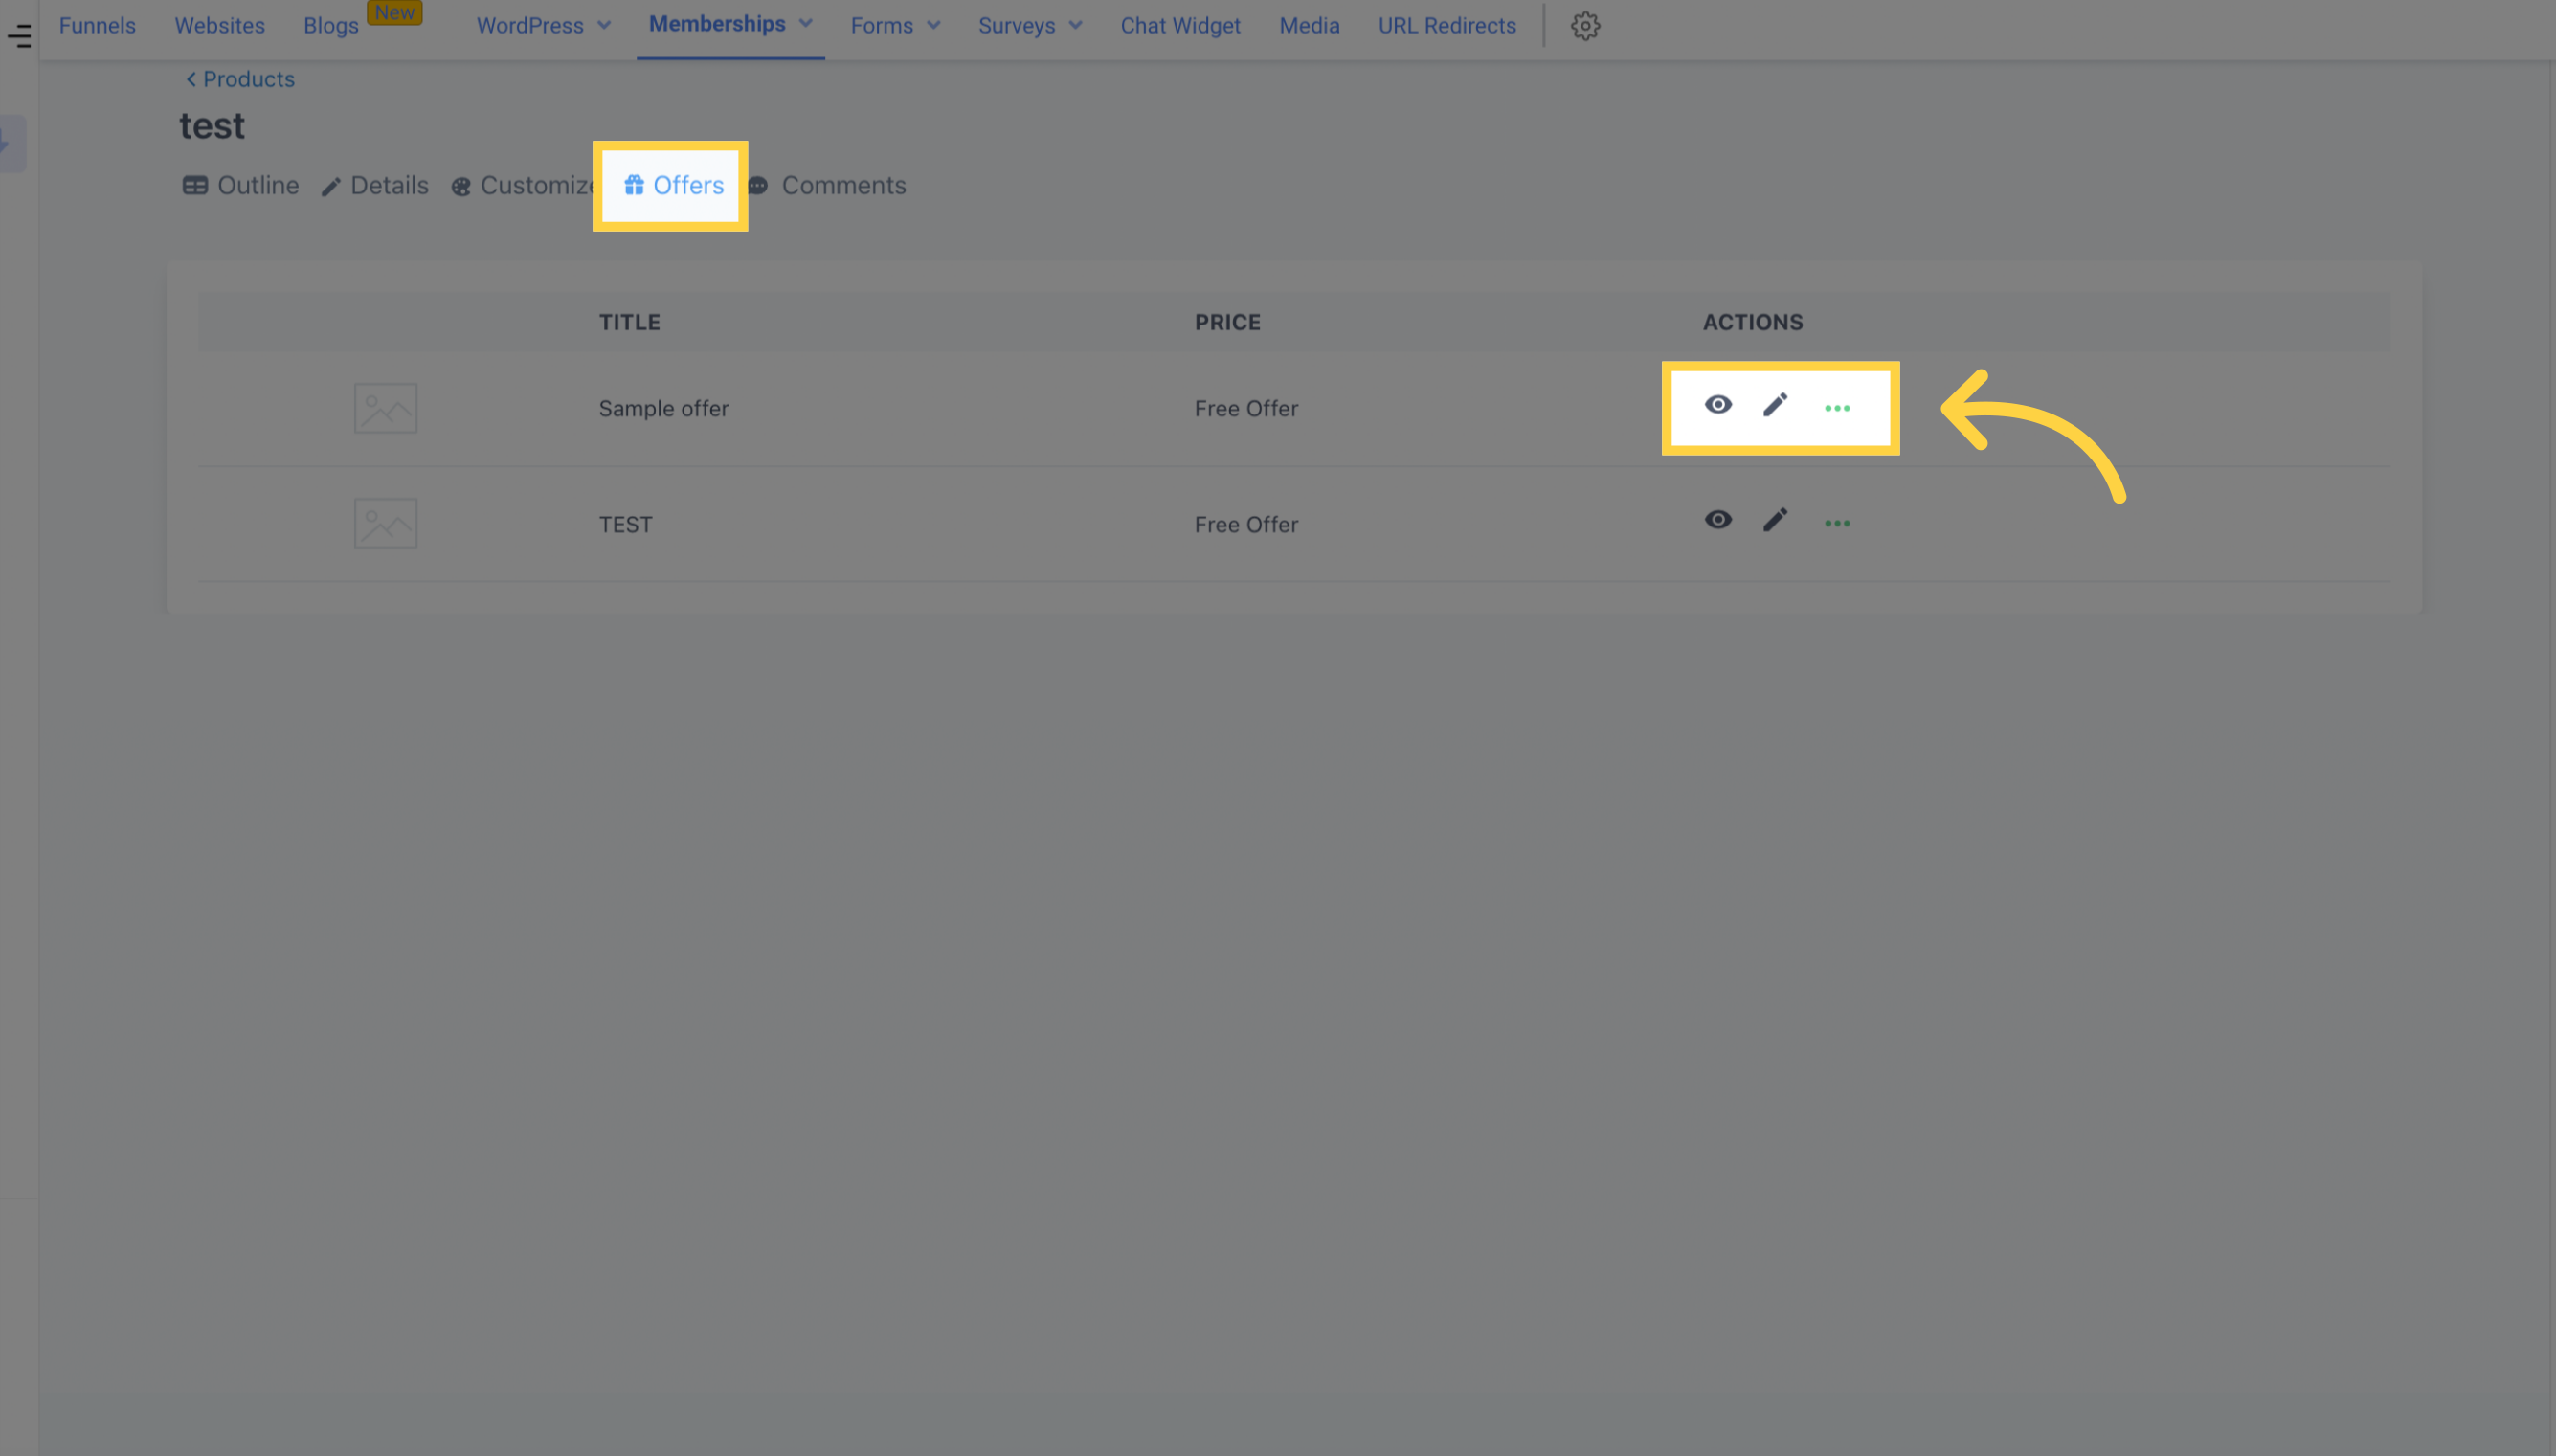
To view the offer(s) associated with this product, simply click on the Offer button. To attach an offer, head over to the Membership Offer section and link it with your product. Additionally, you can preview, edit, or view the Checkout page.
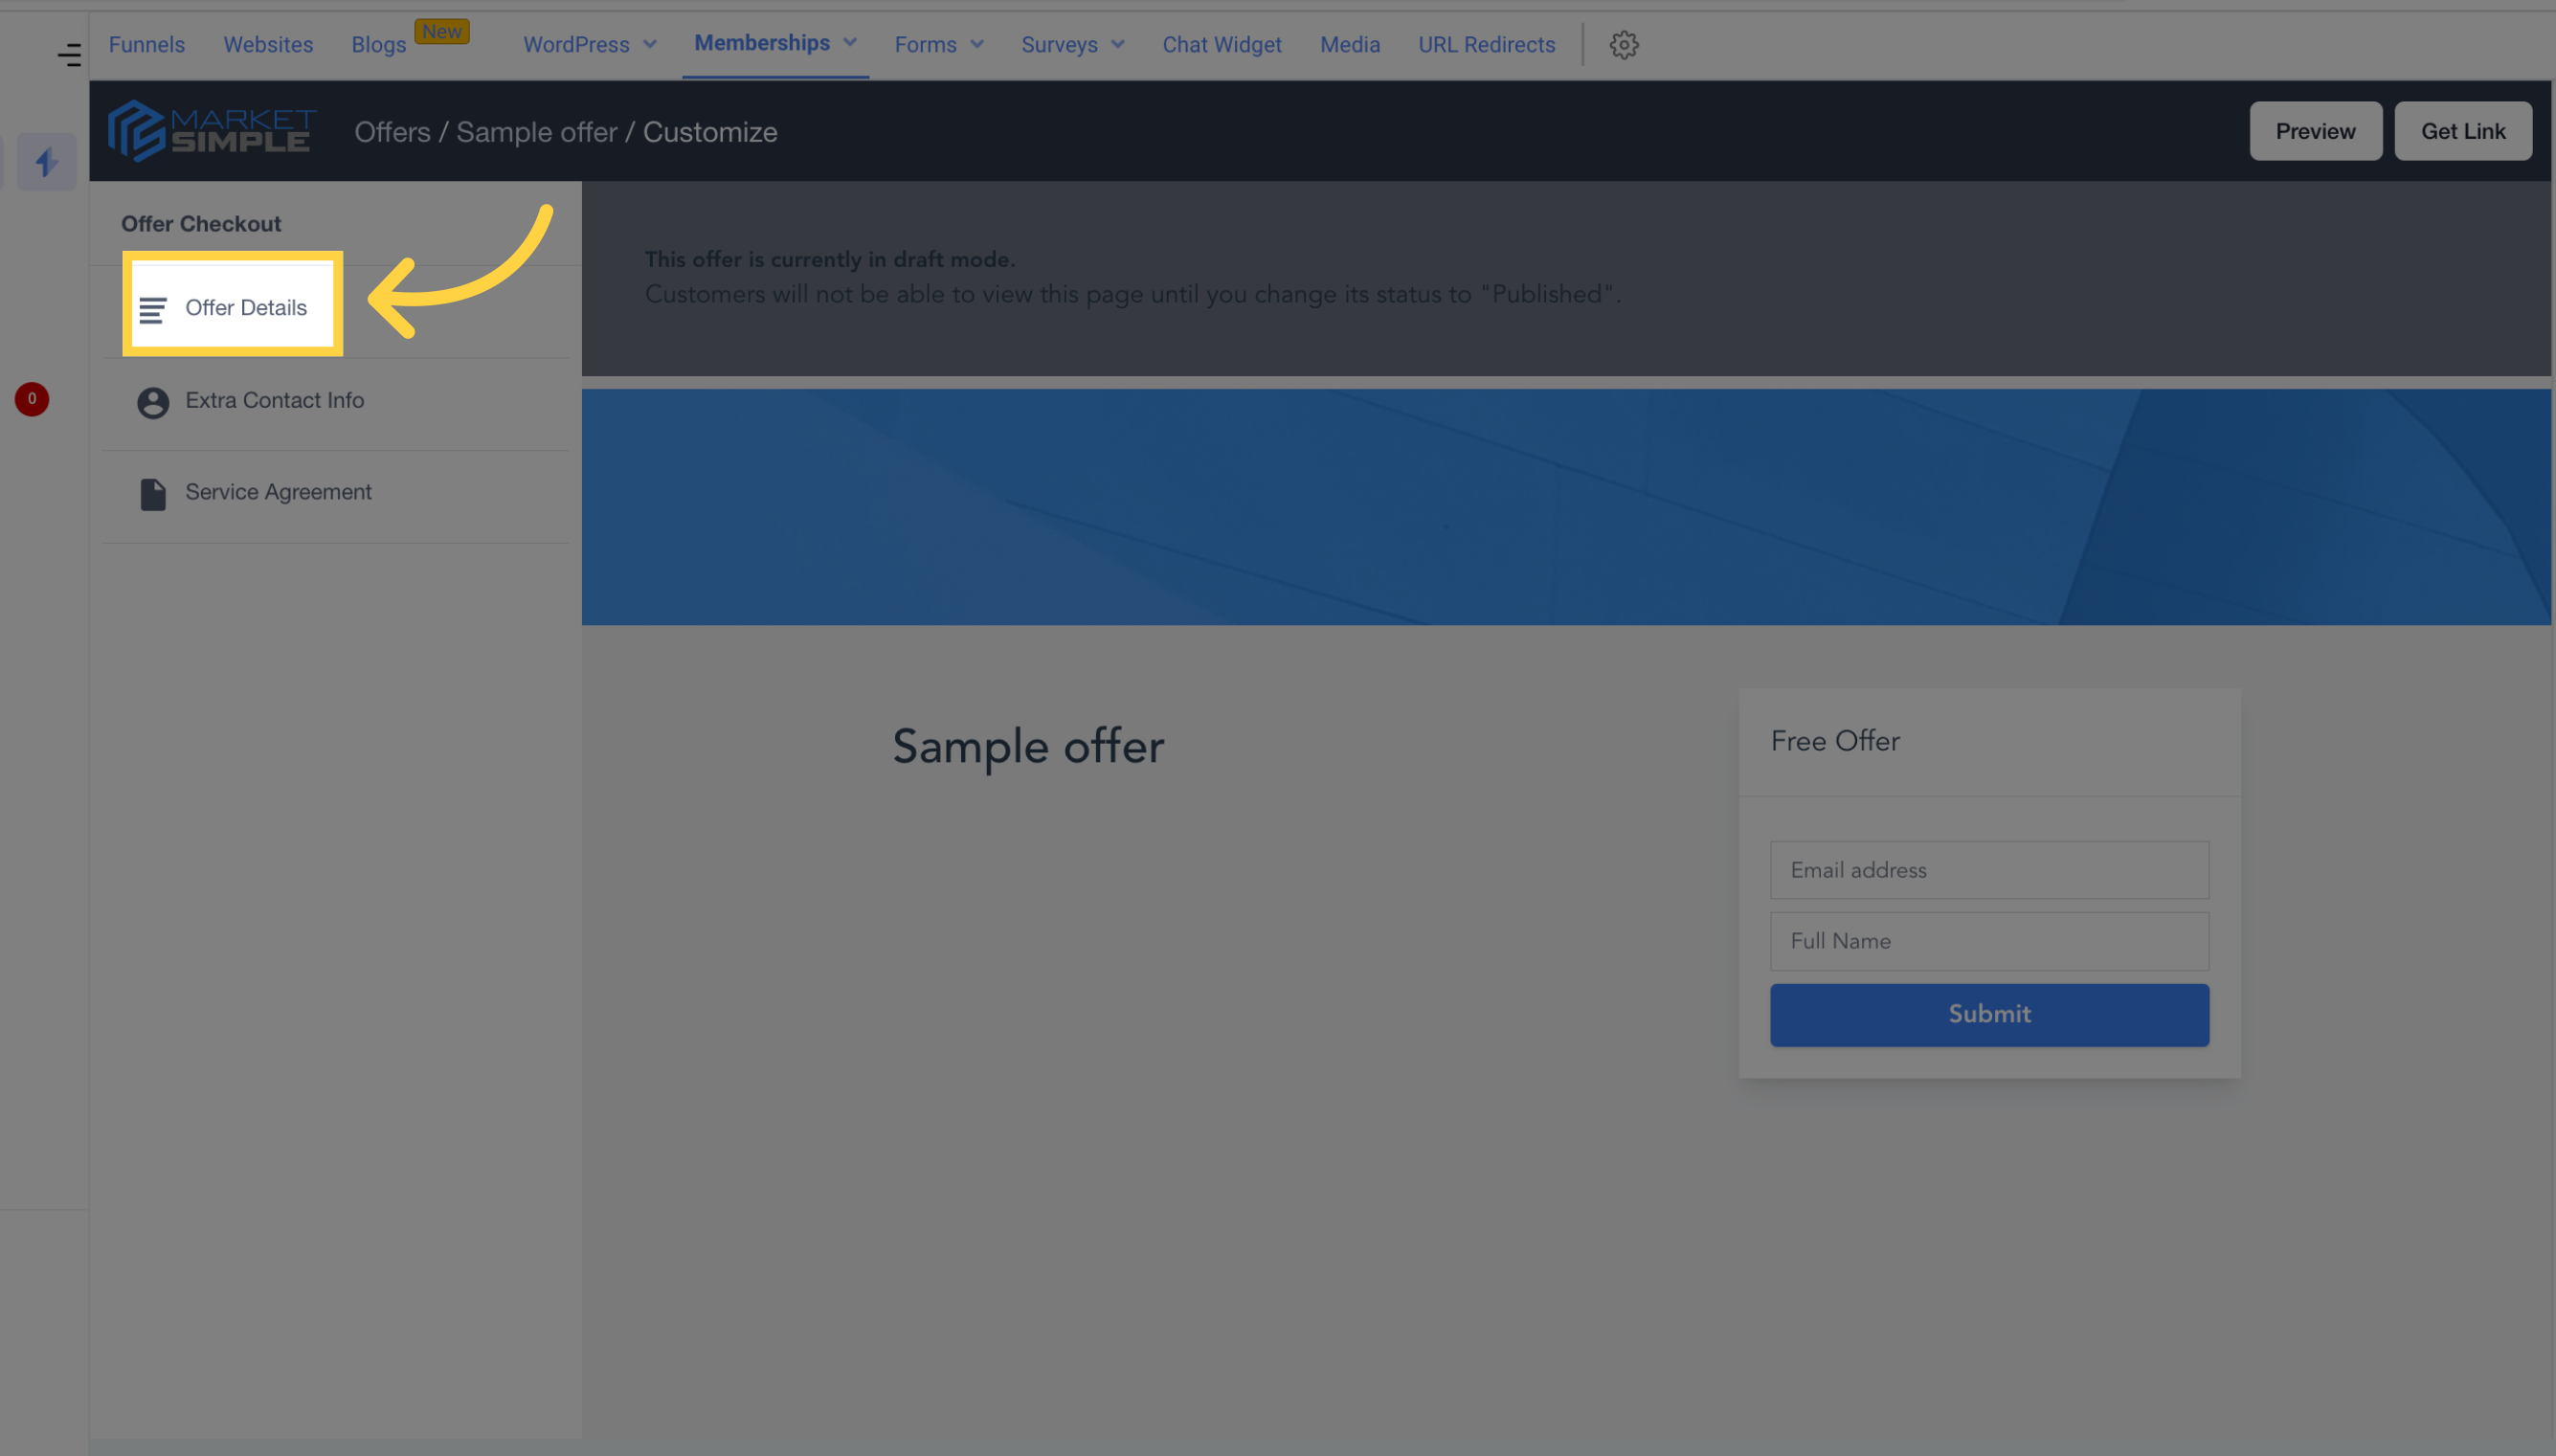
The details of the offer can be edited including the banner, video, poster image, logo image, and checkout copy.
Additional contact information such as address and phone number can be collected by enabling the feature.

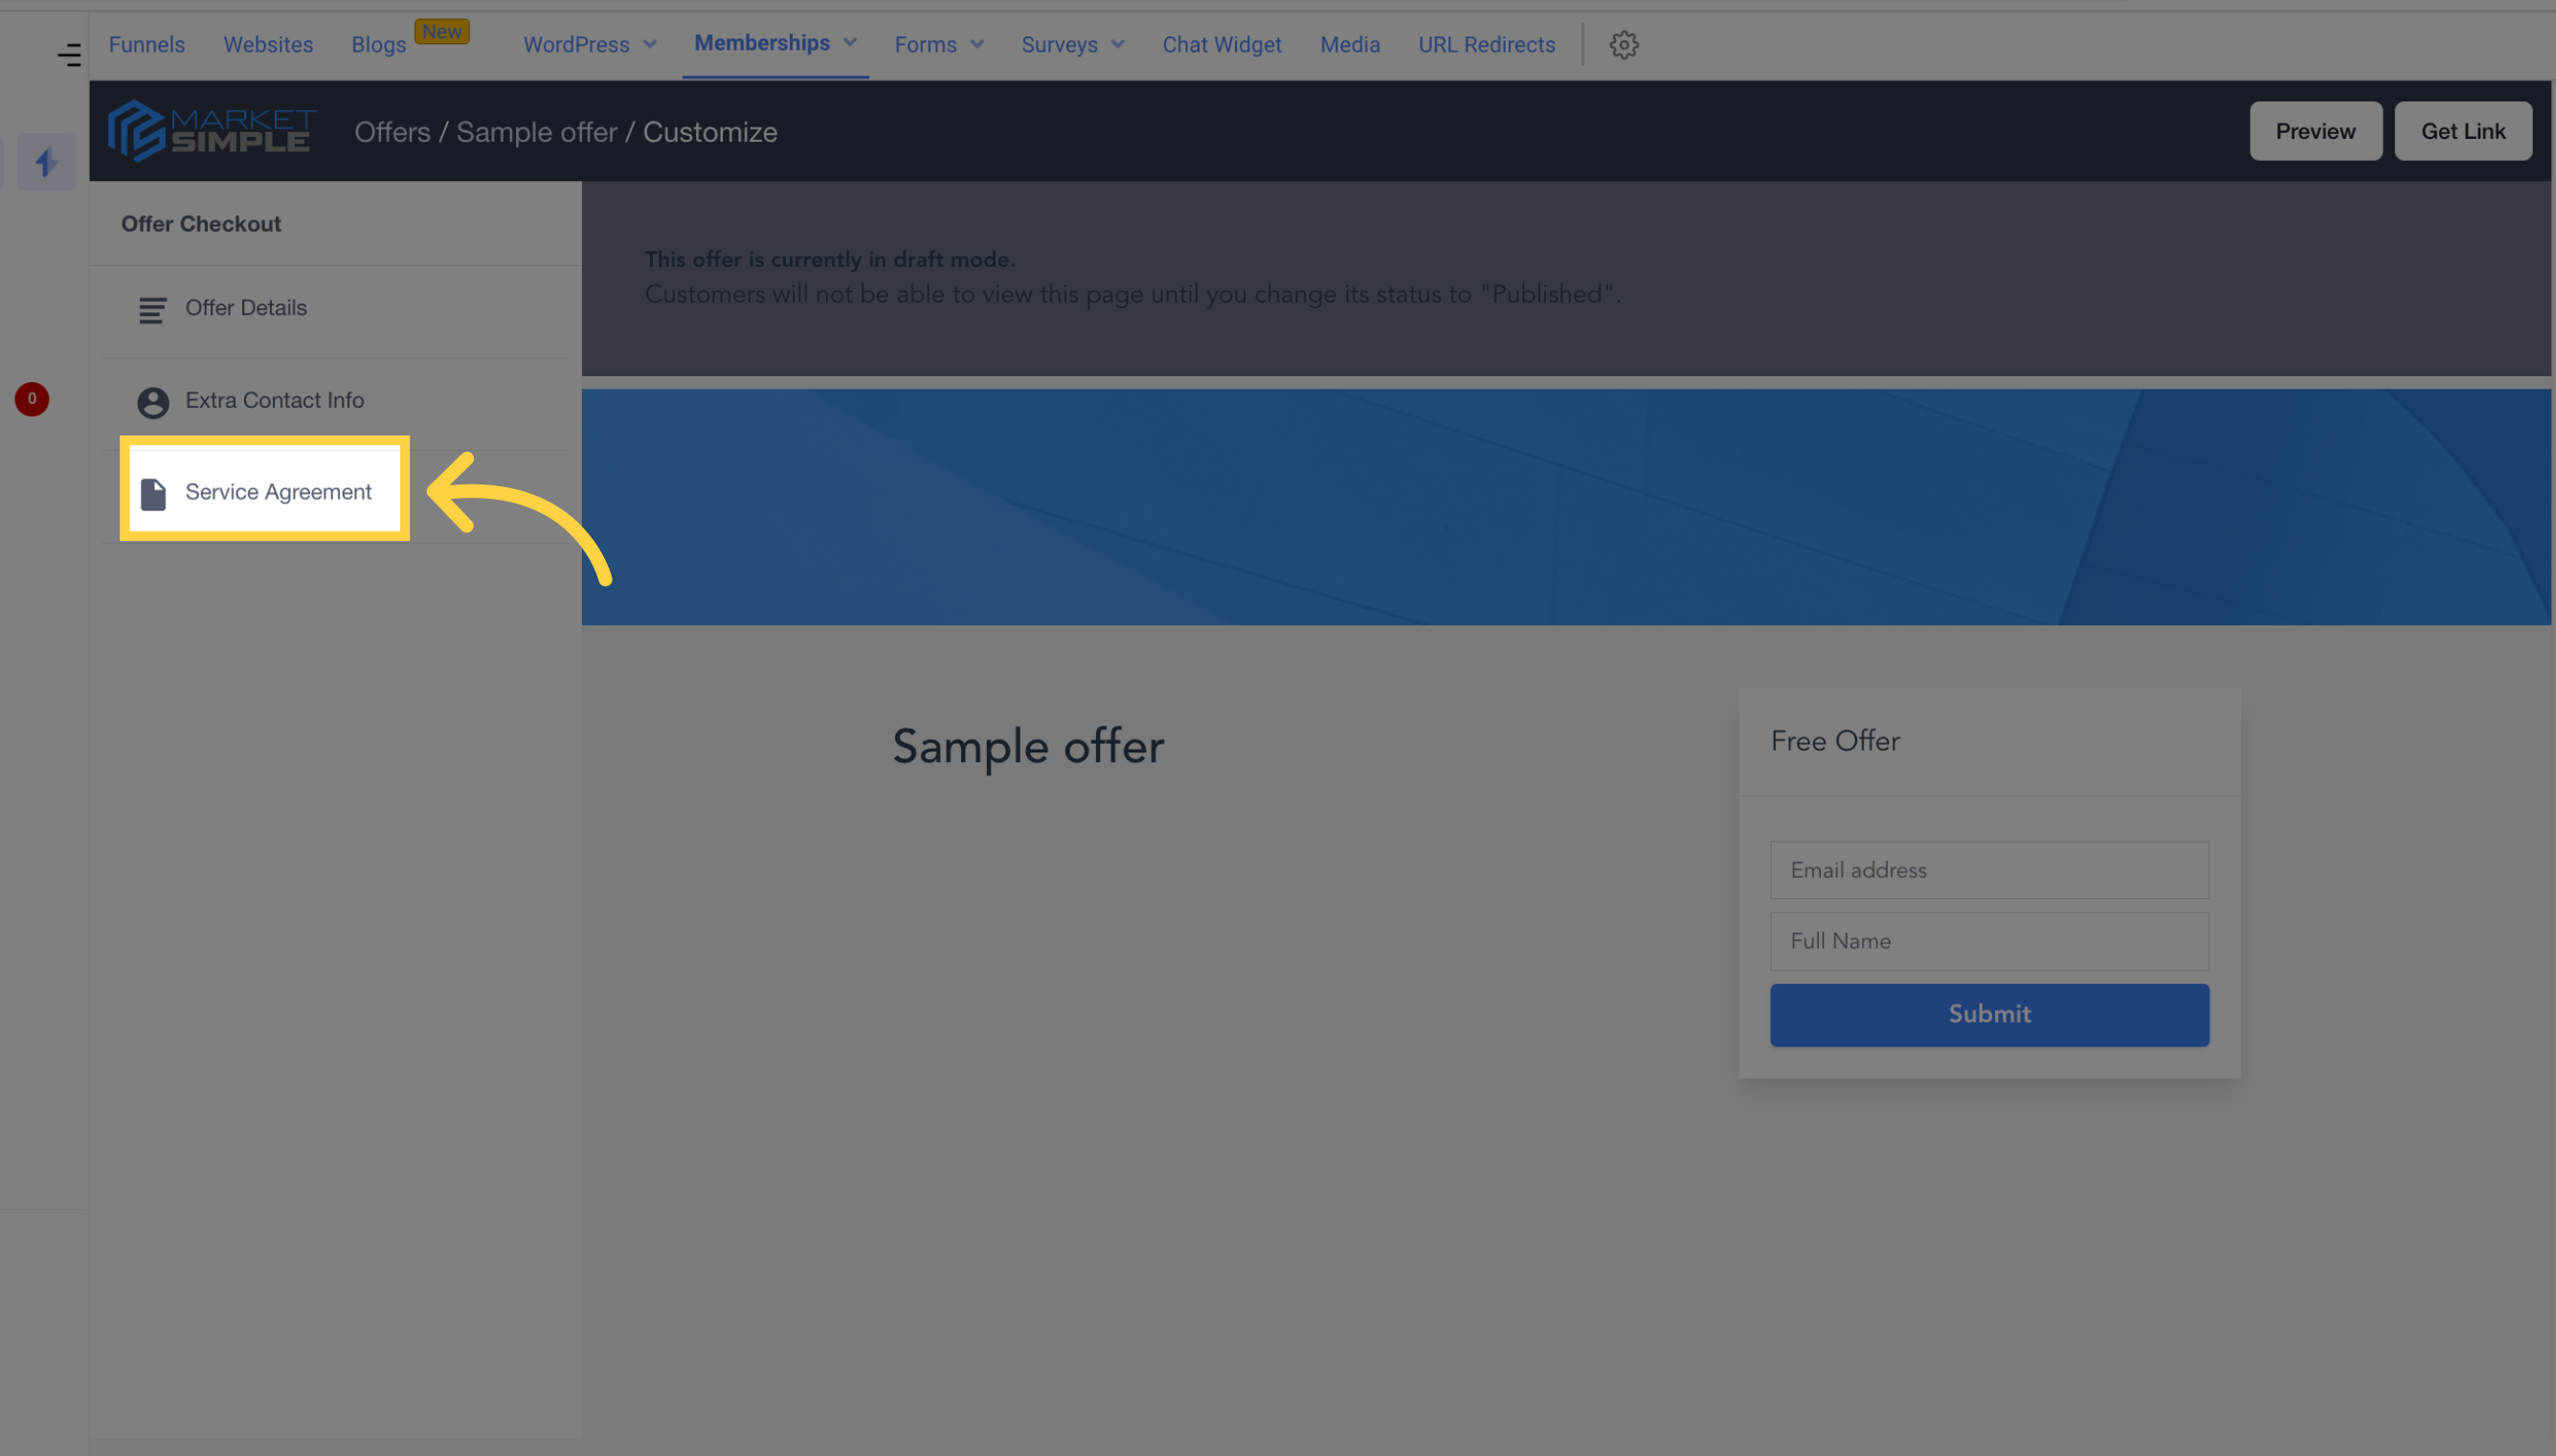
The service agreement can be made mandatory or optional, and the text of the agreement can also be personalized.
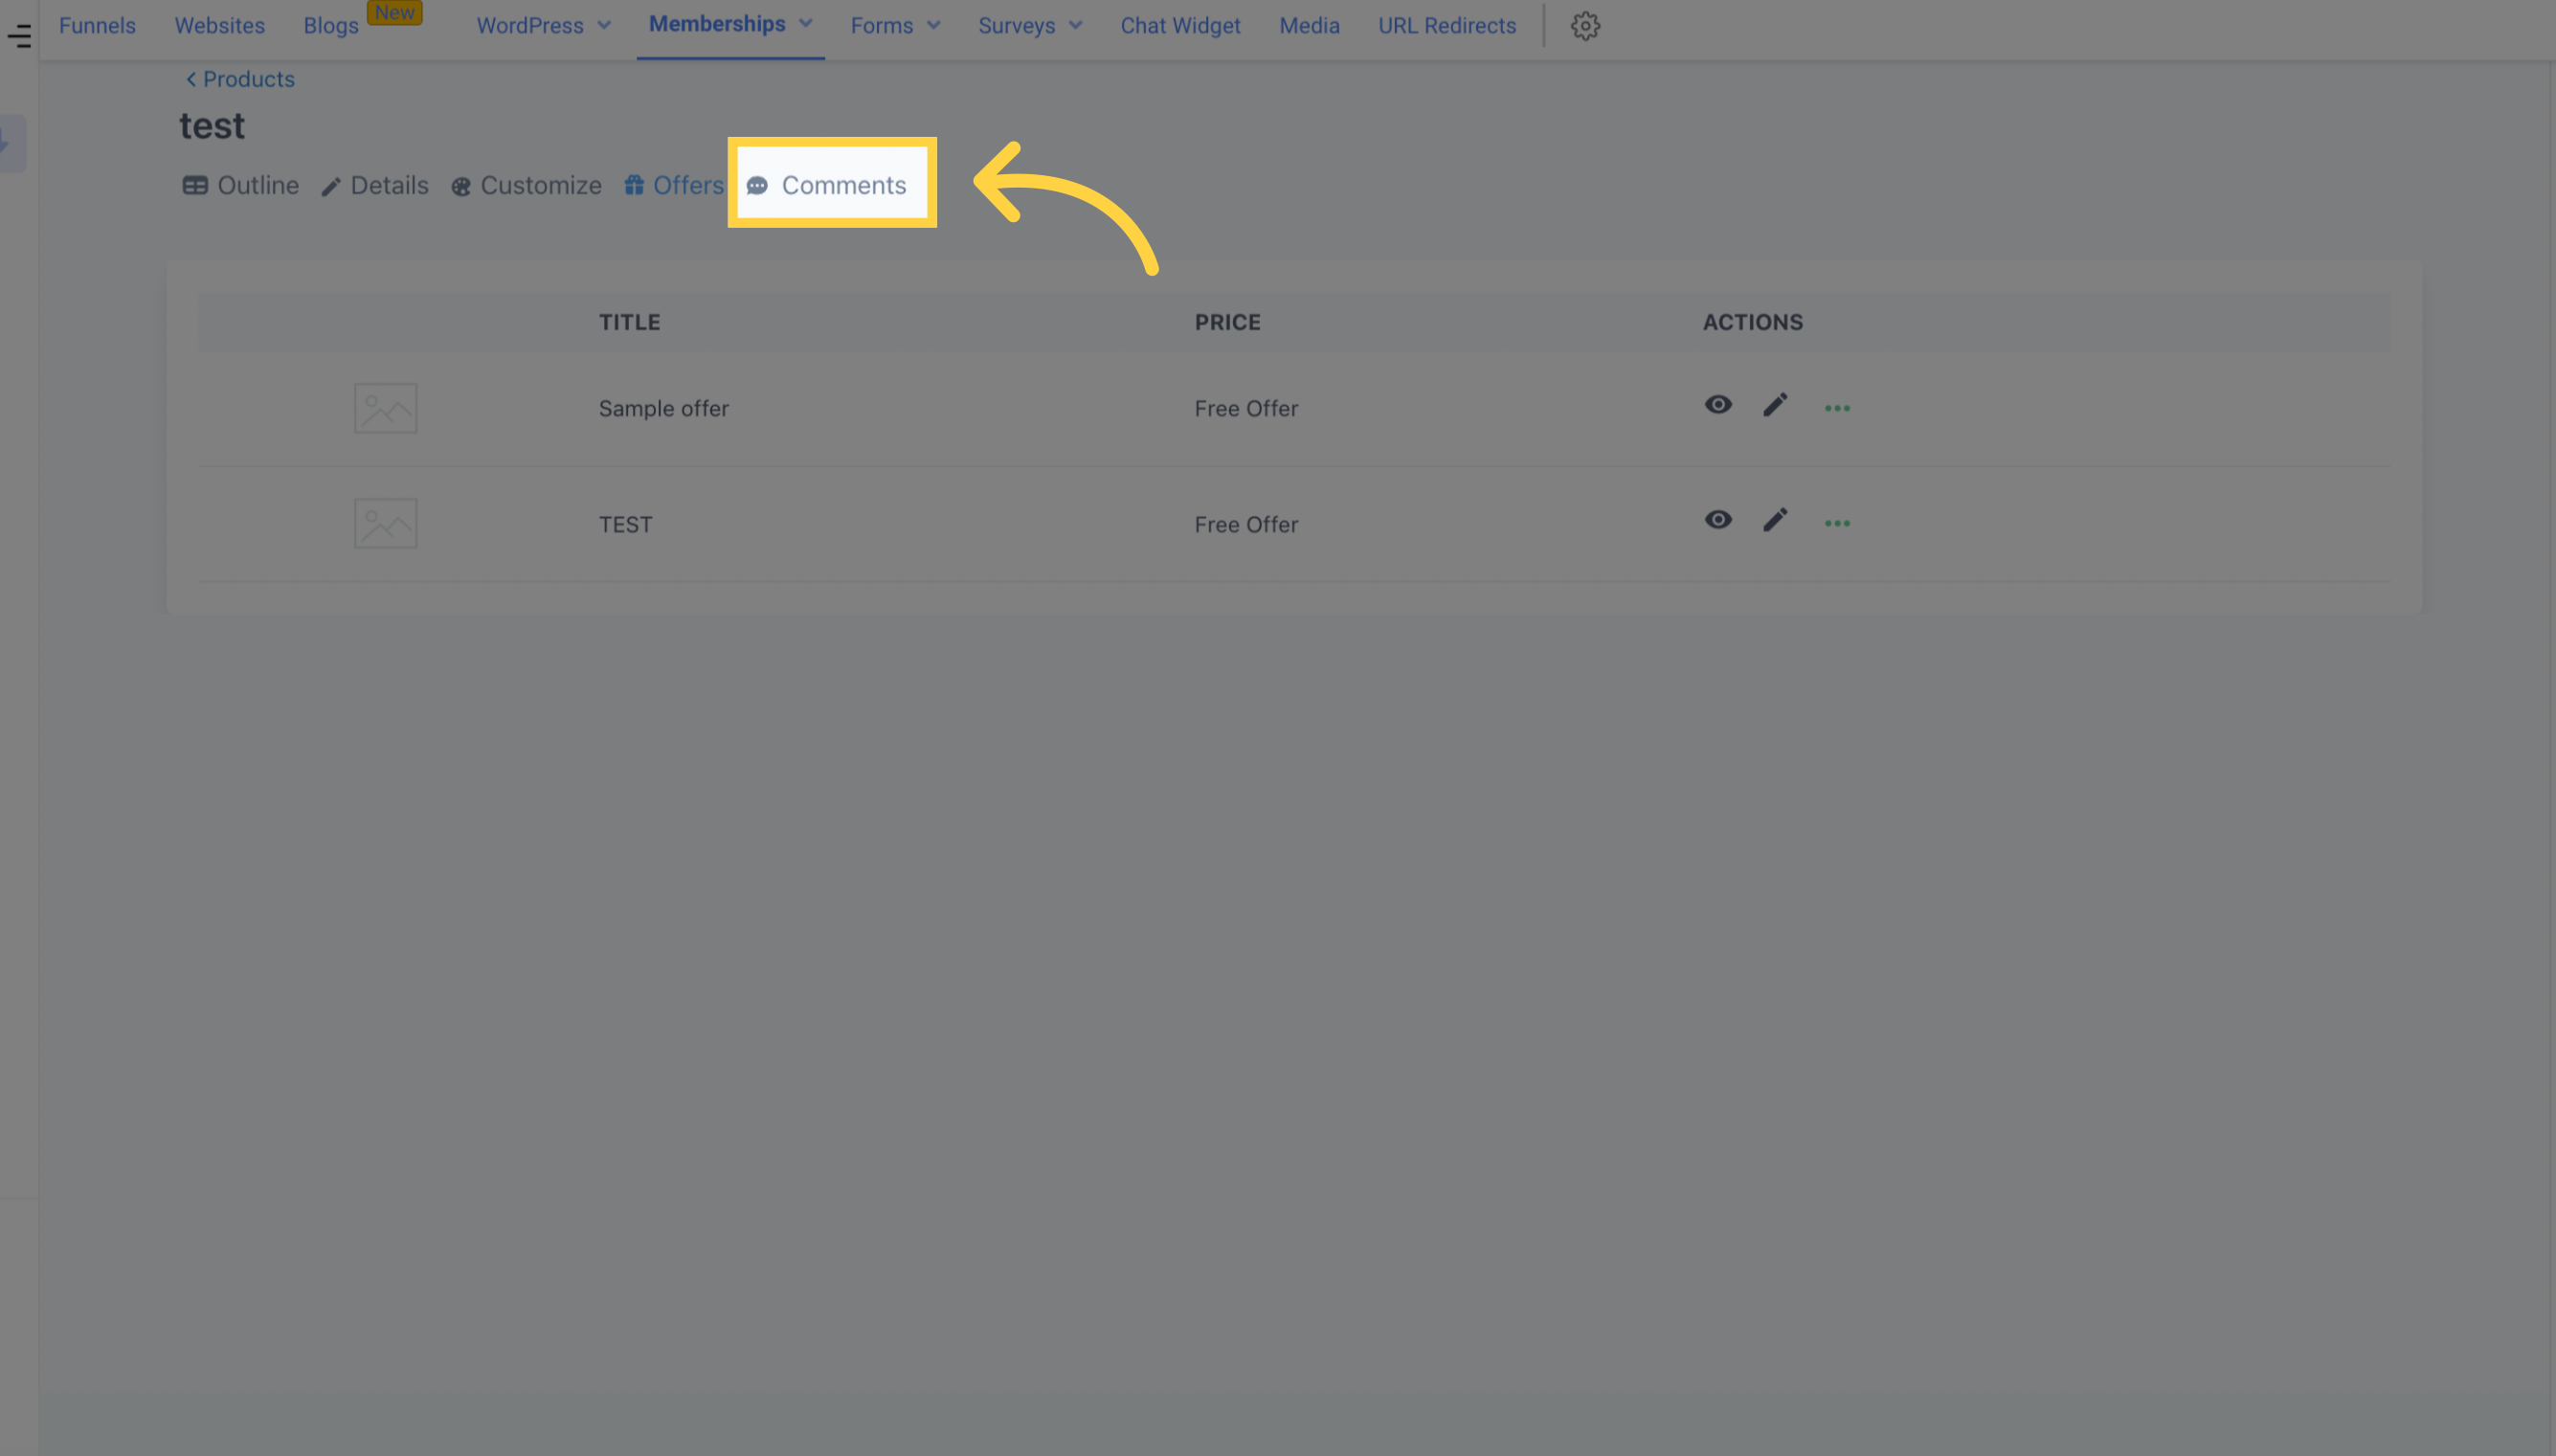
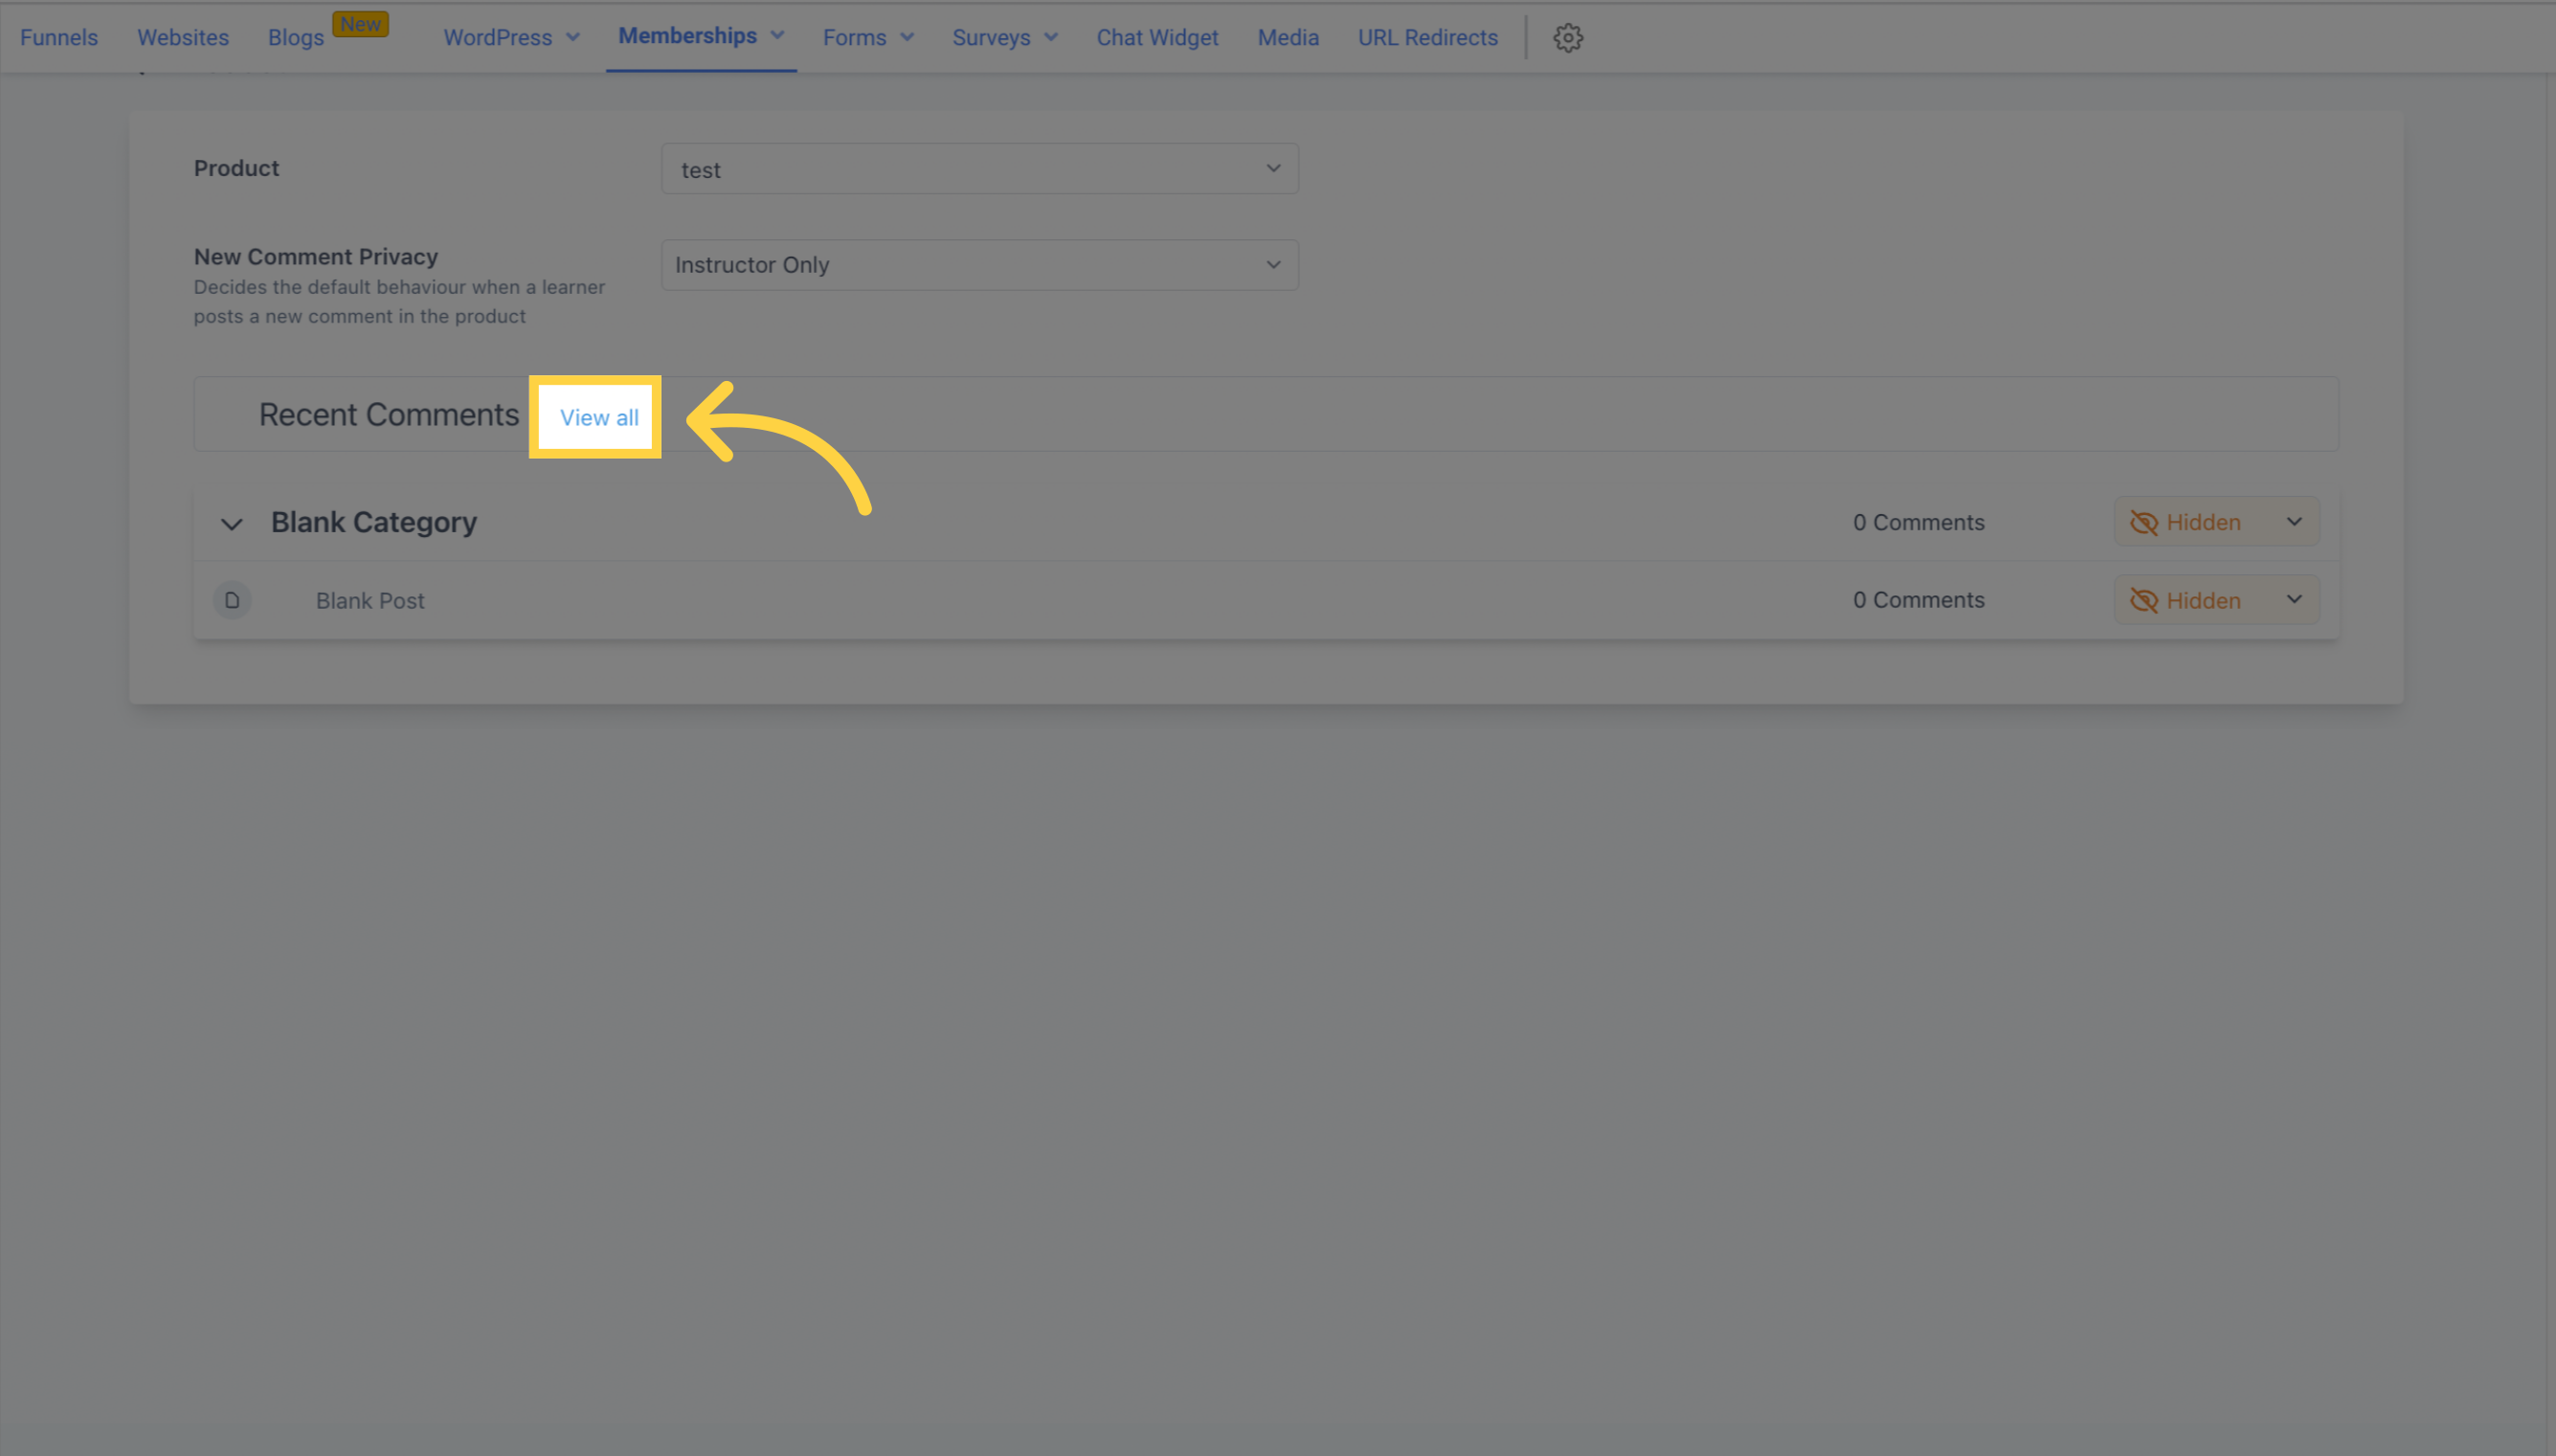
To see all comments made on the lessons and assessments, click on the View All button. This includes deleted comments as well. Check out our Previous Membership Products and Next Membership Offers for more information.